| 70-mm magazine R - AS11-37-5433 to 5555 |
Photography Index | 70-mm magazine Q - AS11-39-5737 to 5843 |
No copyright is asserted for NASA photographs. If a recognizable person appears in a photo, use for commercial purposes may infringe a right of privacy or publicity. Photos may not be used to state or imply the endorsement by NASA or by any NASA employee of a commercial product, process or service, or used in any other manner that might mislead. Accordingly, it is requested that if a NASA photograph is used in advertising and other commercial promotion, layout and copy be submitted to NASA prior to release.
NASA photos reproduced from this archive should include photo credit to "NASA" or "National Aeronautics and Space Administration" and should include scanning credit to the appropriate individuals or agencies as noted in the captions.

|
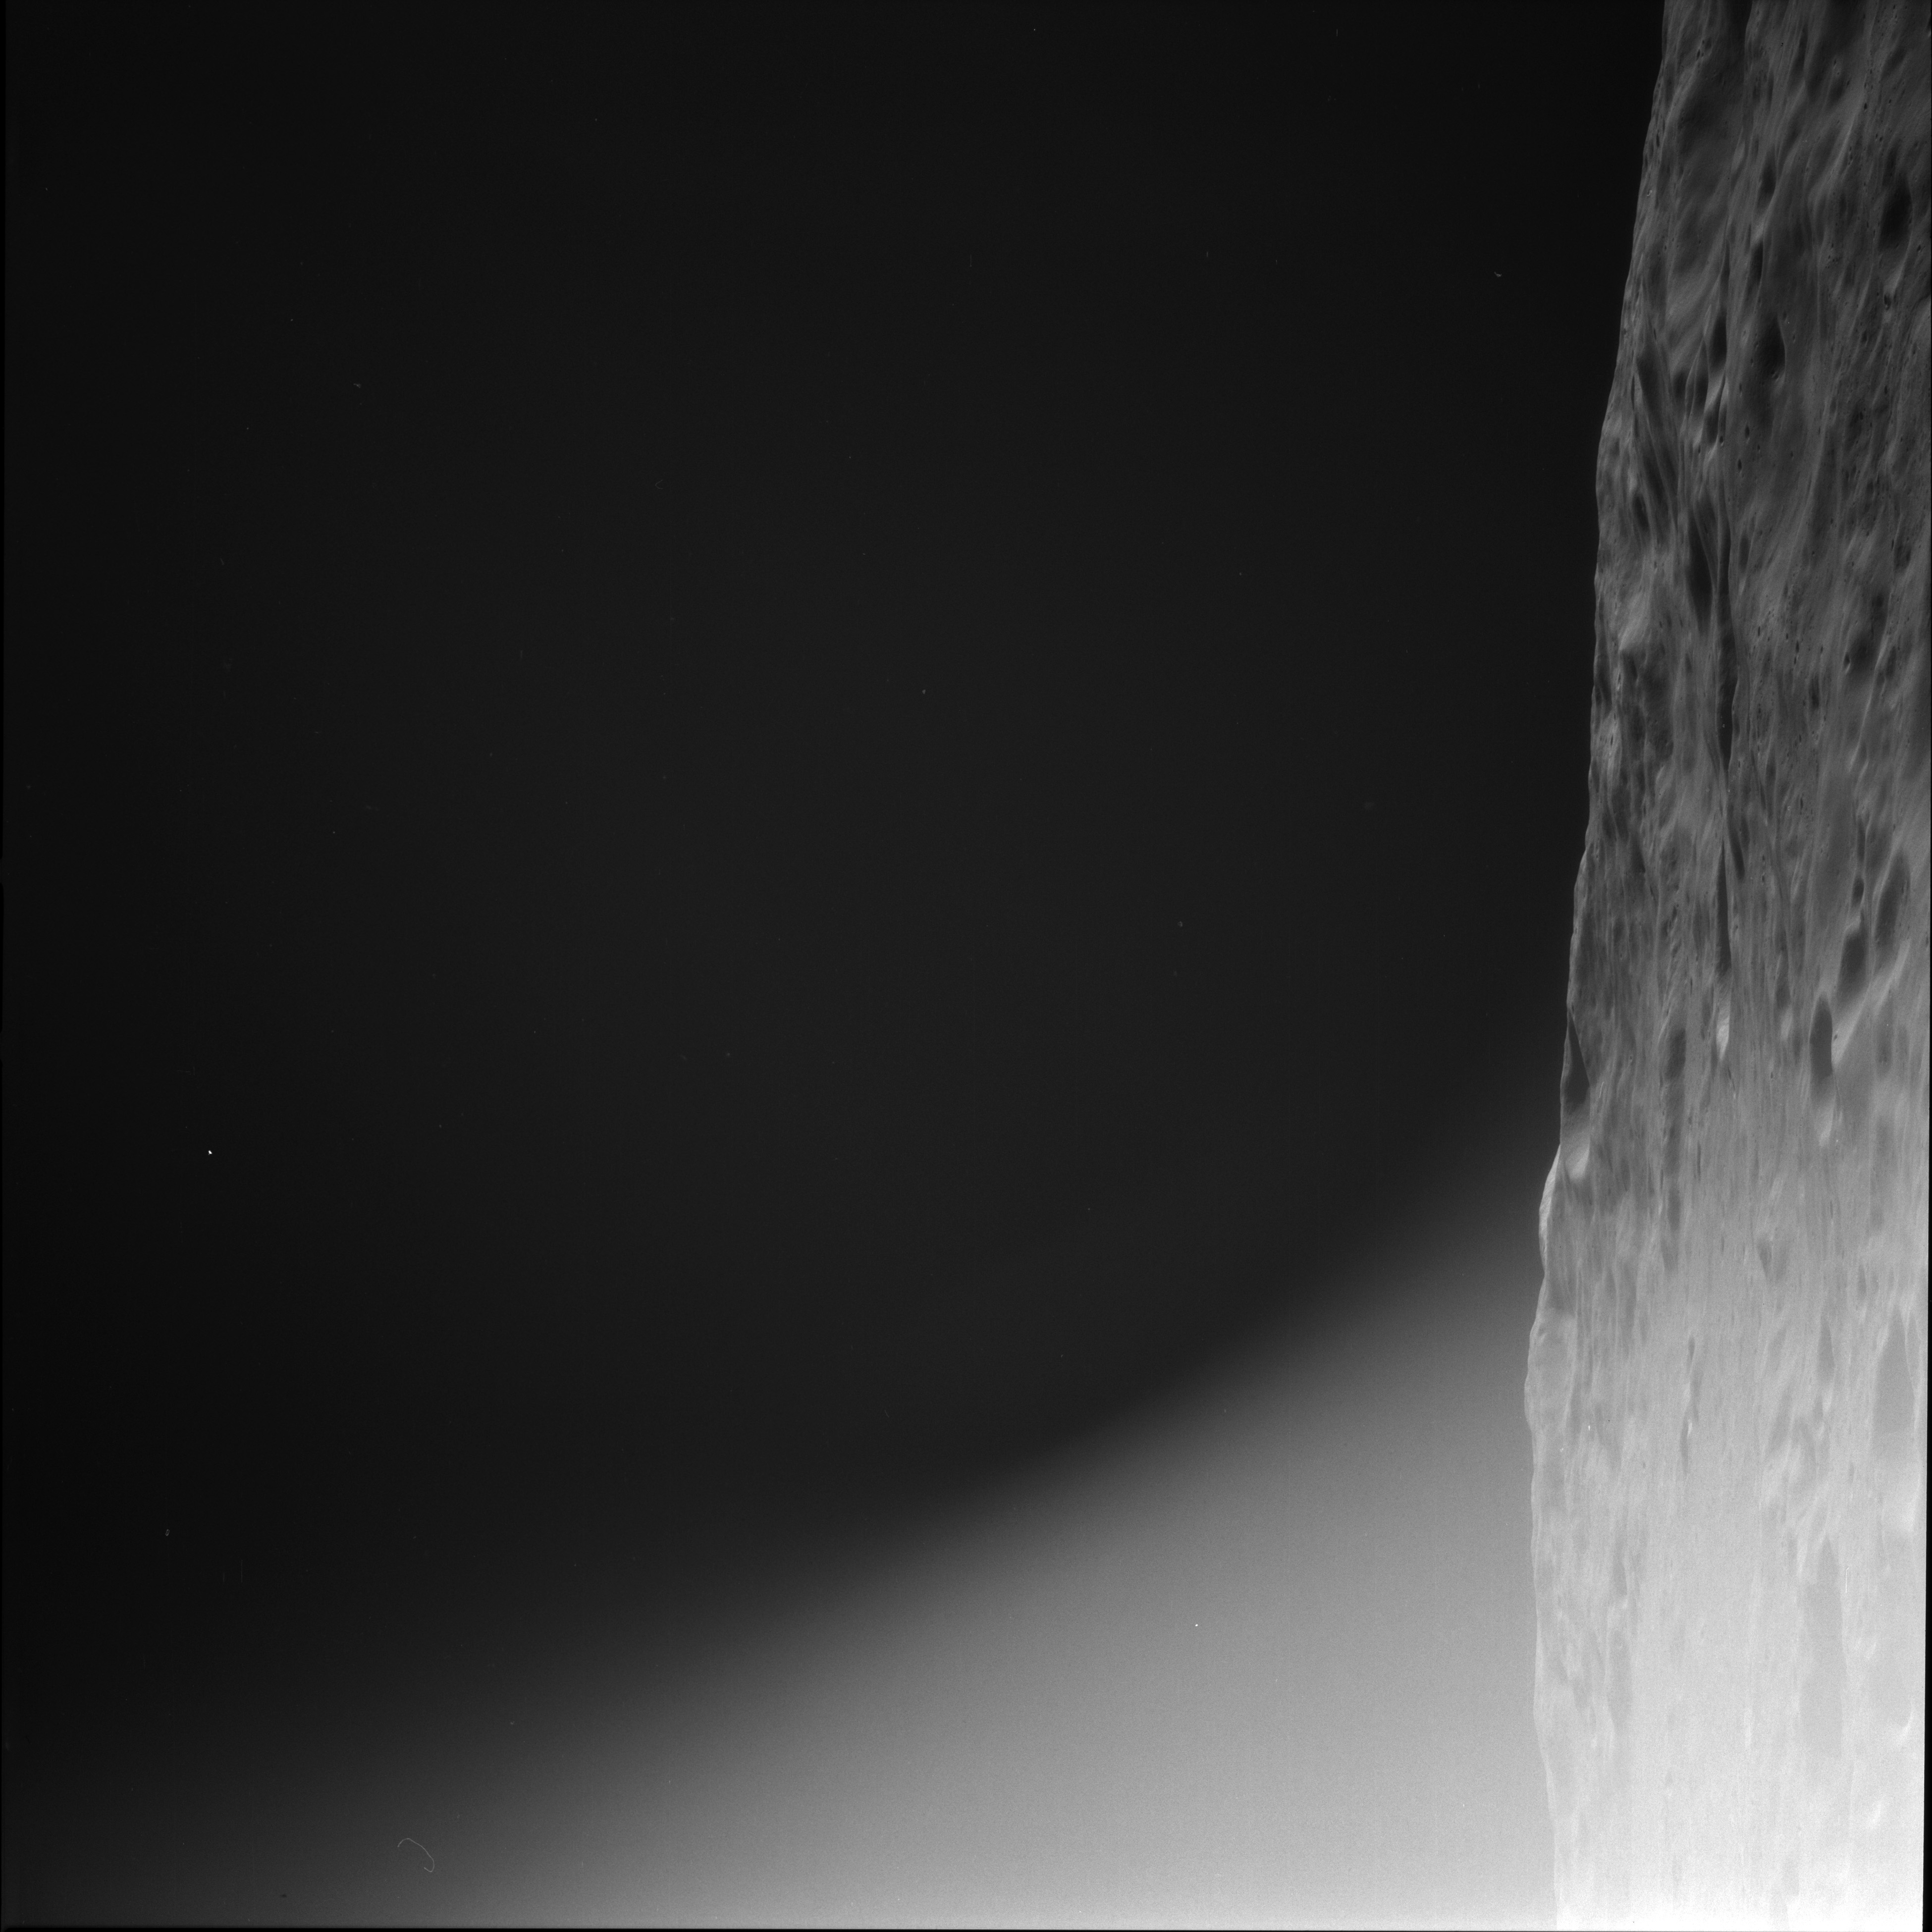
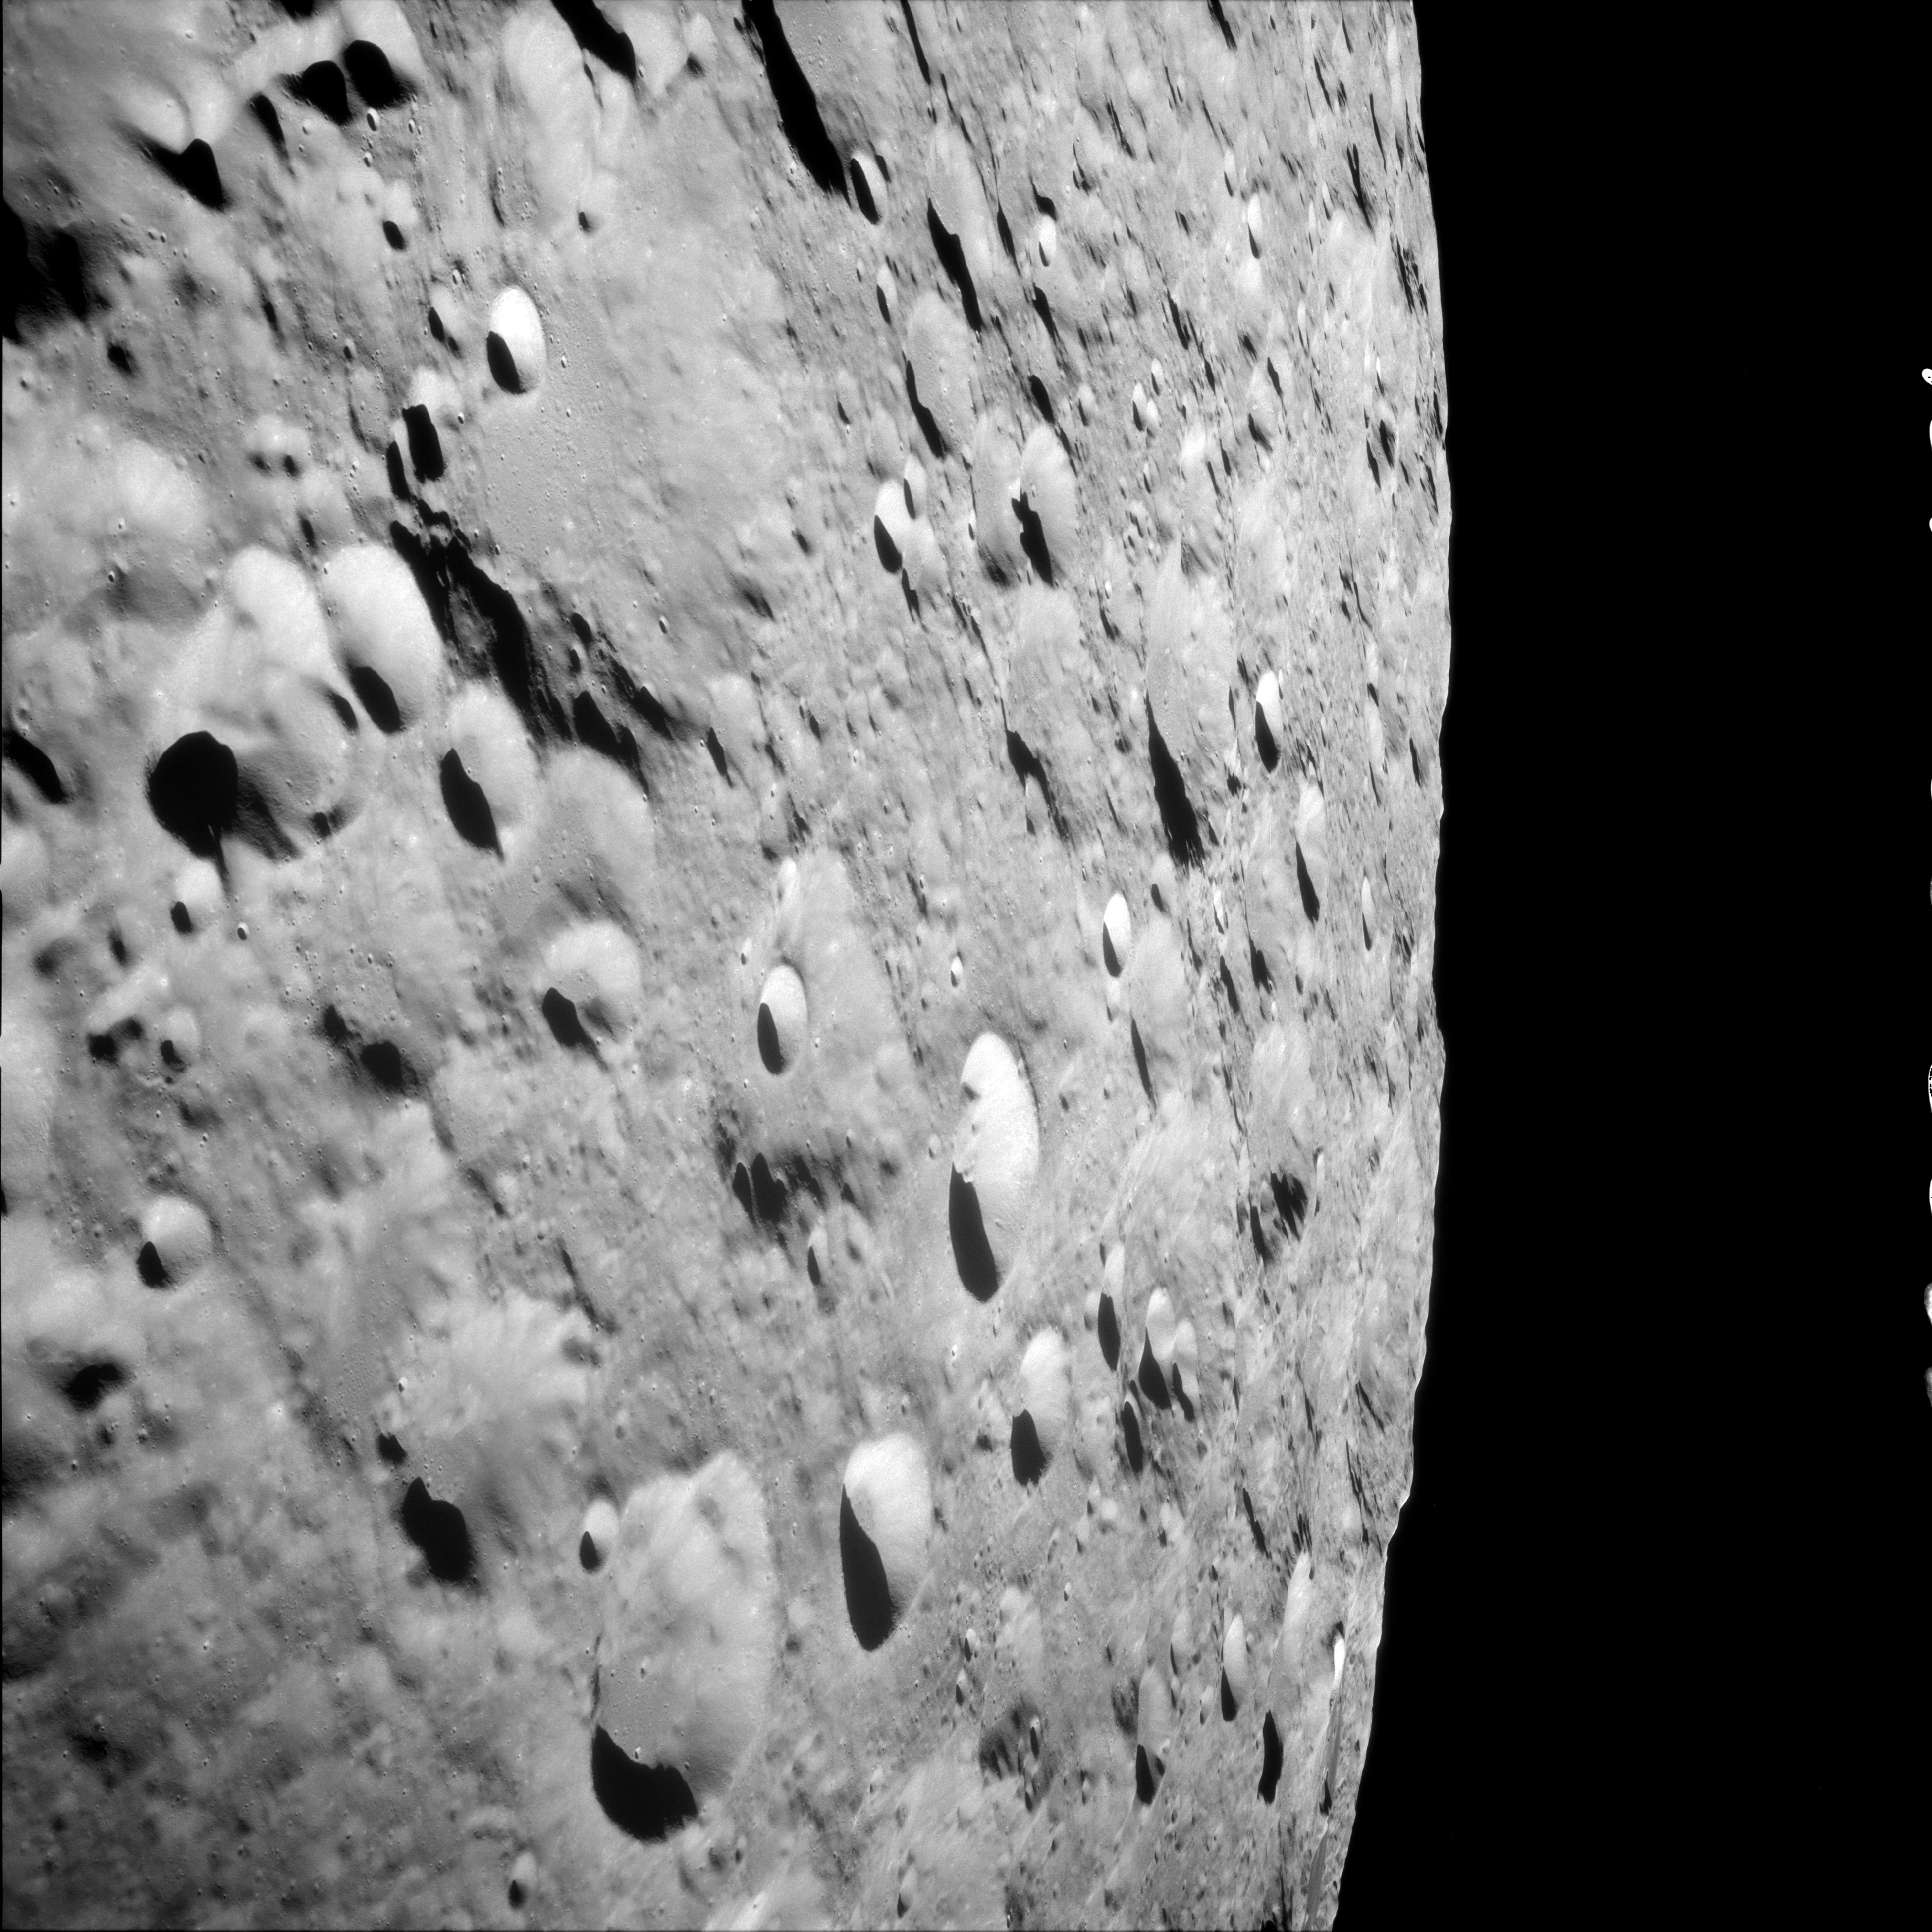
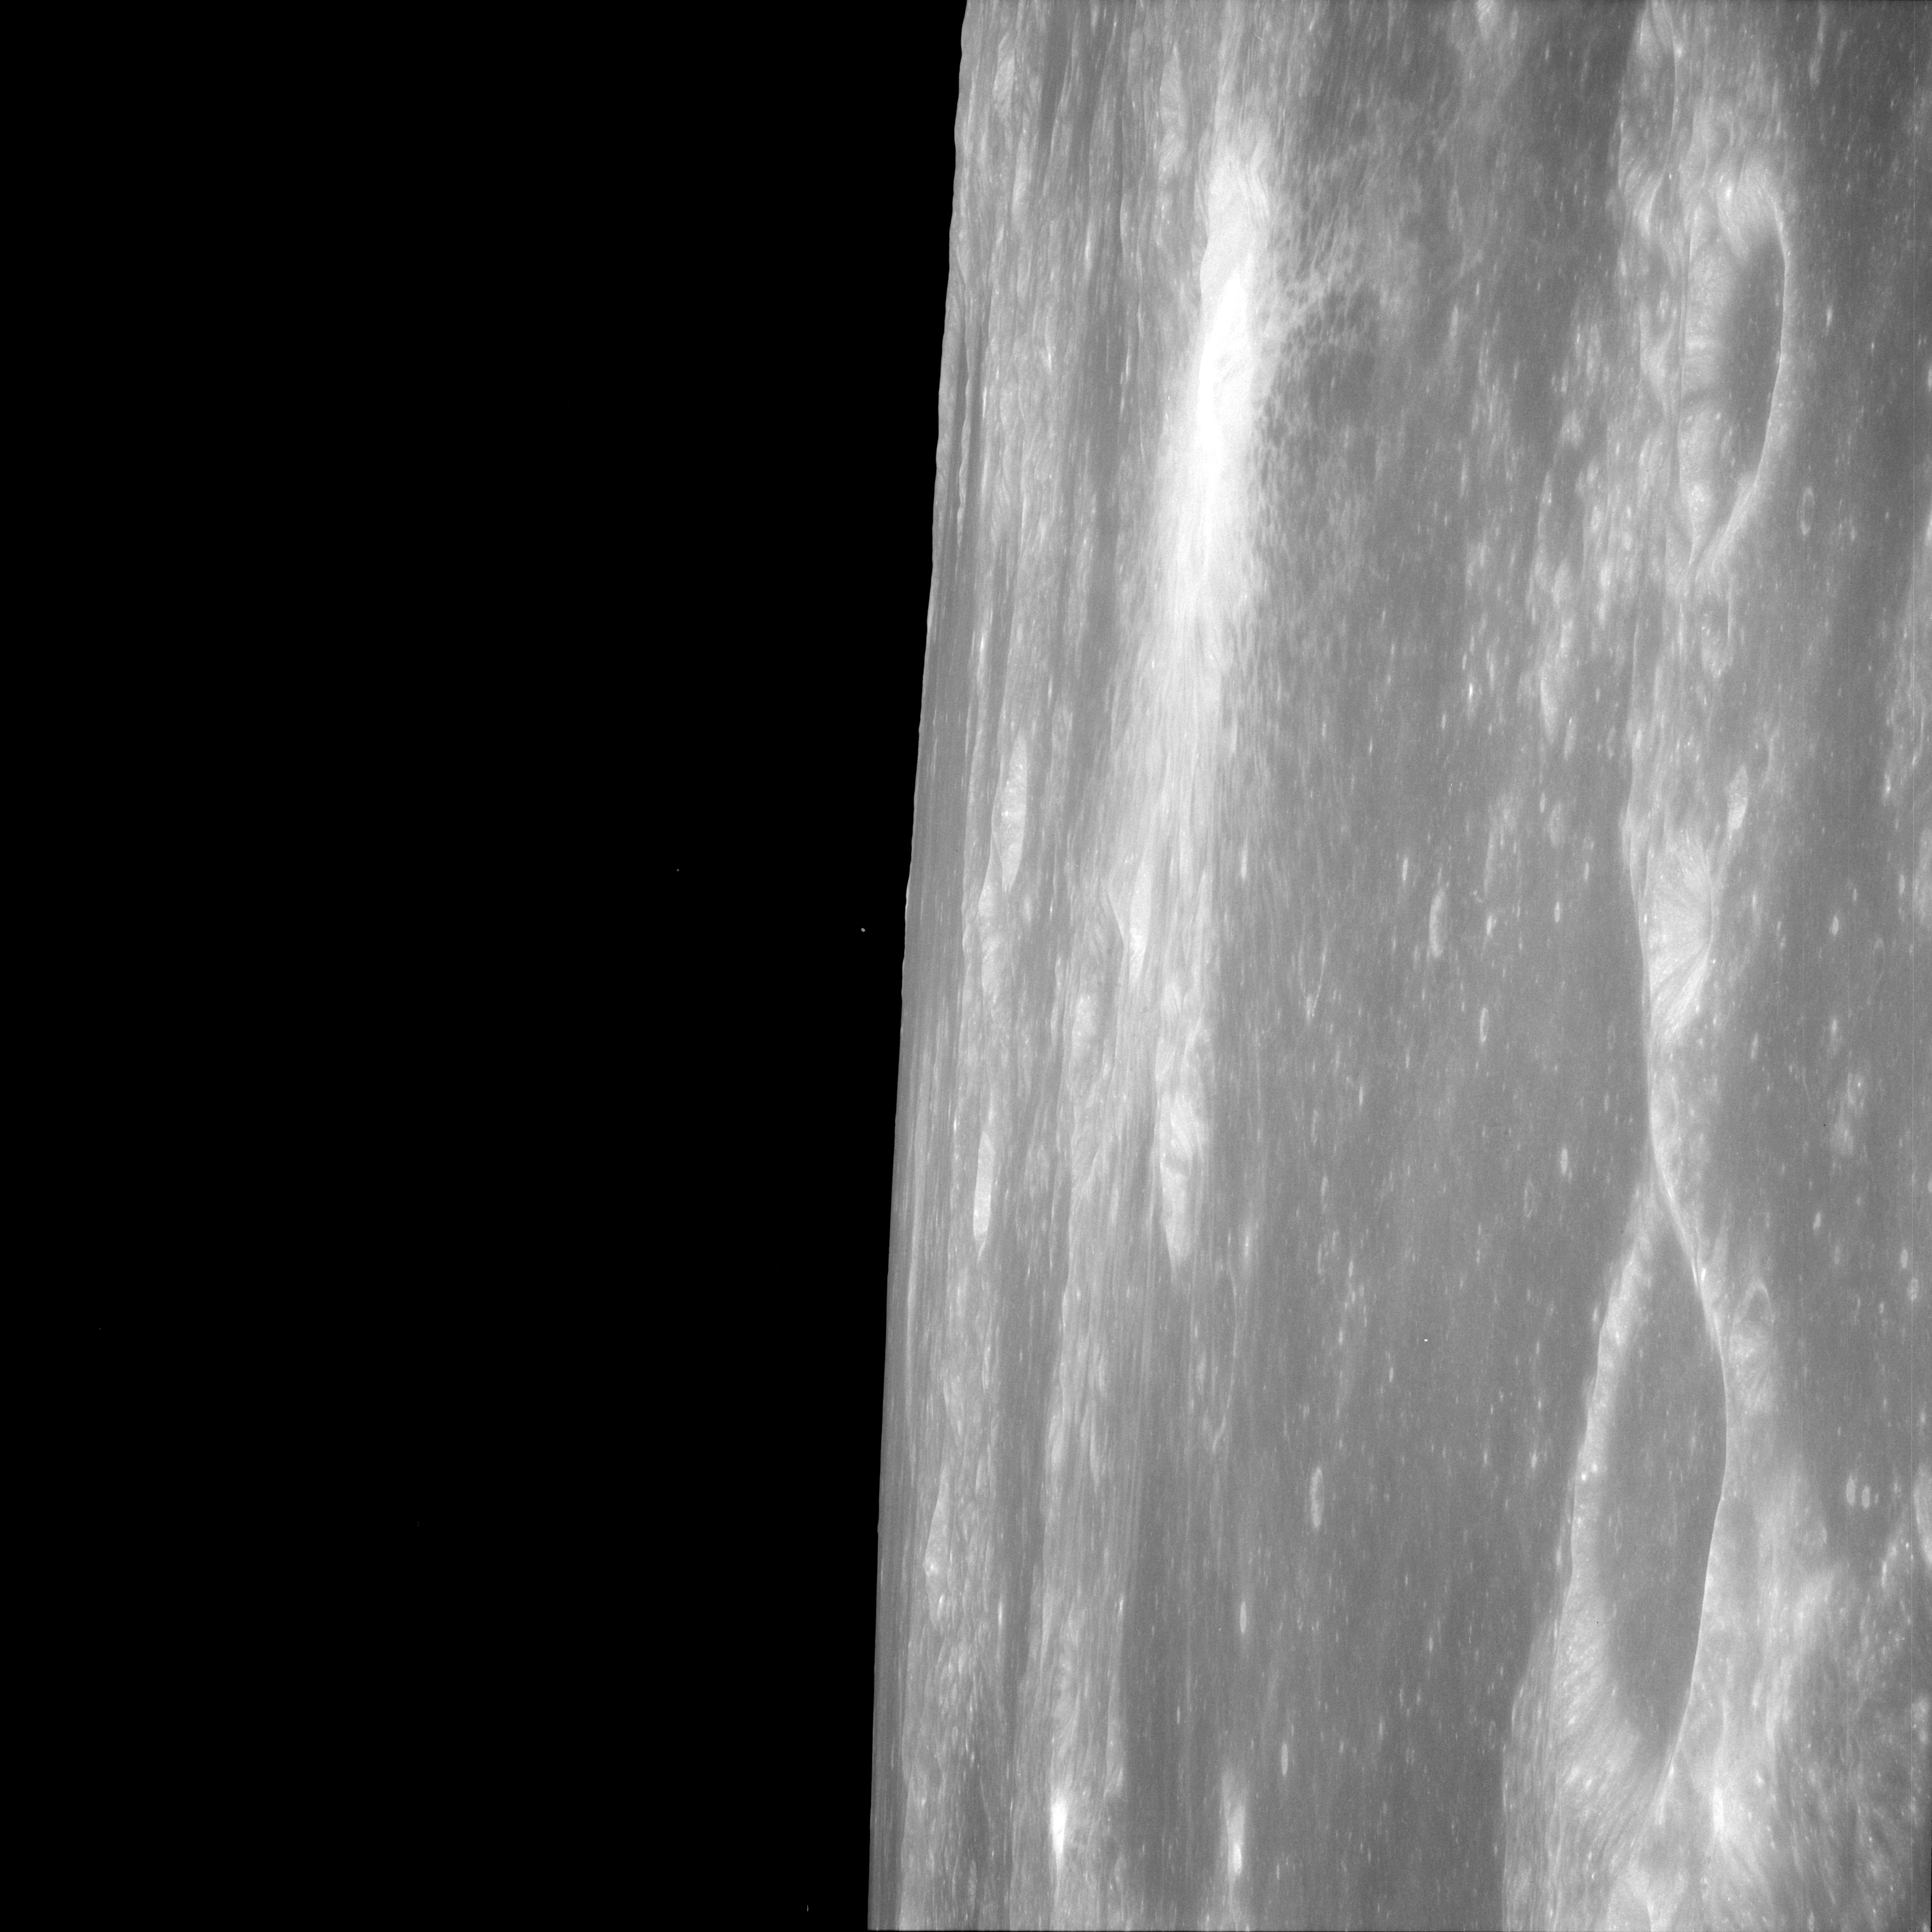
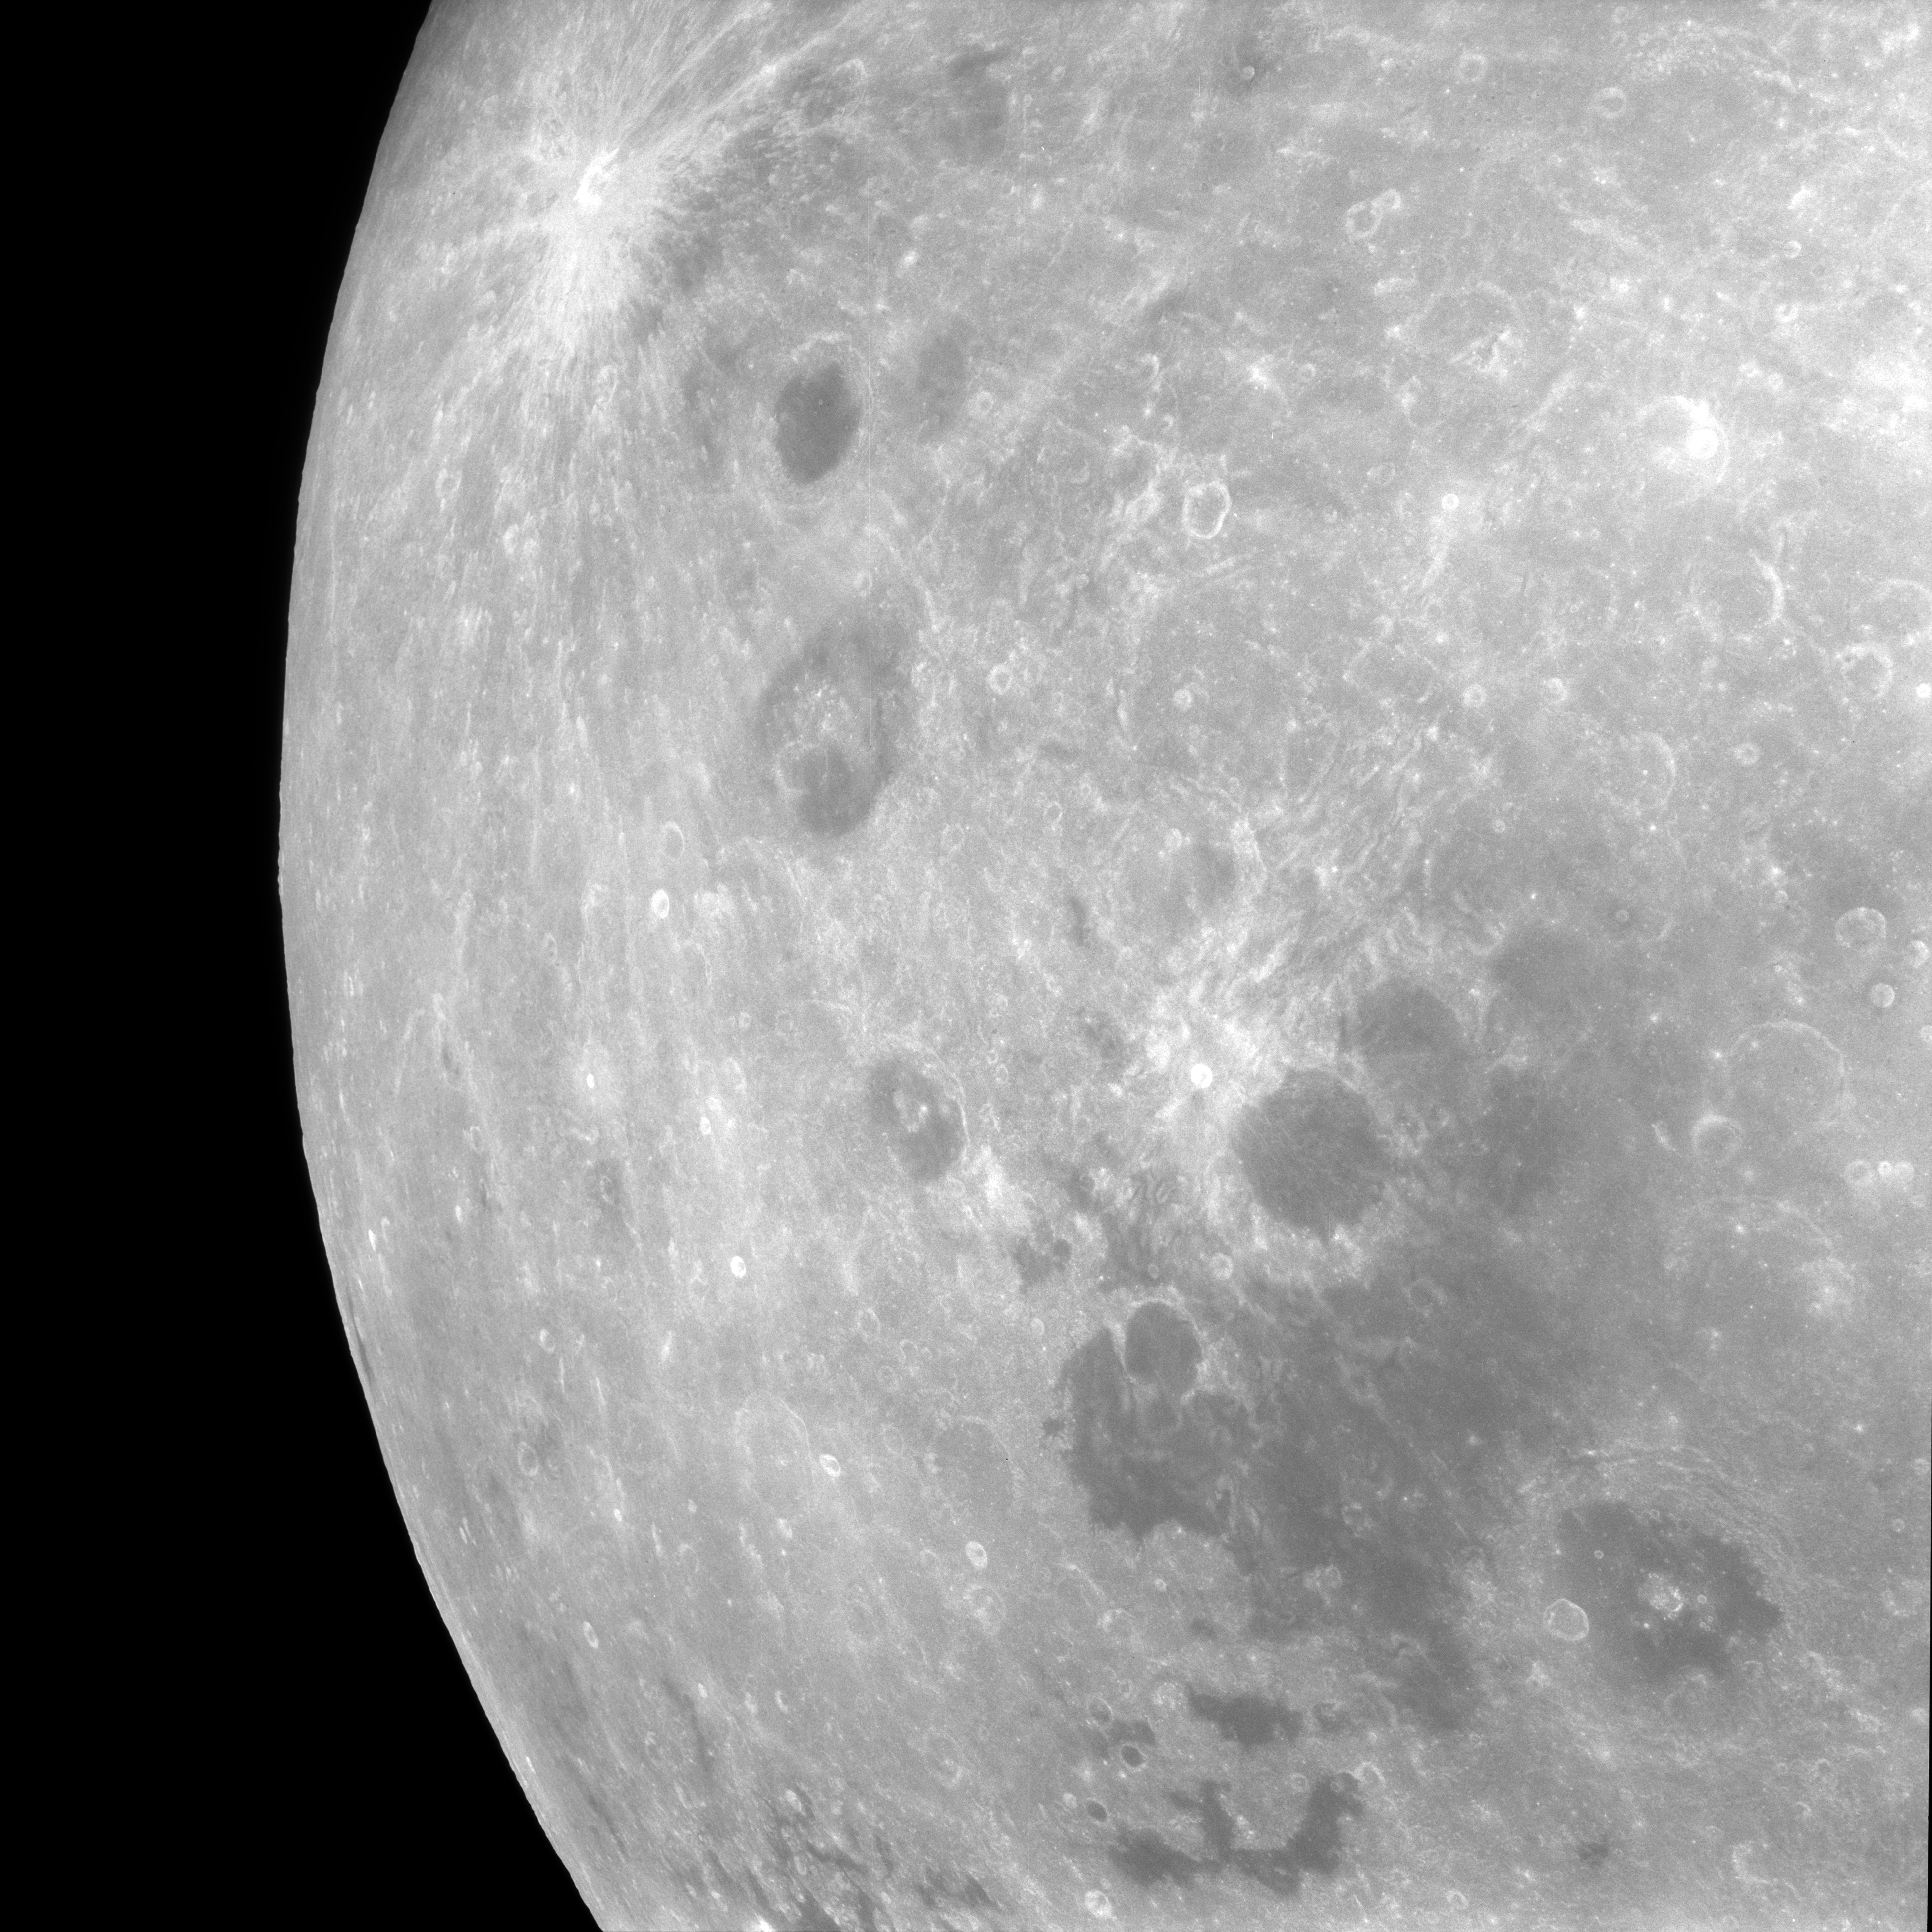
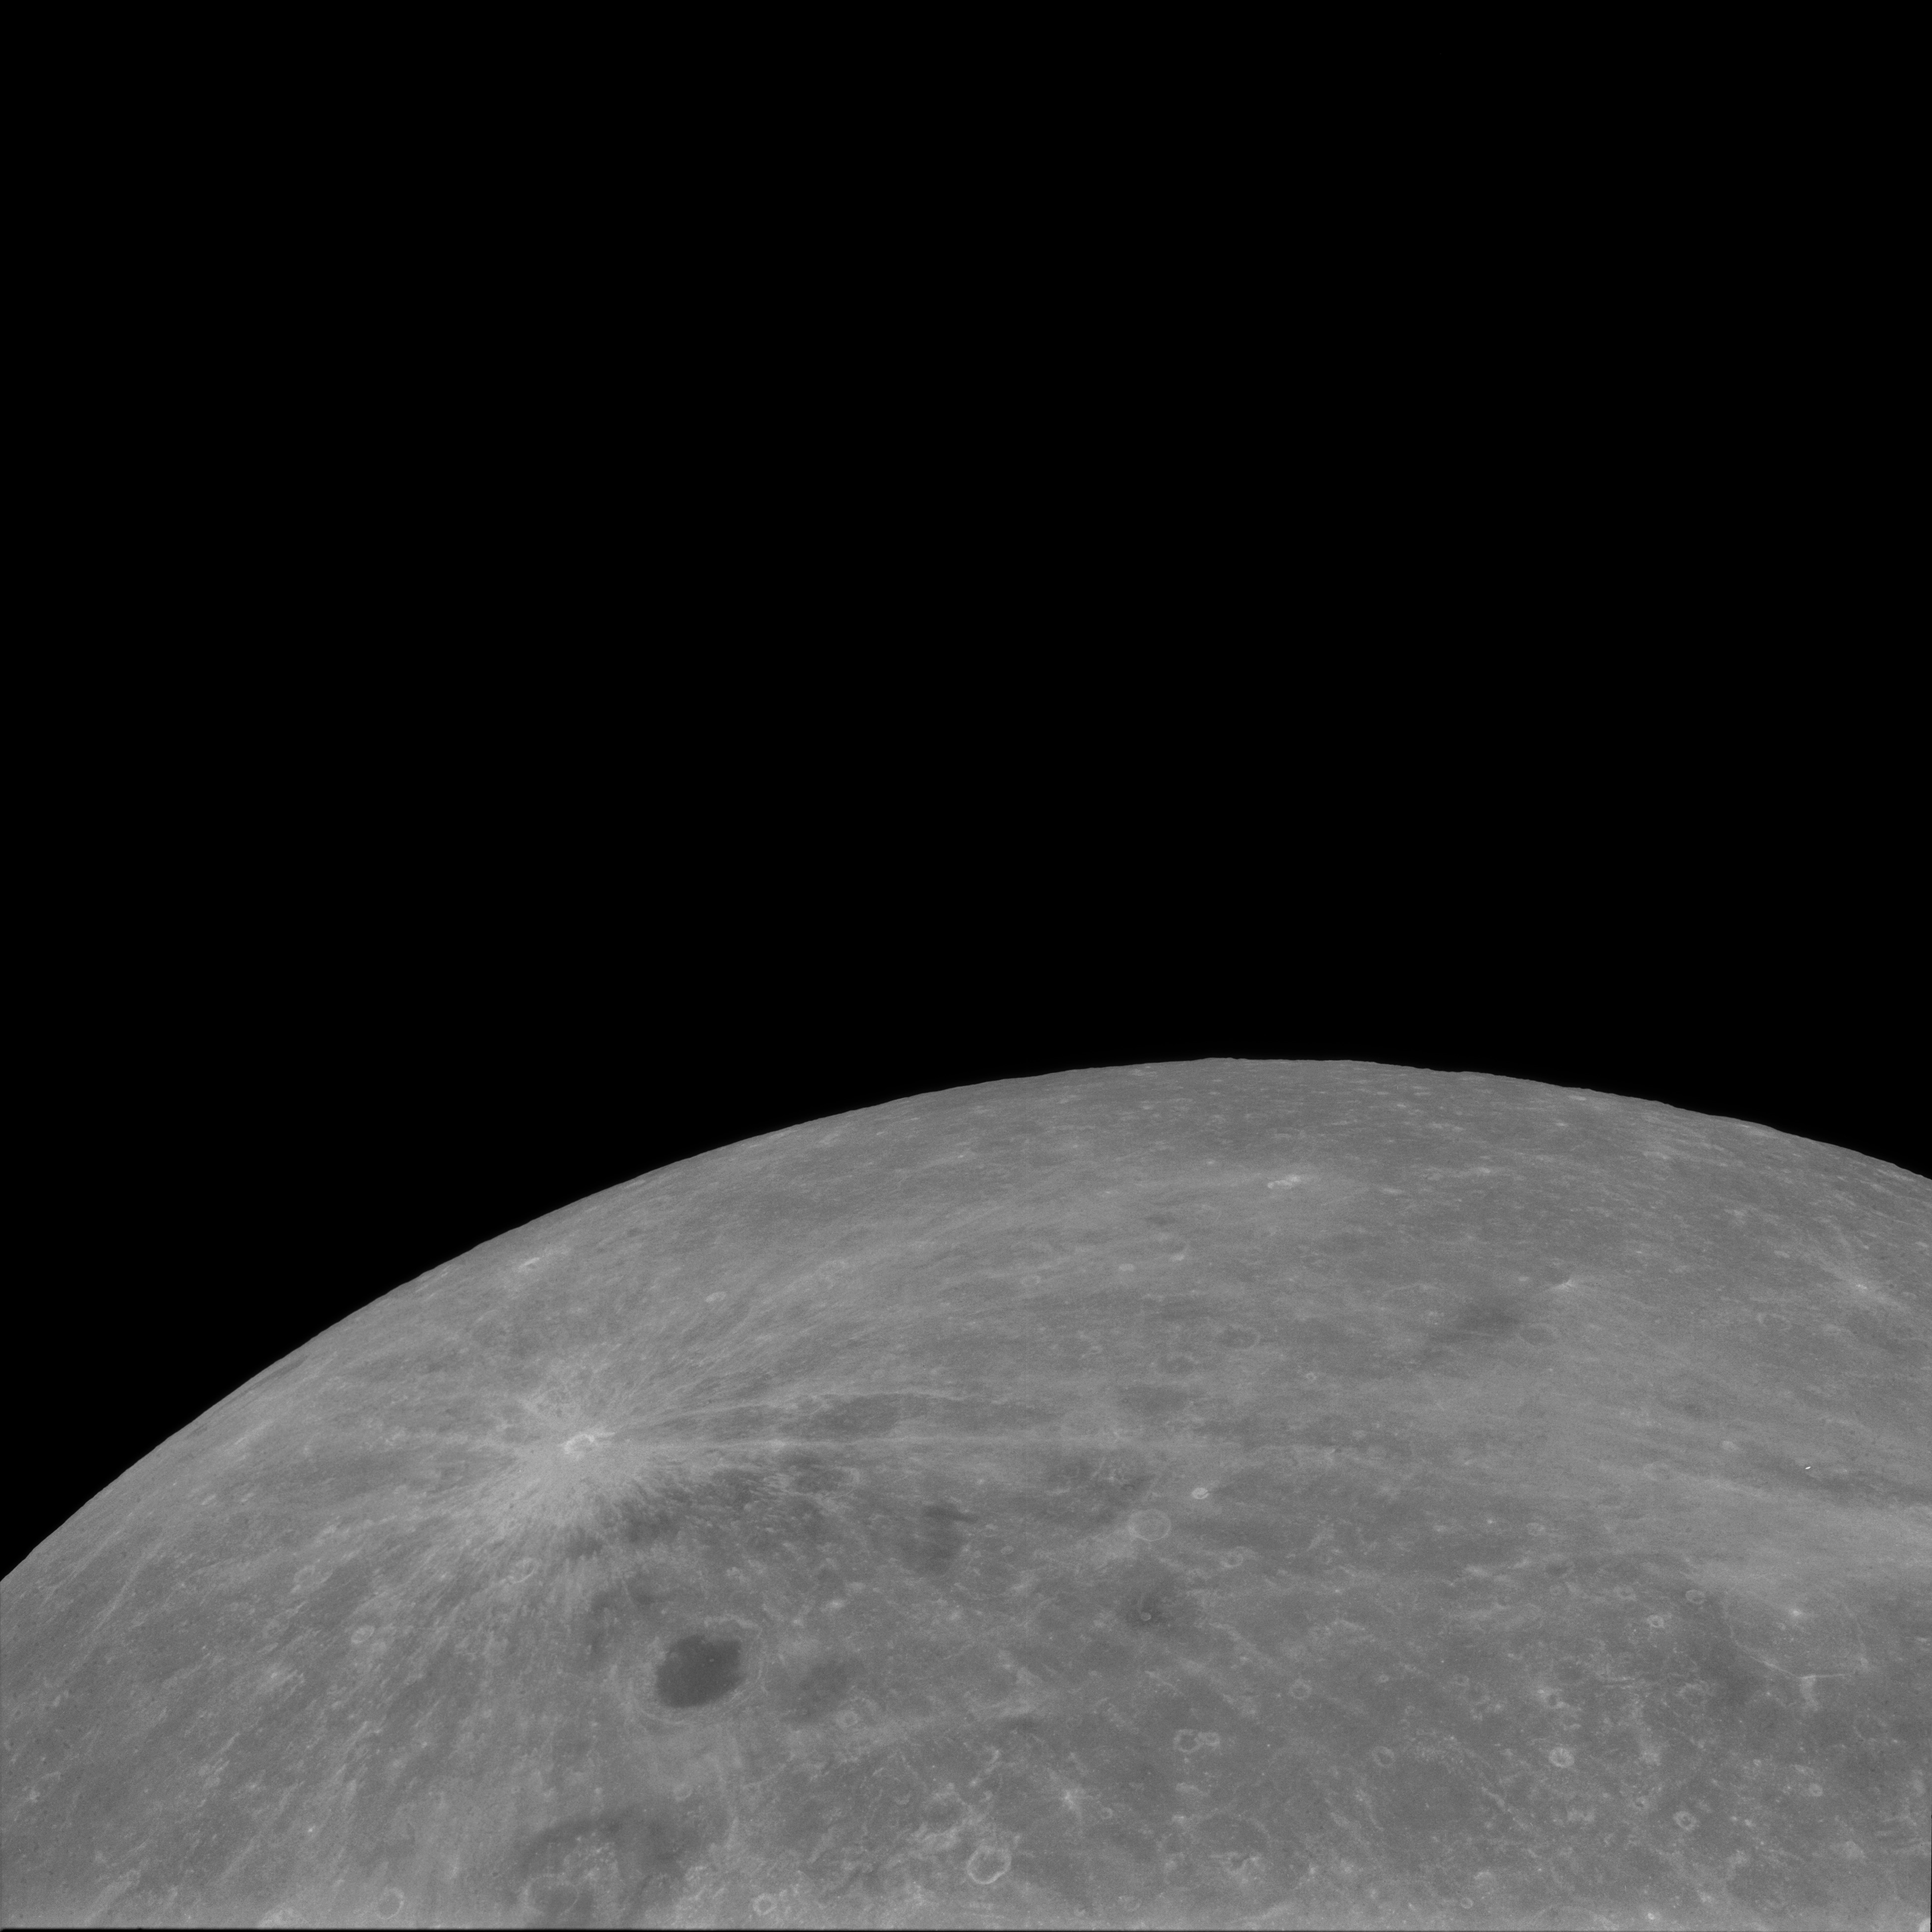
AS11-38-5556 Browse or print resolution. Crater Heaviside on the horizon. Image credit: Image Science and Analysis Laboratory, NASA-Johnson Space Center. |
|
AS11-38-5557 Browse or print resolution. Crater Heaviside on the horizon. Image credit: Image Science and Analysis Laboratory, NASA-Johnson Space Center. |

|
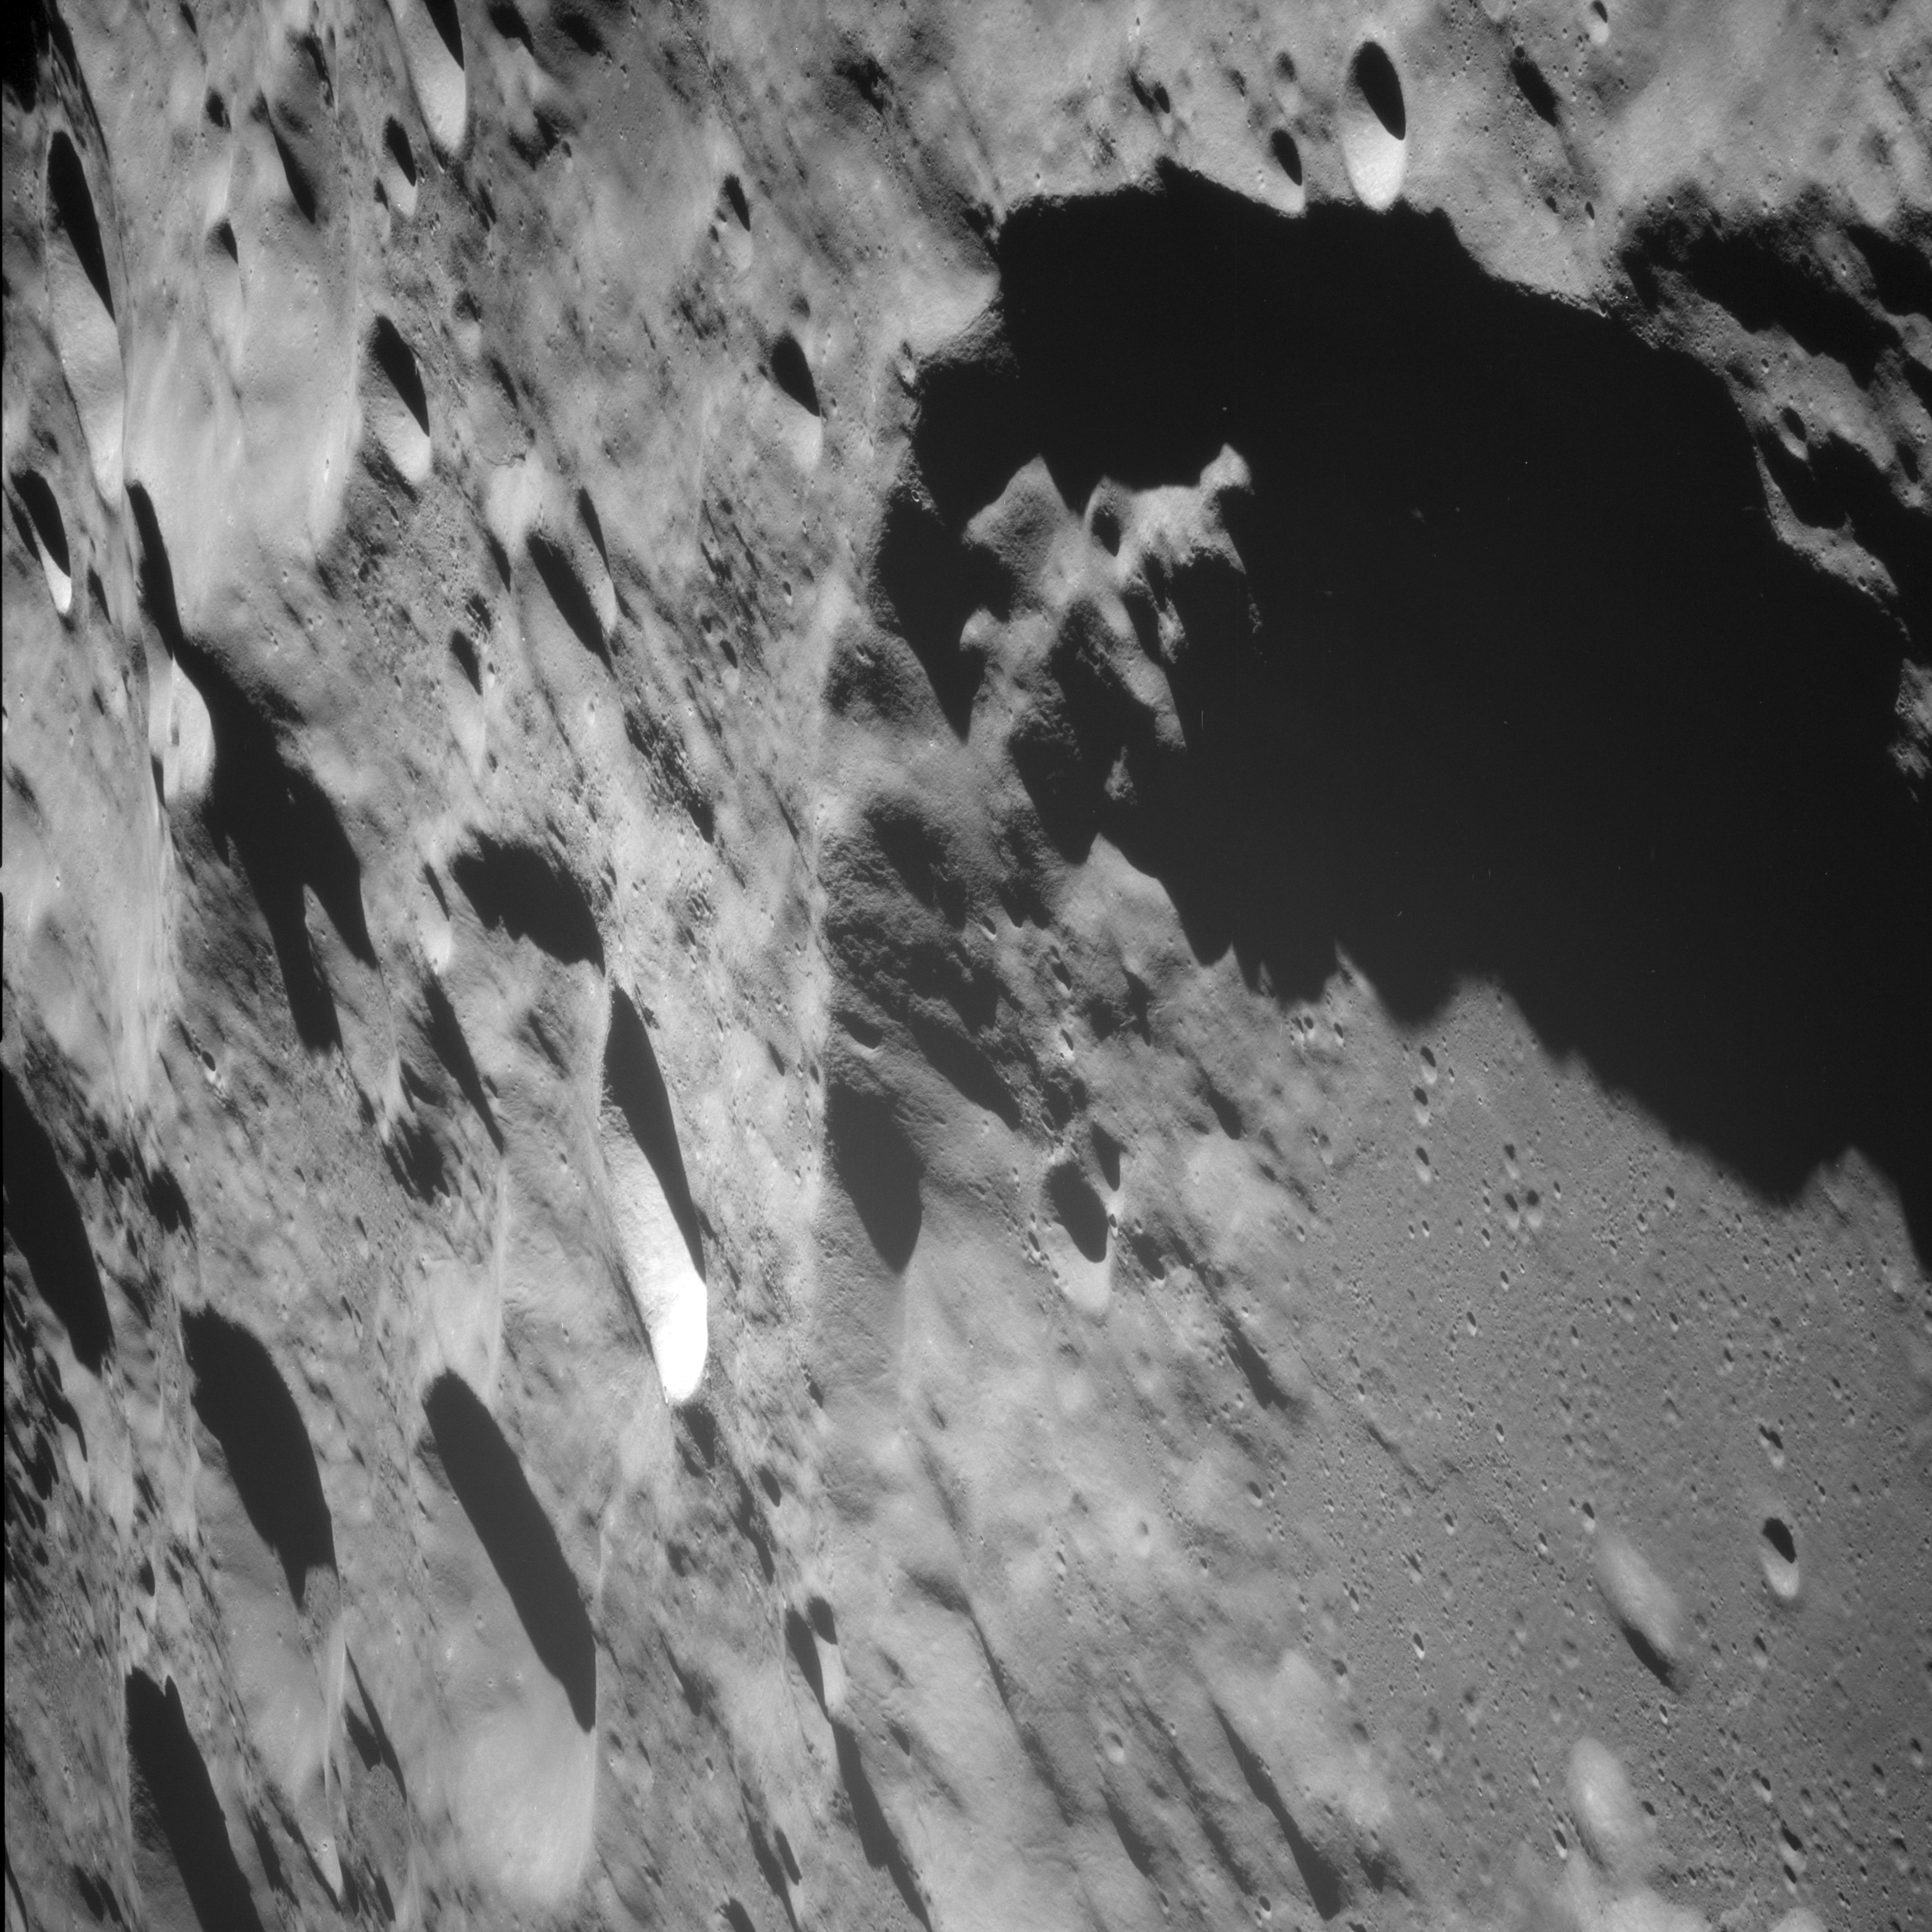
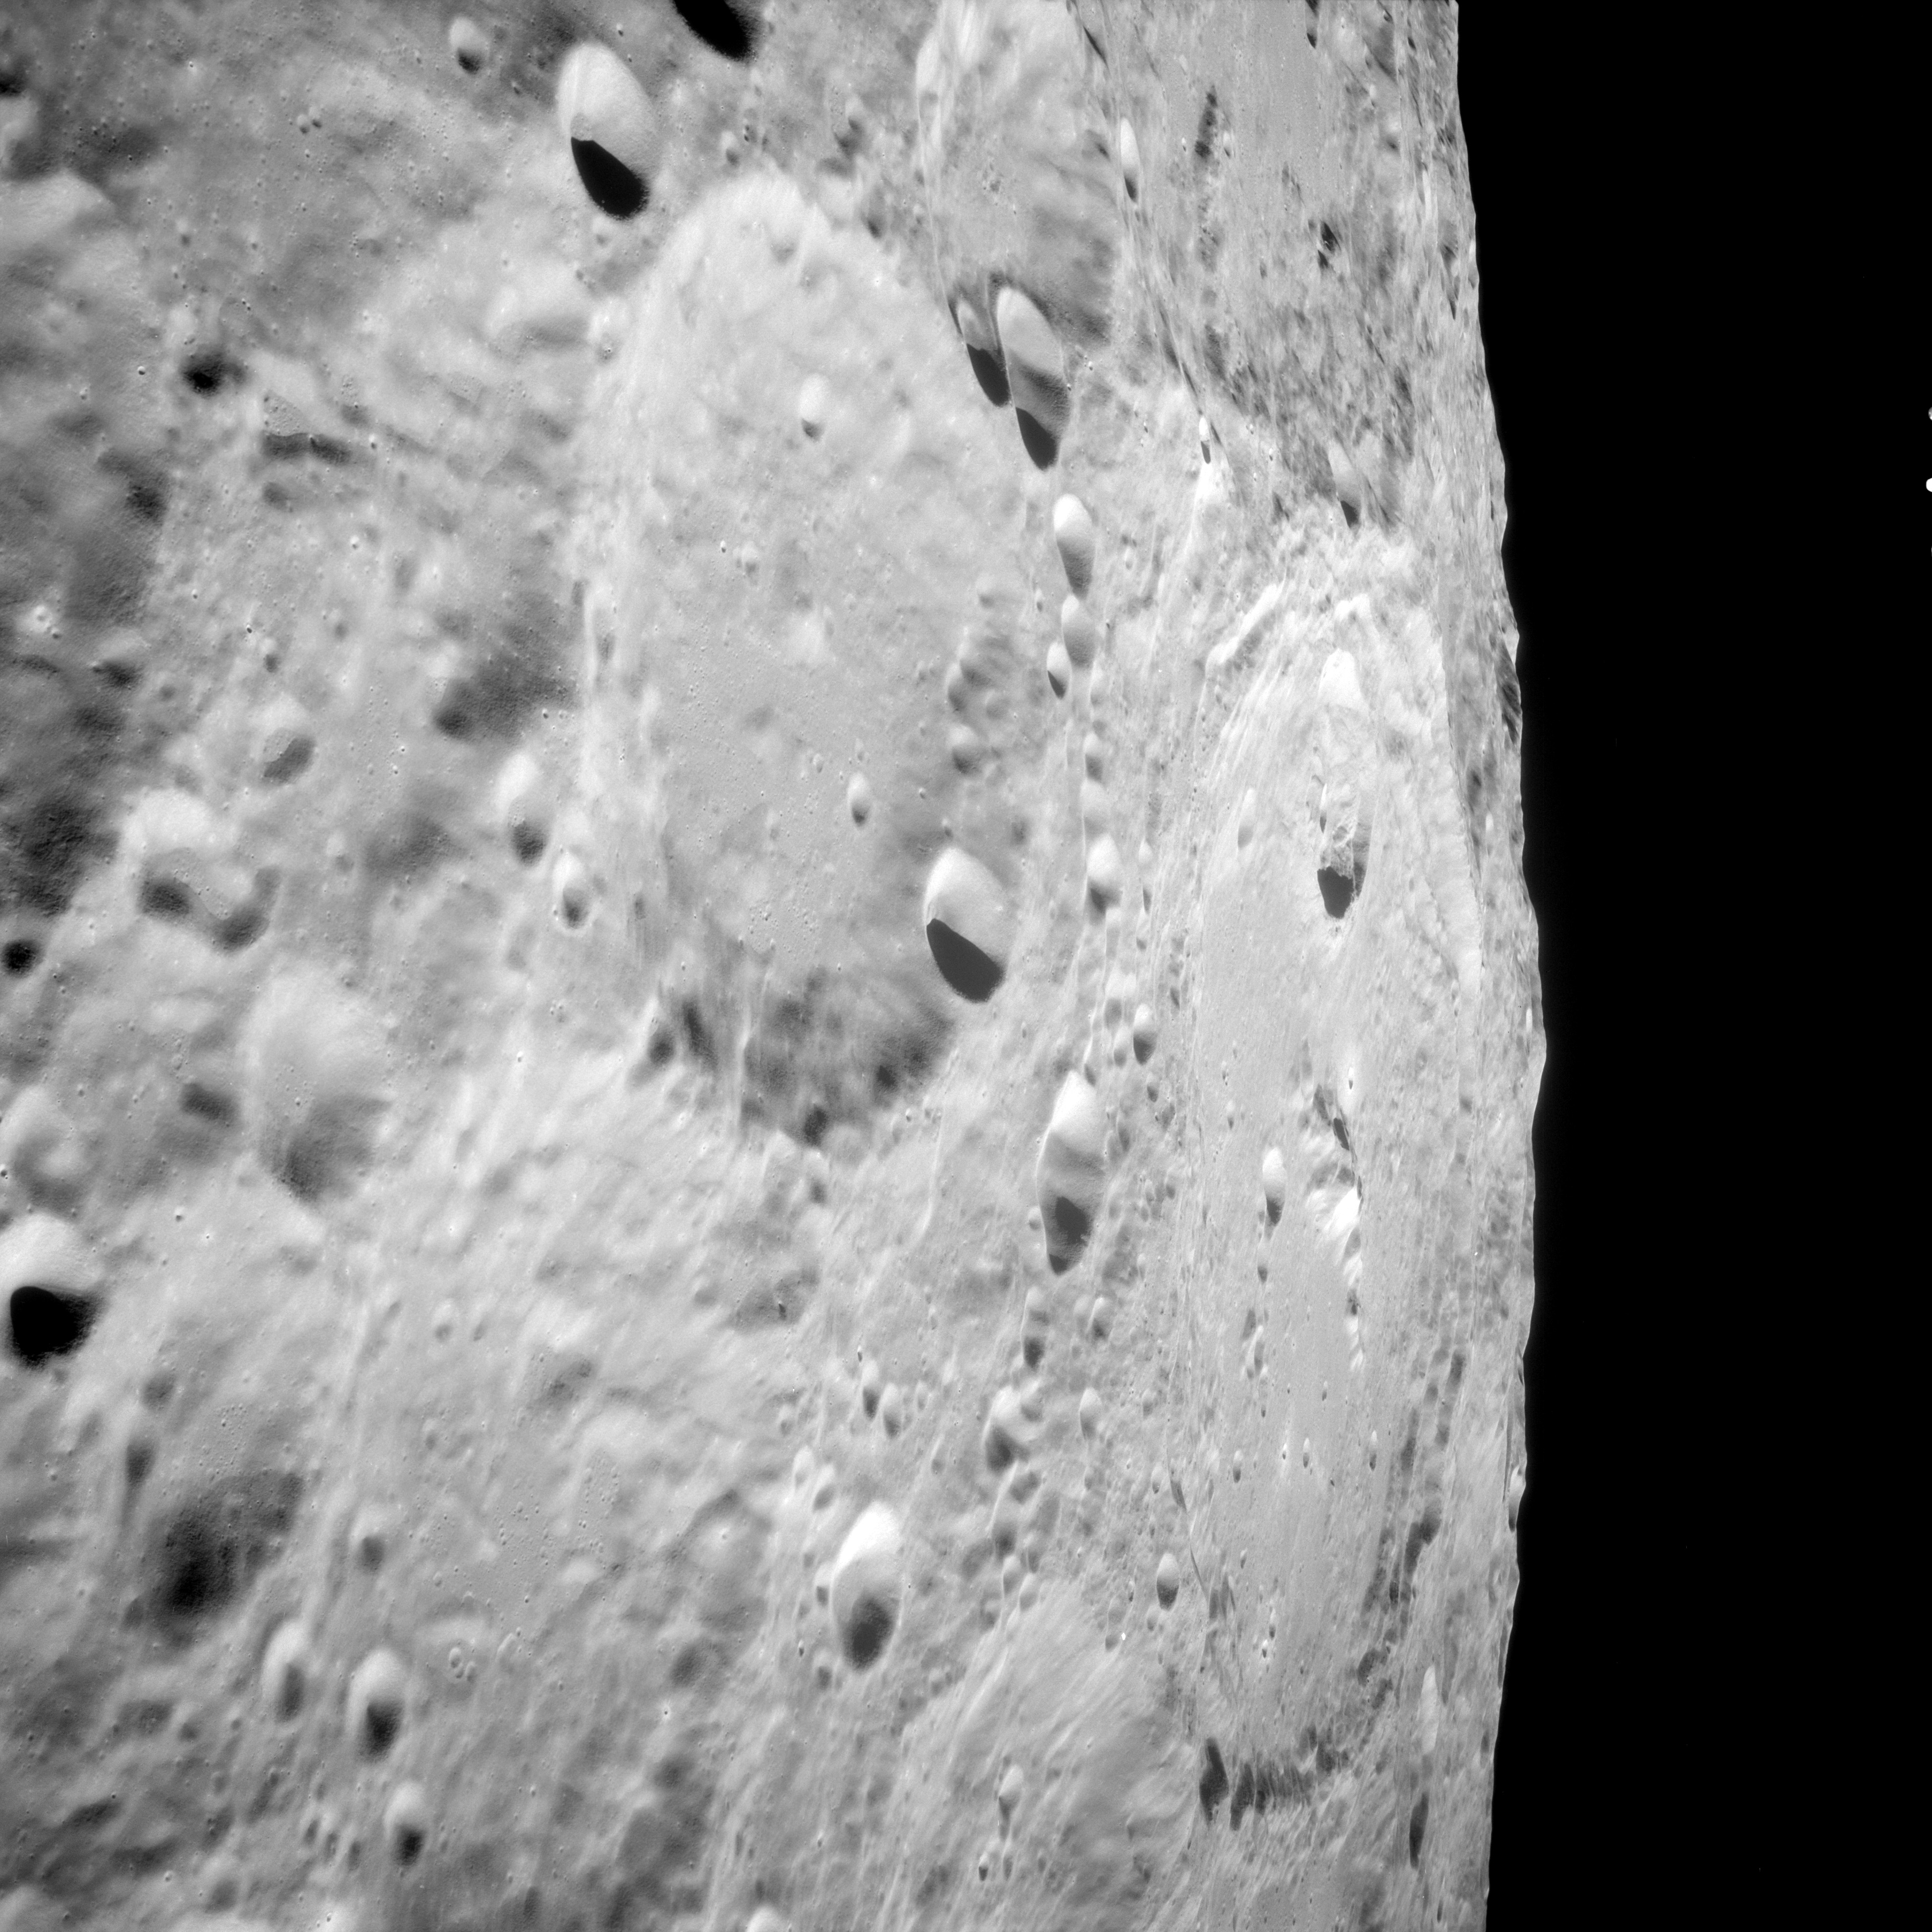
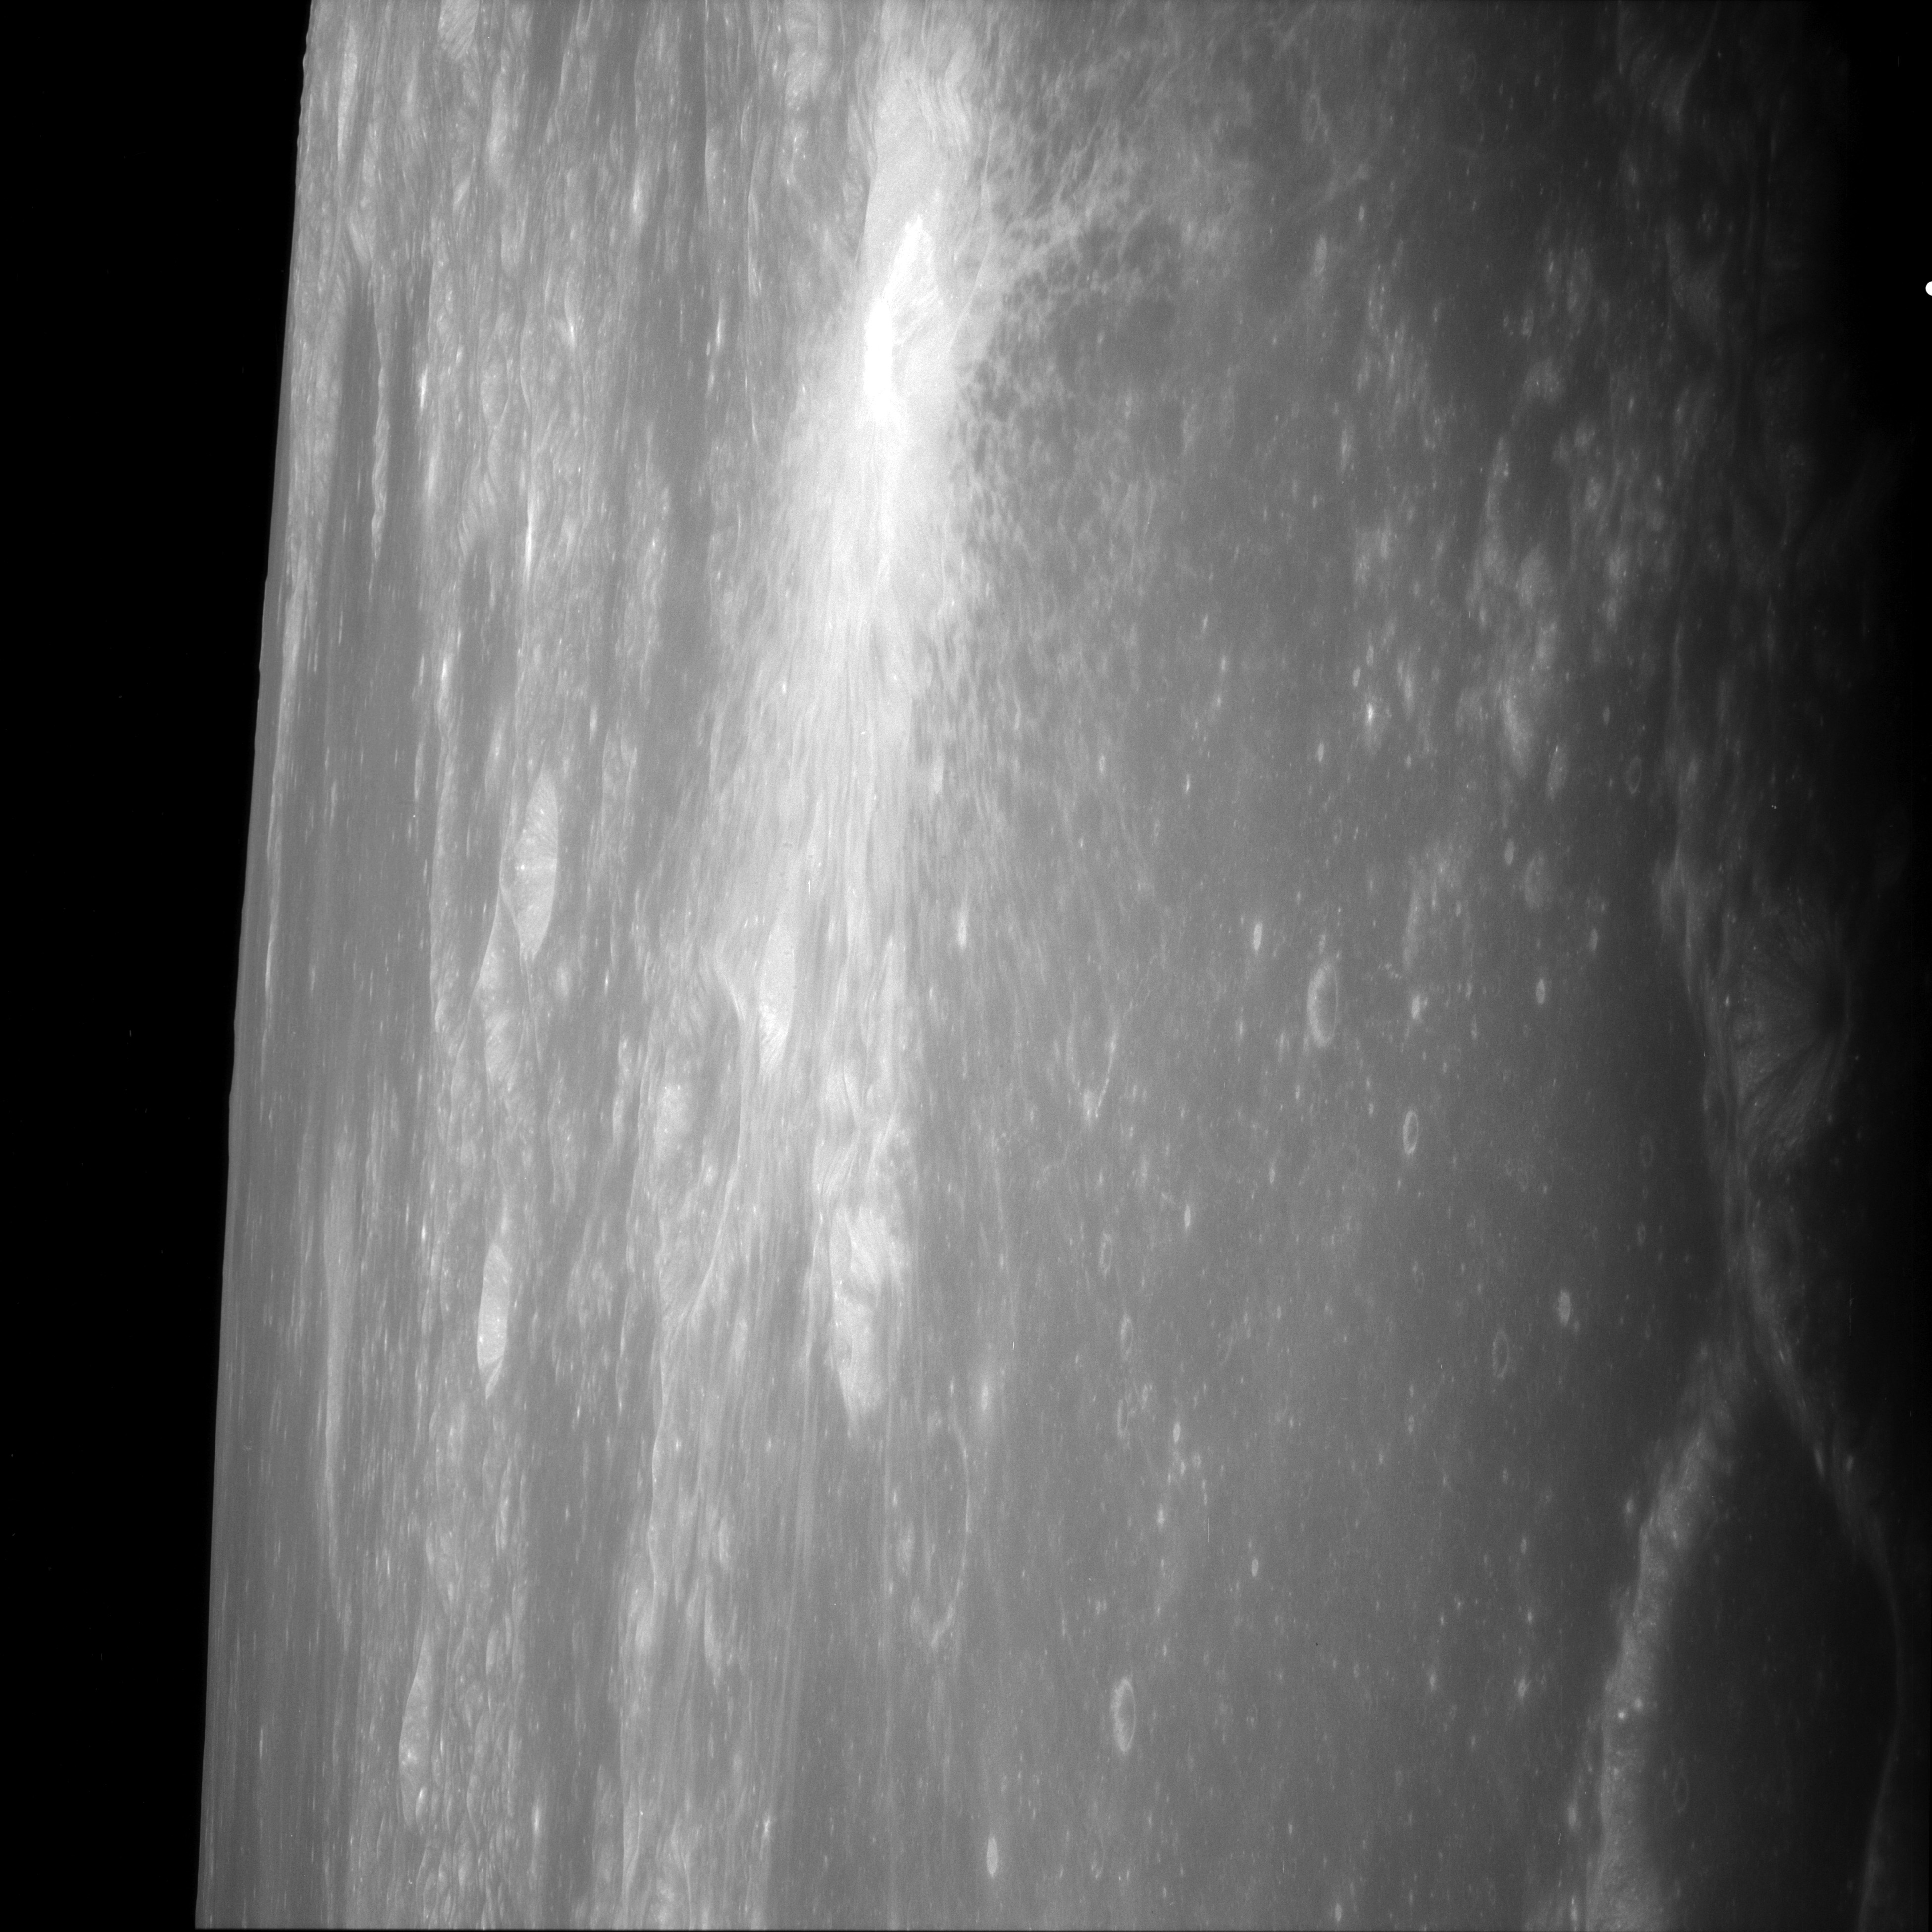
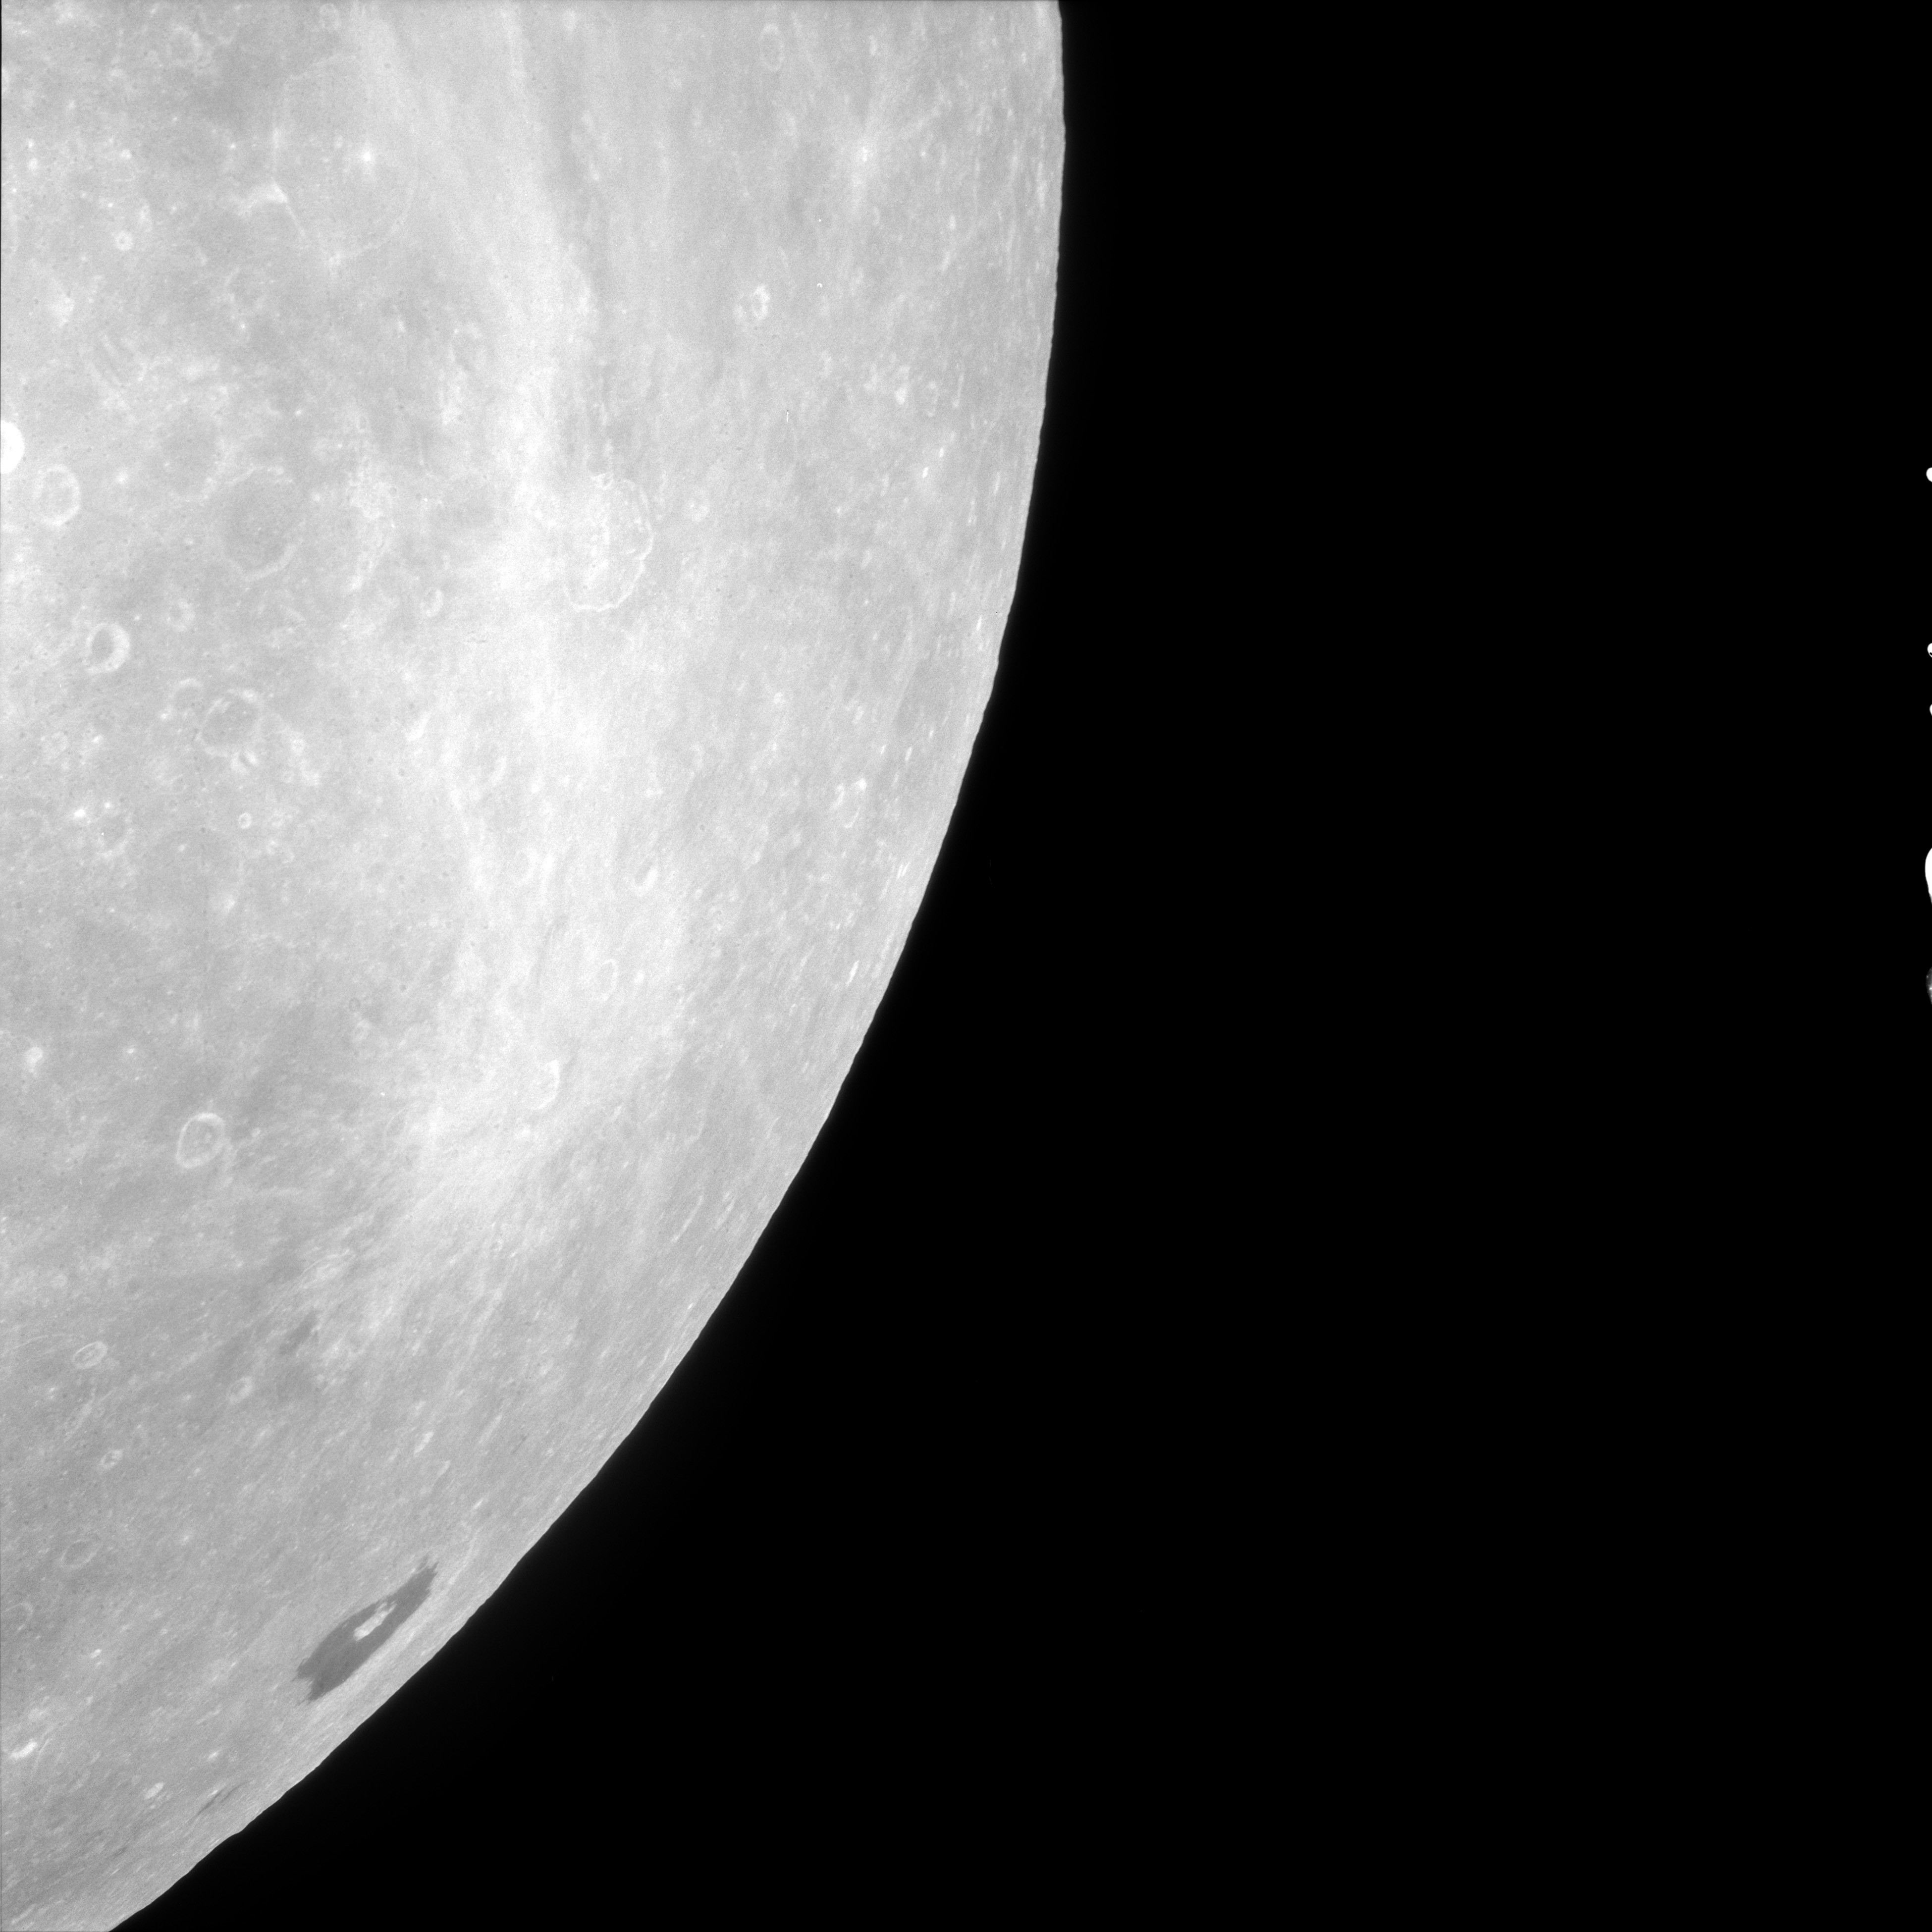
AS11-38-5558 Browse or print resolution. Crater Heaviside on the horizon. Crater Daedalus S is nearest major foreground feature. Image credit: Image Science and Analysis Laboratory, NASA-Johnson Space Center. |
|
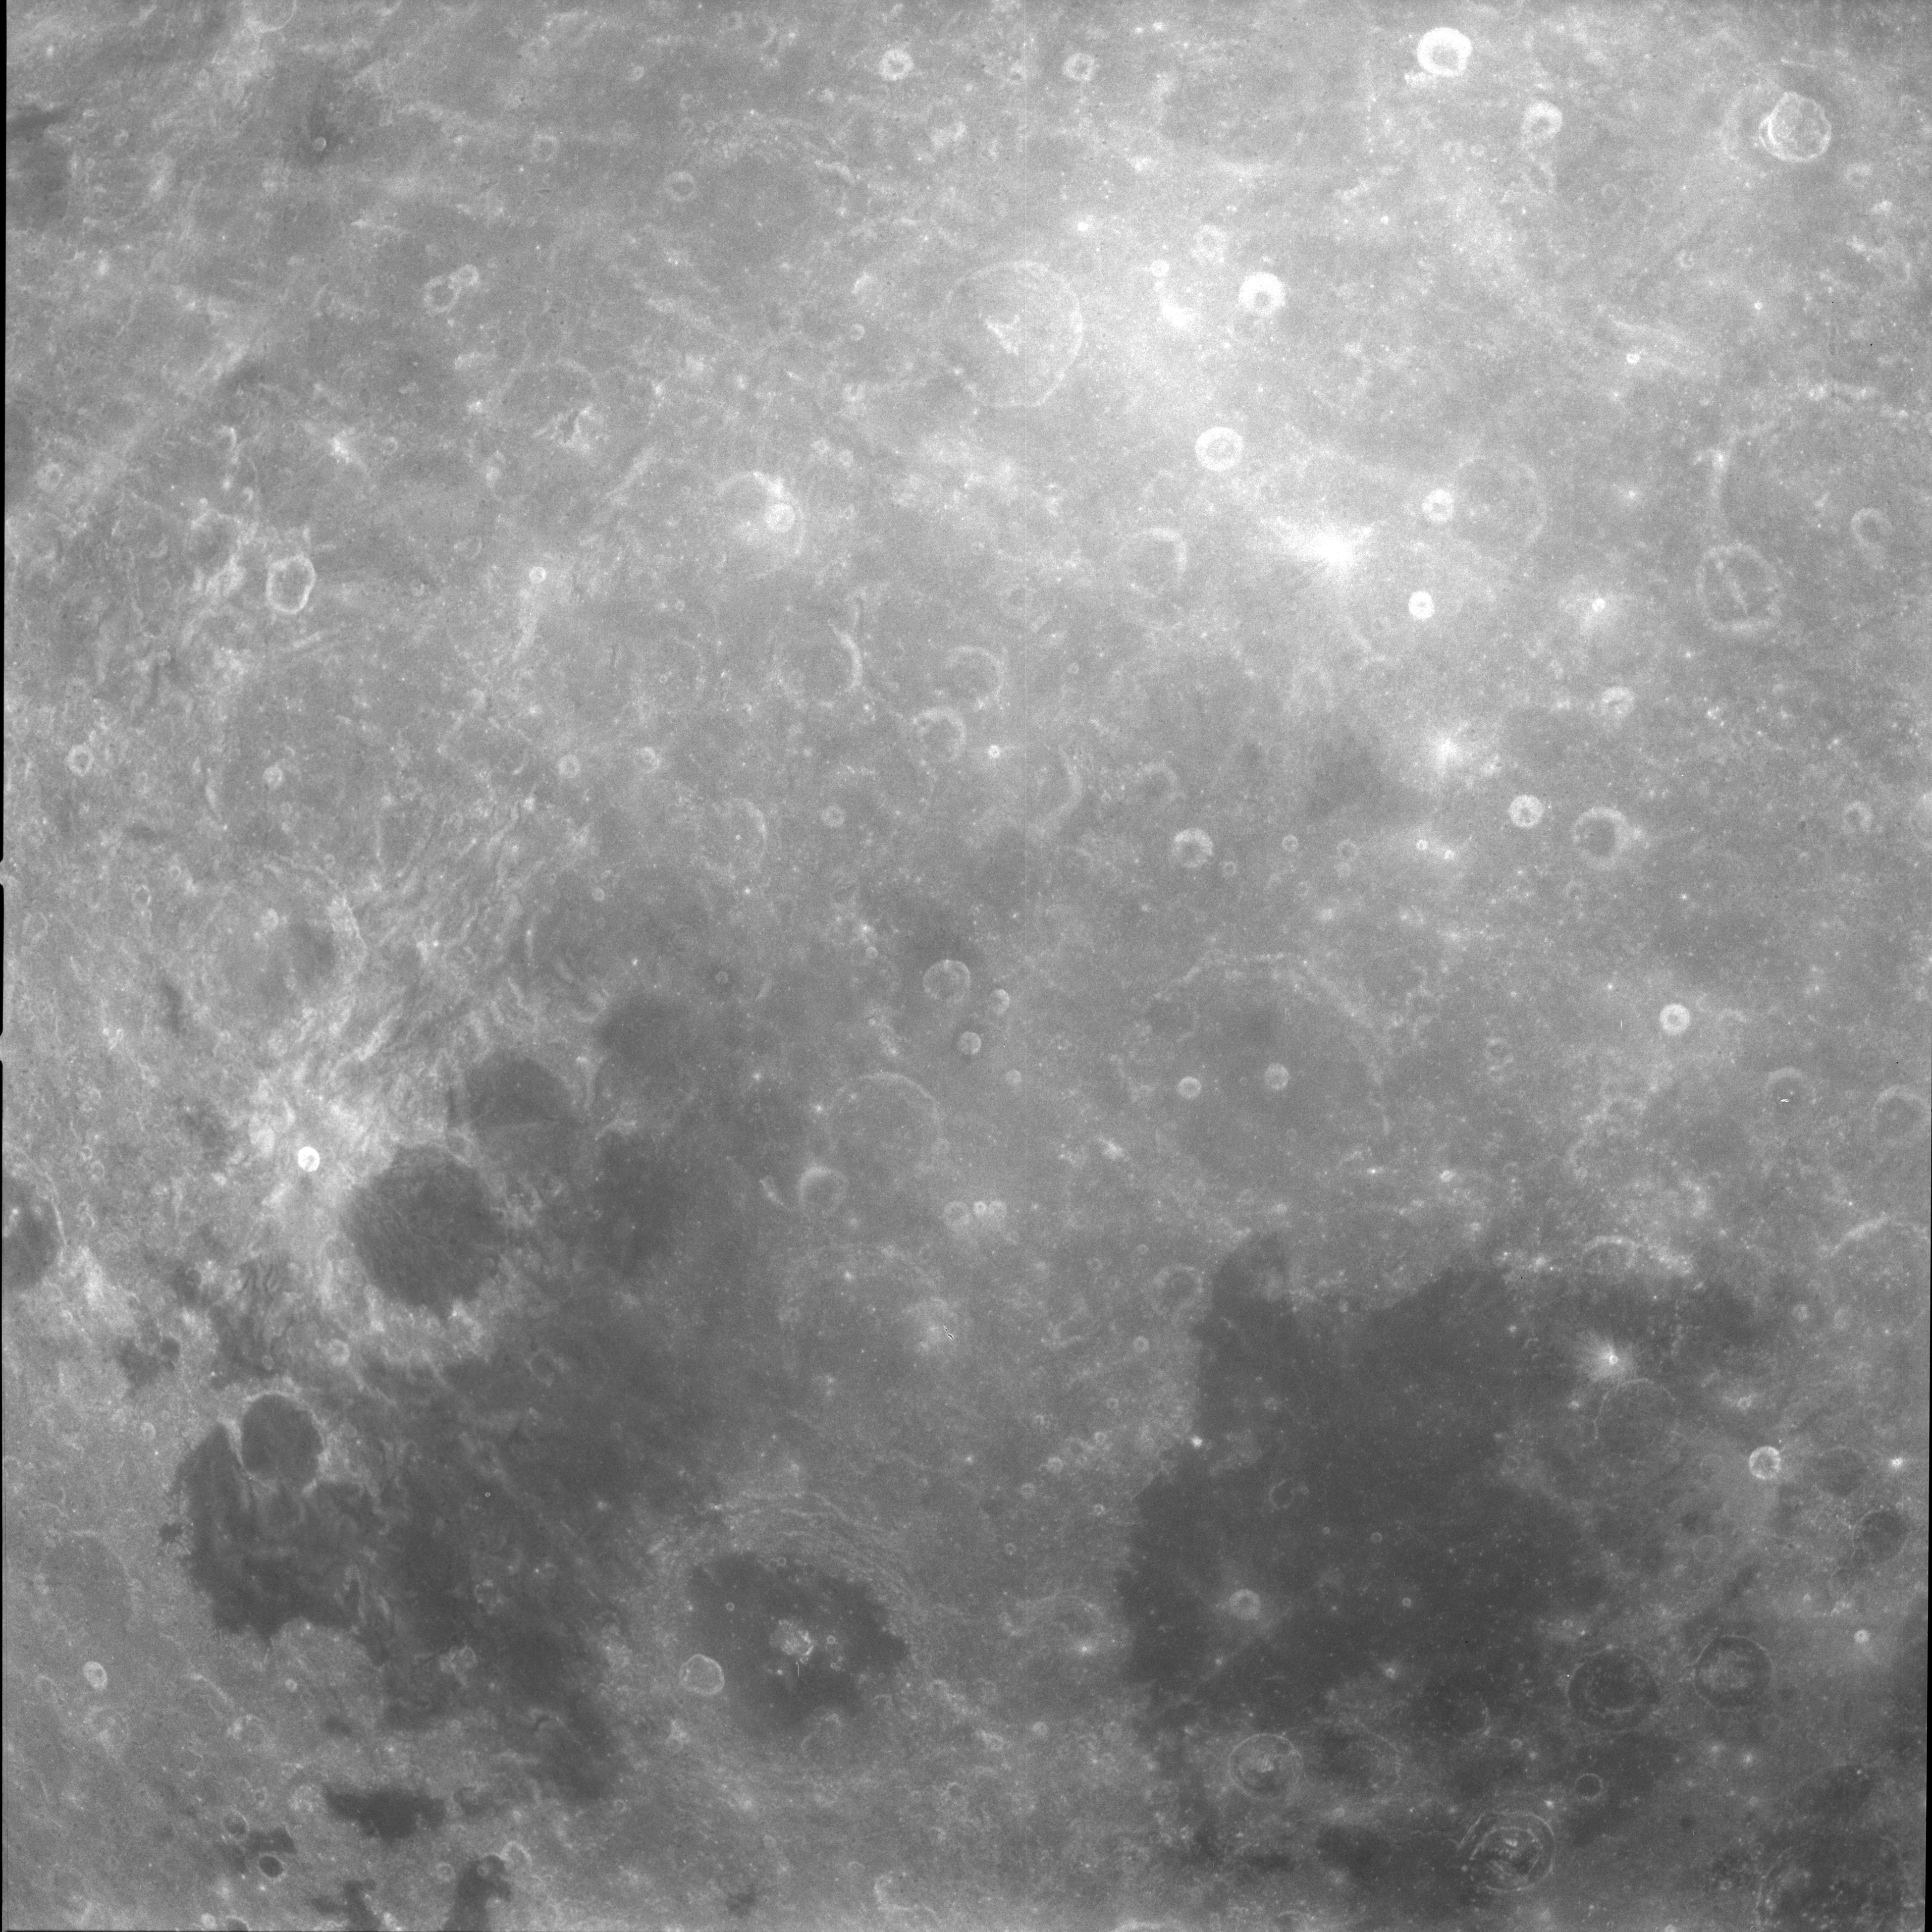
AS11-38-5559 Browse or print resolution. Area south of crater Coriolis. Image credit: Image Science and Analysis Laboratory, NASA-Johnson Space Center. |
|
AS11-38-5560 Browse or print resolution. Area south of crater Daedalus. Image credit: Image Science and Analysis Laboratory, NASA-Johnson Space Center. |

|
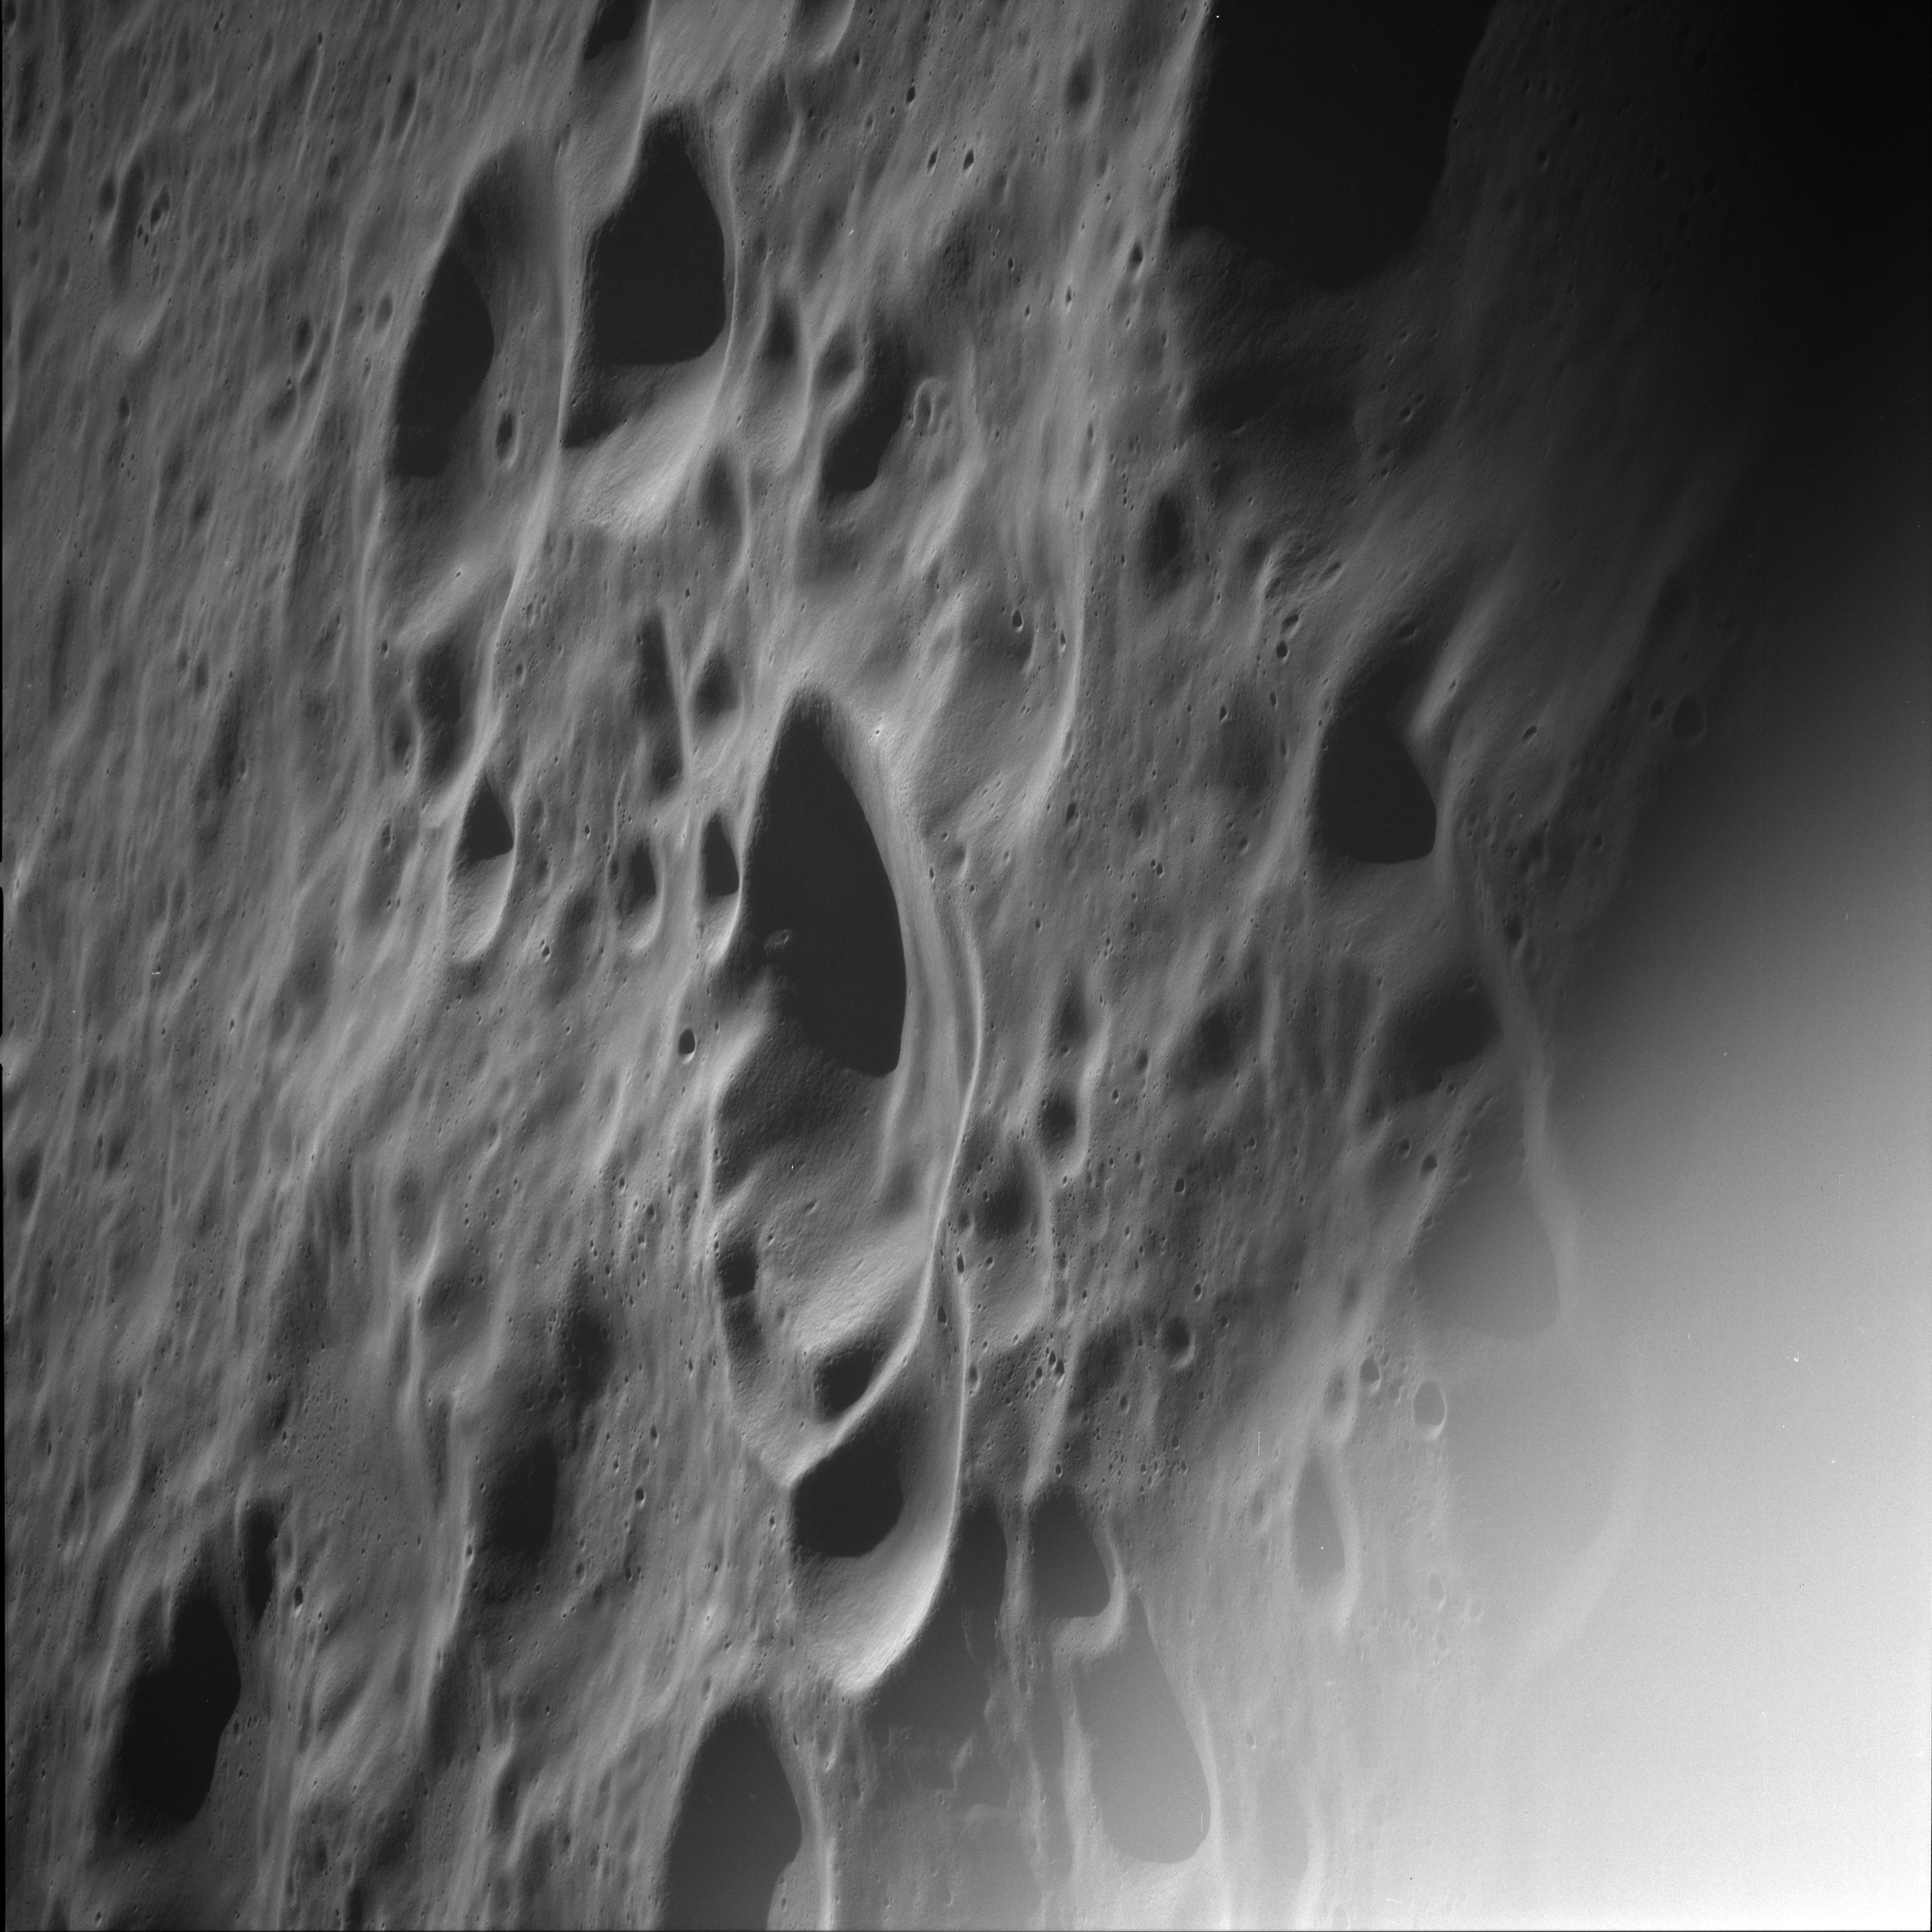
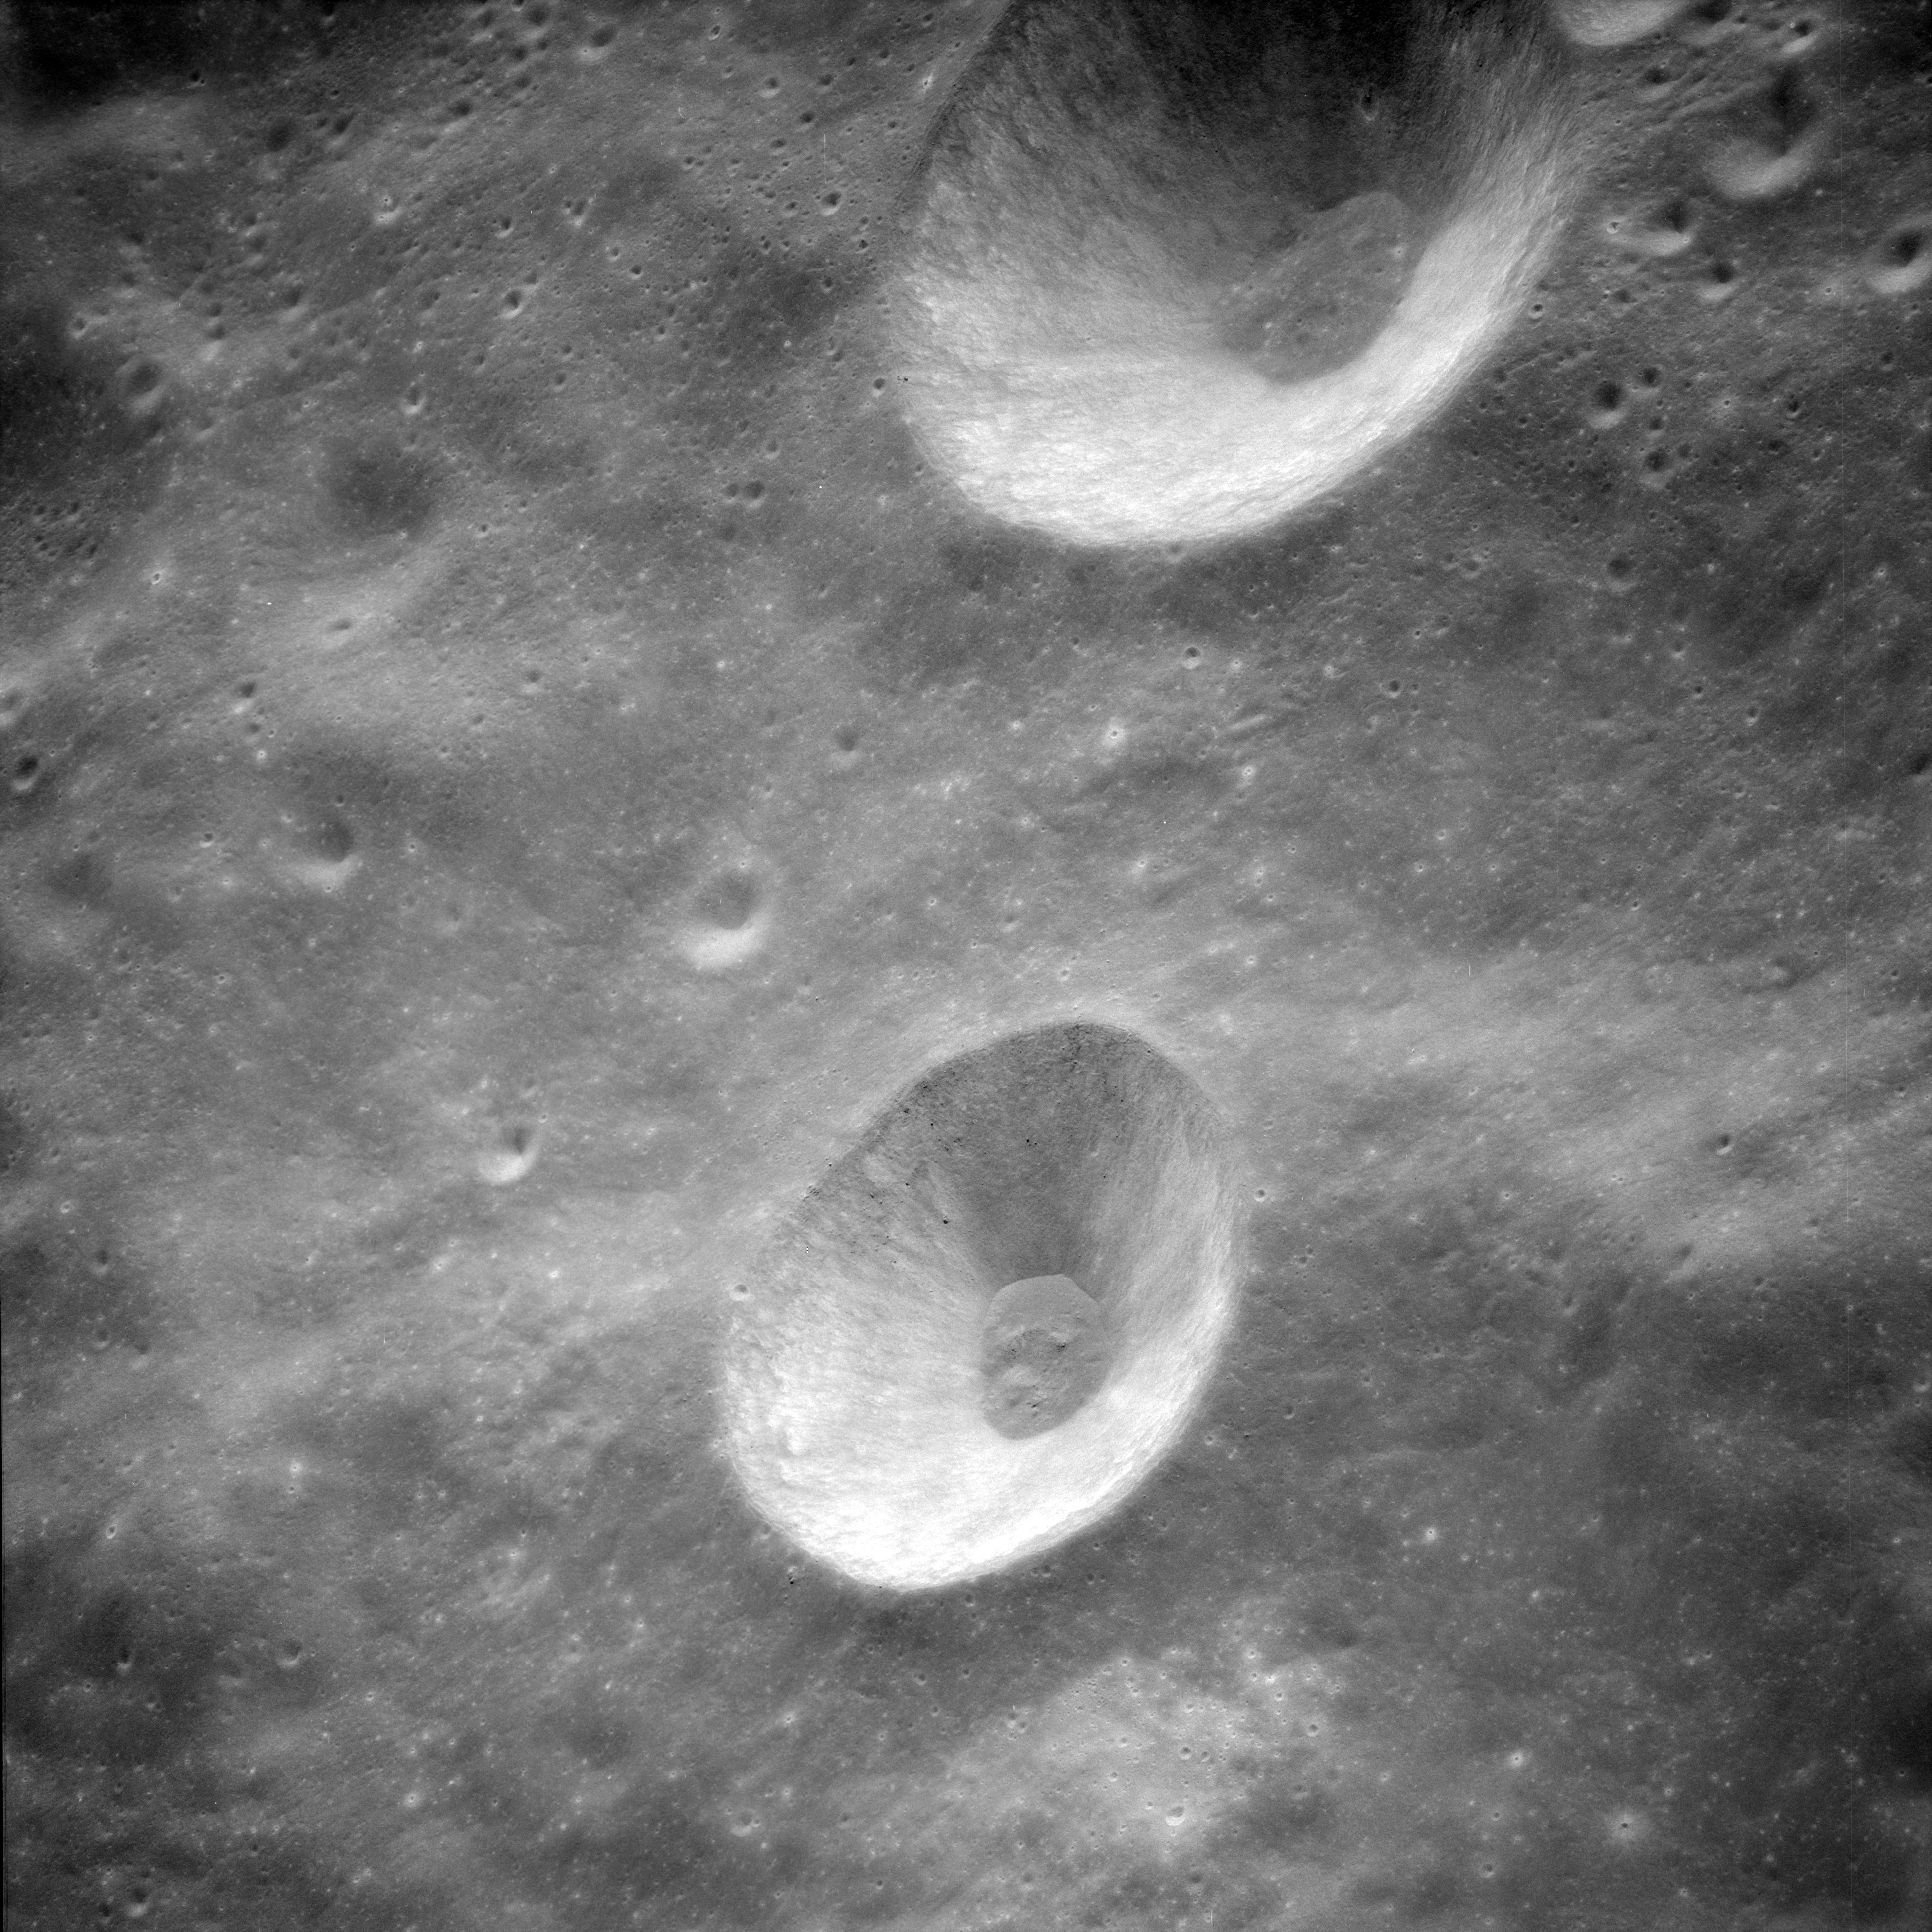
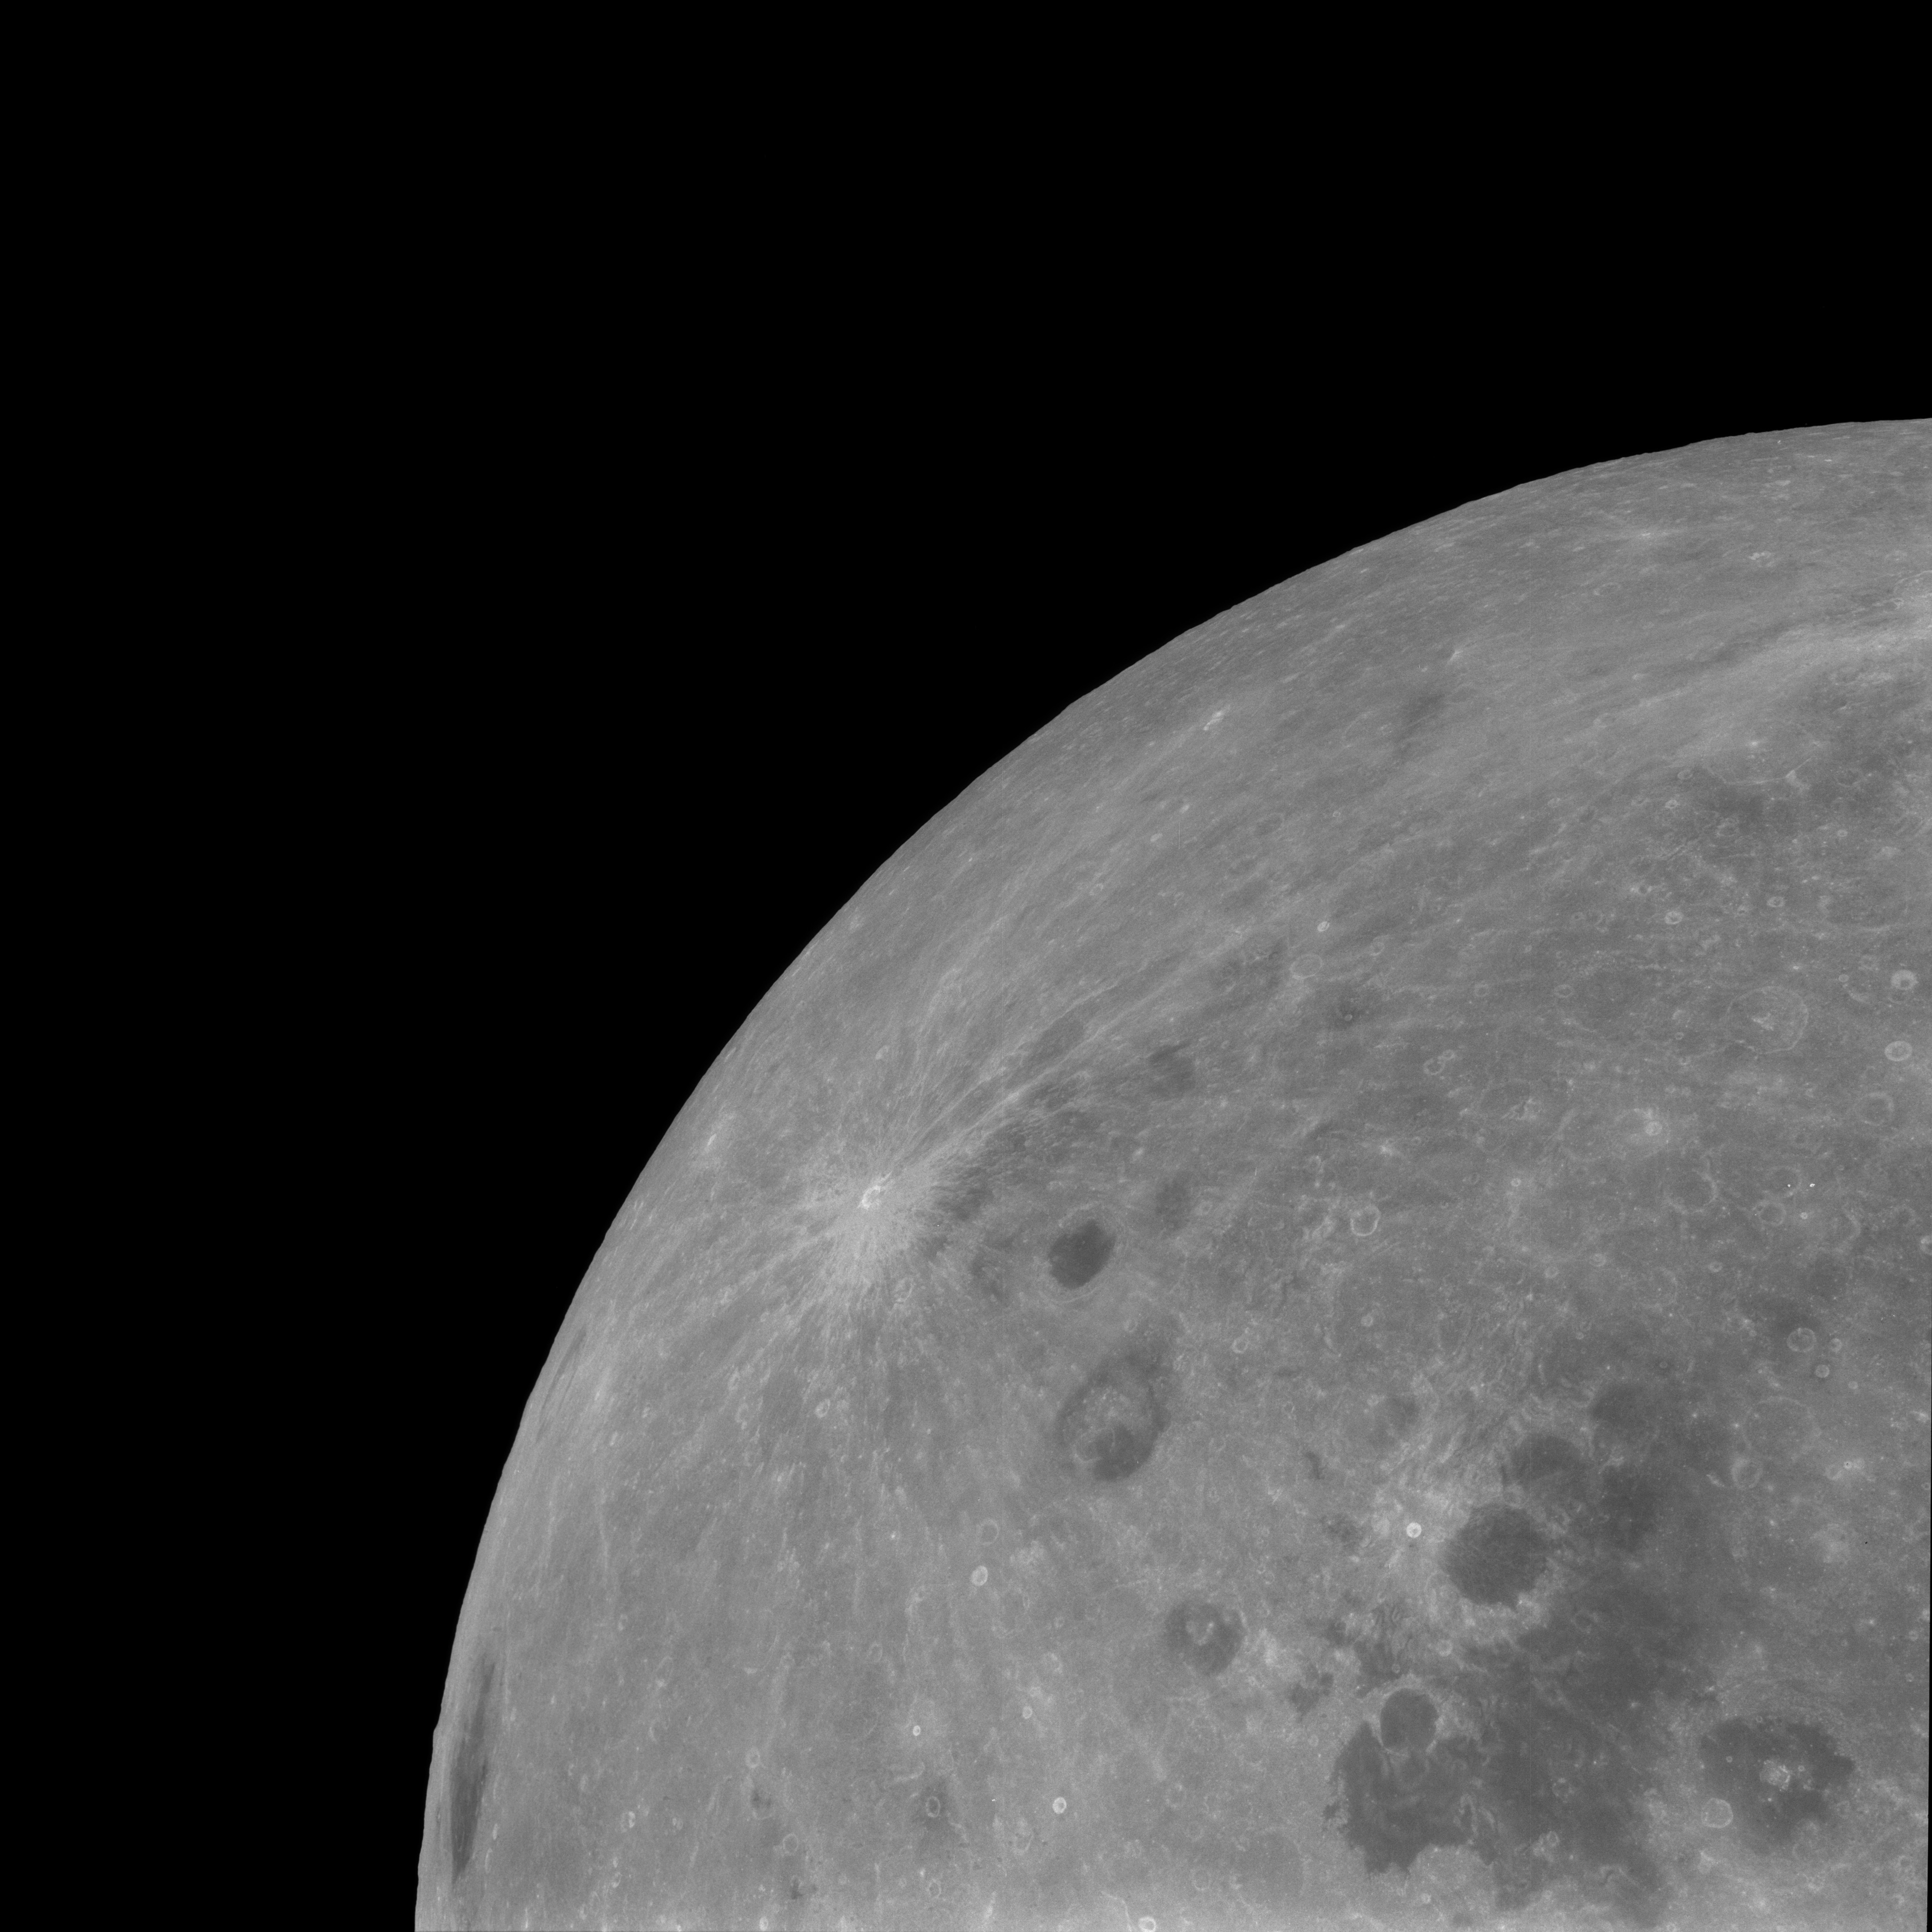
AS11-38-5561 Browse or print resolution. Crater Daedalus on lunar far-side. Image credit: Image Science and Analysis Laboratory, NASA-Johnson Space Center. |
|
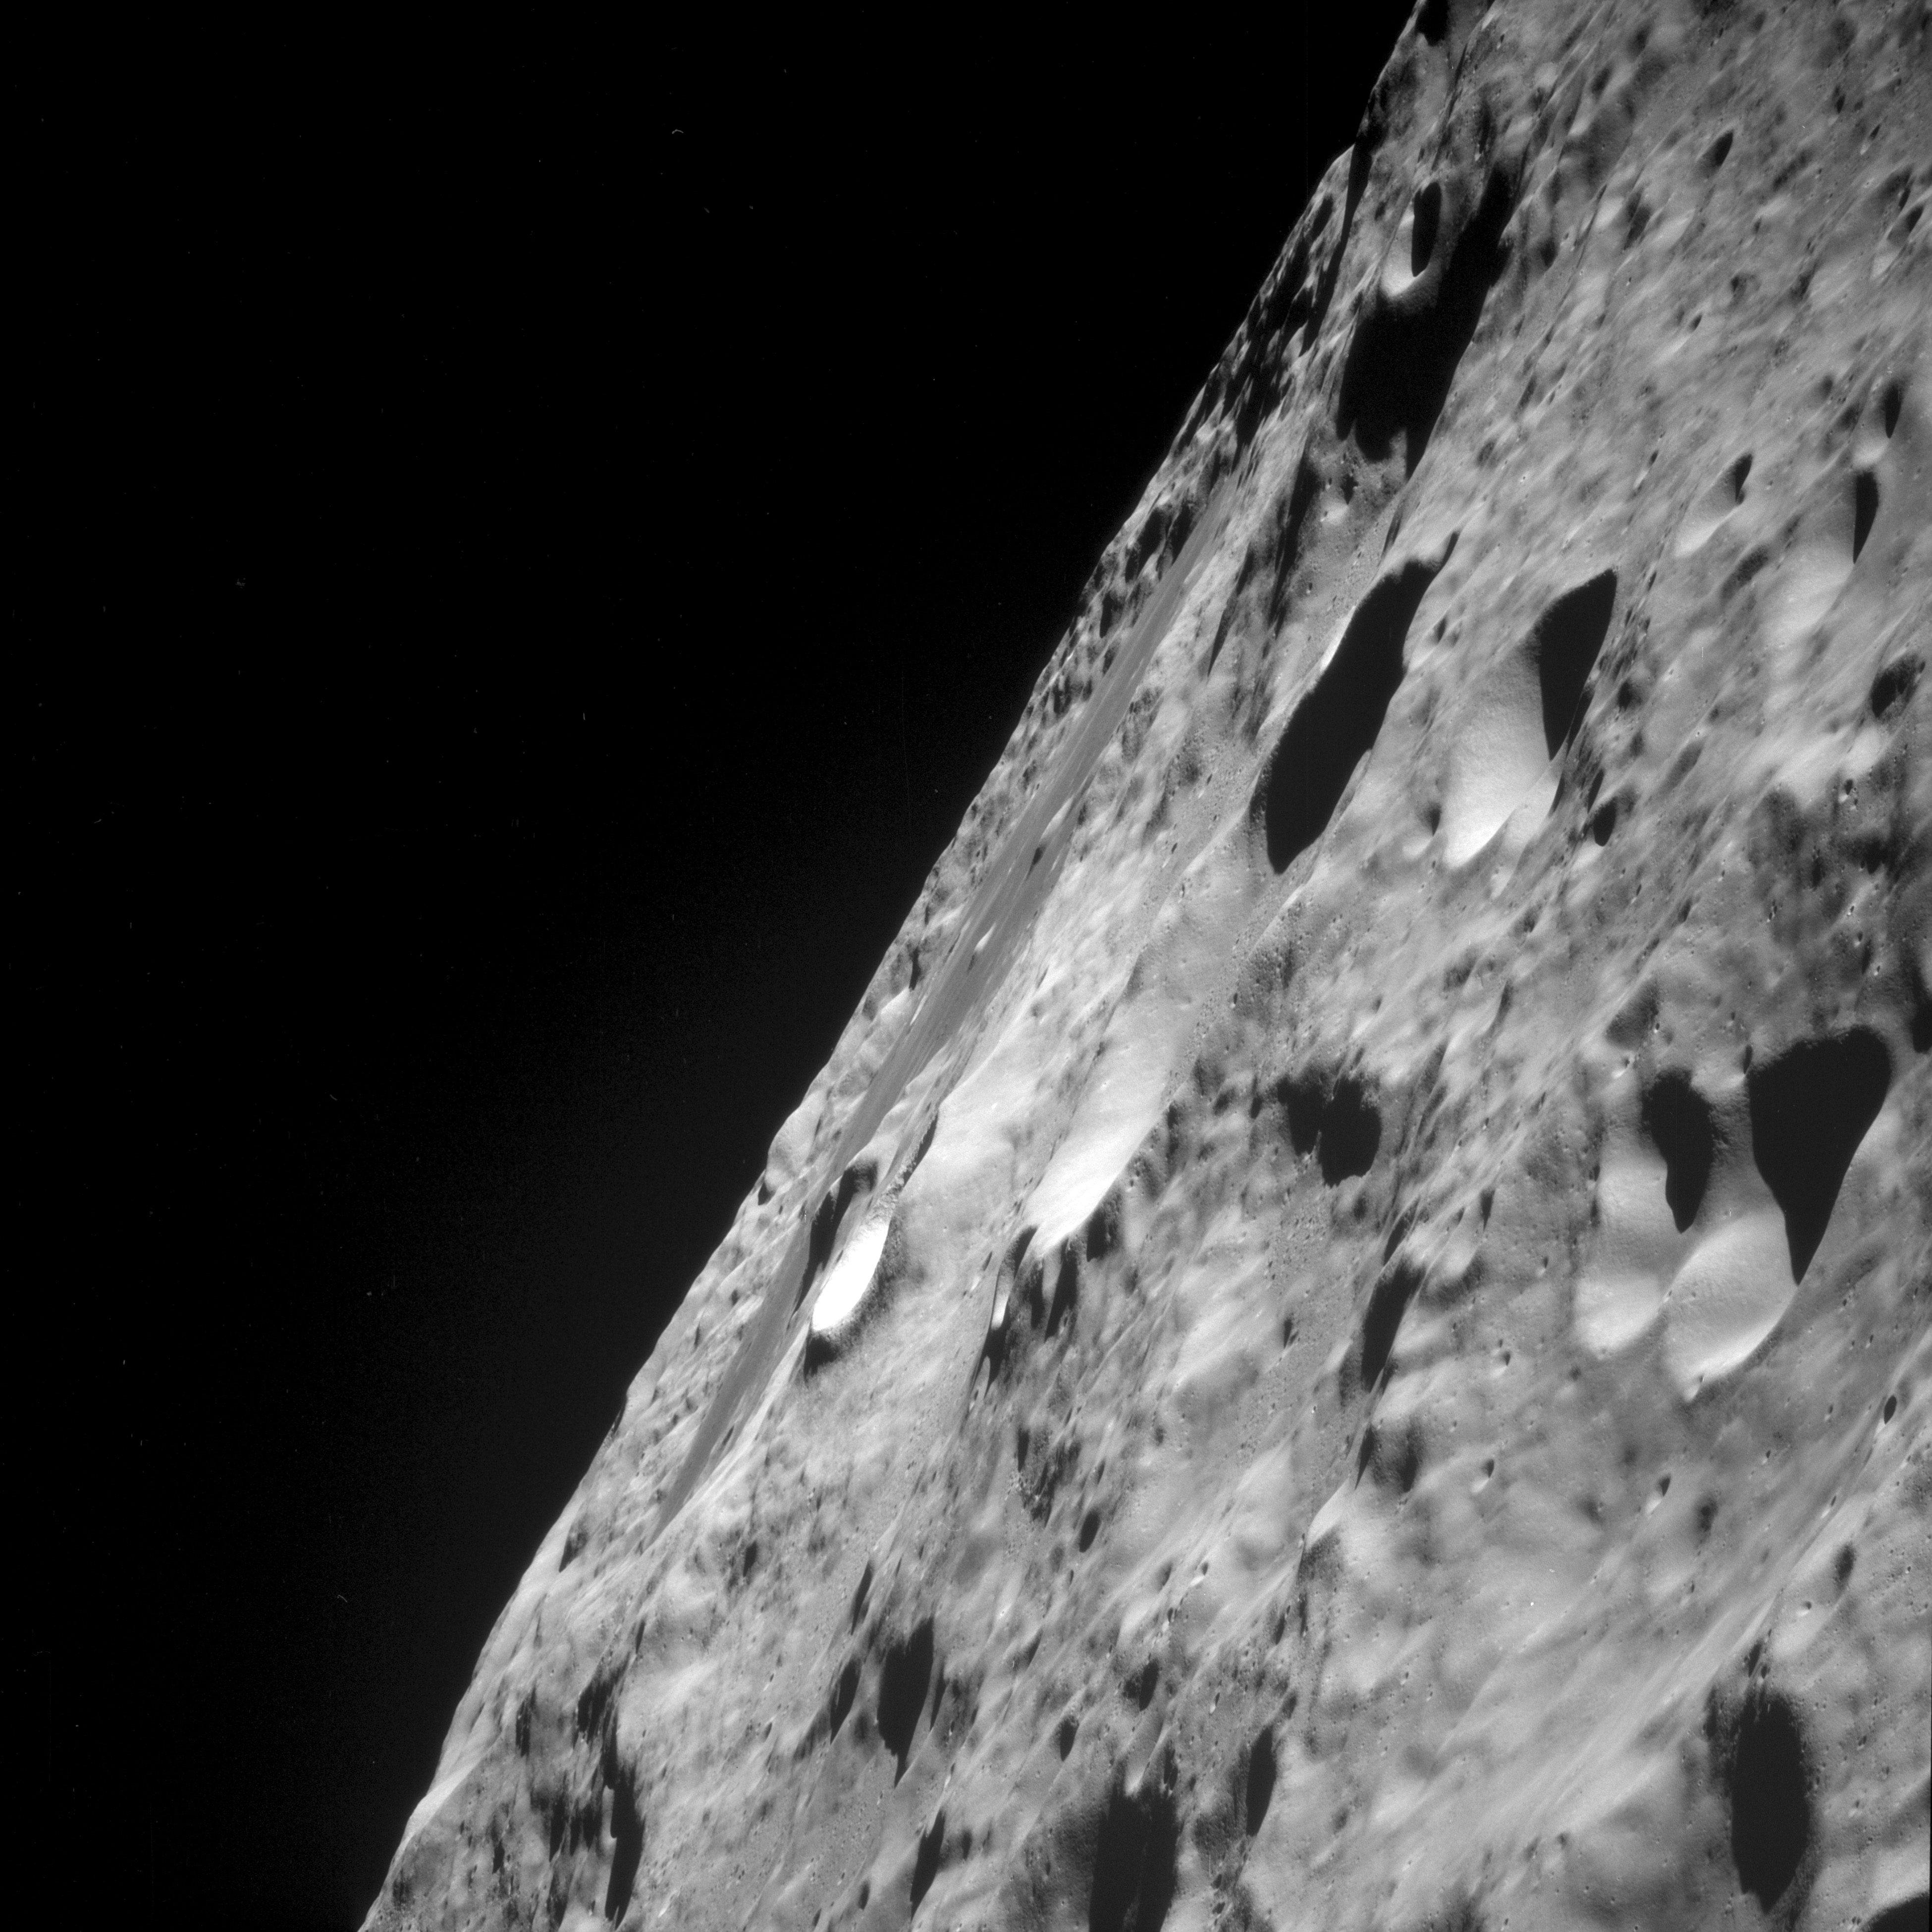
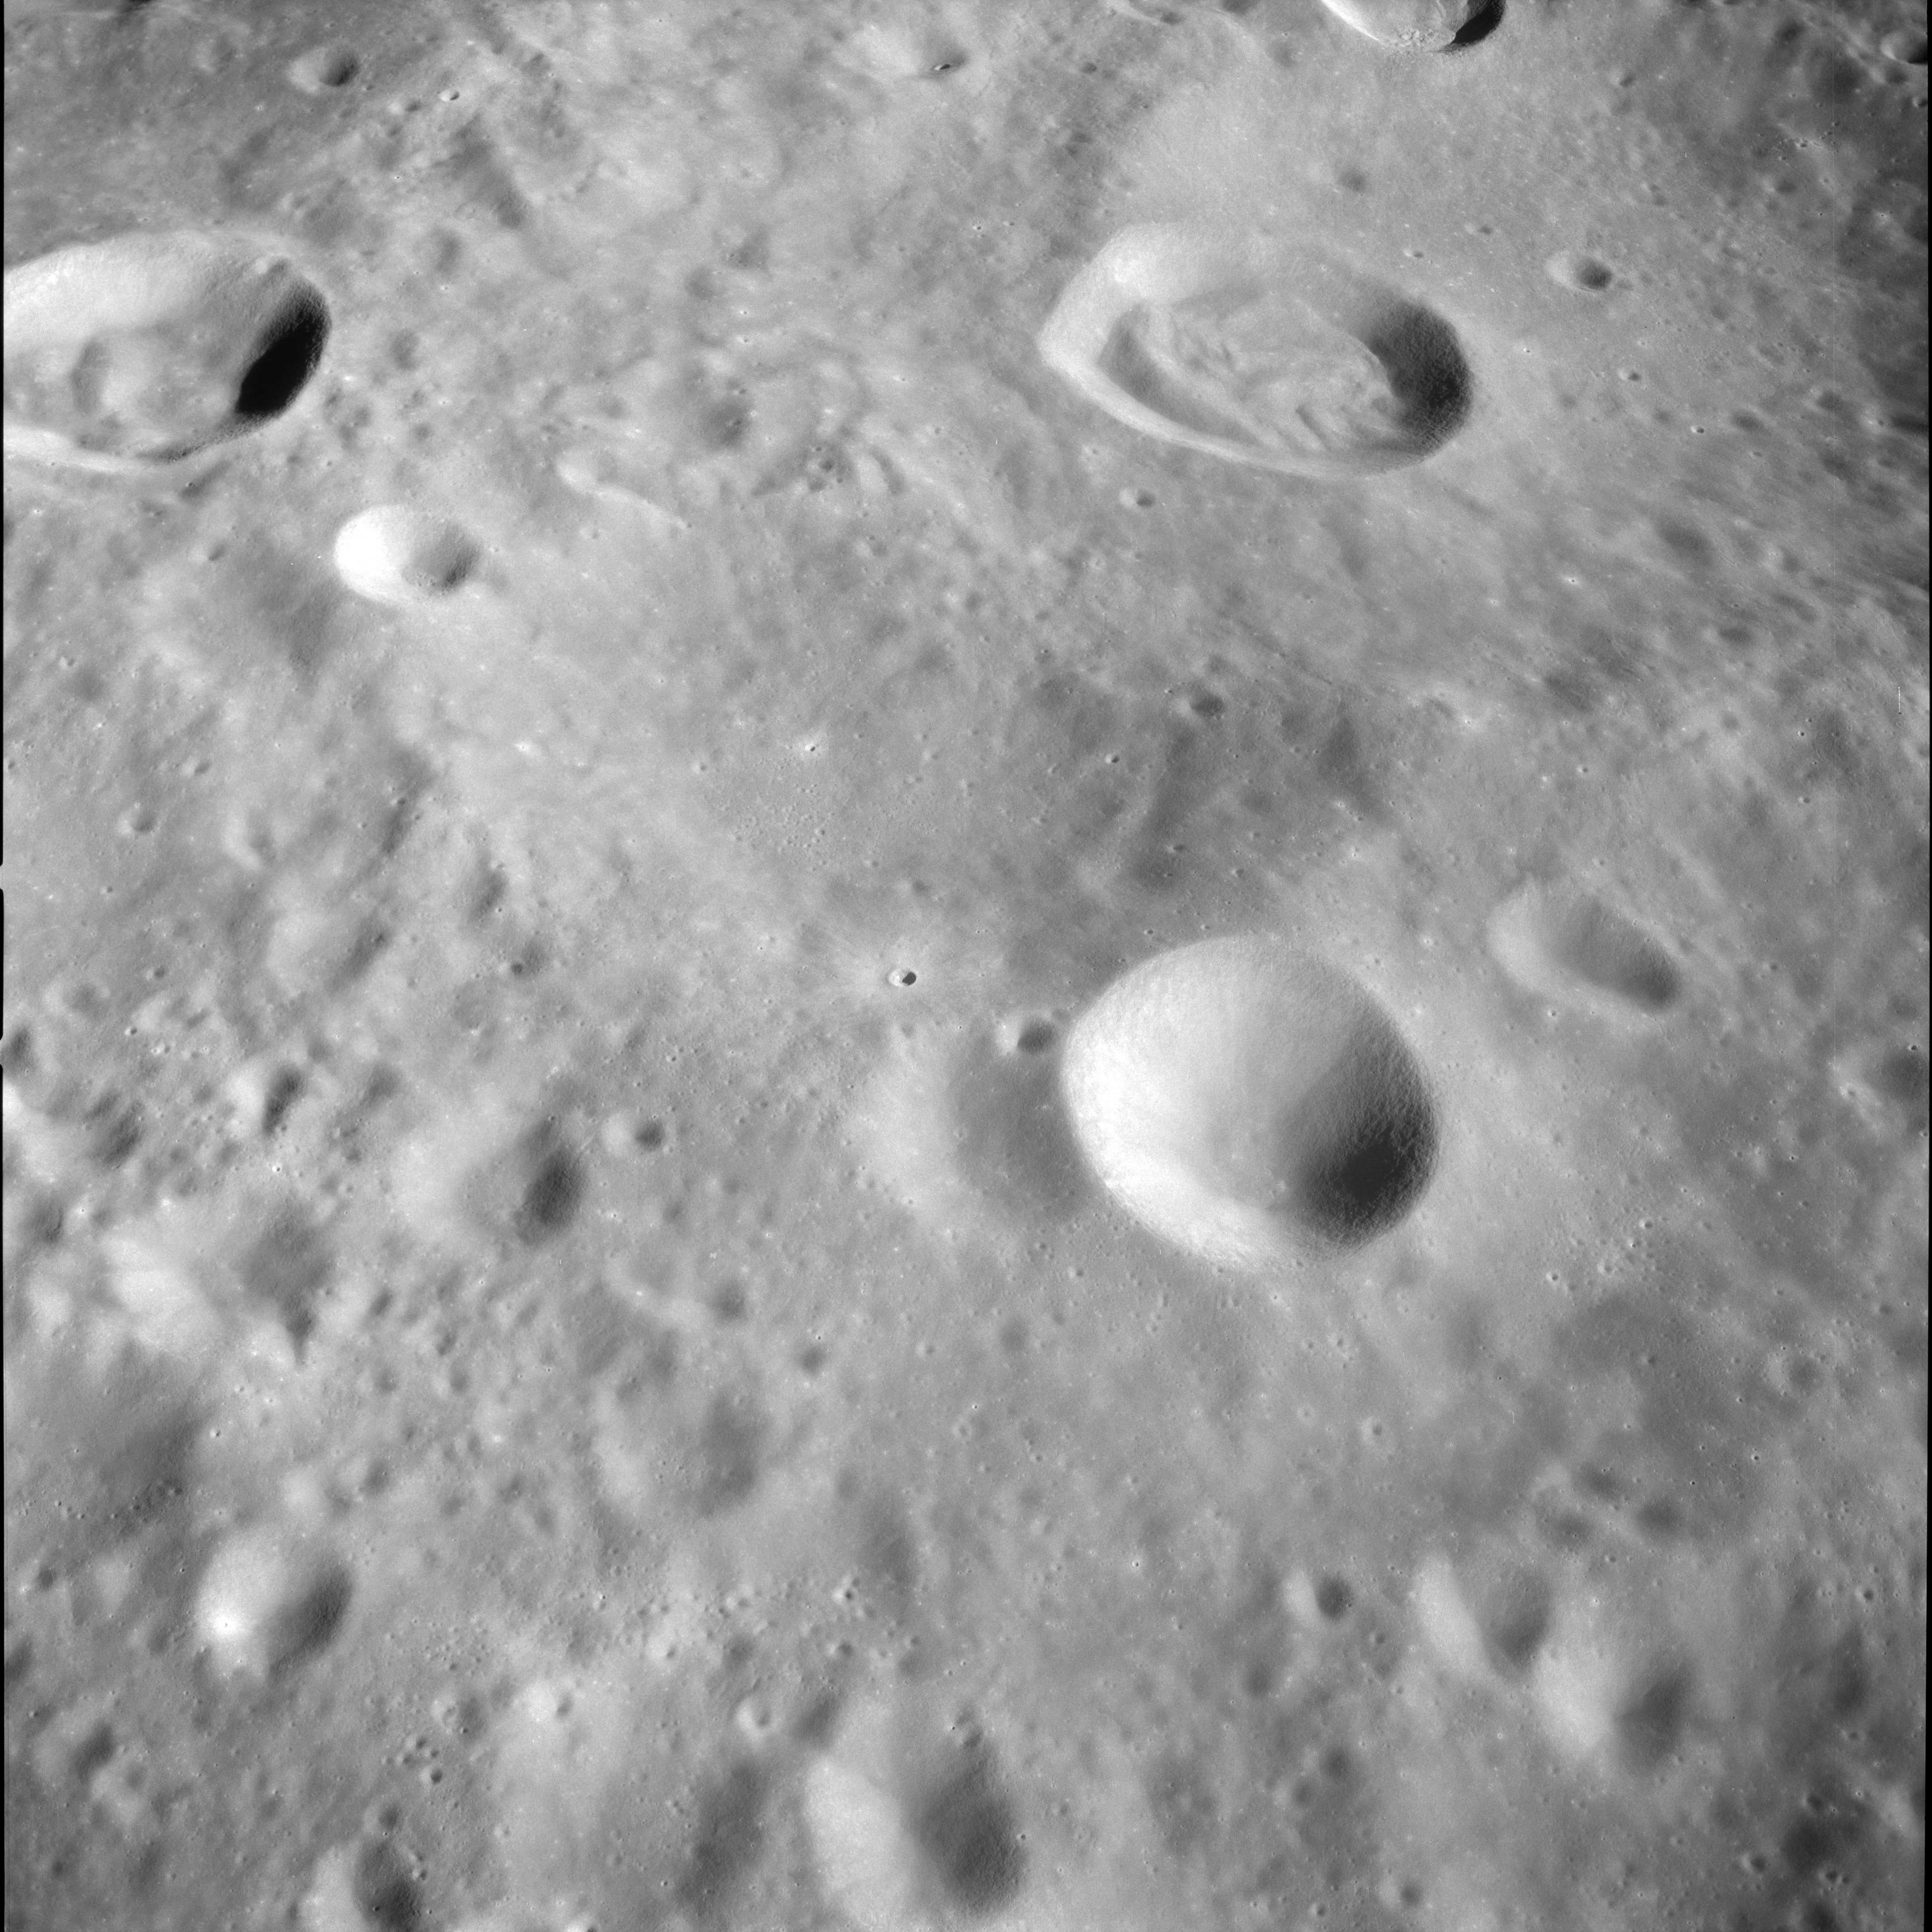
AS11-38-5562 Browse or print resolution. Southwest rim of Crater Daedalus. Image credit: Image Science and Analysis Laboratory, NASA-Johnson Space Center. |

|
AS11-38-5563 Browse or print resolution. Southwest rim of Crater Daedalus. Image credit: Image Science and Analysis Laboratory, NASA-Johnson Space Center. |

|
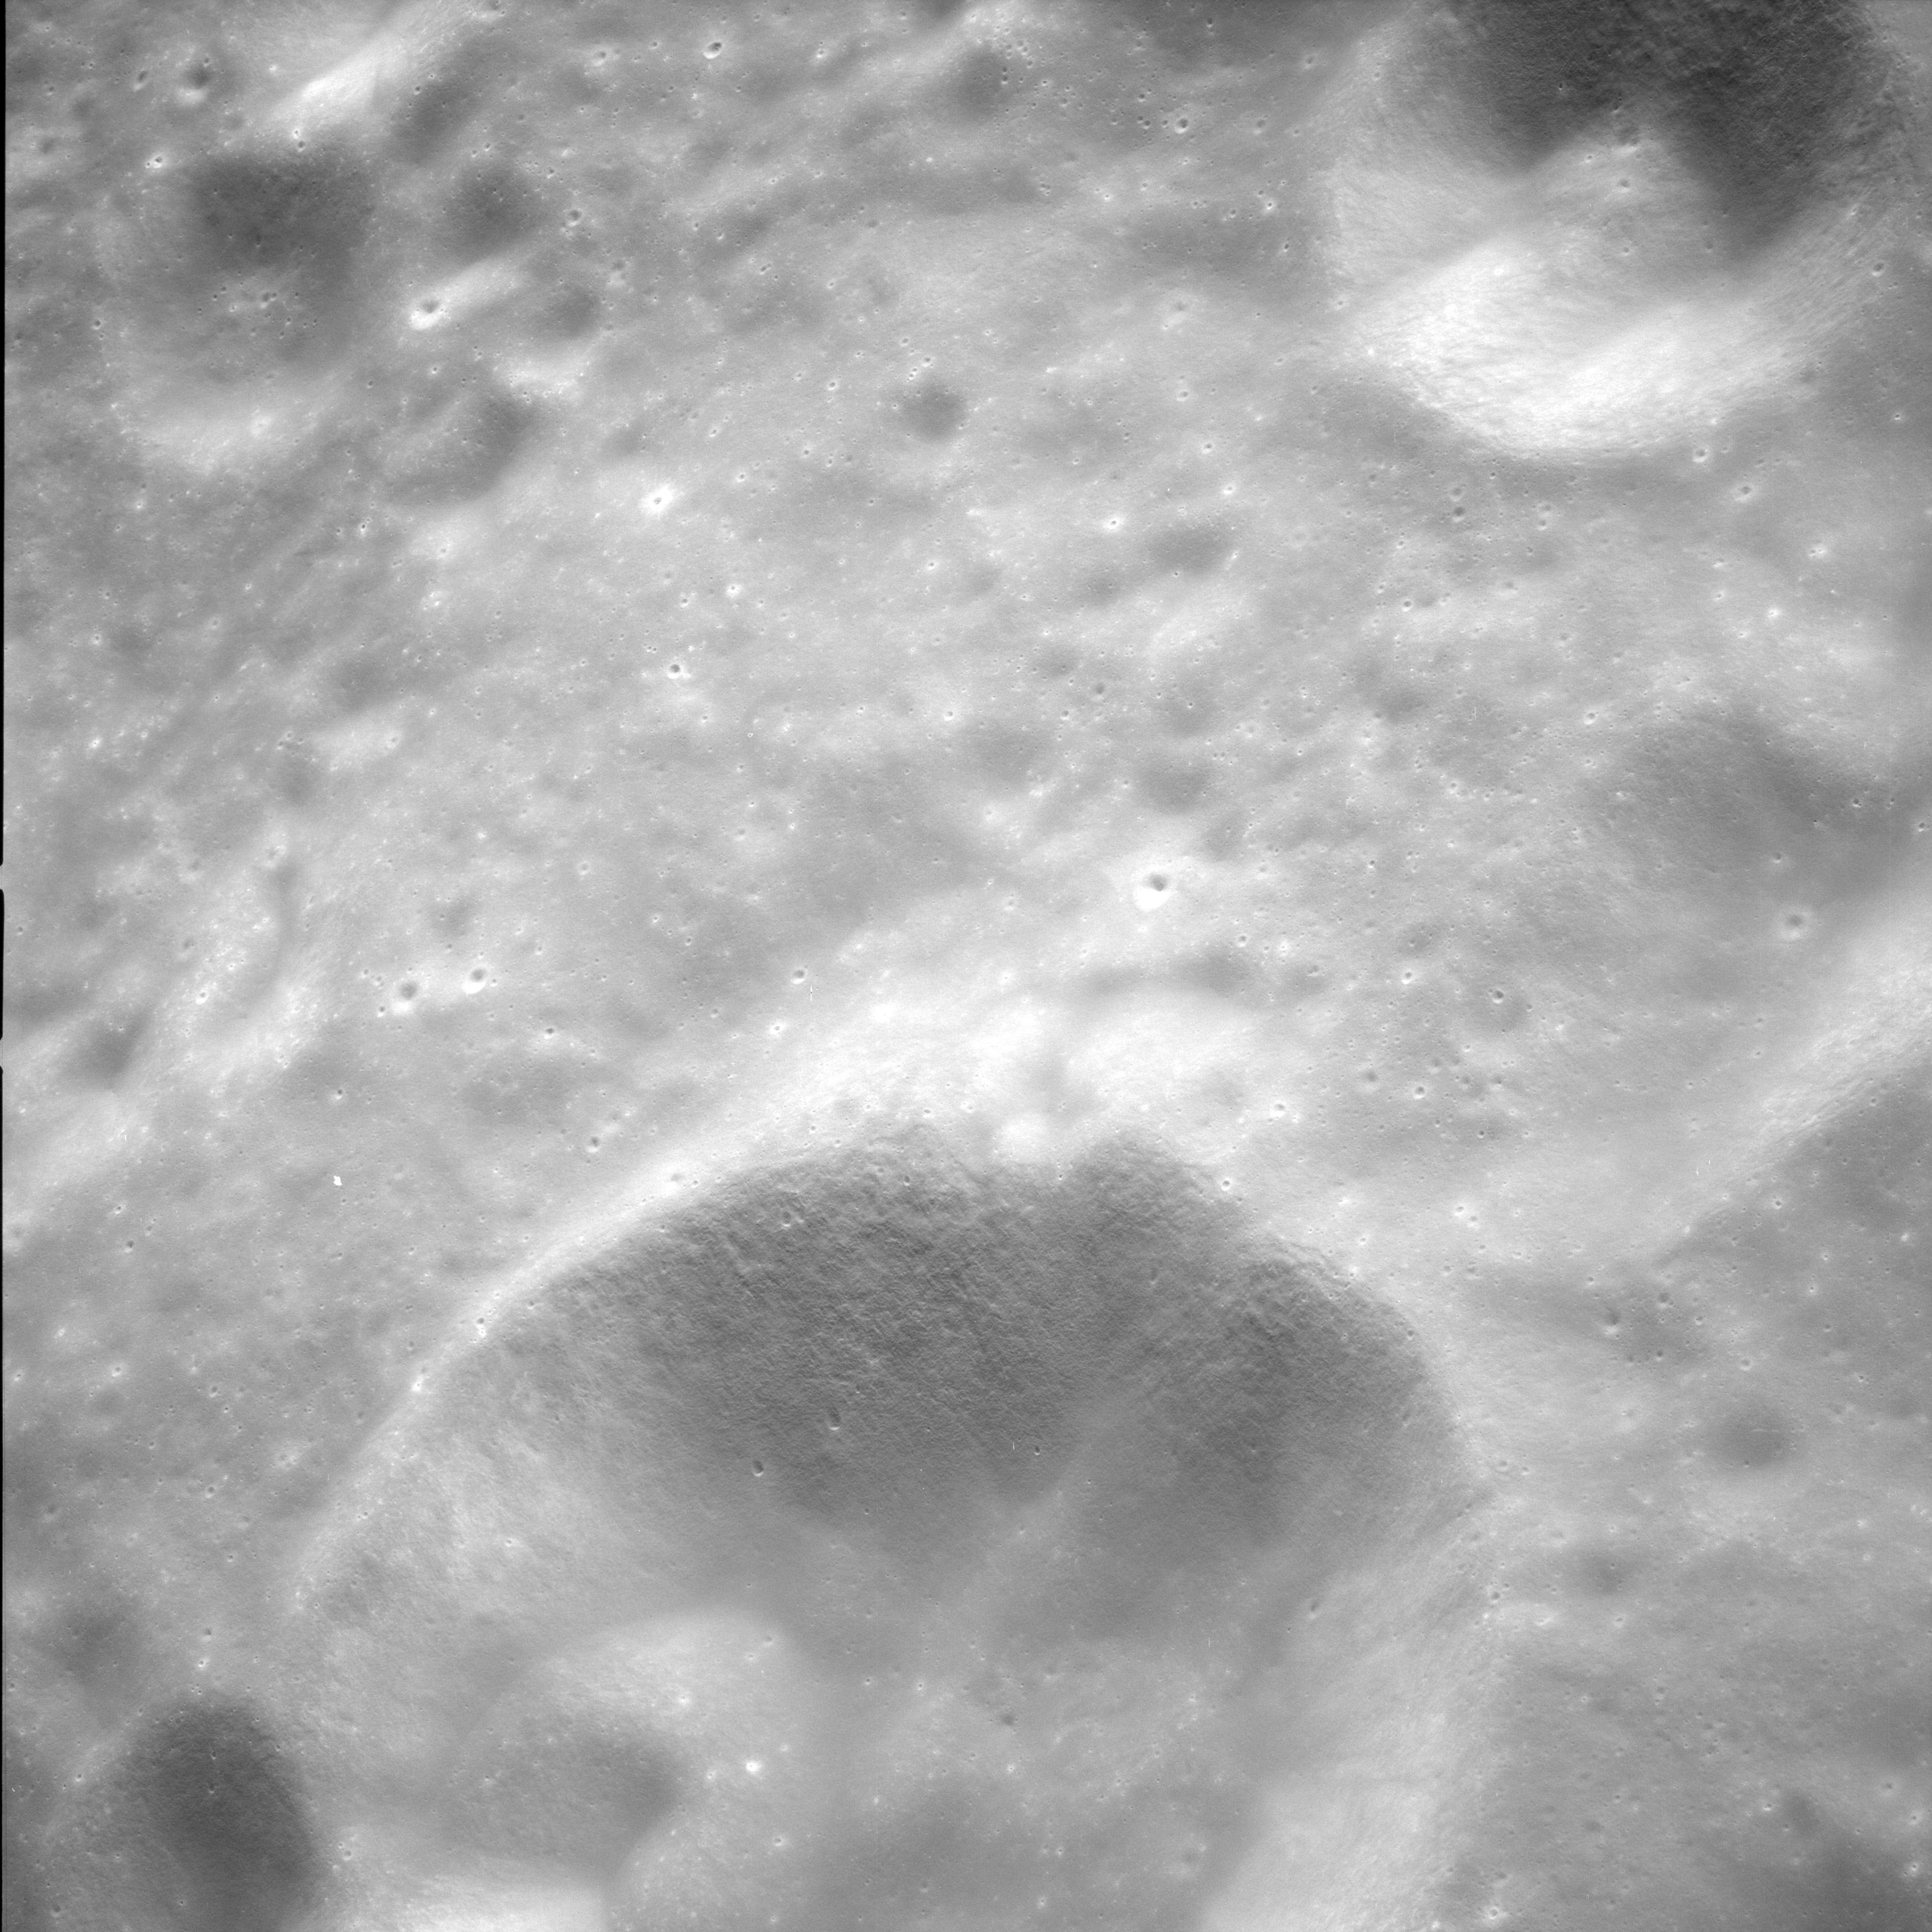
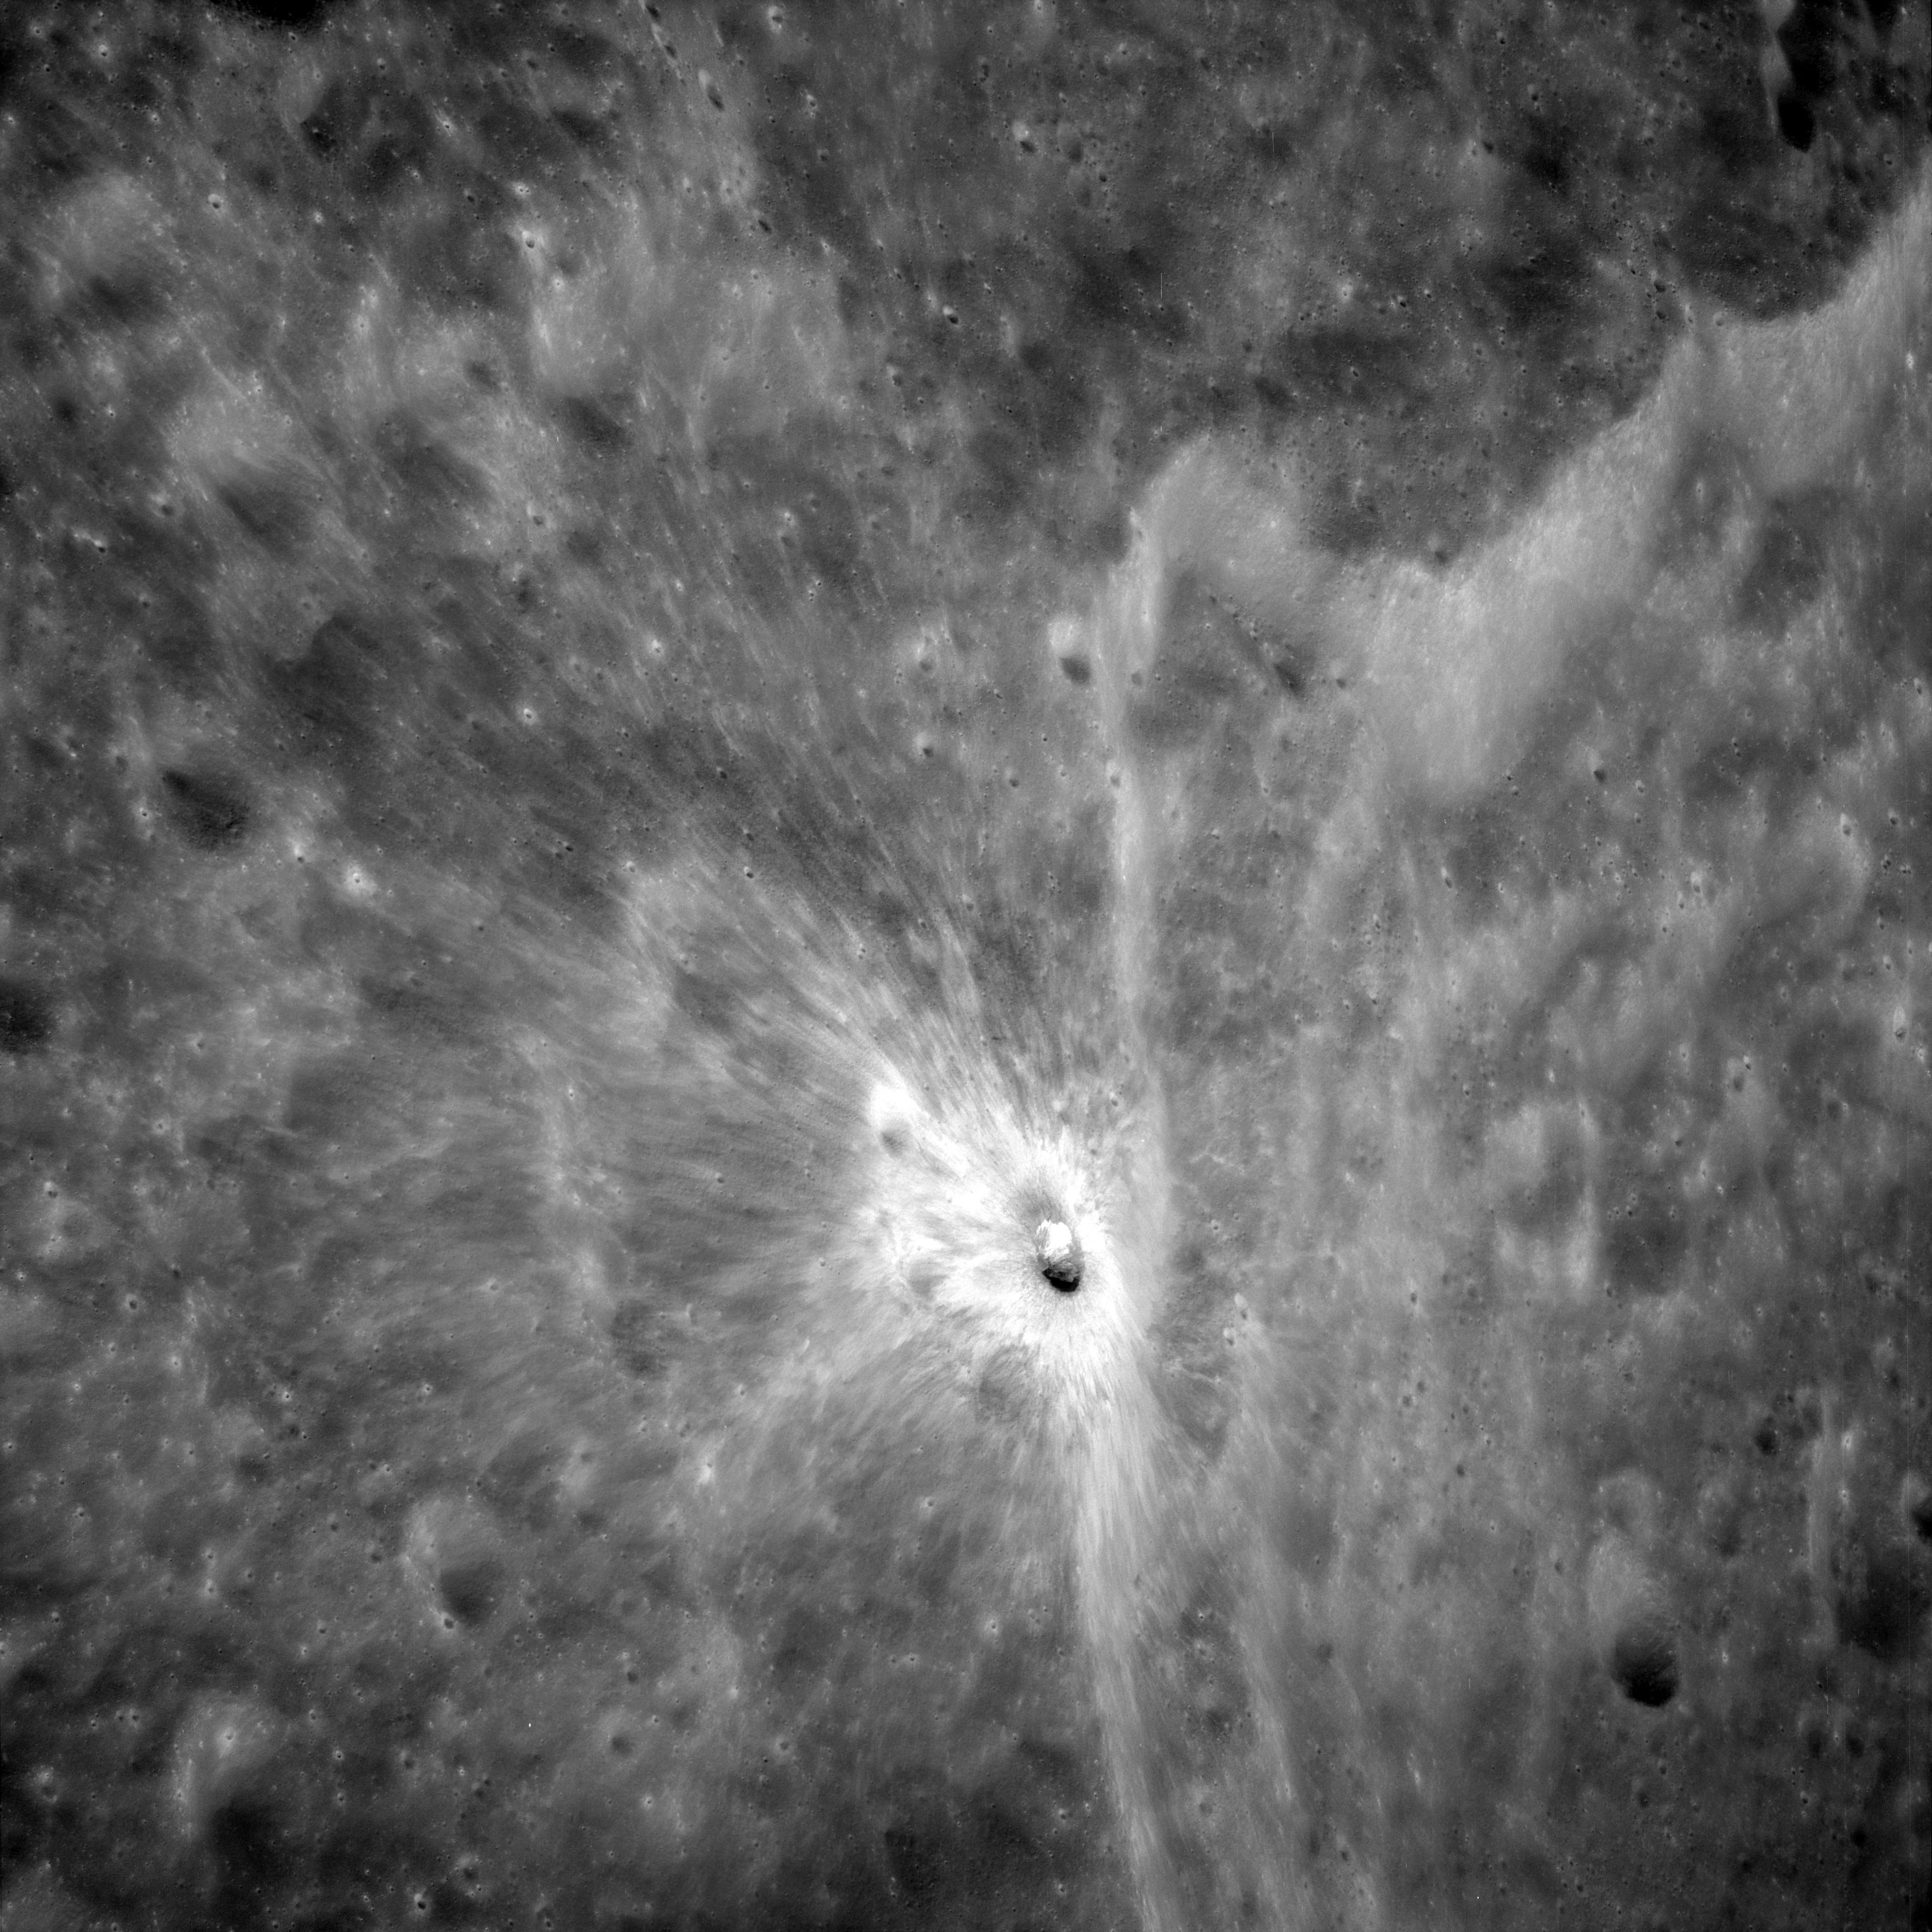
AS11-38-5564 Browse or print resolution. No Description. Image credit: Image Science and Analysis Laboratory, NASA-Johnson Space Center. |

|
AS11-38-5565 Browse or print resolution. No Description. Image credit: Image Science and Analysis Laboratory, NASA-Johnson Space Center. |
|
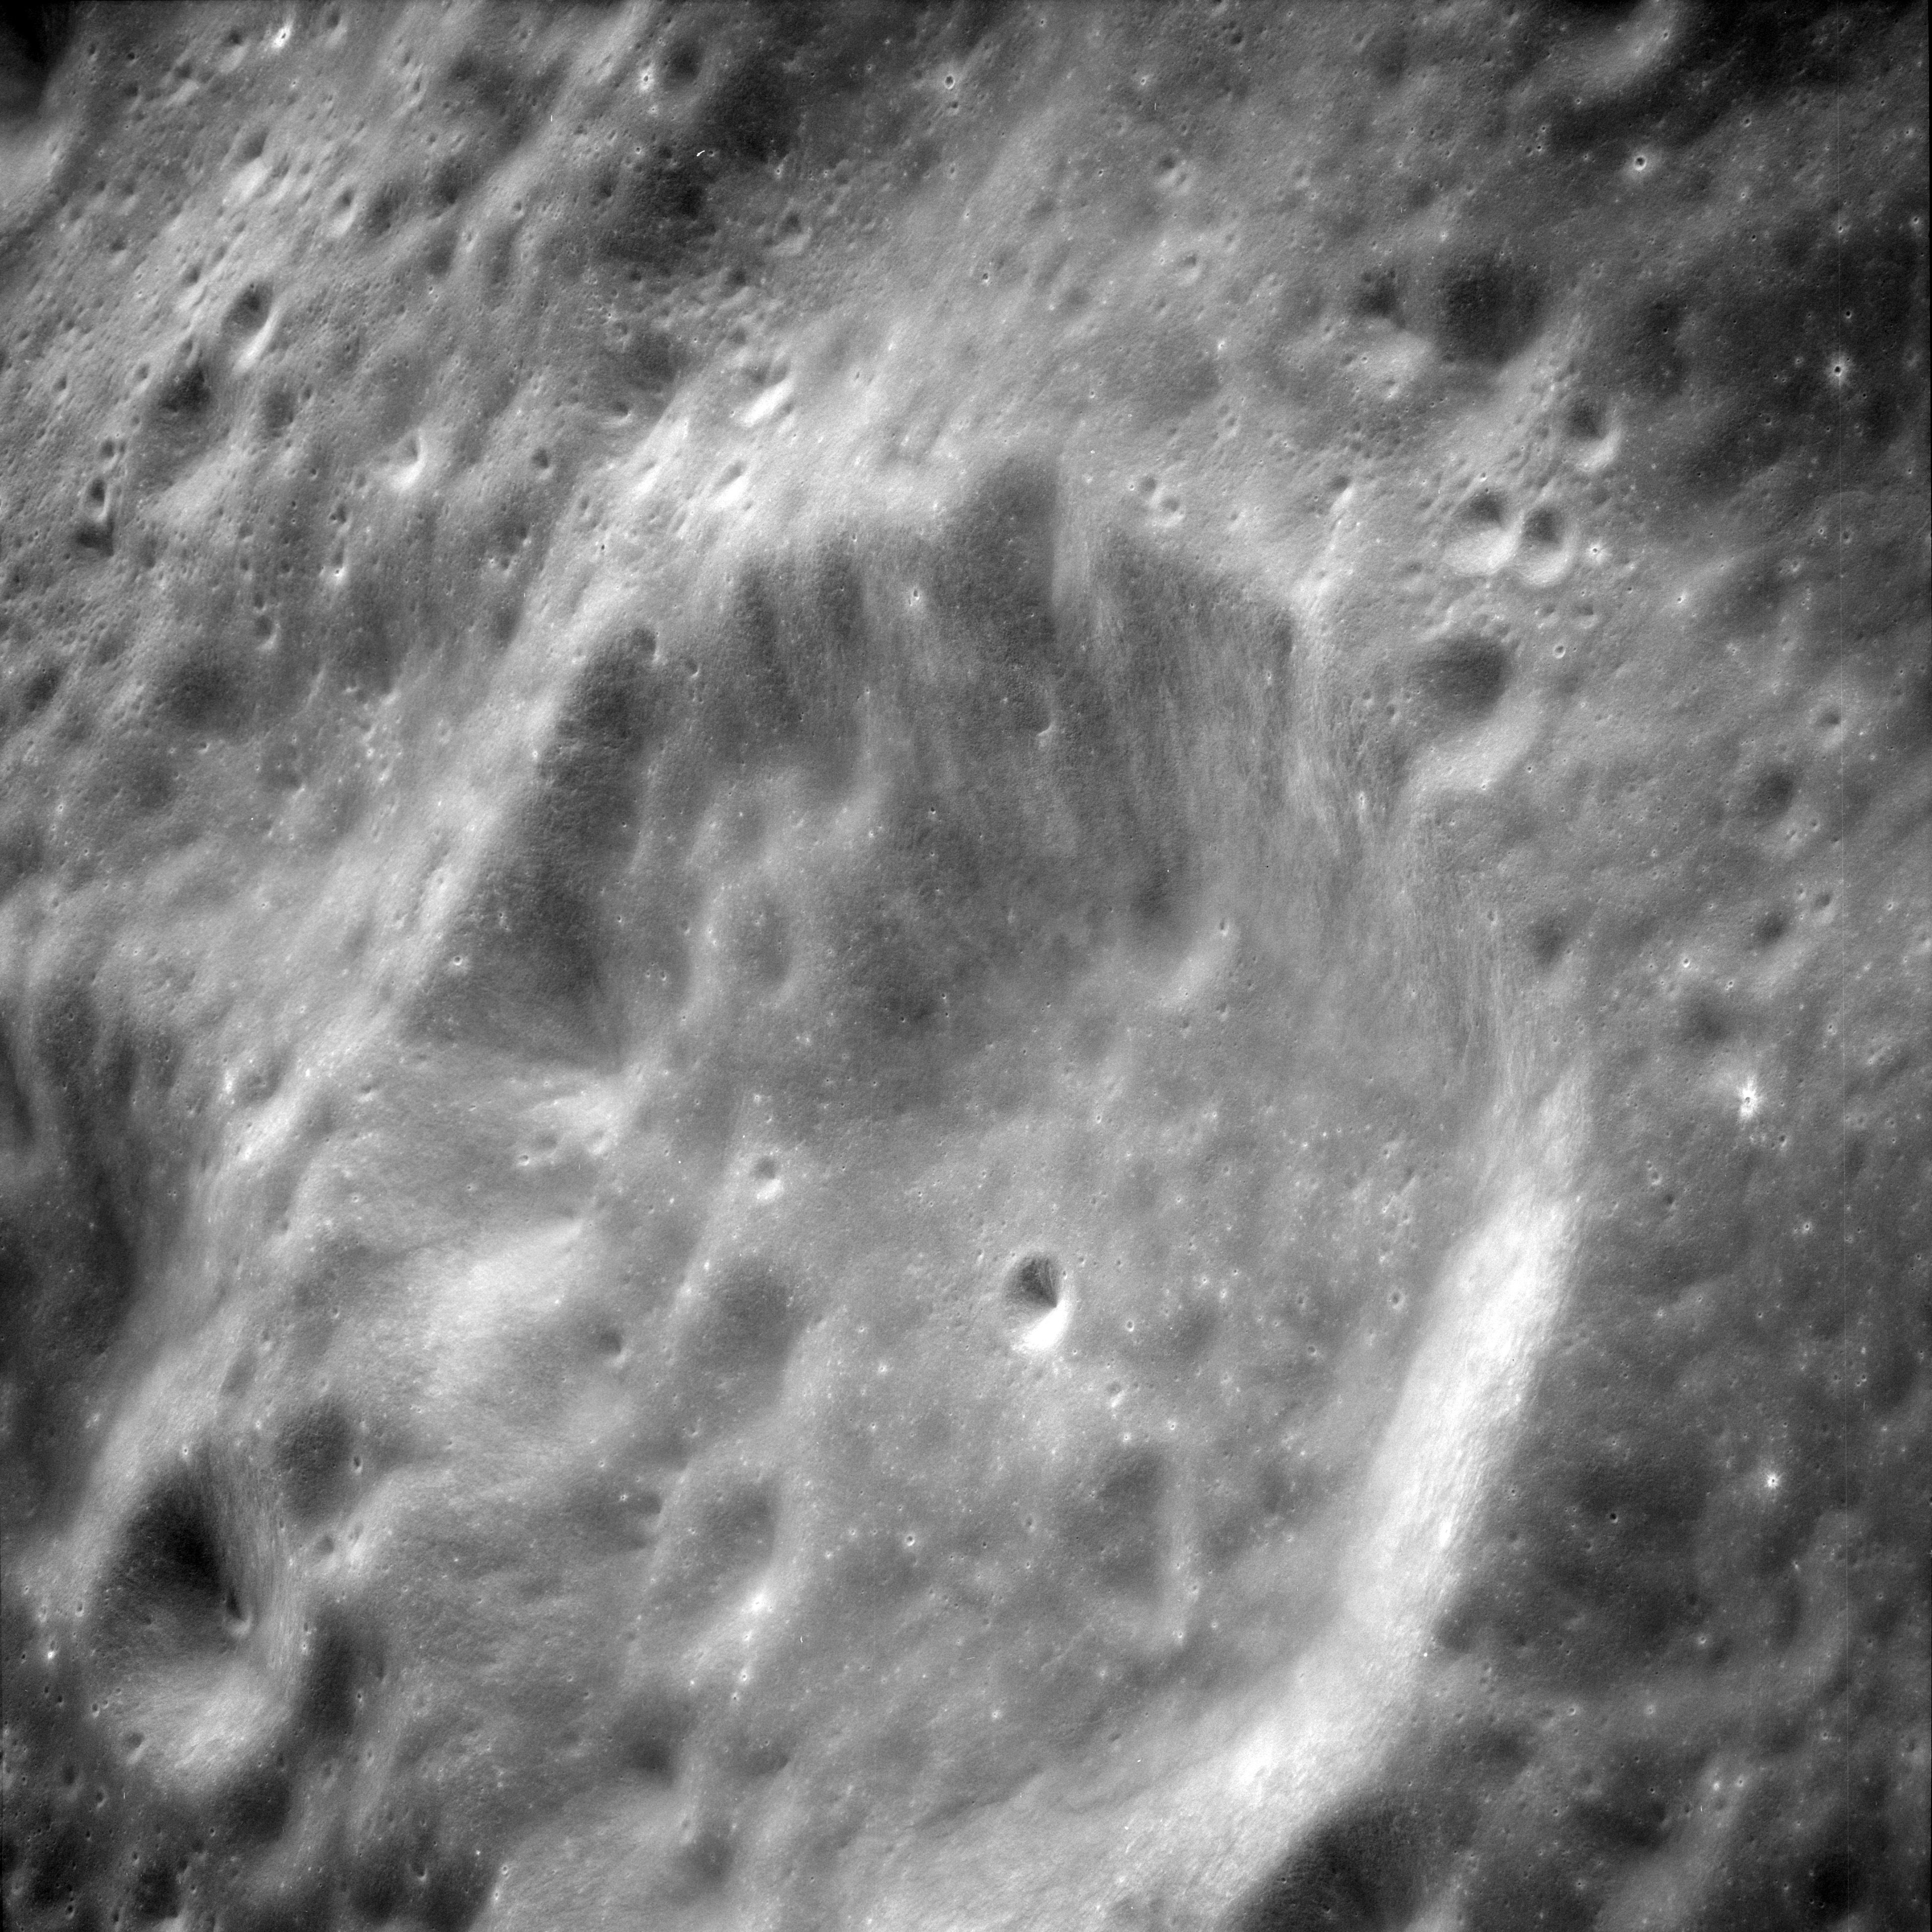
AS11-38-5566 Browse or print resolution. No Description. Image credit: Image Science and Analysis Laboratory, NASA-Johnson Space Center. |

|
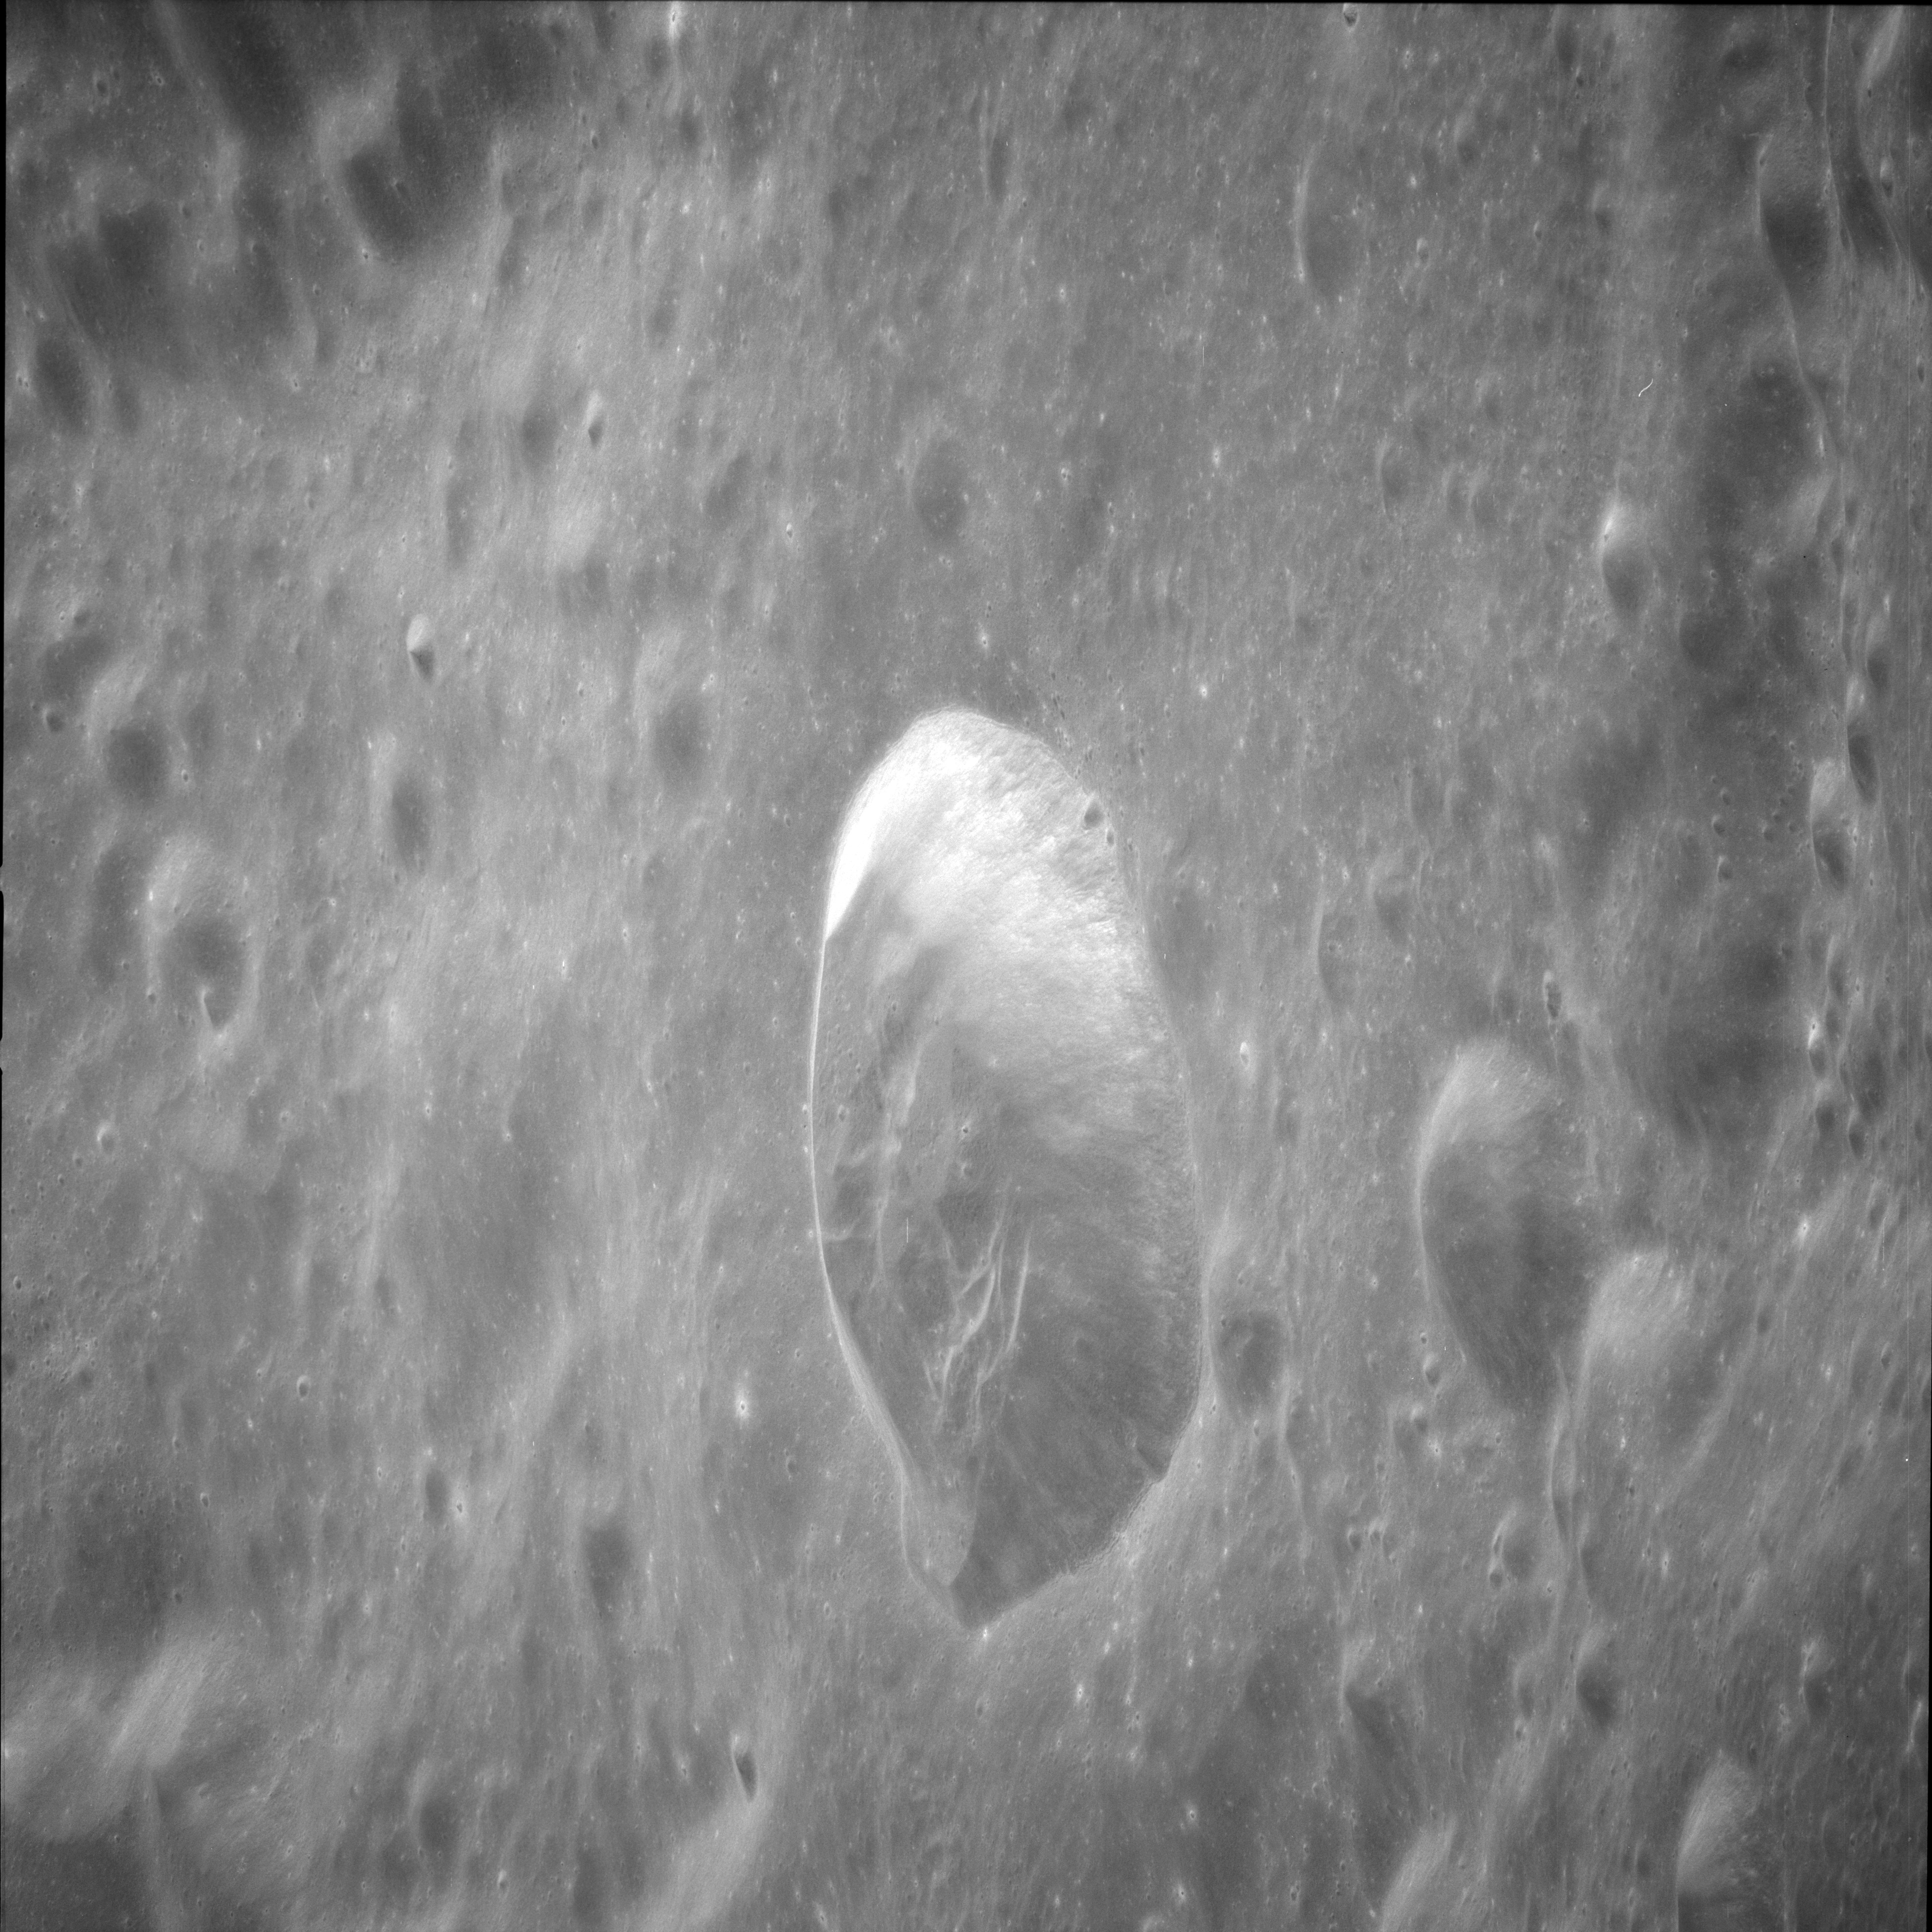
AS11-38-5567 Browse or print resolution. No Description. Image credit: Image Science and Analysis Laboratory, NASA-Johnson Space Center. |

|
AS11-38-5568 Browse or print resolution. No Description. Image credit: Image Science and Analysis Laboratory, NASA-Johnson Space Center. |

|
AS11-38-5569 Browse or print resolution. No Description. Image credit: Image Science and Analysis Laboratory, NASA-Johnson Space Center. |

|
AS11-38-5570 Browse or print resolution. No Description. Image credit: Image Science and Analysis Laboratory, NASA-Johnson Space Center. |
|
AS11-38-5571 Browse or print resolution. No Description. Image credit: Image Science and Analysis Laboratory, NASA-Johnson Space Center. |
|
AS11-38-5572 Browse or print resolution. No Description. Image credit: Image Science and Analysis Laboratory, NASA-Johnson Space Center. |
|
AS11-38-5573 Browse or print resolution. No Description. Image credit: Image Science and Analysis Laboratory, NASA-Johnson Space Center. |

|
AS11-38-5574 Browse or print resolution. No Description. Image credit: Image Science and Analysis Laboratory, NASA-Johnson Space Center. |

|
AS11-38-5575 Browse or print resolution. No Description. Image credit: Image Science and Analysis Laboratory, NASA-Johnson Space Center. |

|
AS11-38-5576 Browse or print resolution. No Description. Image credit: Image Science and Analysis Laboratory, NASA-Johnson Space Center. |

|
AS11-38-5577 Browse or print resolution. No Description. Image credit: Image Science and Analysis Laboratory, NASA-Johnson Space Center. |
|
AS11-38-5578 Browse or print resolution. No Description. Image credit: Image Science and Analysis Laboratory, NASA-Johnson Space Center. |
|
AS11-38-5579 Browse or print resolution. No Description. Image credit: Image Science and Analysis Laboratory, NASA-Johnson Space Center. |

|
AS11-38-5580 Browse or print resolution. No Description. Image credit: Image Science and Analysis Laboratory, NASA-Johnson Space Center. |

|
AS11-38-5581 Browse or print resolution. No Description. Image credit: Image Science and Analysis Laboratory, NASA-Johnson Space Center. |
|
AS11-38-5582 Browse or print resolution. No Description. Image credit: Image Science and Analysis Laboratory, NASA-Johnson Space Center. |

|
AS11-38-5583 Browse or print resolution. No Description. Image credit: Image Science and Analysis Laboratory, NASA-Johnson Space Center. |

|
AS11-38-5584 Browse or print resolution. No Description. Image credit: Image Science and Analysis Laboratory, NASA-Johnson Space Center. |
|
AS11-38-5585 Browse or print resolution. No Description. Image credit: Image Science and Analysis Laboratory, NASA-Johnson Space Center. |

|
AS11-38-5586 Browse or print resolution. No Description. Image credit: Image Science and Analysis Laboratory, NASA-Johnson Space Center. |

|
AS11-38-5587 Browse or print resolution. No Description. Image credit: Image Science and Analysis Laboratory, NASA-Johnson Space Center. |
|
AS11-38-5588 Browse or print resolution. No Description. Image credit: Image Science and Analysis Laboratory, NASA-Johnson Space Center. |

|
AS11-38-5589 Browse or print resolution. No Description. Image credit: Image Science and Analysis Laboratory, NASA-Johnson Space Center. |
|
AS11-38-5590 Browse or print resolution. No Description. Image credit: Image Science and Analysis Laboratory, NASA-Johnson Space Center. |

|
AS11-38-5591 Browse or print resolution. No Description. Image credit: Image Science and Analysis Laboratory, NASA-Johnson Space Center. |

|
AS11-38-5592 Browse or print resolution. No Description. Image credit: Image Science and Analysis Laboratory, NASA-Johnson Space Center. |

|
AS11-38-5593 Browse or print resolution. No Description. Image credit: Image Science and Analysis Laboratory, NASA-Johnson Space Center. |

|
AS11-38-5594 Browse or print resolution. No Description. Image credit: Image Science and Analysis Laboratory, NASA-Johnson Space Center. |
|
AS11-38-5595 Browse or print resolution. No Description. Image credit: Image Science and Analysis Laboratory, NASA-Johnson Space Center. |
|
AS11-38-5596 Browse or print resolution. No Description. Image credit: Image Science and Analysis Laboratory, NASA-Johnson Space Center. |

|
AS11-38-5597 Browse or print resolution. No Description. Image credit: Image Science and Analysis Laboratory, NASA-Johnson Space Center. |
|
AS11-38-5598 Browse or print resolution. No Description. Image credit: Image Science and Analysis Laboratory, NASA-Johnson Space Center. |

|
AS11-38-5599 Browse or print resolution. No Description. Image credit: Image Science and Analysis Laboratory, NASA-Johnson Space Center. |

|
AS11-38-5600 Browse or print resolution. No Description. Image credit: Image Science and Analysis Laboratory, NASA-Johnson Space Center. |
|
AS11-38-5601 Browse or print resolution. No Description. Image credit: Image Science and Analysis Laboratory, NASA-Johnson Space Center. |

|
AS11-38-5602 Browse or print resolution. No Description. Image credit: Image Science and Analysis Laboratory, NASA-Johnson Space Center. |
|
AS11-38-5603 Browse or print resolution. No Description. Image credit: Image Science and Analysis Laboratory, NASA-Johnson Space Center. |

|
AS11-38-5604 Browse or print resolution. No Description. Image credit: Image Science and Analysis Laboratory, NASA-Johnson Space Center. |
|
AS11-38-5605 Browse or print resolution. No Description. Image credit: Image Science and Analysis Laboratory, NASA-Johnson Space Center. |

|
AS11-38-5606 Browse or print resolution. No Description. Image credit: Image Science and Analysis Laboratory, NASA-Johnson Space Center. |

|
AS11-38-5607 Browse or print resolution. No Description. Image credit: Image Science and Analysis Laboratory, NASA-Johnson Space Center. |
|
AS11-38-5608 Browse or print resolution. No Description. Image credit: Image Science and Analysis Laboratory, NASA-Johnson Space Center. |

|
AS11-38-5609 Browse or print resolution. No Description. Image credit: Image Science and Analysis Laboratory, NASA-Johnson Space Center. |

|
AS11-38-5610 Browse or print resolution. No Description. Image credit: Image Science and Analysis Laboratory, NASA-Johnson Space Center. |

|
AS11-38-5611 Browse or print resolution. No Description. Image credit: Image Science and Analysis Laboratory, NASA-Johnson Space Center. |

|
AS11-38-5612 Browse or print resolution. No Description. Image credit: Image Science and Analysis Laboratory, NASA-Johnson Space Center. |

|
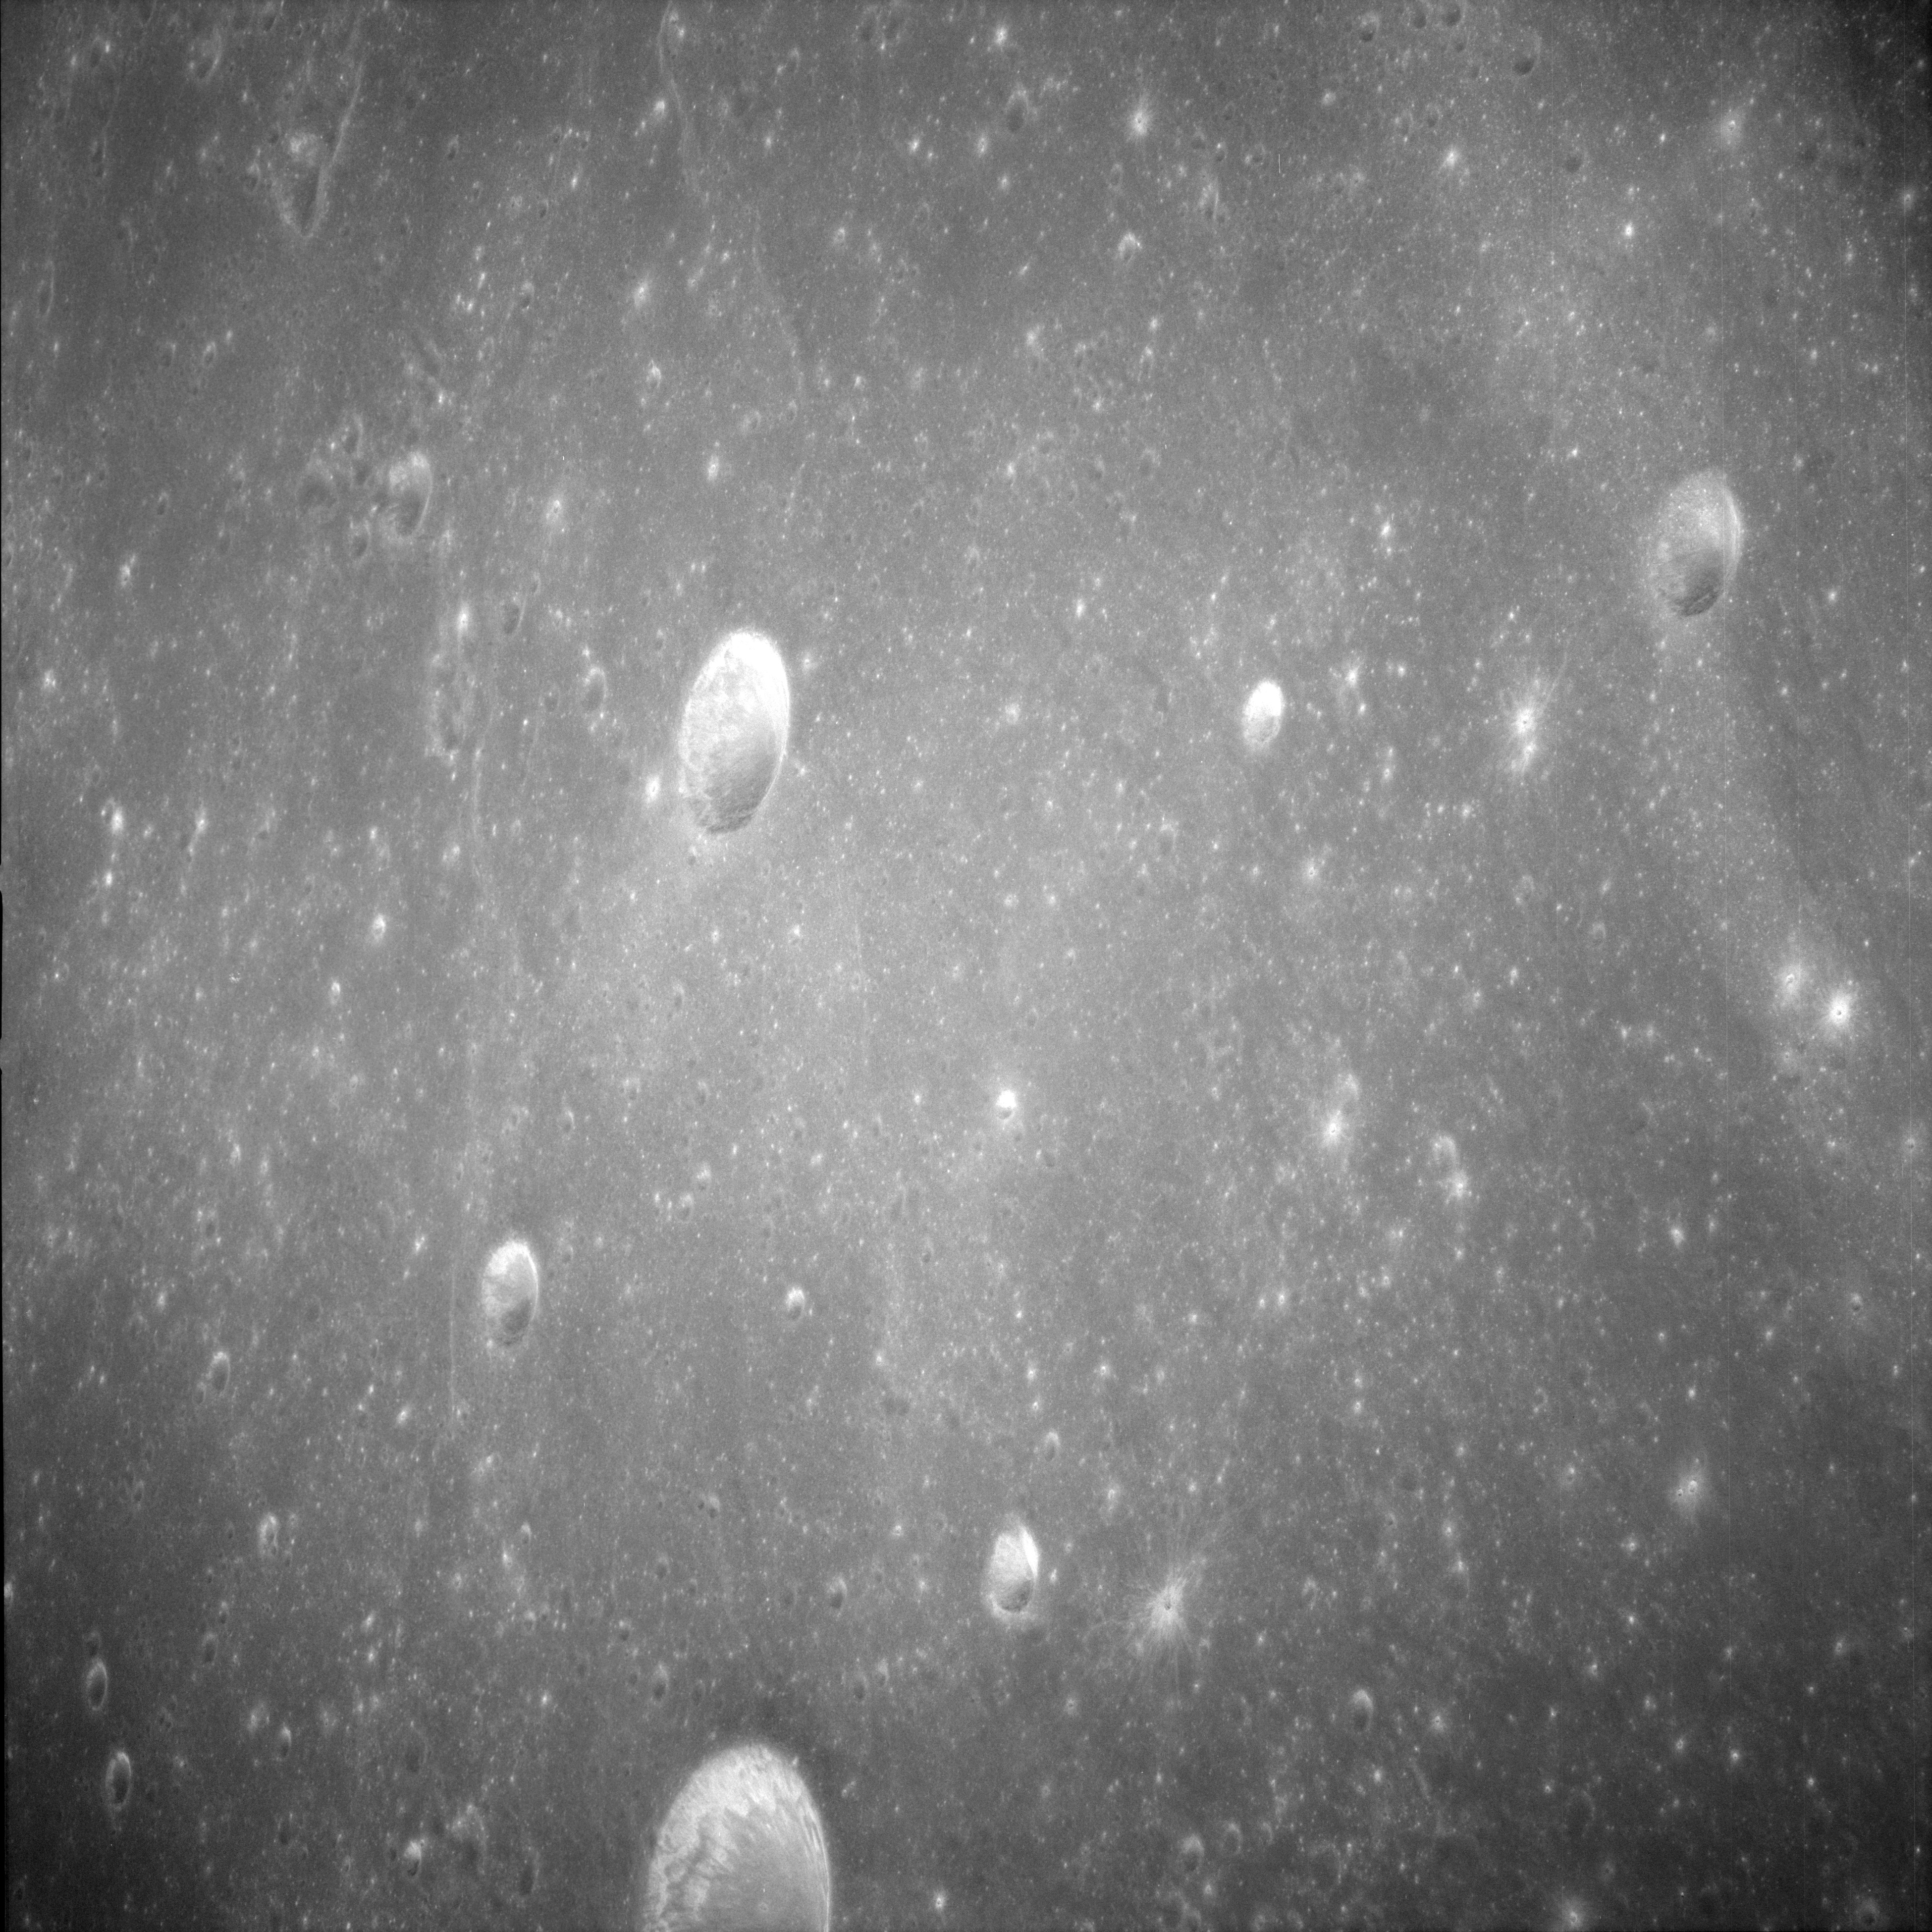
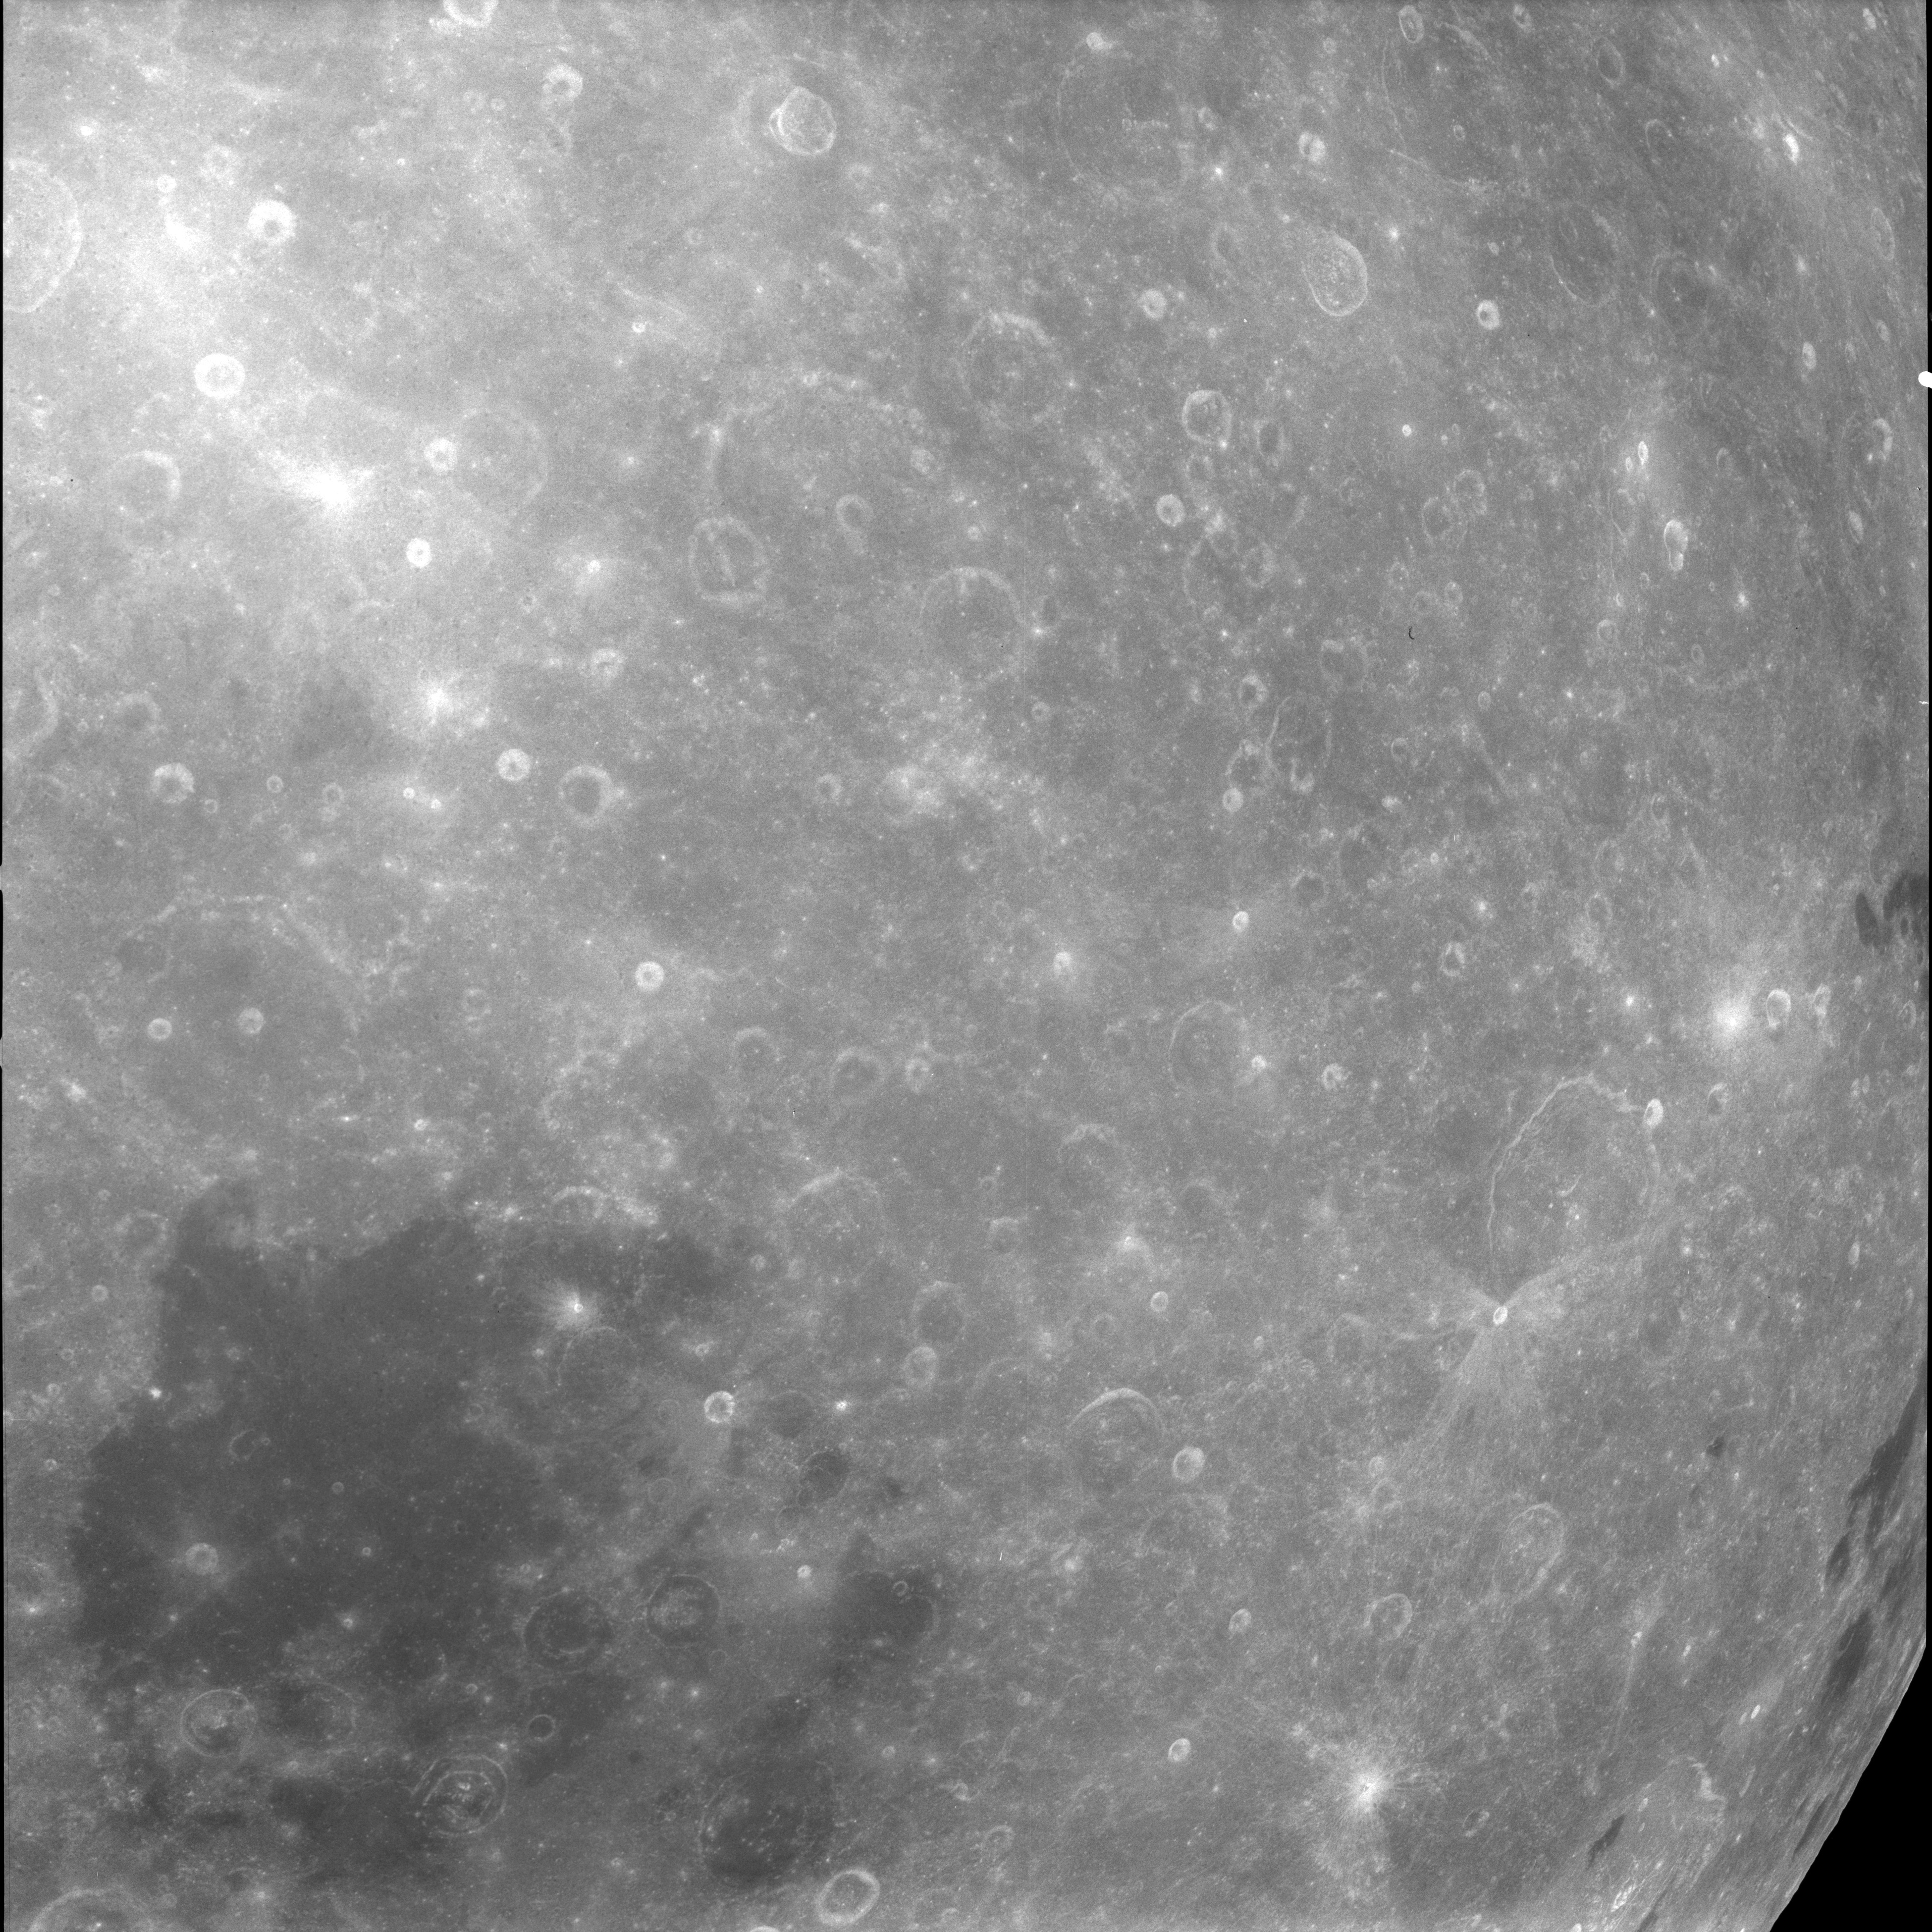
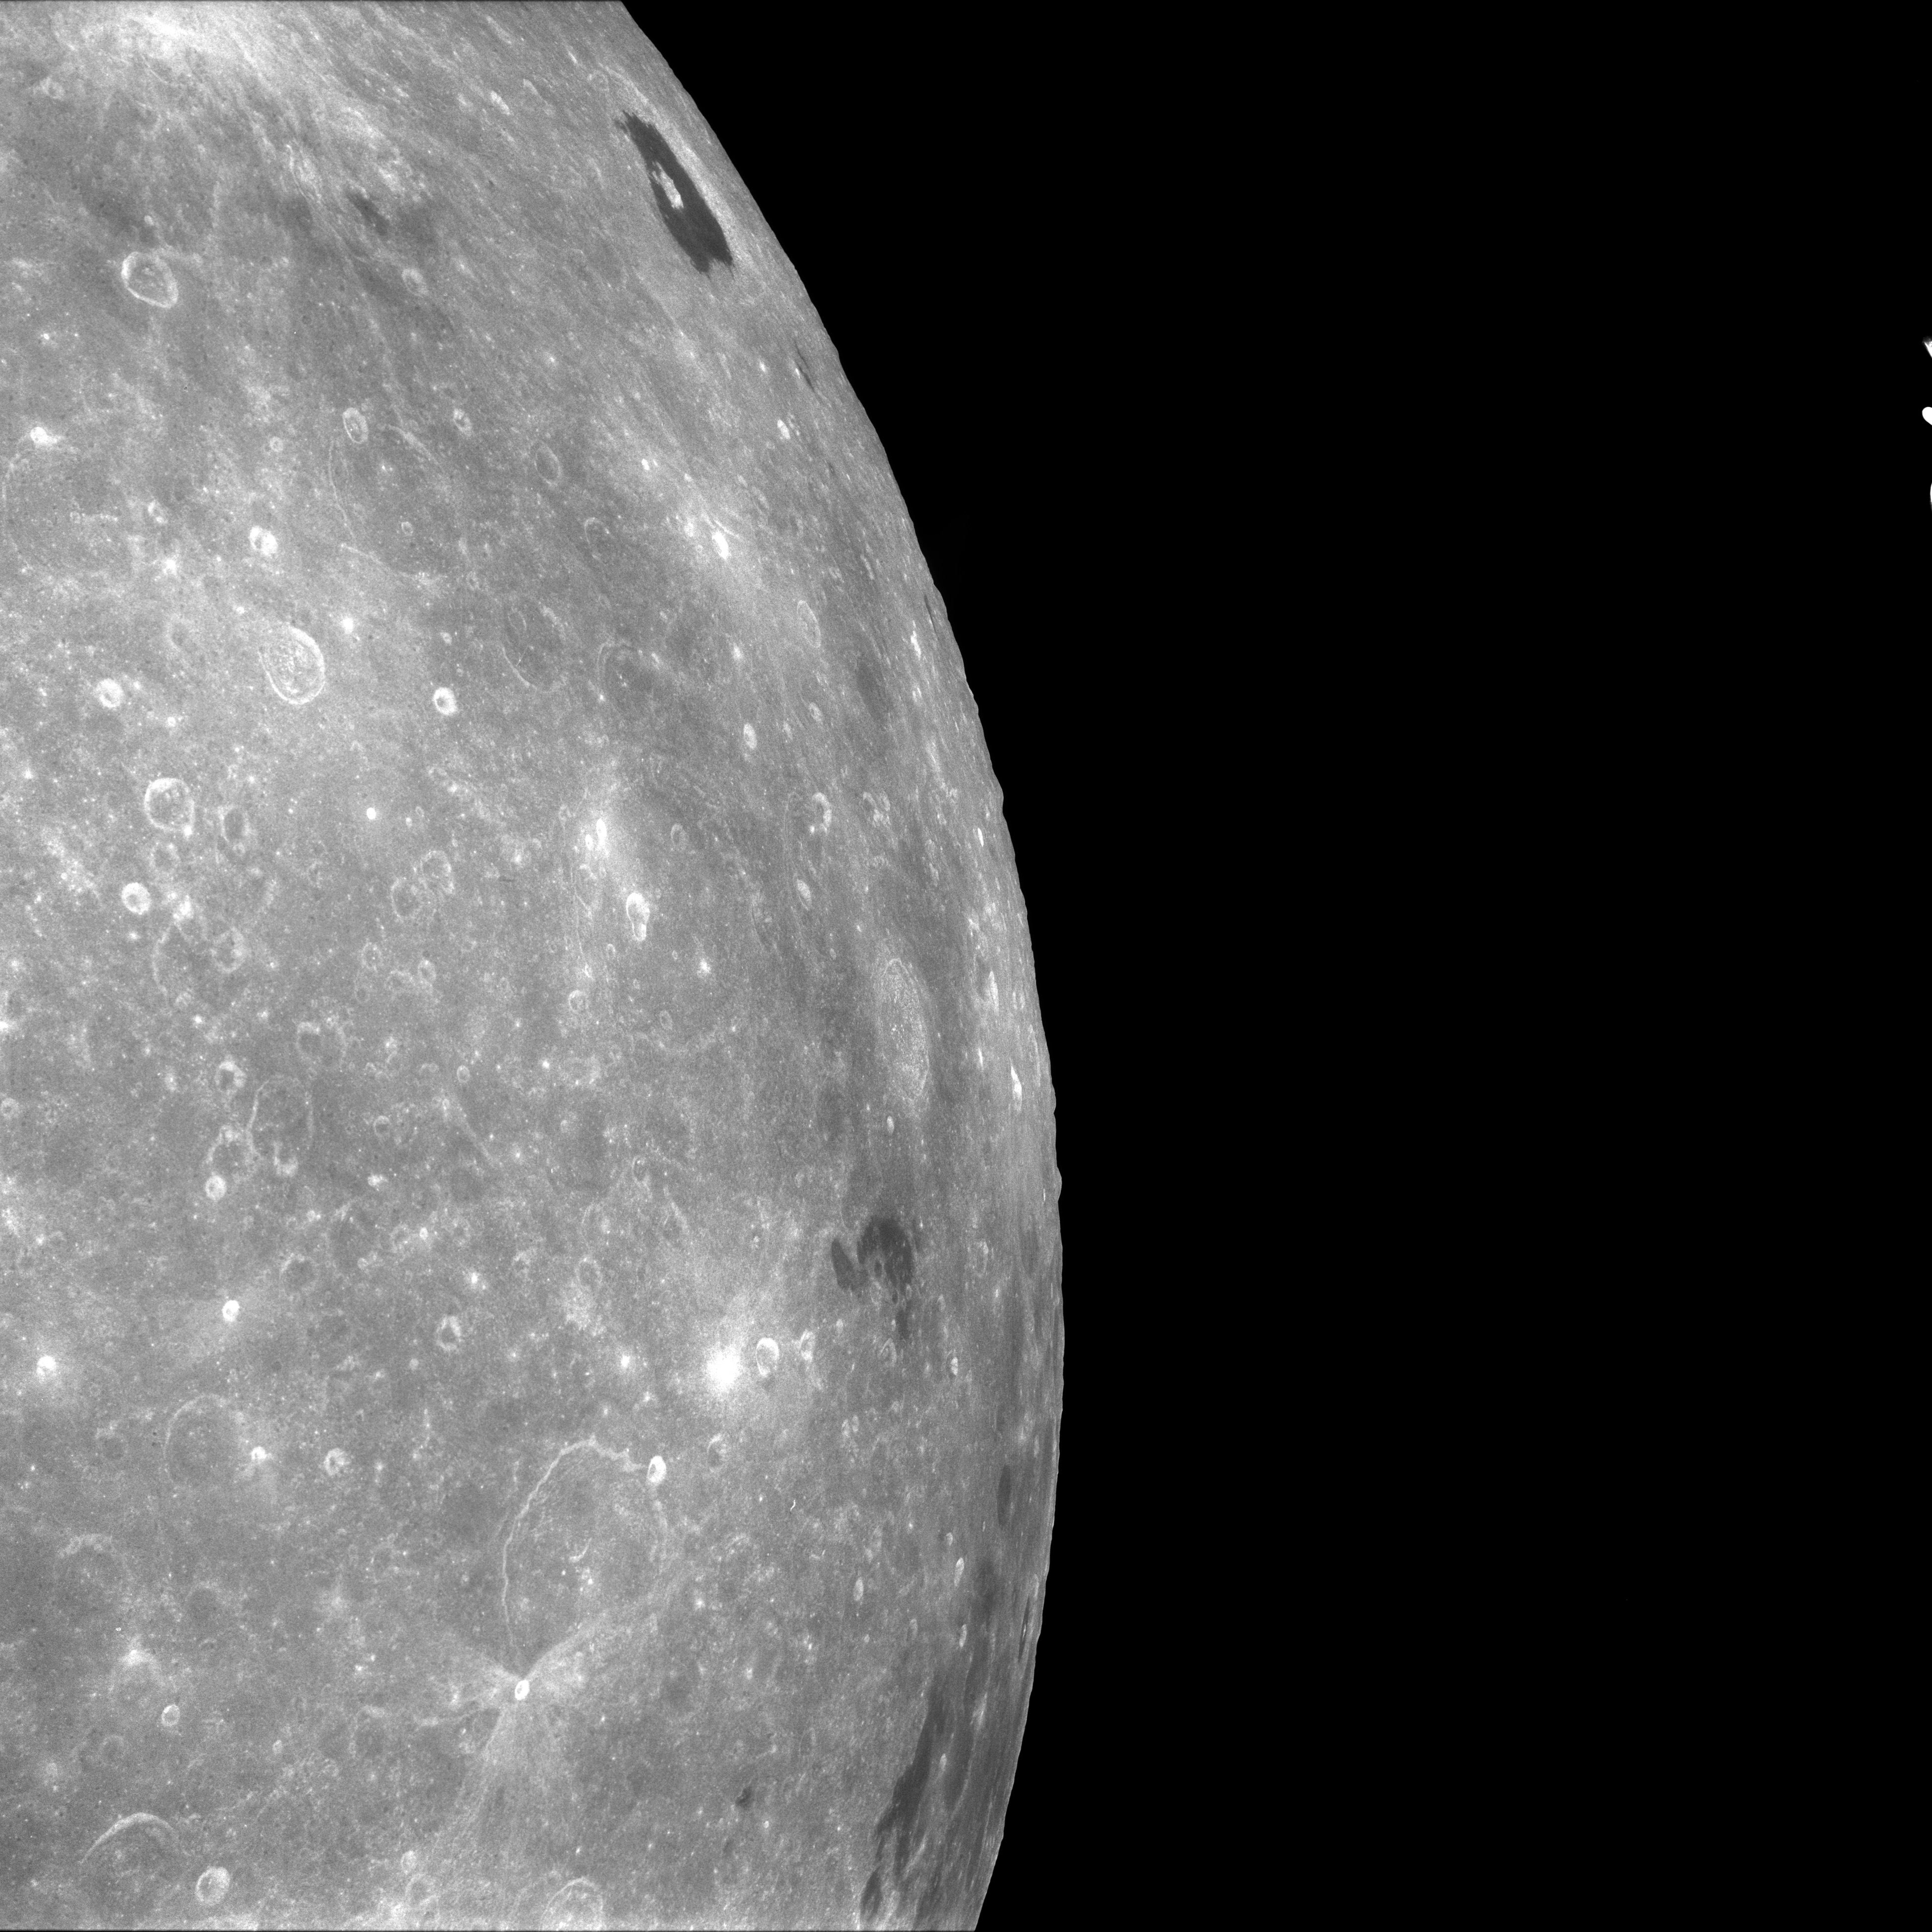
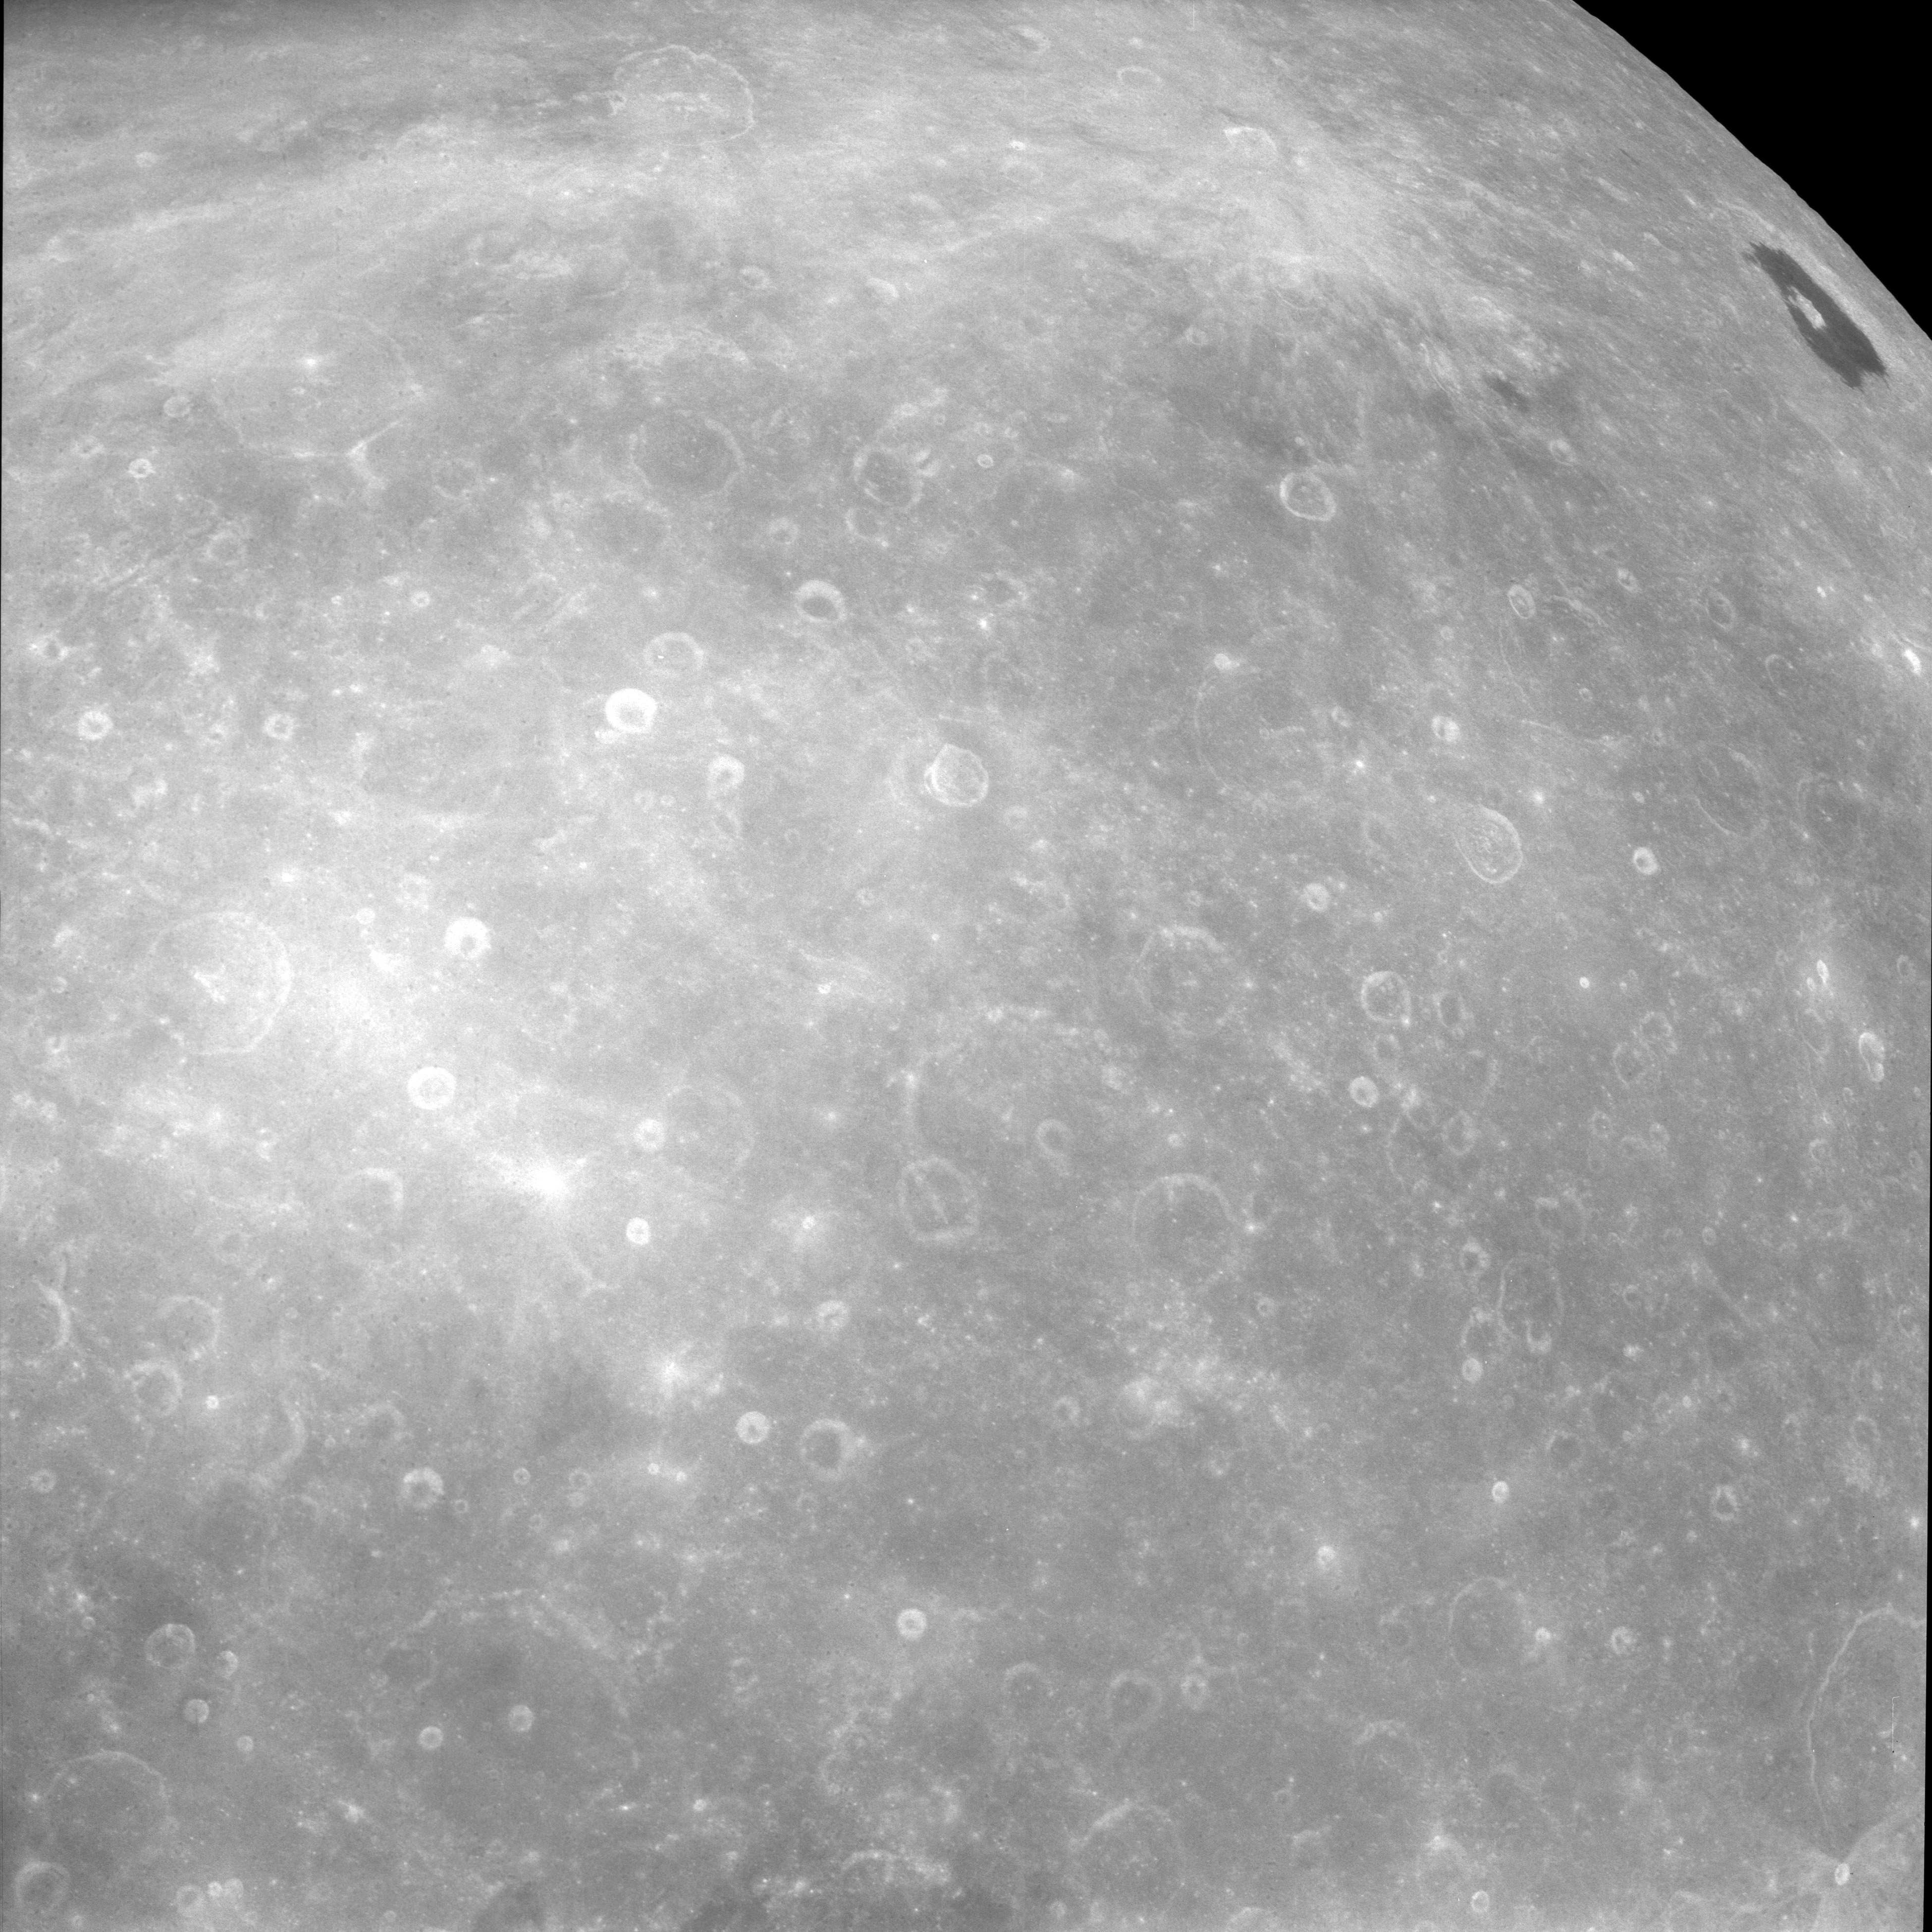
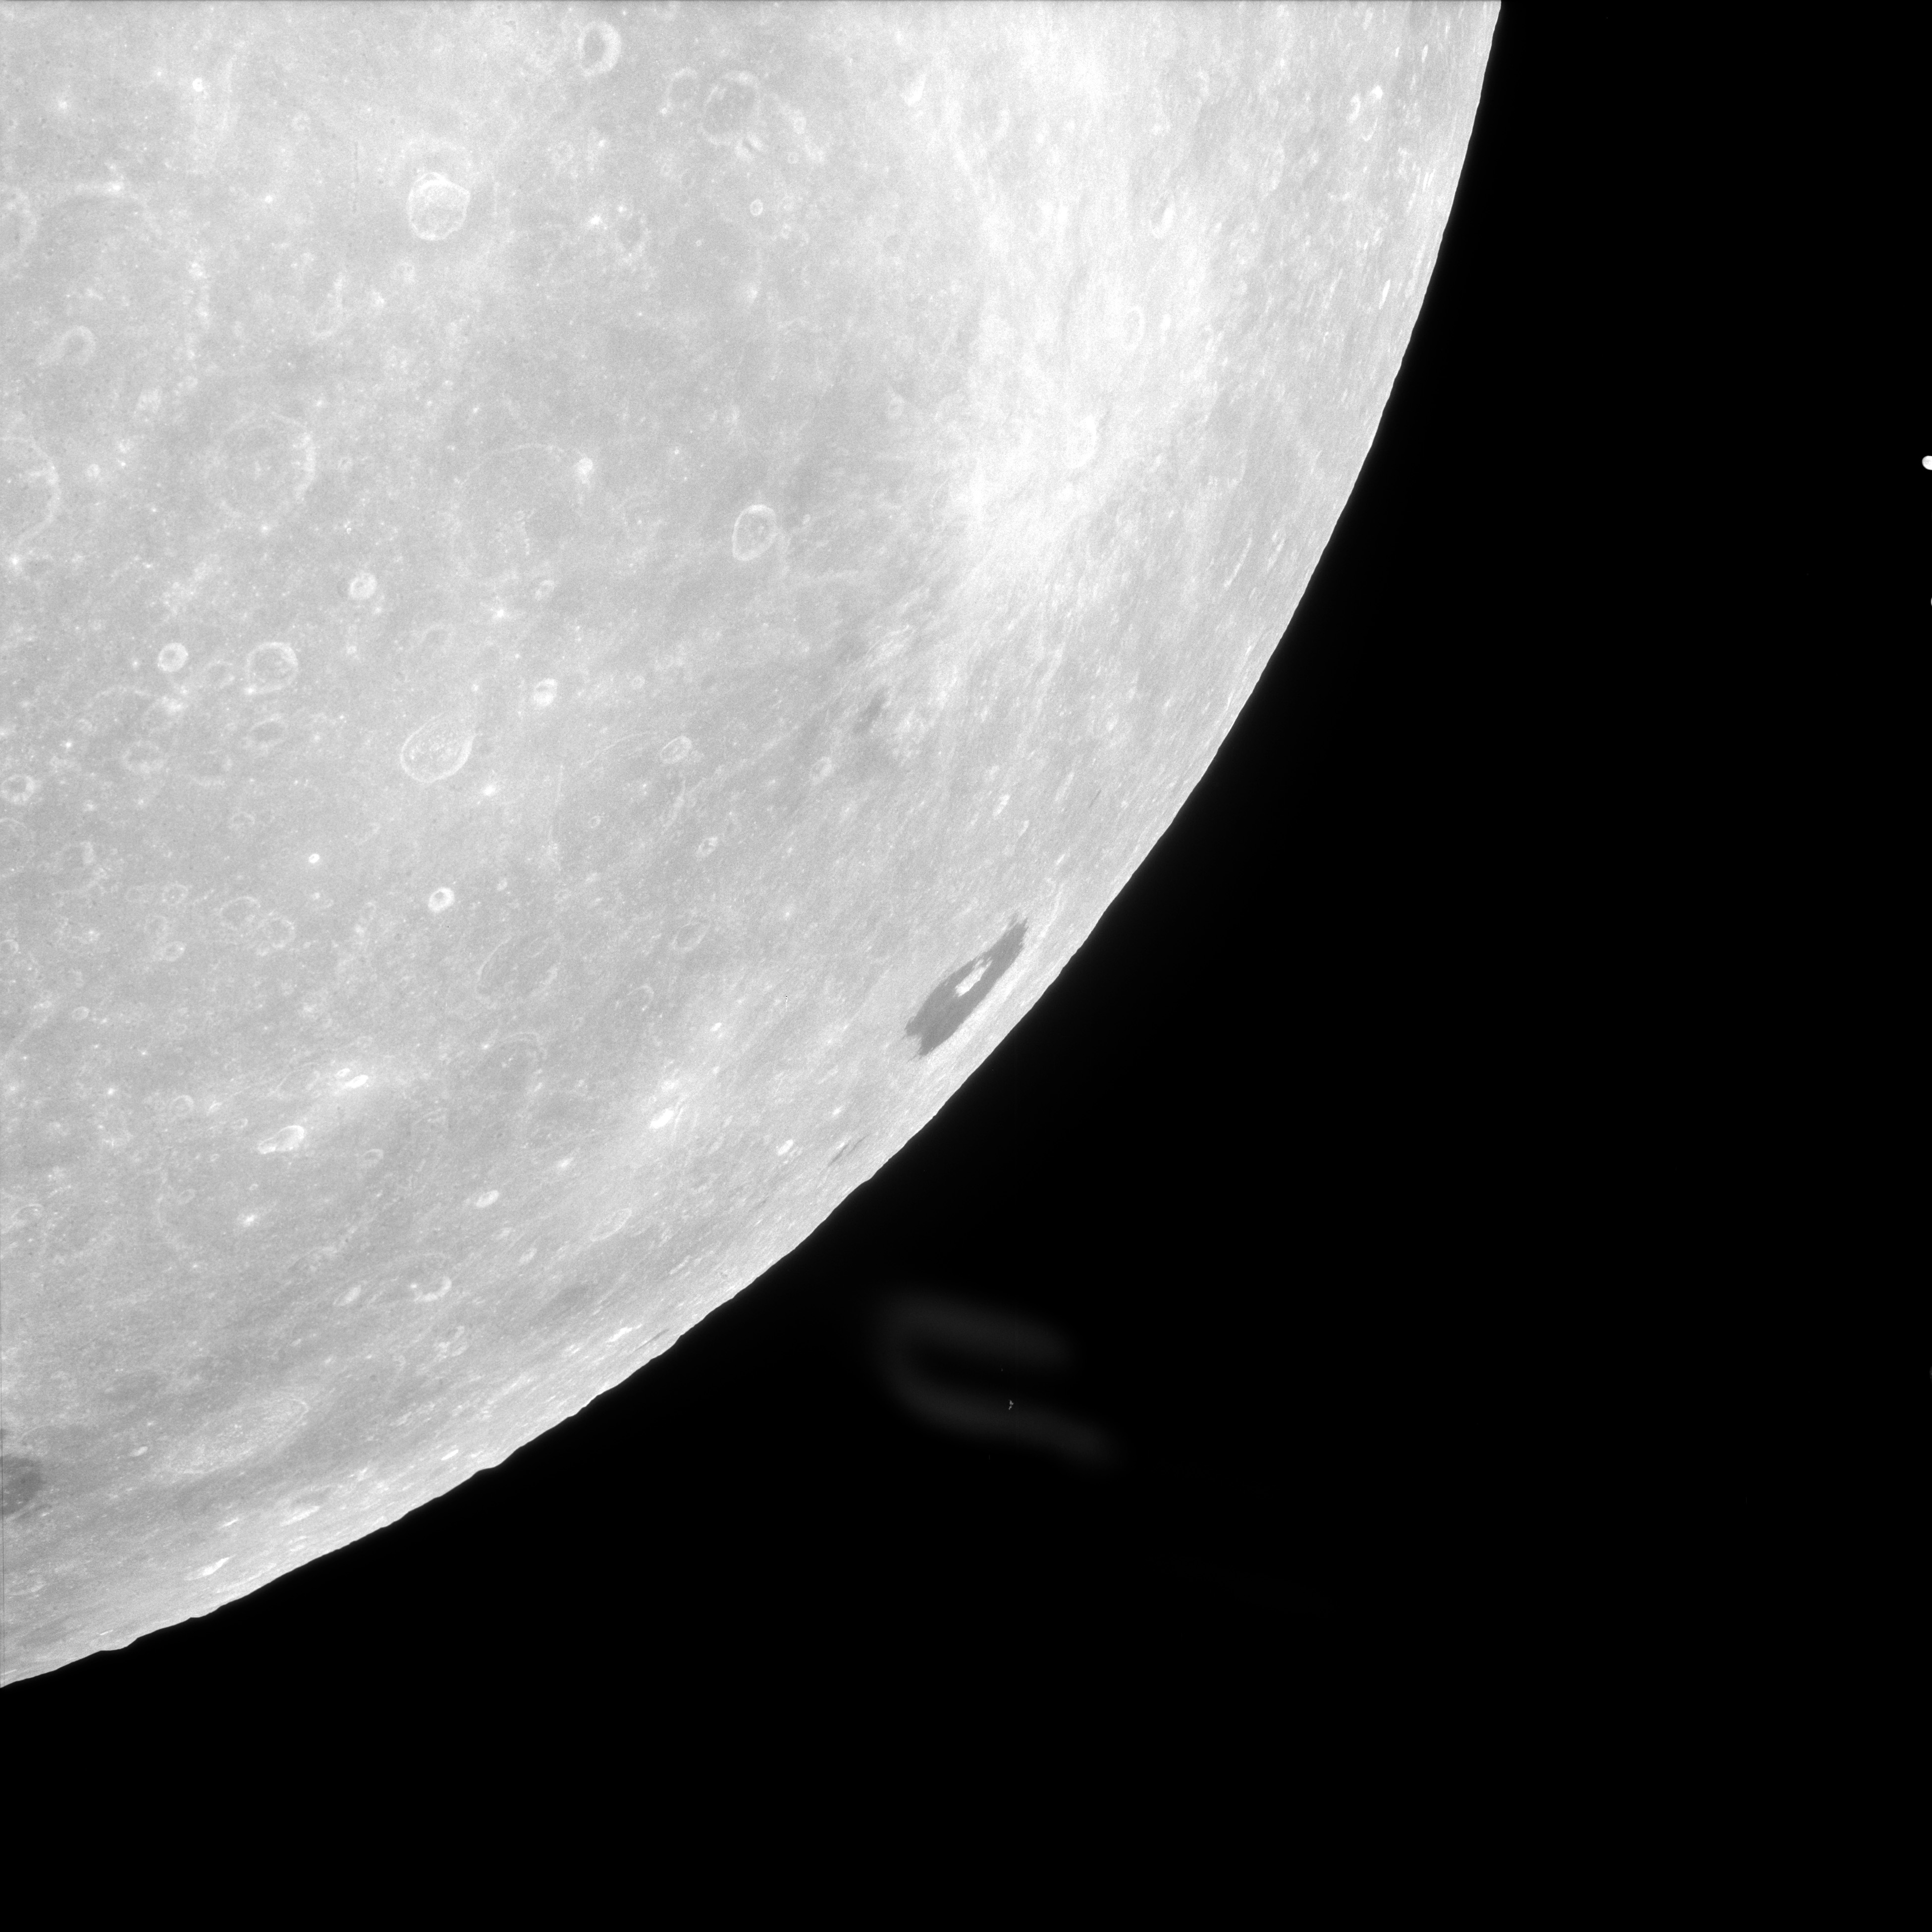
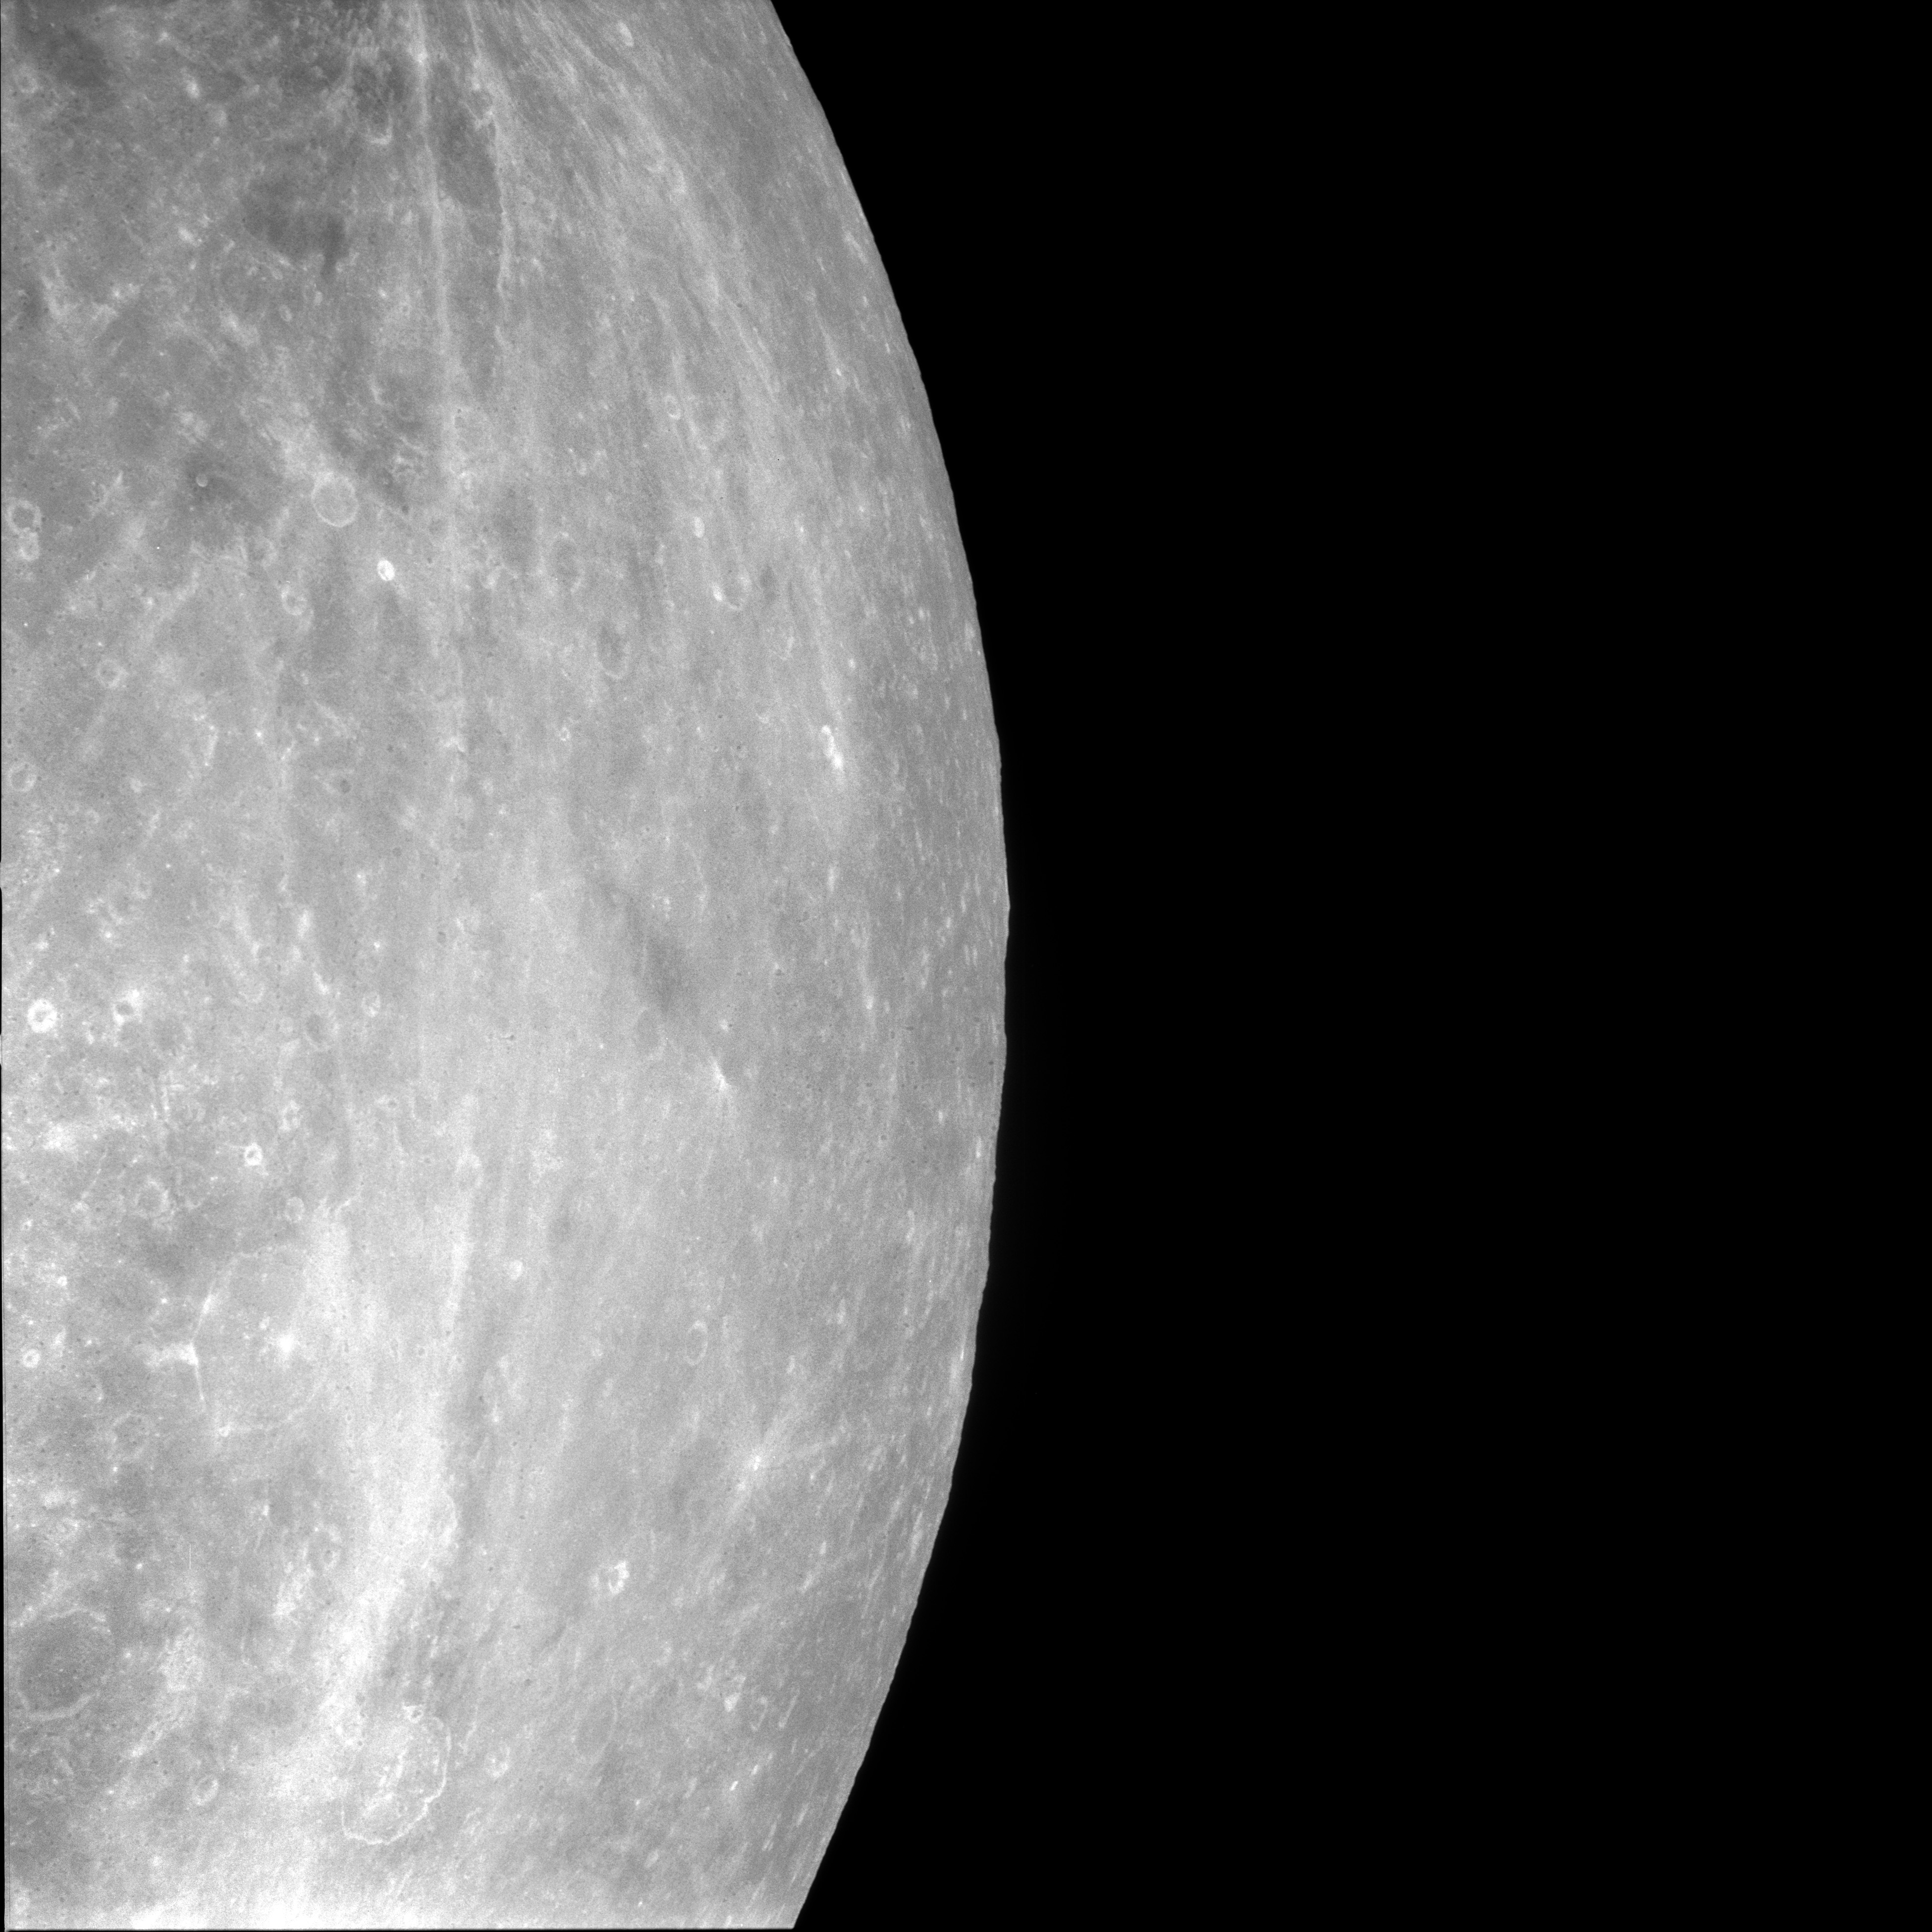
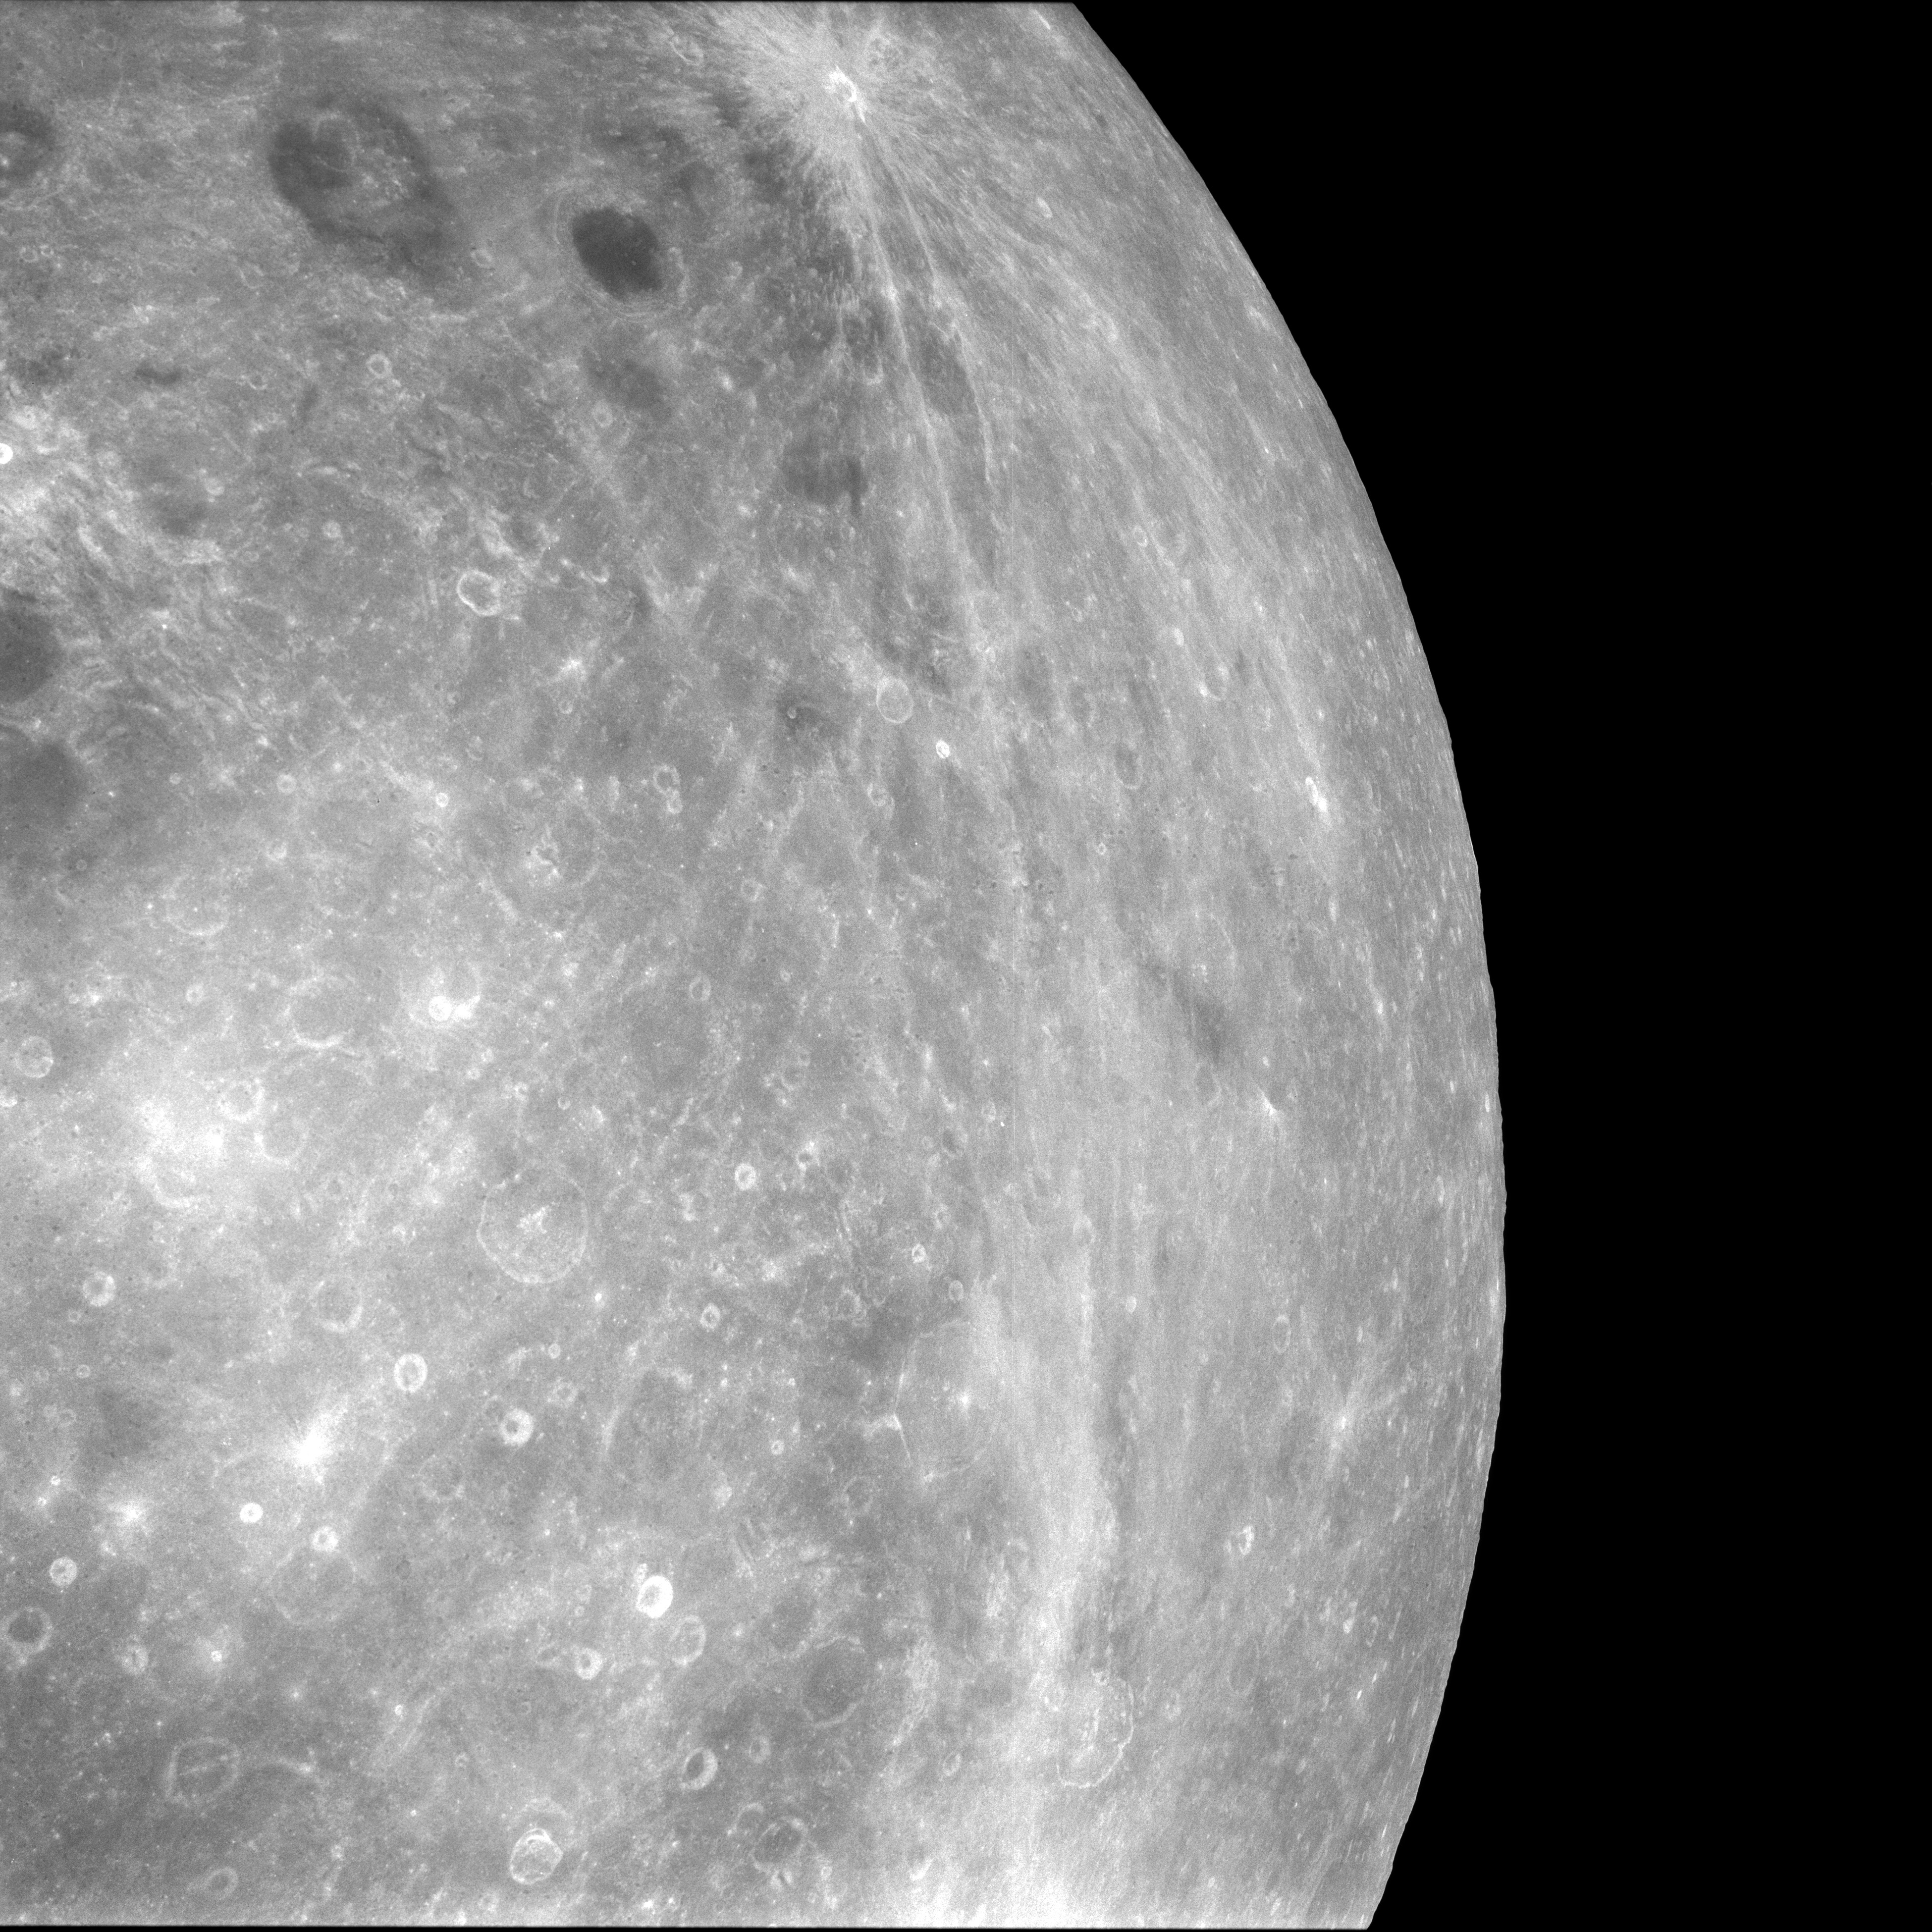
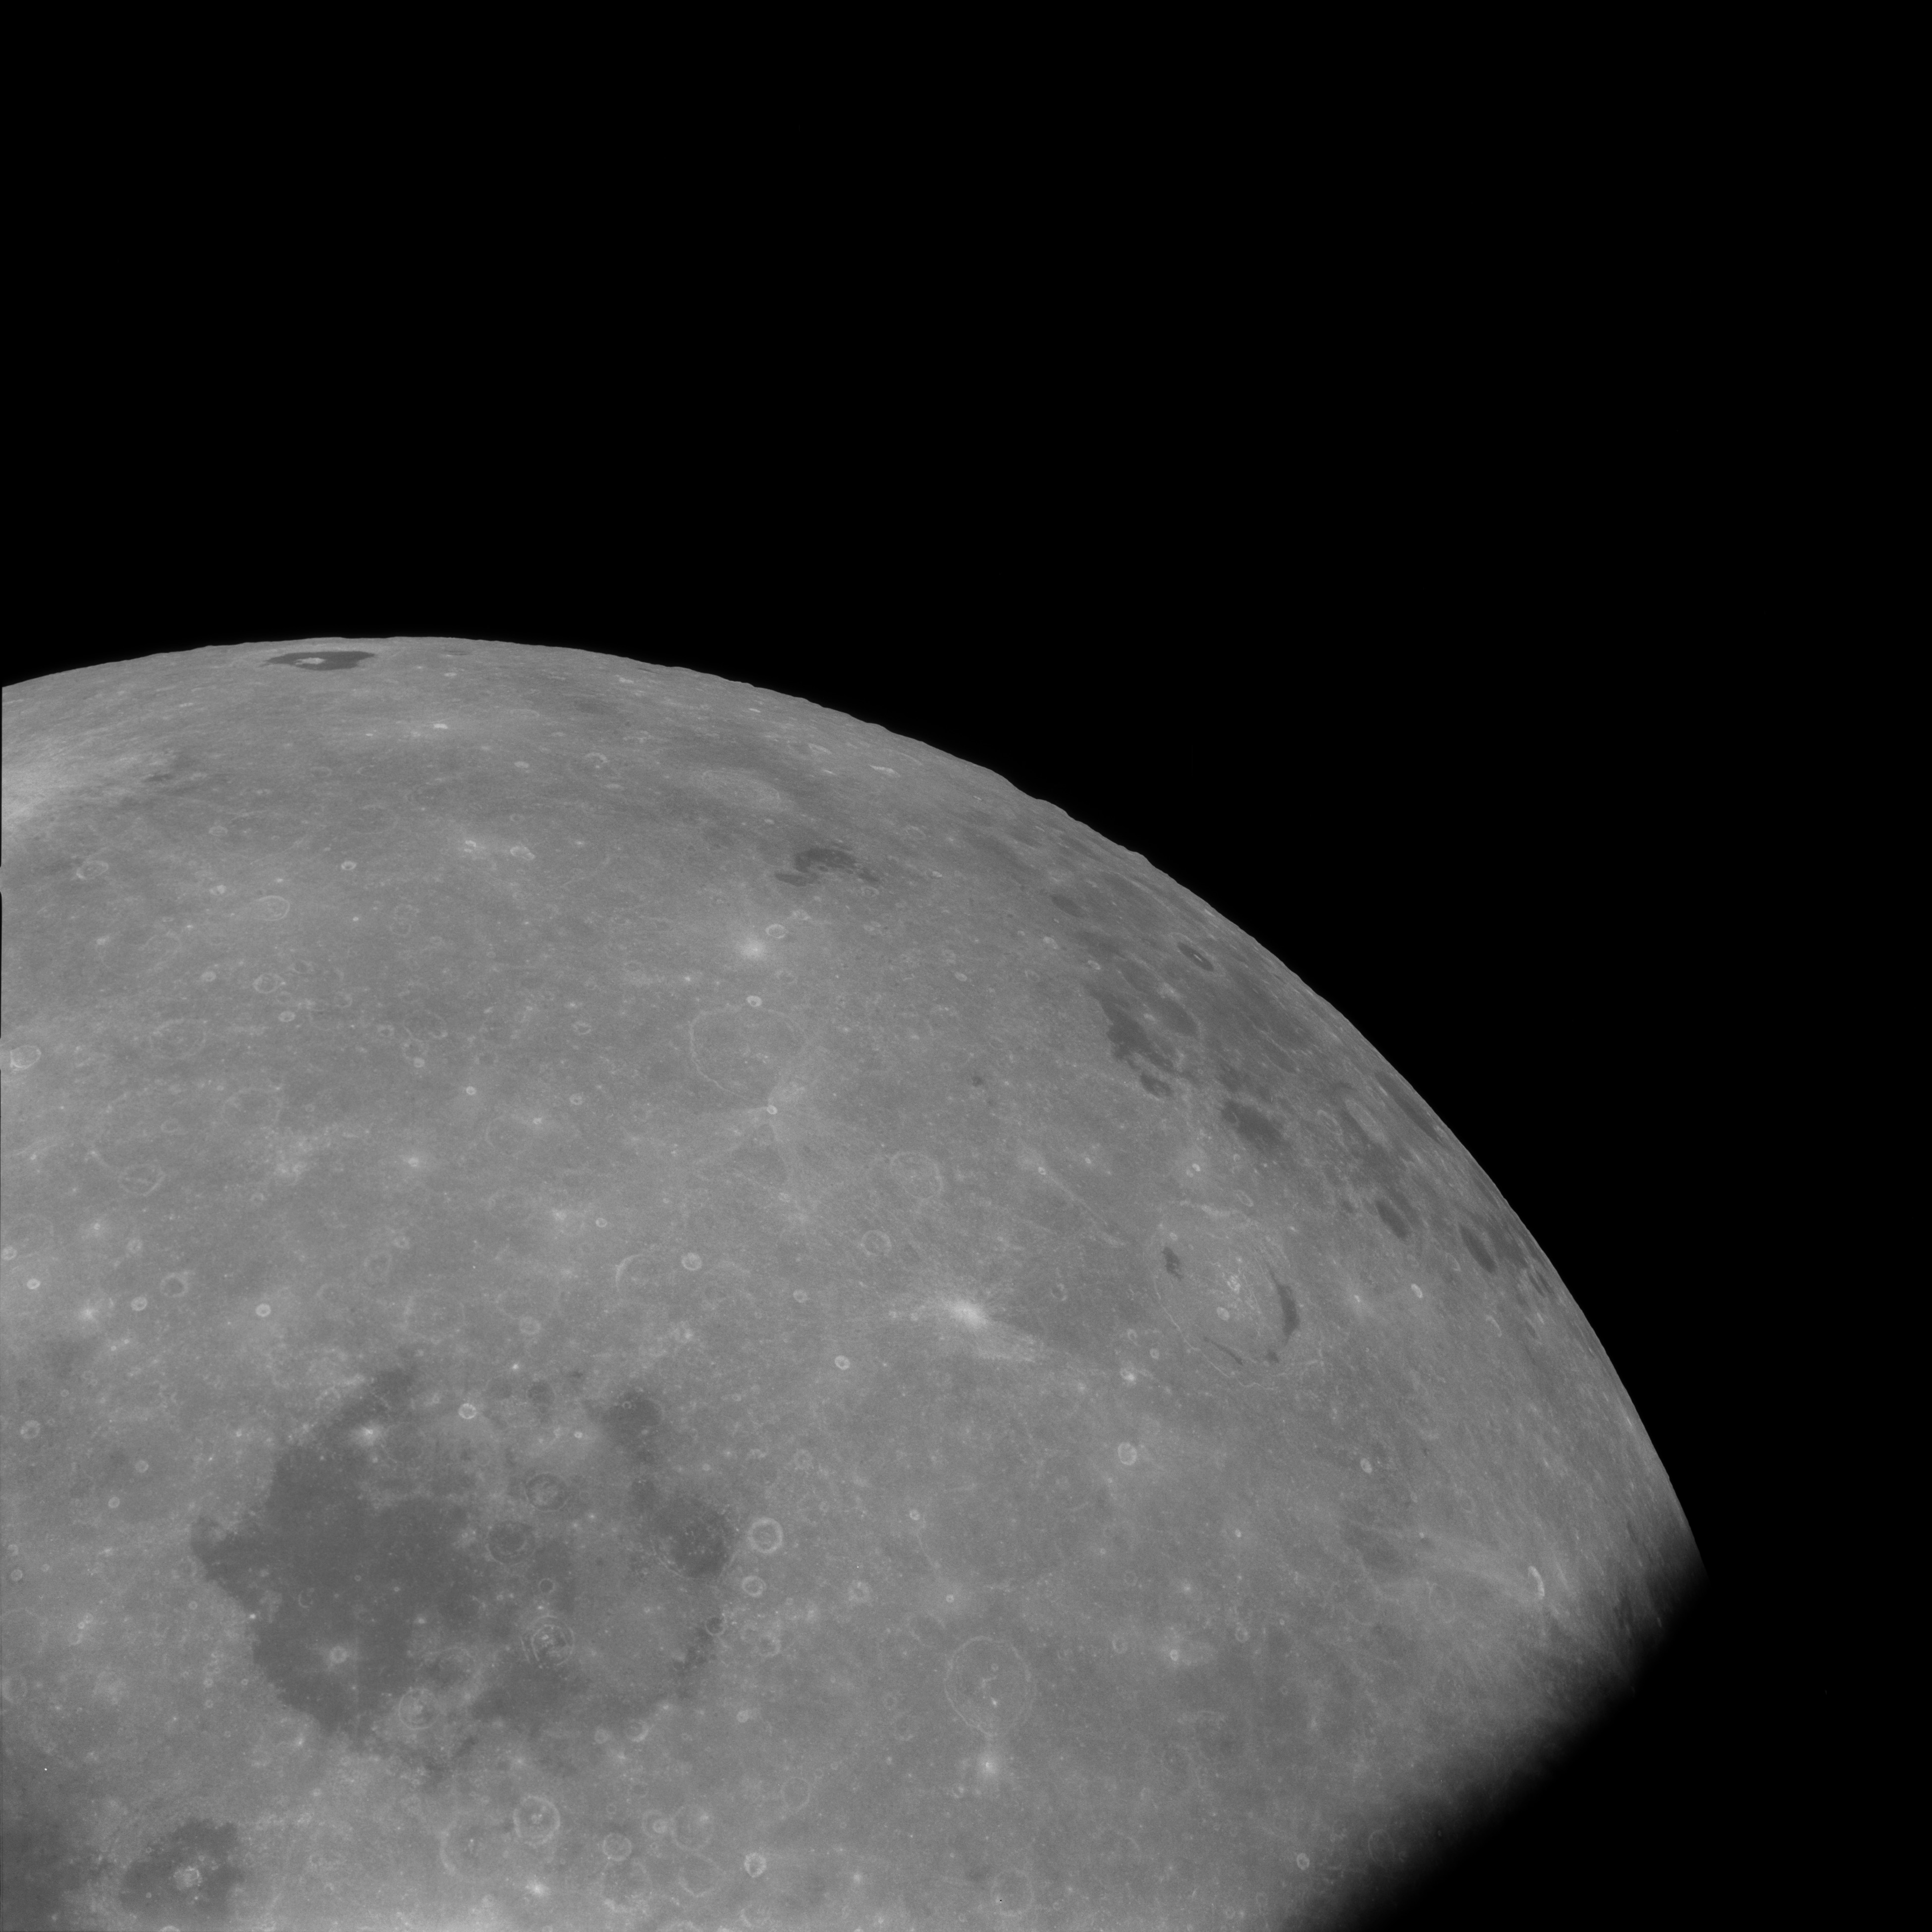
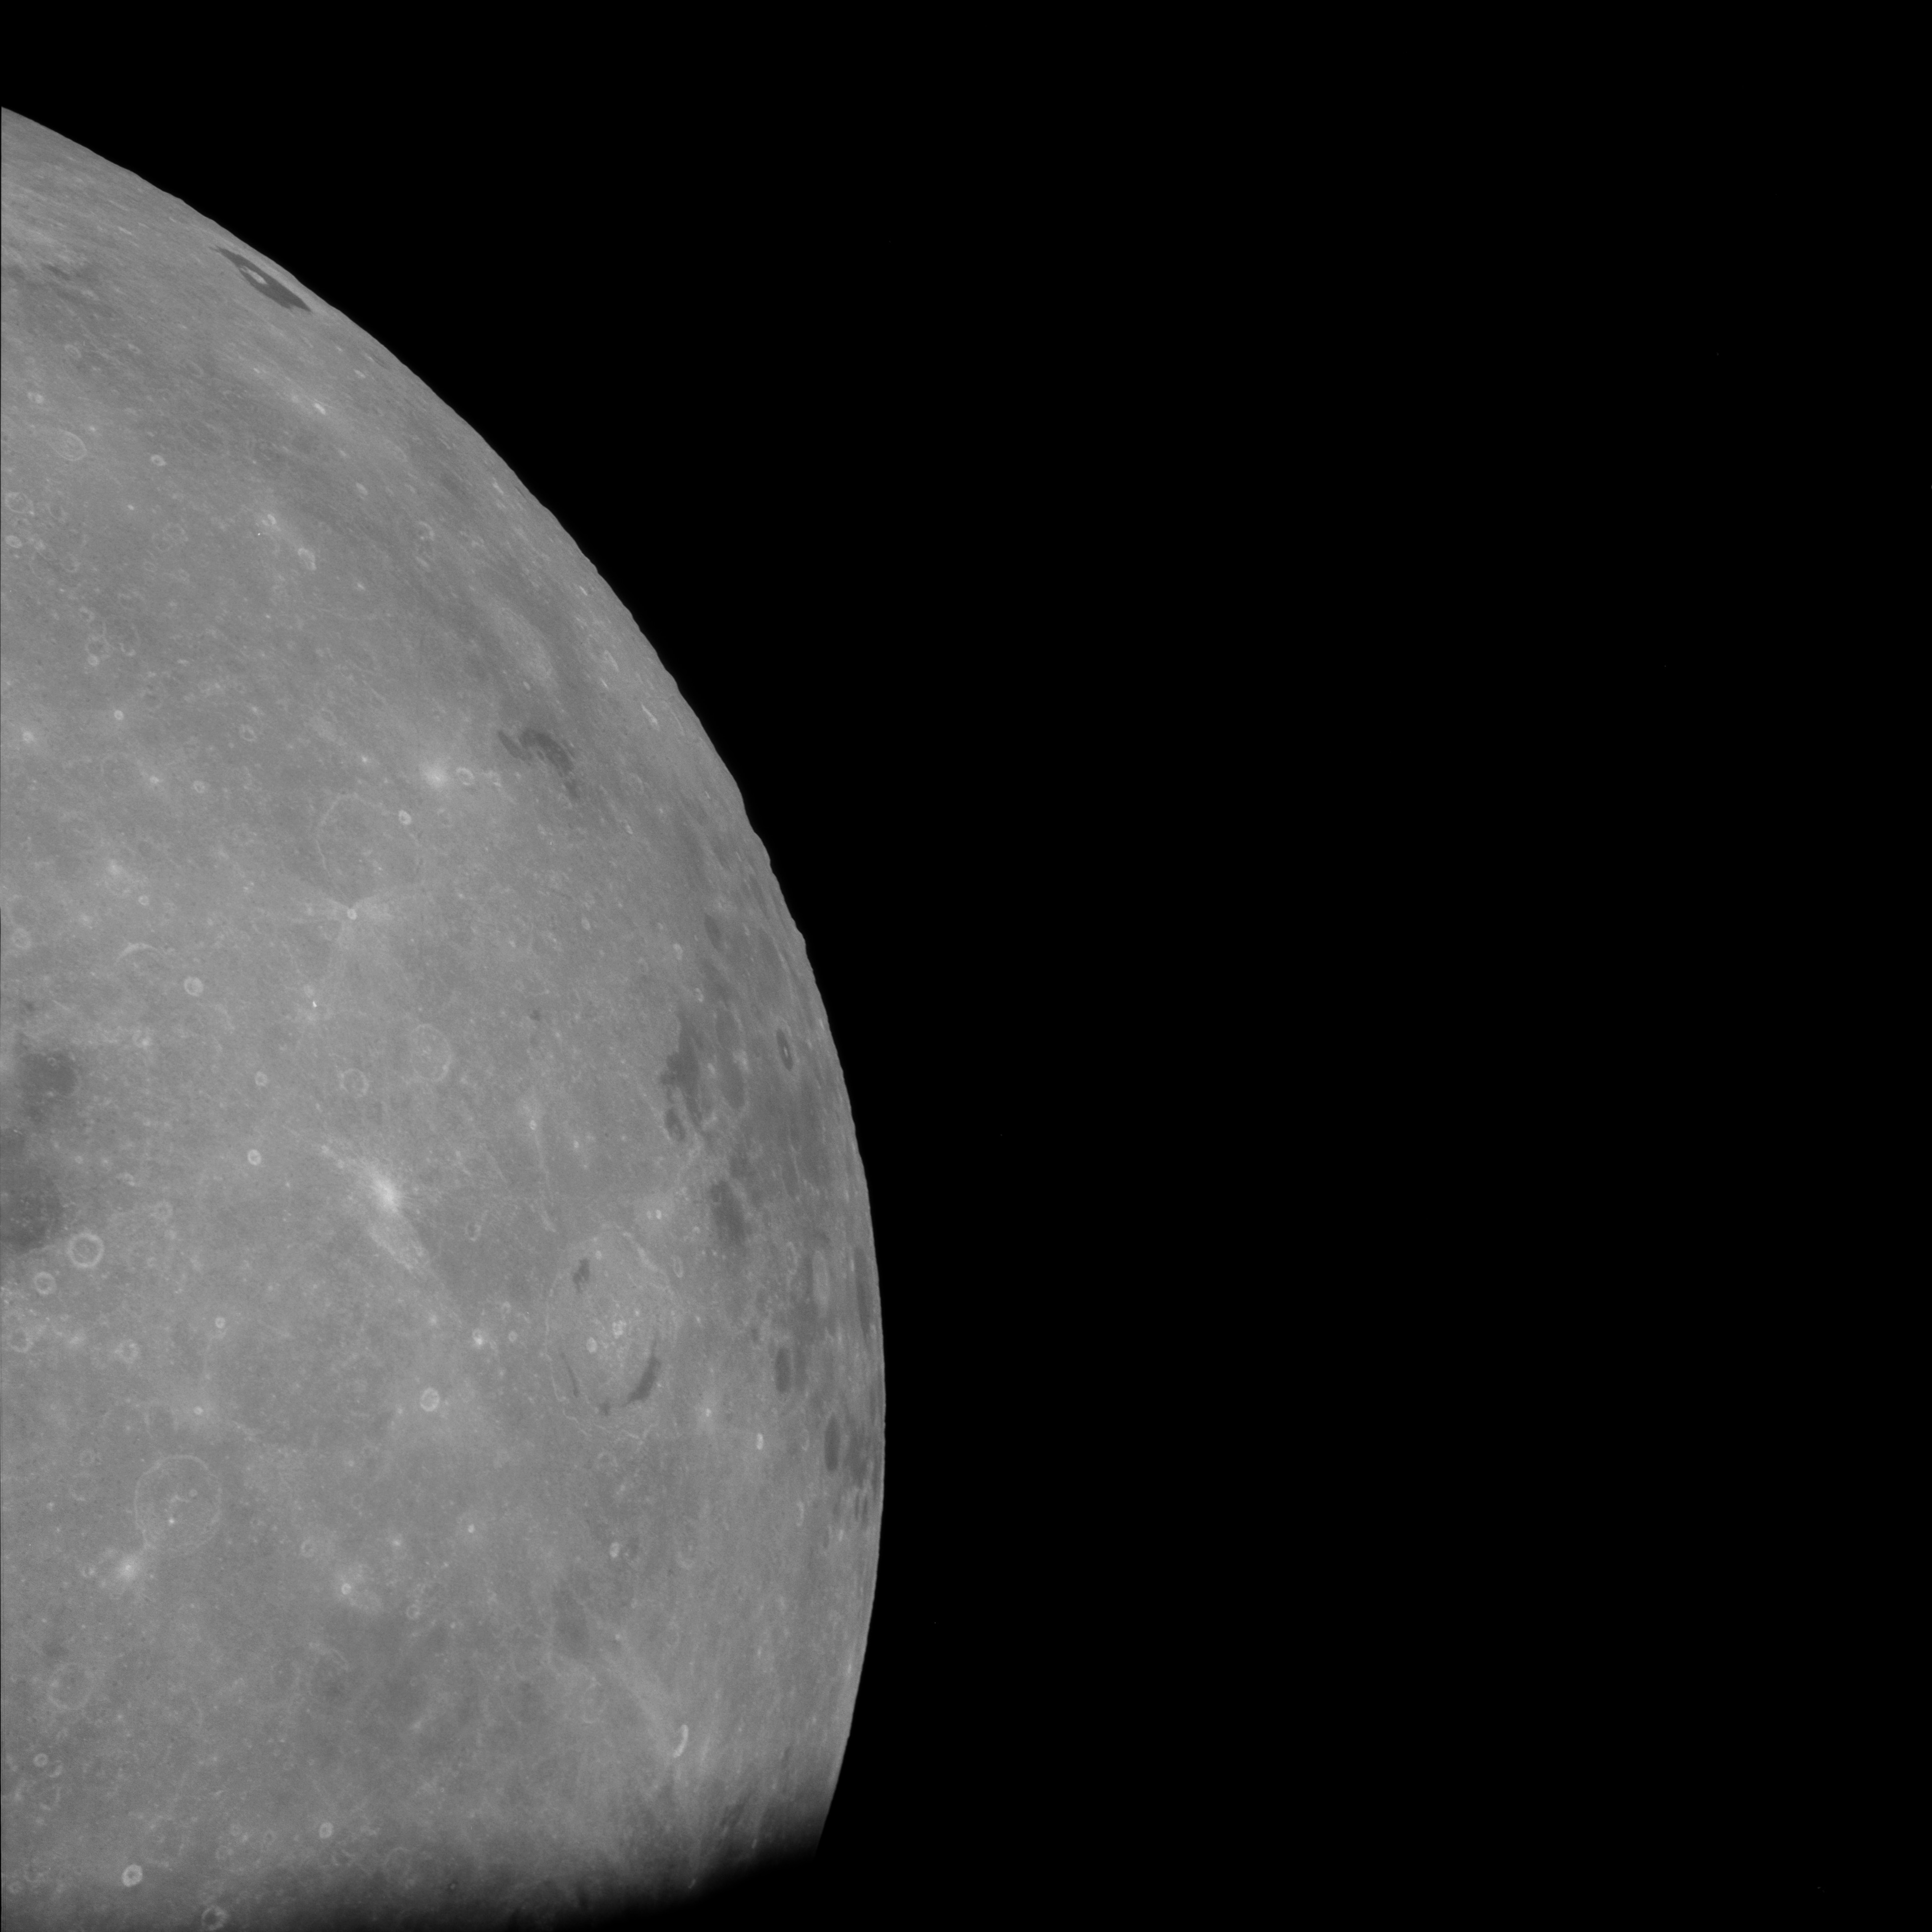
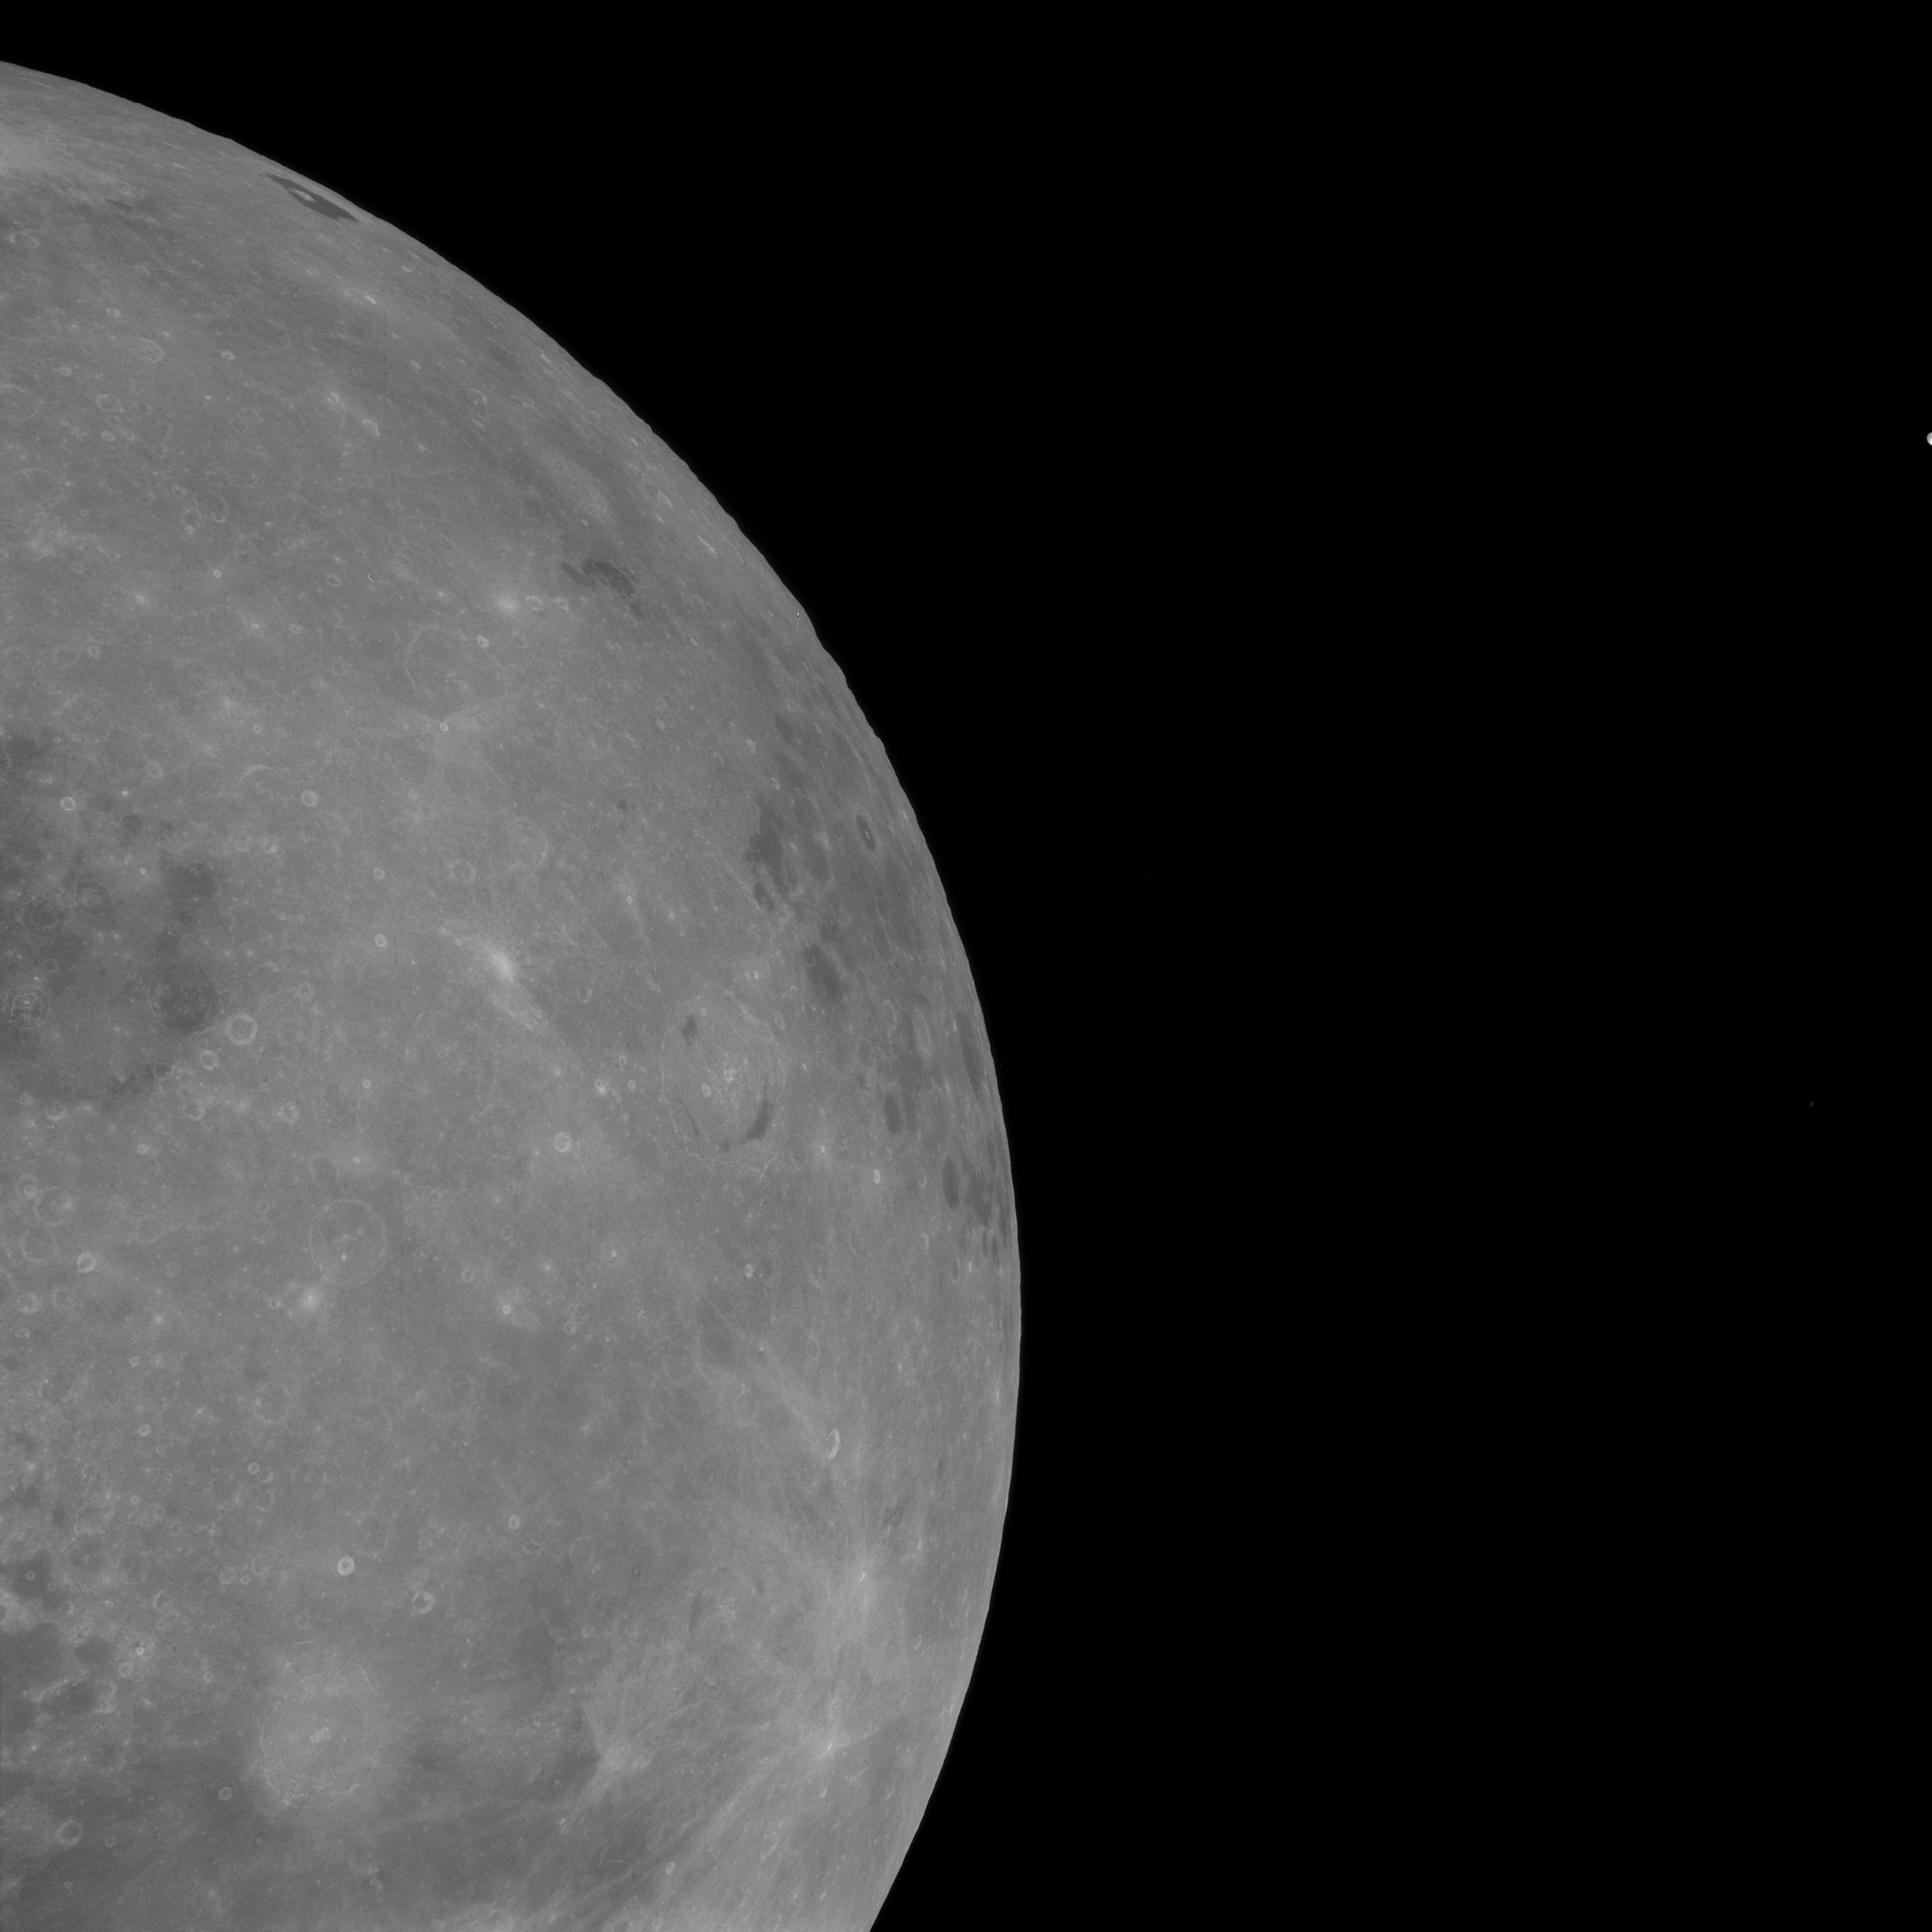
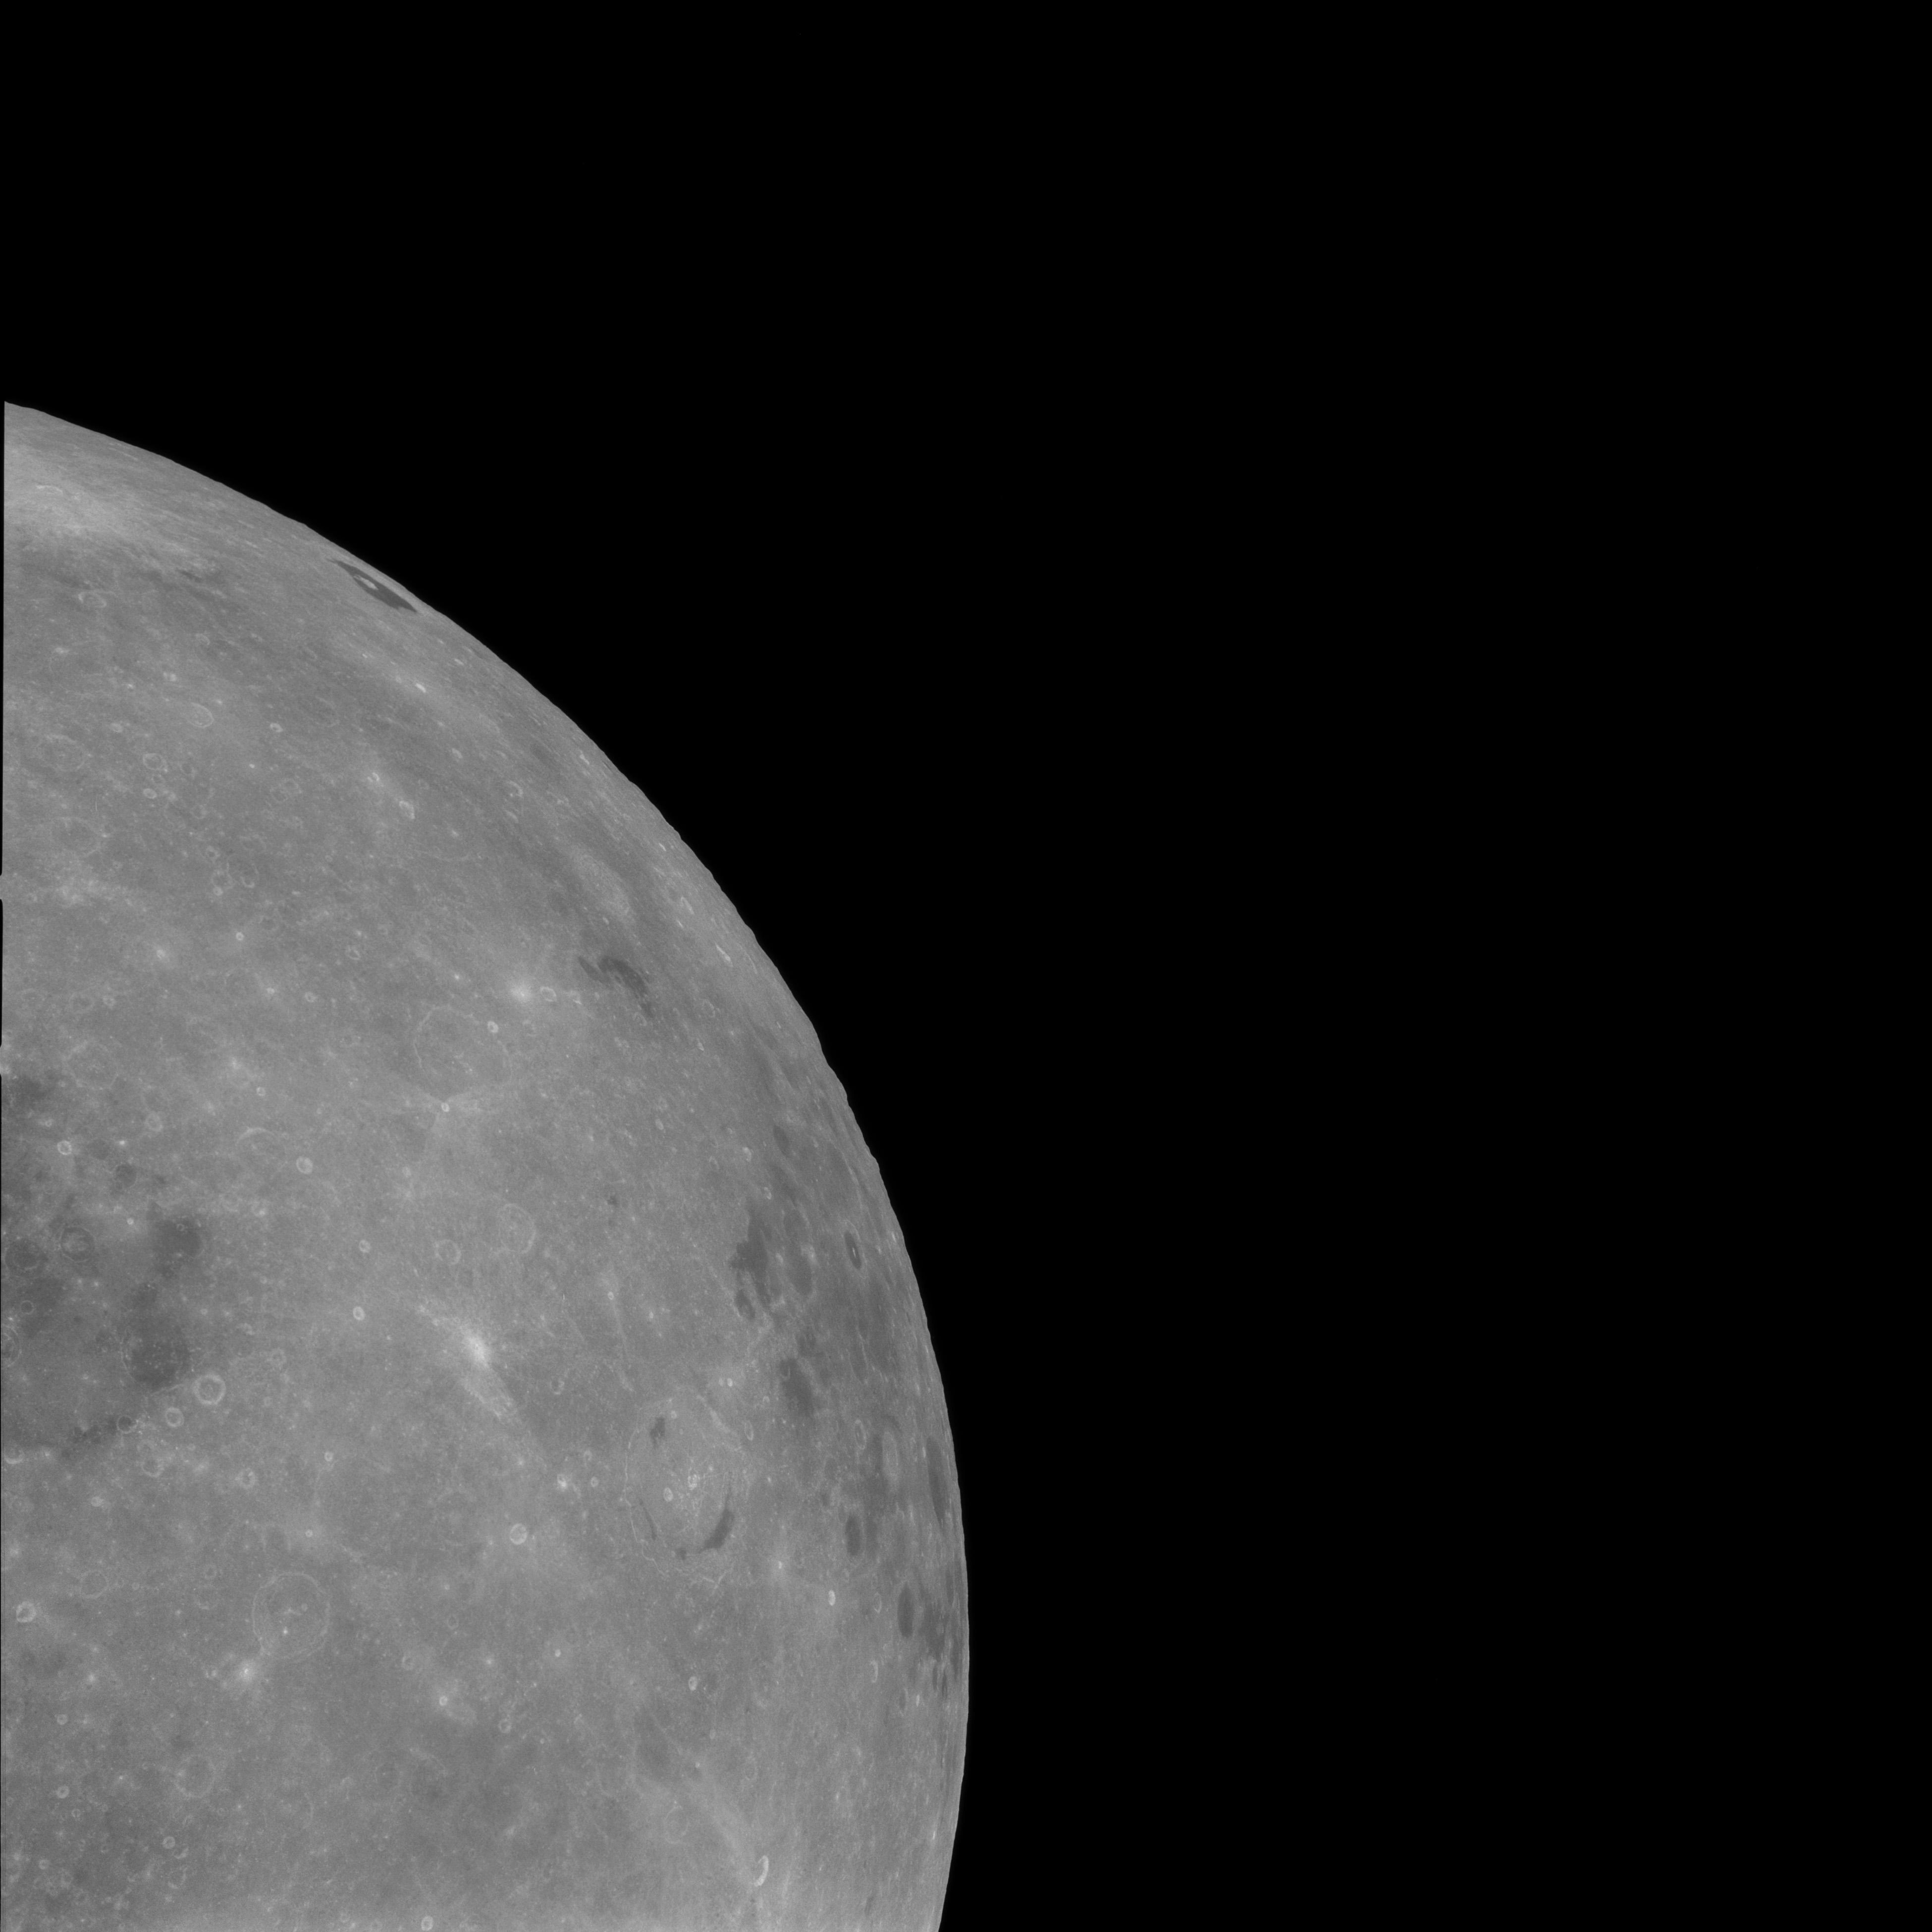
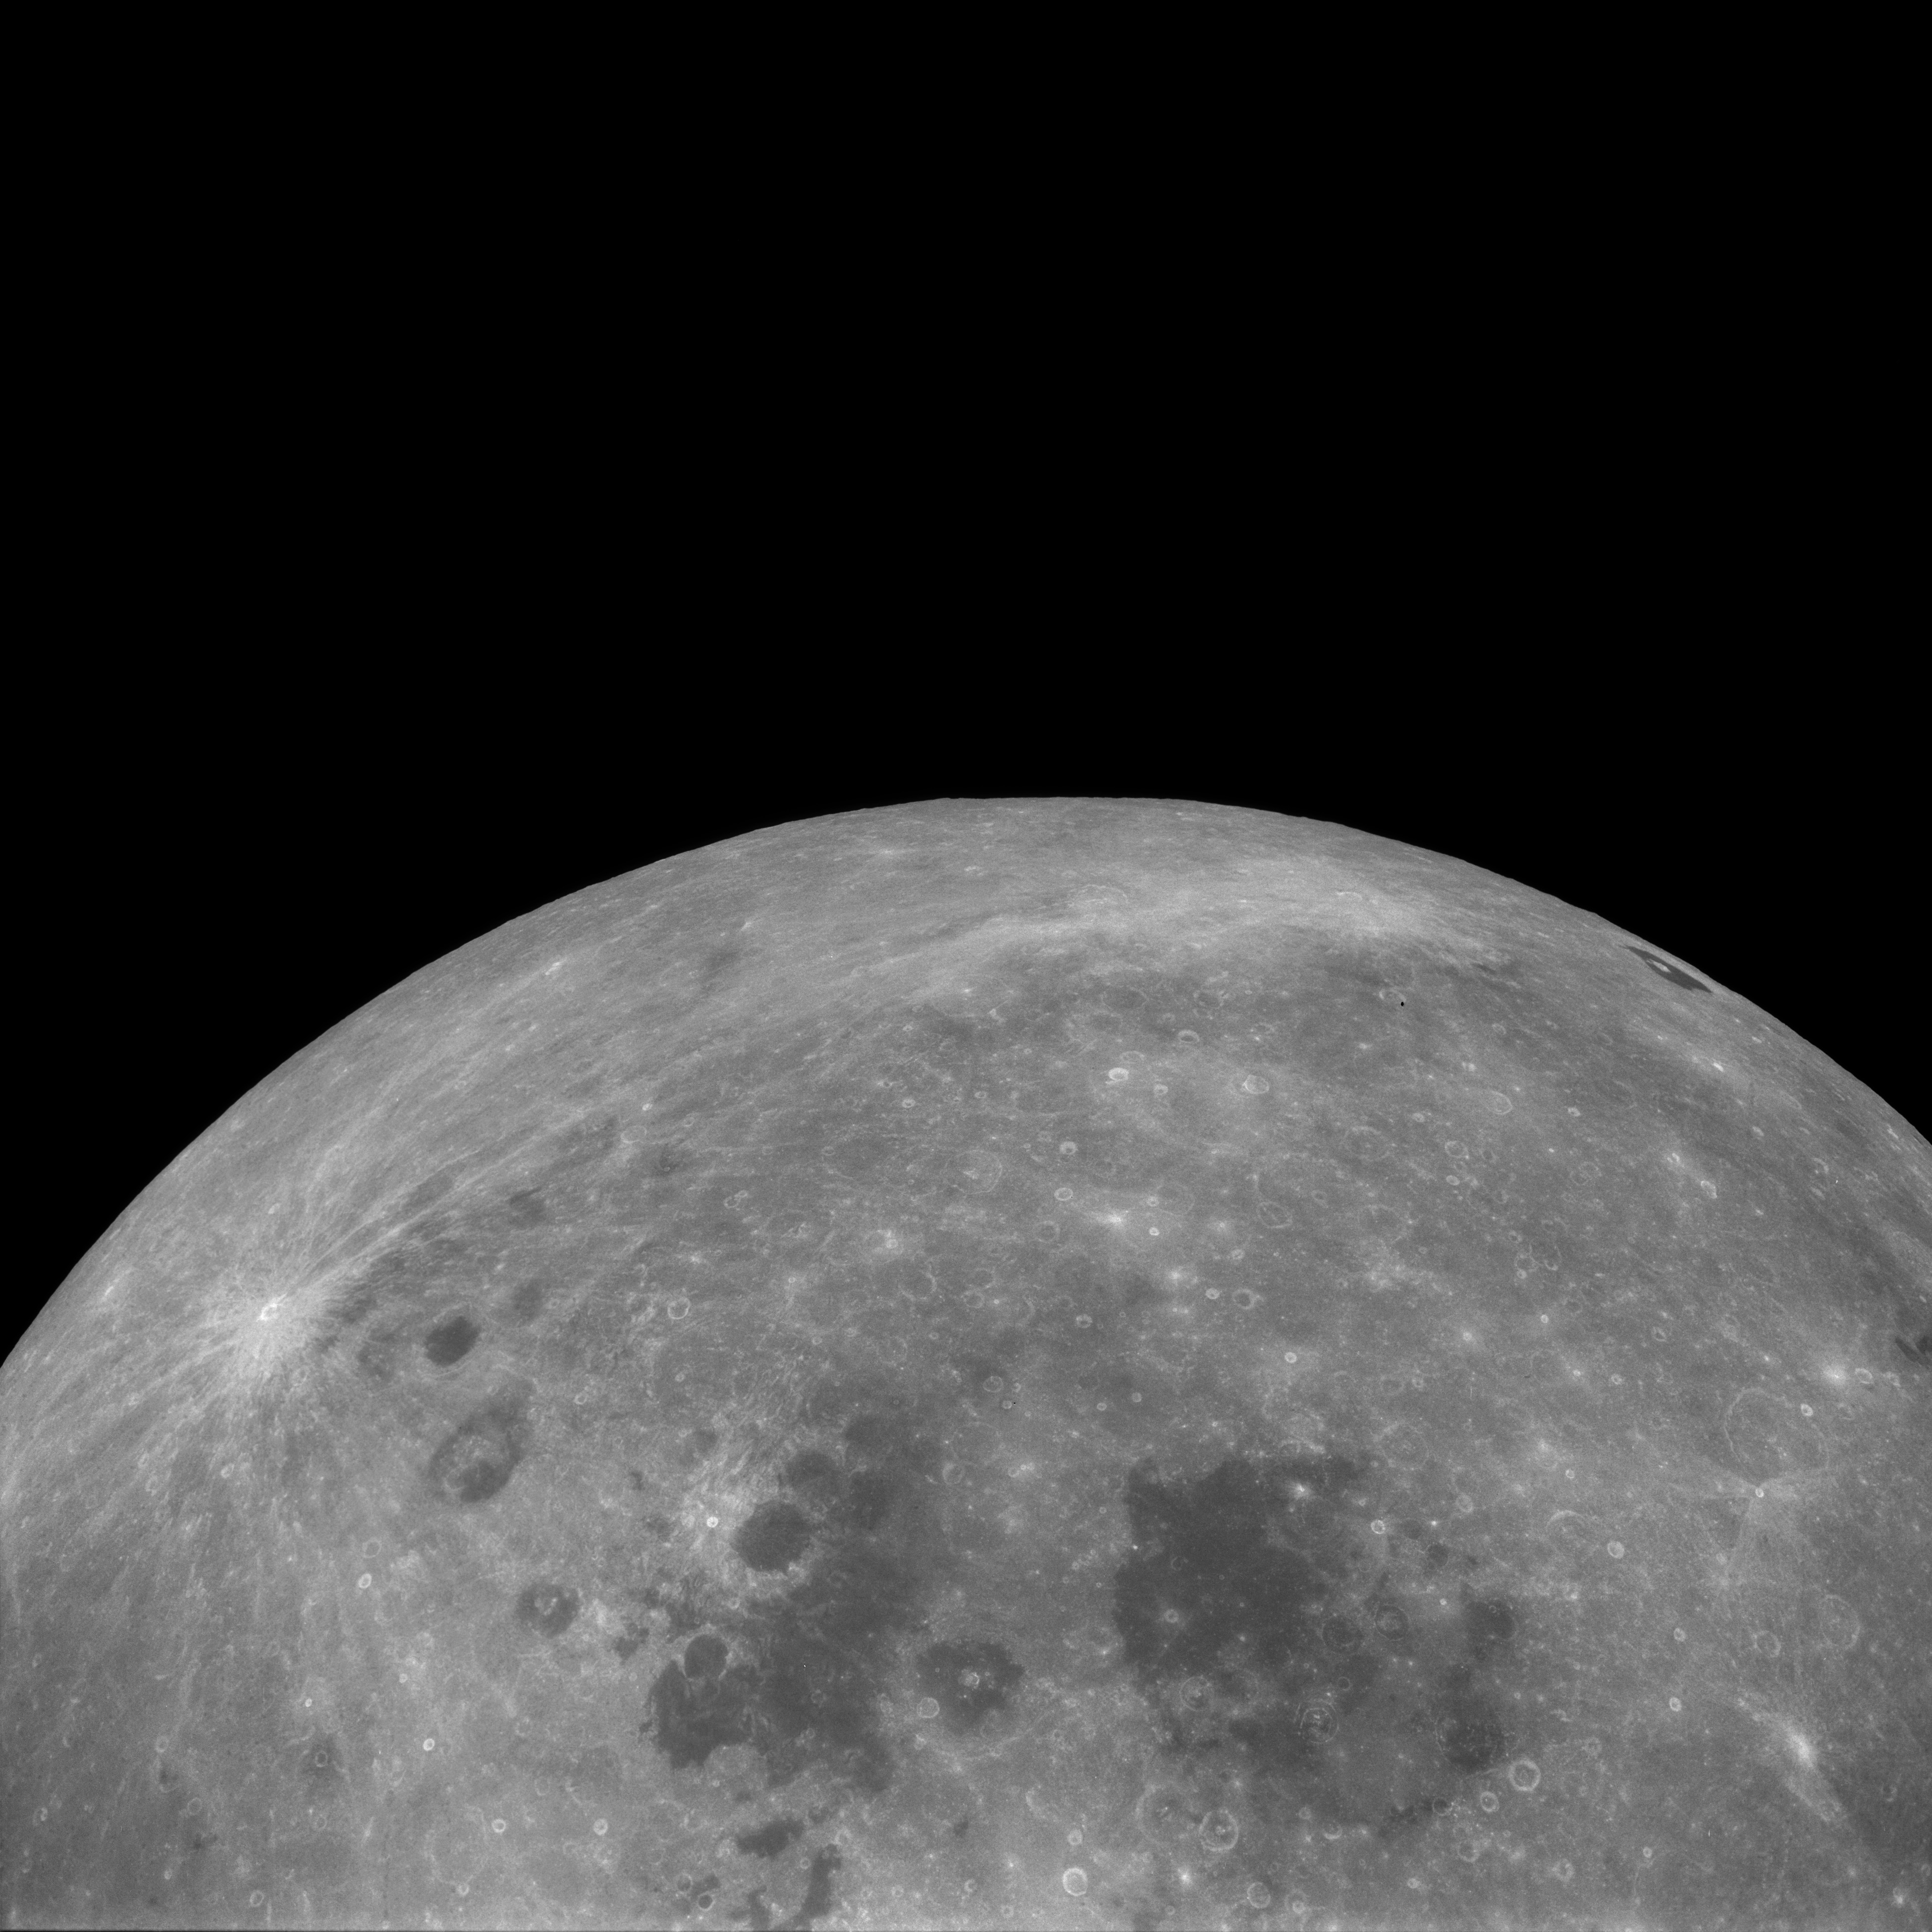
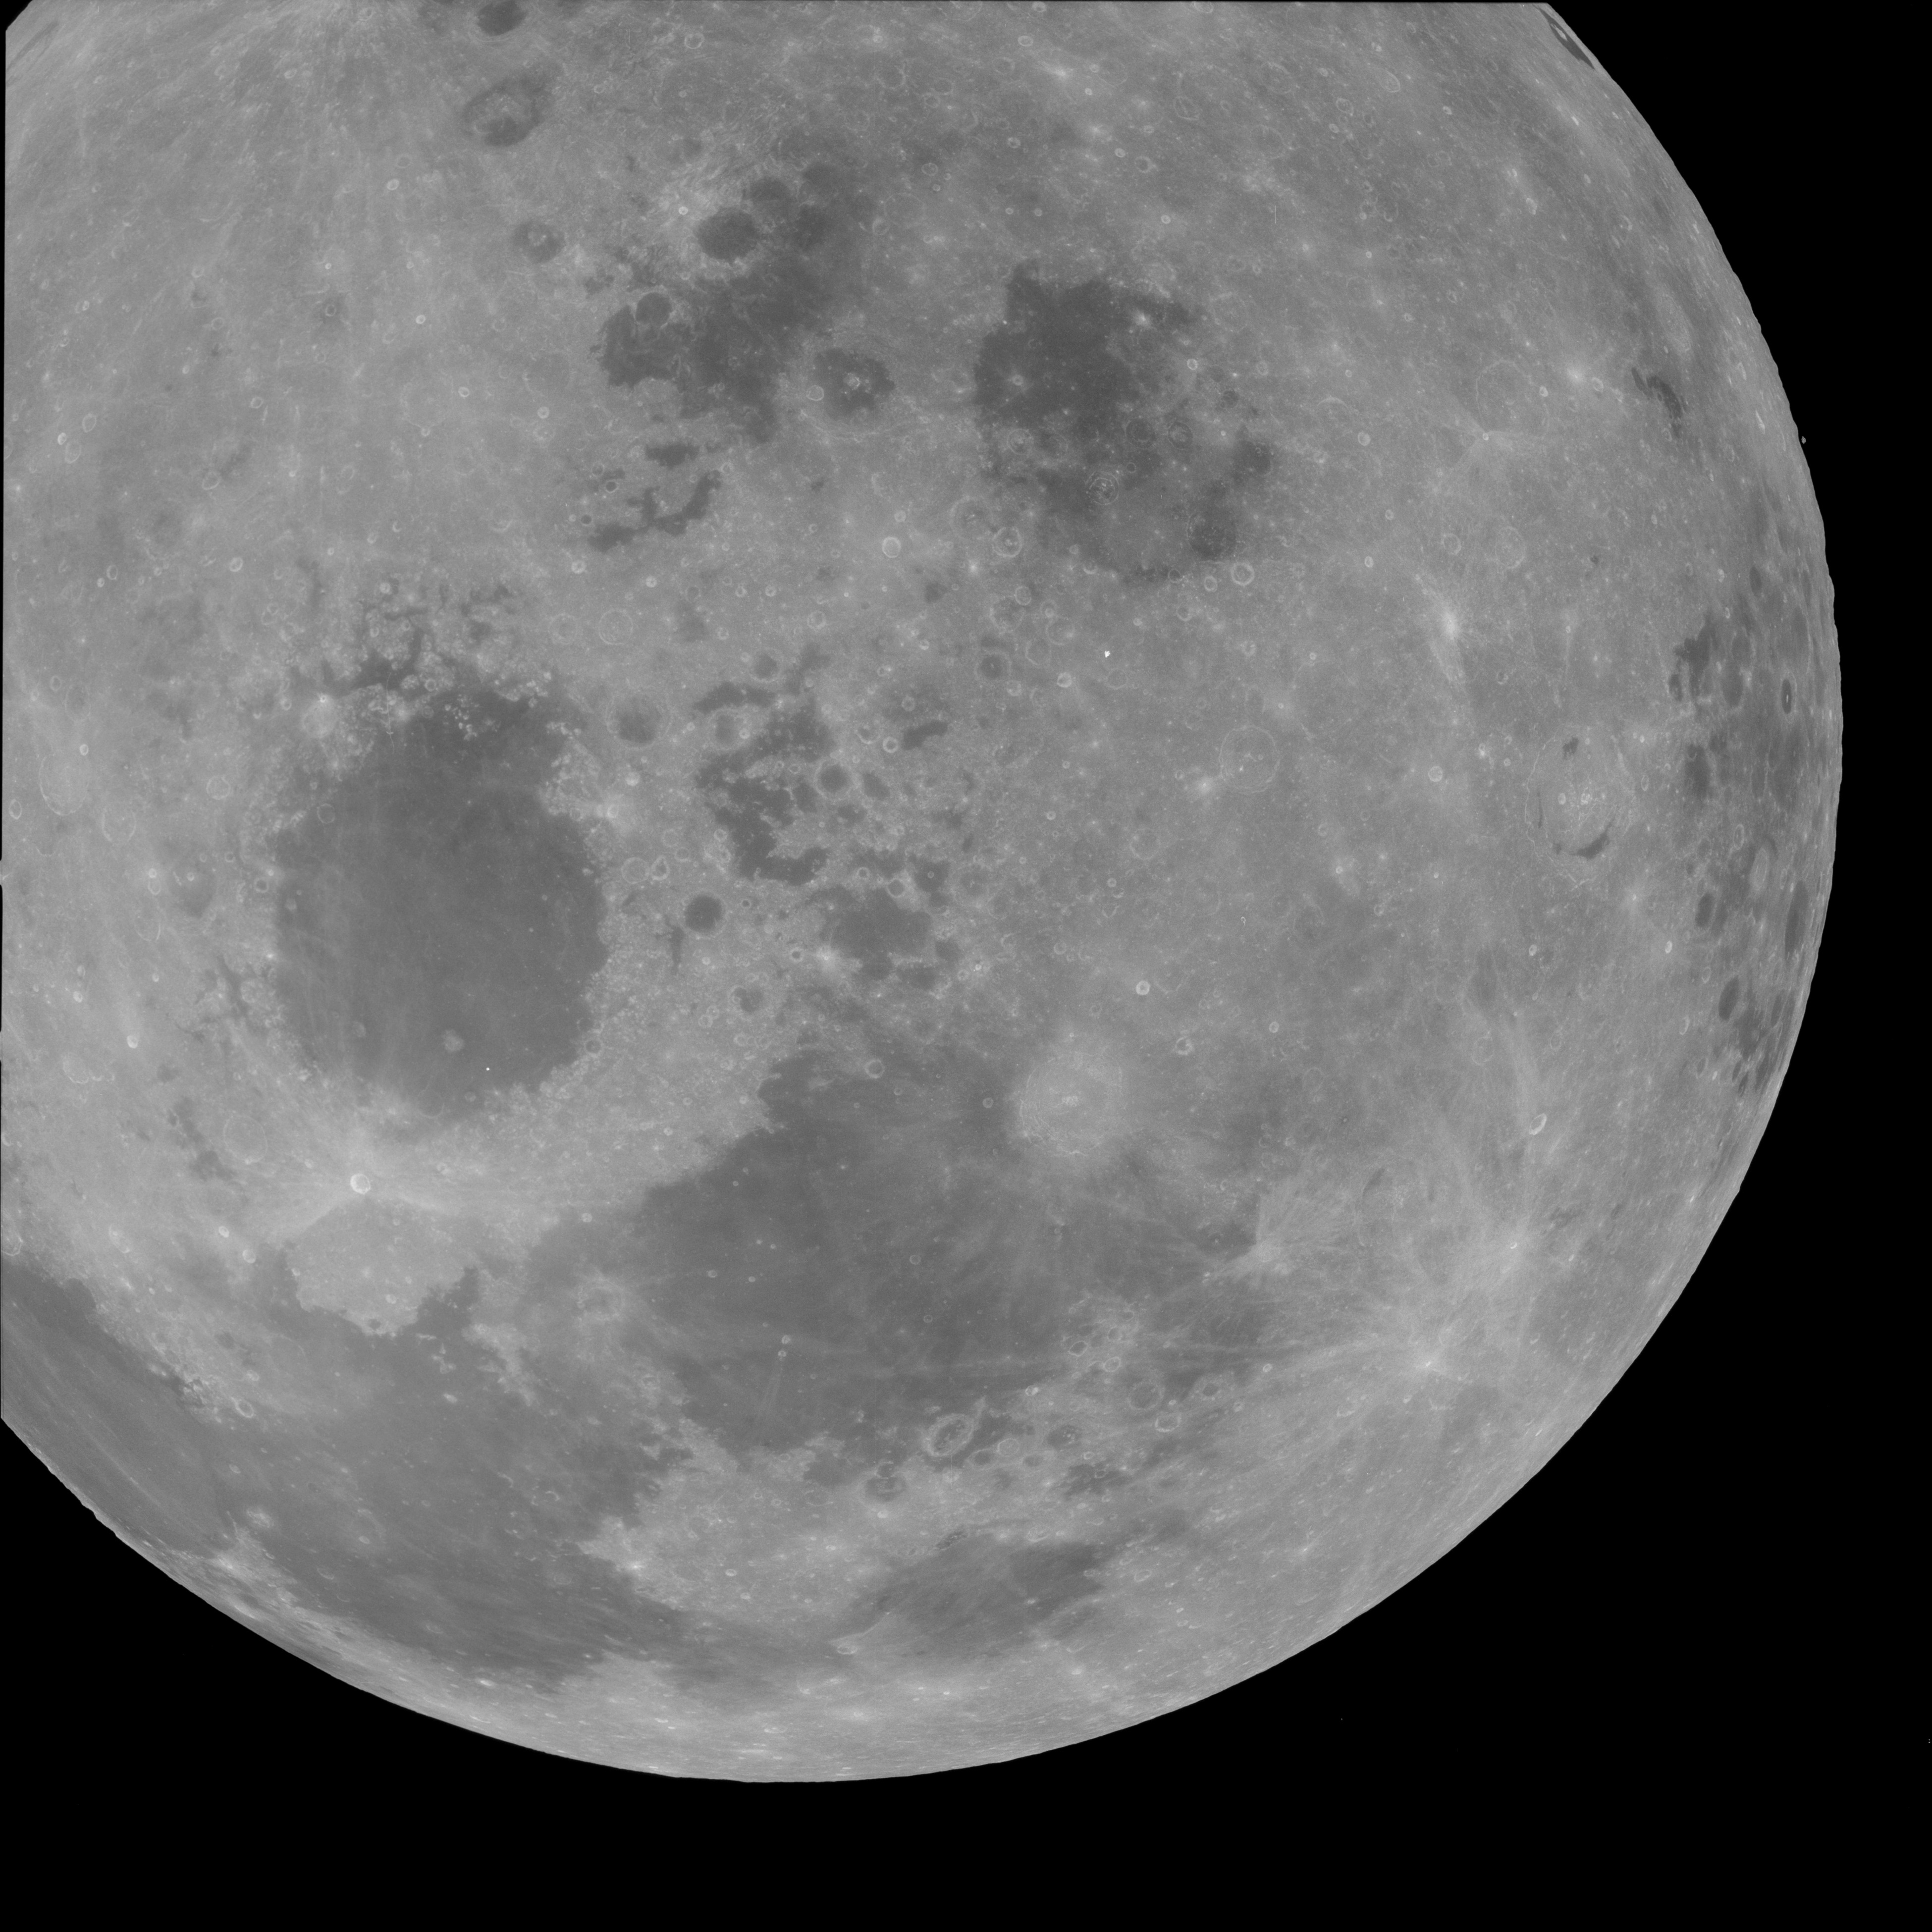
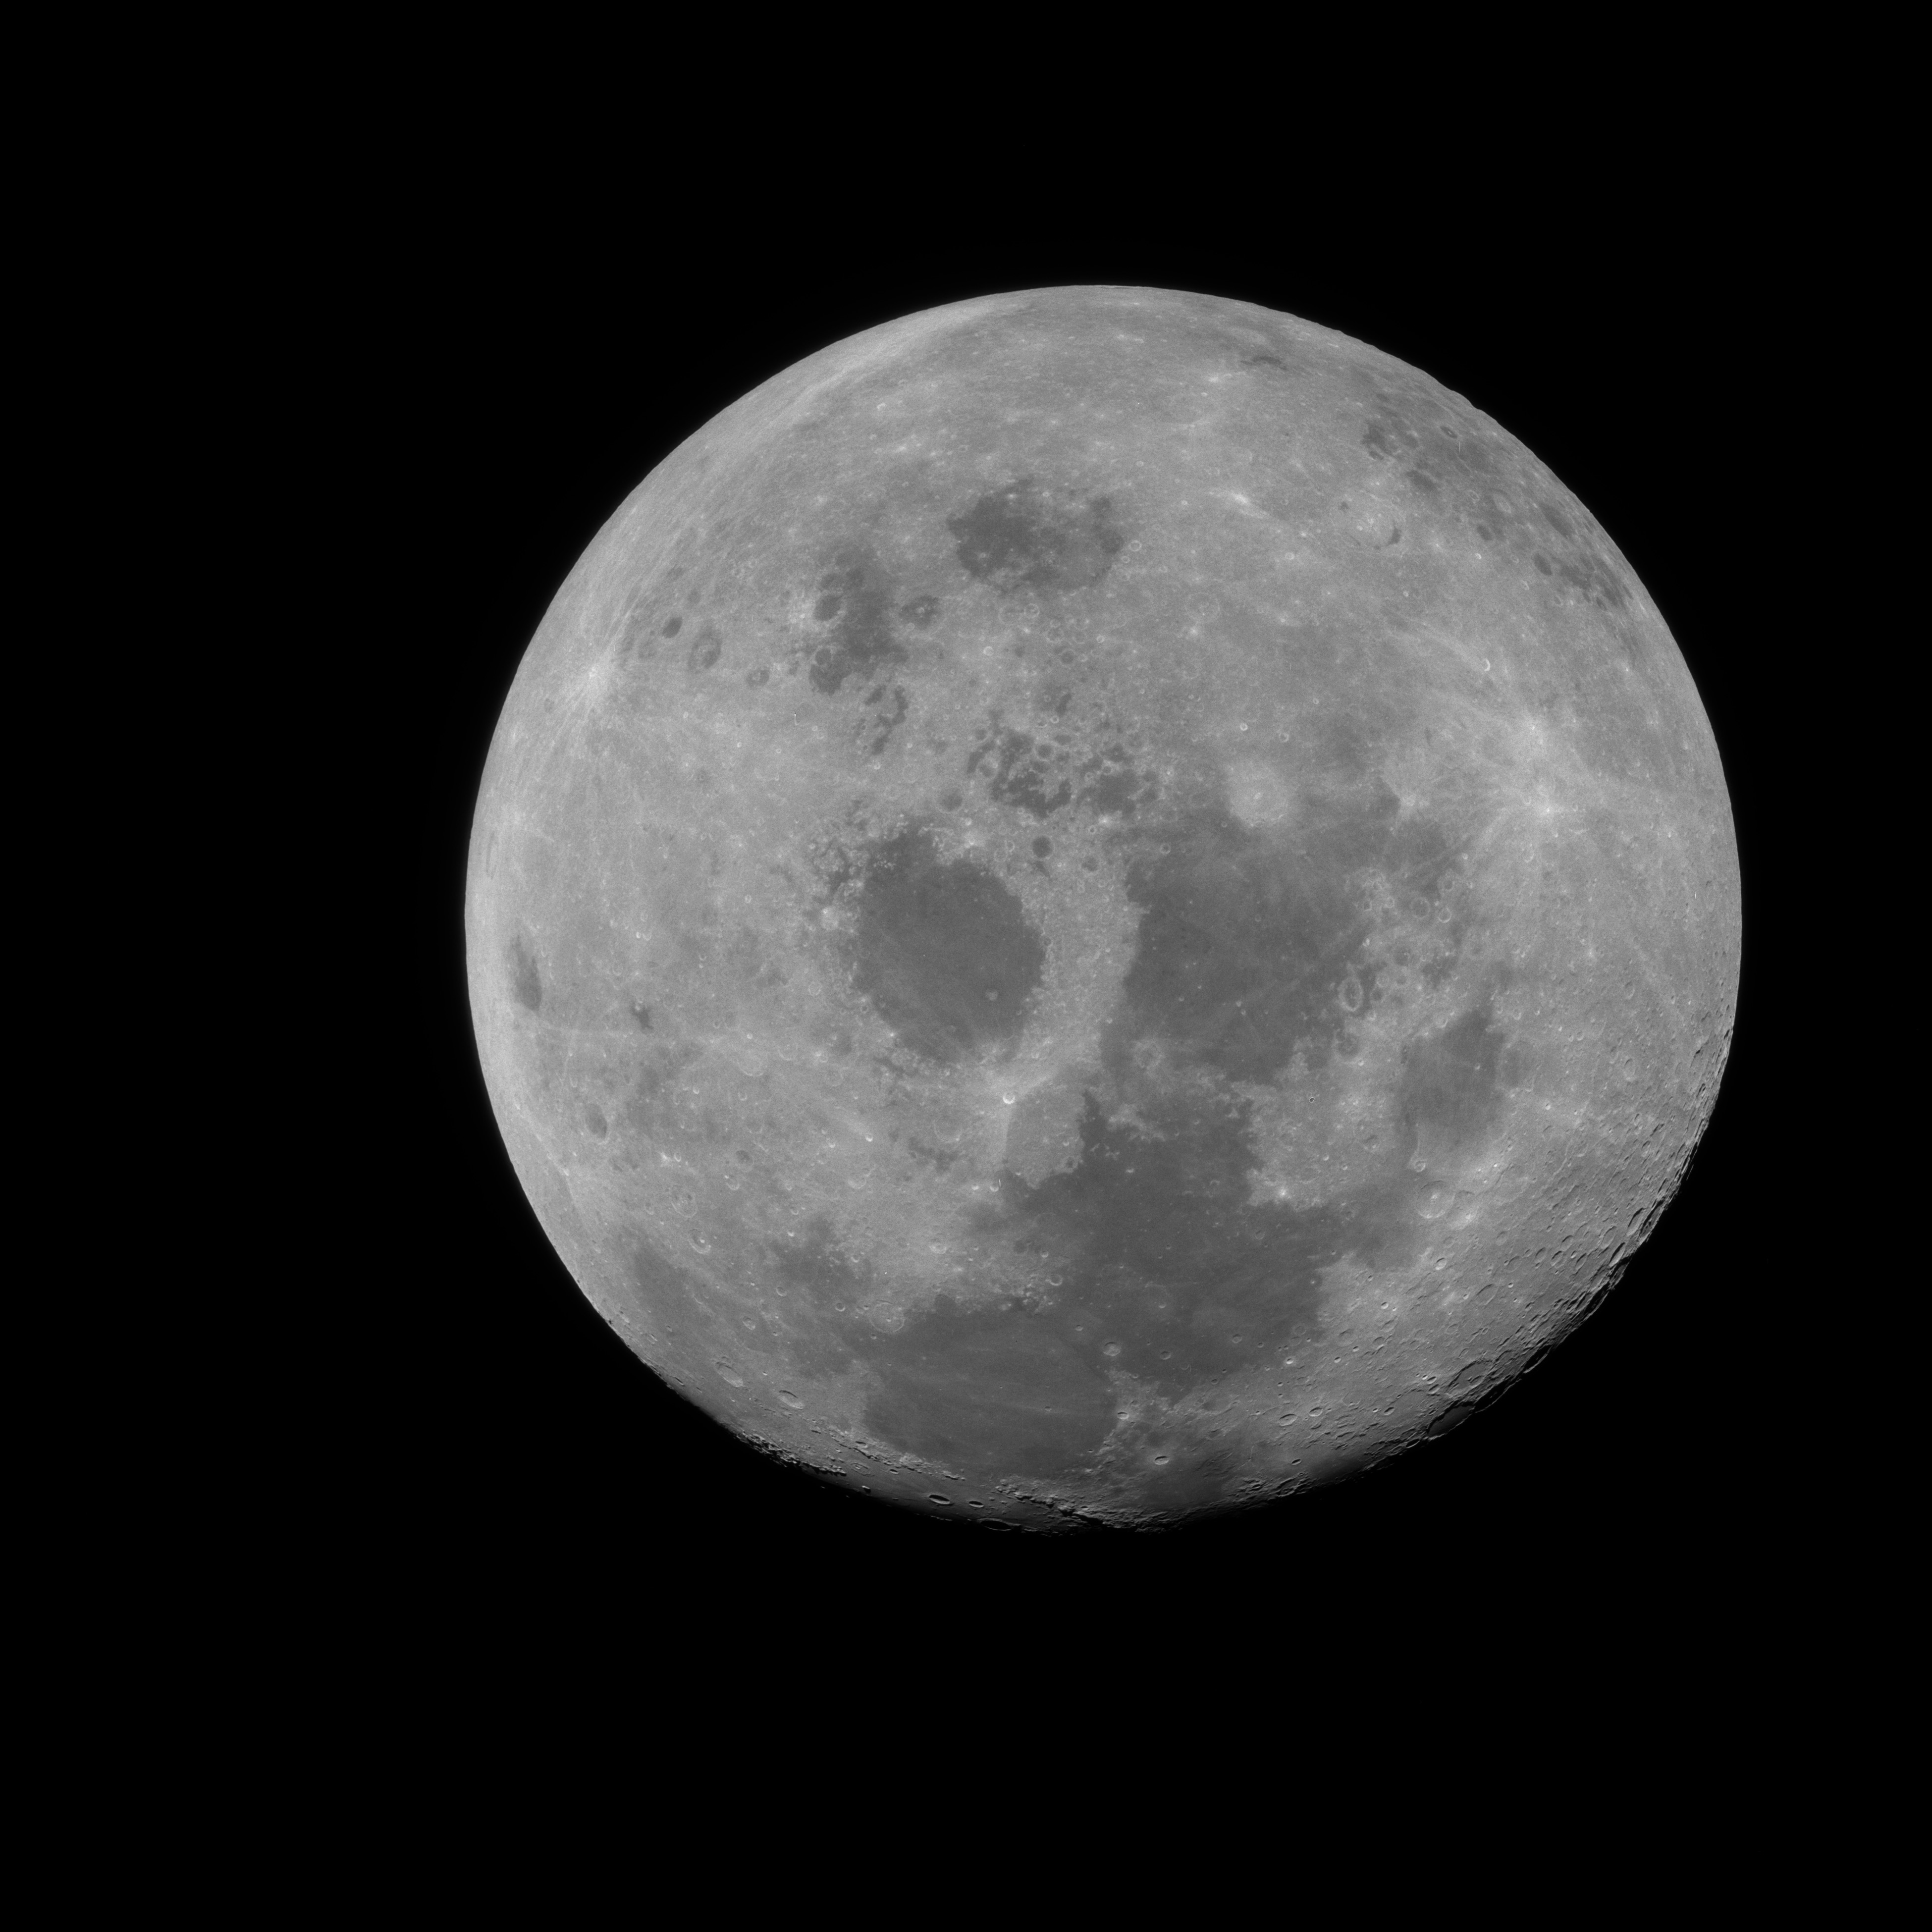
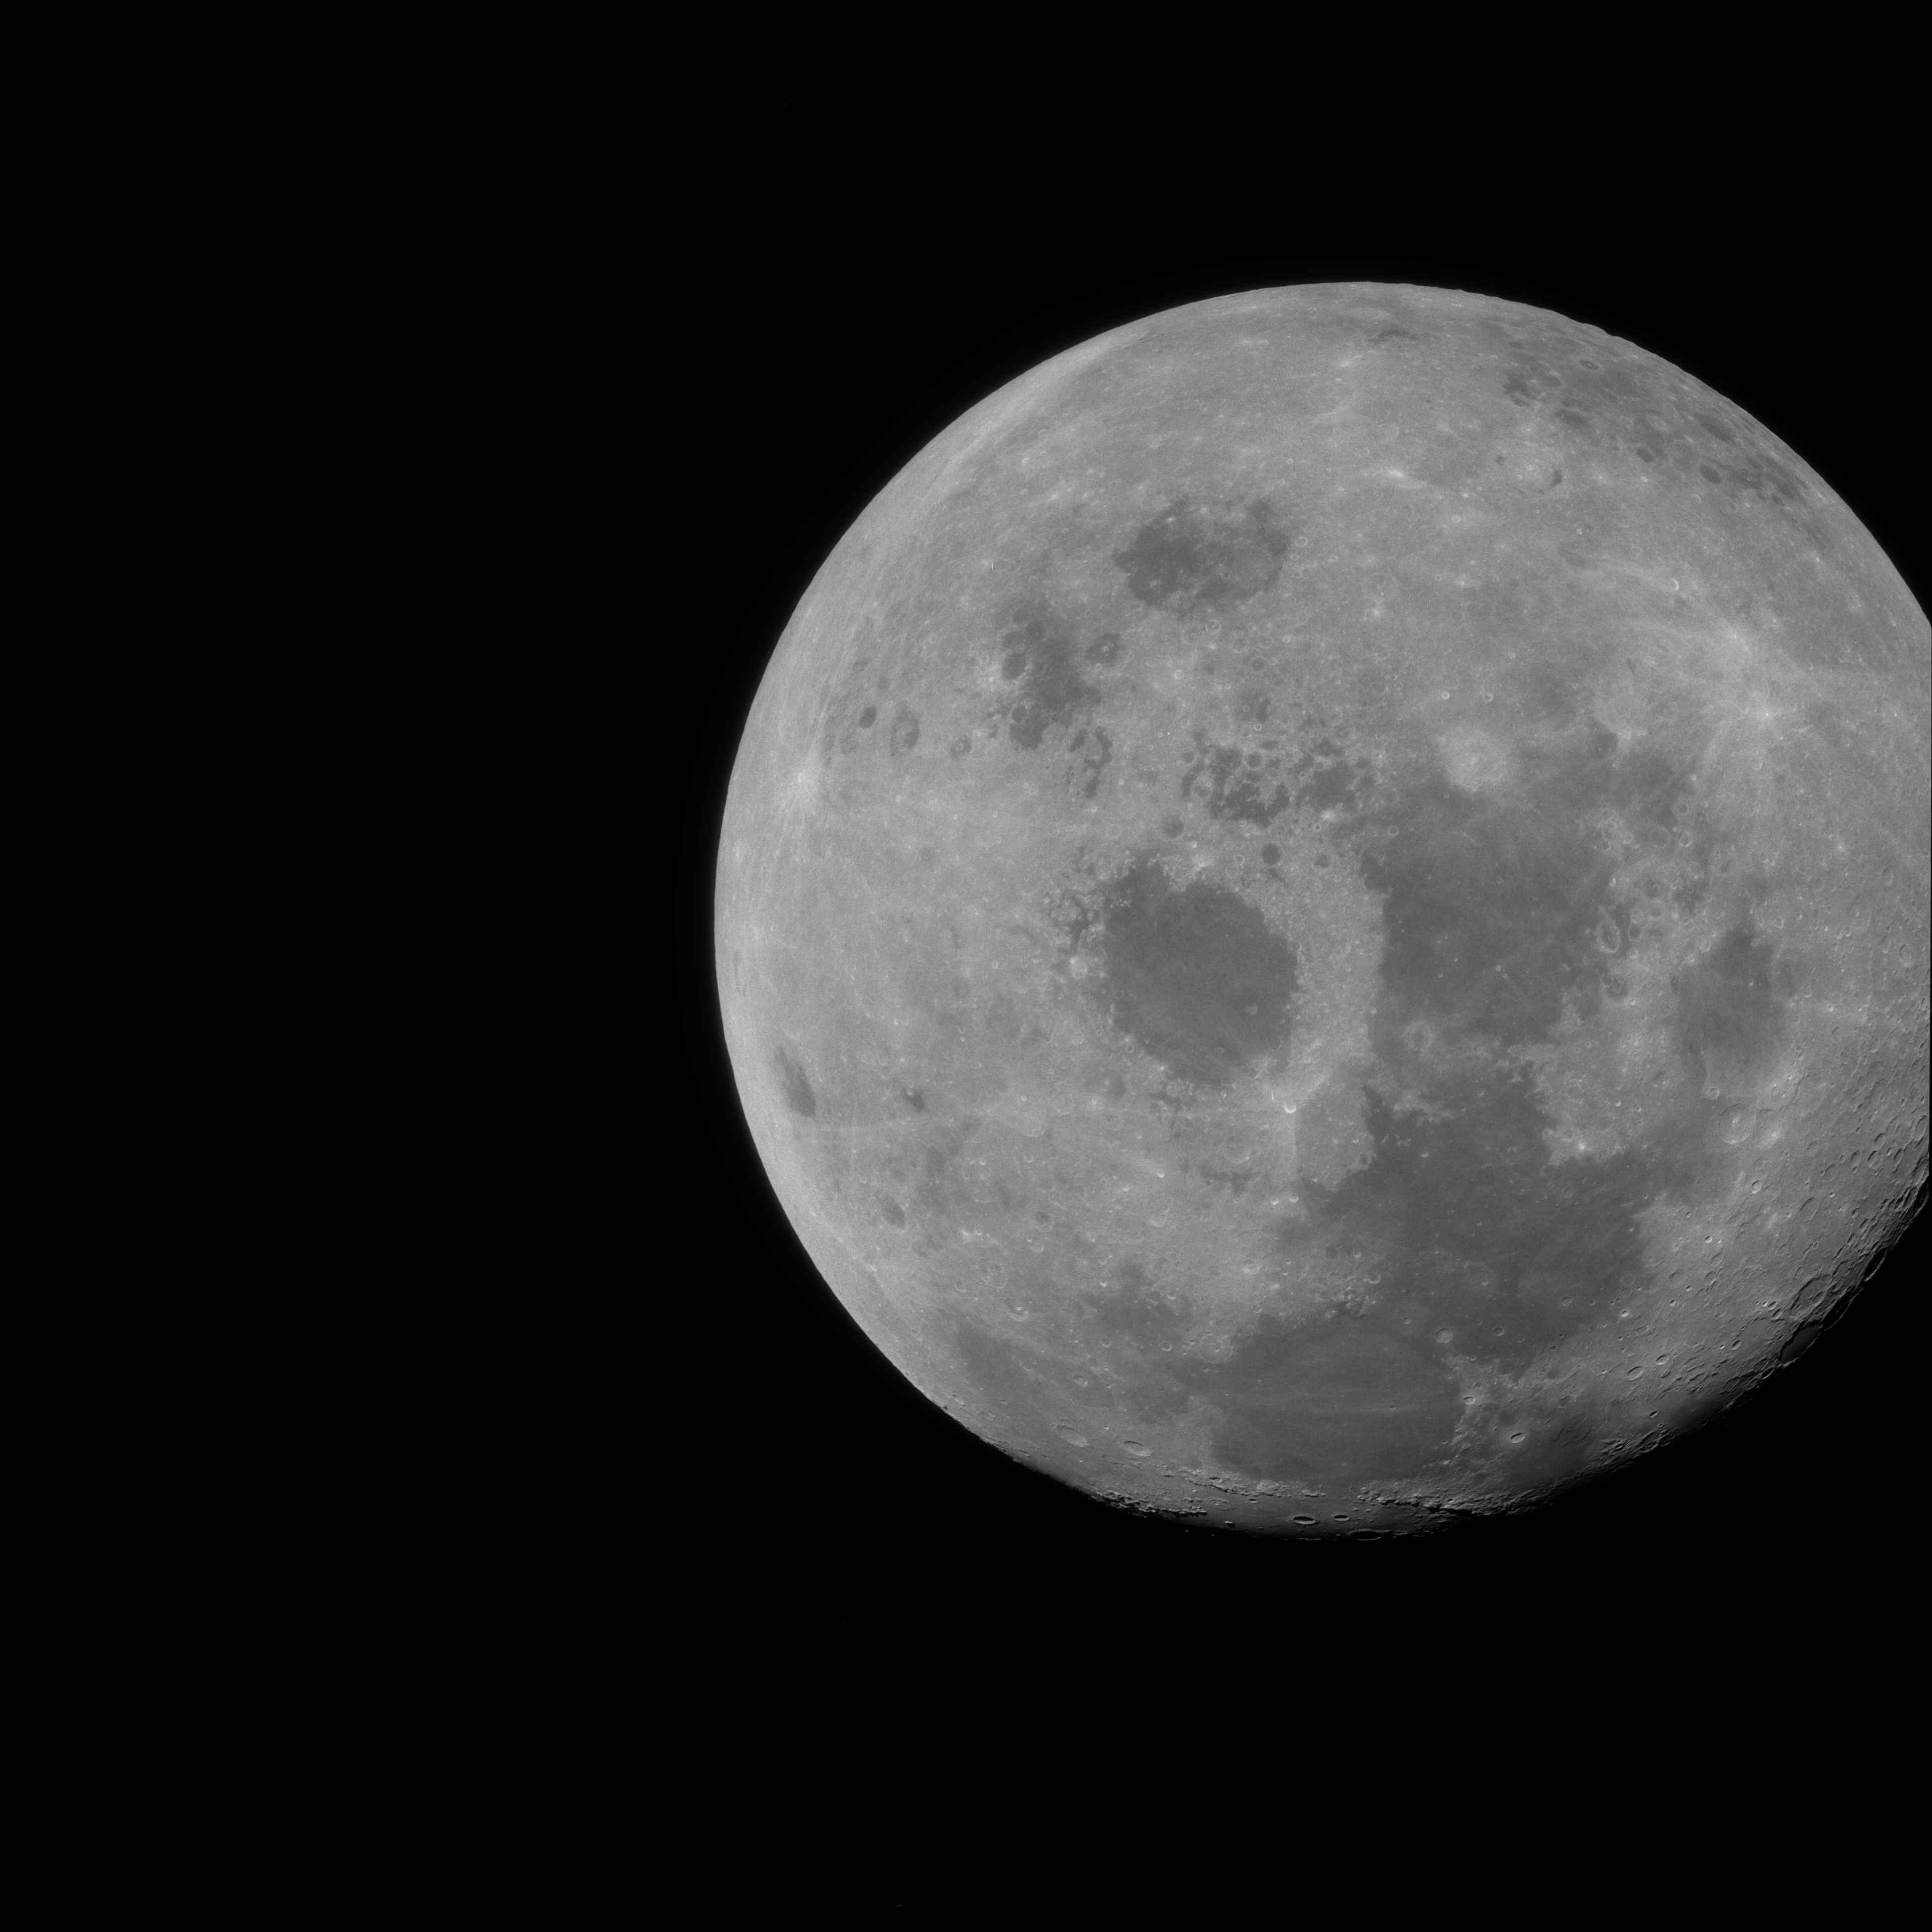
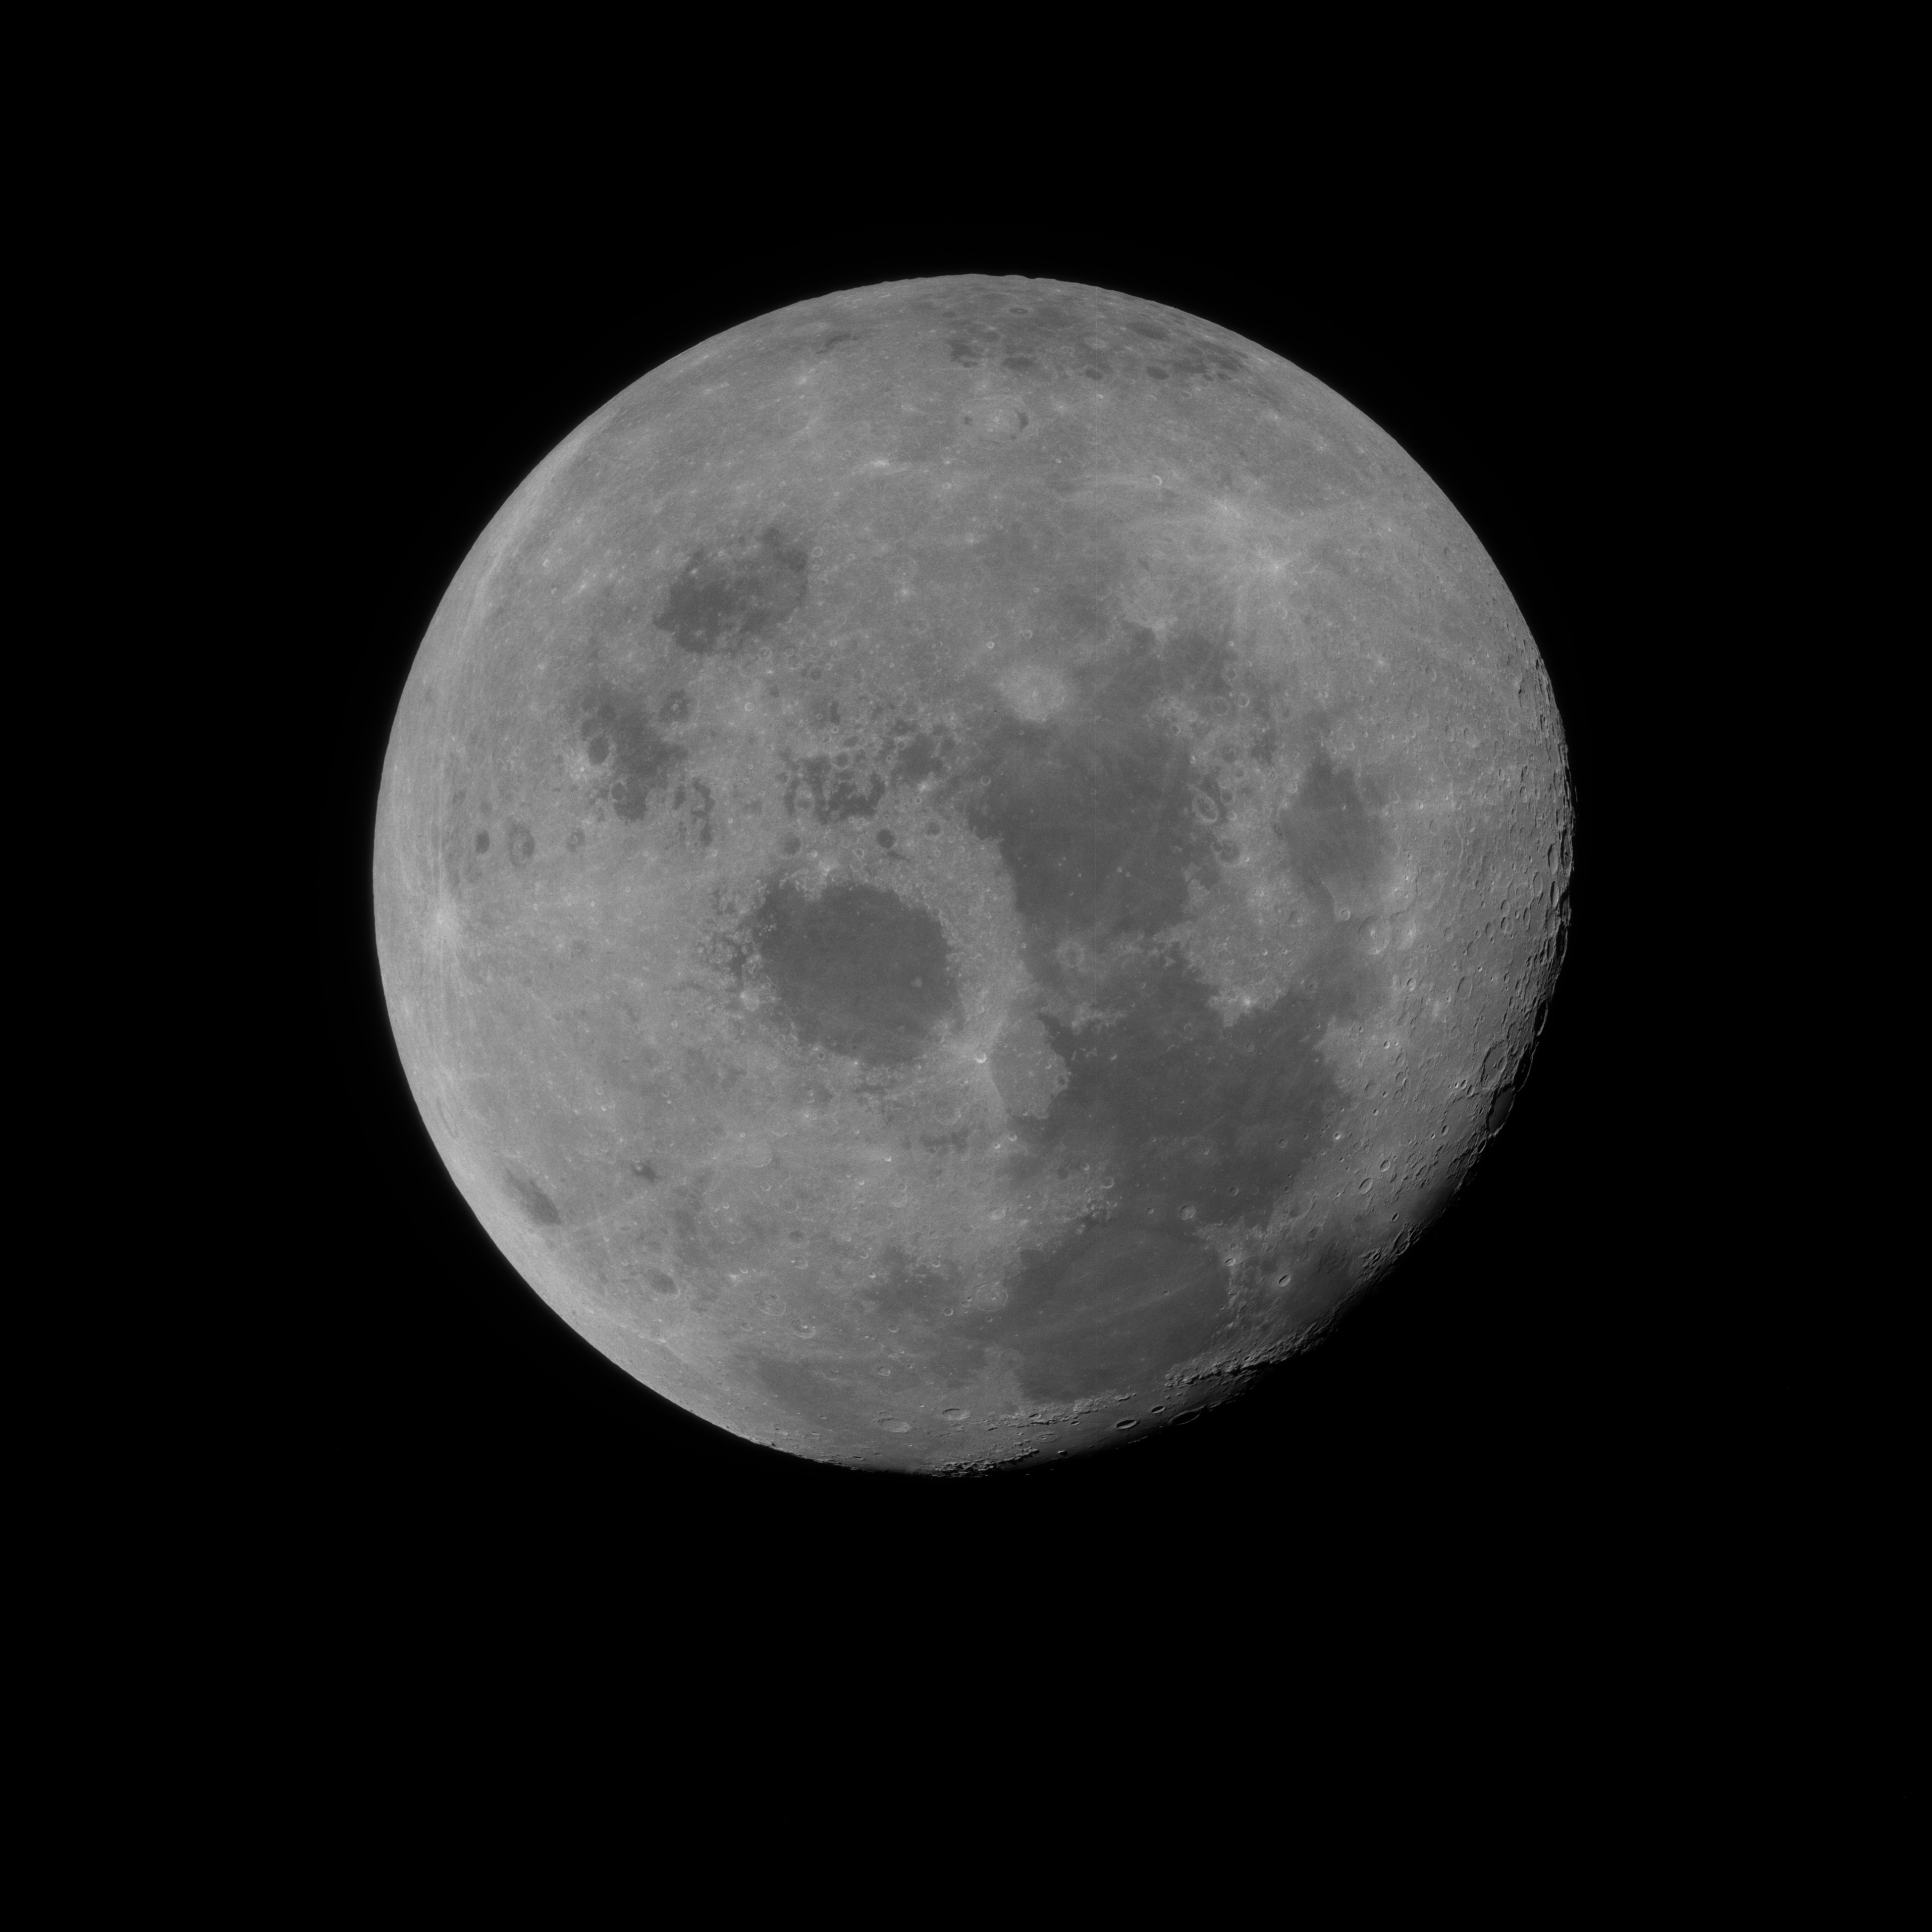
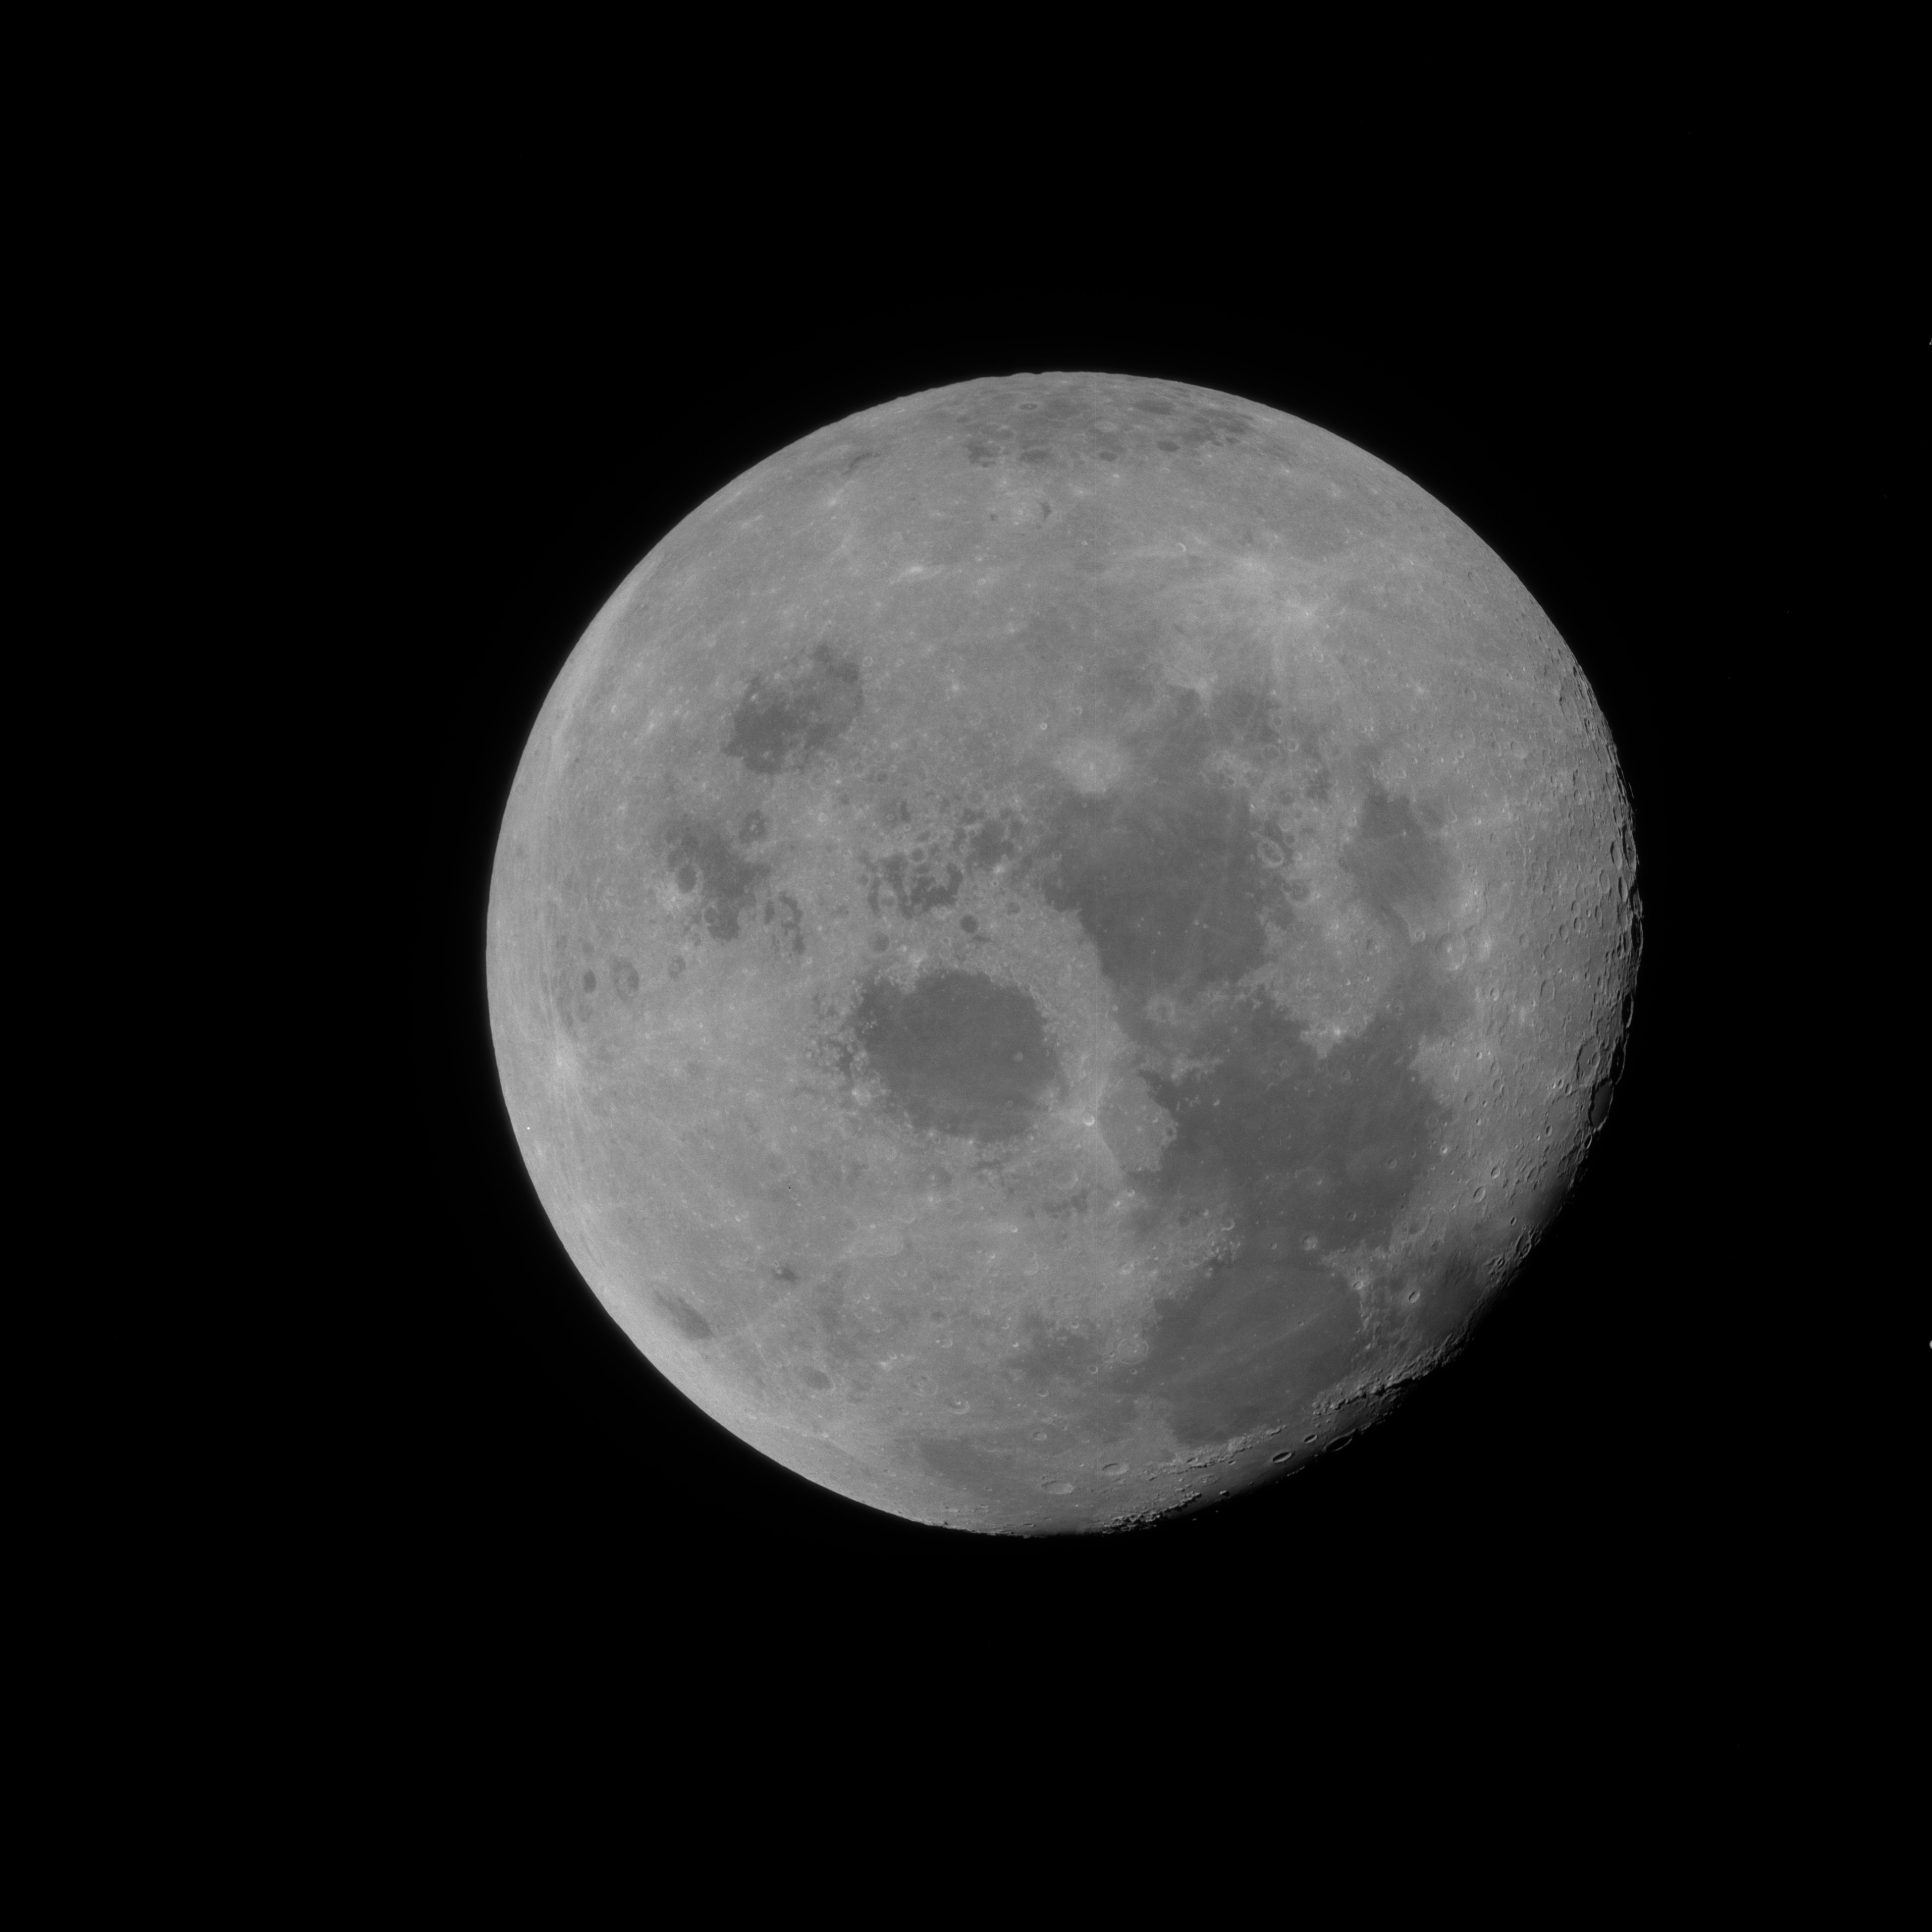
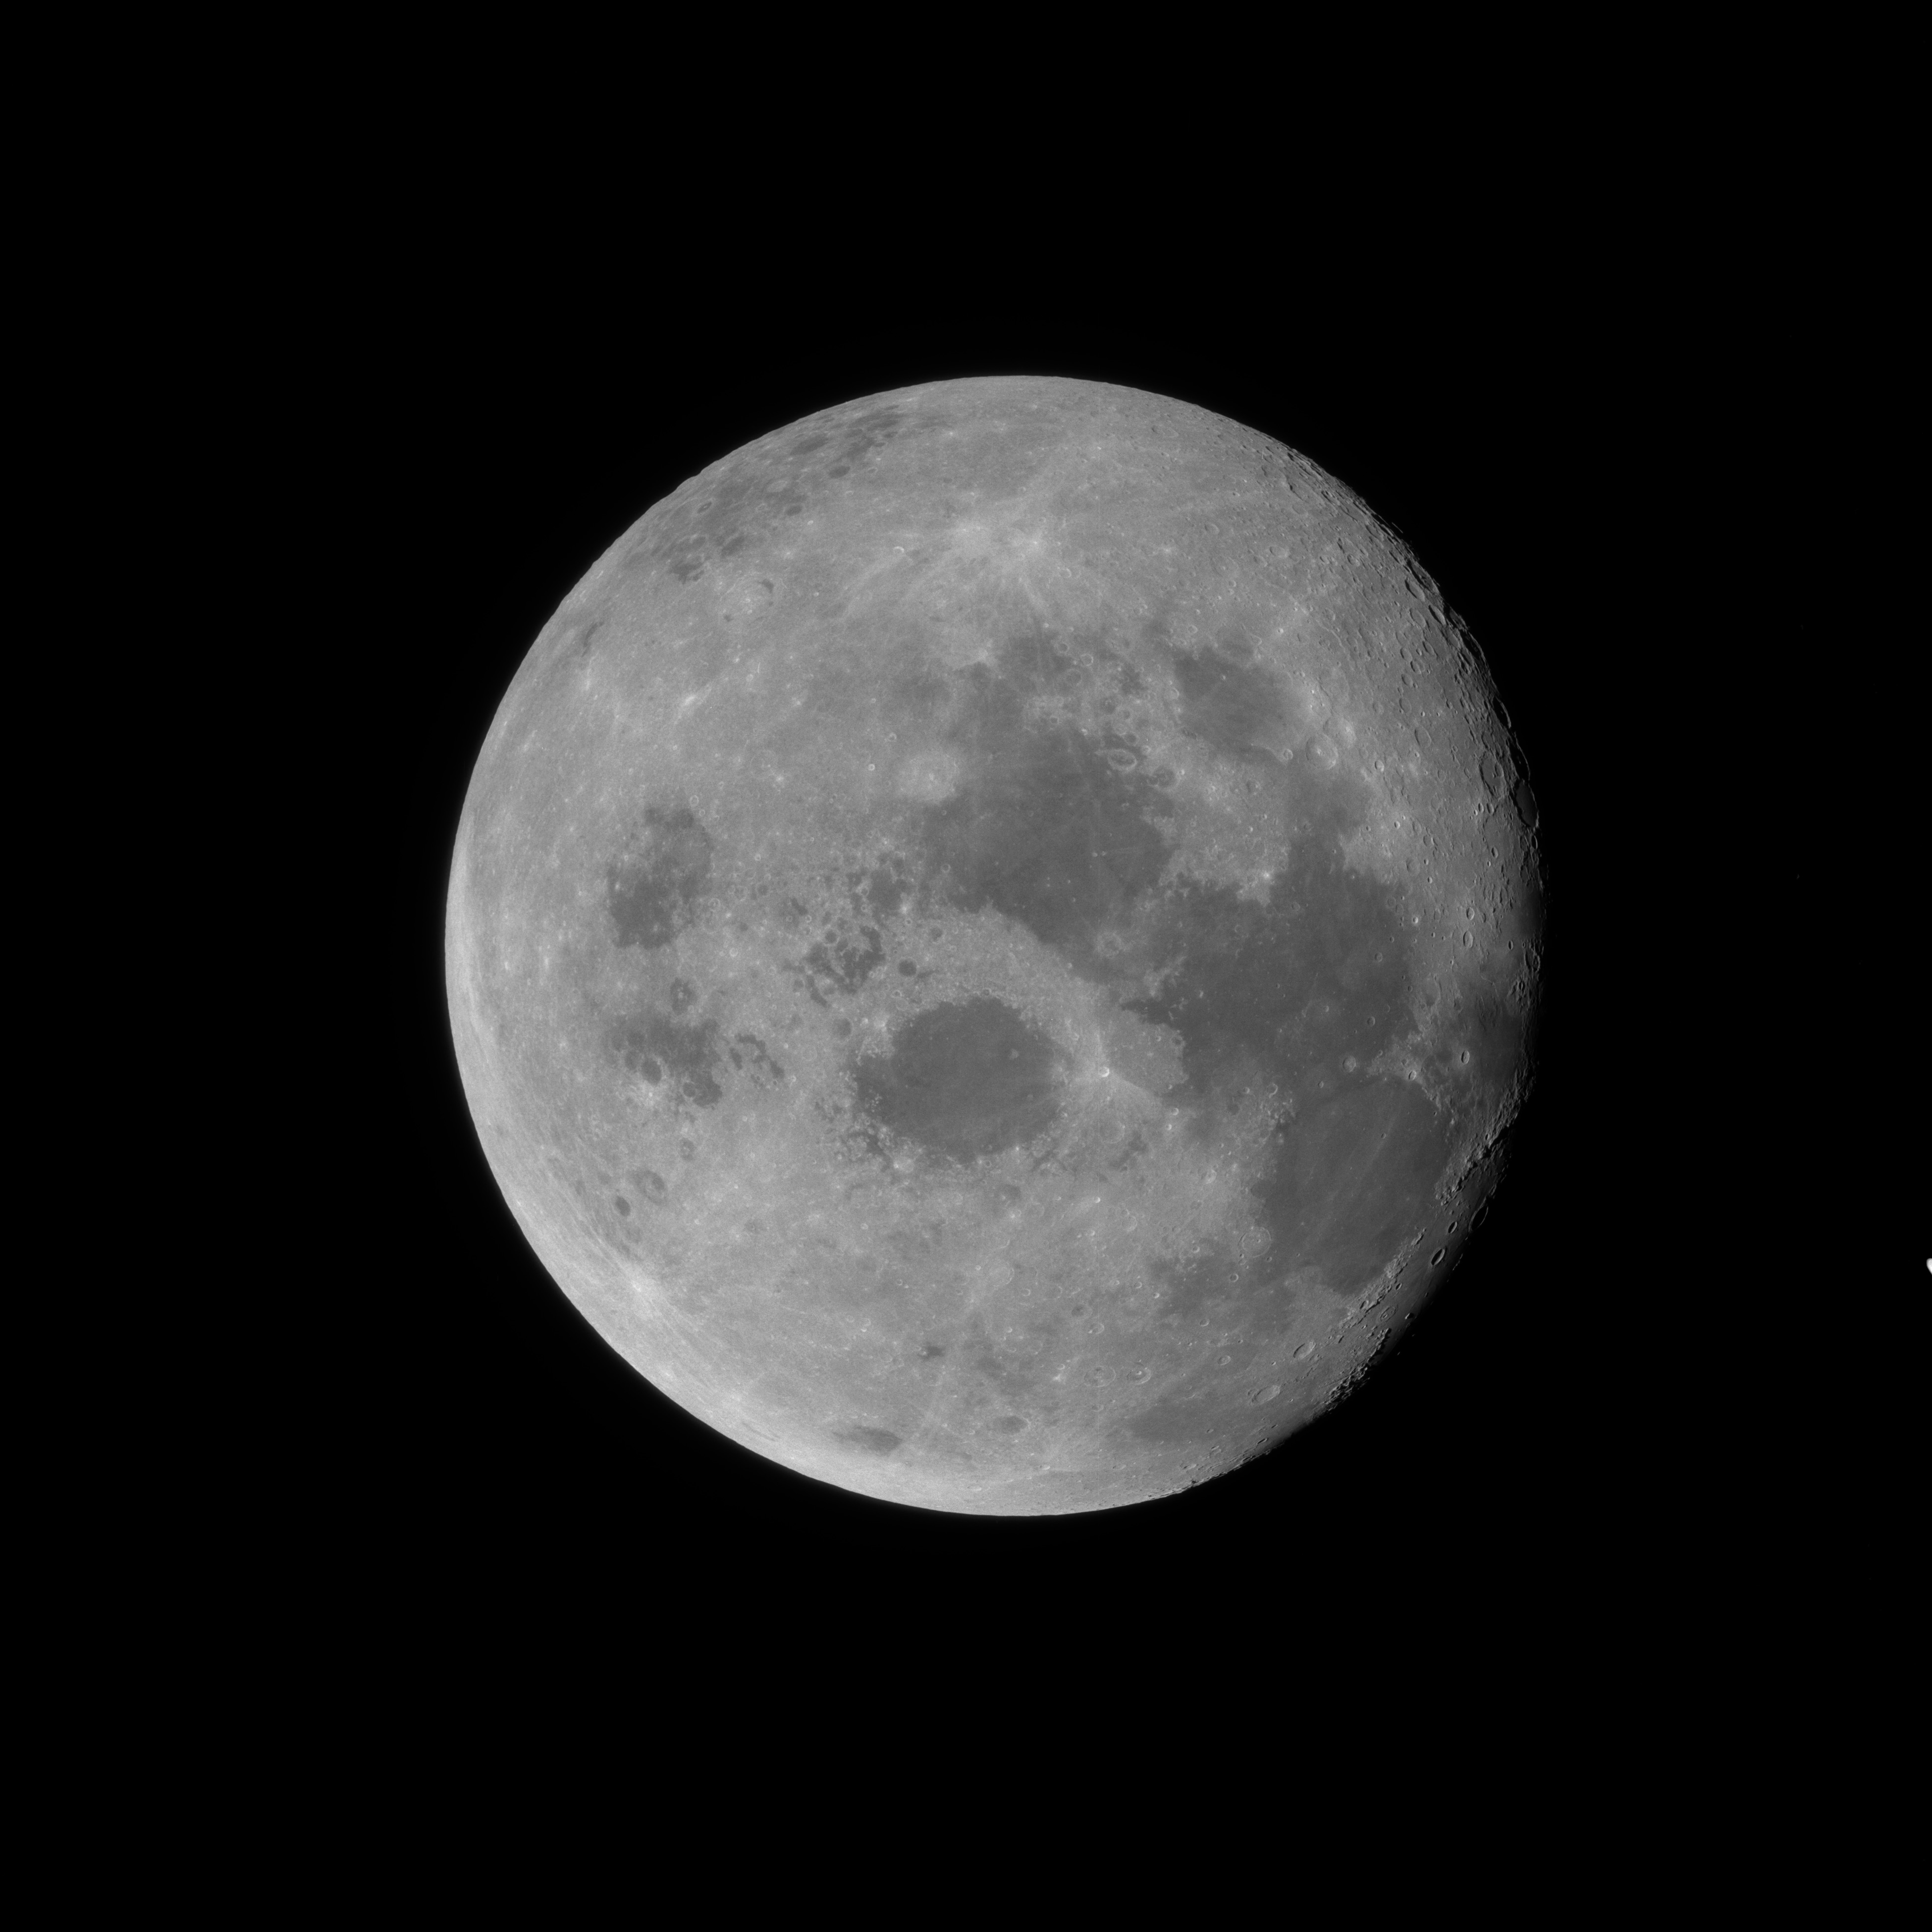
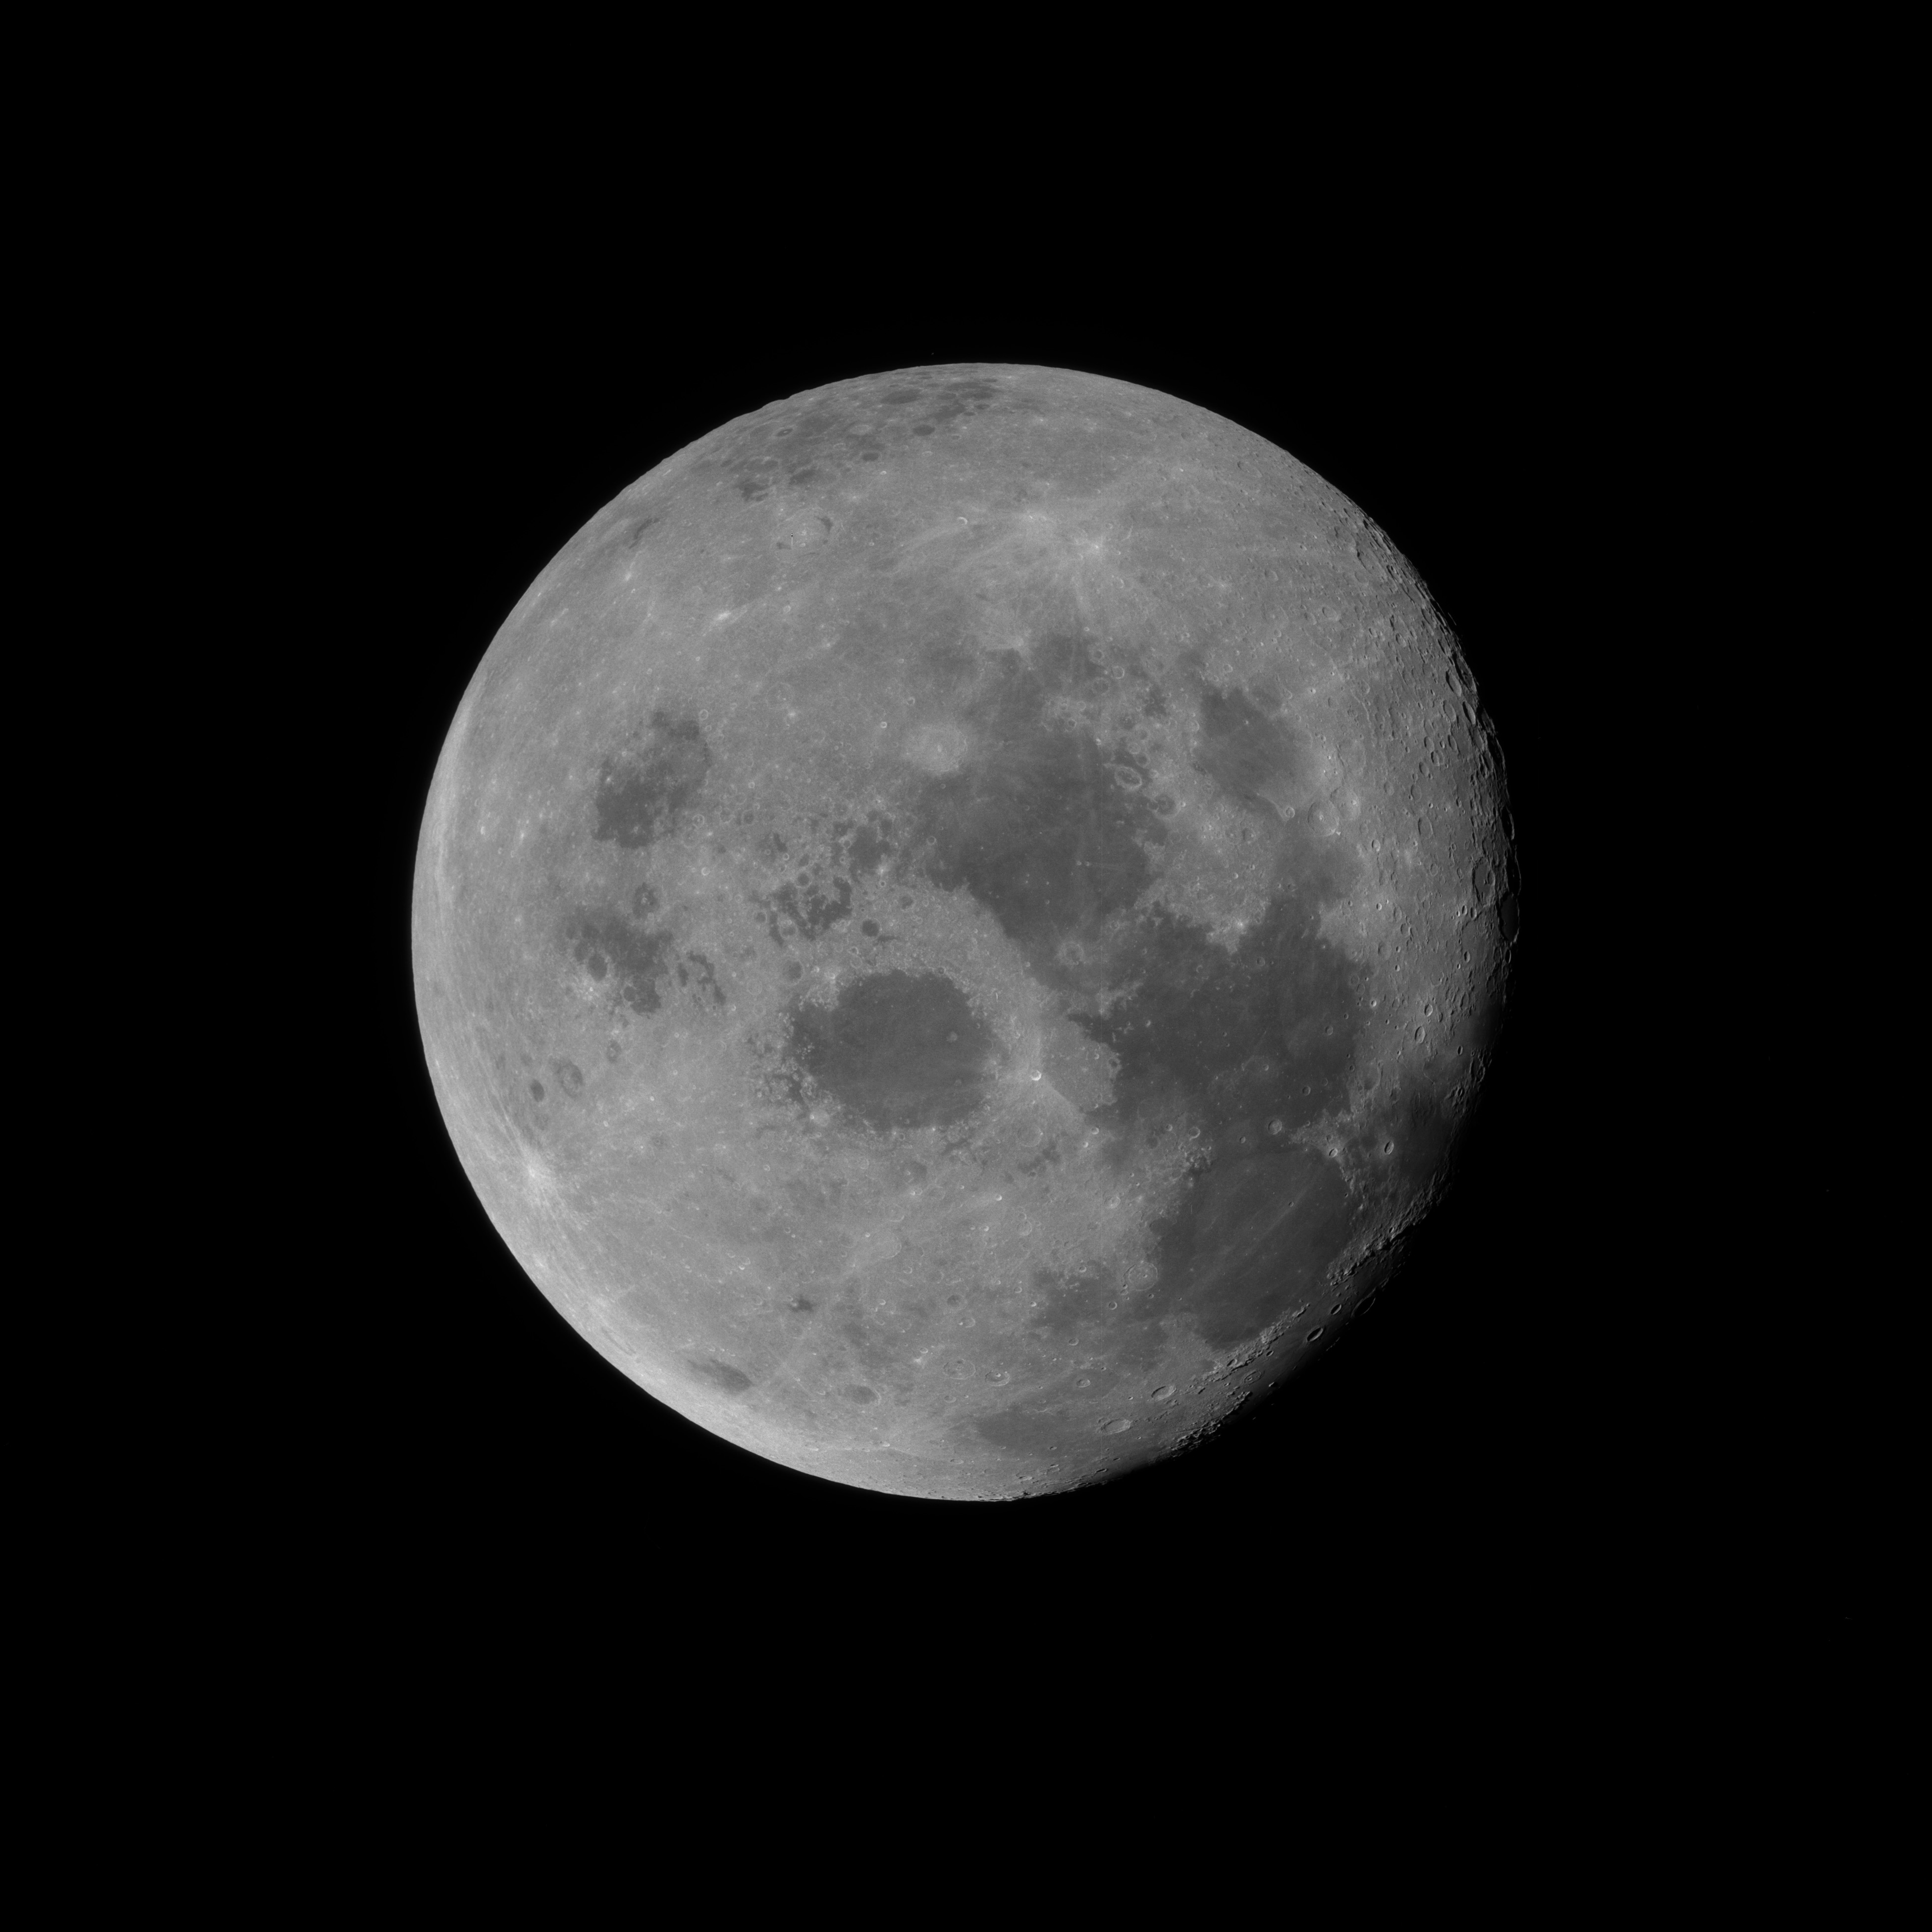
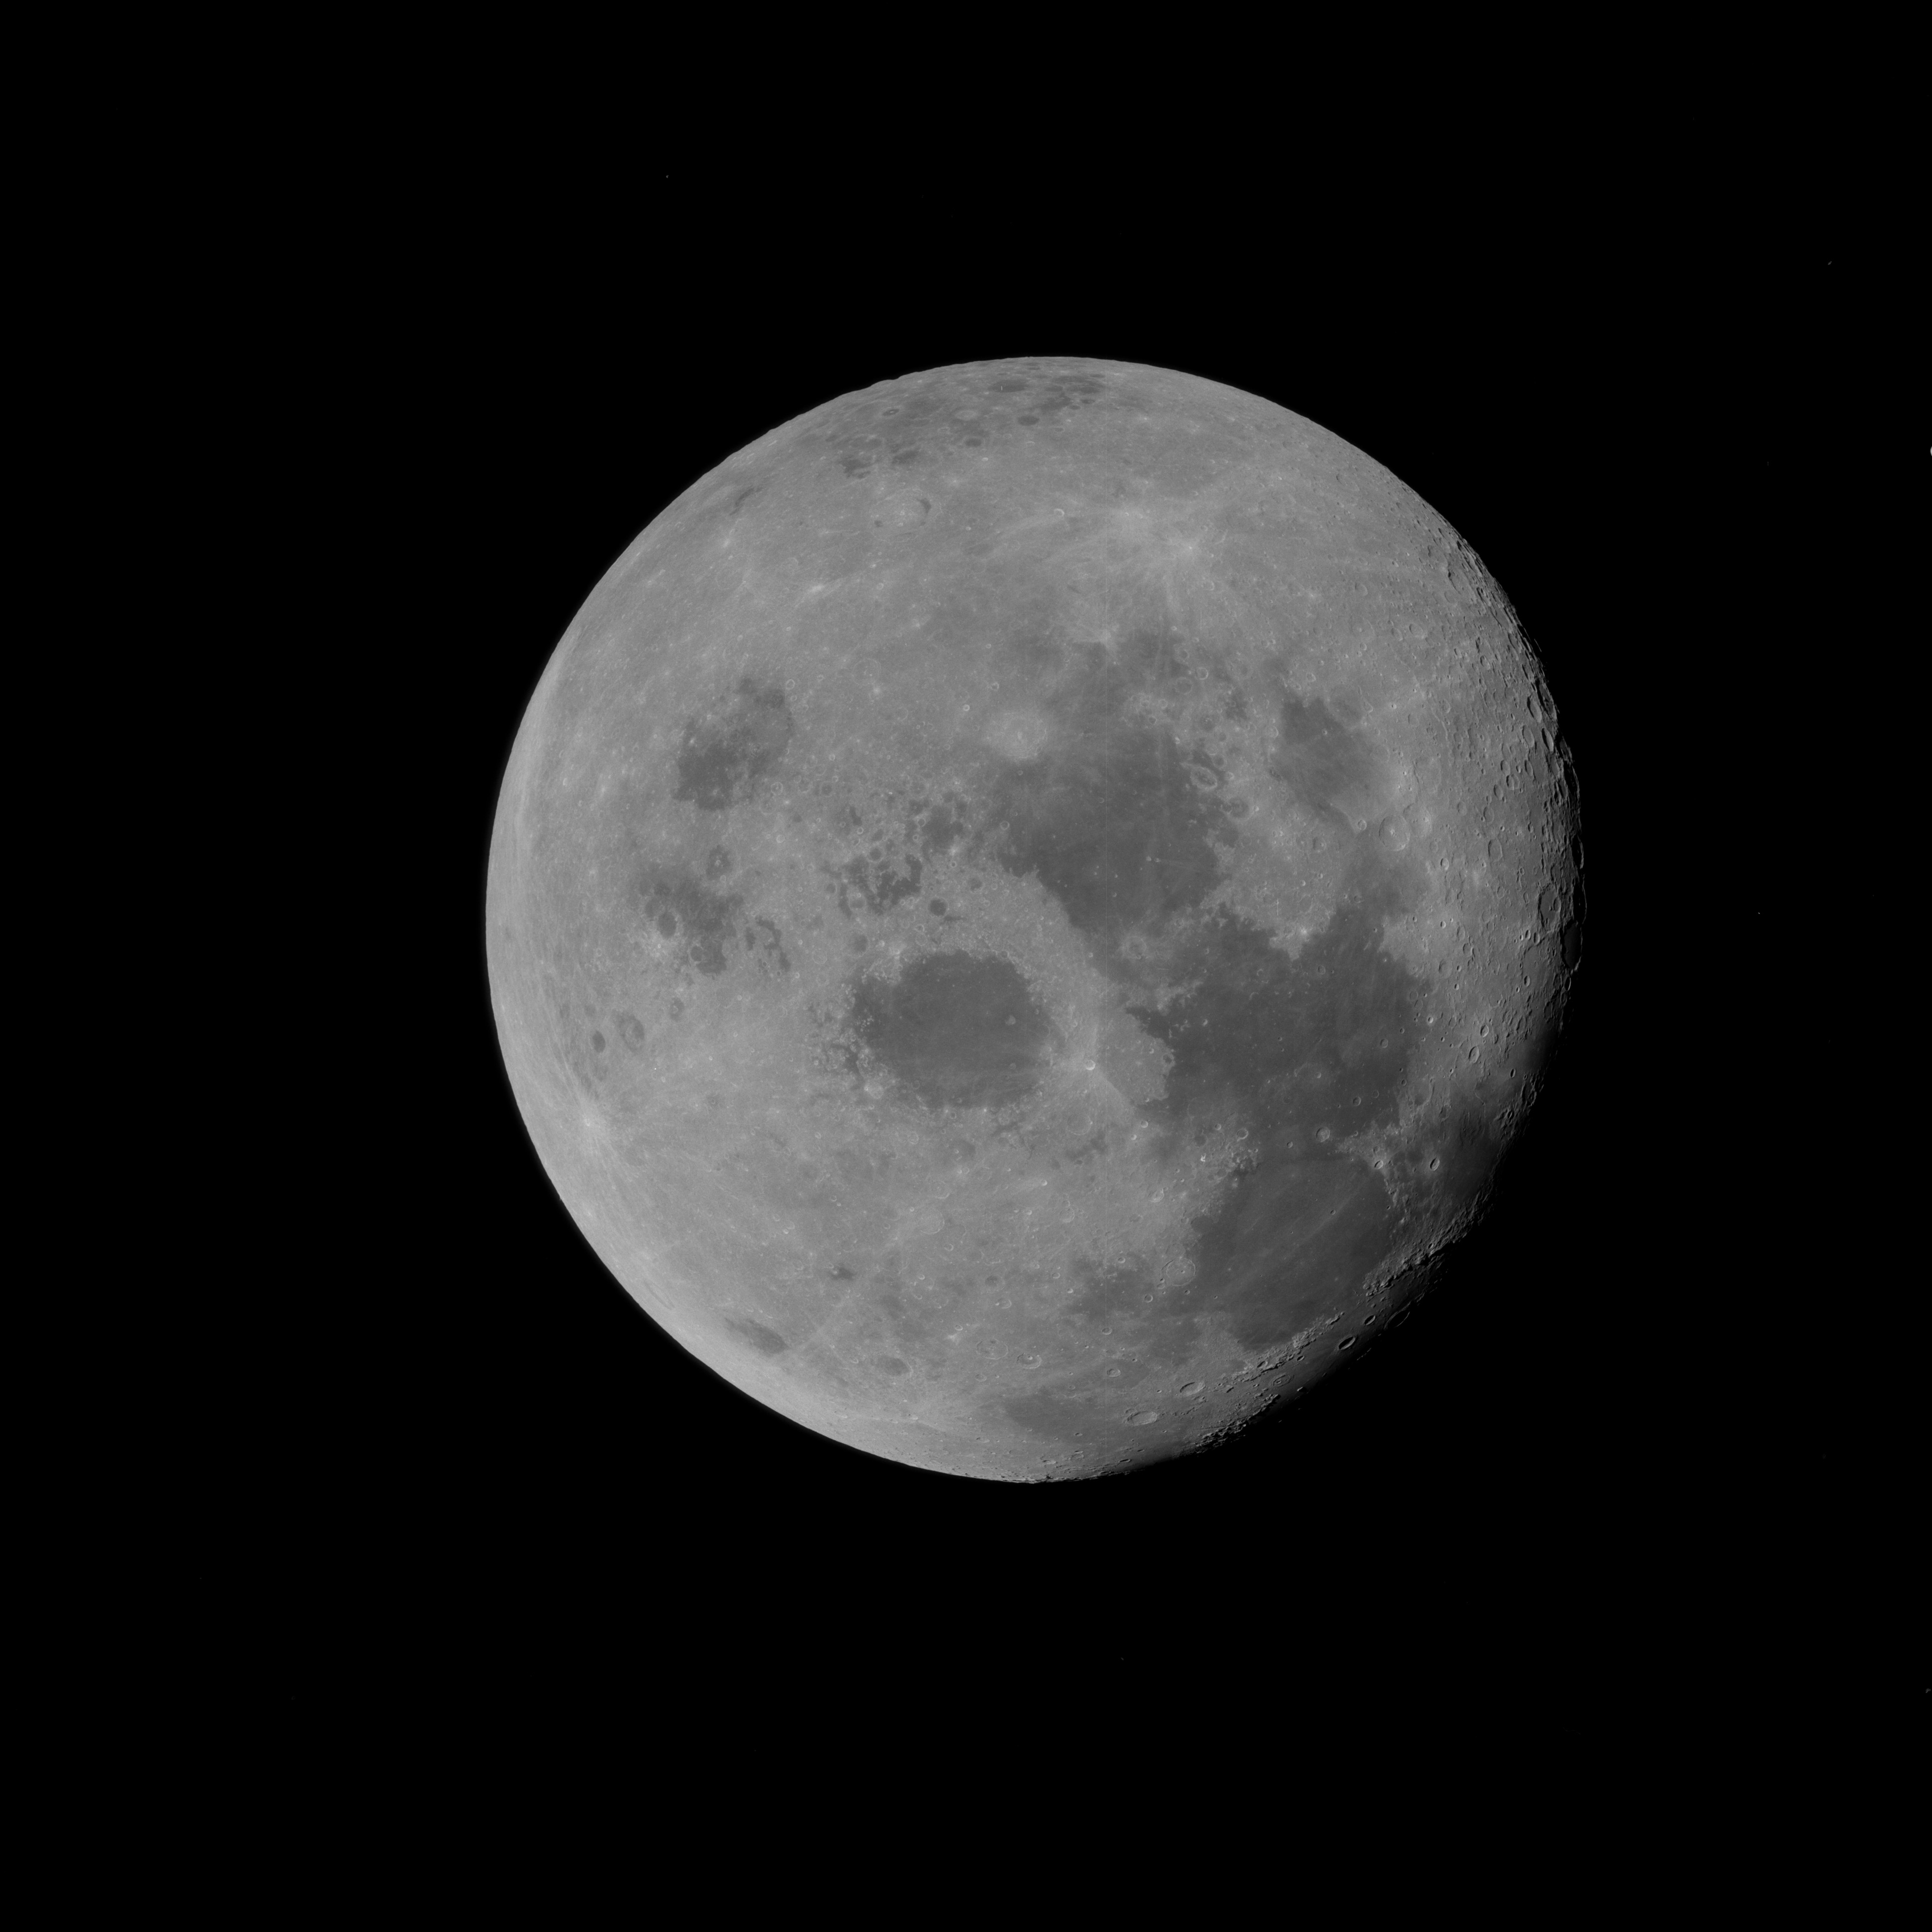
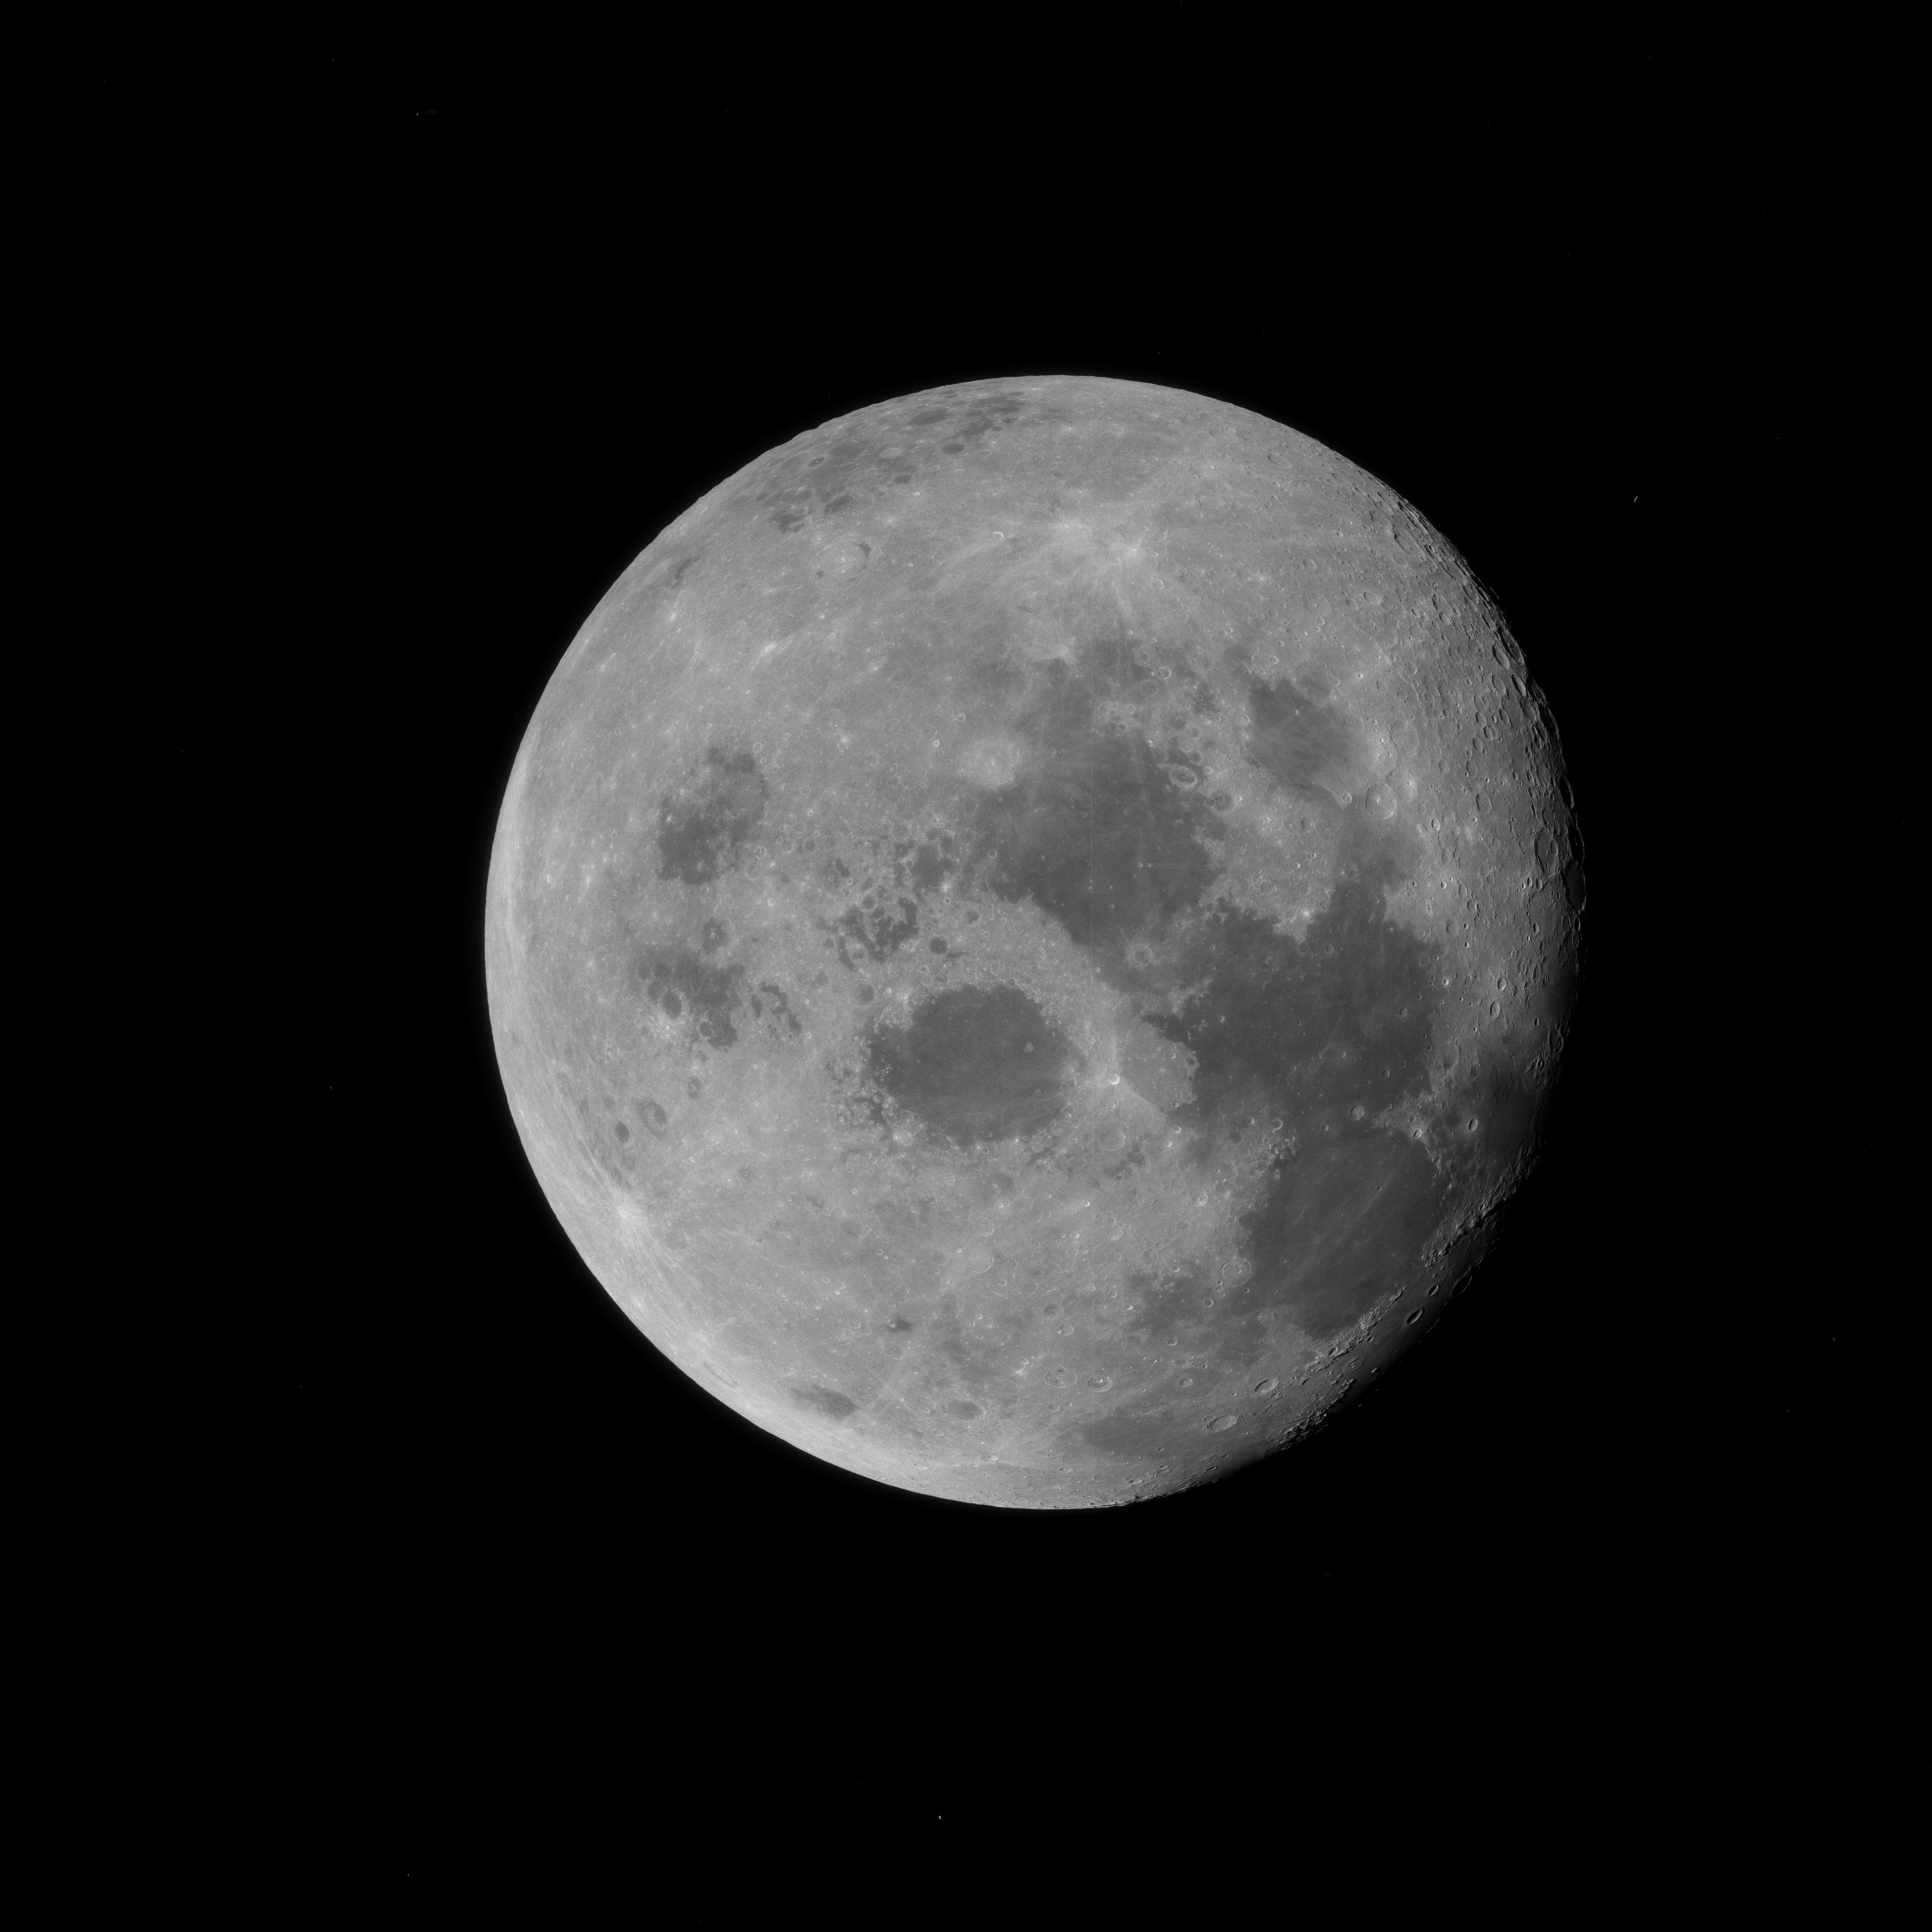
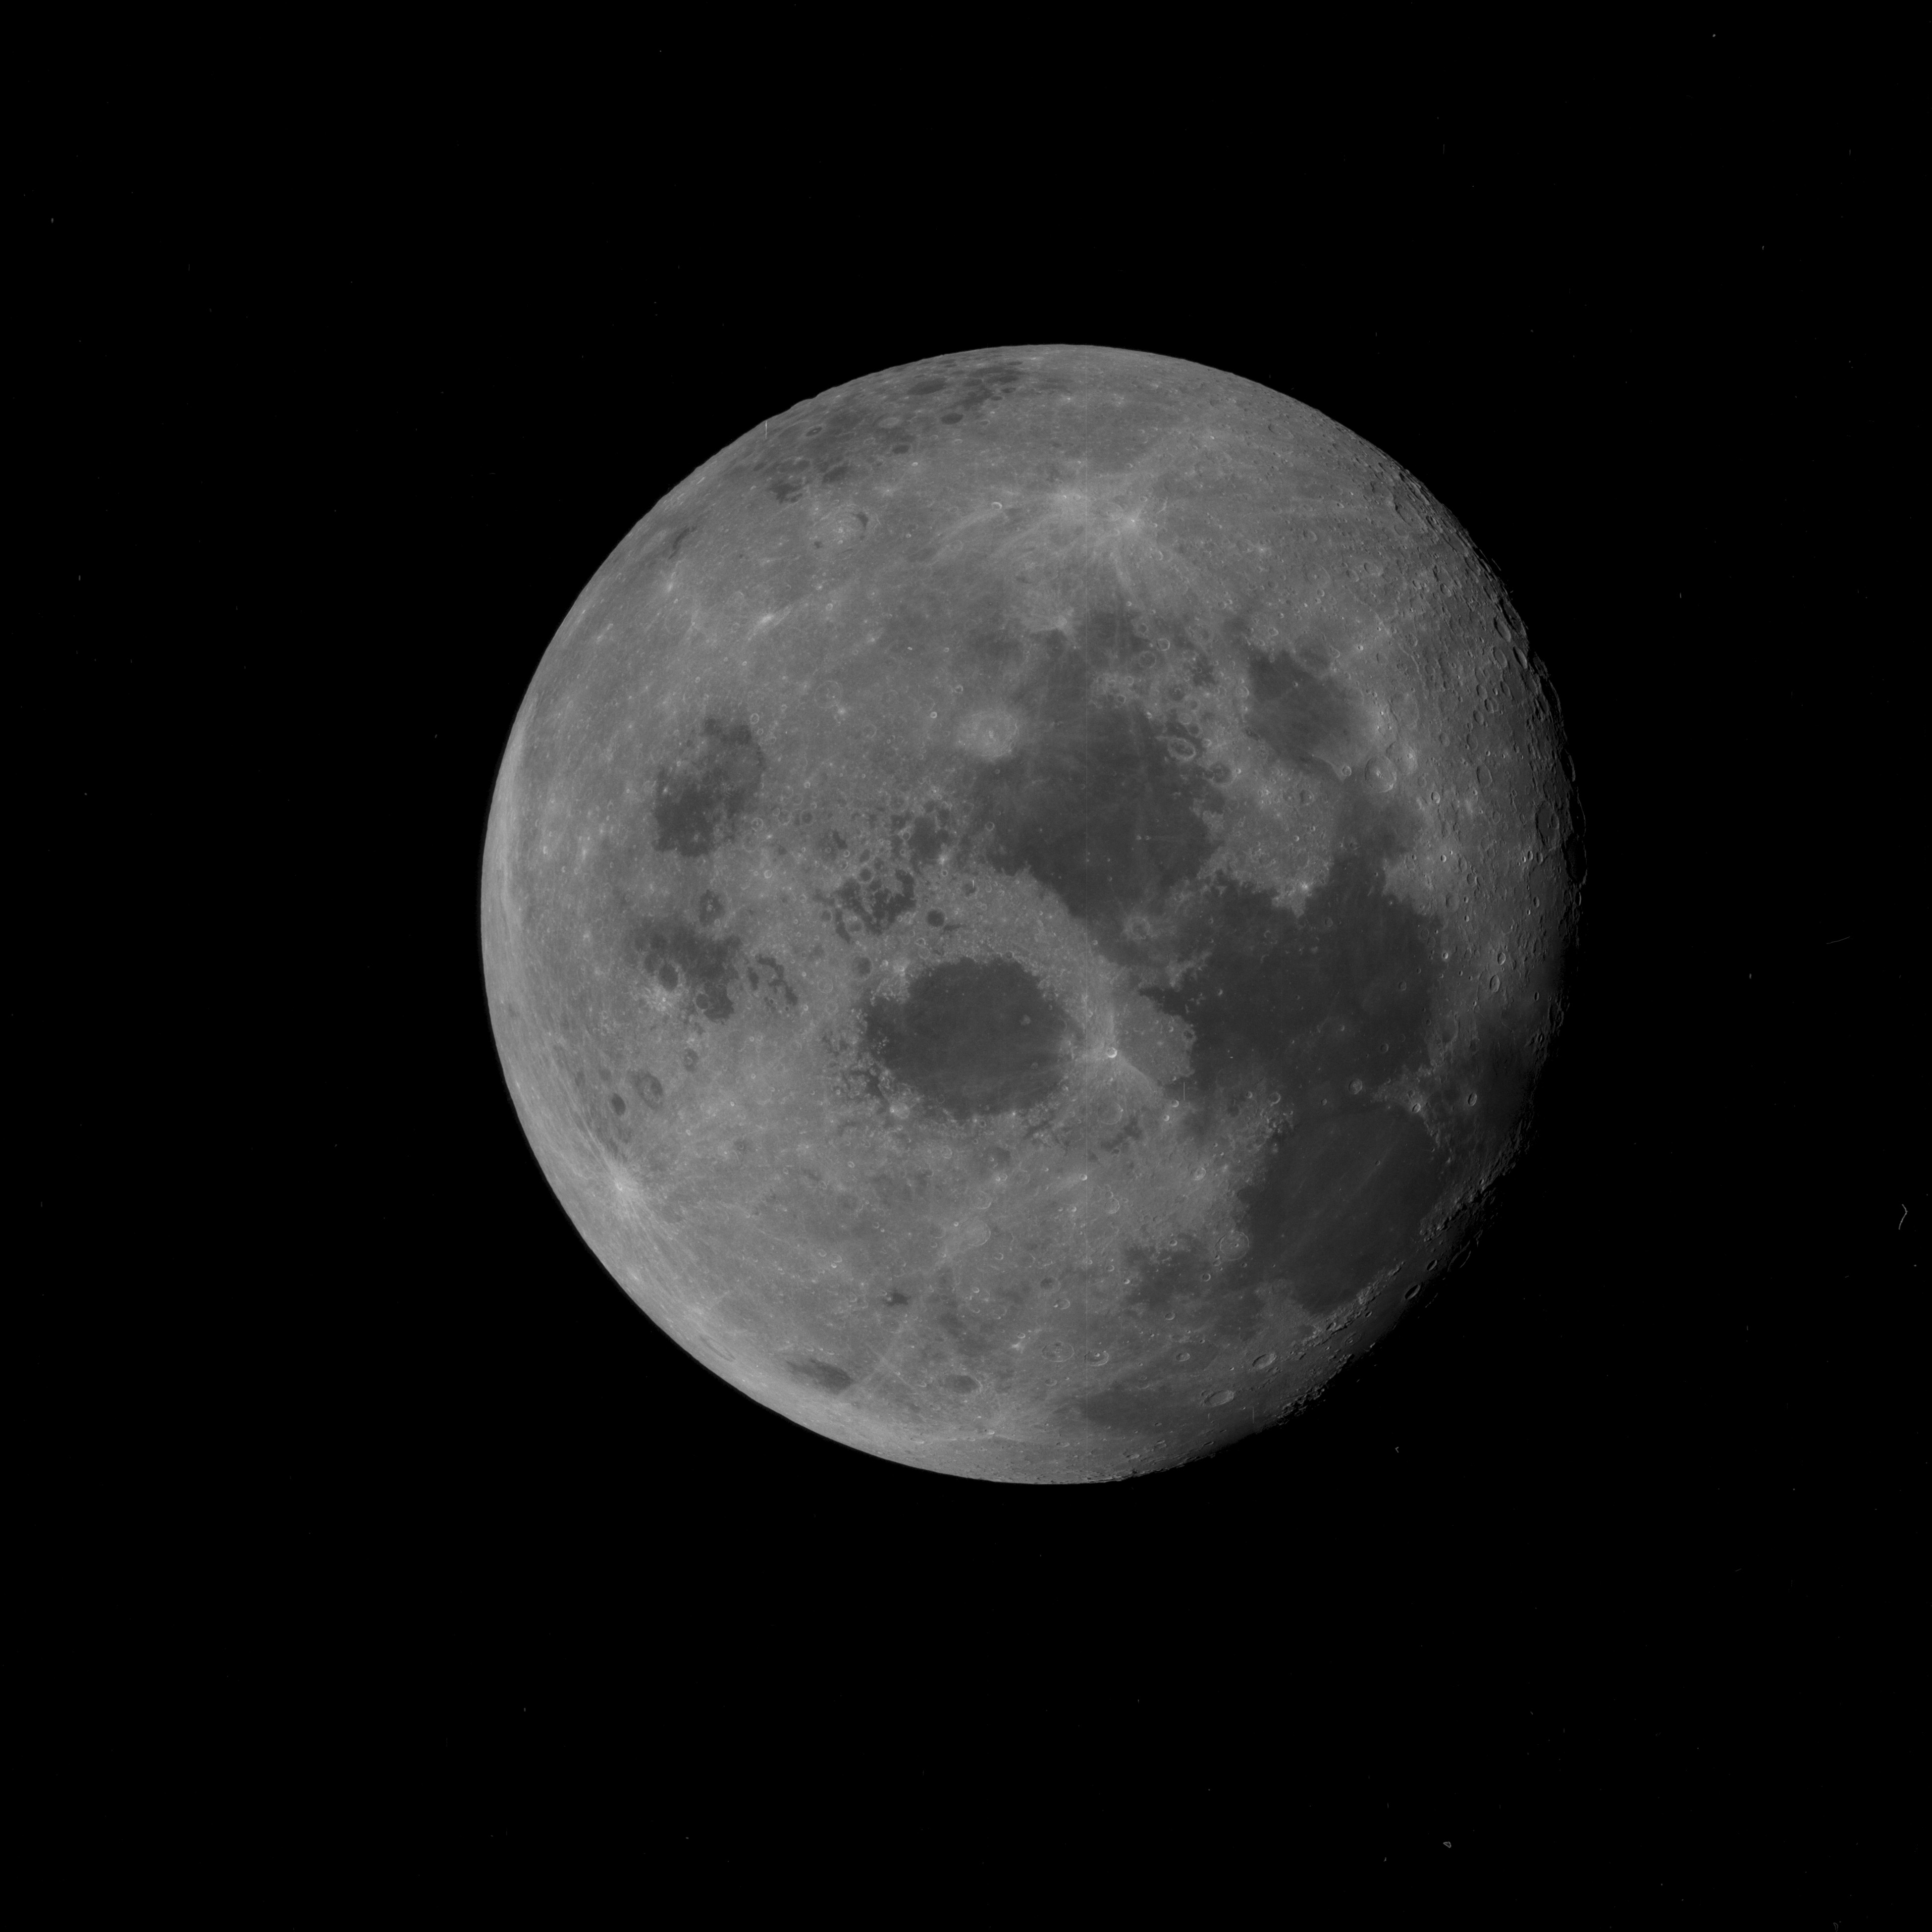
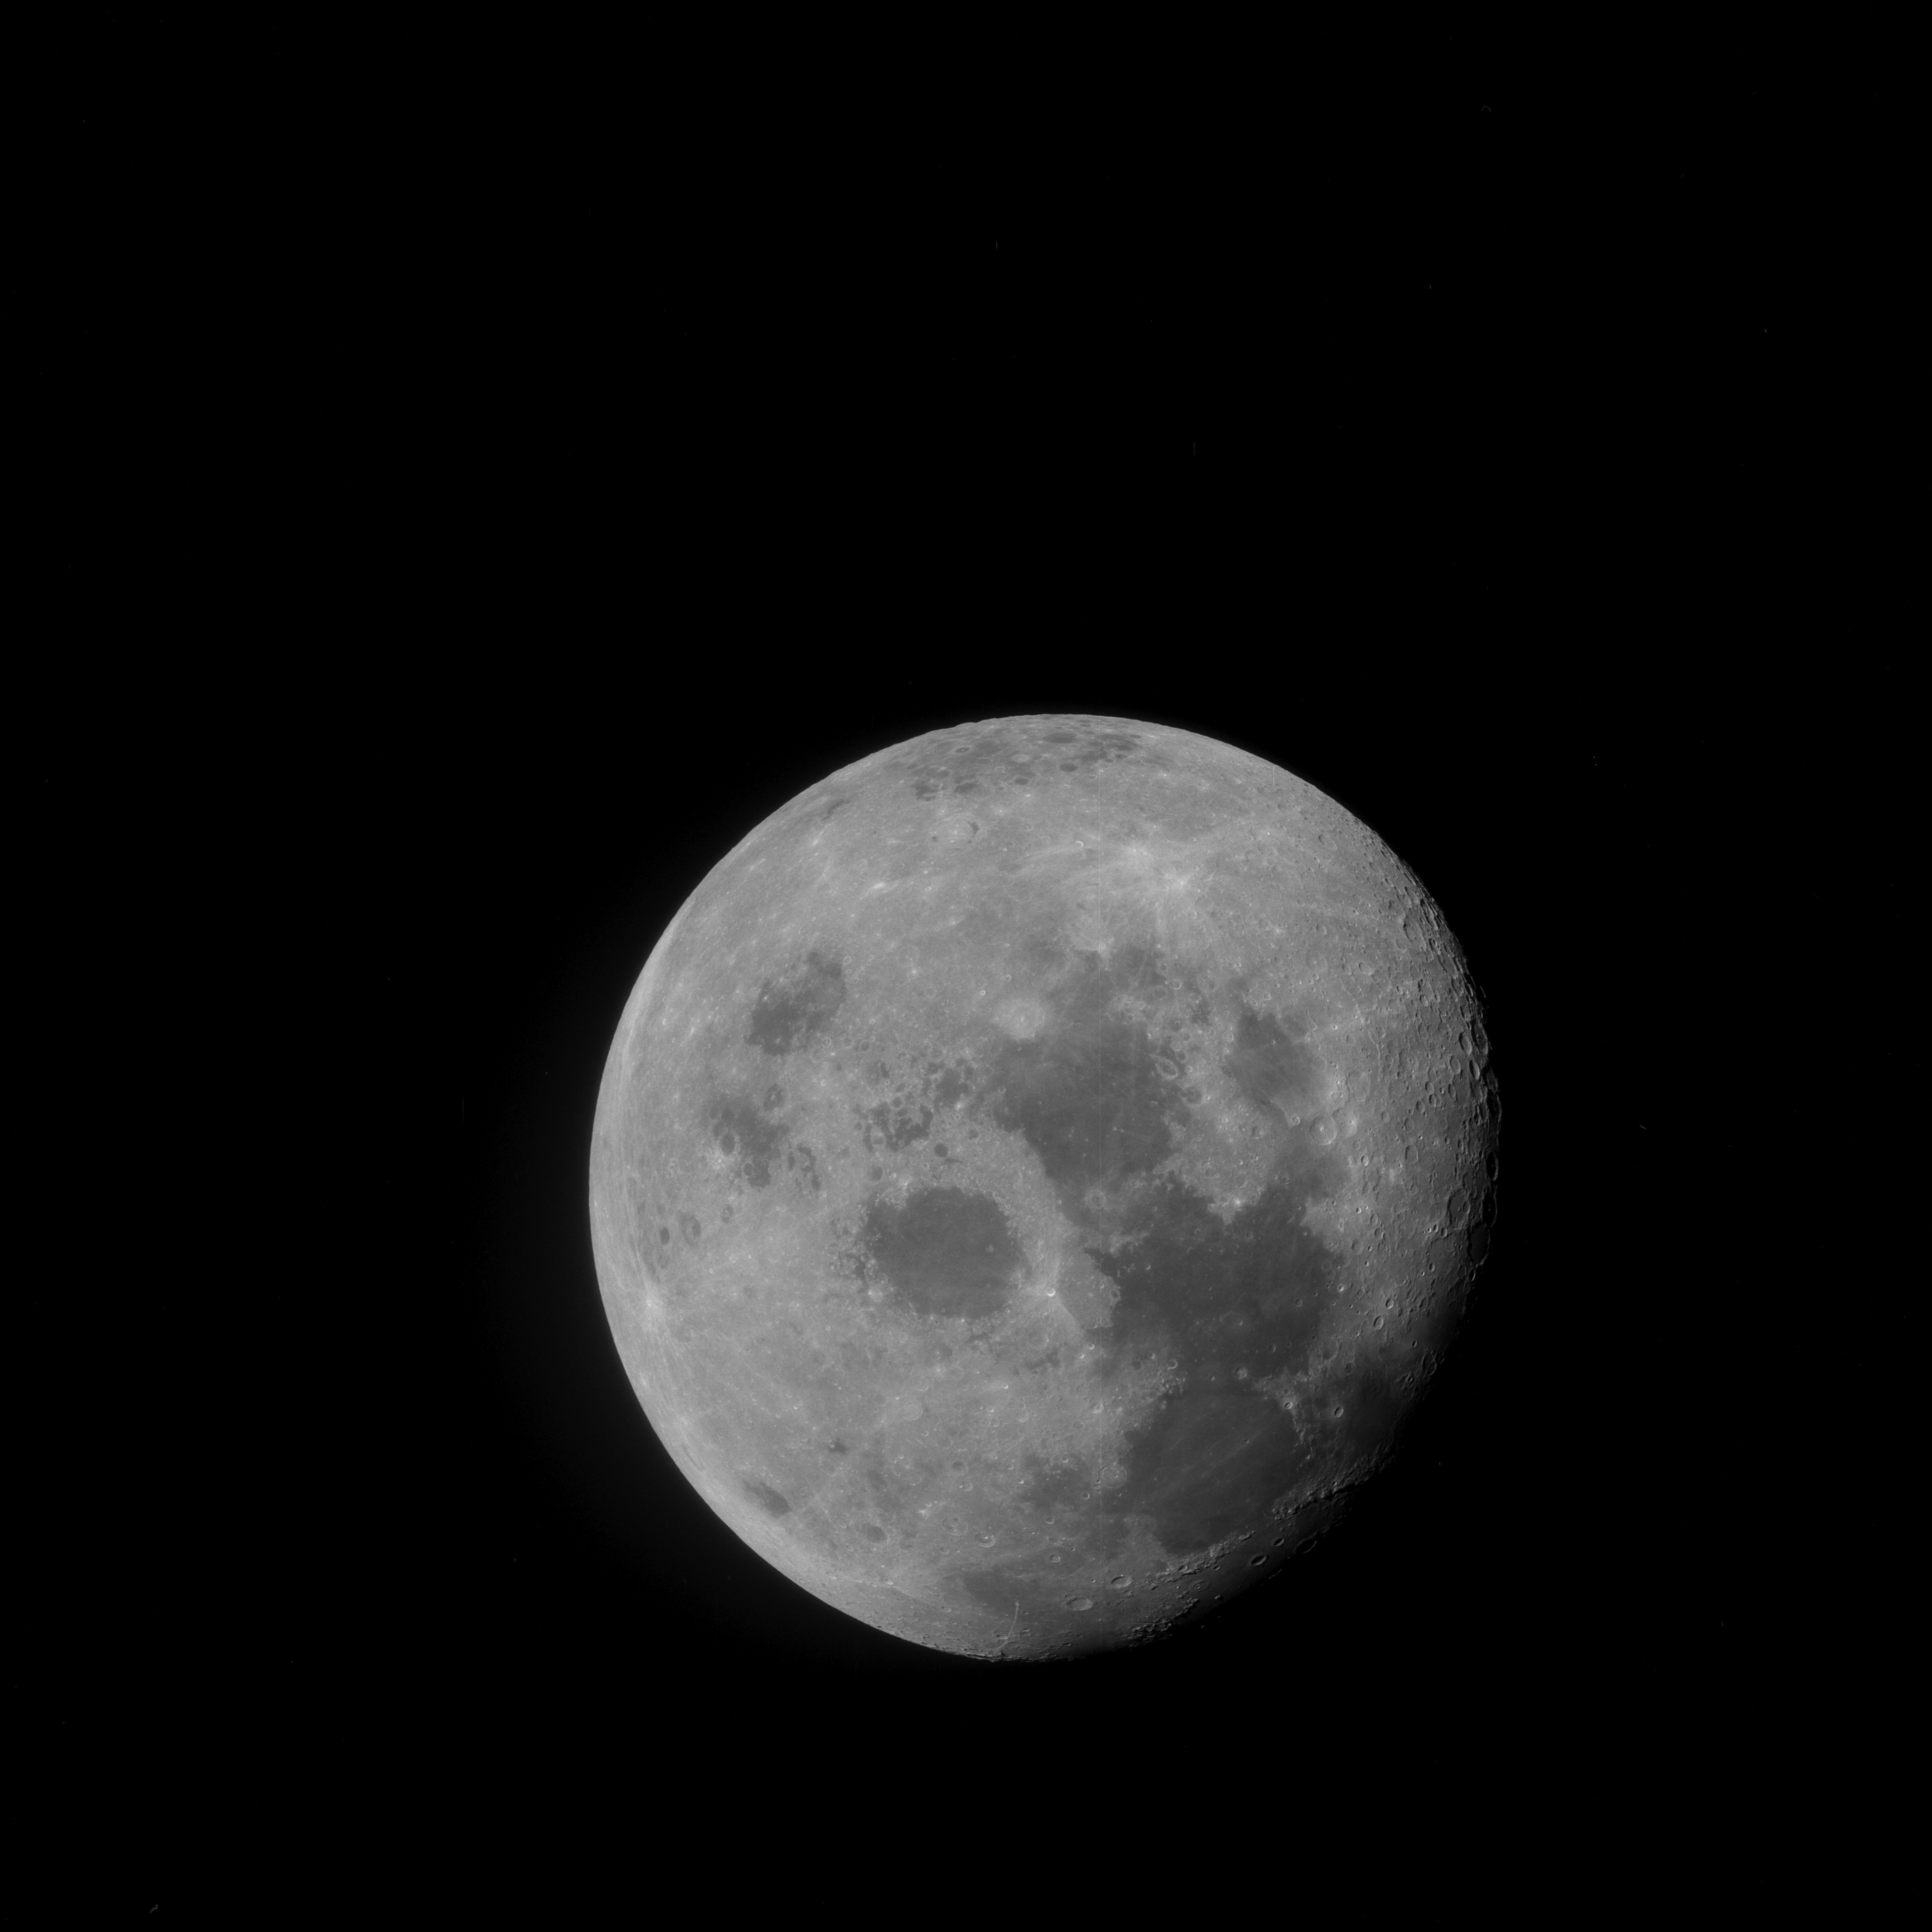
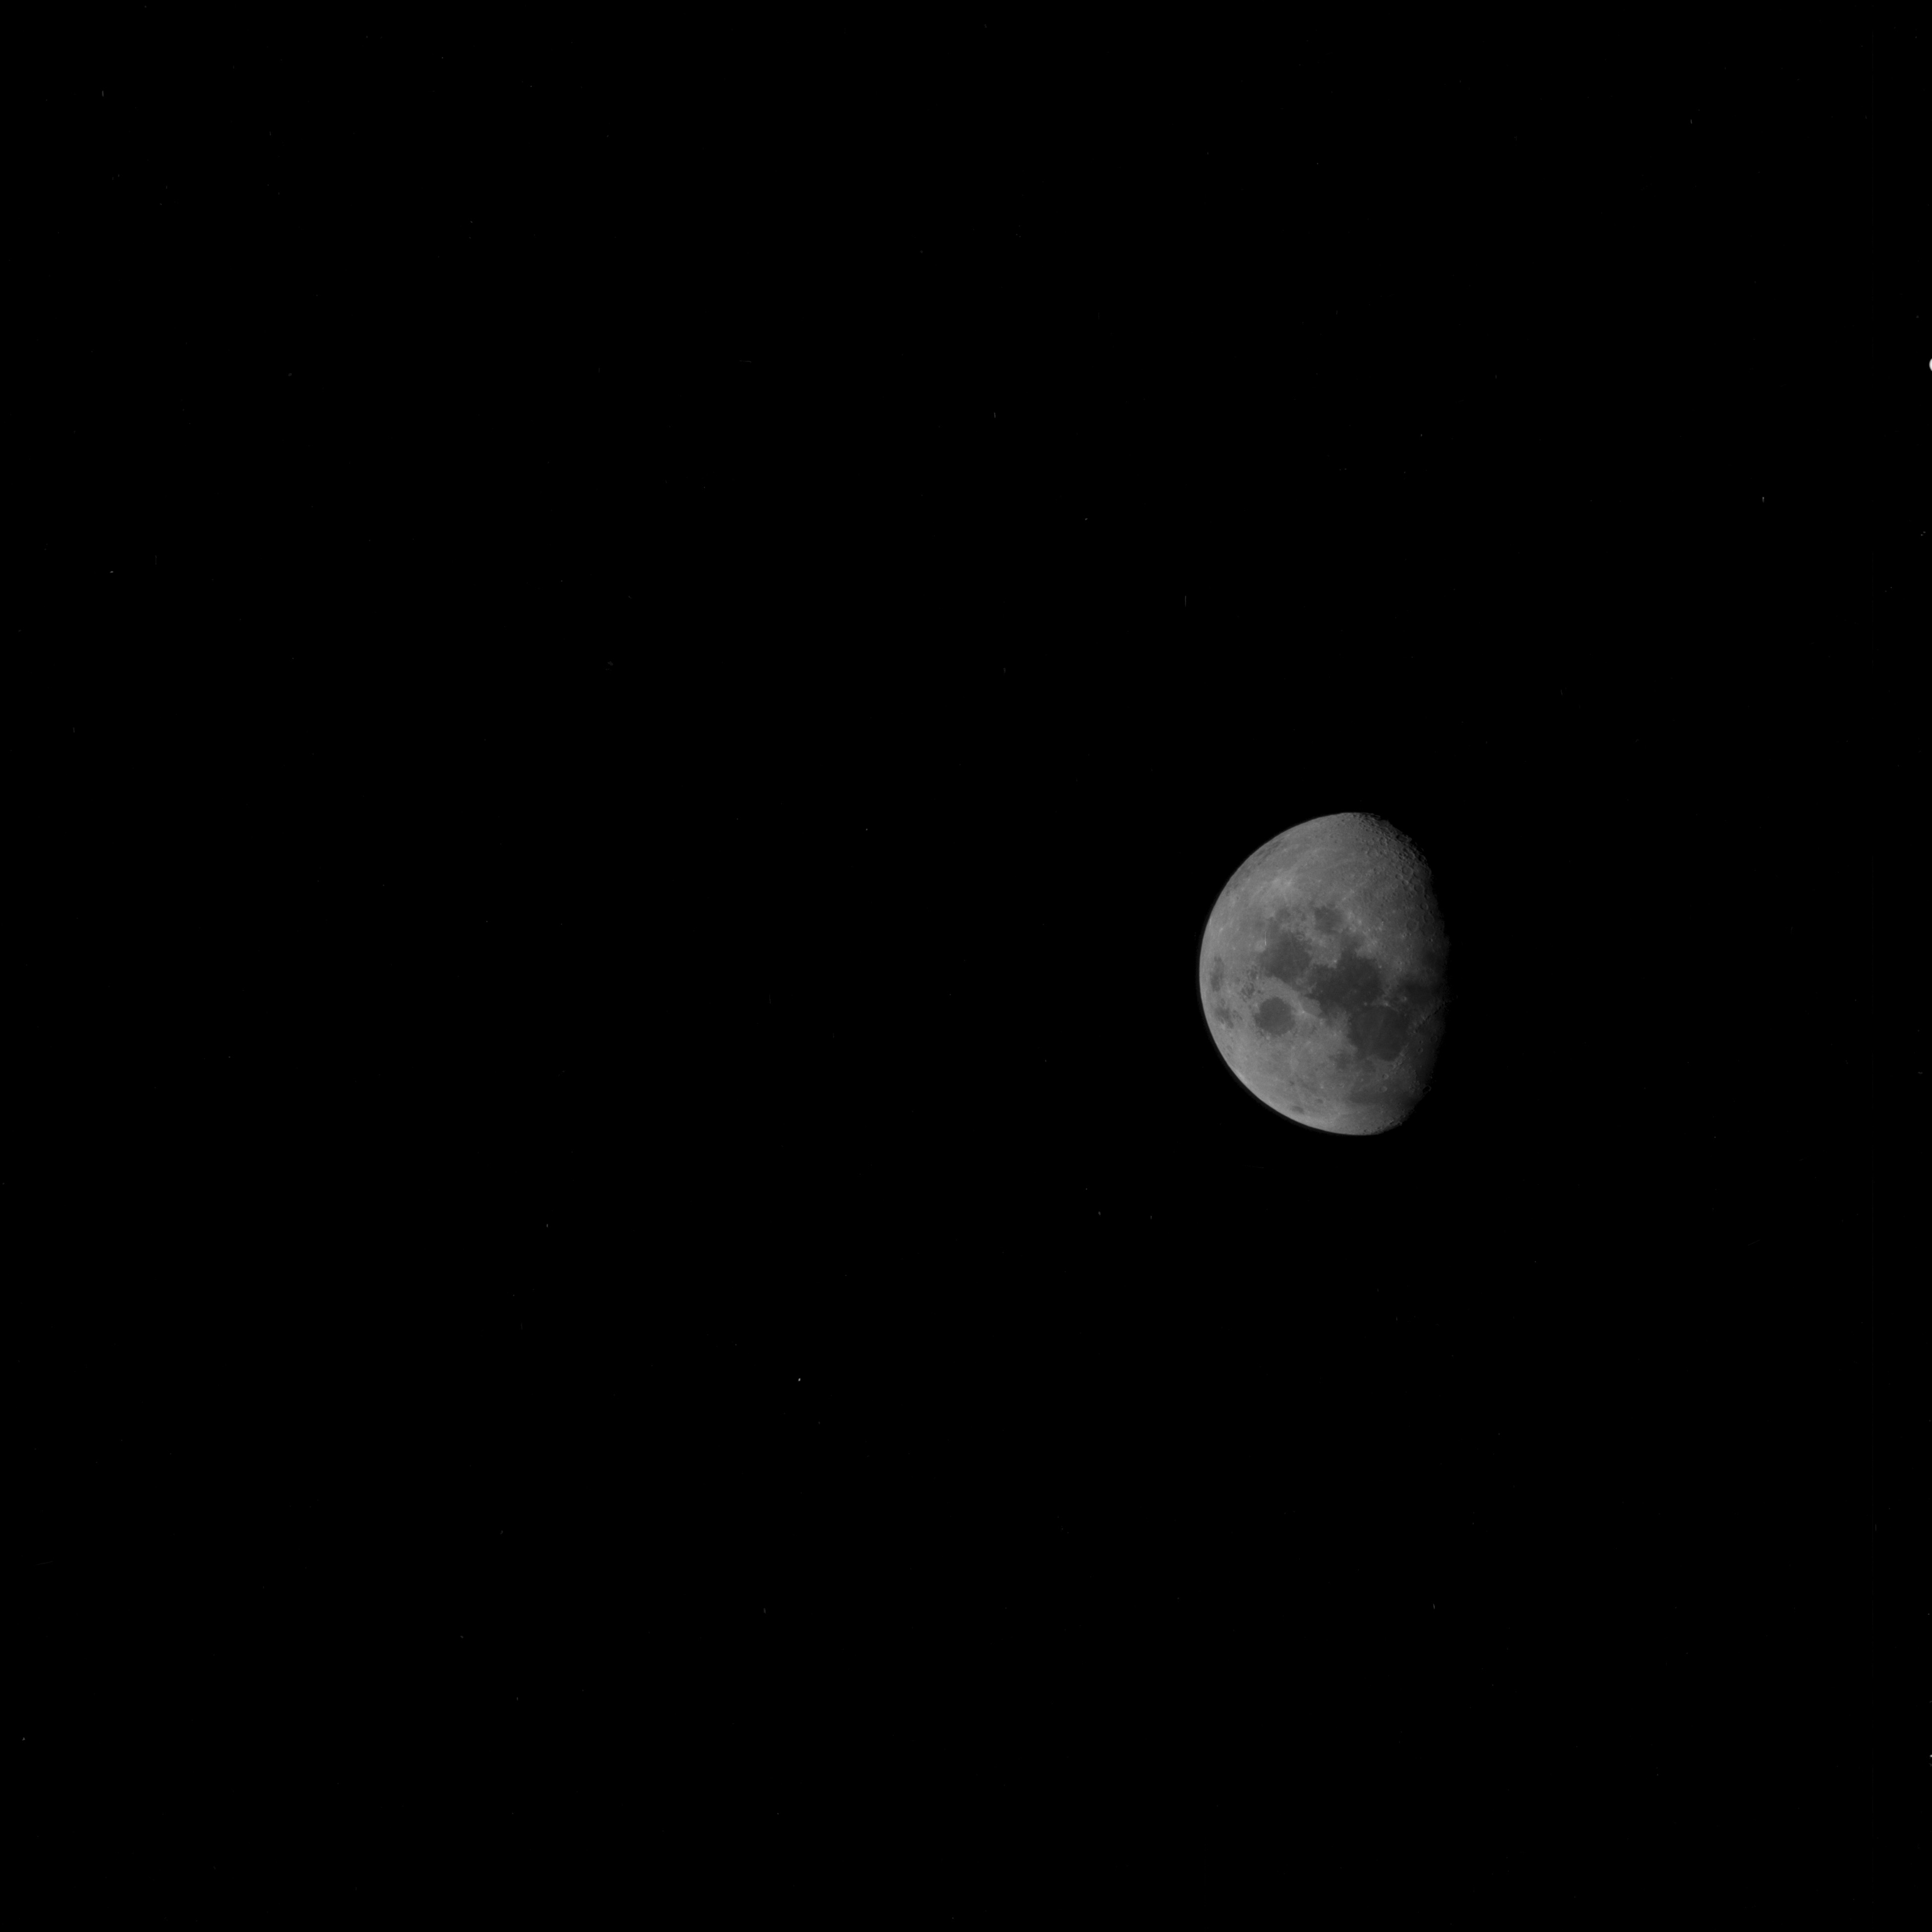
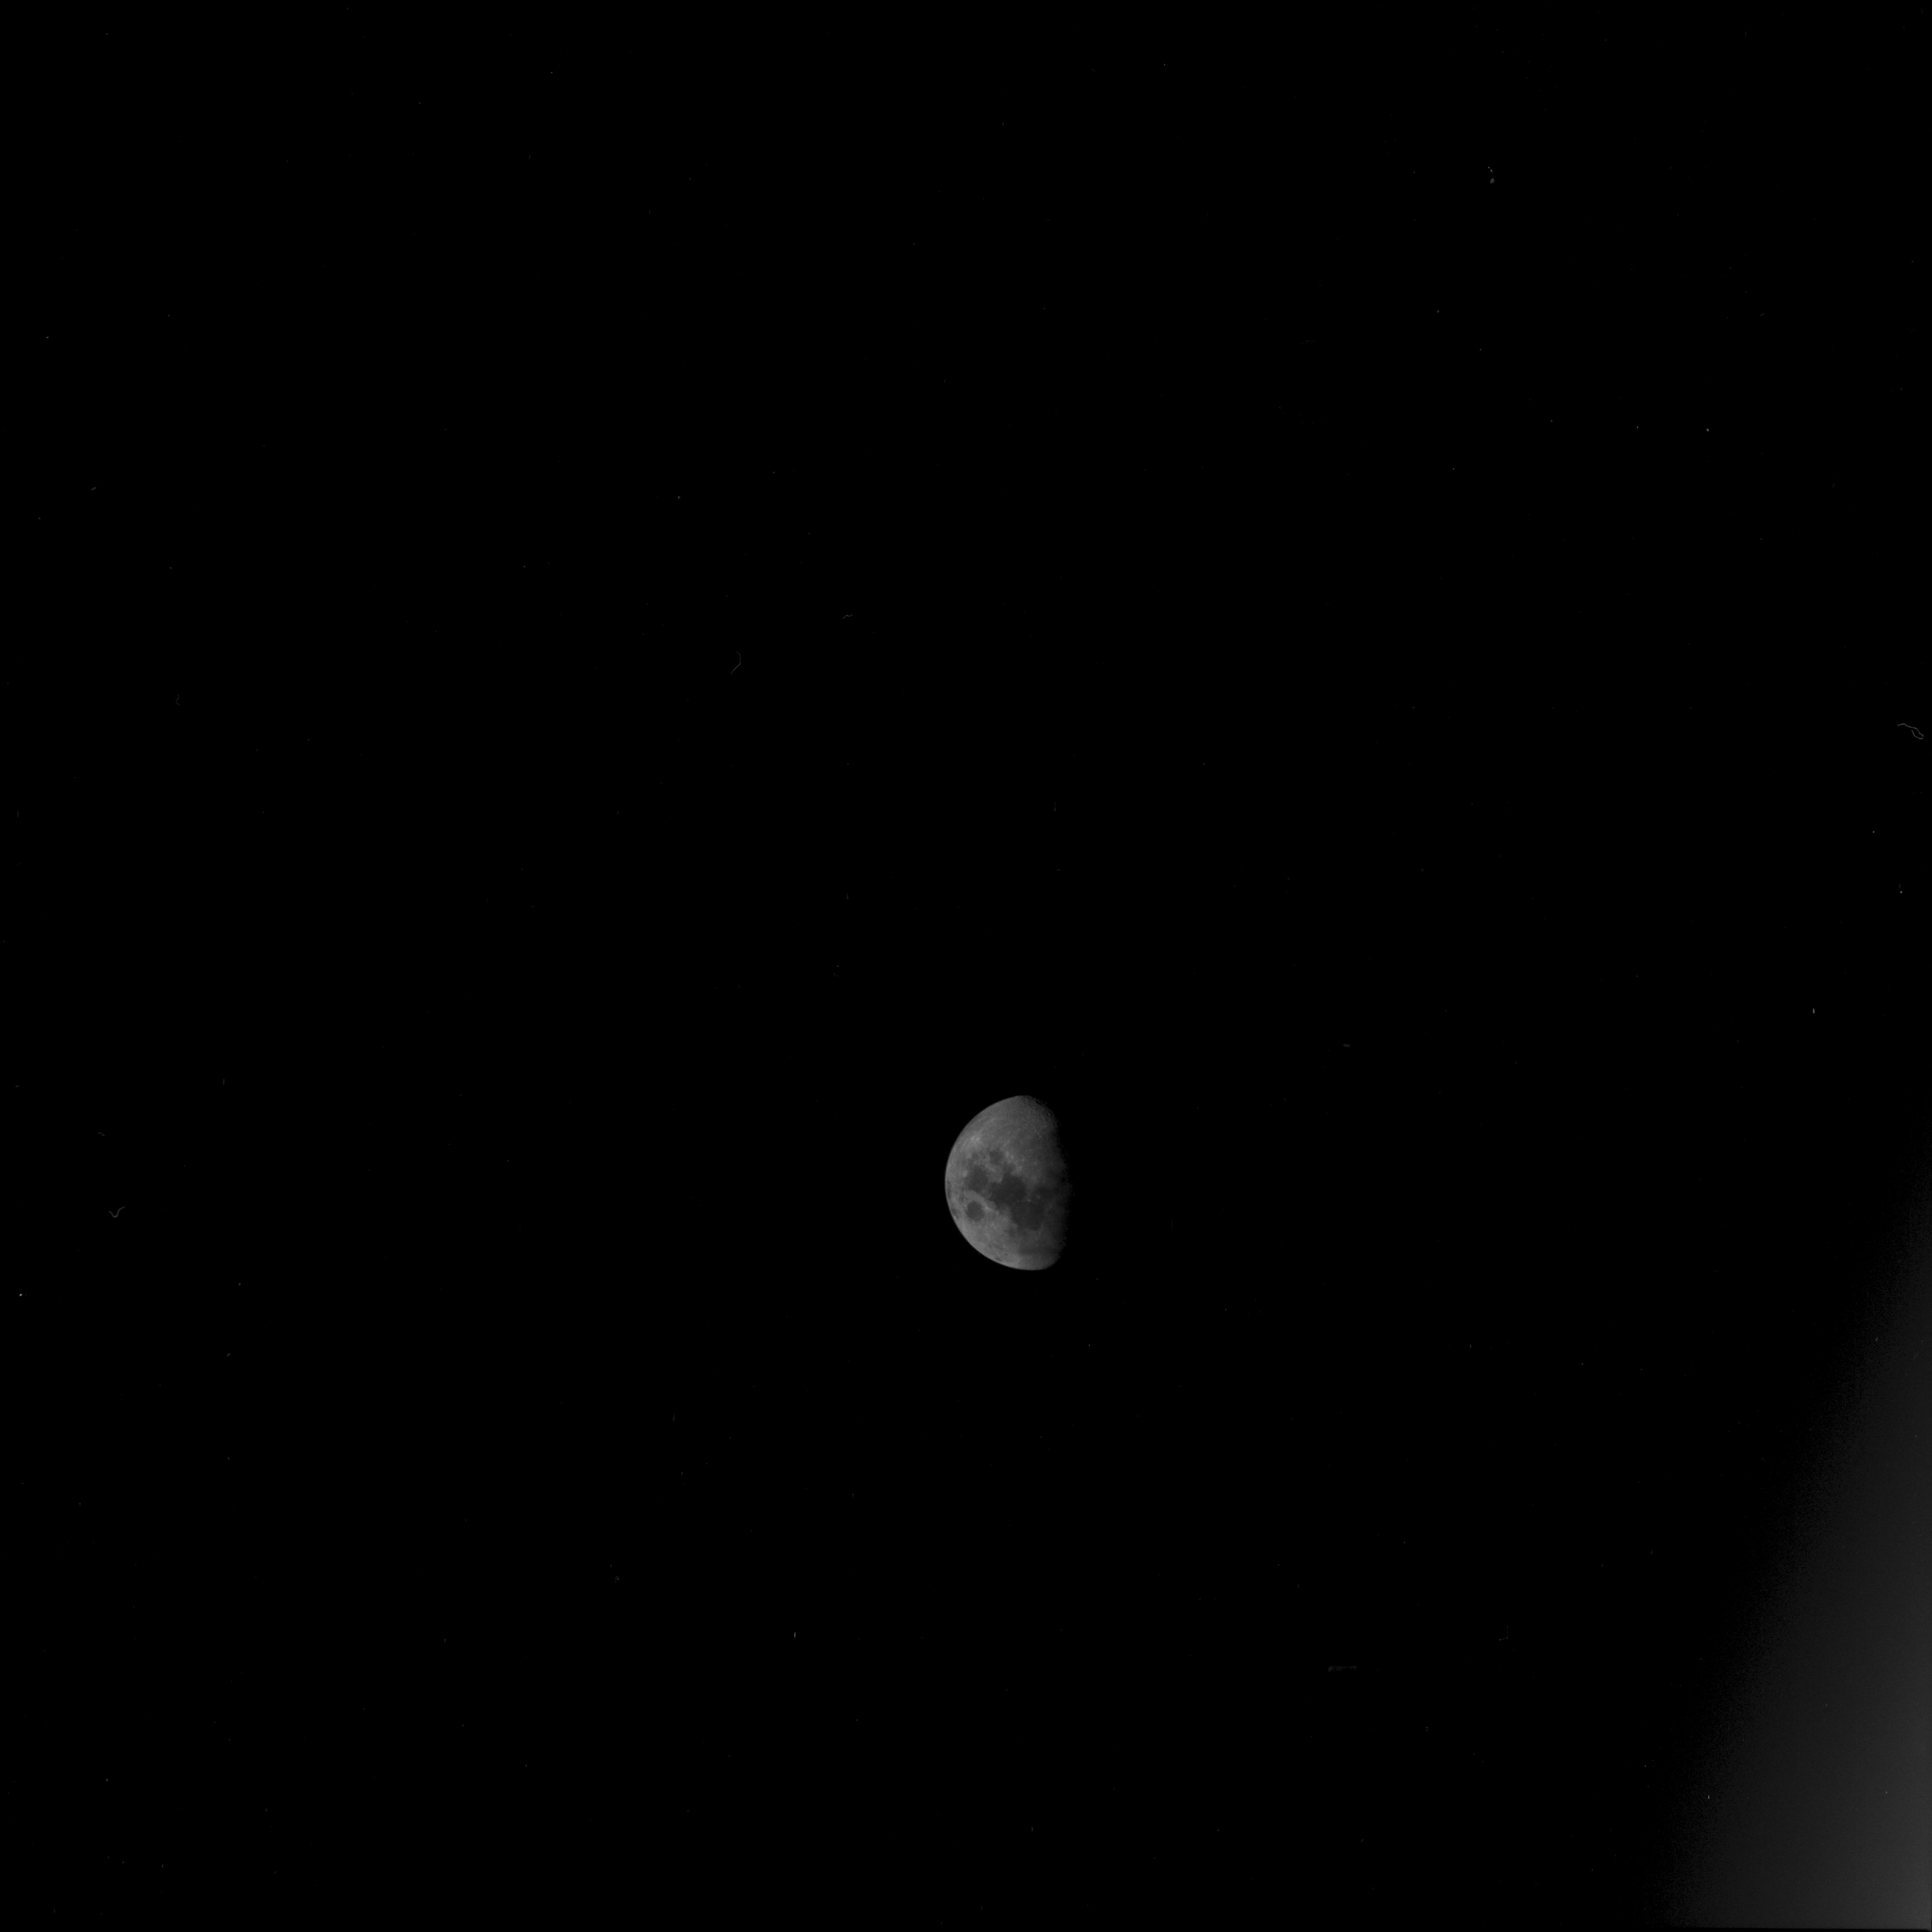
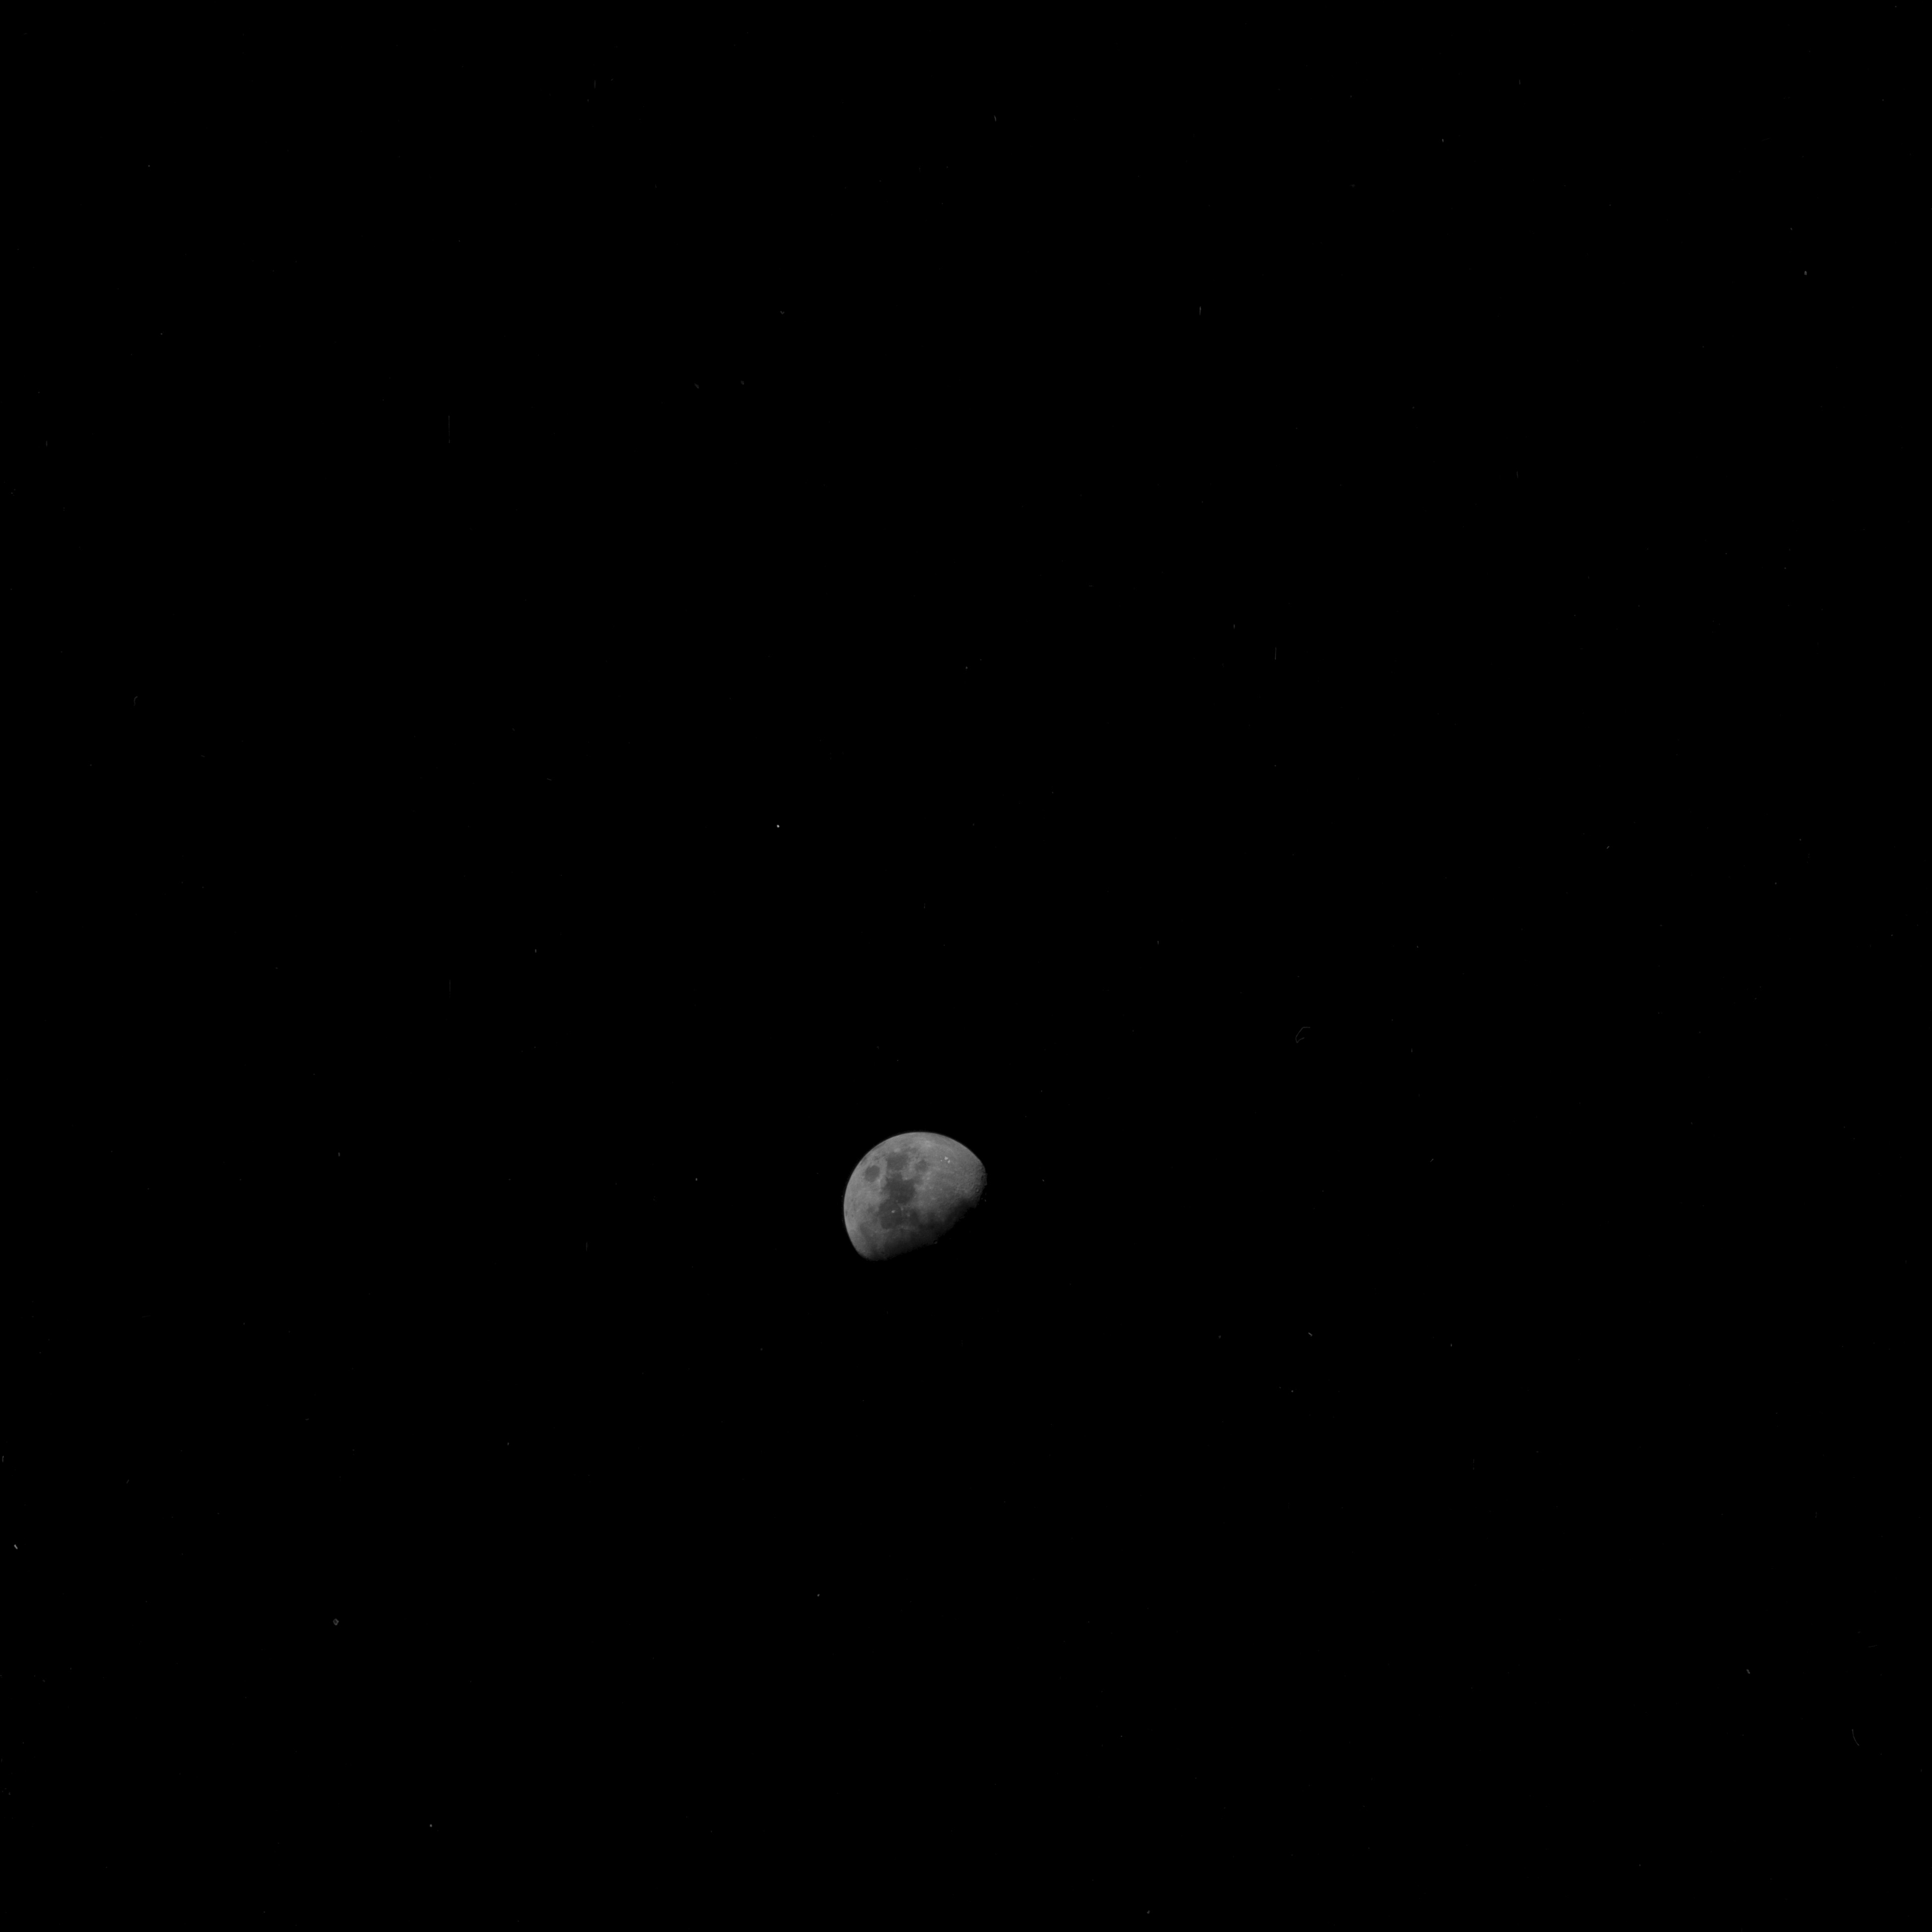
AS11-38-5613 Browse or print resolution. Receding Moon after trans-Earth injection. Image credit: Image Science and Analysis Laboratory, NASA-Johnson Space Center. |
|
AS11-38-5614 Browse or print resolution. Receding Moon after trans-Earth injection. Image credit: Image Science and Analysis Laboratory, NASA-Johnson Space Center. |
|
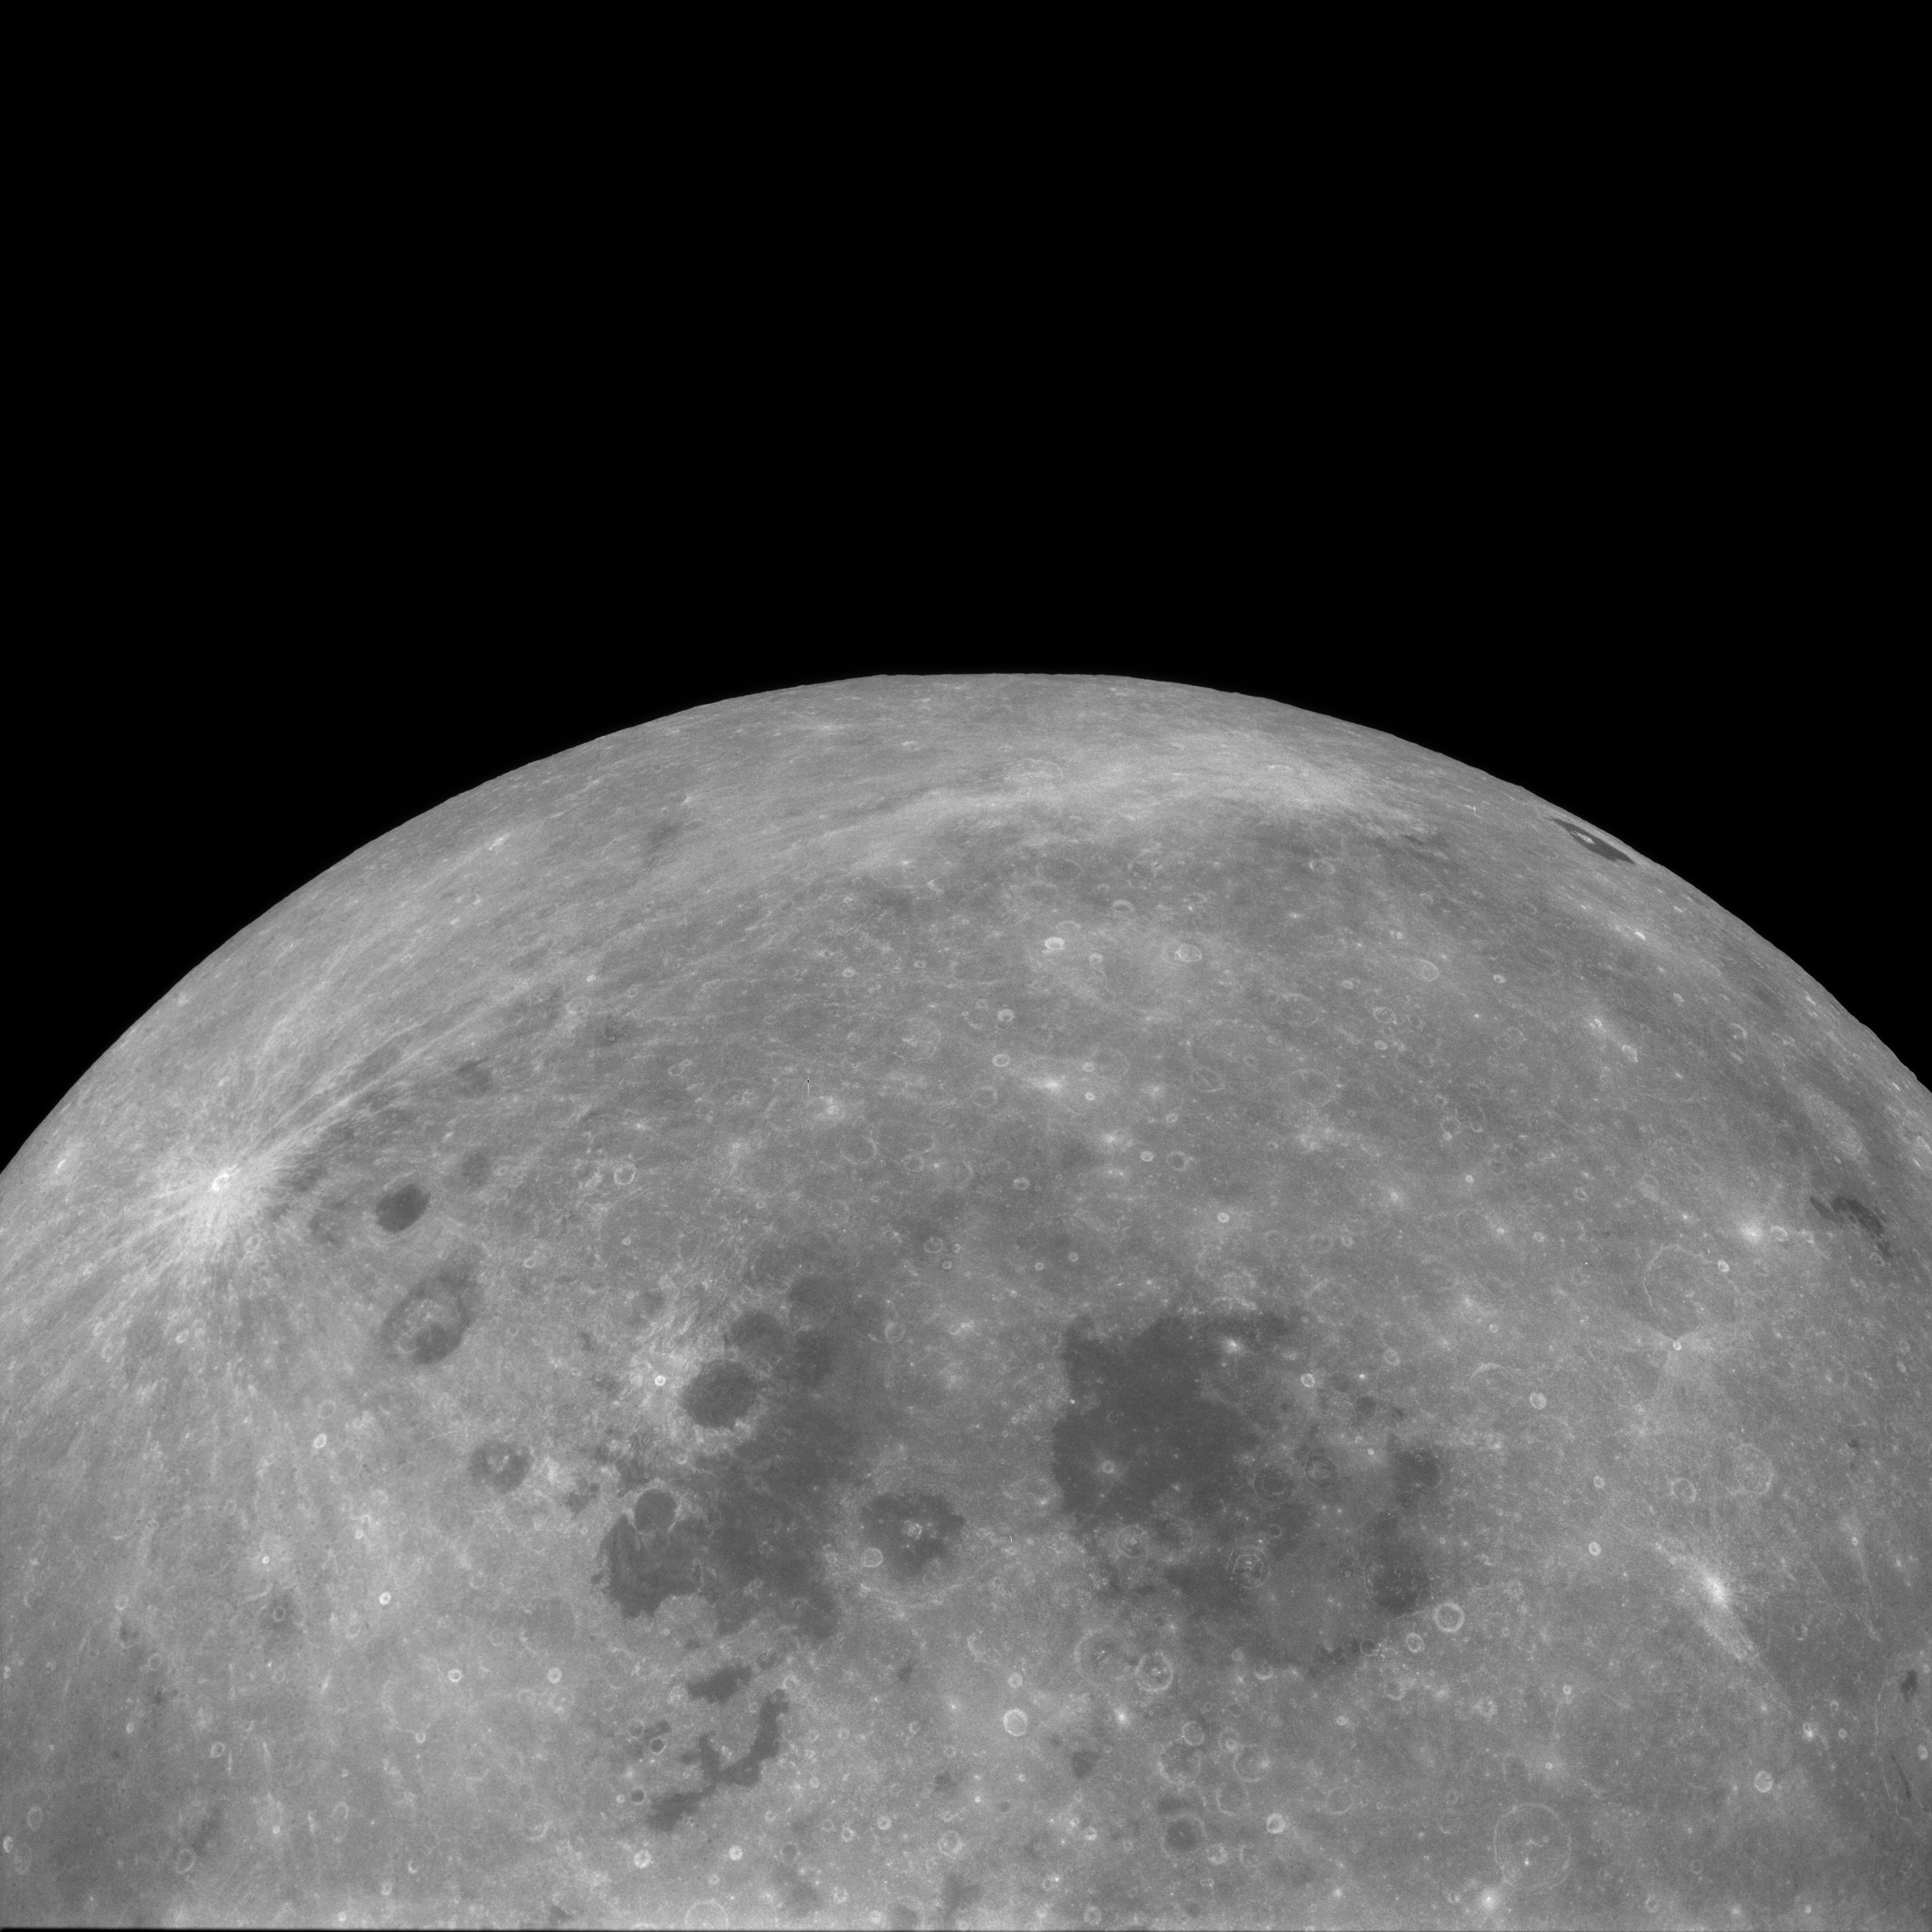
AS11-38-5615 Browse or print resolution. Receding Moon after trans-Earth injection. Image credit: Image Science and Analysis Laboratory, NASA-Johnson Space Center. |
|
AS11-38-5616 Browse or print resolution. Receding Moon after trans-Earth injection. Image credit: Image Science and Analysis Laboratory, NASA-Johnson Space Center. |

|
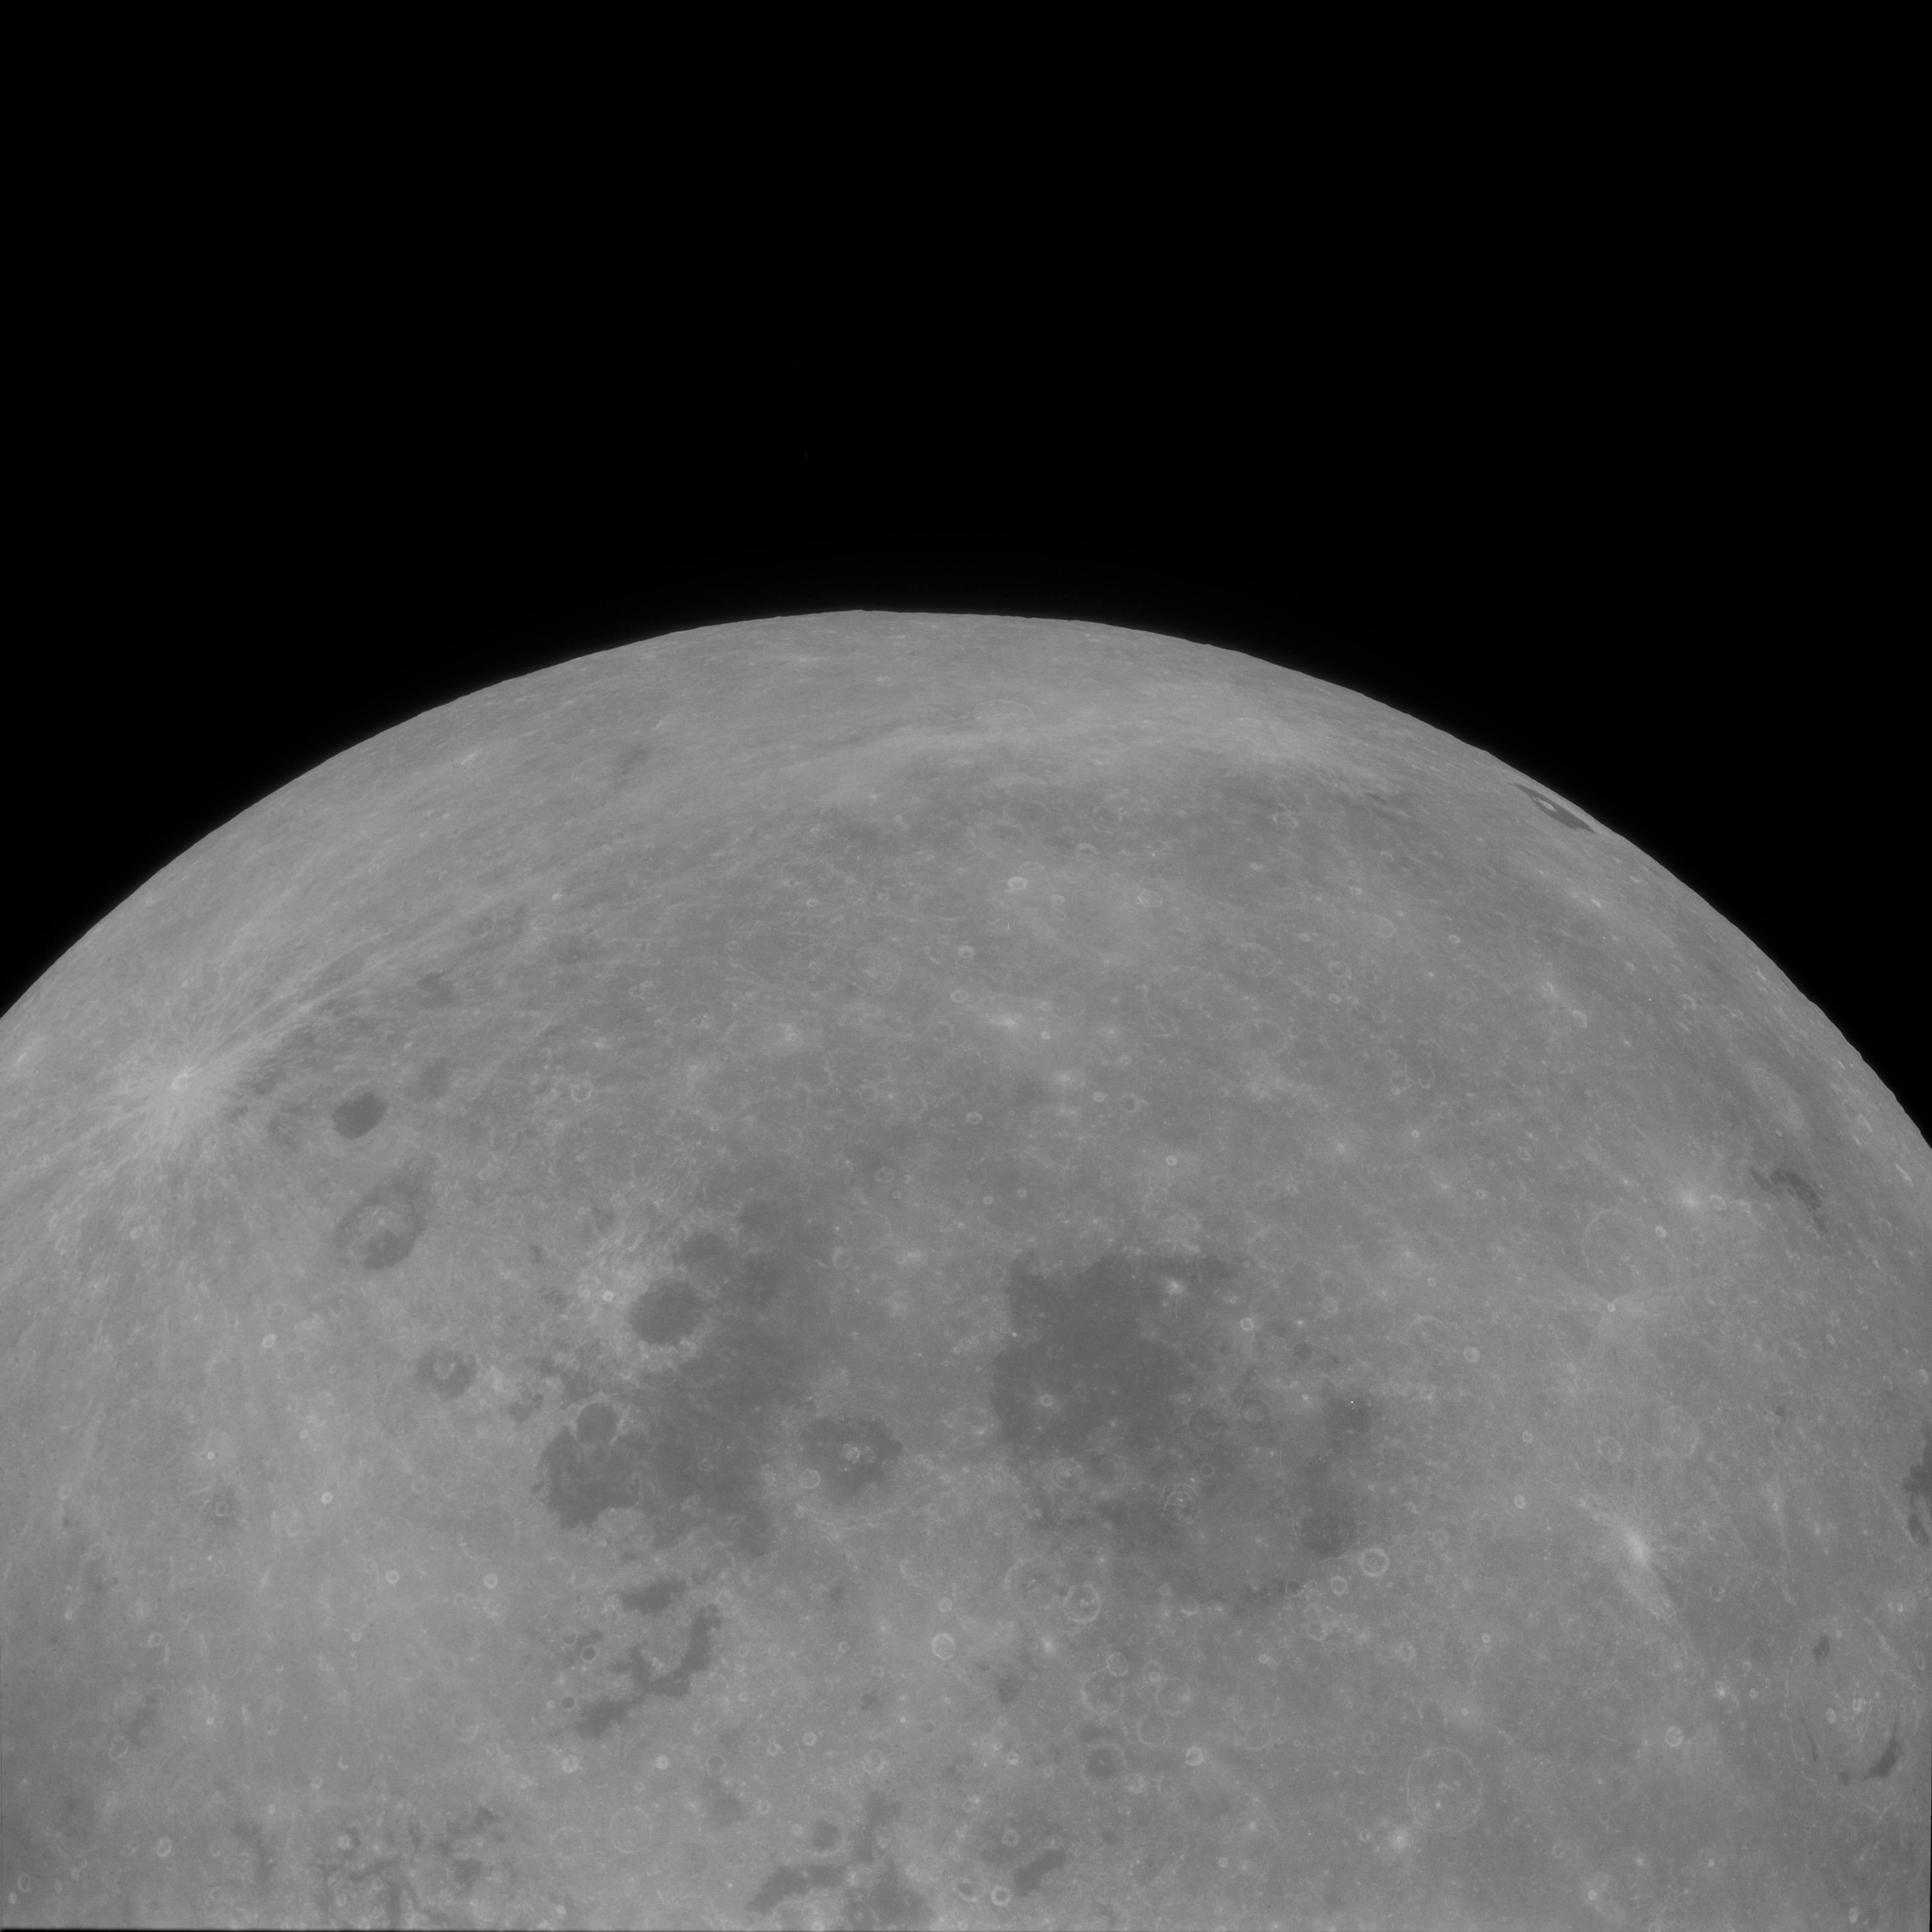
AS11-38-5617 Browse or print resolution. Receding Moon after trans-Earth injection. Image credit: Image Science and Analysis Laboratory, NASA-Johnson Space Center. |
|
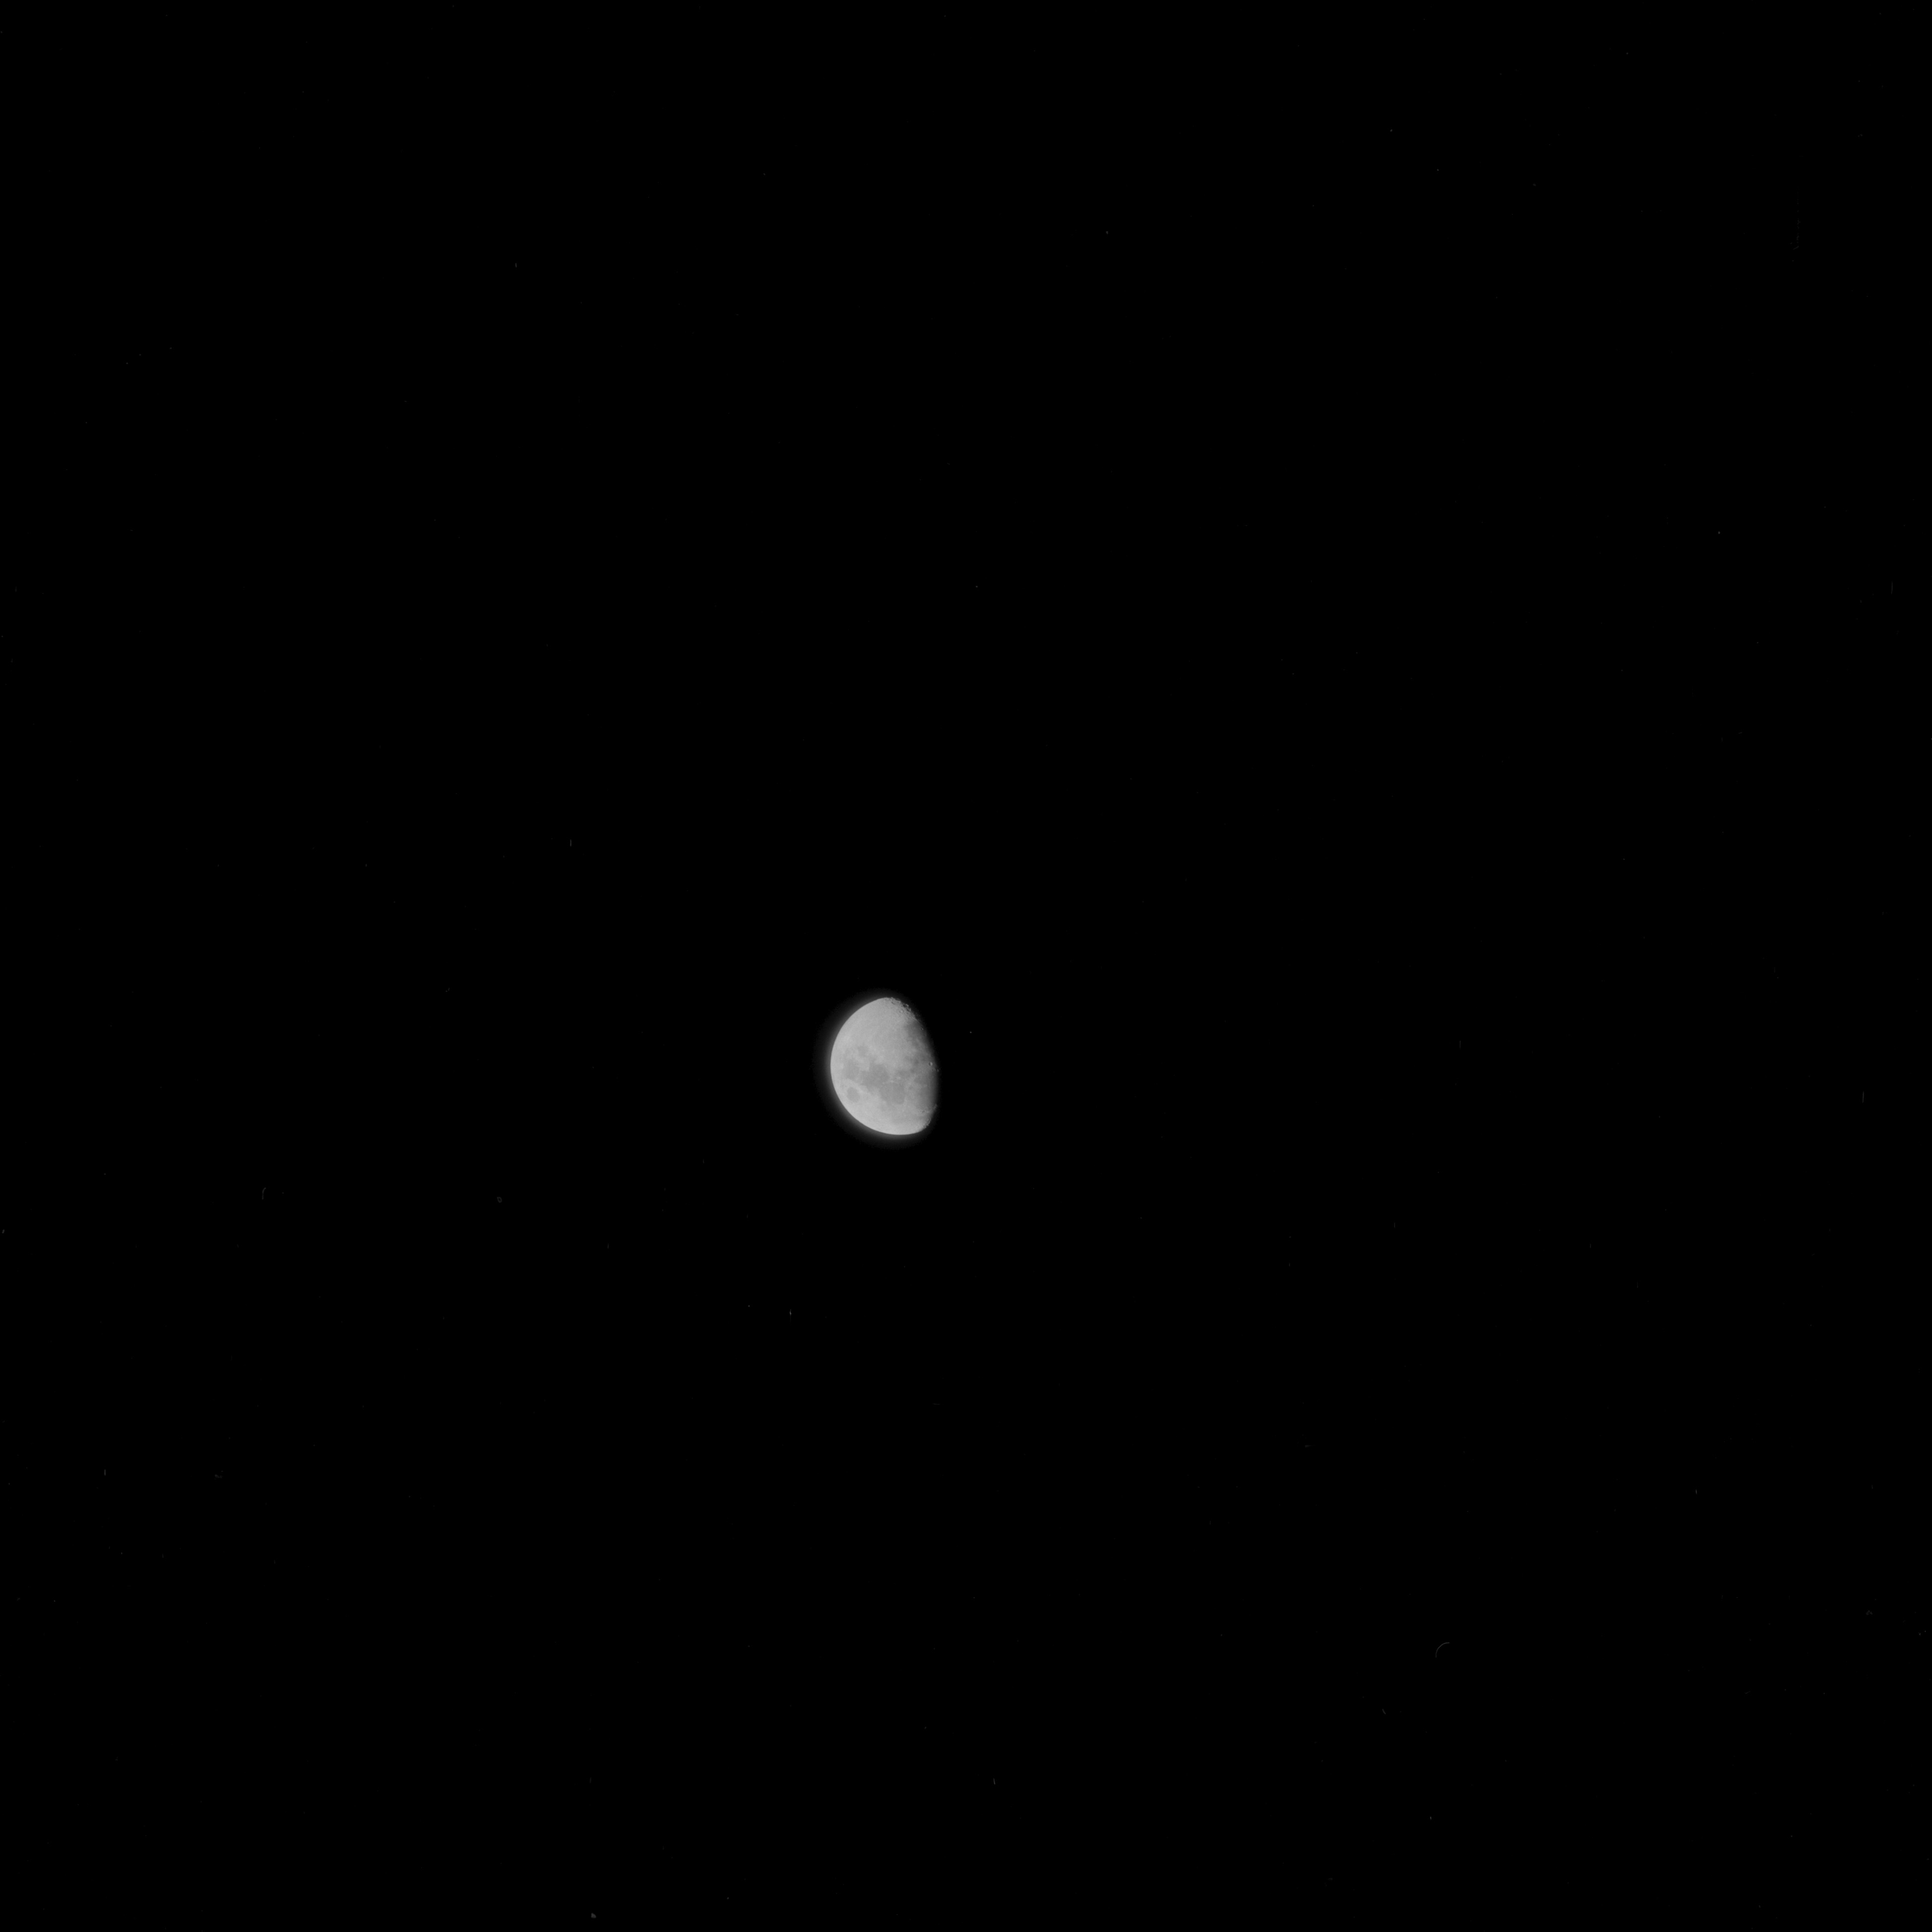
AS11-38-5618 Browse or print resolution. Receding Moon after trans-Earth injection. Image credit: Image Science and Analysis Laboratory, NASA-Johnson Space Center. |
|
AS11-38-5619 Browse or print resolution. Receding Moon after trans-Earth injection. Image credit: Image Science and Analysis Laboratory, NASA-Johnson Space Center. |

|
AS11-38-5620 Browse or print resolution. Receding Moon after trans-Earth injection. Image credit: Image Science and Analysis Laboratory, NASA-Johnson Space Center. |
|
AS11-38-5621 Browse or print resolution. Receding Moon after trans-Earth injection. Image credit: Image Science and Analysis Laboratory, NASA-Johnson Space Center. |
|
AS11-38-5622 Browse or print resolution. Receding Moon after trans-Earth injection. Image credit: Image Science and Analysis Laboratory, NASA-Johnson Space Center. |
|
AS11-38-5623 Browse or print resolution. Receding Moon after trans-Earth injection. Image credit: Image Science and Analysis Laboratory, NASA-Johnson Space Center. |
|
AS11-38-5624 Browse or print resolution. Receding Moon after trans-Earth injection. Image credit: Image Science and Analysis Laboratory, NASA-Johnson Space Center. |

|
AS11-38-5625 Browse or print resolution. Receding Moon after trans-Earth injection. Image credit: Image Science and Analysis Laboratory, NASA-Johnson Space Center. |

|
AS11-38-5626 Browse or print resolution. Receding Moon after trans-Earth injection. Image credit: Image Science and Analysis Laboratory, NASA-Johnson Space Center. |
|
AS11-38-5627 Browse or print resolution. Receding Moon after trans-Earth injection. Image credit: Image Science and Analysis Laboratory, NASA-Johnson Space Center. |
|
AS11-38-5628 Browse or print resolution. Receding Moon after trans-Earth injection. Image credit: Image Science and Analysis Laboratory, NASA-Johnson Space Center. |

|
AS11-38-5629 Browse or print resolution. Receding Moon after trans-Earth injection. Image credit: Image Science and Analysis Laboratory, NASA-Johnson Space Center. |
|
AS11-38-5630 Browse or print resolution. Receding Moon after trans-Earth injection. Image credit: Image Science and Analysis Laboratory, NASA-Johnson Space Center. |

|
AS11-38-5631 Browse or print resolution. Receding Moon after trans-Earth injection. Image credit: Image Science and Analysis Laboratory, NASA-Johnson Space Center. |
|
AS11-38-5632 Browse or print resolution. Receding Moon after trans-Earth injection. Image credit: Image Science and Analysis Laboratory, NASA-Johnson Space Center. |

|
AS11-38-5633 Browse or print resolution. Receding Moon after trans-Earth injection. Image credit: Image Science and Analysis Laboratory, NASA-Johnson Space Center. |

|
AS11-38-5634 Browse or print resolution. Receding Moon after trans-Earth injection. Image credit: Image Science and Analysis Laboratory, NASA-Johnson Space Center. |

|
AS11-38-5635 Browse or print resolution. Receding Moon after trans-Earth injection. Image credit: Image Science and Analysis Laboratory, NASA-Johnson Space Center. |
|
AS11-38-5636 Browse or print resolution. Receding Moon after trans-Earth injection. Image credit: Image Science and Analysis Laboratory, NASA-Johnson Space Center. |
|
AS11-38-5637 Browse or print resolution. Receding Moon after trans-Earth injection. Image credit: Image Science and Analysis Laboratory, NASA-Johnson Space Center. |
|
AS11-38-5638 Browse or print resolution. Receding Moon after trans-Earth injection. Image credit: Image Science and Analysis Laboratory, NASA-Johnson Space Center. |

|
AS11-38-5639 Browse or print resolution. Receding Moon after trans-Earth injection. Image credit: Image Science and Analysis Laboratory, NASA-Johnson Space Center. |

|
AS11-38-5640 Browse or print resolution. Receding Moon after trans-Earth injection. Image credit: Image Science and Analysis Laboratory, NASA-Johnson Space Center. |
|
AS11-38-5641 Browse or print resolution. Receding Moon after trans-Earth injection. Image credit: Image Science and Analysis Laboratory, NASA-Johnson Space Center. |
|
AS11-38-5642 Browse or print resolution. Receding Moon after trans-Earth injection. Image credit: Image Science and Analysis Laboratory, NASA-Johnson Space Center. |

|
AS11-38-5643 Browse or print resolution. Receding Moon after trans-Earth injection. Image credit: Image Science and Analysis Laboratory, NASA-Johnson Space Center. |
|
AS11-38-5644 Browse or print resolution. Receding Moon after trans-Earth injection. Image credit: Image Science and Analysis Laboratory, NASA-Johnson Space Center. |
|
AS11-38-5645 Browse or print resolution. Receding Moon after trans-Earth injection. Image credit: Image Science and Analysis Laboratory, NASA-Johnson Space Center. |
|
AS11-38-5646 Browse or print resolution. Receding Moon after trans-Earth injection. Image credit: Image Science and Analysis Laboratory, NASA-Johnson Space Center. |

|
AS11-38-5647 Browse or print resolution. Receding Moon after trans-Earth injection. Image credit: Image Science and Analysis Laboratory, NASA-Johnson Space Center. |

|
AS11-38-5648 Browse or print resolution. Receding Moon after trans-Earth injection. Image credit: Image Science and Analysis Laboratory, NASA-Johnson Space Center. |

|
AS11-38-5649 Browse or print resolution. Receding Moon after trans-Earth injection. Image credit: Image Science and Analysis Laboratory, NASA-Johnson Space Center. |

|
AS11-38-5650 Browse or print resolution. Receding Moon after trans-Earth injection. Image credit: Image Science and Analysis Laboratory, NASA-Johnson Space Center. |

|
AS11-38-5651 Browse or print resolution. Receding Moon after trans-Earth injection. Image credit: Image Science and Analysis Laboratory, NASA-Johnson Space Center. |
|
AS11-38-5652 Browse or print resolution. Receding Moon after trans-Earth injection. Image credit: Image Science and Analysis Laboratory, NASA-Johnson Space Center. |
|
AS11-38-5653 Browse or print resolution. Receding Moon after trans-Earth injection. Image credit: Image Science and Analysis Laboratory, NASA-Johnson Space Center. |

|
AS11-38-5654 Browse or print resolution. Receding Moon after trans-Earth injection. Image credit: Image Science and Analysis Laboratory, NASA-Johnson Space Center. |
|
AS11-38-5655 Browse or print resolution. Receding Moon after trans-Earth injection. Image credit: Image Science and Analysis Laboratory, NASA-Johnson Space Center. |
|
AS11-38-5656 Browse or print resolution. Receding Moon after trans-Earth injection. Image credit: Image Science and Analysis Laboratory, NASA-Johnson Space Center. |

|
AS11-38-5657 Browse or print resolution. Receding Moon after trans-Earth injection. Image credit: Image Science and Analysis Laboratory, NASA-Johnson Space Center. |

|
AS11-38-5658 Browse or print resolution. Receding Moon after trans-Earth injection. Image credit: Image Science and Analysis Laboratory, NASA-Johnson Space Center. |
|
AS11-38-5659 Browse or print resolution. Receding Moon after trans-Earth injection. Image credit: Image Science and Analysis Laboratory, NASA-Johnson Space Center. |
|
AS11-38-5660 Browse or print resolution. Receding Moon after trans-Earth injection. Image credit: Image Science and Analysis Laboratory, NASA-Johnson Space Center. |
|
AS11-38-5661 Browse or print resolution. Receding Moon after trans-Earth injection. Image credit: Image Science and Analysis Laboratory, NASA-Johnson Space Center. |

|
AS11-38-5662 Browse or print resolution. Receding Moon after trans-Earth injection. Image credit: Image Science and Analysis Laboratory, NASA-Johnson Space Center. |
|
AS11-38-5663 Browse or print resolution. Receding Moon after trans-Earth injection. Image credit: Image Science and Analysis Laboratory, NASA-Johnson Space Center. |
|
AS11-38-5664 Browse or print resolution. Receding Moon after trans-Earth injection. Image credit: Image Science and Analysis Laboratory, NASA-Johnson Space Center. |

|
AS11-38-5665 Browse or print resolution. Receding Moon after trans-Earth injection. Image credit: Image Science and Analysis Laboratory, NASA-Johnson Space Center. |

|
AS11-38-5666 Browse or print resolution. Receding Moon after trans-Earth injection. Image credit: Image Science and Analysis Laboratory, NASA-Johnson Space Center. |
|
AS11-38-5667 Browse or print resolution. Receding Moon after trans-Earth injection. Image credit: Image Science and Analysis Laboratory, NASA-Johnson Space Center. |

|
AS11-38-5668 Browse or print resolution. Receding Moon after trans-Earth injection. Image credit: Image Science and Analysis Laboratory, NASA-Johnson Space Center. |

|
AS11-38-5669 Browse or print resolution. Receding Moon after trans-Earth injection. Image credit: Image Science and Analysis Laboratory, NASA-Johnson Space Center. |
|
AS11-38-5670 Browse or print resolution. Receding Moon after trans-Earth injection. Image credit: Image Science and Analysis Laboratory, NASA-Johnson Space Center. |
|
AS11-38-5671 Browse or print resolution. Receding Moon after trans-Earth injection. Image credit: Image Science and Analysis Laboratory, NASA-Johnson Space Center. |
|
AS11-38-5672 Browse or print resolution. Receding Moon after trans-Earth injection. Image credit: Image Science and Analysis Laboratory, NASA-Johnson Space Center. |

|
AS11-38-5673 Browse or print resolution. Receding Moon after trans-Earth injection. Image credit: Image Science and Analysis Laboratory, NASA-Johnson Space Center. |

|
AS11-38-5674 Browse or print resolution. Receding Moon after trans-Earth injection. Image credit: Image Science and Analysis Laboratory, NASA-Johnson Space Center. |
|
AS11-38-5675 Browse or print resolution. Receding Moon after trans-Earth injection. Image credit: Image Science and Analysis Laboratory, NASA-Johnson Space Center. |
|
AS11-38-5676 Browse or print resolution. Receding Moon after trans-Earth injection. Image credit: Image Science and Analysis Laboratory, NASA-Johnson Space Center. |

|
AS11-38-5677 Browse or print resolution. Receding Moon after trans-Earth injection. Image credit: Image Science and Analysis Laboratory, NASA-Johnson Space Center. |

|
AS11-38-5678 Browse or print resolution. Receding Moon after trans-Earth injection. Image credit: Image Science and Analysis Laboratory, NASA-Johnson Space Center. |

|
AS11-38-5679 Browse or print resolution. Receding Moon after trans-Earth injection. Image credit: Image Science and Analysis Laboratory, NASA-Johnson Space Center. |

|
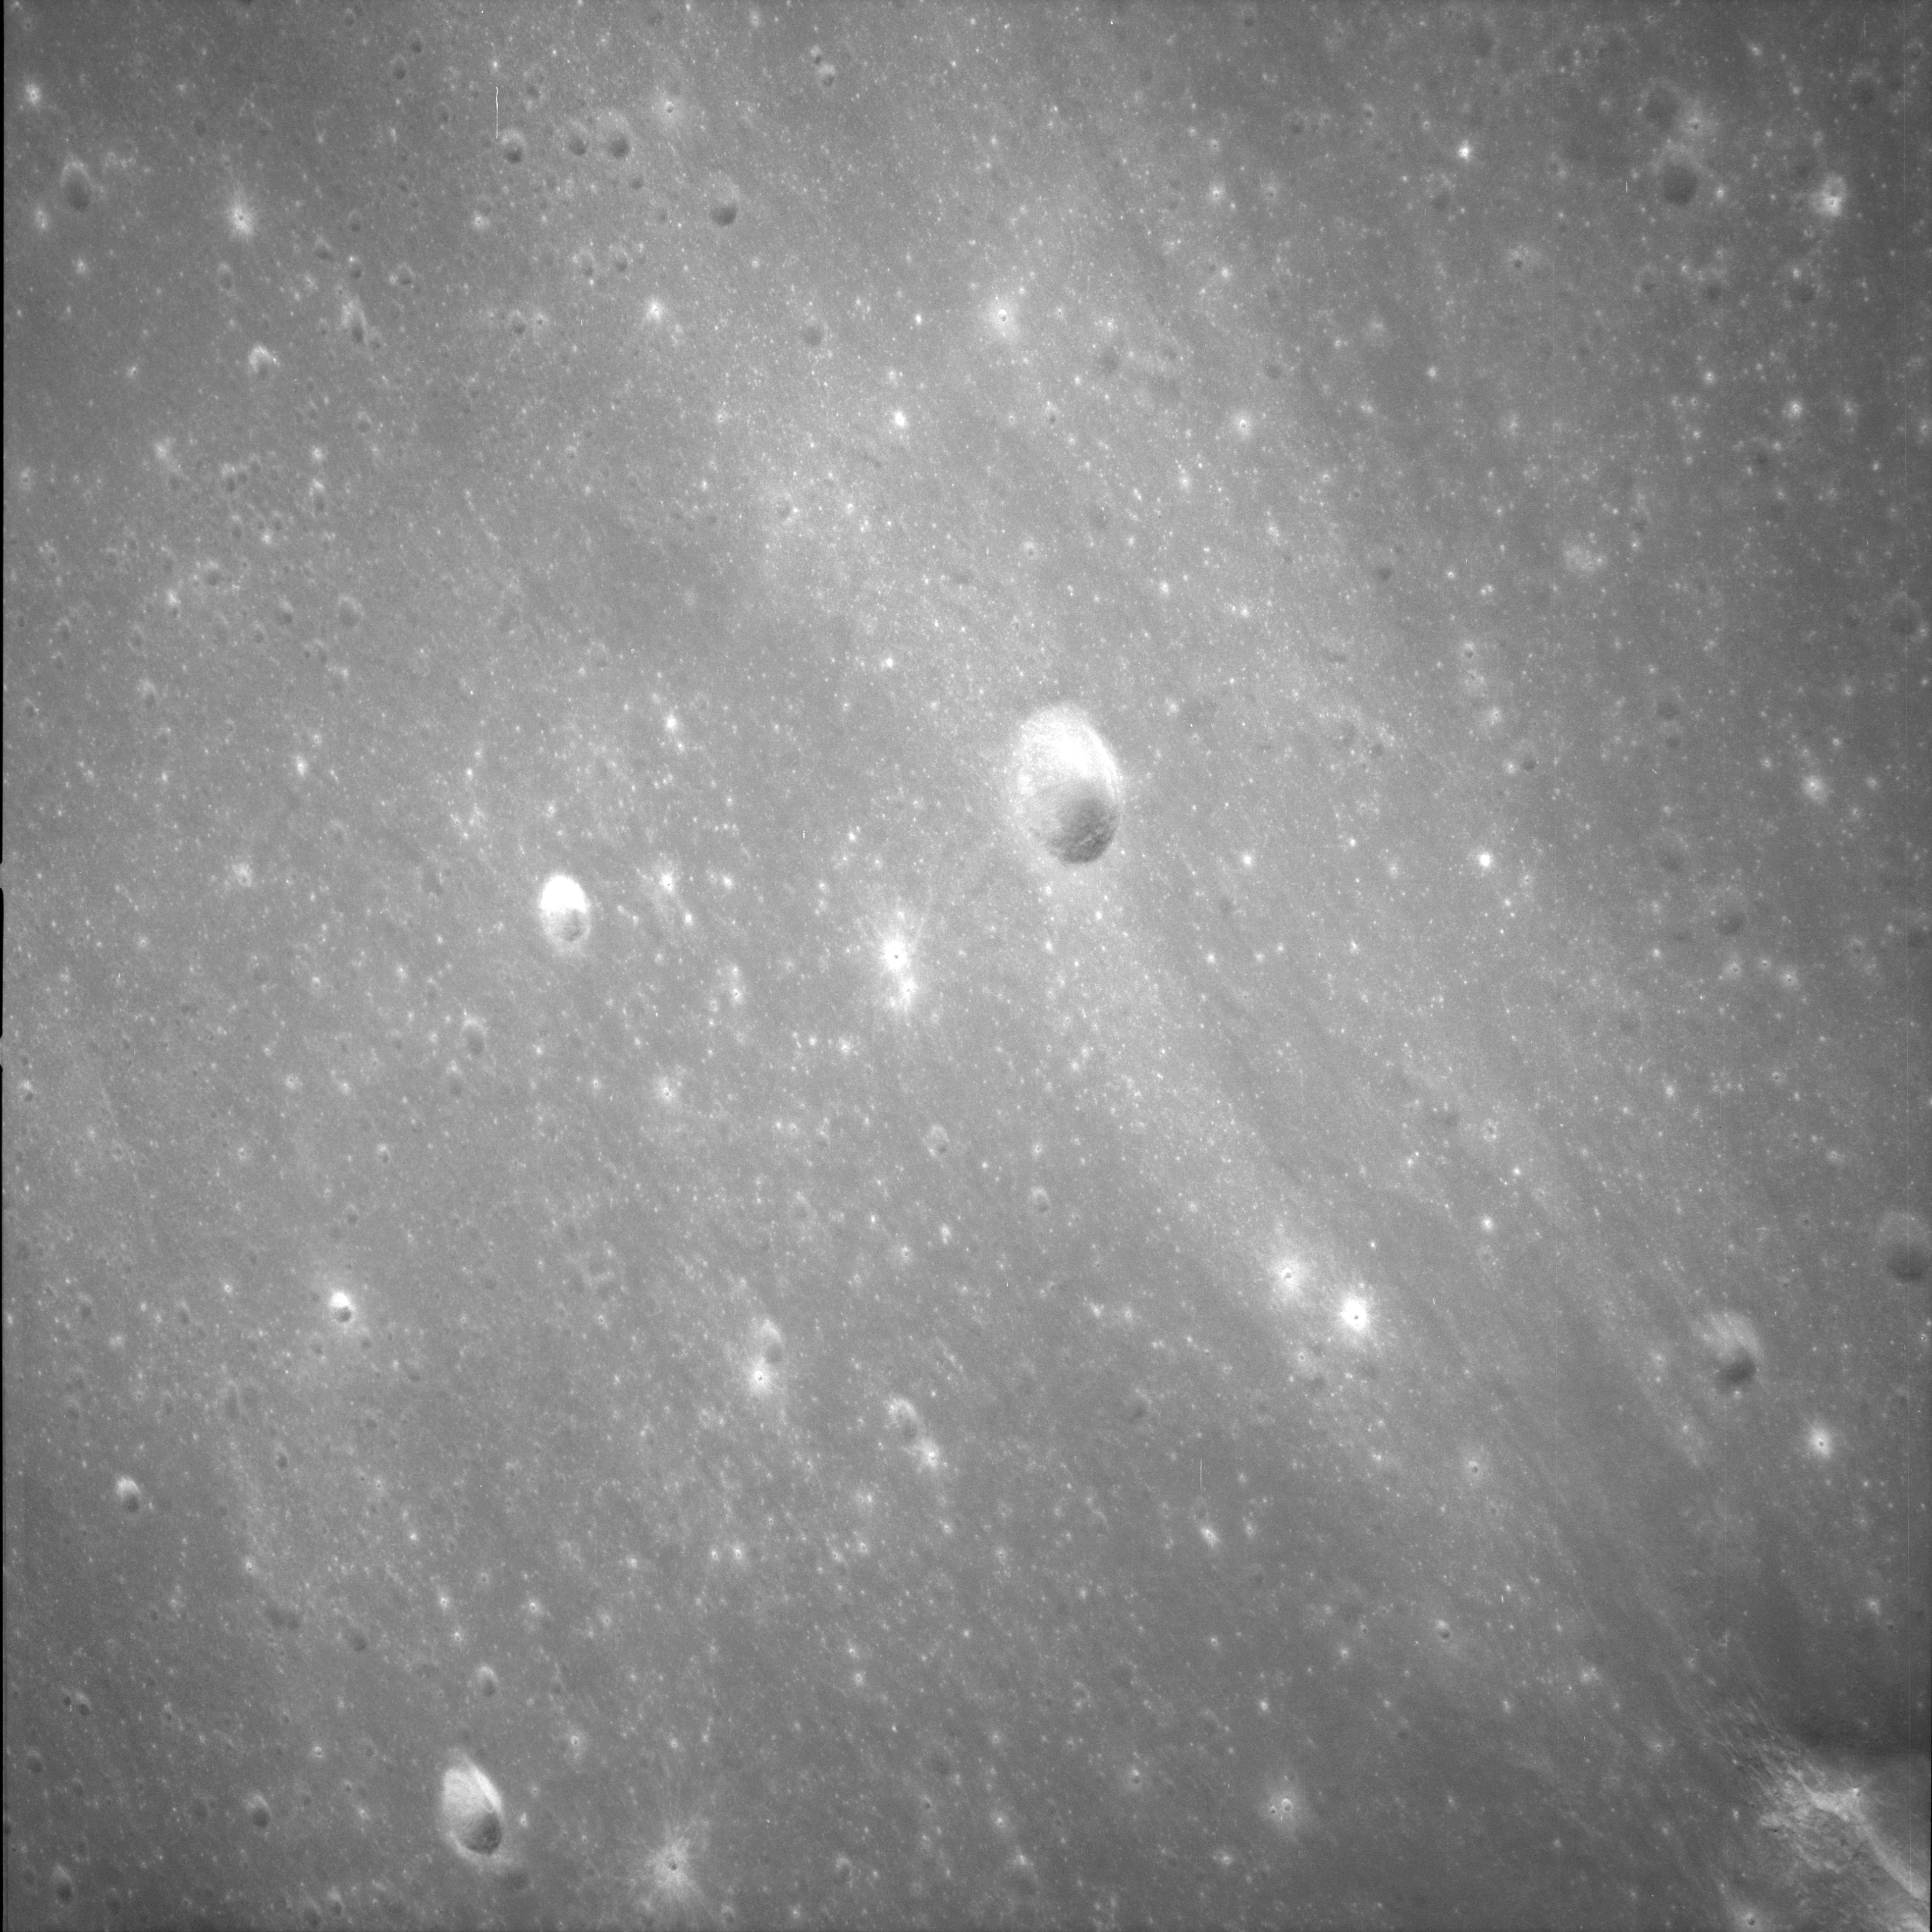
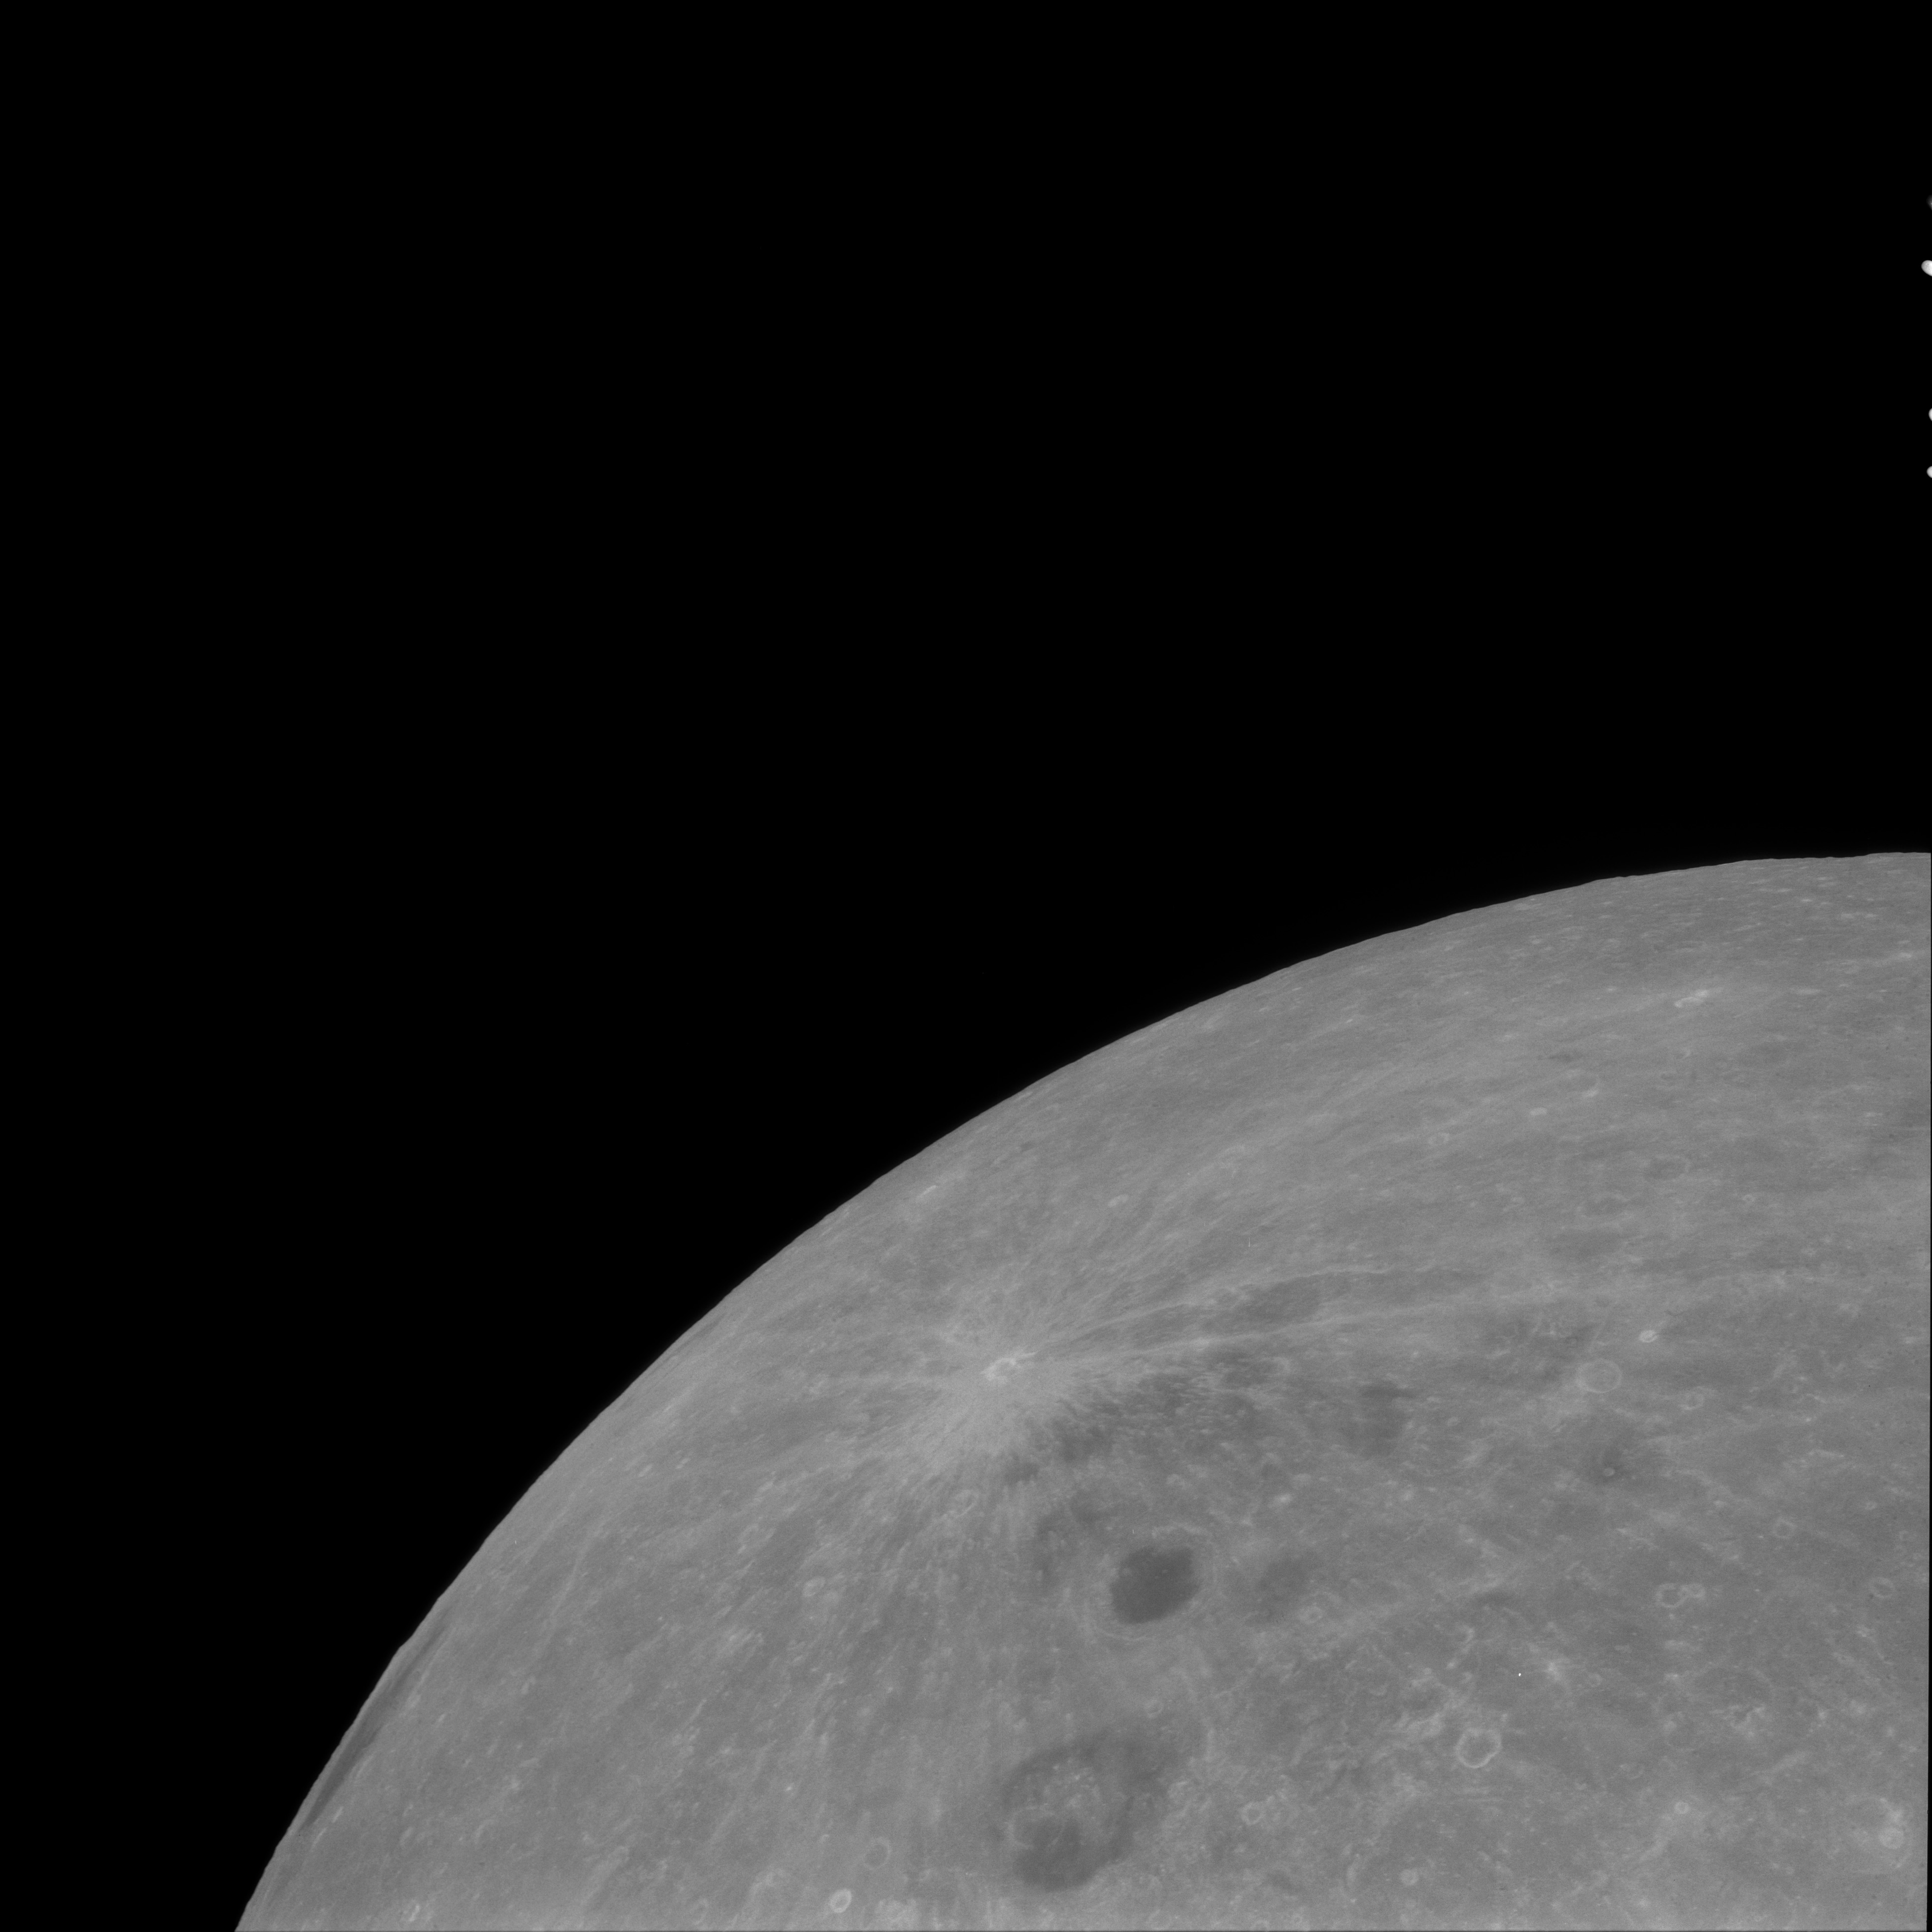
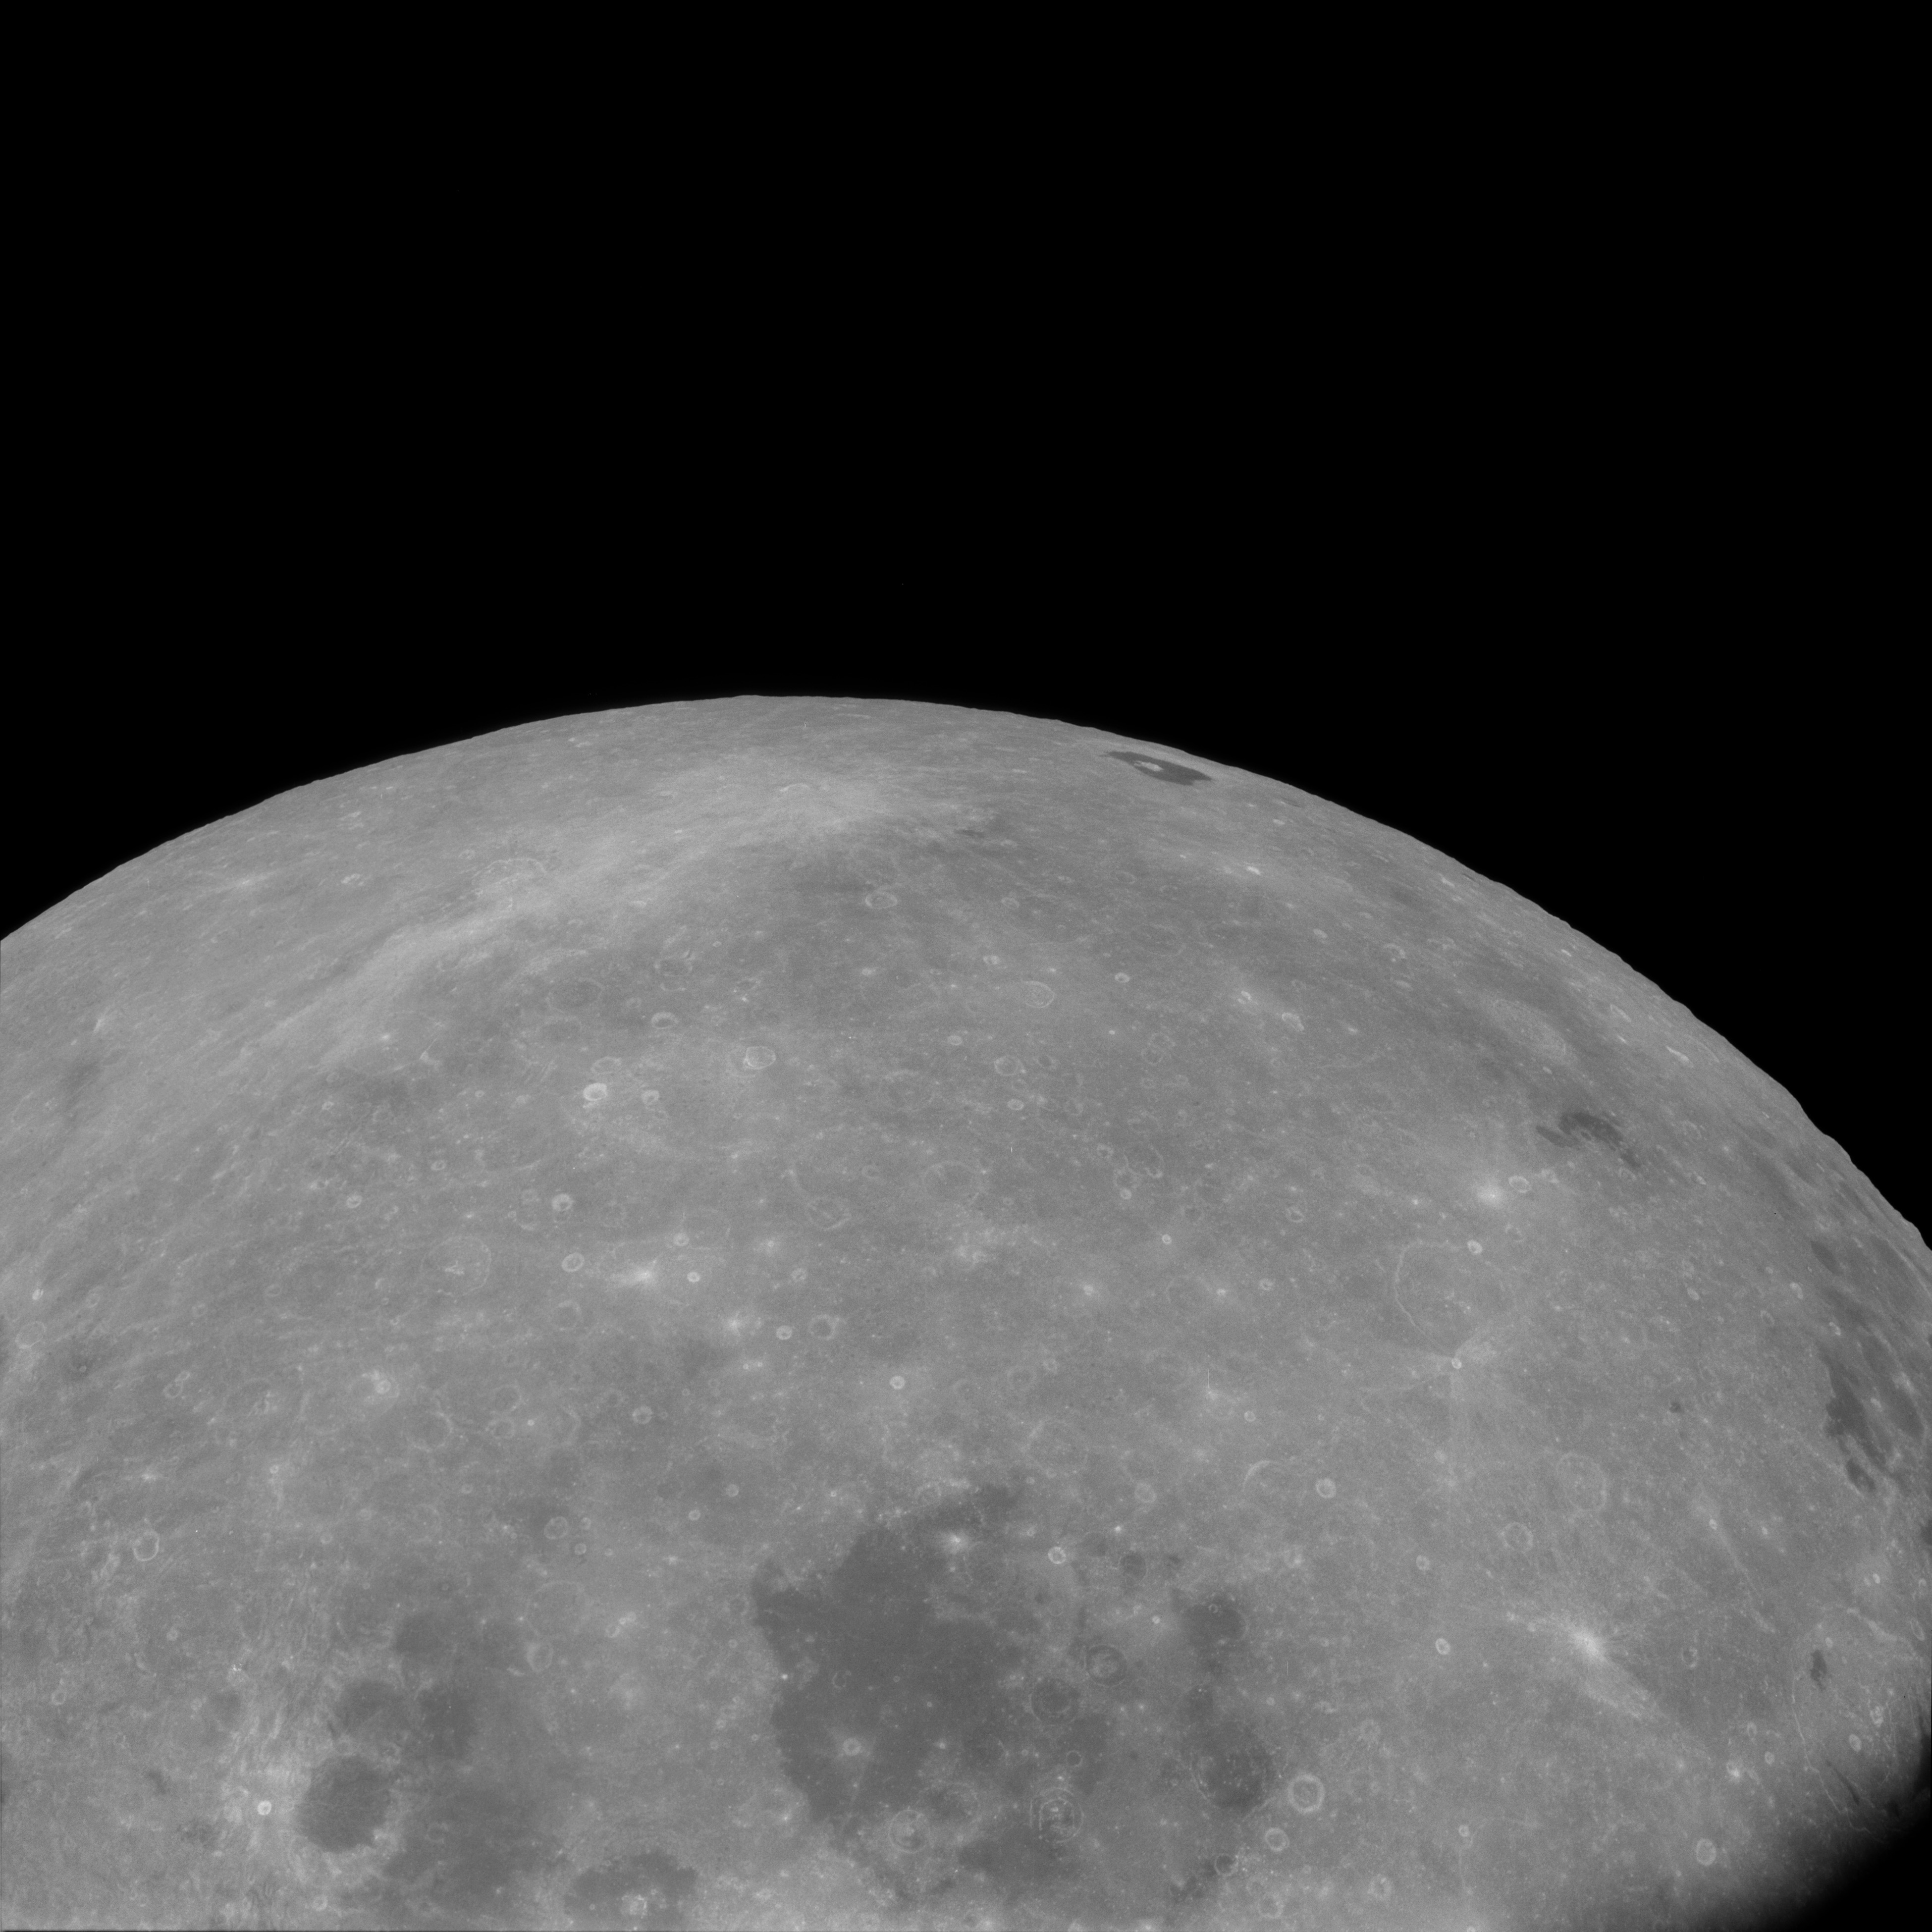
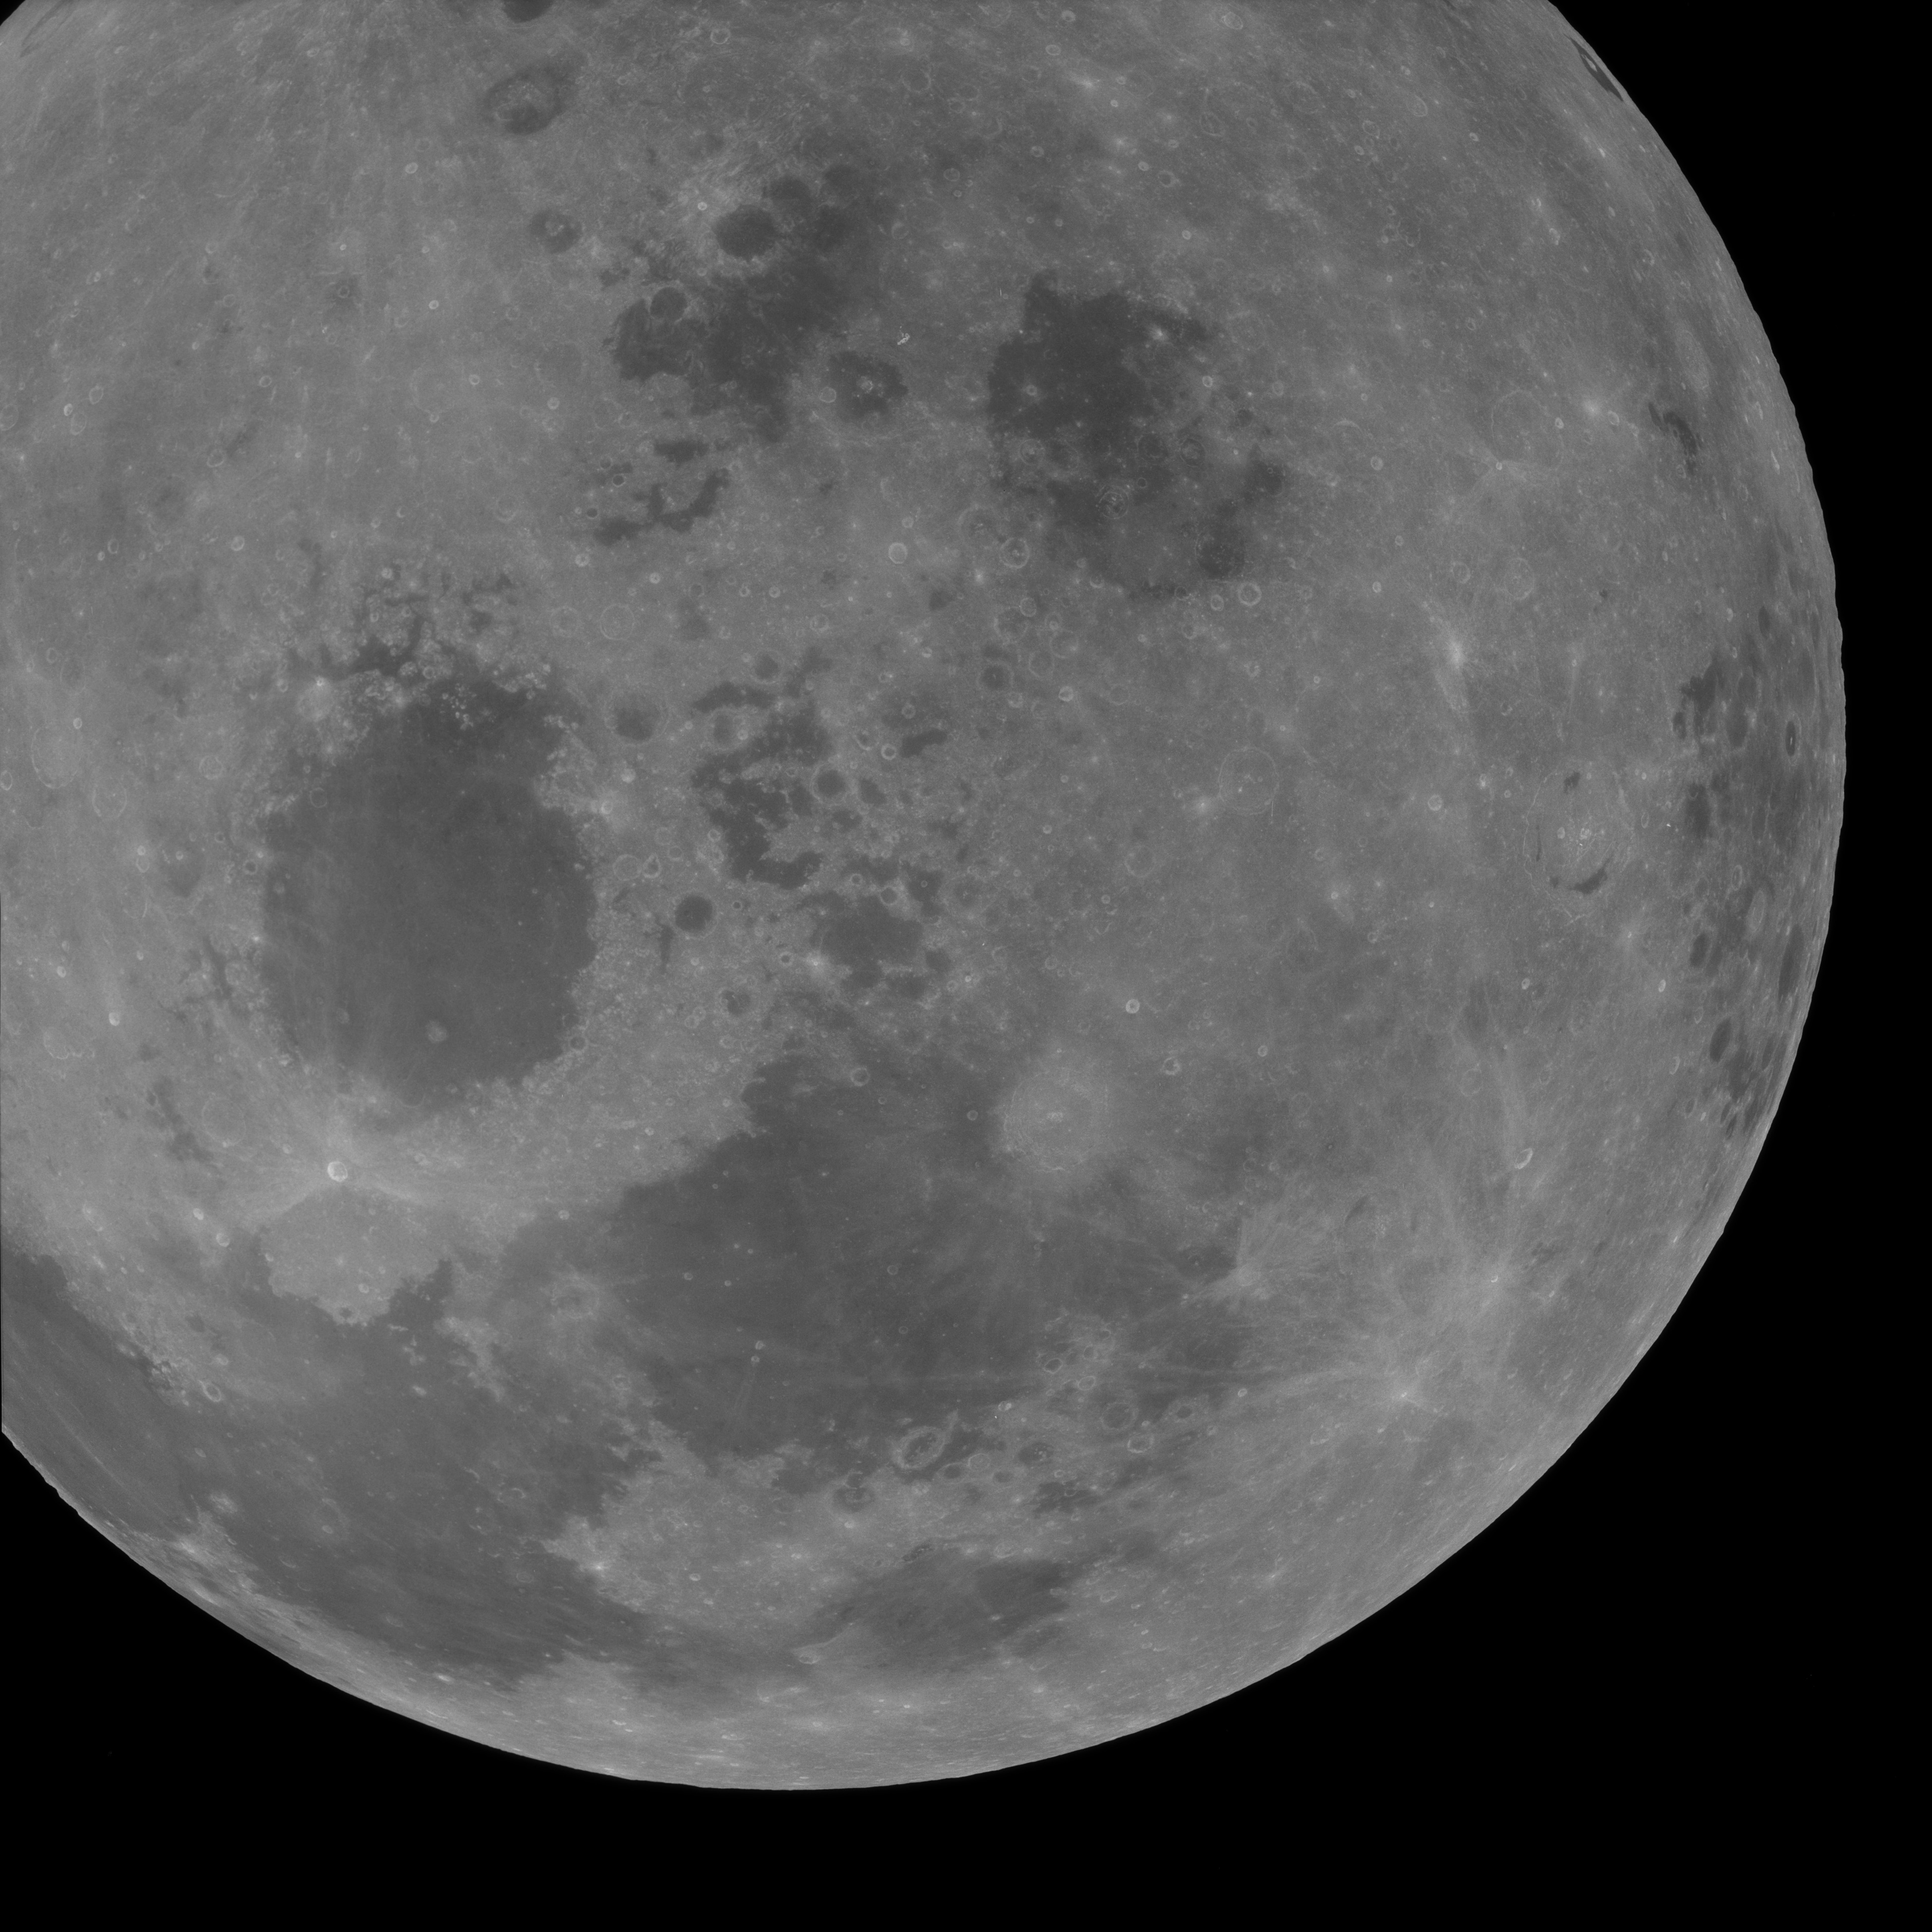
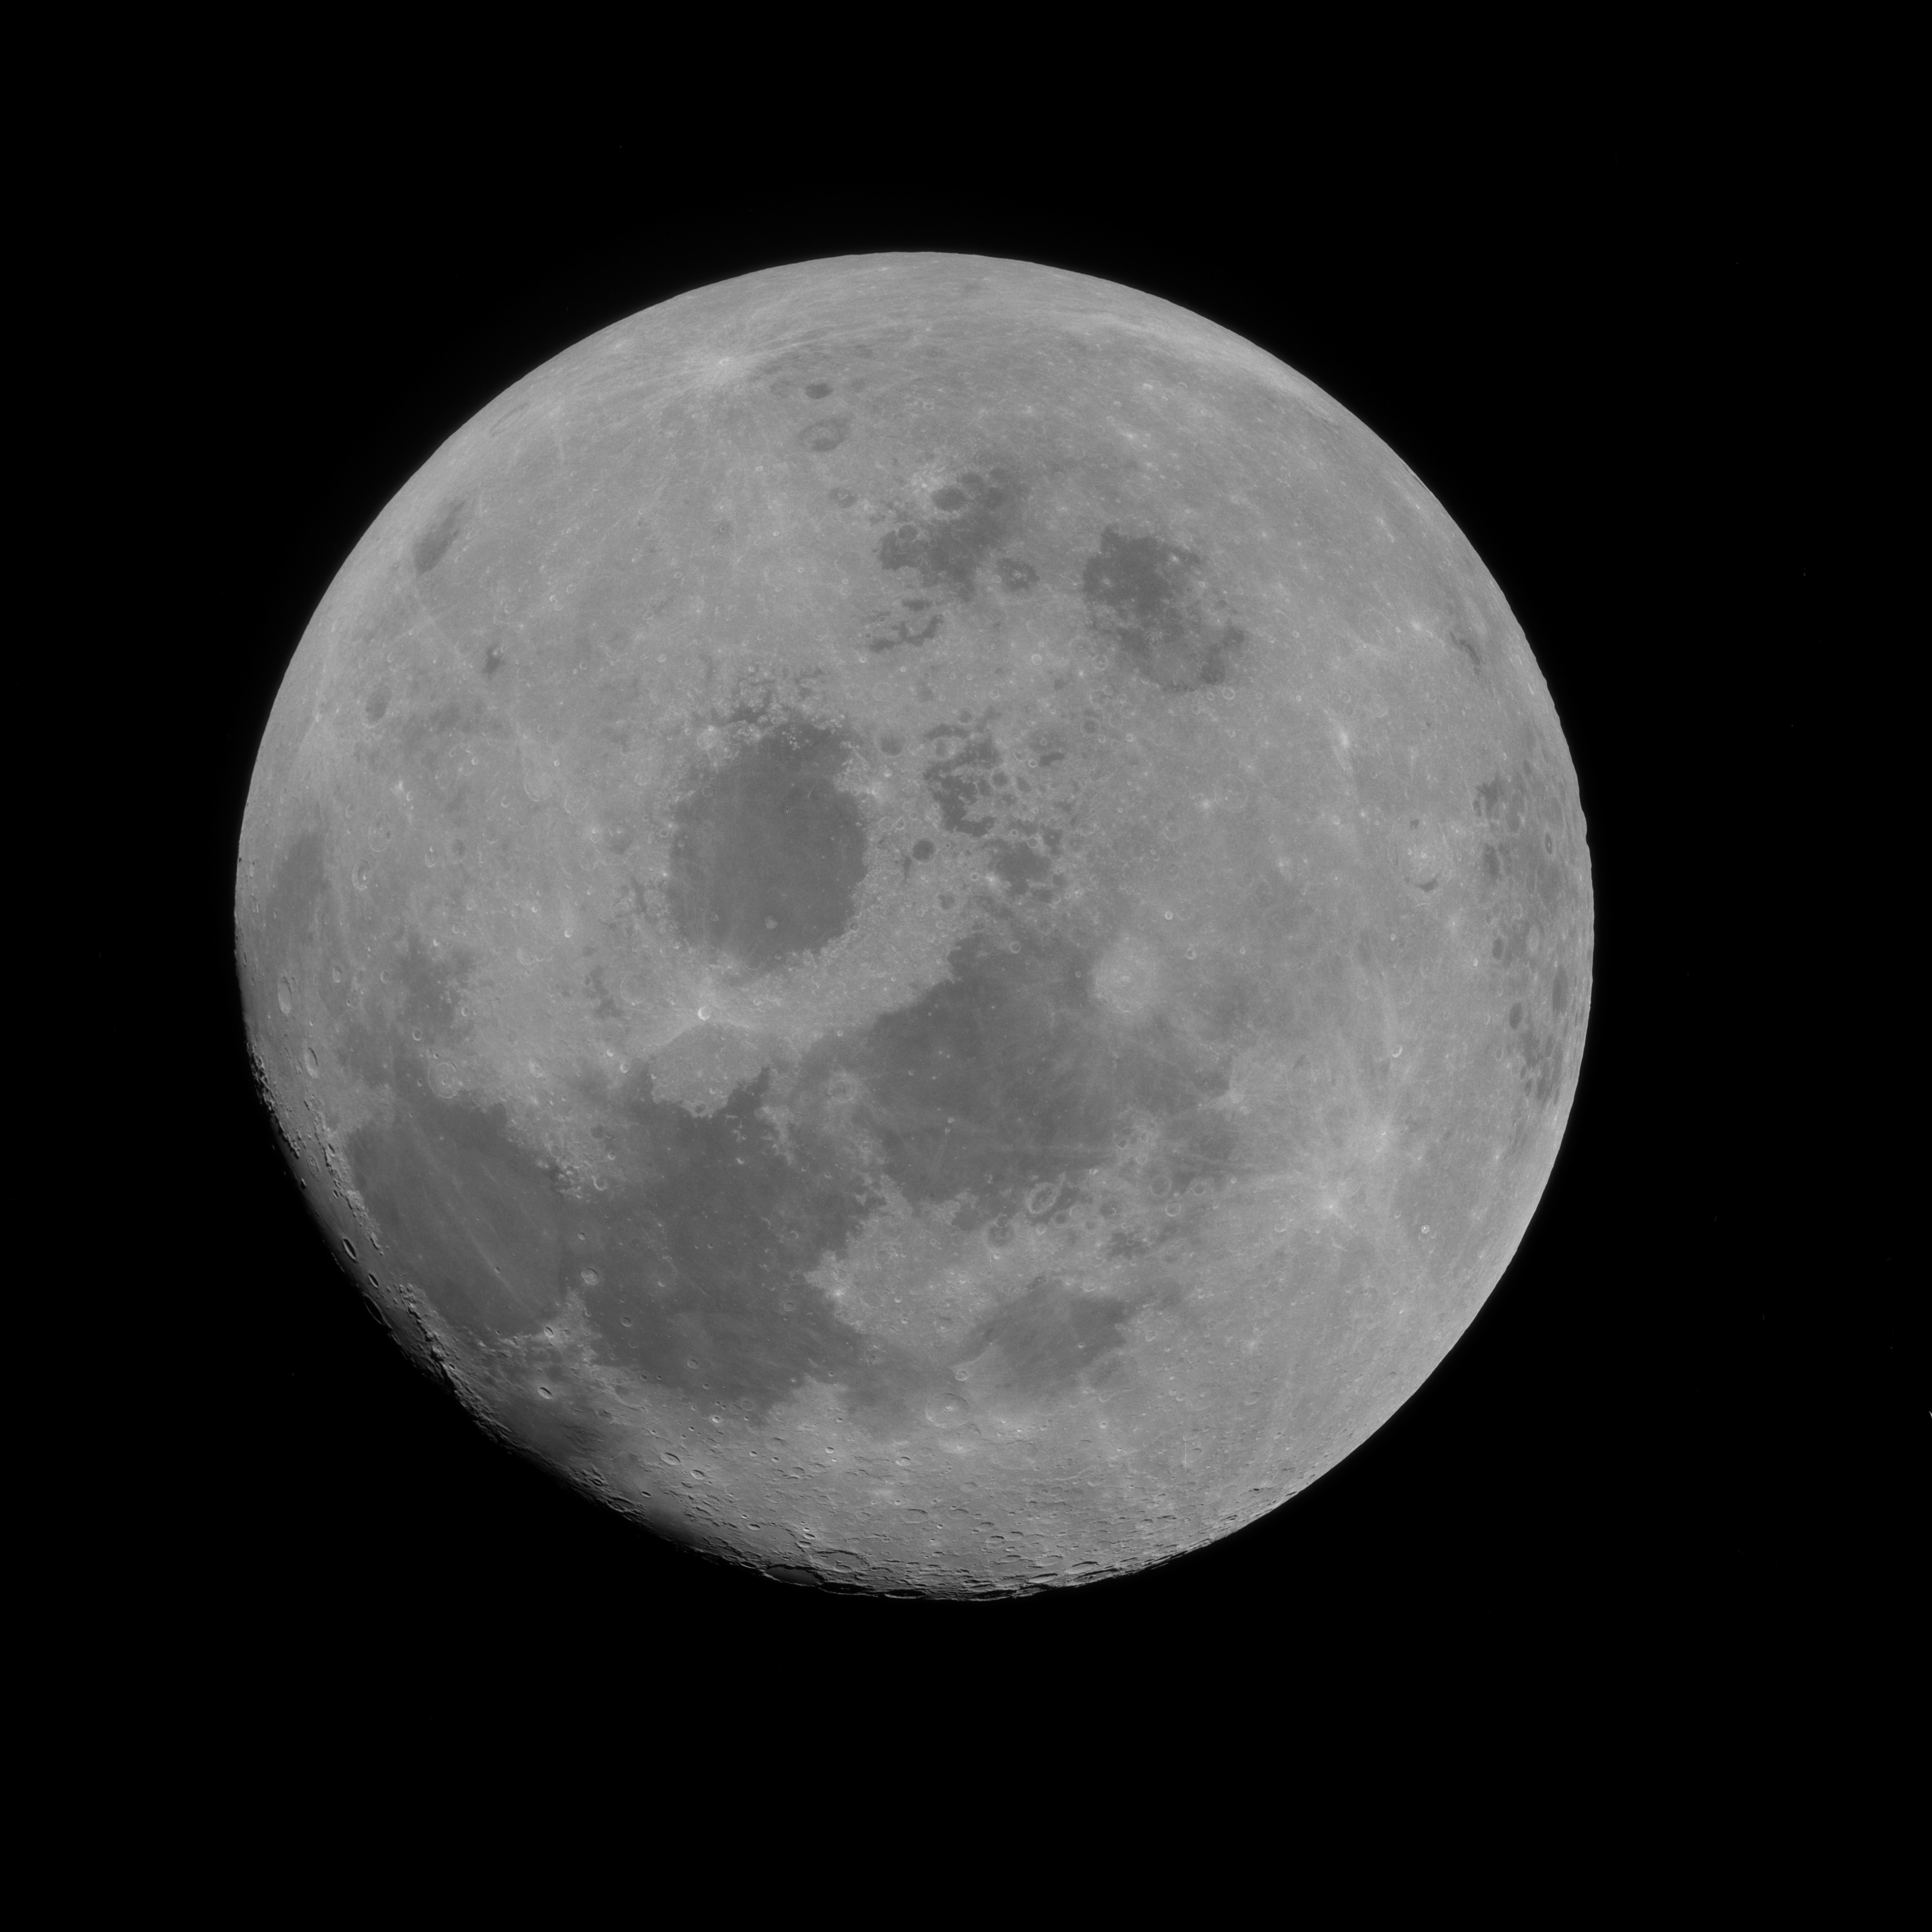
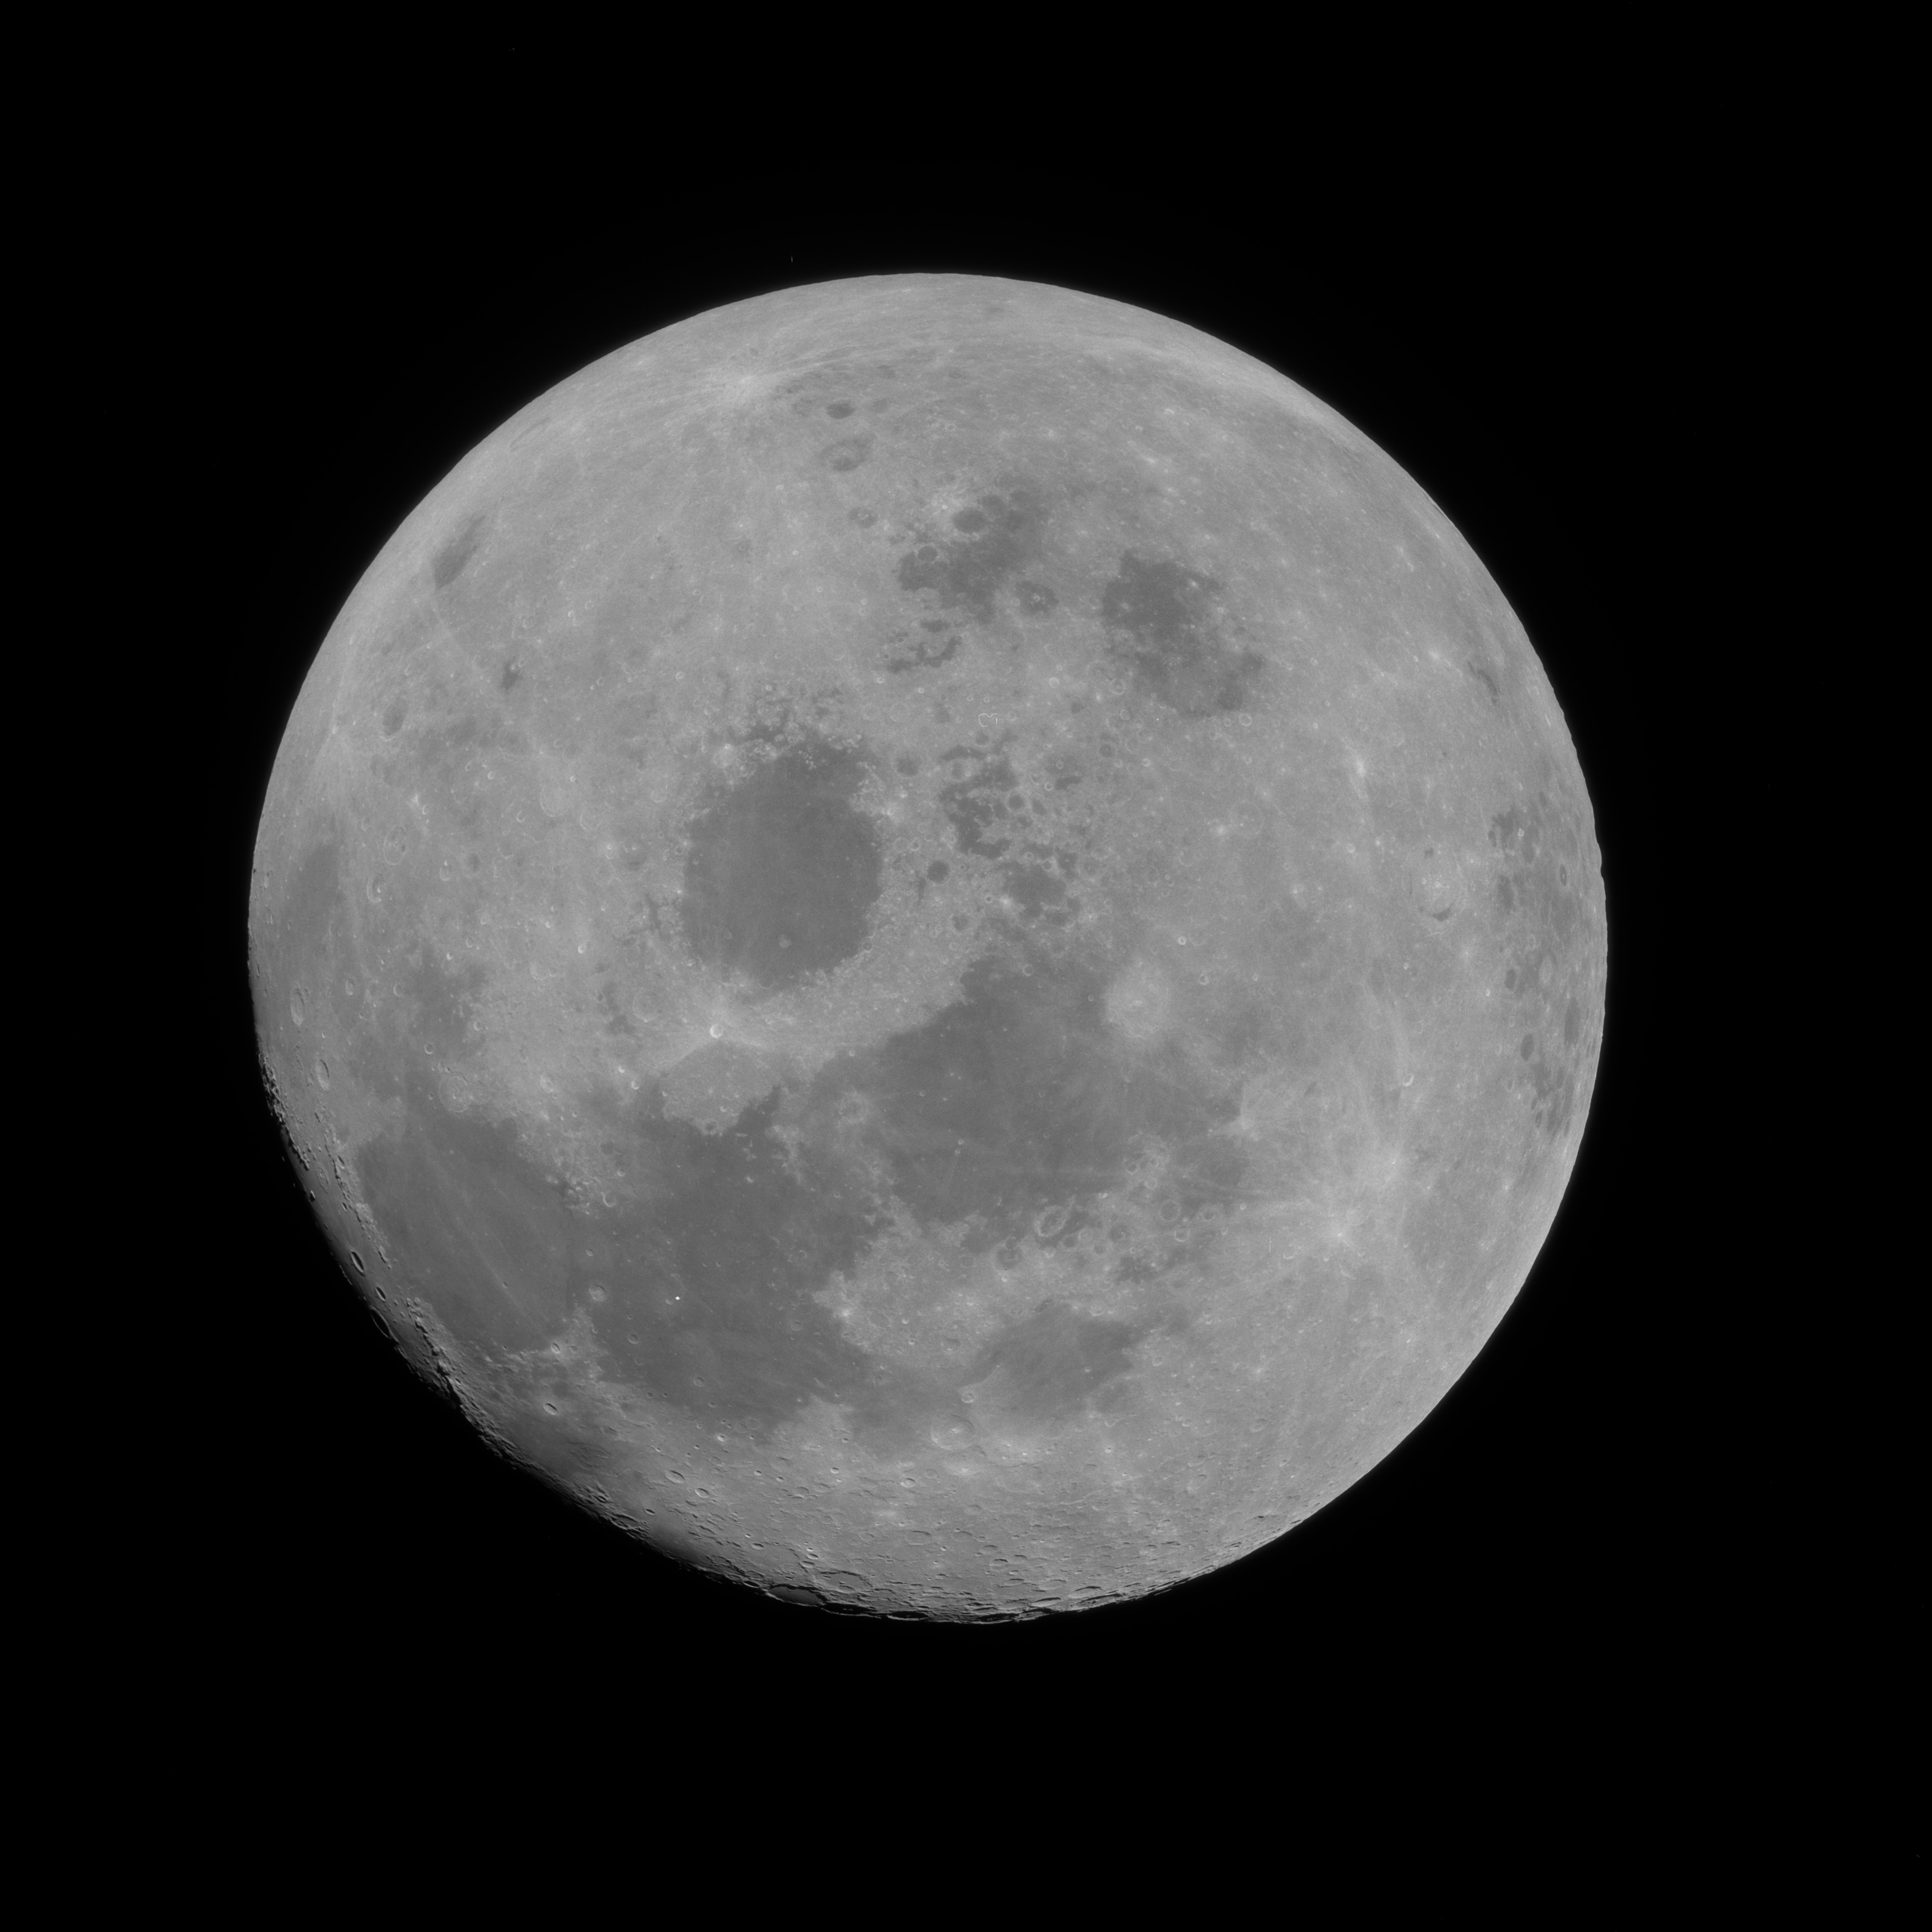
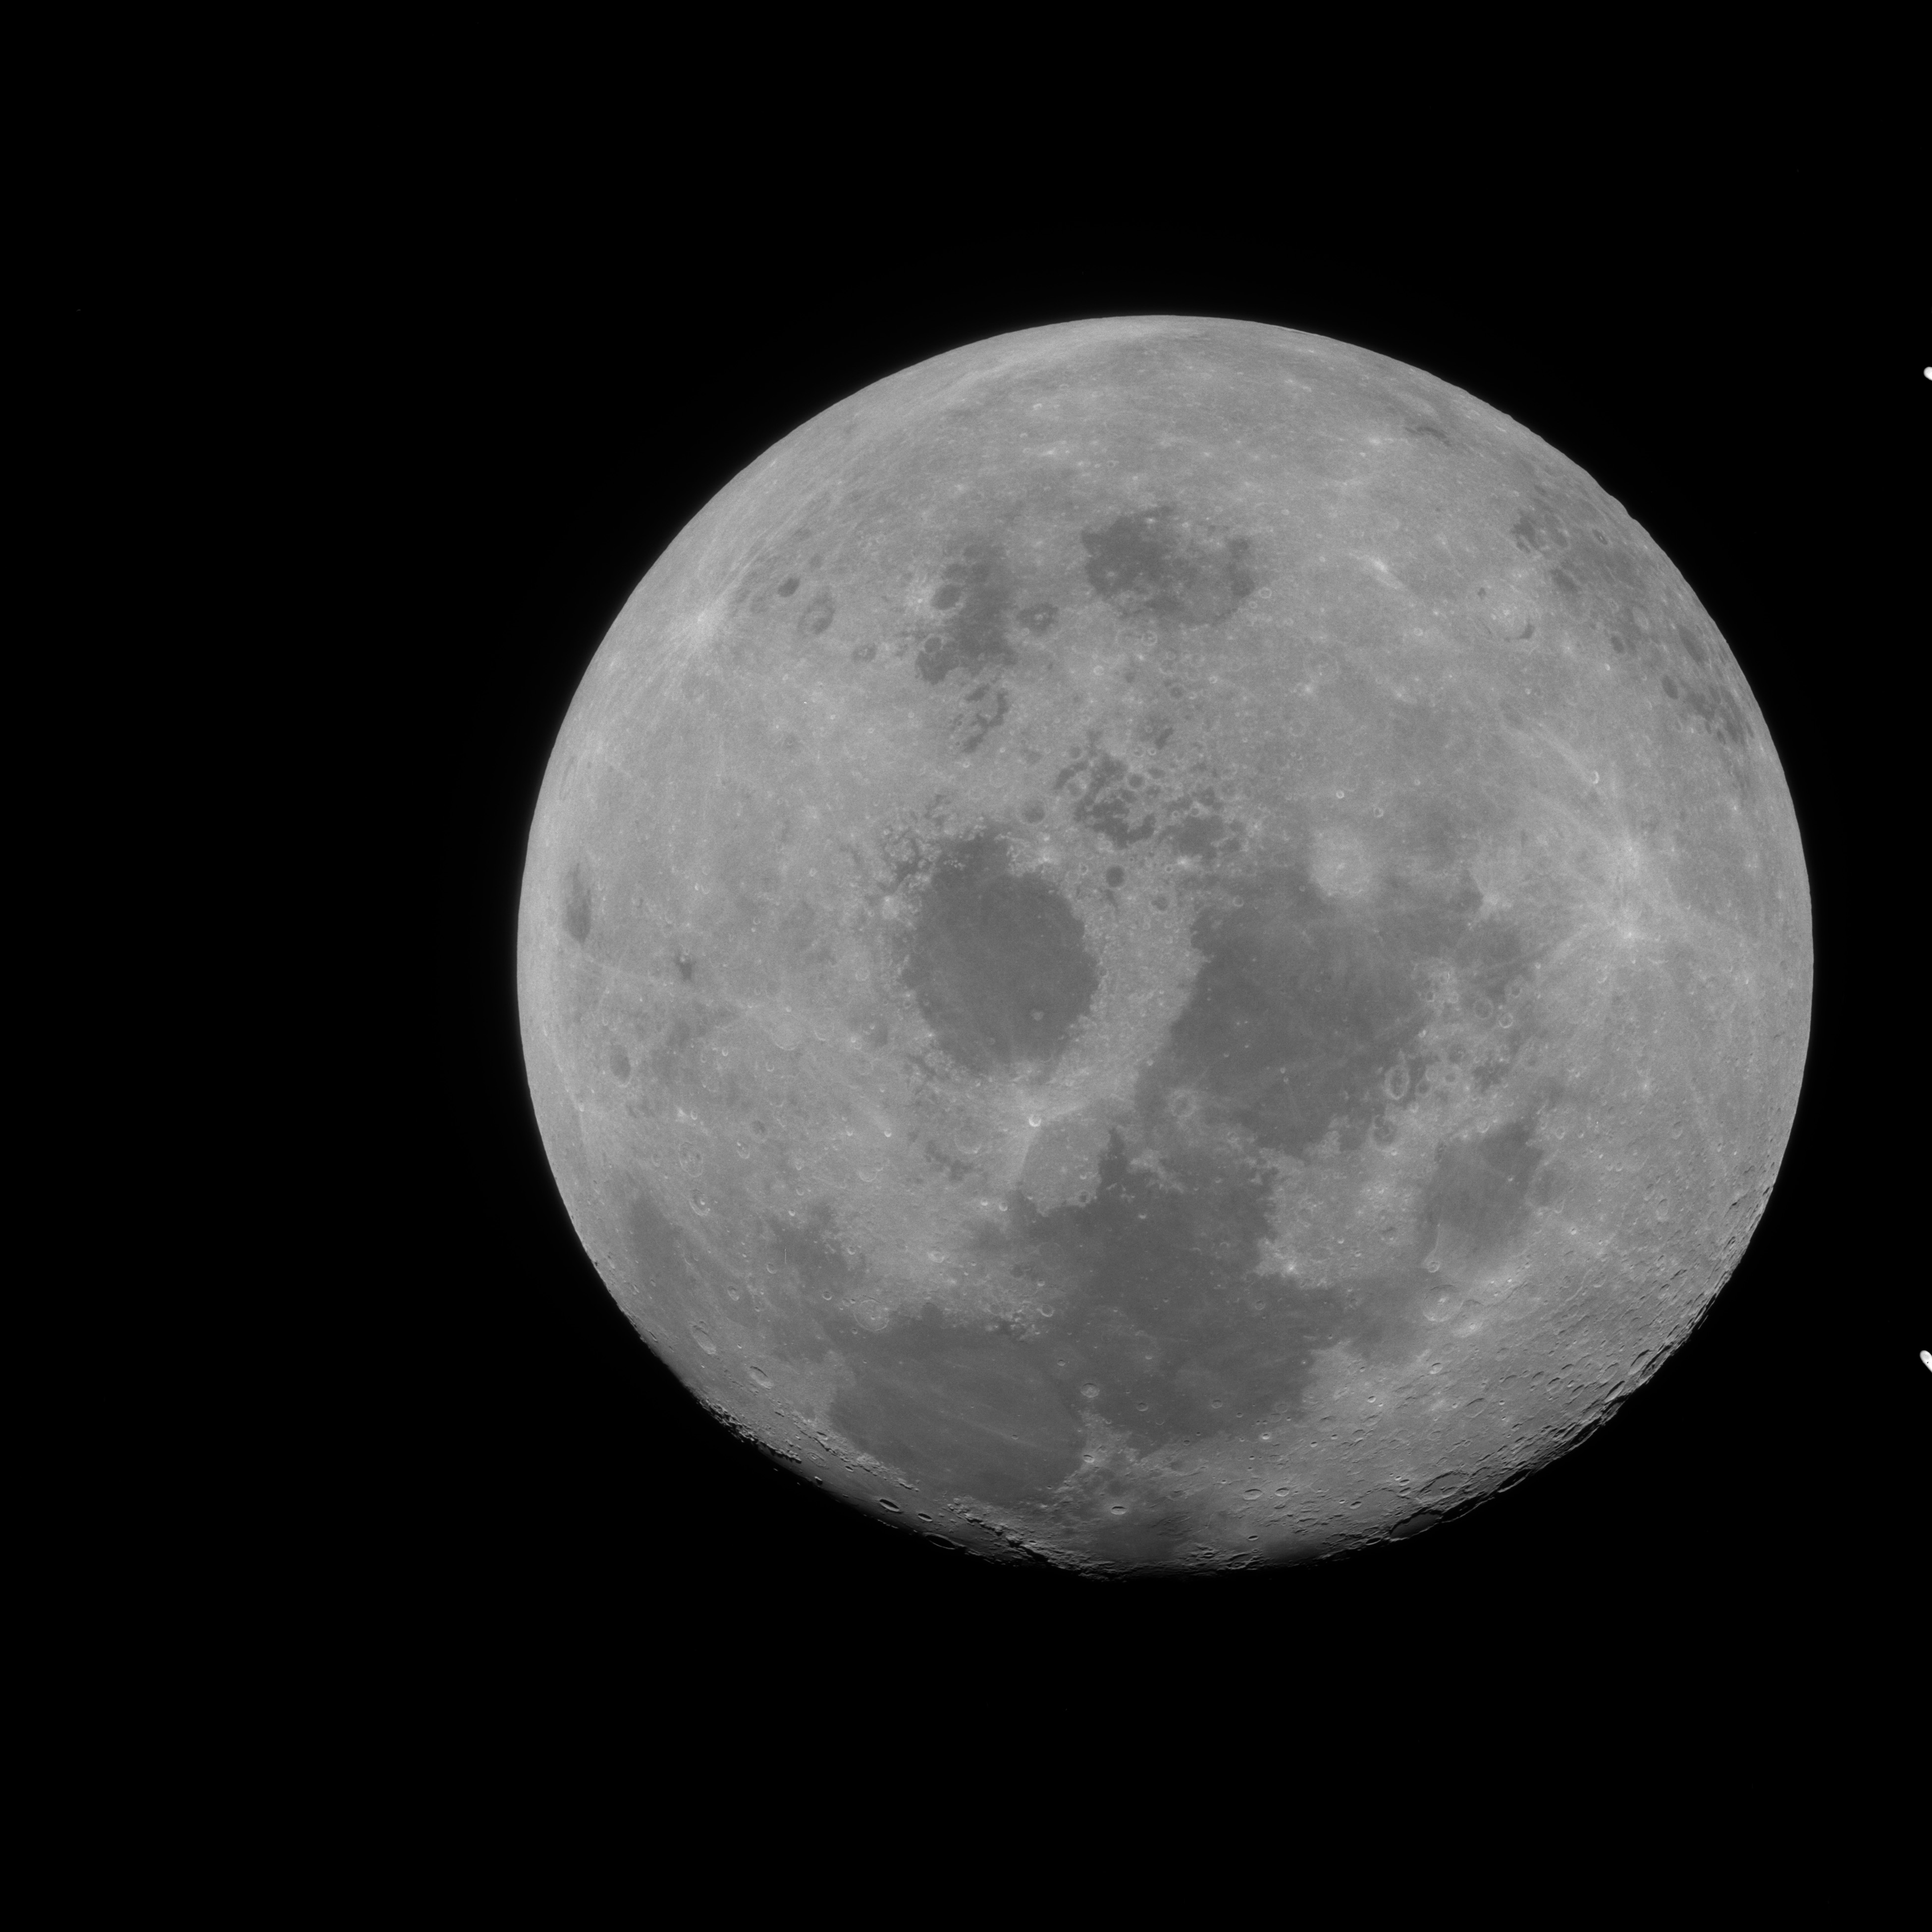
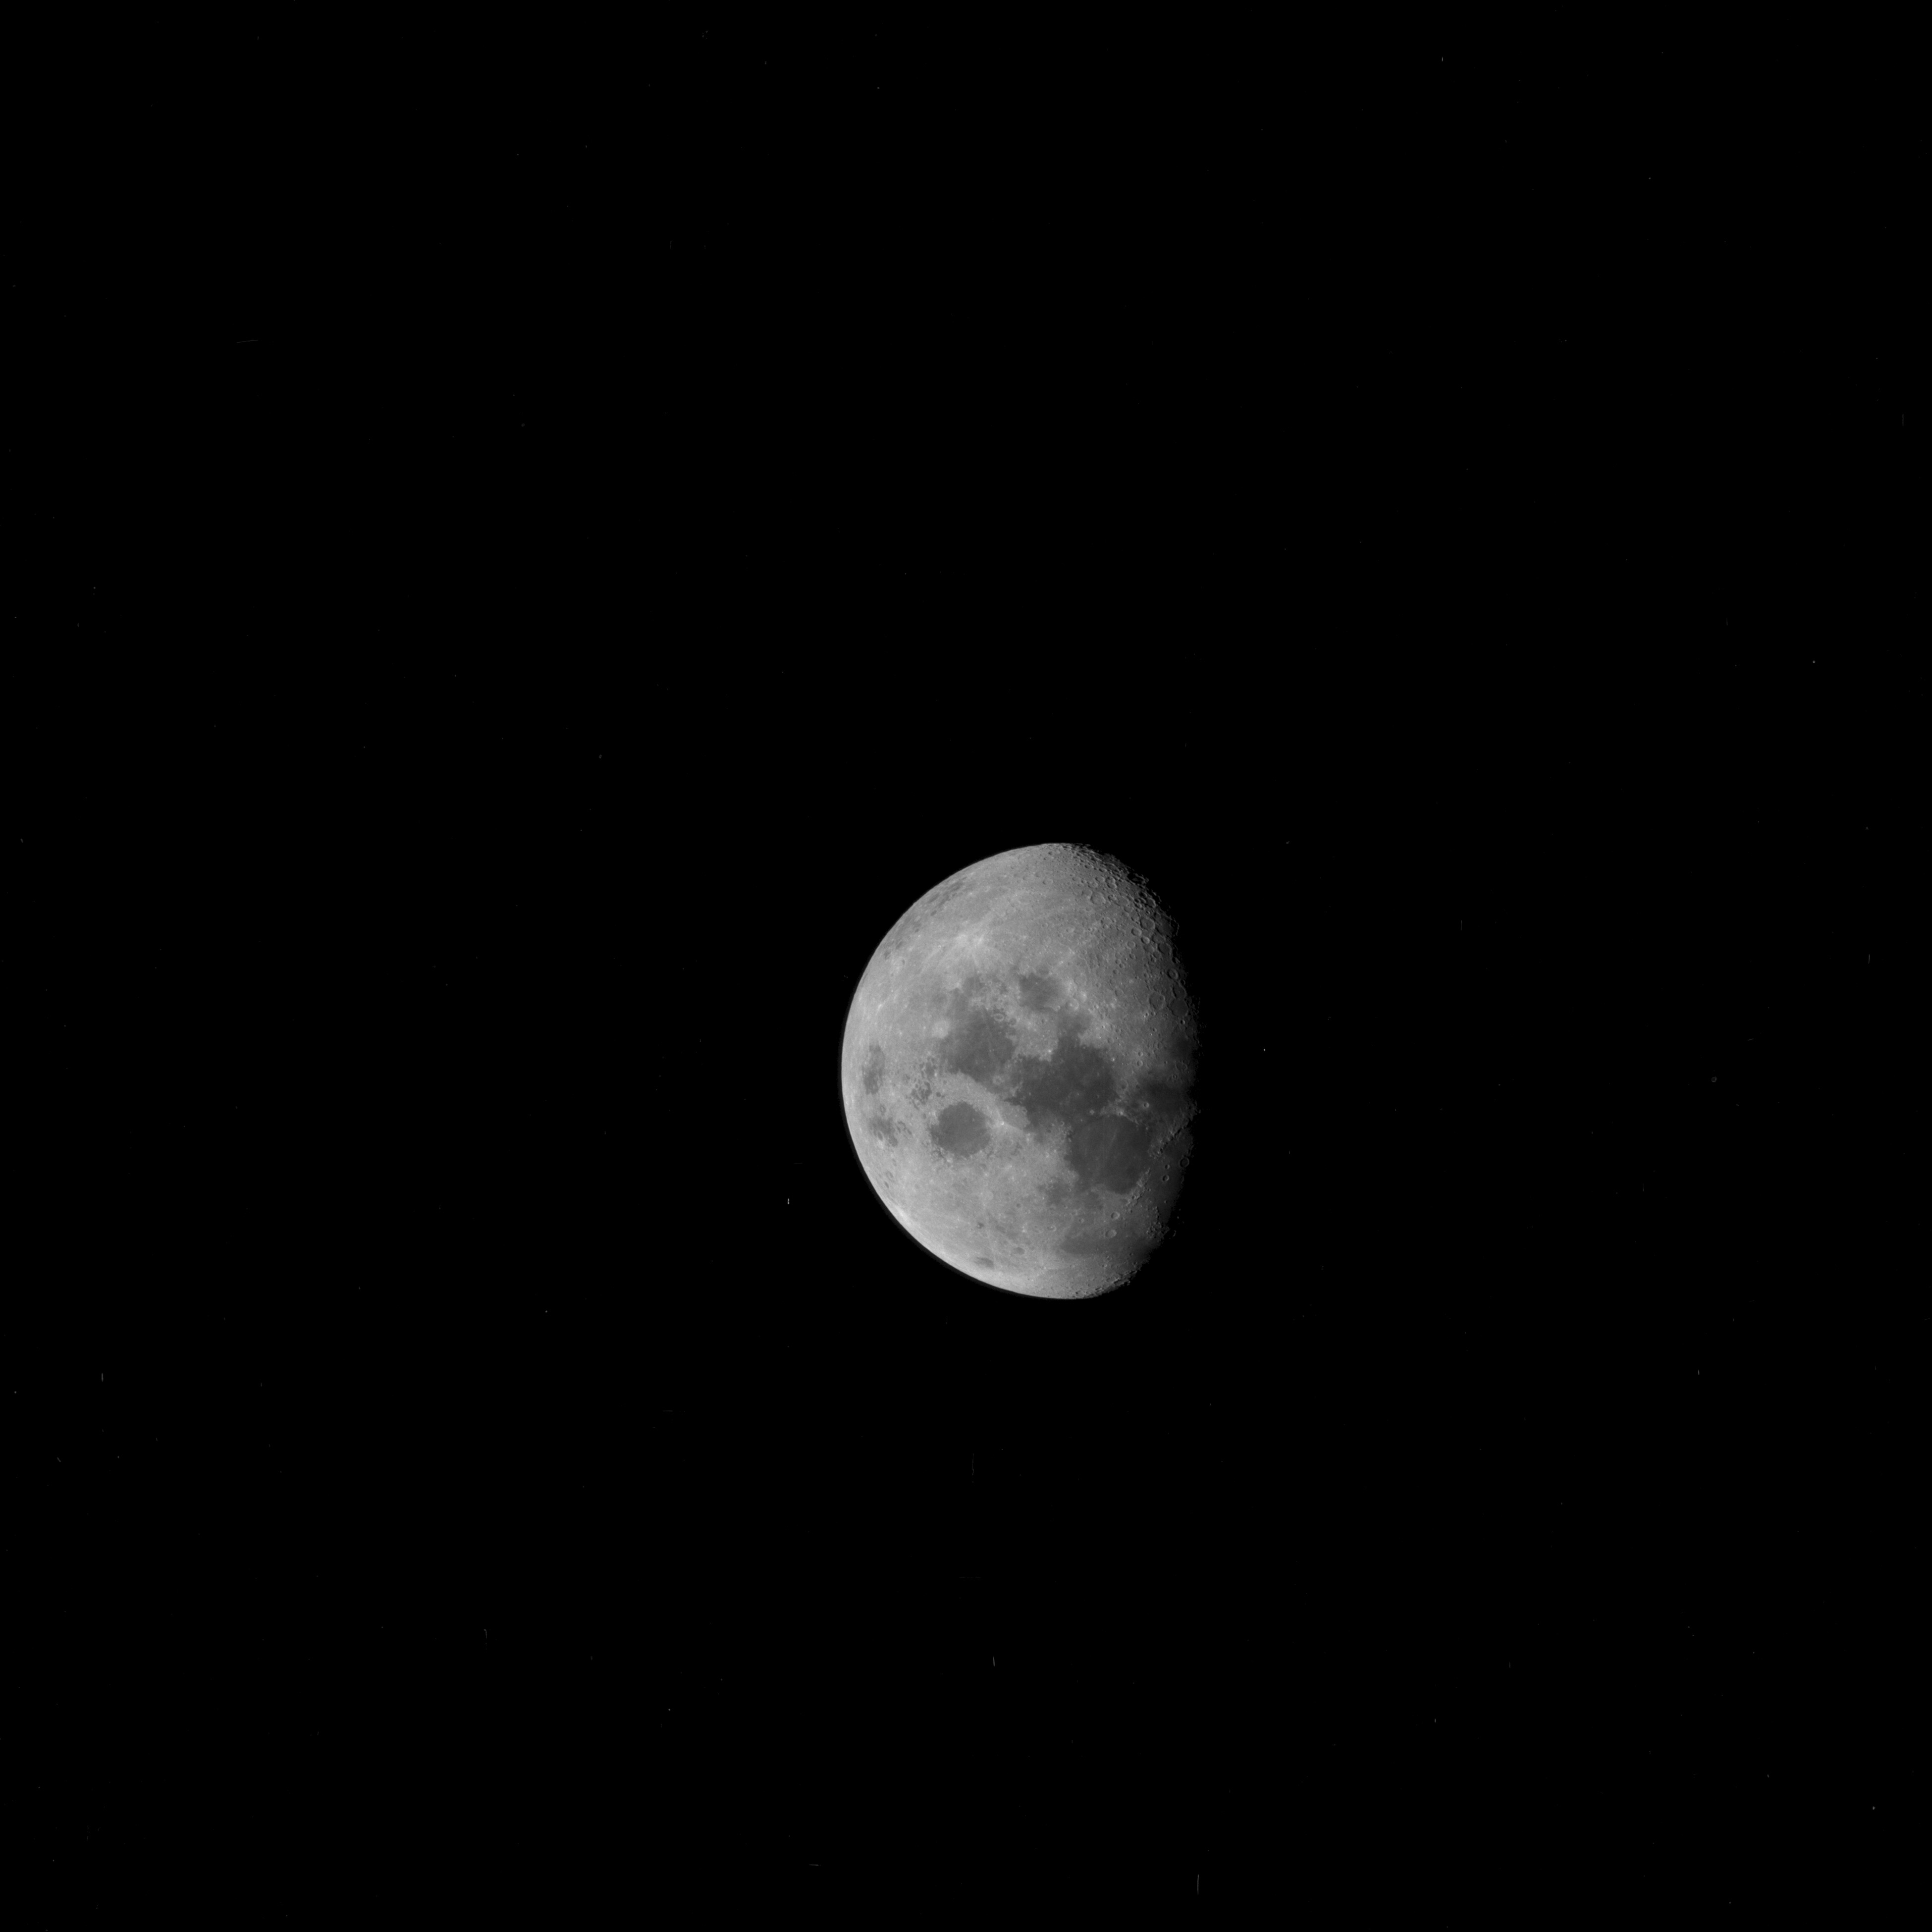
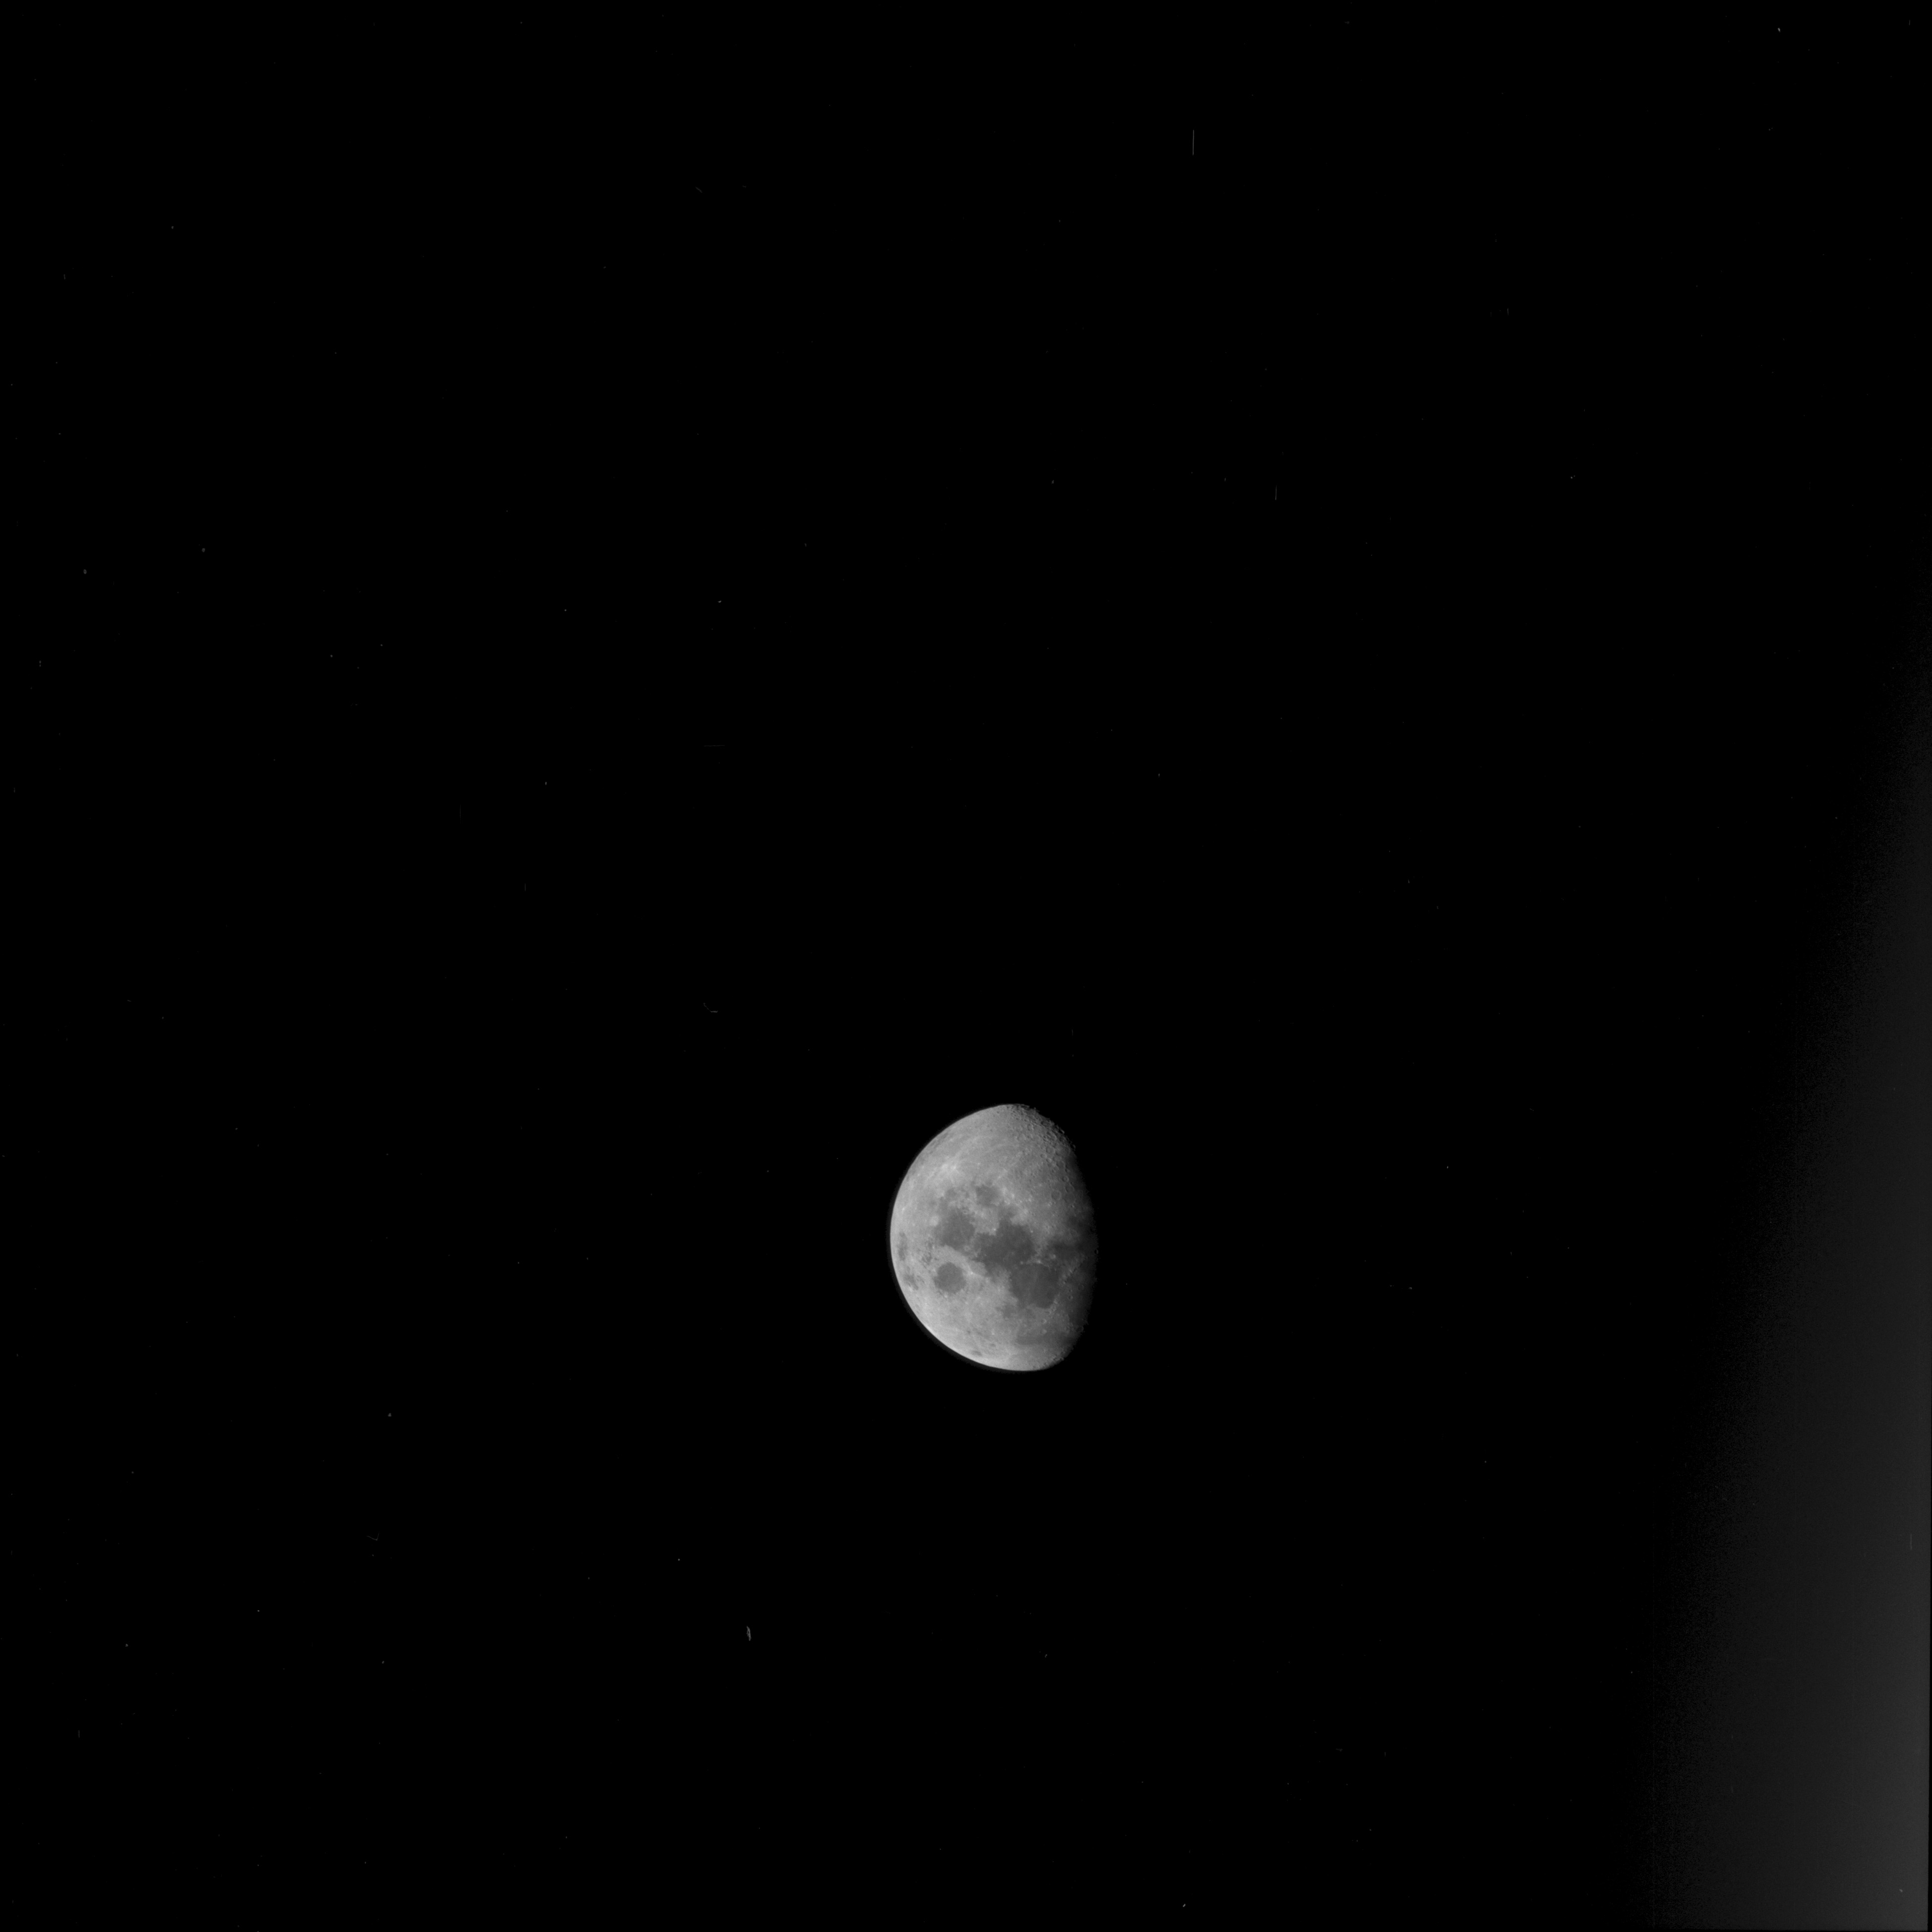
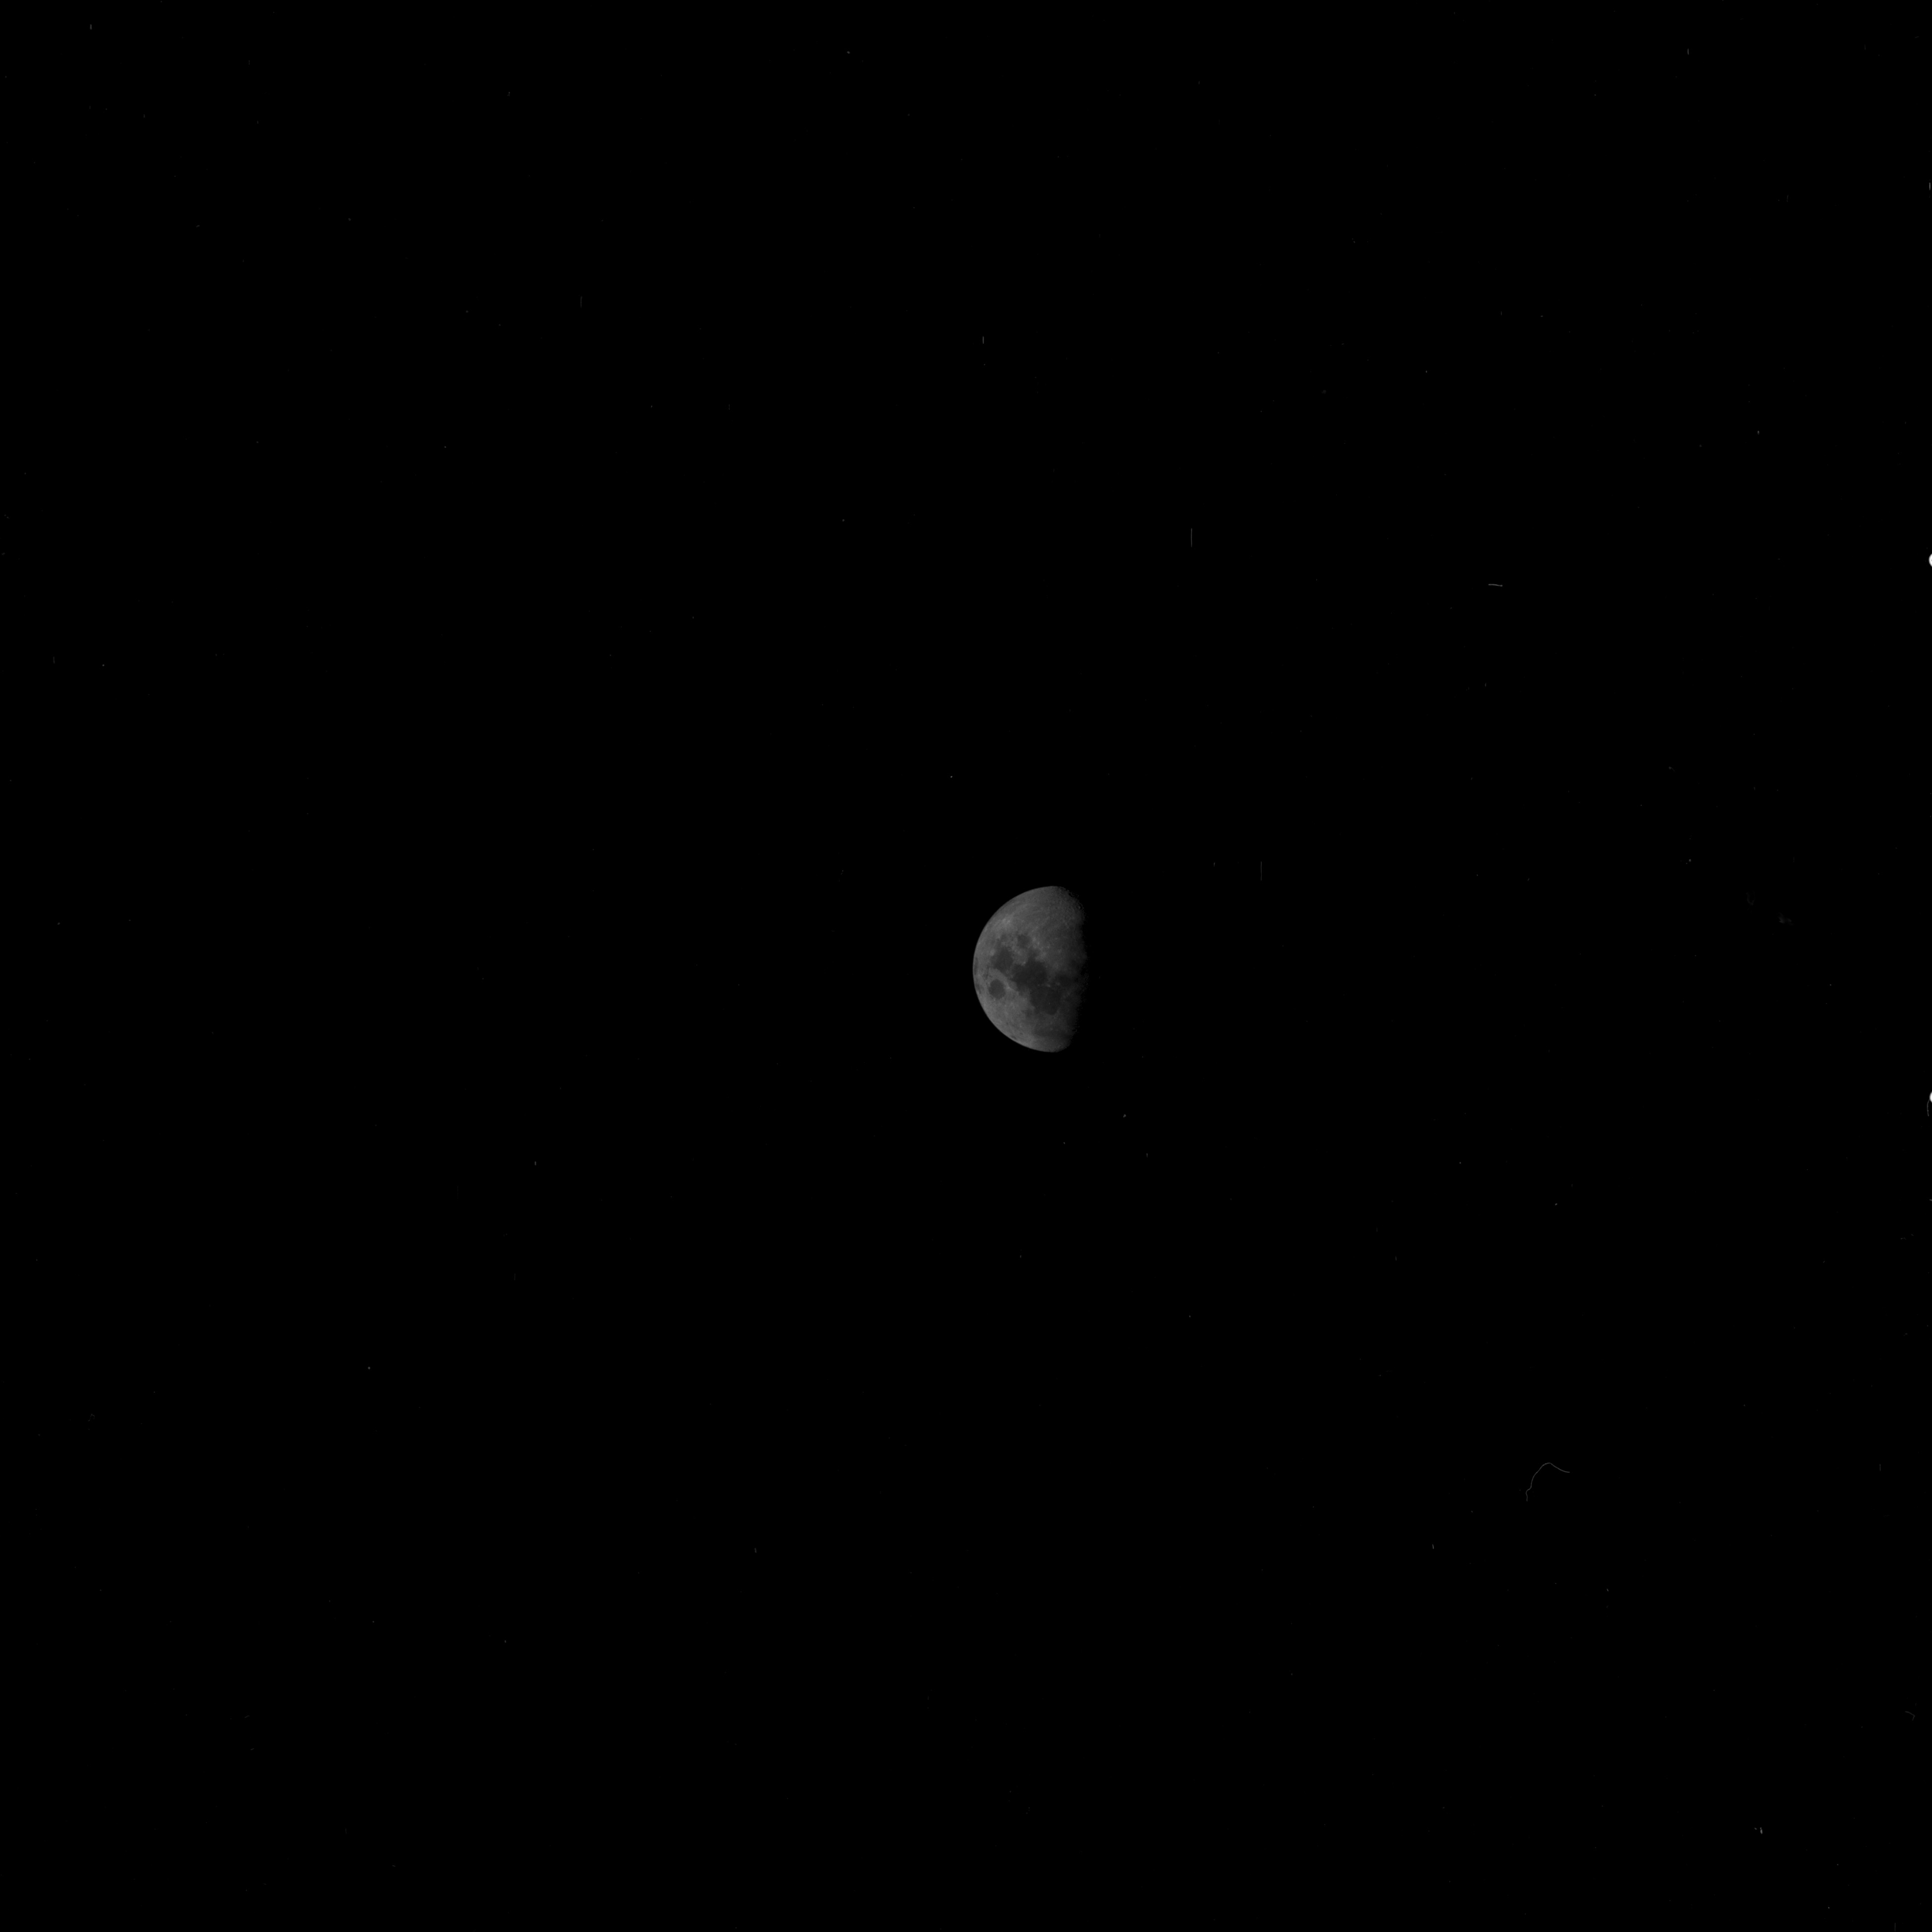
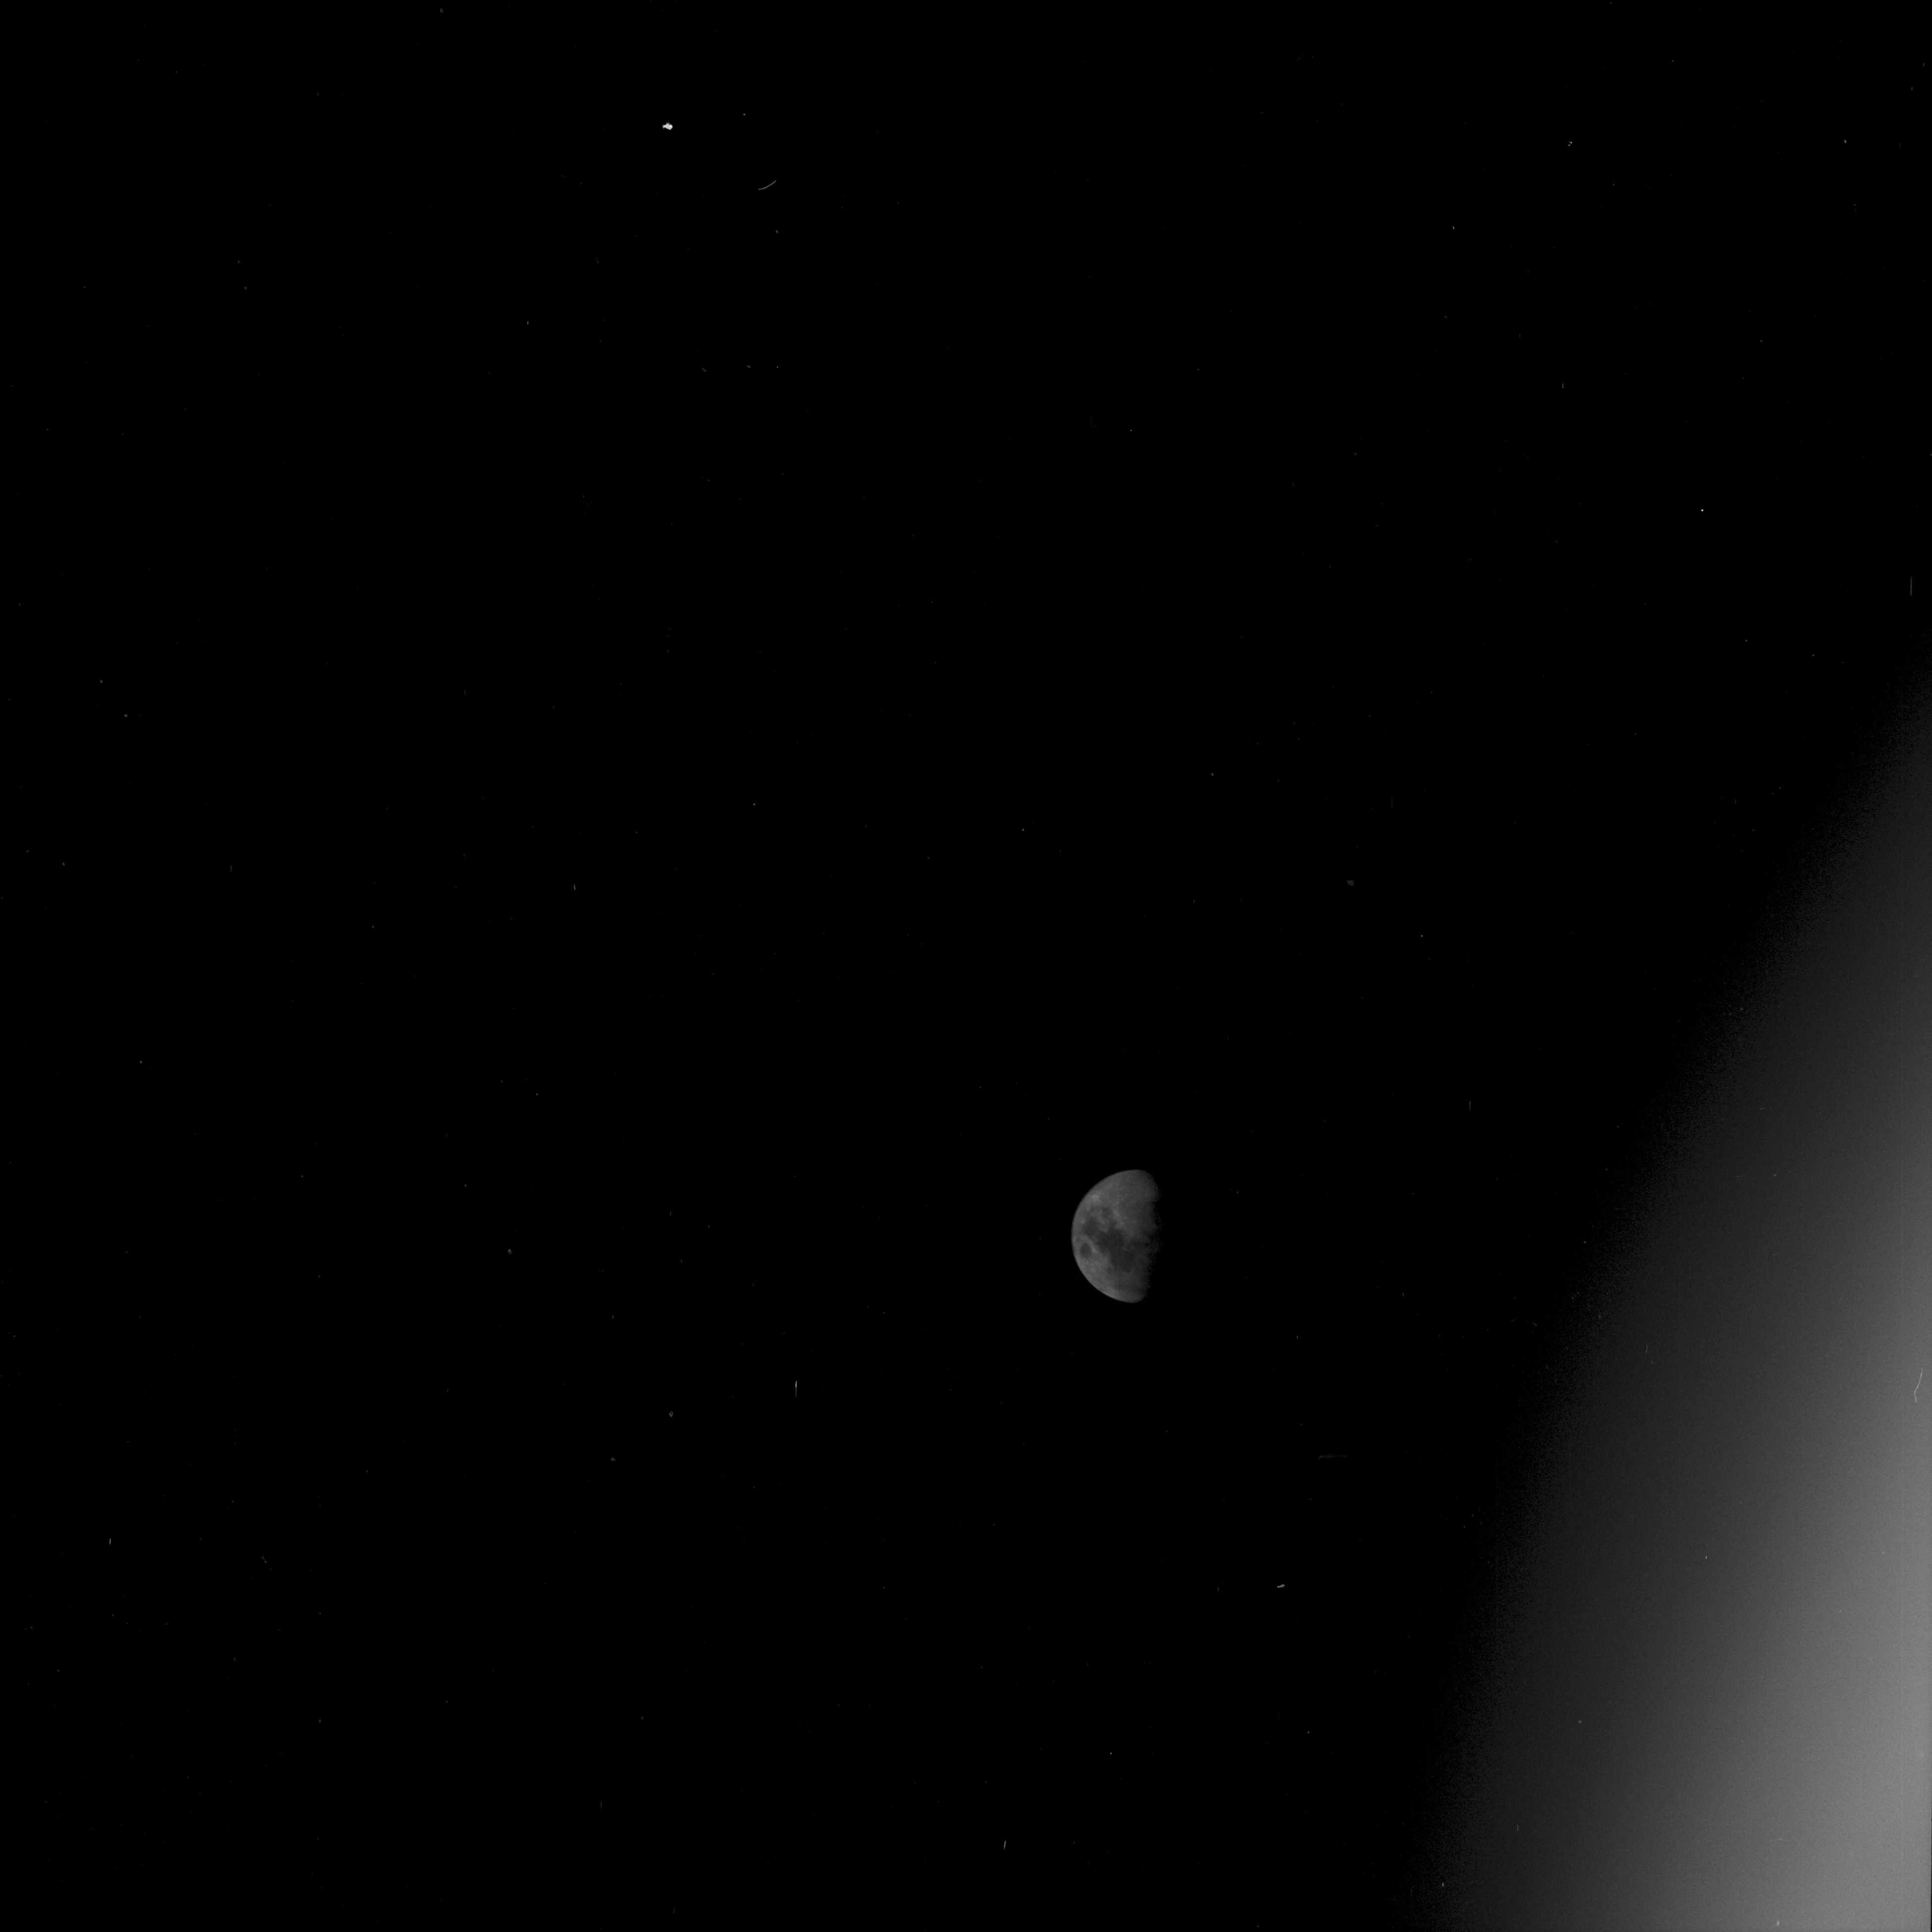
AS11-38-5680 Browse or print resolution. Moon during trans-Earth coast. Image credit: Image Science and Analysis Laboratory, NASA-Johnson Space Center. |

|
AS11-38-5681 Browse or print resolution. Moon during trans-Earth coast. Image credit: Image Science and Analysis Laboratory, NASA-Johnson Space Center. |

|
AS11-38-5682 Browse or print resolution. Moon during trans-Earth coast. Image credit: Image Science and Analysis Laboratory, NASA-Johnson Space Center. |
|
AS11-38-5683 Browse or print resolution. Moon during trans-Earth coast. Image credit: Image Science and Analysis Laboratory, NASA-Johnson Space Center. |

|
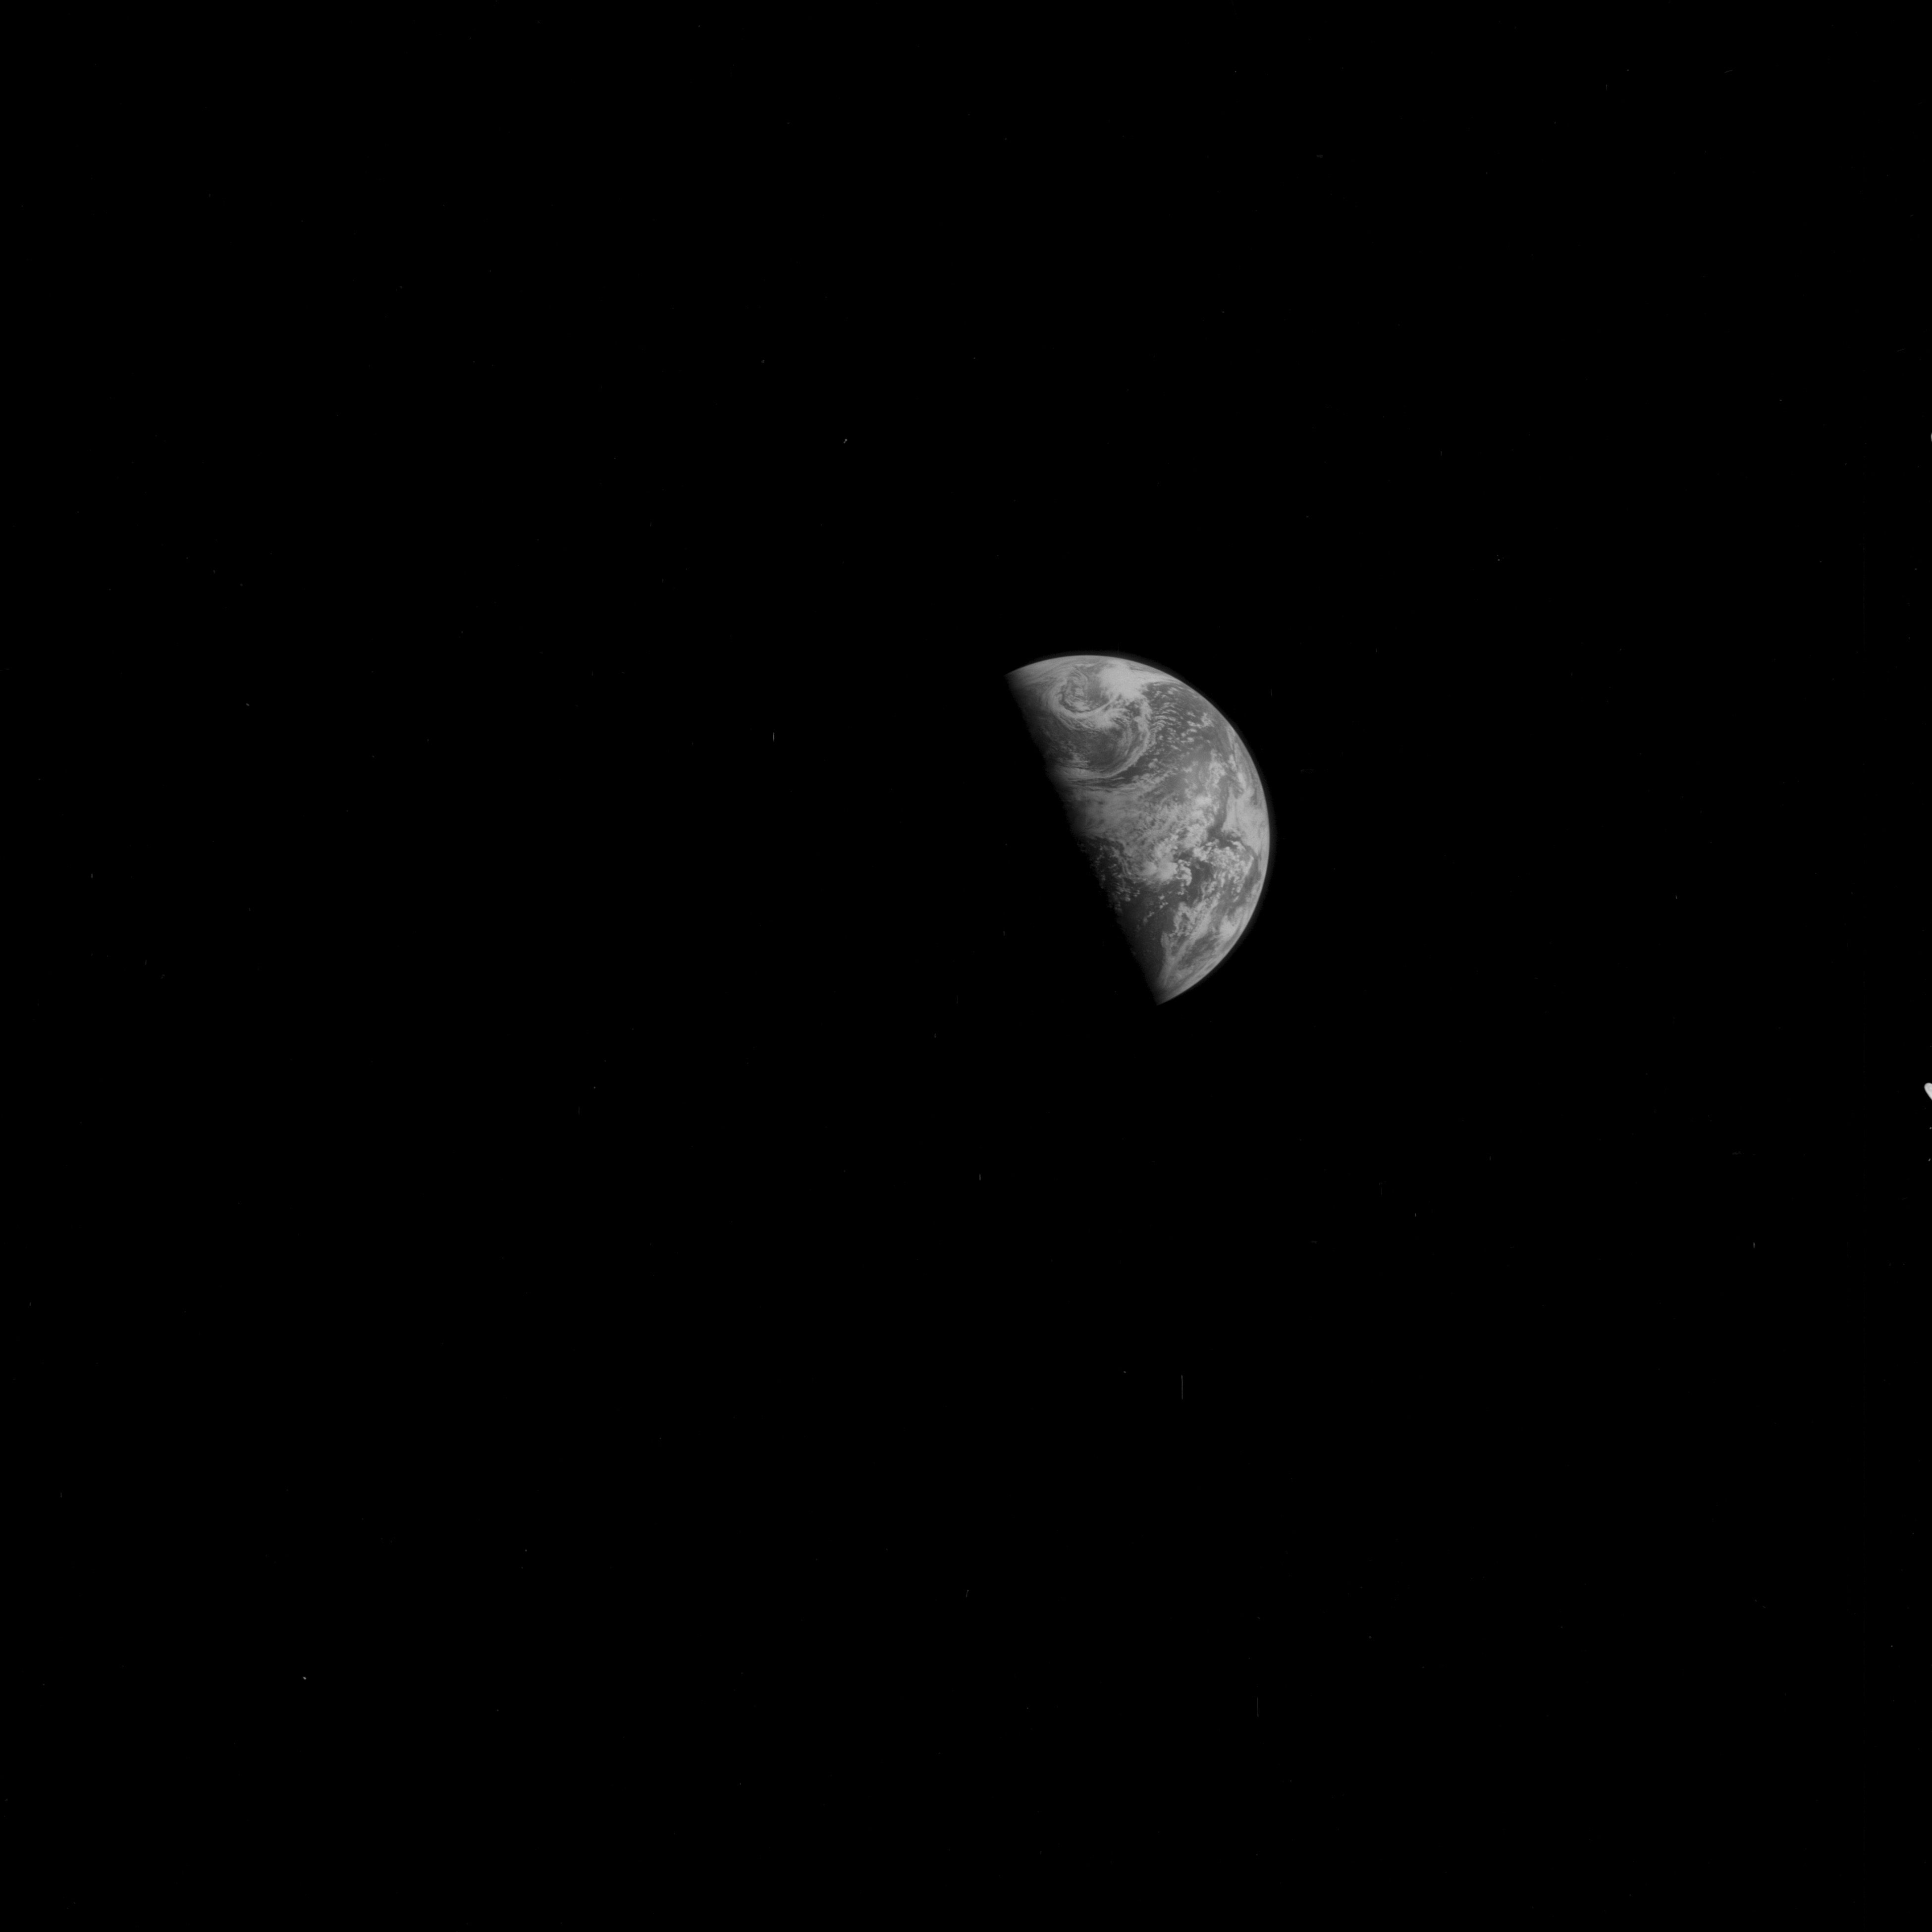
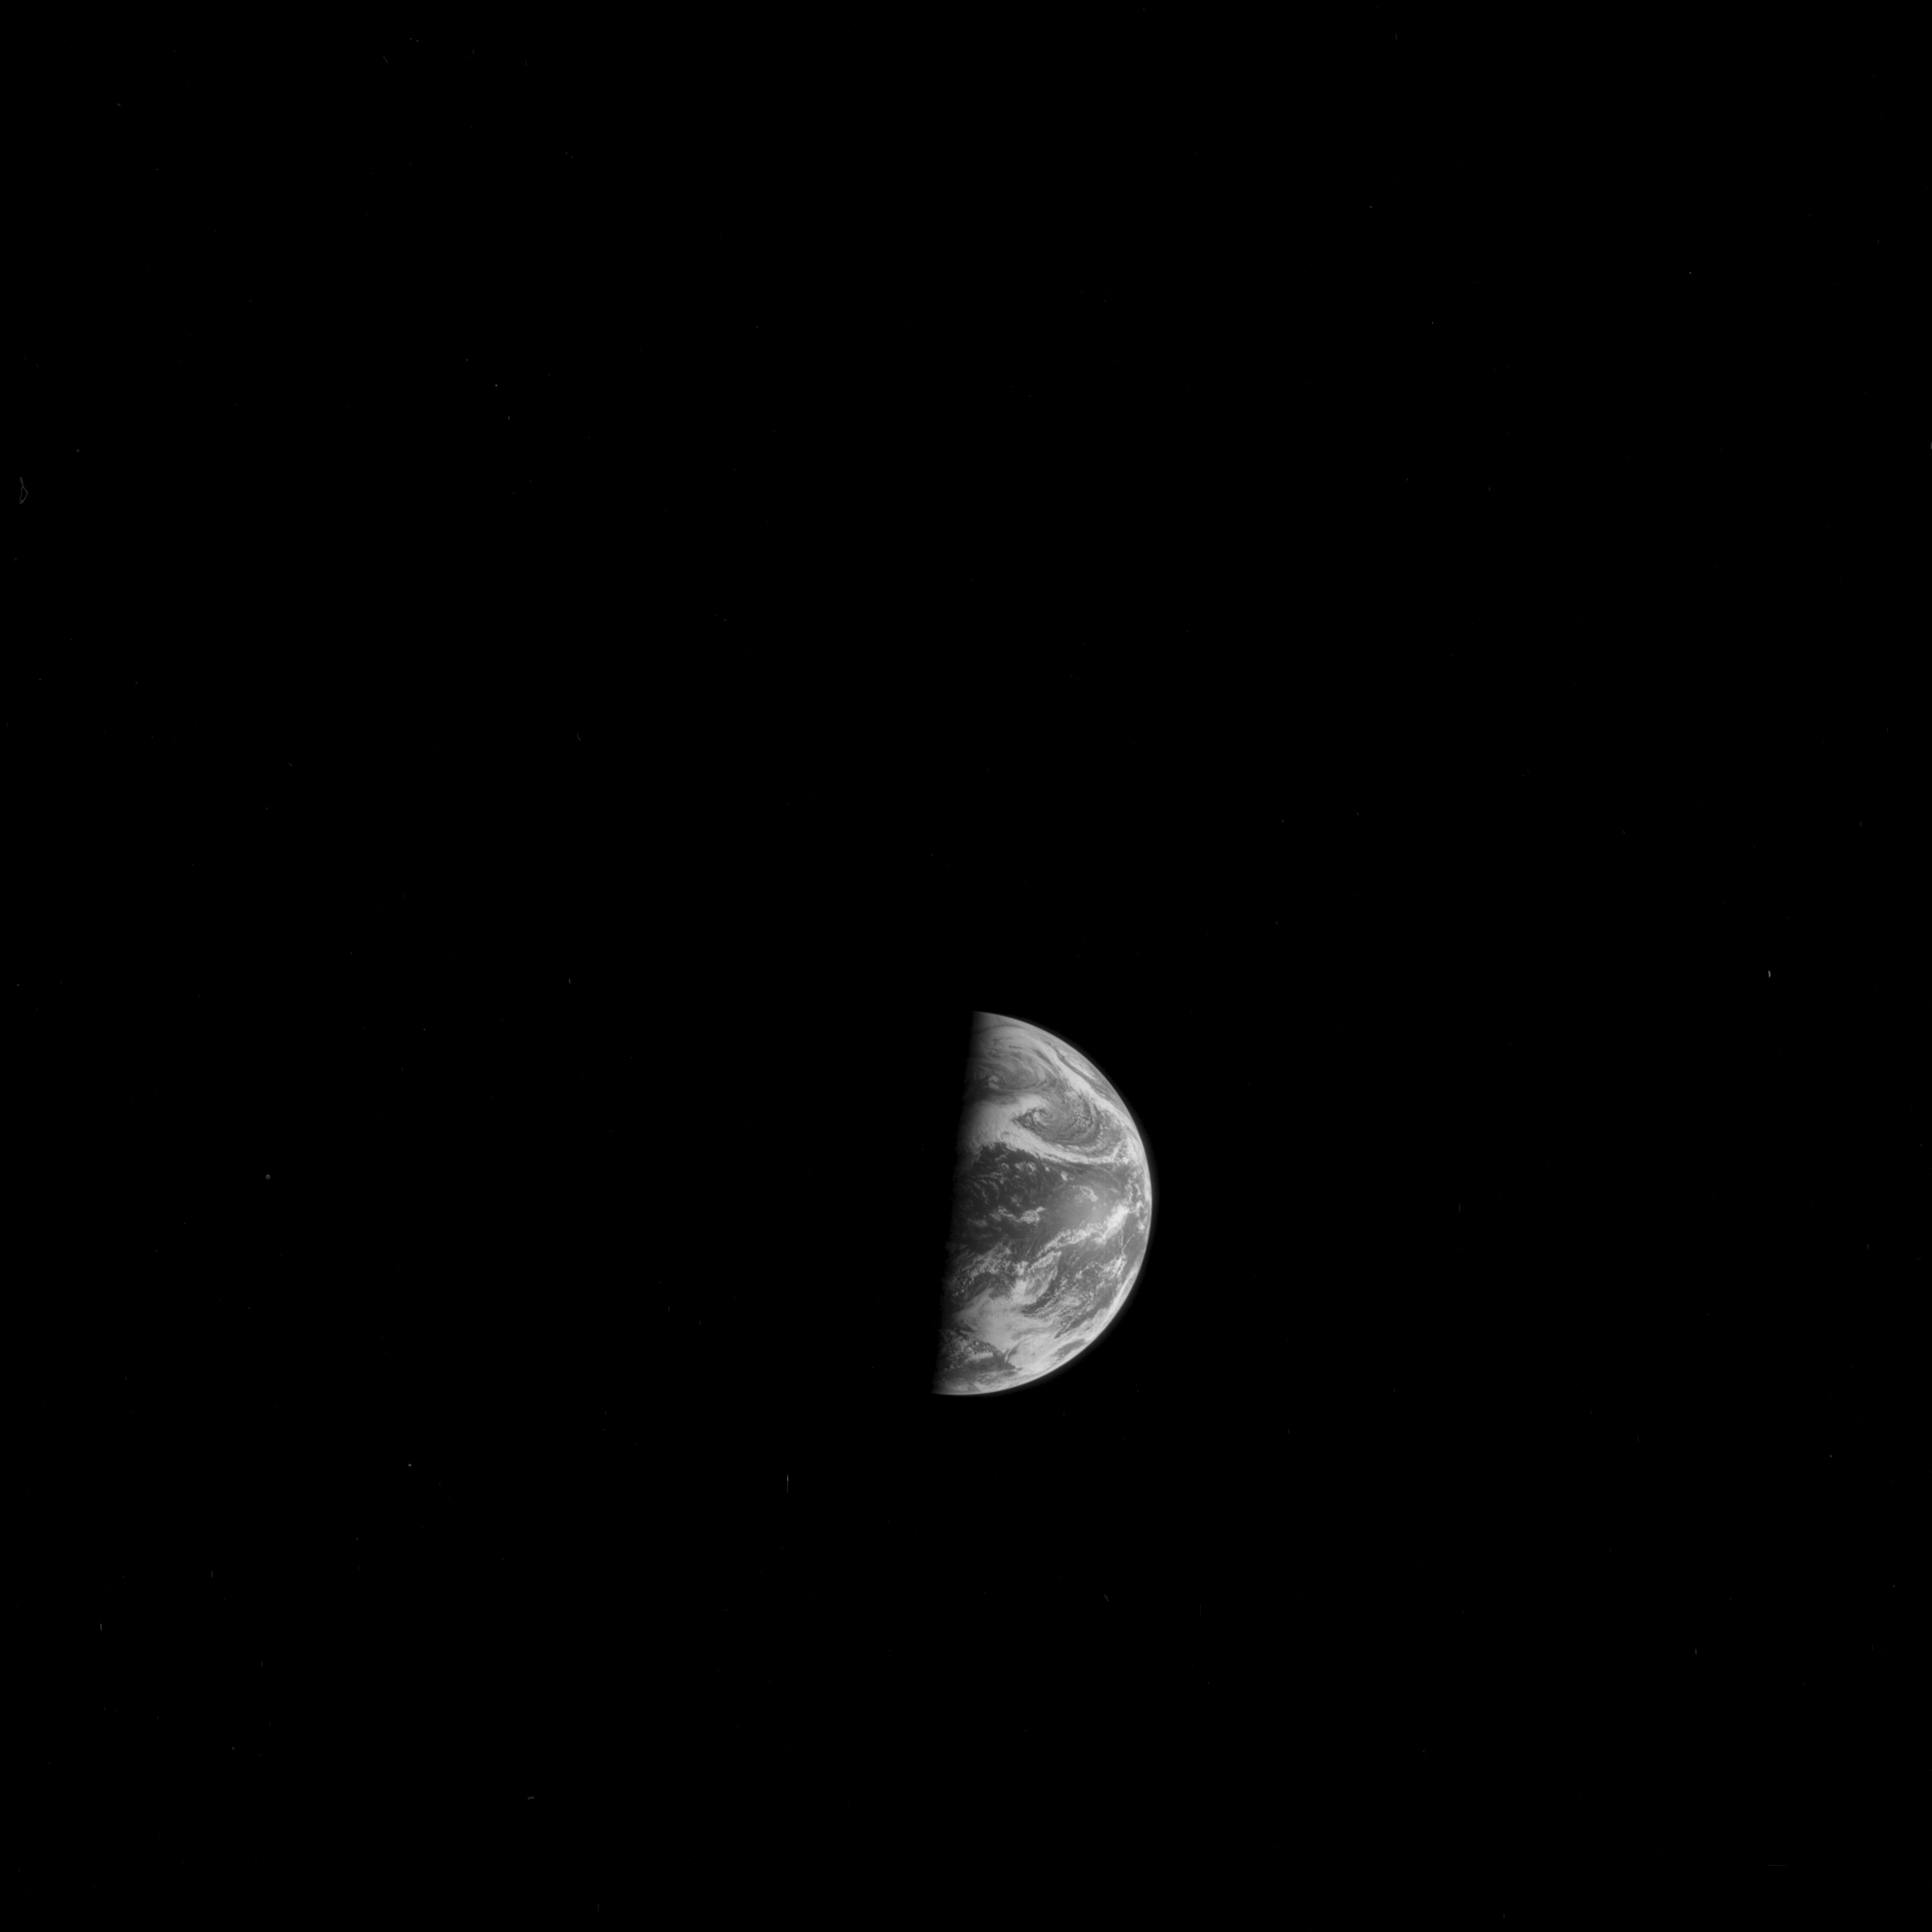
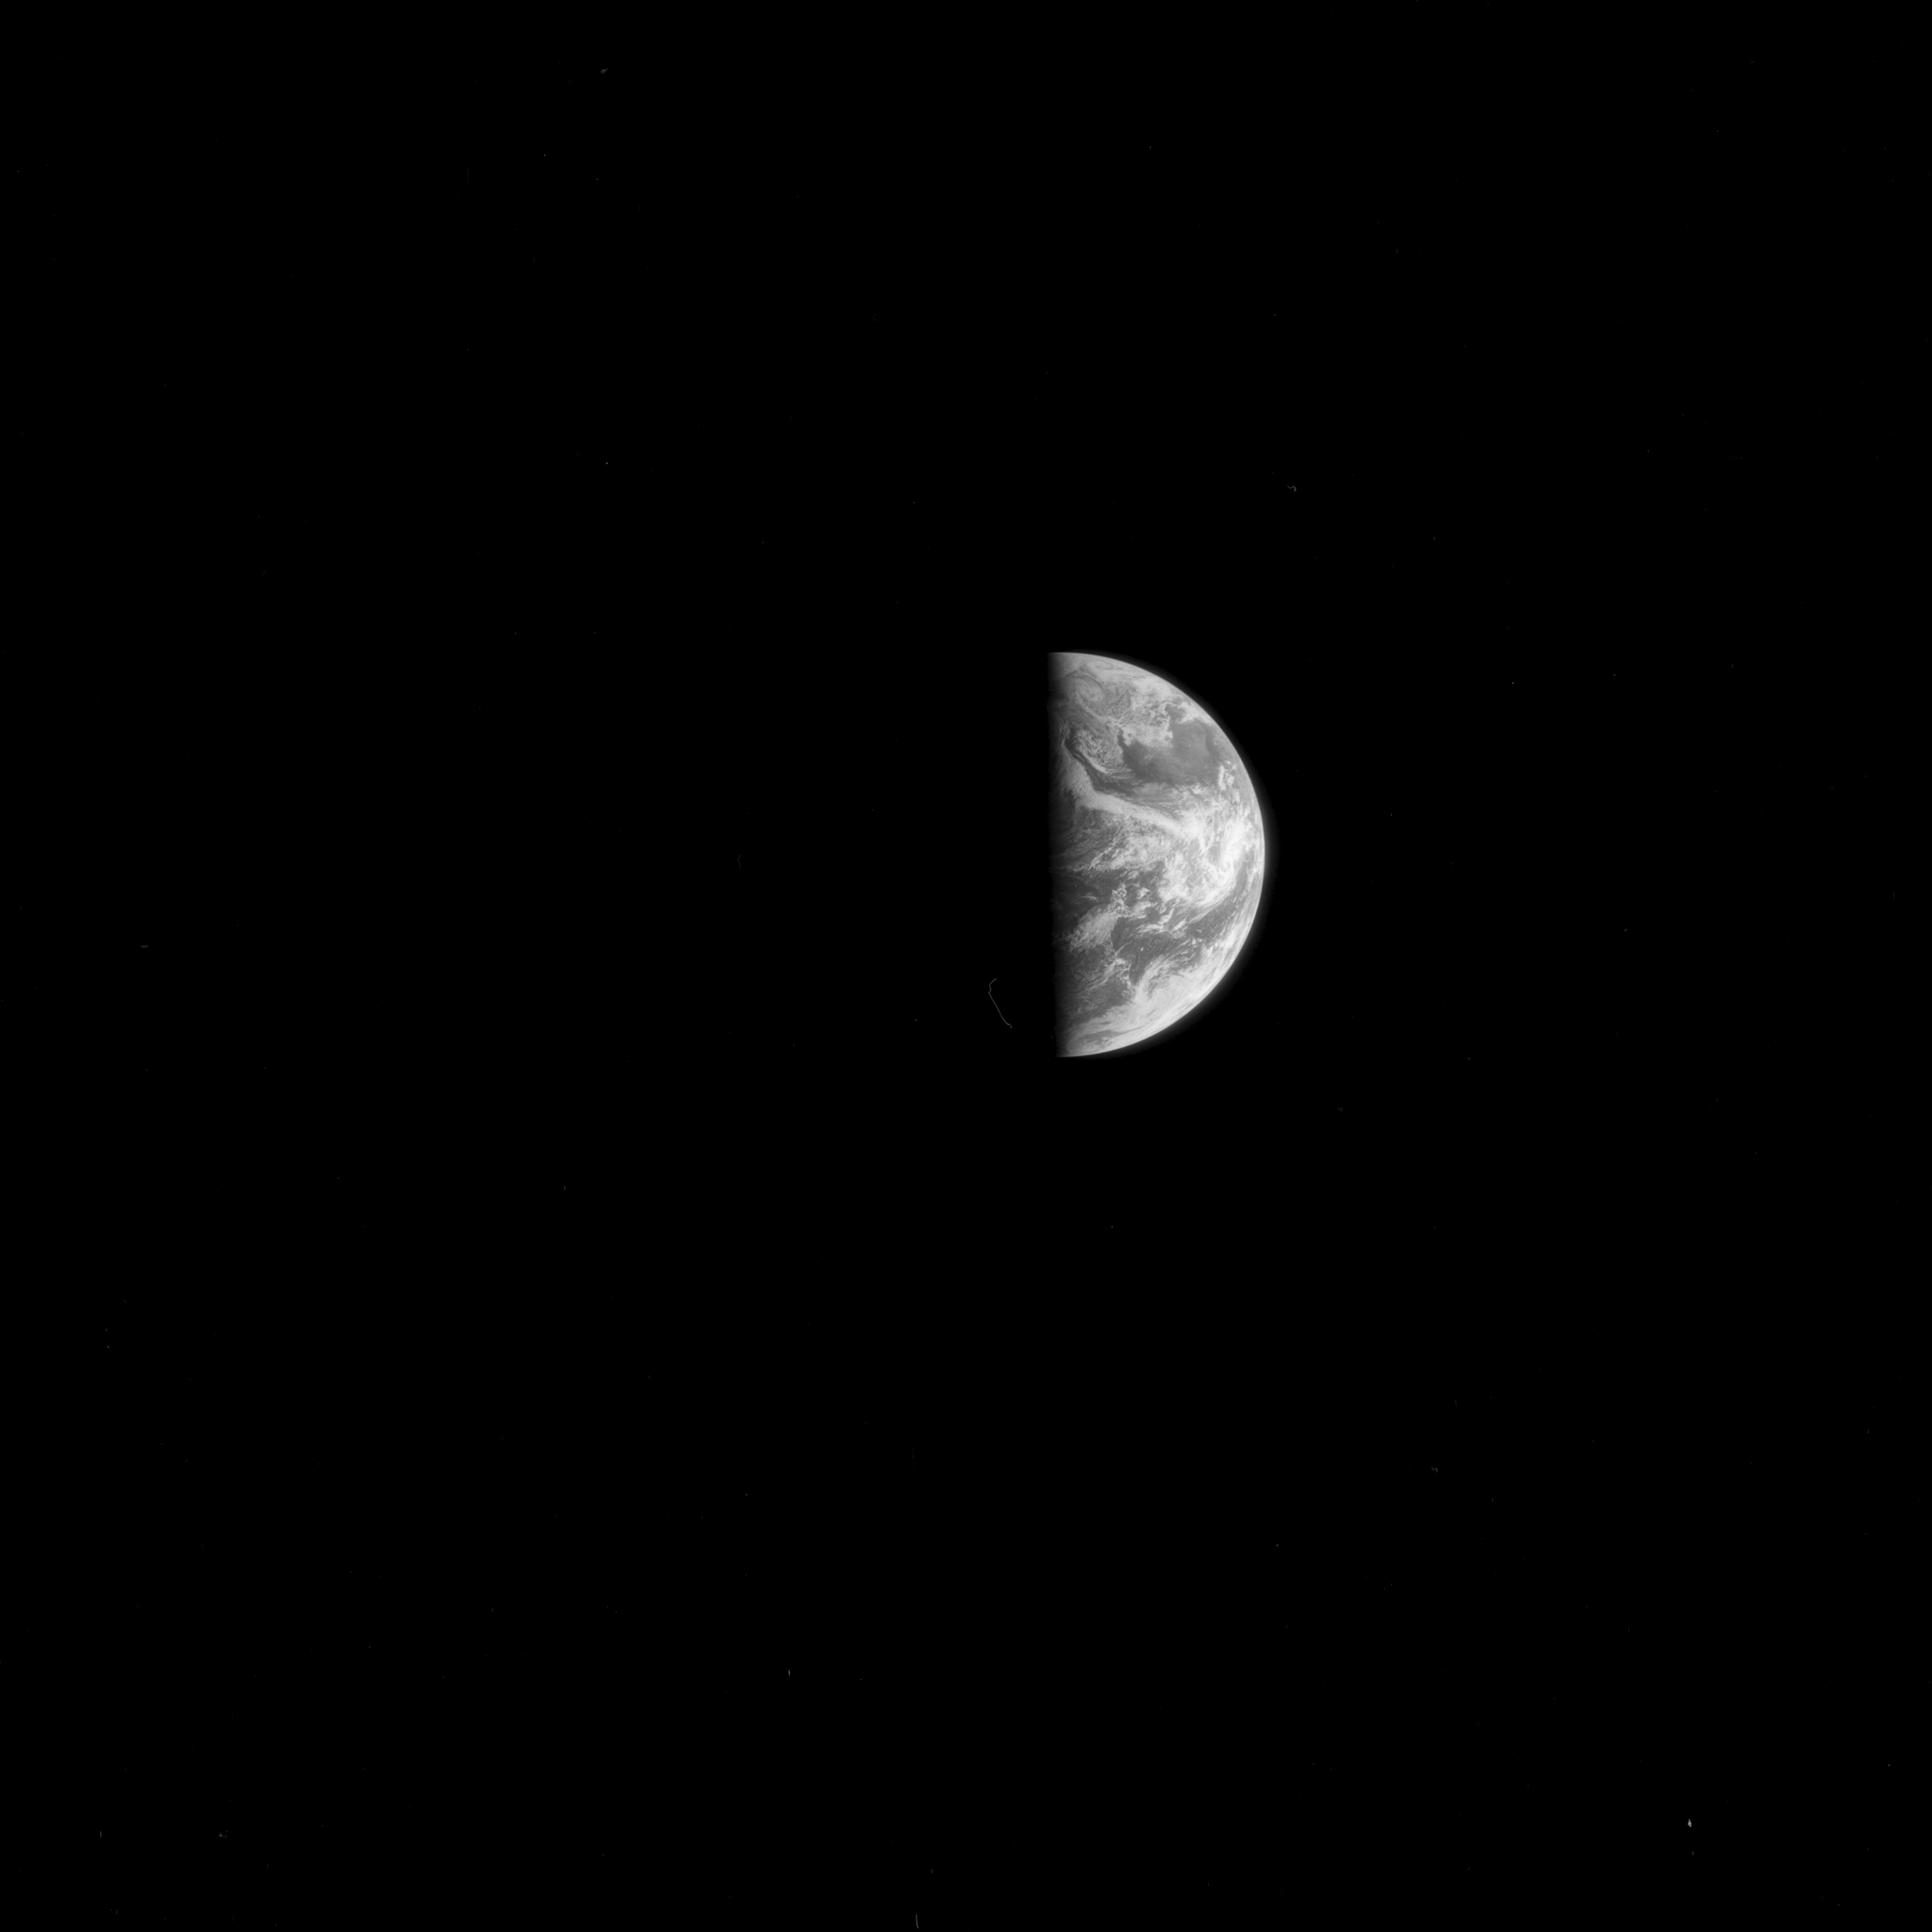
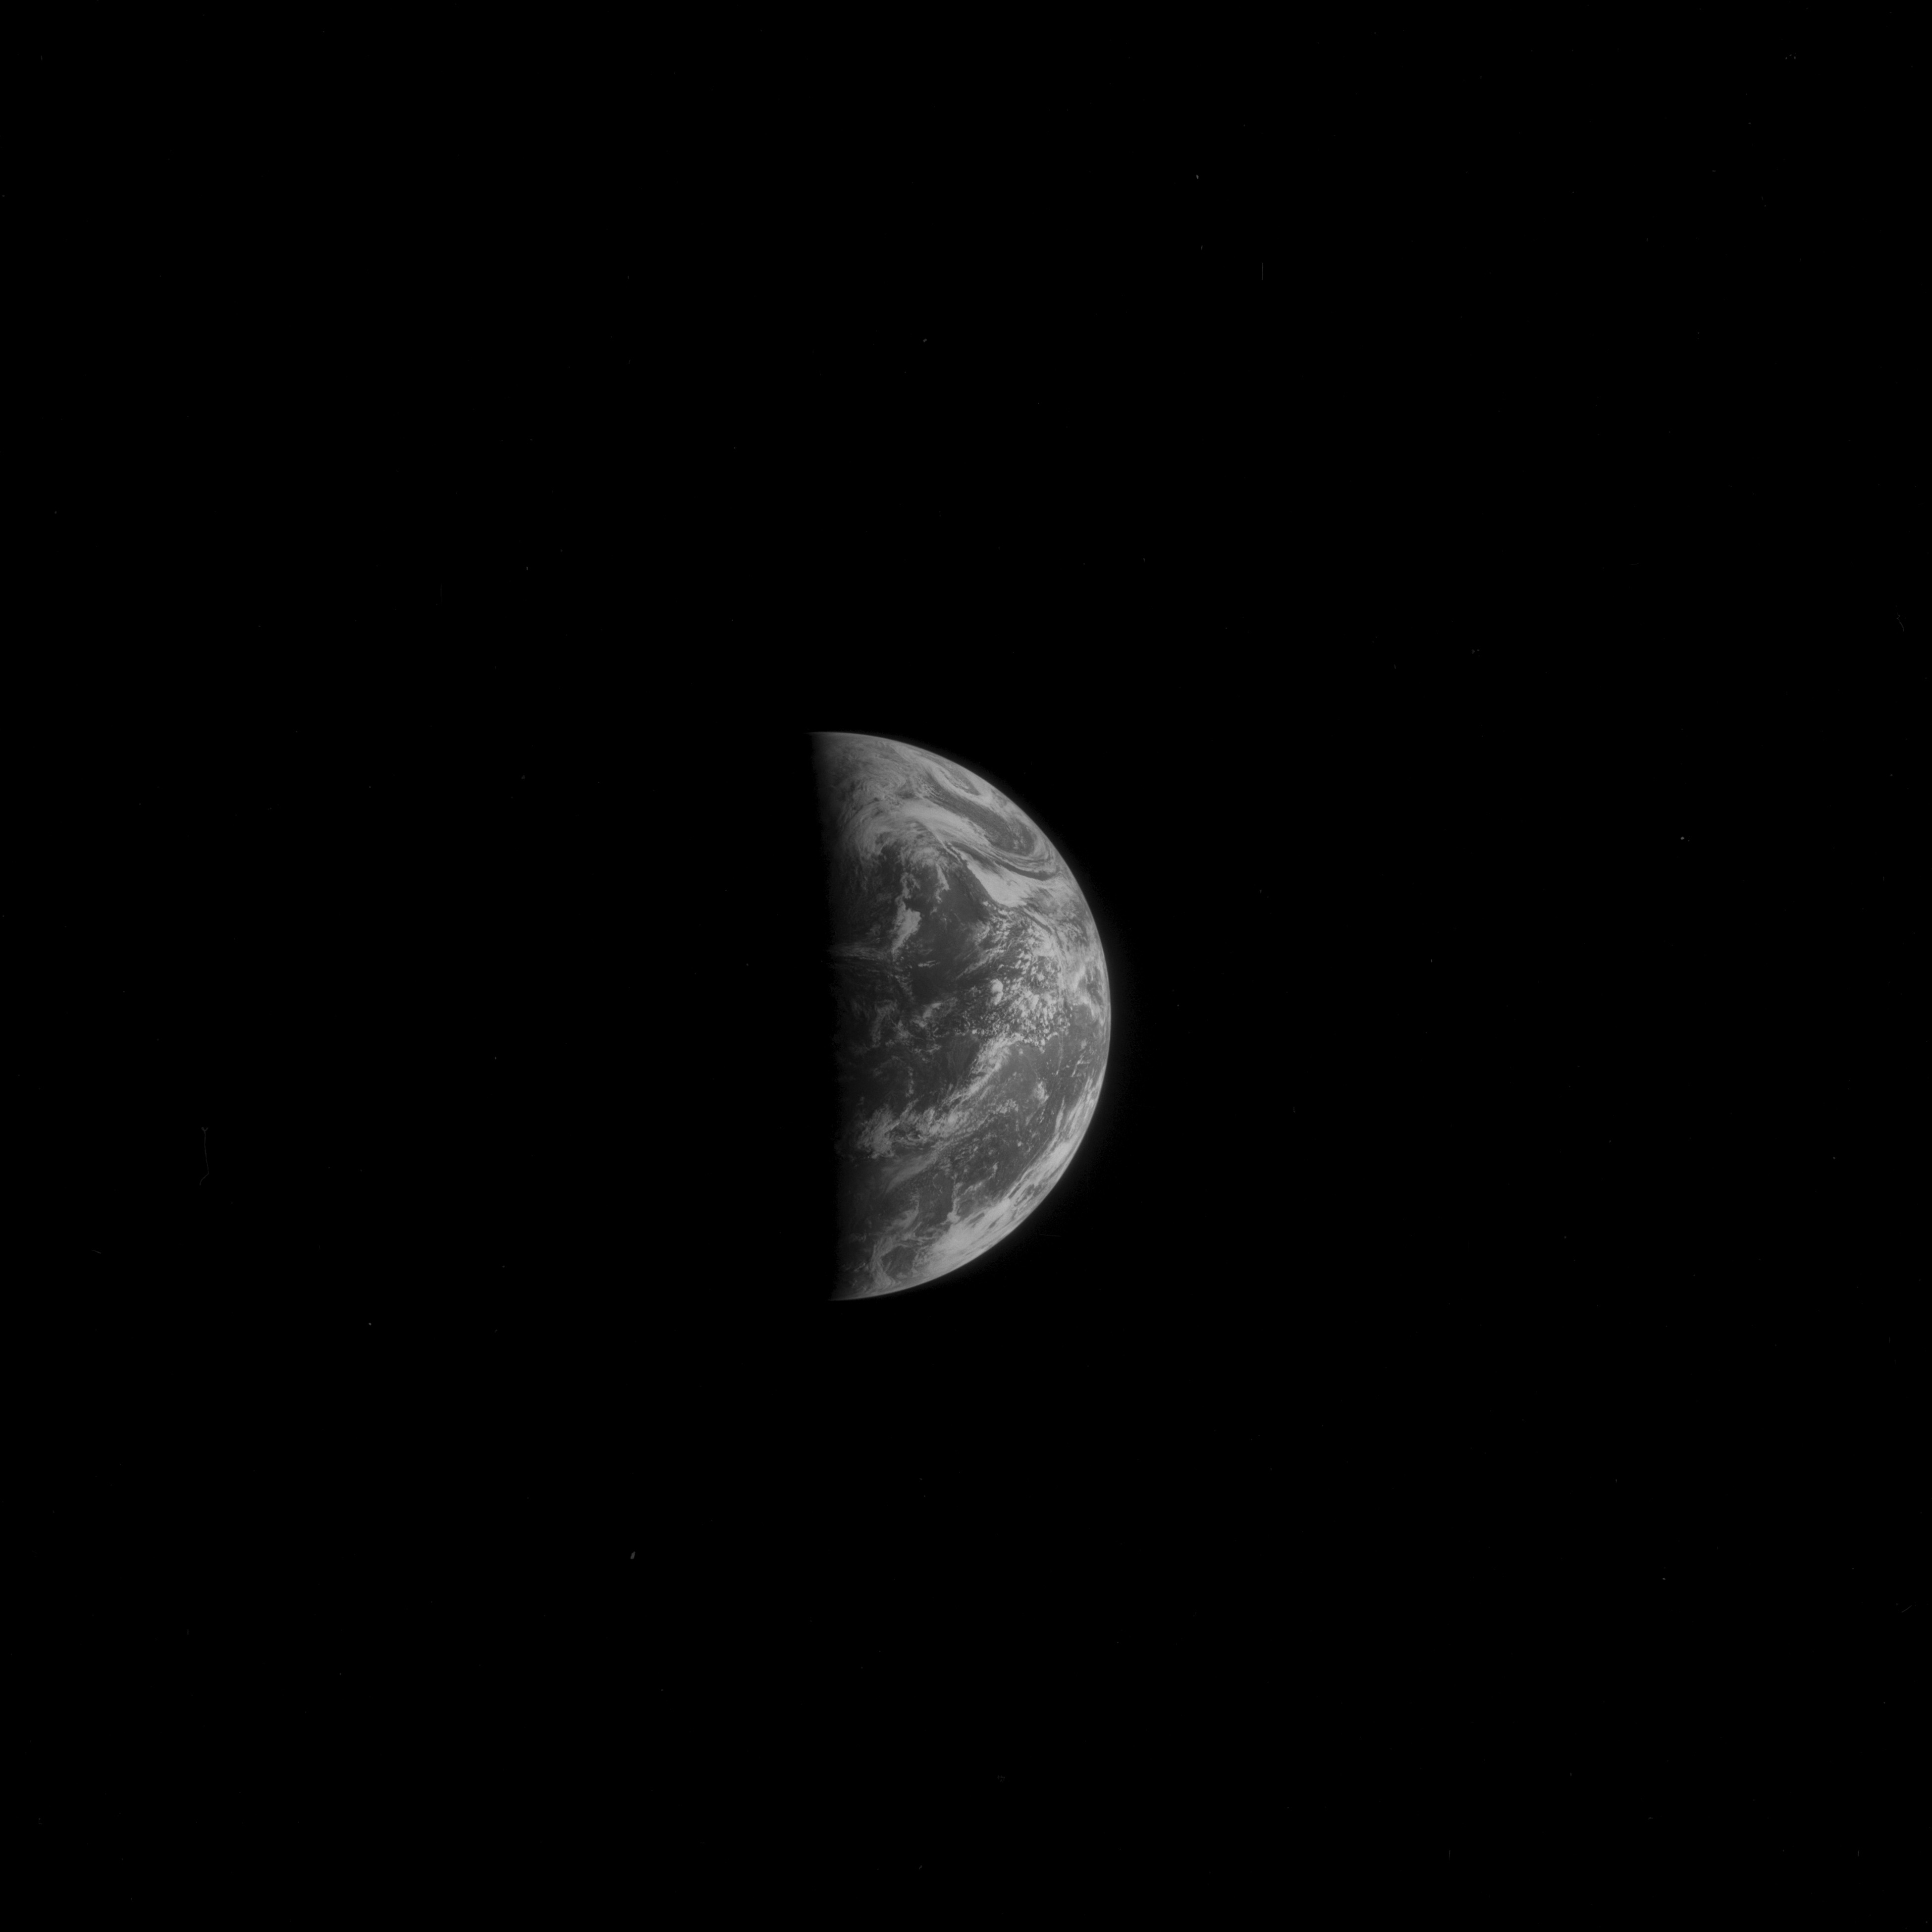
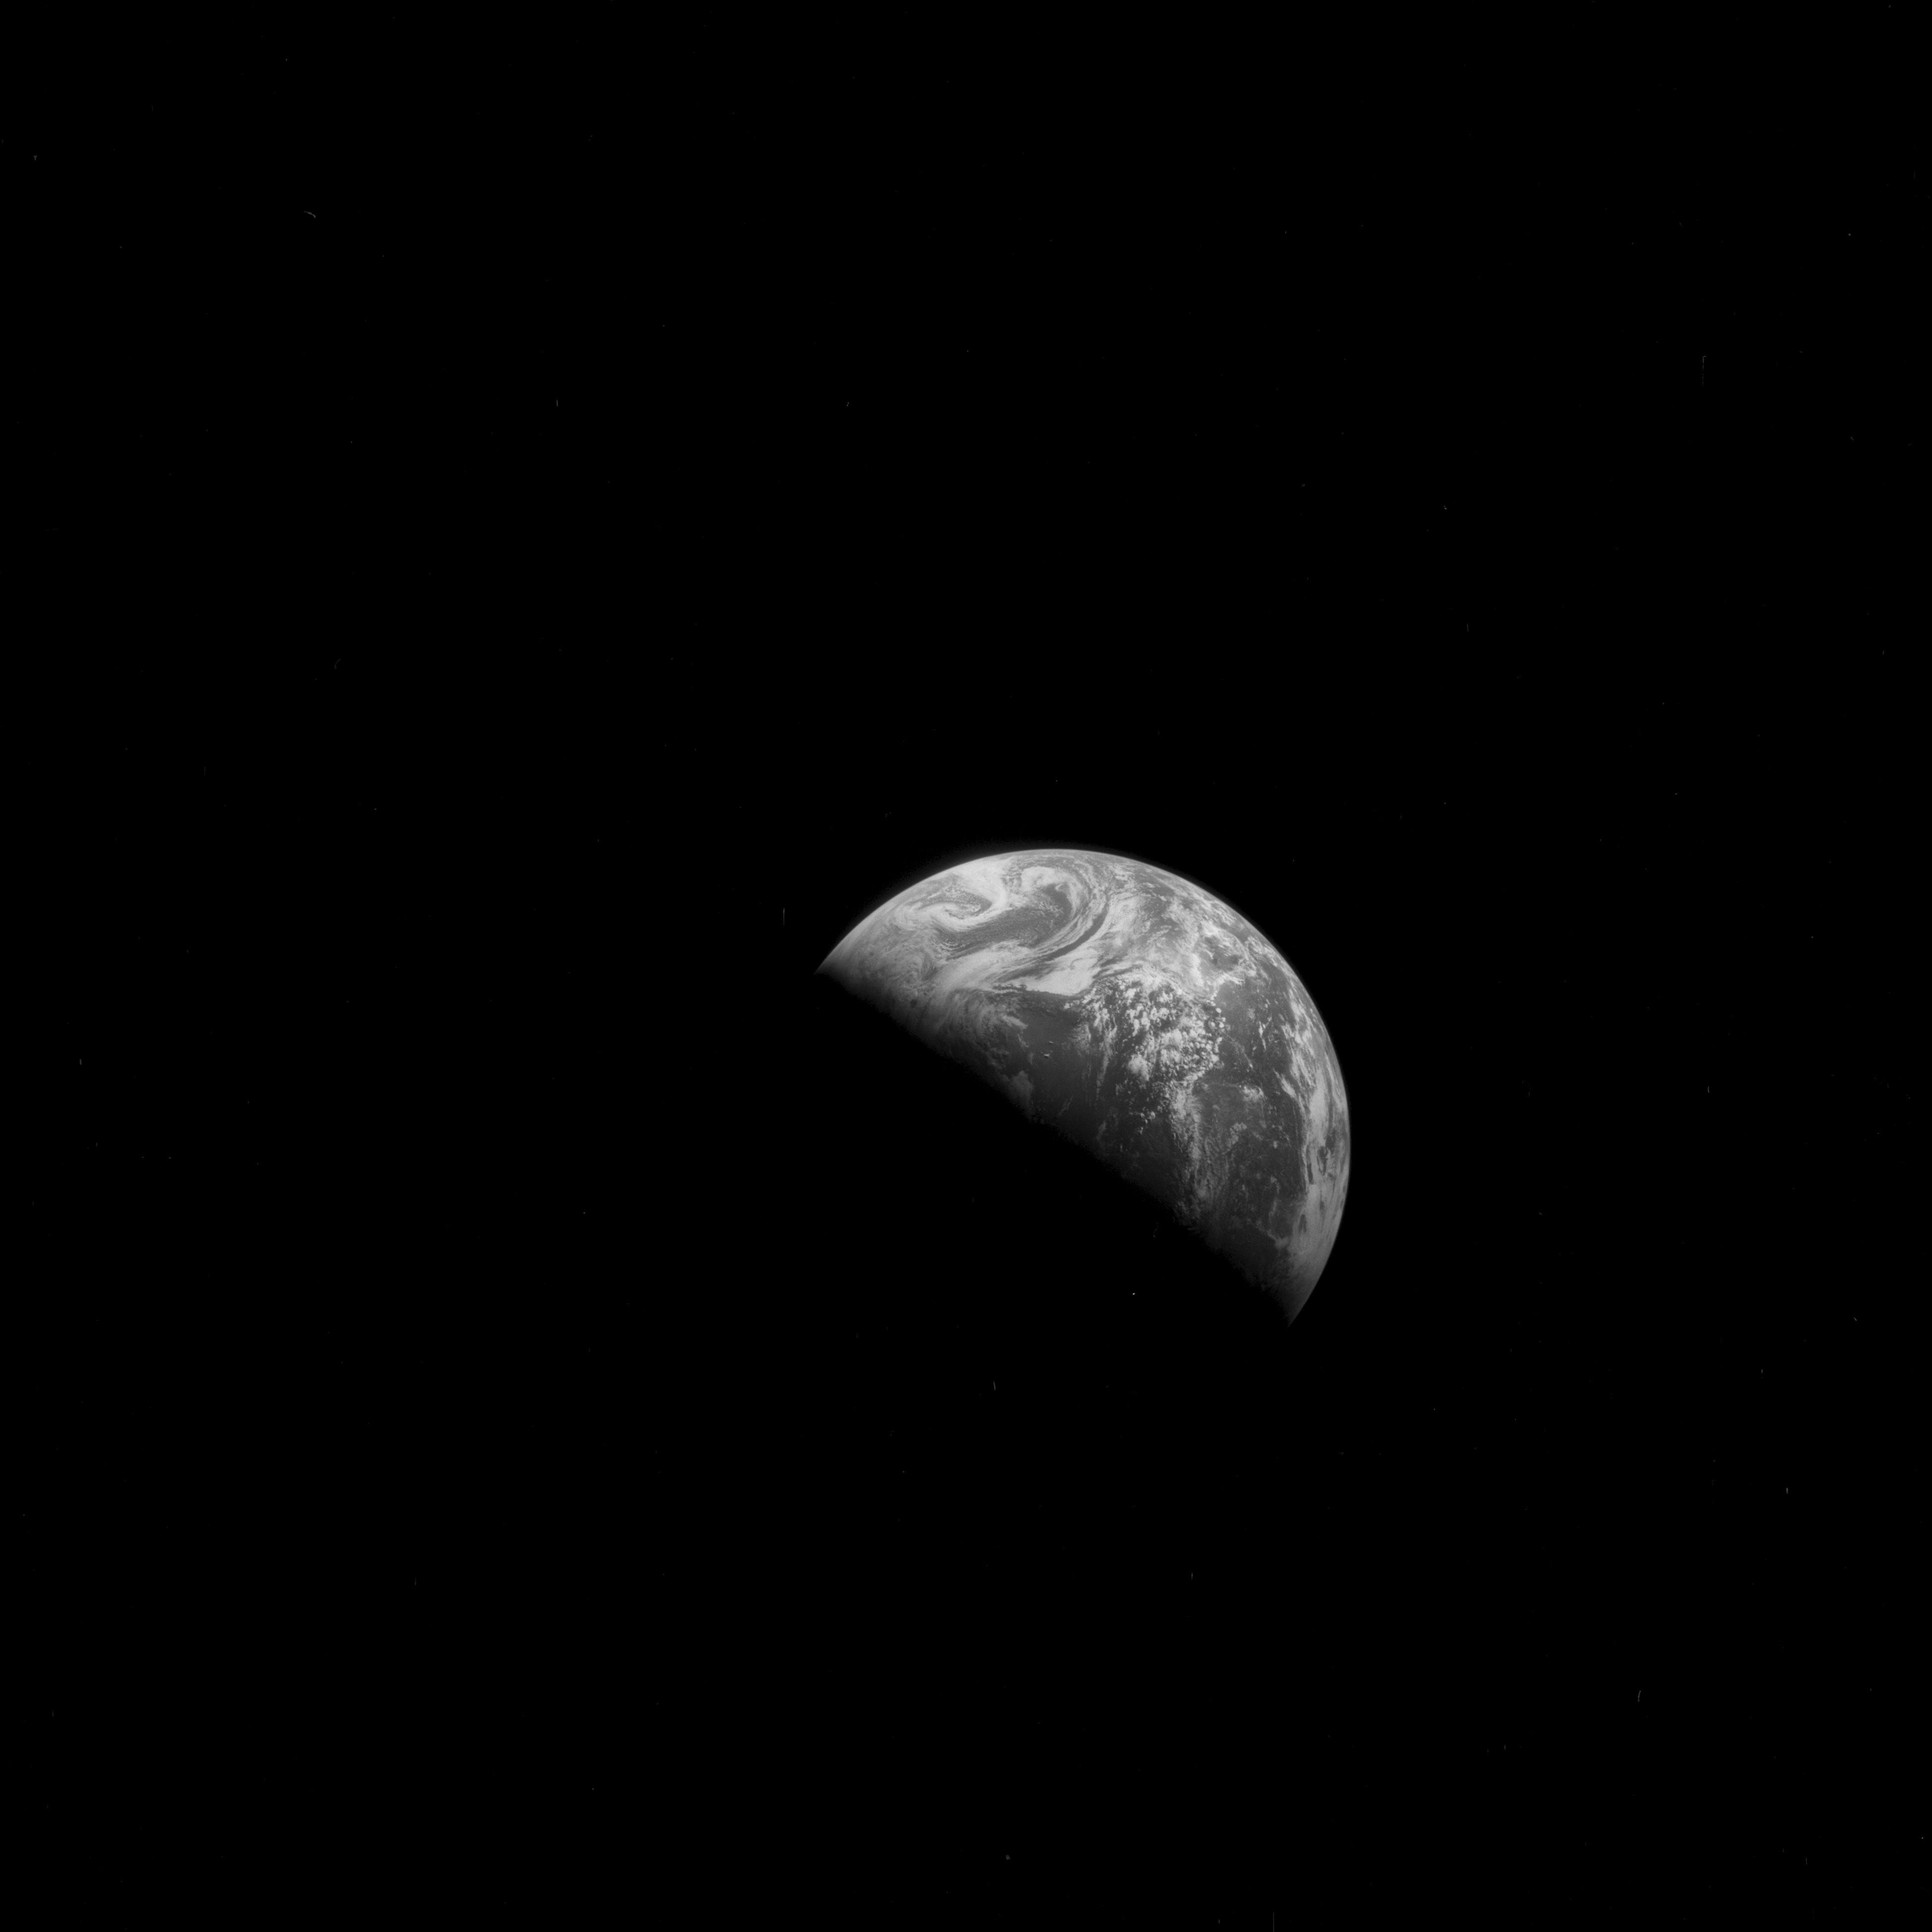
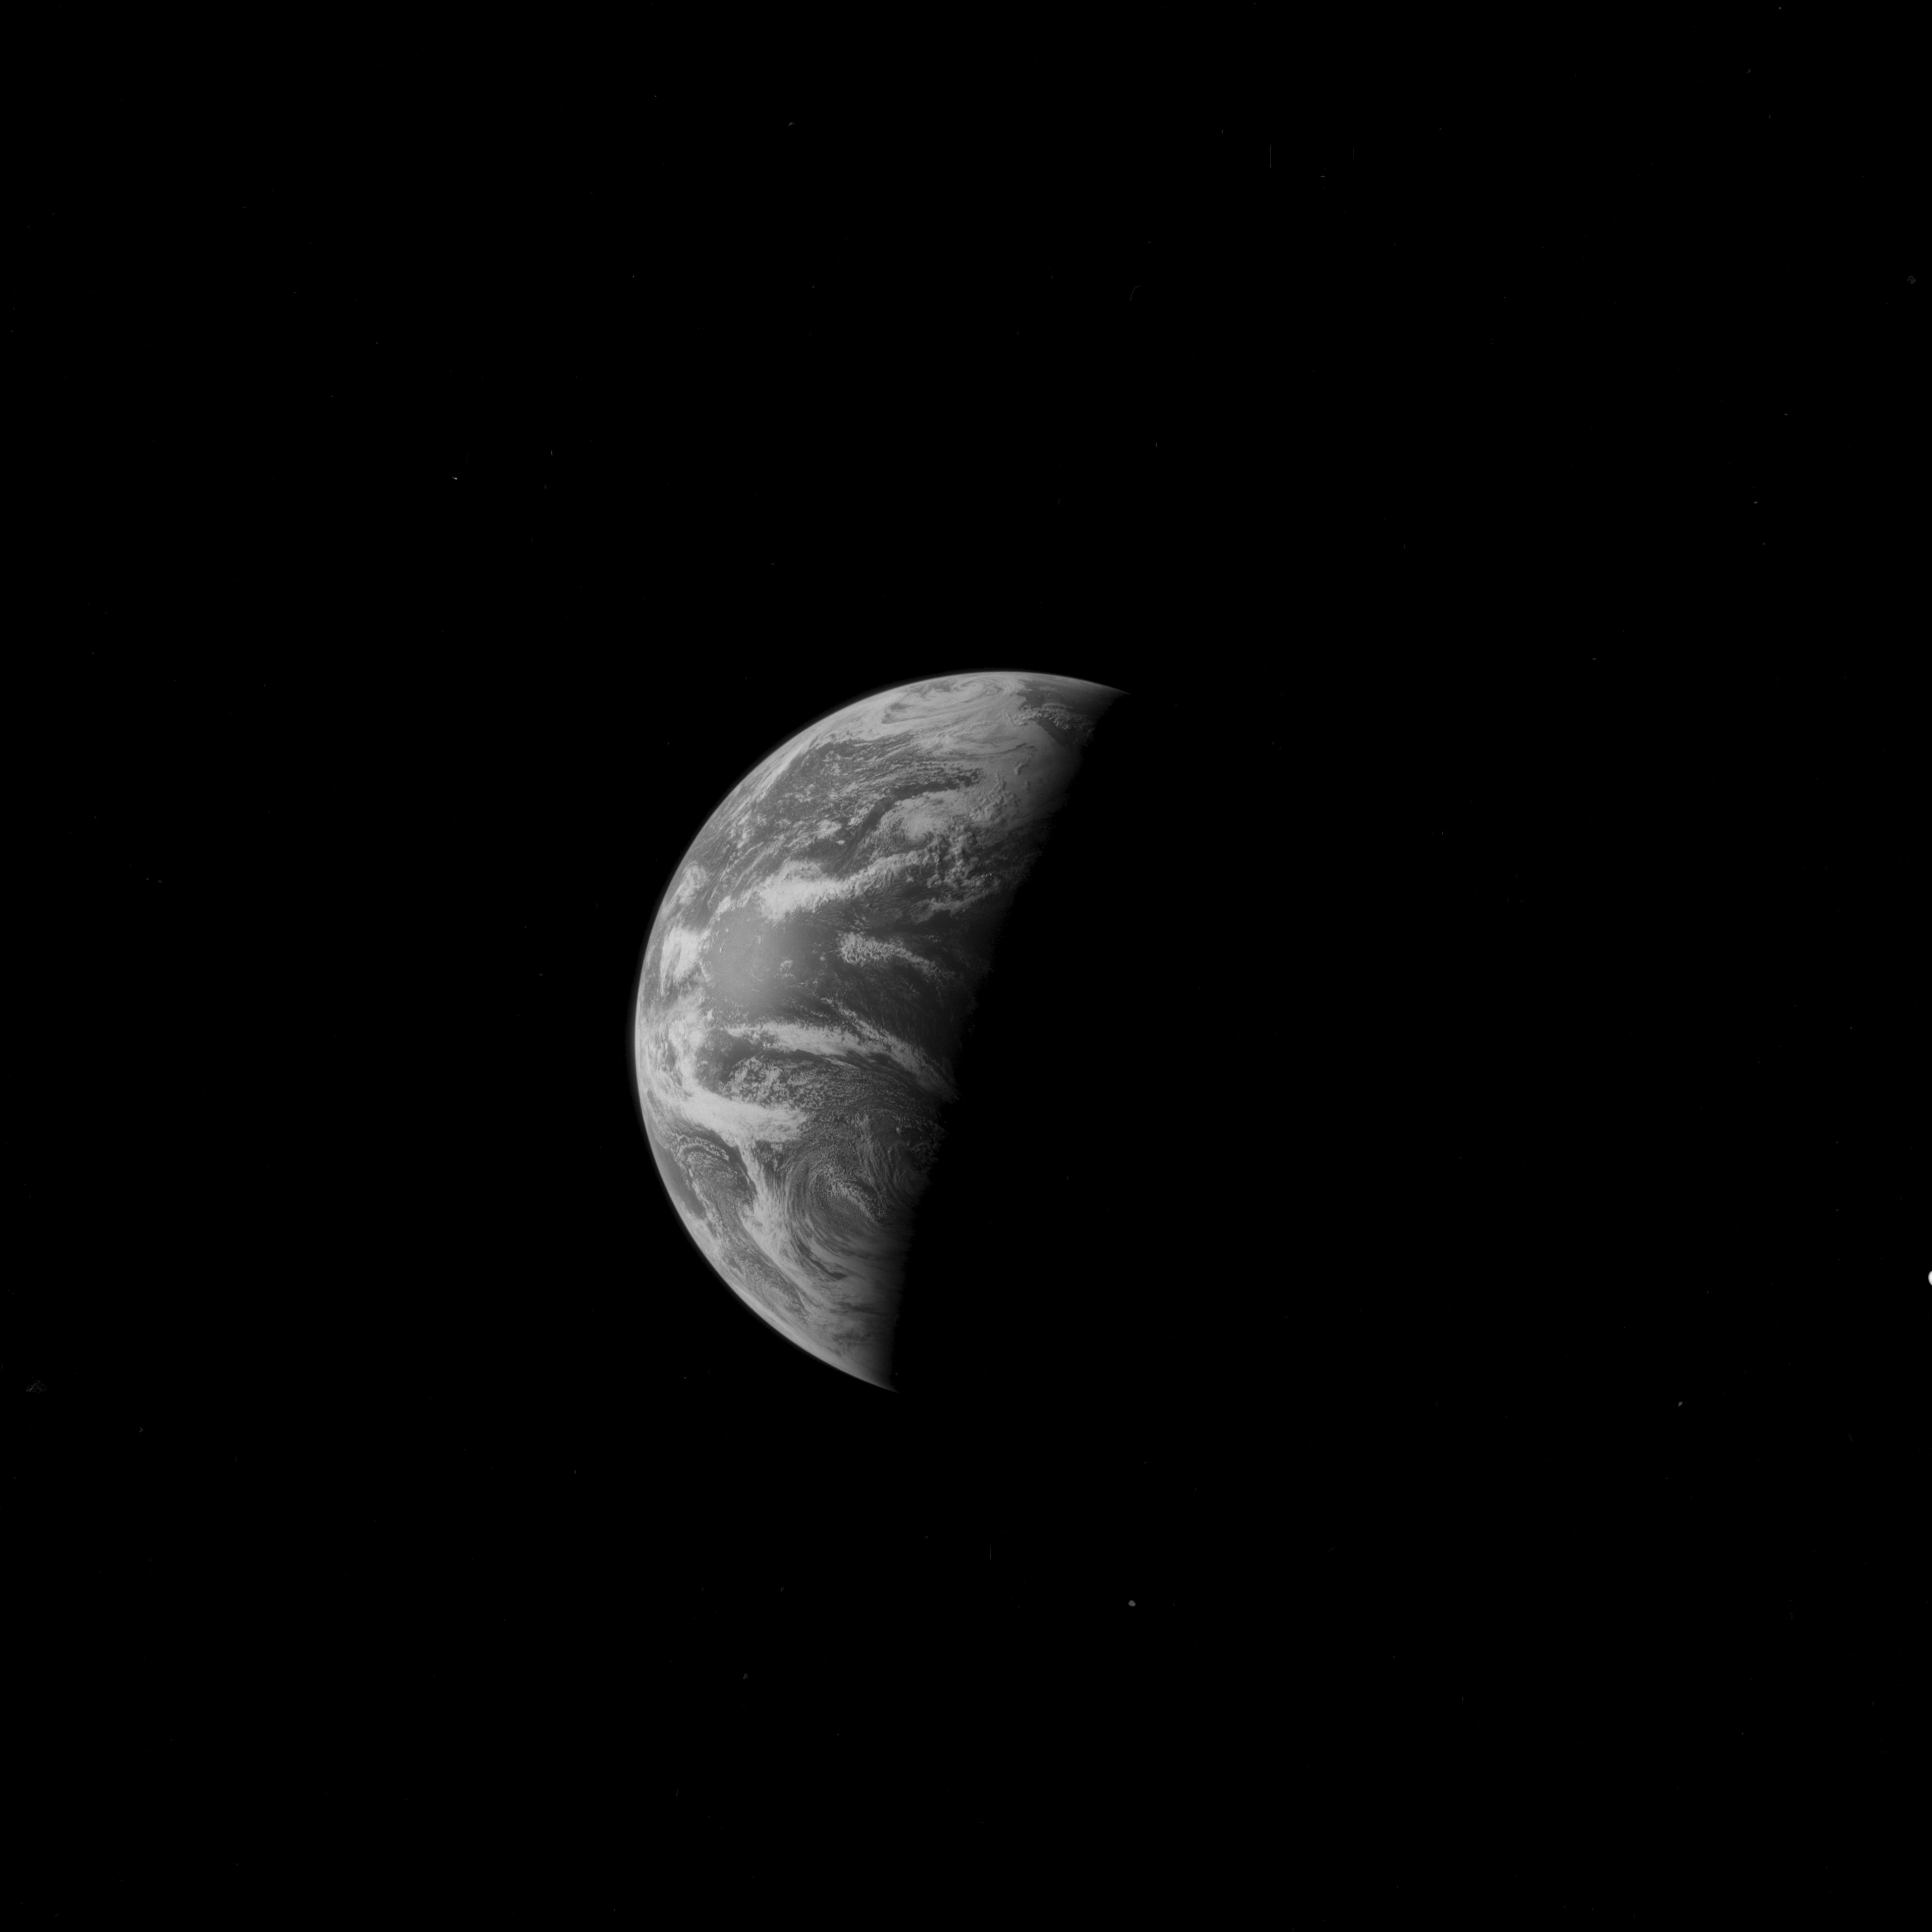
AS11-38-5684 Browse or print resolution. Earth during trans-Earth coast. Image credit: Image Science and Analysis Laboratory, NASA-Johnson Space Center. |

|
AS11-38-5685 Browse or print resolution. Earth during trans-Earth coast. Image credit: Image Science and Analysis Laboratory, NASA-Johnson Space Center. |

|
AS11-38-5686 Browse or print resolution. Earth during trans-Earth coast. Image credit: Image Science and Analysis Laboratory, NASA-Johnson Space Center. |

|
AS11-38-5687 Browse or print resolution. Earth during trans-Earth coast. Image credit: Image Science and Analysis Laboratory, NASA-Johnson Space Center. |

|
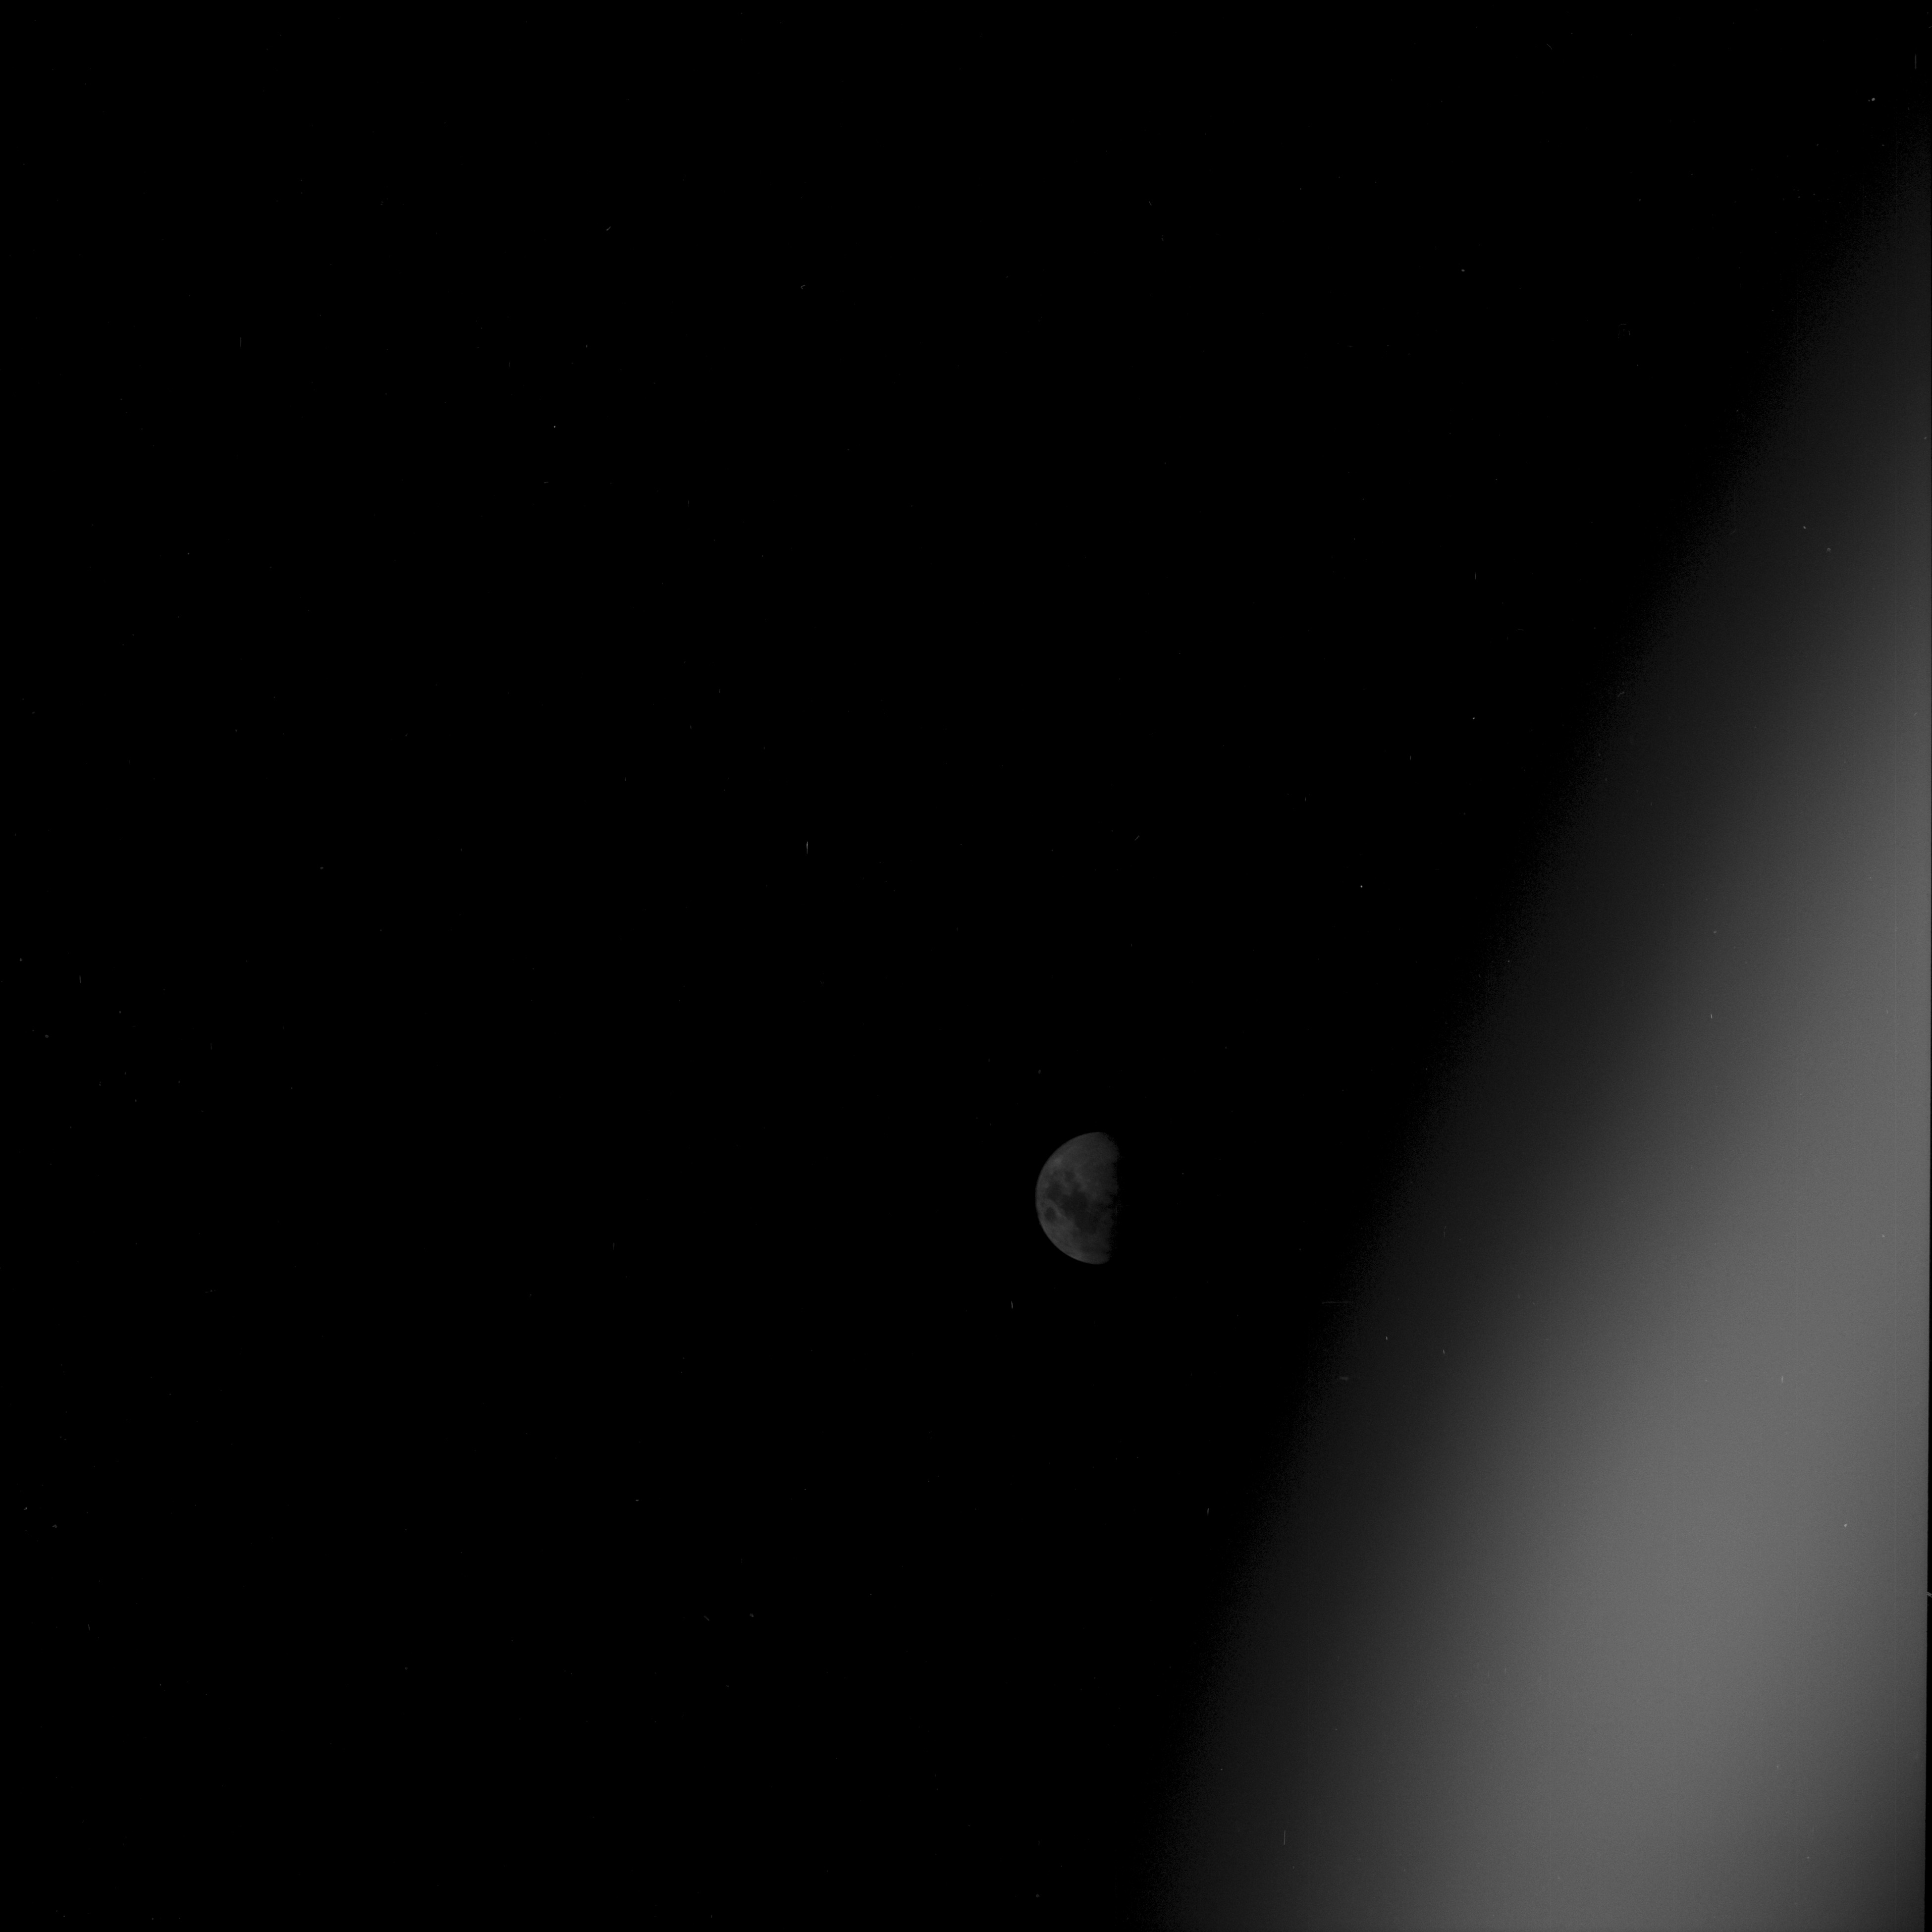
AS11-38-5688 Browse or print resolution. Moon during trans-Earth coast. Image credit: Image Science and Analysis Laboratory, NASA-Johnson Space Center. |
|
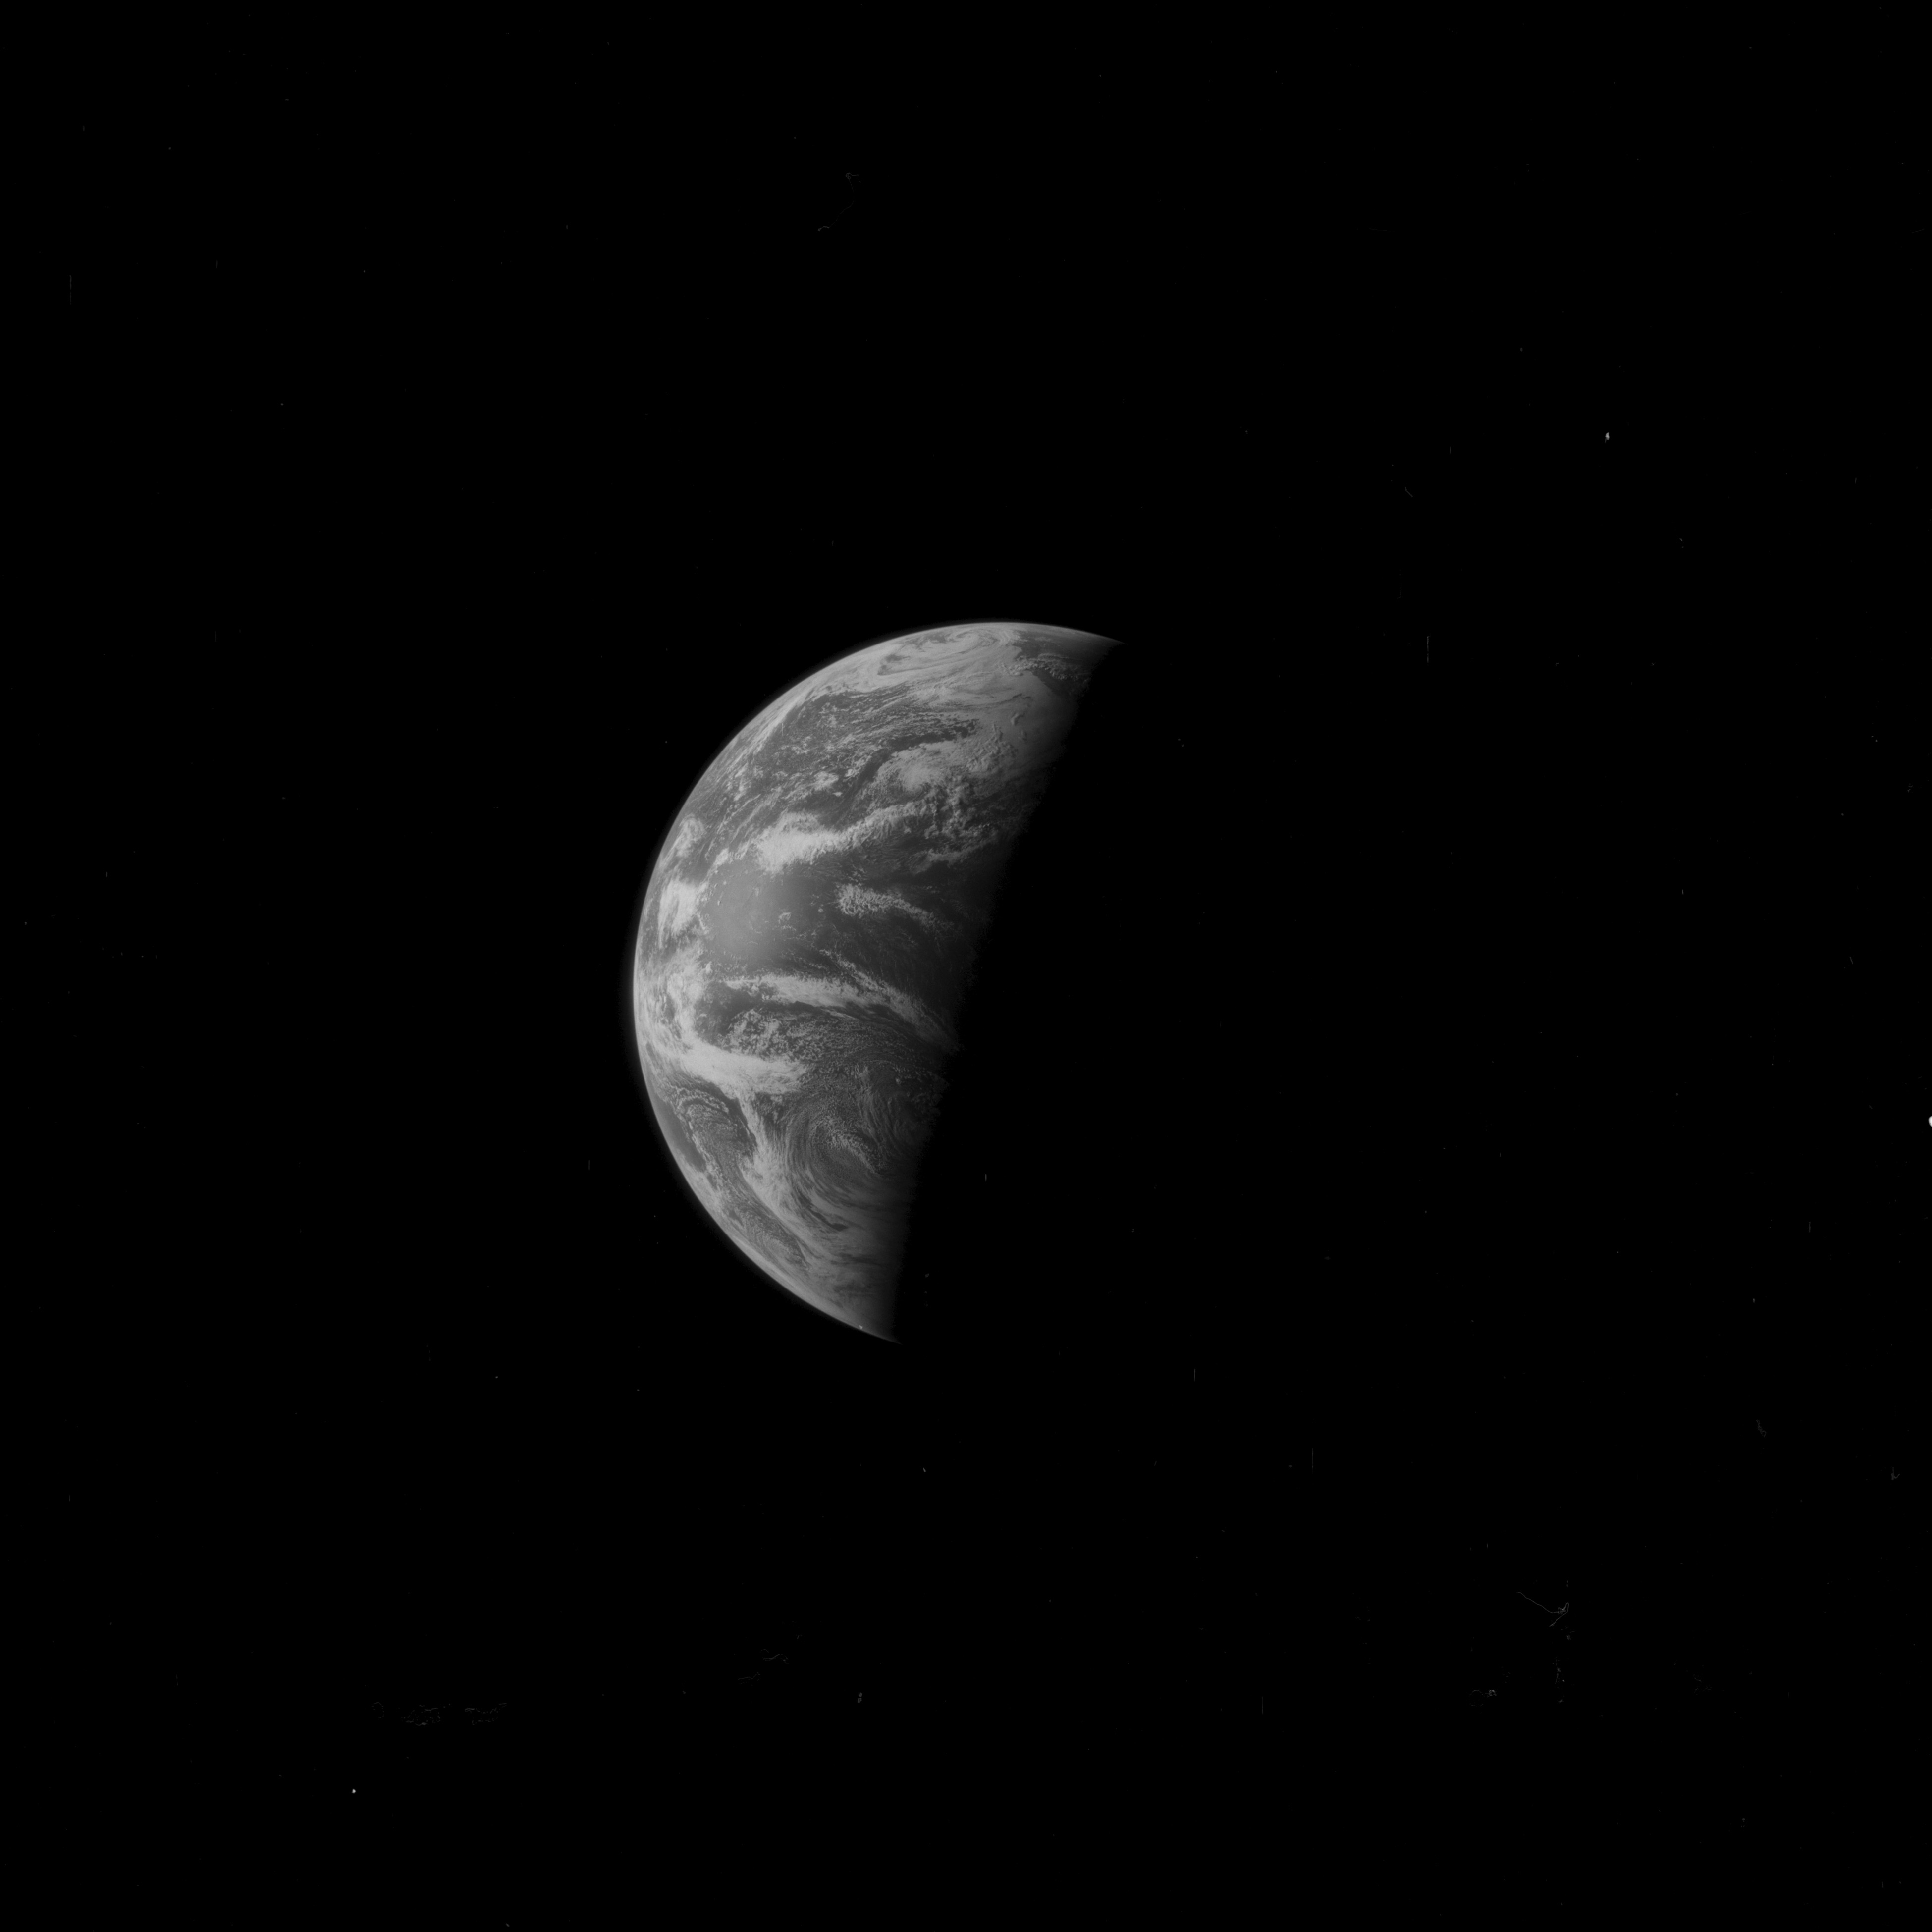
AS11-38-5689 Browse or print resolution. Earth during trans-Earth coast. Image credit: Image Science and Analysis Laboratory, NASA-Johnson Space Center. |
|
AS11-38-5690 Browse or print resolution. Moon during trans-Earth coast. Image credit: Image Science and Analysis Laboratory, NASA-Johnson Space Center. |

|
AS11-38-5691 Browse or print resolution. Moon during trans-Earth coast. Image credit: Image Science and Analysis Laboratory, NASA-Johnson Space Center. |

|
AS11-38-5692 Browse or print resolution. Earth during trans-Earth coast. Image credit: Image Science and Analysis Laboratory, NASA-Johnson Space Center. |
|
AS11-38-5693 Browse or print resolution. Earth during trans-Earth coast. Image credit: Image Science and Analysis Laboratory, NASA-Johnson Space Center. |

|
AS11-38-5694 Browse or print resolution. Moon during trans-Earth coast. Image credit: Image Science and Analysis Laboratory, NASA-Johnson Space Center. |

|
AS11-38-5695 Browse or print resolution. Moon during trans-Earth coast. Image credit: Image Science and Analysis Laboratory, NASA-Johnson Space Center. |
|
AS11-38-5696 Browse or print resolution. Moon during trans-Earth coast. Image credit: Image Science and Analysis Laboratory, NASA-Johnson Space Center. |
|
AS11-38-5697 Browse or print resolution. Earth during trans-Earth coast. Image credit: Image Science and Analysis Laboratory, NASA-Johnson Space Center. |

|
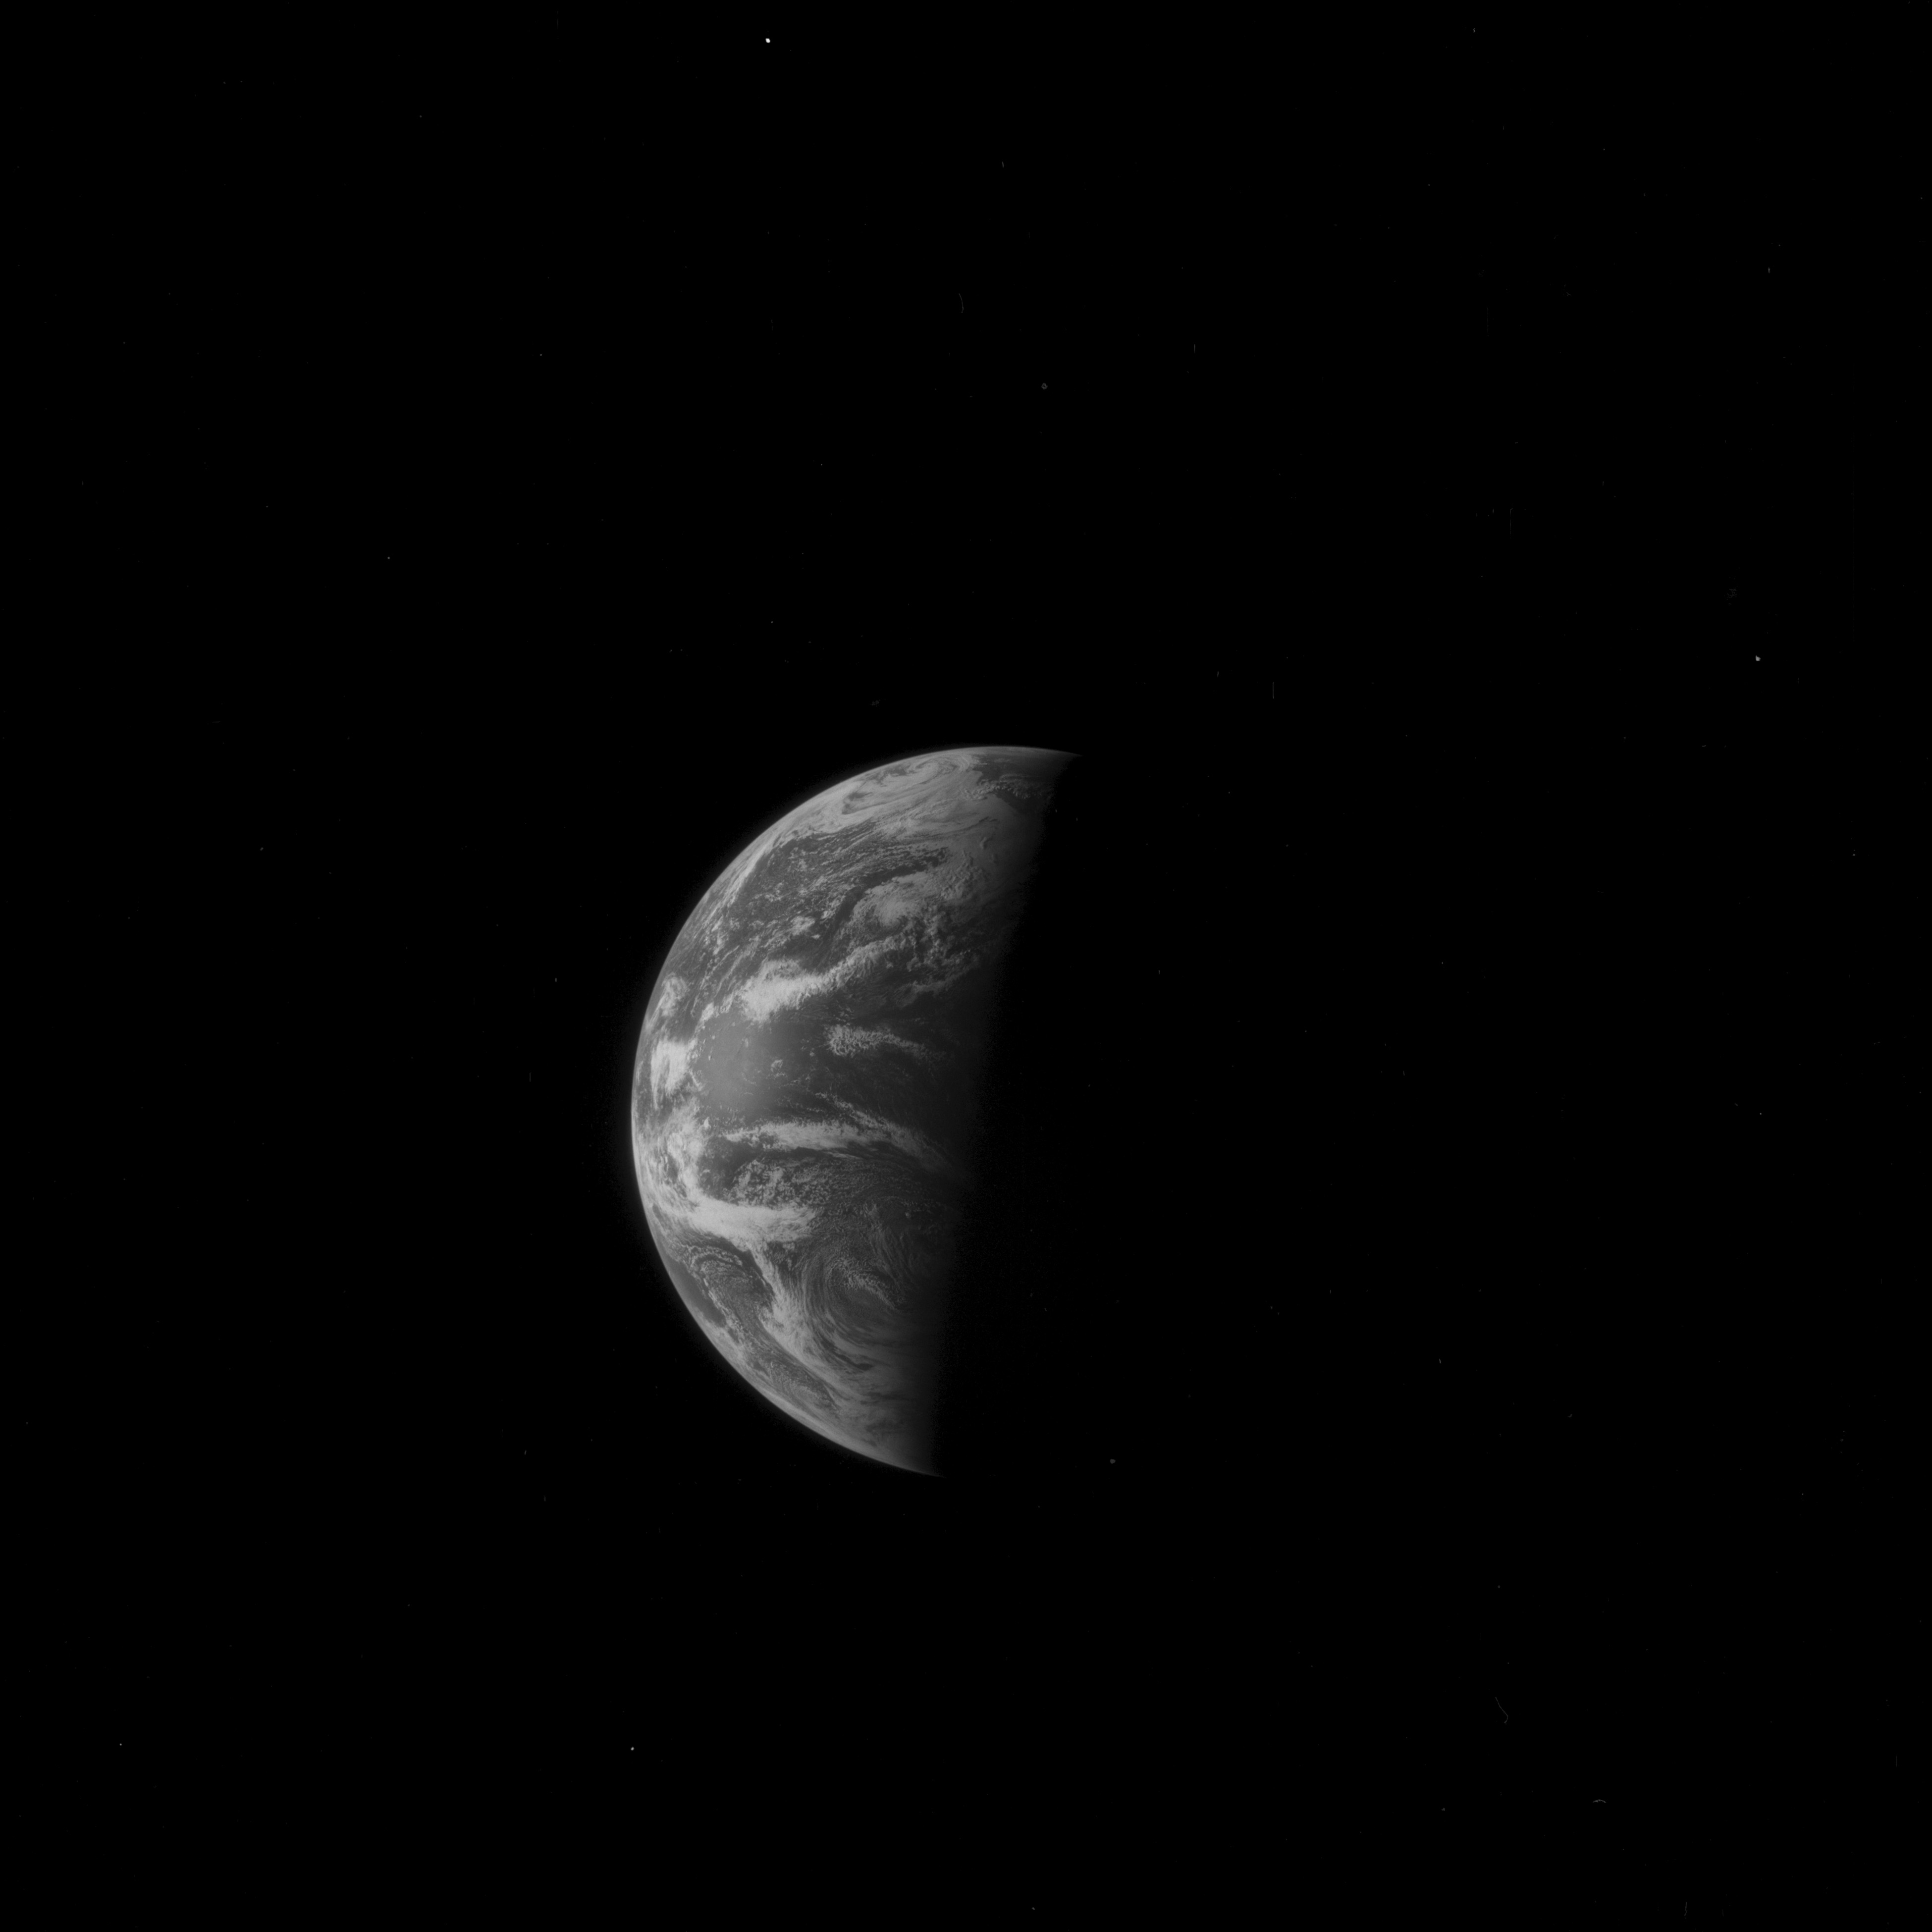
AS11-38-5698 Browse or print resolution. Earth during trans-Earth coast. Image credit: Image Science and Analysis Laboratory, NASA-Johnson Space Center. |

|
AS11-38-5699 Browse or print resolution. Moon during trans-Earth coast. Image credit: Image Science and Analysis Laboratory, NASA-Johnson Space Center. |

|
AS11-38-5700 Browse or print resolution. Earth during trans-Earth coast. Image credit: Image Science and Analysis Laboratory, NASA-Johnson Space Center. |

|
AS11-38-5701 Browse or print resolution. Earth during trans-Earth coast. Image credit: Image Science and Analysis Laboratory, NASA-Johnson Space Center. |
|
AS11-38-5702 Browse or print resolution. Moon during trans-Earth coast. Image credit: Image Science and Analysis Laboratory, NASA-Johnson Space Center. |

|
AS11-38-5703 Browse or print resolution. Earth during trans-Earth coast. Image credit: Image Science and Analysis Laboratory, NASA-Johnson Space Center. |

|
AS11-38-5701 Browse or print resolution. Mostly obscured Earth during trans-Earth coast. Image credit: Image Science and Analysis Laboratory, NASA-Johnson Space Center. |
|
AS11-38-5705 Browse or print resolution. Moon during trans-Earth coast. Image credit: Image Science and Analysis Laboratory, NASA-Johnson Space Center. |
|
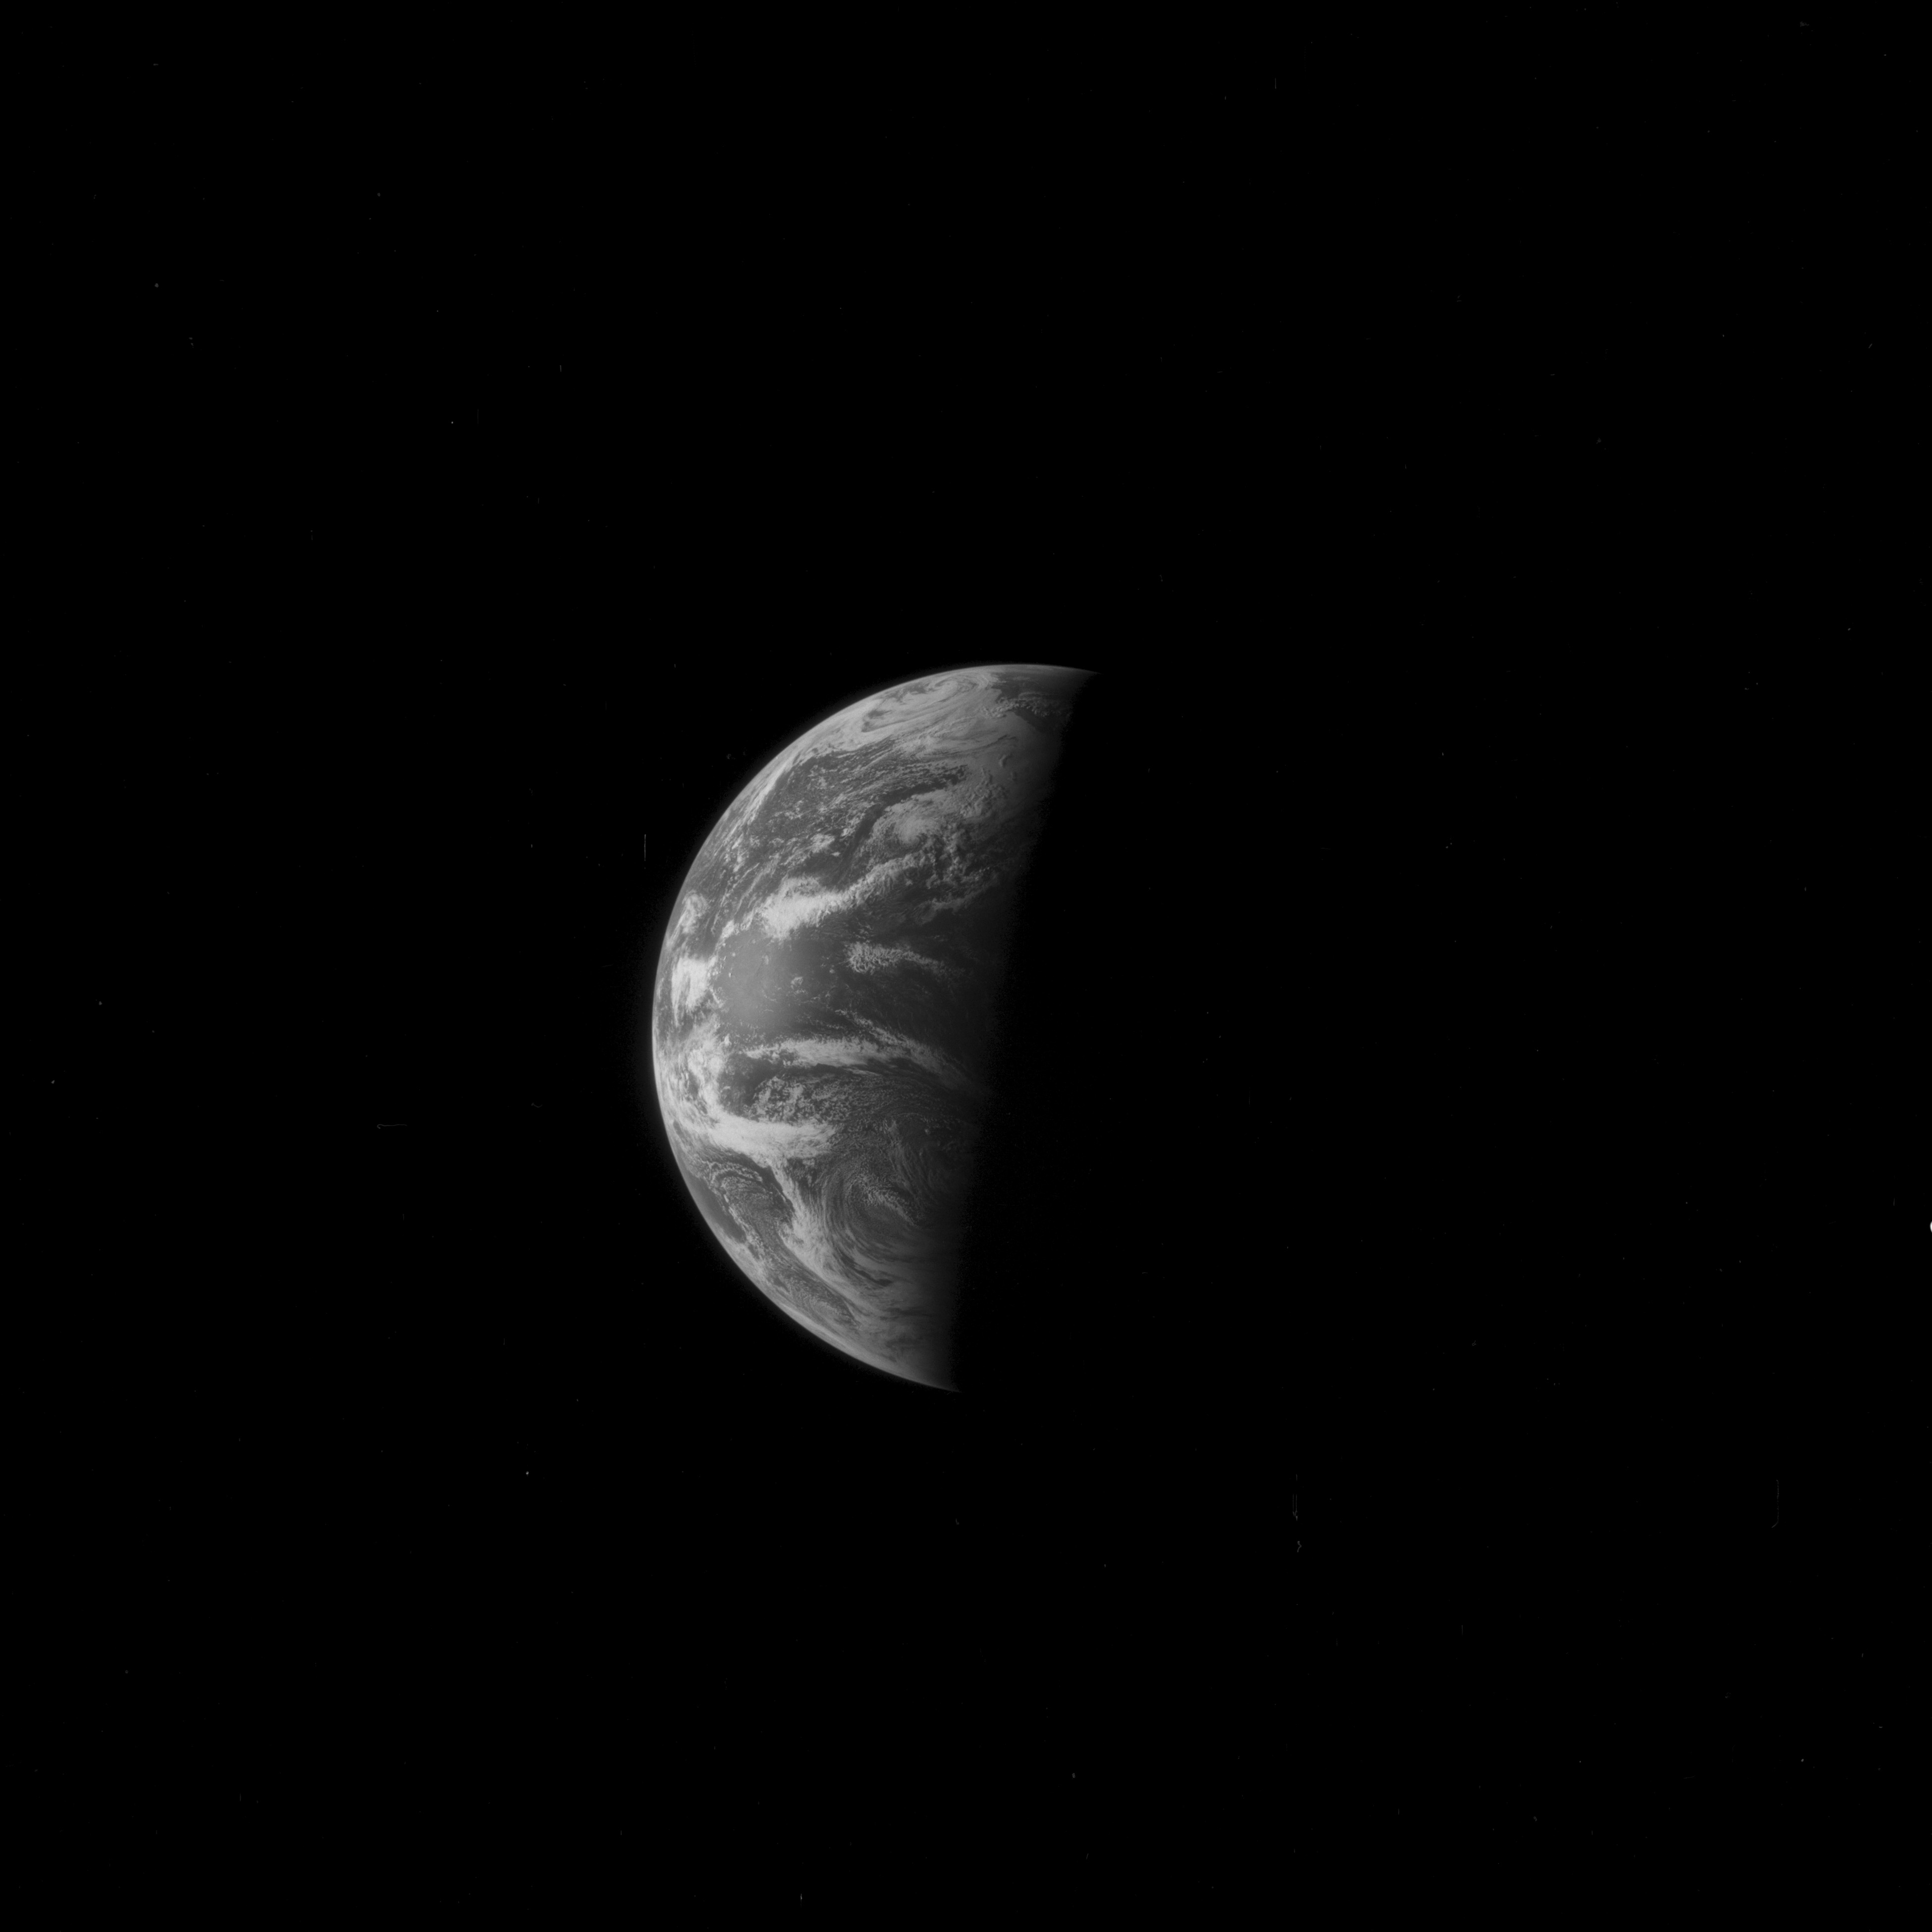
AS11-38-5706 Browse or print resolution. Earth during trans-Earth coast. Image credit: Image Science and Analysis Laboratory, NASA-Johnson Space Center. |
|
AS11-38-5707 Browse or print resolution. Earth during trans-Earth coast. Image credit: Image Science and Analysis Laboratory, NASA-Johnson Space Center. |

|
AS11-38-5708 Browse or print resolution. Earth during trans-Earth coast. Image credit: Image Science and Analysis Laboratory, NASA-Johnson Space Center. |
|
AS11-38-5709 Browse or print resolution. Moon during trans-Earth coast. Image credit: Image Science and Analysis Laboratory, NASA-Johnson Space Center. |

|
AS11-38-5710 Browse or print resolution. Moon during trans-Earth coast. Image credit: Image Science and Analysis Laboratory, NASA-Johnson Space Center. |
|
AS11-38-5711 Browse or print resolution. Moon during trans-Earth coast. Image credit: Image Science and Analysis Laboratory, NASA-Johnson Space Center. |

|
AS11-38-5712 Browse or print resolution. Earth during trans-Earth coast. Image credit: Image Science and Analysis Laboratory, NASA-Johnson Space Center. |

|
AS11-38-5713 Browse or print resolution. Moon during trans-Earth coast. Image credit: Image Science and Analysis Laboratory, NASA-Johnson Space Center. |

|
AS11-38-5714 Browse or print resolution. Moon during trans-Earth coast. Image credit: Image Science and Analysis Laboratory, NASA-Johnson Space Center. |

|
AS11-38-5715 Browse or print resolution. Moon during trans-Earth coast. Image credit: Image Science and Analysis Laboratory, NASA-Johnson Space Center. |
|
AS11-38-5716 Browse or print resolution. Moon during trans-Earth coast. Image credit: Image Science and Analysis Laboratory, NASA-Johnson Space Center. |
|
AS11-38-5717 Browse or print resolution. Moon during trans-Earth coast. Image credit: Image Science and Analysis Laboratory, NASA-Johnson Space Center. |

|
AS11-38-5718 Browse or print resolution. Moon during trans-Earth coast. Image credit: Image Science and Analysis Laboratory, NASA-Johnson Space Center. |

|
AS11-38-5719 Browse or print resolution. Earth during trans-Earth coast. Image credit: Image Science and Analysis Laboratory, NASA-Johnson Space Center. |
|
AS11-38-5720 Browse or print resolution. Earth during trans-Earth coast. Image credit: Image Science and Analysis Laboratory, NASA-Johnson Space Center. |

|
AS11-38-5721 Browse or print resolution. Earth during trans-Earth coast. Image credit: Image Science and Analysis Laboratory, NASA-Johnson Space Center. |
|
AS11-38-5722 Browse or print resolution. Earth during trans-Earth coast. Image credit: Image Science and Analysis Laboratory, NASA-Johnson Space Center. |

|
AS11-38-5723 Browse or print resolution. Earth during trans-Earth coast. Image credit: Image Science and Analysis Laboratory, NASA-Johnson Space Center. |
|
AS11-38-5724 Browse or print resolution. Earth during trans-Earth coast. Image credit: Image Science and Analysis Laboratory, NASA-Johnson Space Center. |
|
AS11-38-5725 Browse or print resolution. Earth during trans-Earth coast. Image credit: Image Science and Analysis Laboratory, NASA-Johnson Space Center. |

|
AS11-38-5726 Browse or print resolution. Earth during trans-Earth coast. Image credit: Image Science and Analysis Laboratory, NASA-Johnson Space Center. |

|
AS11-38-5727 Browse or print resolution. Earth during trans-Earth coast. Image credit: Image Science and Analysis Laboratory, NASA-Johnson Space Center. |
|
AS11-38-5728 Browse or print resolution. Earth during trans-Earth coast. Image credit: Image Science and Analysis Laboratory, NASA-Johnson Space Center. |
|
AS11-38-5729 Browse or print resolution. Earth during trans-Earth coast. Image credit: Image Science and Analysis Laboratory, NASA-Johnson Space Center. |

|
AS11-38-5730 Browse or print resolution. Earth during trans-Earth coast. Image credit: Image Science and Analysis Laboratory, NASA-Johnson Space Center. |

|
AS11-38-5731 Browse or print resolution. Earth during trans-Earth coast. Image credit: Image Science and Analysis Laboratory, NASA-Johnson Space Center. |

|
AS11-38-5732 Browse or print resolution. Earth during trans-Earth coast. Image credit: Image Science and Analysis Laboratory, NASA-Johnson Space Center. |

|
AS11-38-5733 Browse or print resolution. Earth during trans-Earth coast. Image credit: Image Science and Analysis Laboratory, NASA-Johnson Space Center. |
|
AS11-38-5734 Browse or print resolution. Earth during trans-Earth coast. Image credit: Image Science and Analysis Laboratory, NASA-Johnson Space Center. |

|
AS11-38-5735 Browse or print resolution. Earth during trans-Earth coast. Image credit: Image Science and Analysis Laboratory, NASA-Johnson Space Center. |

|
AS11-38-5736 Browse or print resolution. Earth during trans-Earth coast. Image credit: Image Science and Analysis Laboratory, NASA-Johnson Space Center. |
| 70-mm magazine R - AS11-37-5433 to 5555 |
Photography Index | 70-mm magazine Q - AS11-39-5737 to 5843 |