| 70-mm magazine P - AS11-41-5971 to 6159 |
Photography Index | 70-mm magazine T - AS11-43-6349 to 6539 |
No copyright is asserted for NASA photographs. If a recognizable person appears in a photo, use for commercial purposes may infringe a right of privacy or publicity. Photos may not be used to state or imply the endorsement by NASA or by any NASA employee of a commercial product, process or service, or used in any other manner that might mislead. Accordingly, it is requested that if a NASA photograph is used in advertising and other commercial promotion, layout and copy be submitted to NASA prior to release.
NASA photos reproduced from this archive should include photo credit to "NASA" or "National Aeronautics and Space Administration" and should include scanning credit to the appropriate individuals or agencies as noted in the captions.

|
AS11-42-6160 Browse or print resolution. Solar corona photograph. Completely dark frame. Image credit: Image Science and Analysis Laboratory, NASA-Johnson Space Center. |

|
AS11-42-6161 Browse or print resolution. Solar corona photograph. Completely dark frame. Image credit: Image Science and Analysis Laboratory, NASA-Johnson Space Center. |

|
AS11-42-6162 Browse or print resolution. Solar corona photograph. Completely dark frame. Image credit: Image Science and Analysis Laboratory, NASA-Johnson Space Center. |

|
AS11-42-6163 Browse or print resolution. Solar corona photograph. Completely dark frame. Image credit: Image Science and Analysis Laboratory, NASA-Johnson Space Center. |
|
AS11-42-6164 Browse or print resolution. Solar corona photograph. Completely dark frame. Image credit: Image Science and Analysis Laboratory, NASA-Johnson Space Center. |

|
AS11-42-6165 Browse or print resolution. Solar corona photograph. Completely dark frame. Image credit: Image Science and Analysis Laboratory, NASA-Johnson Space Center. |

|
AS11-42-6166 Browse or print resolution. Solar corona photograph. Completely dark frame. Image credit: Image Science and Analysis Laboratory, NASA-Johnson Space Center. |
|
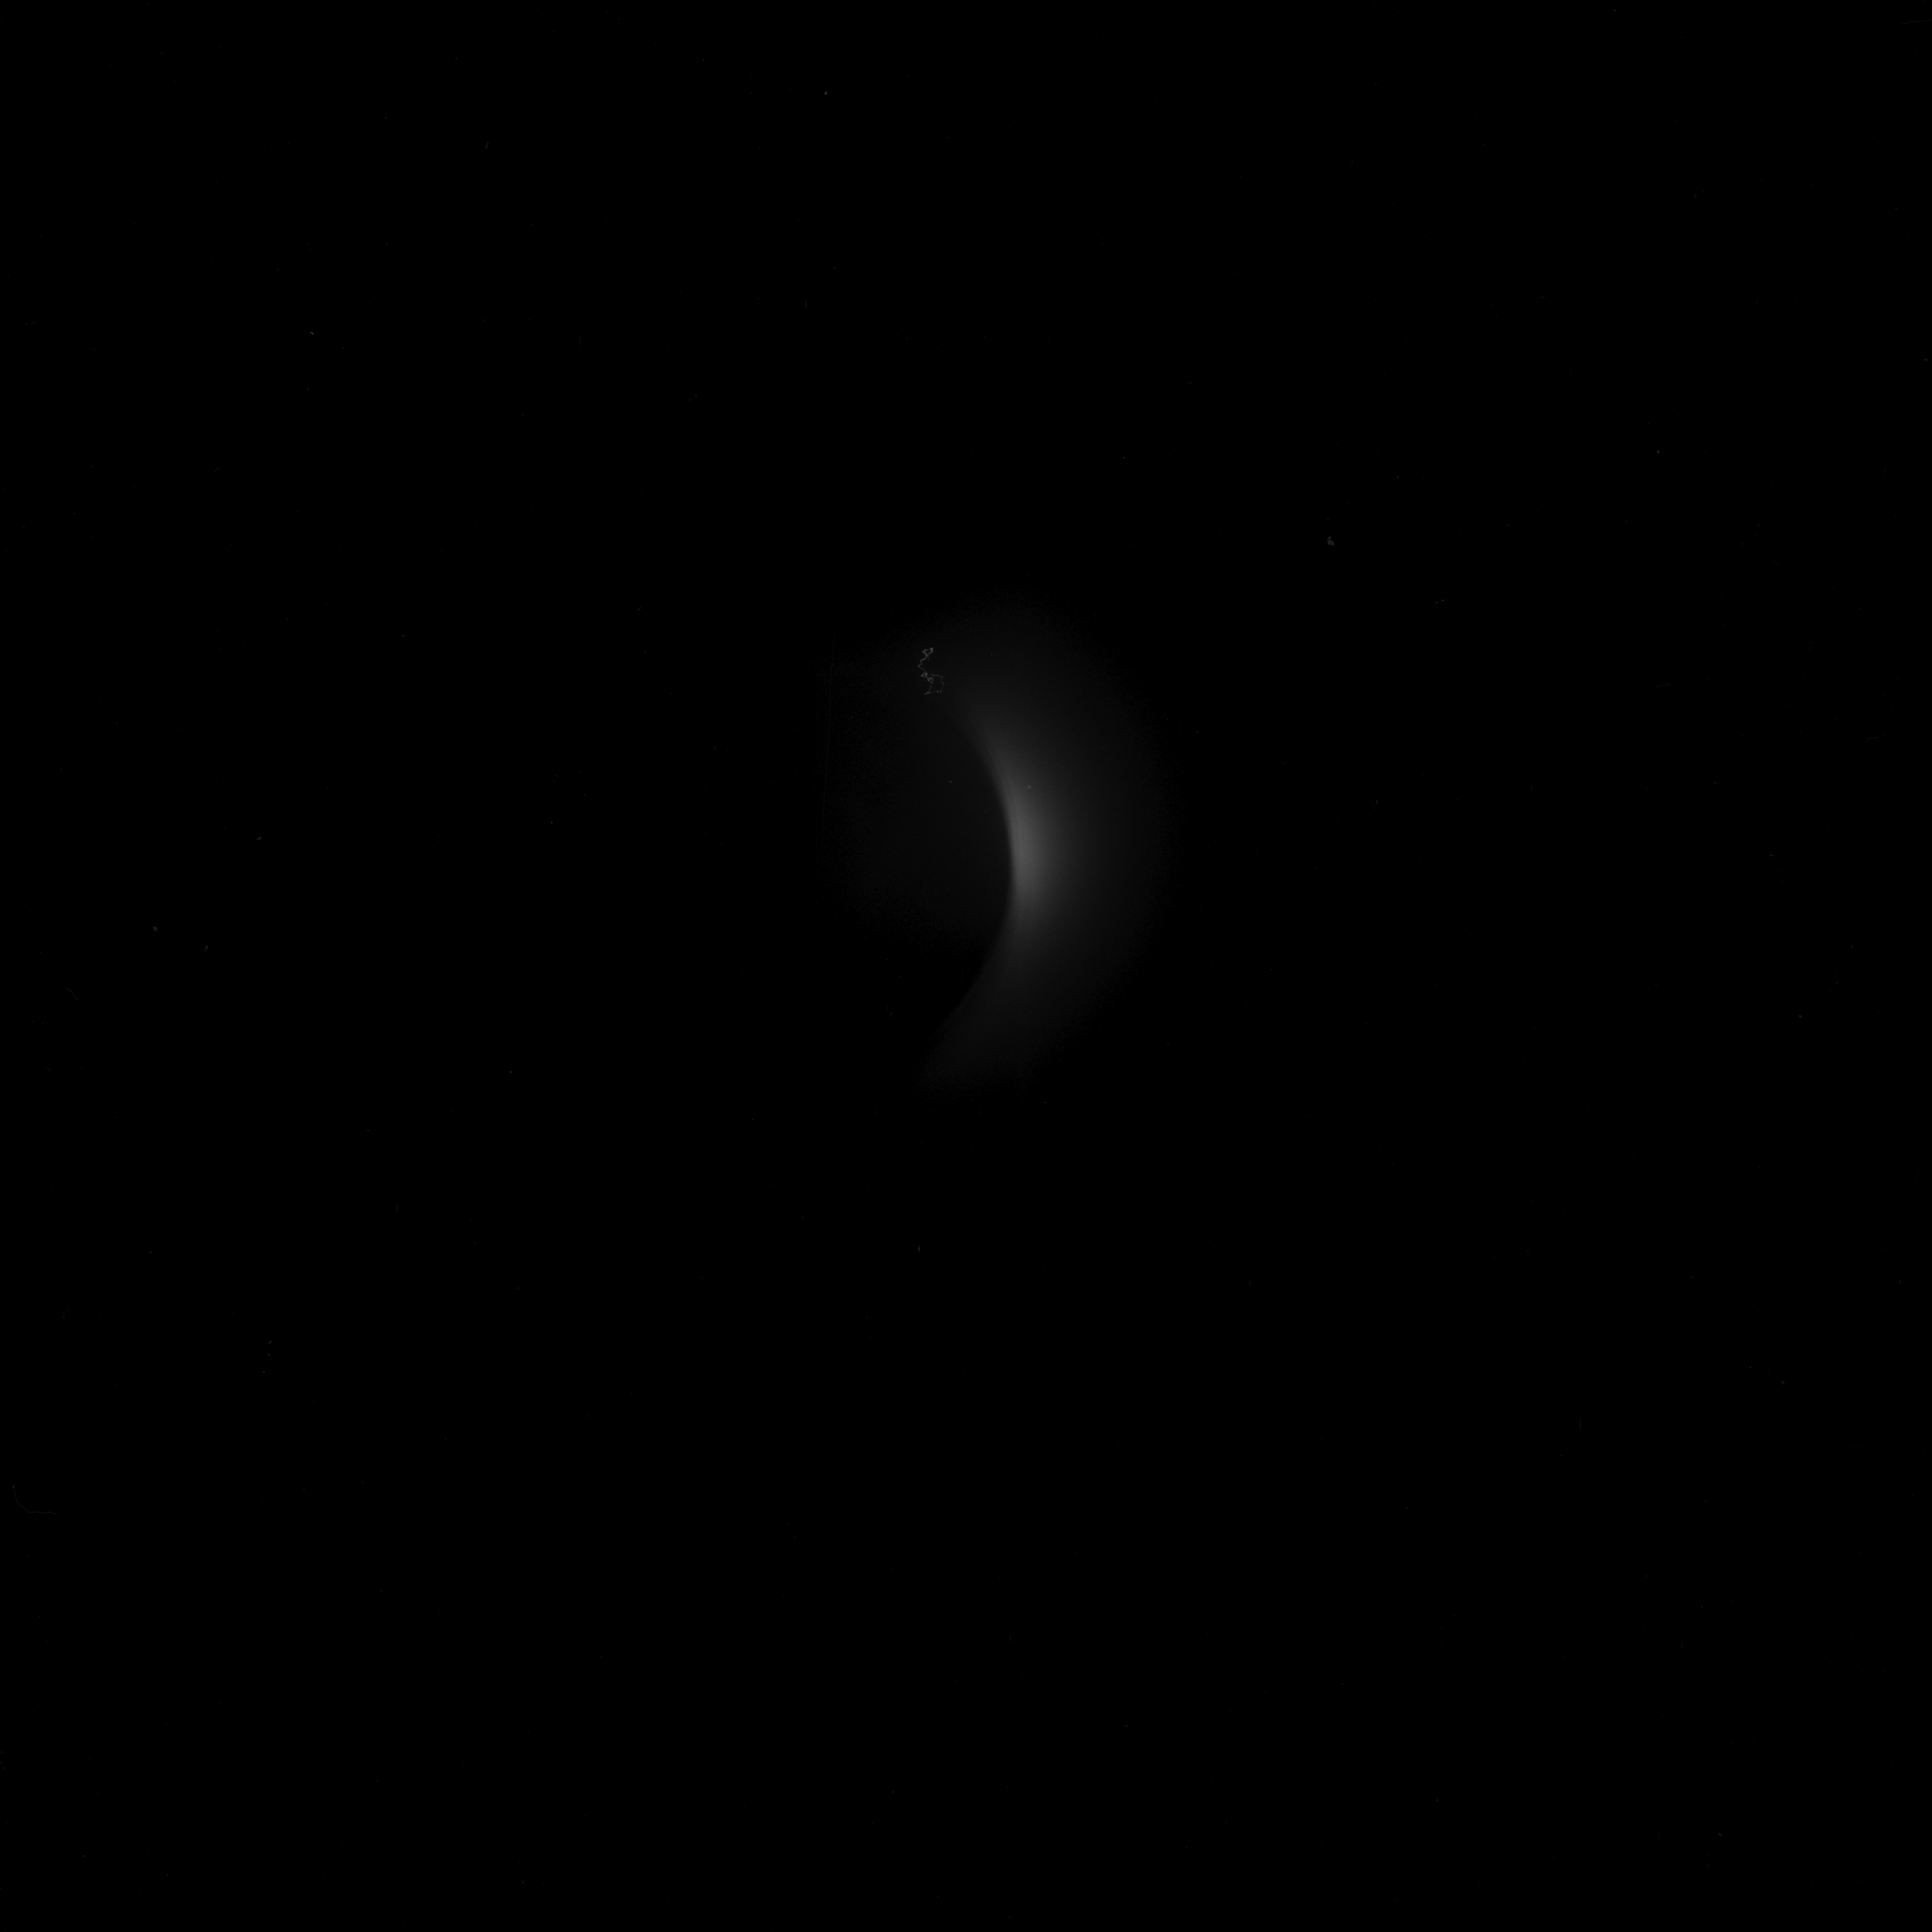
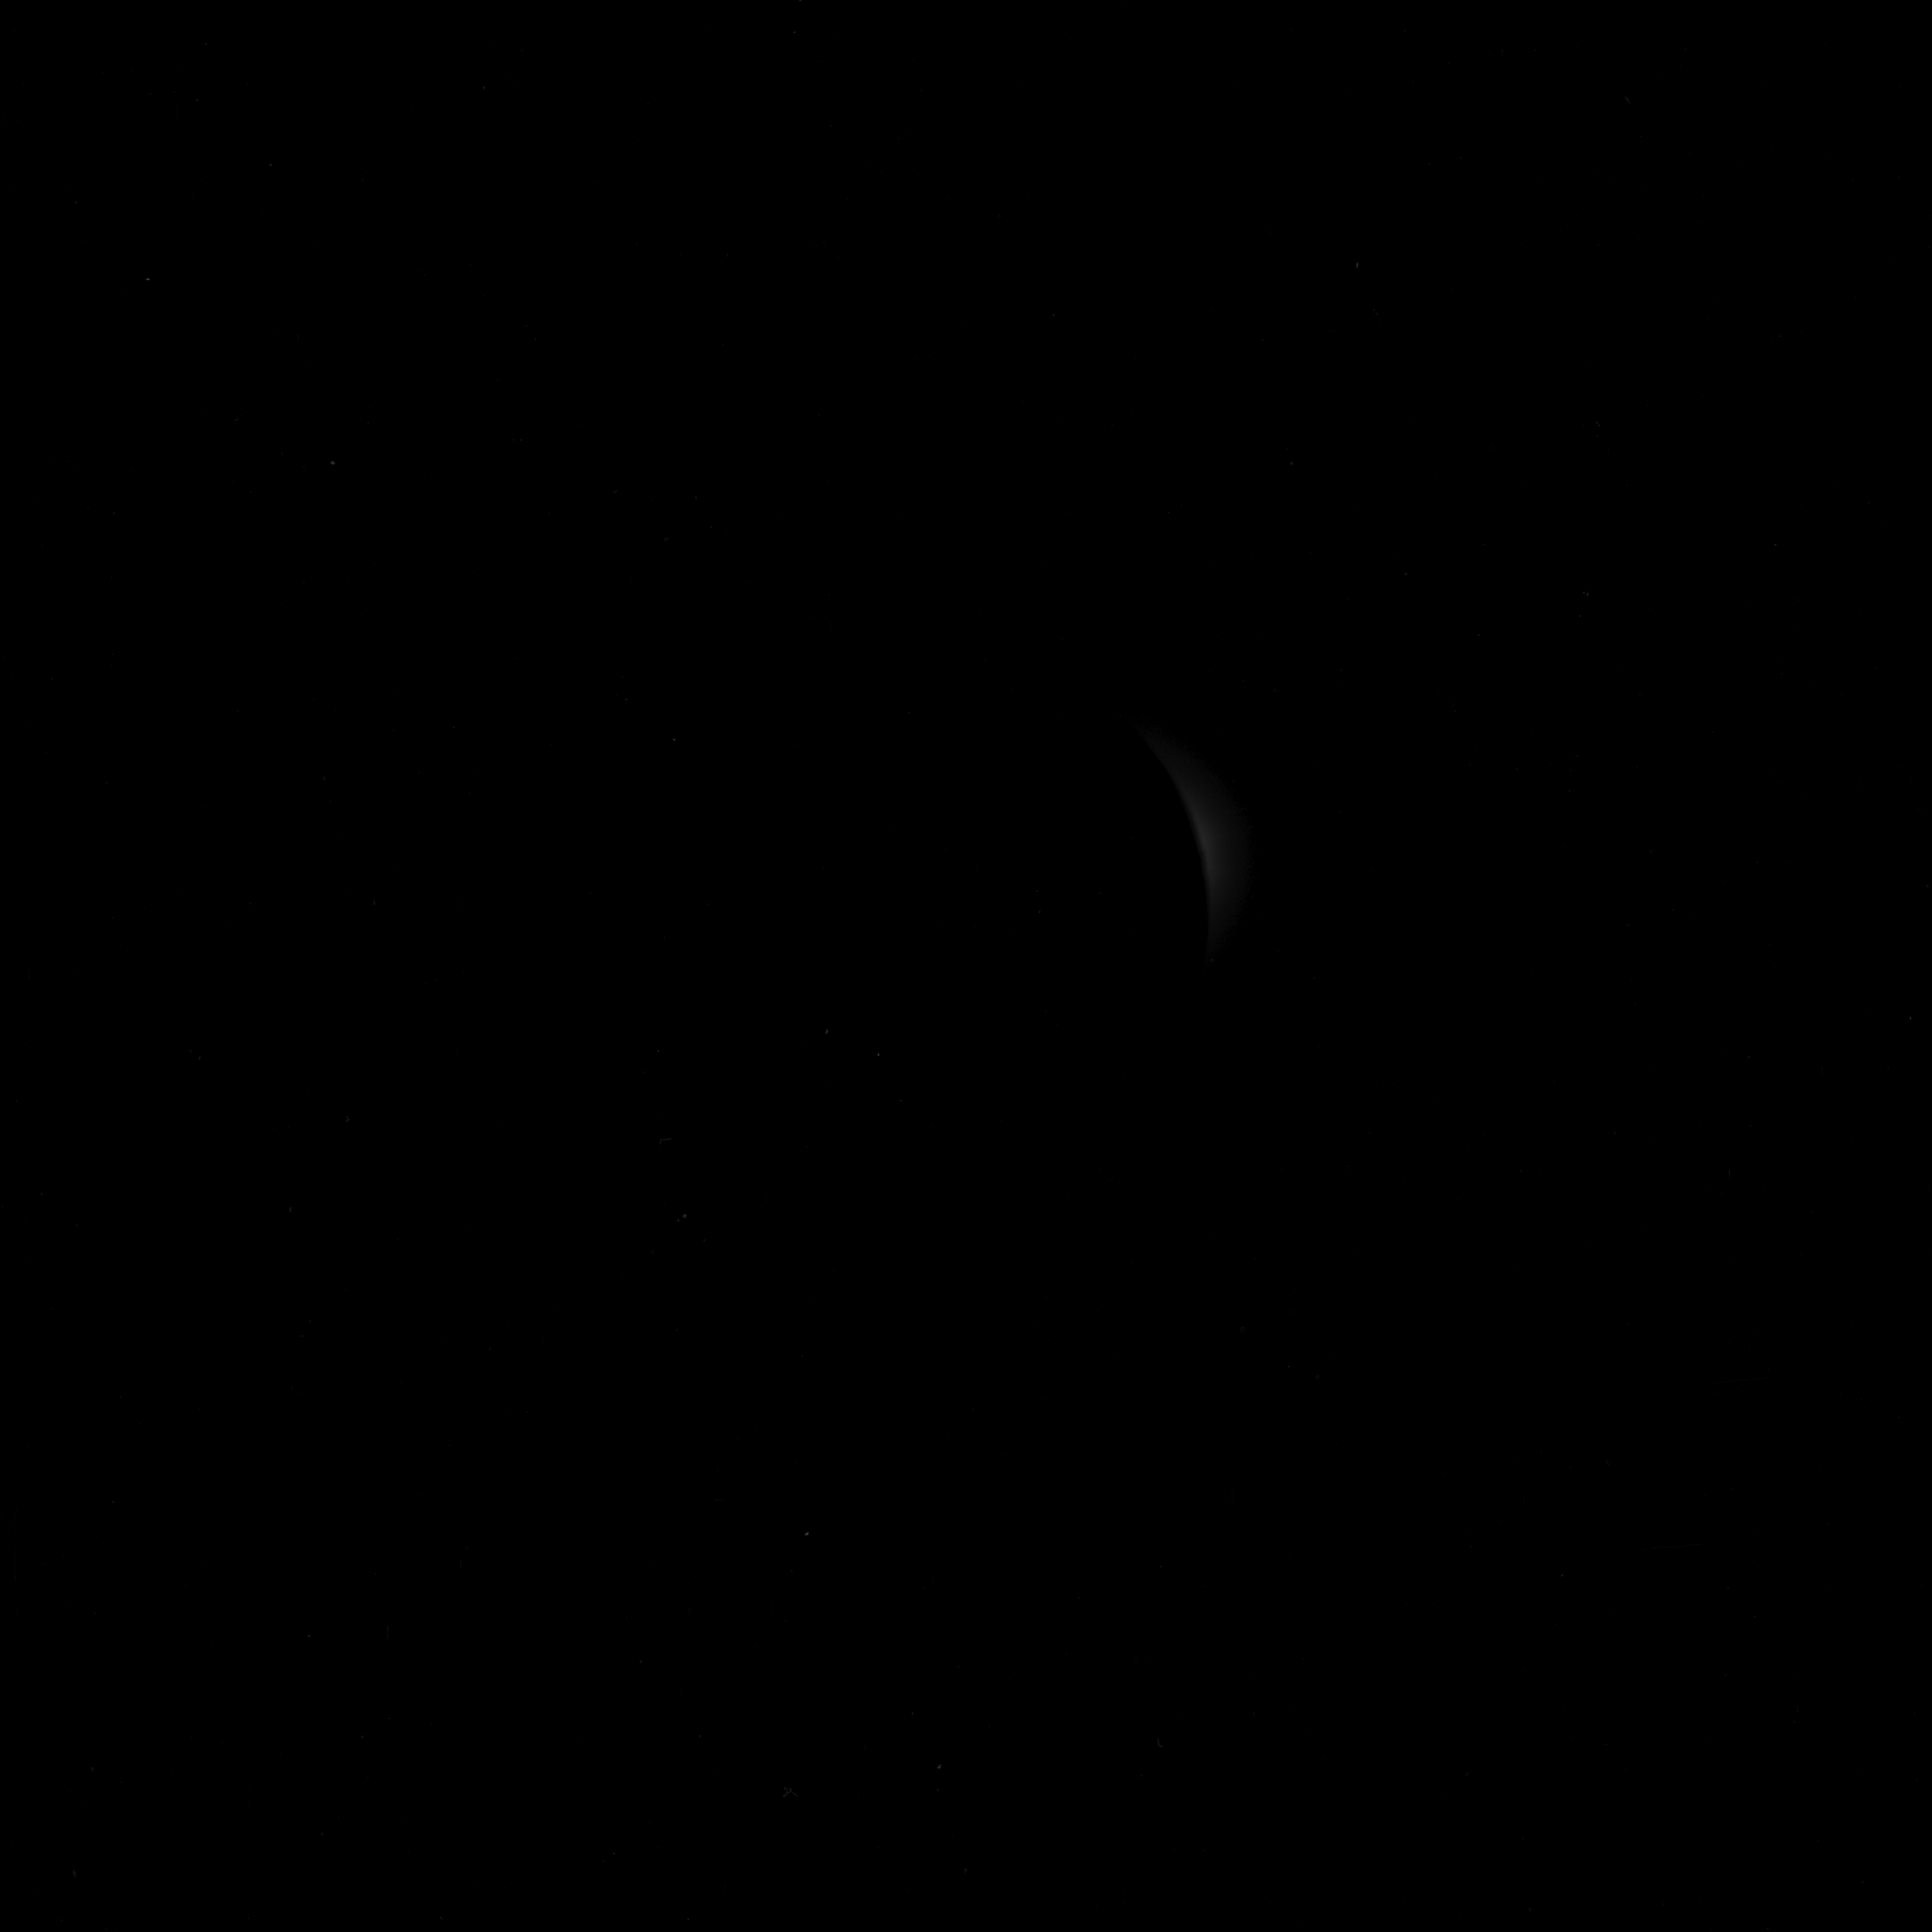
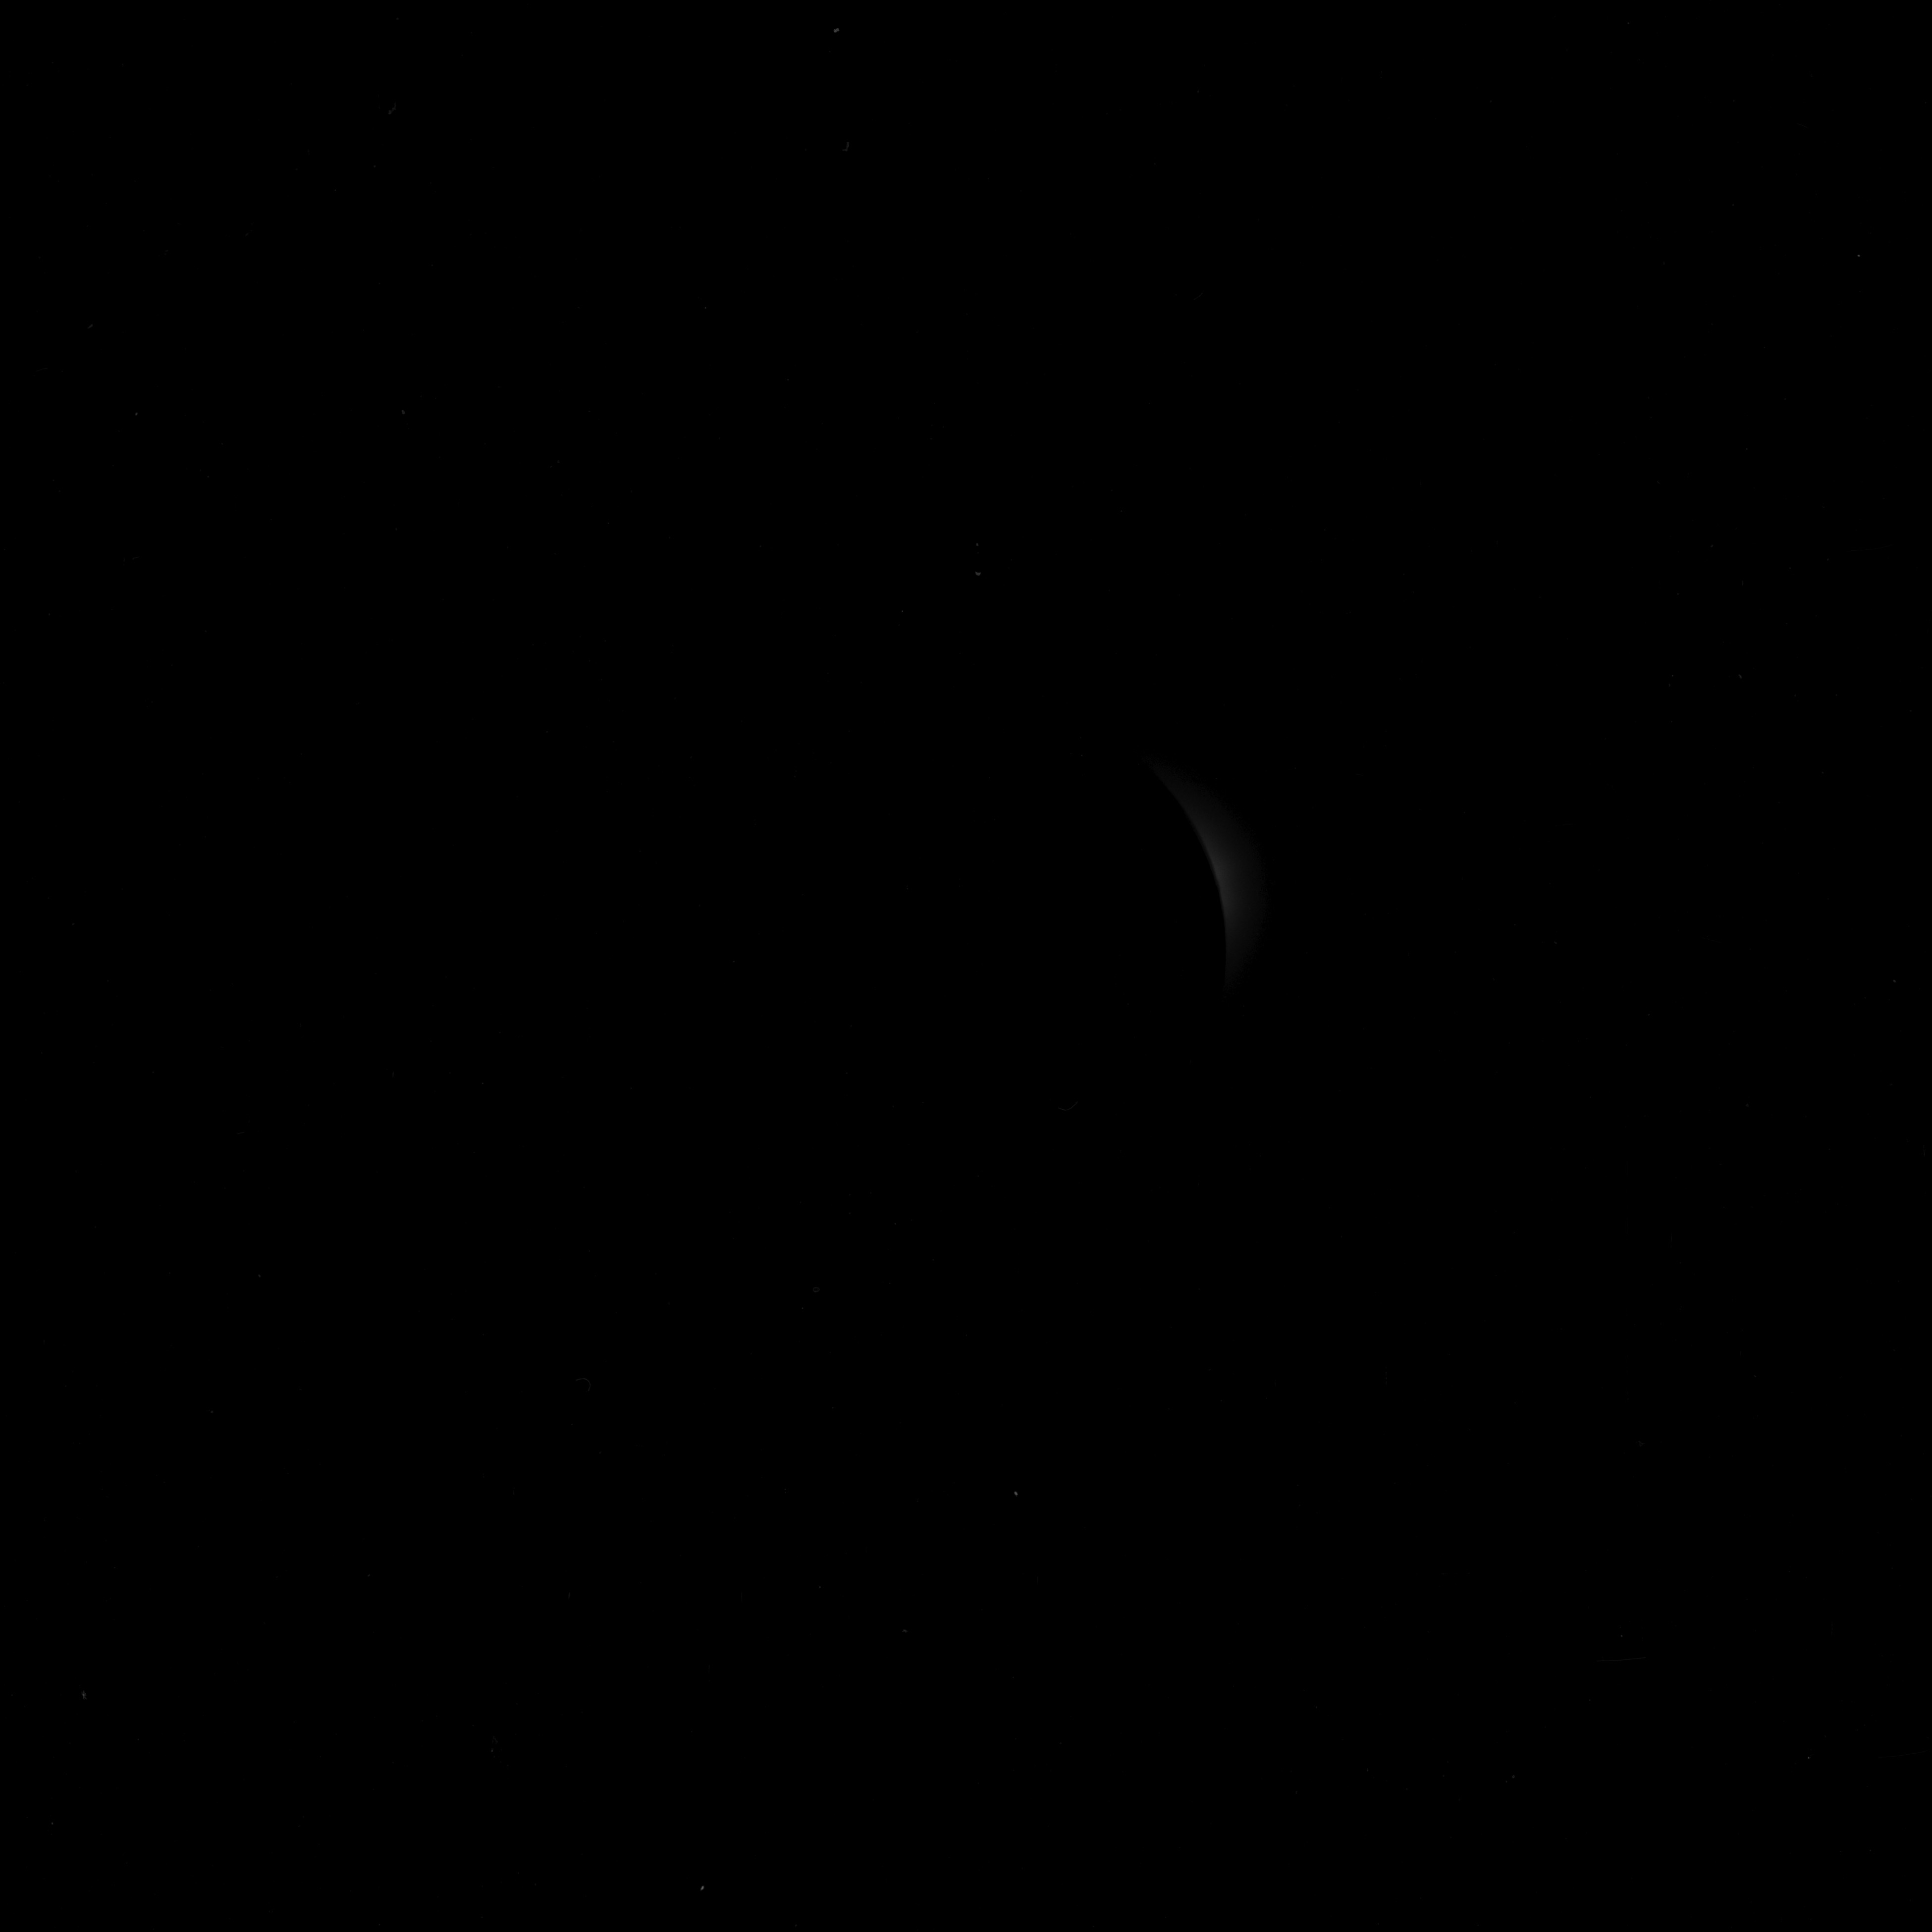
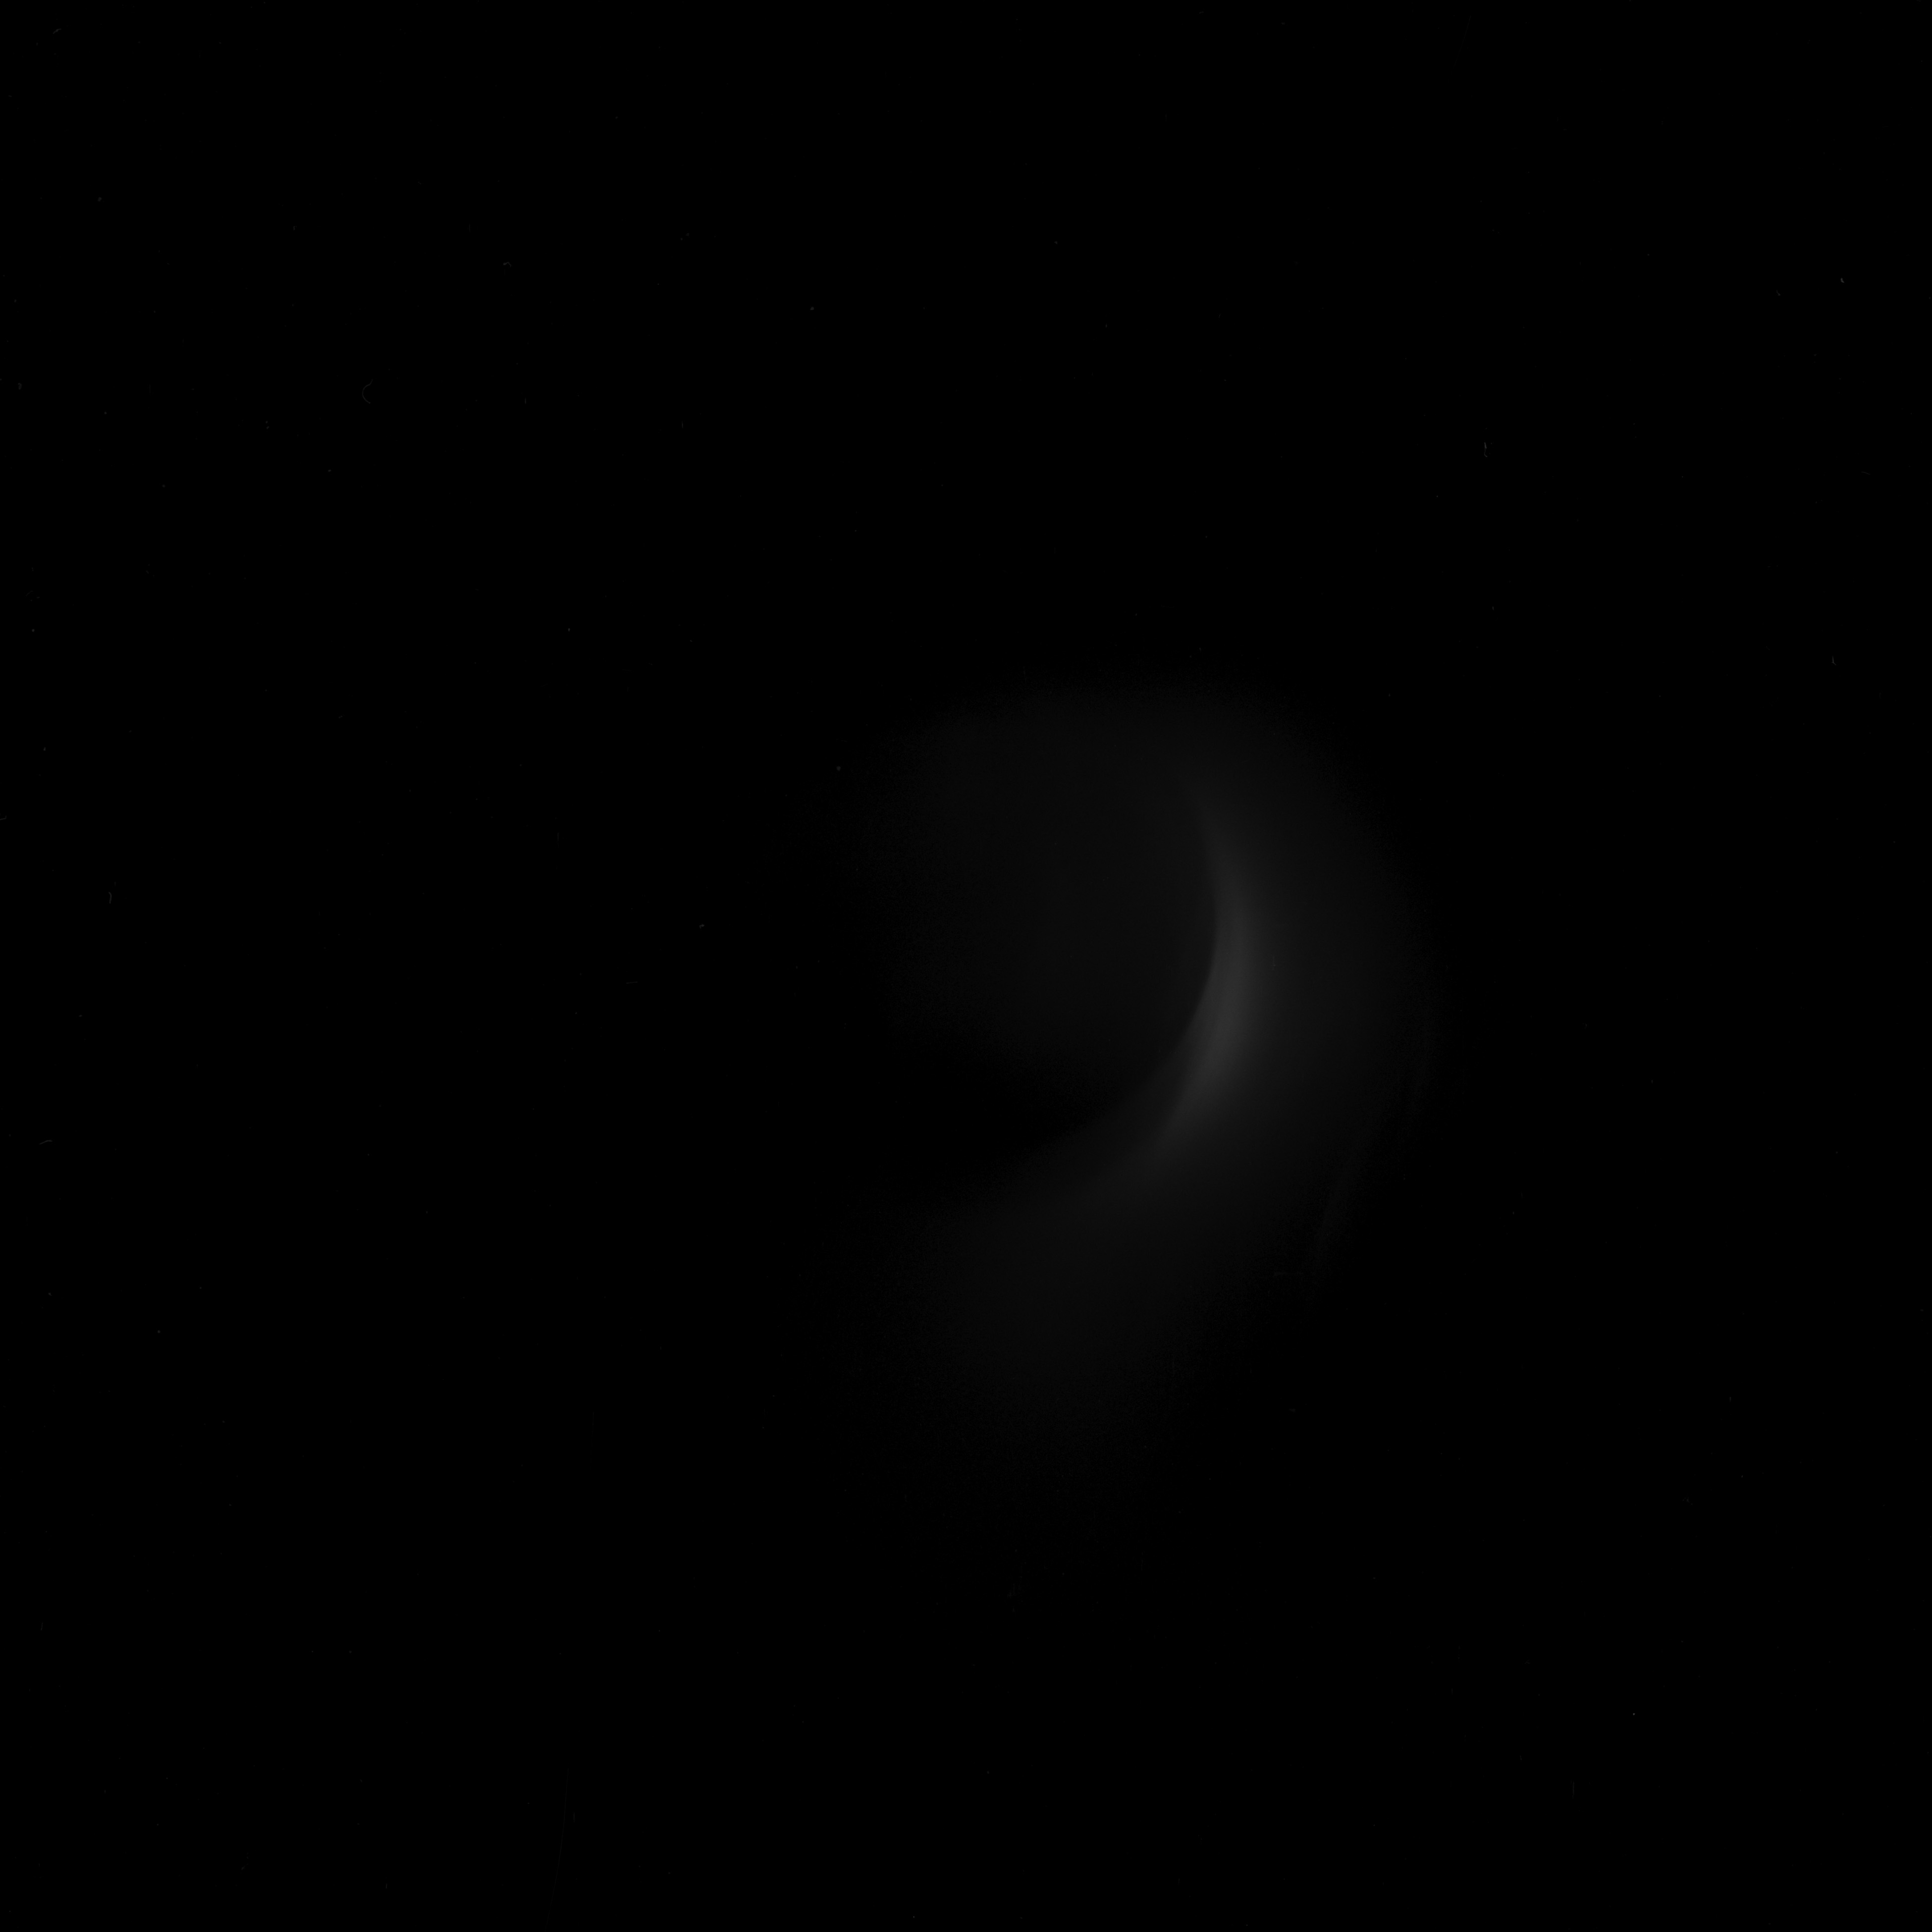
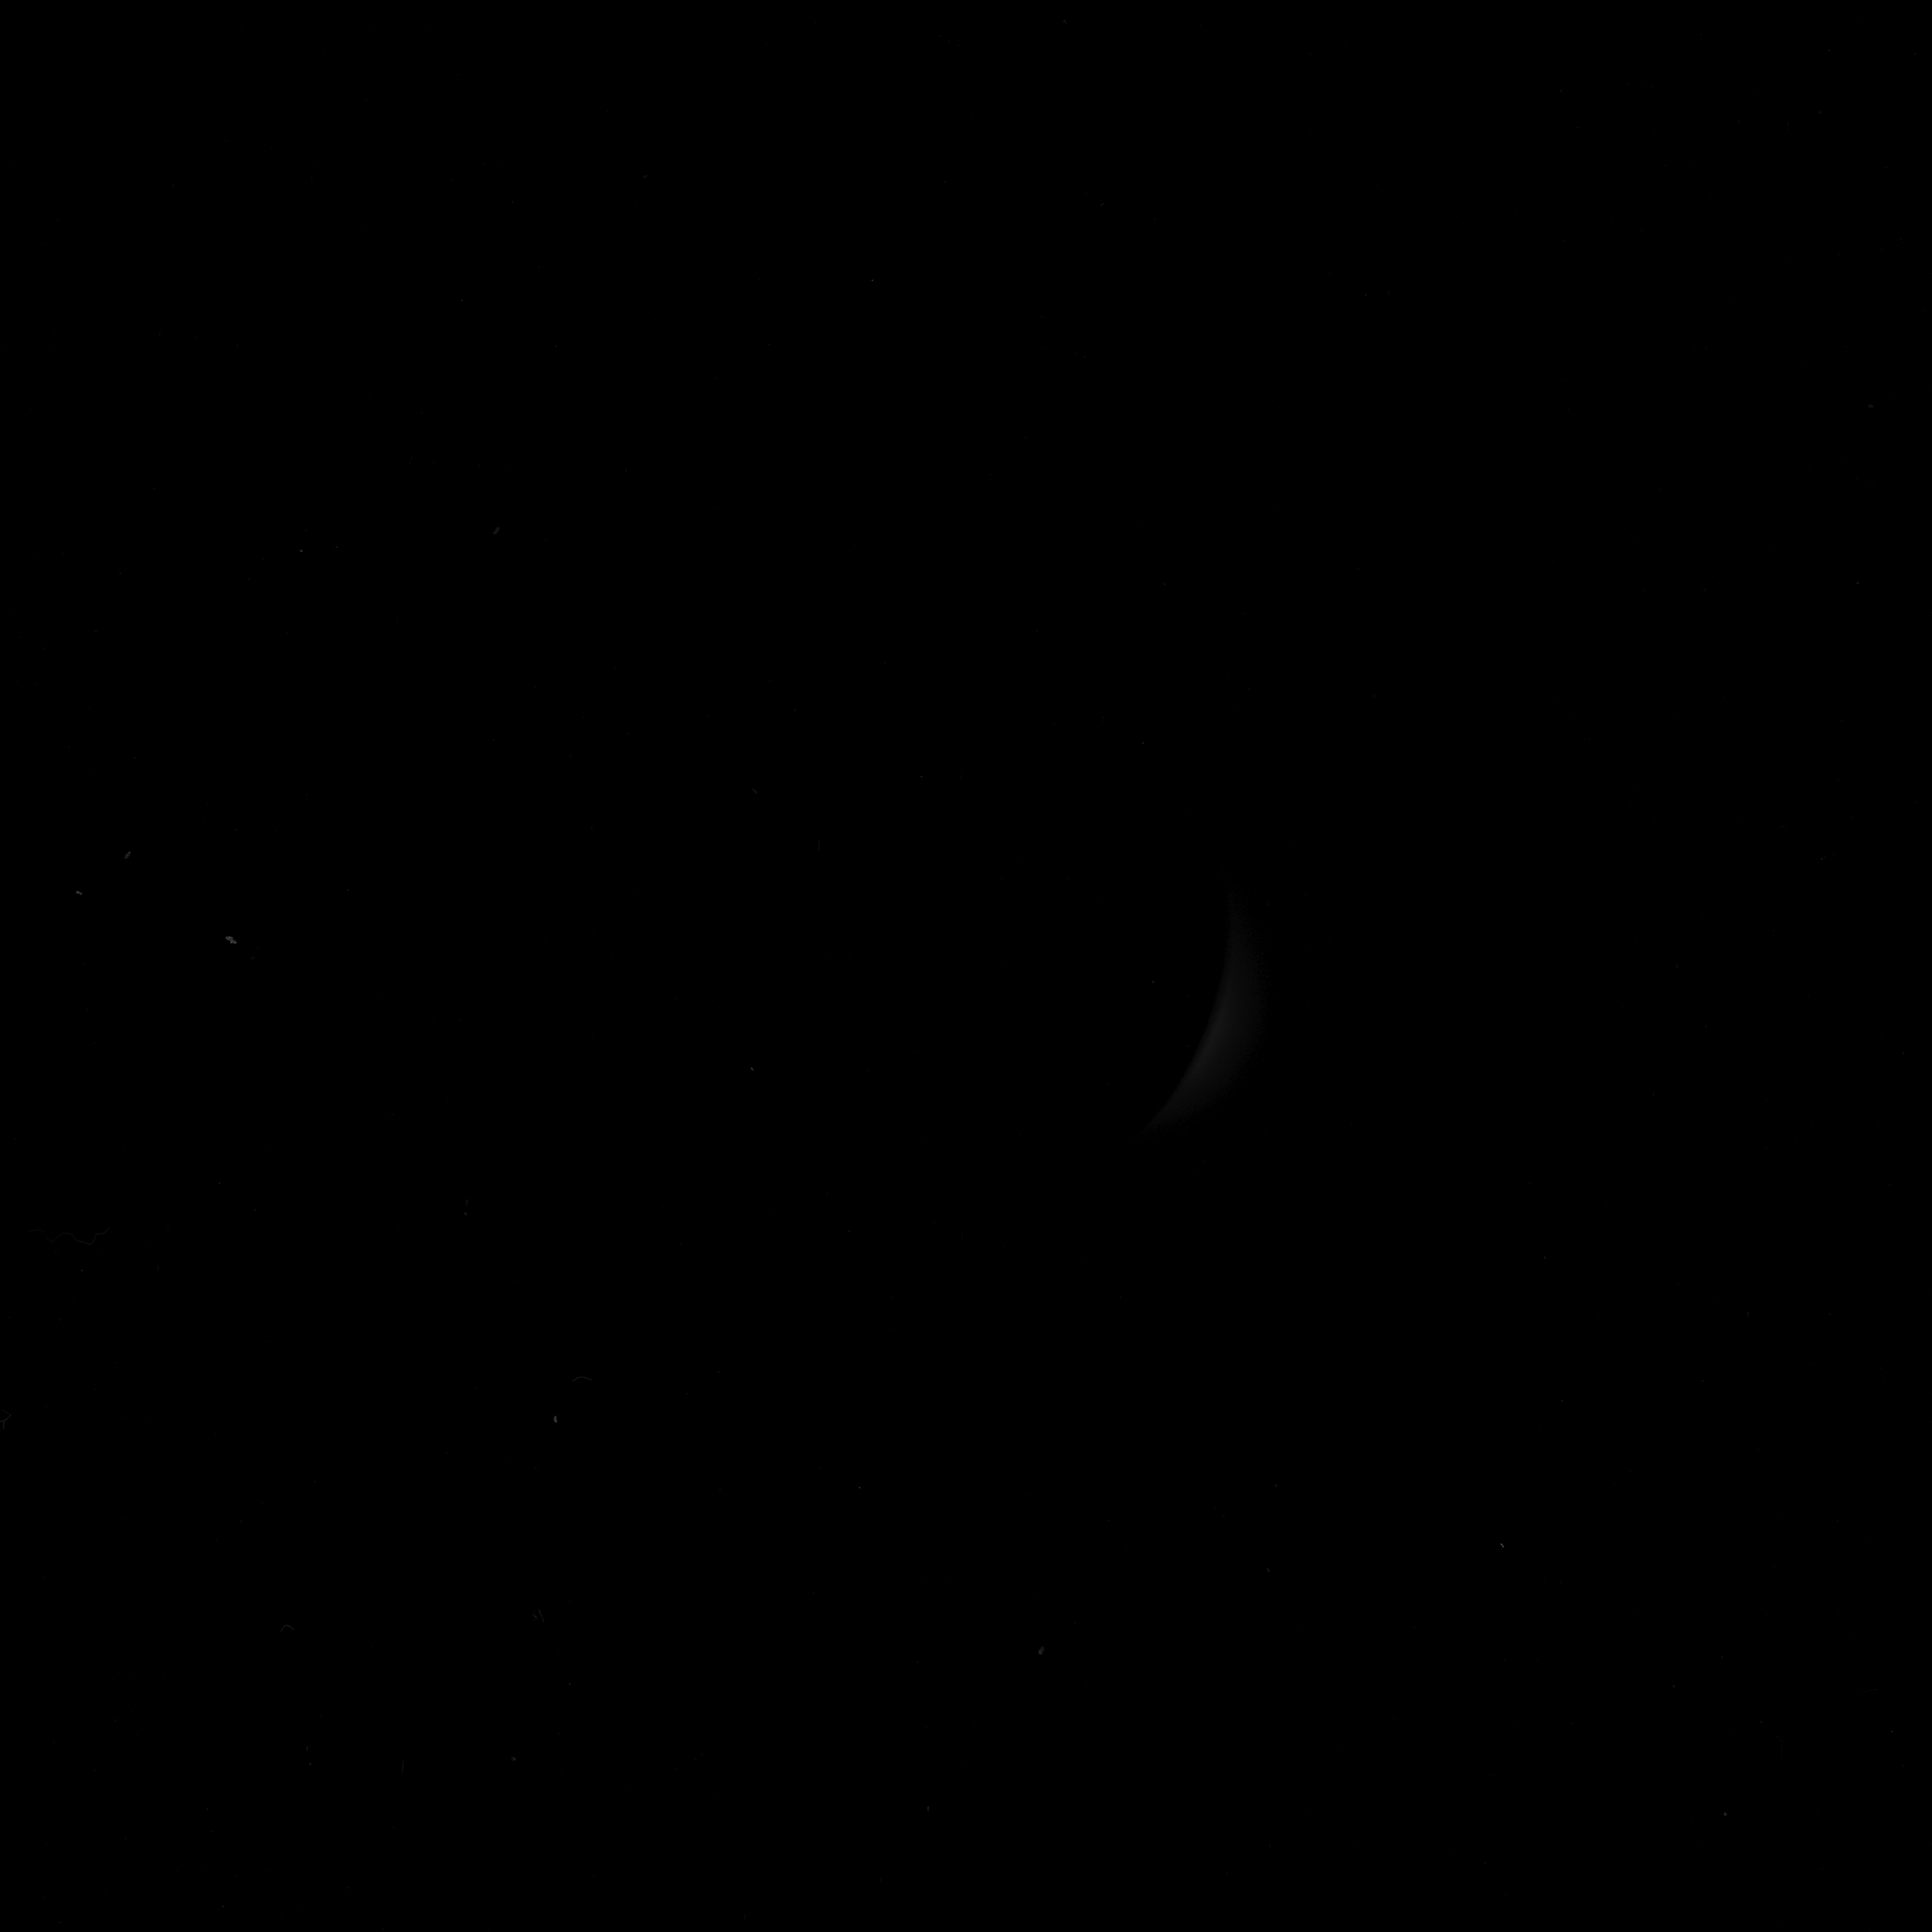
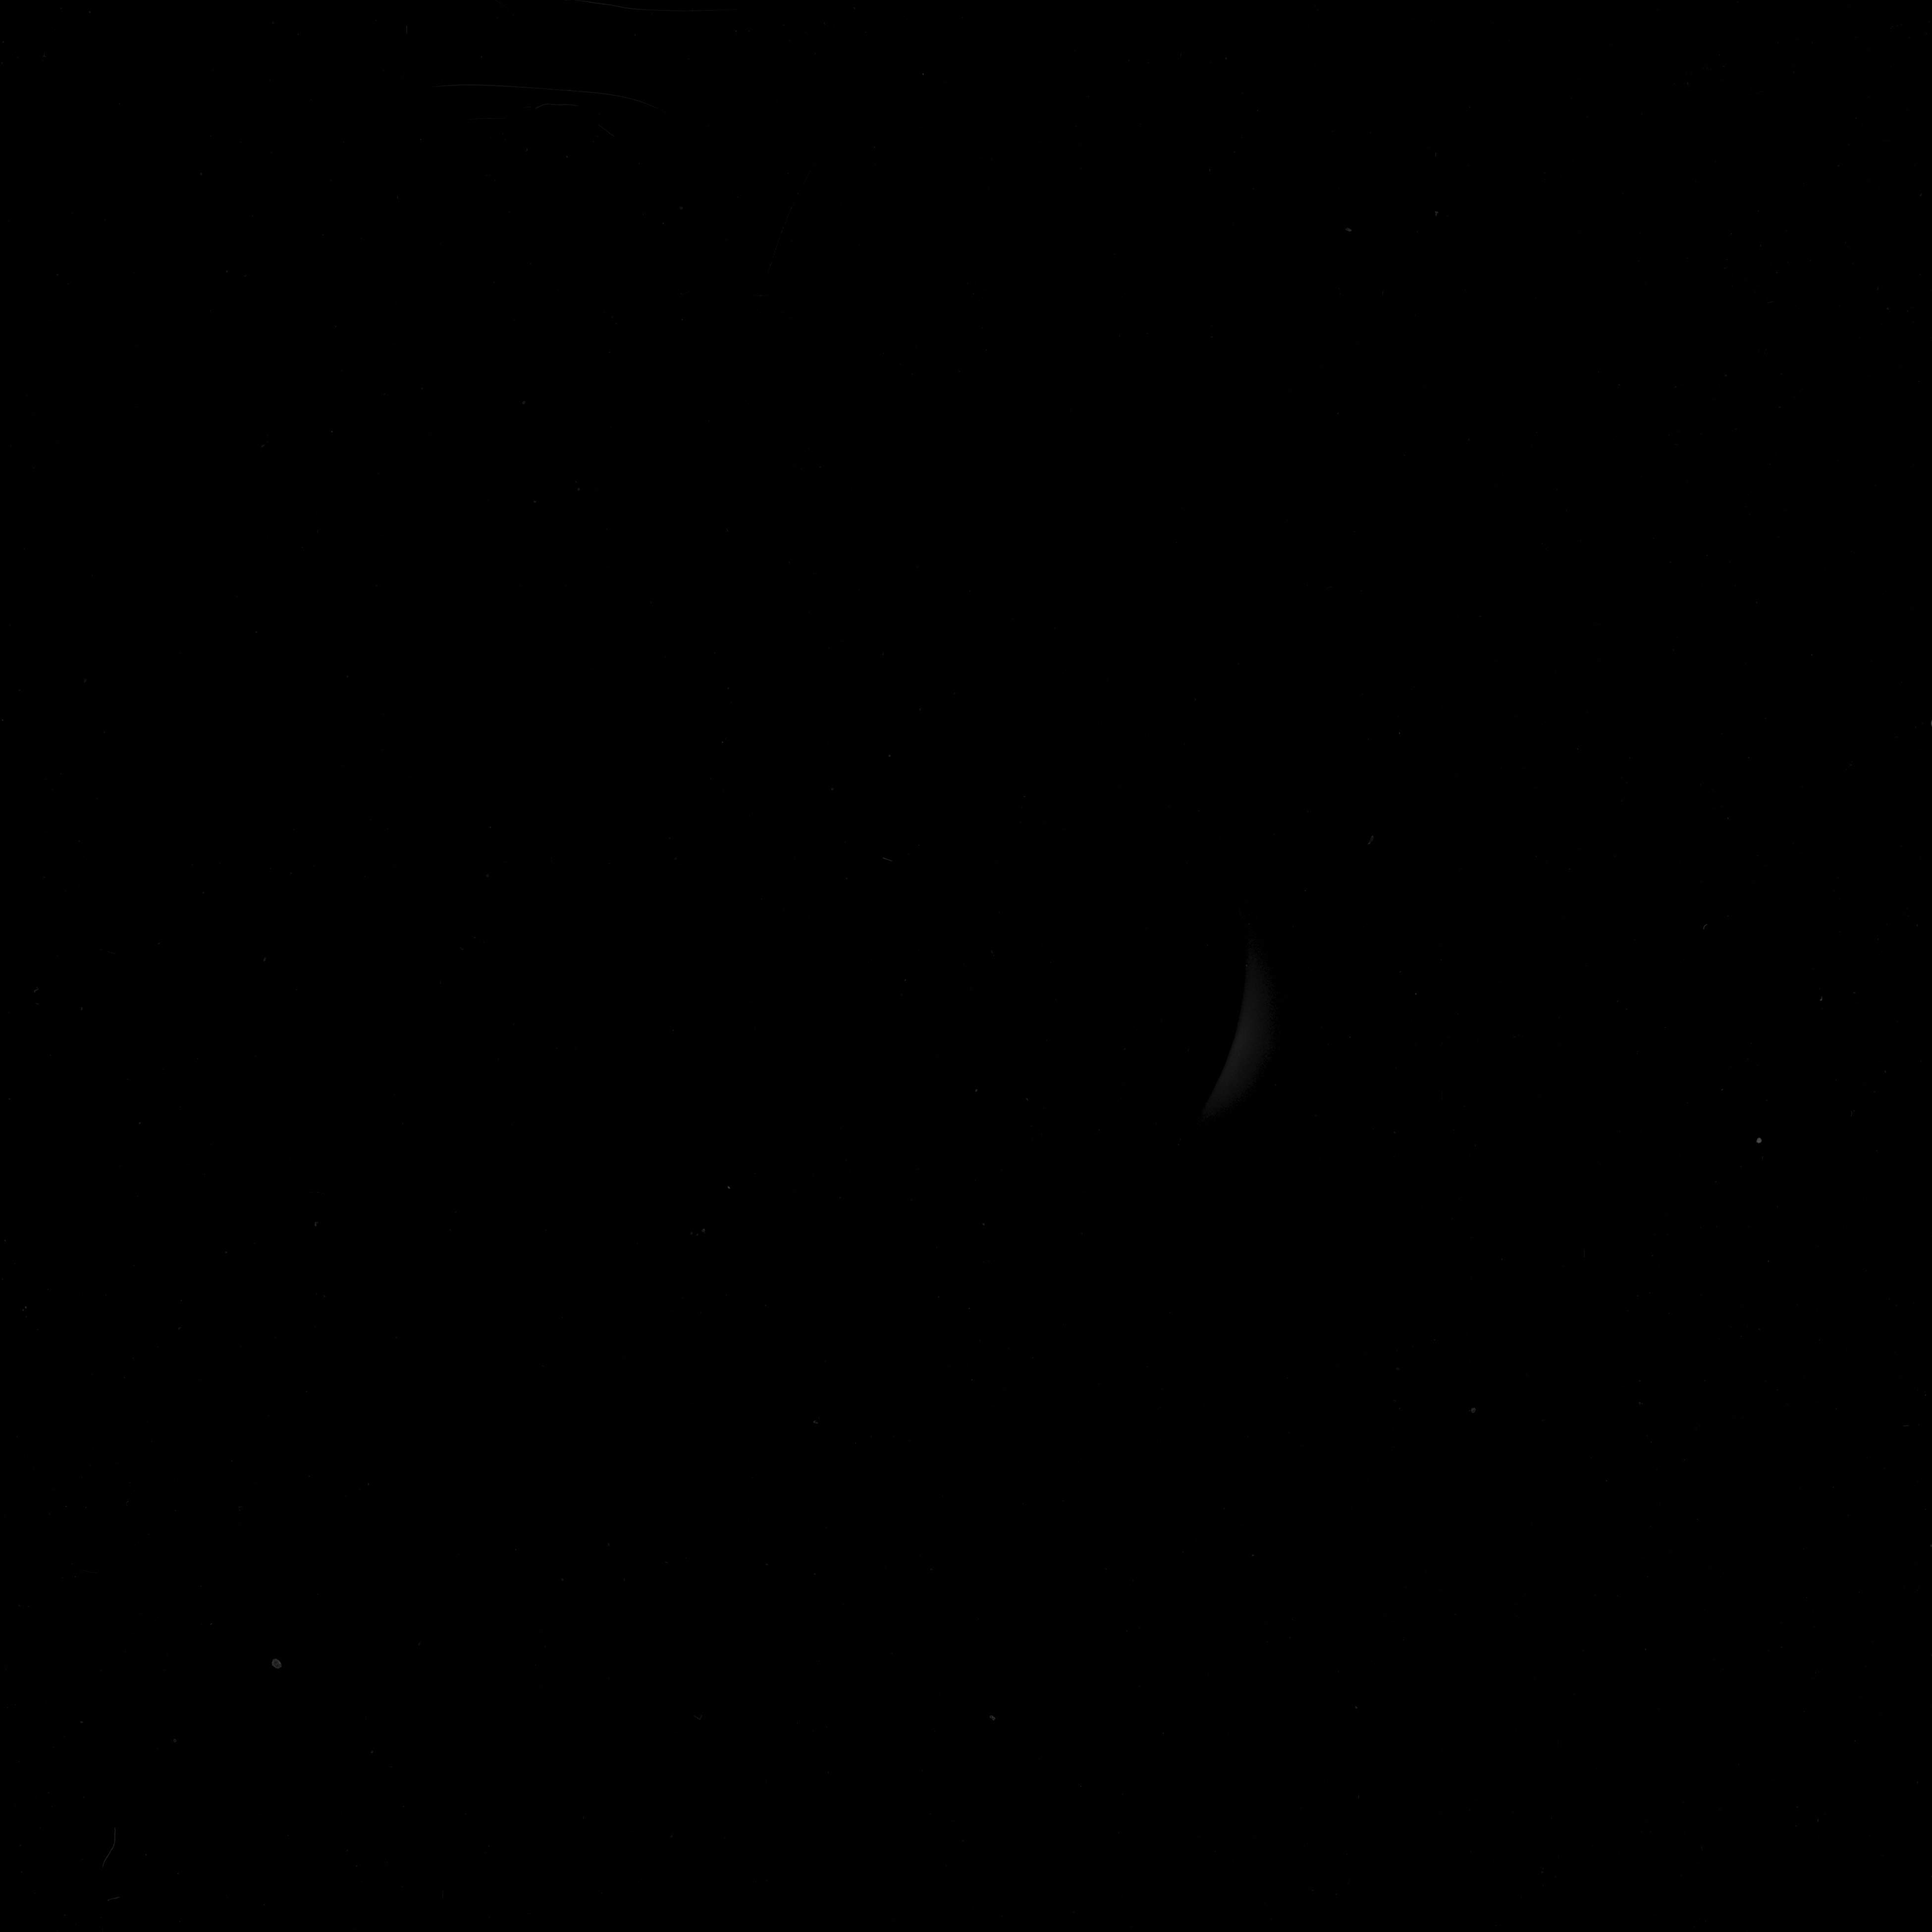
AS11-42-6167 Browse or print resolution. Solar corona photograph. Image credit: Image Science and Analysis Laboratory, NASA-Johnson Space Center. |
|
AS11-42-6168 Browse or print resolution. Solar corona photograph. Image credit: Image Science and Analysis Laboratory, NASA-Johnson Space Center. |

|
AS11-42-6169 Browse or print resolution. Solar corona photograph. Image credit: Image Science and Analysis Laboratory, NASA-Johnson Space Center. |

|
AS11-42-6170 Browse or print resolution. Solar corona photograph. Completely dark frame. Image credit: Image Science and Analysis Laboratory, NASA-Johnson Space Center. |

|
AS11-42-6171 Browse or print resolution. Solar corona photograph. Completely dark frame. Image credit: Image Science and Analysis Laboratory, NASA-Johnson Space Center. |

|
AS11-42-6172 Browse or print resolution. Solar corona photograph. Completely dark frame. Image credit: Image Science and Analysis Laboratory, NASA-Johnson Space Center. |

|
AS11-42-6173 Browse or print resolution. Solar corona photograph. Completely dark frame. Image credit: Image Science and Analysis Laboratory, NASA-Johnson Space Center. |
|
AS11-42-6174 Browse or print resolution. Solar corona photograph. Completely dark frame. Image credit: Image Science and Analysis Laboratory, NASA-Johnson Space Center. |

|
AS11-42-6175 Browse or print resolution. Solar corona photograph. Completely dark frame. Image credit: Image Science and Analysis Laboratory, NASA-Johnson Space Center. |
|
AS11-42-6176 Browse or print resolution. Solar corona photograph. Completely dark frame. Image credit: Image Science and Analysis Laboratory, NASA-Johnson Space Center. |
|
AS11-42-6177 Browse or print resolution. Solar corona photograph. Completely dark frame. Image credit: Image Science and Analysis Laboratory, NASA-Johnson Space Center. |

|
AS11-42-6178 Browse or print resolution. Solar corona photograph. Completely dark frame. Image credit: Image Science and Analysis Laboratory, NASA-Johnson Space Center. |
|
AS11-42-6179 Browse or print resolution. Solar corona photograph. Image credit: Image Science and Analysis Laboratory, NASA-Johnson Space Center. |

|
AS11-42-6180 Browse or print resolution. Solar corona photograph. Completely dark frame. Image credit: Image Science and Analysis Laboratory, NASA-Johnson Space Center. |

|
AS11-42-6181 Browse or print resolution. Solar corona photograph. Completely dark frame. Image credit: Image Science and Analysis Laboratory, NASA-Johnson Space Center. |

|
AS11-42-6182 Browse or print resolution. Solar corona photograph. Completely dark frame. Image credit: Image Science and Analysis Laboratory, NASA-Johnson Space Center. |

|
AS11-42-6183 Browse or print resolution. Solar corona photograph. Completely dark frame. Image credit: Image Science and Analysis Laboratory, NASA-Johnson Space Center. |

|
AS11-42-6184 Browse or print resolution. Solar corona photograph. Completely dark frame. Image credit: Image Science and Analysis Laboratory, NASA-Johnson Space Center. |

|
AS11-42-6185 Browse or print resolution. Solar corona photograph. Completely dark frame. Image credit: Image Science and Analysis Laboratory, NASA-Johnson Space Center. |

|
AS11-42-6186 Browse or print resolution. Solar corona photograph. Completely dark frame. Image credit: Image Science and Analysis Laboratory, NASA-Johnson Space Center. |

|
AS11-42-6187 Browse or print resolution. Solar corona photograph. Completely dark frame. Image credit: Image Science and Analysis Laboratory, NASA-Johnson Space Center. |

|
AS11-42-6188 Browse or print resolution. Solar corona photograph. Completely dark frame. Image credit: Image Science and Analysis Laboratory, NASA-Johnson Space Center. |

|
AS11-42-6189 Browse or print resolution. Solar corona photograph. Completely dark frame. Image credit: Image Science and Analysis Laboratory, NASA-Johnson Space Center. |

|
AS11-42-6190 Browse or print resolution. Solar corona photograph. Completely dark frame. Image credit: Image Science and Analysis Laboratory, NASA-Johnson Space Center. |

|
AS11-42-6191 Browse or print resolution. Solar corona photograph. Completely dark frame. Image credit: Image Science and Analysis Laboratory, NASA-Johnson Space Center. |

|
AS11-42-6192 Browse or print resolution. Solar corona photograph. Completely dark frame. Image credit: Image Science and Analysis Laboratory, NASA-Johnson Space Center. |

|
AS11-42-6193 Browse or print resolution. Solar corona photograph. Completely dark frame. Image credit: Image Science and Analysis Laboratory, NASA-Johnson Space Center. |

|
AS11-42-6190 Browse or print resolution. Solar corona photograph. Completely dark frame. Image credit: Image Science and Analysis Laboratory, NASA-Johnson Space Center. |
|
AS11-42-6195 Browse or print resolution. Solar corona photograph. Image credit: Image Science and Analysis Laboratory, NASA-Johnson Space Center. |

|
AS11-42-6196 Browse or print resolution. Solar corona photograph. Completely dark frame. Image credit: Image Science and Analysis Laboratory, NASA-Johnson Space Center. |

|
AS11-42-6197 Browse or print resolution. Solar corona photograph. Completely dark frame. Image credit: Image Science and Analysis Laboratory, NASA-Johnson Space Center. |
|
AS11-42-6198 Browse or print resolution. Solar corona photograph. Completely dark frame. Image credit: Image Science and Analysis Laboratory, NASA-Johnson Space Center. |

|
AS11-42-6199 Browse or print resolution. Solar corona photograph. Completely dark frame. Image credit: Image Science and Analysis Laboratory, NASA-Johnson Space Center. |
|
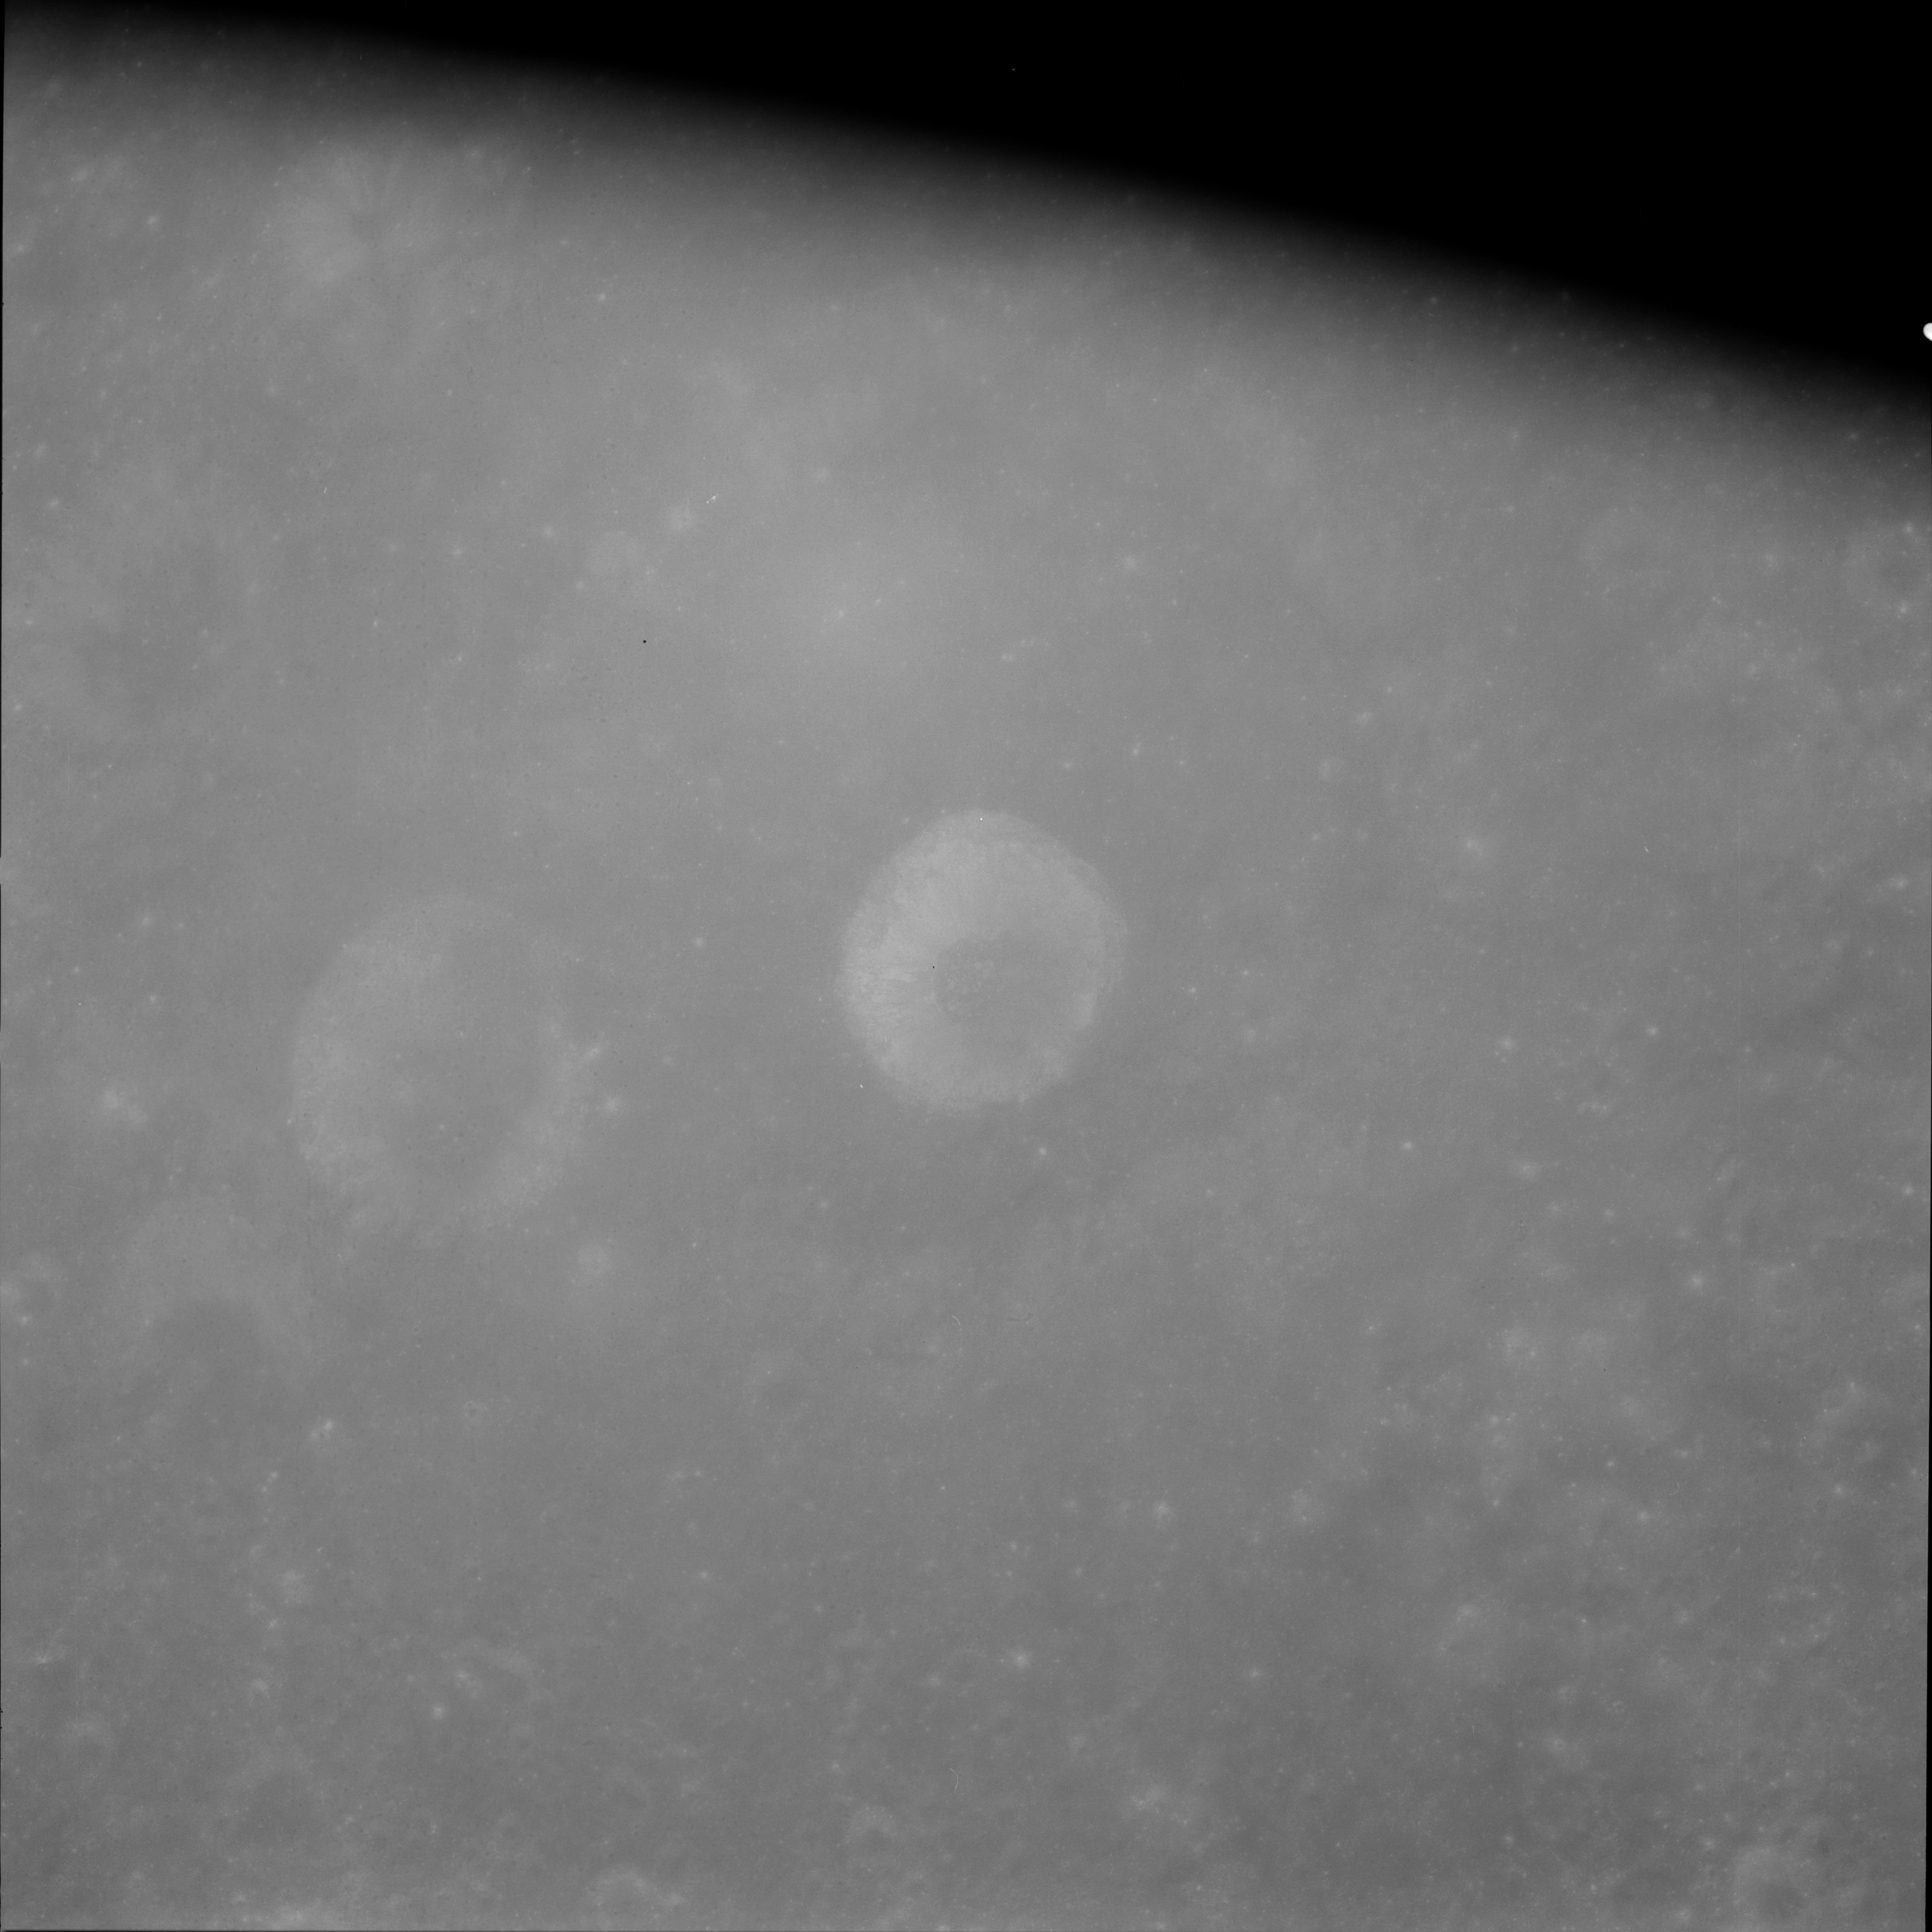
AS11-42-6200 Browse or print resolution. Solar corona photograph. Very faint image. Image credit: Image Science and Analysis Laboratory, NASA-Johnson Space Center. |

|
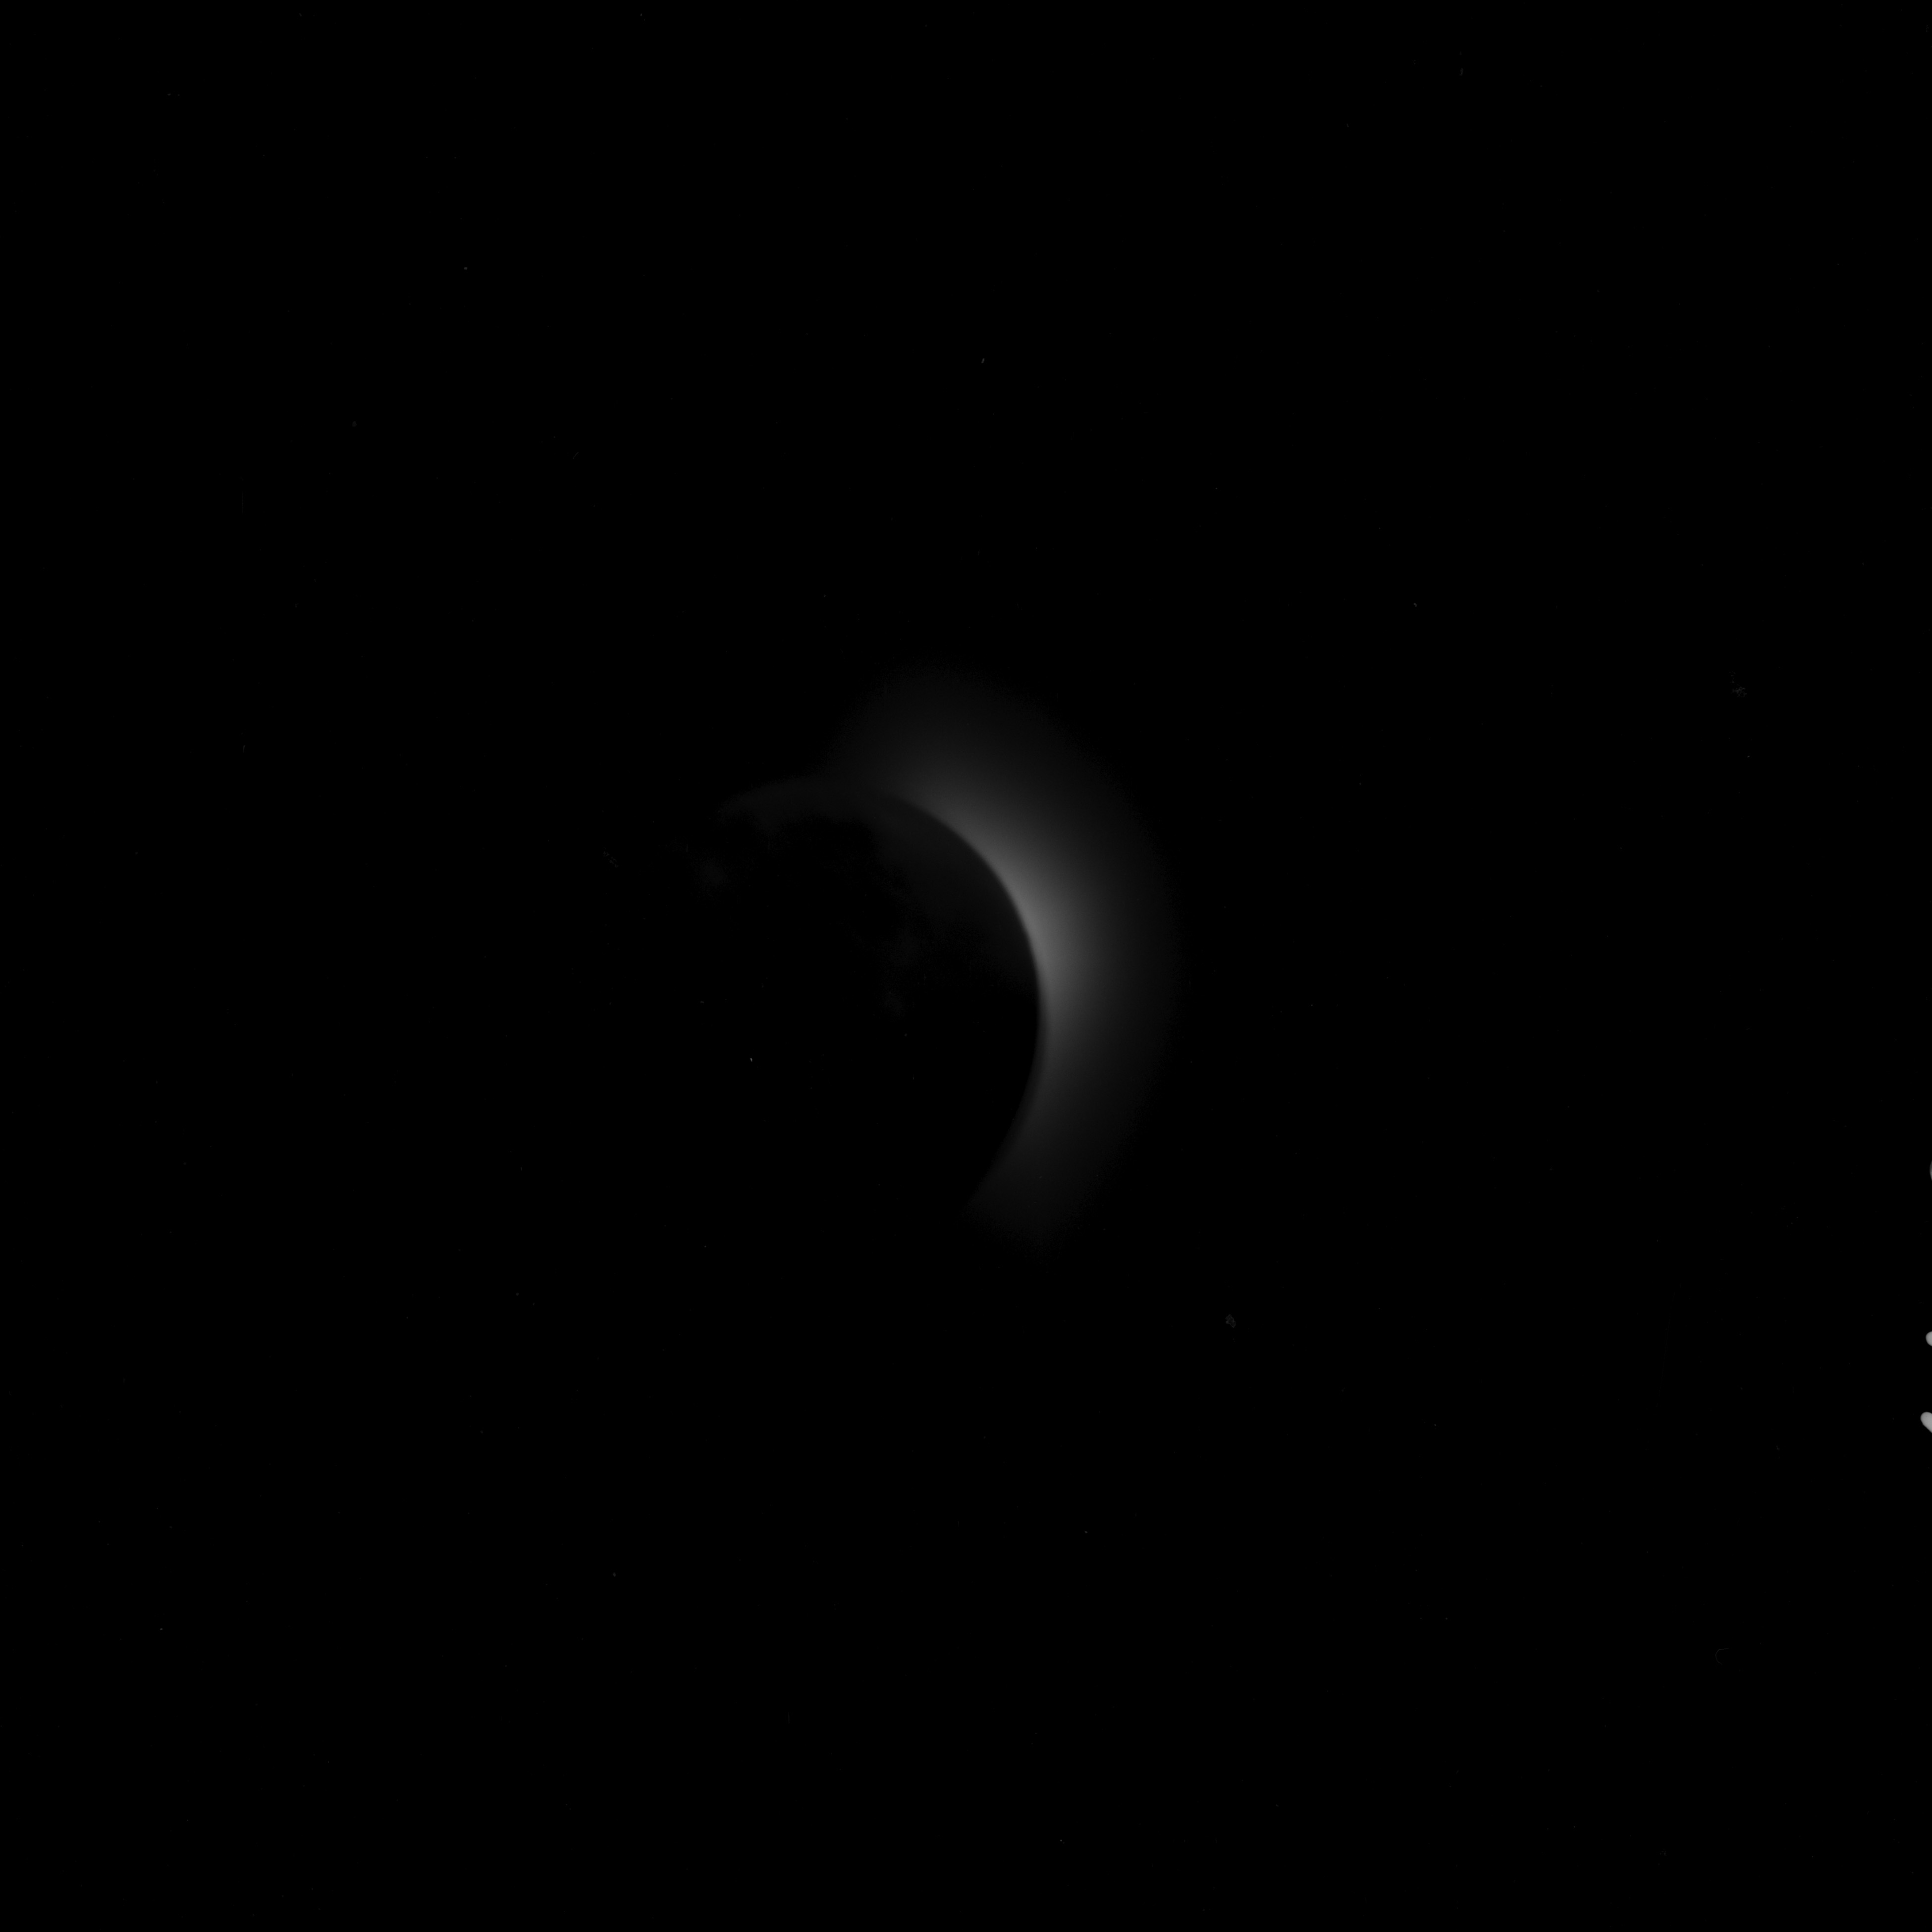
AS11-42-6201 Browse or print resolution. Solar corona photograph. Image credit: Image Science and Analysis Laboratory, NASA-Johnson Space Center. |

|
AS11-42-6202 Browse or print resolution. Solar corona photograph. Image credit: Image Science and Analysis Laboratory, NASA-Johnson Space Center. |
|
AS11-42-6203 Browse or print resolution. Solar corona photograph. Image credit: Image Science and Analysis Laboratory, NASA-Johnson Space Center. |
|
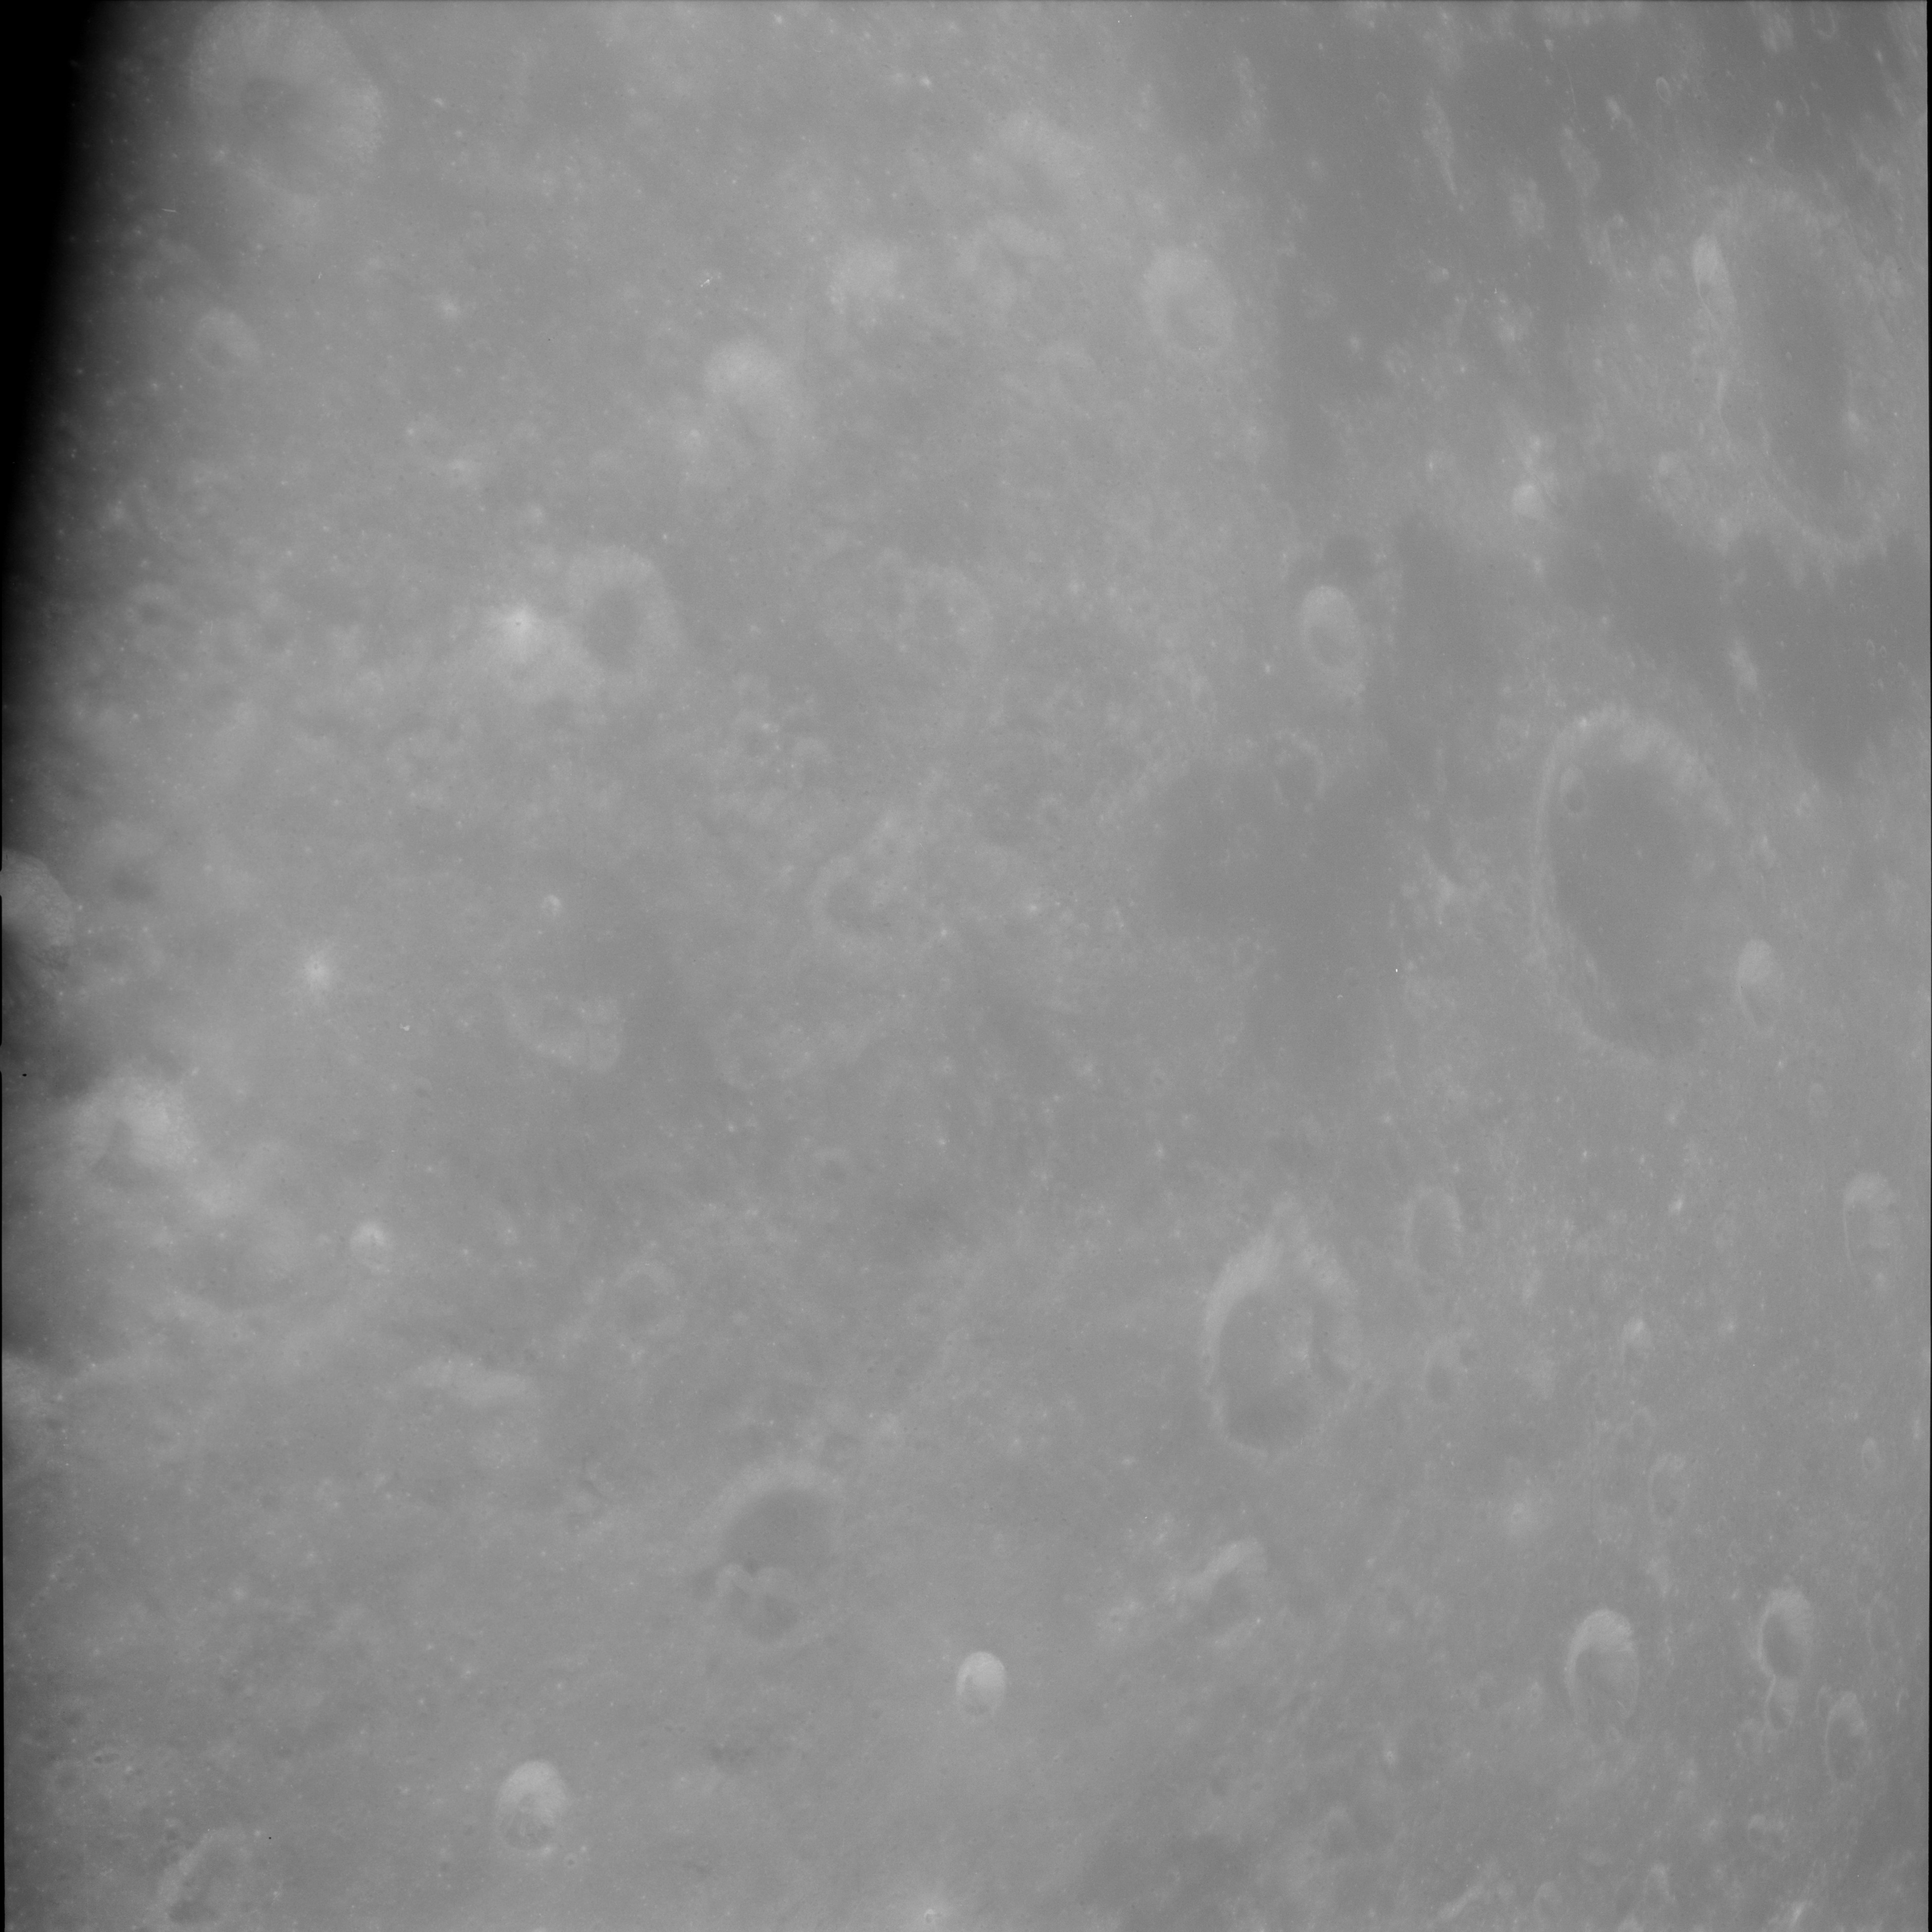
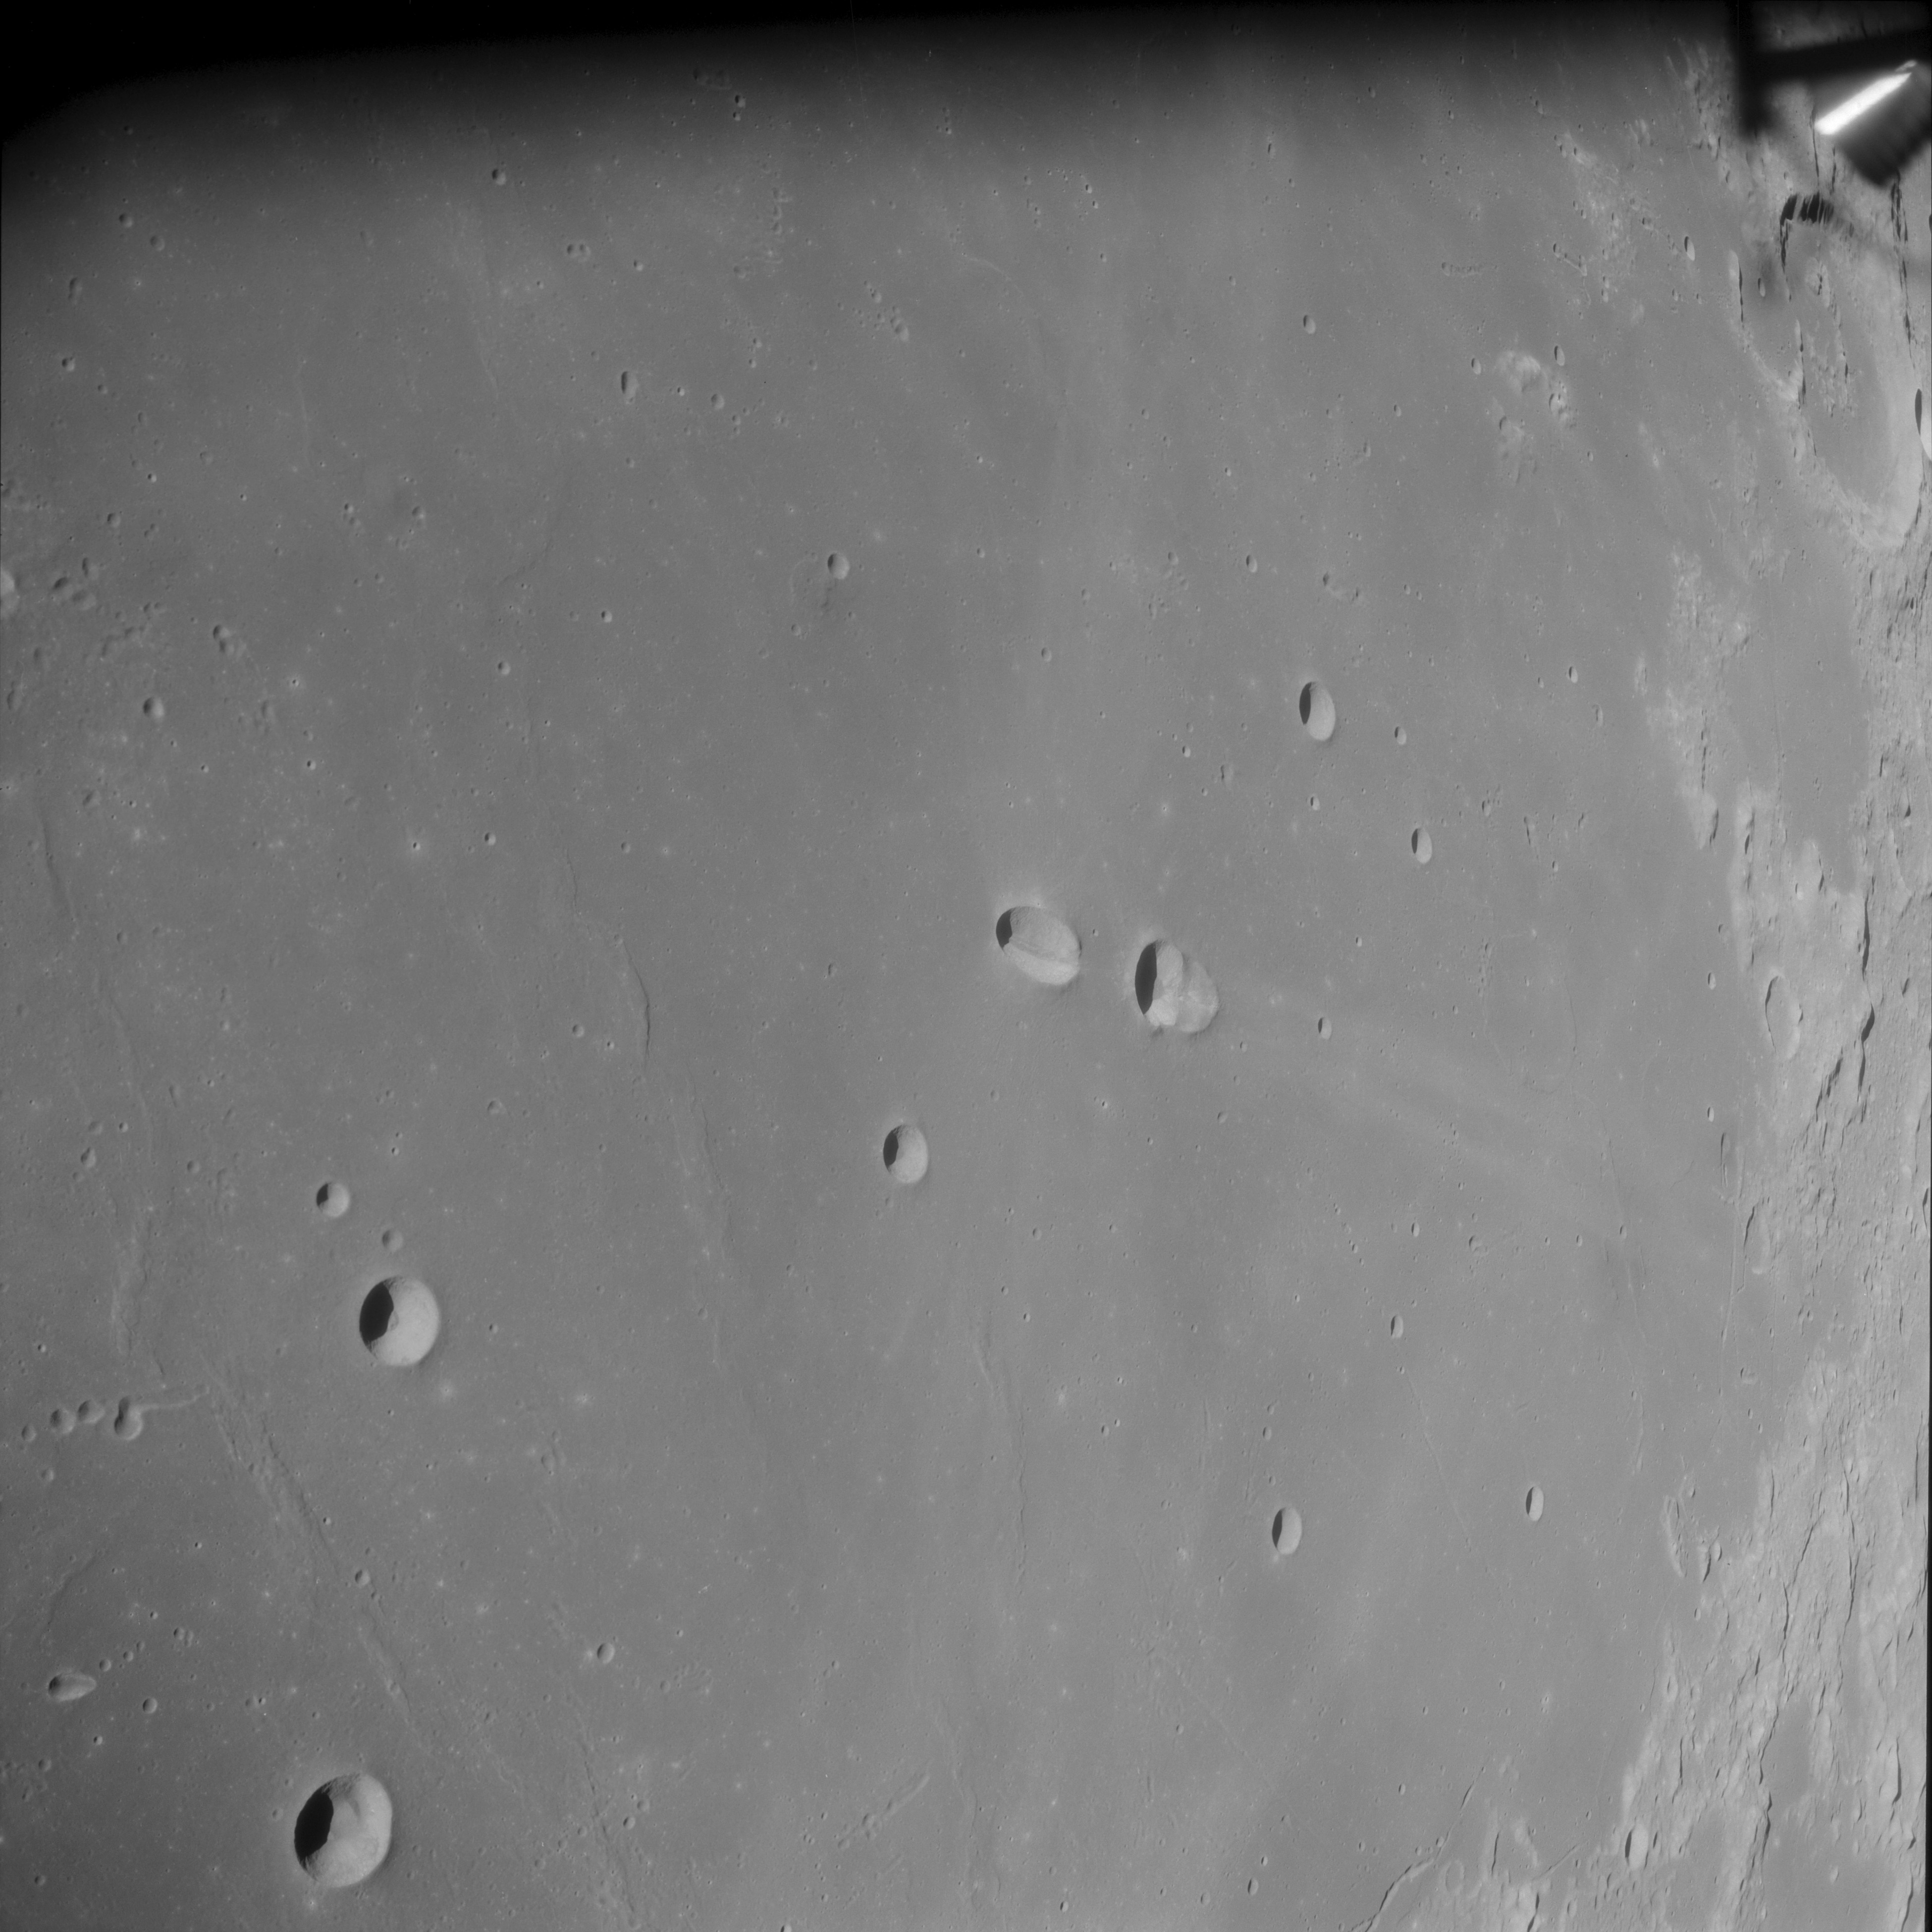
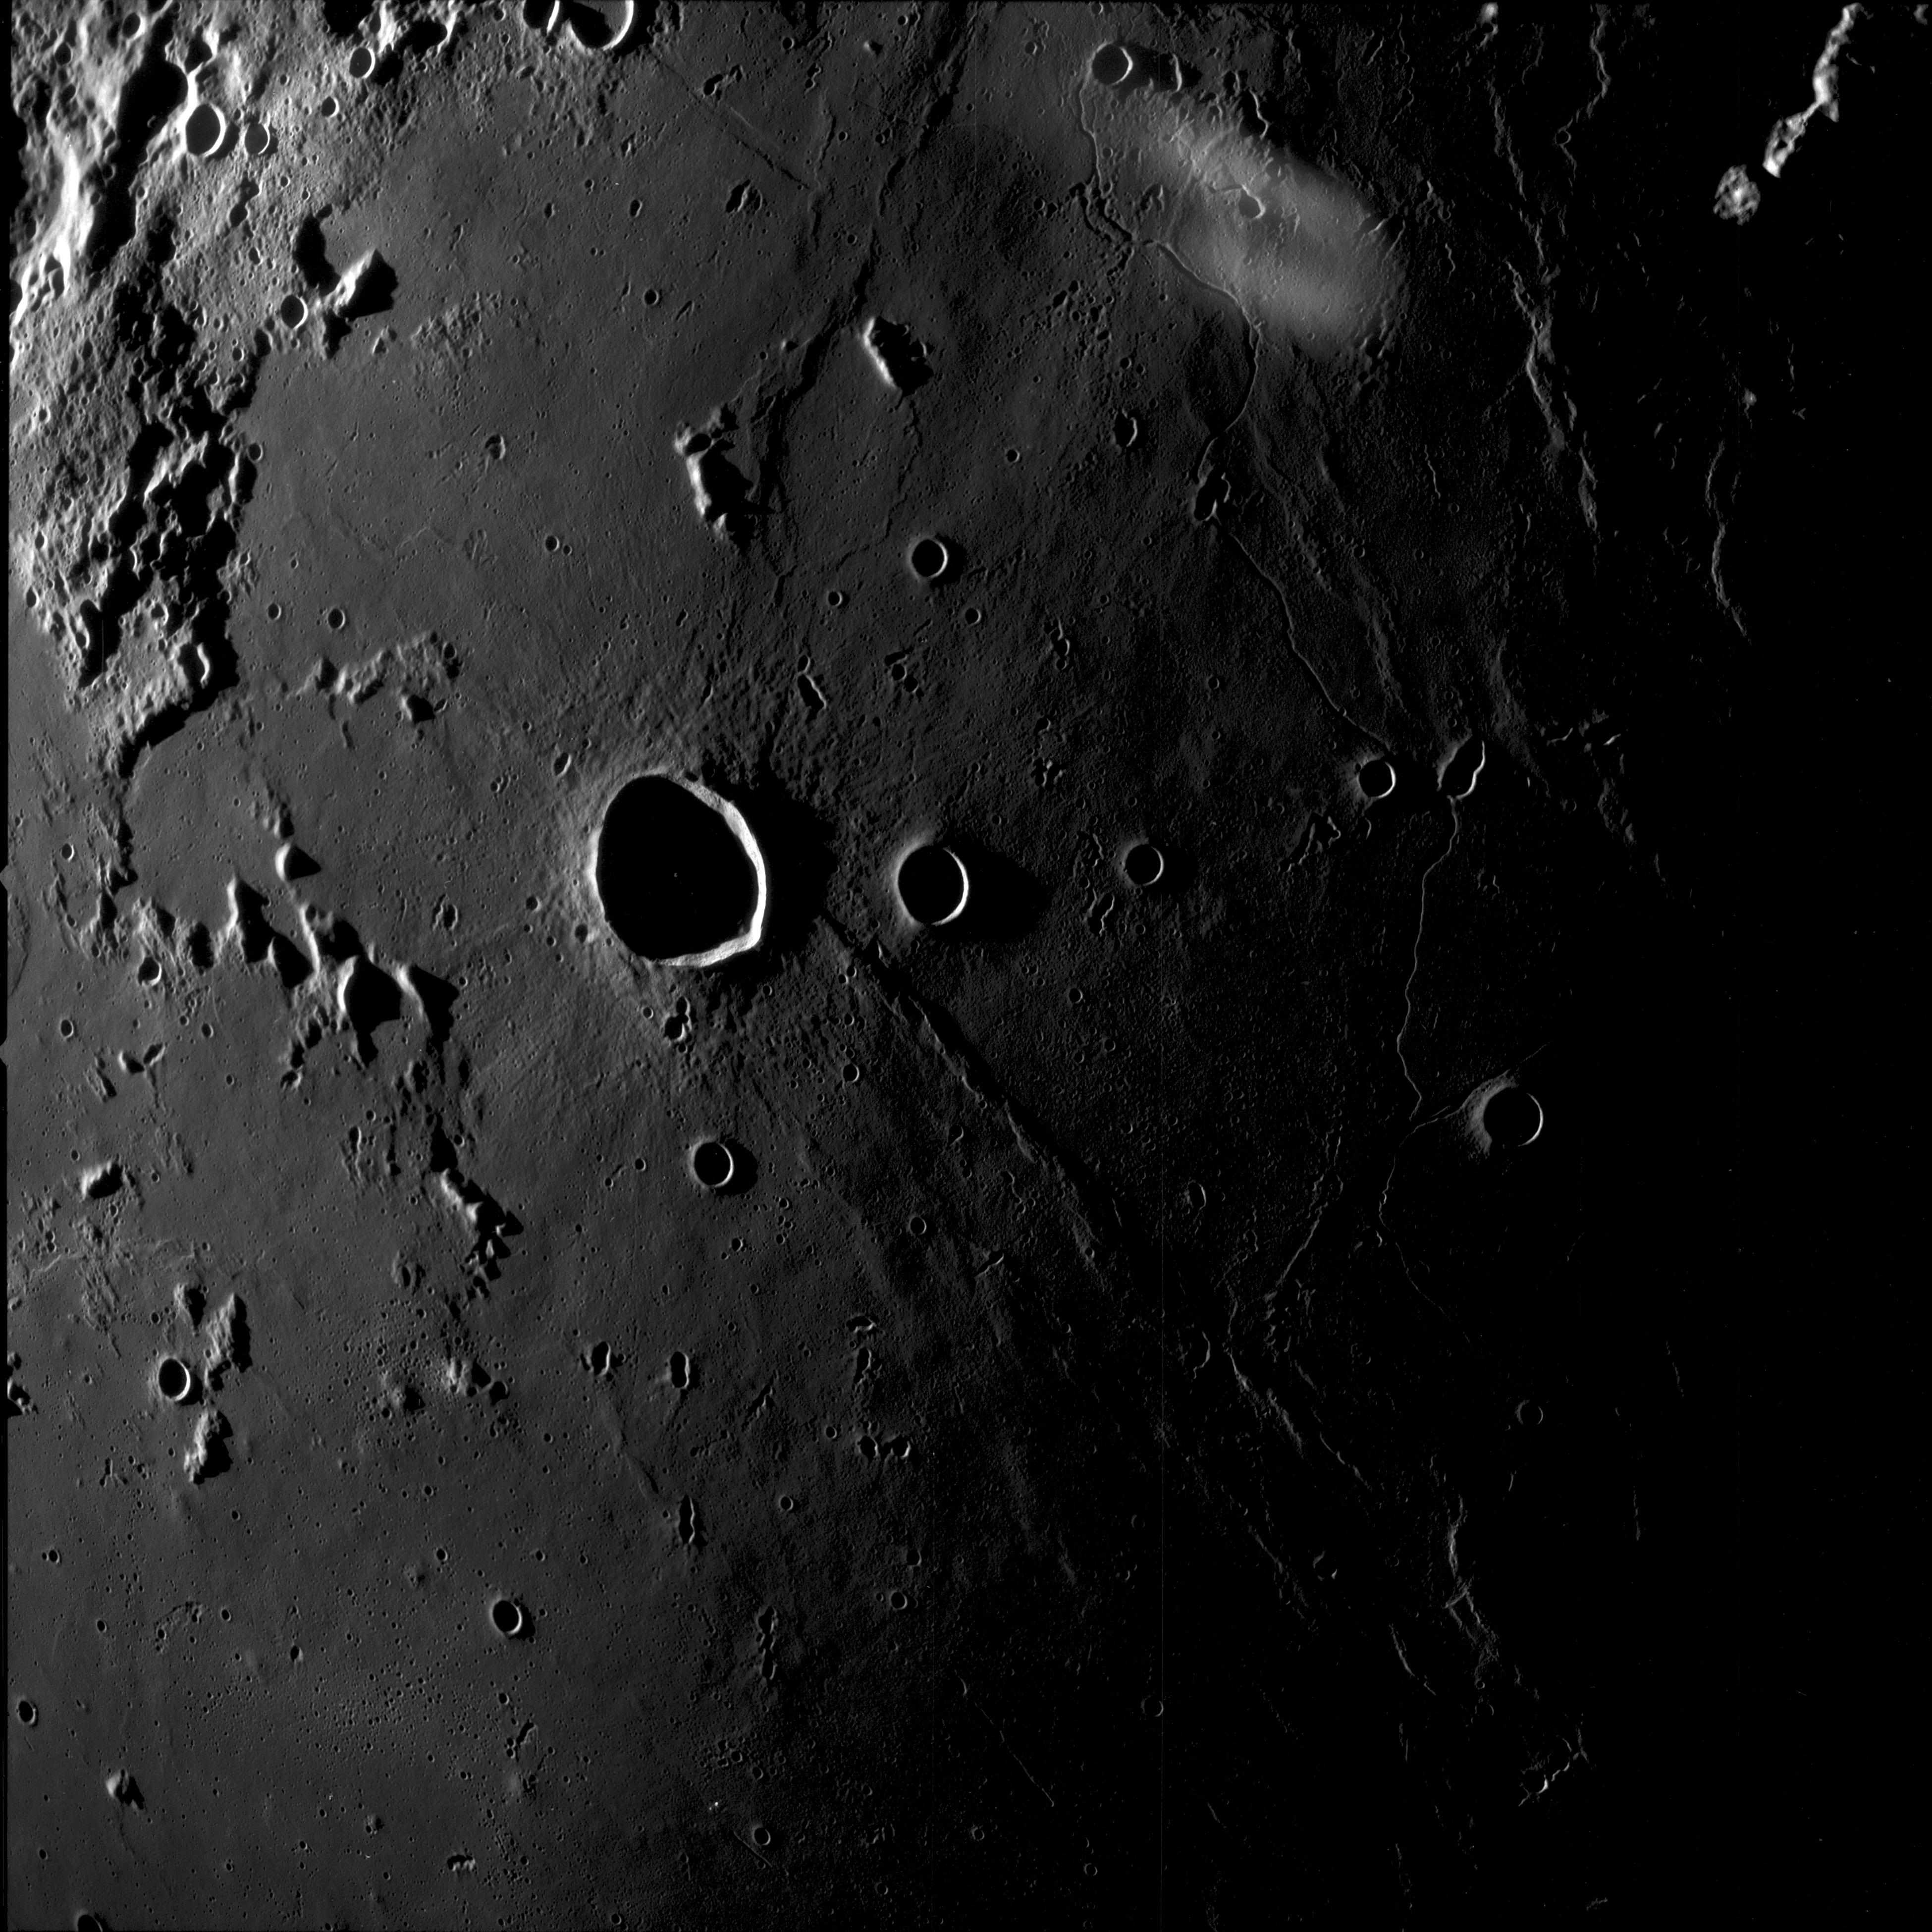
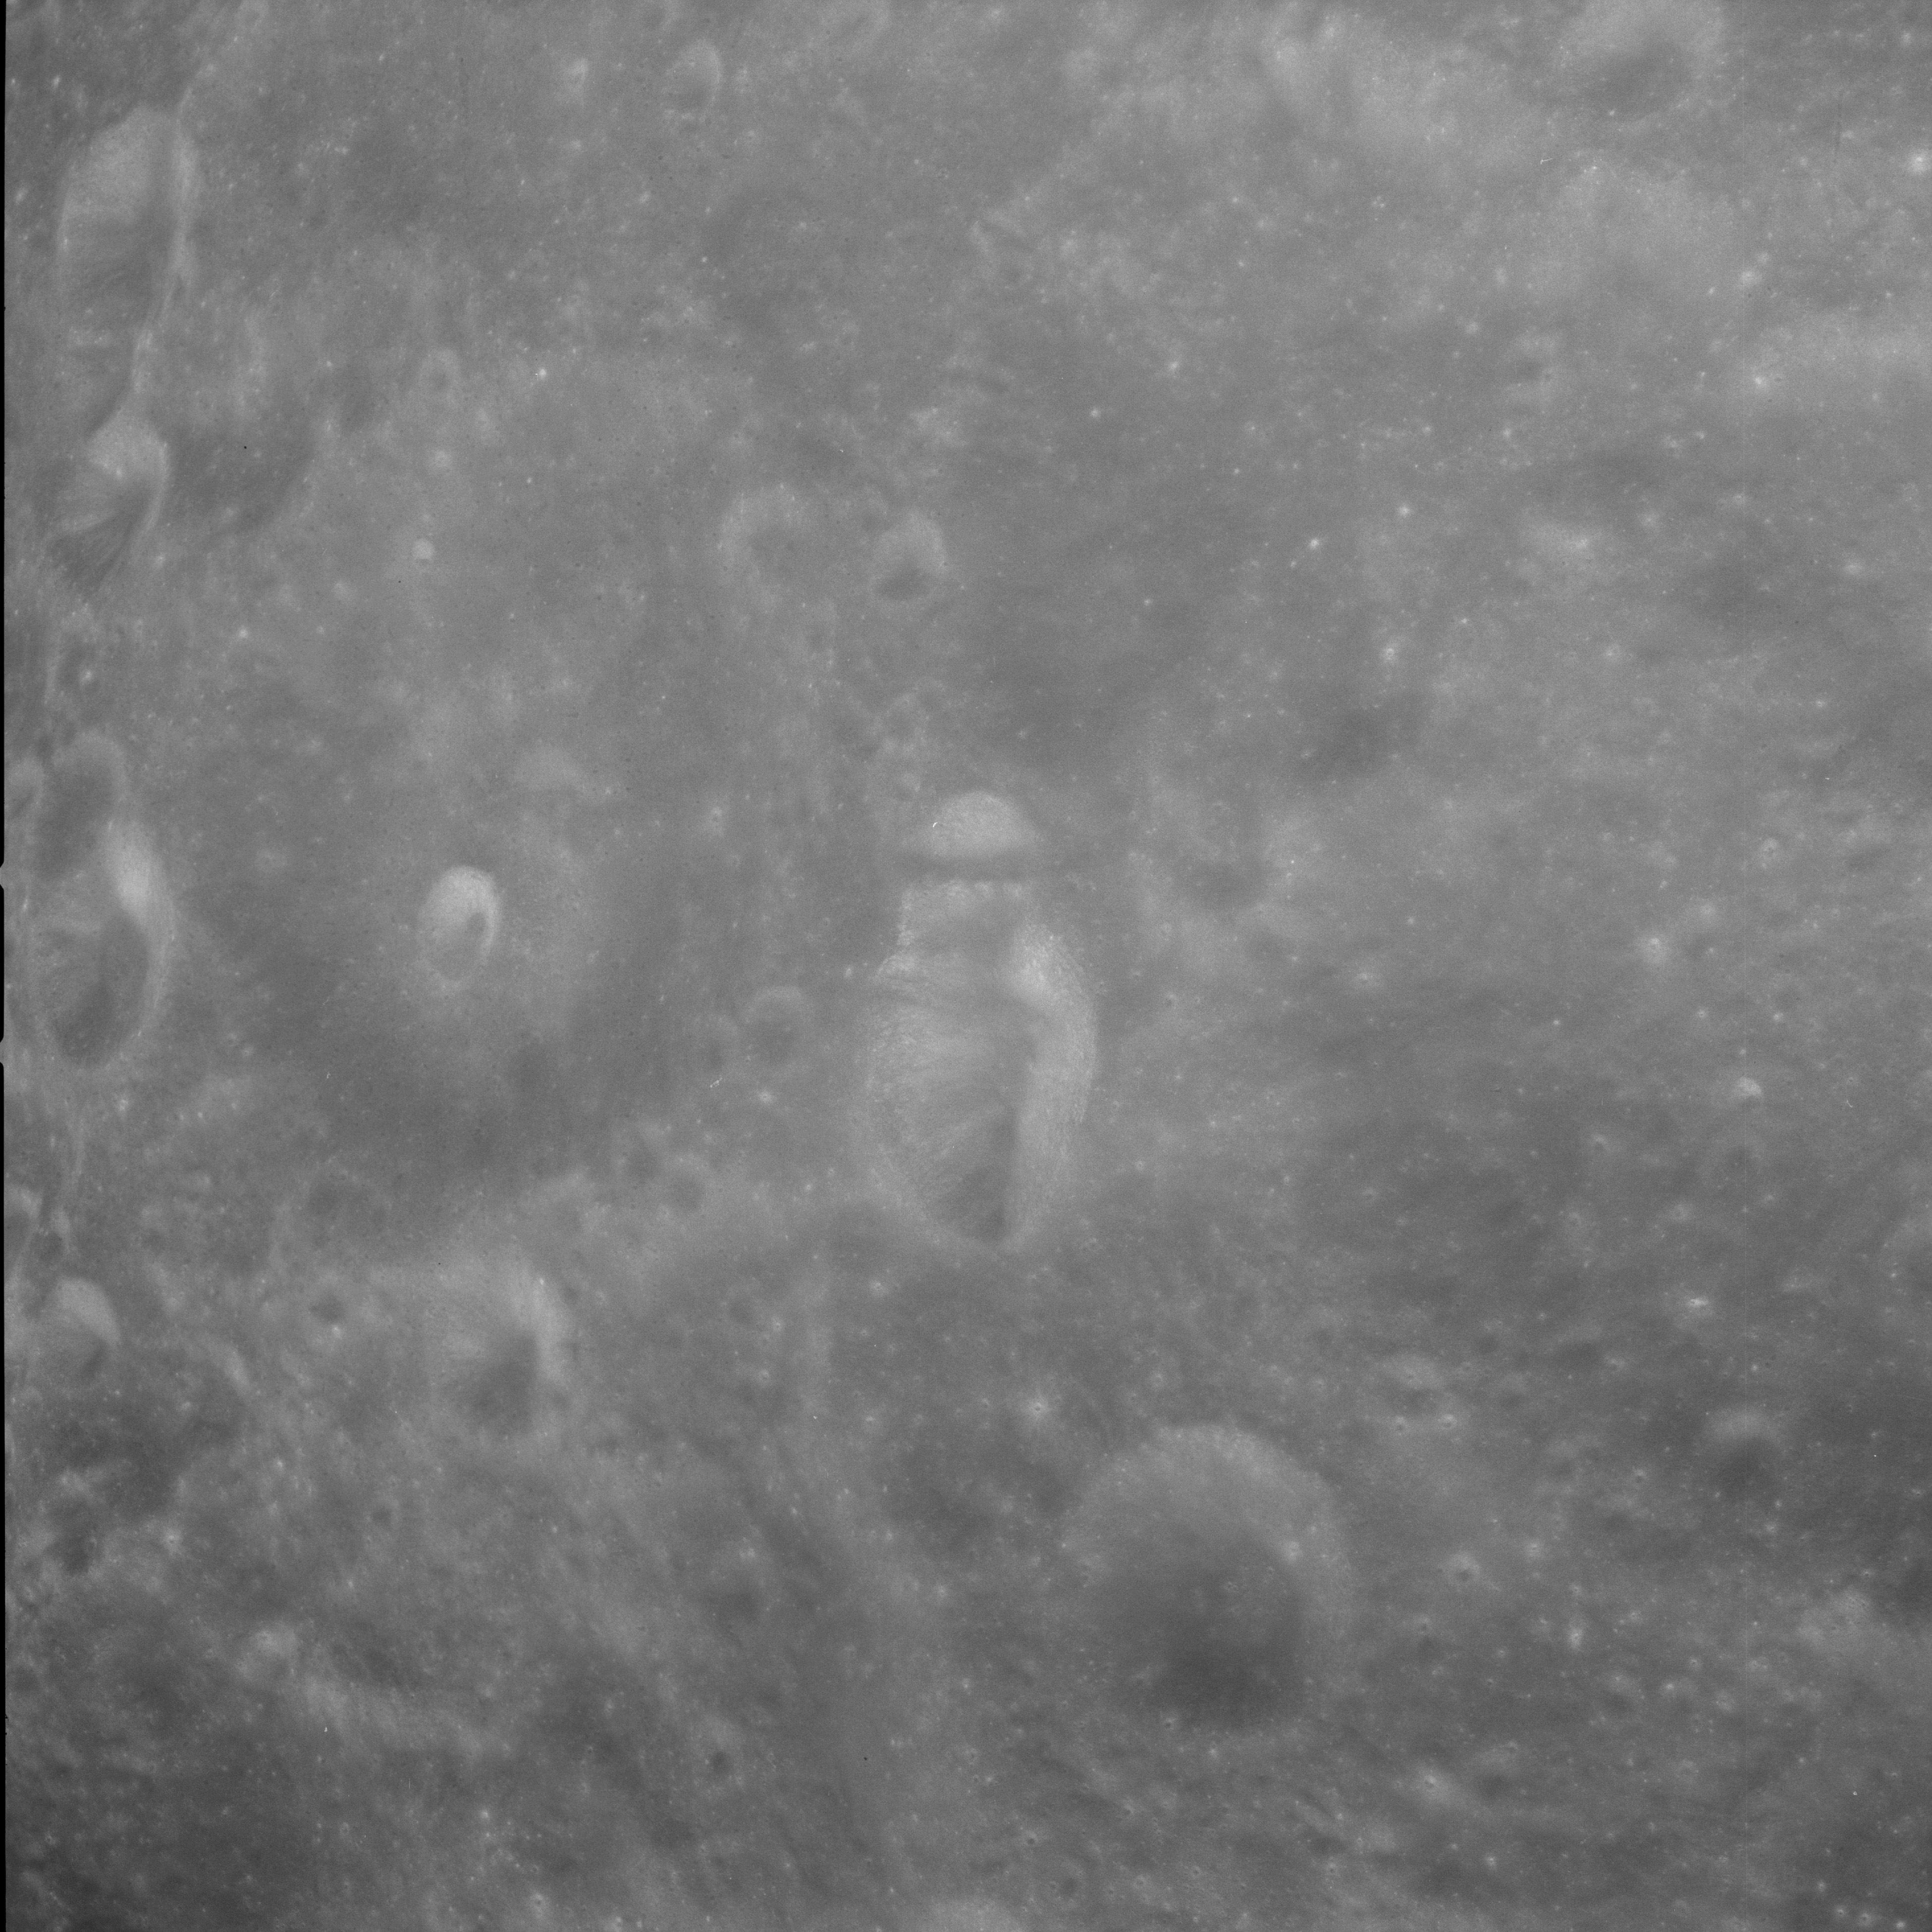
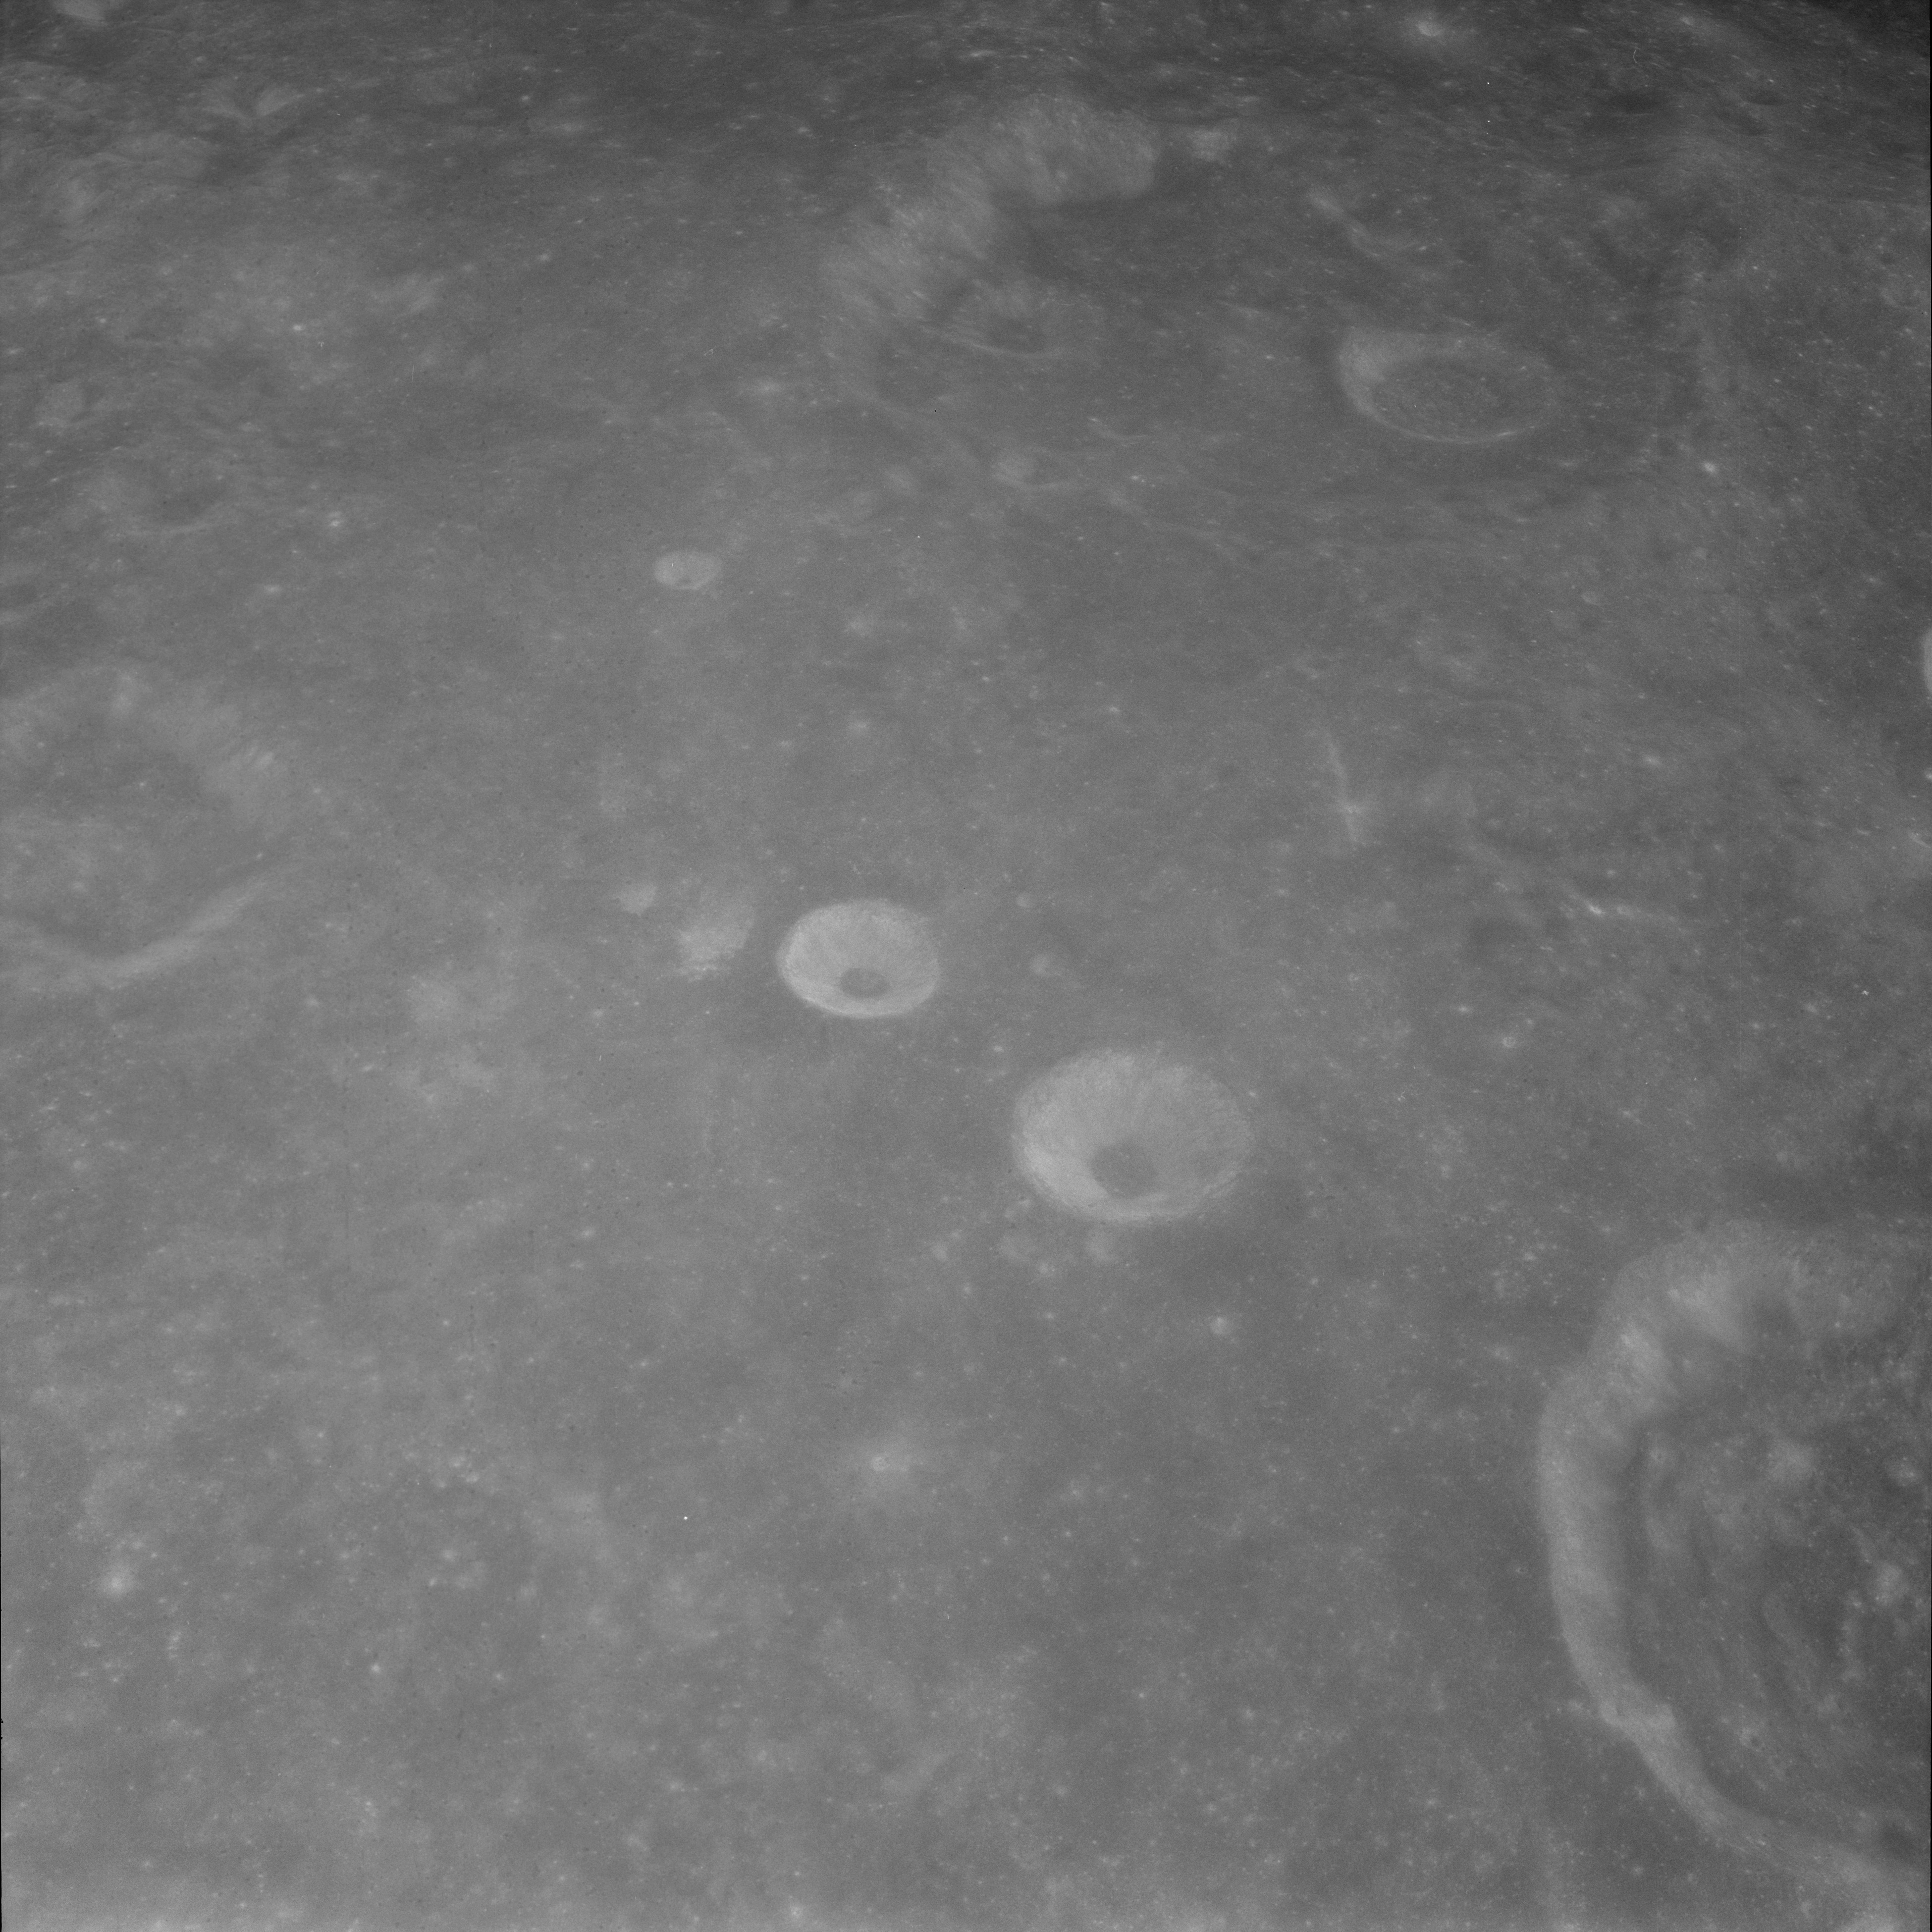
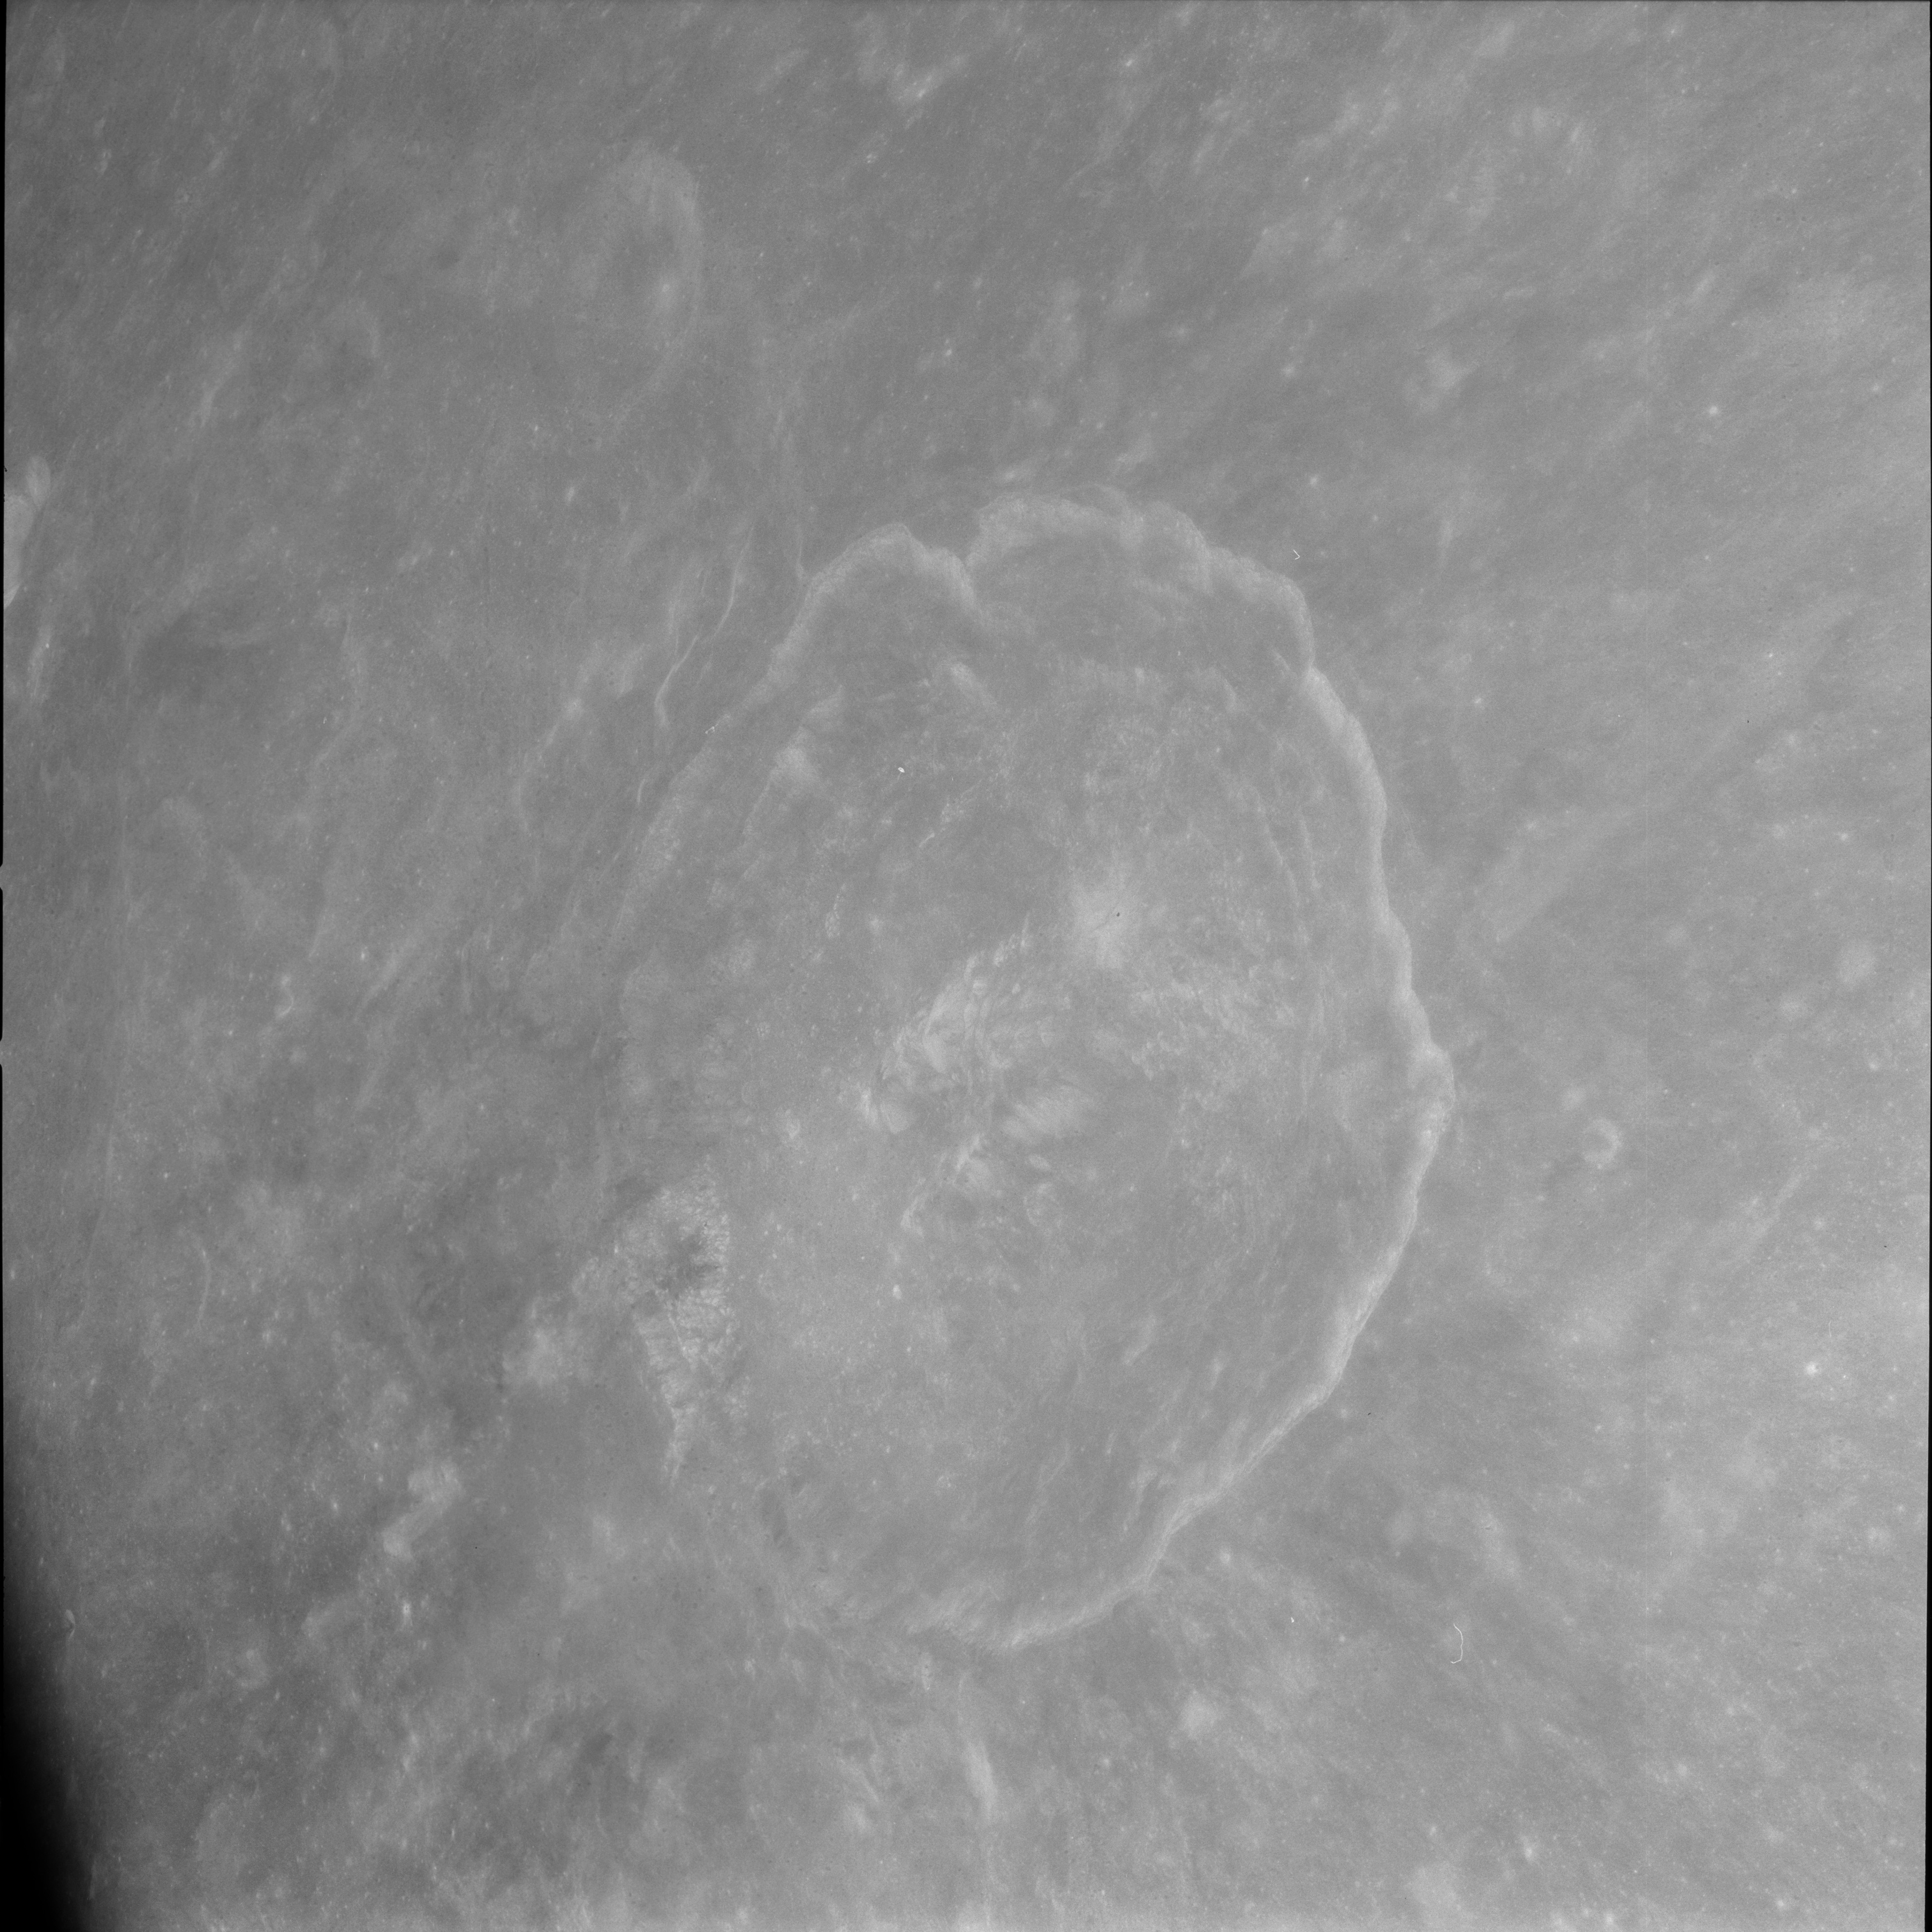
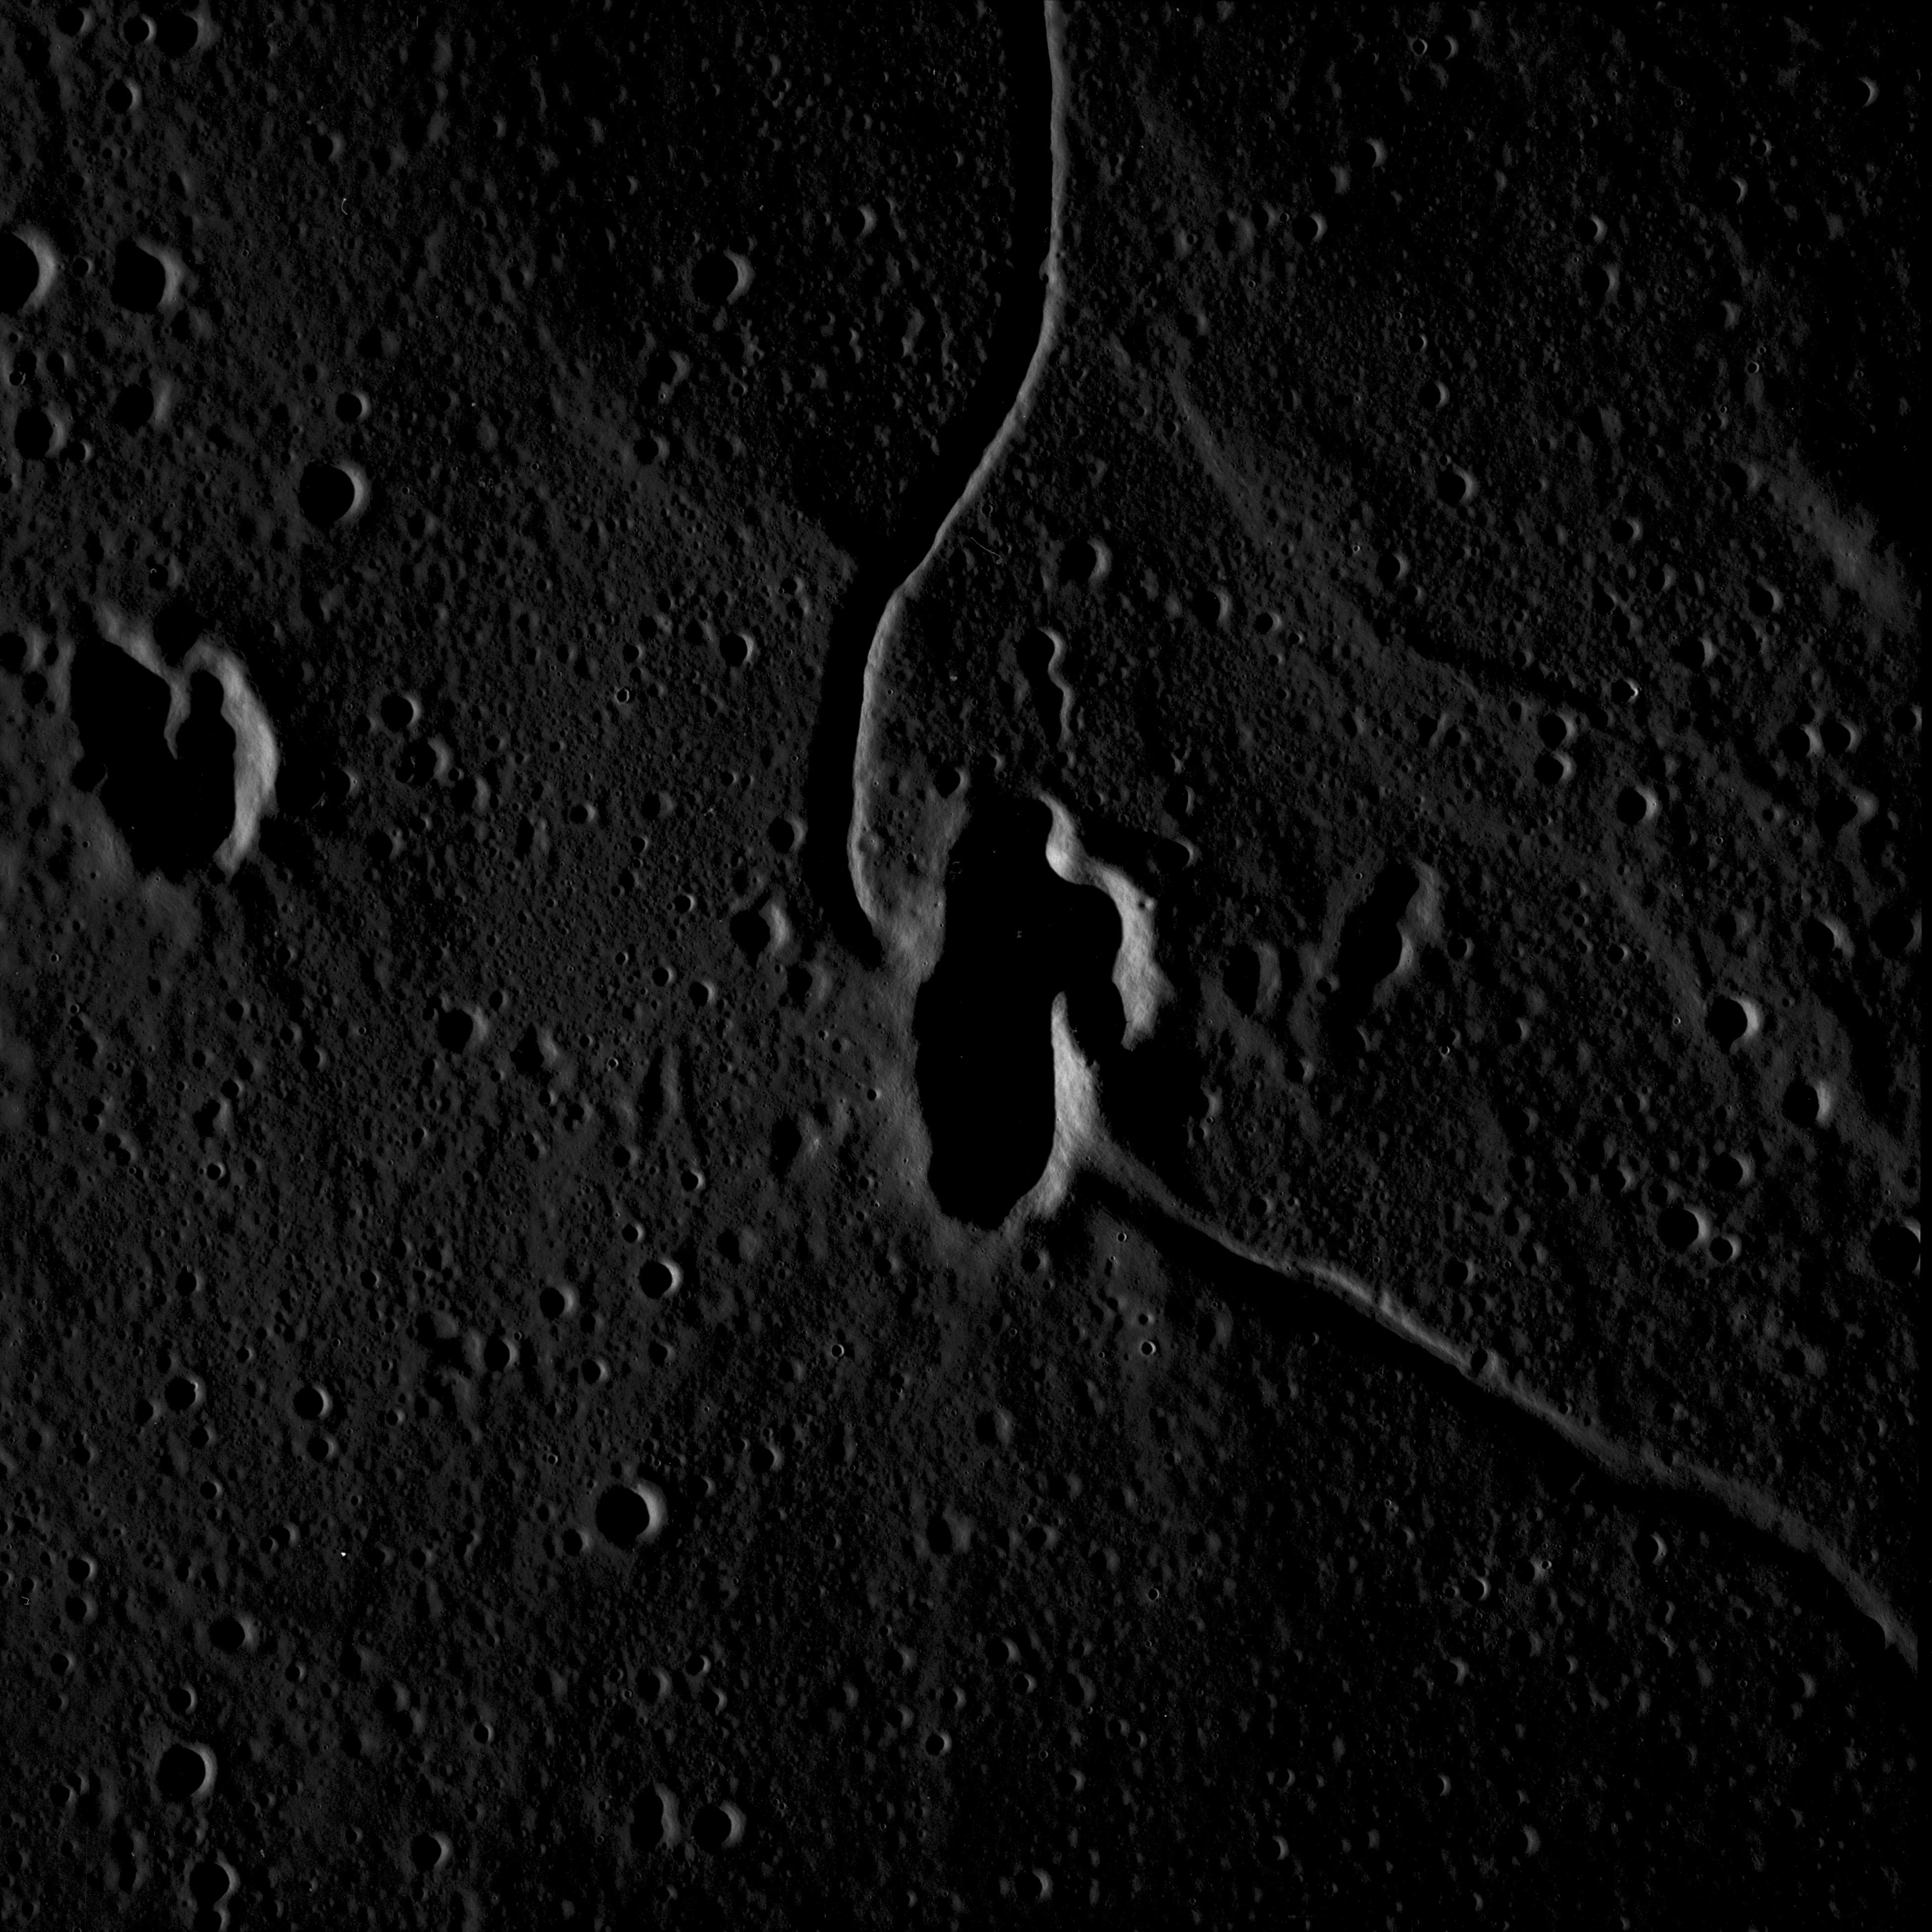
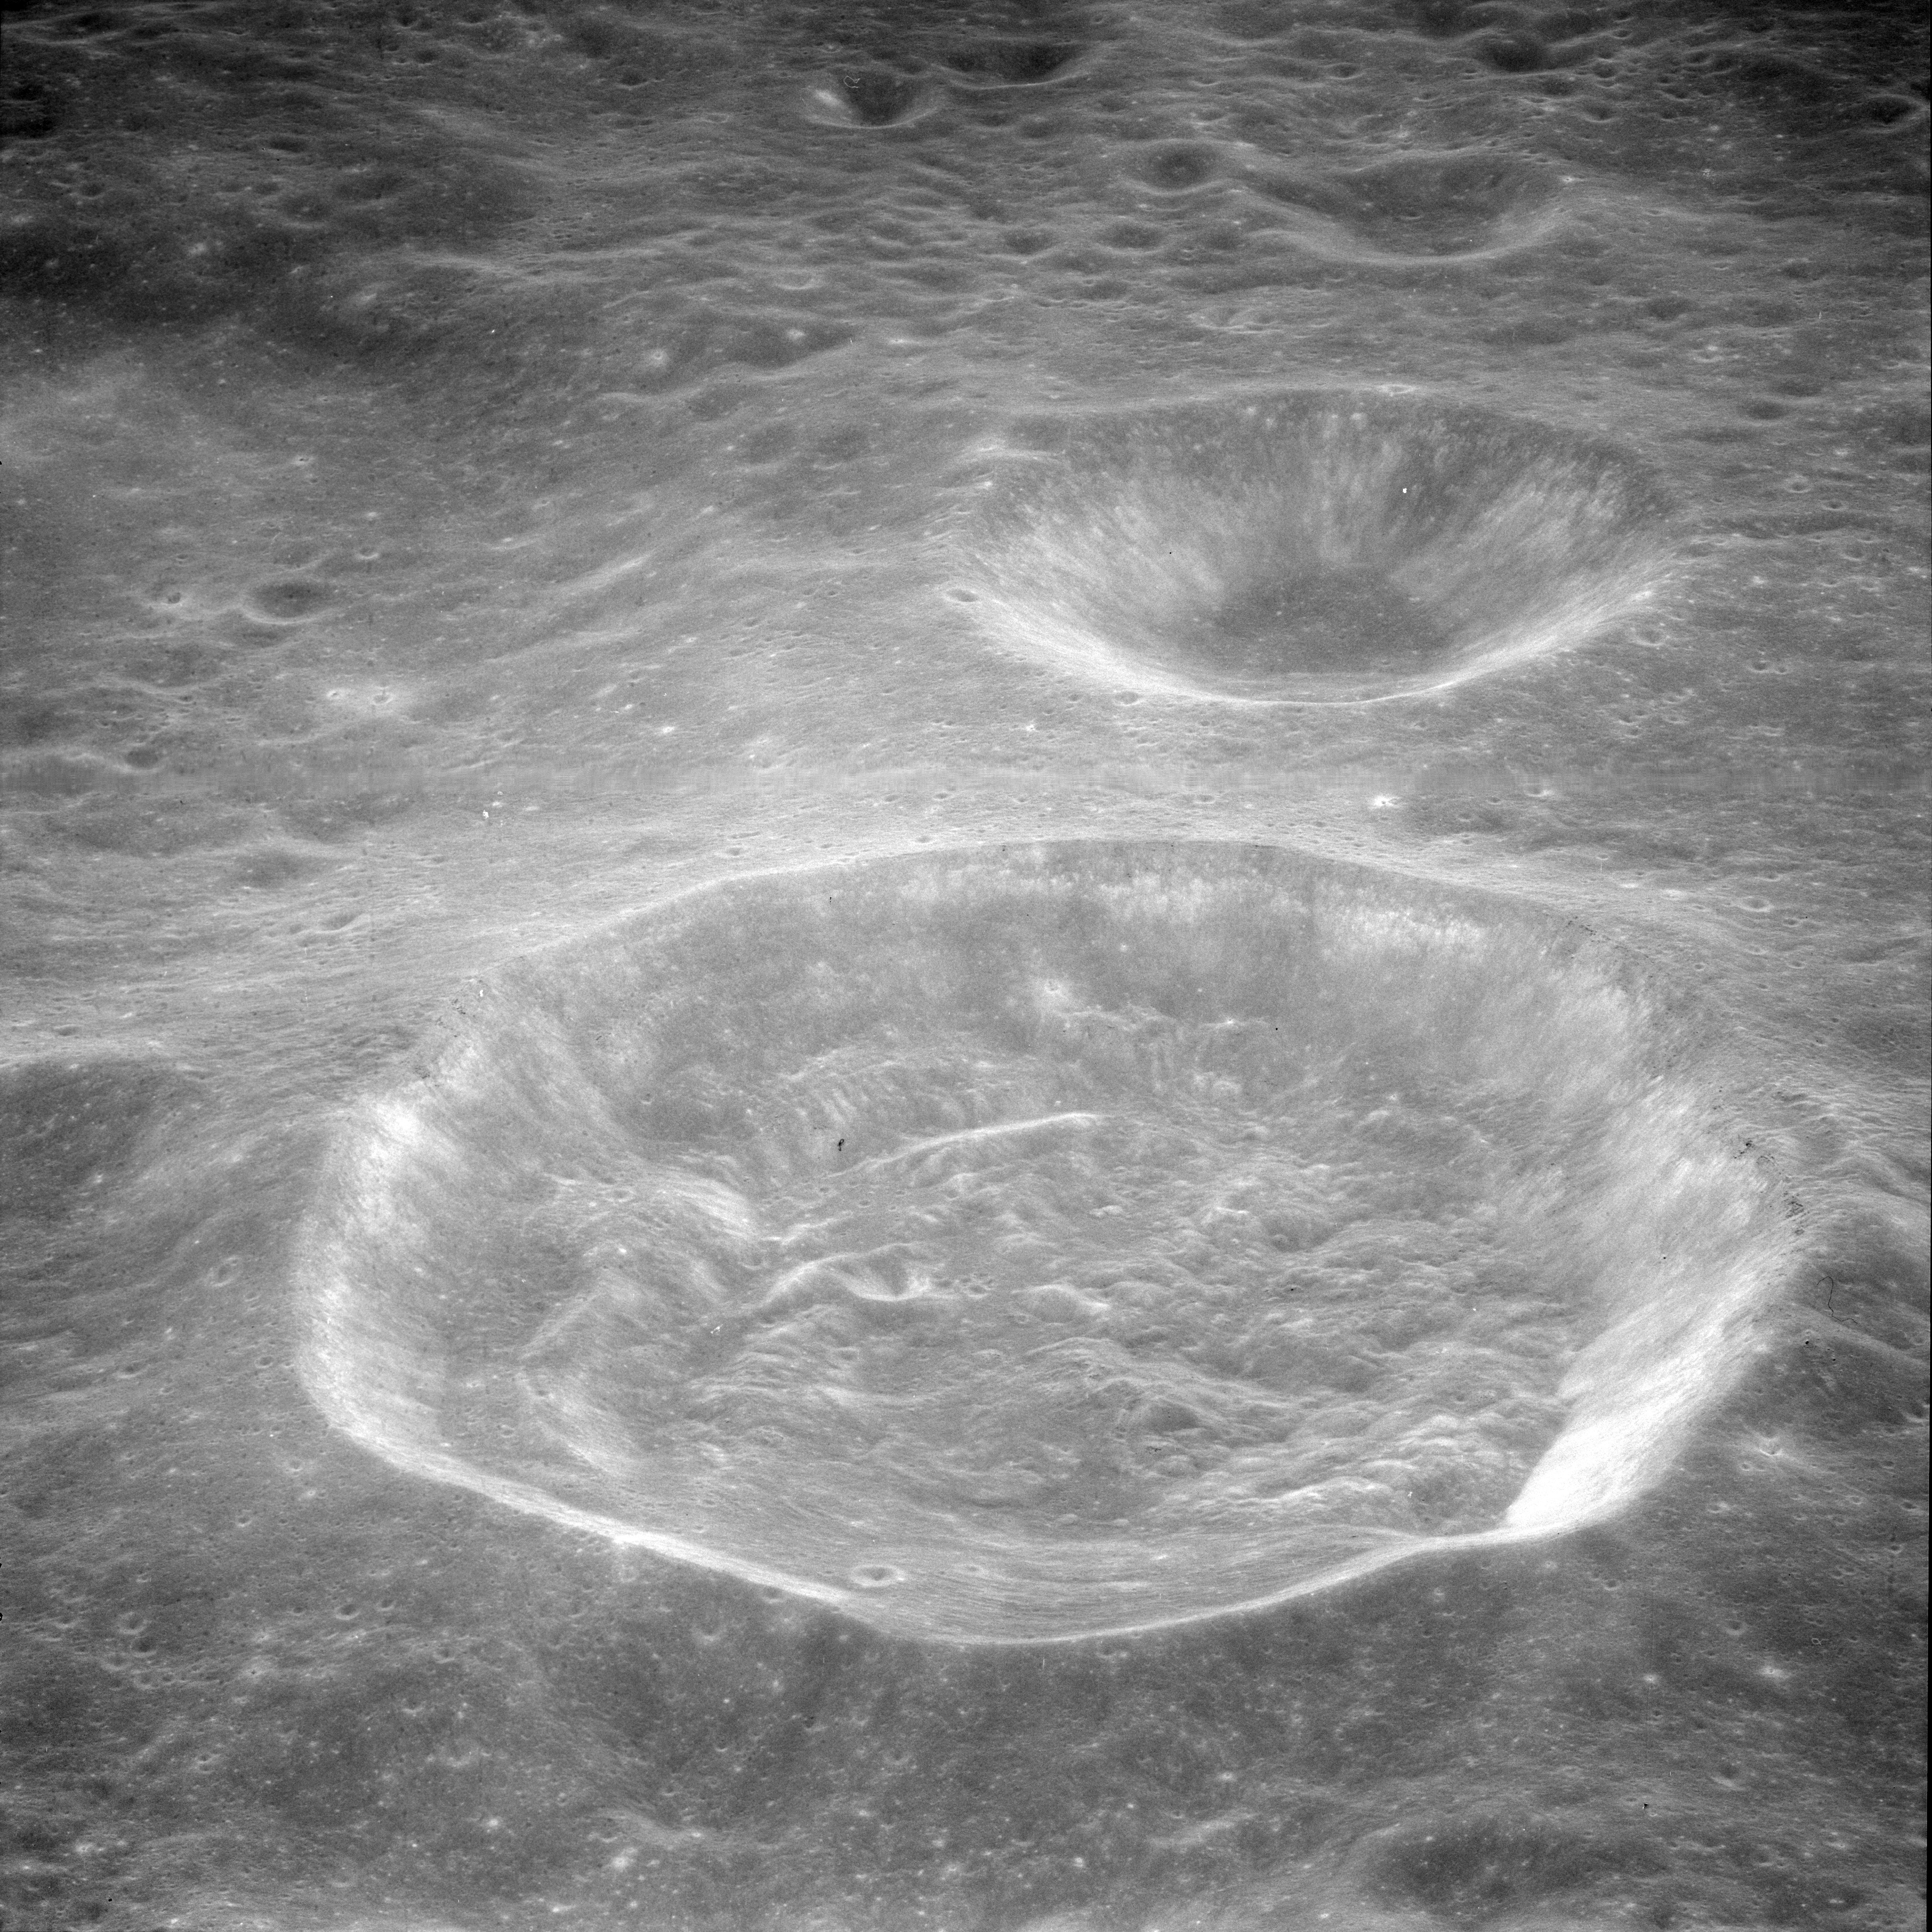
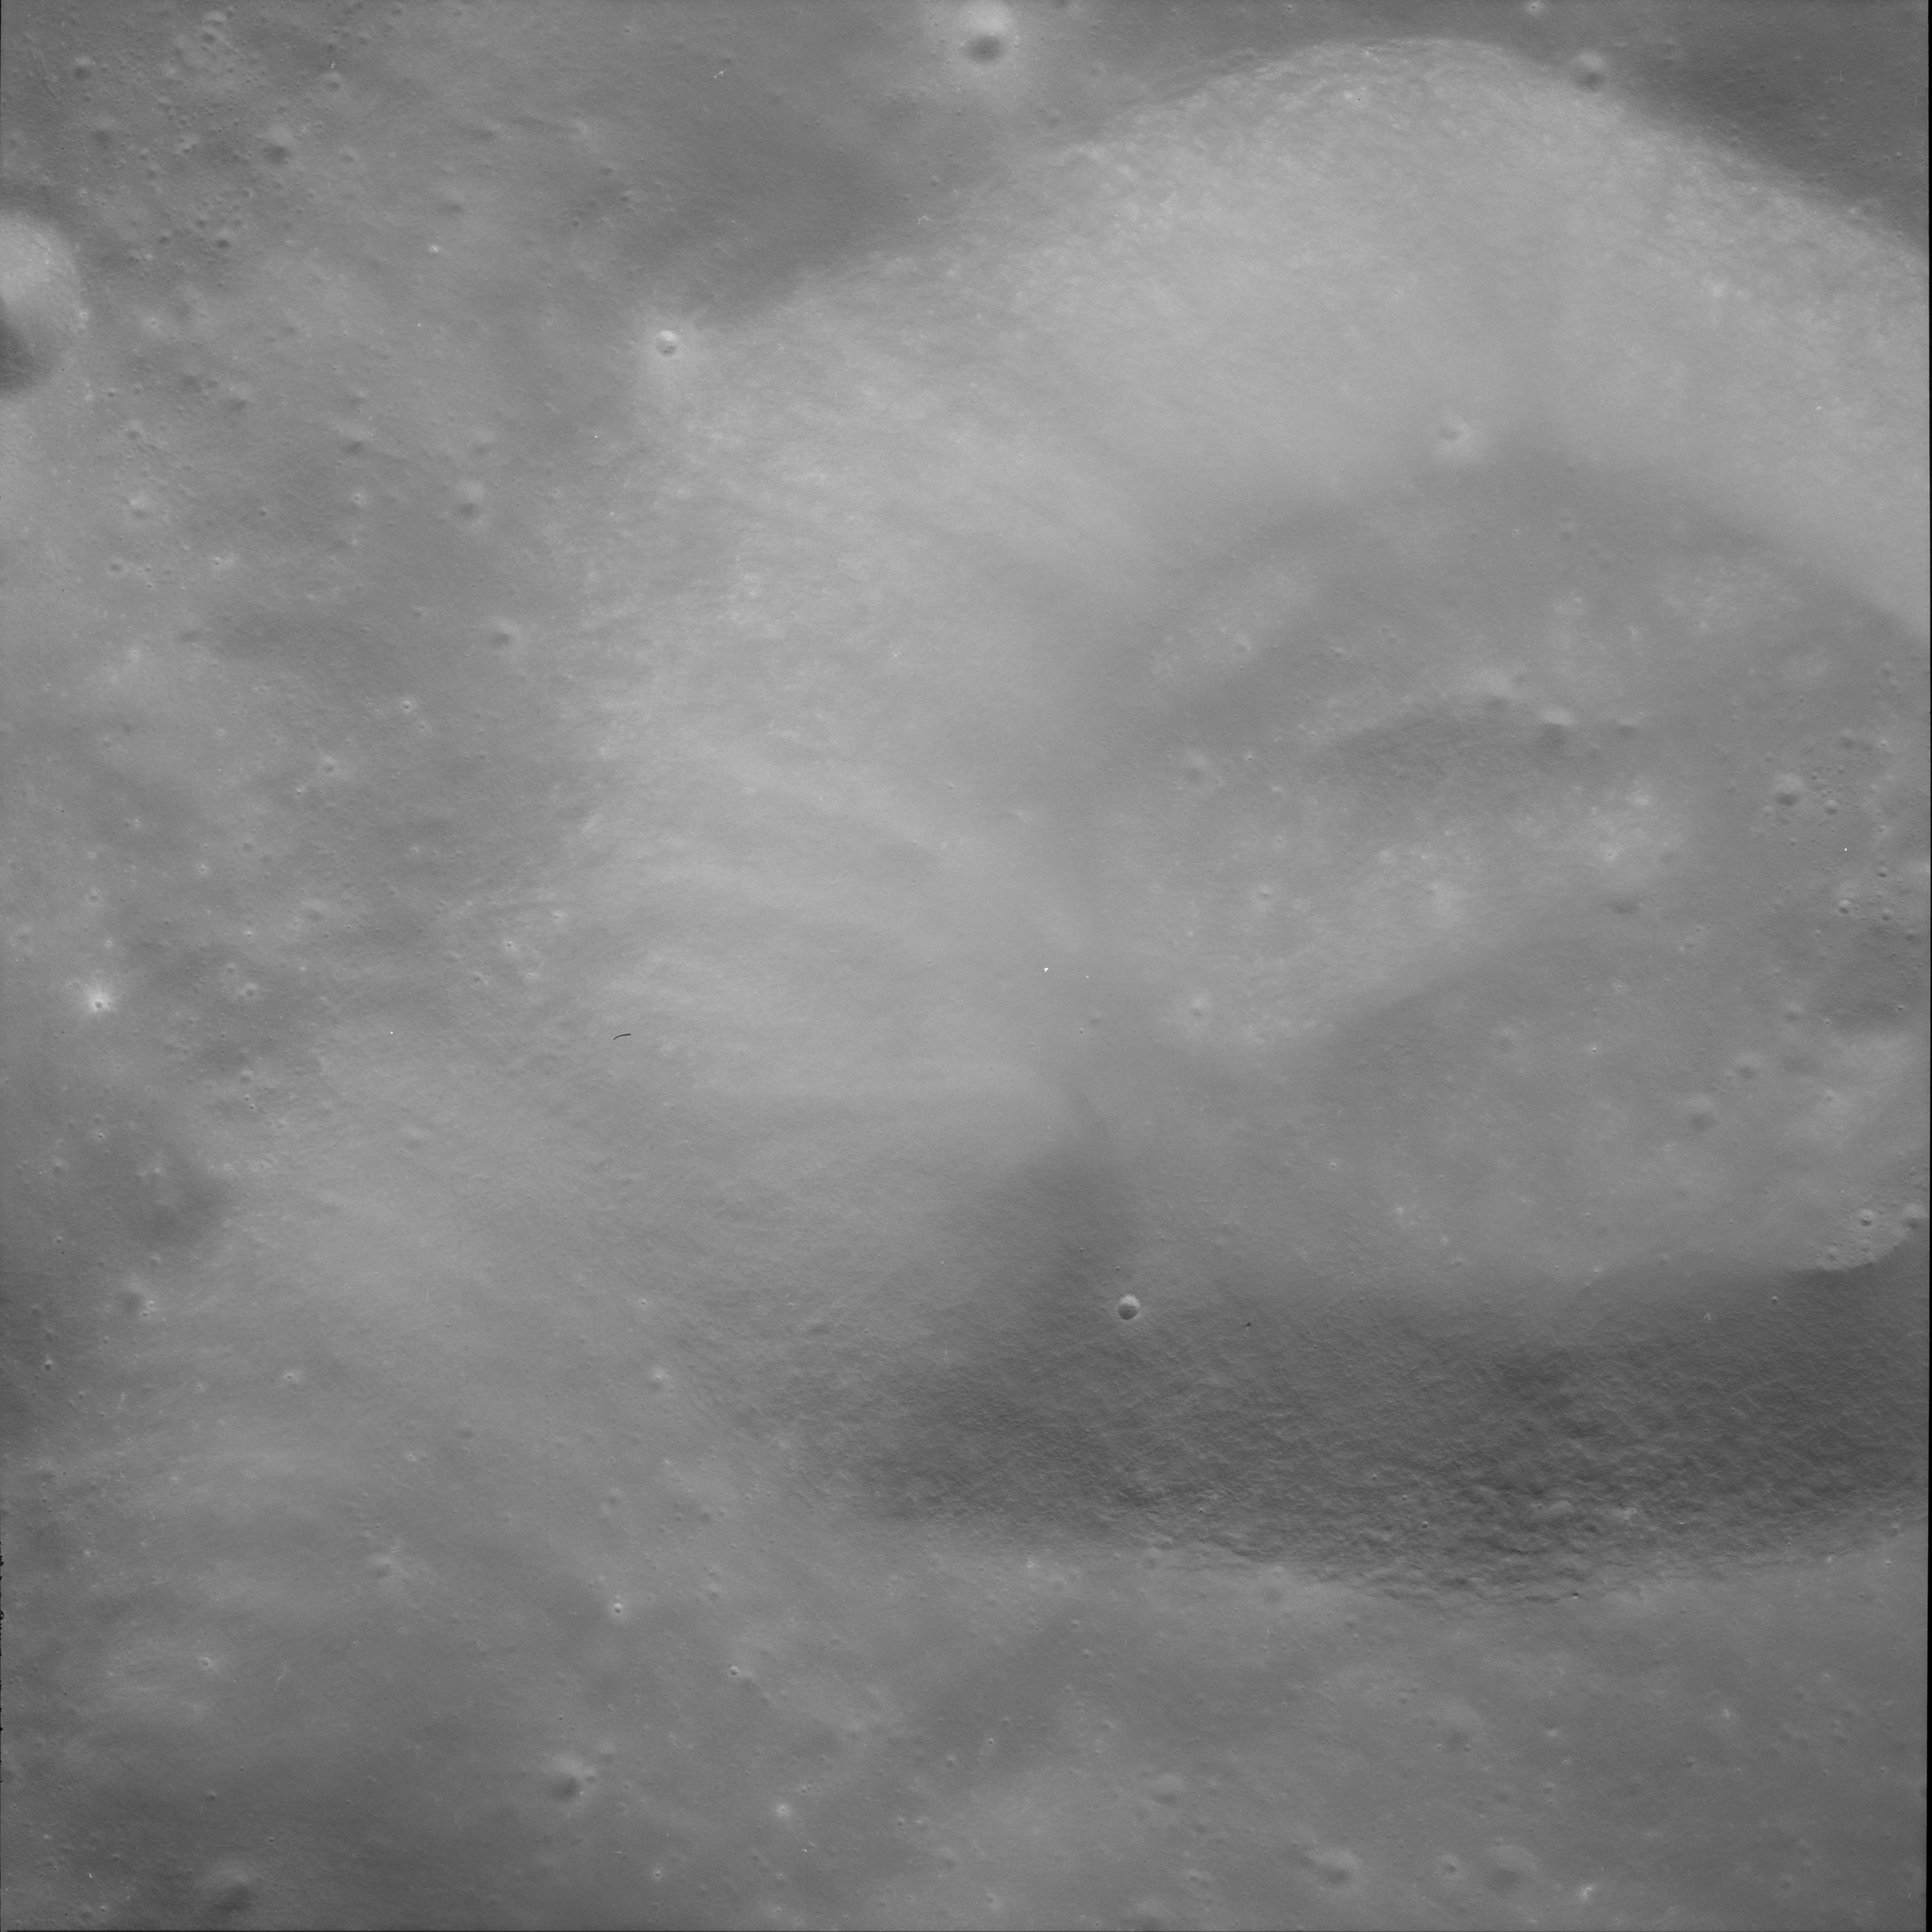
AS11-42-6204 Browse or print resolution. Mare Spumans. Respighi lower left. Pomortsev in centre of frame. Image credit: Image Science and Analysis Laboratory, NASA-Johnson Space Center. |
|
AS11-42-6205 Browse or print resolution. Mare Spumans. Respighi lower left. Pomortsev lower right of centre. Image credit: Image Science and Analysis Laboratory, NASA-Johnson Space Center. |
|
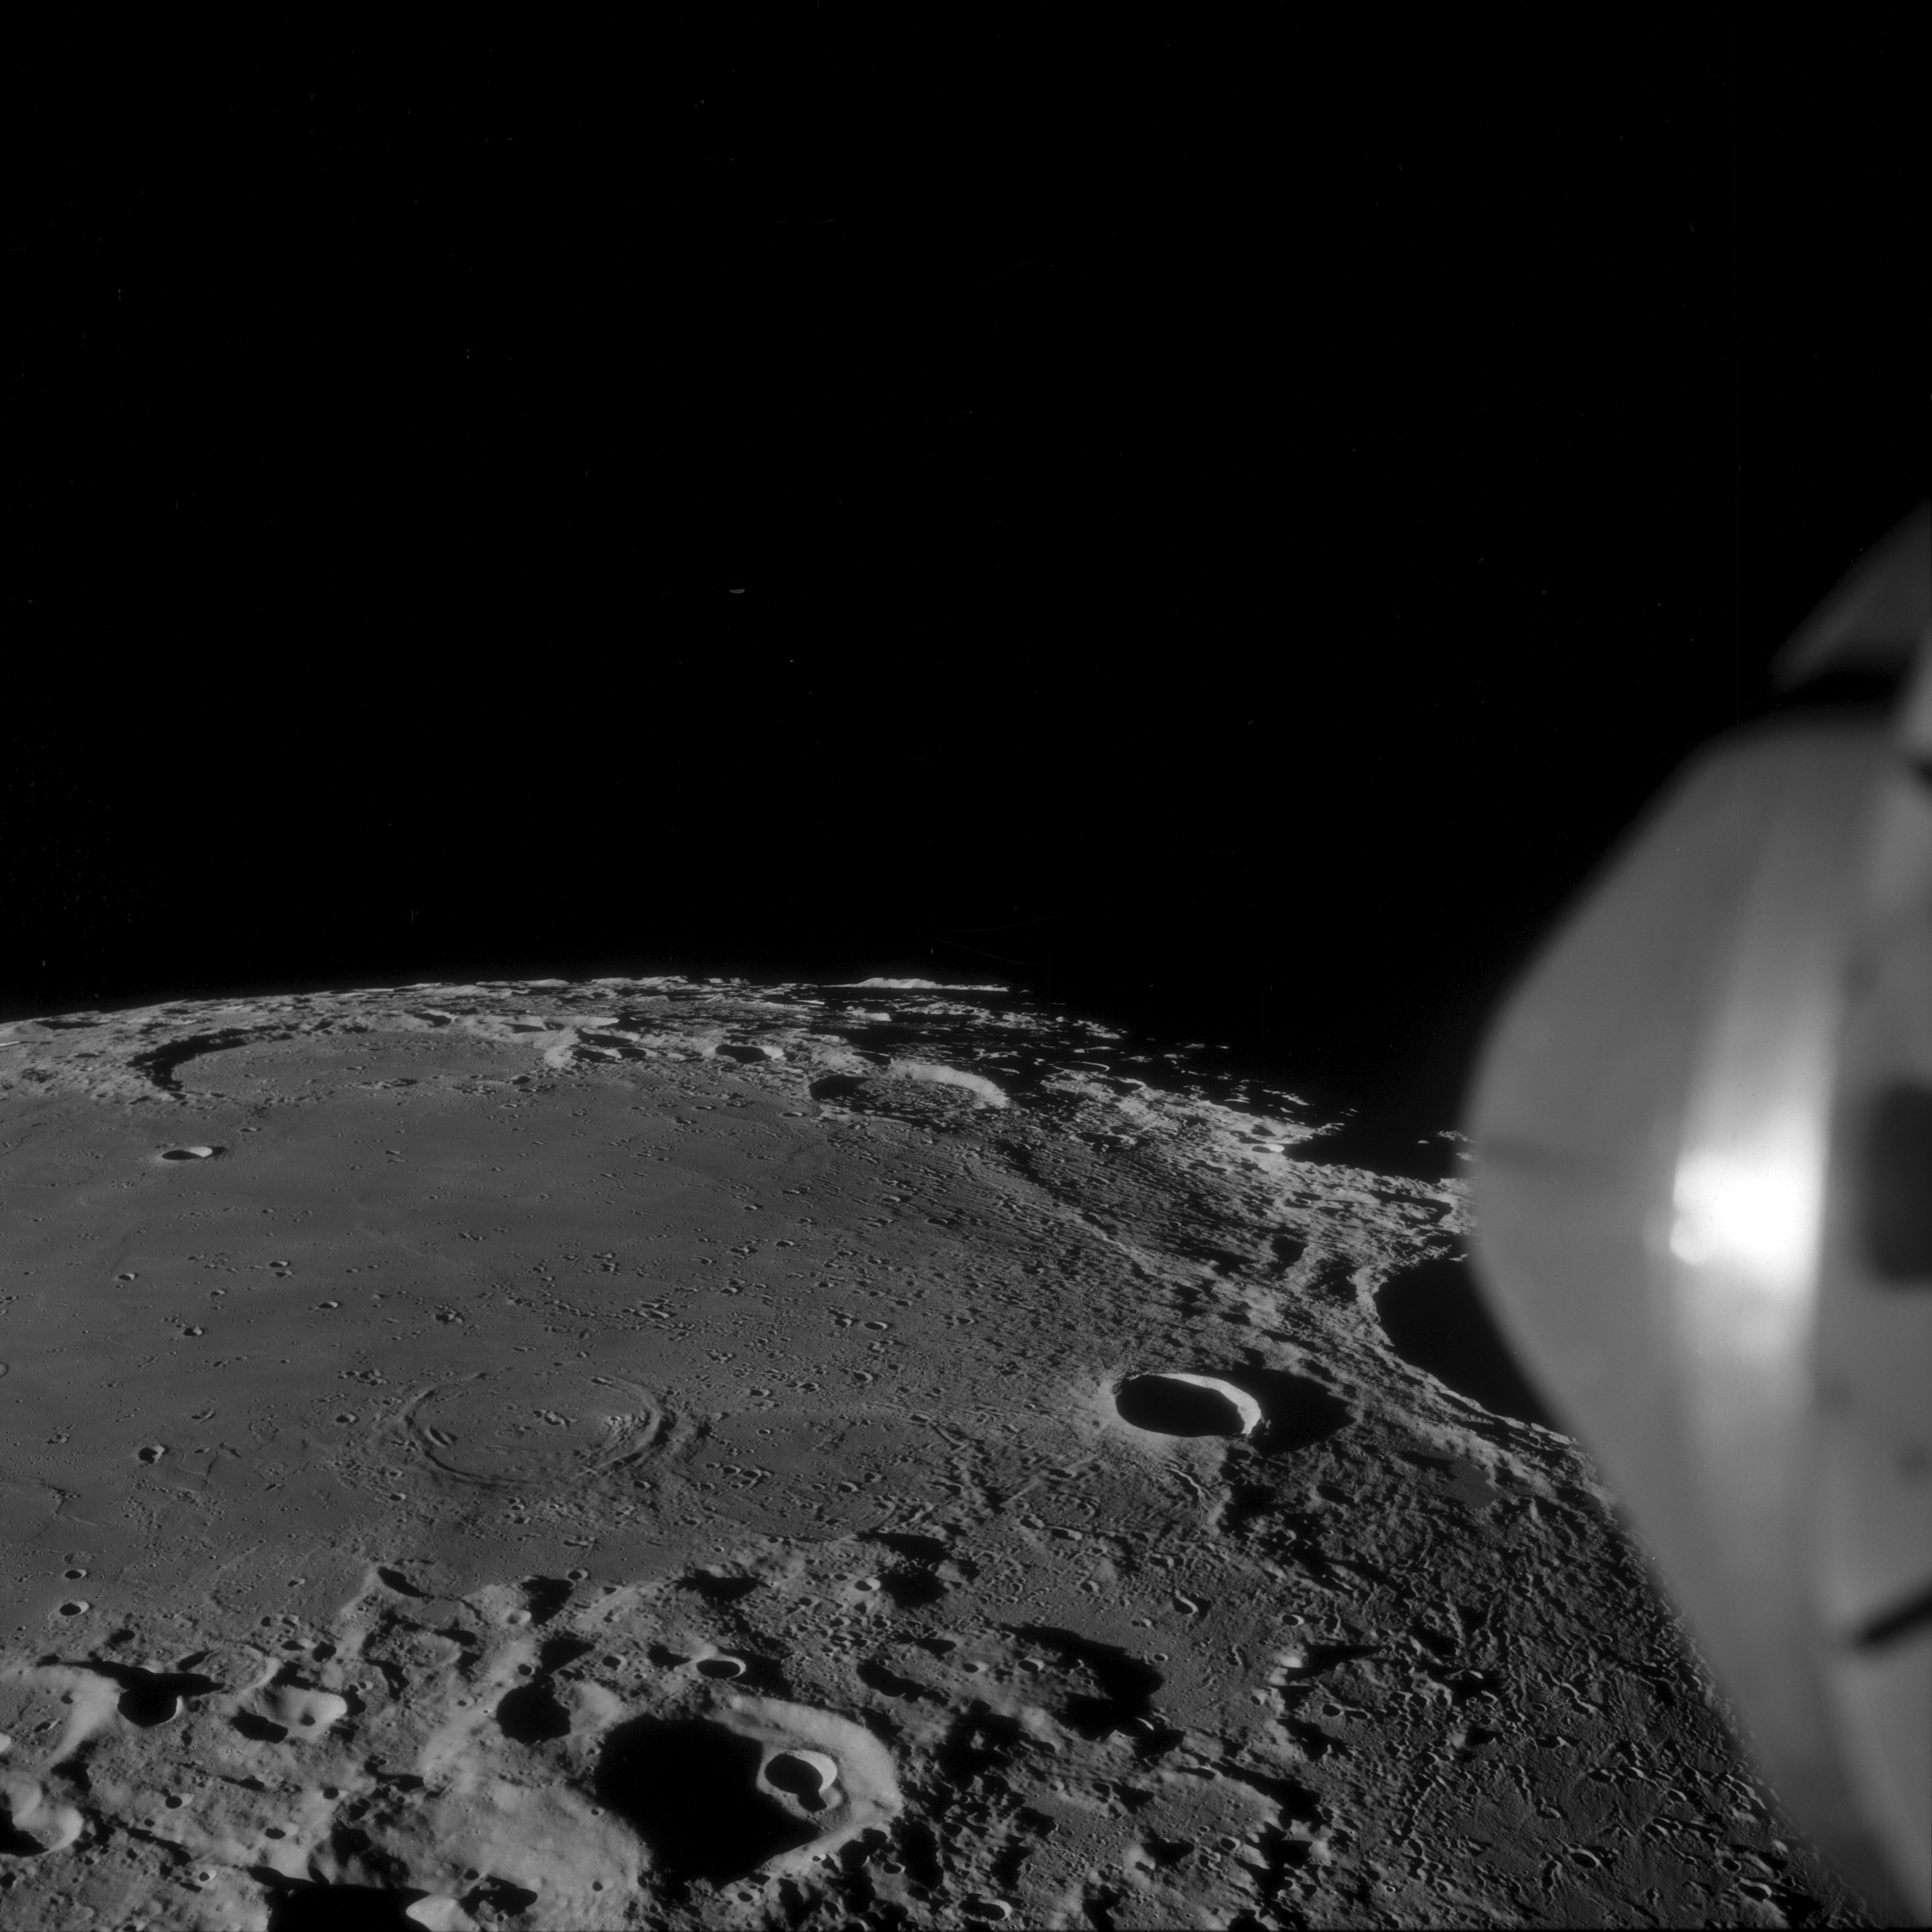
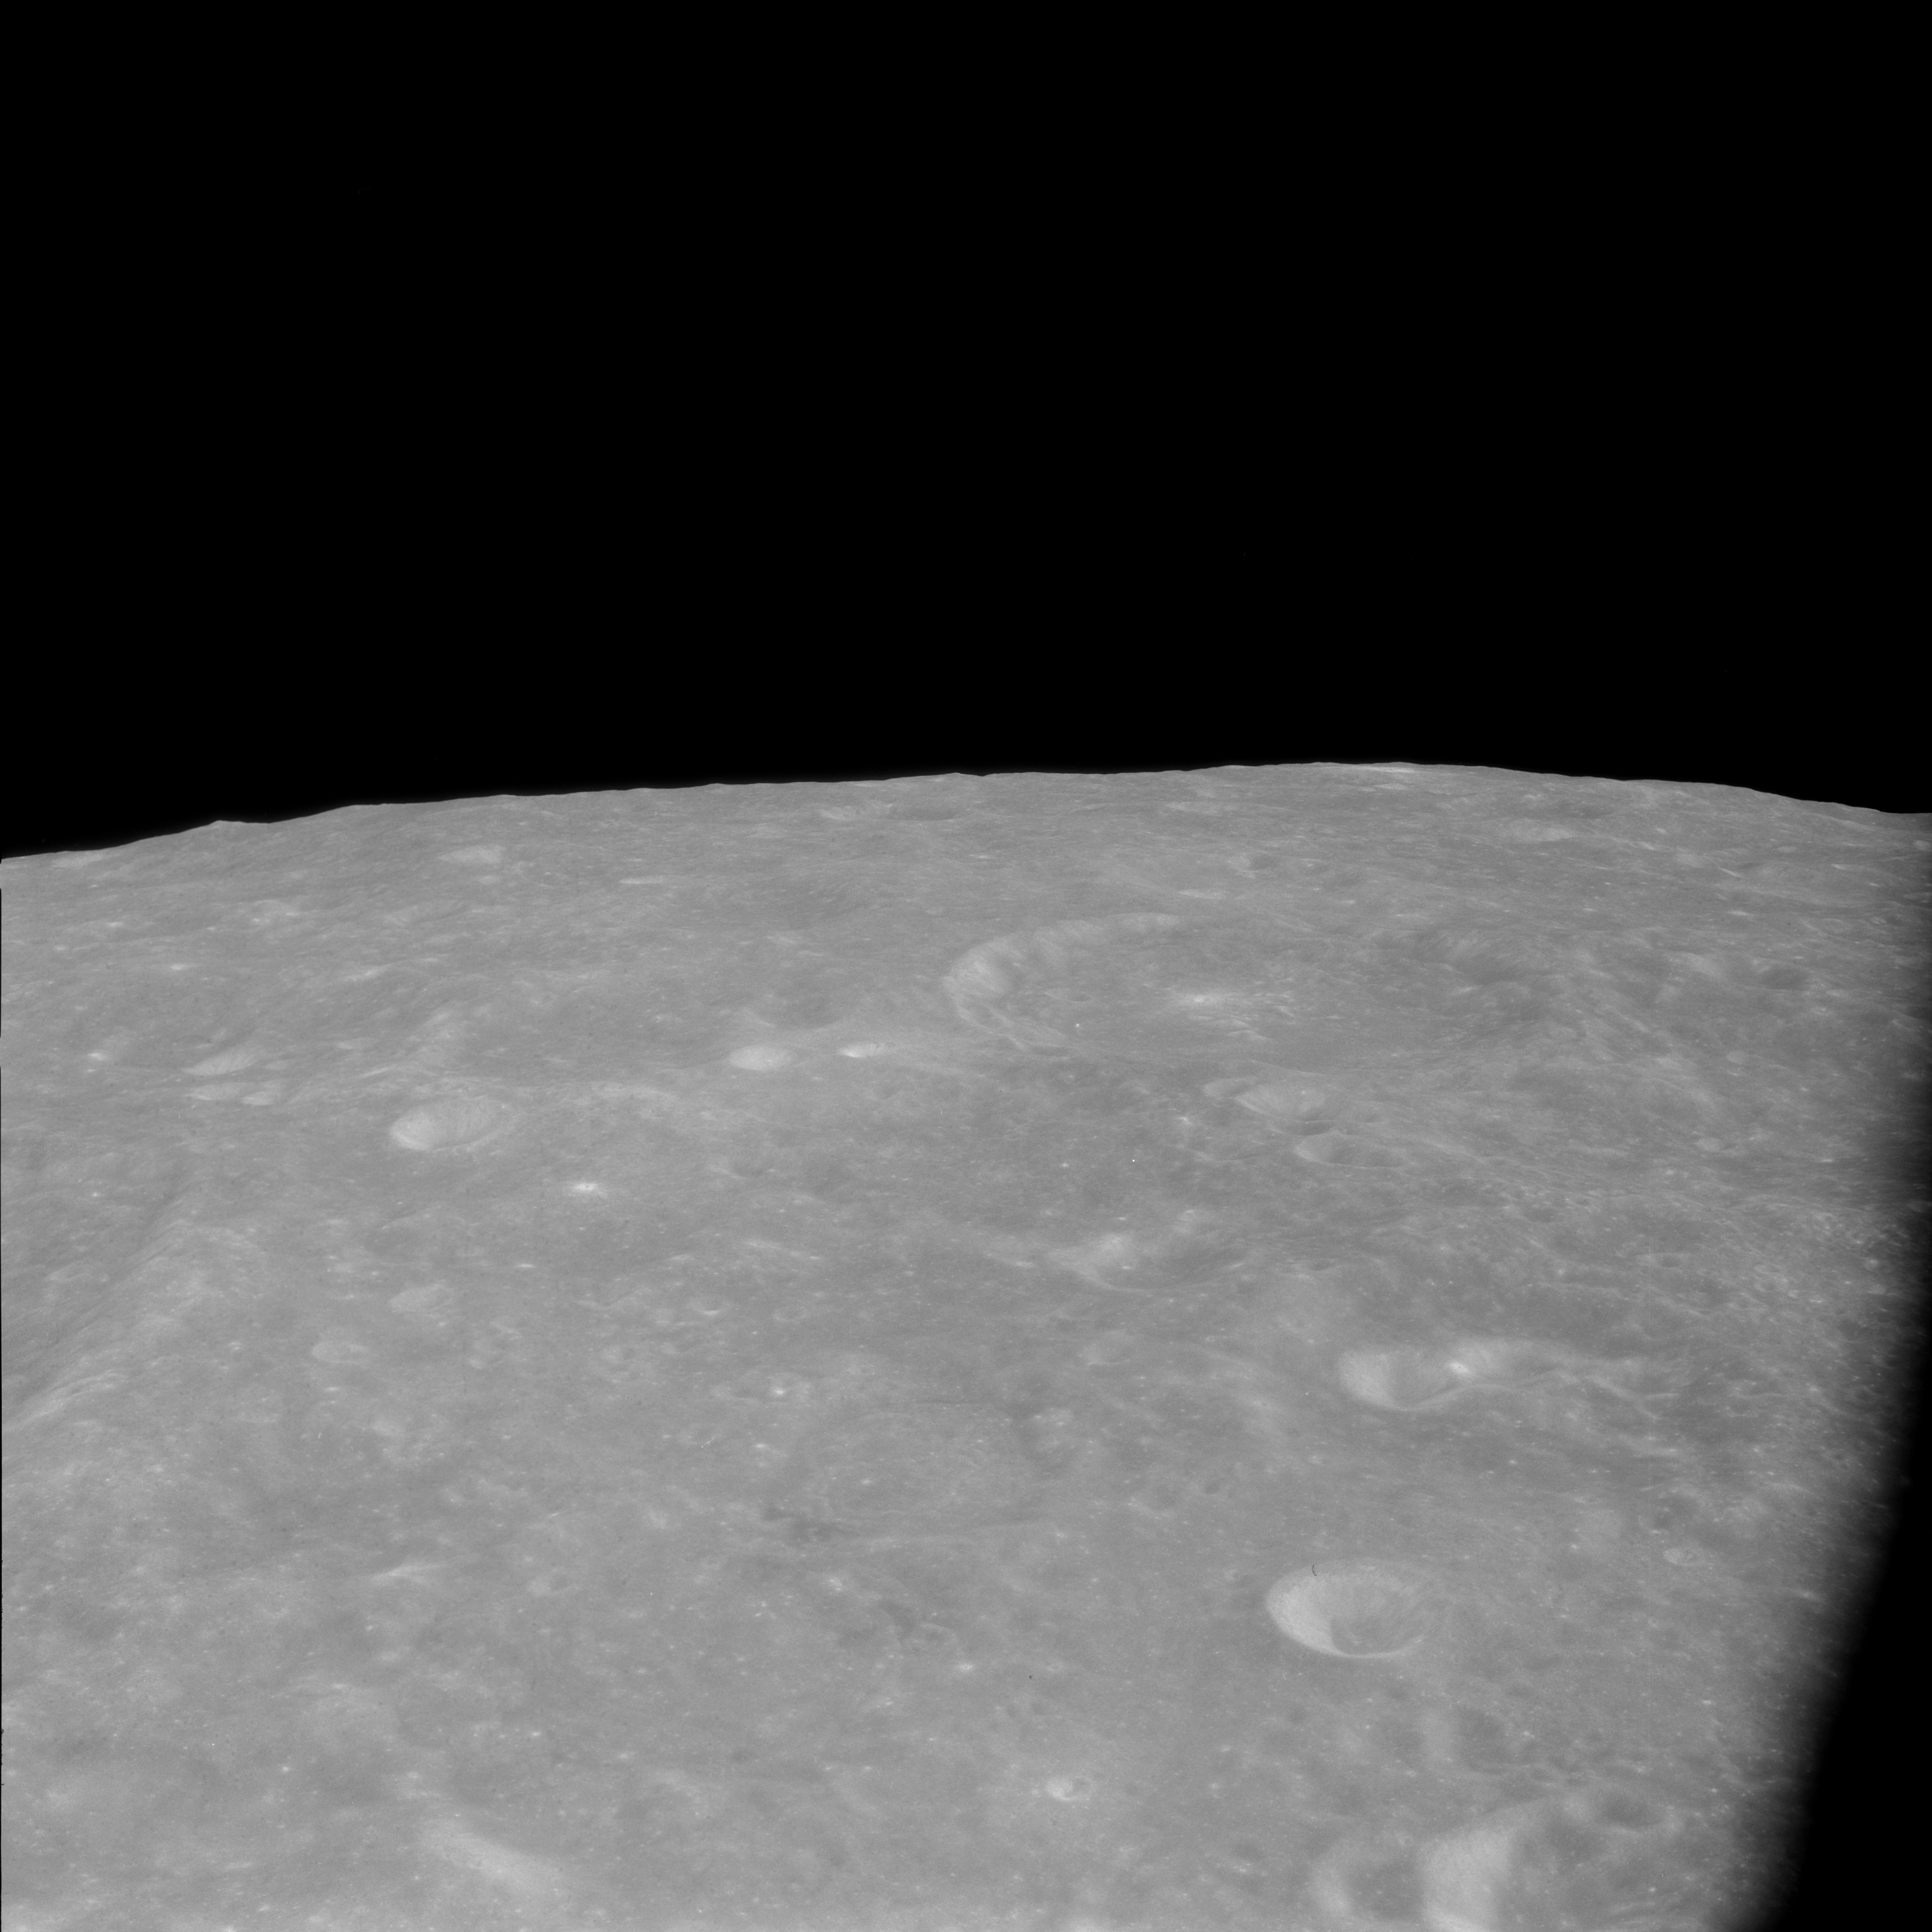
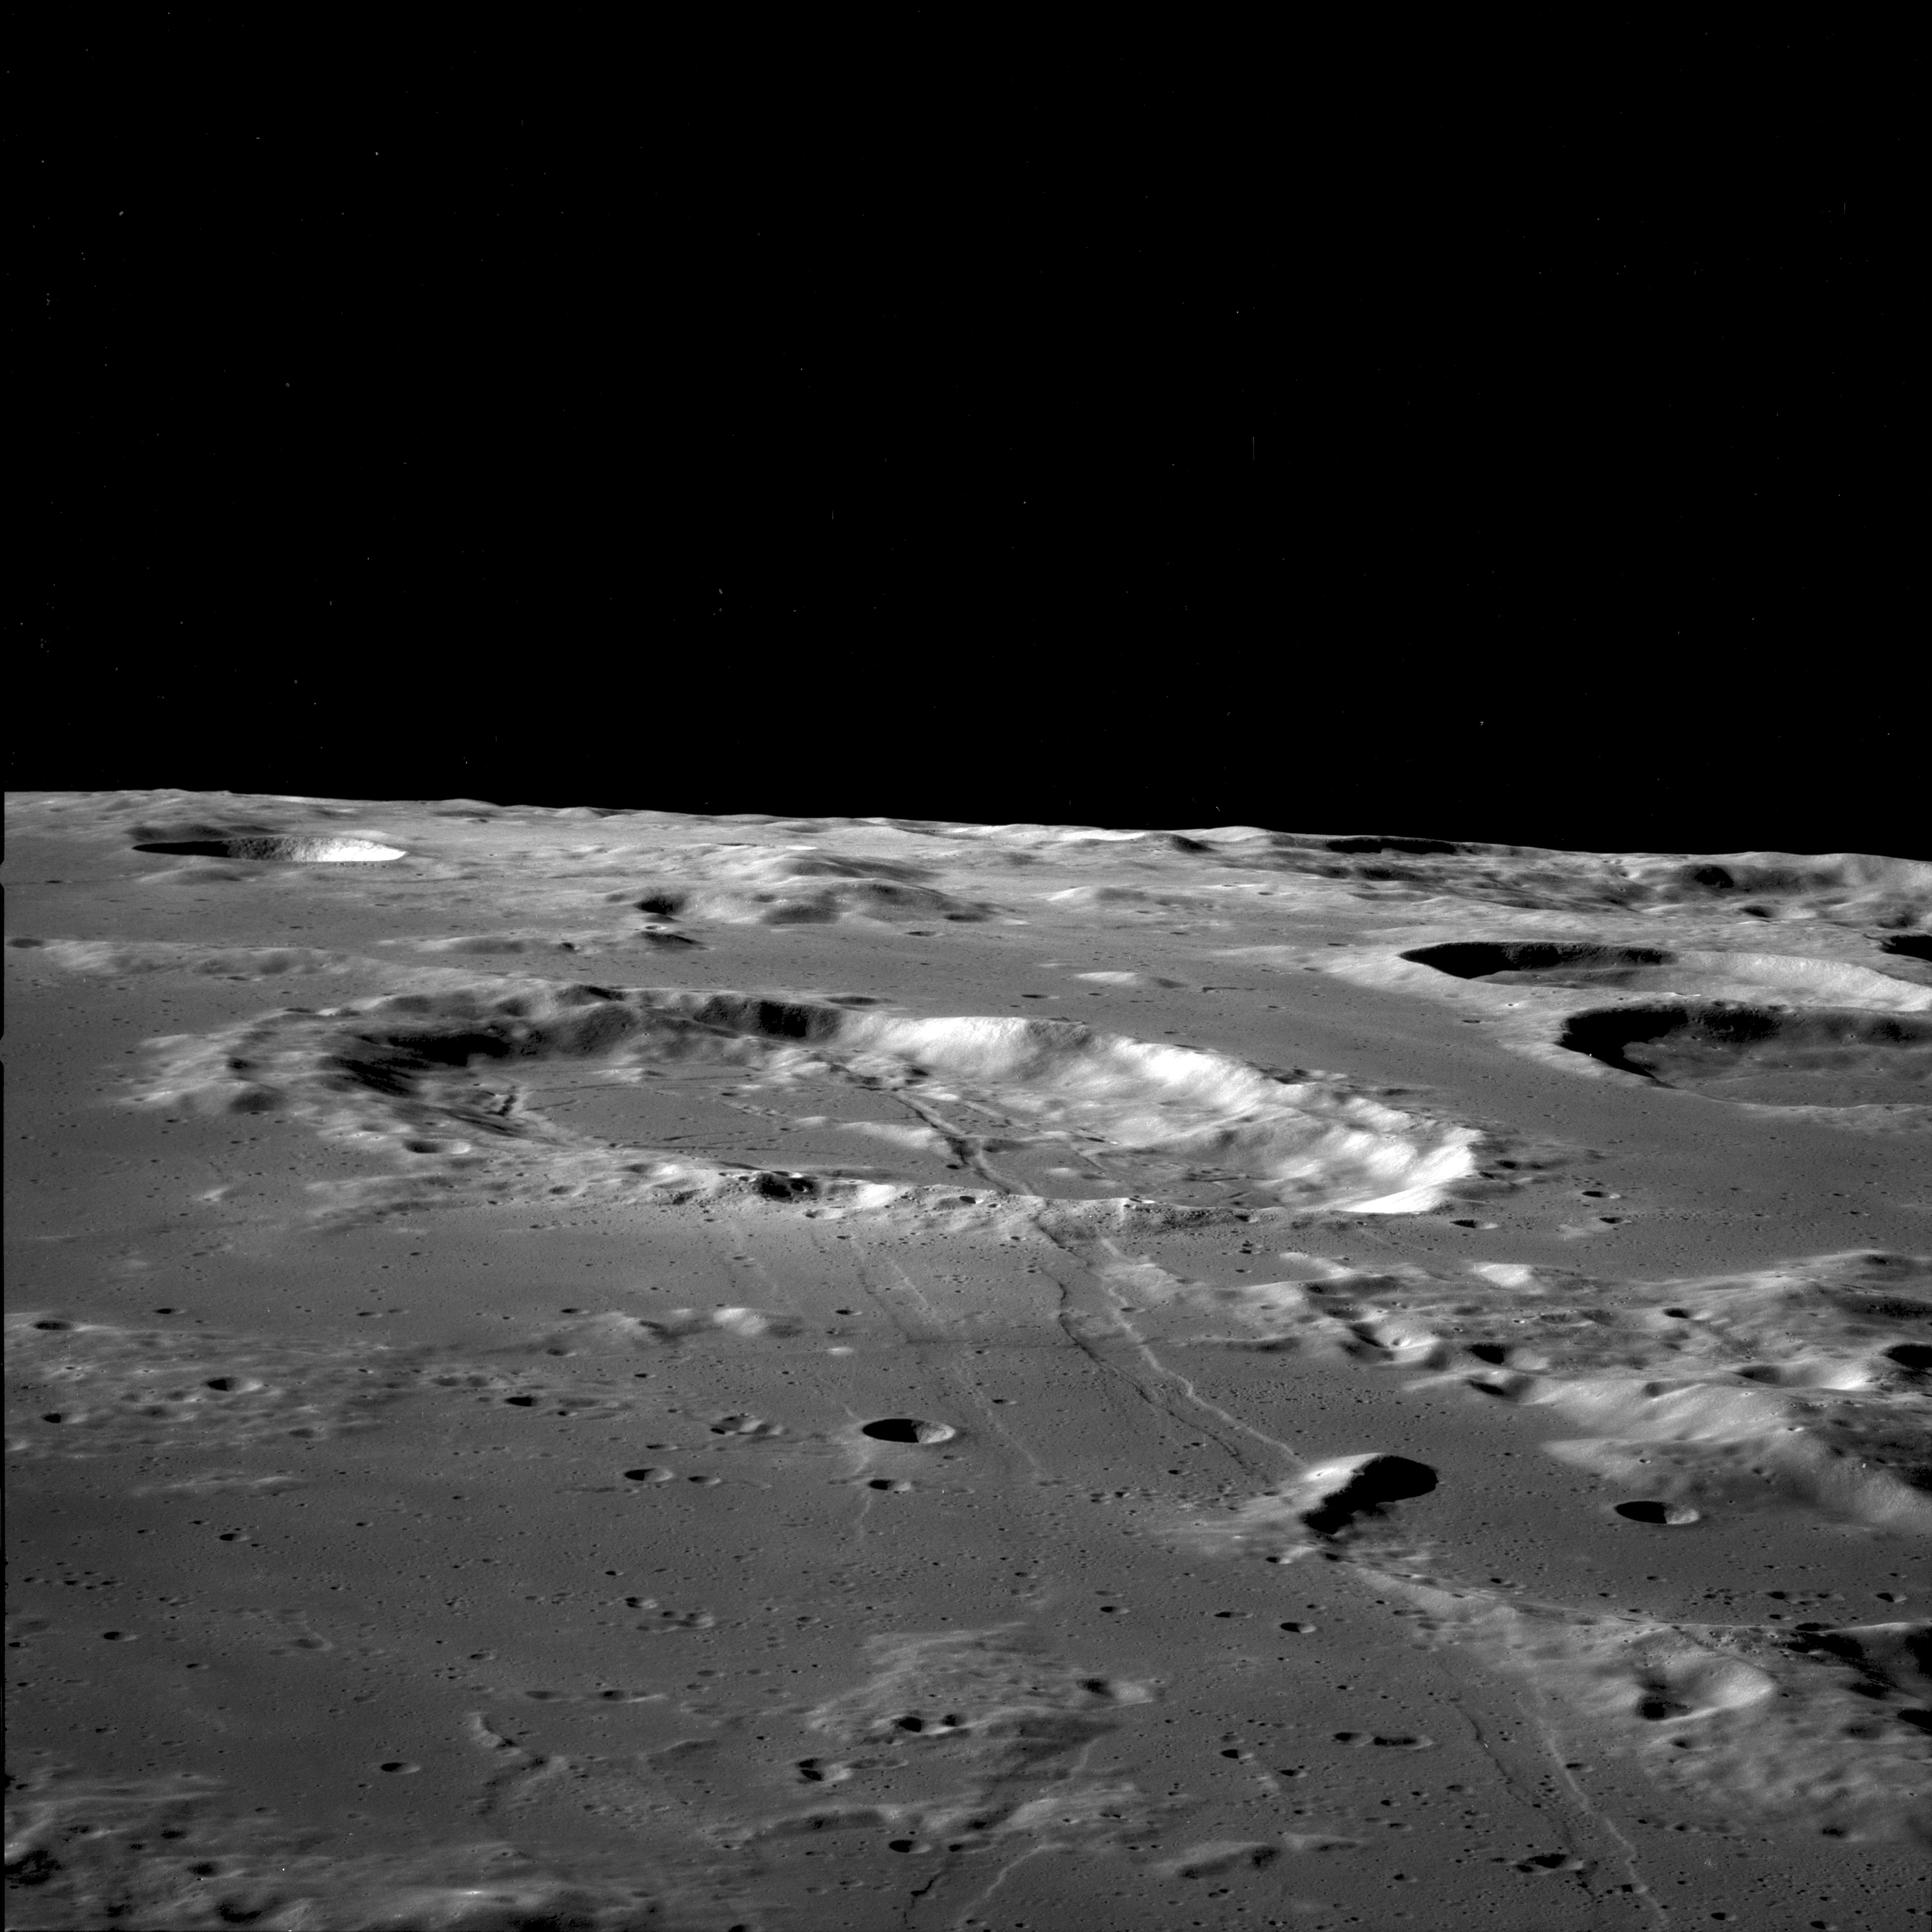
AS11-42-6206 Browse or print resolution. Mare Crisium on horizon. Crater Dubyago is top-left with Mare Undarum beyond. Condorcet is just below centre. Image credit: Image Science and Analysis Laboratory, NASA-Johnson Space Center. |
|
AS11-42-6207 Browse or print resolution. Crater Hansen is upper centre. Sabatier is lower centre. Image credit: Image Science and Analysis Laboratory, NASA-Johnson Space Center. |
|
AS11-42-6208 Browse or print resolution. Mare Undarum top right. Image credit: Image Science and Analysis Laboratory, NASA-Johnson Space Center. |

|
AS11-42-6209 Browse or print resolution. Crater Dubyago on left with Mare Undarum beyond. Mare Crisium on horizon lower right. Image credit: Image Science and Analysis Laboratory, NASA-Johnson Space Center. |

|
AS11-42-6210 Browse or print resolution. Crater Respighi in centre, Dubyago on right and Liouville lower centre. Image credit: Image Science and Analysis Laboratory, NASA-Johnson Space Center. |
|
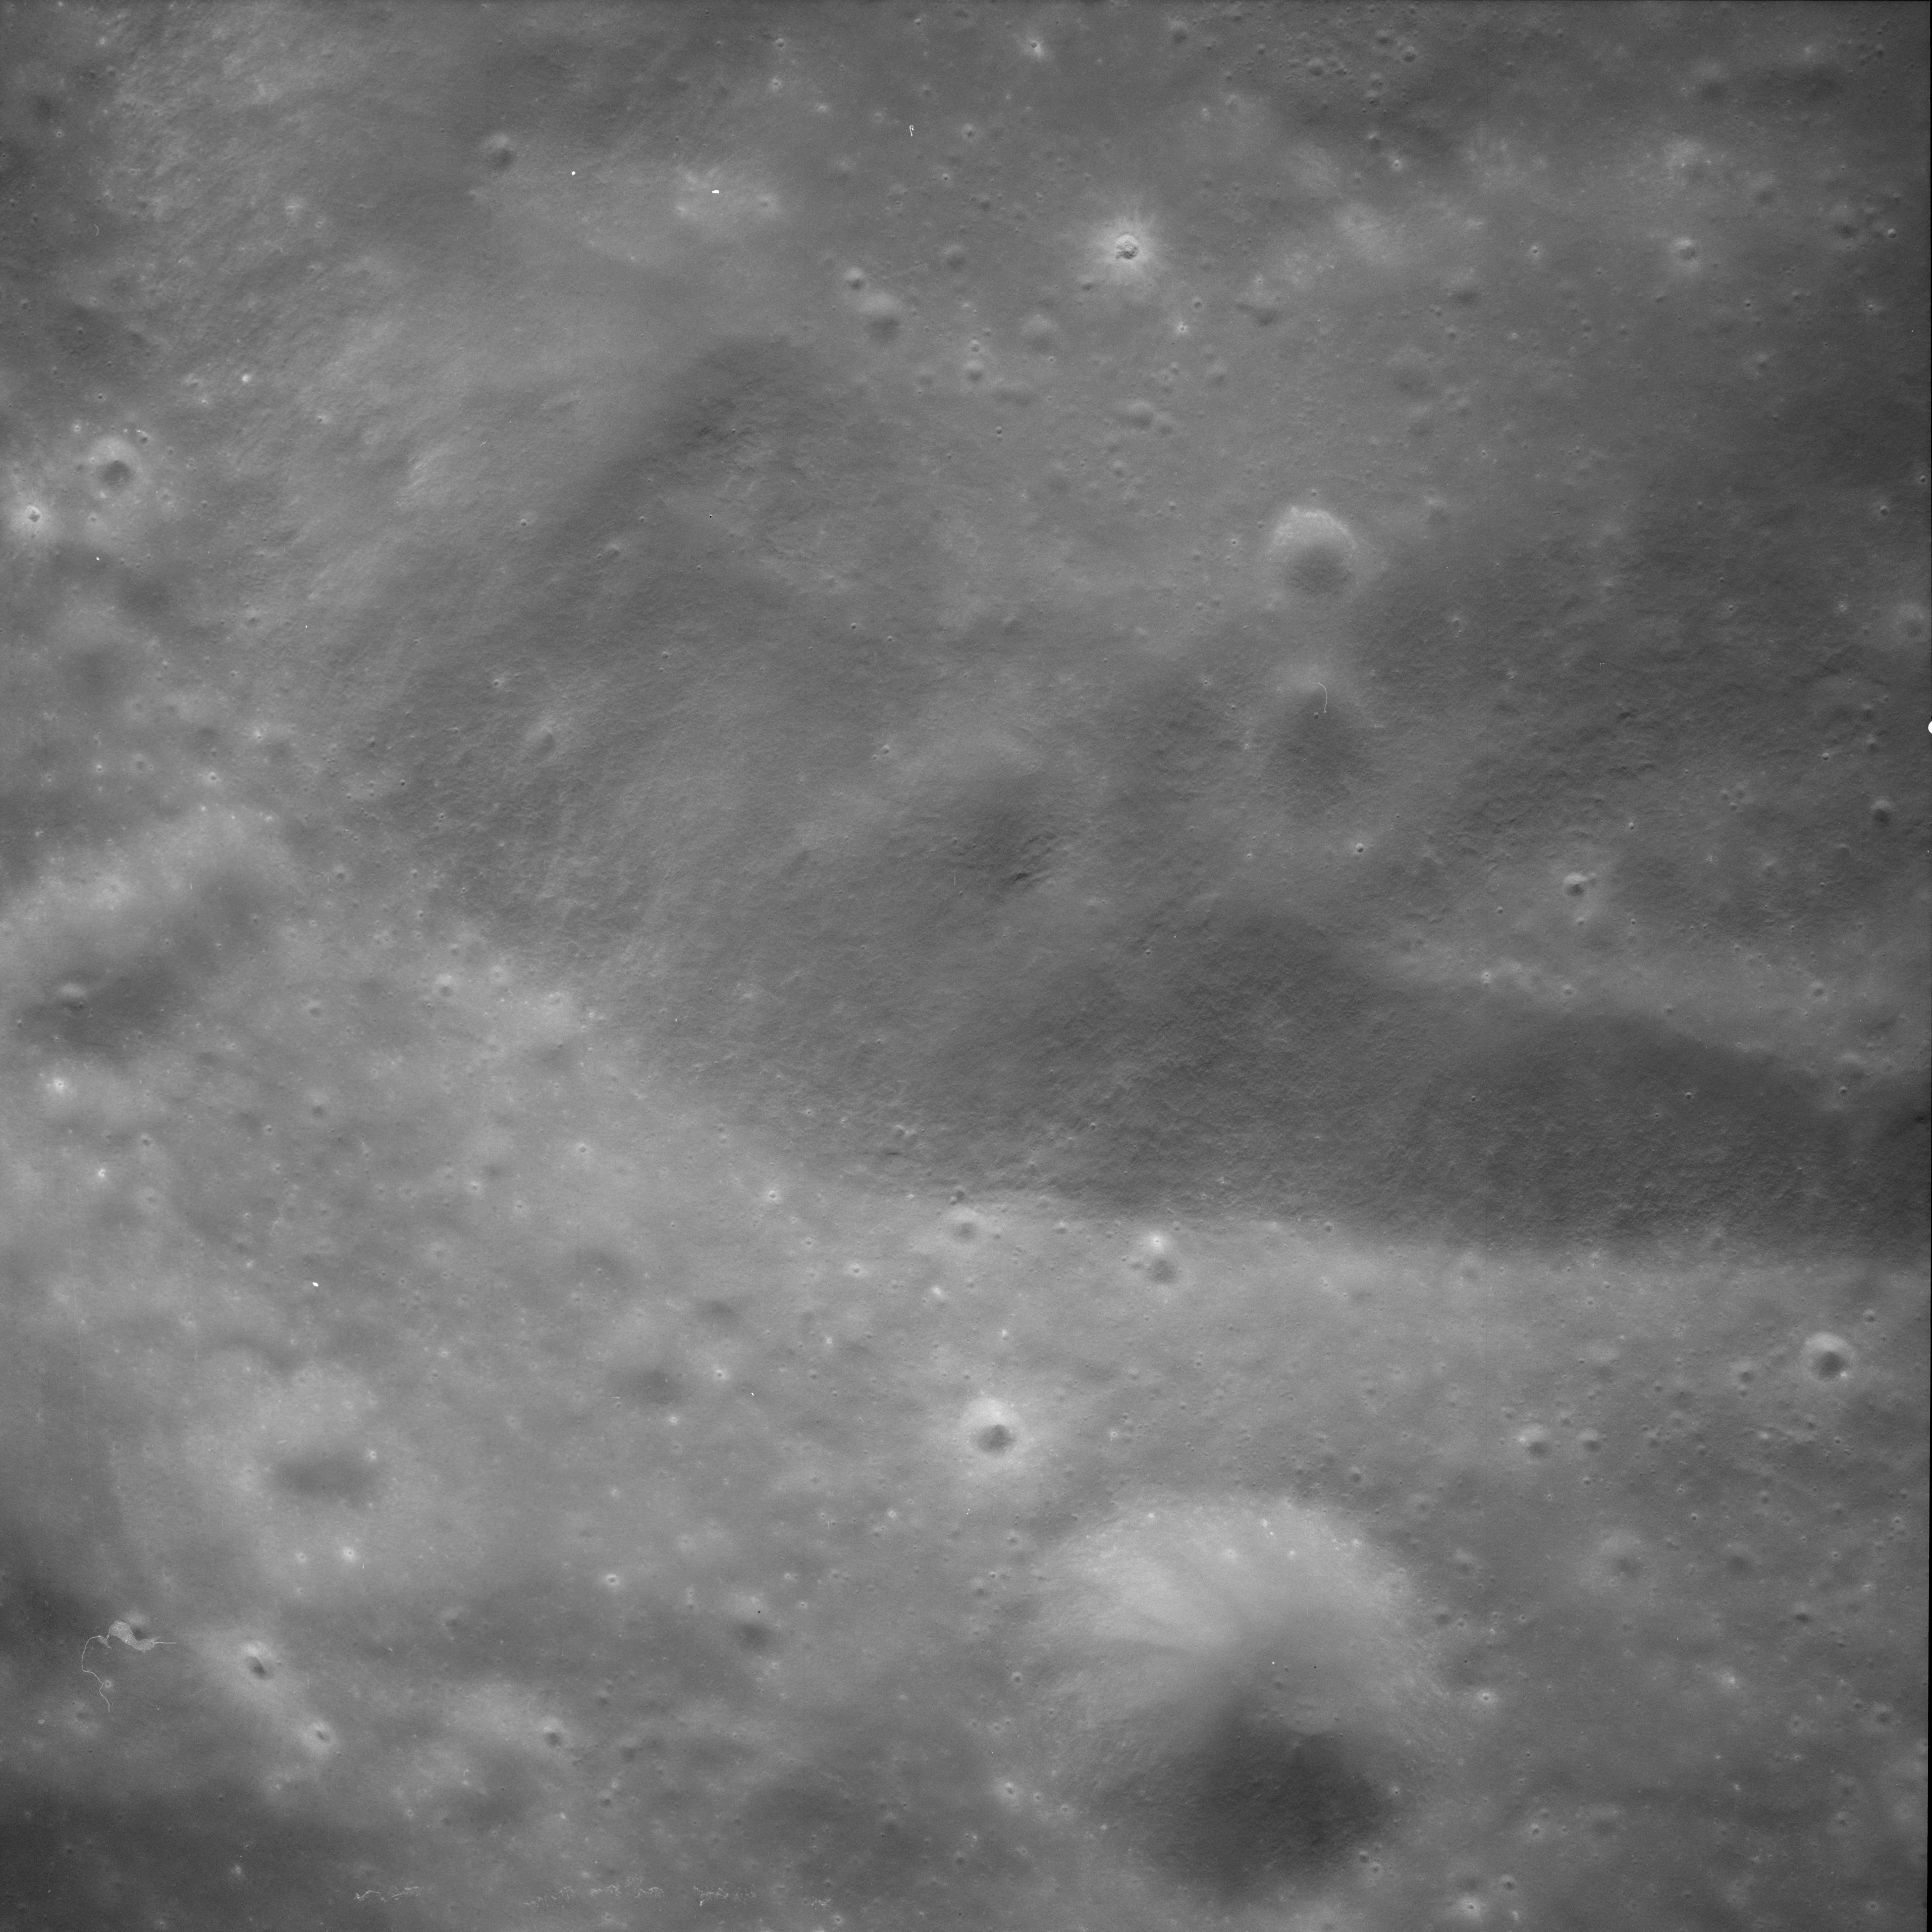
AS11-42-6211 Browse or print resolution. Mare Undarum lower left, Mare Spumans upper left. Mare Crisium on lower horizon and Mare Fecunditatis and Sinus Successus on upper horizon. Image credit: Image Science and Analysis Laboratory, NASA-Johnson Space Center. |

|
AS11-42-6212 Browse or print resolution. Crater Condorcet in centre and Mare Crisum beyond. Image credit: Image Science and Analysis Laboratory, NASA-Johnson Space Center. |

|
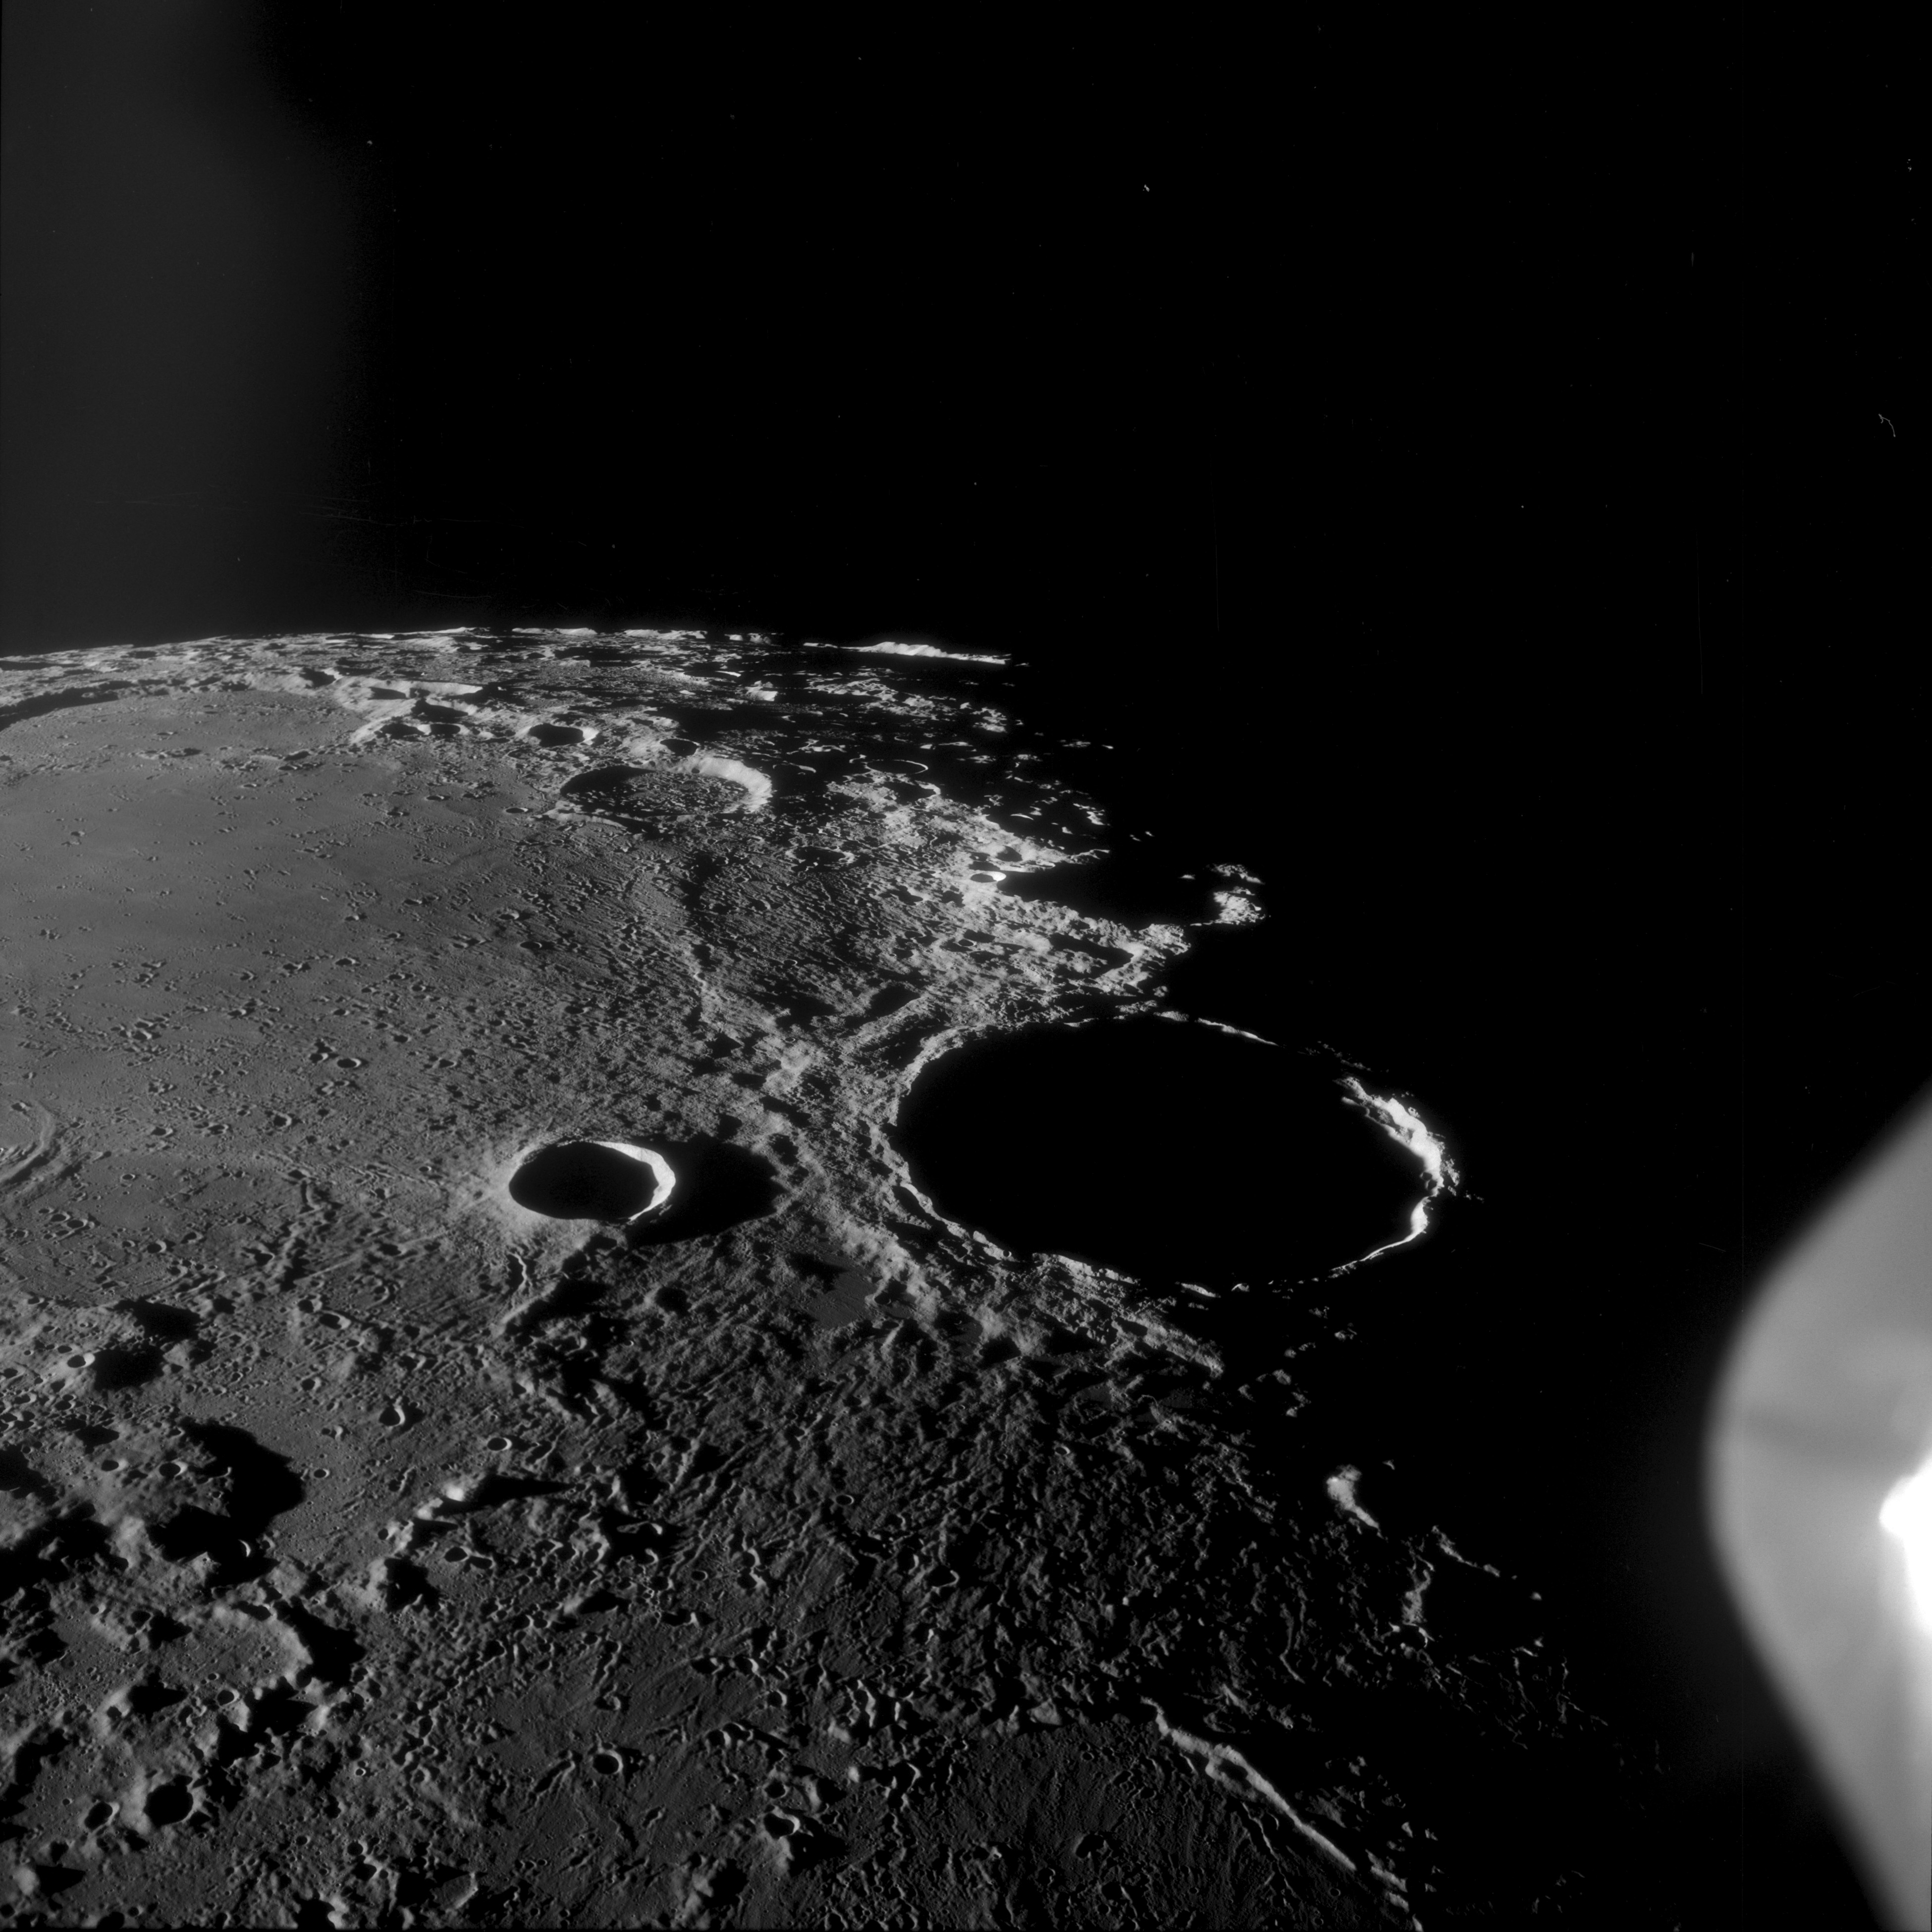
AS11-42-6213 Browse or print resolution. Mare Crisium on horizon. Crater Condorcet lower centre and Firmicus on upper left. Image credit: Image Science and Analysis Laboratory, NASA-Johnson Space Center. |

|
AS11-42-6214 Browse or print resolution. Mare Crisium on lower horizon. Craters Firmicus lower left with Lacus Perseverantiae beyond. Apollonius upper left of centre. Image credit: Image Science and Analysis Laboratory, NASA-Johnson Space Center. |
|
AS11-42-6215 Browse or print resolution. Mare Crisium upper right. Crater Condorcet in centre. Image credit: Image Science and Analysis Laboratory, NASA-Johnson Space Center. |
|
AS11-42-6216 Browse or print resolution. Crater Webb and Mare Fecunditatis. Image credit: Image Science and Analysis Laboratory, NASA-Johnson Space Center. |

|
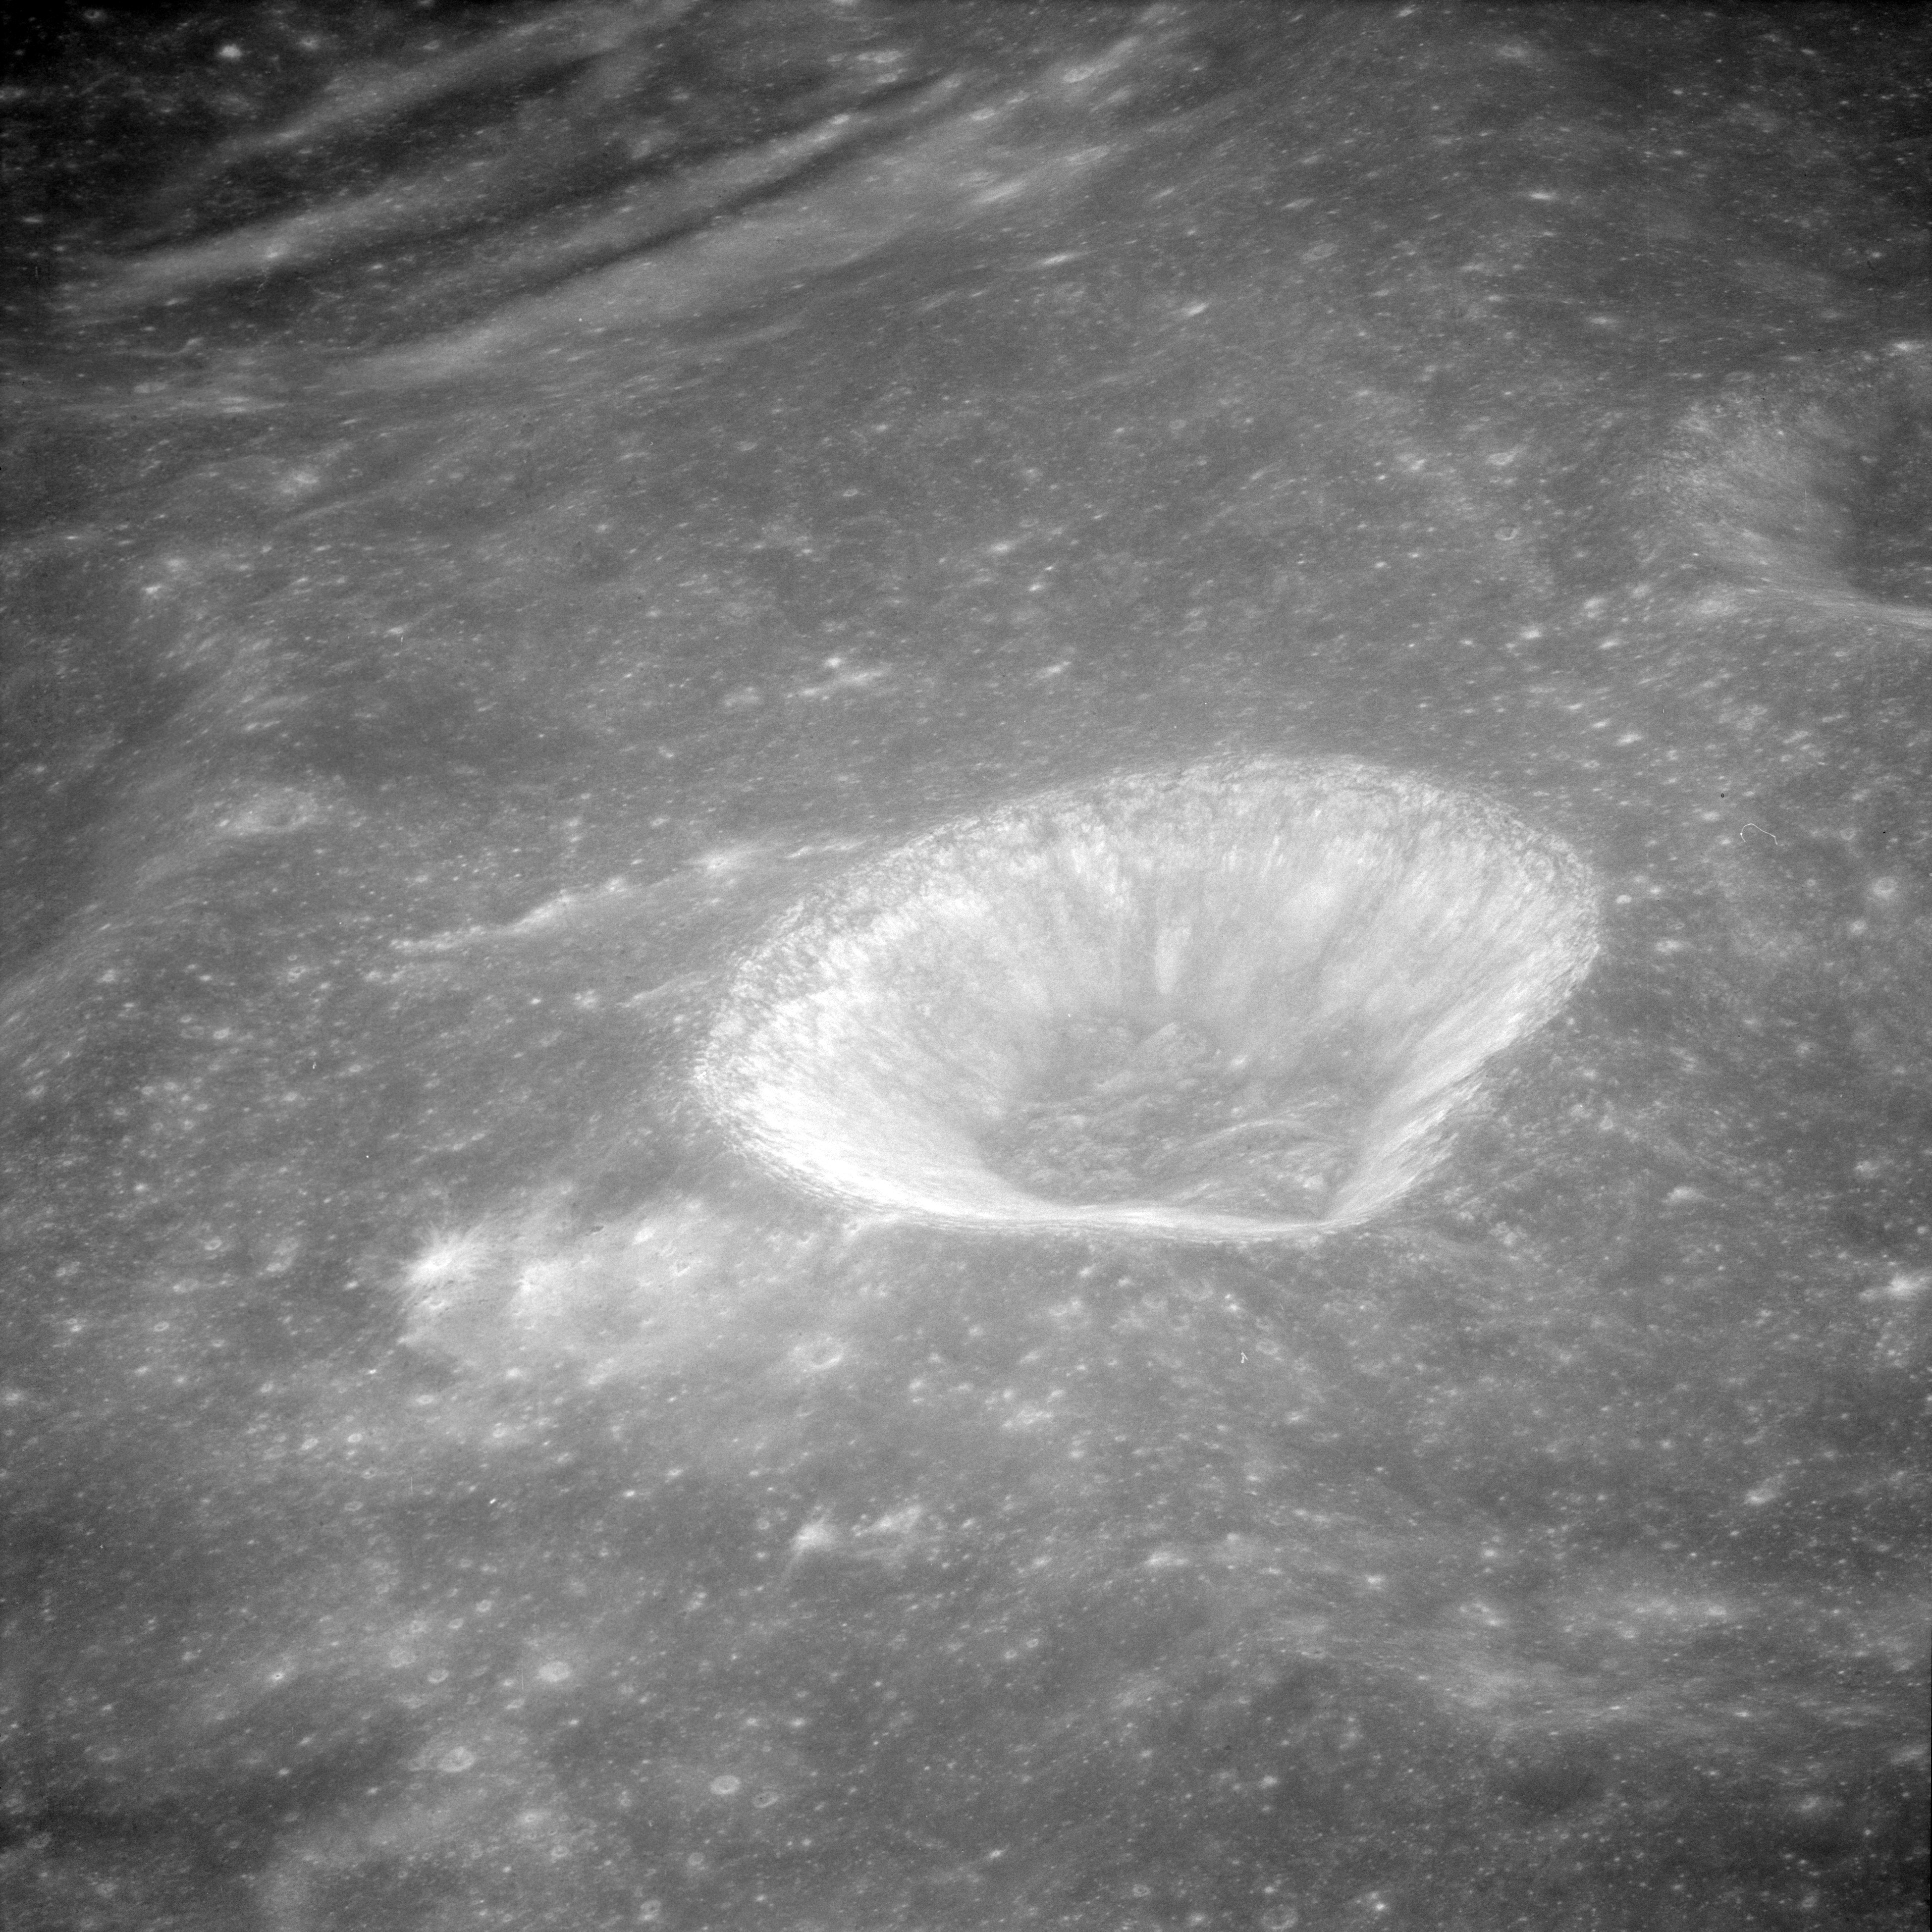
AS11-42-6217 Browse or print resolution. Crater Langrenus. Image credit: Image Science and Analysis Laboratory, NASA-Johnson Space Center. |

|
AS11-42-6218 Browse or print resolution. Crater Webb on left and Acosta. Mare Fecunditatis beyond. Image credit: Image Science and Analysis Laboratory, NASA-Johnson Space Center. |
|
AS11-42-6219 Browse or print resolution. Mare Fecunditatis. Messier and Messier A in distance. Image credit: Image Science and Analysis Laboratory, NASA-Johnson Space Center. |

|
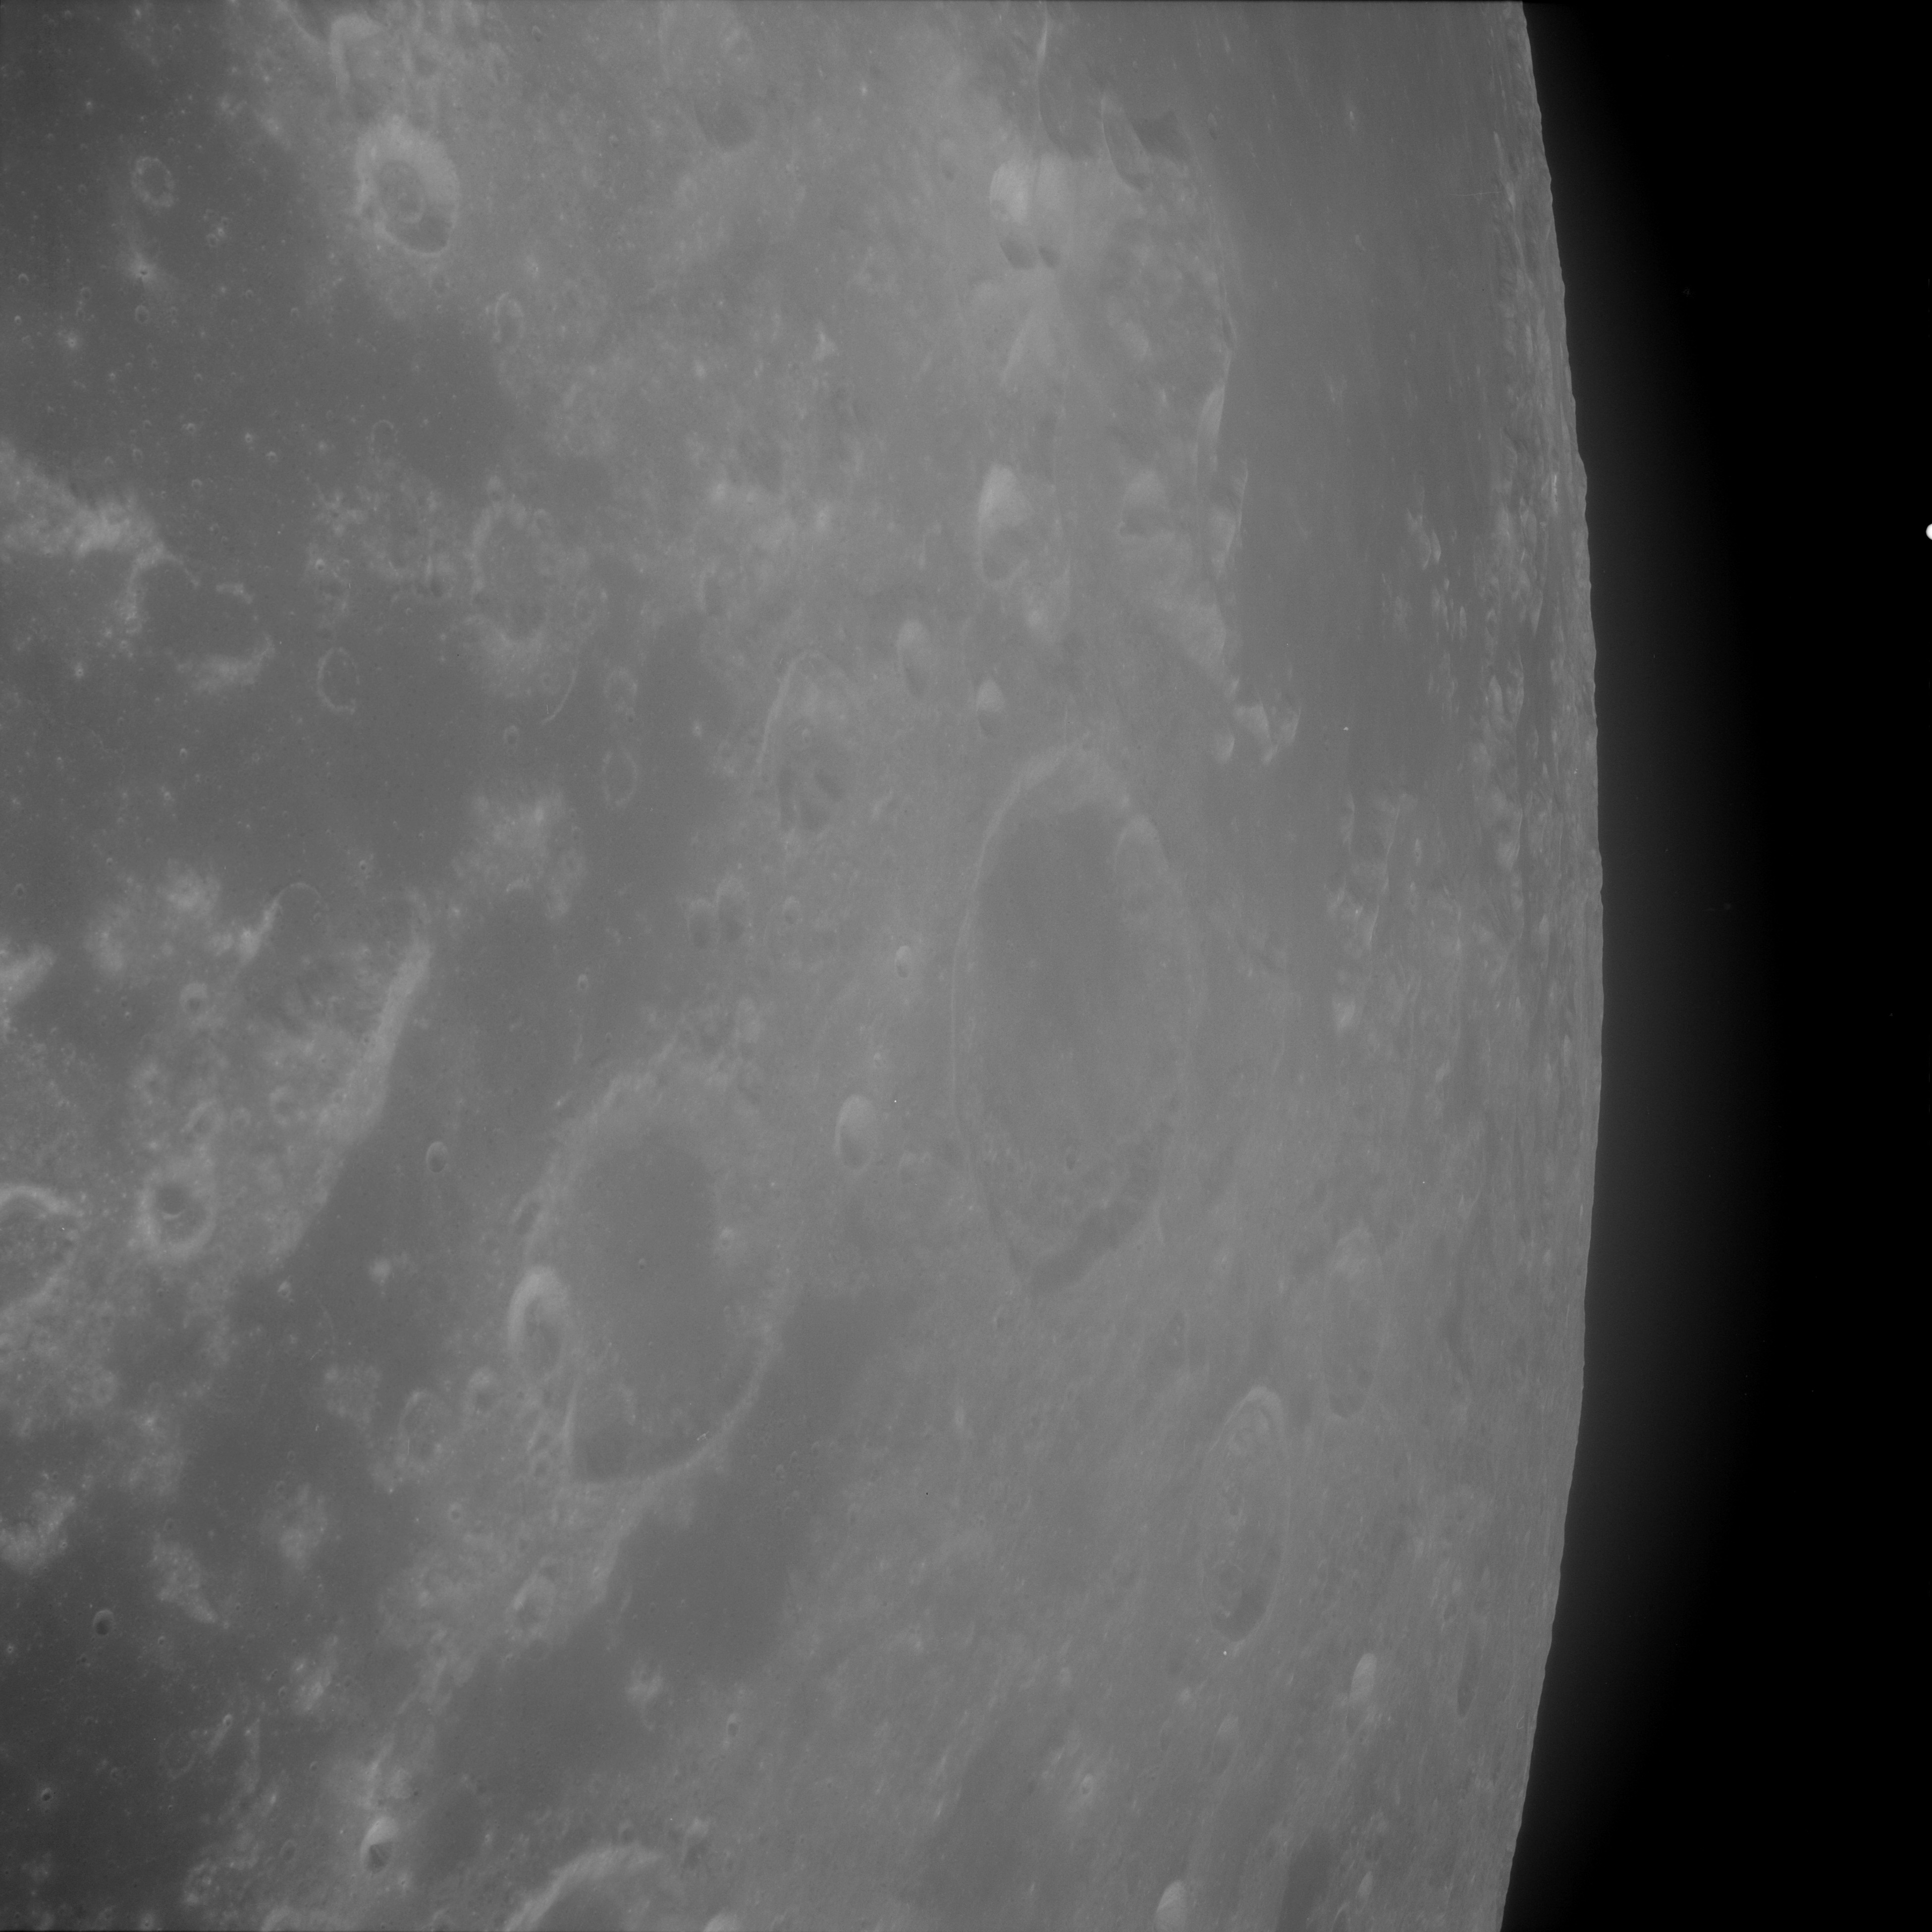
AS11-42-6220 Browse or print resolution. View north with Mare Crisium at bottom and Mare Fecunditatis at top. Crater Proclus near horizon. Image credit: Image Science and Analysis Laboratory, NASA-Johnson Space Center. |
|
AS11-42-6221 Browse or print resolution. Mare Crisium amd Crater Picard. Image credit: Image Science and Analysis Laboratory, NASA-Johnson Space Center. |

|
AS11-42-6222 Browse or print resolution. Mare Crisium. Crater Firmicus on lower left. Image credit: Image Science and Analysis Laboratory, NASA-Johnson Space Center. |
|
AS11-42-6223 Browse or print resolution. Mare Crisium amd Crater Picard. Image credit: Image Science and Analysis Laboratory, NASA-Johnson Space Center. |

|
AS11-42-6220 Browse or print resolution. Mare Fecunditatis. Craters Messier and Messier A on extreme left, Anville upper centre and Smithson is the upper left of the two craters on teh extreme right. Image credit: Image Science and Analysis Laboratory, NASA-Johnson Space Center. |

|
AS11-42-6225 Browse or print resolution. View north between Mare Crisium on left and Mare Fecunditatis on right. Crater Asada is right of centre with Proclus lower left near the horizon and Greaves extreme lower left near the shore of Crisium. Image credit: Image Science and Analysis Laboratory, NASA-Johnson Space Center. |
|
AS11-42-6226 Browse or print resolution. Crater Taruntius (below centre) in Mare Fecundtatis. Anville is upper right and Taruntius H extreme upper right. Image credit: Image Science and Analysis Laboratory, NASA-Johnson Space Center. |
|
AS11-42-6227 Browse or print resolution. Craters Messier and Messier A in Mare Fecunditatis. Anville is bottom left. Image credit: Image Science and Analysis Laboratory, NASA-Johnson Space Center. |
|
AS11-42-6228 Browse or print resolution. Western Mare Fecunditatis. Craters Messier and Messier A. Image credit: Image Science and Analysis Laboratory, NASA-Johnson Space Center. |

|
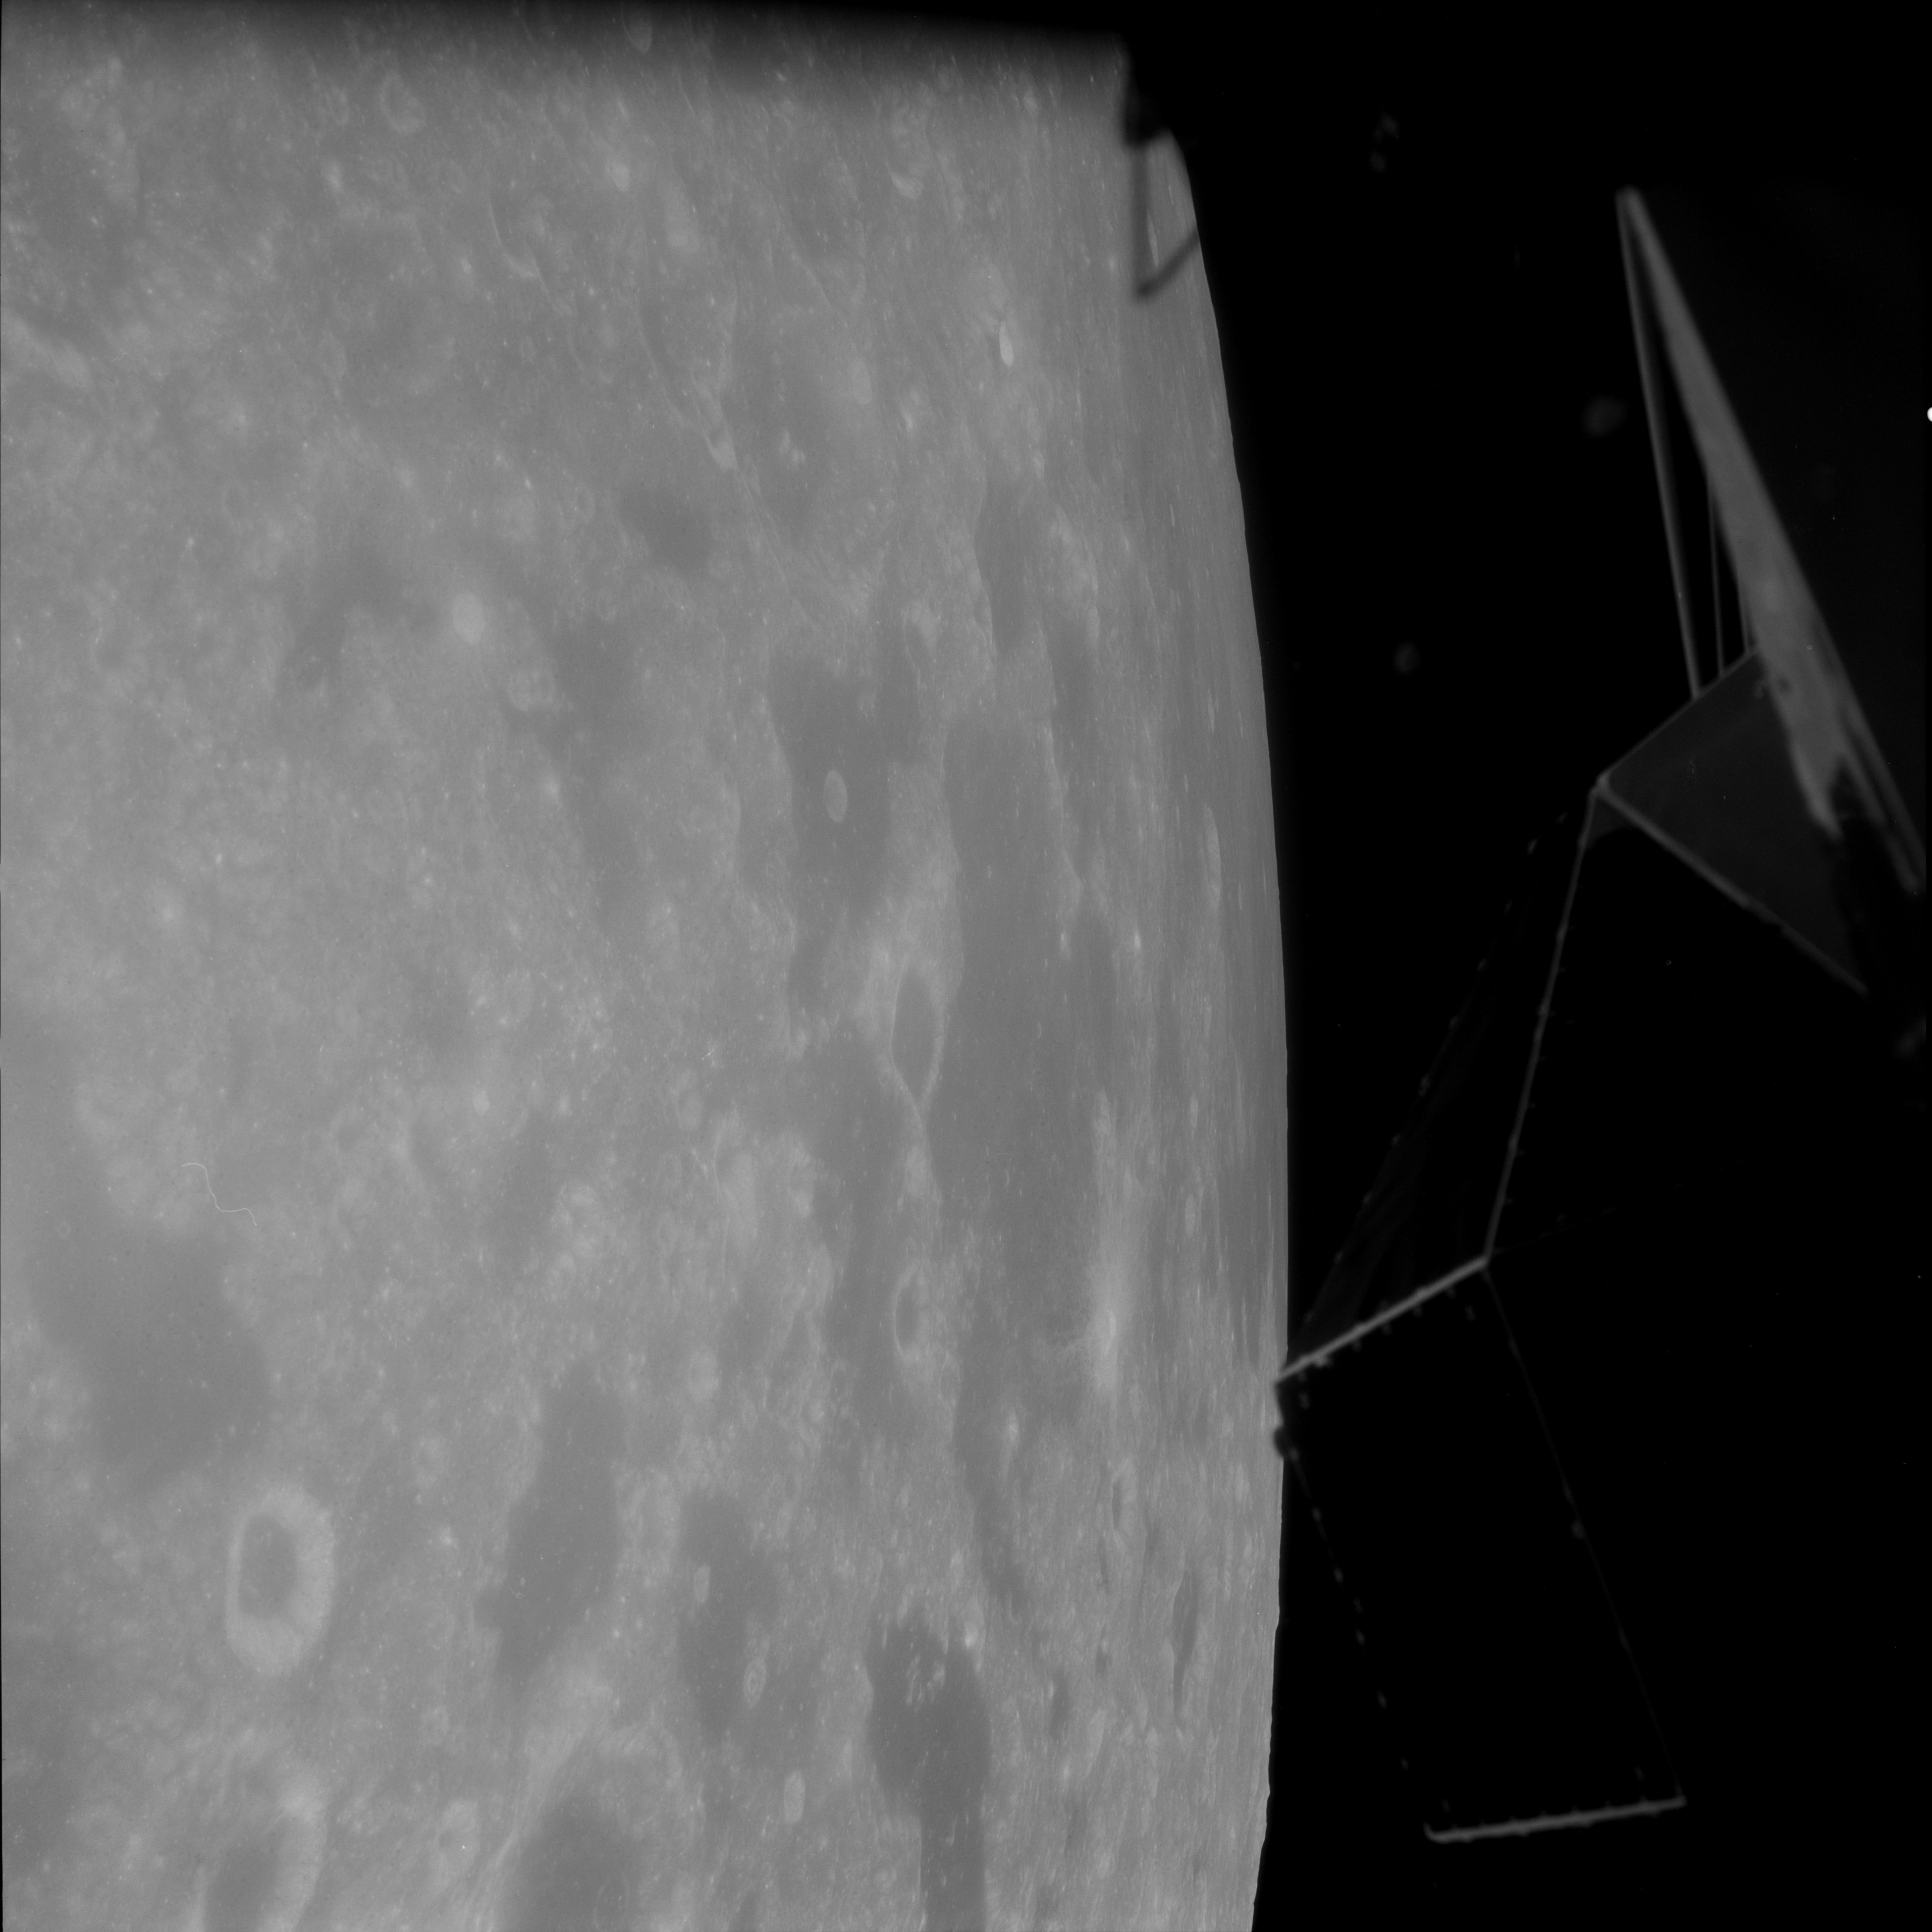
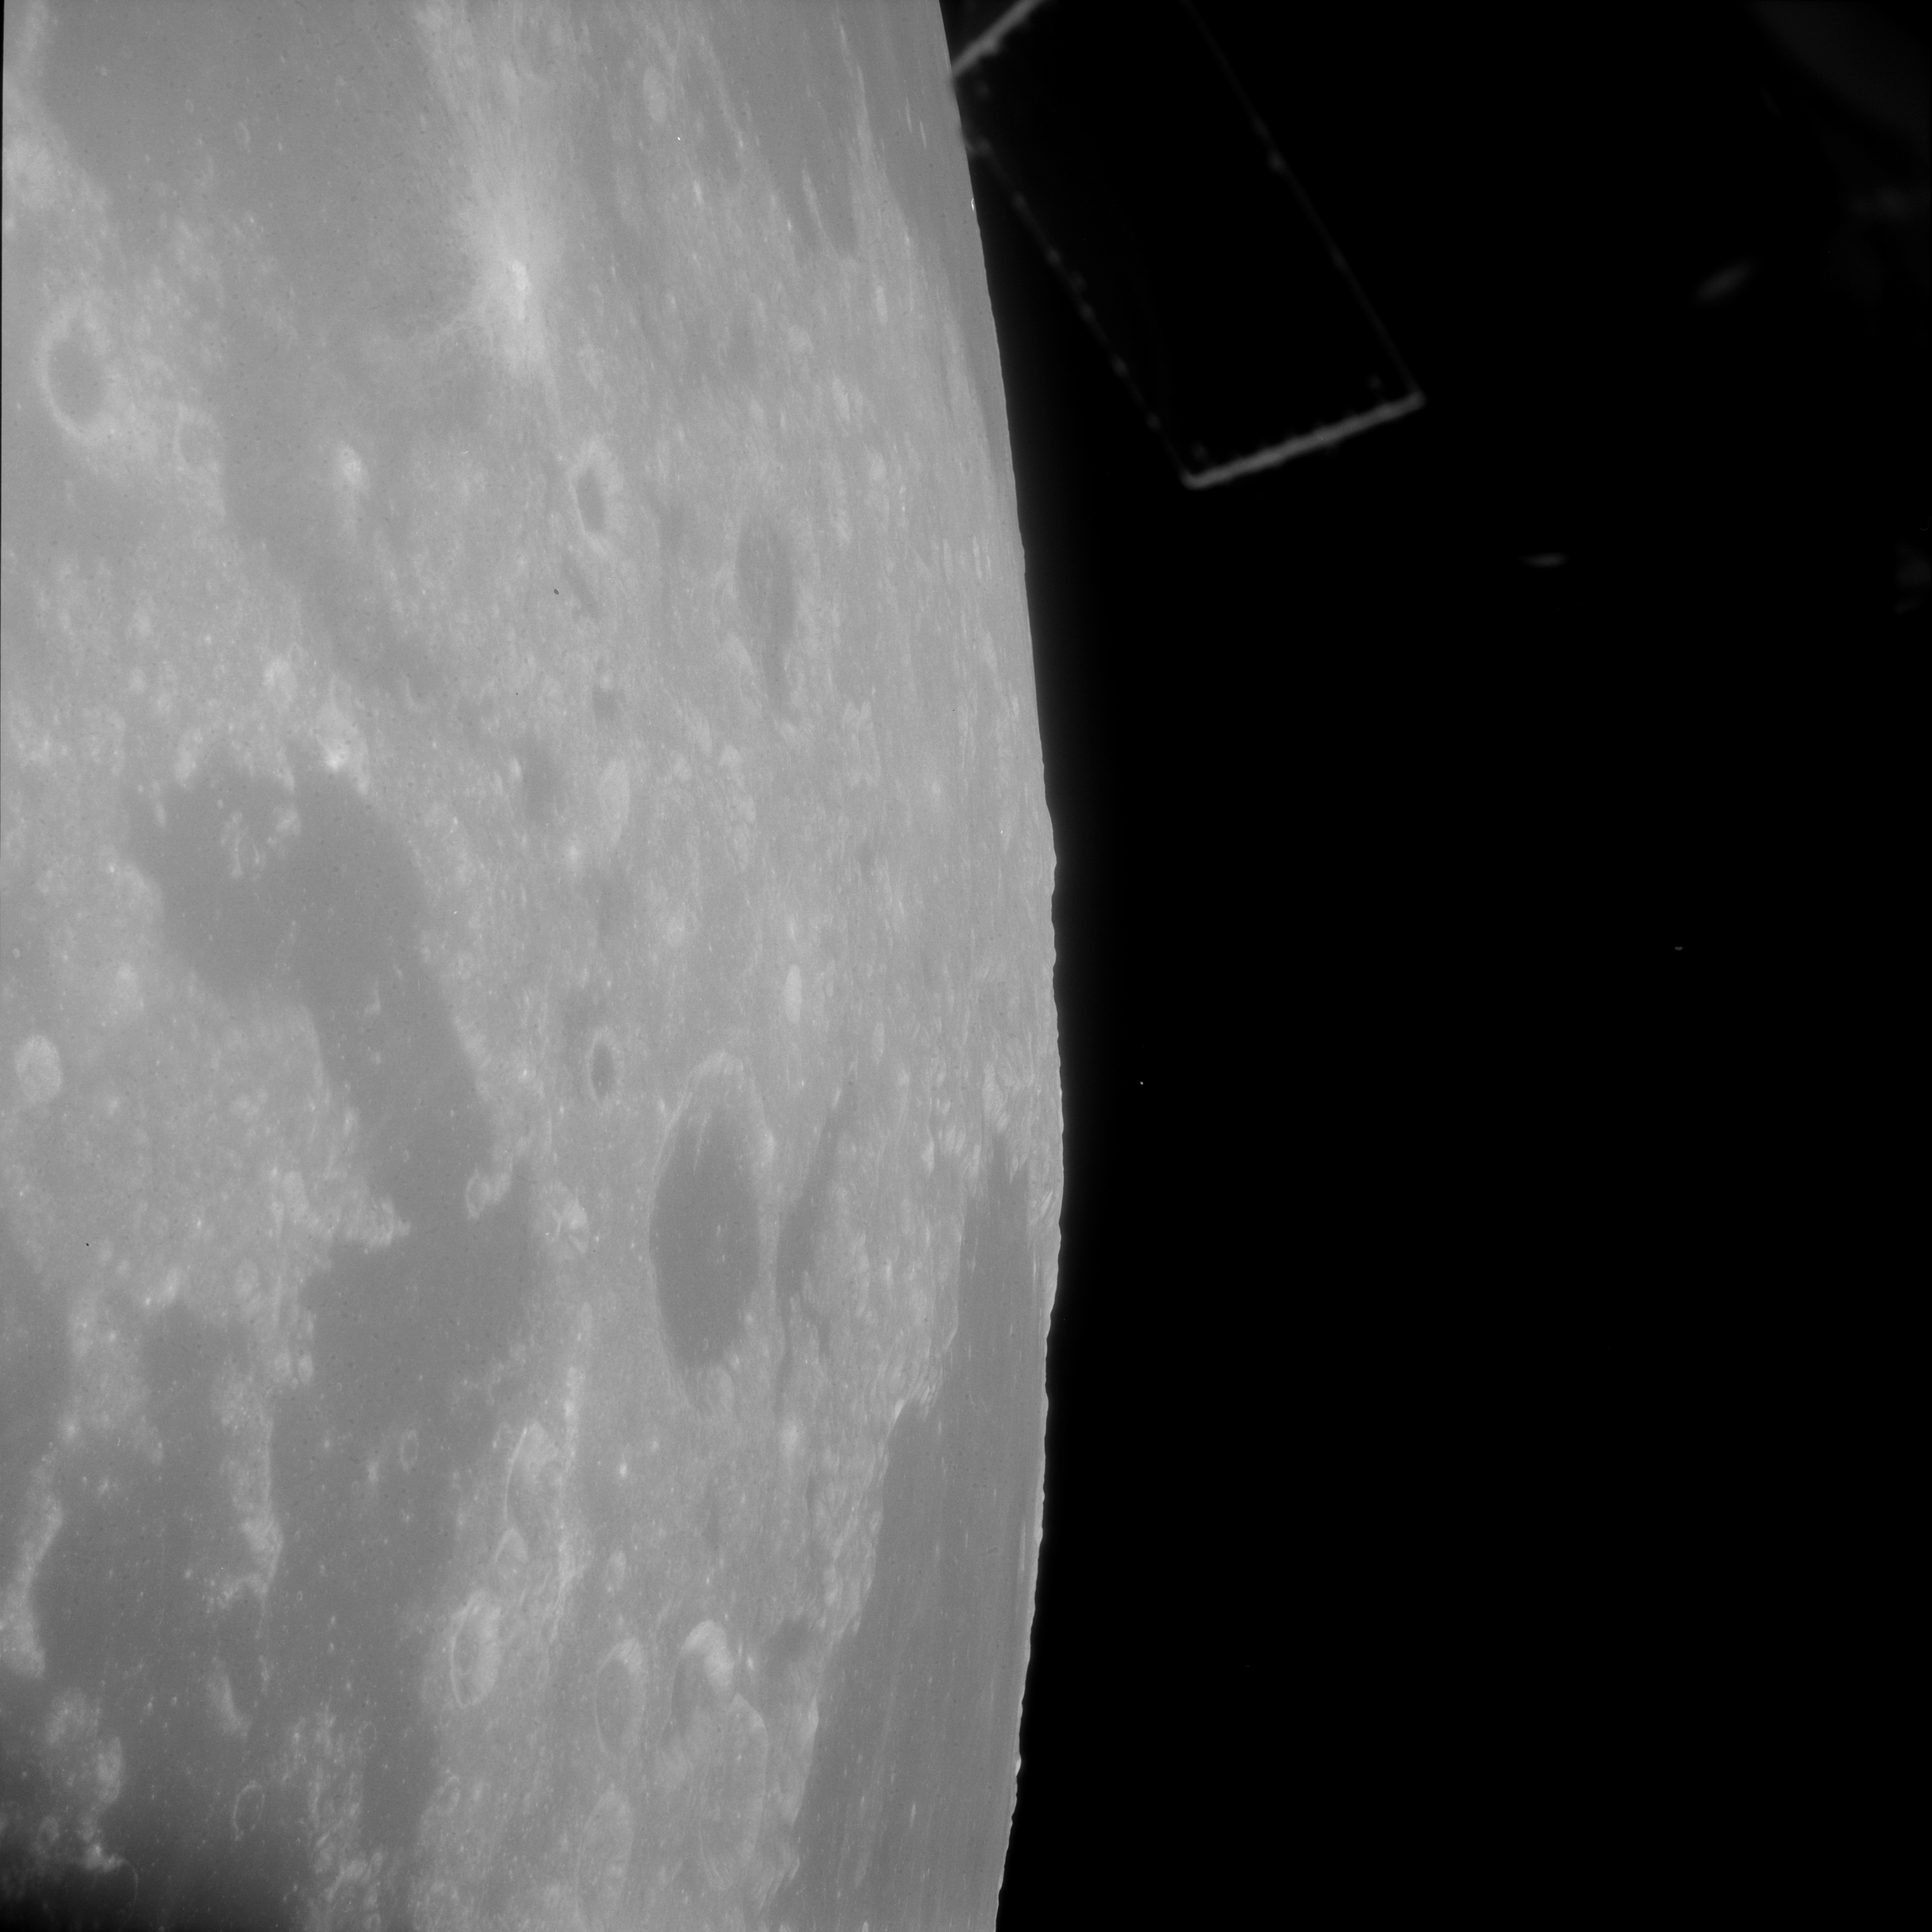
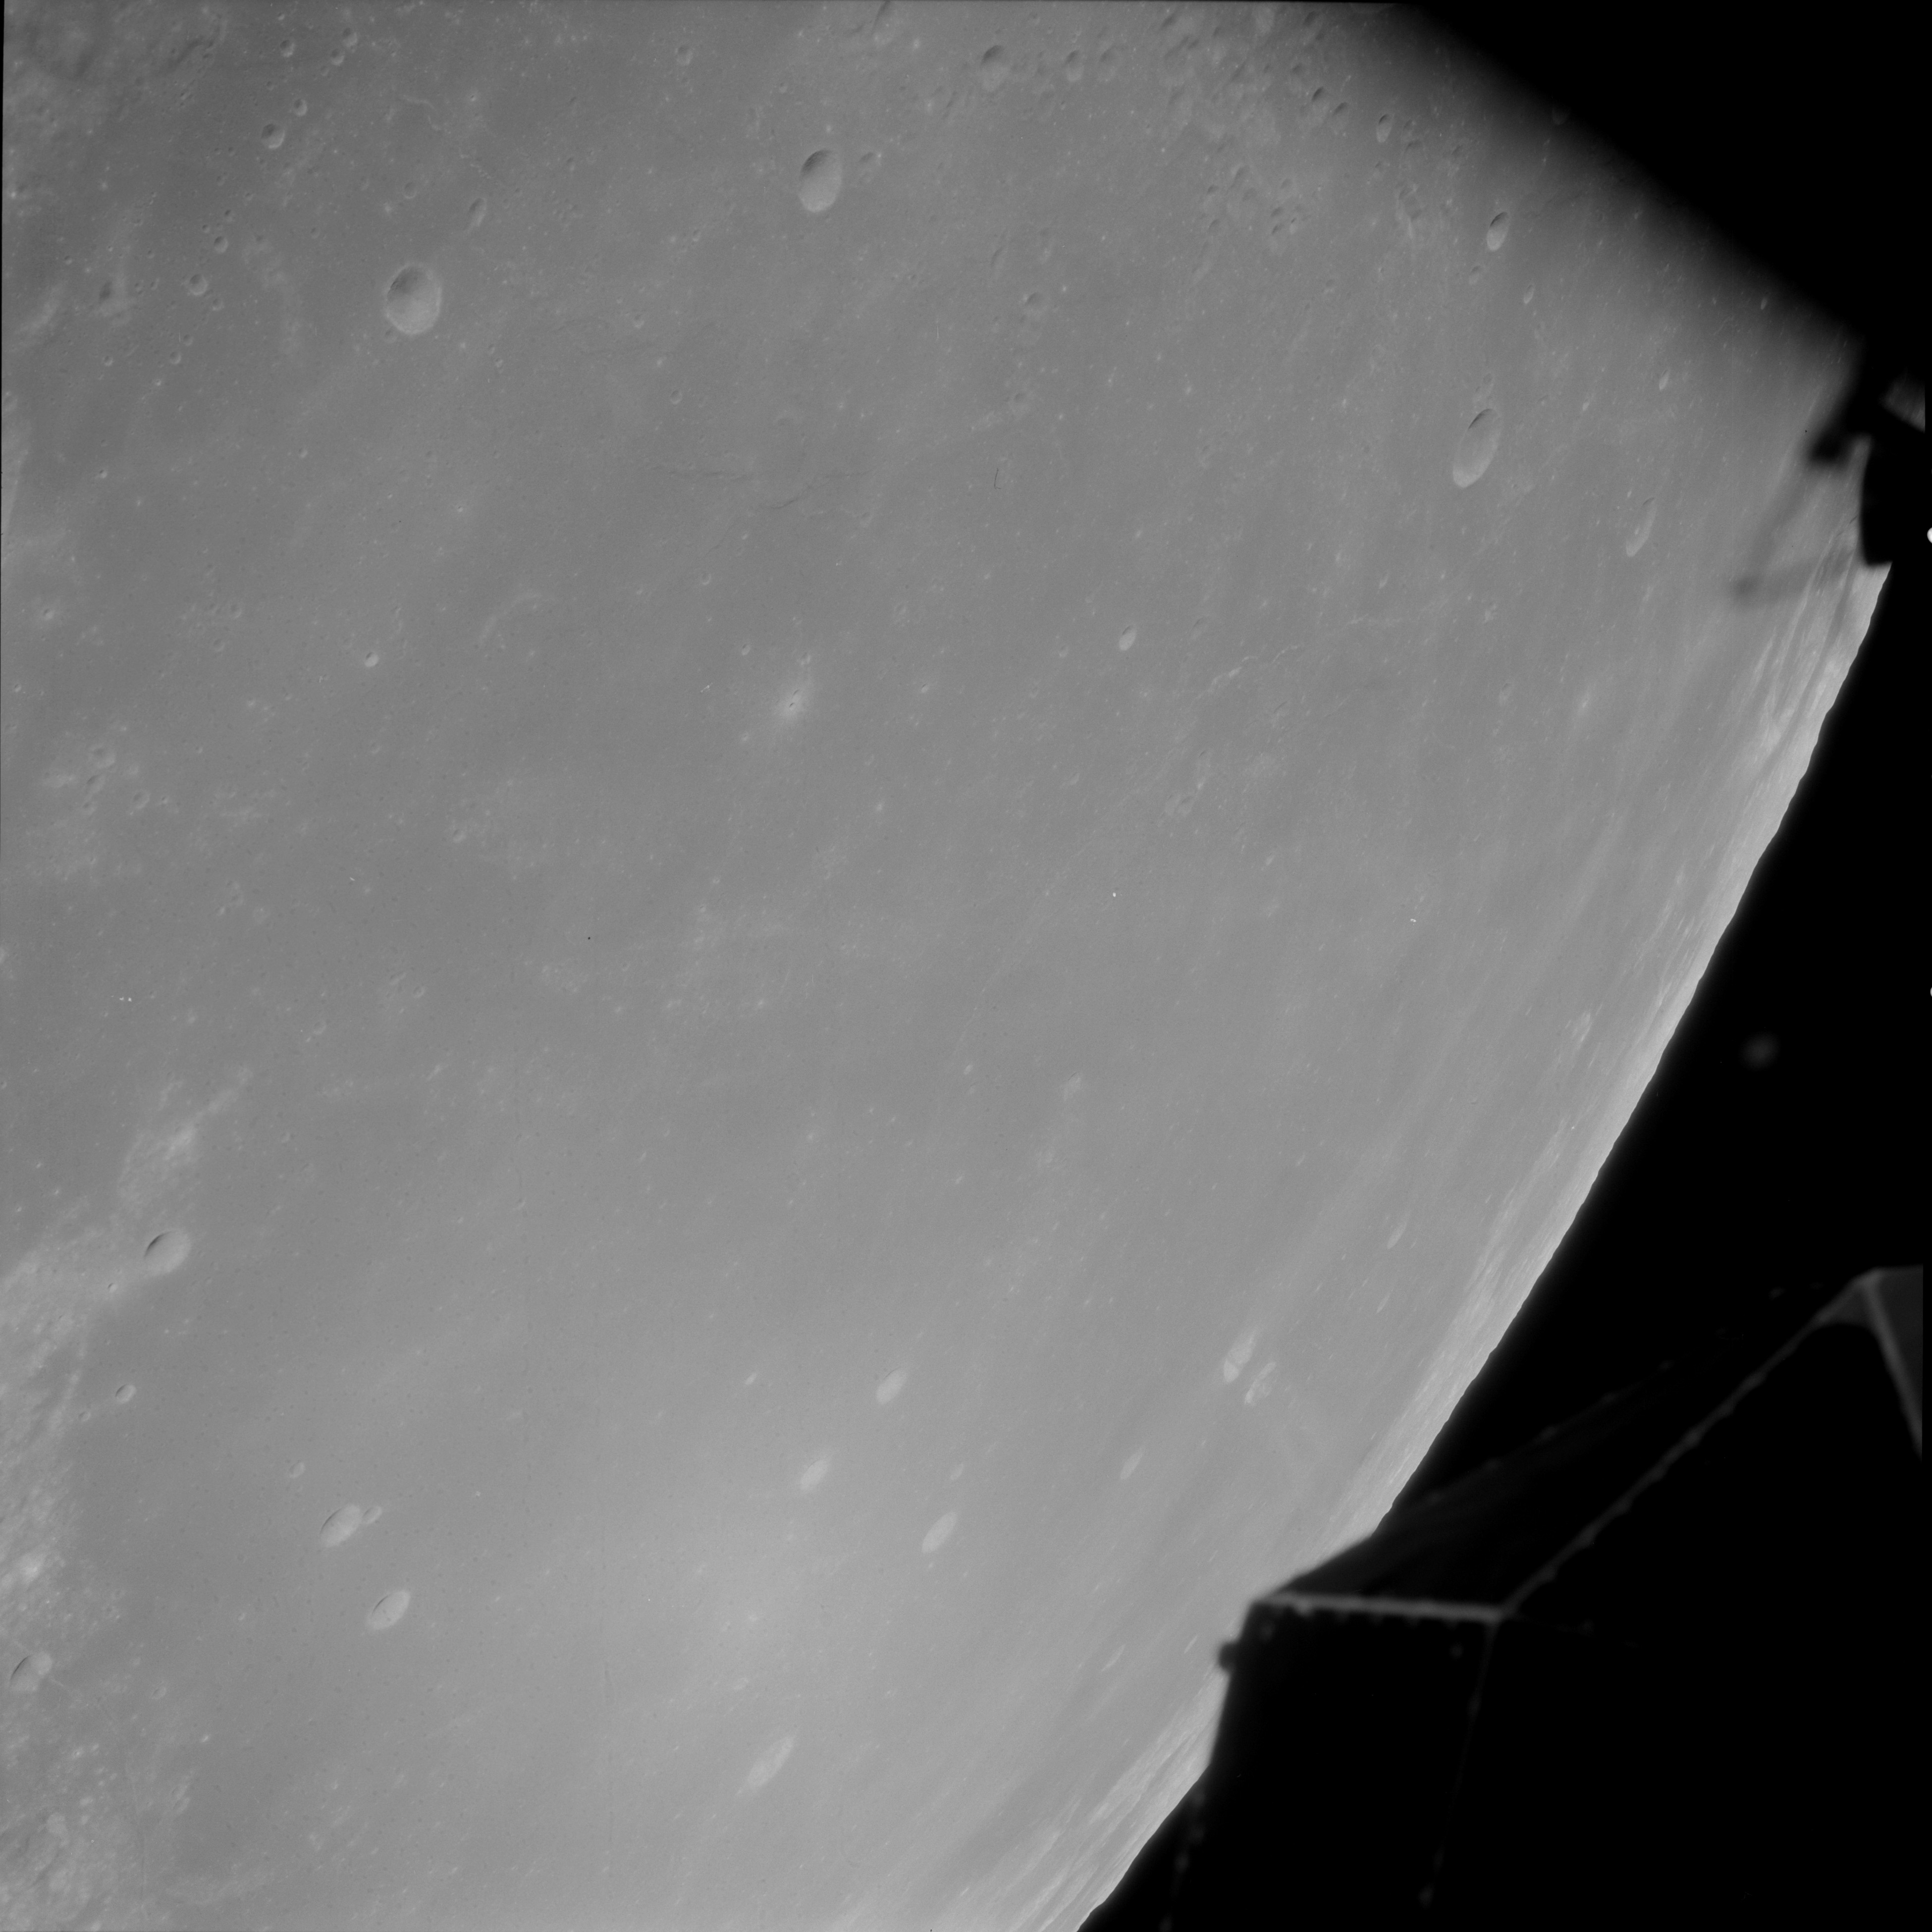
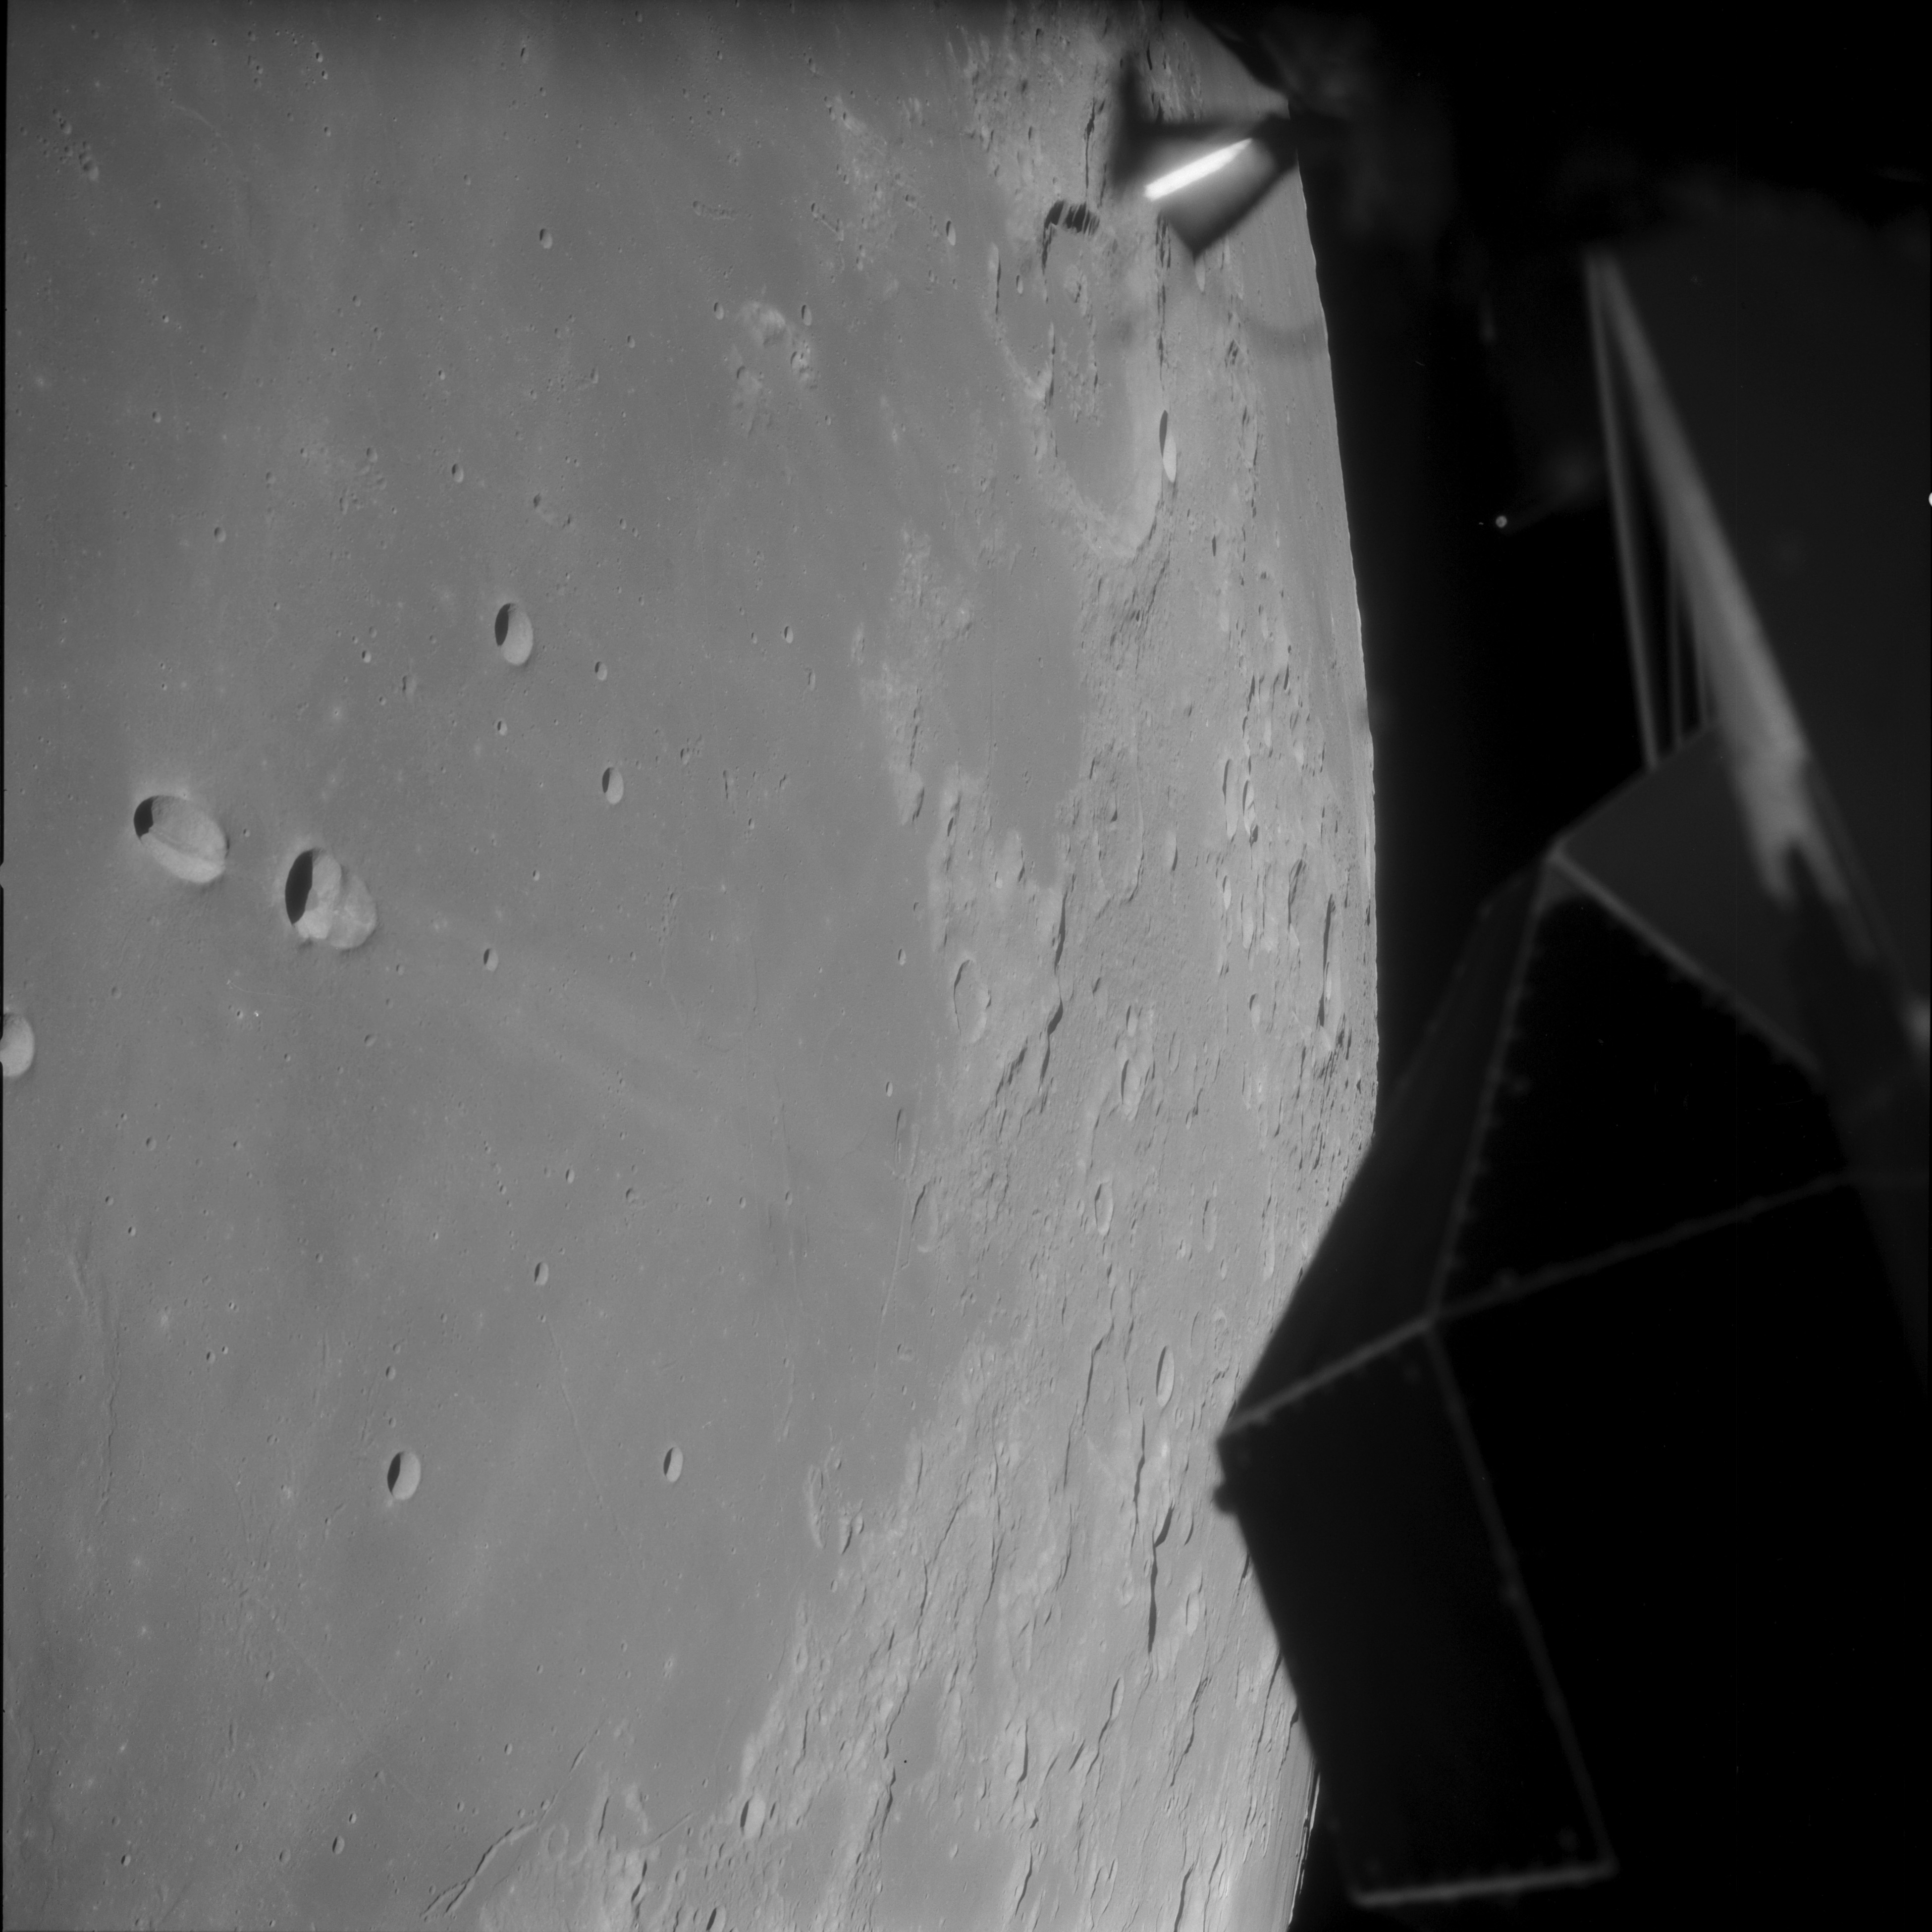
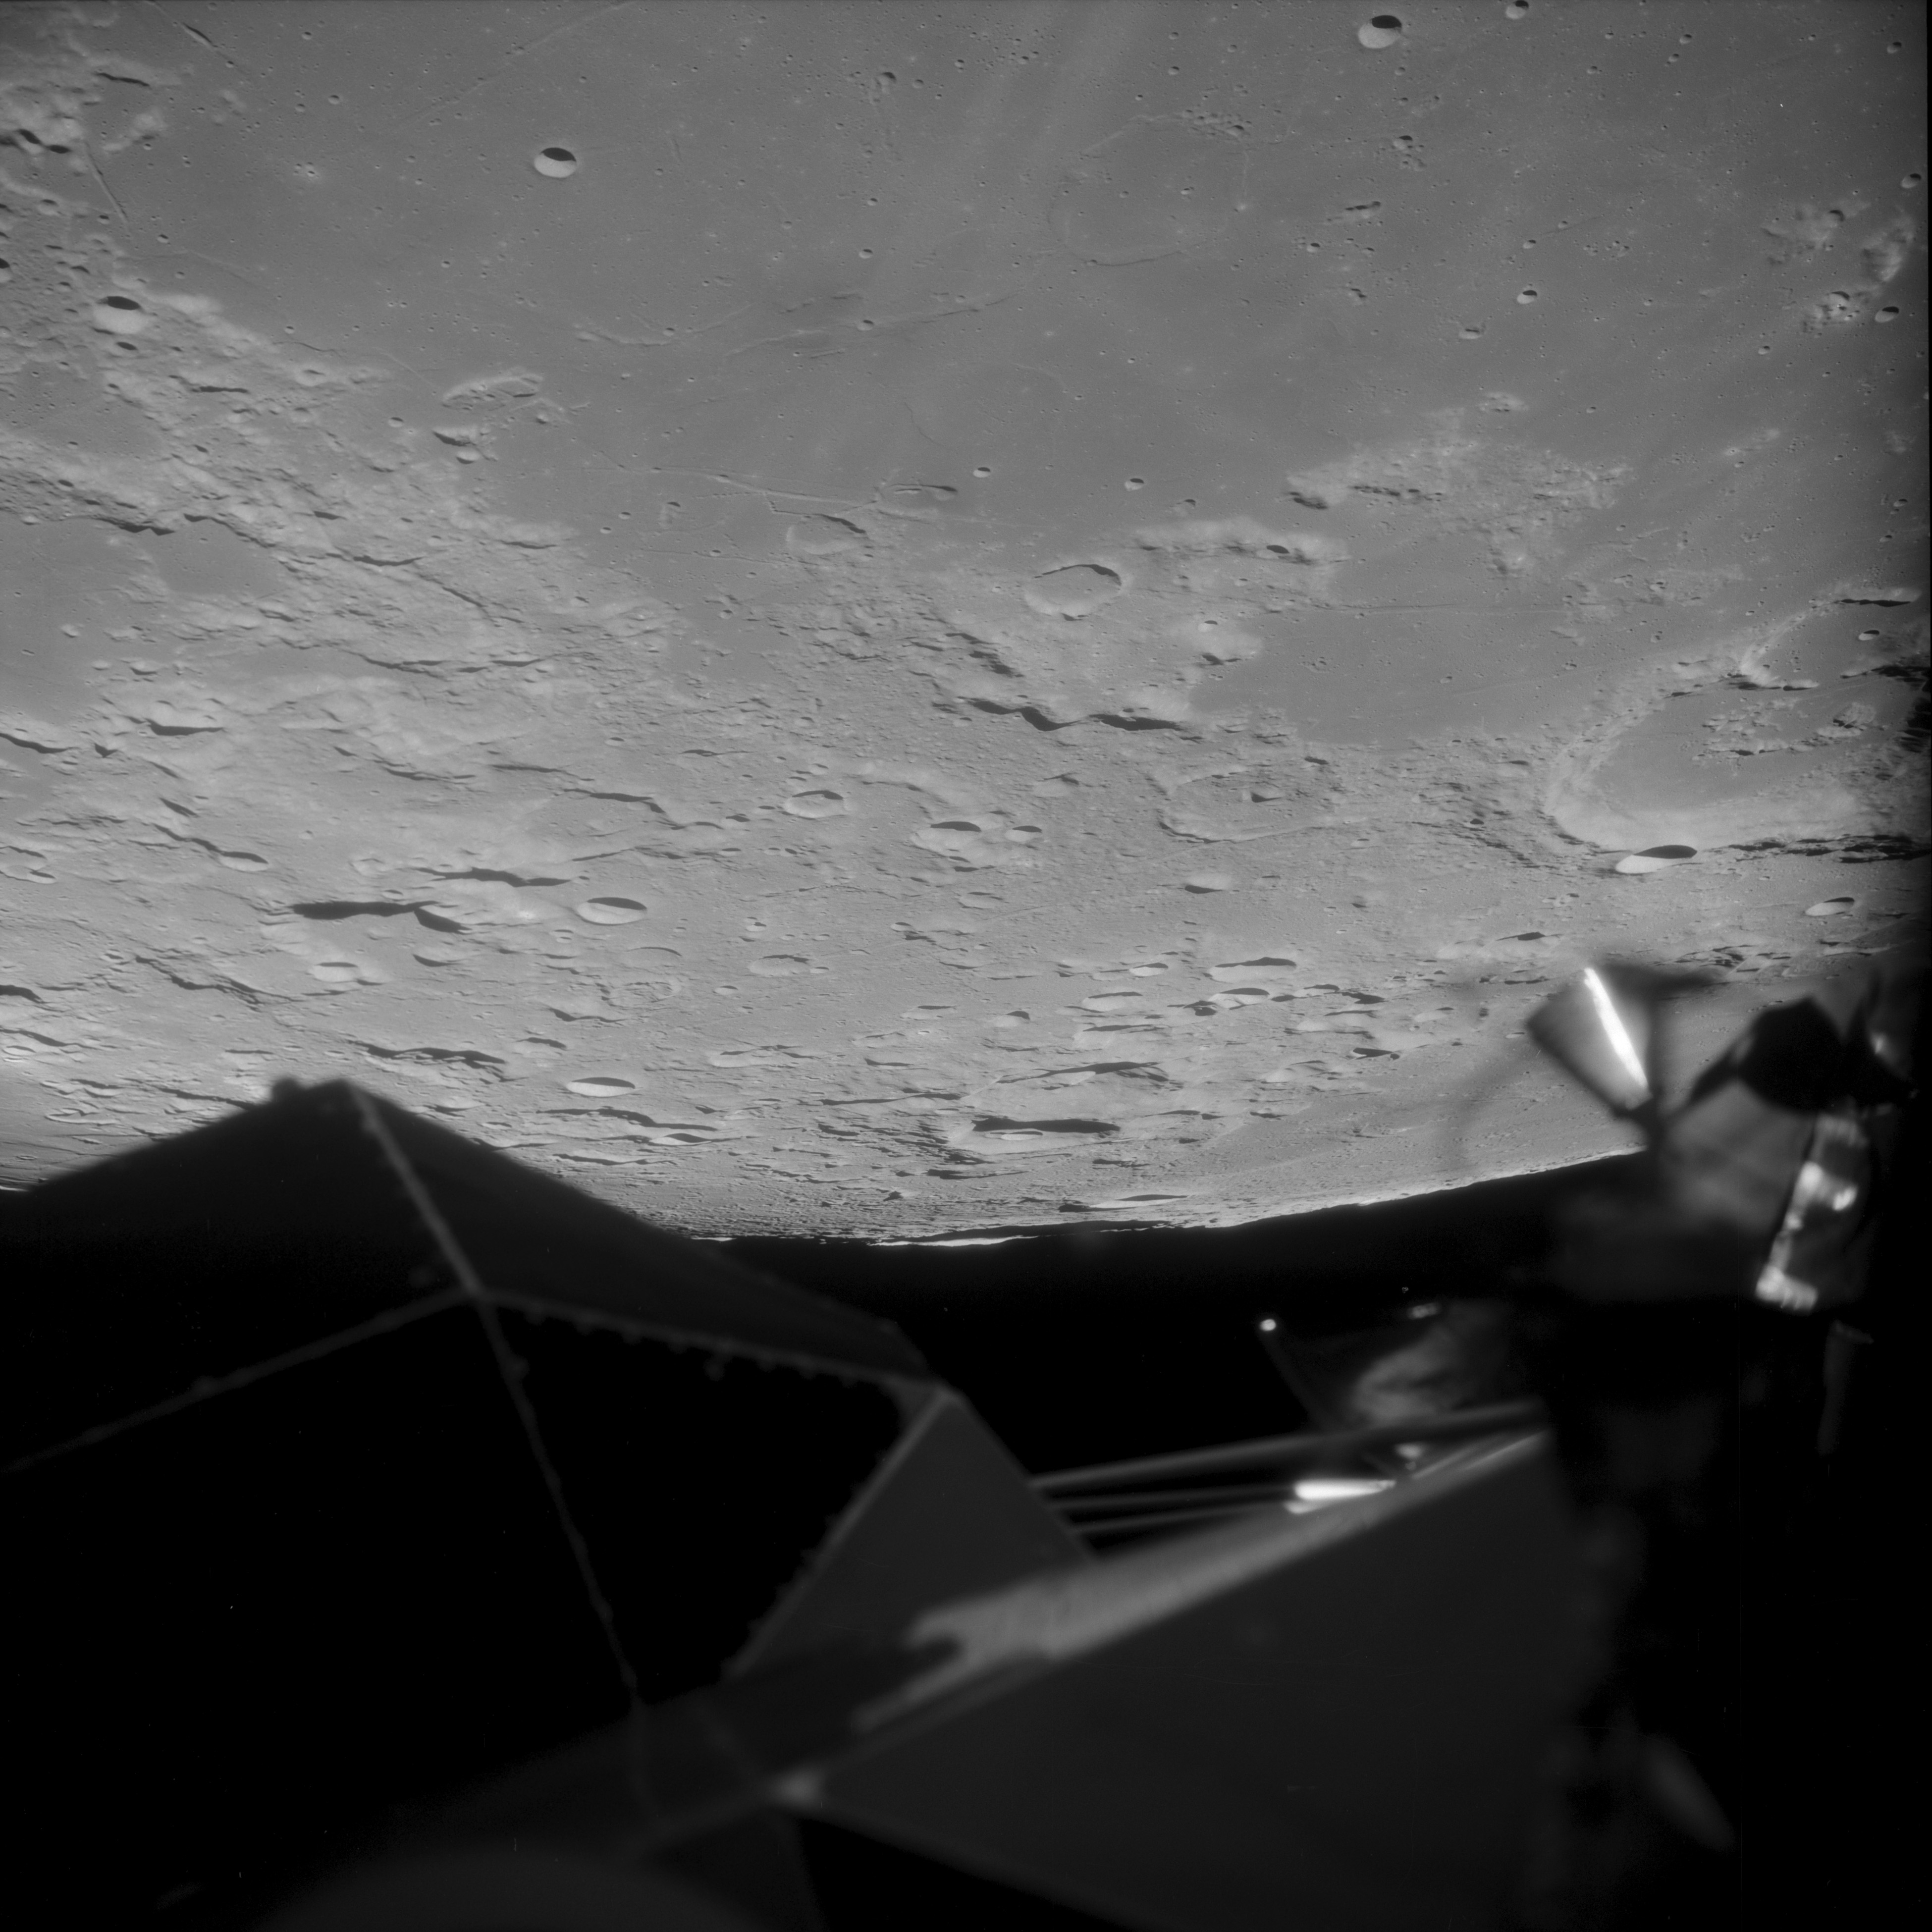
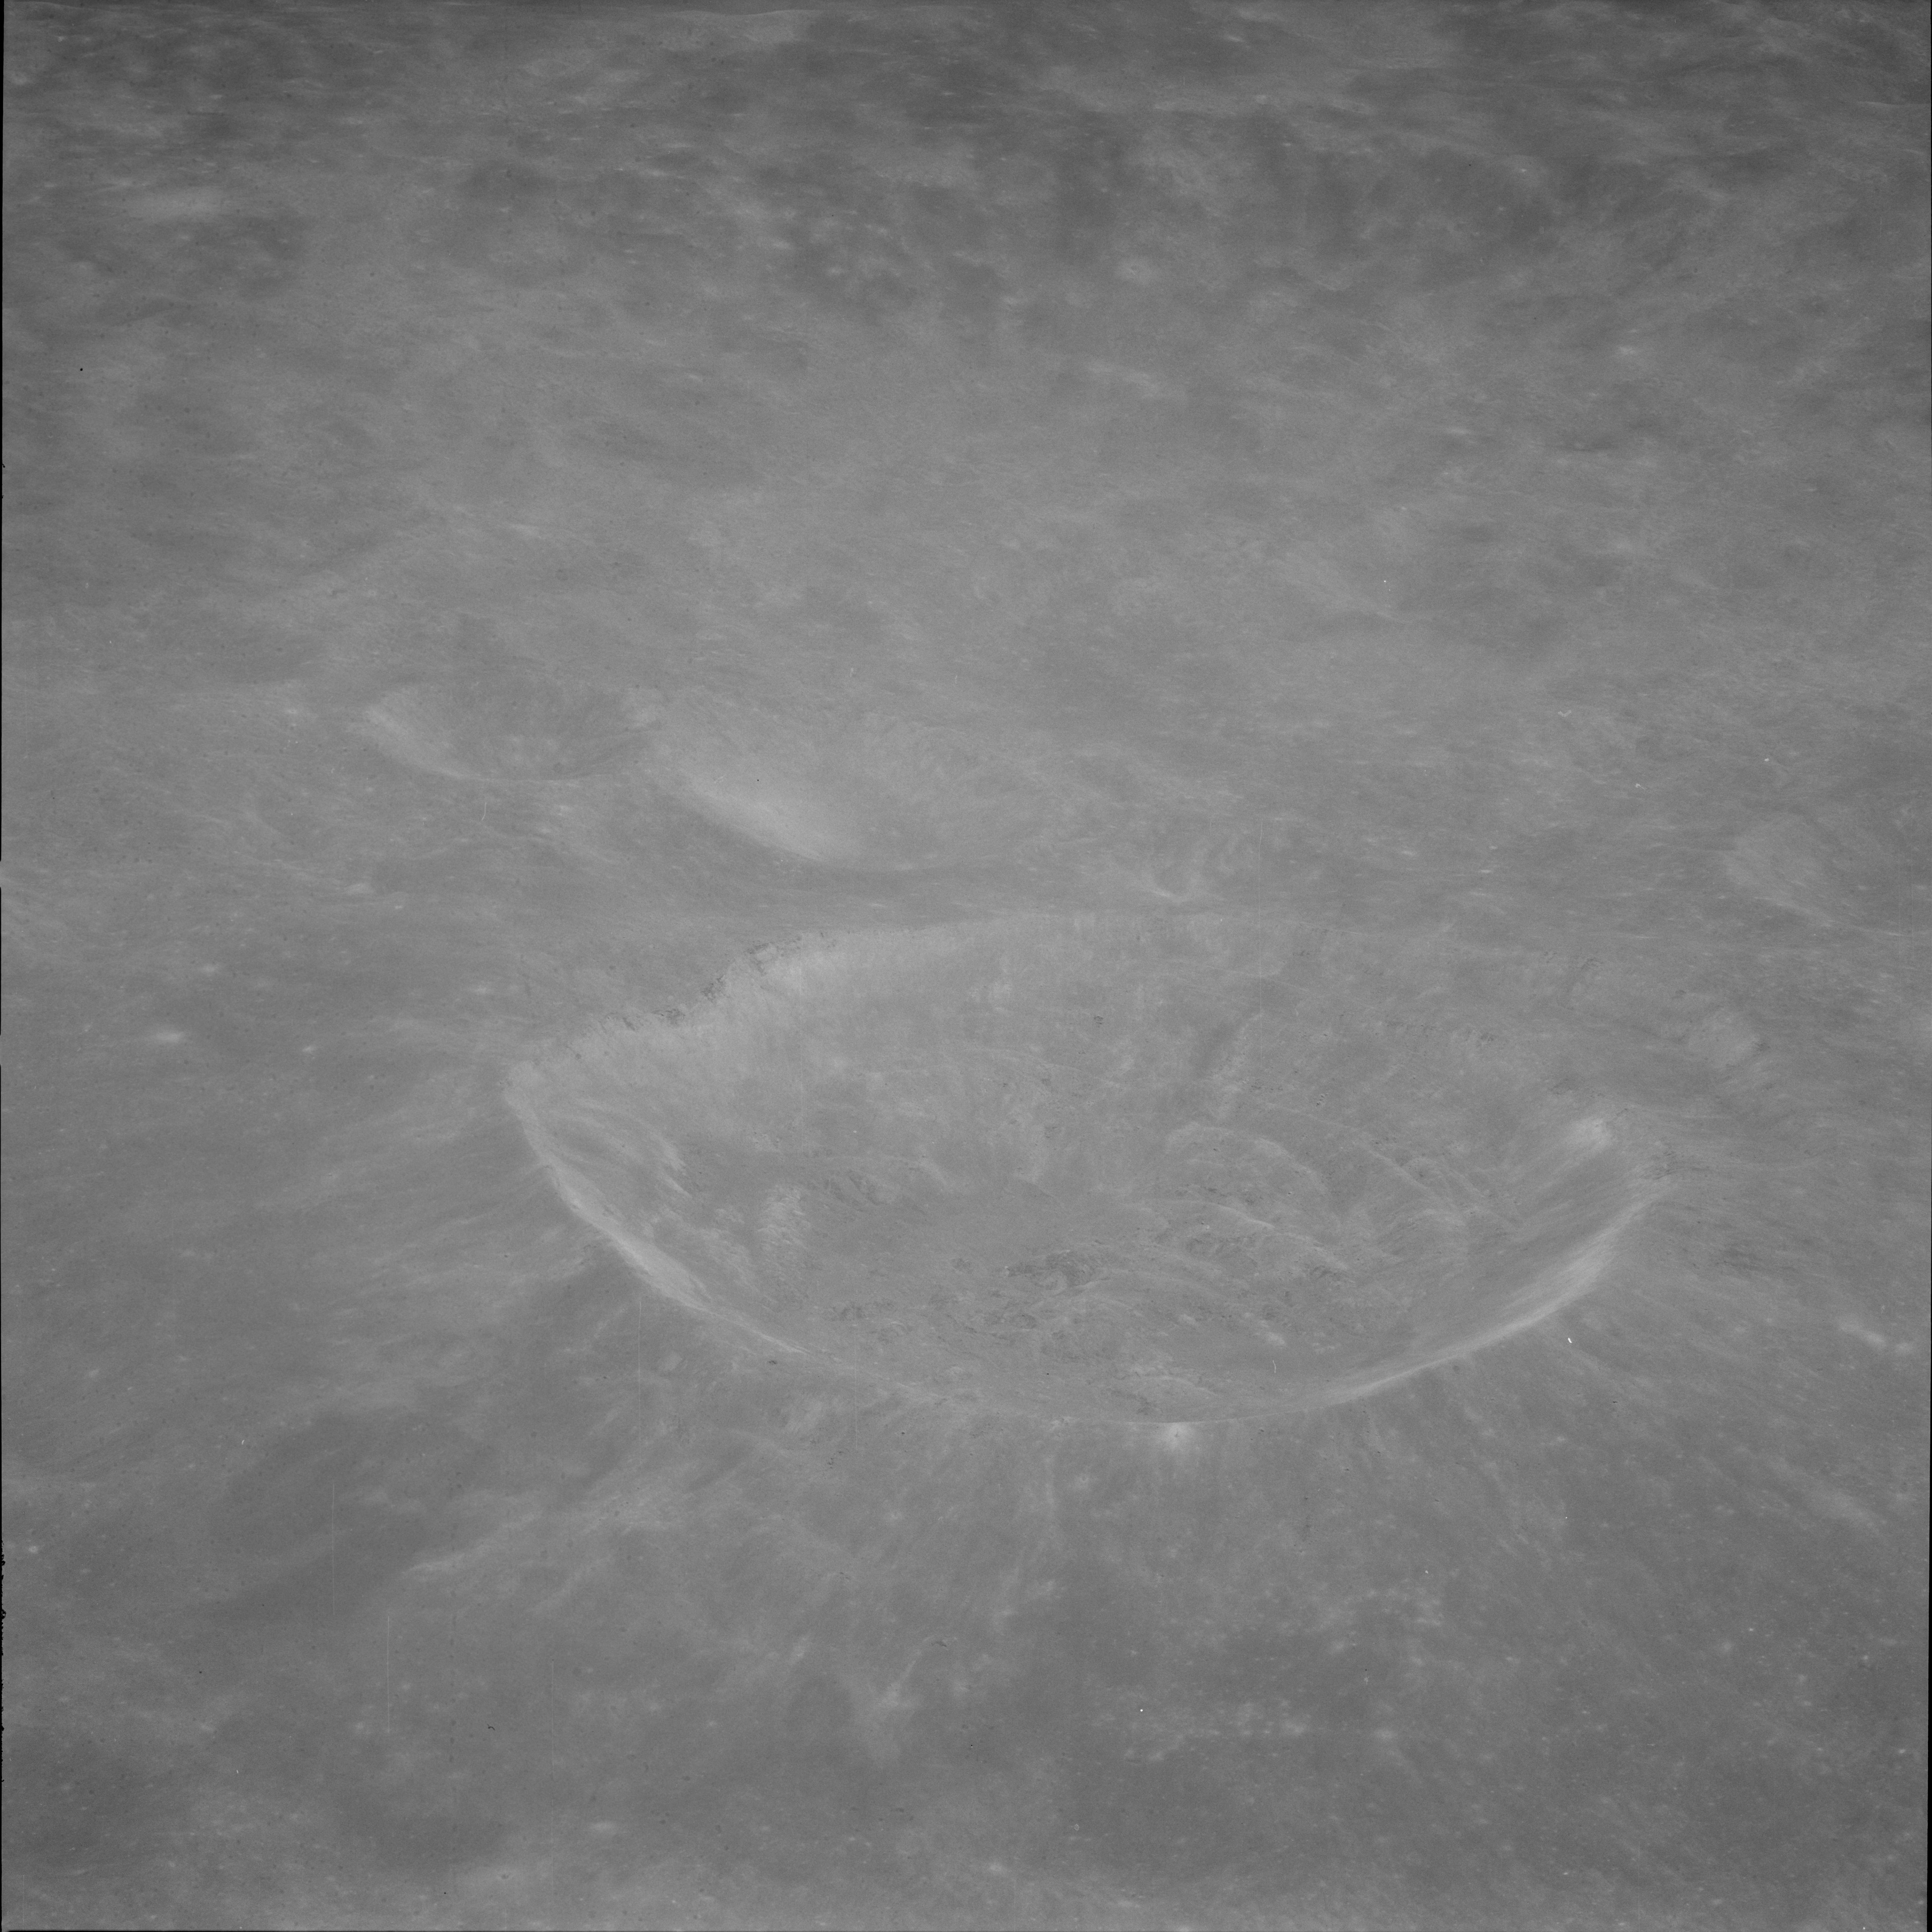
AS11-42-6229 Browse or print resolution. Western Mare Fecunditatis. Craters Goclenius and Gutenberg. LM thruster quad in foreground. Image credit: Image Science and Analysis Laboratory, NASA-Johnson Space Center. |
|
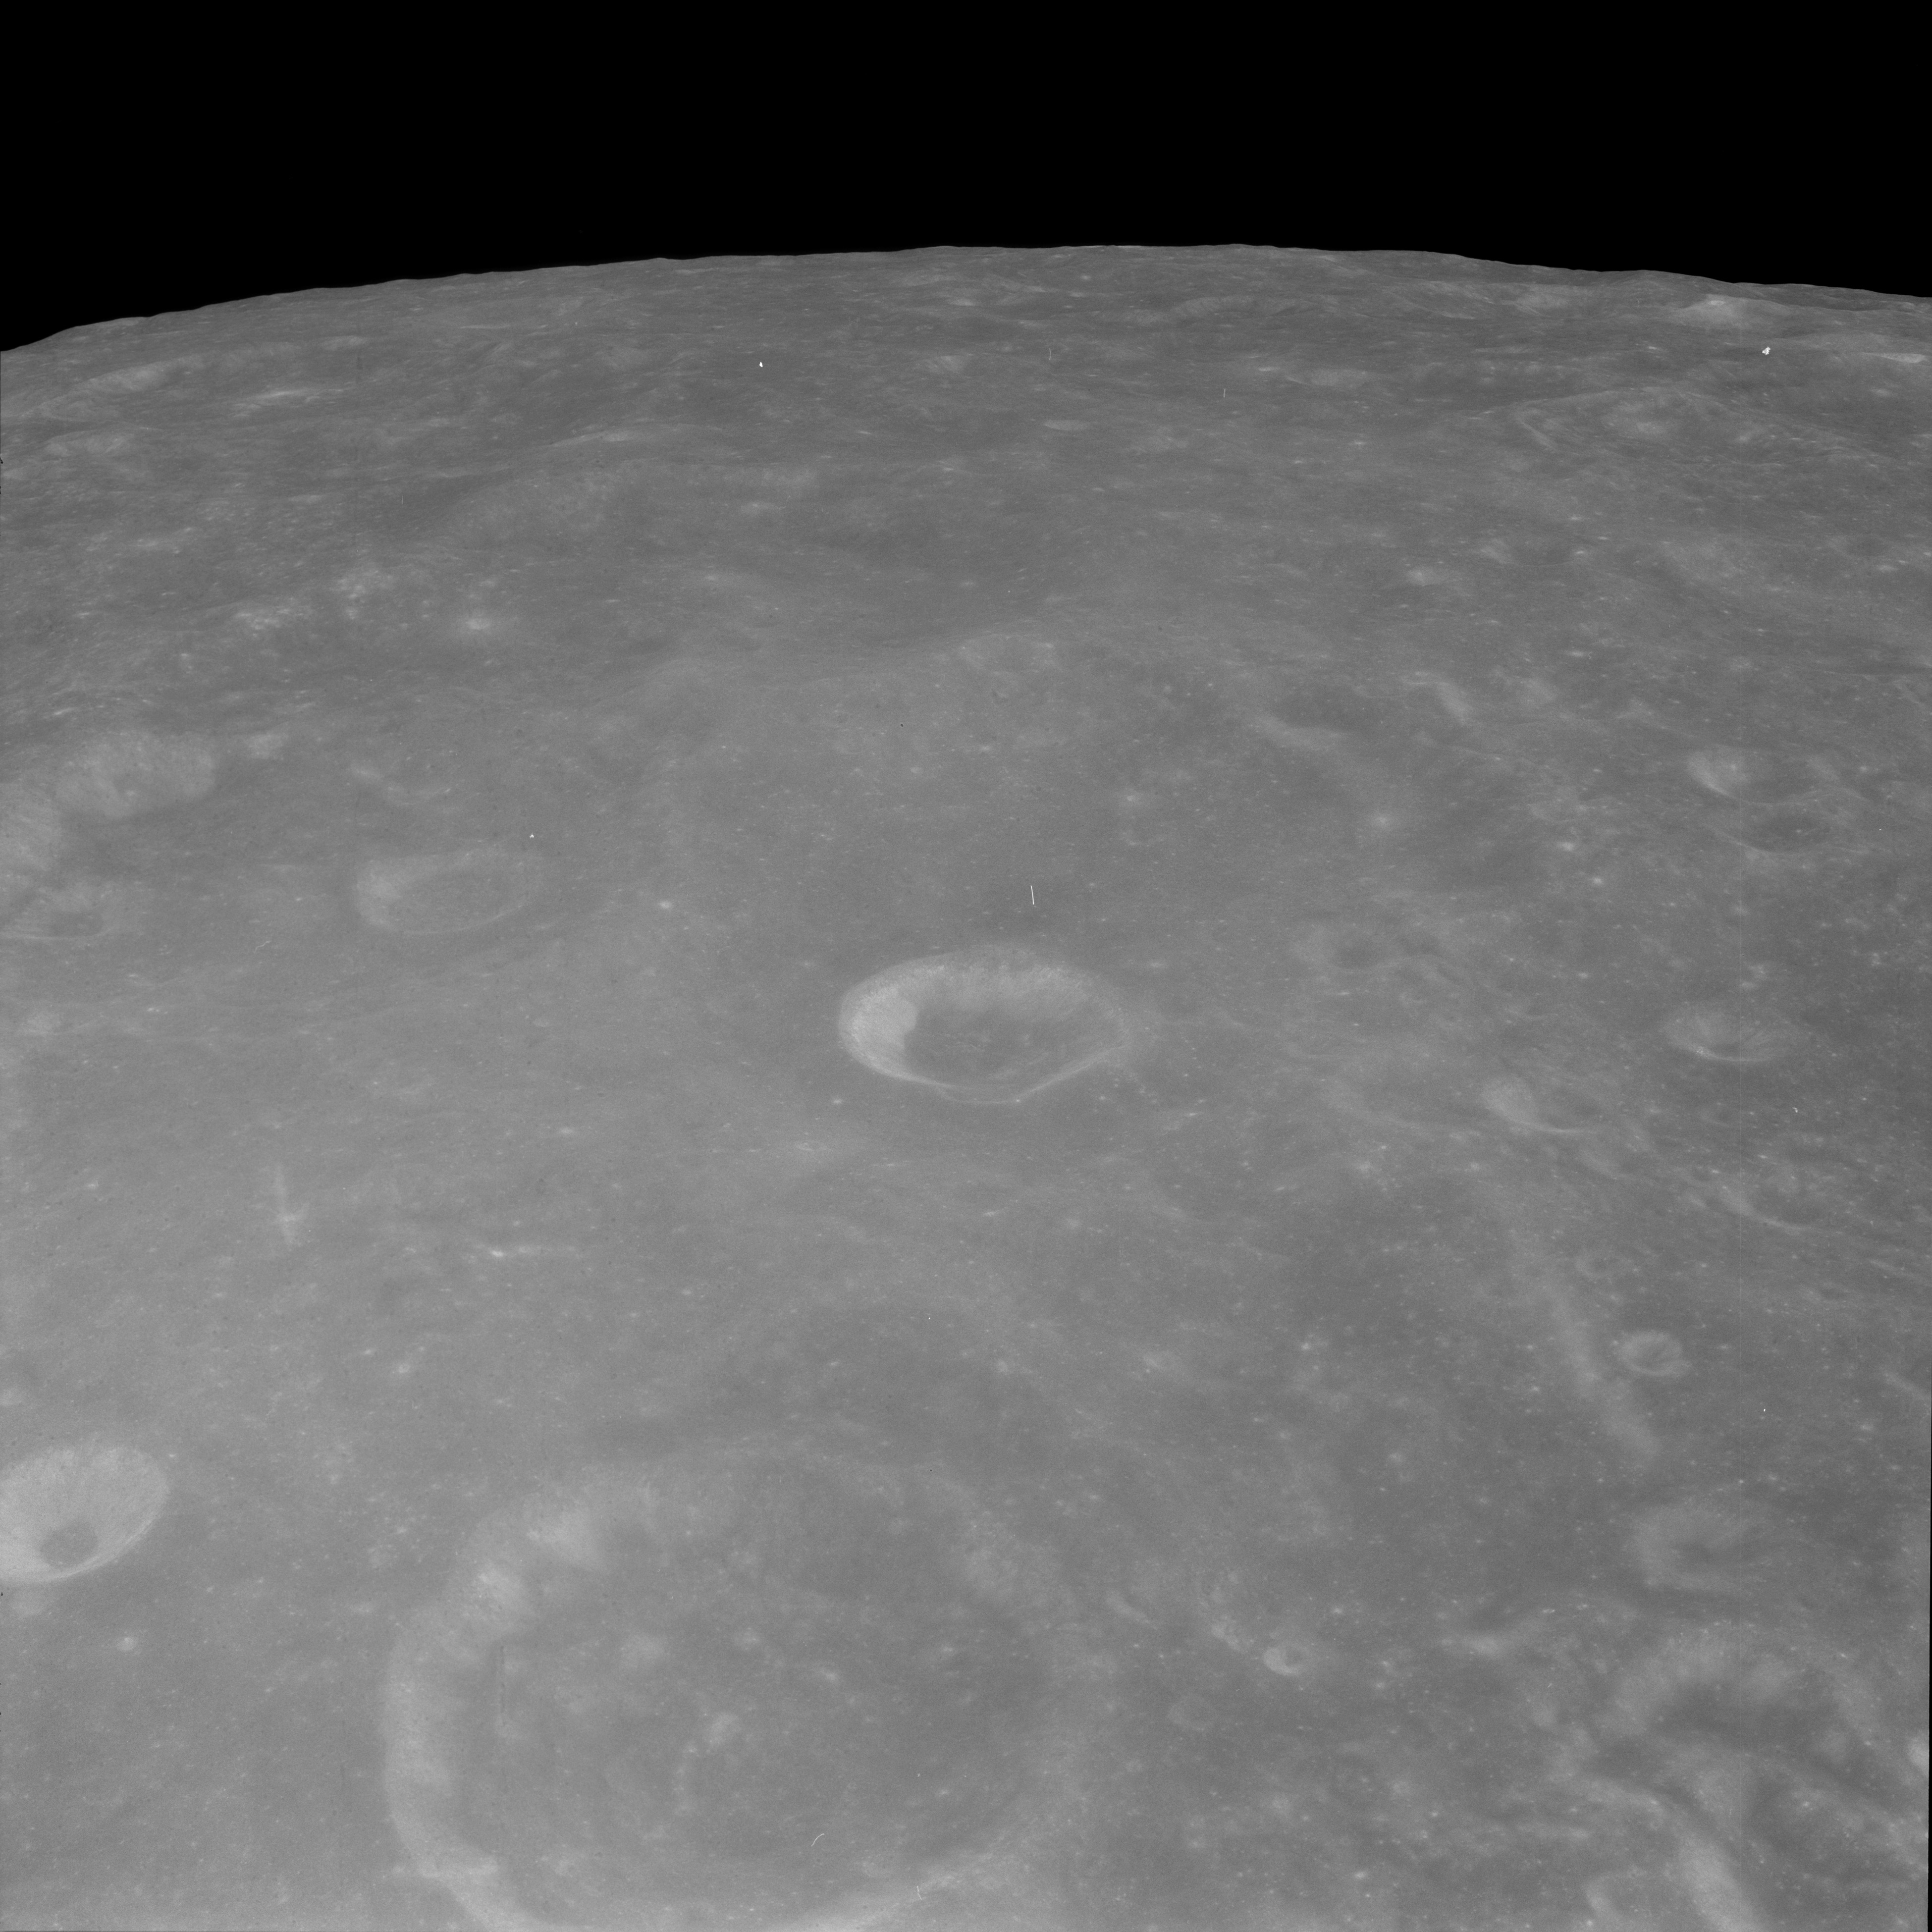
AS11-42-6230 Browse or print resolution. View north to Western Mare Crisium and crater Proclus. Image credit: Image Science and Analysis Laboratory, NASA-Johnson Space Center. |
|
AS11-42-6231 Browse or print resolution. View northwest over crater Taruntius, Sinus Concordiae and Mare Tranquillitatis. Image credit: Image Science and Analysis Laboratory, NASA-Johnson Space Center. |
|
AS11-42-6232 Browse or print resolution. Southwest Mare Fecunditatis. Crater Gutenberg cut off on extreme right. Lubbock is above centre. Image credit: Image Science and Analysis Laboratory, NASA-Johnson Space Center. |

|
AS11-42-6233 Browse or print resolution. Craters Messier and Messier A. Image credit: Image Science and Analysis Laboratory, NASA-Johnson Space Center. |

|
AS11-42-6234 Browse or print resolution. Southern Mare Tranquillitatis. Maskelyne A on left, Mount Marilyn is cutoff on extreme right. Image credit: Image Science and Analysis Laboratory, NASA-Johnson Space Center. |
|
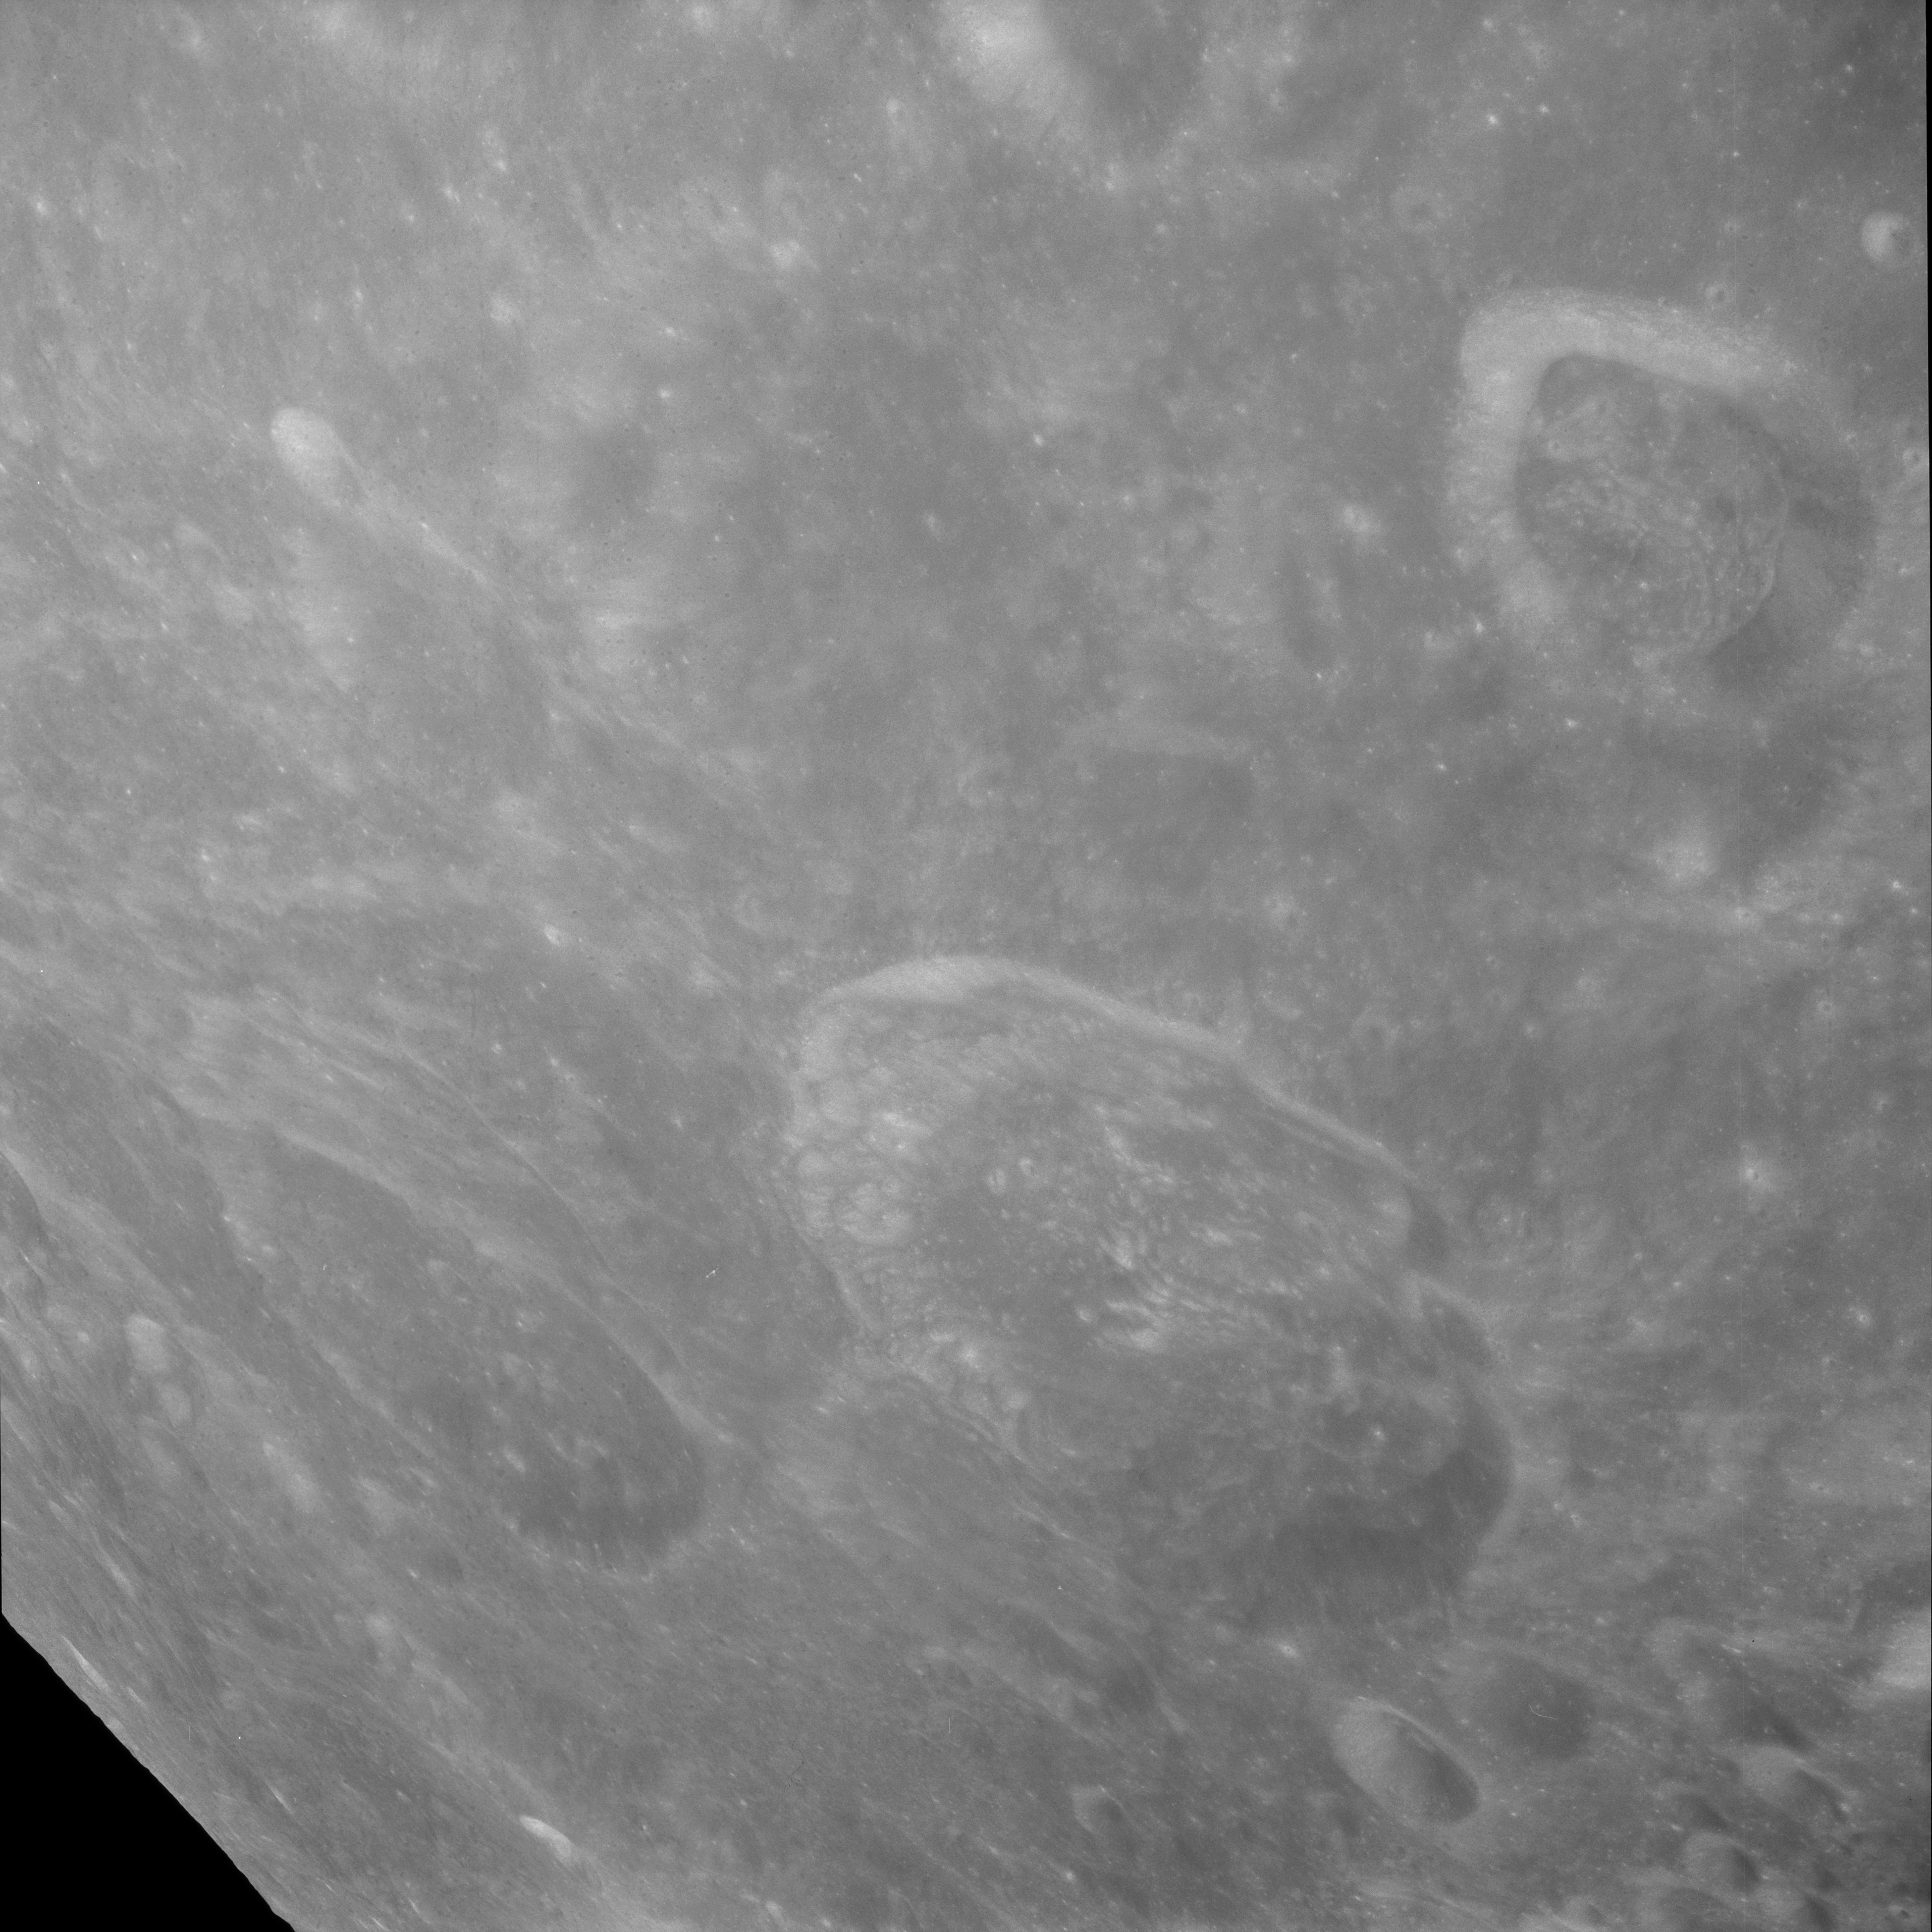
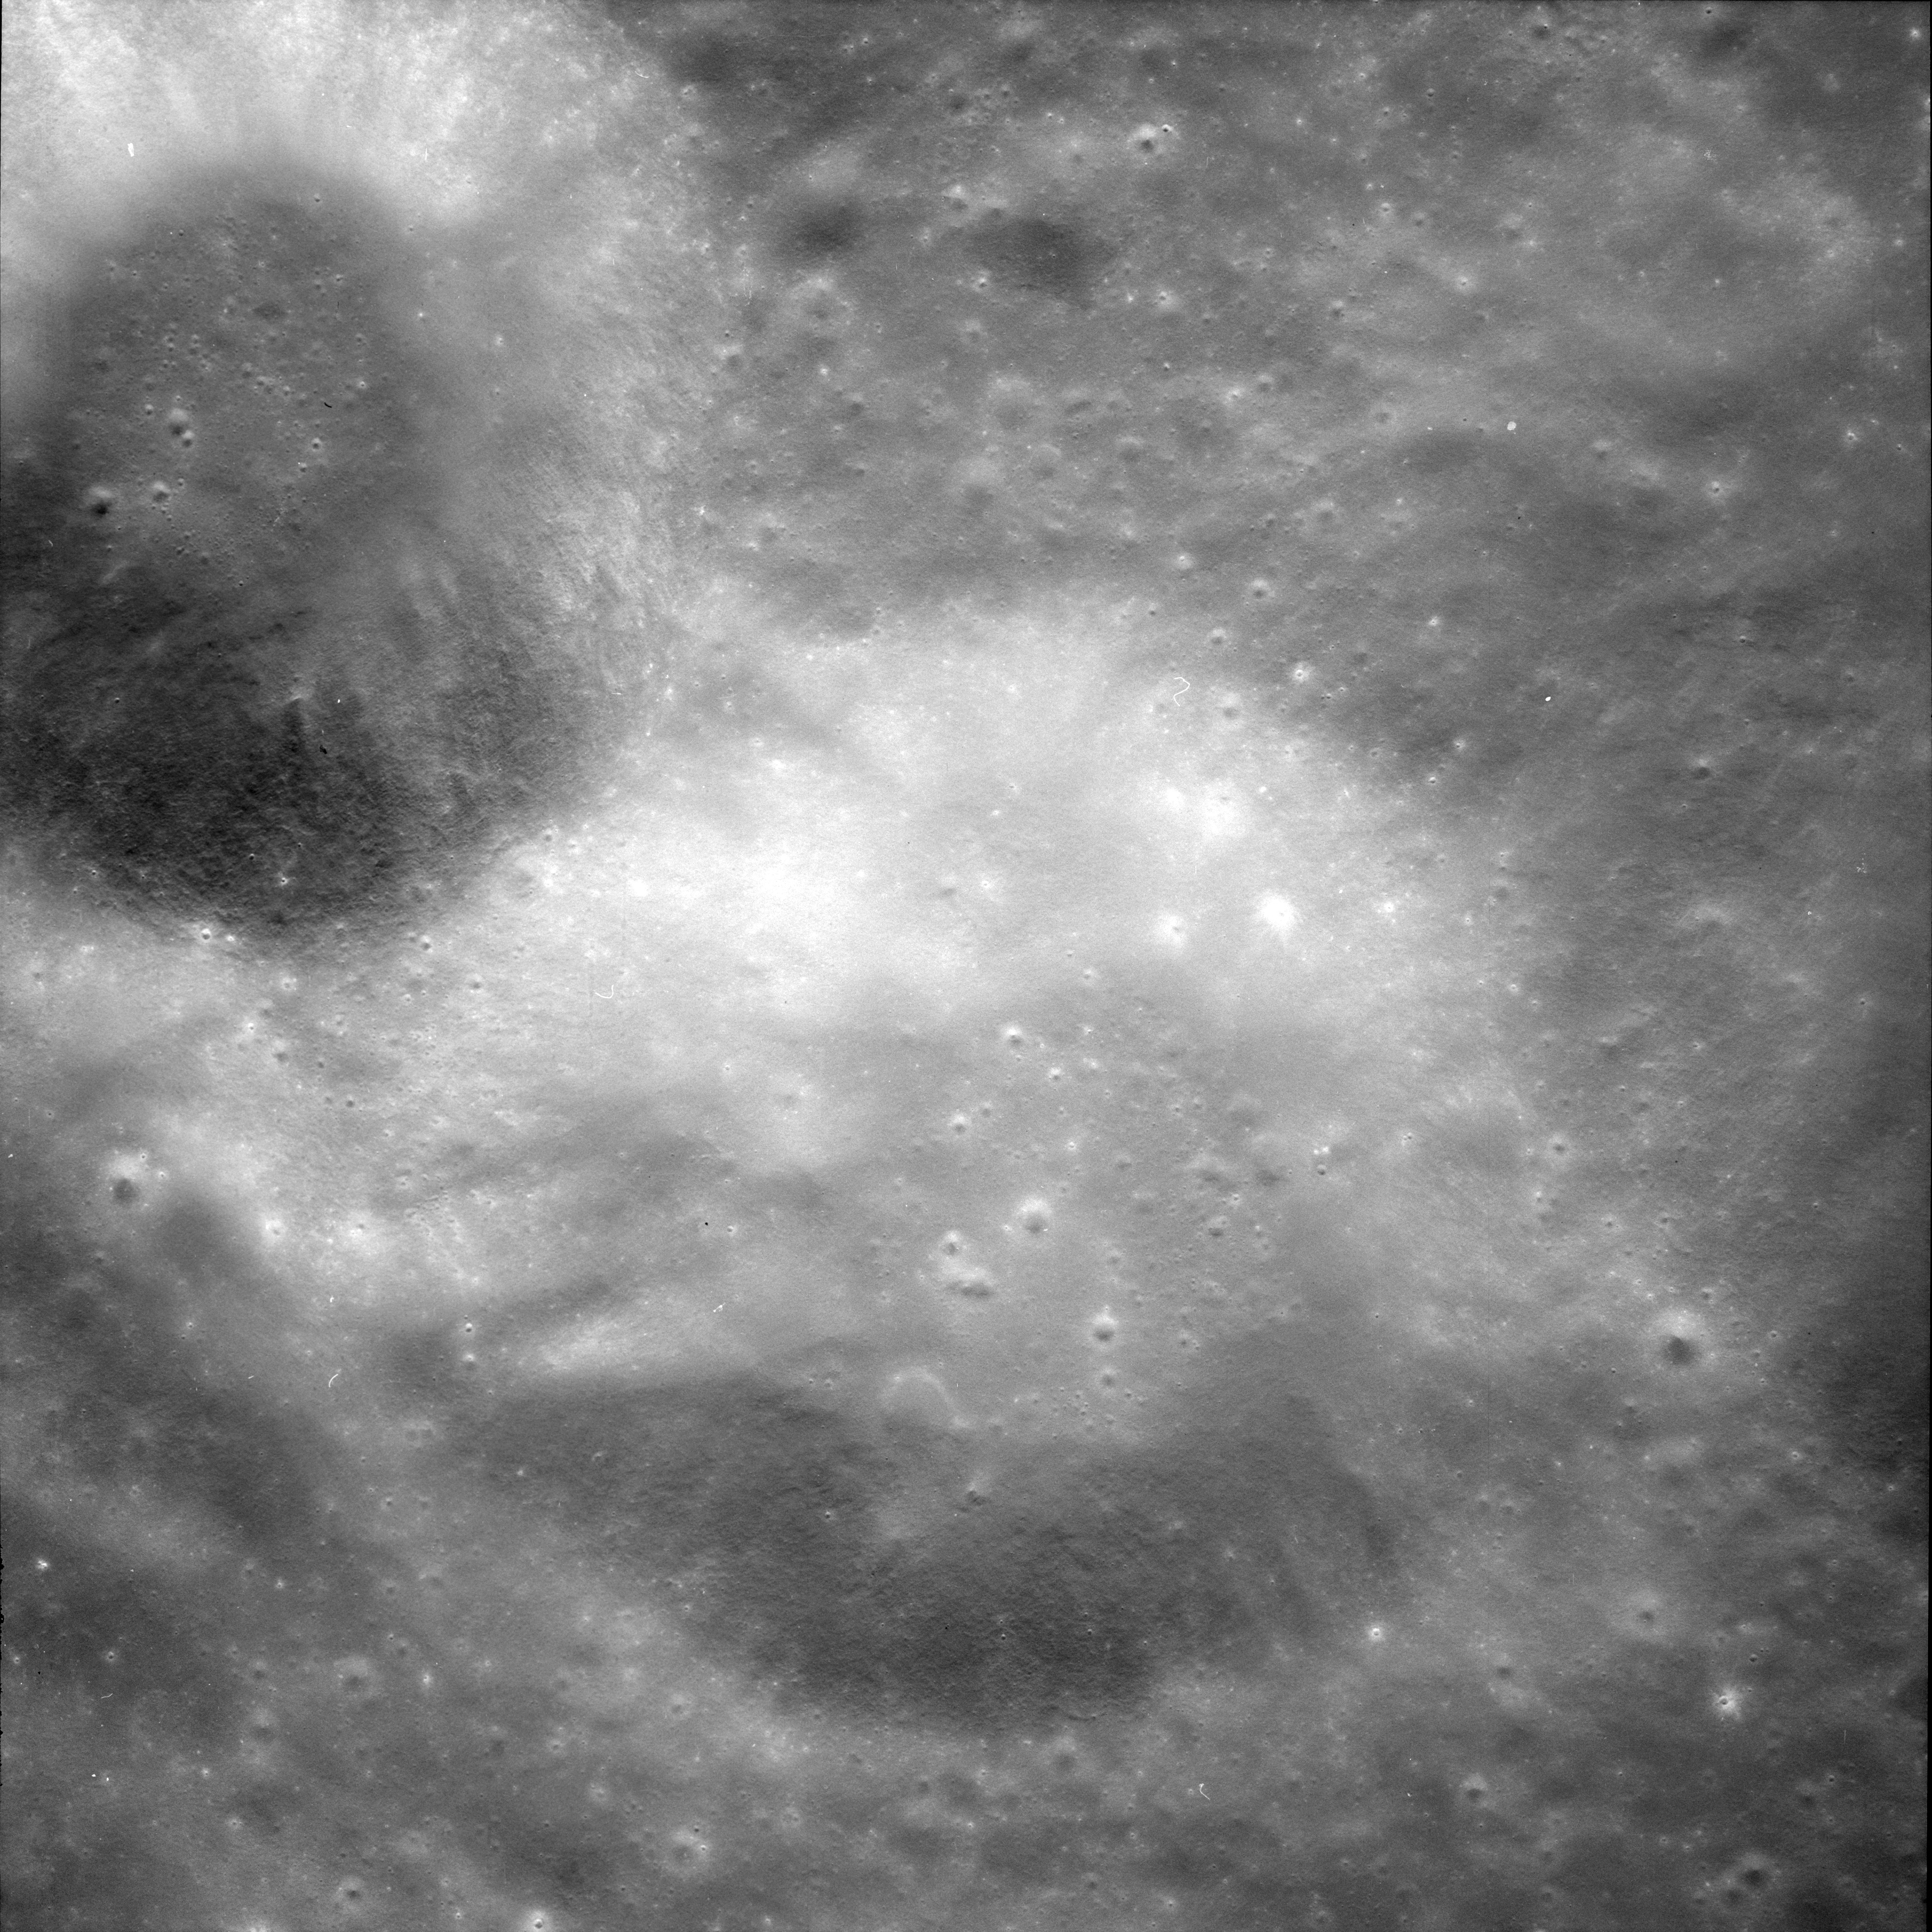
AS11-42-6235 Browse or print resolution. Western Mare Nectaris. Crater Isidorus in foreground, Mäat;dler beyond. Theophilus is cut off behind LM rendezvous radar antenna and Daguerre is the flooded crater on the near side of Nectaris. Fracastorius is large degraded crater that forms an embayment on the far side of Nectaris. Image credit: Image Science and Analysis Laboratory, NASA-Johnson Space Center. |

|
AS11-42-6236 Browse or print resolution. Western Mare Nectaris. Crater Isidorus is cut off in foreground, Mäat;dler beyond. Theophilus is cut off behind LM rendezvous radar antenna and Daguerre is the flooded crater on the near side of Nectaris. Fracastorius is large degraded crater that forms an embayment on the far side of Nectaris. Image credit: Image Science and Analysis Laboratory, NASA-Johnson Space Center. |
|
AS11-42-6237 Browse or print resolution. Western Mare Nectaris. Craters Mäat;dler on left and Theophilus on the terminator on right. Image credit: Image Science and Analysis Laboratory, NASA-Johnson Space Center. |
|
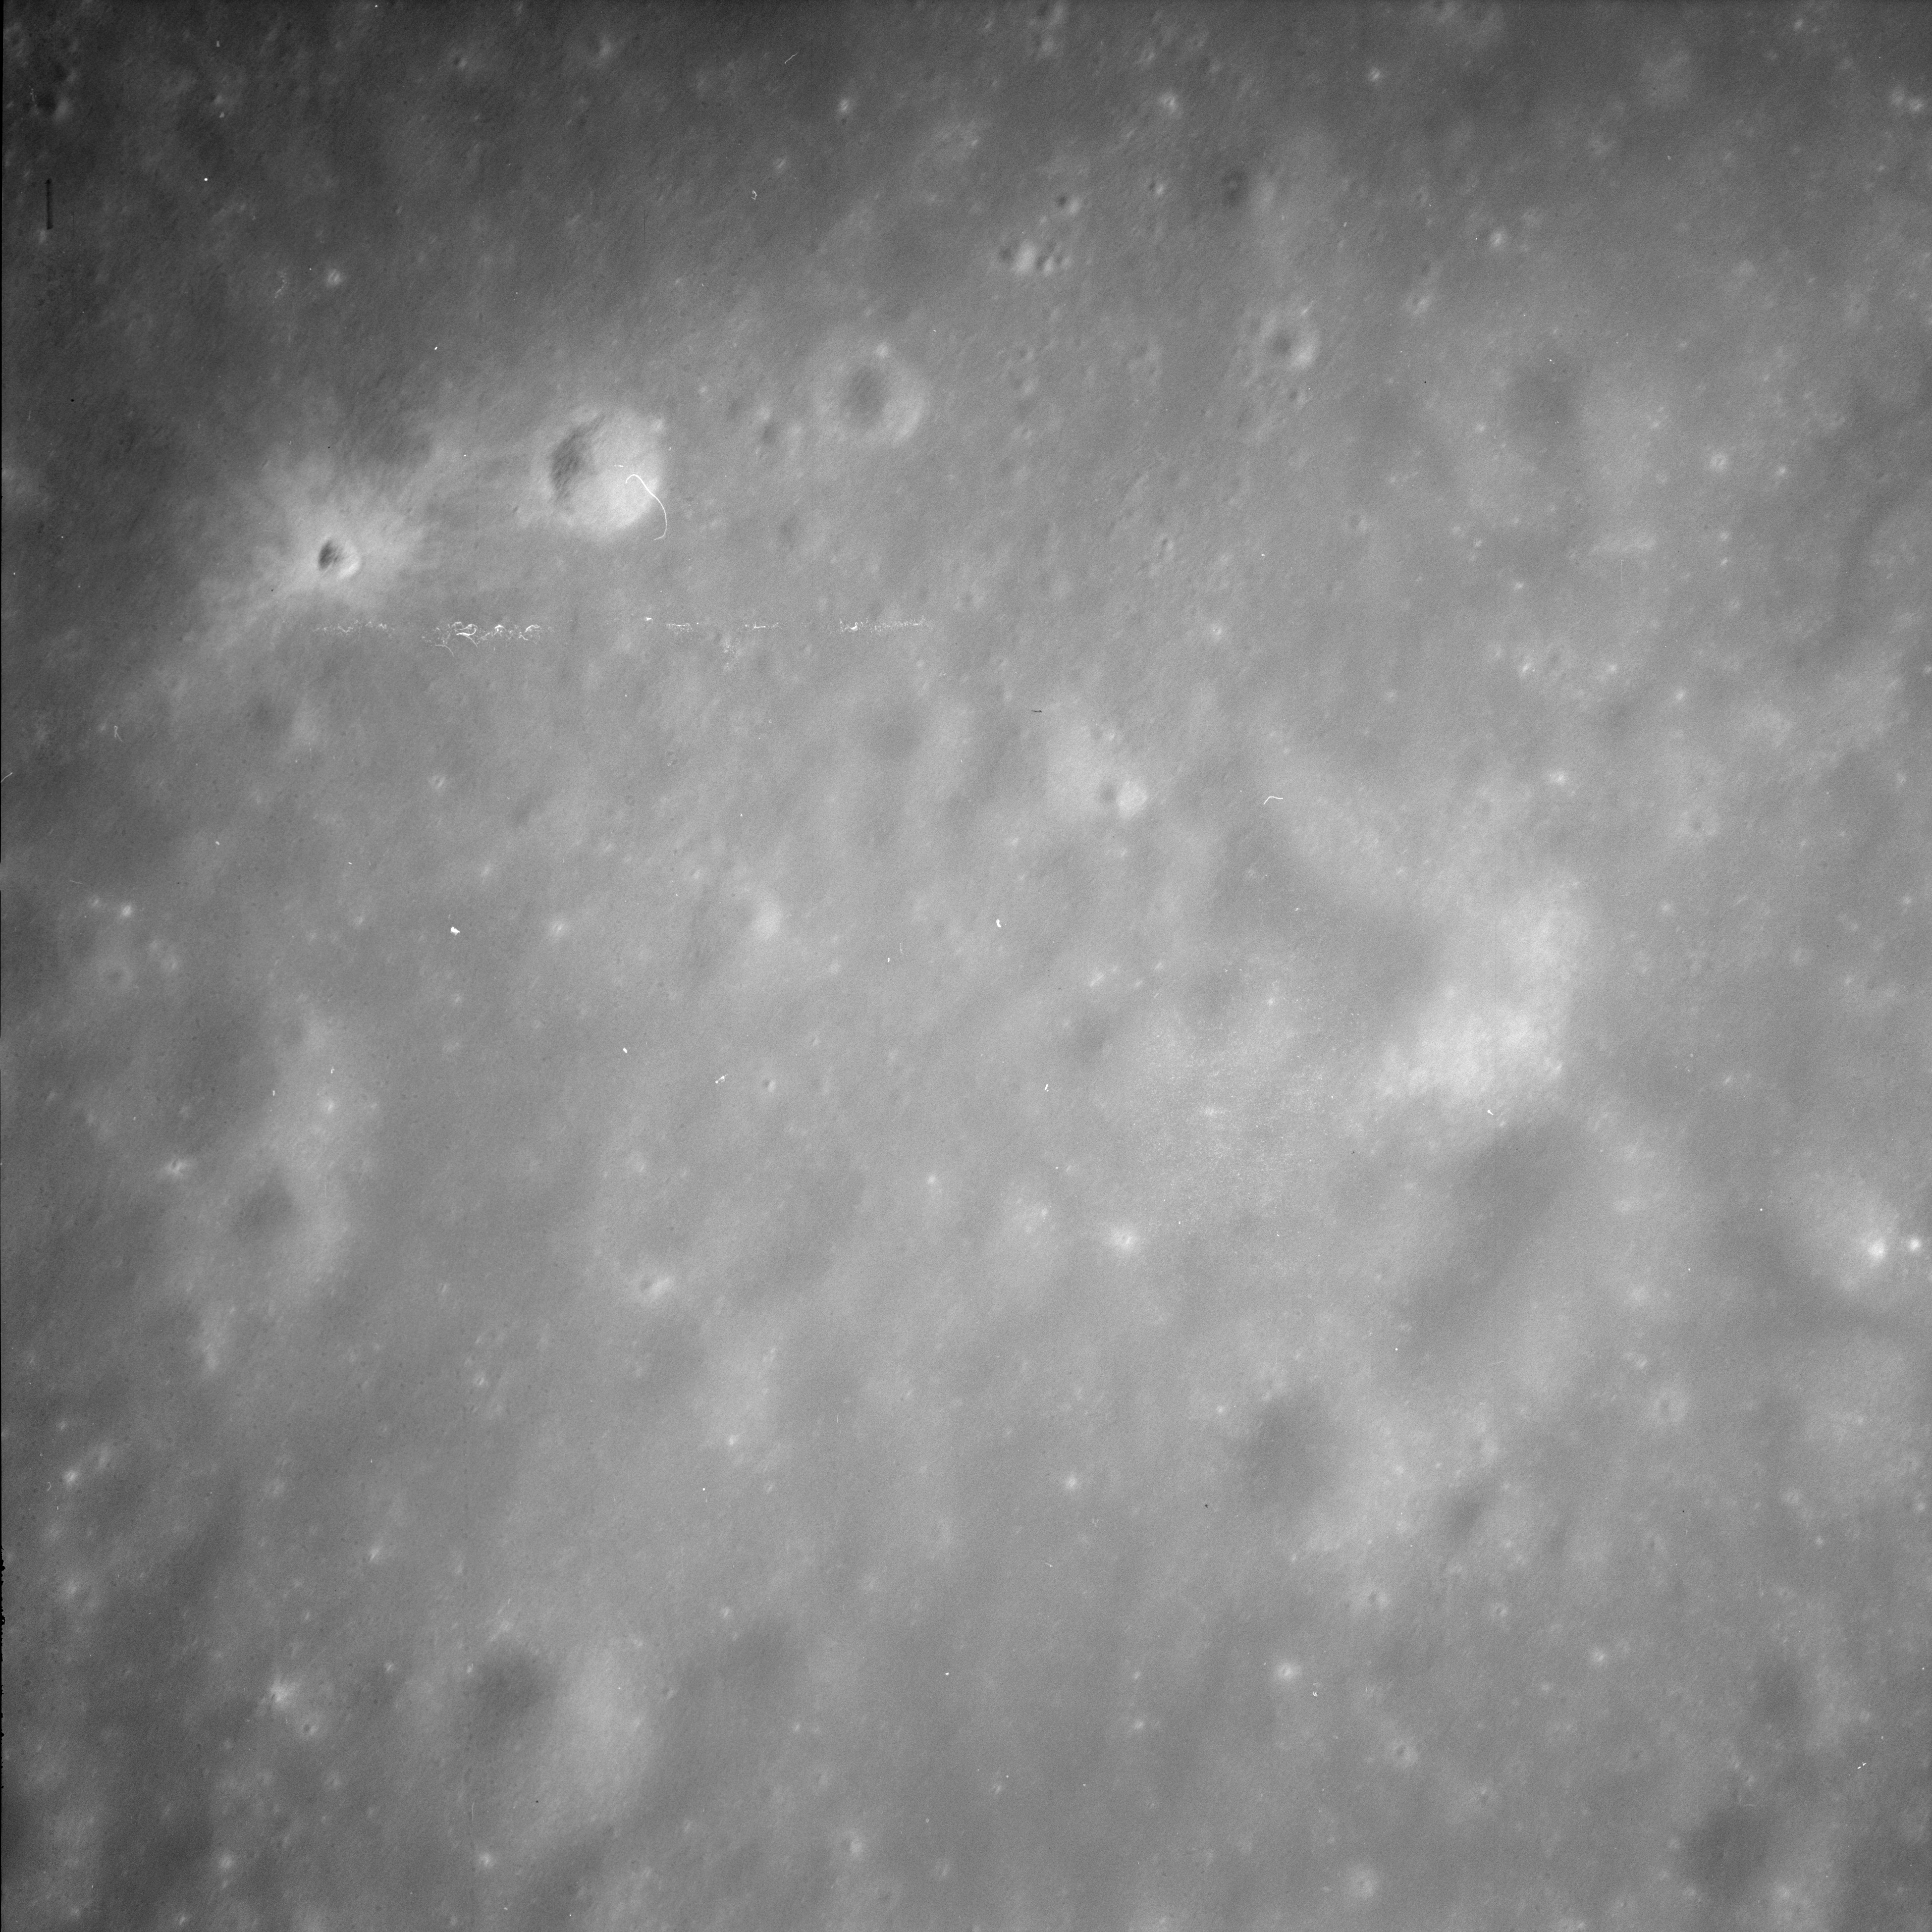
AS11-42-6238 Browse or print resolution. Craters Maskelyne and Maskelyne B on Mare Tranquillitatis. Boot Hill and Duke Island top left. Image credit: Image Science and Analysis Laboratory, NASA-Johnson Space Center. |
|
AS11-42-6239 Browse or print resolution. Craters Maskelyne and Maskelyne B on Mare Tranquillitatis. Boot Hill and Duke Island above centre. Image credit: Image Science and Analysis Laboratory, NASA-Johnson Space Center. |
|
AS11-42-6240 Browse or print resolution. Sinus Asperitatis in southern Mare Tranquillitatis. Crater Totticelli. Reflection of cabin light visible. Image credit: Image Science and Analysis Laboratory, NASA-Johnson Space Center. |

|
AS11-42-6241 Browse or print resolution. Vire southeast over western Mare Nectaris. Crater Torricelli is upper left. Mäat;dler and Theophilus on the shore of Nectaris. Image credit: Image Science and Analysis Laboratory, NASA-Johnson Space Center. |

|
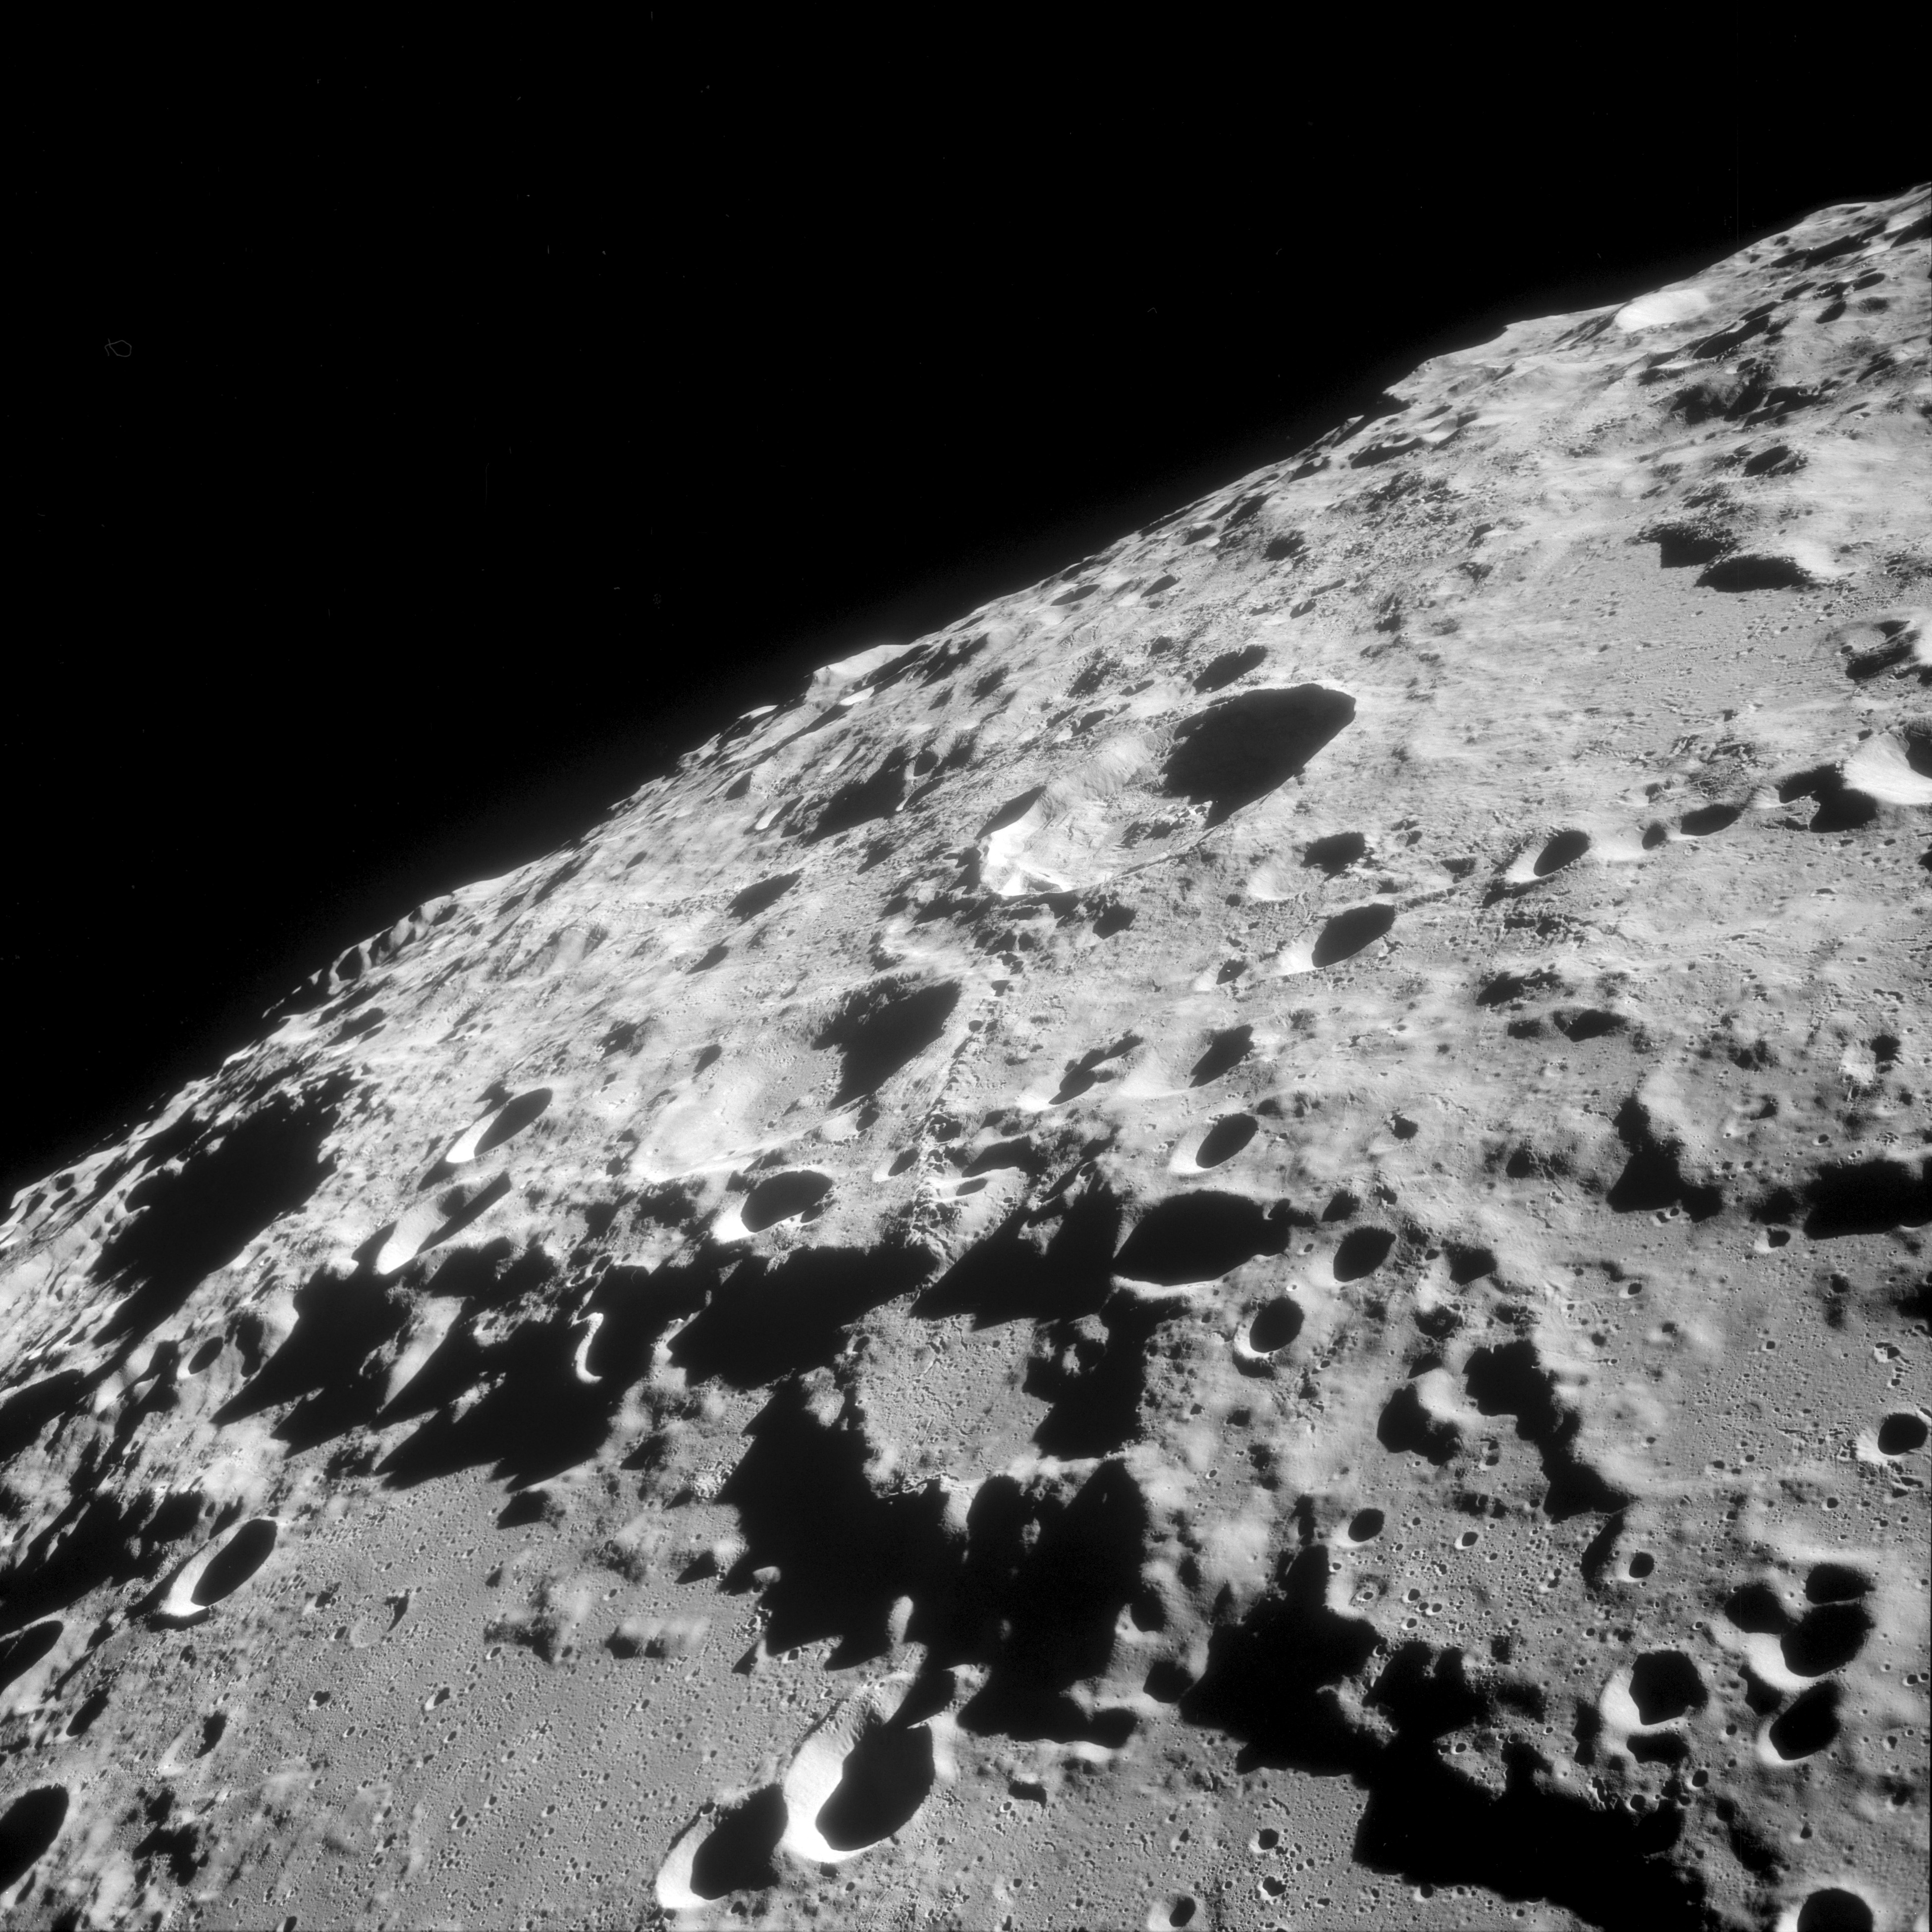
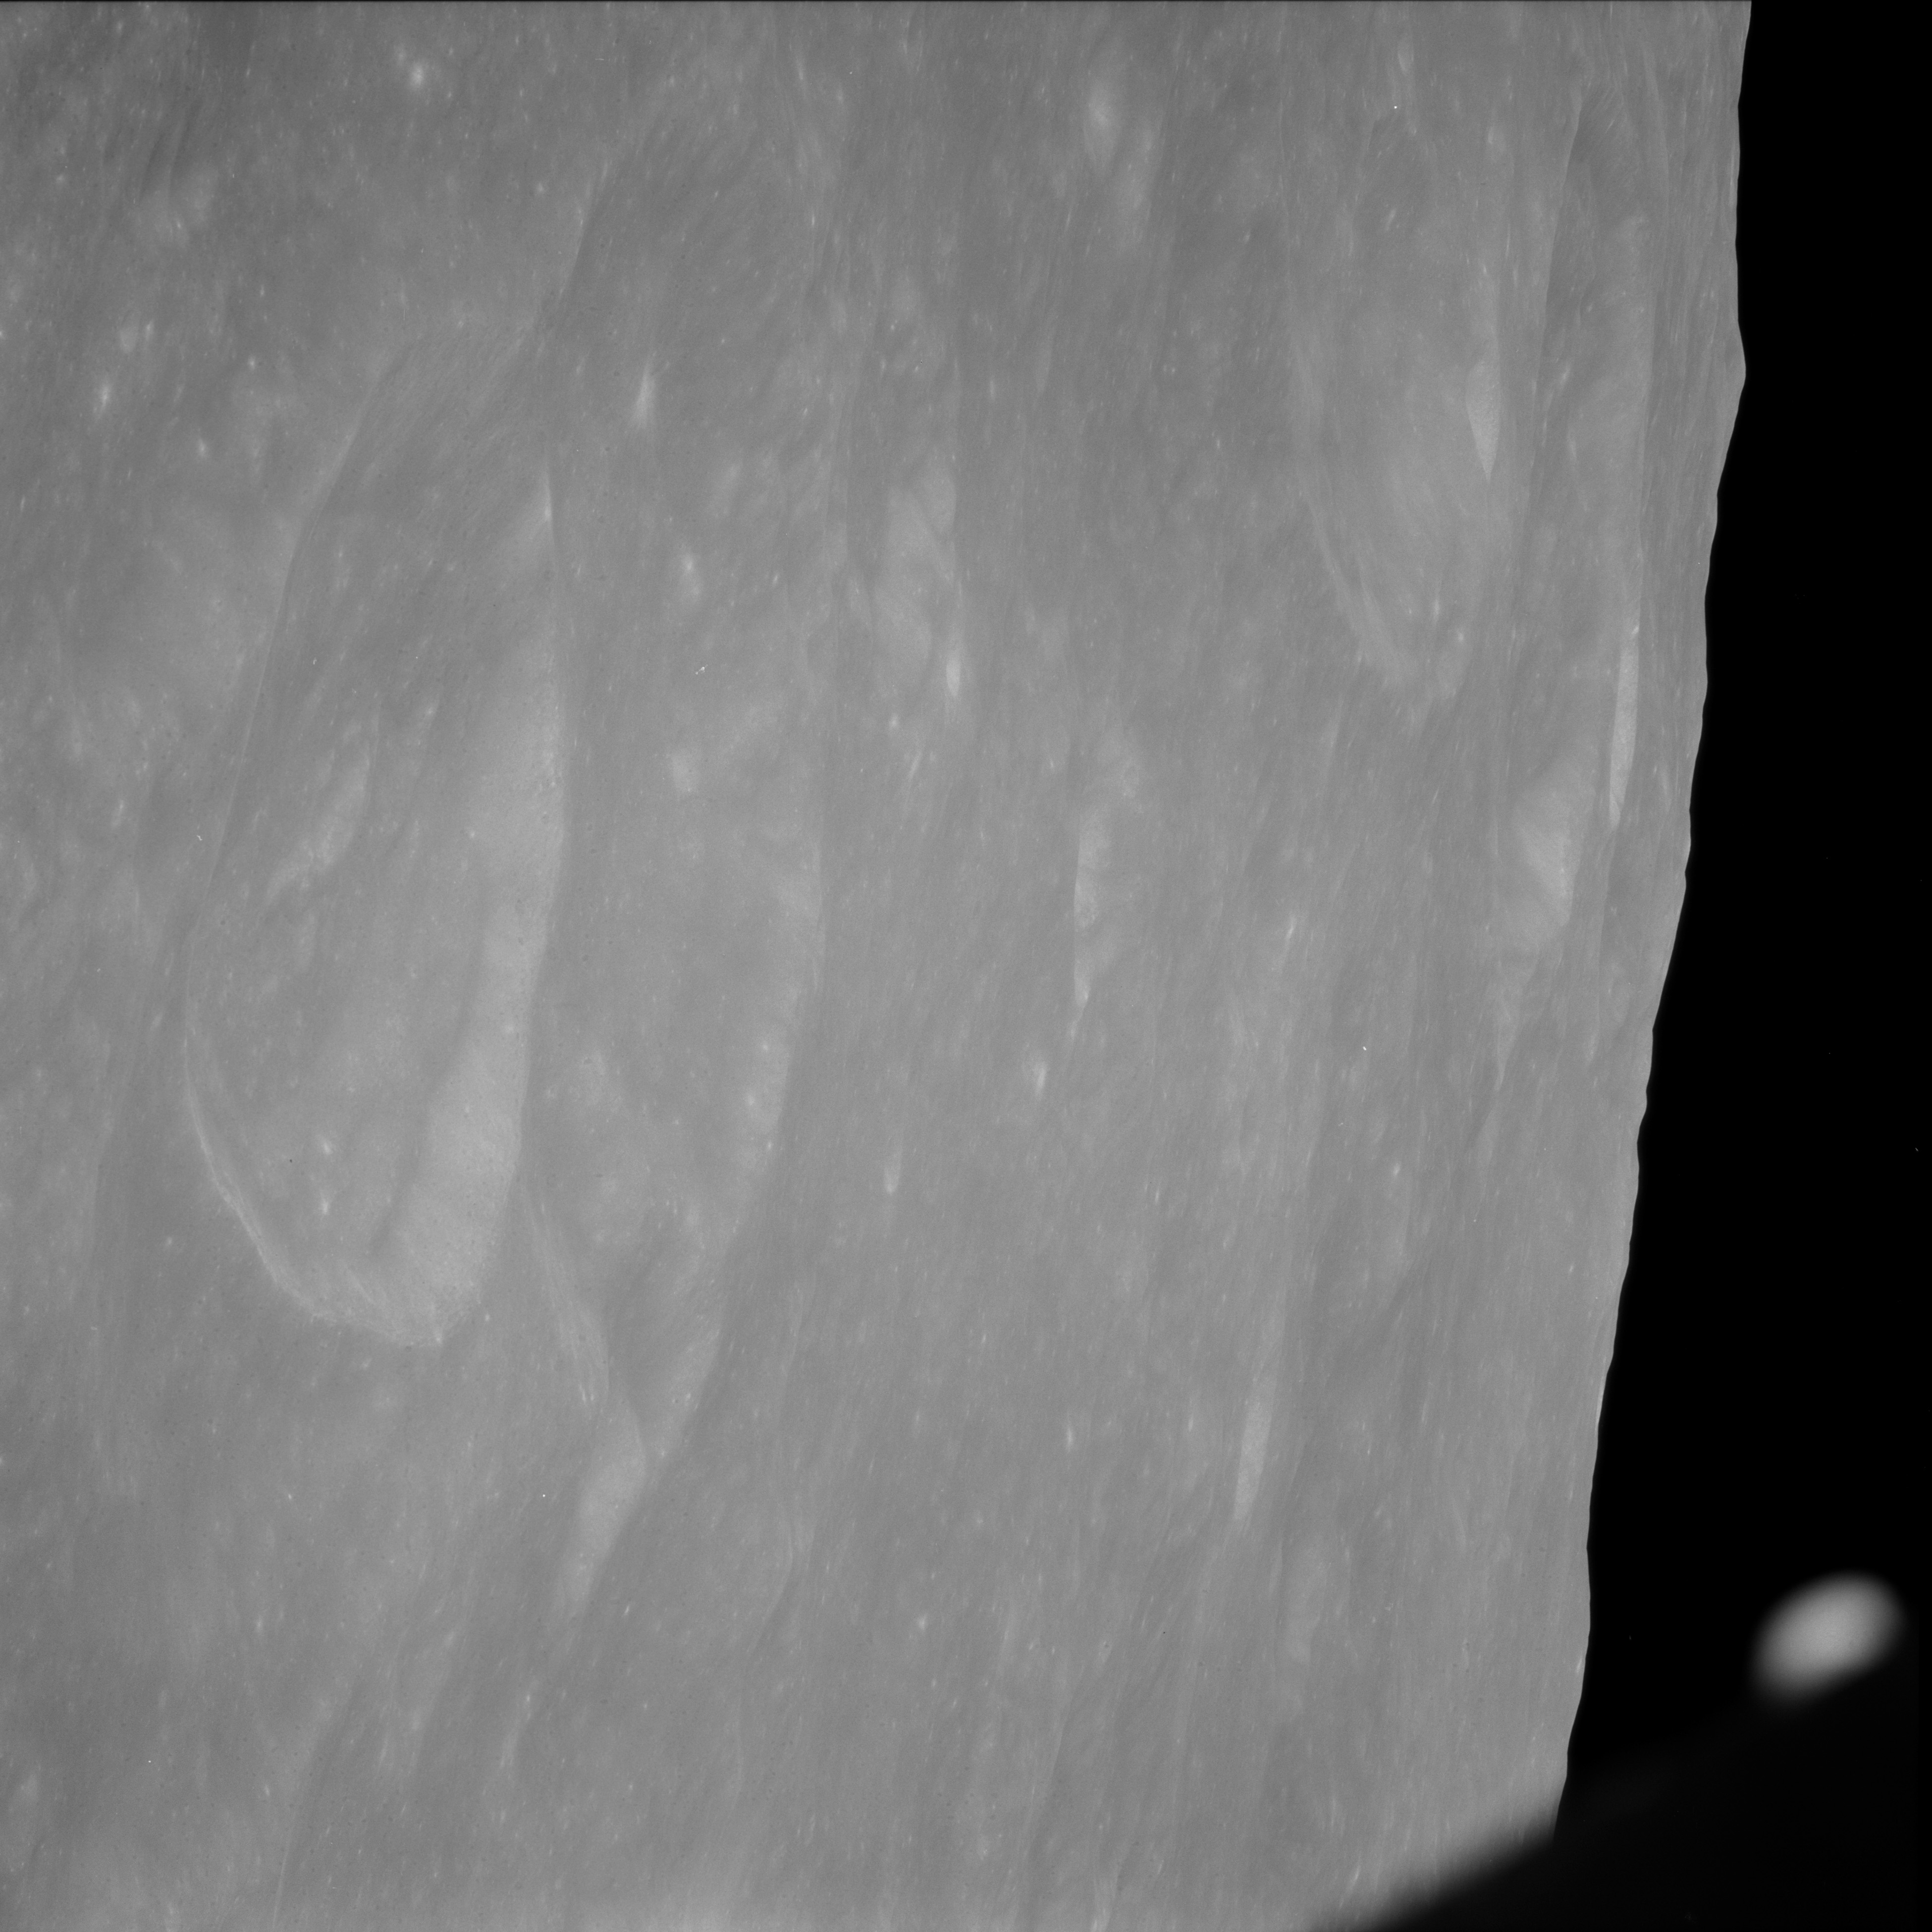
AS11-42-6242 Browse or print resolution. Unknown terminator terrain. Image credit: Image Science and Analysis Laboratory, NASA-Johnson Space Center. |

|
AS11-42-6243 Browse or print resolution. Unknown terminator terrain. Image credit: Image Science and Analysis Laboratory, NASA-Johnson Space Center. |

|
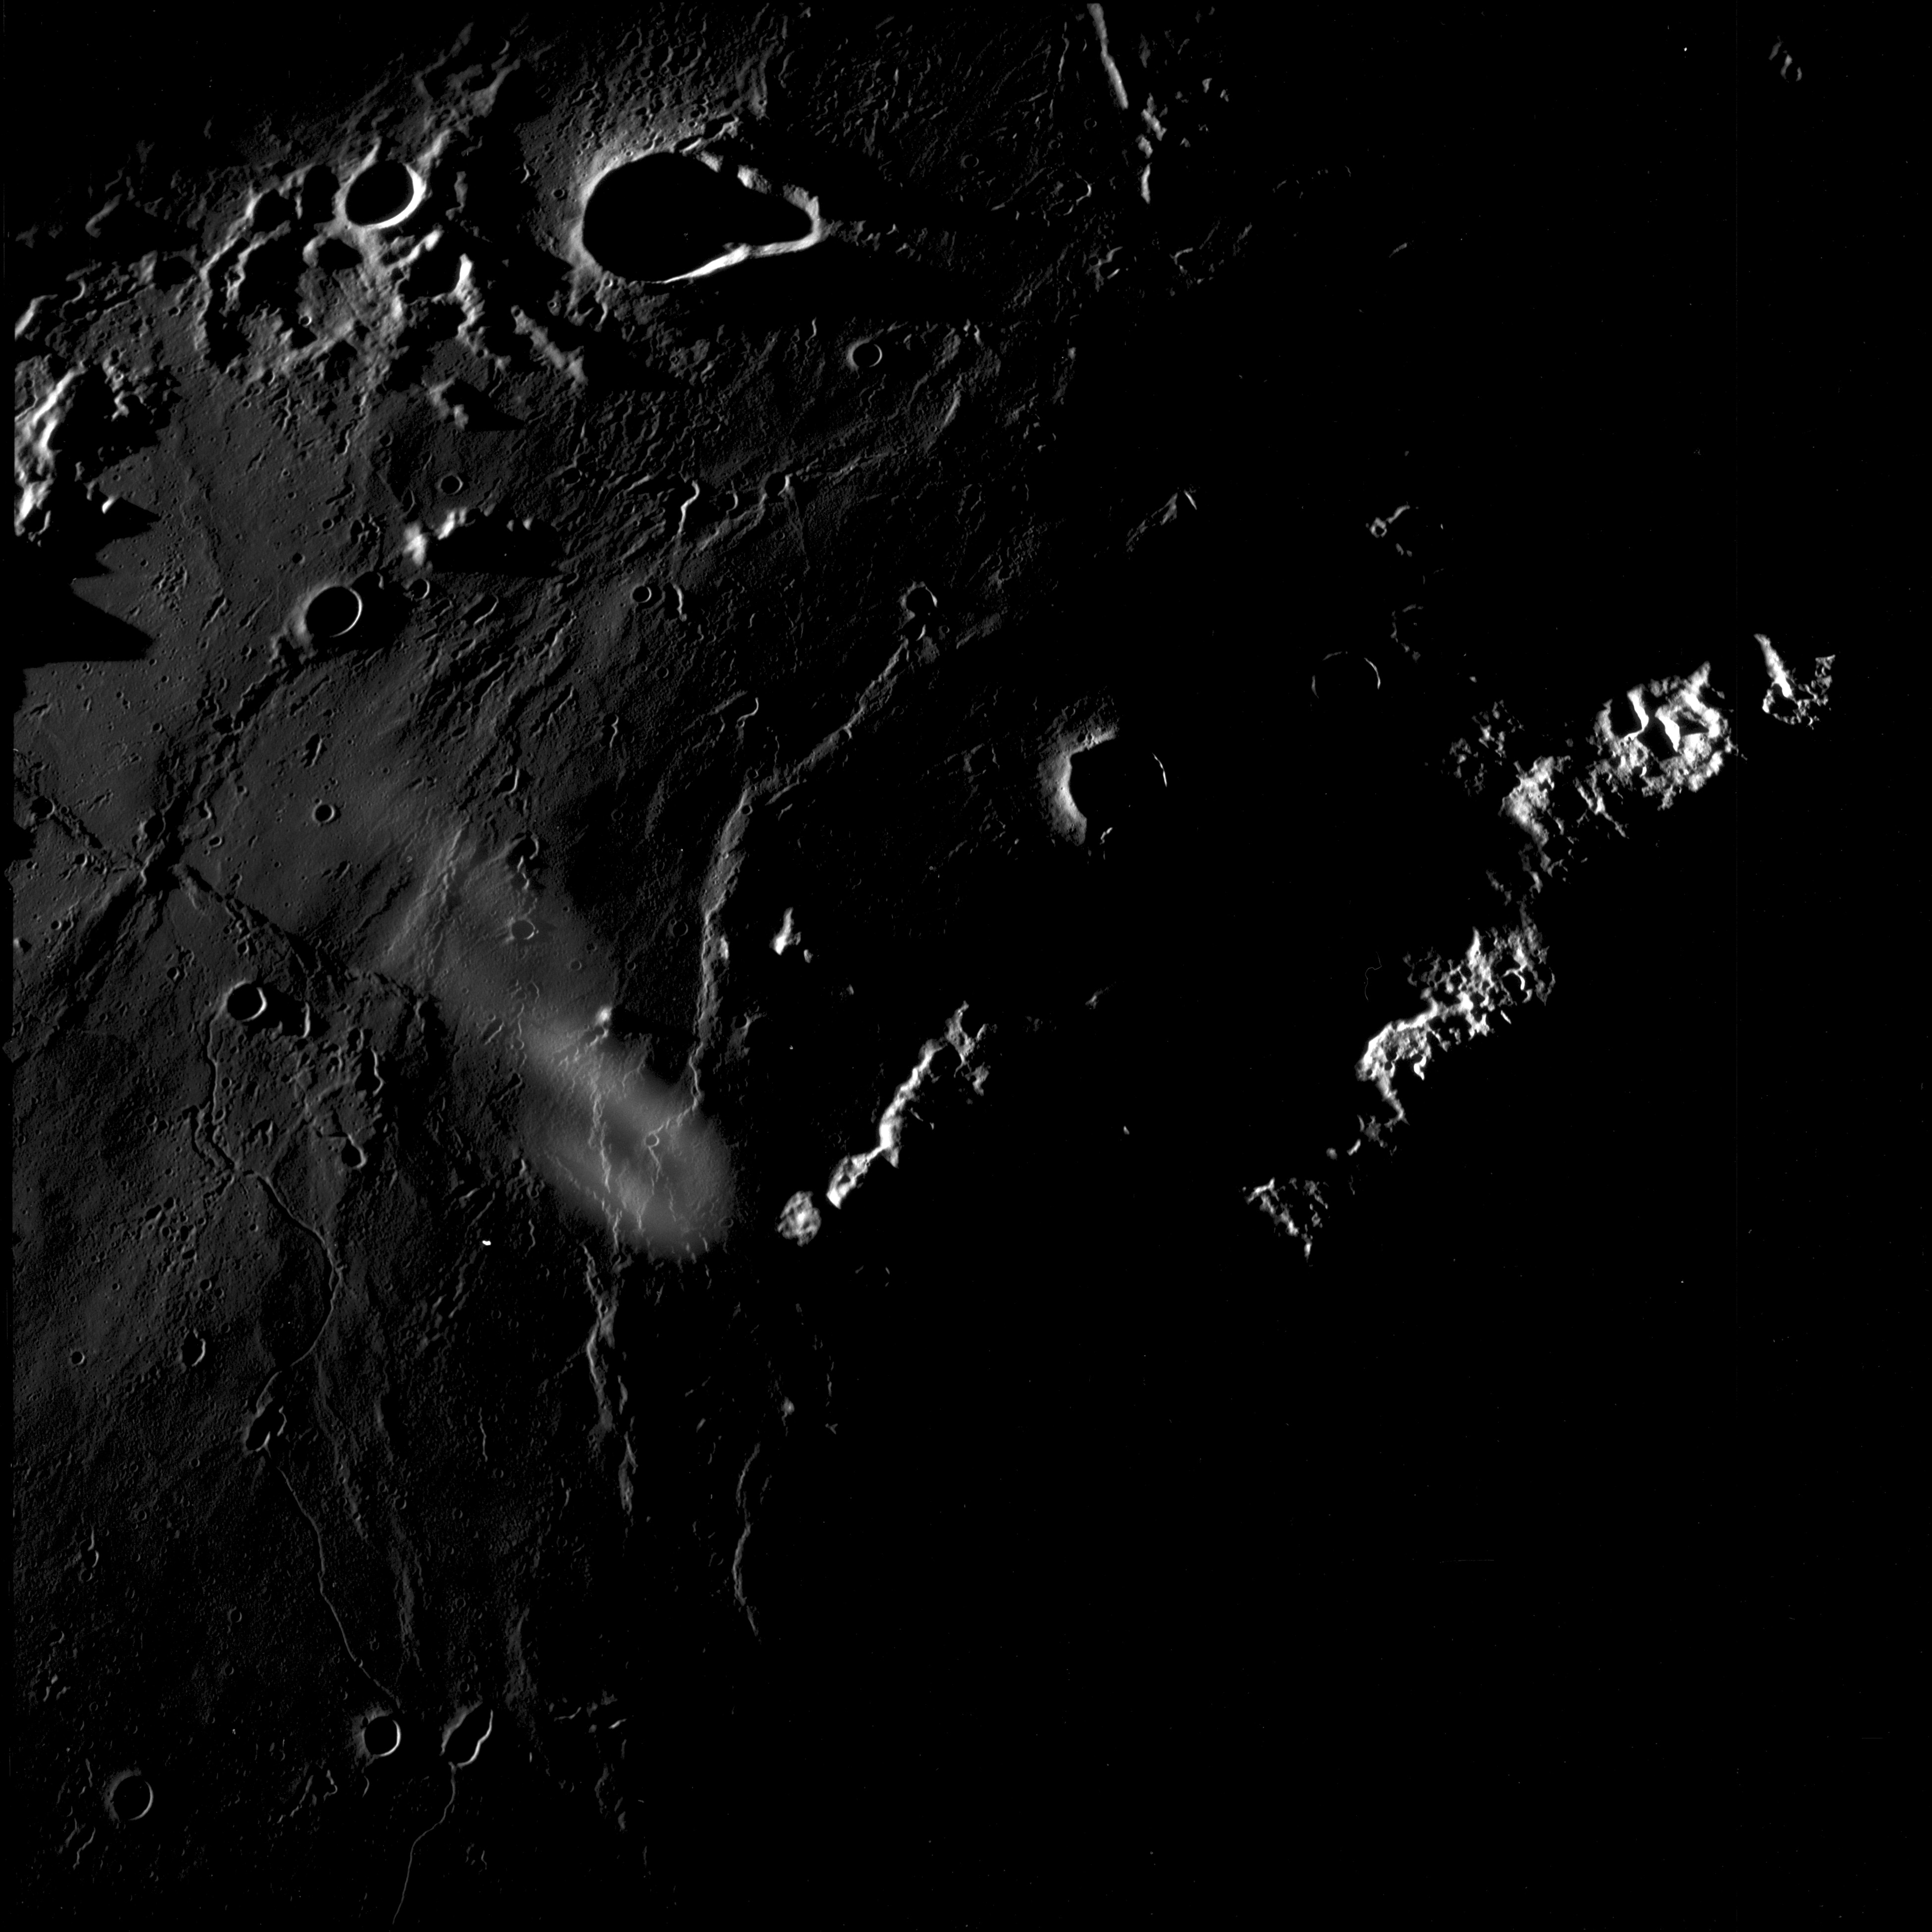
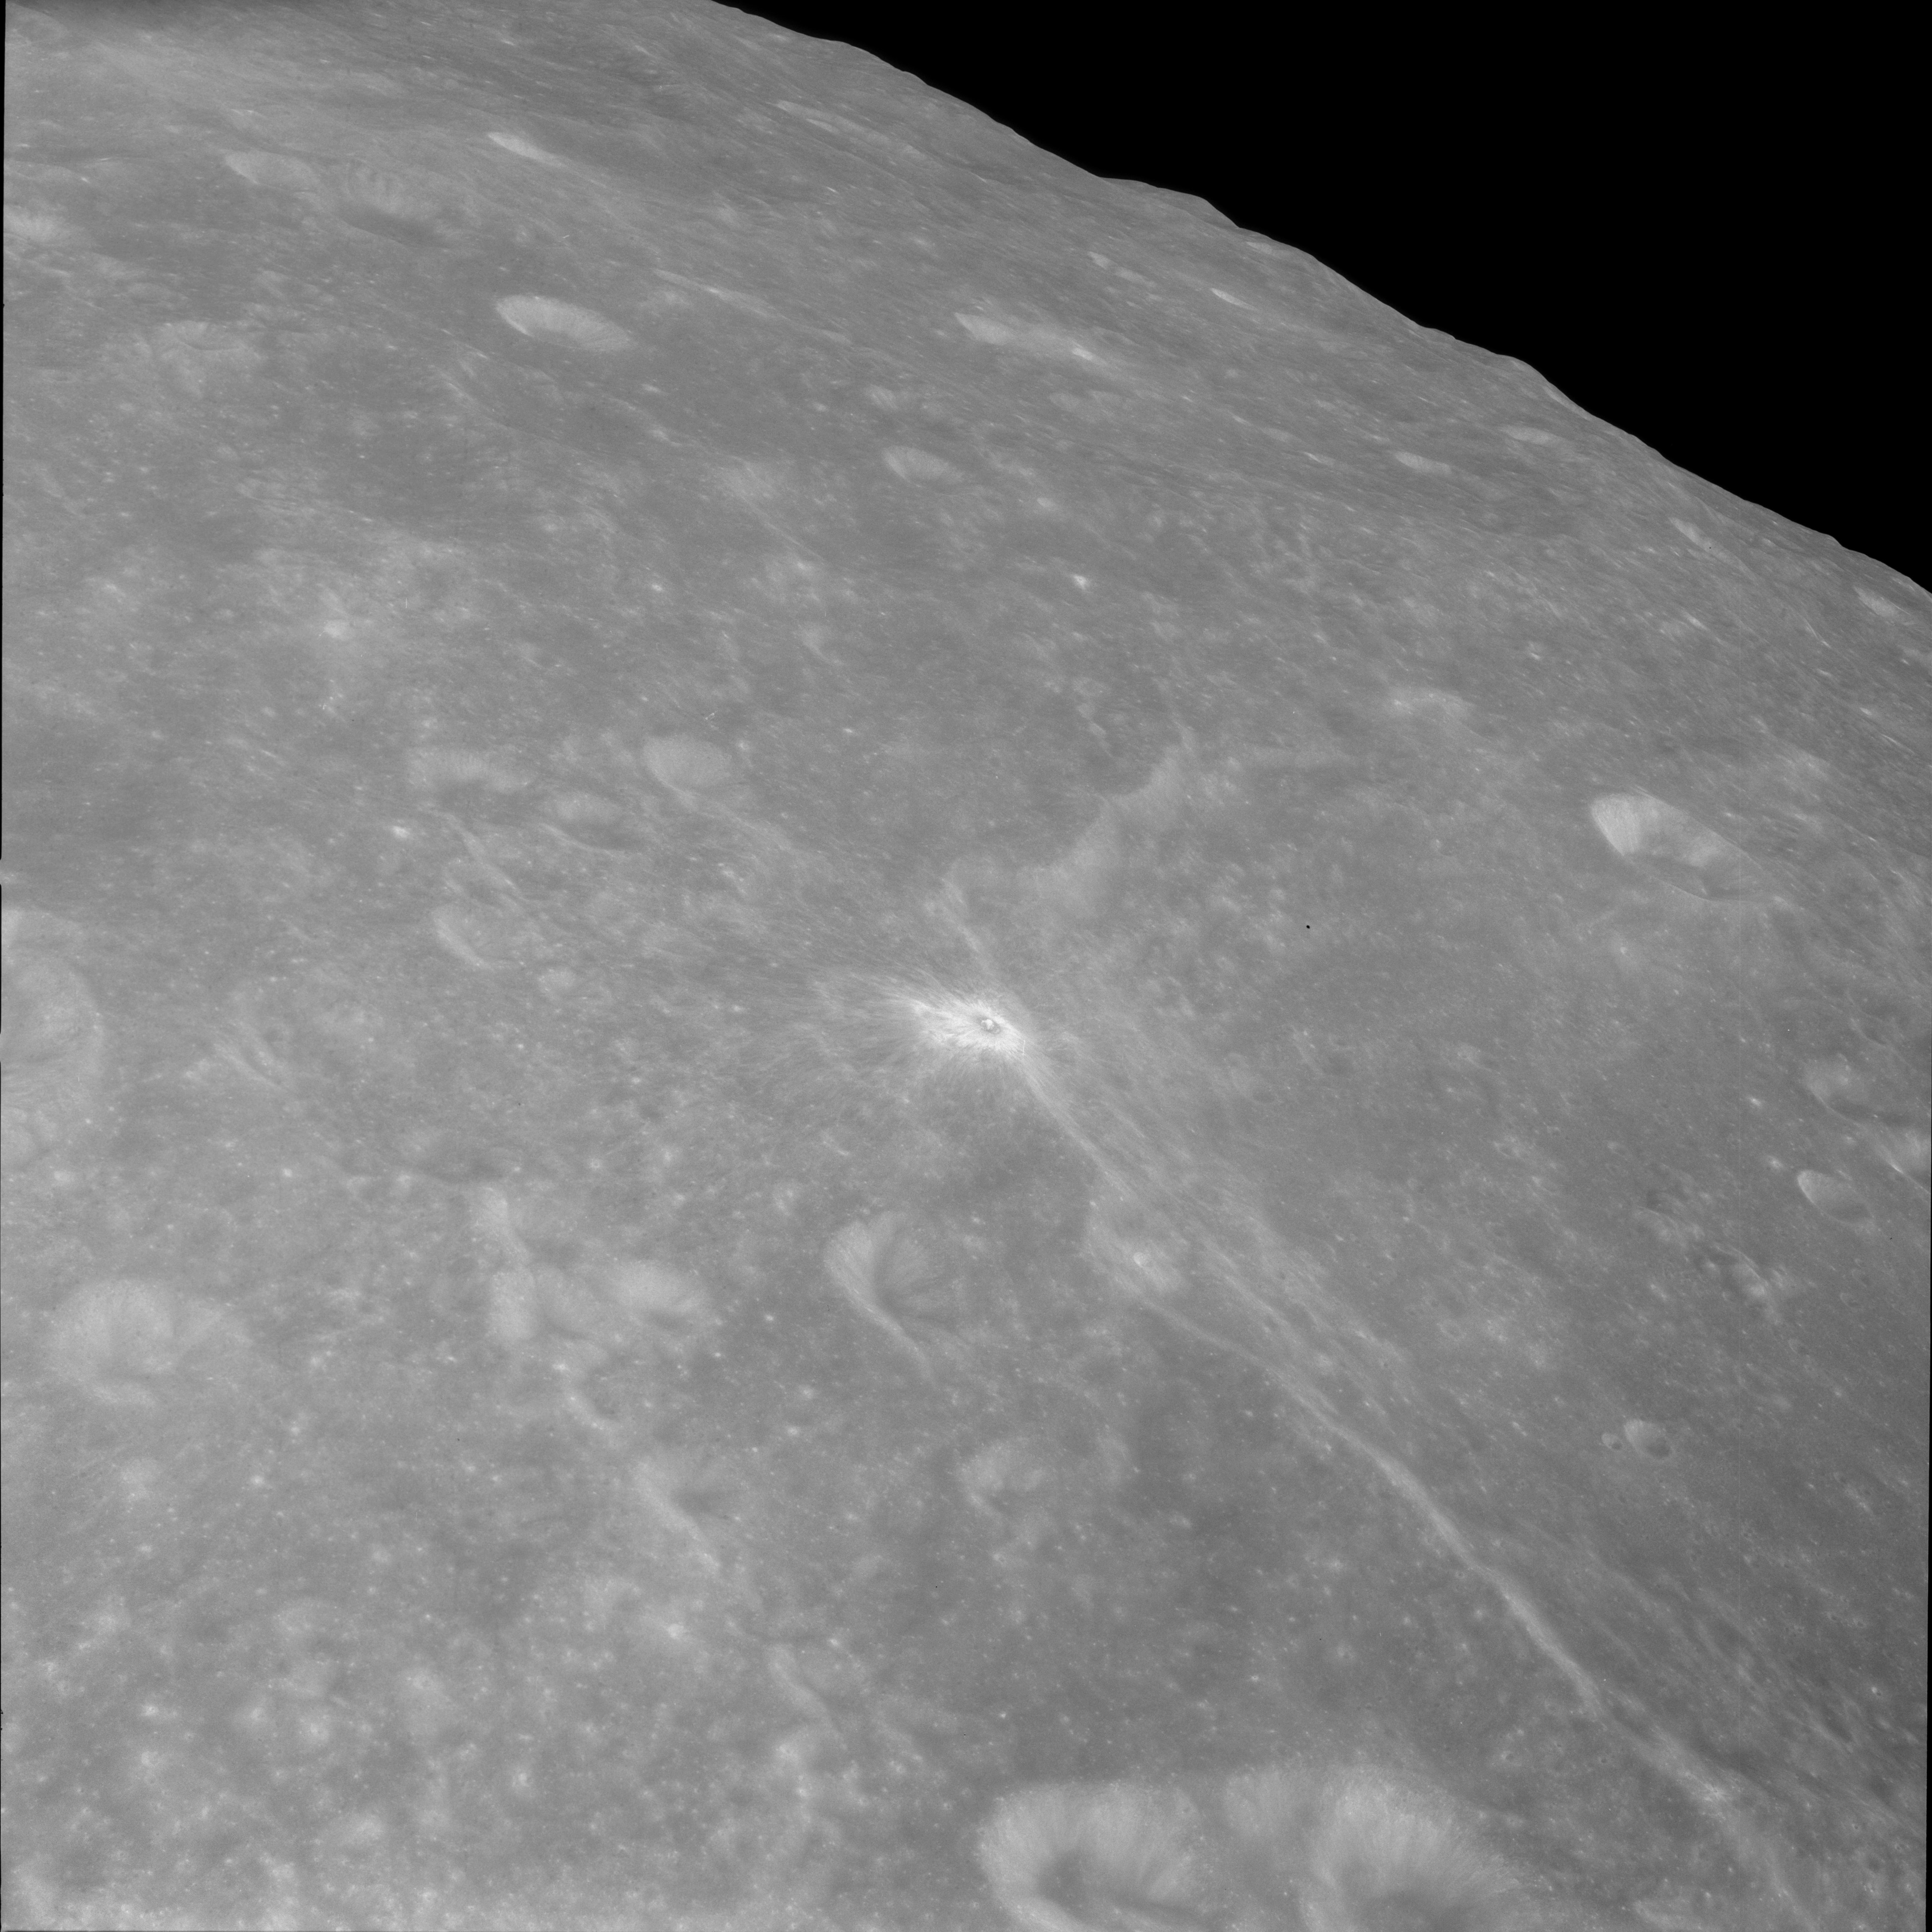
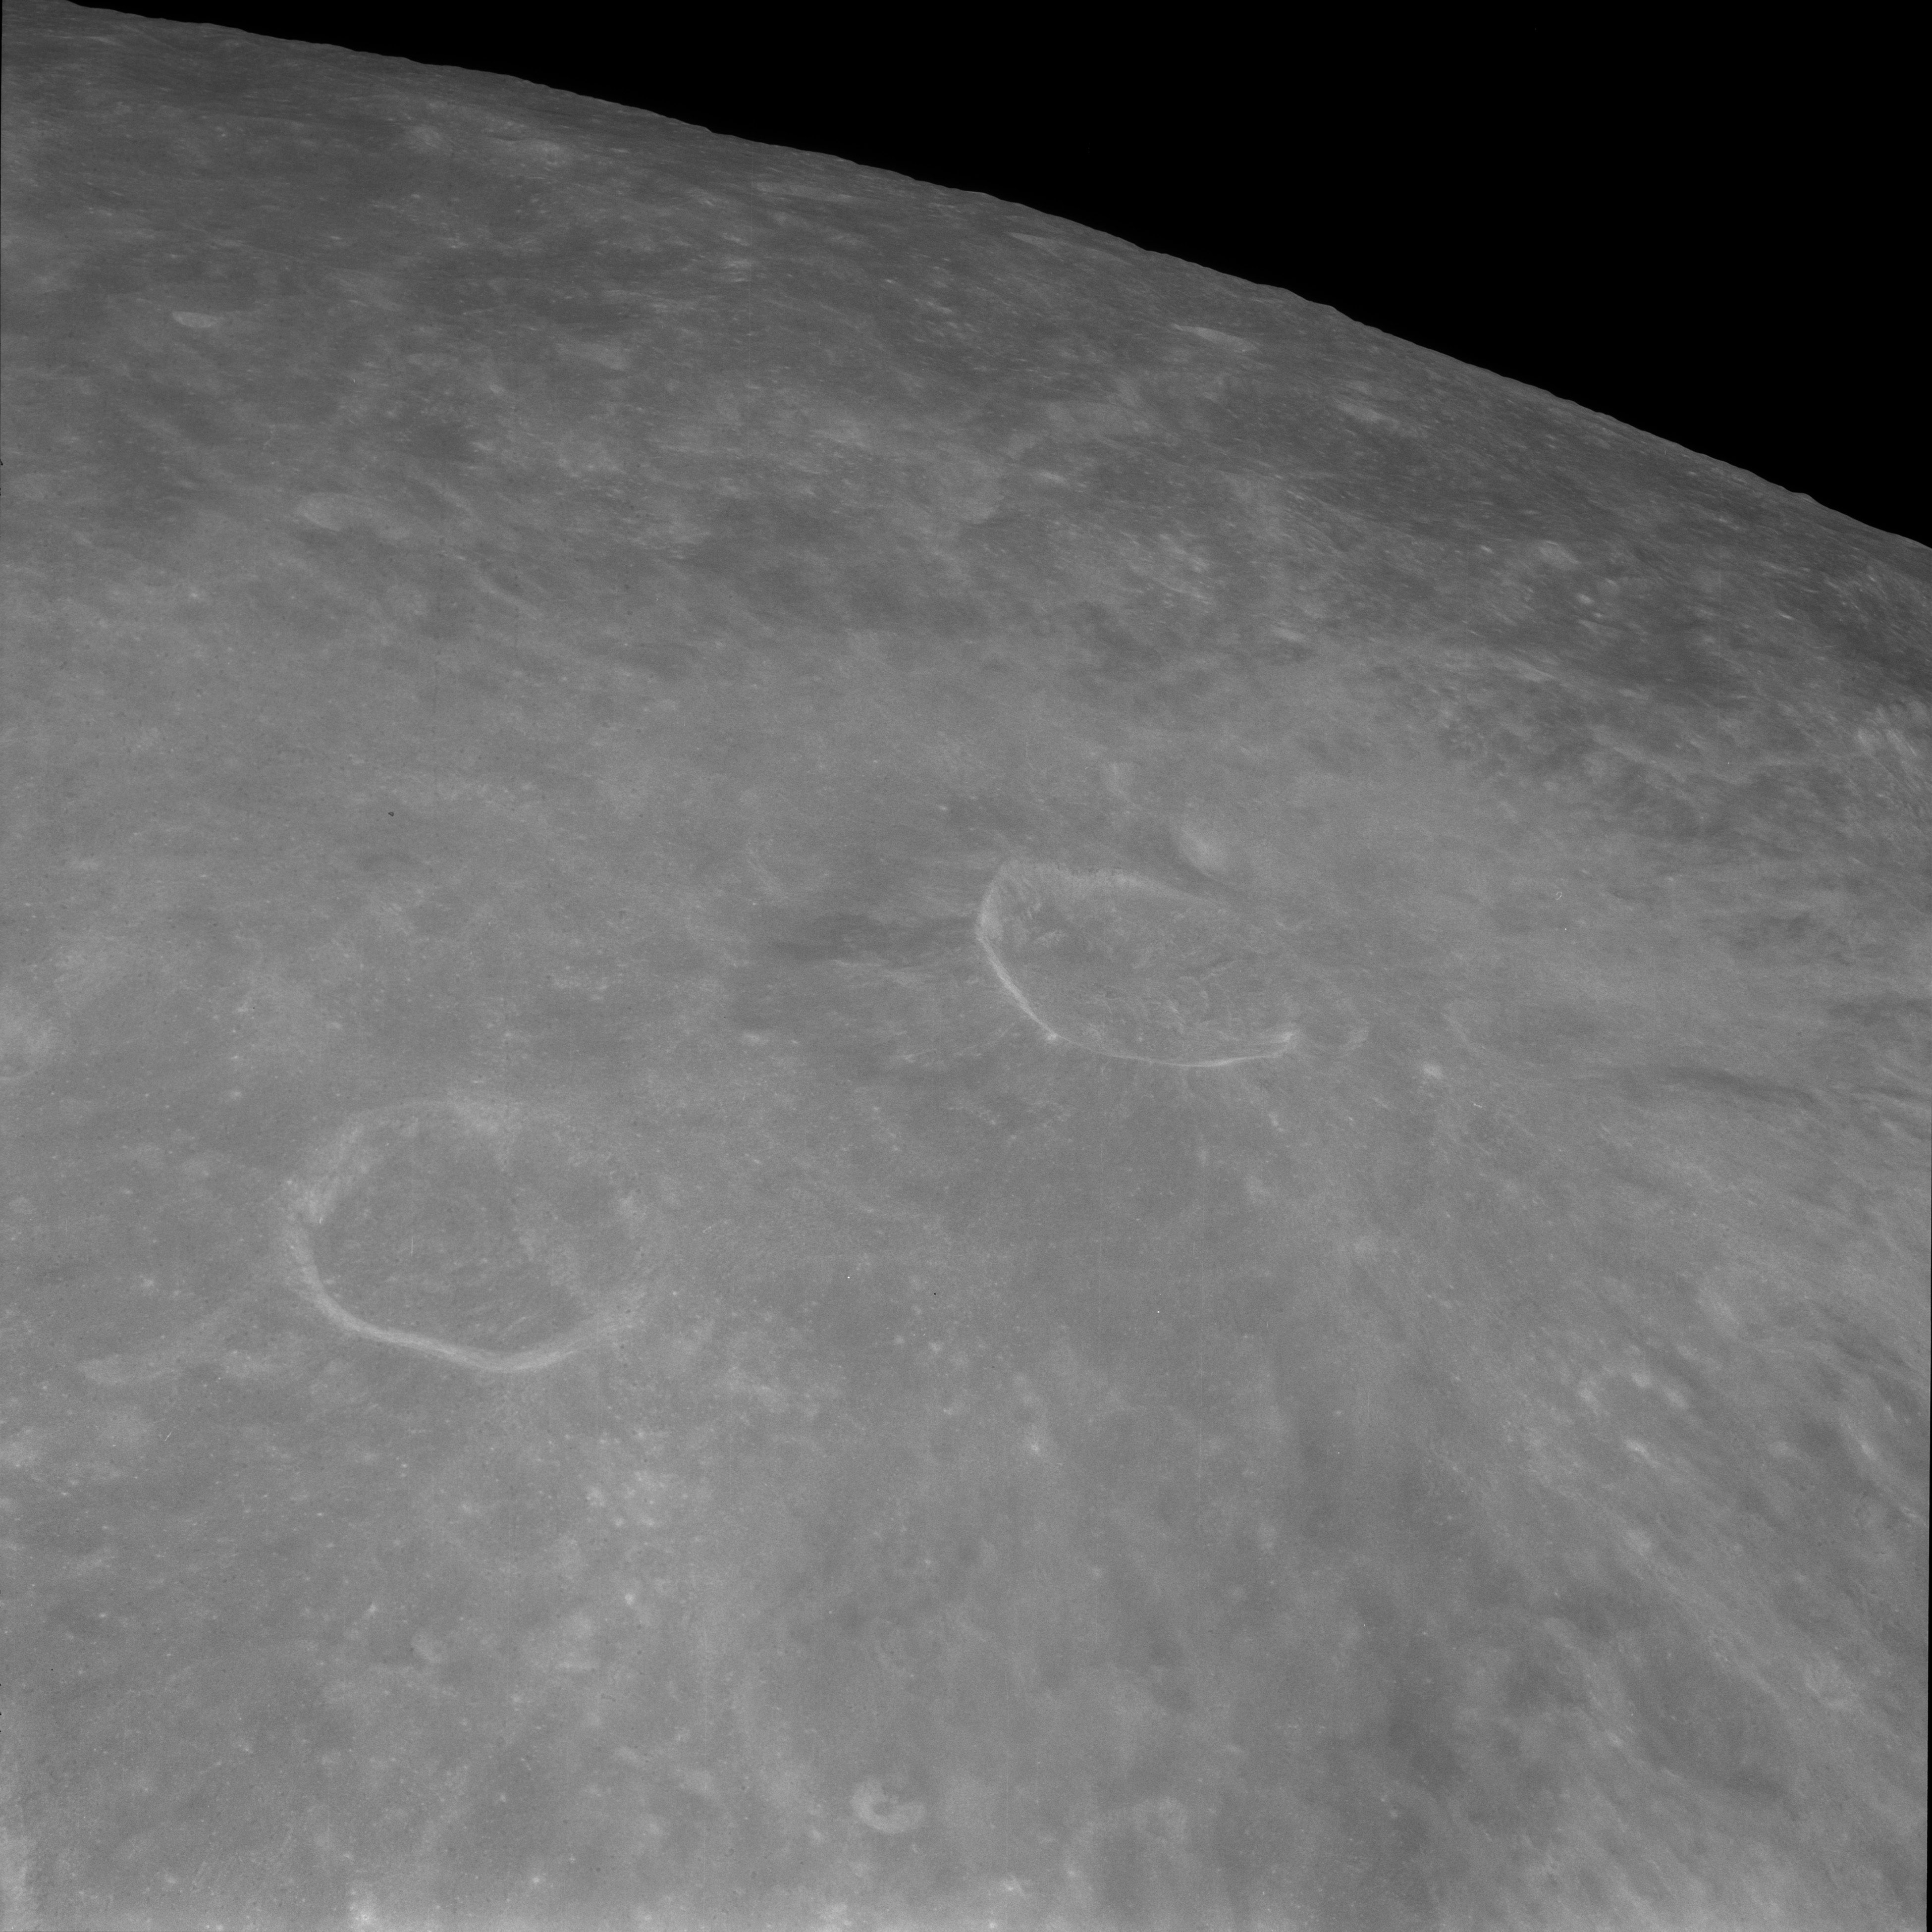
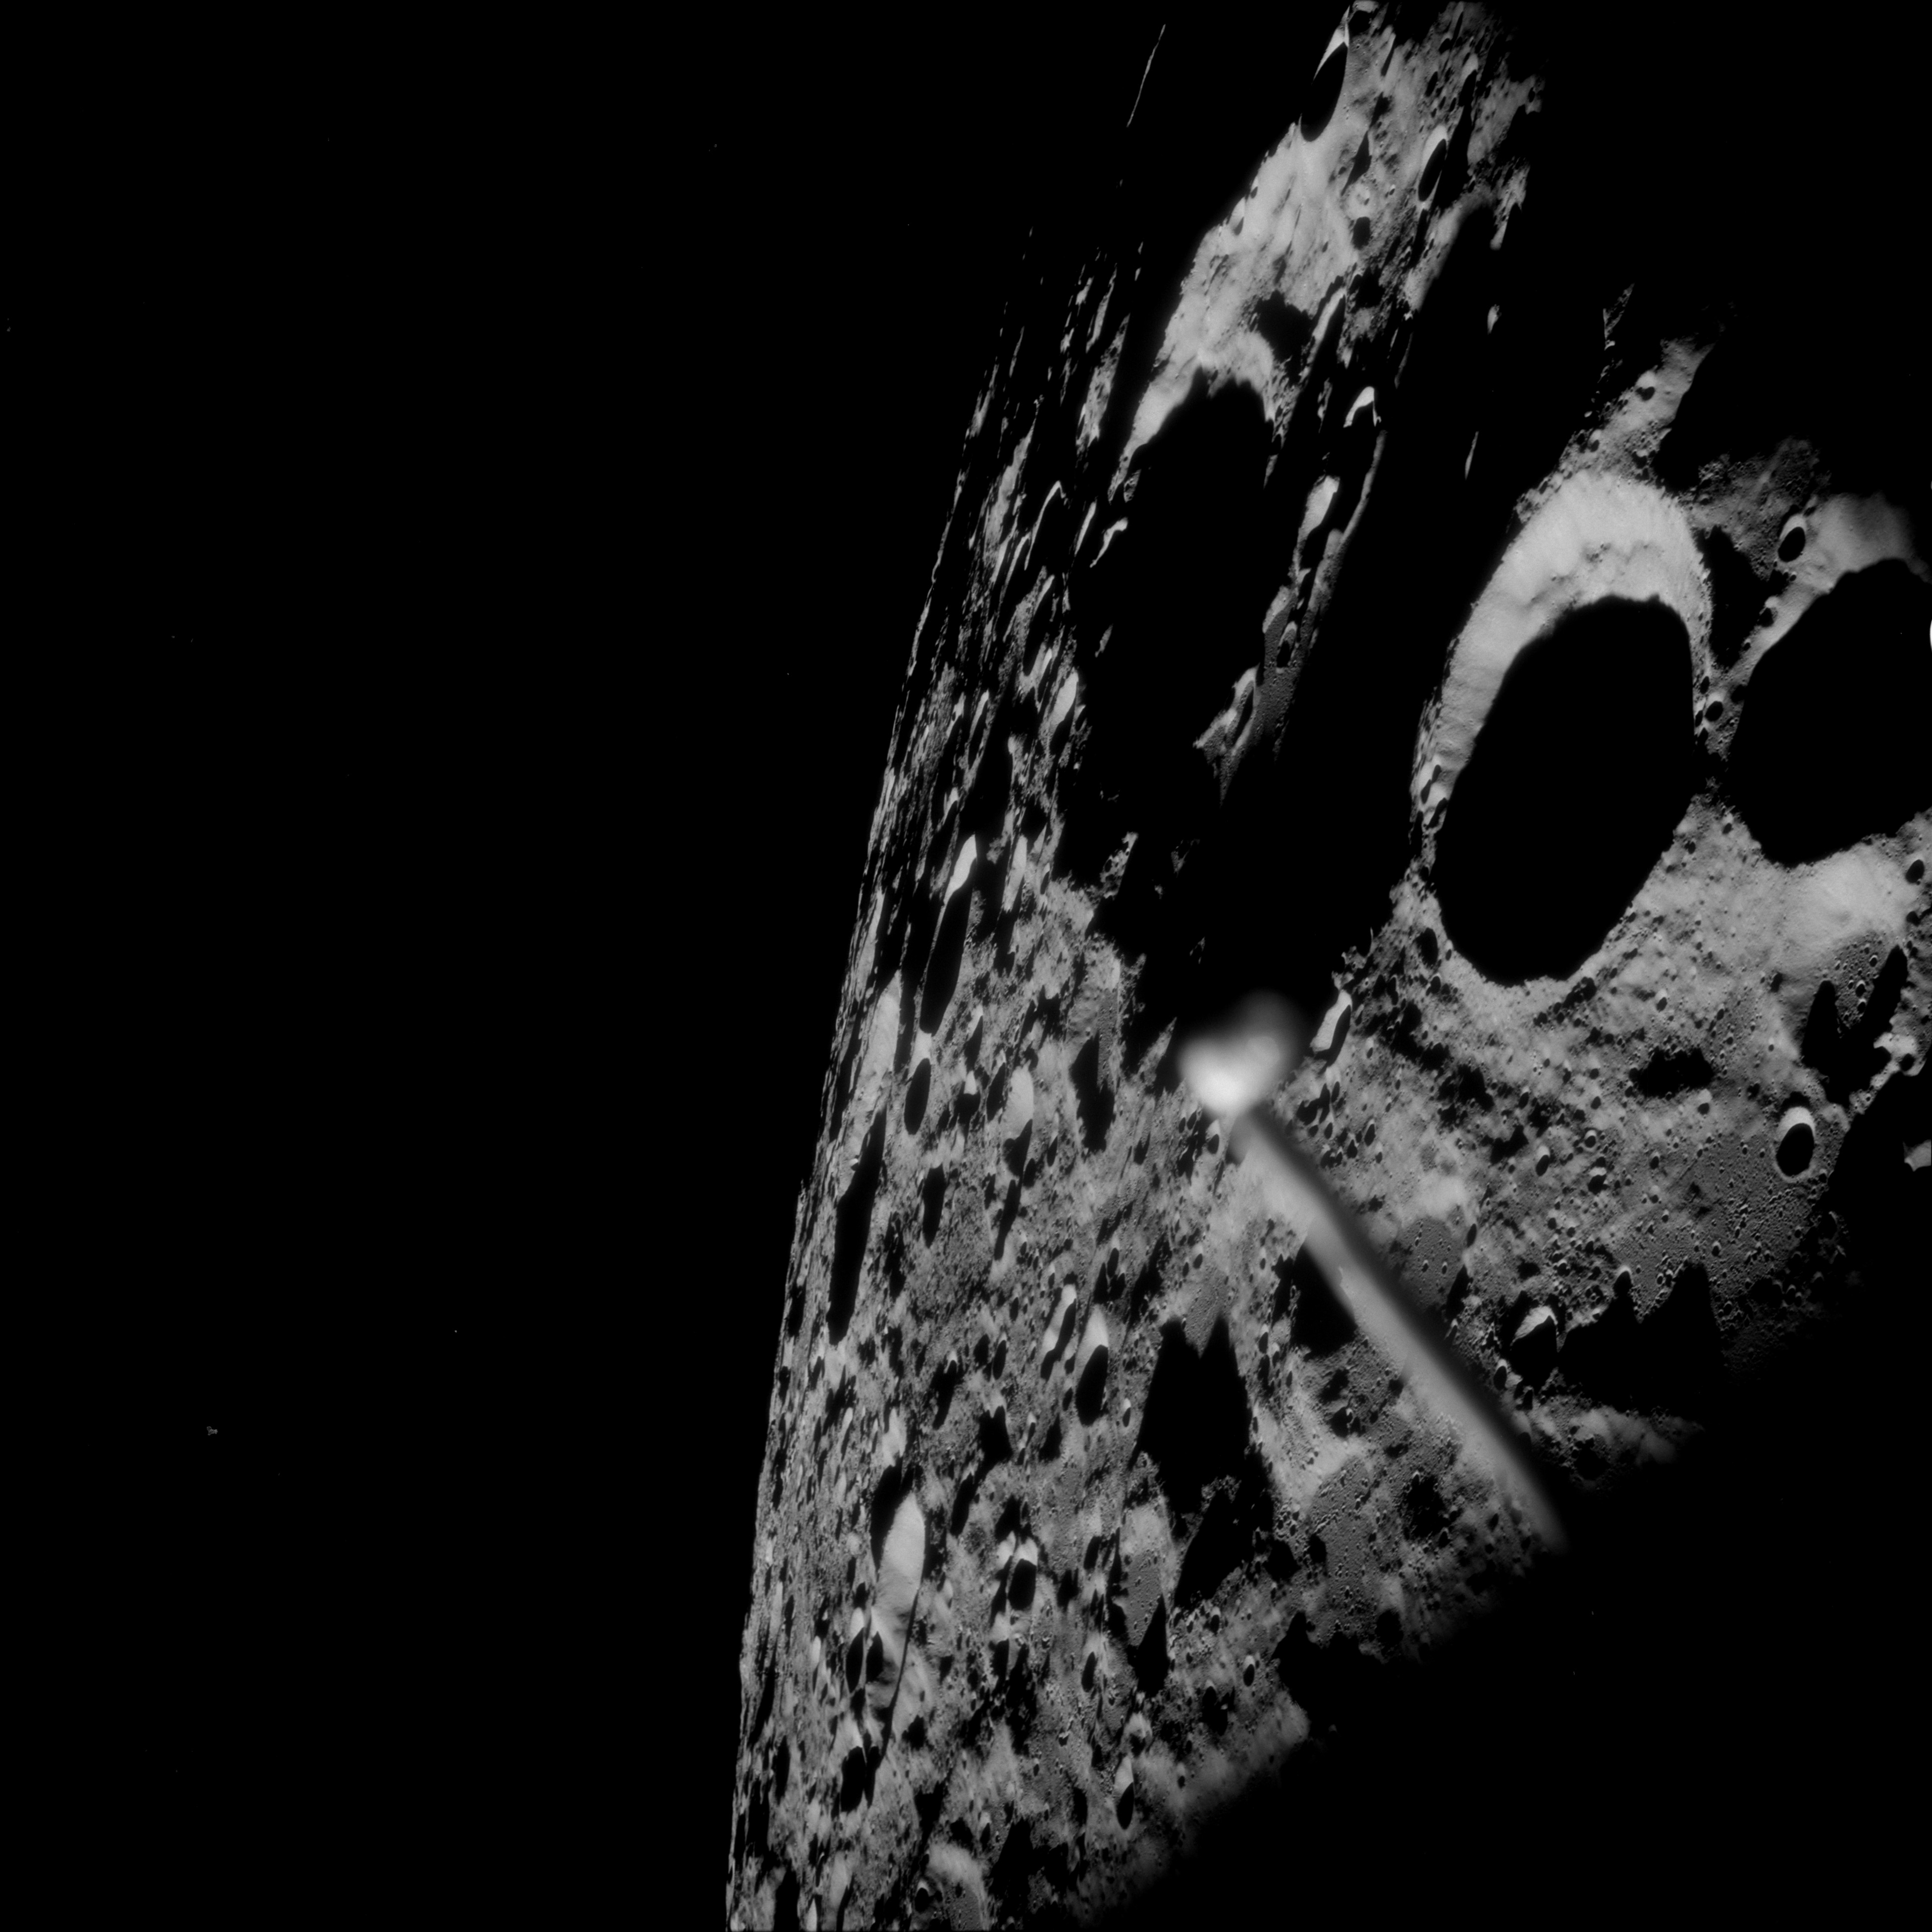
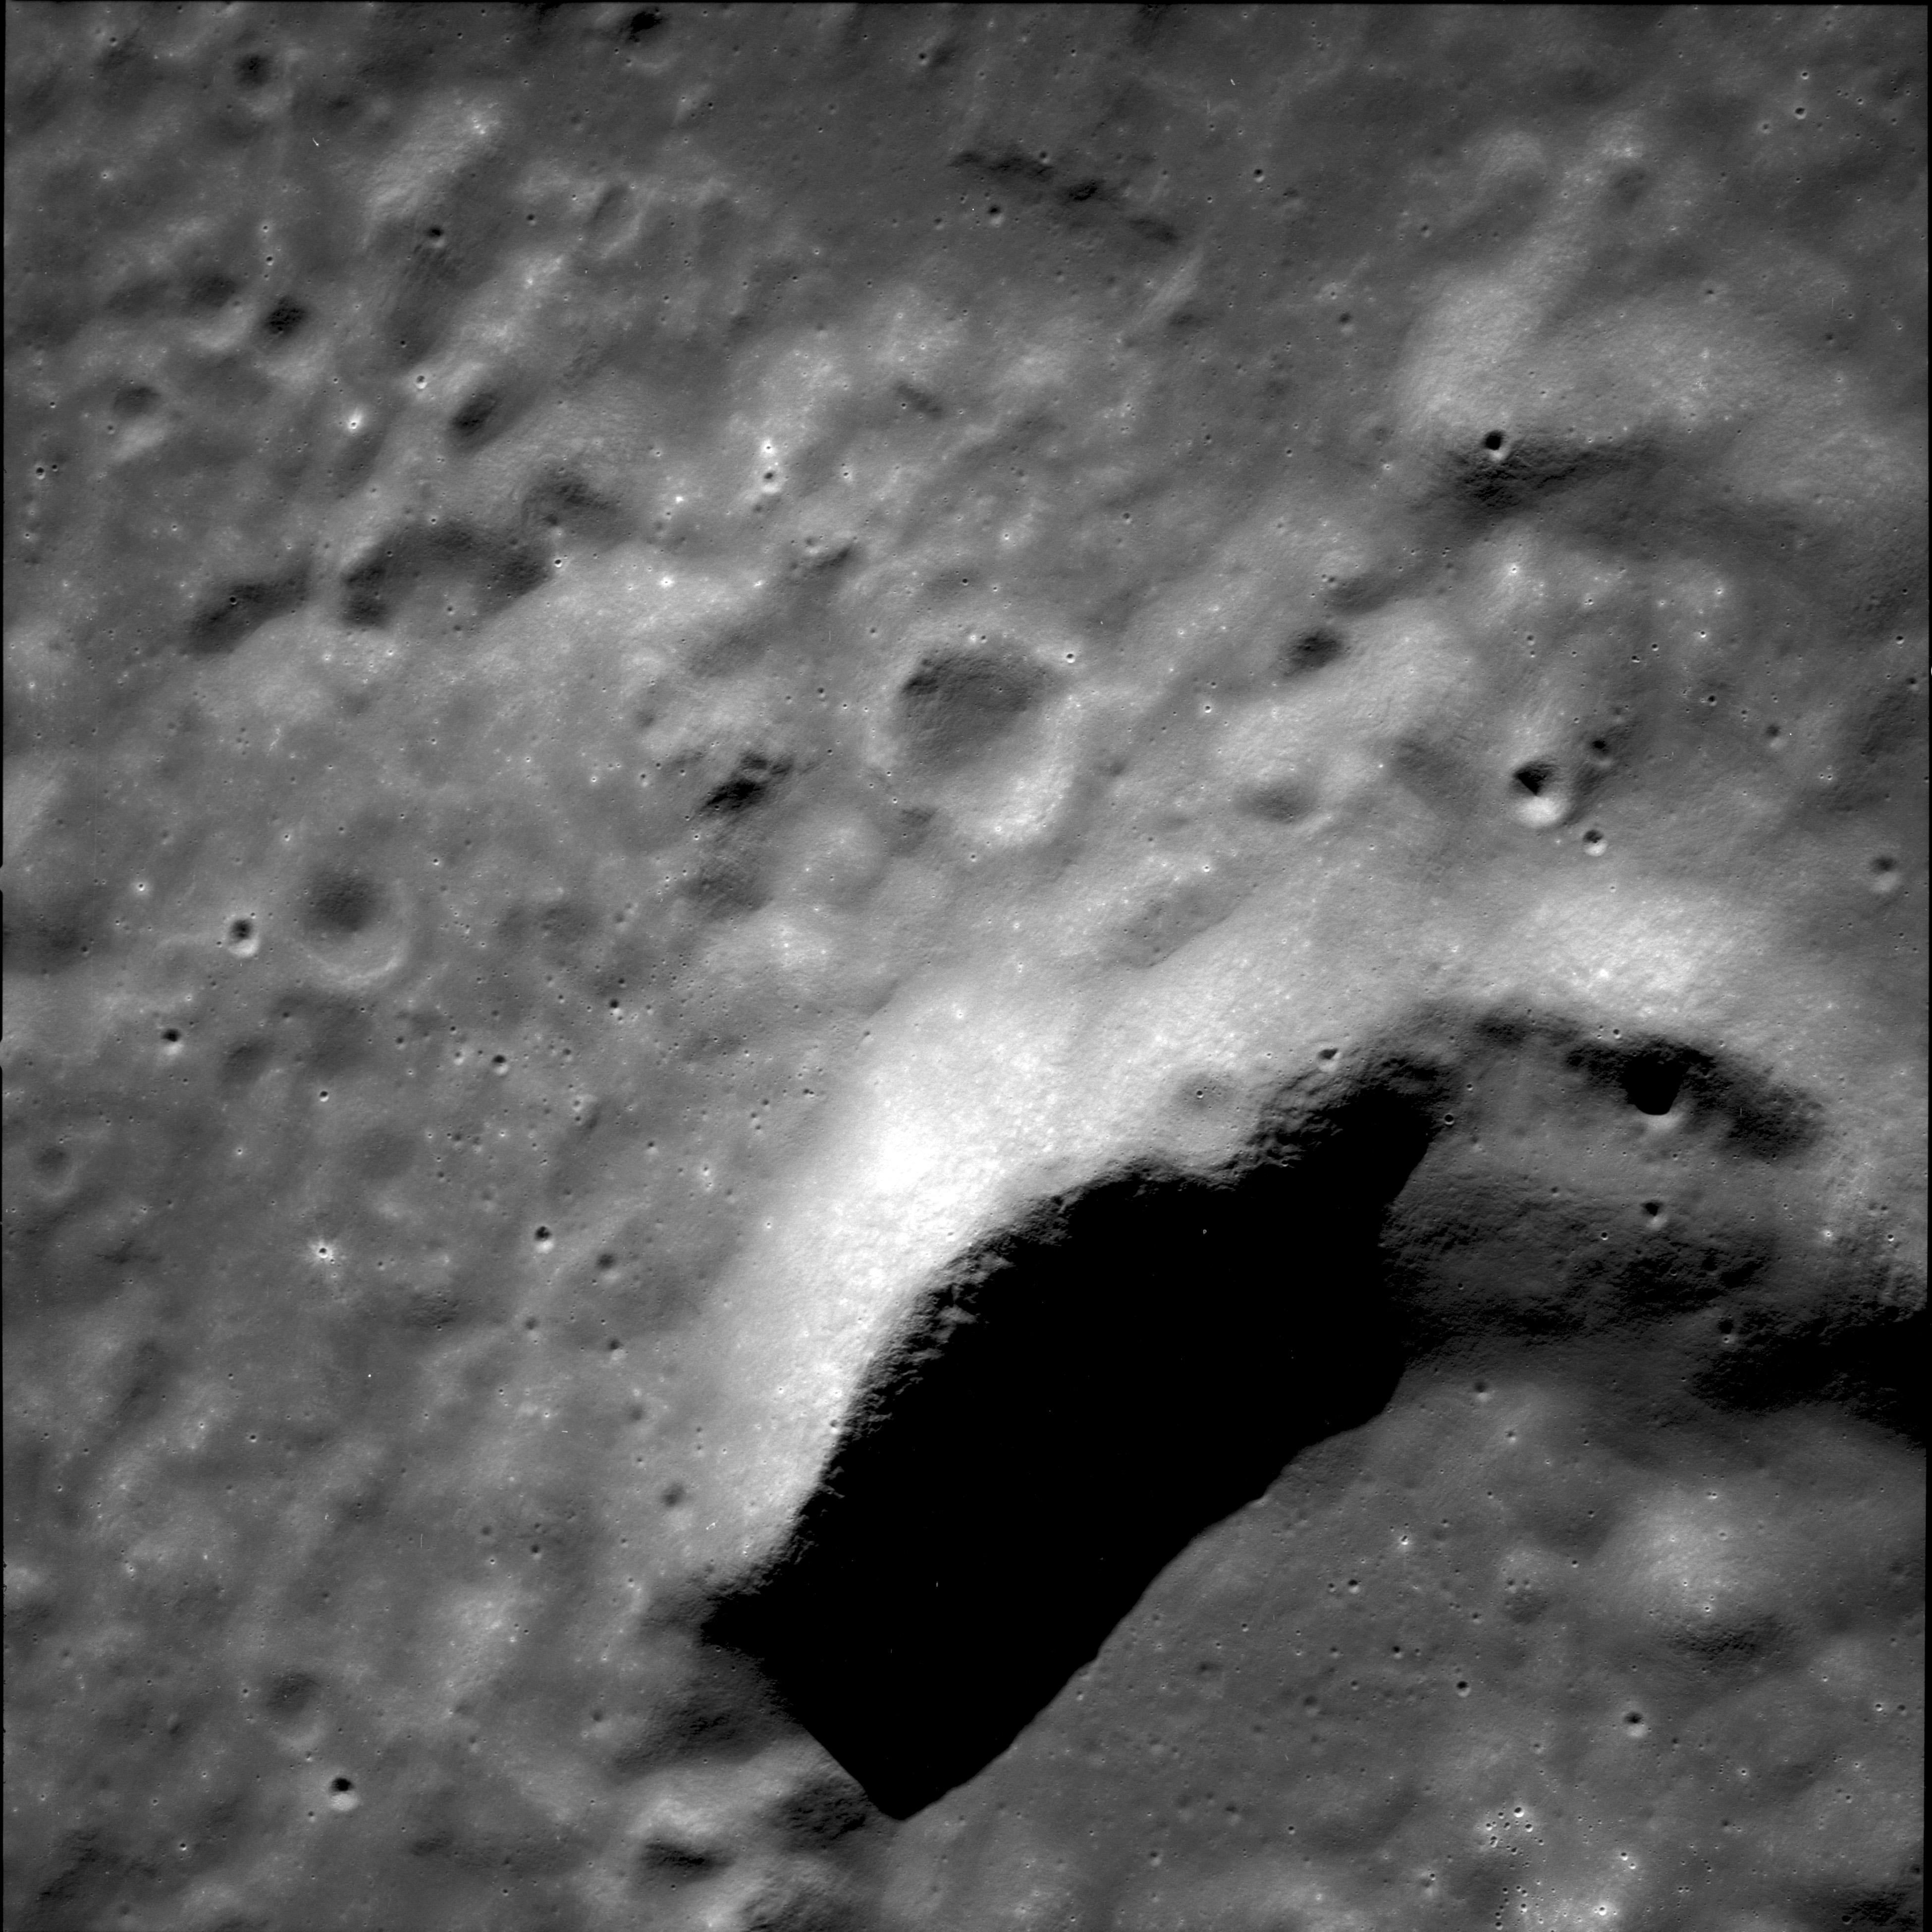
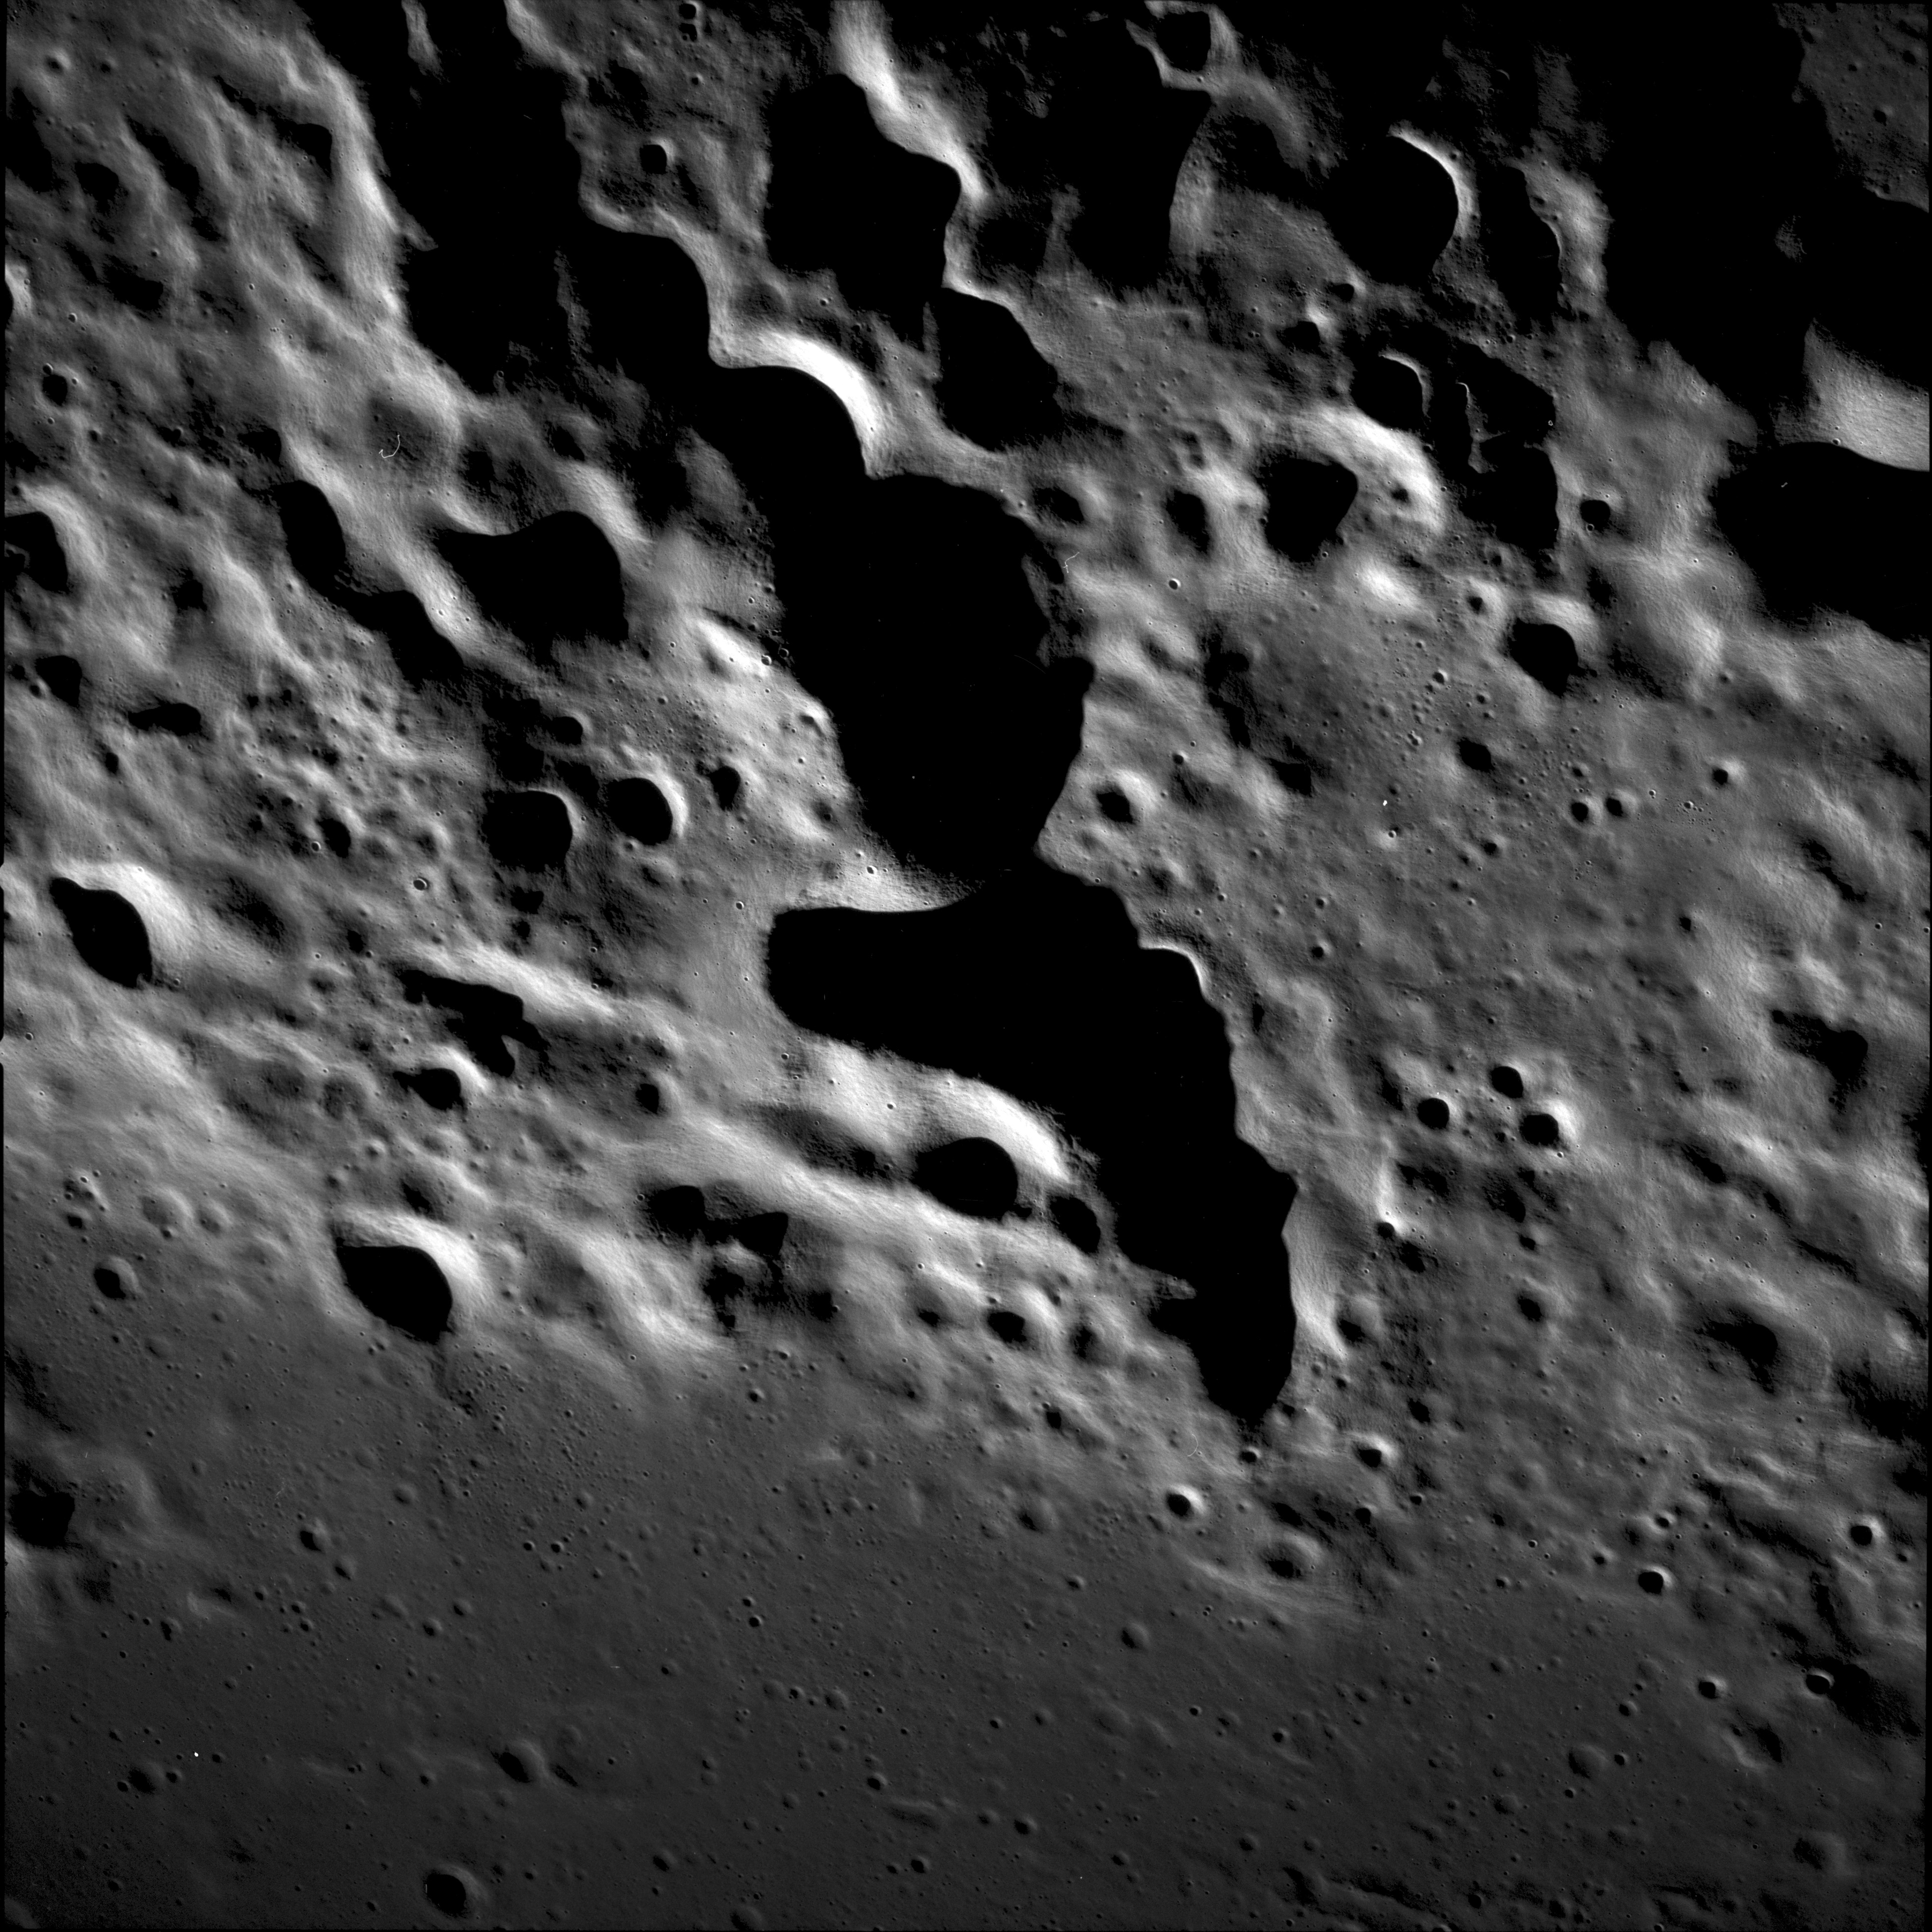
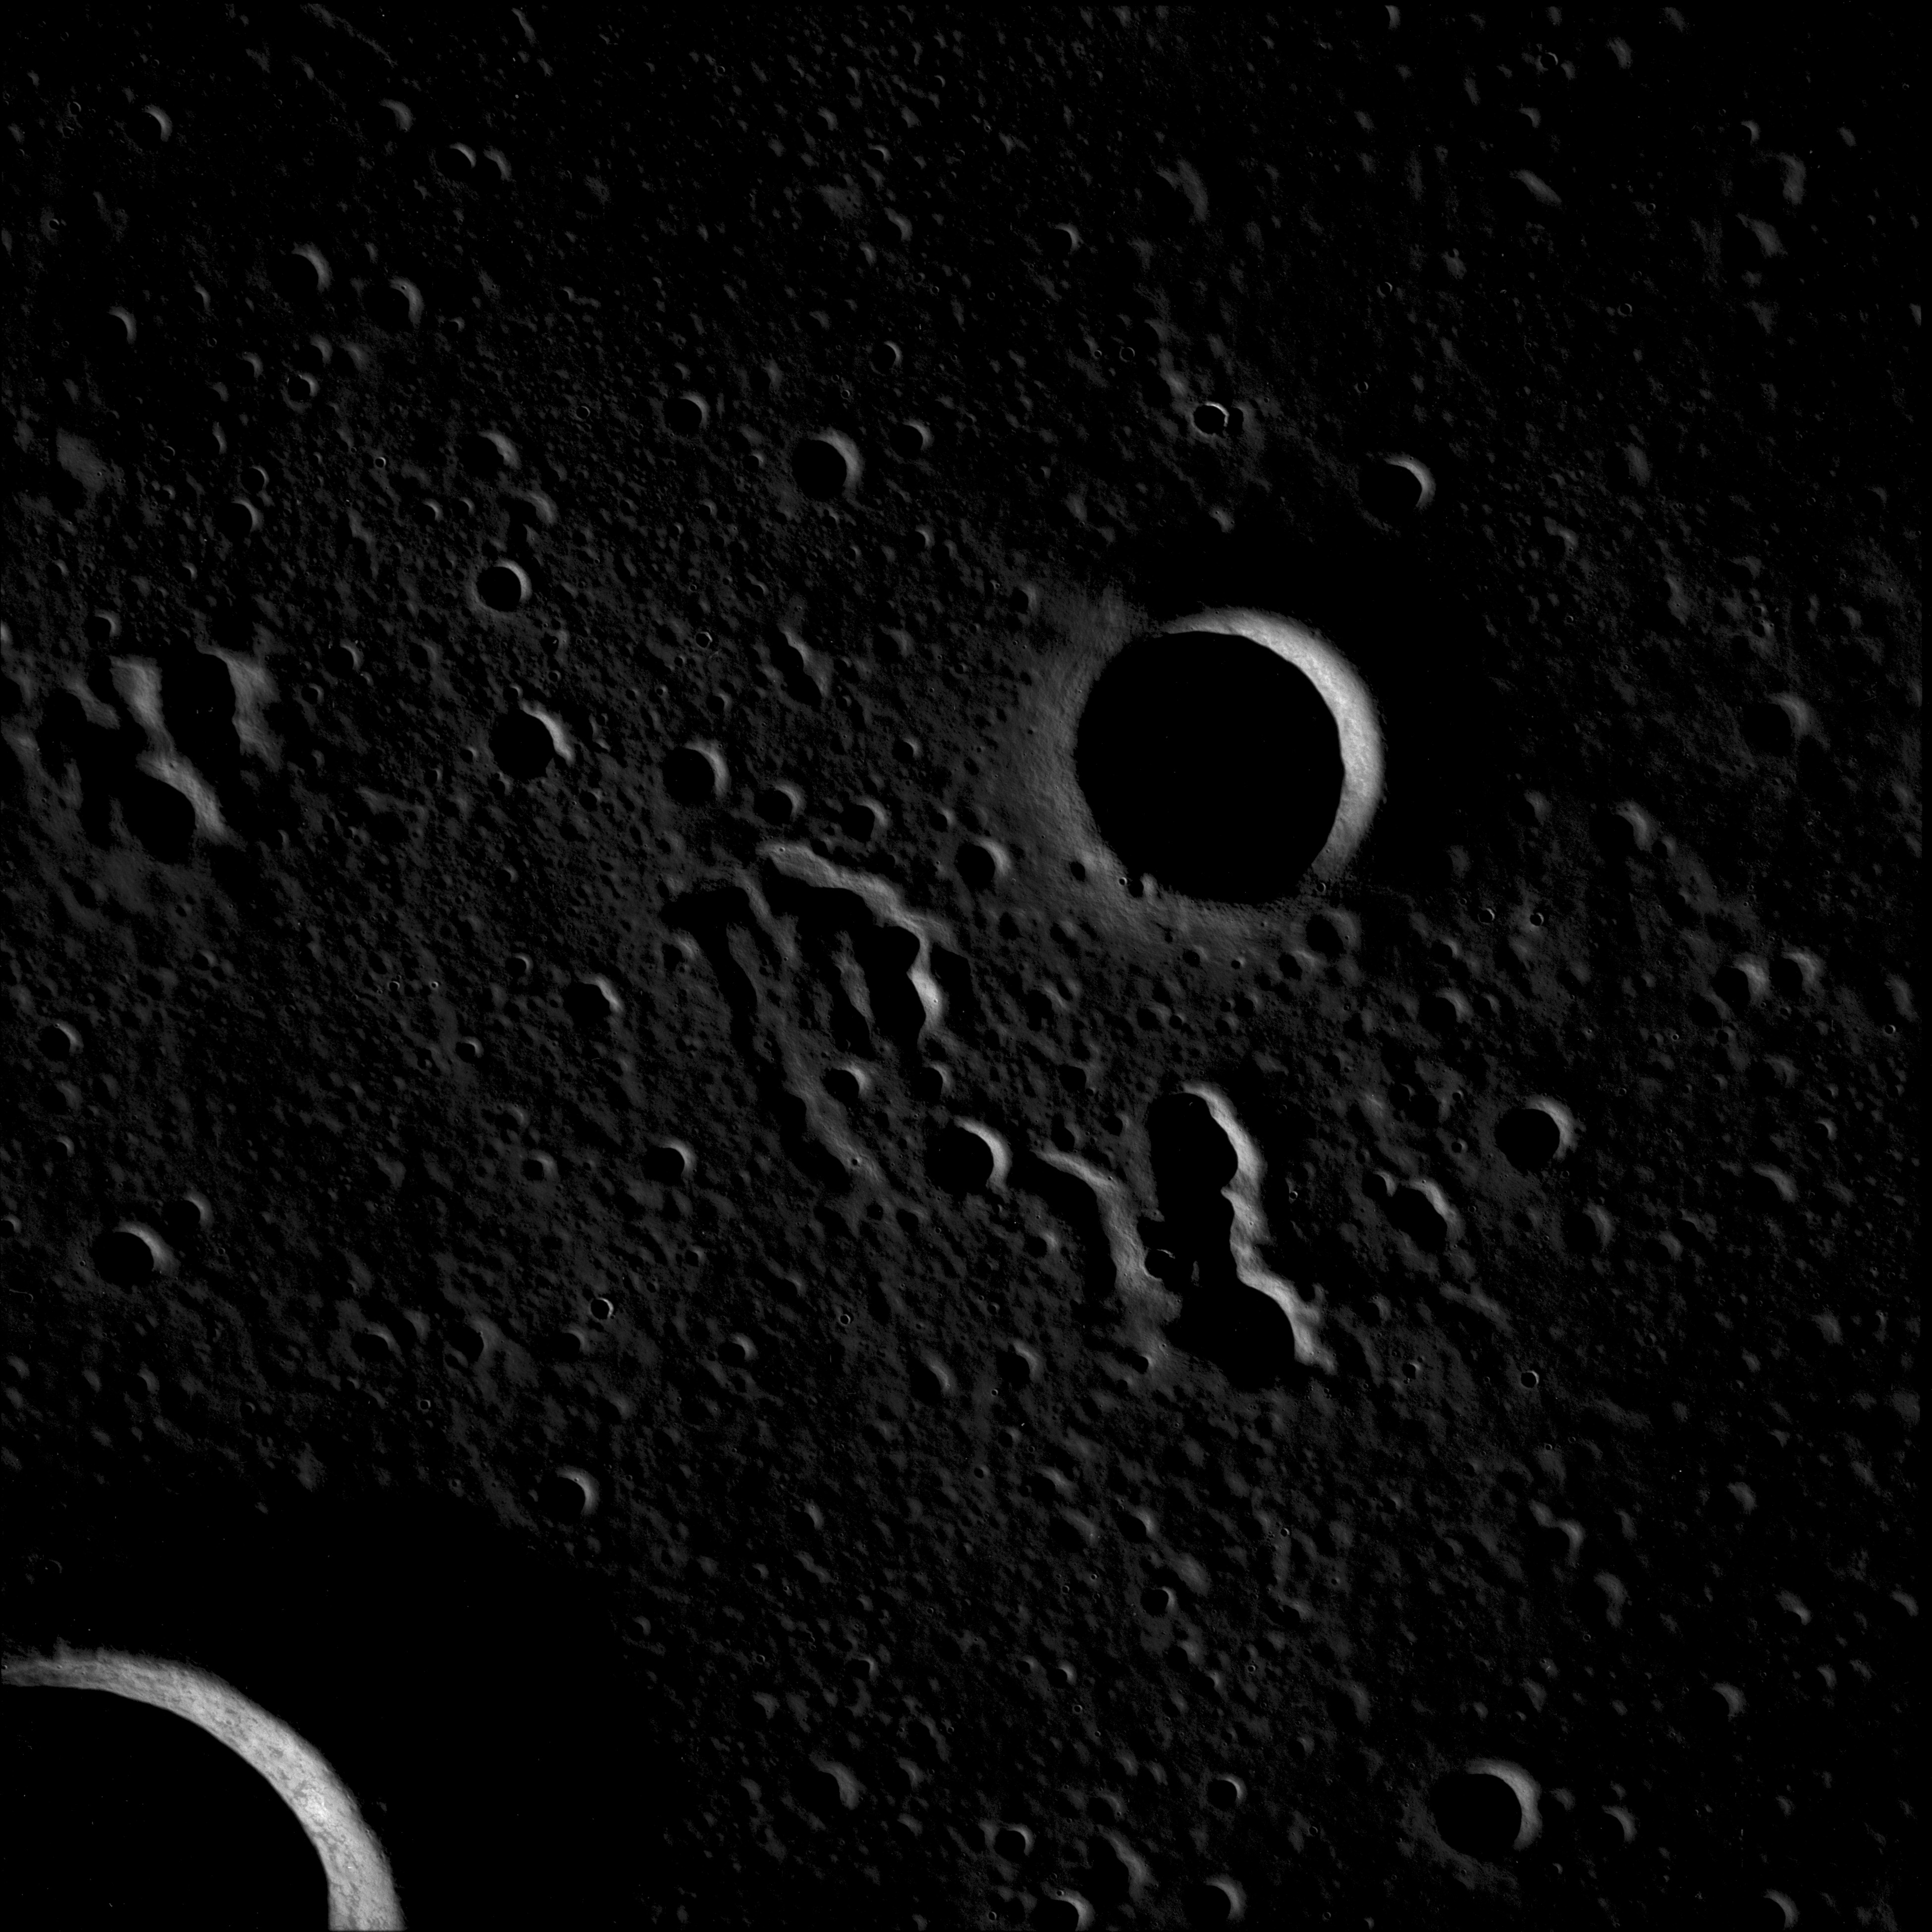
AS11-42-6244 Browse or print resolution. Shadowed crater lower left of centre is approx 14 km in diameter and lies inside northern rim of Korolev Basin. Coordinates of this crater are 0.53 N, 156.4 W. Image credit: Image Science and Analysis Laboratory, NASA-Johnson Space Center. |

|
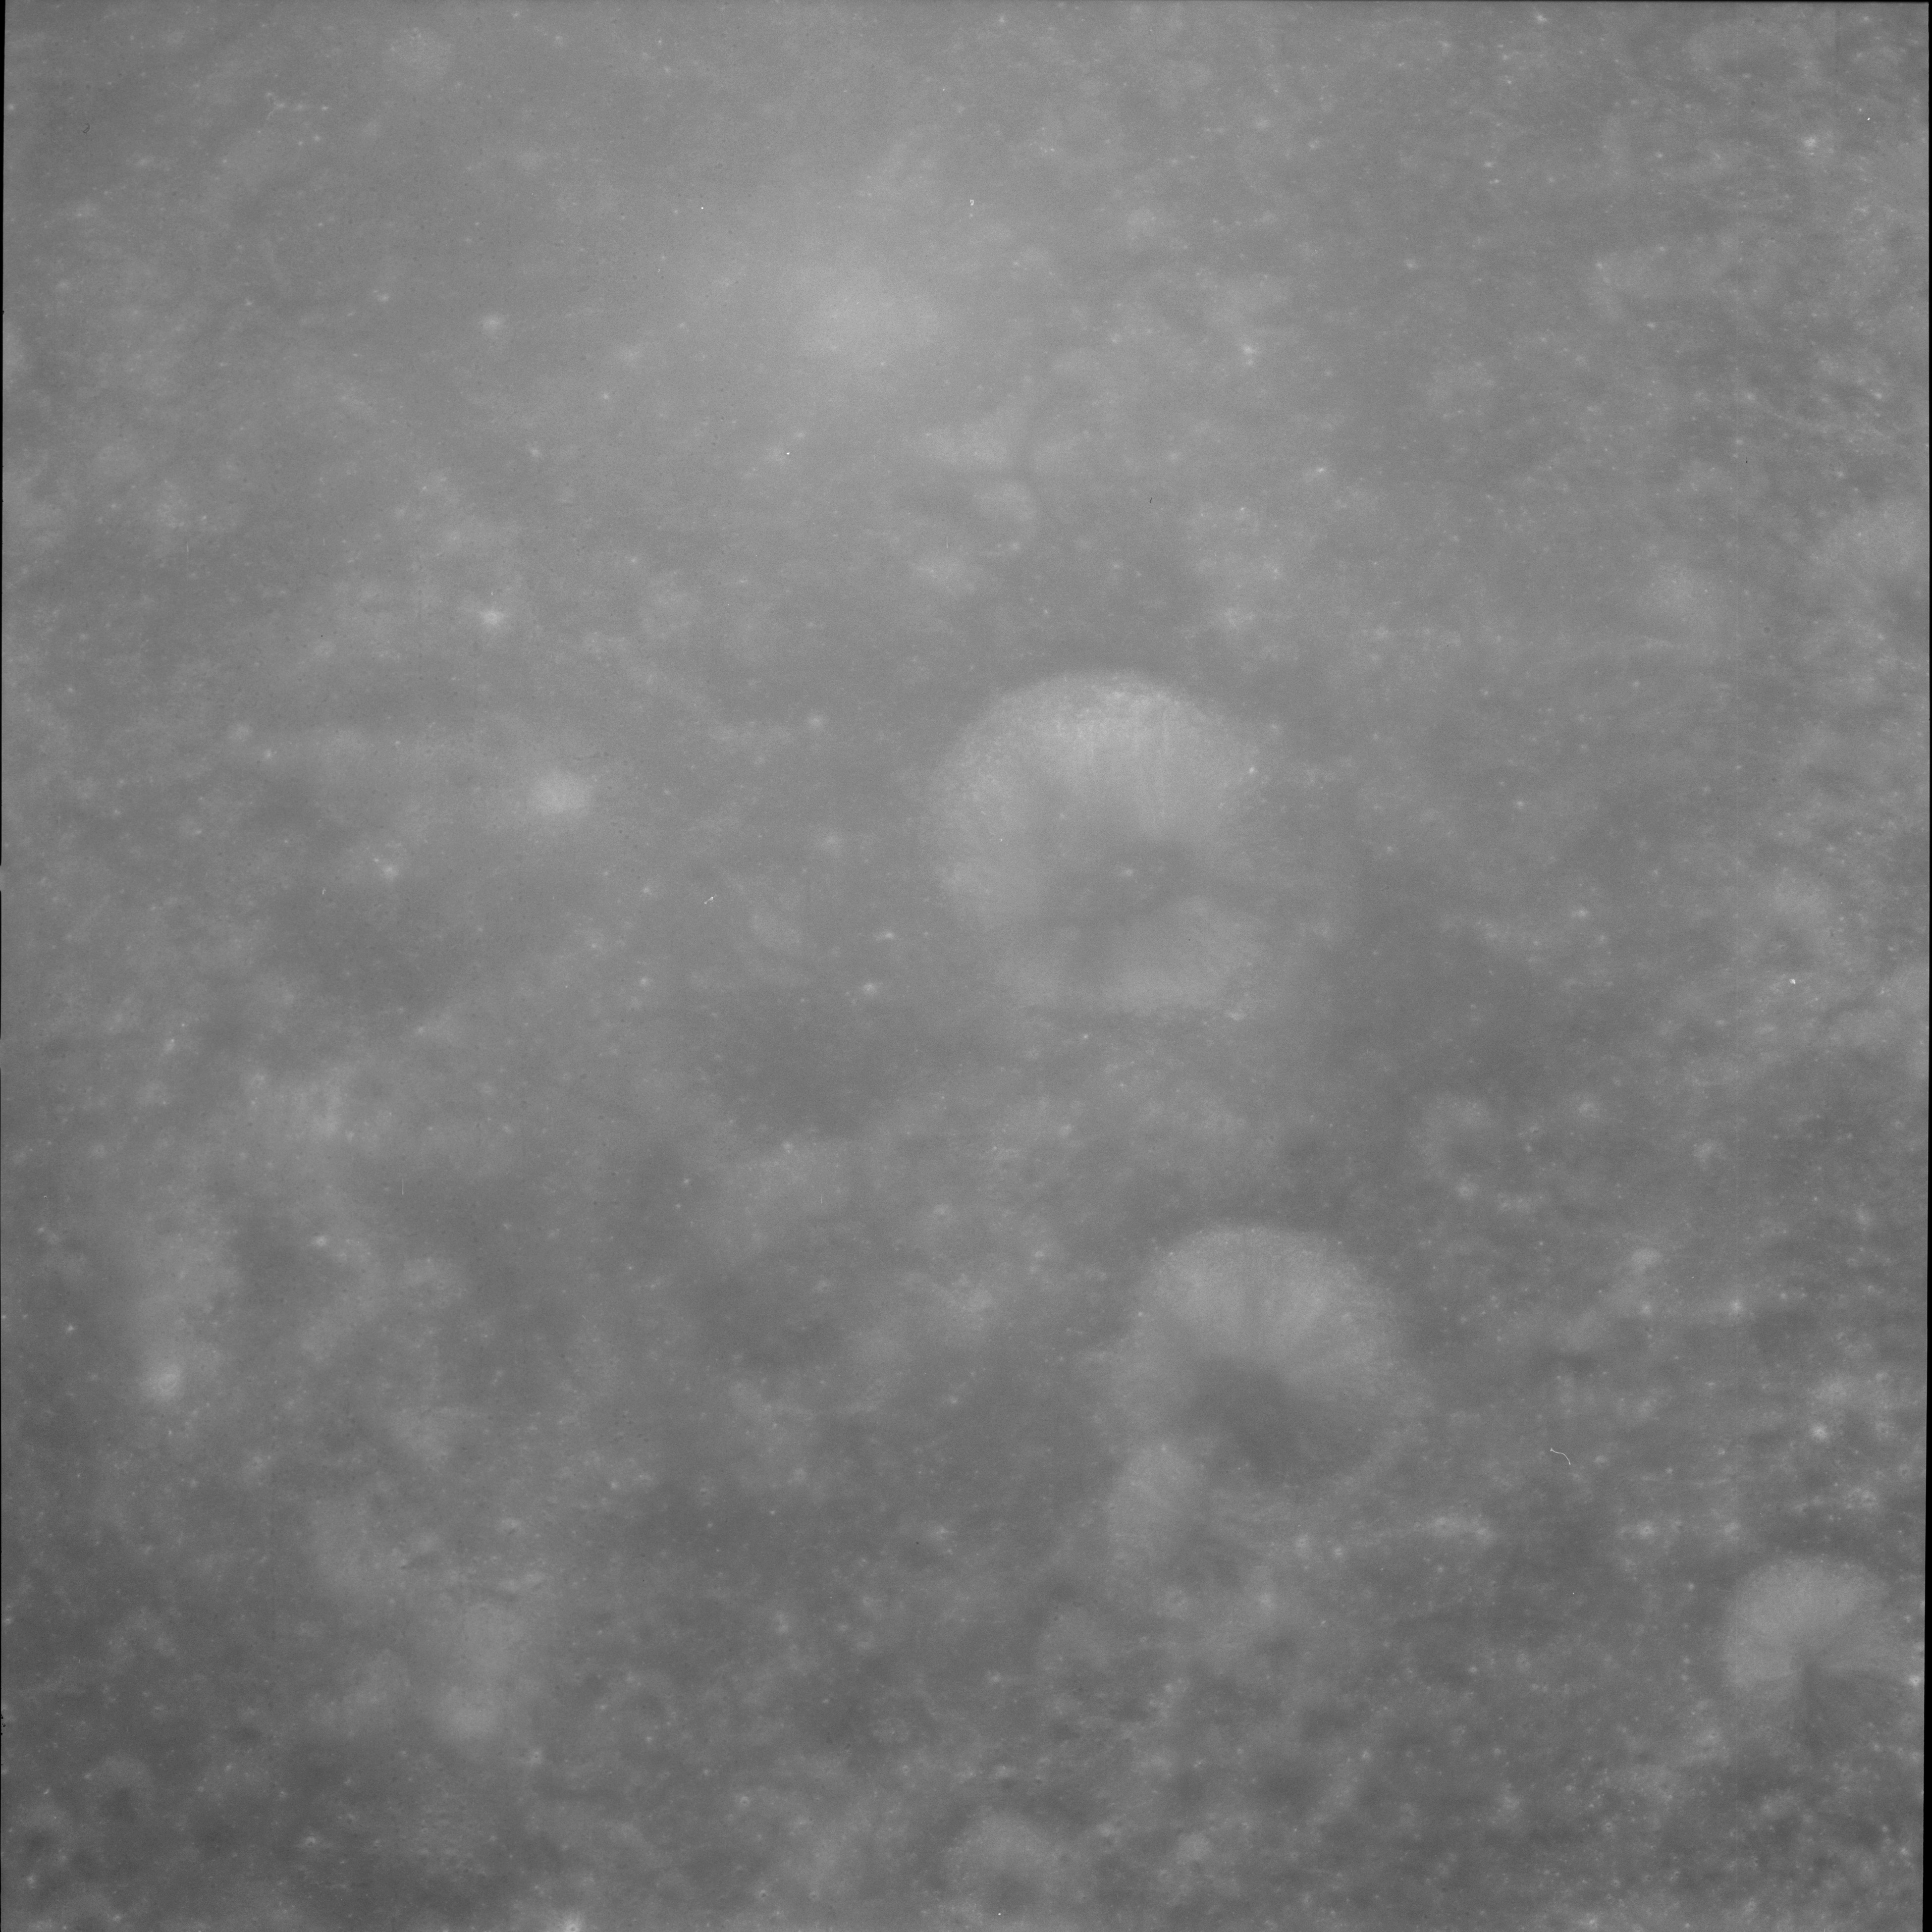
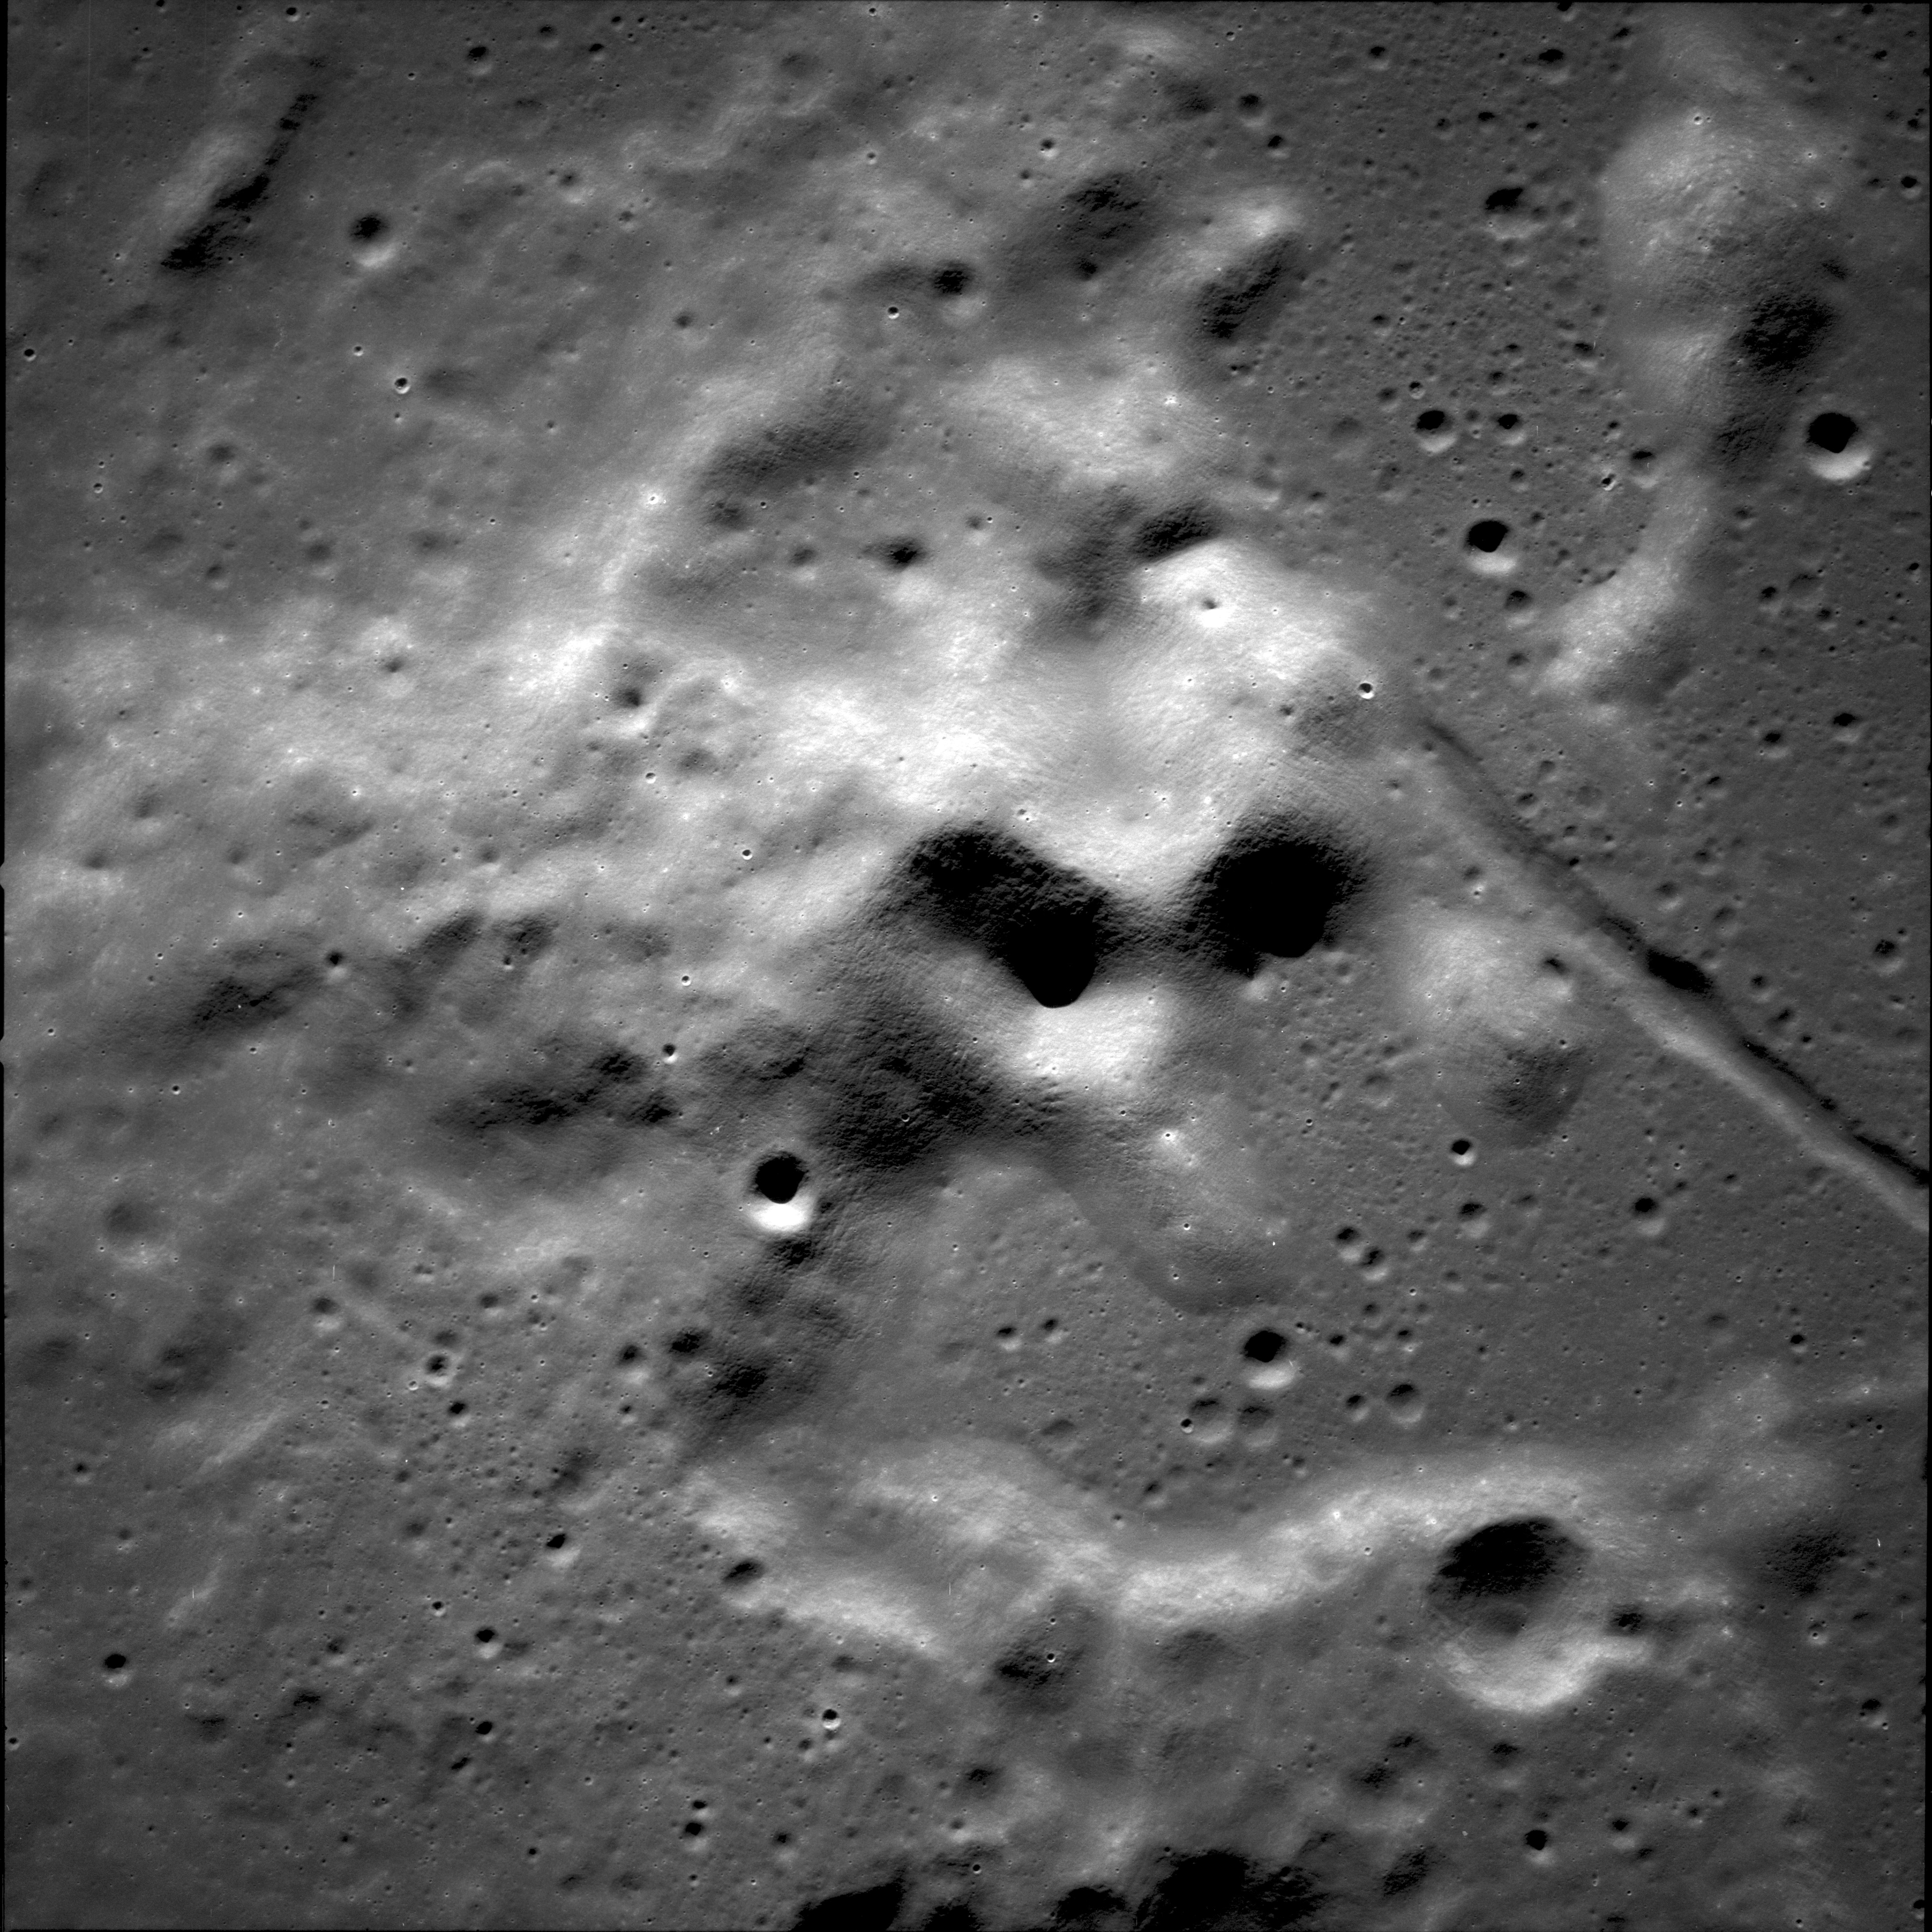
AS11-42-6245 Browse or print resolution. Korolev W (bottom right), X (centre) and Y (top right). Image credit: Image Science and Analysis Laboratory, NASA-Johnson Space Center. |

|
AS11-42-6246 Browse or print resolution. Korolev W (centre). Image credit: Image Science and Analysis Laboratory, NASA-Johnson Space Center. |

|
AS11-42-6247 Browse or print resolution. Crater Crookes and lower left, Crookes D. Rim of Doppler is on extreme left. Southwestern rim of the Korolev Basin runs from Doppler to lower right of image. Image credit: Image Science and Analysis Laboratory, NASA-Johnson Space Center. |
|
AS11-42-6248 Browse or print resolution. Crater Crookes and lower left, Crookes D. Rim of Doppler is on extreme left. Southwestern rim of the Korolev Basin runs from Doppler to lower right of image. Image credit: Image Science and Analysis Laboratory, NASA-Johnson Space Center. |
|
AS11-42-6249 Browse or print resolution. Icarus is cut off at the bottom left. Icarus T, U and Q lie beyond. Image credit: Image Science and Analysis Laboratory, NASA-Johnson Space Center. |
|
AS11-42-6250 Browse or print resolution. Crater Krasovsky P. Image credit: Image Science and Analysis Laboratory, NASA-Johnson Space Center. |

|
AS11-42-6251 Browse or print resolution. Simple crater between Coriolis and Lipsky. Coordinates; 0.17N, 176.95E Image credit: Image Science and Analysis Laboratory, NASA-Johnson Space Center. |
|
AS11-42-6252 Browse or print resolution. Simple crater west of Coriolis. Coordinates; 0.08N, 169.61E. Image credit: Image Science and Analysis Laboratory, NASA-Johnson Space Center. |
|
AS11-42-6253 Browse or print resolution. Crater field east of Vening Meinesz C. Coordinates; 0.57N, 165.58E. Image credit: Image Science and Analysis Laboratory, NASA-Johnson Space Center. |

|
AS11-42-6254 Browse or print resolution. Crater Vening Meinesz W. Image credit: Image Science and Analysis Laboratory, NASA-Johnson Space Center. |
|
AS11-42-6255 Browse or print resolution. Crater Mandel'shtam R with Mandel'shtam Q upper right. Image credit: Image Science and Analysis Laboratory, NASA-Johnson Space Center. |
|
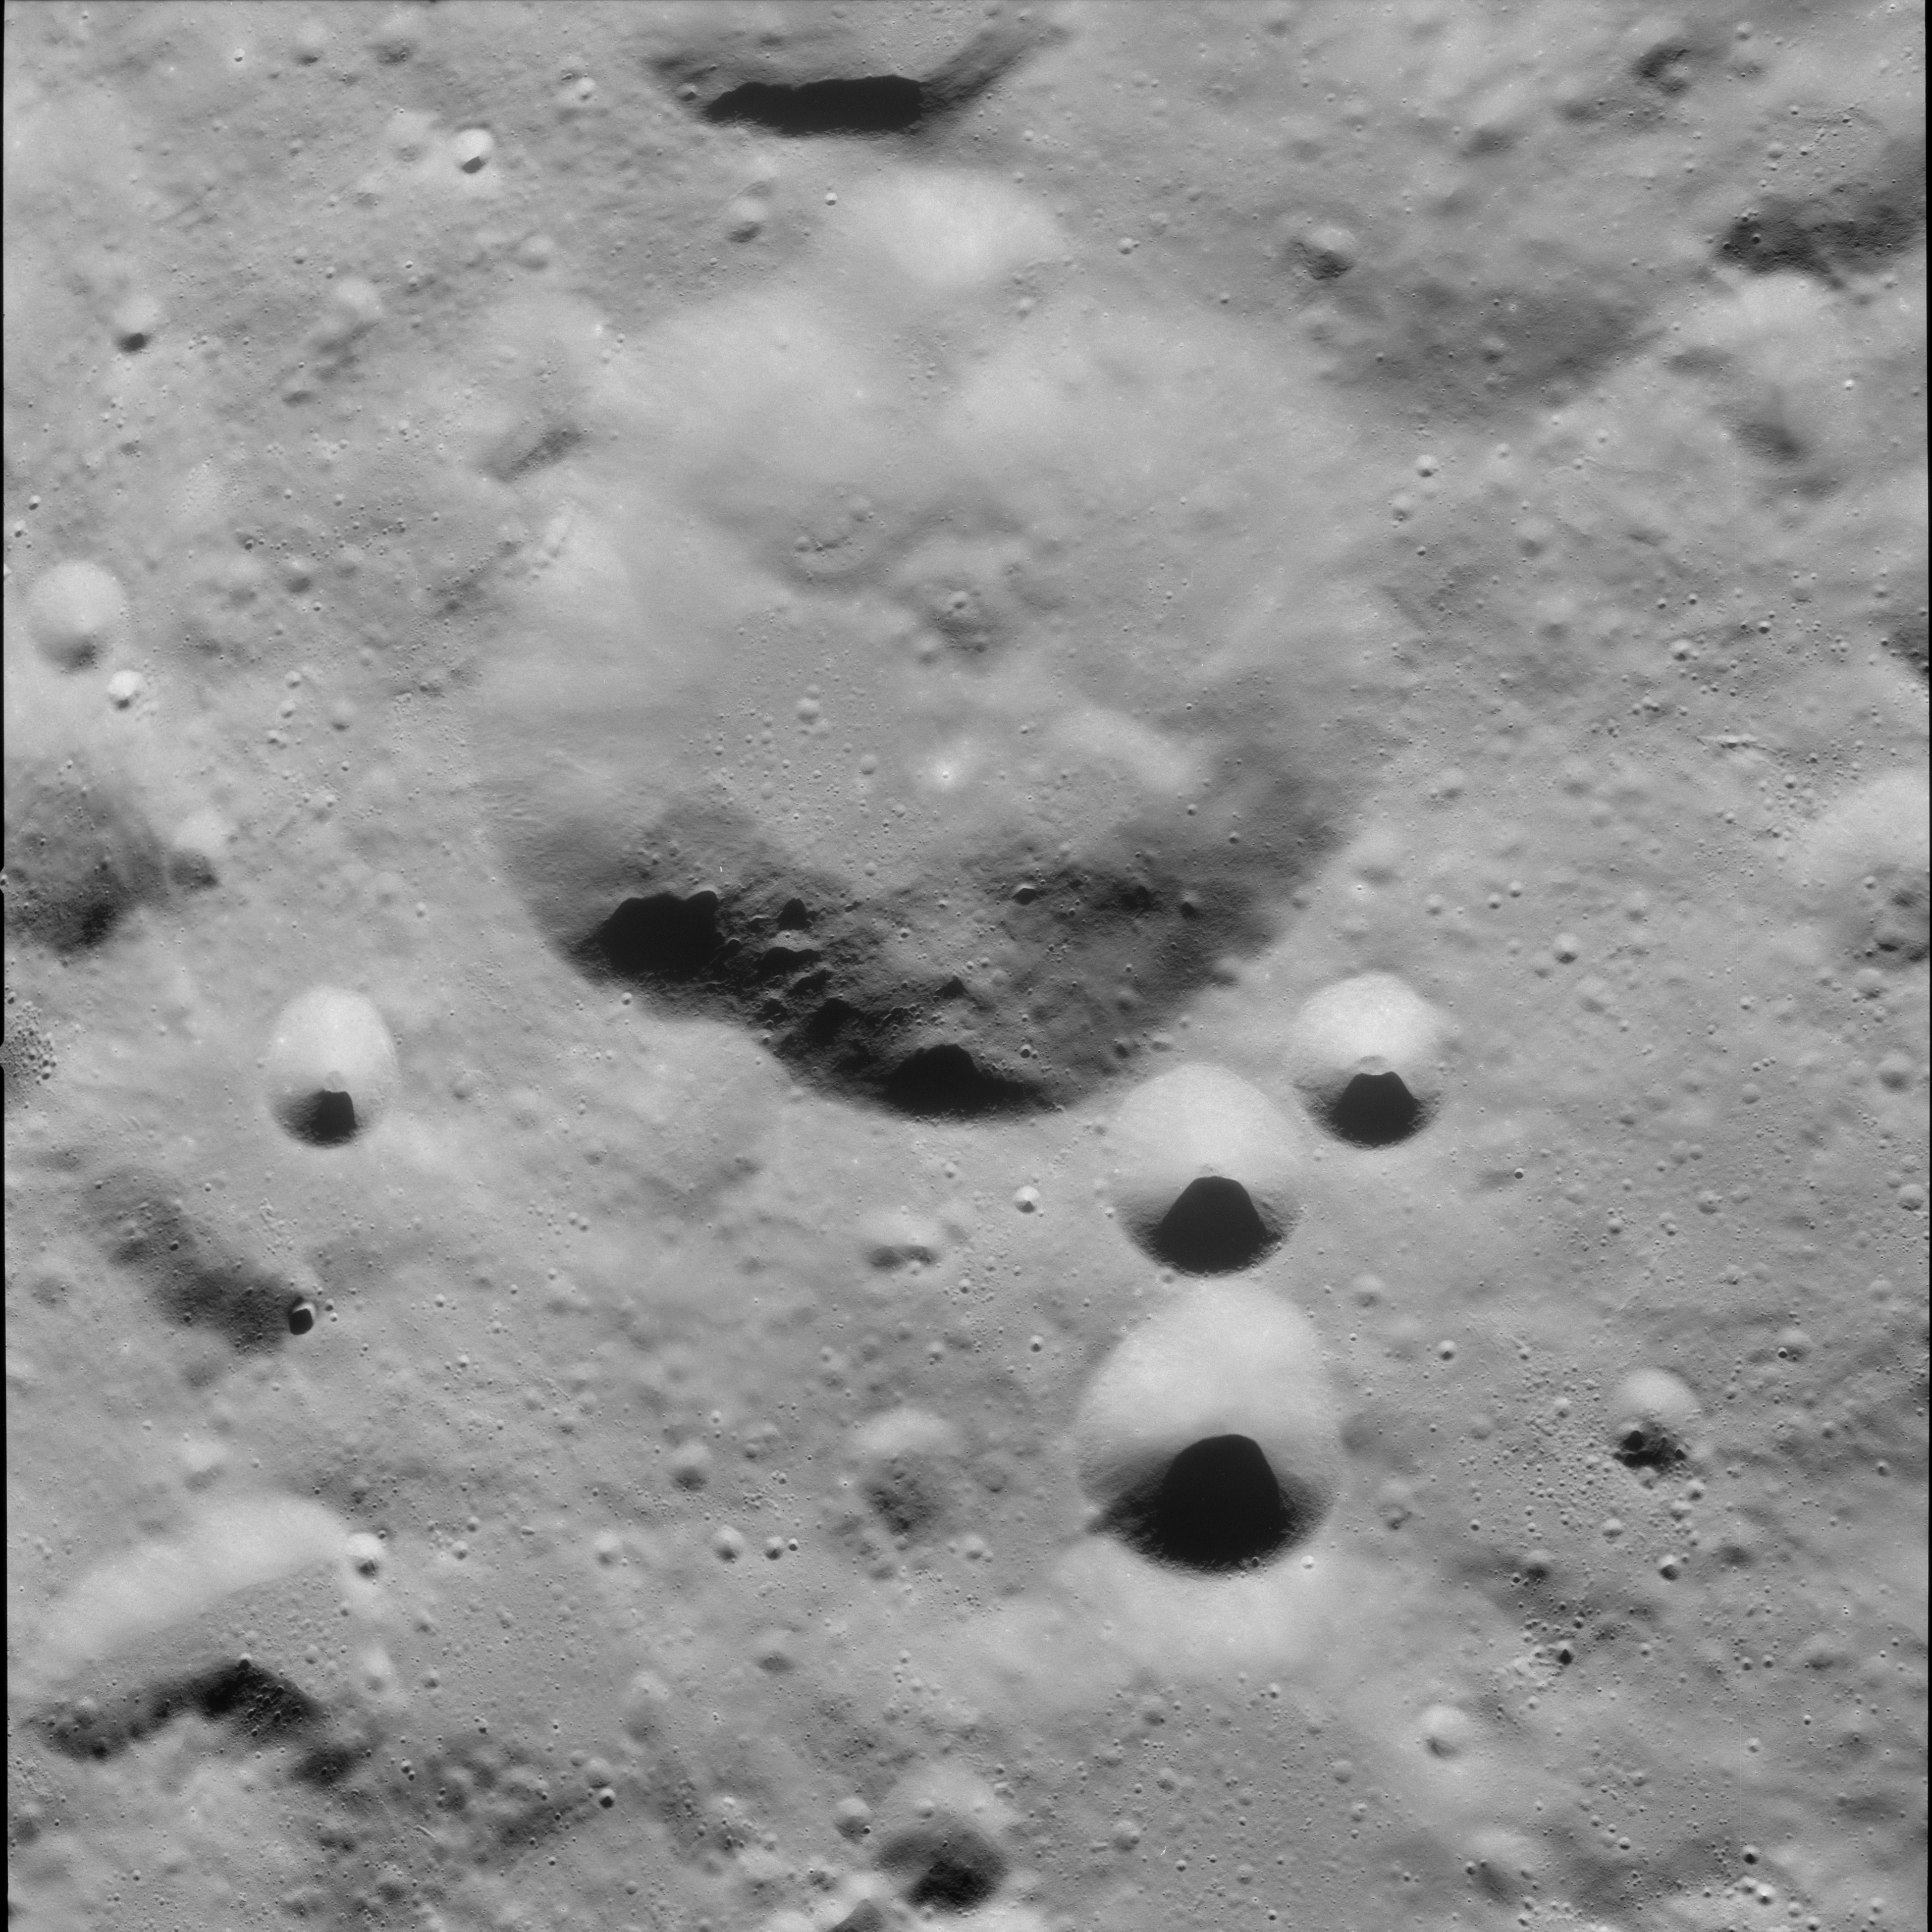
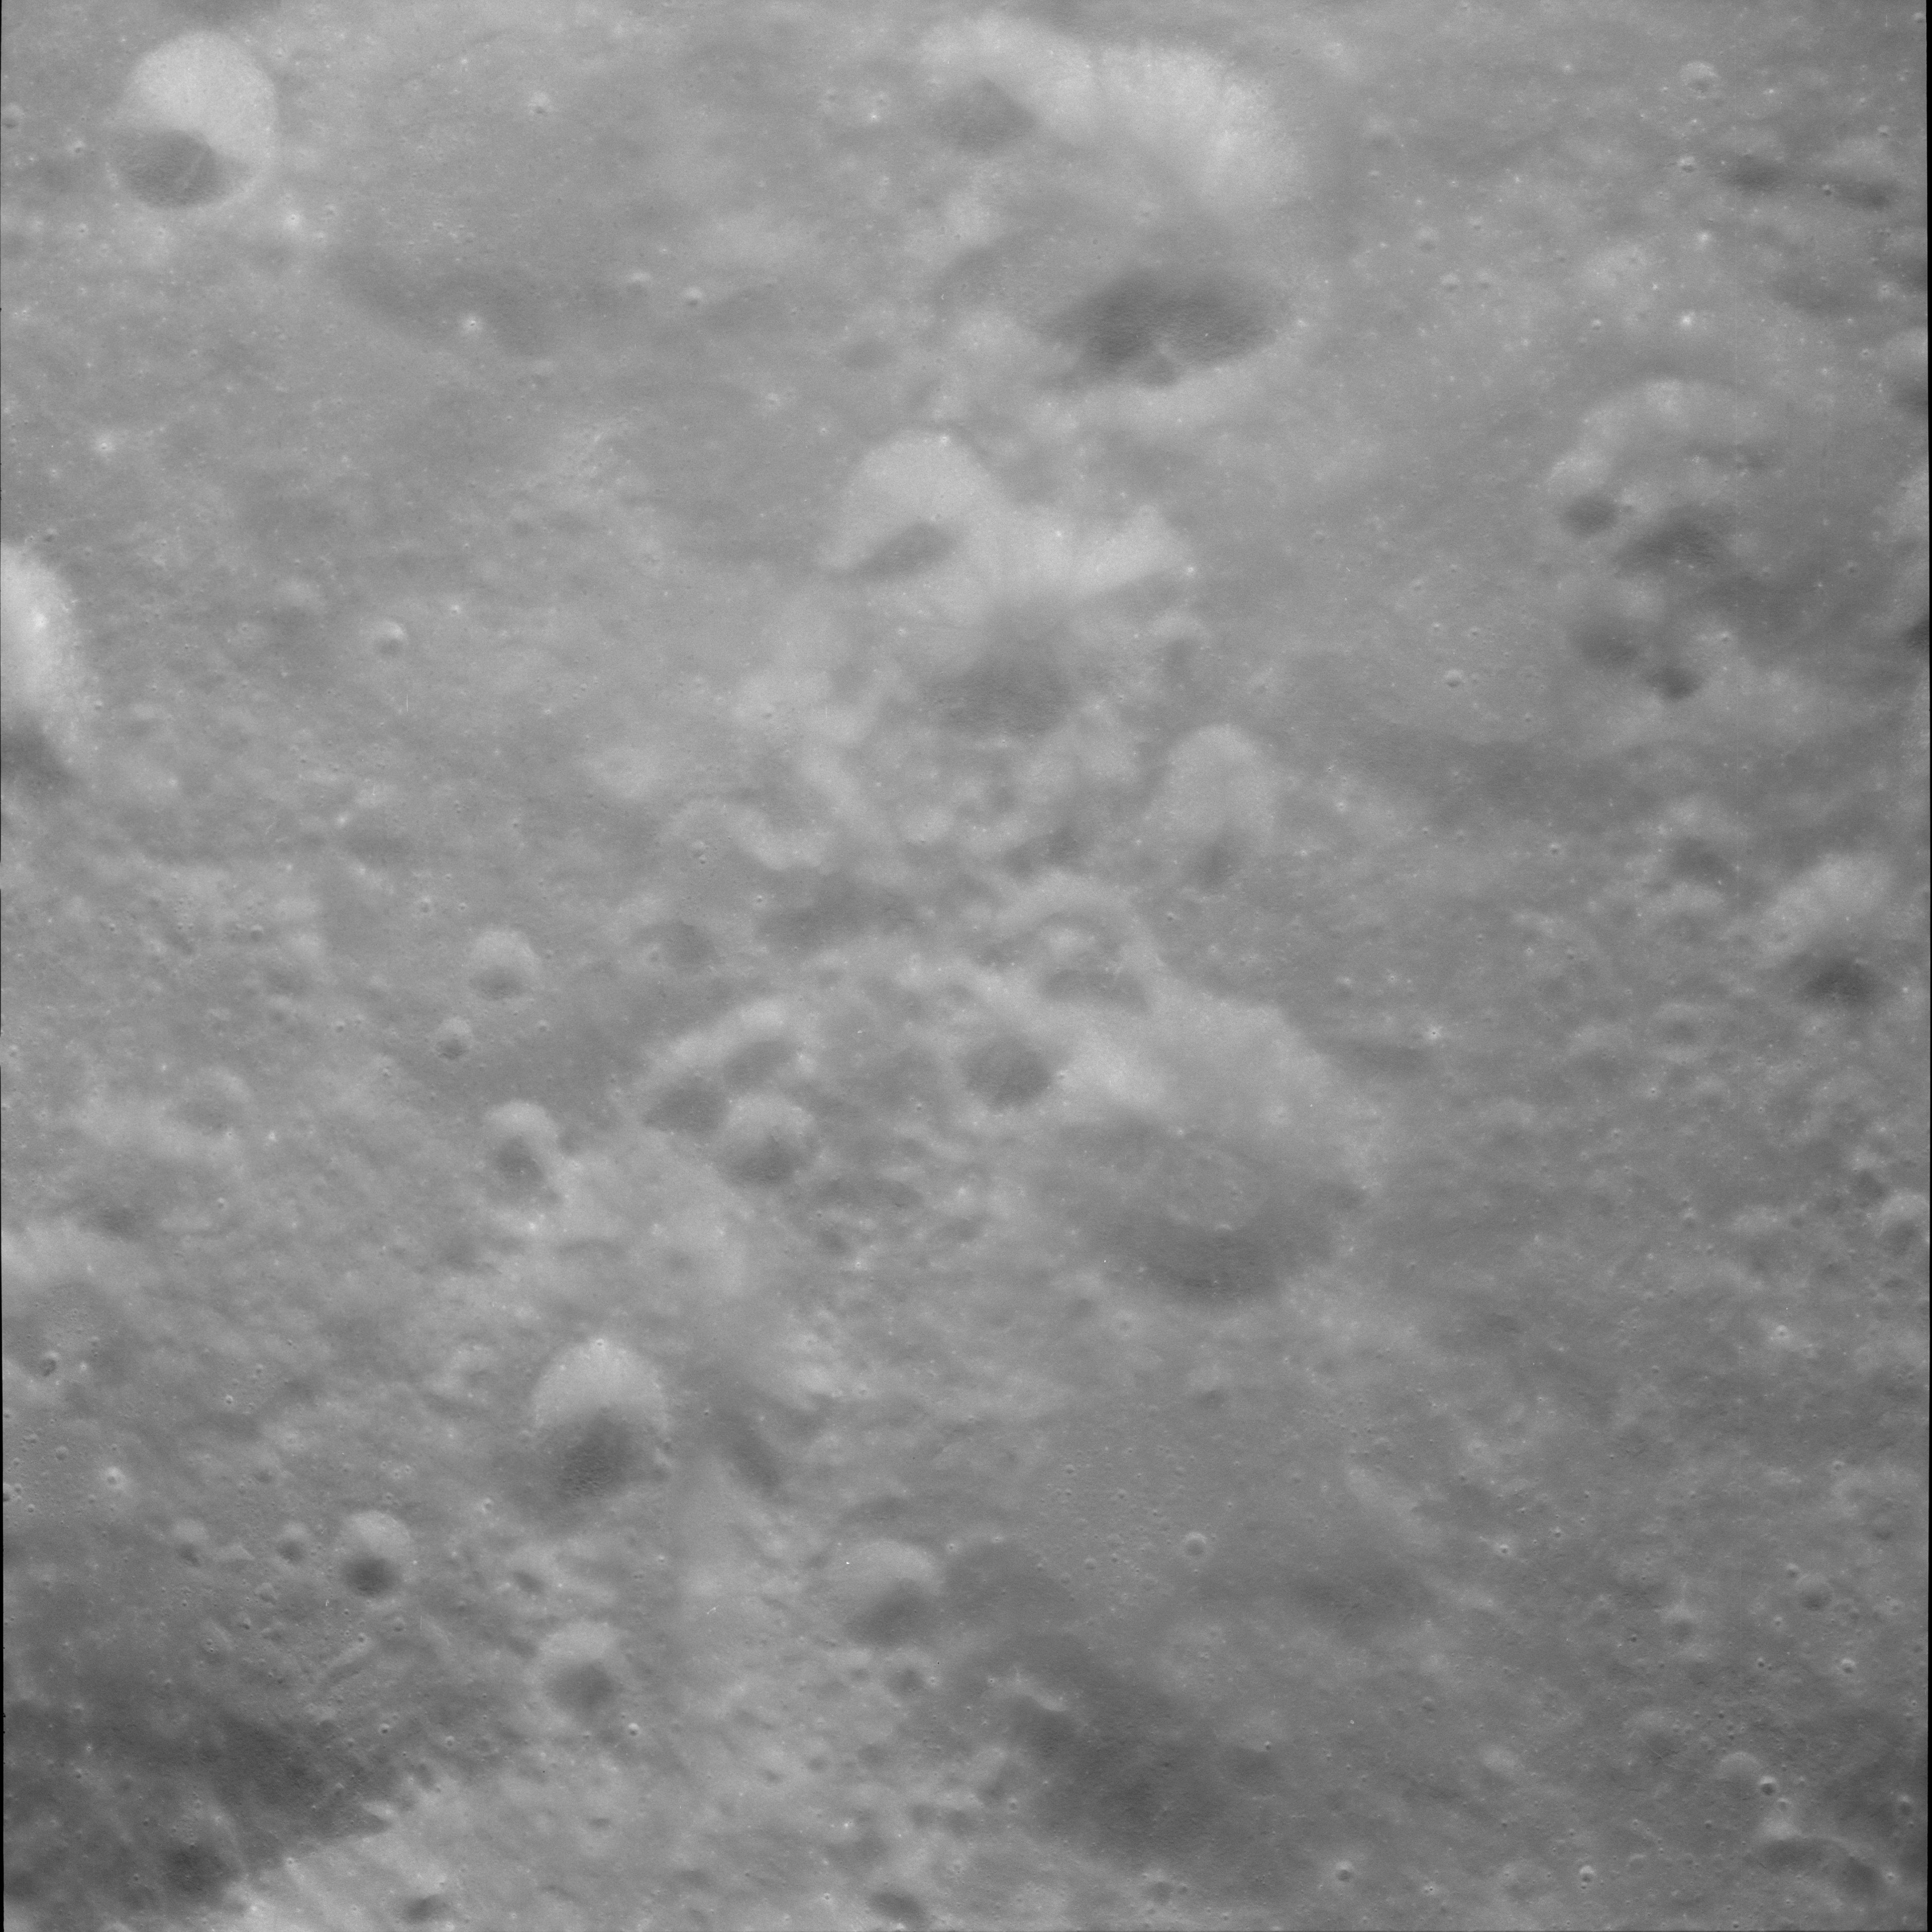
AS11-42-6256 Browse or print resolution. Small double crater. Coordinates; 2.60N, 155.11E. Henderson G is large dark crater on left of feature. Image credit: Image Science and Analysis Laboratory, NASA-Johnson Space Center. |
|
AS11-42-6257 Browse or print resolution. Crater field northwest of Schliemann and south of Henderson. Coordinates of largest crater near centre are 0.24N, 152.35E. Image credit: Image Science and Analysis Laboratory, NASA-Johnson Space Center. |
|
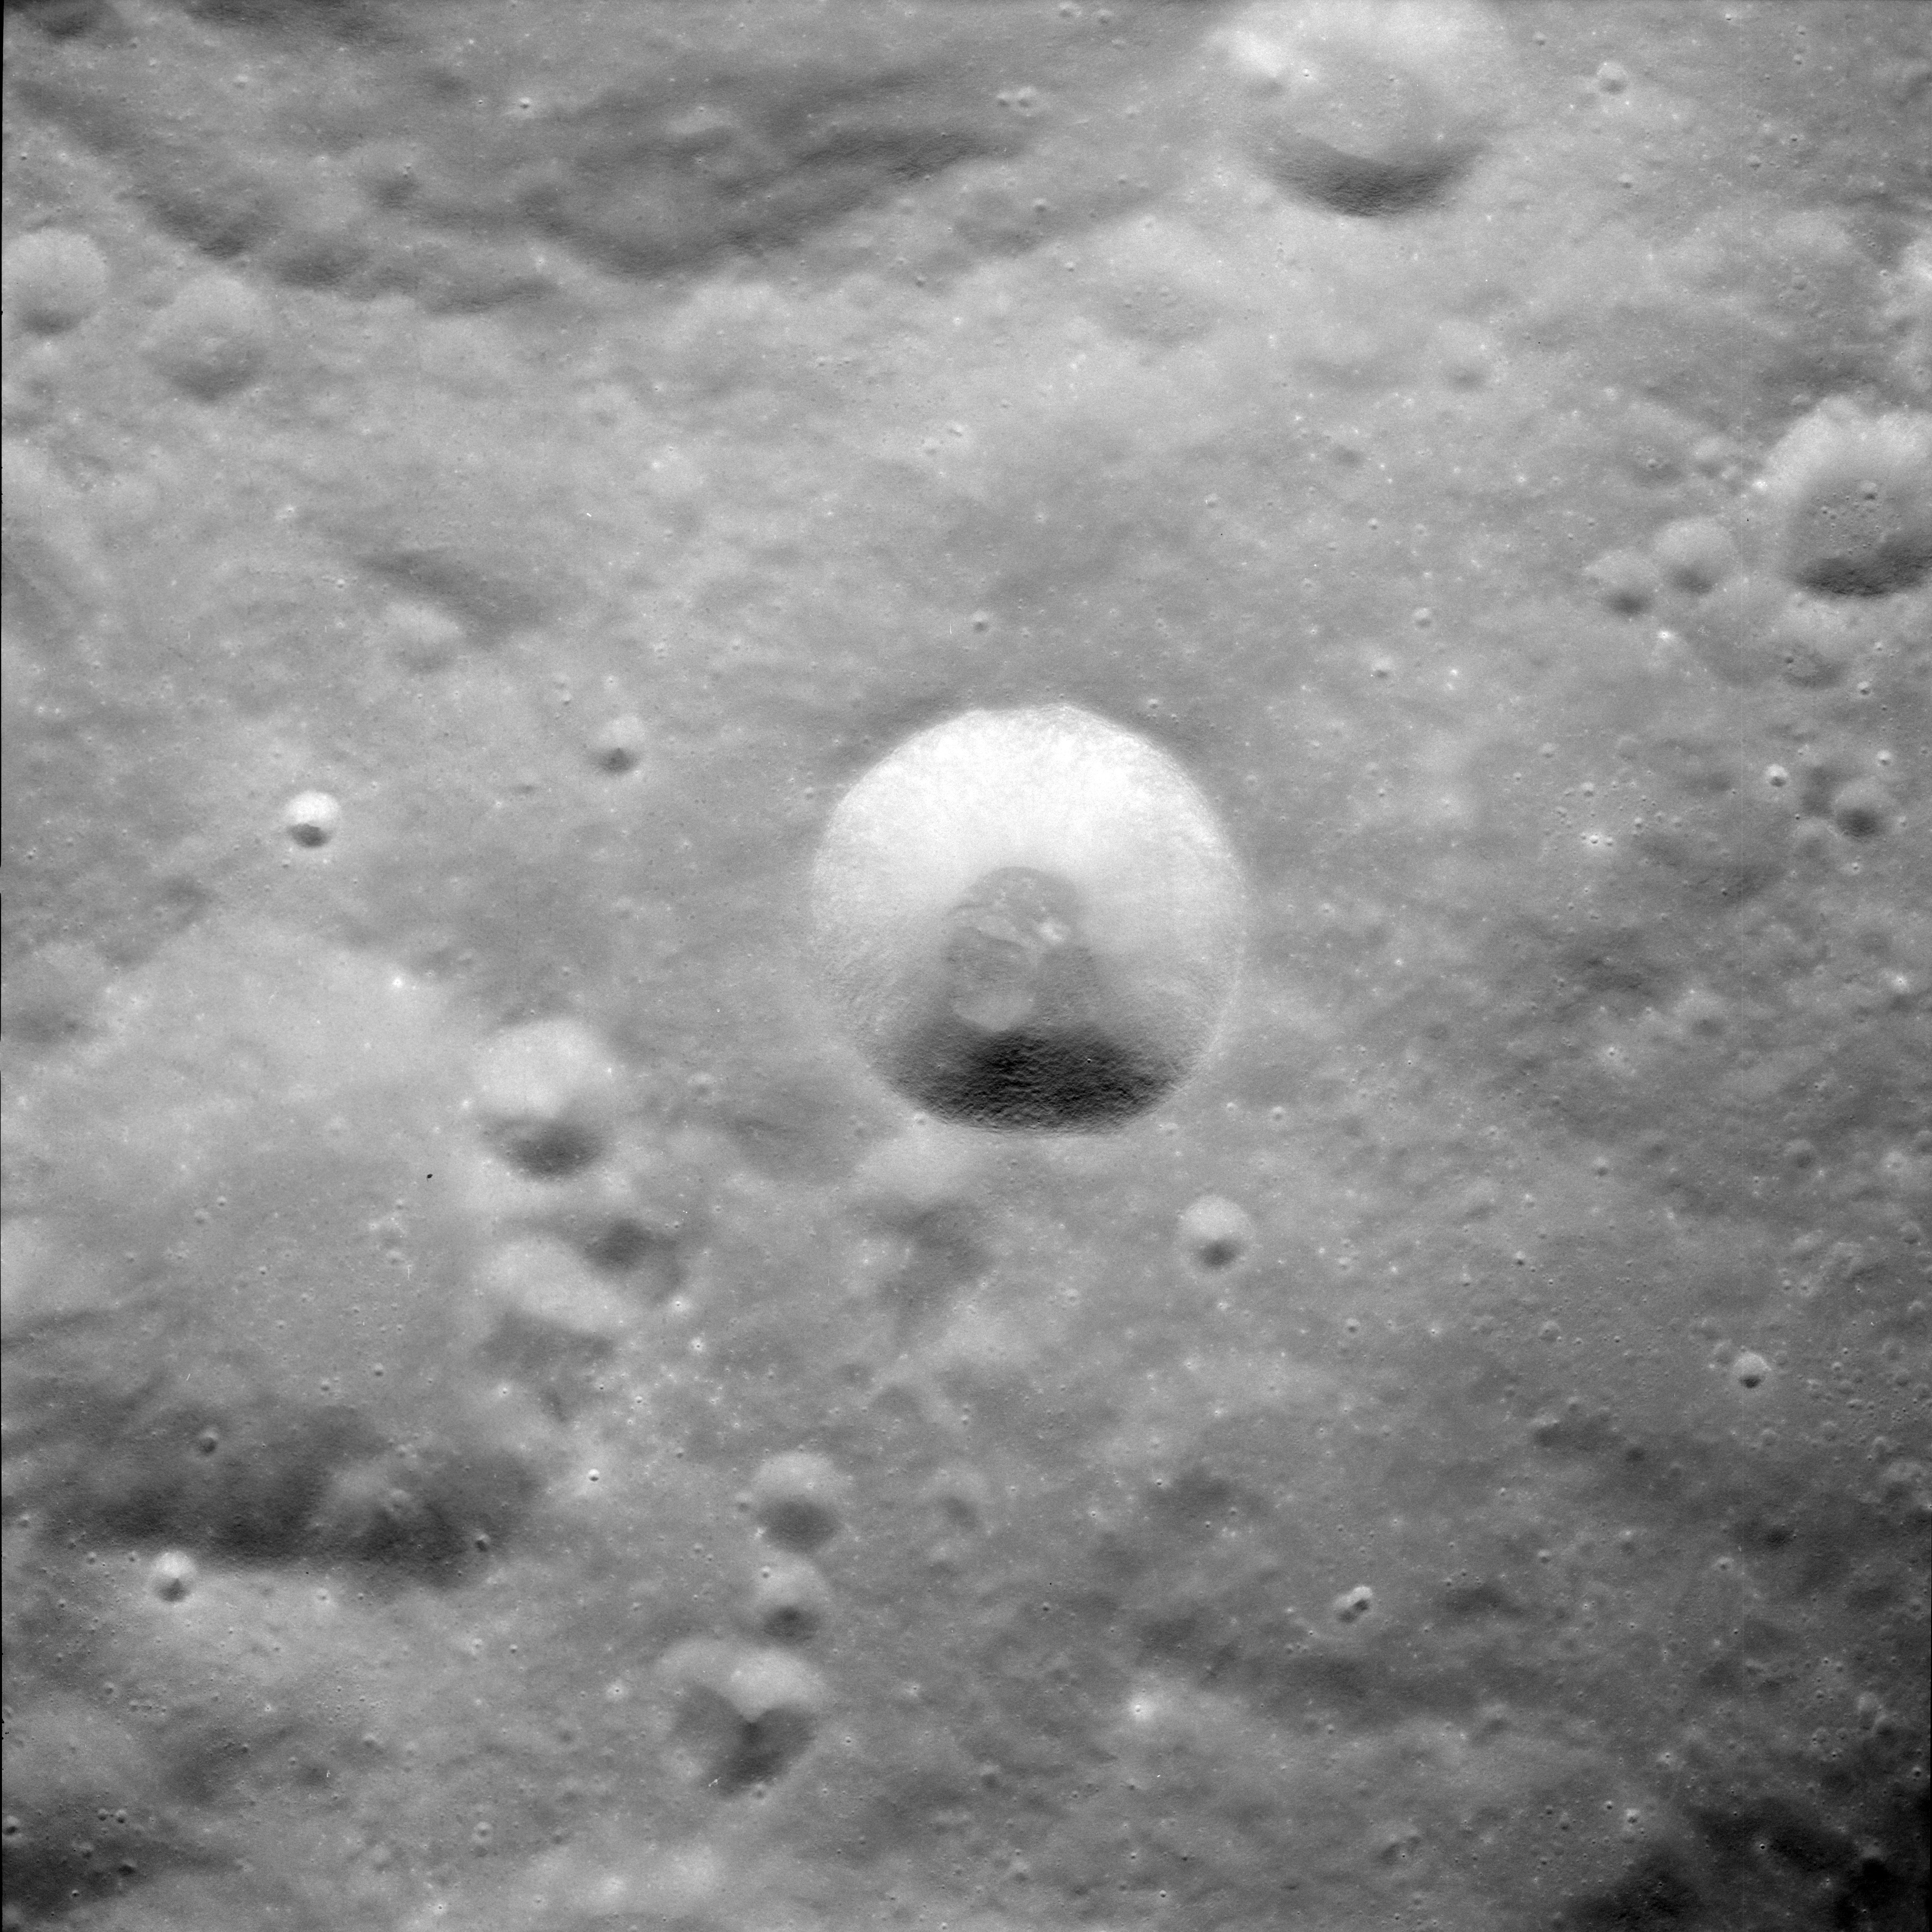
AS11-42-6258 Browse or print resolution. Bright fresh crater on rim of crater Chaplygin. Chaplygin Y cut off in foreground. Coordinates of bright crater are 4.10S, 151.66E. Image credit: Image Science and Analysis Laboratory, NASA-Johnson Space Center. |
|
AS11-42-6259 Browse or print resolution. Simple crater within Schuster Q. Crater on left cuts north rim of the indistinct rim of Schuster Q. Image credit: Image Science and Analysis Laboratory, NASA-Johnson Space Center. |
|
AS11-42-6260 Browse or print resolution. Crater Glazenup F (left) and Glazenup E (right) east of Glazenap. Glazenap is cut off at bottom right. Image credit: Image Science and Analysis Laboratory, NASA-Johnson Space Center. |

|
AS11-42-6261 Browse or print resolution. Crater Glazenup F (left) and Glazenup E (right) east of Glazenap. Glazenap is cut off at bottom right. Image credit: Image Science and Analysis Laboratory, NASA-Johnson Space Center. |

|
AS11-42-6262 Browse or print resolution. Crater Pannekoek T centre of frame. Glazenup is cut off at bottom. Image credit: Image Science and Analysis Laboratory, NASA-Johnson Space Center. |
|
AS11-42-6263 Browse or print resolution. Crater Pannekoek T centre of frame. Glazenup is cut off at bottom. Image credit: Image Science and Analysis Laboratory, NASA-Johnson Space Center. |

|
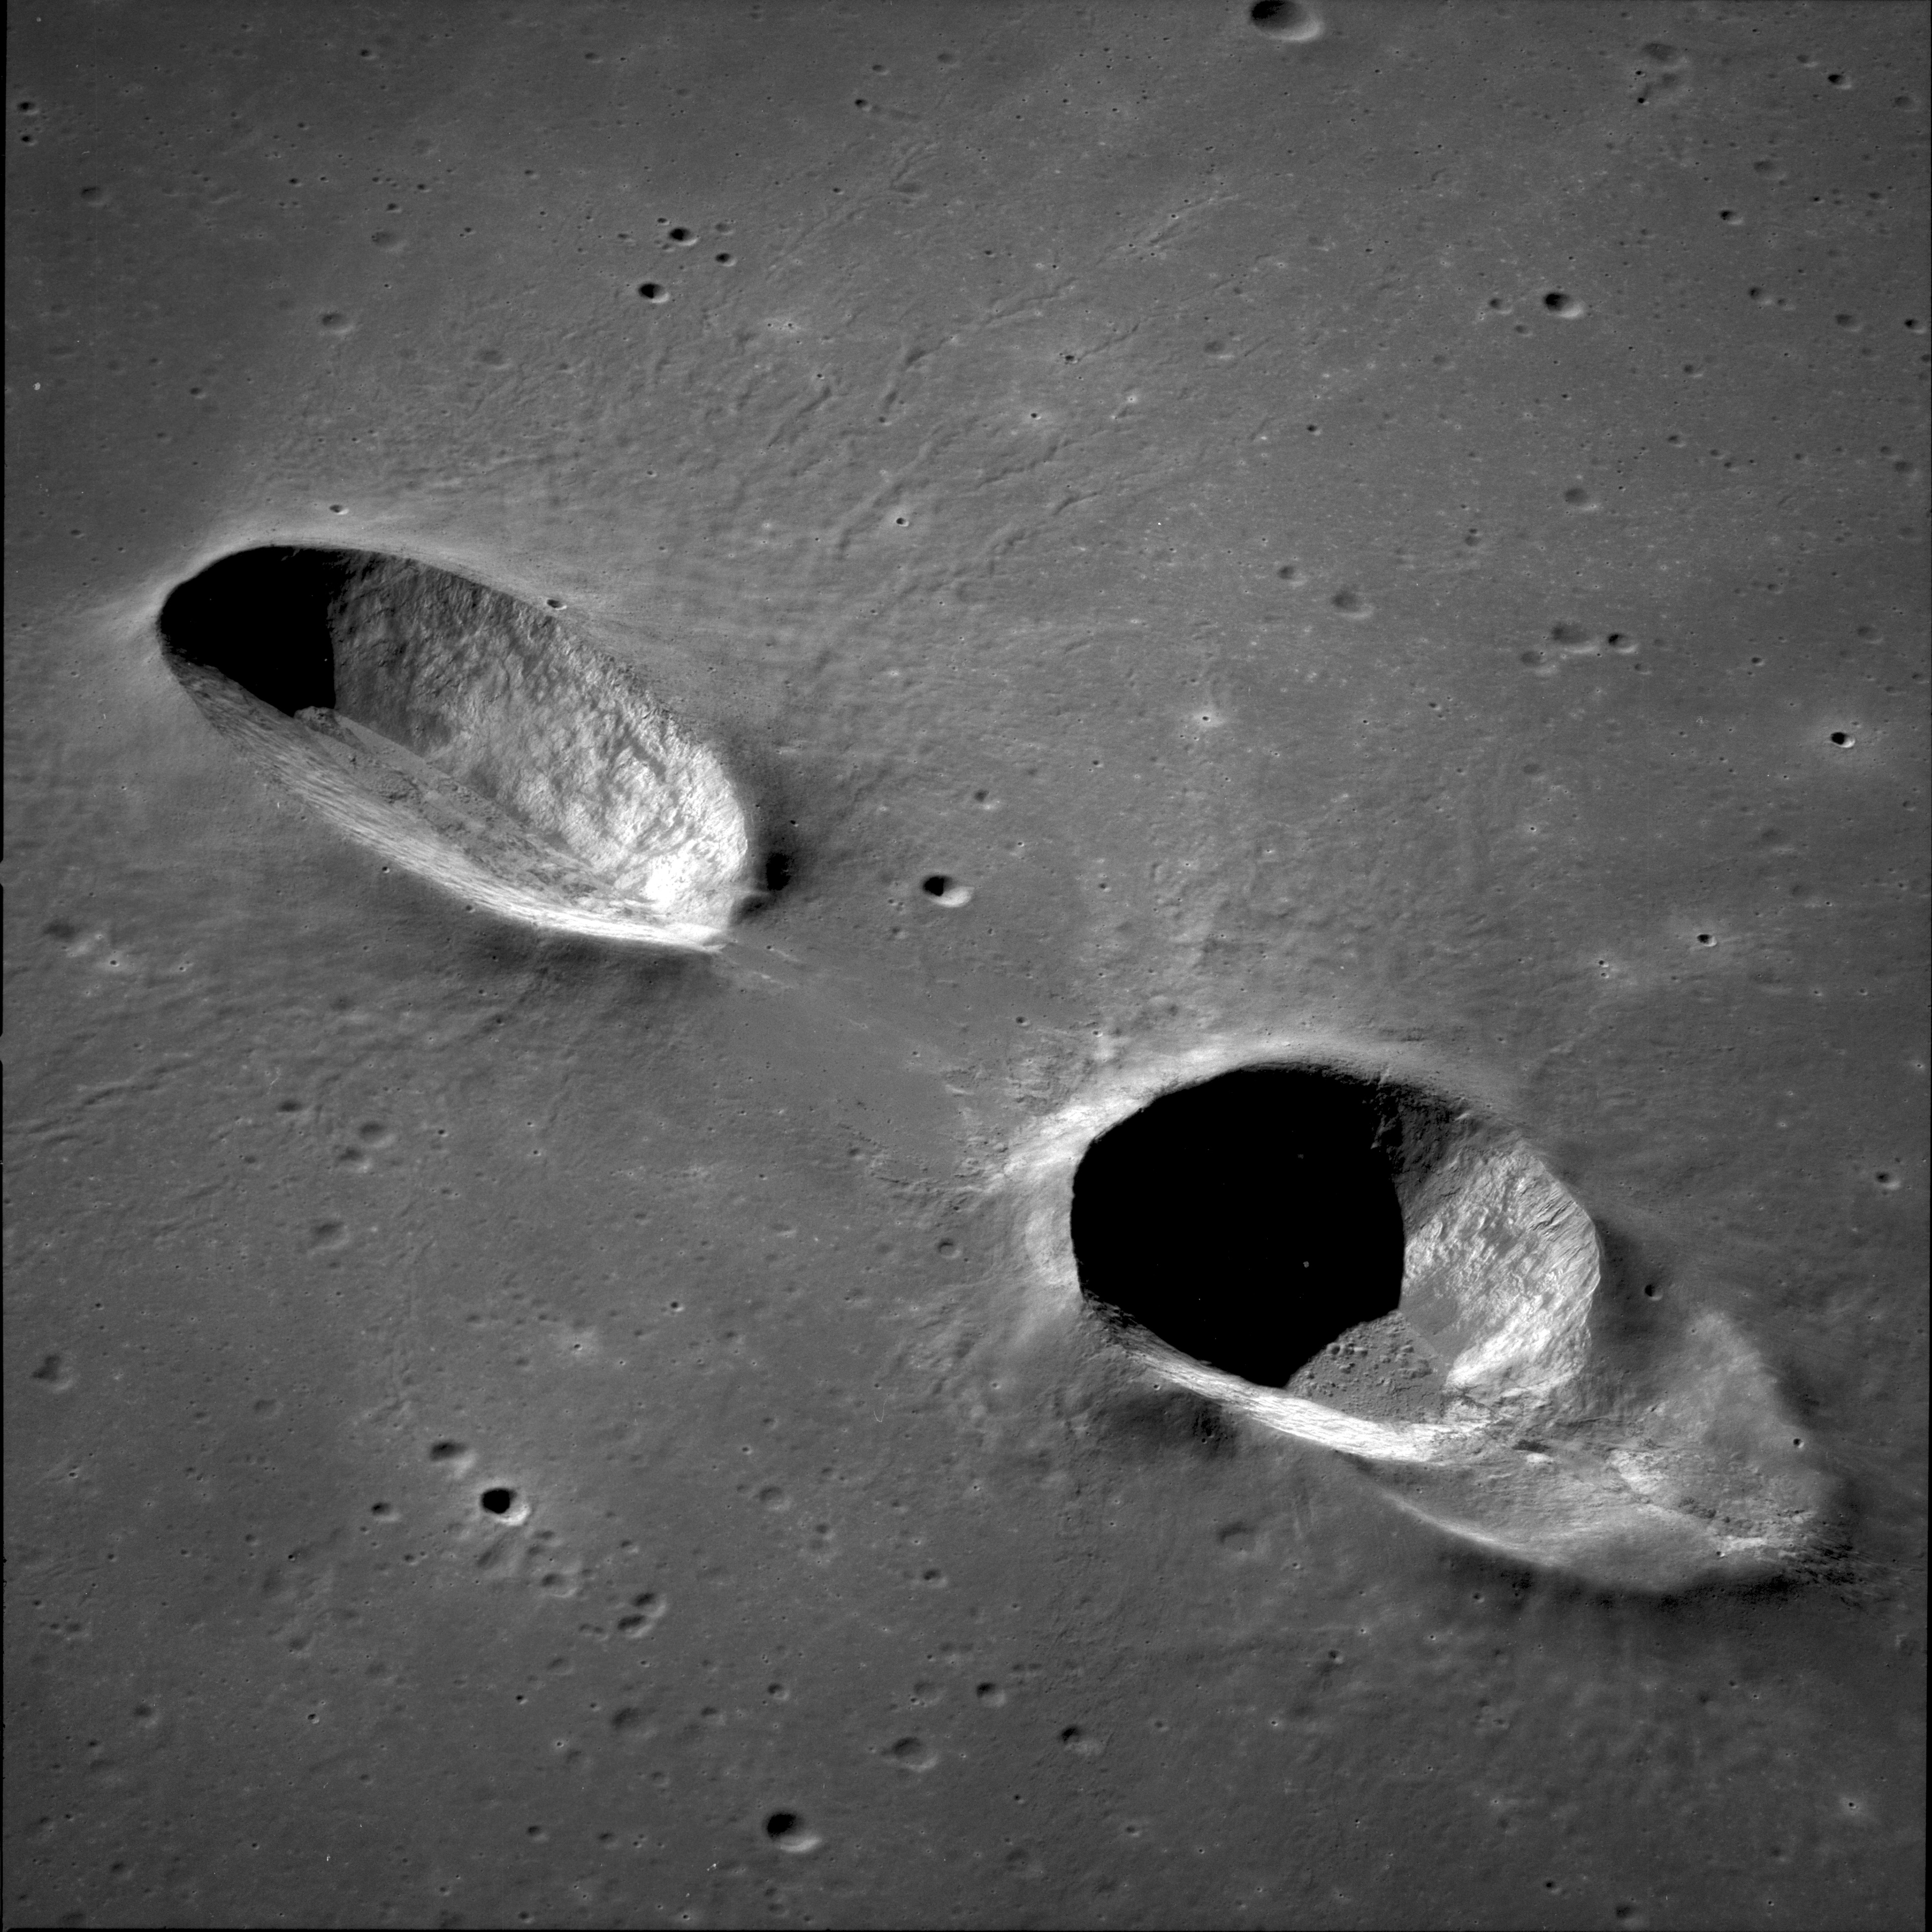
AS11-42-6264 Browse or print resolution. Crater Necho (below centre), Becvar Q (above and left of centre) and Becvar X cut off upper left. Image credit: Image Science and Analysis Laboratory, NASA-Johnson Space Center. |

|
AS11-42-6265 Browse or print resolution. Crater Necho (below centre), Becvar Q (above and left of centre) and Becvar X cut off upper left. Image credit: Image Science and Analysis Laboratory, NASA-Johnson Space Center. |

|
AS11-42-6266 Browse or print resolution. Crater Zanstra M. Image credit: Image Science and Analysis Laboratory, NASA-Johnson Space Center. |
|
AS11-42-6267 Browse or print resolution. Crater Zanstra M is upper centre. Image credit: Image Science and Analysis Laboratory, NASA-Johnson Space Center. |
|
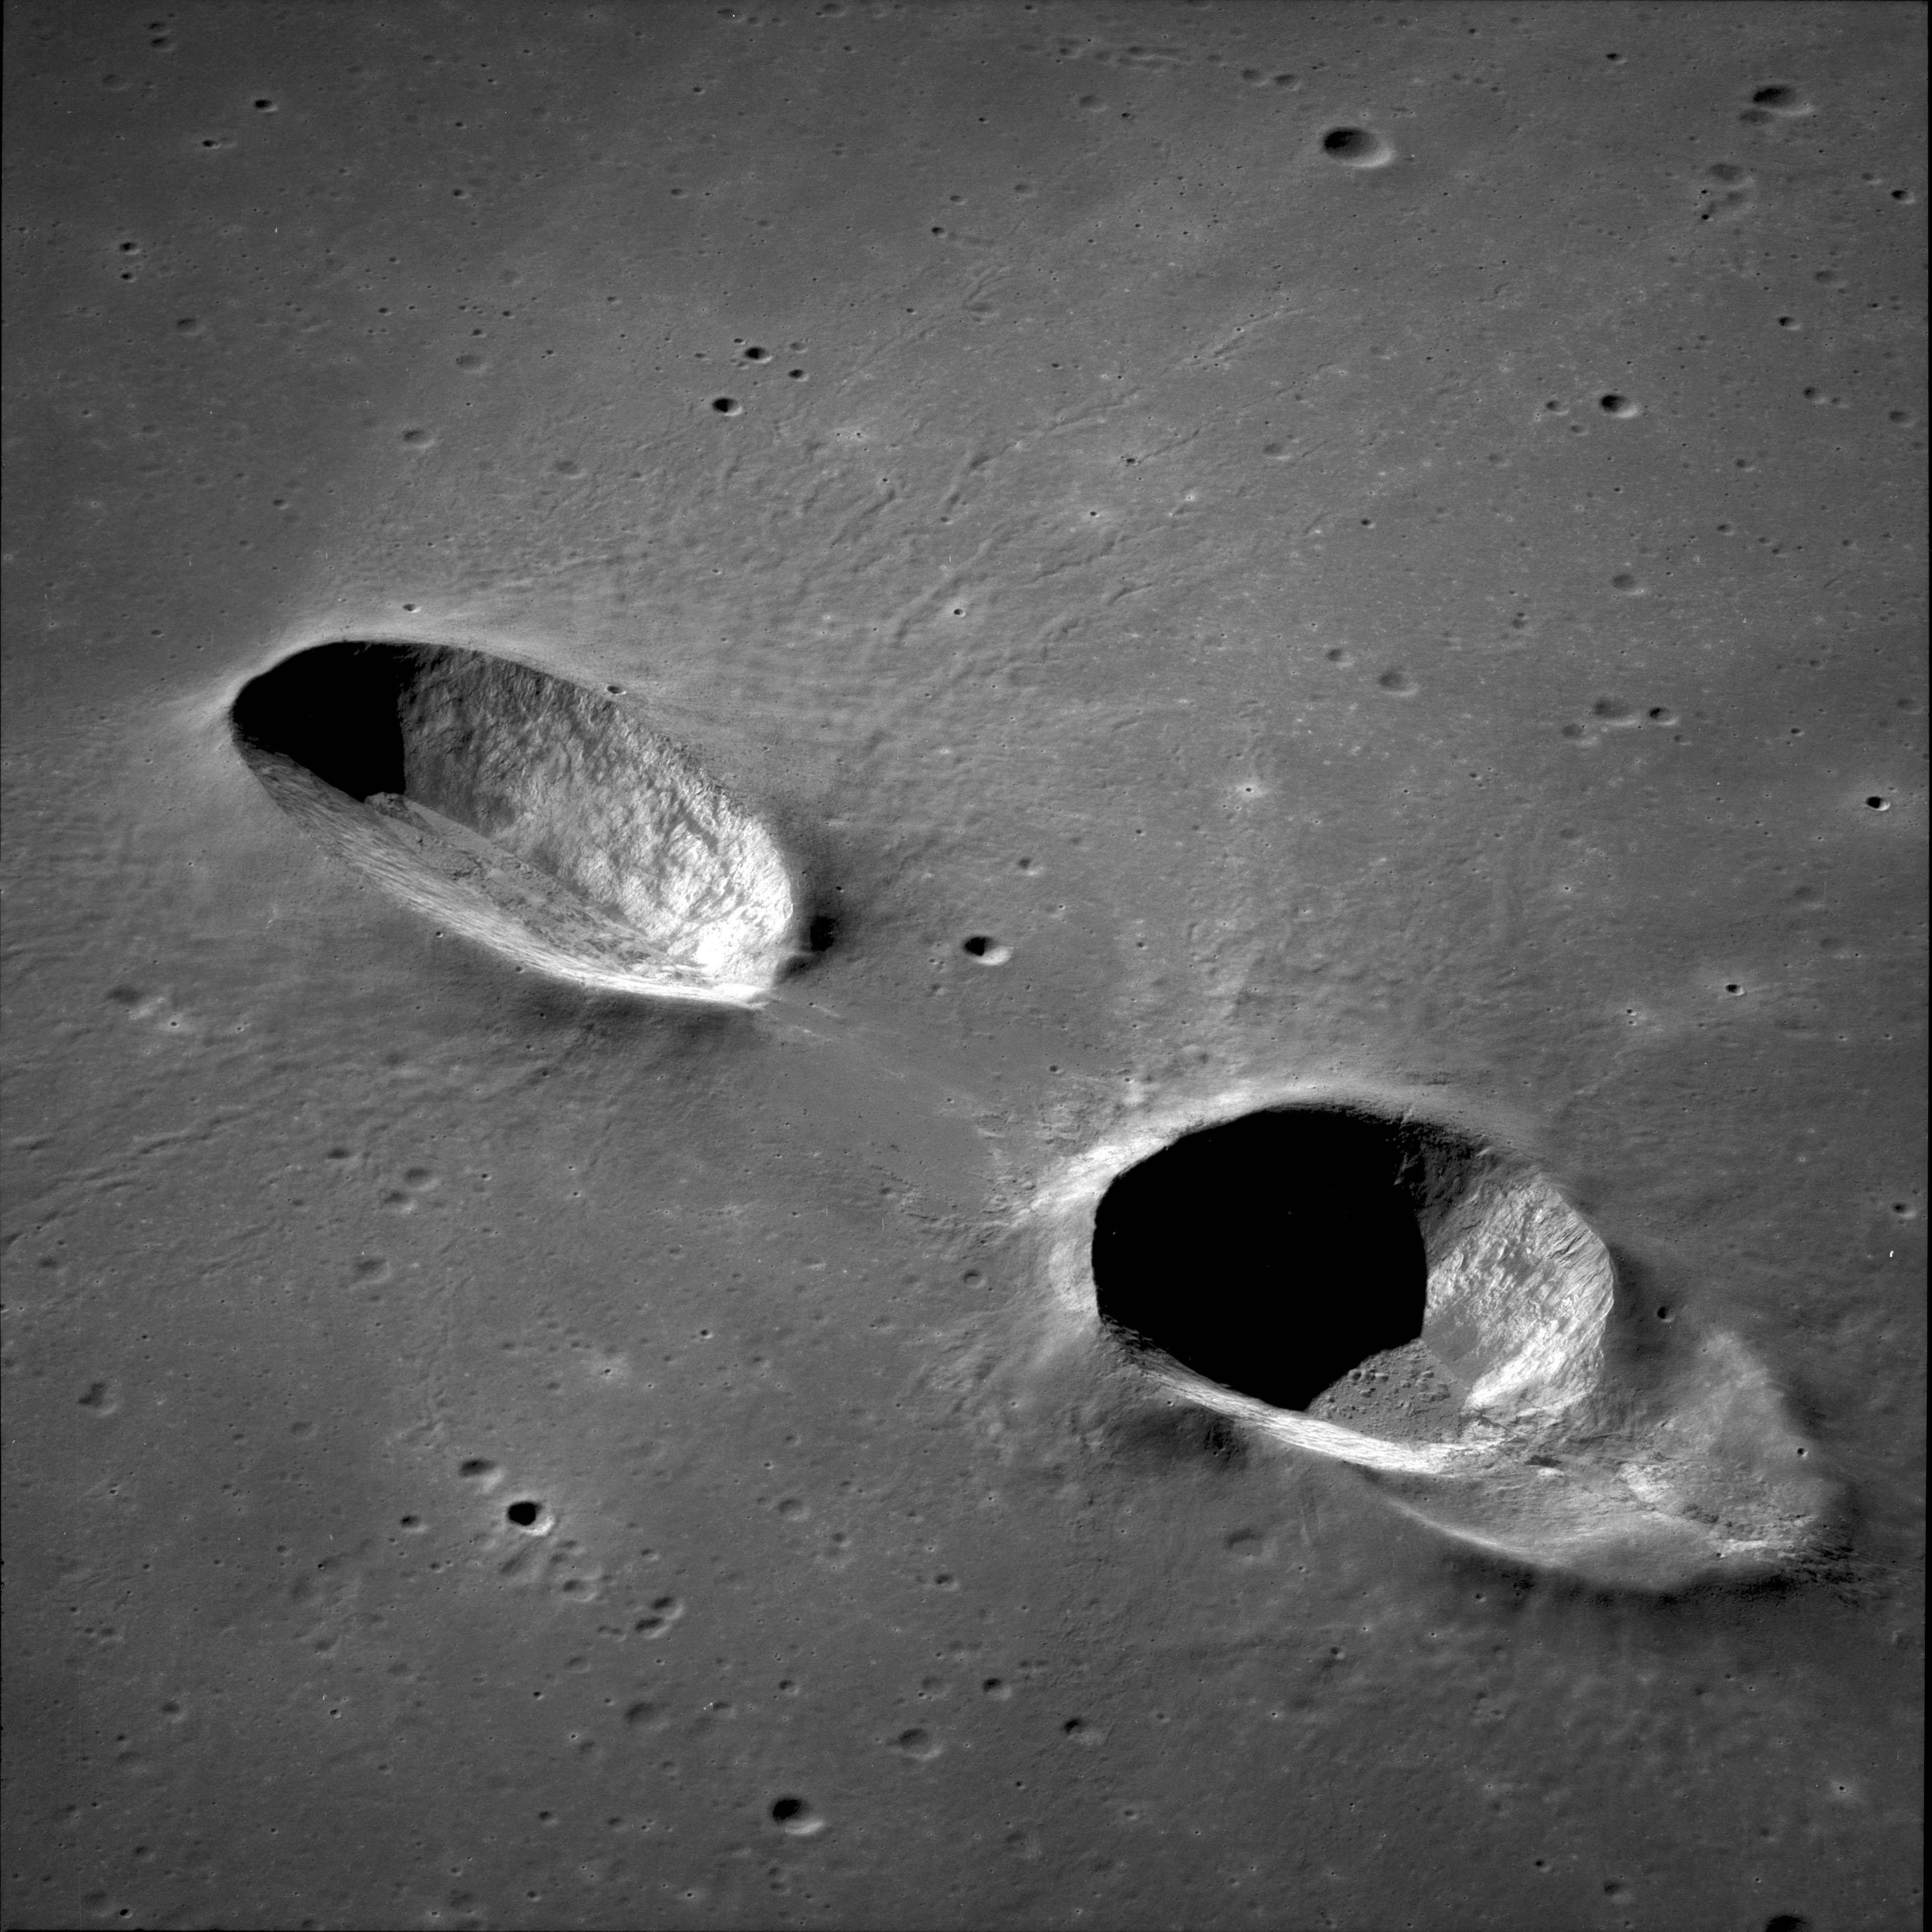
AS11-42-6268 Browse or print resolution. Crater Necho. Becvar Q is lower left. Image credit: Image Science and Analysis Laboratory, NASA-Johnson Space Center. |

|
AS11-42-6269 Browse or print resolution. Crater Necho. Becvar Q is lower left. Image credit: Image Science and Analysis Laboratory, NASA-Johnson Space Center. |

|
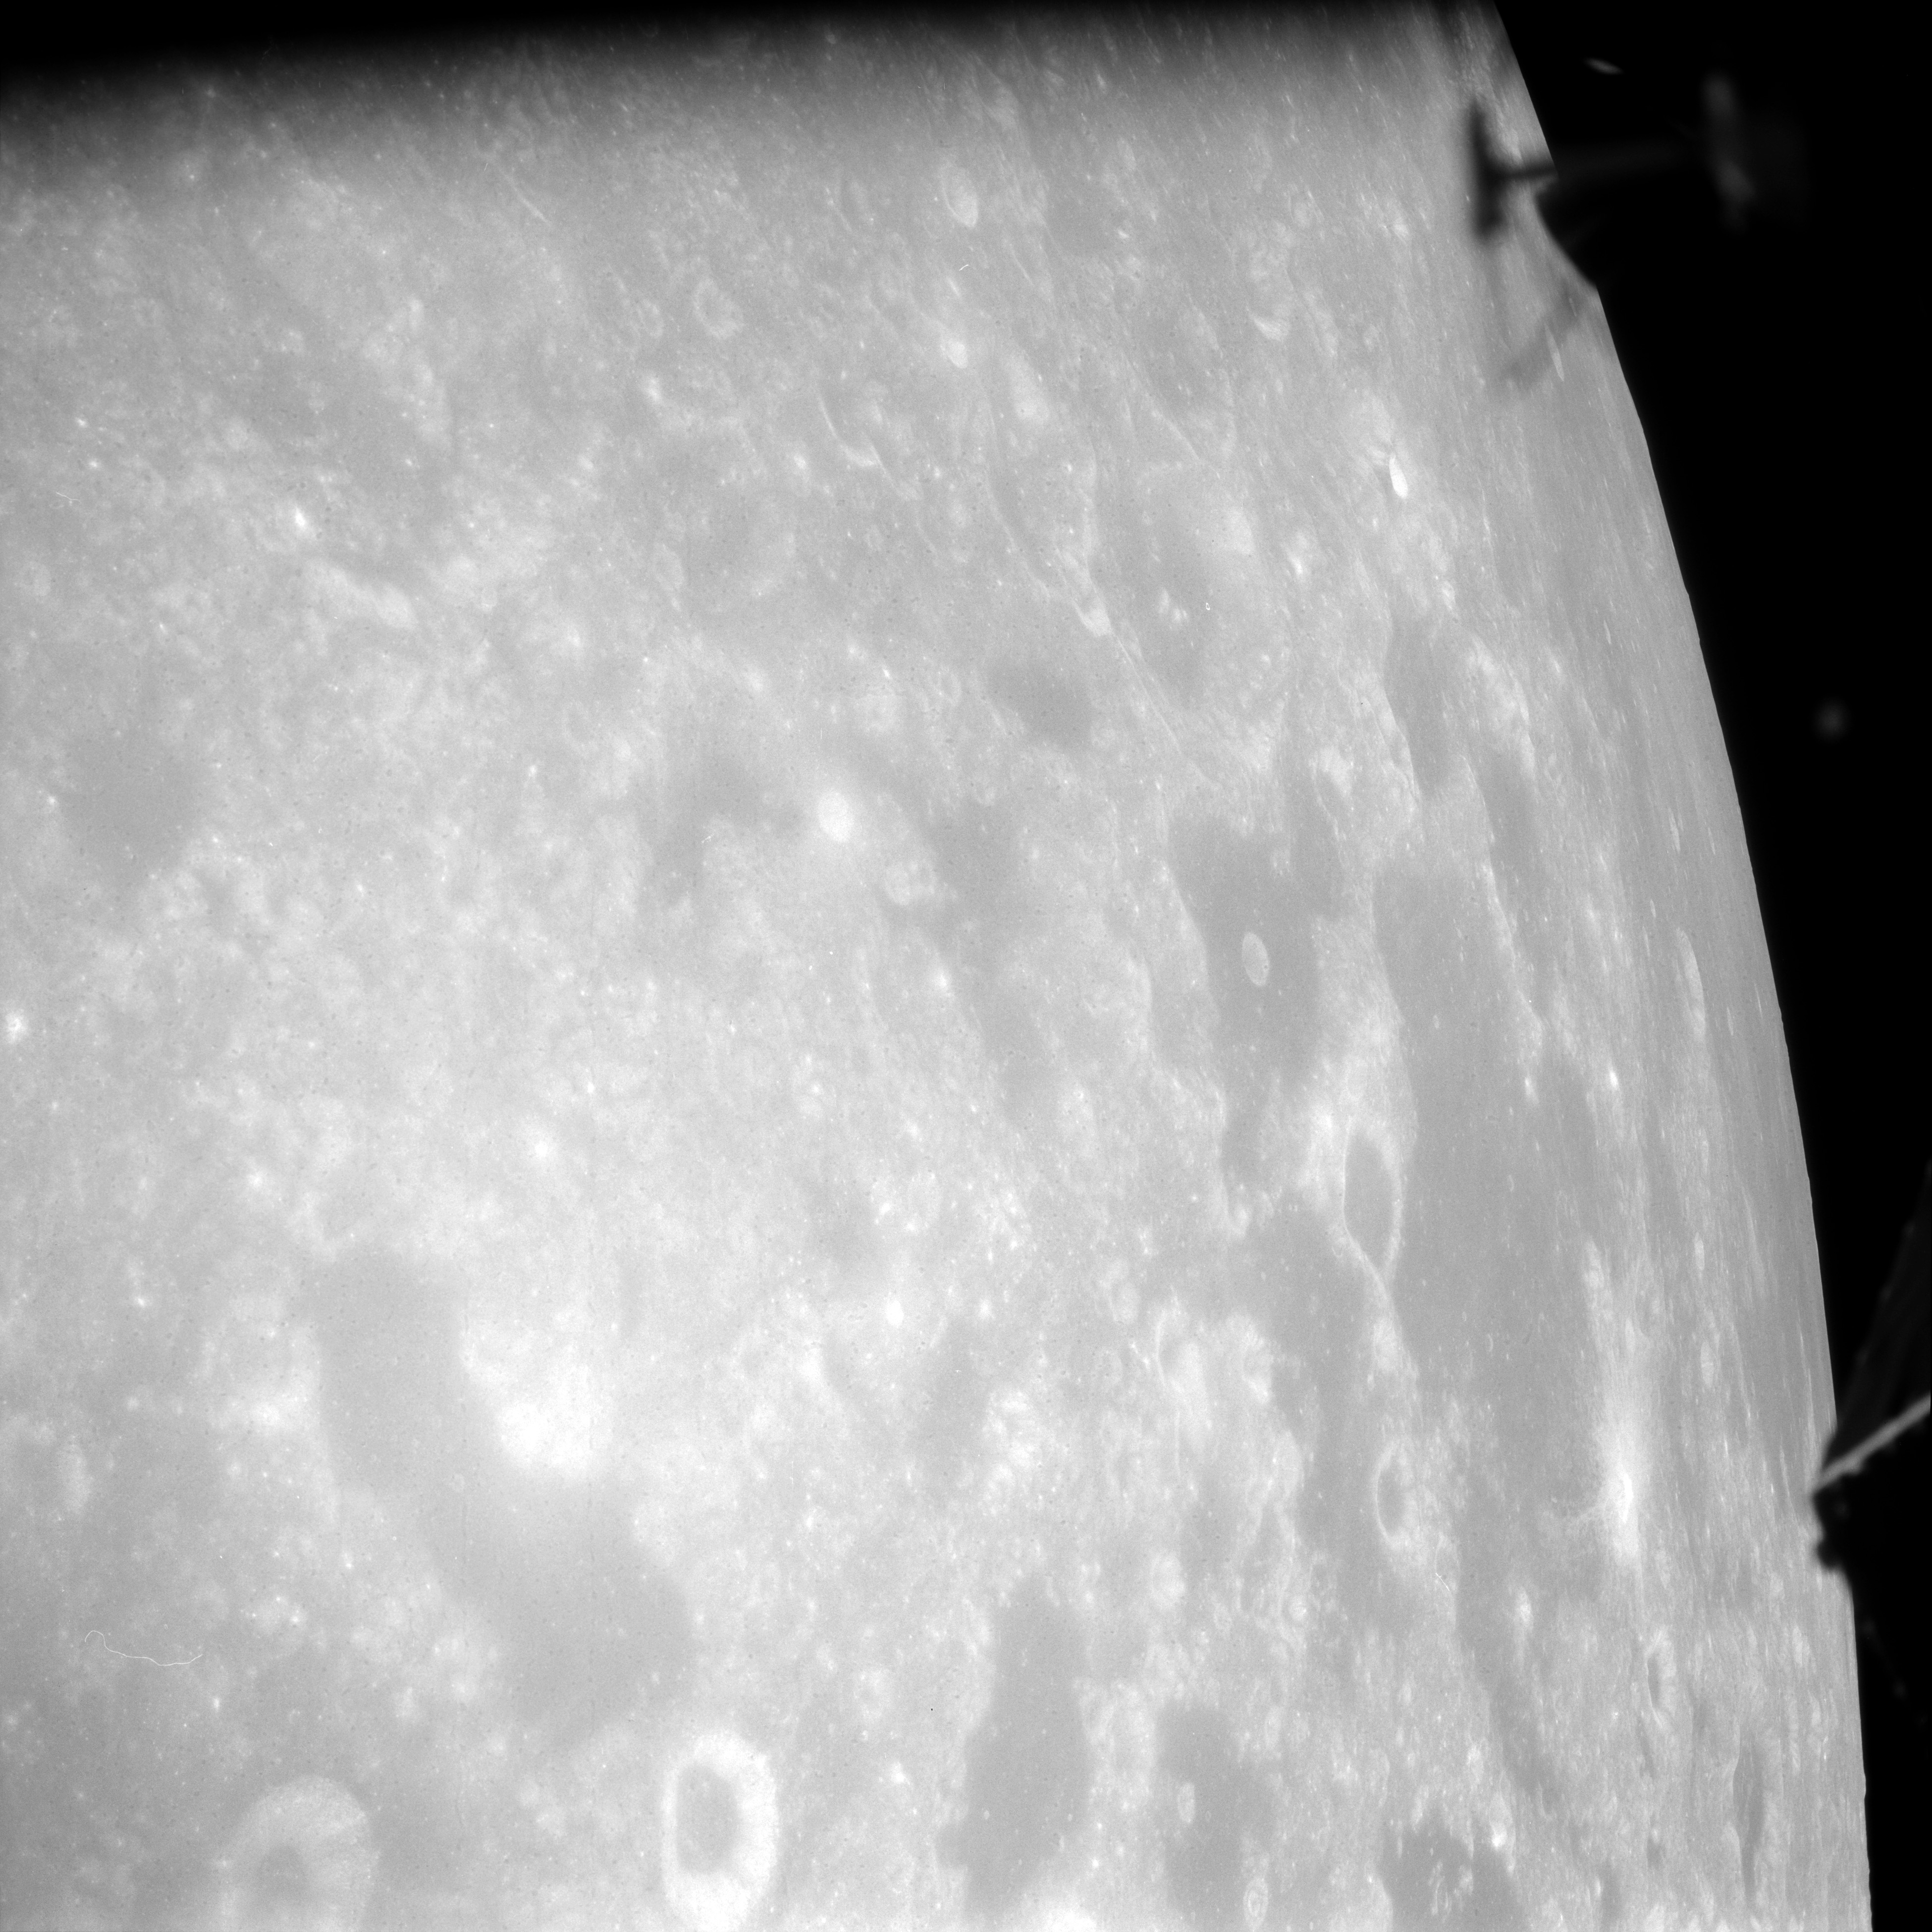
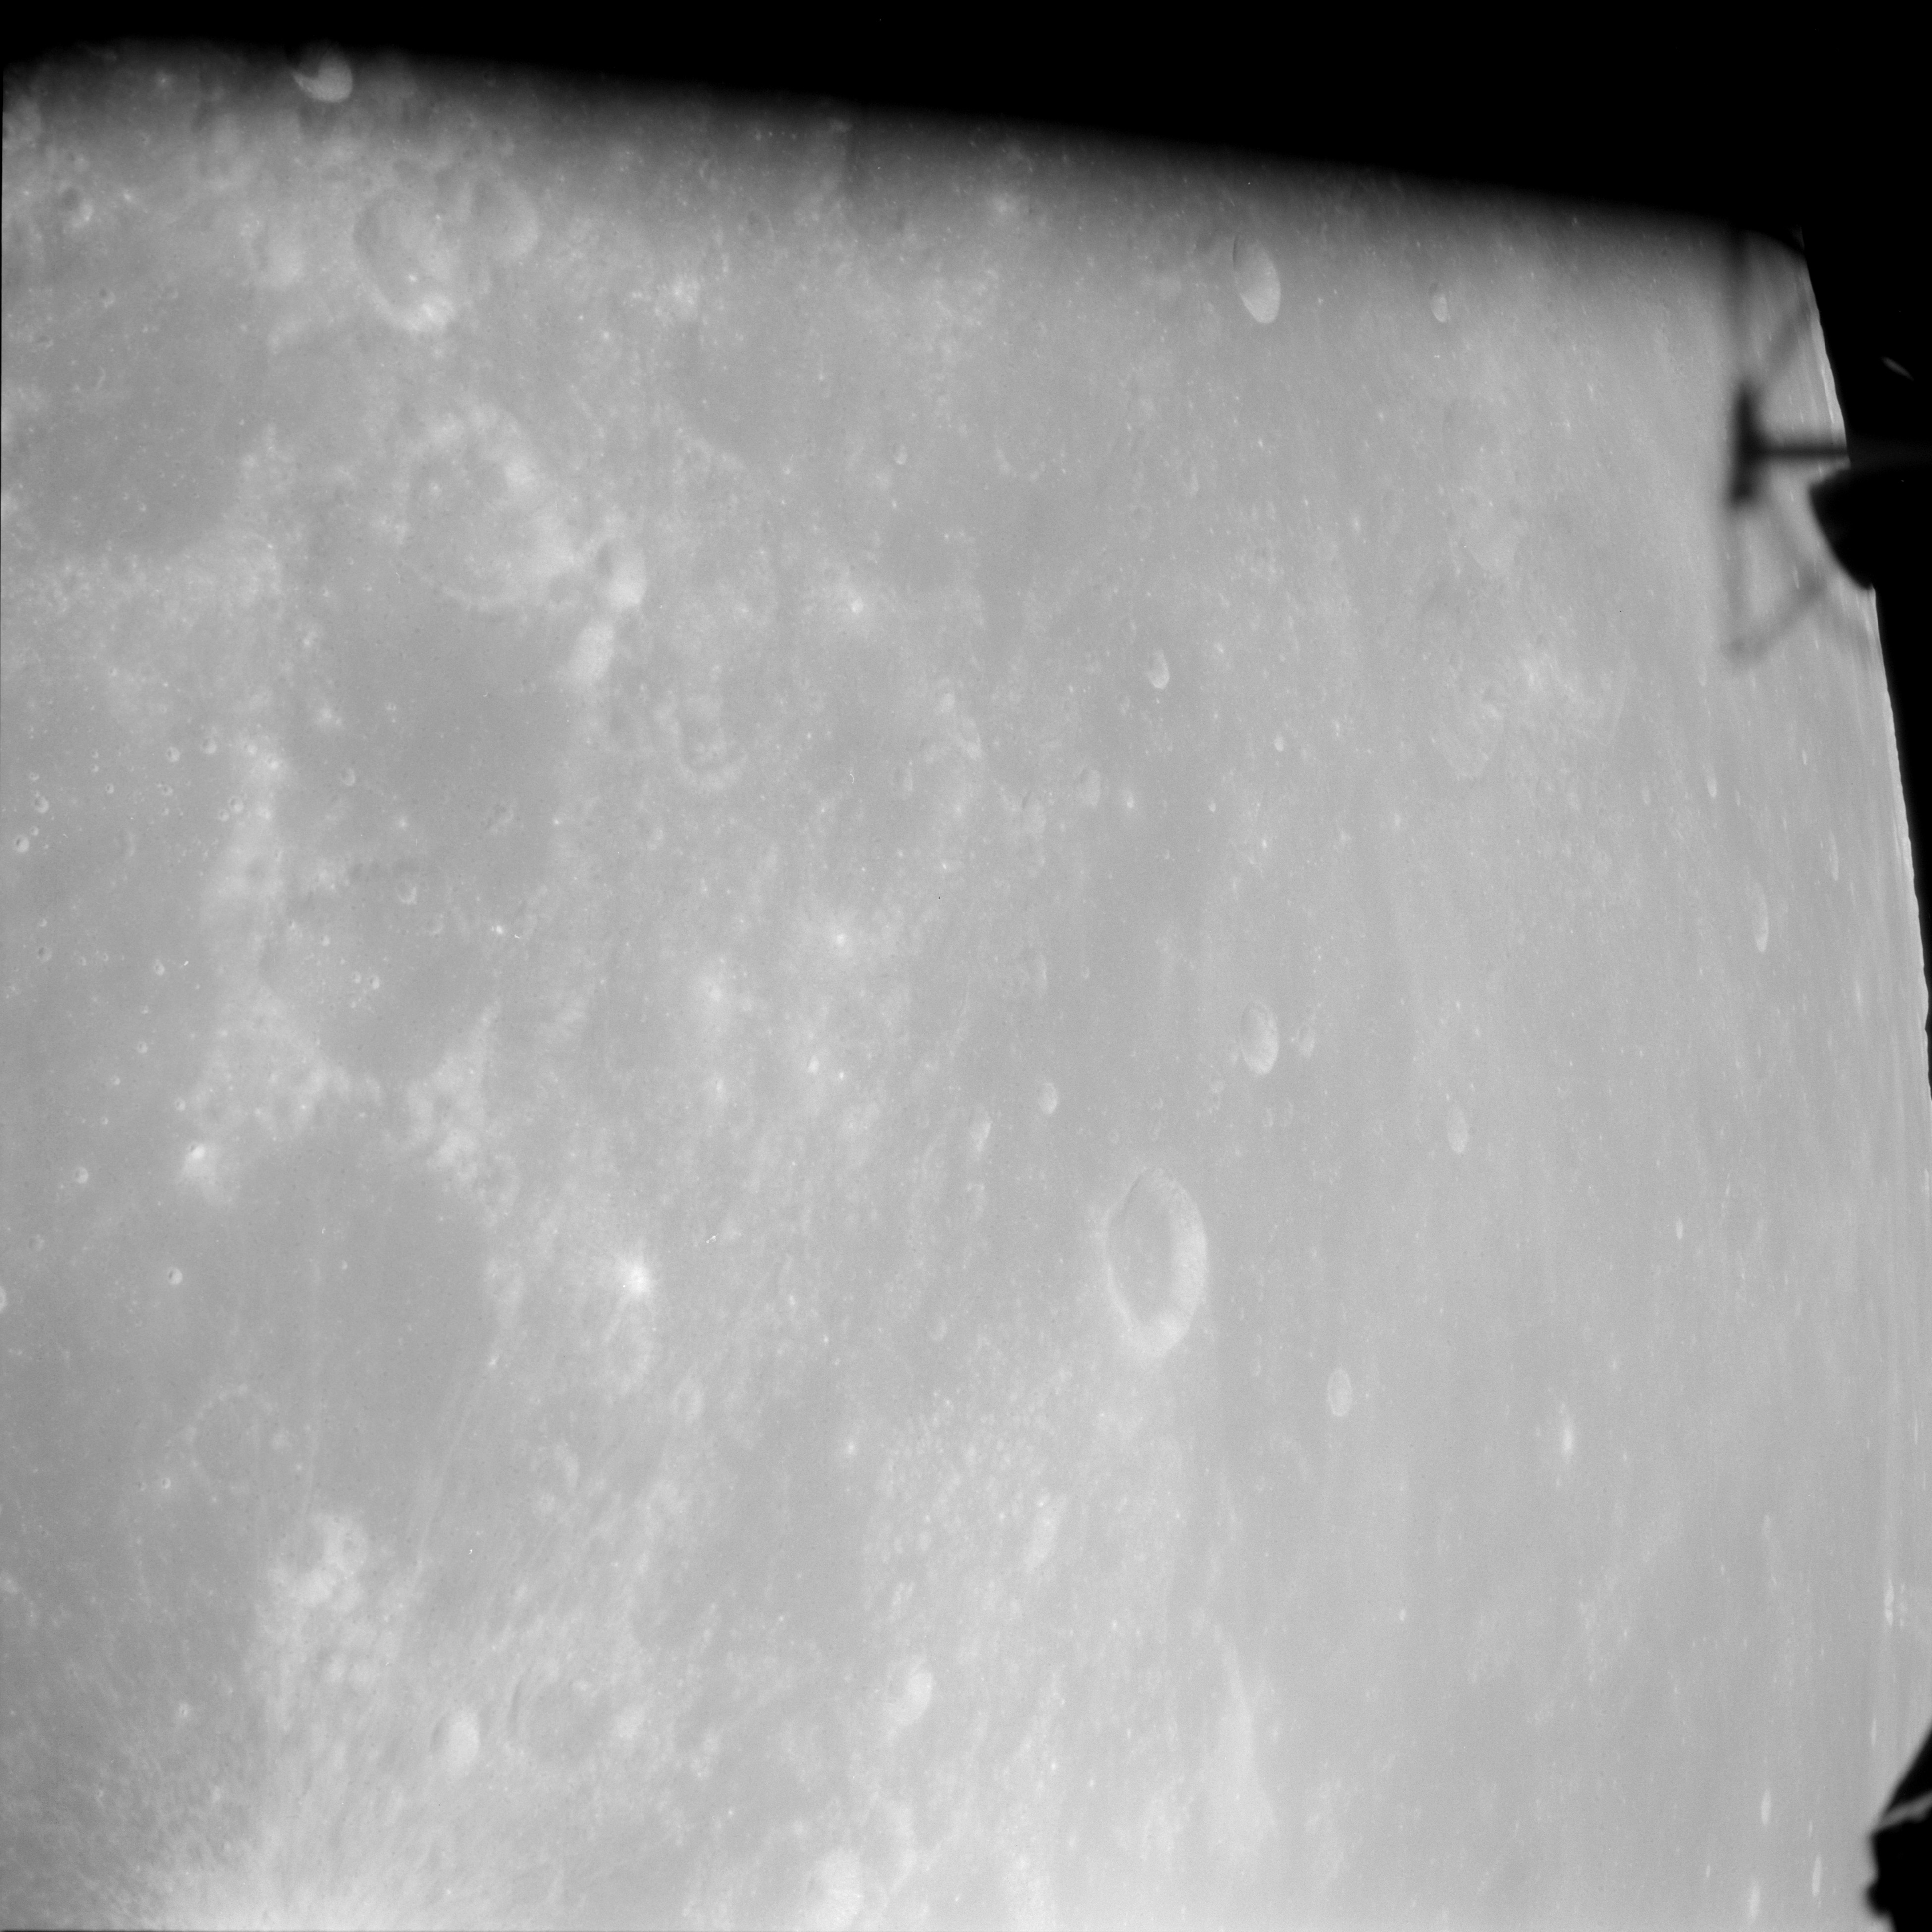
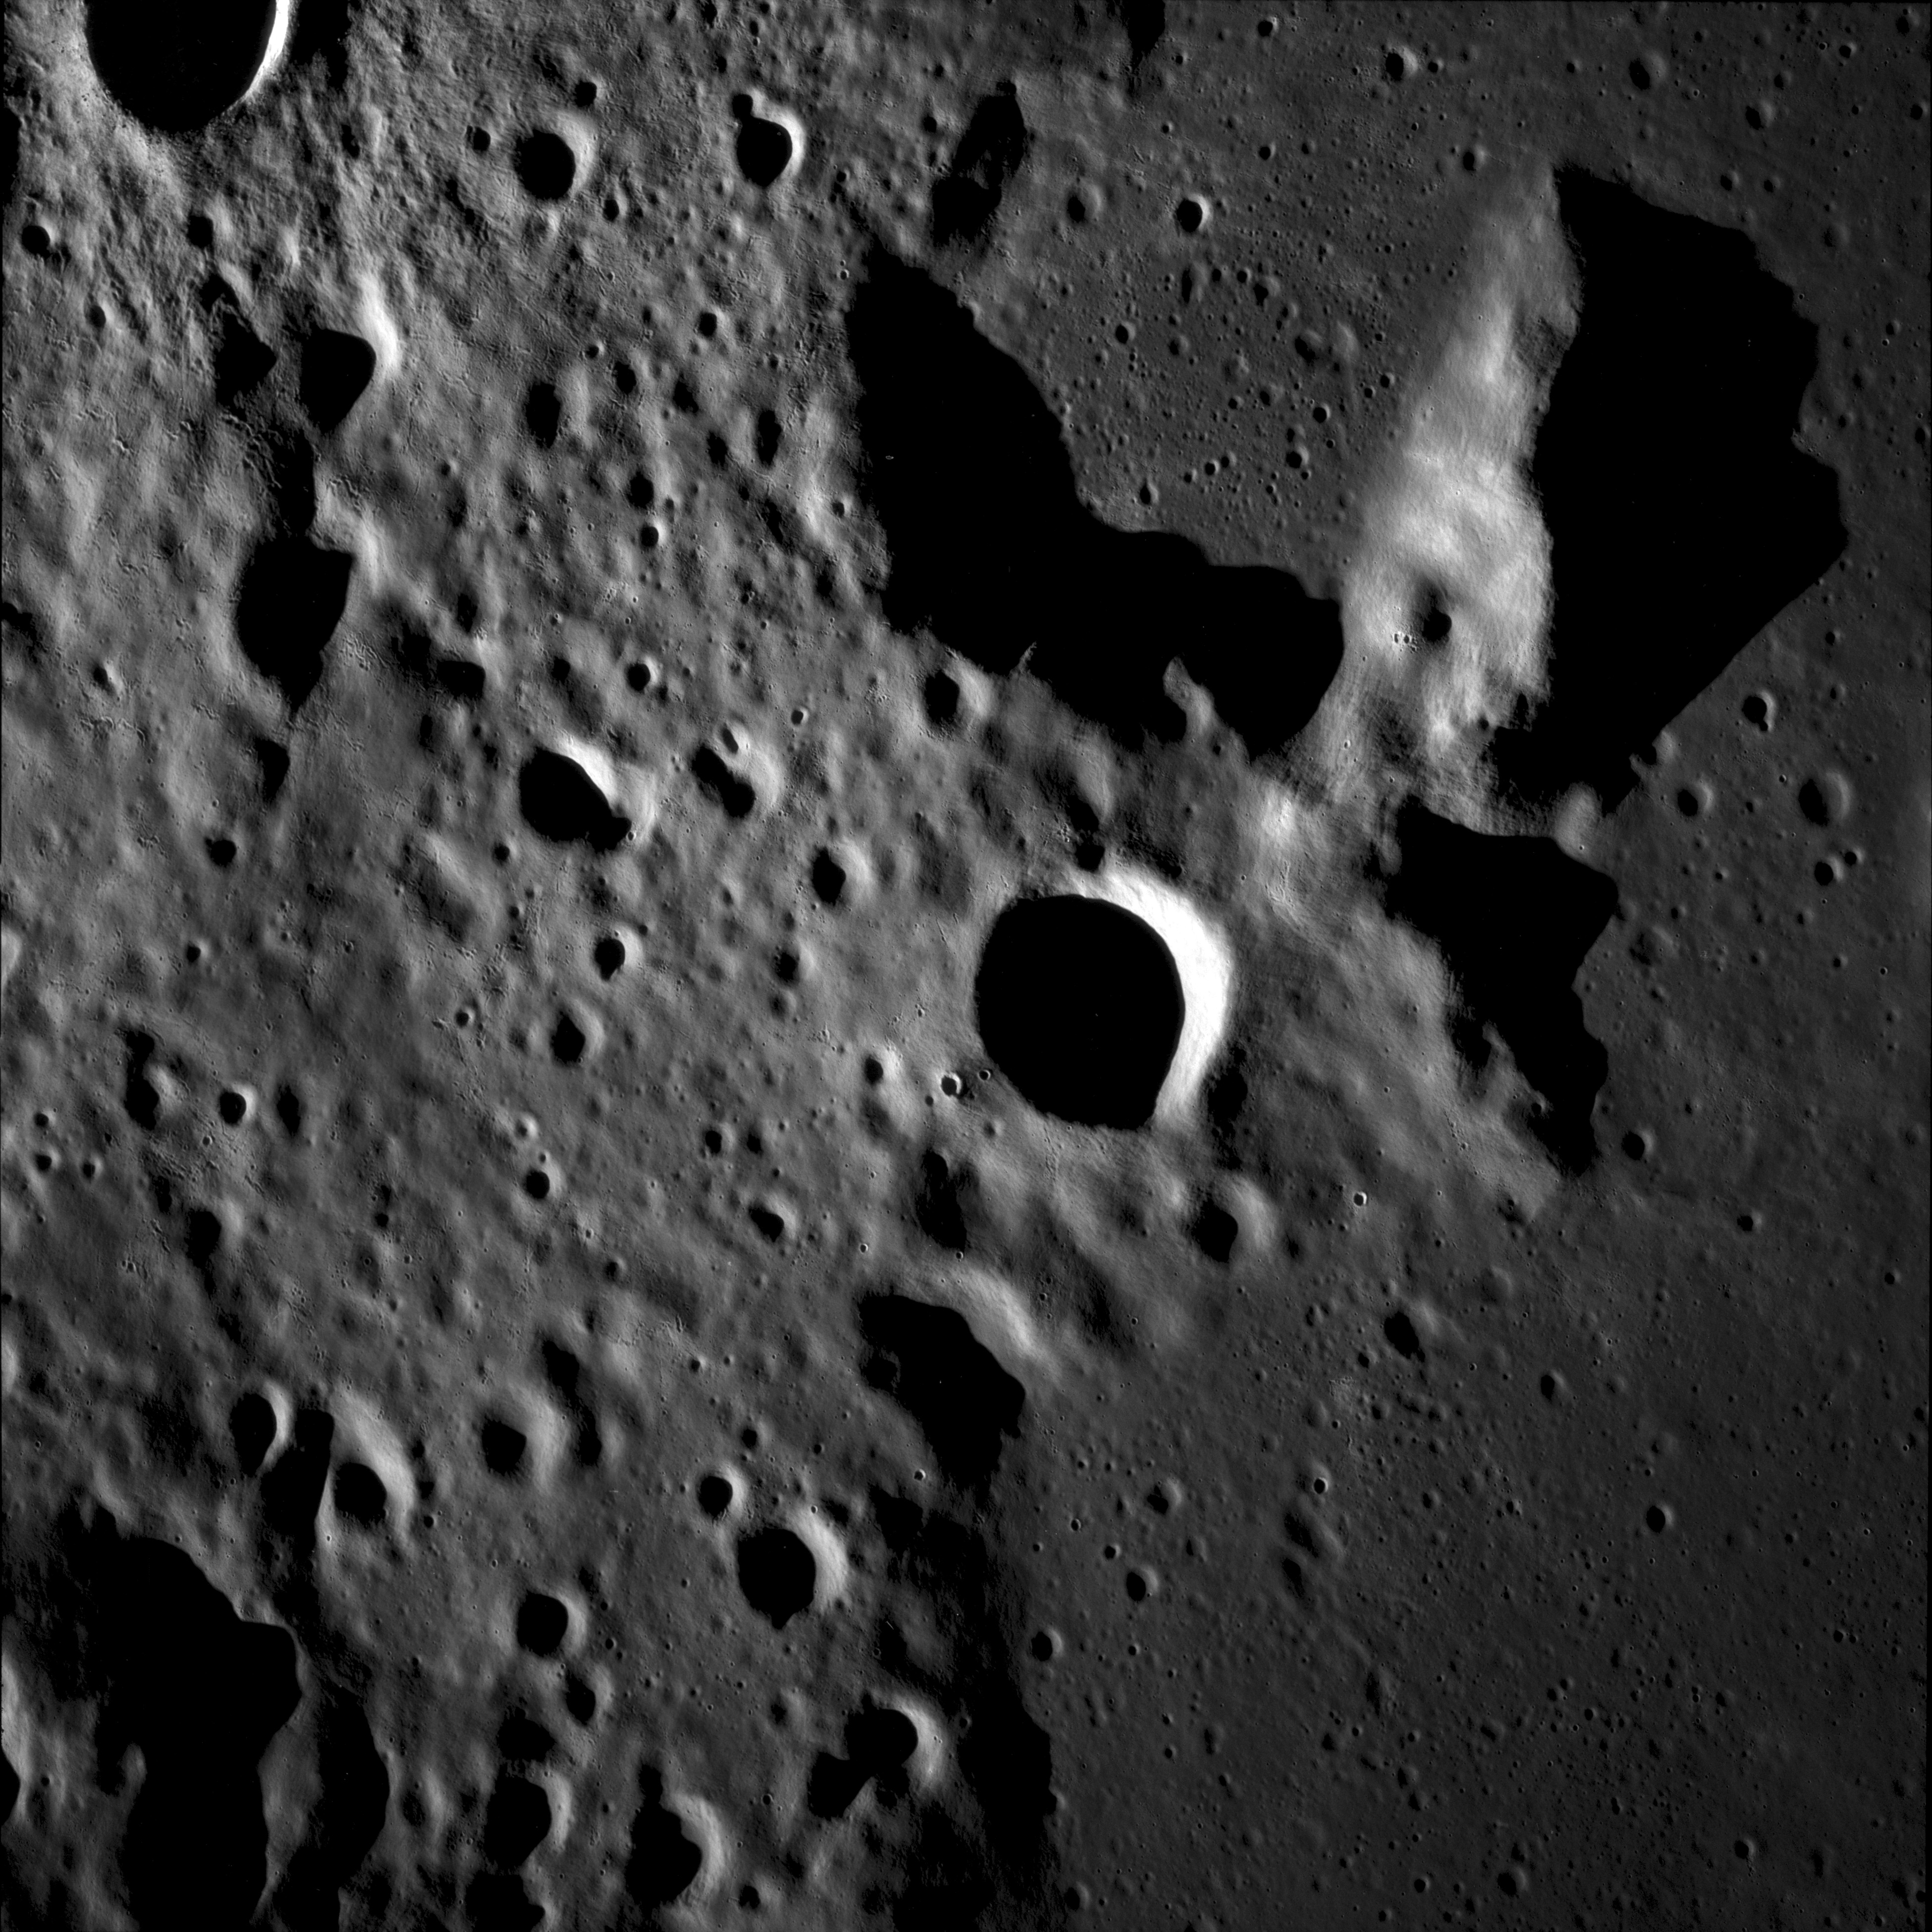
AS11-42-6270 Browse or print resolution. Fresh crater between King and Soddy. Crater coordinates are 1.64N, 121.13E. Silhouette of RCS thruster quad bottom right. Image credit: Image Science and Analysis Laboratory, NASA-Johnson Space Center. |
|
AS11-42-6271 Browse or print resolution. Crater King. Image credit: Image Science and Analysis Laboratory, NASA-Johnson Space Center. |

|
AS11-42-6272 Browse or print resolution. Crater Engelhardt C on left. Image credit: Image Science and Analysis Laboratory, NASA-Johnson Space Center. |

|
AS11-42-6273 Browse or print resolution. Crater Engelhardt C on left. Image credit: Image Science and Analysis Laboratory, NASA-Johnson Space Center. |
|
AS11-42-6274 Browse or print resolution. Crater Engelhardt at upper right. Image credit: Image Science and Analysis Laboratory, NASA-Johnson Space Center. |

|
AS11-42-6275 Browse or print resolution. Crater Engelhardt (centre) and Engelhardt N in front of it. Image credit: Image Science and Analysis Laboratory, NASA-Johnson Space Center. |

|
AS11-42-6276 Browse or print resolution. Crater Lebedinsky K (centre), Lebedinsky (left) and Lebedinsky P (behind spacecraft hardware). Image credit: Image Science and Analysis Laboratory, NASA-Johnson Space Center. |
|
AS11-42-6277 Browse or print resolution. Crater Schliemann (indistinct) top right. Beyond it, right of centre, are Schliemann G and B. Image credit: Image Science and Analysis Laboratory, NASA-Johnson Space Center. |

|
AS11-42-6278 Browse or print resolution. Crater Schliemann (indistinct) below left of centre. Beyond it, left of centre, are Schliemann G and B. Schliemann T in foreground and W bottom left. RCS thruster quad upper left. Image credit: Image Science and Analysis Laboratory, NASA-Johnson Space Center. |
|
AS11-42-6279 Browse or print resolution. Bright fresh crater on rim of crater Chaplygin. Chaplygin Y cut off in foreground. Coordinates of bright crater are 4.10S, 151.66E. Image credit: Image Science and Analysis Laboratory, NASA-Johnson Space Center. |
|
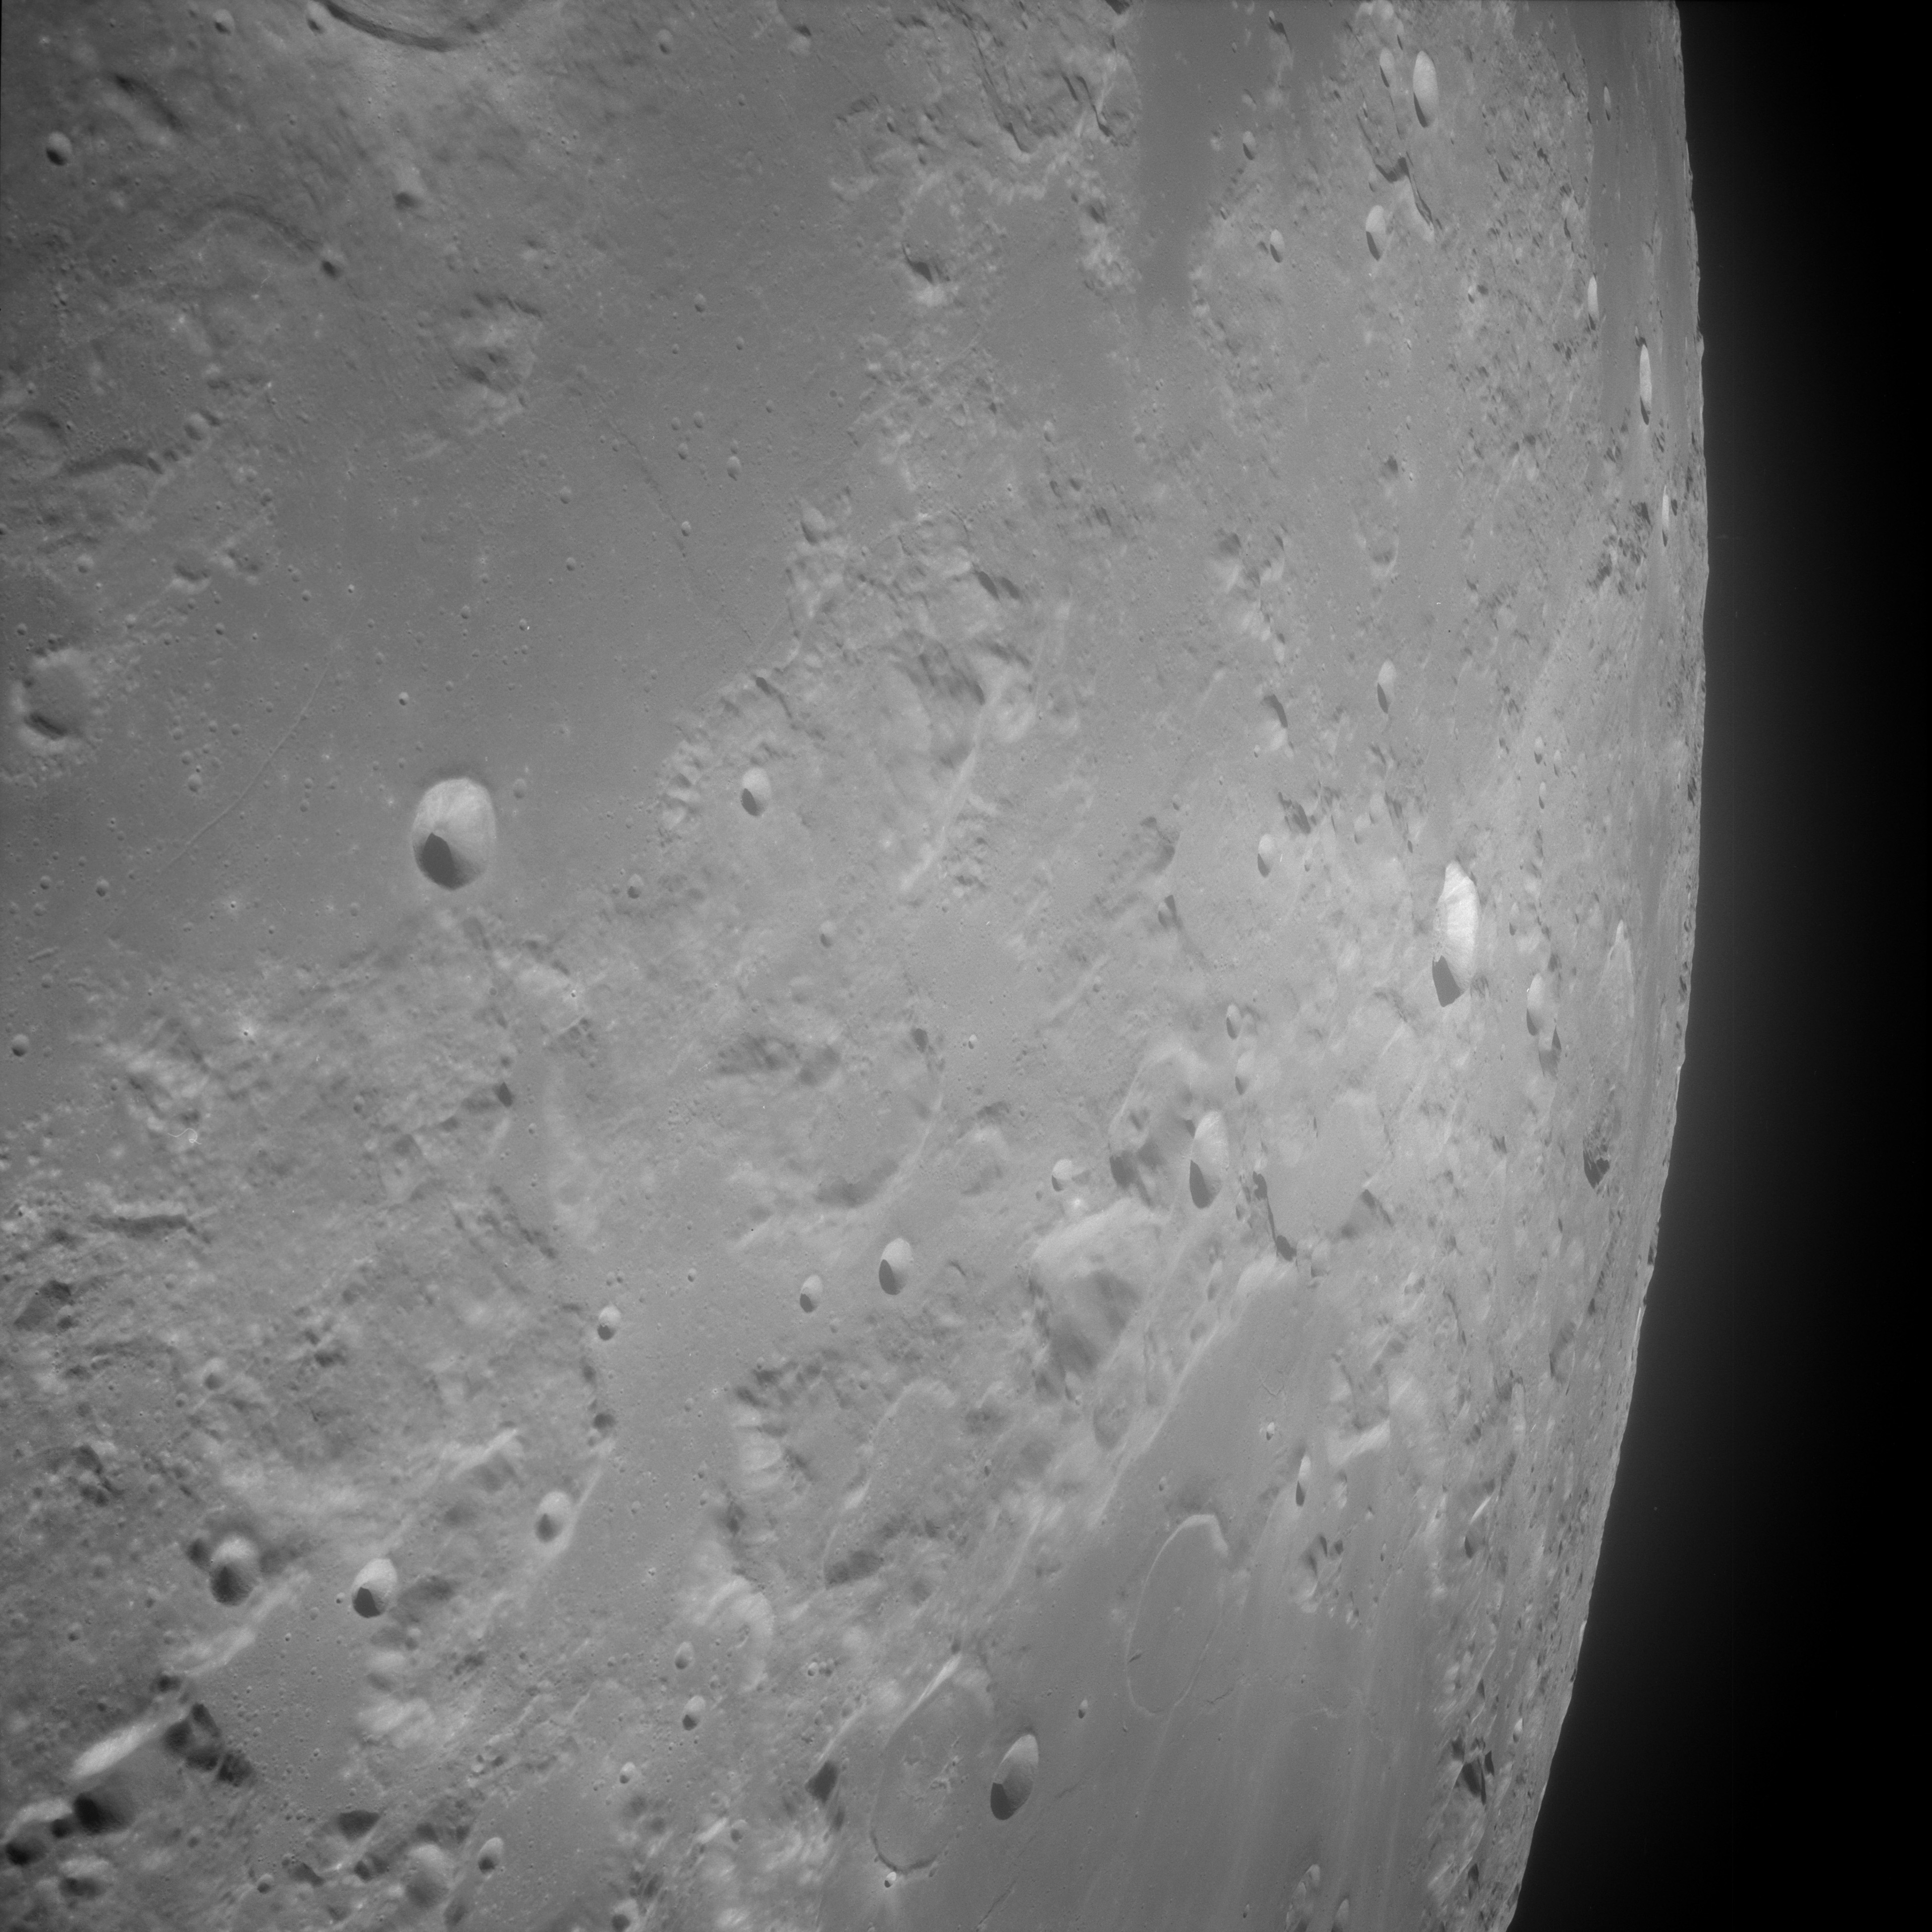
AS11-42-6280 Browse or print resolution. View south towards crater Marconi. Vil'ev B in foreground lower right. Image credit: Image Science and Analysis Laboratory, NASA-Johnson Space Center. |

|
AS11-42-6281 Browse or print resolution. Crater Saha E. Image credit: Image Science and Analysis Laboratory, NASA-Johnson Space Center. |
|
AS11-42-6282 Browse or print resolution. Crater Al-Khwarizmi K. Image credit: Image Science and Analysis Laboratory, NASA-Johnson Space Center. |

|
AS11-42-6283 Browse or print resolution. Crater Firsov Q. Image credit: Image Science and Analysis Laboratory, NASA-Johnson Space Center. |

|
AS11-42-6284 Browse or print resolution. Crater Saenger Q. Image credit: Image Science and Analysis Laboratory, NASA-Johnson Space Center. |

|
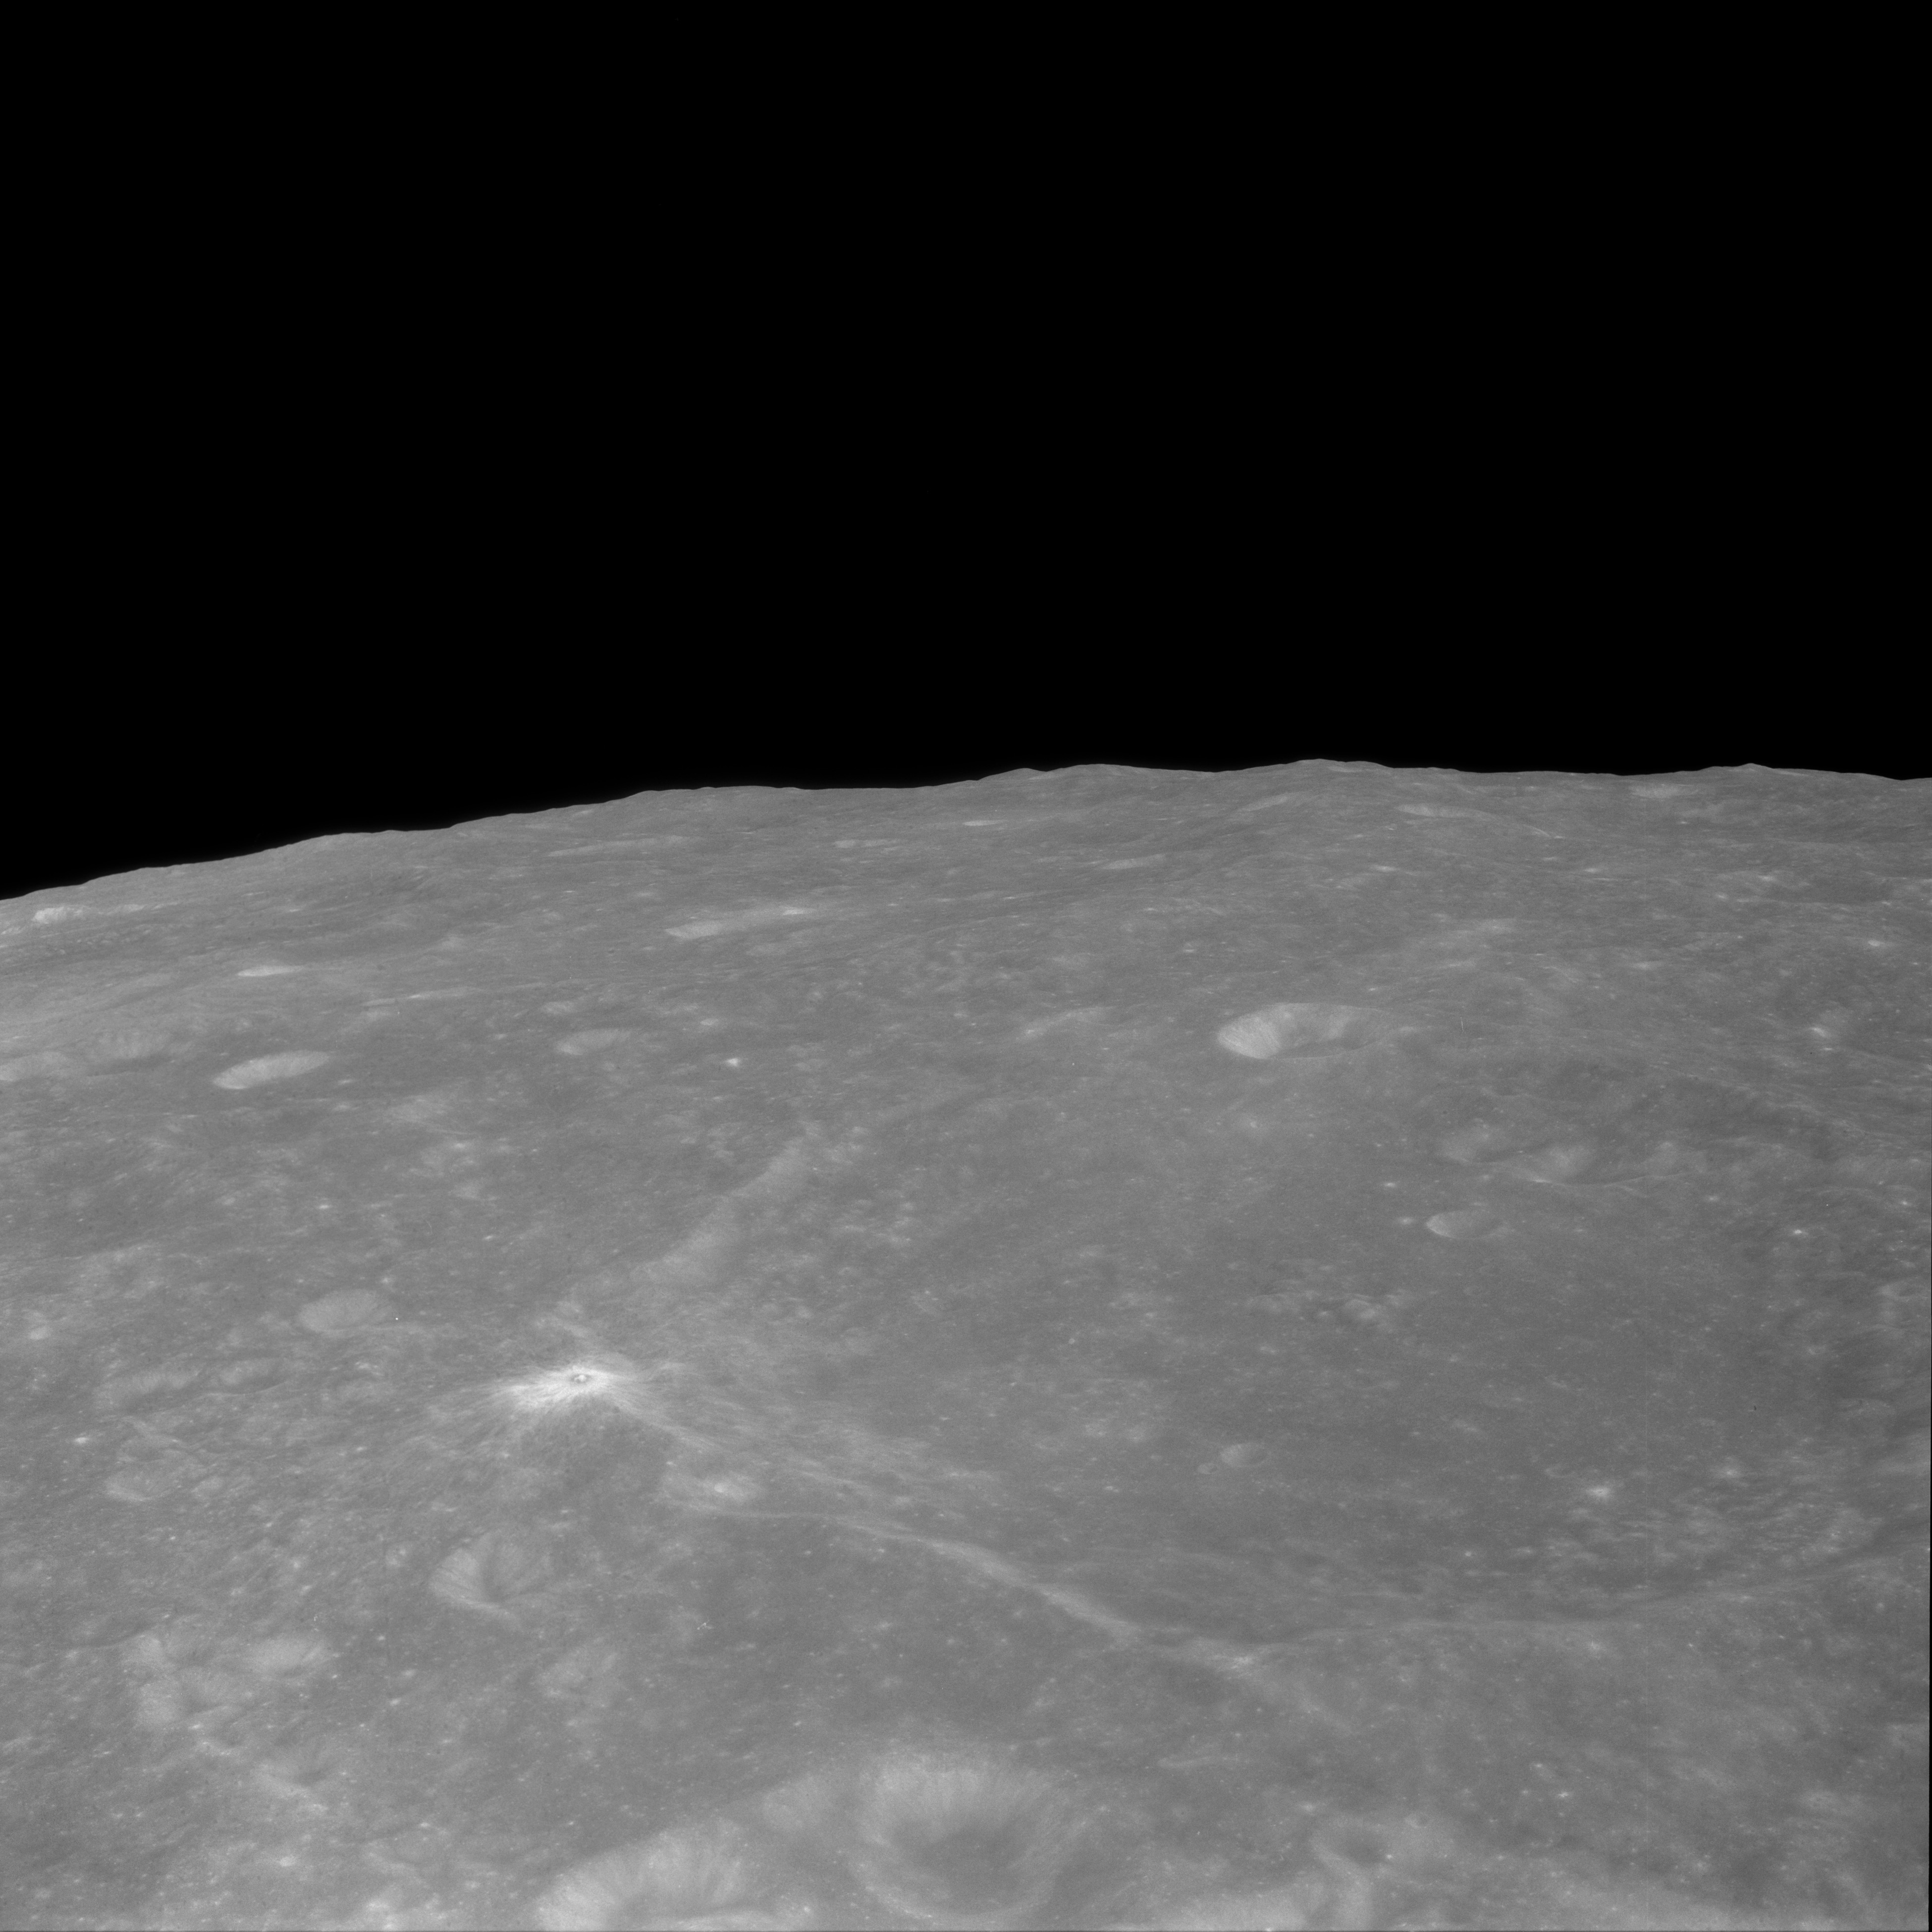
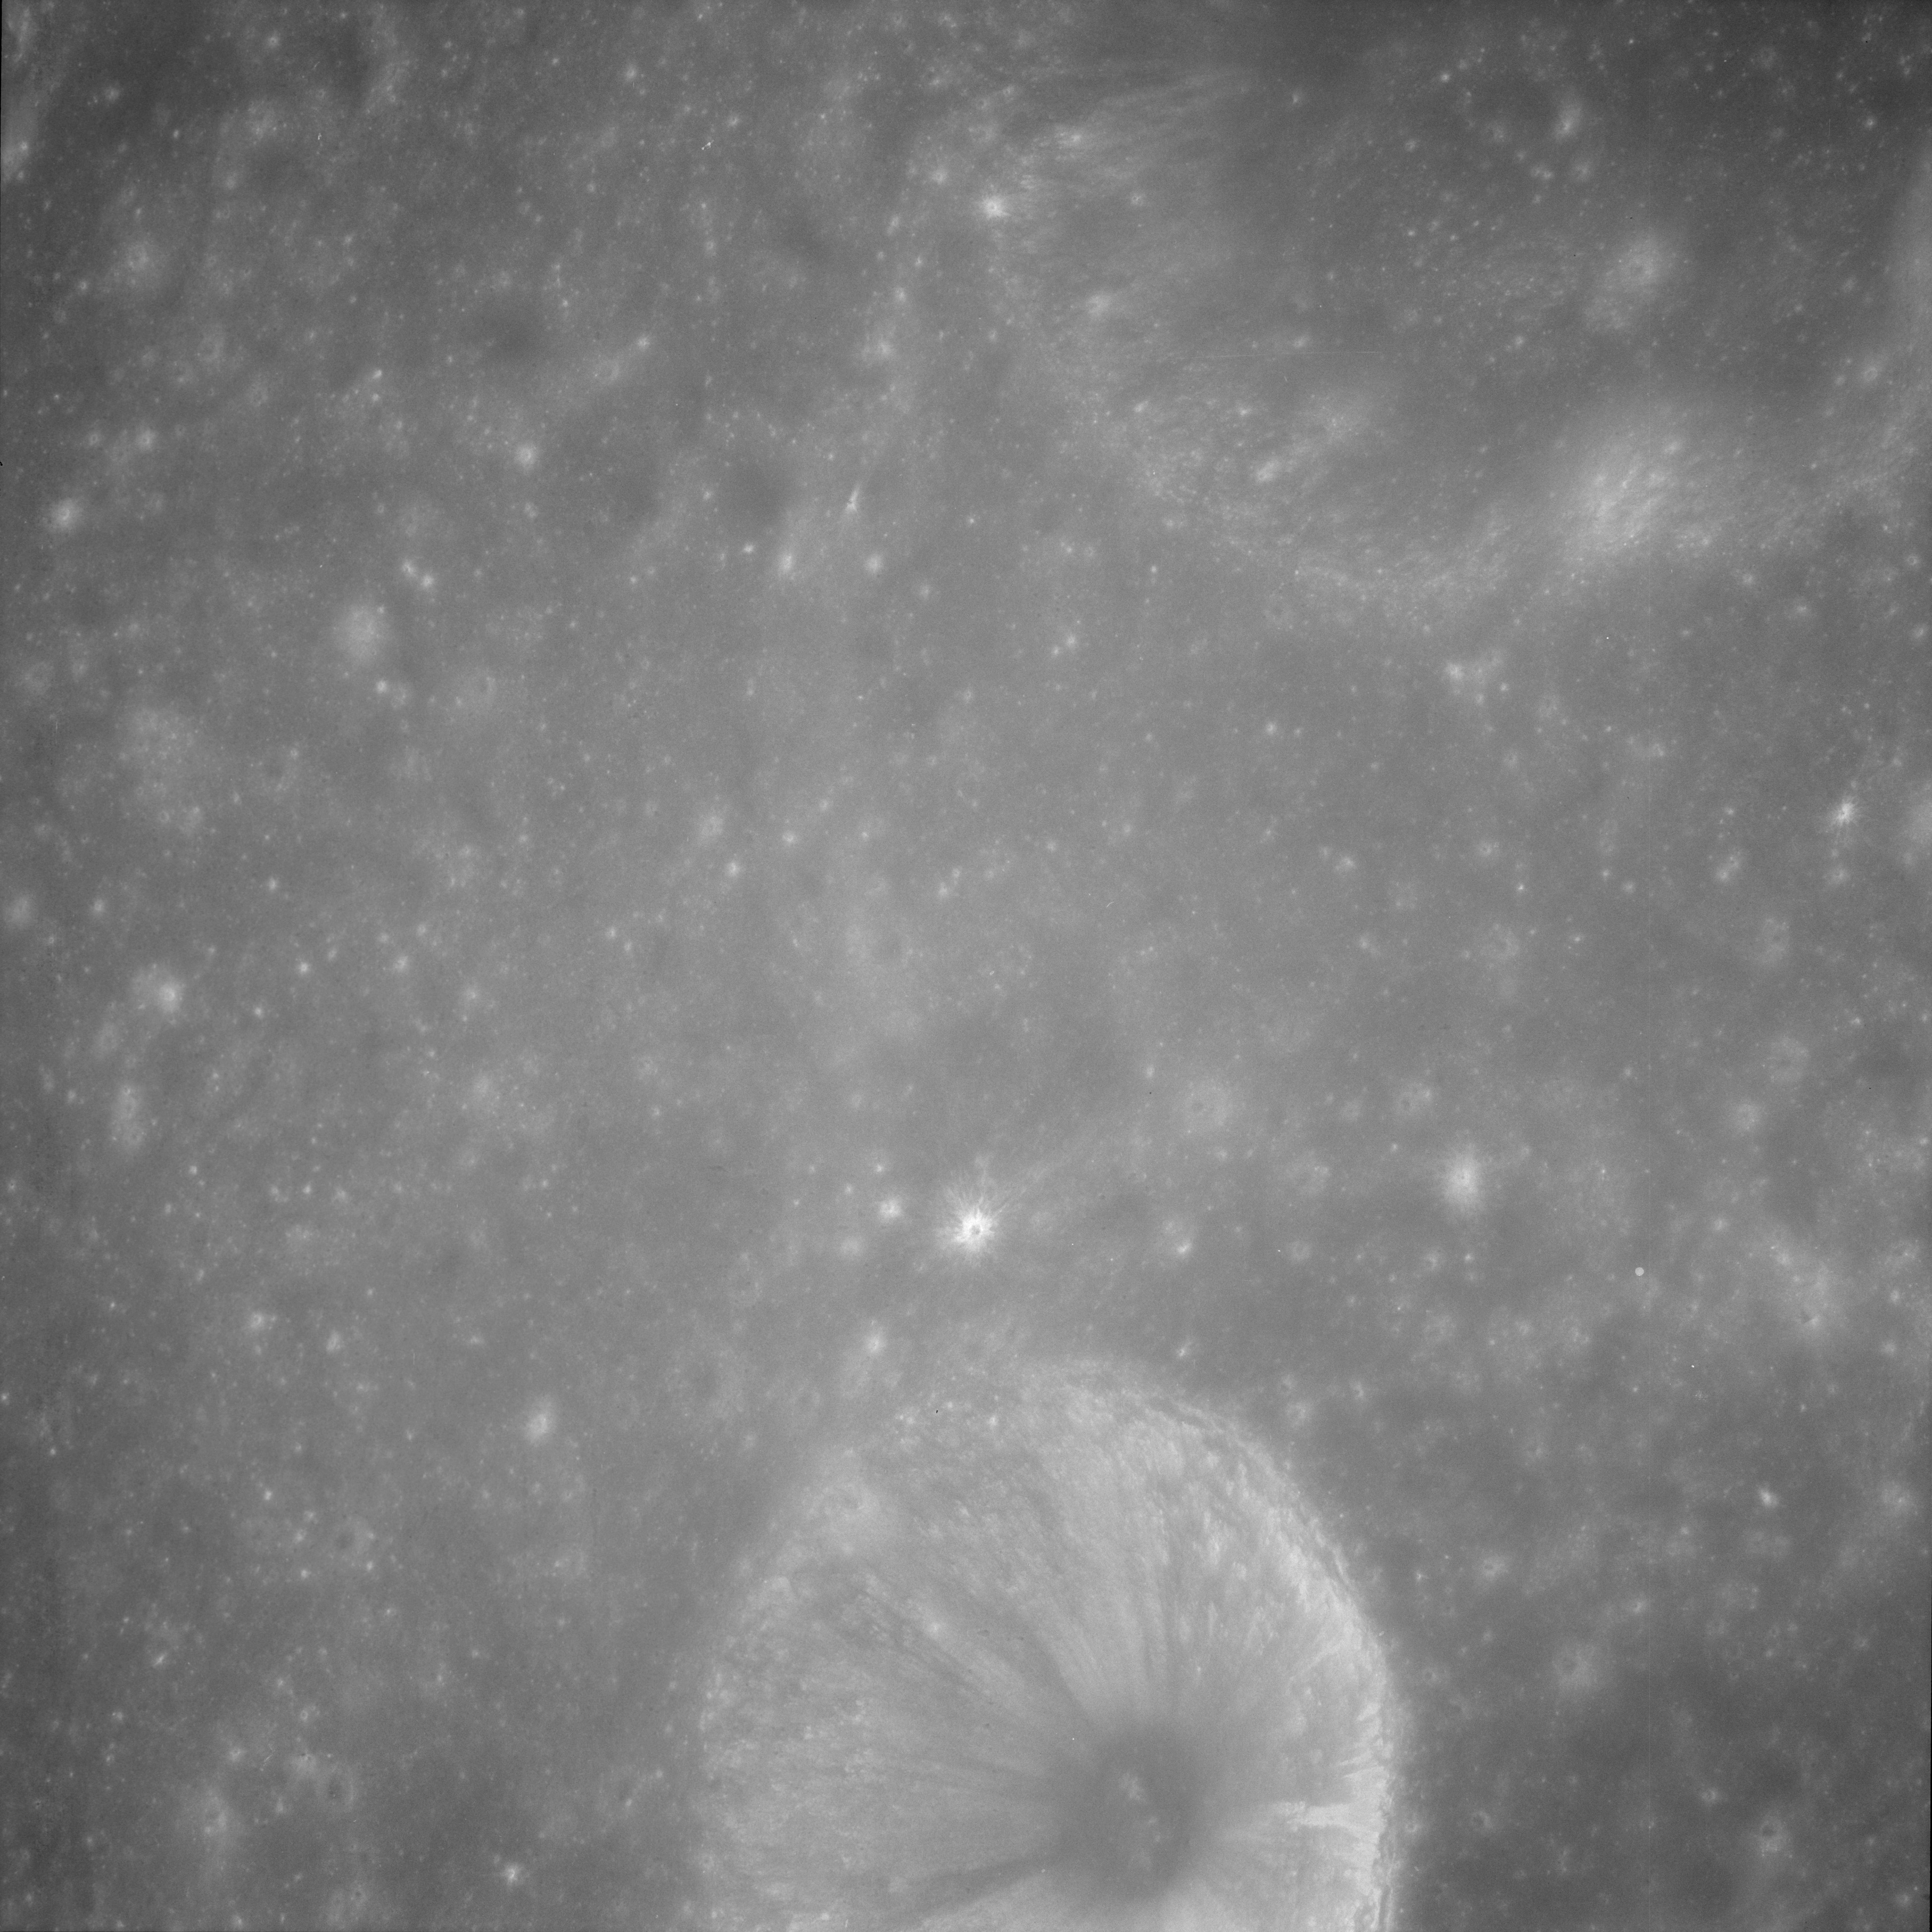
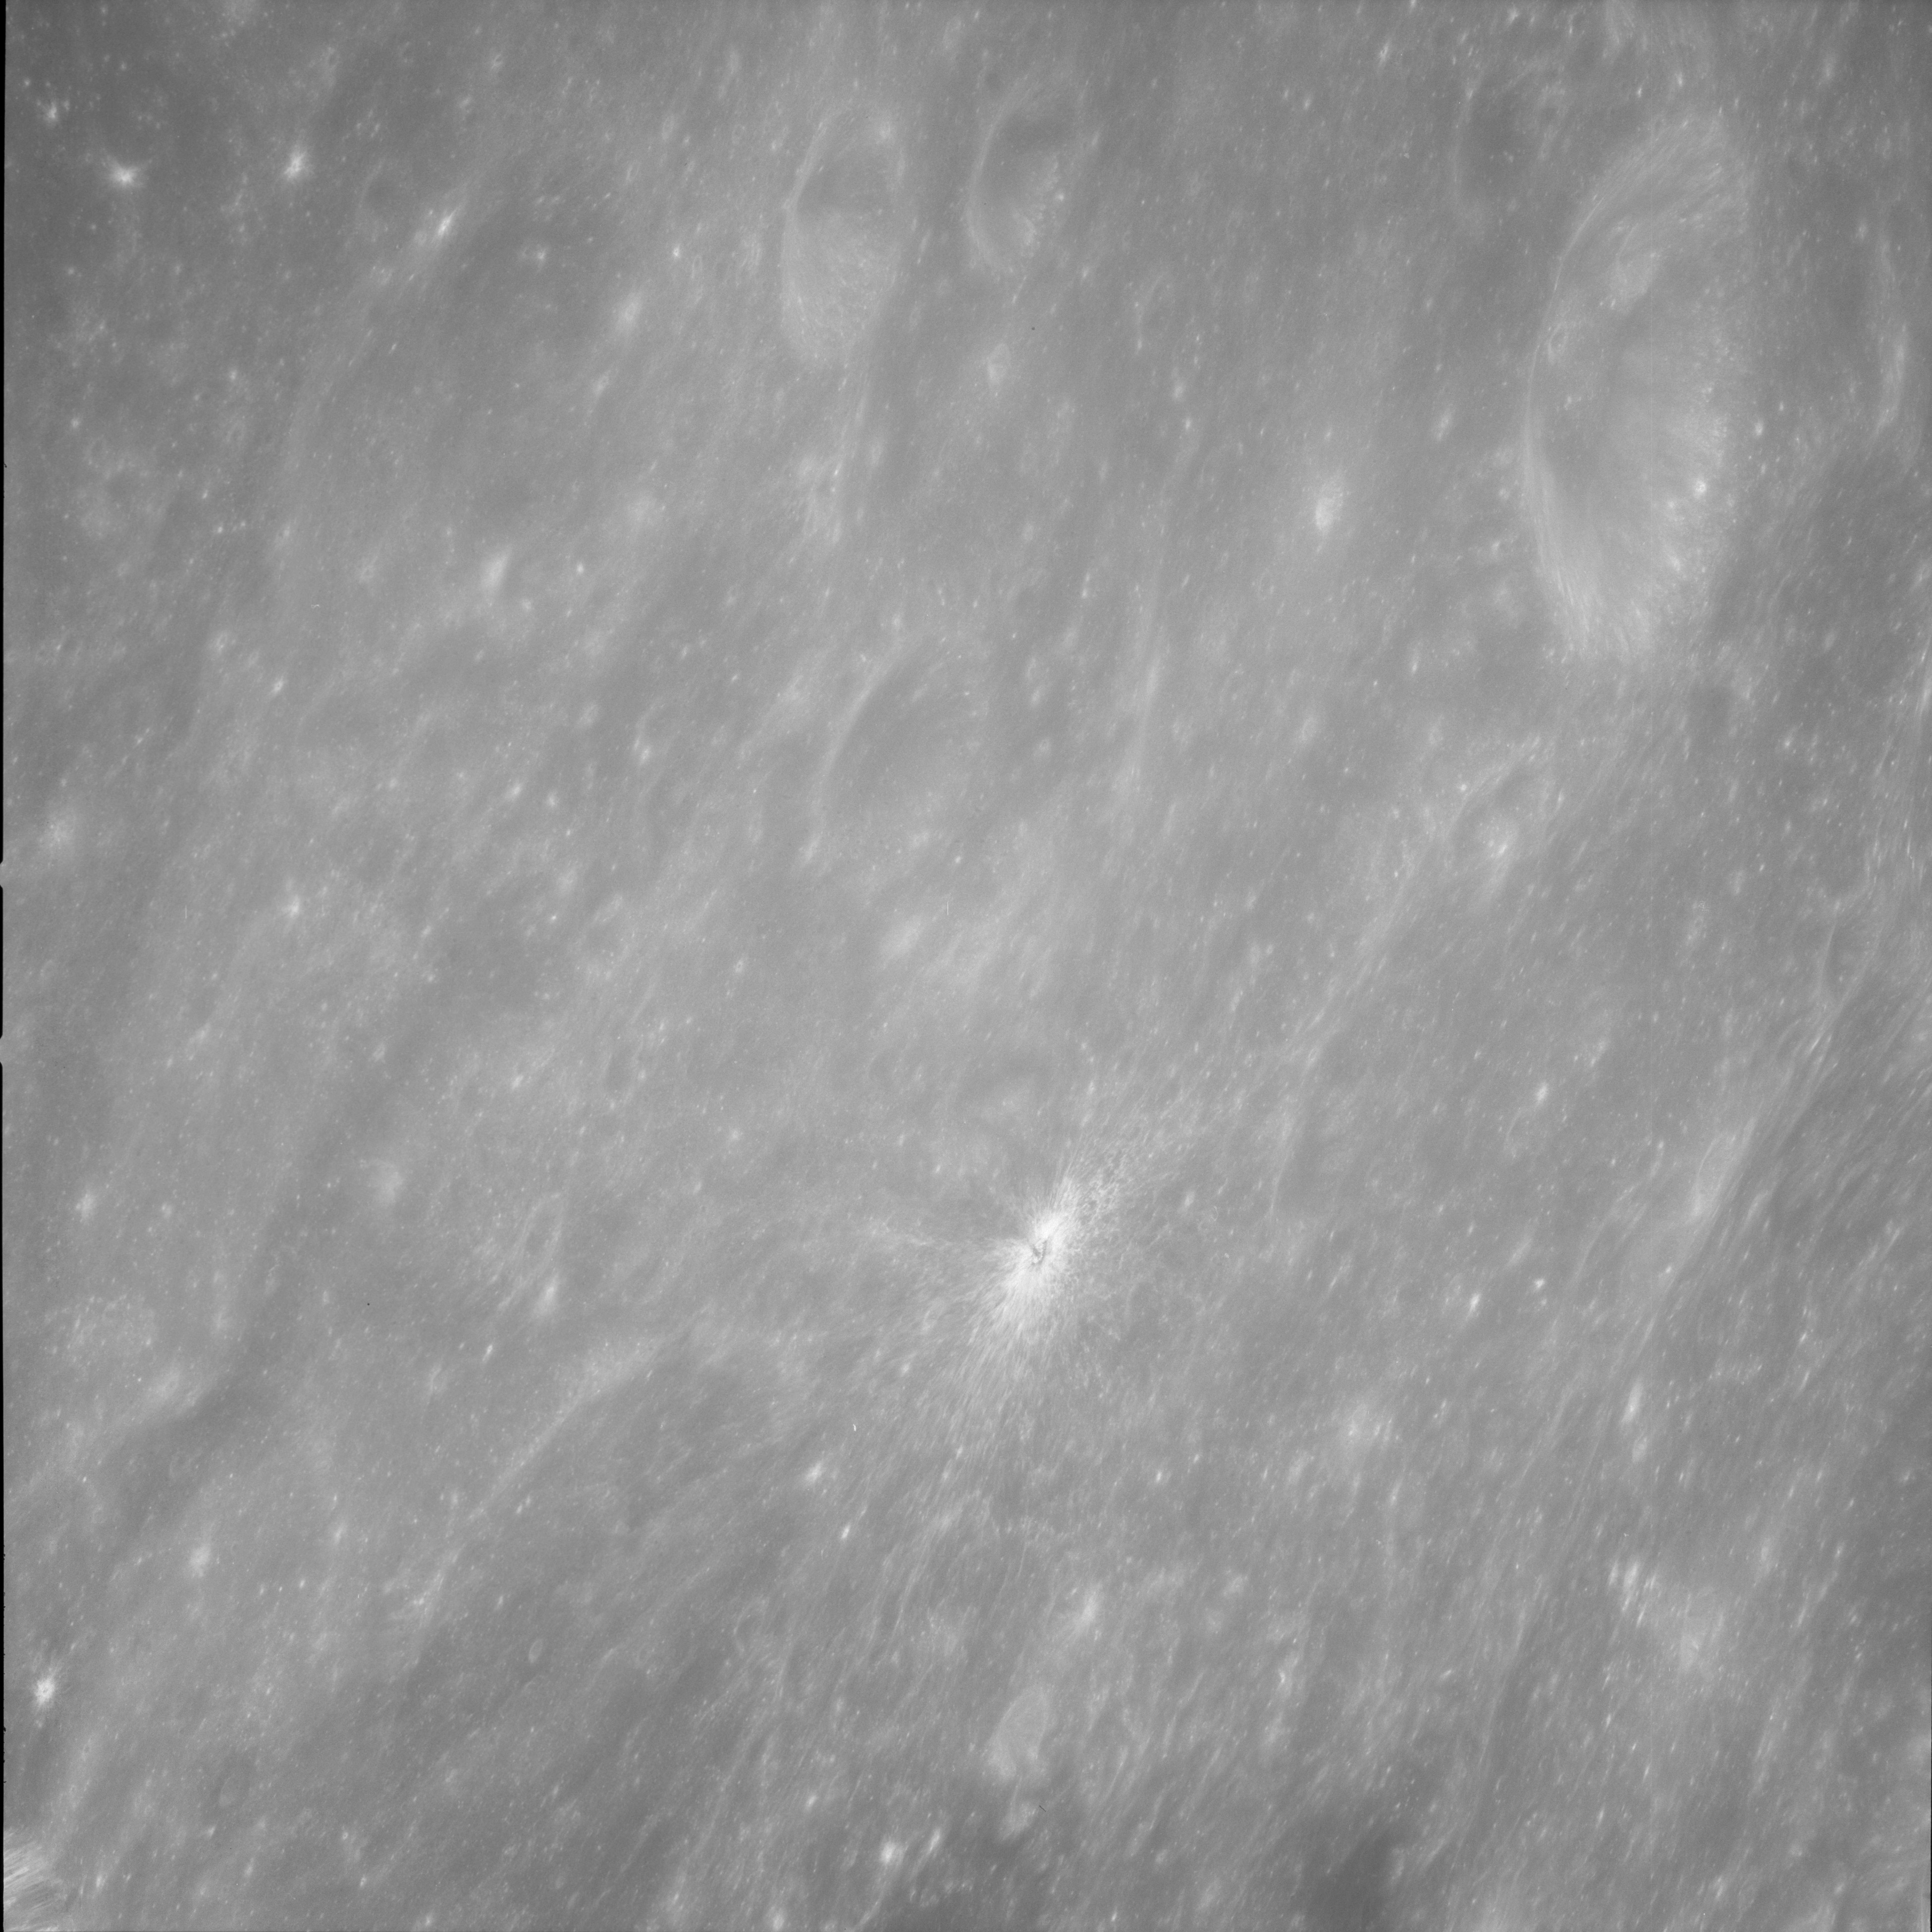
AS11-42-6285 Browse or print resolution. Small fresh rayed crater between Saenger and Erro. Image credit: Image Science and Analysis Laboratory, NASA-Johnson Space Center. |

|
AS11-42-6286 Browse or print resolution. Crater Fox A. Image credit: Image Science and Analysis Laboratory, NASA-Johnson Space Center. |
|
AS11-42-6287 Browse or print resolution. Crater Fox A cut off at bottom. Fox is cut off at top right. Image credit: Image Science and Analysis Laboratory, NASA-Johnson Space Center. |

|
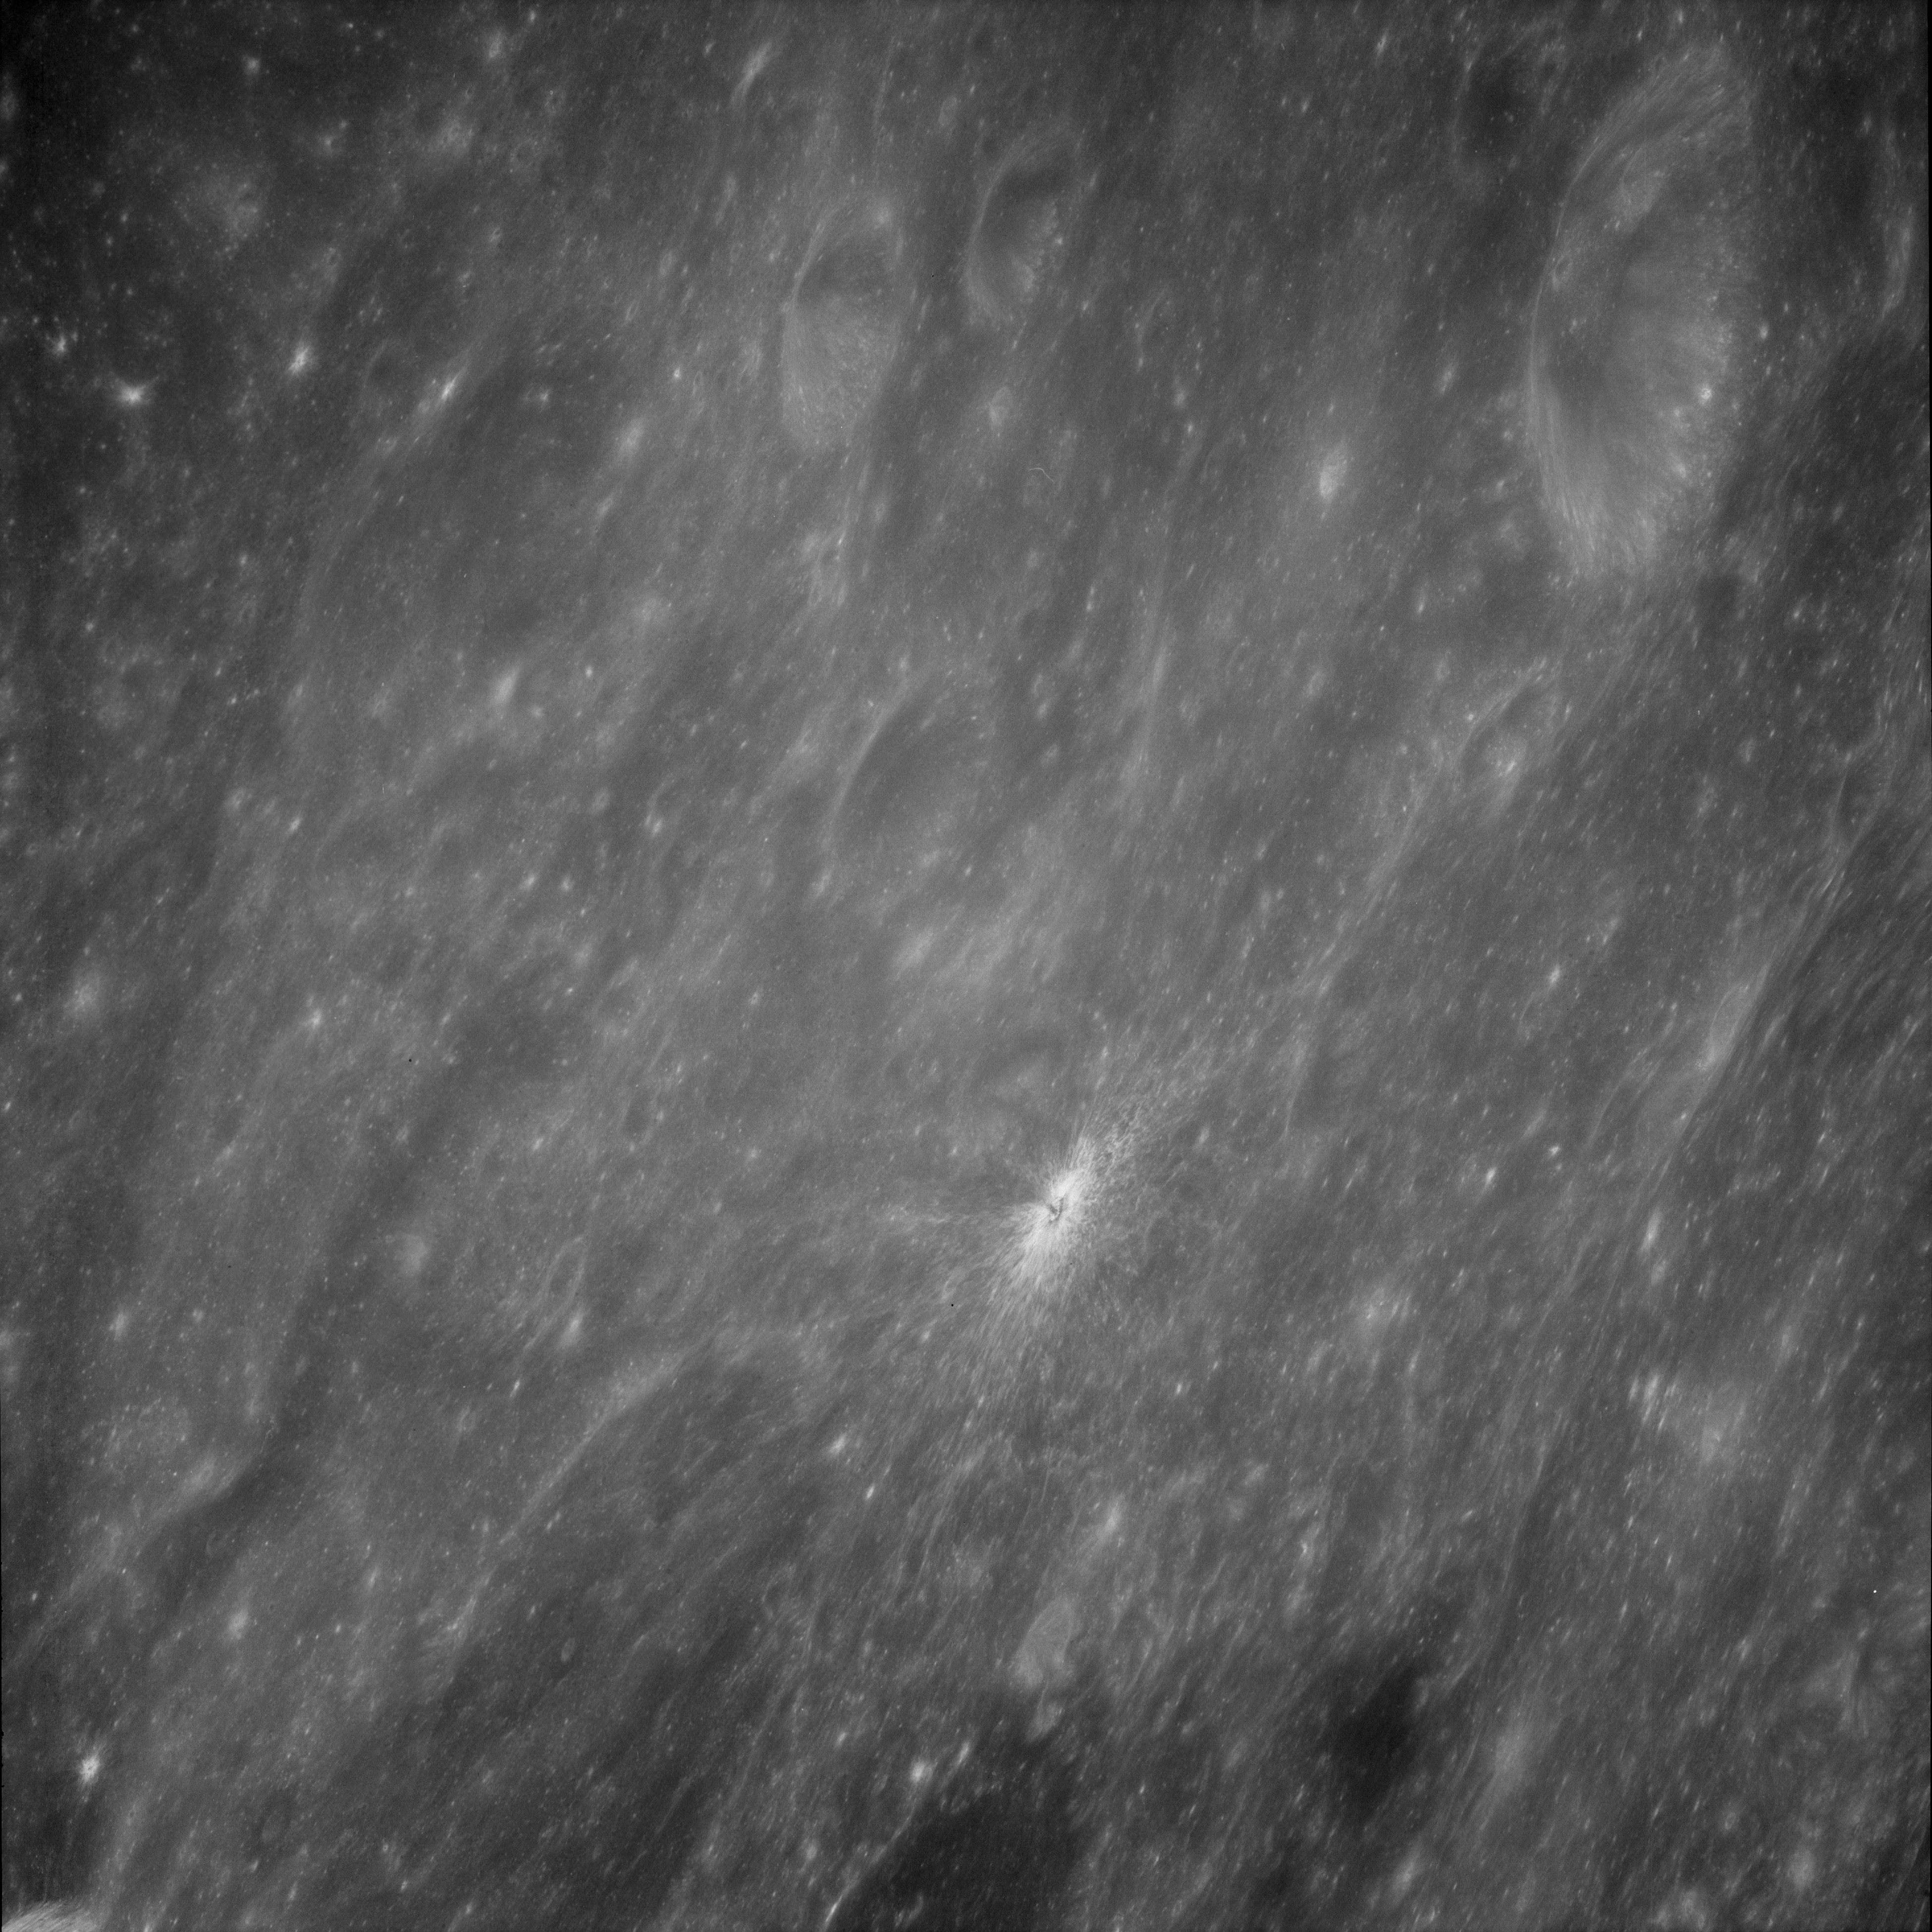
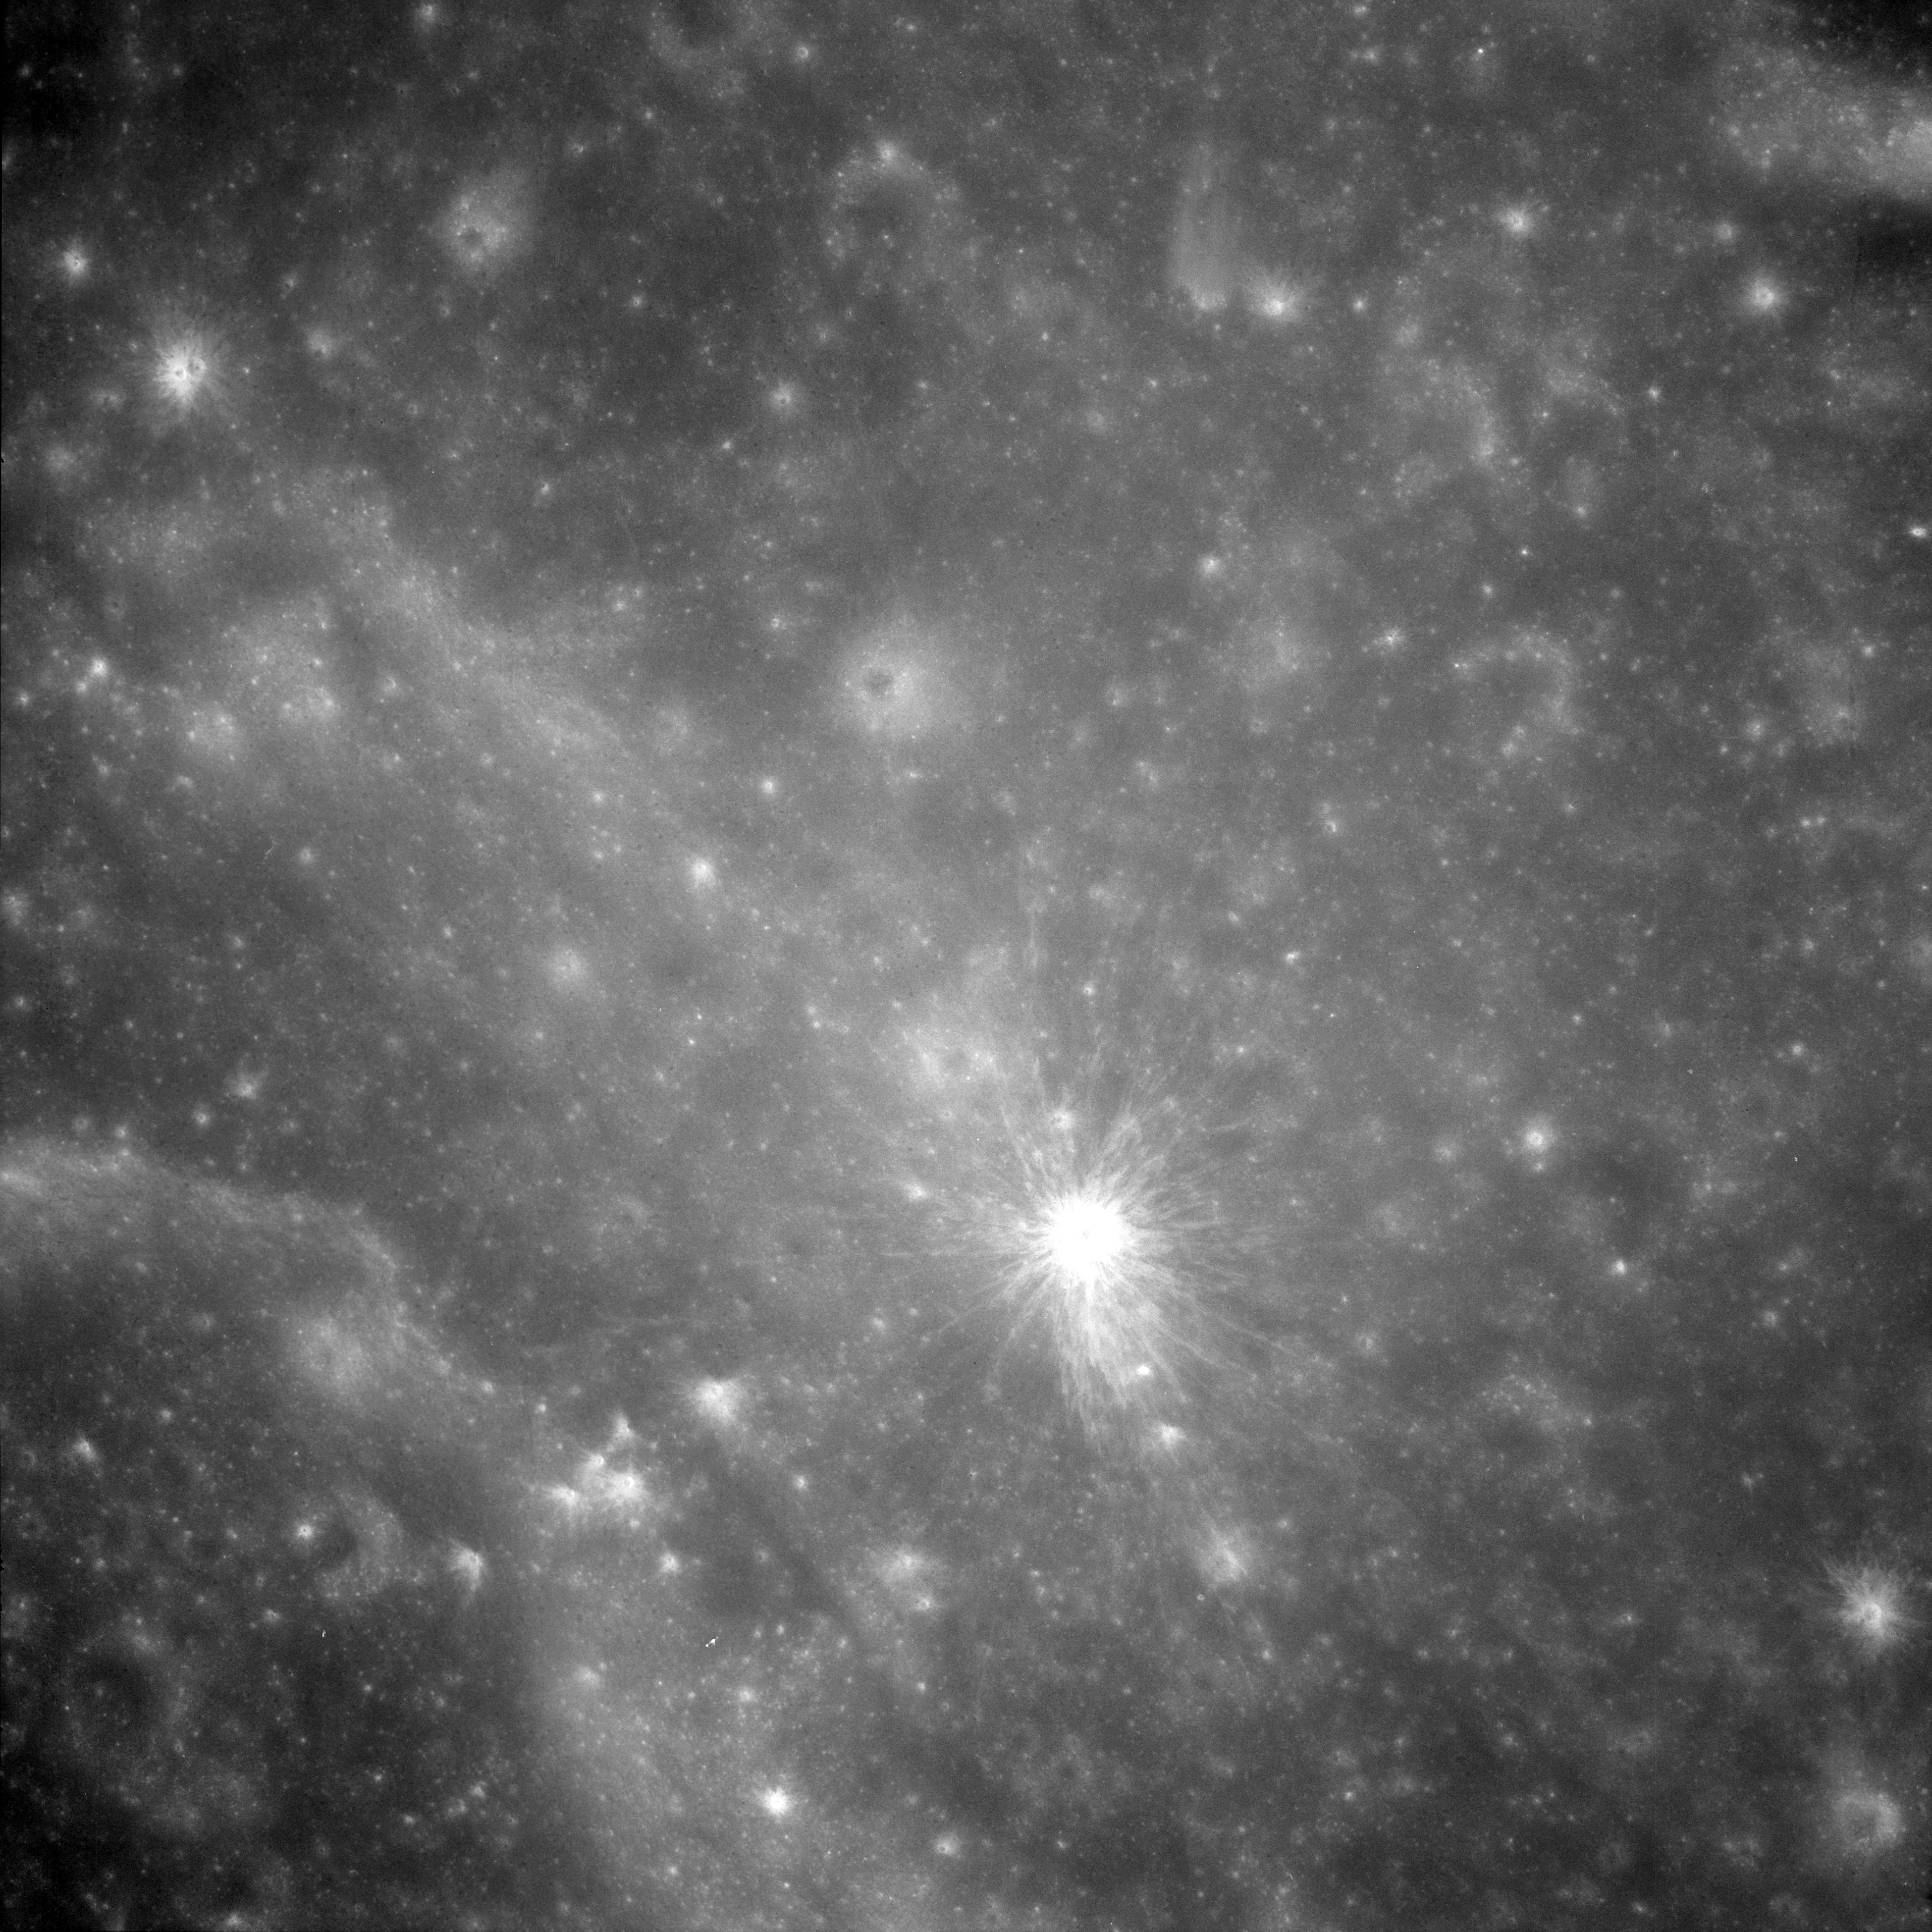
AS11-42-6288 Browse or print resolution. Small fresh rayed crater near Swasey and Hume. Coordinates of this crater are 5.41S, 90.73E. Image credit: Image Science and Analysis Laboratory, NASA-Johnson Space Center. |
|
AS11-42-6289 Browse or print resolution. Small fresh rayed crater near Swasey and Hume. Coordinates of this crater are 5.41S, 90.73E. Image credit: Image Science and Analysis Laboratory, NASA-Johnson Space Center. |
|
AS11-42-6290 Browse or print resolution. Small fresh rayed crater near Swasey and Hume. Coordinates of this crater are 5.41S, 90.73E. Image credit: Image Science and Analysis Laboratory, NASA-Johnson Space Center. |

|
AS11-42-6291 Browse or print resolution. Simple crater east of Mare Smythe and south east of crater McAdie. Coordinates of this crater are 0.95N, 92.76E Image credit: Image Science and Analysis Laboratory, NASA-Johnson Space Center. |
|
AS11-42-6292 Browse or print resolution. Small fresh rayed crater between McAdie and Babcock. Rim of Babcock is lower left. Coordinates of this crater are 2.43N, 93.21E. Image credit: Image Science and Analysis Laboratory, NASA-Johnson Space Center. |

|
AS11-42-6293 Browse or print resolution. Small fresh rayed crater near Swasey and Hume. Coordinates of this crater are 5.41S, 90.73E. Image credit: Image Science and Analysis Laboratory, NASA-Johnson Space Center. |

|
AS11-42-6294 Browse or print resolution. Small fresh rayed crater near Swasey and Hume. Coordinates of this crater are 5.41S, 90.73E. Image credit: Image Science and Analysis Laboratory, NASA-Johnson Space Center. |

|
AS11-42-6295 Browse or print resolution. Small fresh rayed crater on northern shore of Mare Smythe. Coordinates of this crater are 3.89N, 89.05E. Image credit: Image Science and Analysis Laboratory, NASA-Johnson Space Center. |

|
AS11-42-6296 Browse or print resolution. Small fresh rayed crater on northern shore of Mare Smythe. Coordinates of this crater are 3.89N, 89.05E. Image credit: Image Science and Analysis Laboratory, NASA-Johnson Space Center. |

|
AS11-42-6297 Browse or print resolution. Small fresh rayed crater near Swasey and Hume. Coordinates of this crater are 5.41S, 90.73E. Image credit: Image Science and Analysis Laboratory, NASA-Johnson Space Center. |

|
AS11-42-6298 Browse or print resolution. Unplotted crater in vicinity of Mare Smythe. Image credit: Image Science and Analysis Laboratory, NASA-Johnson Space Center. |

|
AS11-42-6299 Browse or print resolution. Crater Respighi. Image credit: Image Science and Analysis Laboratory, NASA-Johnson Space Center. |

|
AS11-42-6300 Browse or print resolution. Crater Webb U in Sinus Successus. Image credit: Image Science and Analysis Laboratory, NASA-Johnson Space Center. |

|
AS11-42-6301 Browse or print resolution. Crater Taruntius O in northern Mare Fecunditatis. Image credit: Image Science and Analysis Laboratory, NASA-Johnson Space Center. |

|
AS11-42-6302 Browse or print resolution. Crater Anville in northern Mare Fecunditatis. Image credit: Image Science and Analysis Laboratory, NASA-Johnson Space Center. |

|
AS11-42-6303 Browse or print resolution. Crater Messier. Image credit: Image Science and Analysis Laboratory, NASA-Johnson Space Center. |
|
AS11-42-6304 Browse or print resolution. Crater Messier (upper left) and Messier A (lower right). Image credit: Image Science and Analysis Laboratory, NASA-Johnson Space Center. |
|
AS11-42-6305 Browse or print resolution. Crater Messier (upper left) and Messier A (lower right). Image credit: Image Science and Analysis Laboratory, NASA-Johnson Space Center. |
|
AS11-42-6306 Browse or print resolution. Crater Secchi in lower right. Image credit: Image Science and Analysis Laboratory, NASA-Johnson Space Center. |

|
AS11-42-6307 Browse or print resolution. Rimae Secchi. Image credit: Image Science and Analysis Laboratory, NASA-Johnson Space Center. |
|
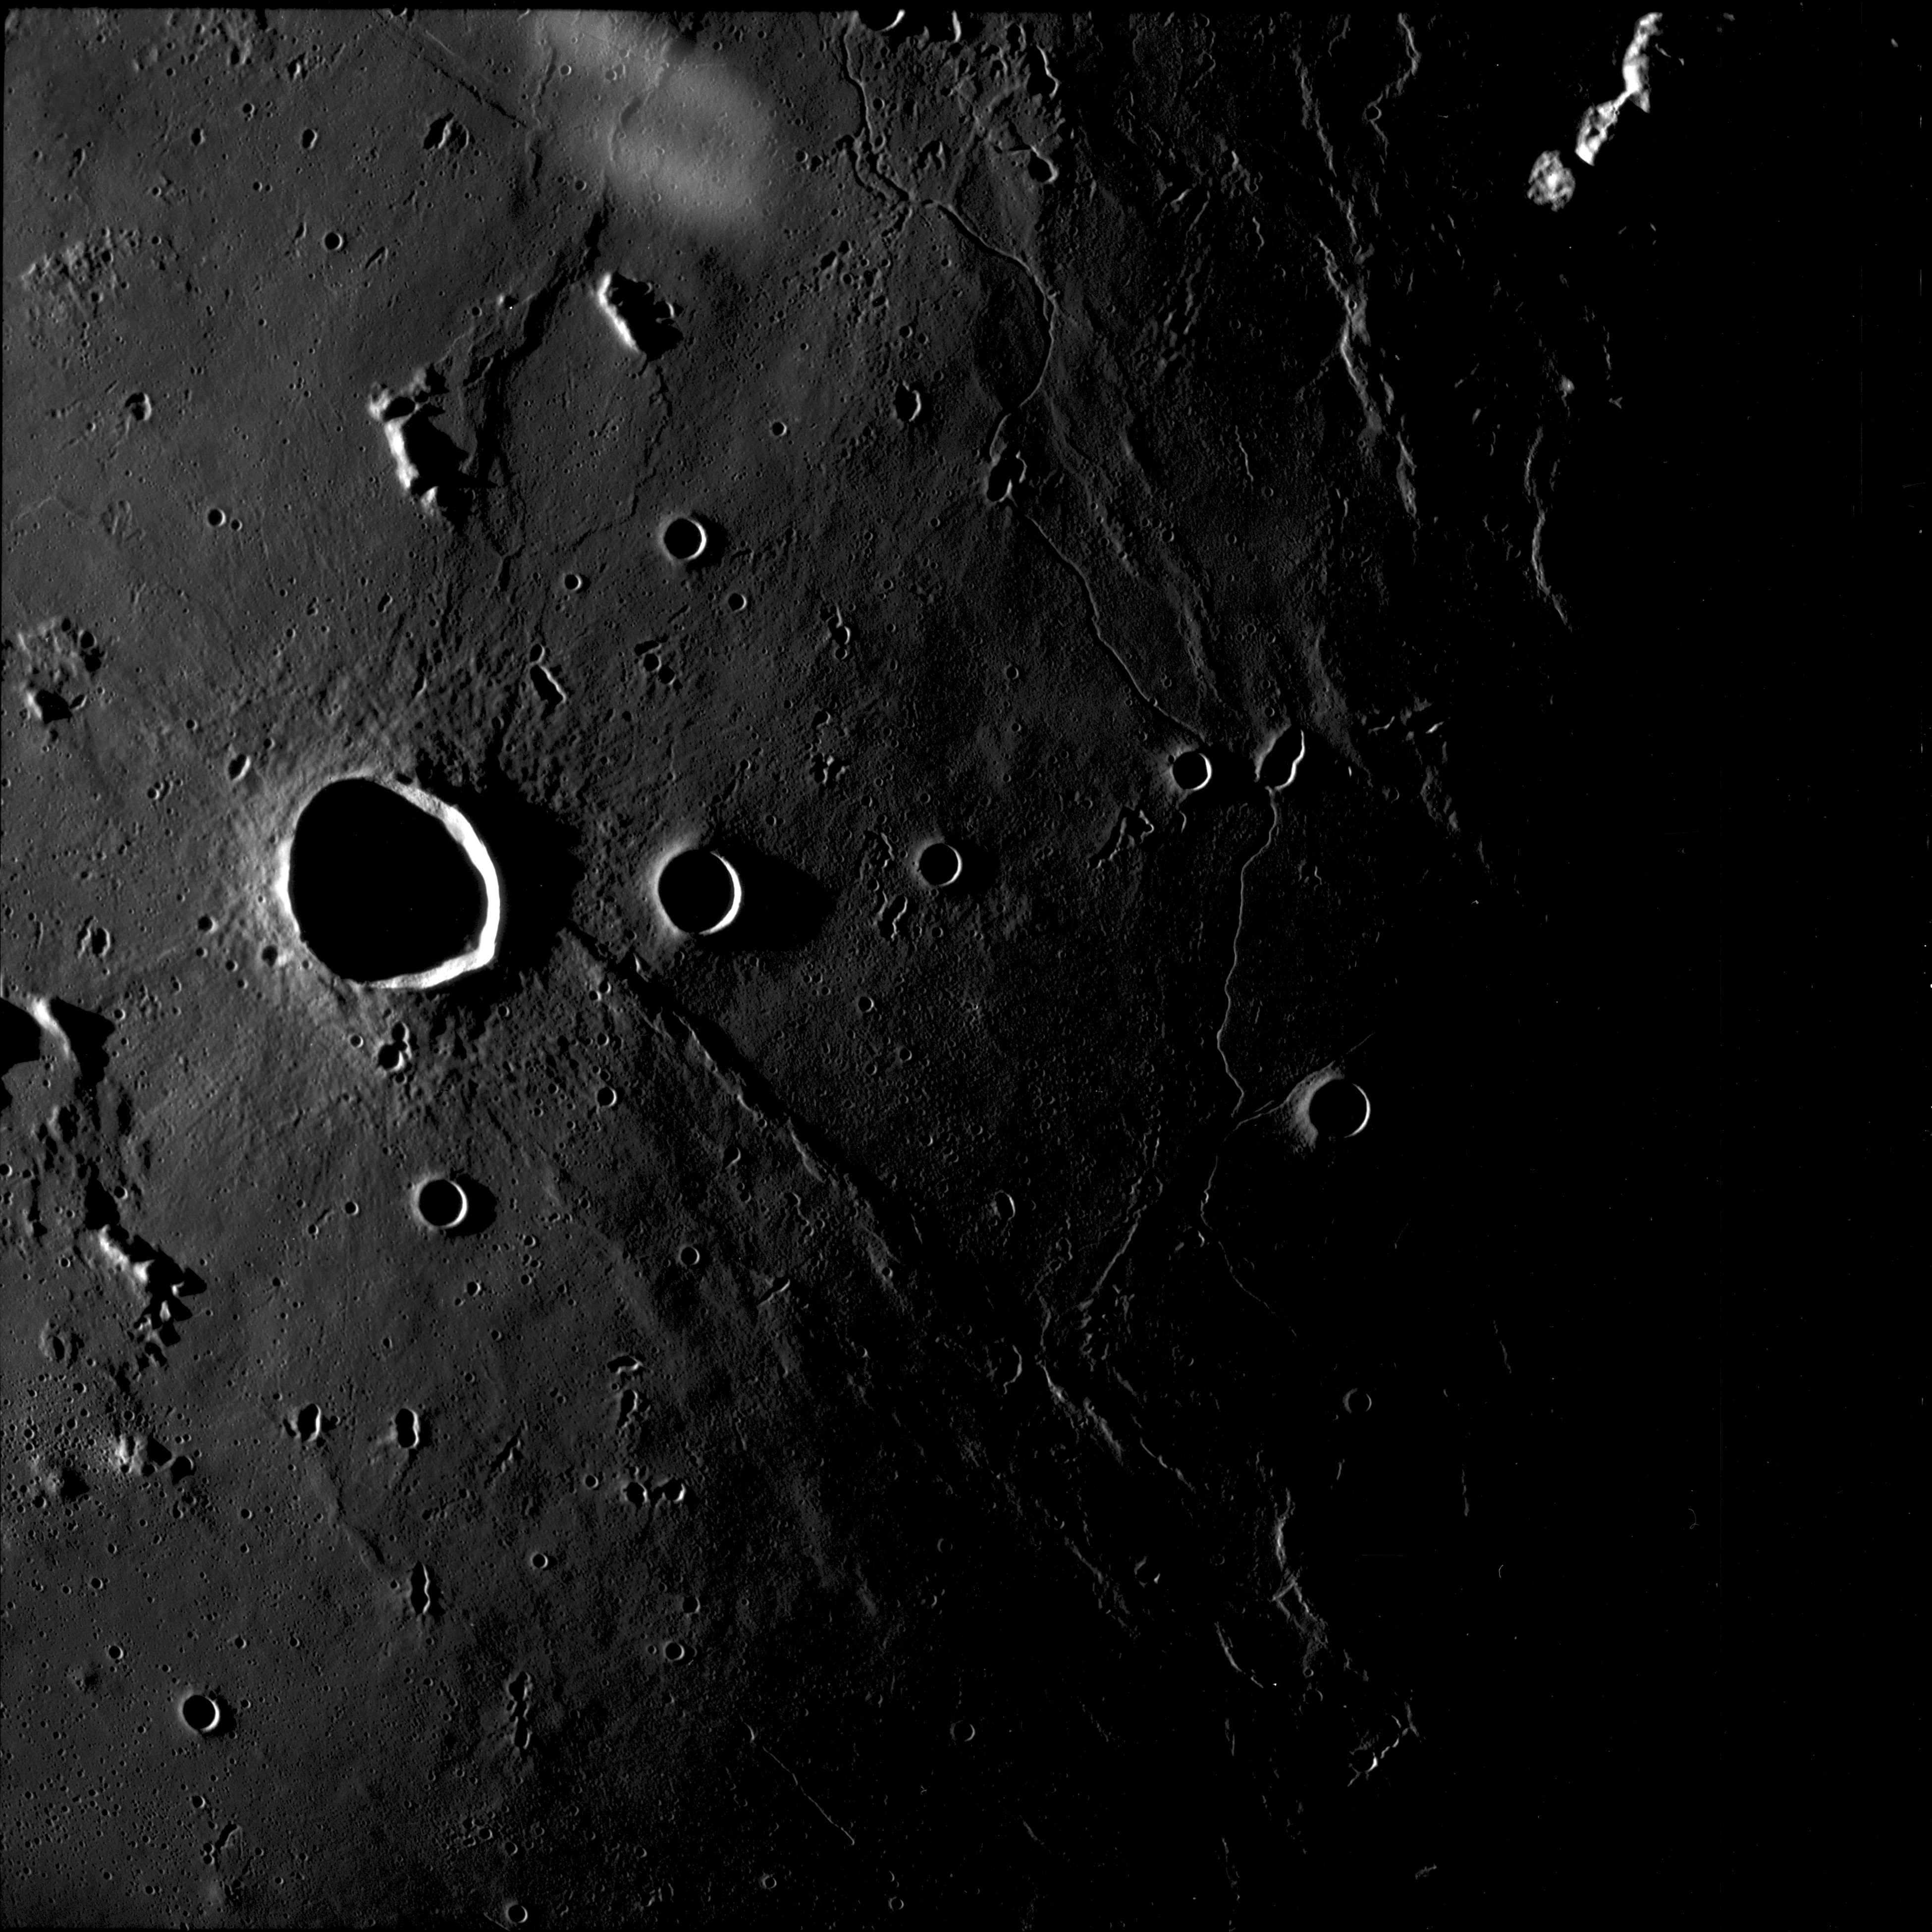
AS11-42-6308 Browse or print resolution. Rille and landscape on northwest coast of Mare Fecunditatis. Coordinates of small distinct crater lower left of centre are 1.19N, 42.91E. Image credit: Image Science and Analysis Laboratory, NASA-Johnson Space Center. |
|
AS11-42-6309 Browse or print resolution. Crater Lubbock H, lower right of centre, and adjacent rilles. Lubbock is cut off top right. Image credit: Image Science and Analysis Laboratory, NASA-Johnson Space Center. |
|
AS11-42-6310 Browse or print resolution. Crater Lubbock H, lower right of centre, and adjacent rilles. Lubbock is cut off top right. Image credit: Image Science and Analysis Laboratory, NASA-Johnson Space Center. |
|
AS11-42-6311 Browse or print resolution. Crater Goclenius. Image credit: Image Science and Analysis Laboratory, NASA-Johnson Space Center. |

|
AS11-42-6312 Browse or print resolution. Crater Goclenius. Image credit: Image Science and Analysis Laboratory, NASA-Johnson Space Center. |

|
AS11-42-6313 Browse or print resolution. Rimae Gutenberg. Crater Capella M cut by rille. Image credit: Image Science and Analysis Laboratory, NASA-Johnson Space Center. |

|
AS11-42-6314 Browse or print resolution. Landscape on the southern shore of Mare Tranquillitatis 75 km east of Maskelyne. Coordinates of image centre are 1.3N, 32.8E. Image credit: Image Science and Analysis Laboratory, NASA-Johnson Space Center. |
|
AS11-42-6315 Browse or print resolution. Landscape on the southern shore of Mare Tranquillitatis 75 km east of Maskelyne. Coordinates of image centre are 1.6N, 33.2E. Image credit: Image Science and Analysis Laboratory, NASA-Johnson Space Center. |
|
AS11-42-6316 Browse or print resolution. Landscape on the southern shore of Mare Tranquillitatis 80 km southeast of Maskelyne. Coordinates of major crater are 0.25N, 32.33E. Image credit: Image Science and Analysis Laboratory, NASA-Johnson Space Center. |

|
AS11-42-6317 Browse or print resolution. Crater Sinas with Sinas E on extreme left. Image credit: Image Science and Analysis Laboratory, NASA-Johnson Space Center. |

|
AS11-42-6318 Browse or print resolution. Boot Hill in southern Mare Tranquillitatis. Image credit: Image Science and Analysis Laboratory, NASA-Johnson Space Center. |

|
AS11-42-6319 Browse or print resolution. Duke Island in southern Mare Tranquillitatis. Image credit: Image Science and Analysis Laboratory, NASA-Johnson Space Center. |

|
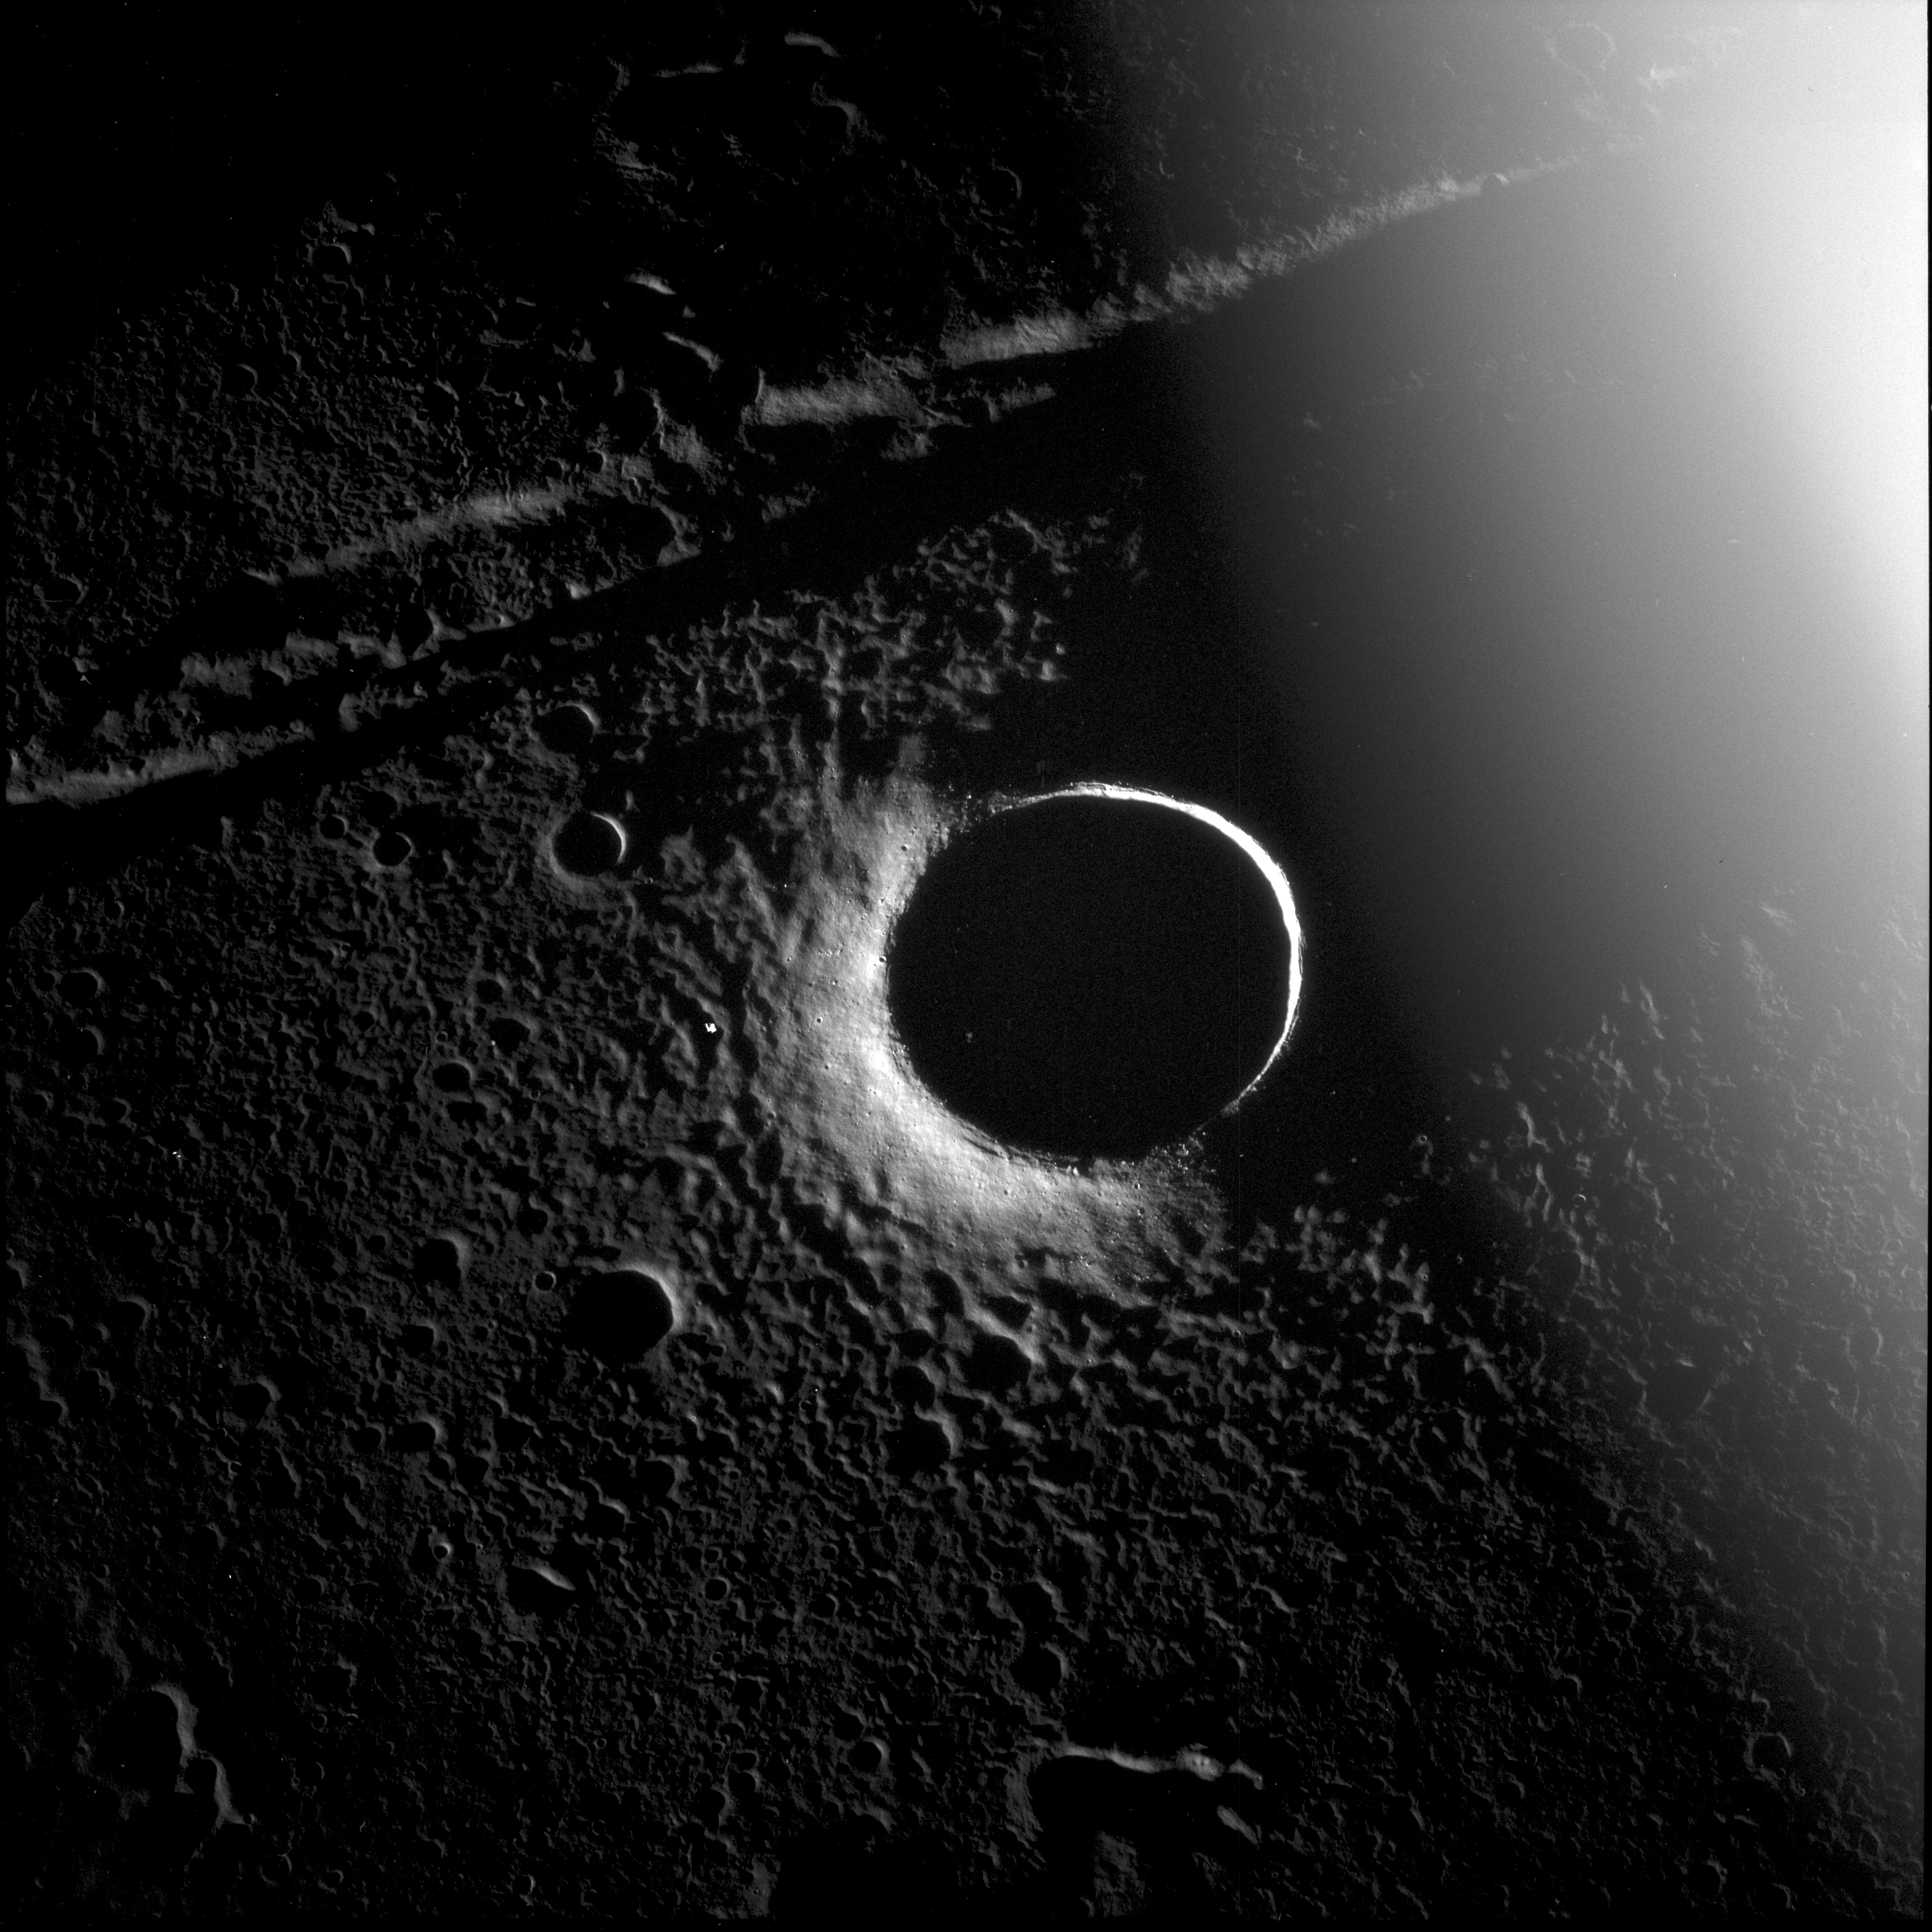
AS11-42-6320 Browse or print resolution. Crater Maskelyne. Image credit: Image Science and Analysis Laboratory, NASA-Johnson Space Center. |

|
AS11-42-6321 Browse or print resolution. Crater Maskelyne. Image credit: Image Science and Analysis Laboratory, NASA-Johnson Space Center. |
|
AS11-42-6322 Browse or print resolution. Crater Maskelyne. Image credit: Image Science and Analysis Laboratory, NASA-Johnson Space Center. |
|
AS11-42-6323 Browse or print resolution. Rille and irregular depressions in southern Mare Tranquillitatis. Coordinates of central feature are 0.4N, 28.17E Image credit: Image Science and Analysis Laboratory, NASA-Johnson Space Center. |
|
AS11-42-6324 Browse or print resolution. Crater Maskelyne Y. Maskelyne B cut off on extreme lower left. Image credit: Image Science and Analysis Laboratory, NASA-Johnson Space Center. |

|
AS11-42-6325 Browse or print resolution. Wrinkle ridge on southern Mare Tranquillitatis. Coordinates of major crater on right are 0.28N, 26.54E. Image credit: Image Science and Analysis Laboratory, NASA-Johnson Space Center. |
|
AS11-42-6326 Browse or print resolution. Crater Moltke. Image credit: Image Science and Analysis Laboratory, NASA-Johnson Space Center. |

|
AS11-42-6327 Browse or print resolution. Blank. Image credit: Image Science and Analysis Laboratory, NASA-Johnson Space Center. |

|
AS11-42-6328 Browse or print resolution. Blank. Image credit: Image Science and Analysis Laboratory, NASA-Johnson Space Center. |

|
AS11-42-6329 Browse or print resolution. Crater Schuster Q. Image credit: Image Science and Analysis Laboratory, NASA-Johnson Space Center. |

|
AS11-42-6330 Browse or print resolution. Unplotted crater. Image credit: Image Science and Analysis Laboratory, NASA-Johnson Space Center. |
|
AS11-42-6331 Browse or print resolution. Crater Pannekoek A in foreground. Glazenup F and E beyond. Image credit: Image Science and Analysis Laboratory, NASA-Johnson Space Center. |

|
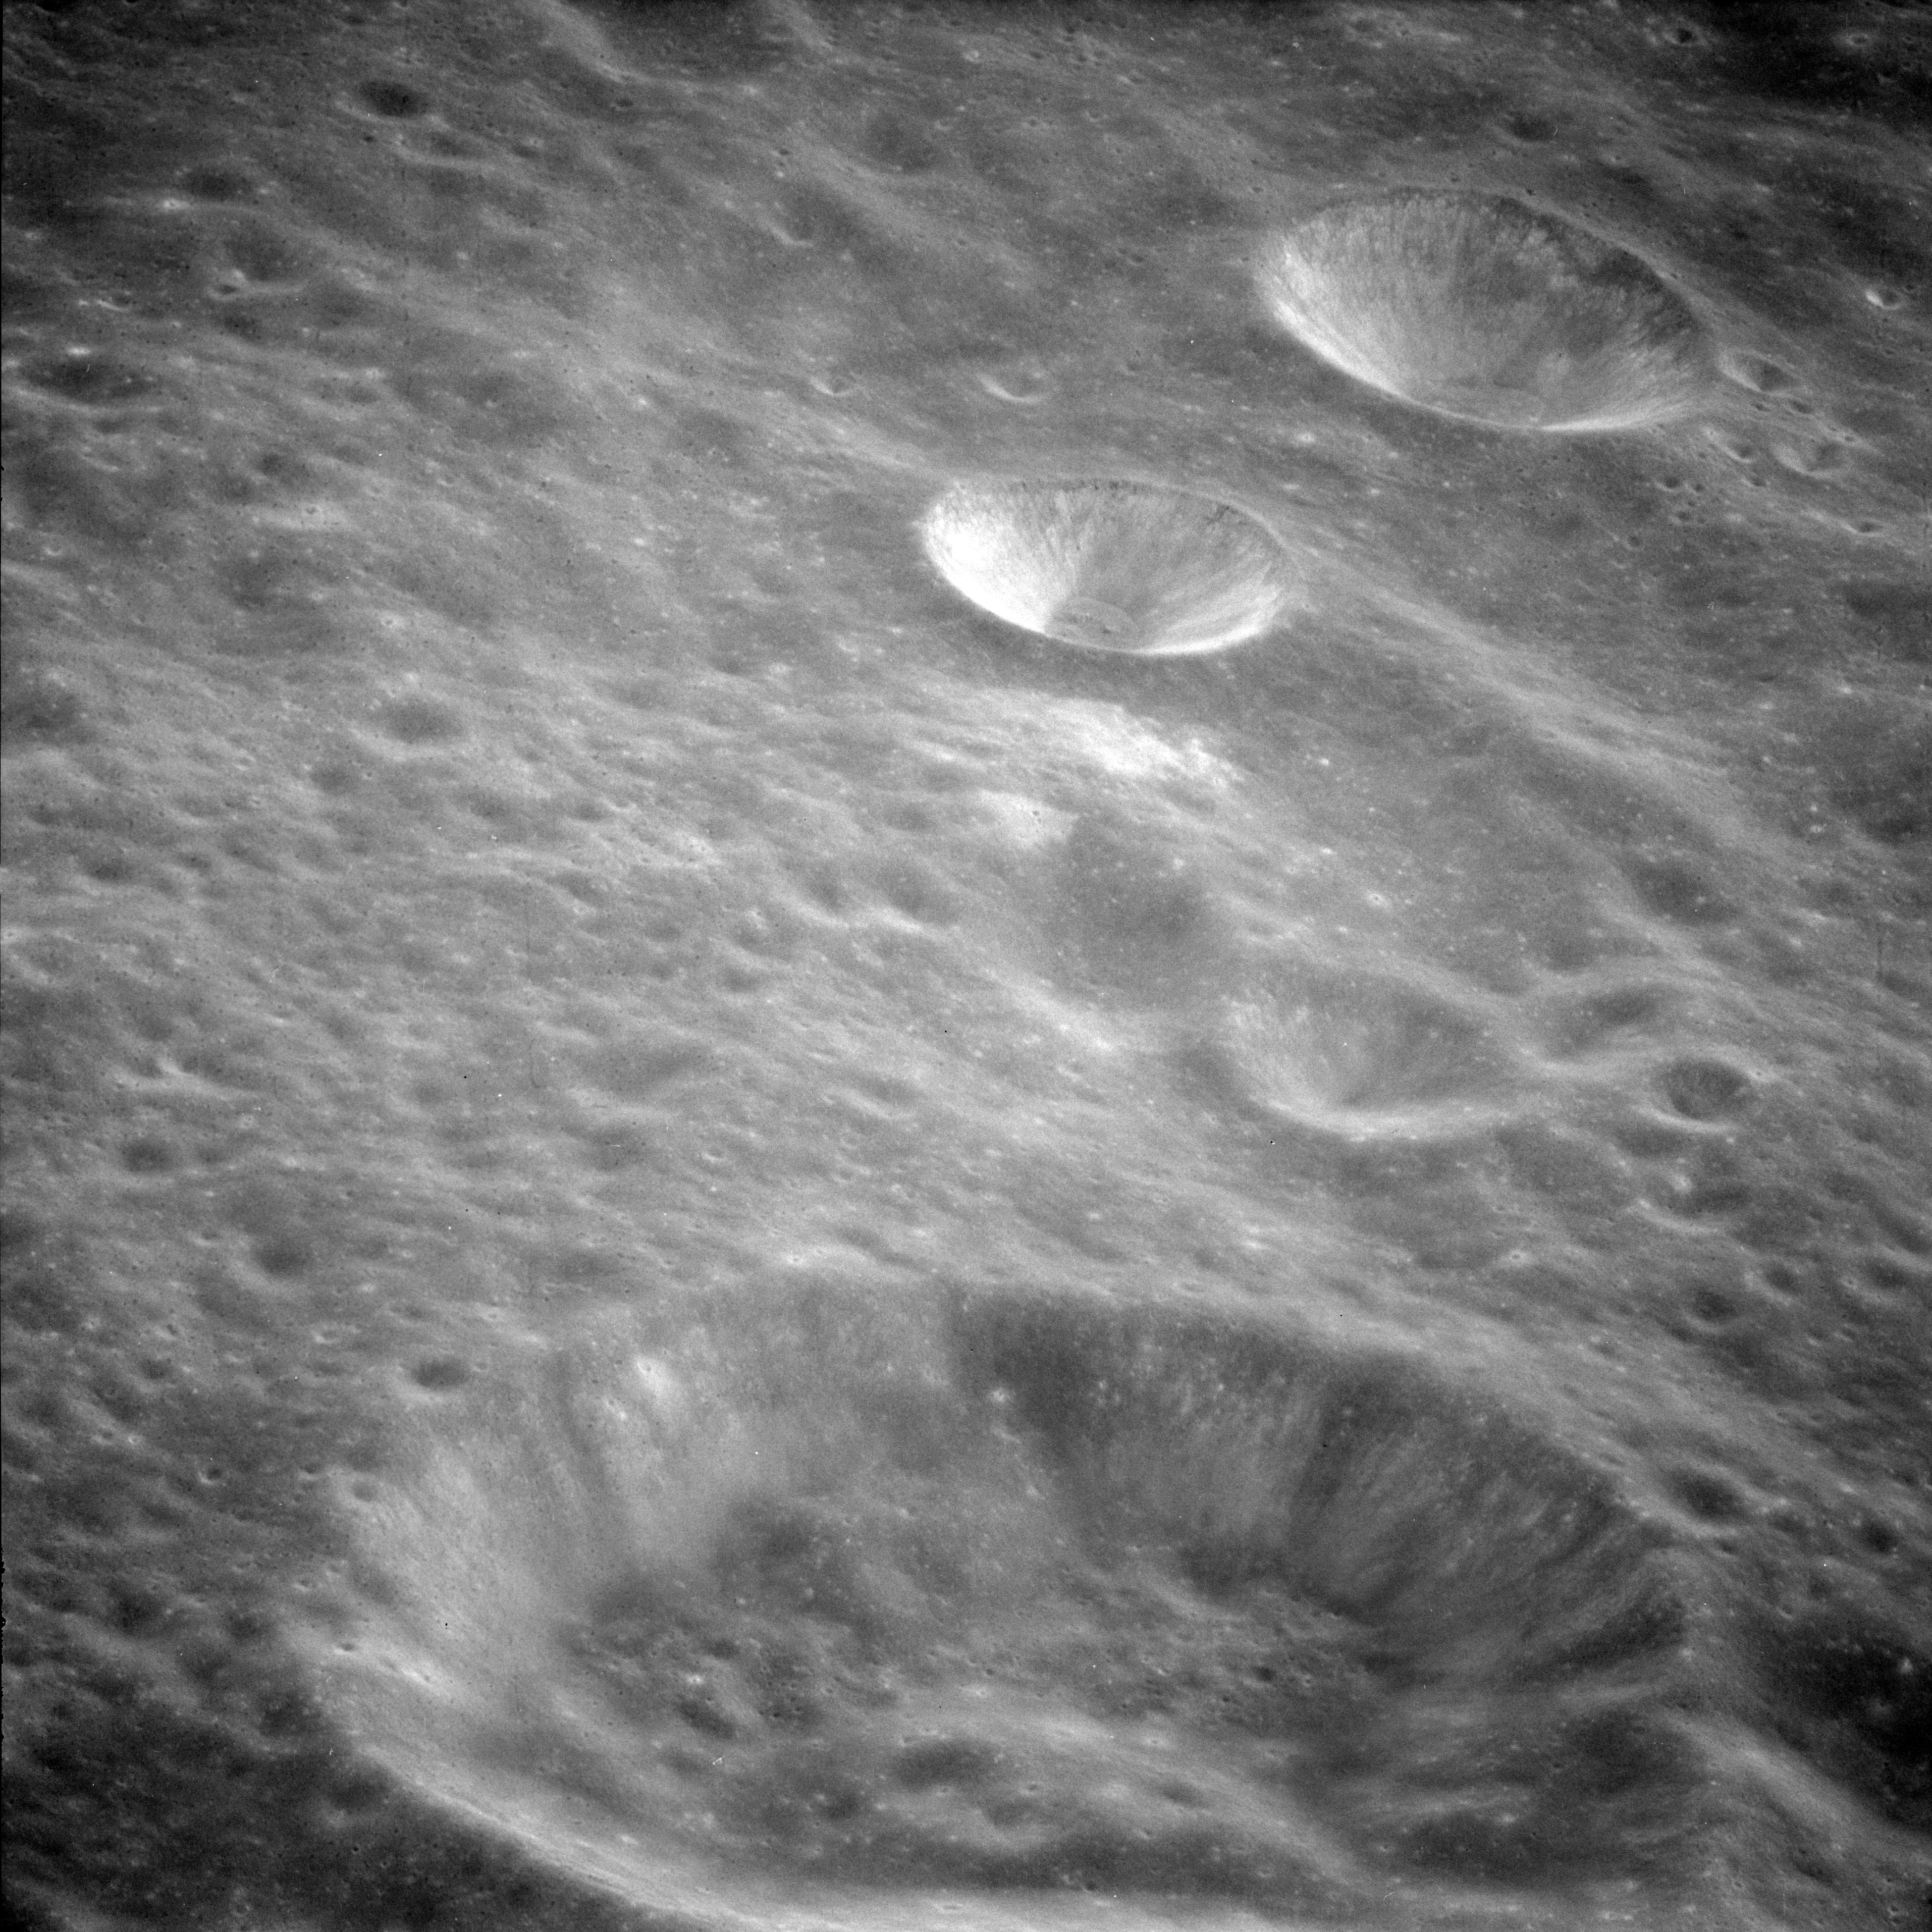
AS11-42-6332 Browse or print resolution. Craters Green M and P. Image credit: Image Science and Analysis Laboratory, NASA-Johnson Space Center. |
|
AS11-42-6333 Browse or print resolution. Craters Green M and P. Image credit: Image Science and Analysis Laboratory, NASA-Johnson Space Center. |

|
AS11-42-6334 Browse or print resolution. Craters Green M and P. Image credit: Image Science and Analysis Laboratory, NASA-Johnson Space Center. |

|
AS11-42-6335 Browse or print resolution. Crater Necho. Image credit: Image Science and Analysis Laboratory, NASA-Johnson Space Center. |
|
AS11-42-6336 Browse or print resolution. Crater Necho. Image credit: Image Science and Analysis Laboratory, NASA-Johnson Space Center. |
|
AS11-42-6337 Browse or print resolution. Crater Coriolis Y in foreground. Image credit: Image Science and Analysis Laboratory, NASA-Johnson Space Center. |
|
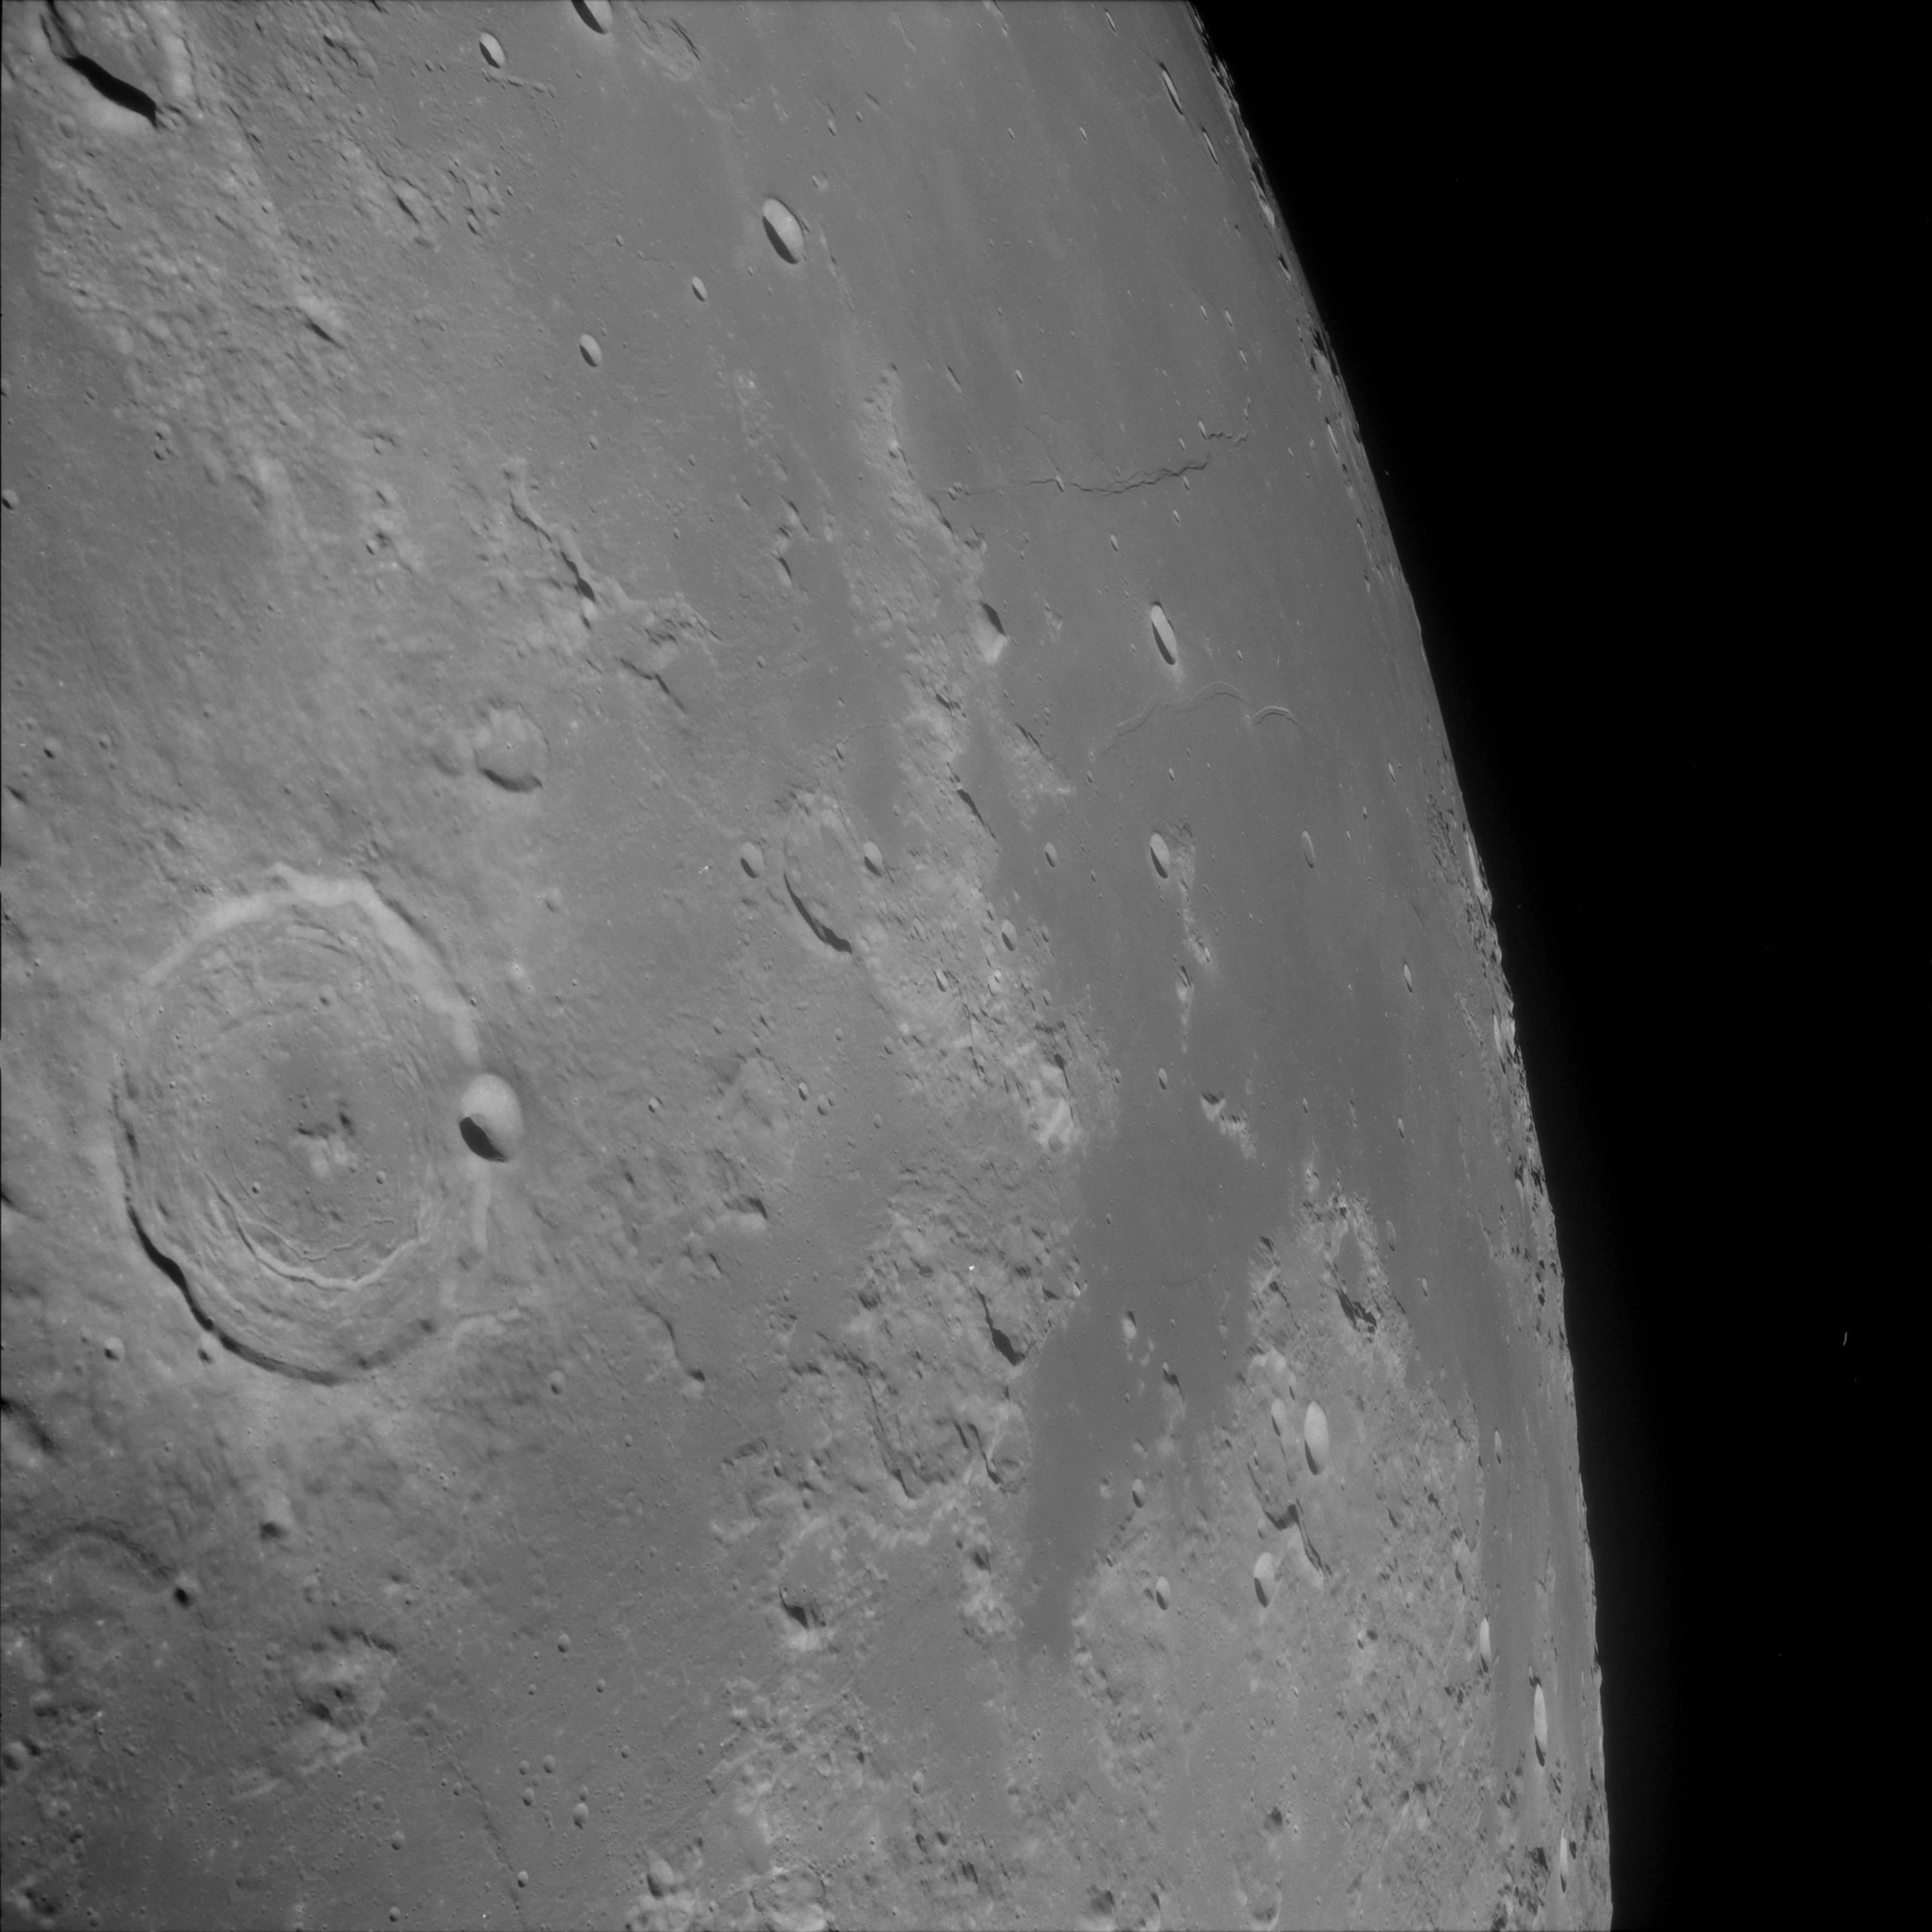
AS11-42-6338 Browse or print resolution. View to northeast horizon. Crater Dufay B cut off extreme top. Valier cut off on extreme bottom. Image credit: Image Science and Analysis Laboratory, NASA-Johnson Space Center. |

|
AS11-42-6339 Browse or print resolution. Crater Dufay B. Near horizon on left is Sharanov. Image credit: Image Science and Analysis Laboratory, NASA-Johnson Space Center. |
|
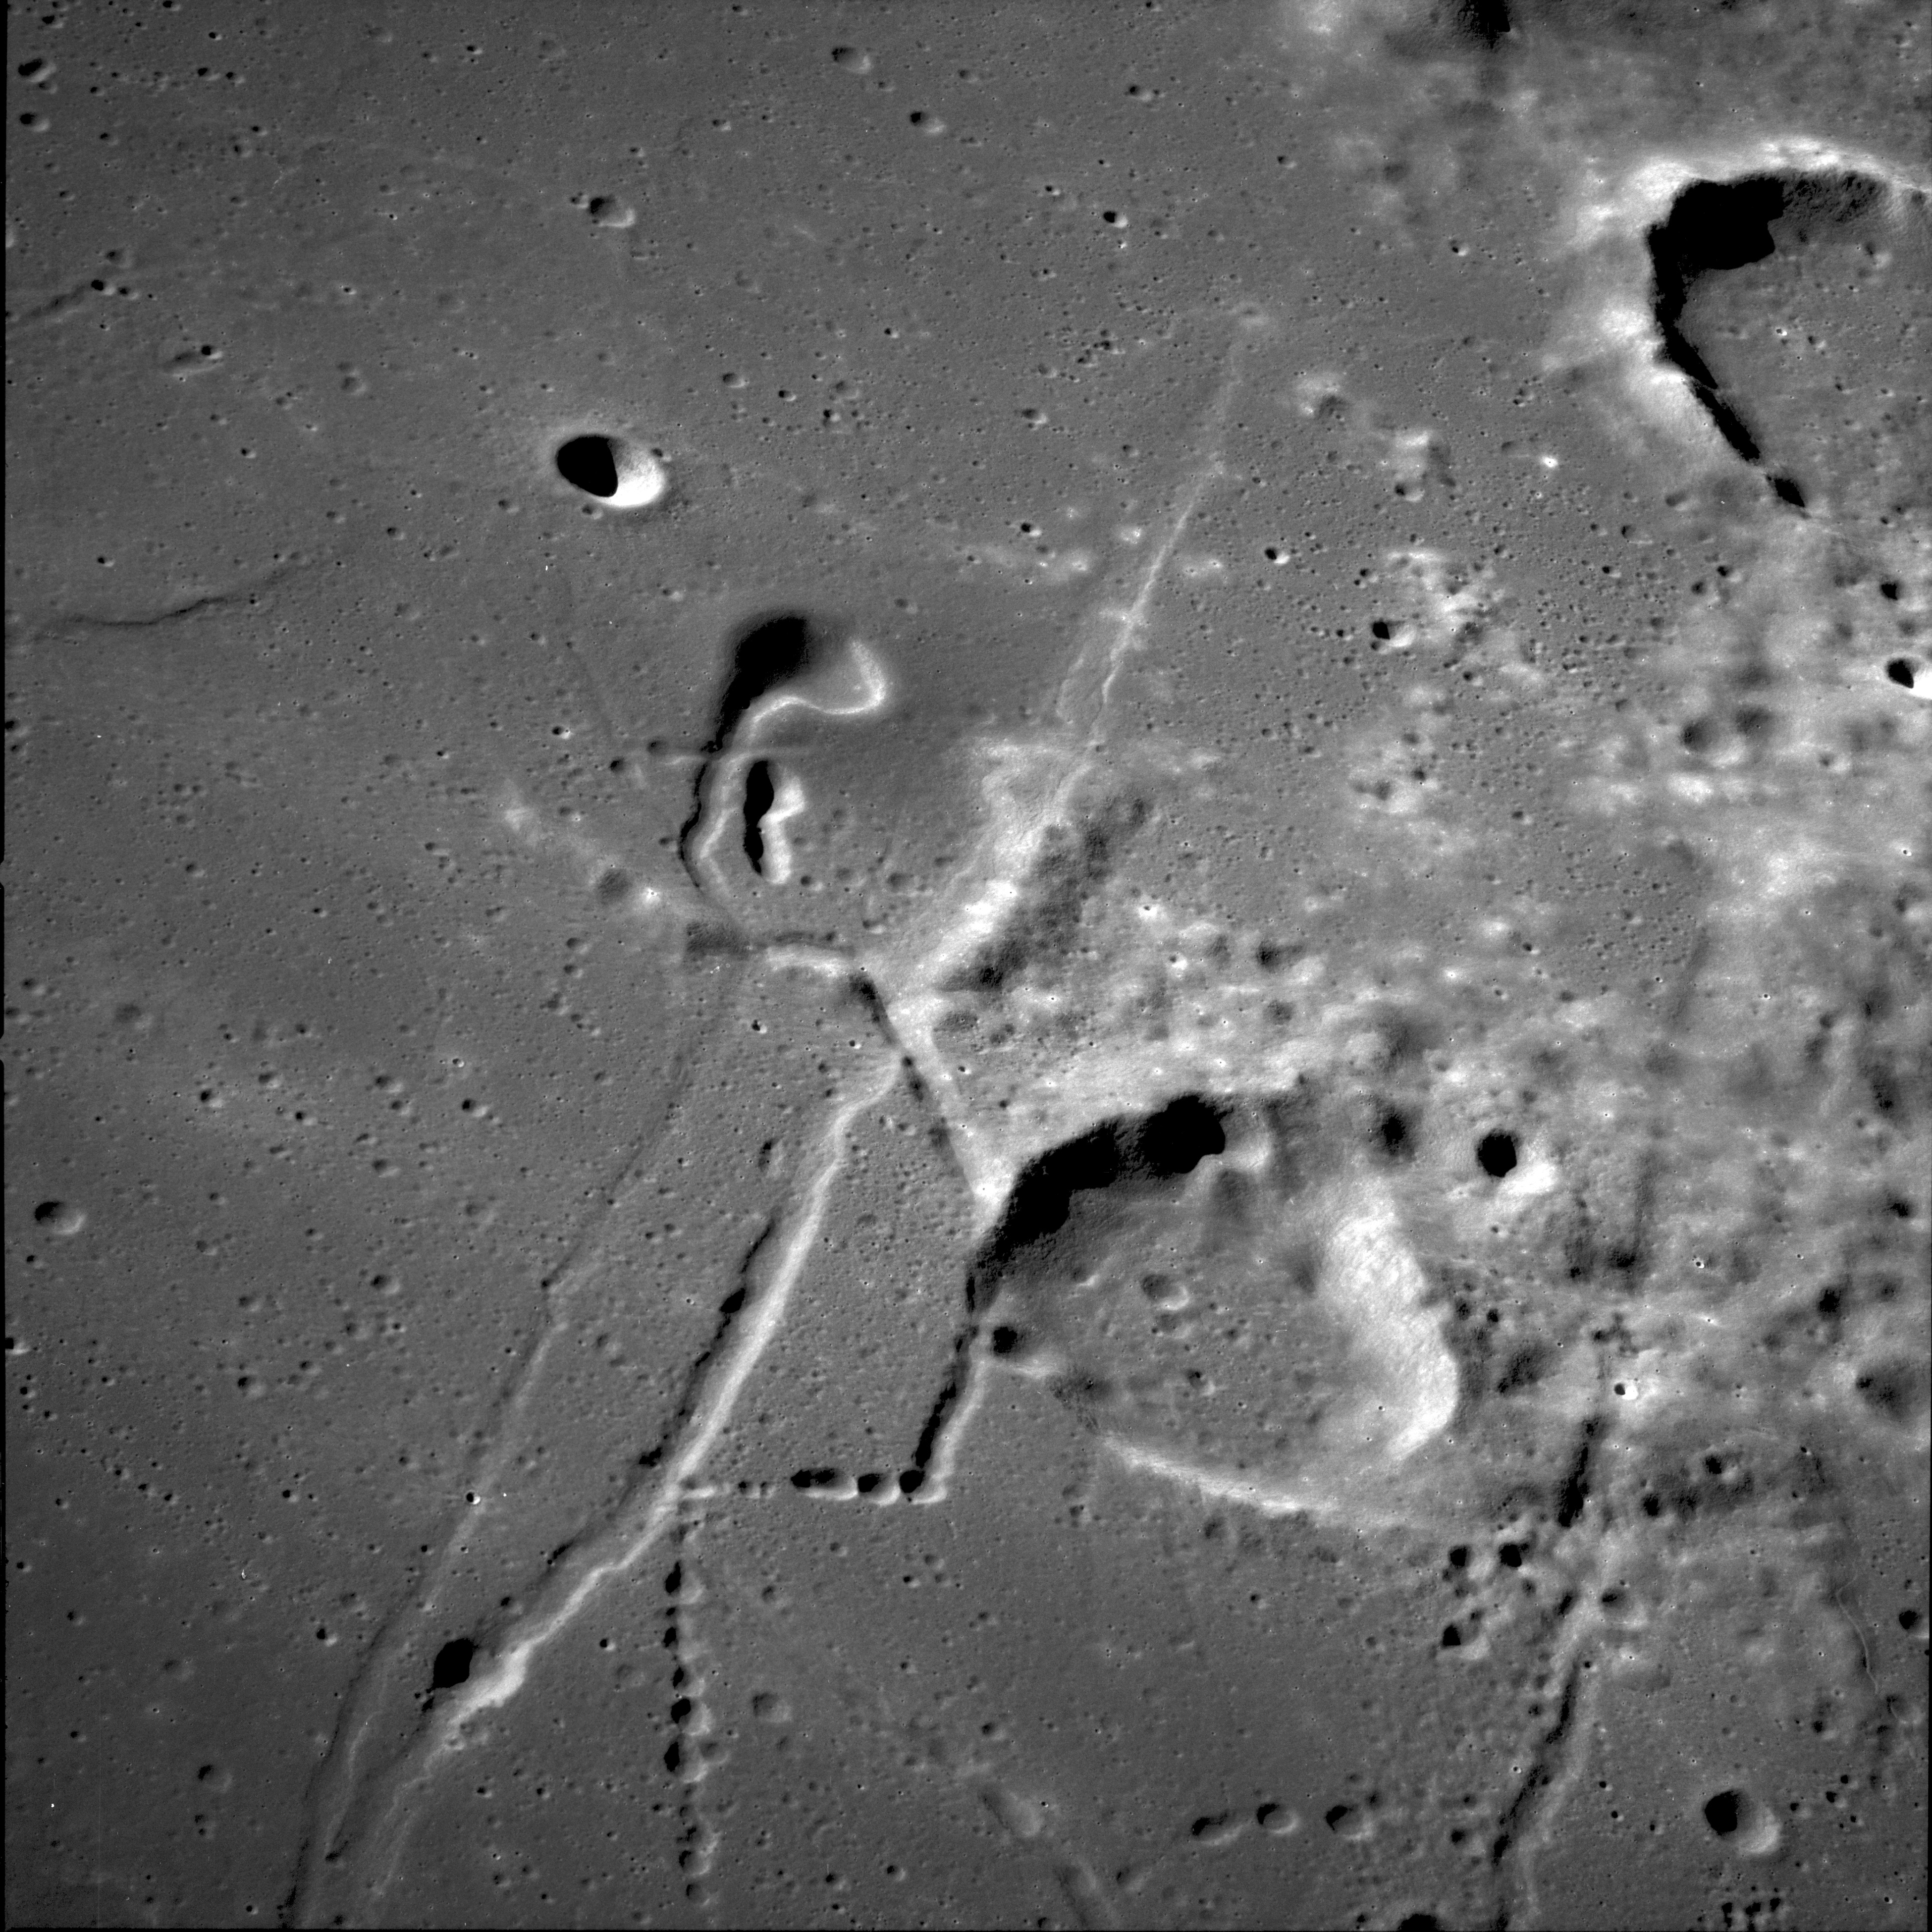
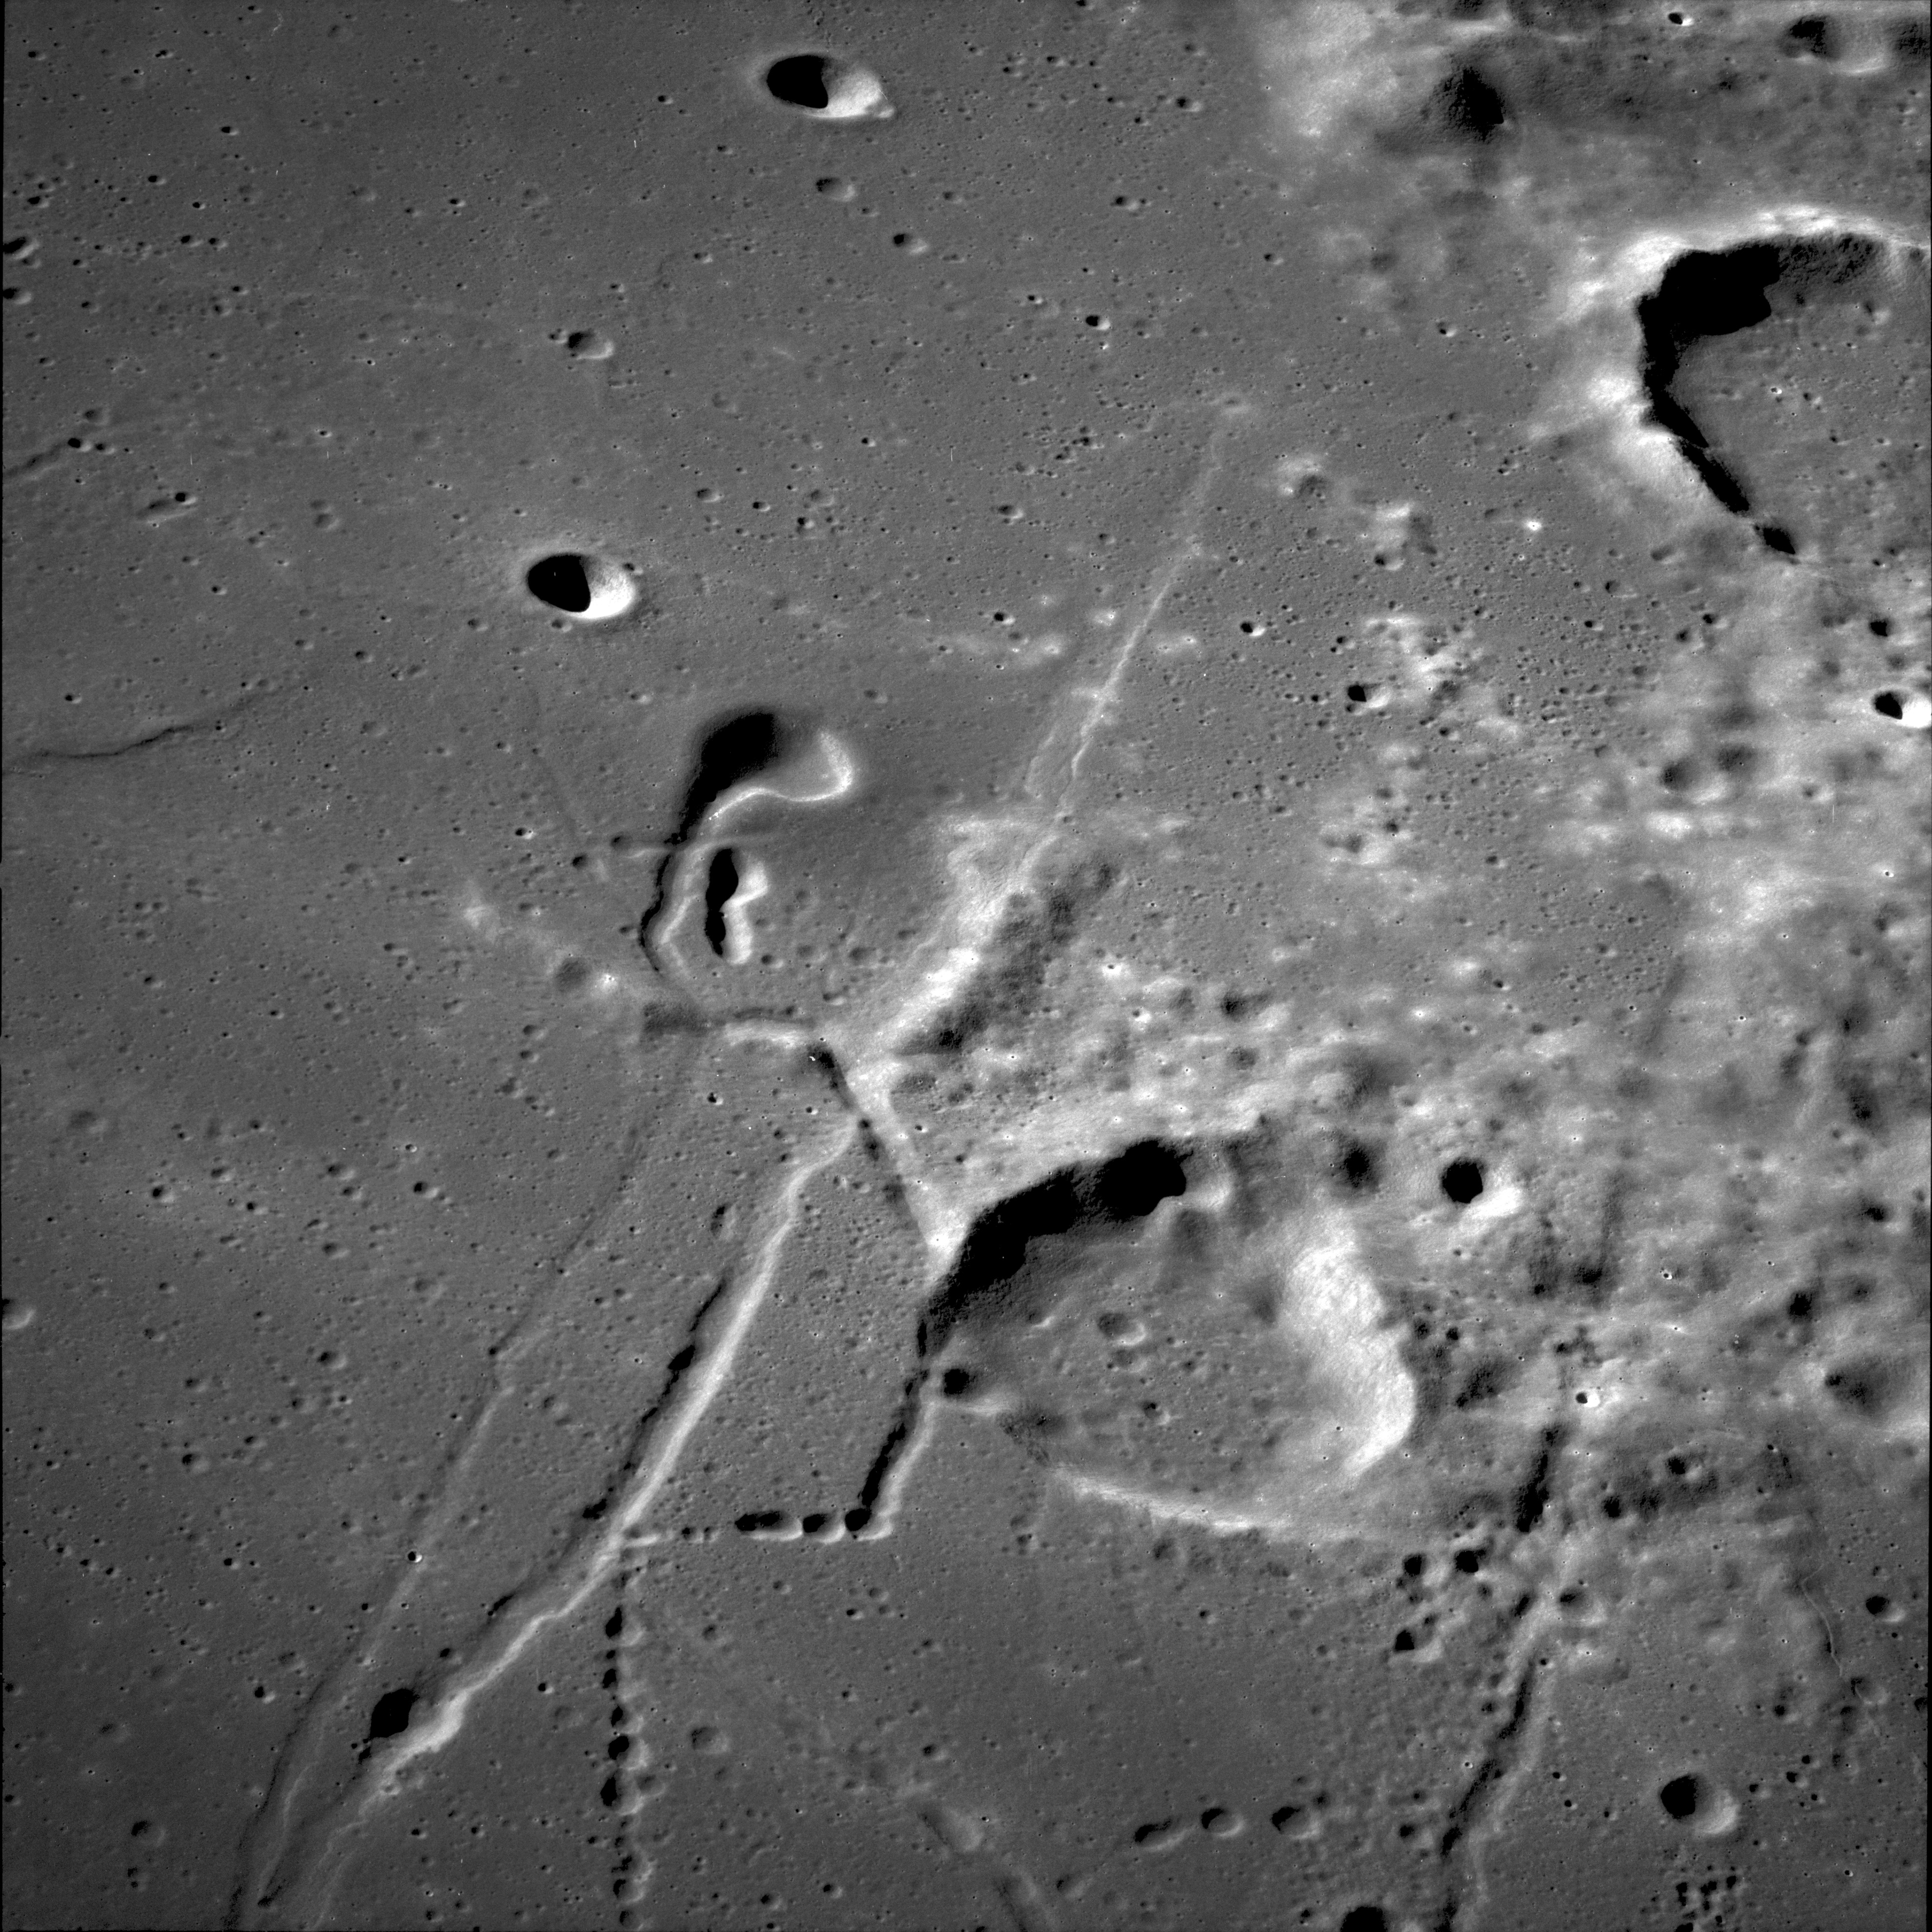
AS11-42-6340 Browse or print resolution. Crater on northern rim of Vening Meinesz. Image credit: Image Science and Analysis Laboratory, NASA-Johnson Space Center. |

|
AS11-42-6341 Browse or print resolution. Northern rim of Vening Meinesz. Image credit: Image Science and Analysis Laboratory, NASA-Johnson Space Center. |

|
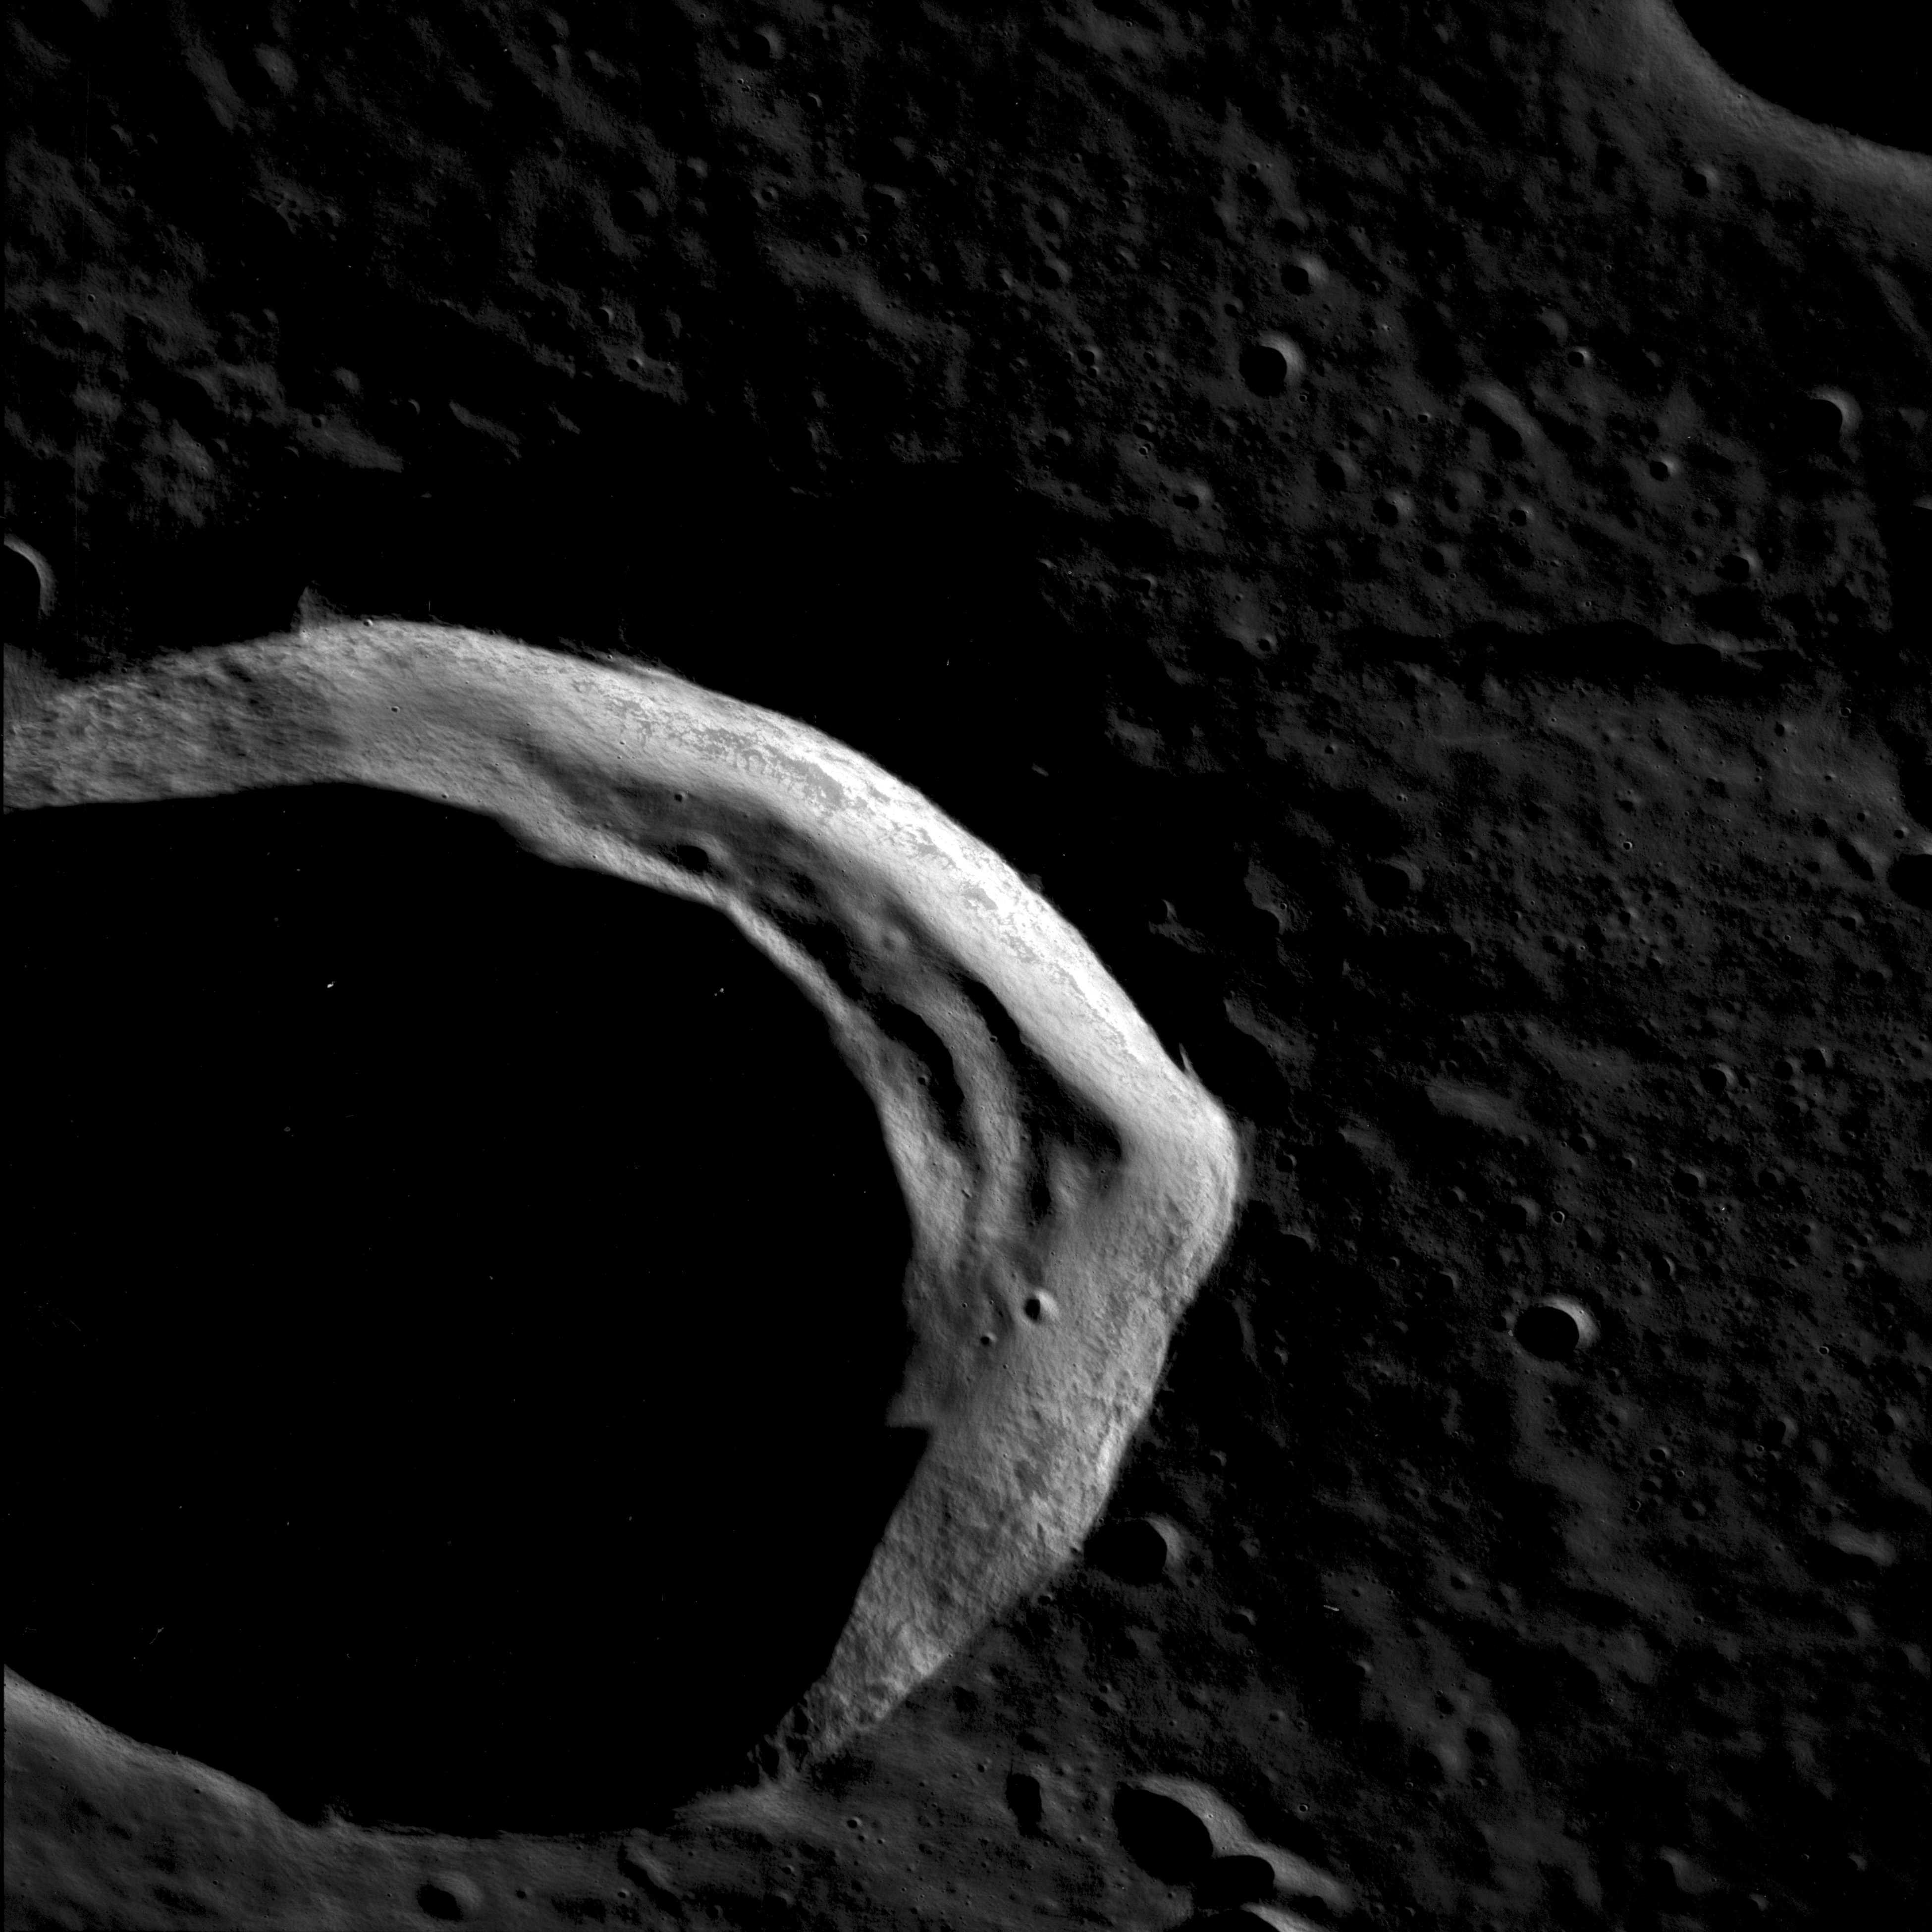
AS11-42-6342 Browse or print resolution. Crater Vening Meinesz W. Image credit: Image Science and Analysis Laboratory, NASA-Johnson Space Center. |
|
AS11-42-6343 Browse or print resolution. Northwest rim of crater Vening Meinesz W. Image credit: Image Science and Analysis Laboratory, NASA-Johnson Space Center. |

|
AS11-42-6344 Browse or print resolution. Eastern rim of crater Vening Meinesz W. Image credit: Image Science and Analysis Laboratory, NASA-Johnson Space Center. |

|
AS11-42-6345 Browse or print resolution. Crater Vening Meinesz W. Image credit: Image Science and Analysis Laboratory, NASA-Johnson Space Center. |

|
AS11-42-6346 Browse or print resolution. Crater west of Vening Meinesz W. Image credit: Image Science and Analysis Laboratory, NASA-Johnson Space Center. |
|
AS11-42-6347 Browse or print resolution. Craters west of Vening Meinesz W. Image credit: Image Science and Analysis Laboratory, NASA-Johnson Space Center. |
|
AS11-42-6348 Browse or print resolution. Landscape 40 km southwest of Vening Meinesz W. Image credit: Image Science and Analysis Laboratory, NASA-Johnson Space Center. |
| 70-mm magazine P - AS11-41-5971 to 6159 |
Photography Index | 70-mm magazine T - AS11-43-6349 to 6539 |