This chapter covers the start of the tenth day of the mission. Date: 4 August 1971.
Although their primary mission is completed, the crew of Apollo 15 still has a long day of work ahead of them before they head home. Photography and running the SIM bay will occupy virtually all of their time for the next ten hours as they orbit the Moon in Endeavour. Following these tasks, all efforts will focus on preparations for Trans-Earth Injection (TEI) which will raise the spacecraft's velocity, slinging it out of lunar orbit and on a course towards Earth.
Currently, the crew of Dave Scott, Jim Irwin and Al Worden have just begun their 8-hour rest period on time. As they orbit the Moon, Endeavour's SIM bay is kept facing the surface by having the spacecraft slowly rotate in synchronism with their orbital period, a so-called orb-rate rotation. They are flying backwards with the SPS engine bell facing the direction of travel. This orientation aims the rearward-facing inlet of the Mass Spectrometer into any oncoming molecules of the Moon's staggeringly tenuous atmosphere. Other experiments operating just now are the Alpha Particle Spectrometer, the X-ray Spectrometer and the Gamma-ray Spectrometer.
This is Apollo Control and we're now less than 30 seconds from regaining radio contact with Apollo 15, and we do not expect to hear from the crew for the remainder of their sleep period. It's a scheduled 8-hour rest period. And we said goodnight to them before we lost radio contact at the end of the last revolution. And we presume that they're either going to be asleep or close to it. We will have biomedical data on the Lunar Module Pilot Jim Irwin and also on the Command Module Pilot Al Worden. And INCO [Instrumentation and Communications Officer] says we have acquired the signal. We'll be waiting for the signal strength to come up so that we can see the data on all of the spacecraft systems and also the biomedical data. And we will expect, from this point on through the remainder of the rest period, that it will be rather quiet here in Mission Control.
The Flight Surgeon has gotten his biomedical data and reports that, based on the heart rates he's seeing right now, it does not appear that the crew has gone to sleep yet. We'll continue to watch those through this frontside pass and the Surgeon will get a fairly good indication of when the crewmen are beginning to settle down and get to sleep.
This is Apollo Control. We're getting quite a bit of noise on the air to ground circuit at this time. And since we do not anticipate any further conversations with the crew aboard the spacecraft during this sleep period, we'll take the air to ground line down and leave the recorders running to play back any conversations that we should get should we hear from the crew. At 204 hours, 37 minutes, this is Apollo Control. Clip it.
This is Apollo Control at 205 hours, 44 minutes. Apollo 15 has gone around the corner of the Moon on it's 65th revolution; spacecraft in good shape. And the Flight Surgeon reports that the crew has been asleep, based on the biomedical data we're getting from Jim Irwin and Al Worden for about 30 minutes now. Prior to the beginning of the rest period the crew set up the Gamma-ray and X-ray/Alpha Particle experiments in the Scientific Instrument Module bay - also the Mass Spectrometer. And while they're asleep these instruments will be gathering information in lunar orbit on the surface properties and atmospheric characteristics of the Moon. We'll be reacquiring Apollo 15 in about 43 minutes. Again, we do not expect any conversations with the astronauts during the sleep period - be an 8-hour rest period. We'll come up at Acquisition Of Signal [AOS] and again Loss Of Signal [LOS] for periodic status reports, and in Mission Control the principal activity will be to monitor spacecraft systems and biomedical readings from the crewmen. At 205 hours, 46 minutes; this is Apollo Control.
This is Apollo Control. We're about to reacquire the spacecraft, now on its 66th revolution of the Moon. INCO says we've gotten radio contact now and we'll stand by to take a look at all of the spacecraft's systems, biomedical data on the crew and reassure ourselves that everything continues to be the same normal situation that it was when last we saw the spacecraft about 45 minutes earlier. The crew at this time is in the midst of a sleep period. We're not scheduled to awaken them for nearly 5 hours. Flight Director Glynn Lunney will be checking with his systems engineers to ensure that everything is normal. Guidance and Control Officer reports everything looks good and EECOM, the environmental and electrical systems engineer, says everything is Go from his point of view. The cabin pressure at this time is 5.2 pounds per square inch which is normal and the temperature, about 73 degrees [Fahrenheit, 23°C]. Surgeon says that, based on the heart rates he's seeing, it appears that the crew is still asleep at this time. We'll continue to monitor the systems on telemetry data and provide status report periodically at Acquisition of Signal and again just before we lose radio contact. At 206 hours, 32 minutes, this is Apollo Control, Houston.
This is Apollo Control at 207 hours, 12 minutes. The mission continuing to progress smoothly this evening. We have about 4 hours, 13 minutes remaining in the crew sleep period. And, in Mission Control, we're in the midst of a shift handover. Flight Director Milton Windler coming on to relieve Flight Director Glynn Lunney. We will not have a change of shift press briefing. We have about 30 minutes remaining in this pass before we once again lose radio contact with Endeavour. And we plan to provide status reports at Acquisition of Signal and Loss of Signal. In between times, we'll have the lines down with the tape recorders running to pick up any conversation, should we hear anything from the crew. The Spacecraft Communicator on the coming shift will be astronaut Karl Henize relieving astronaut Bob Parker in that role. At 207 hours, 14 minutes, this is Apollo Control, Houston.
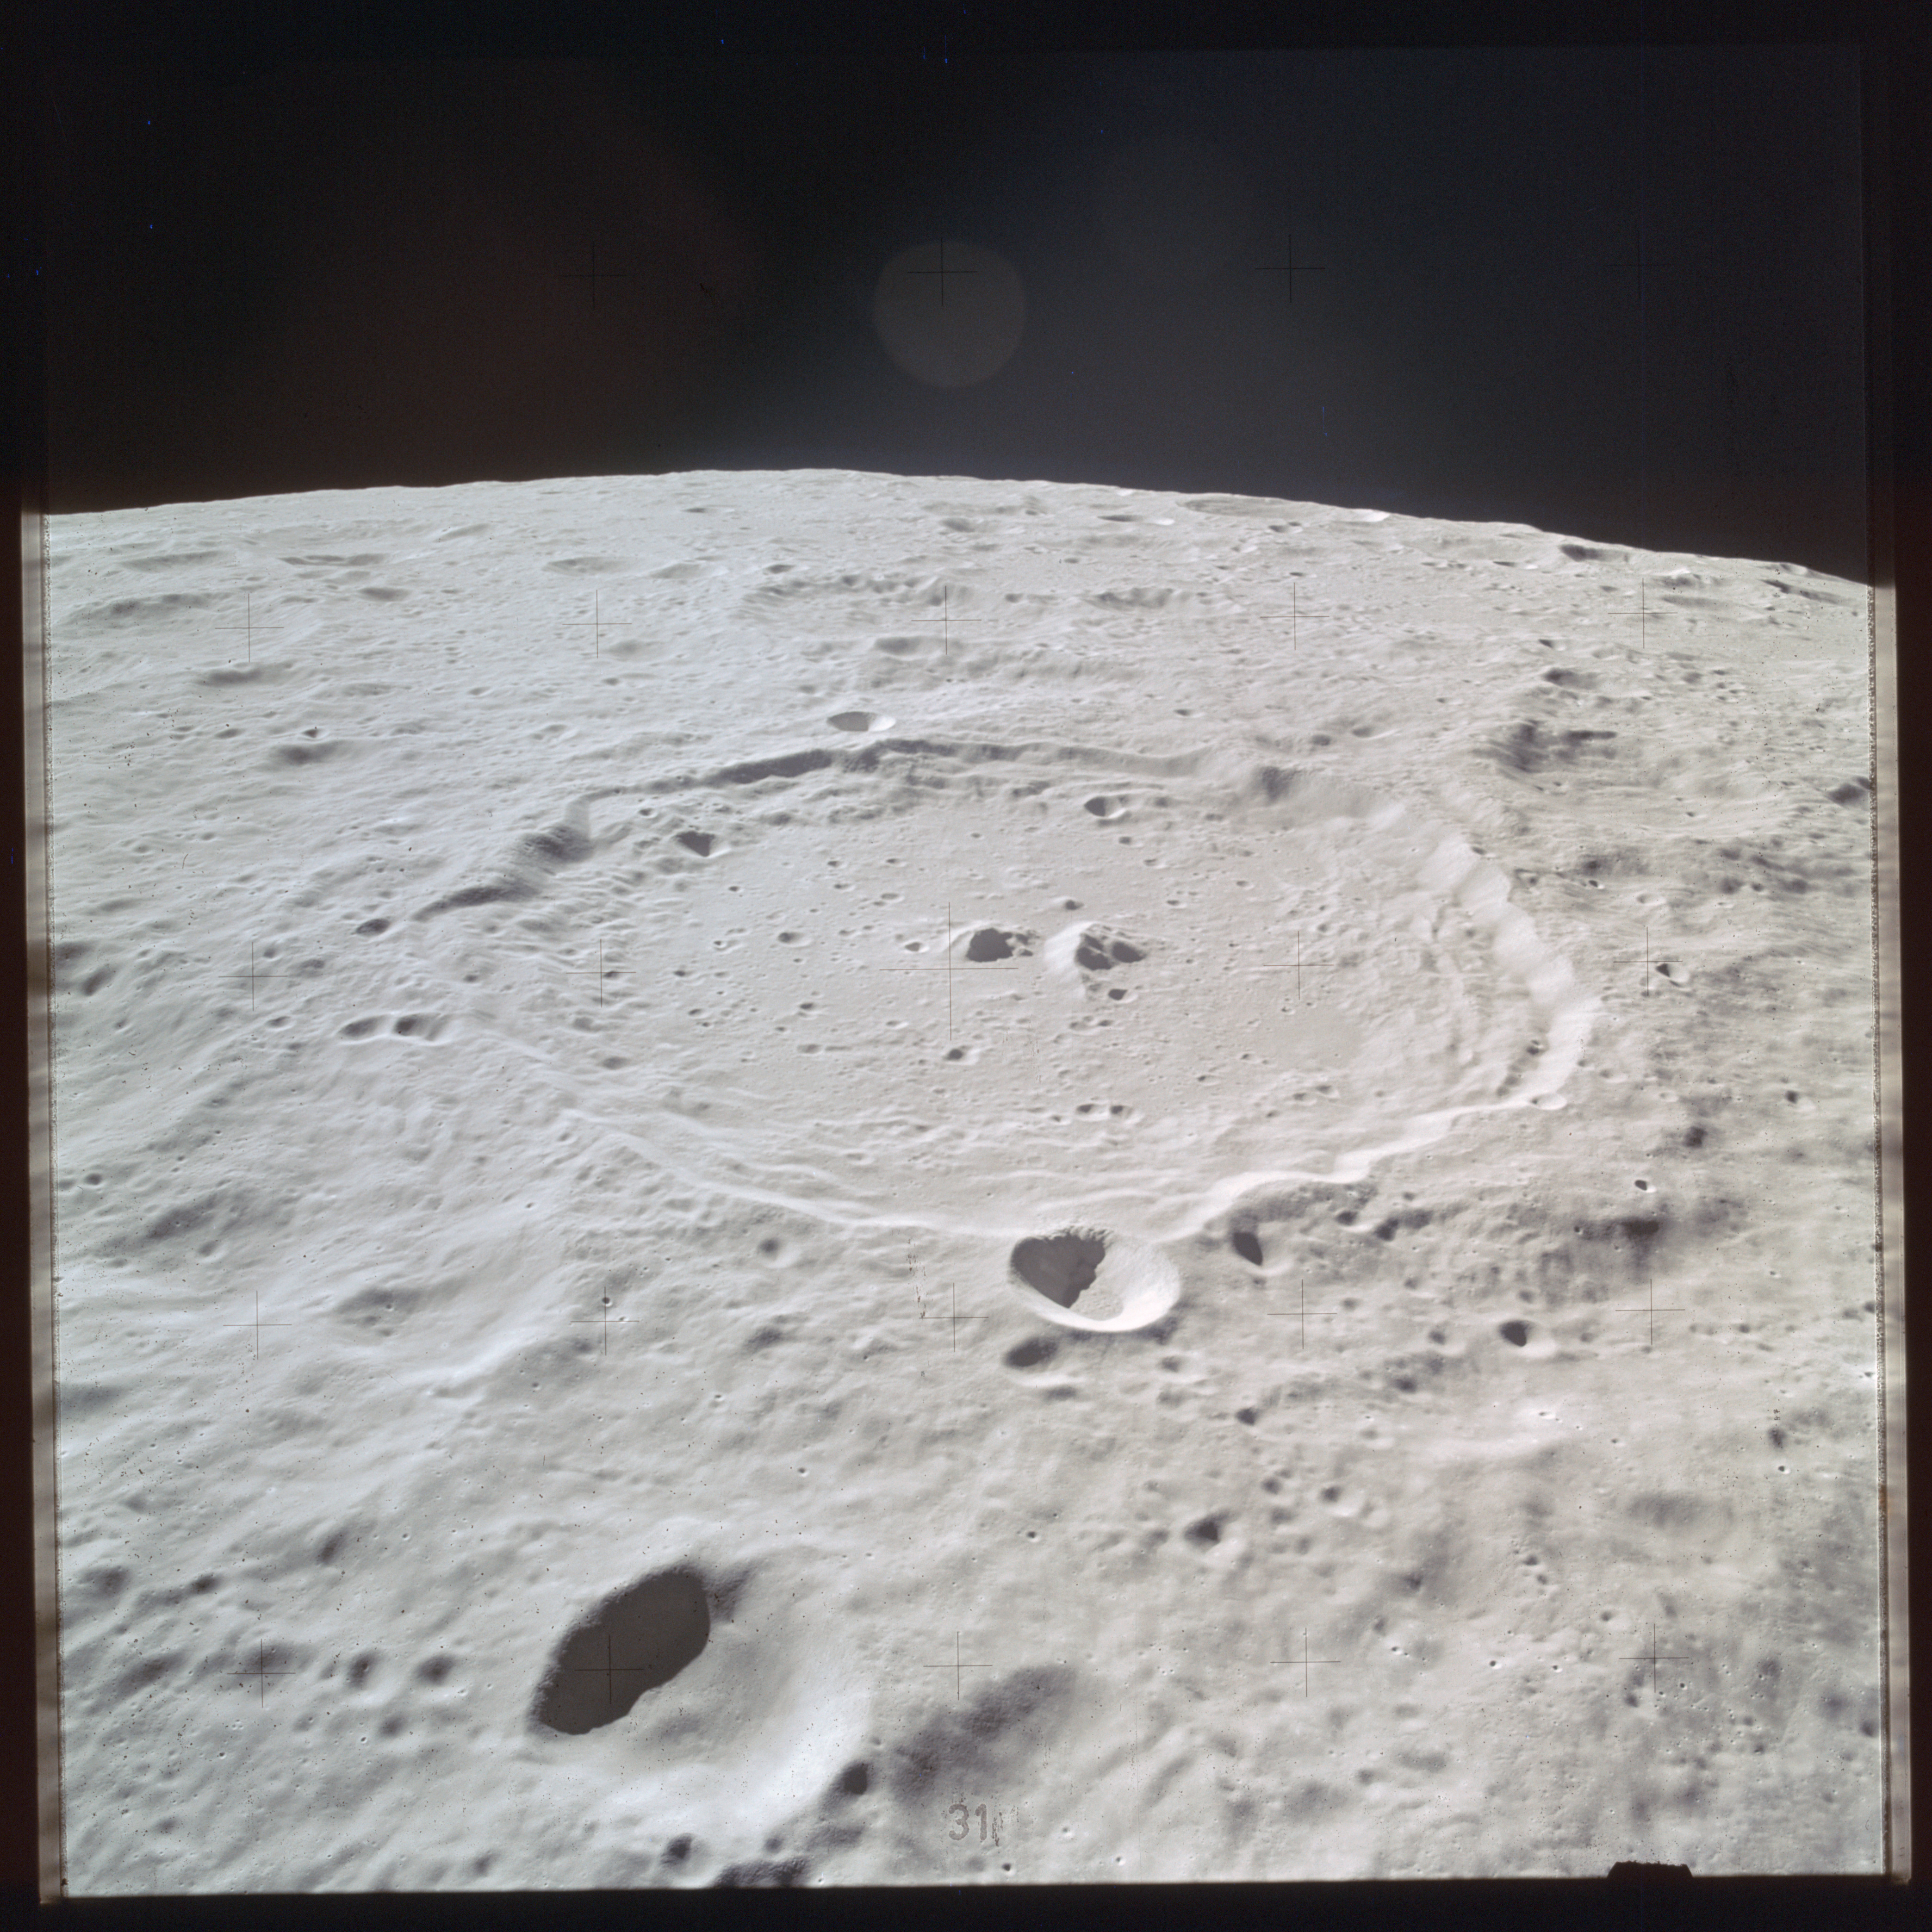
This is Apollo Control; 209 hours, 42 minutes Ground Elapsed Time. 1 hour, 43 minutes remaining in the Apollo 15 crew sleep period. A little over a minute ago, Apollo 15 spacecraft Endeavour went behind the Moon during the end of the 67th lunar revolution. All well aboard the spacecraft - all systems are percolating normally. Apollo 15 in an orbit measuring 52 nautical miles [96.3 km] at pericynthion and 66.6 [123.3 km] at apocynthion. Current height is, or at LOS was 52.2 [96.7 km]. Velocity; 5,387 feet per second [1,642 m/s]. During this last frontside pass, the cabin pressure was holding steady 5.2 pounds per square inch [35.9 kiloPascals] and a temperature of 72 degrees [Fahrenheit, 22°C]. At about 4:15 Houston time, the lunar surface television camera on the Rover vehicle, just east of what - what is left of the Lunar Module Falcon descent stage will be powered up for about 15-minute look-around in the landing site area; camera will be zoomed and panned only, but no tilt commands will be given. It will pan the local horizon and also zoom in on some local features such as craters and outcroppings for geology investigators. And at 209 hours, 45 minutes Ground Elapsed Time; this is Apollo Control.
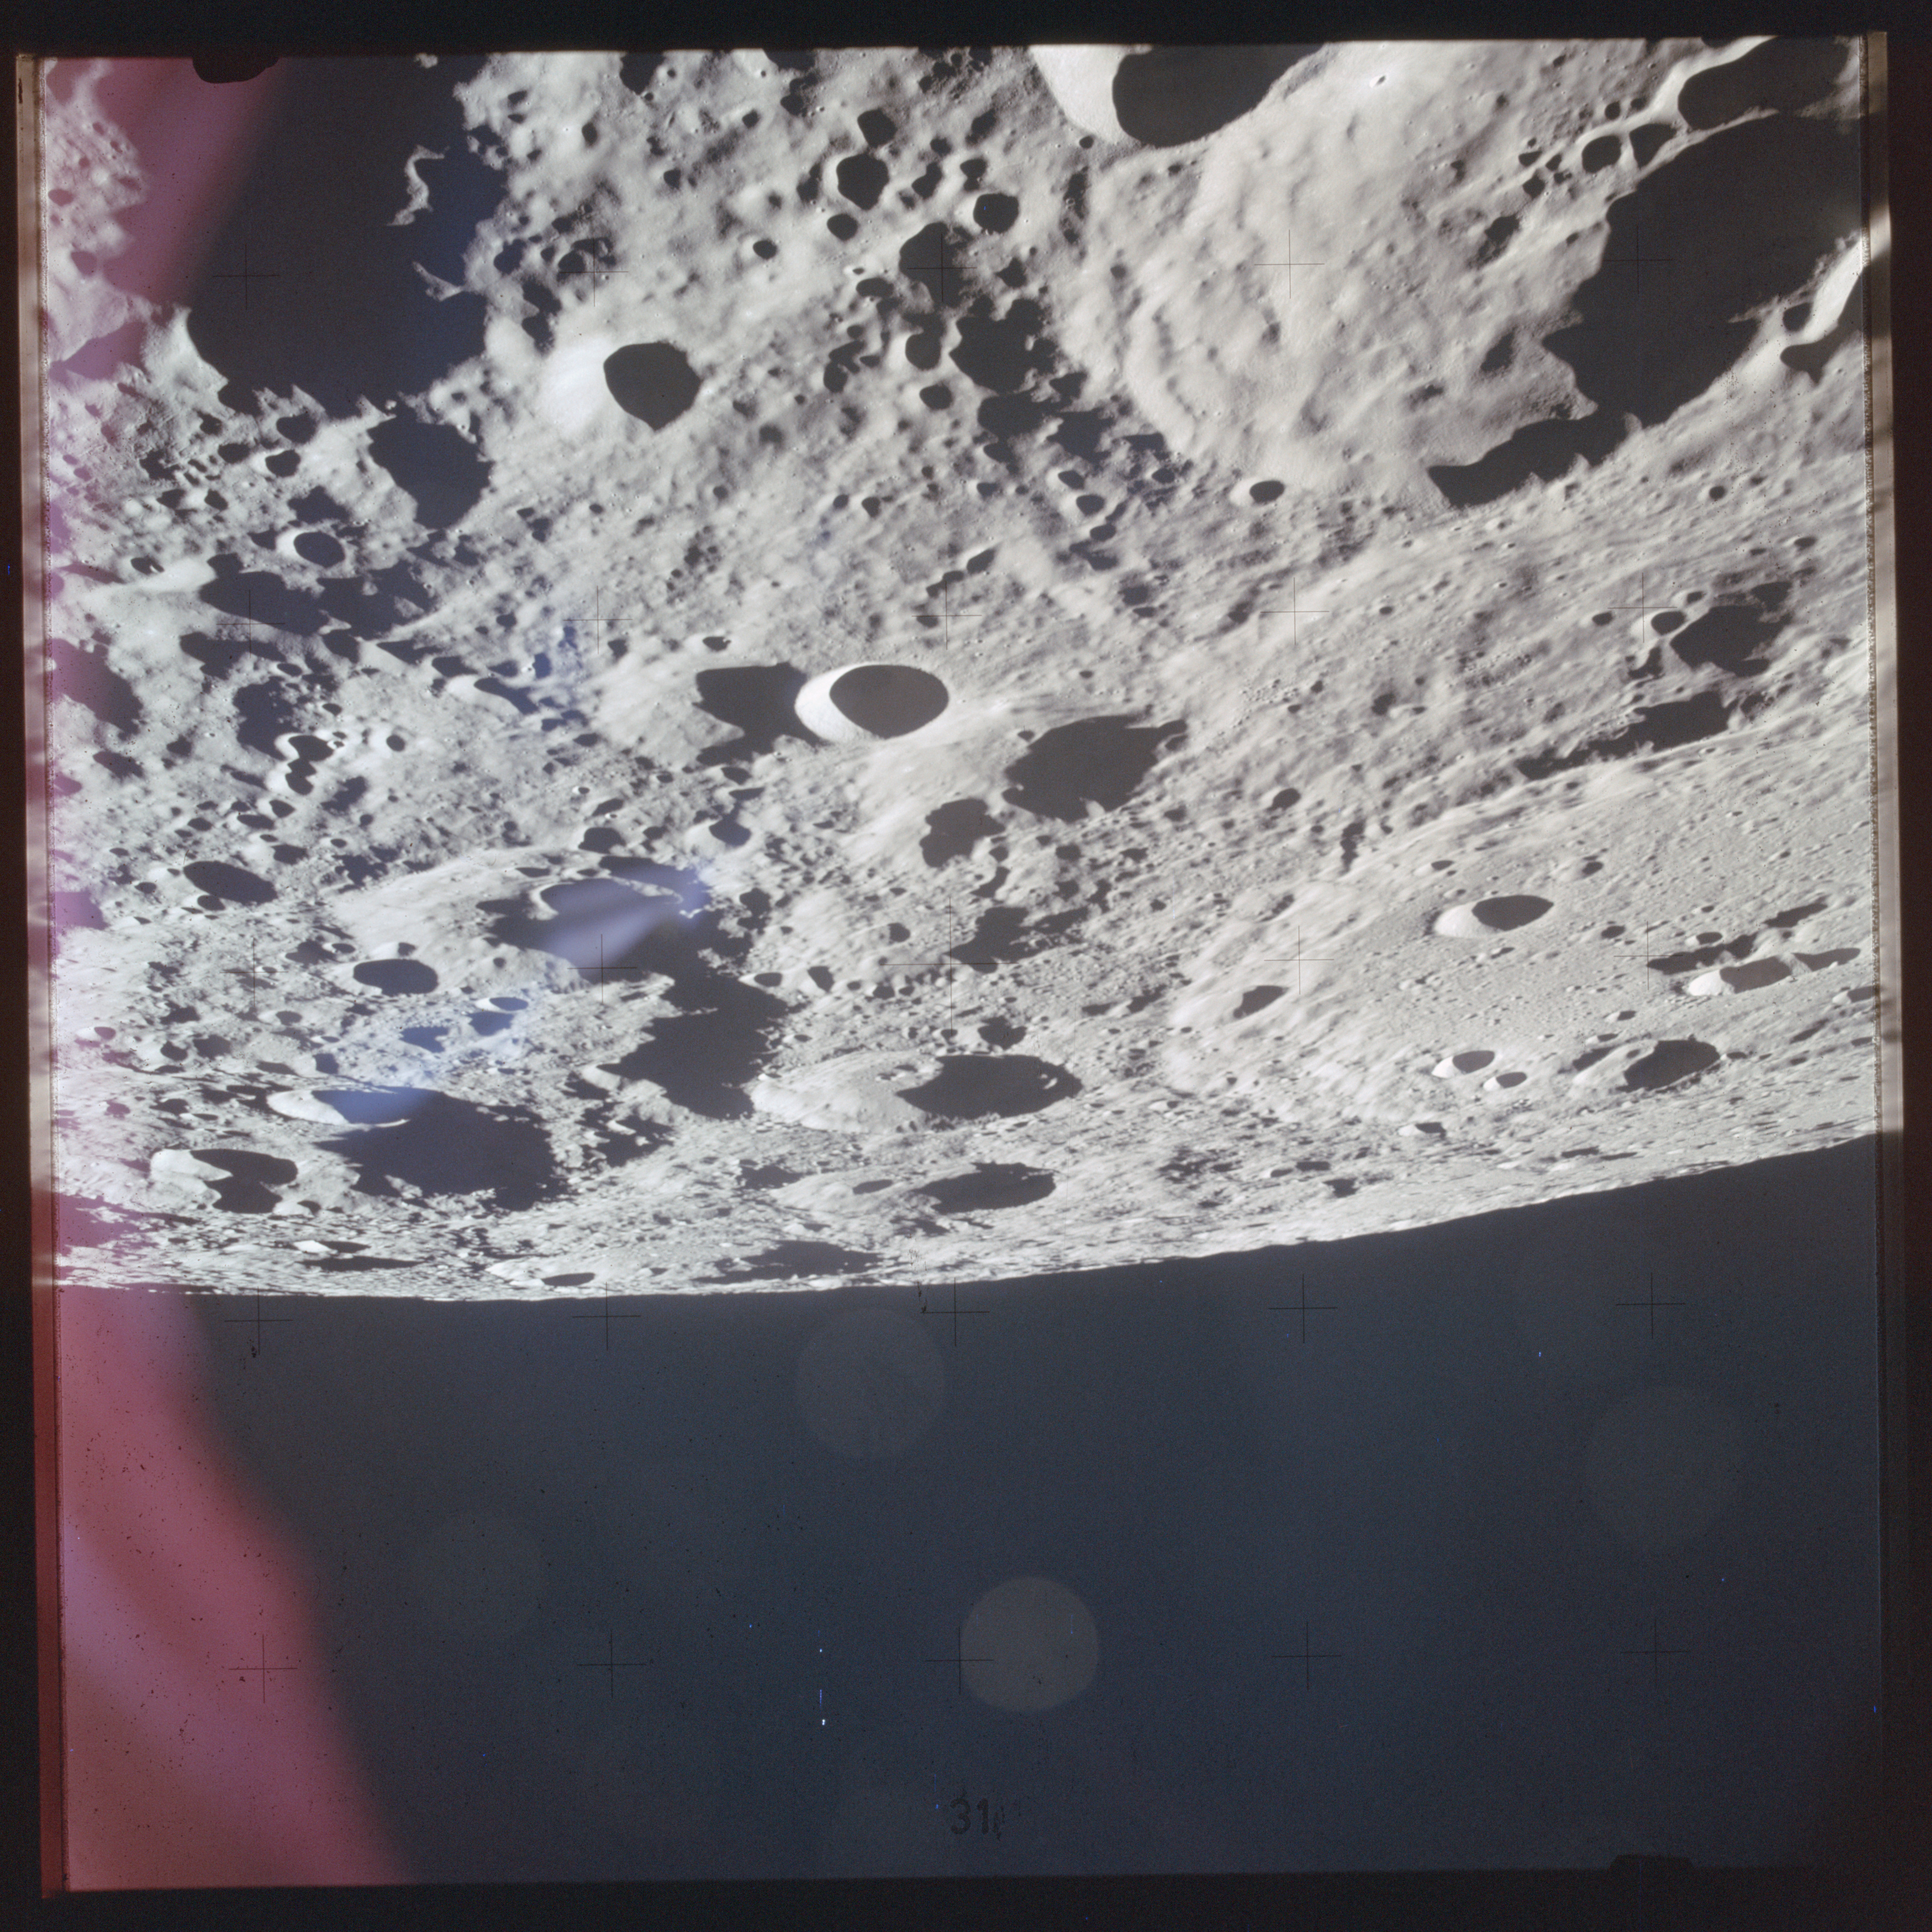
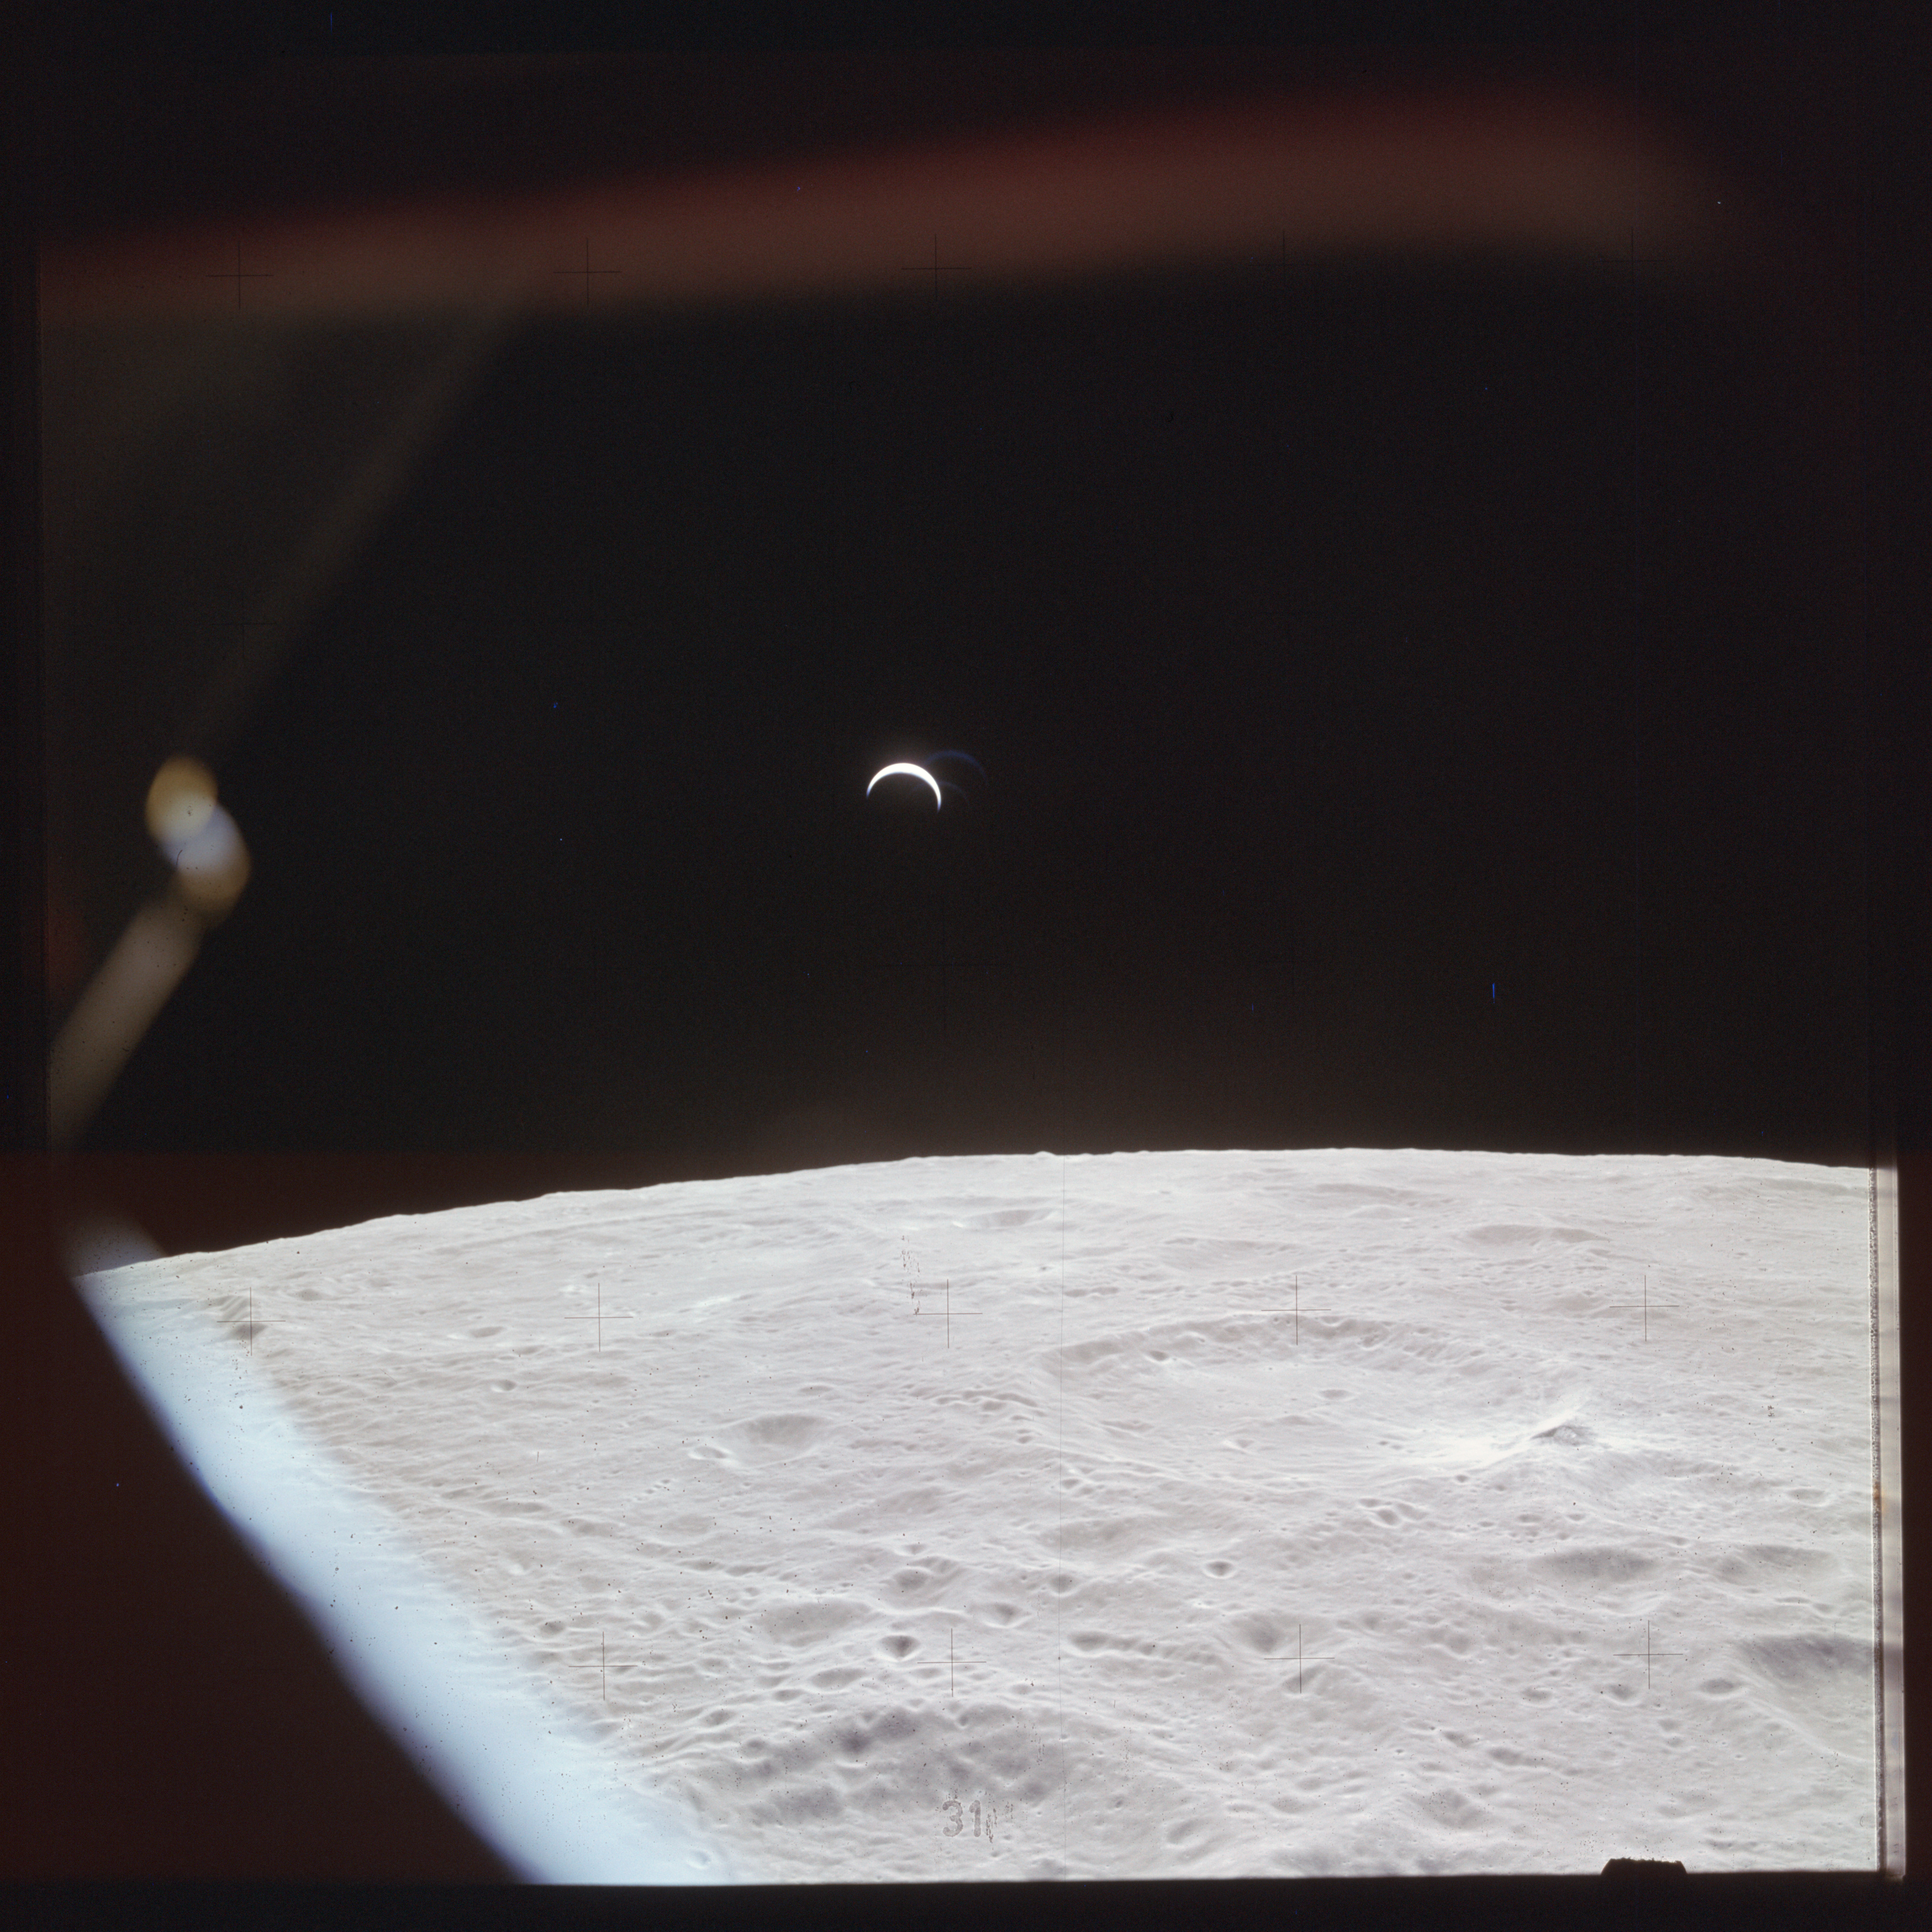
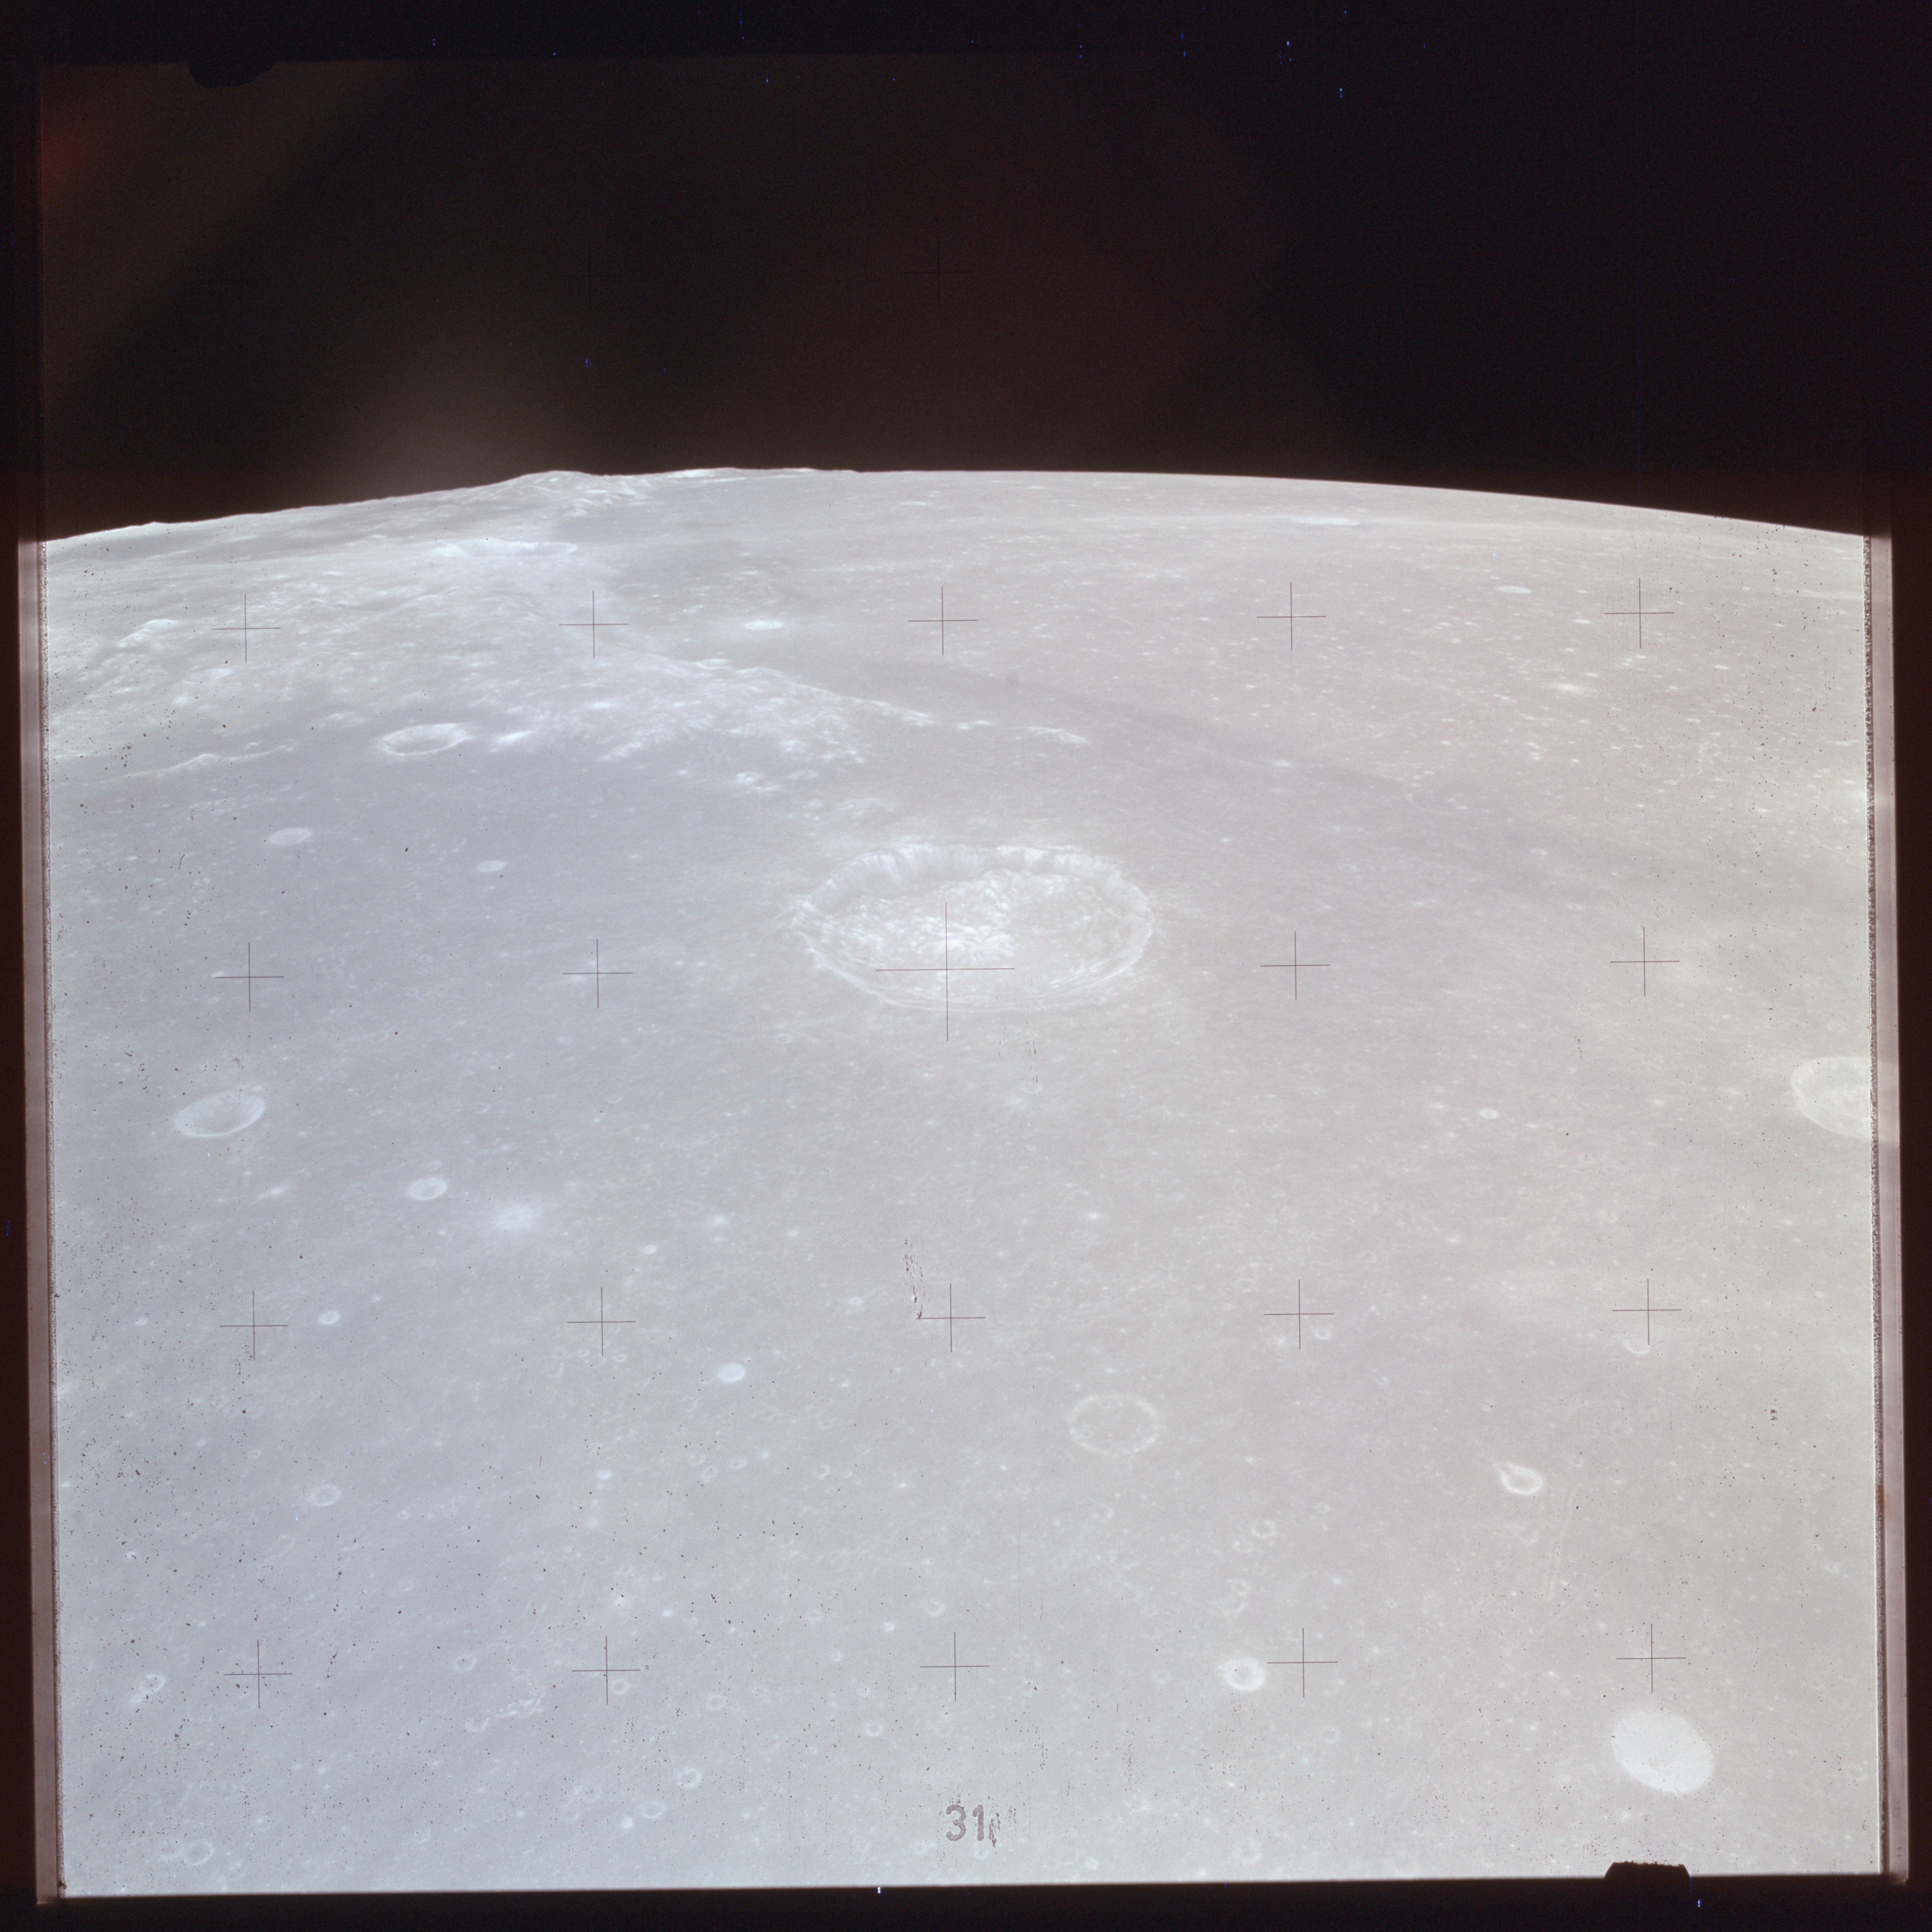
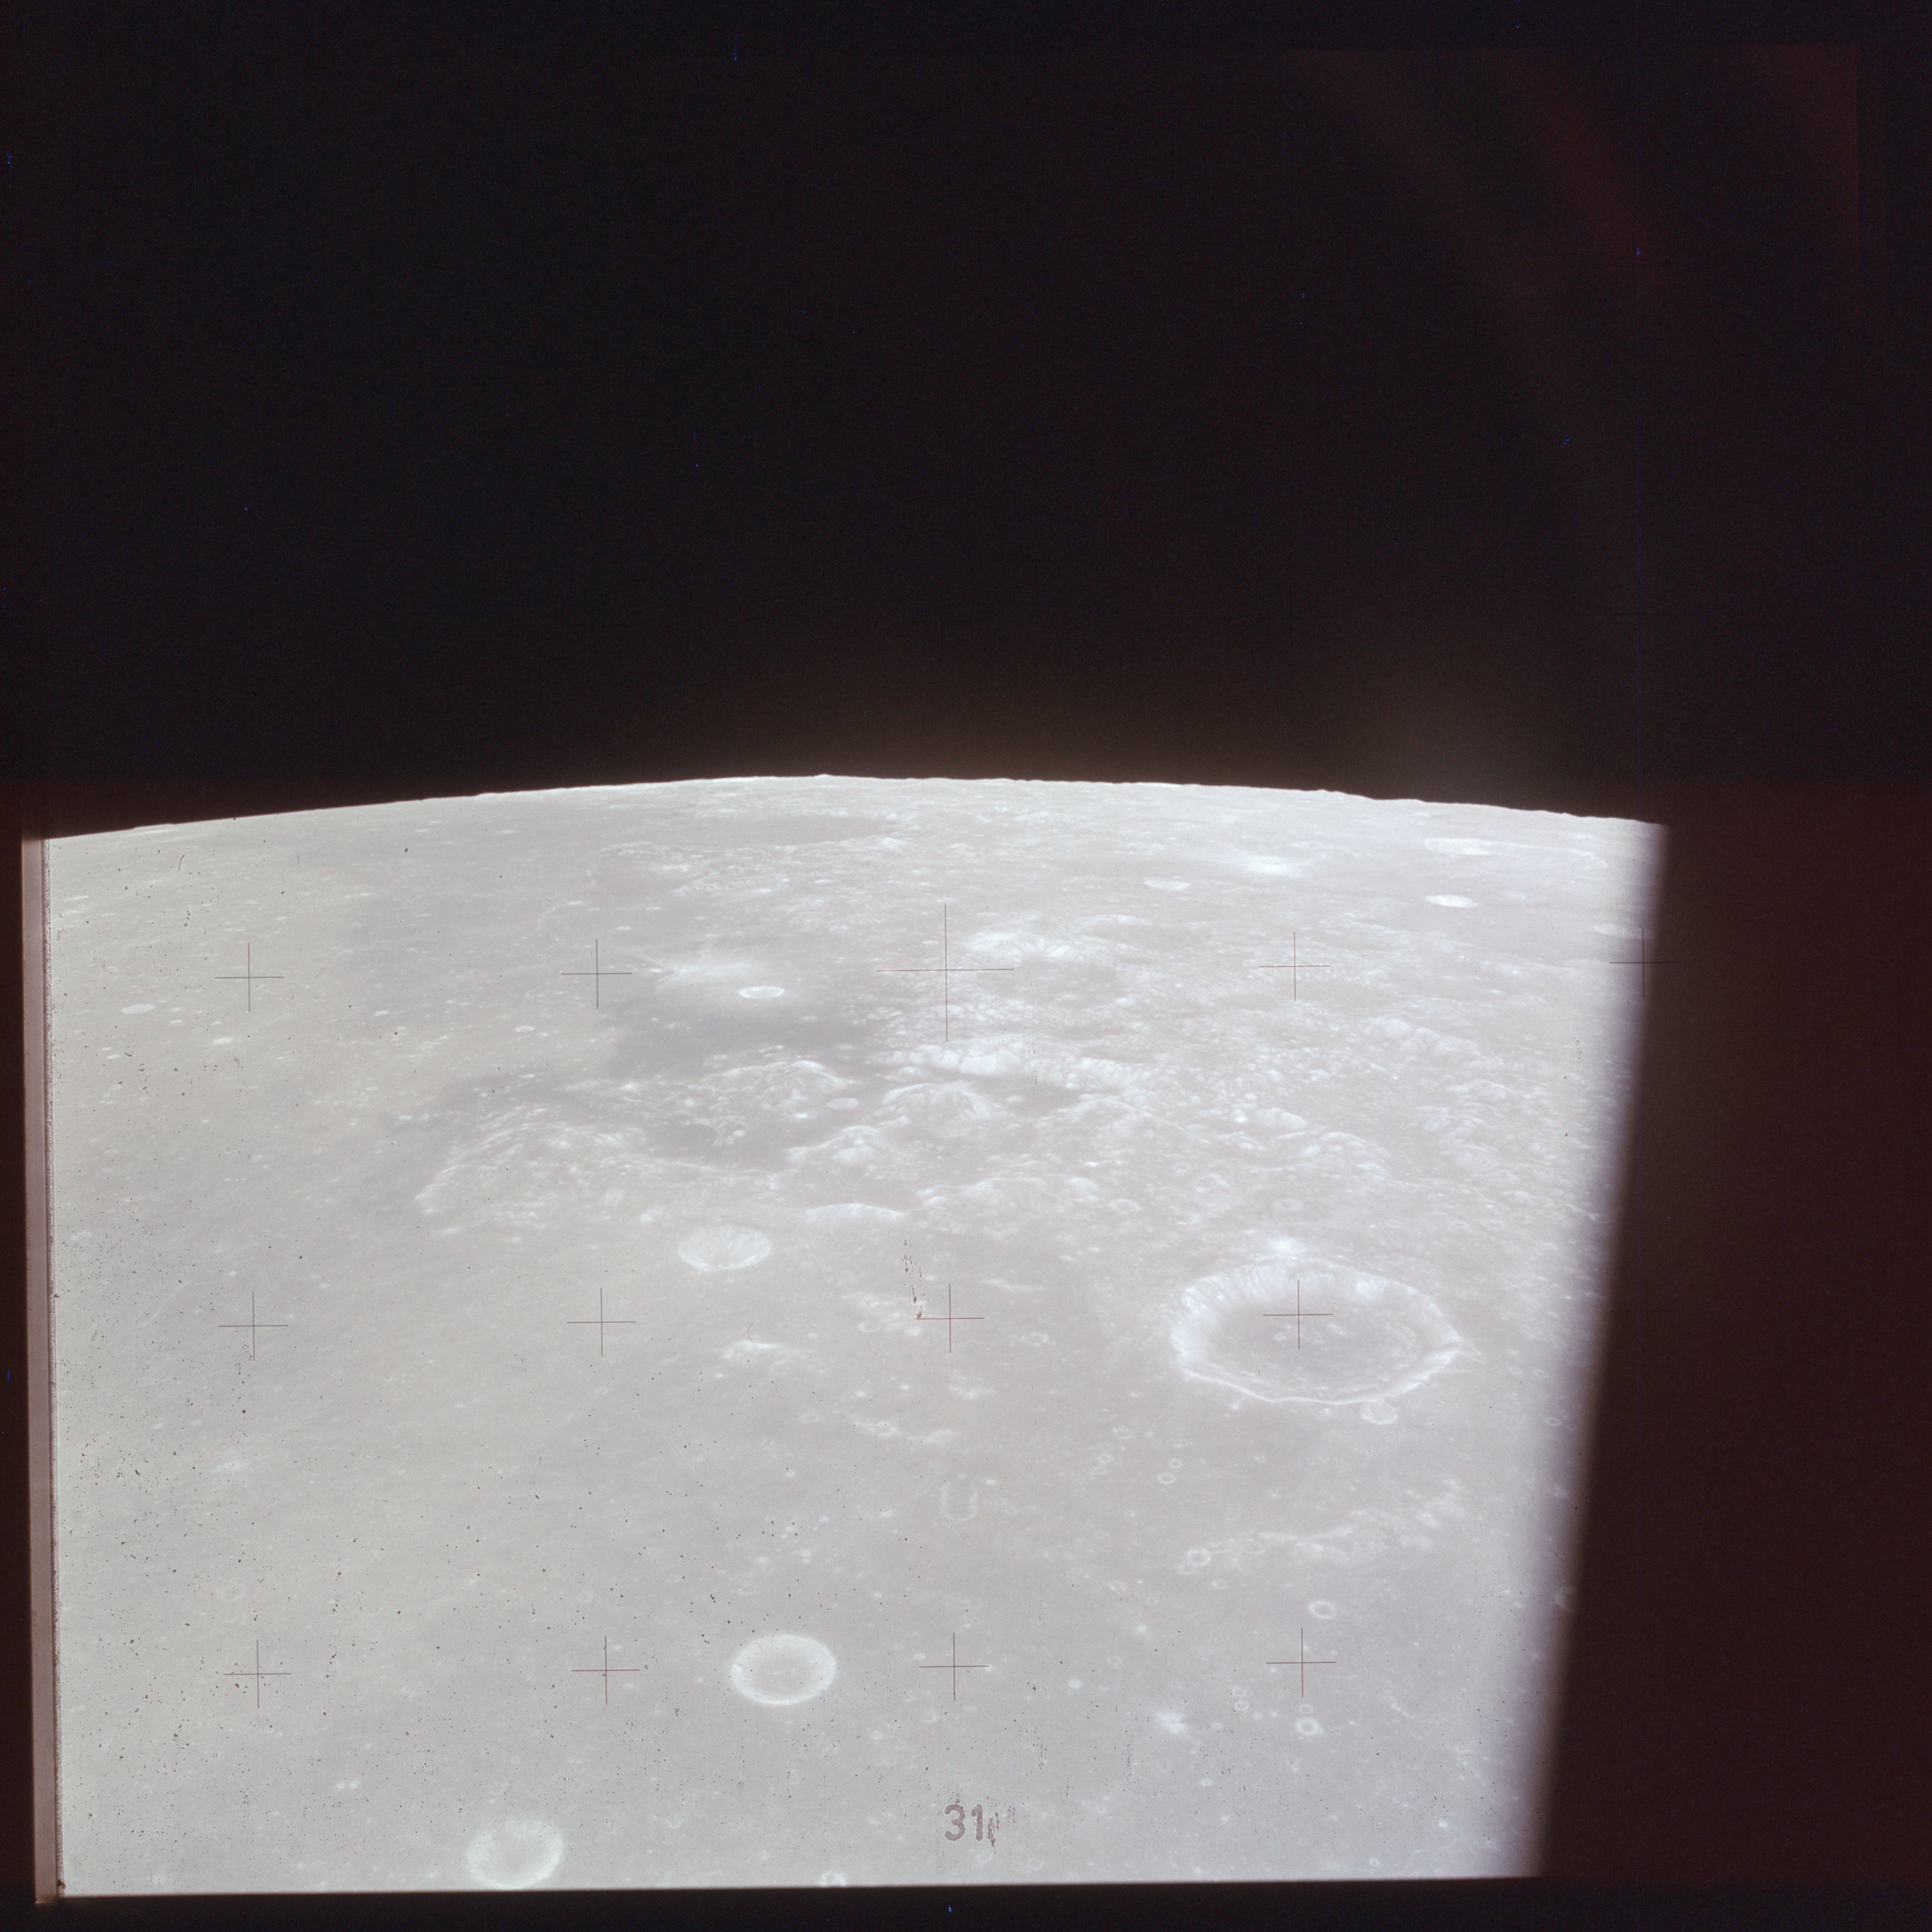
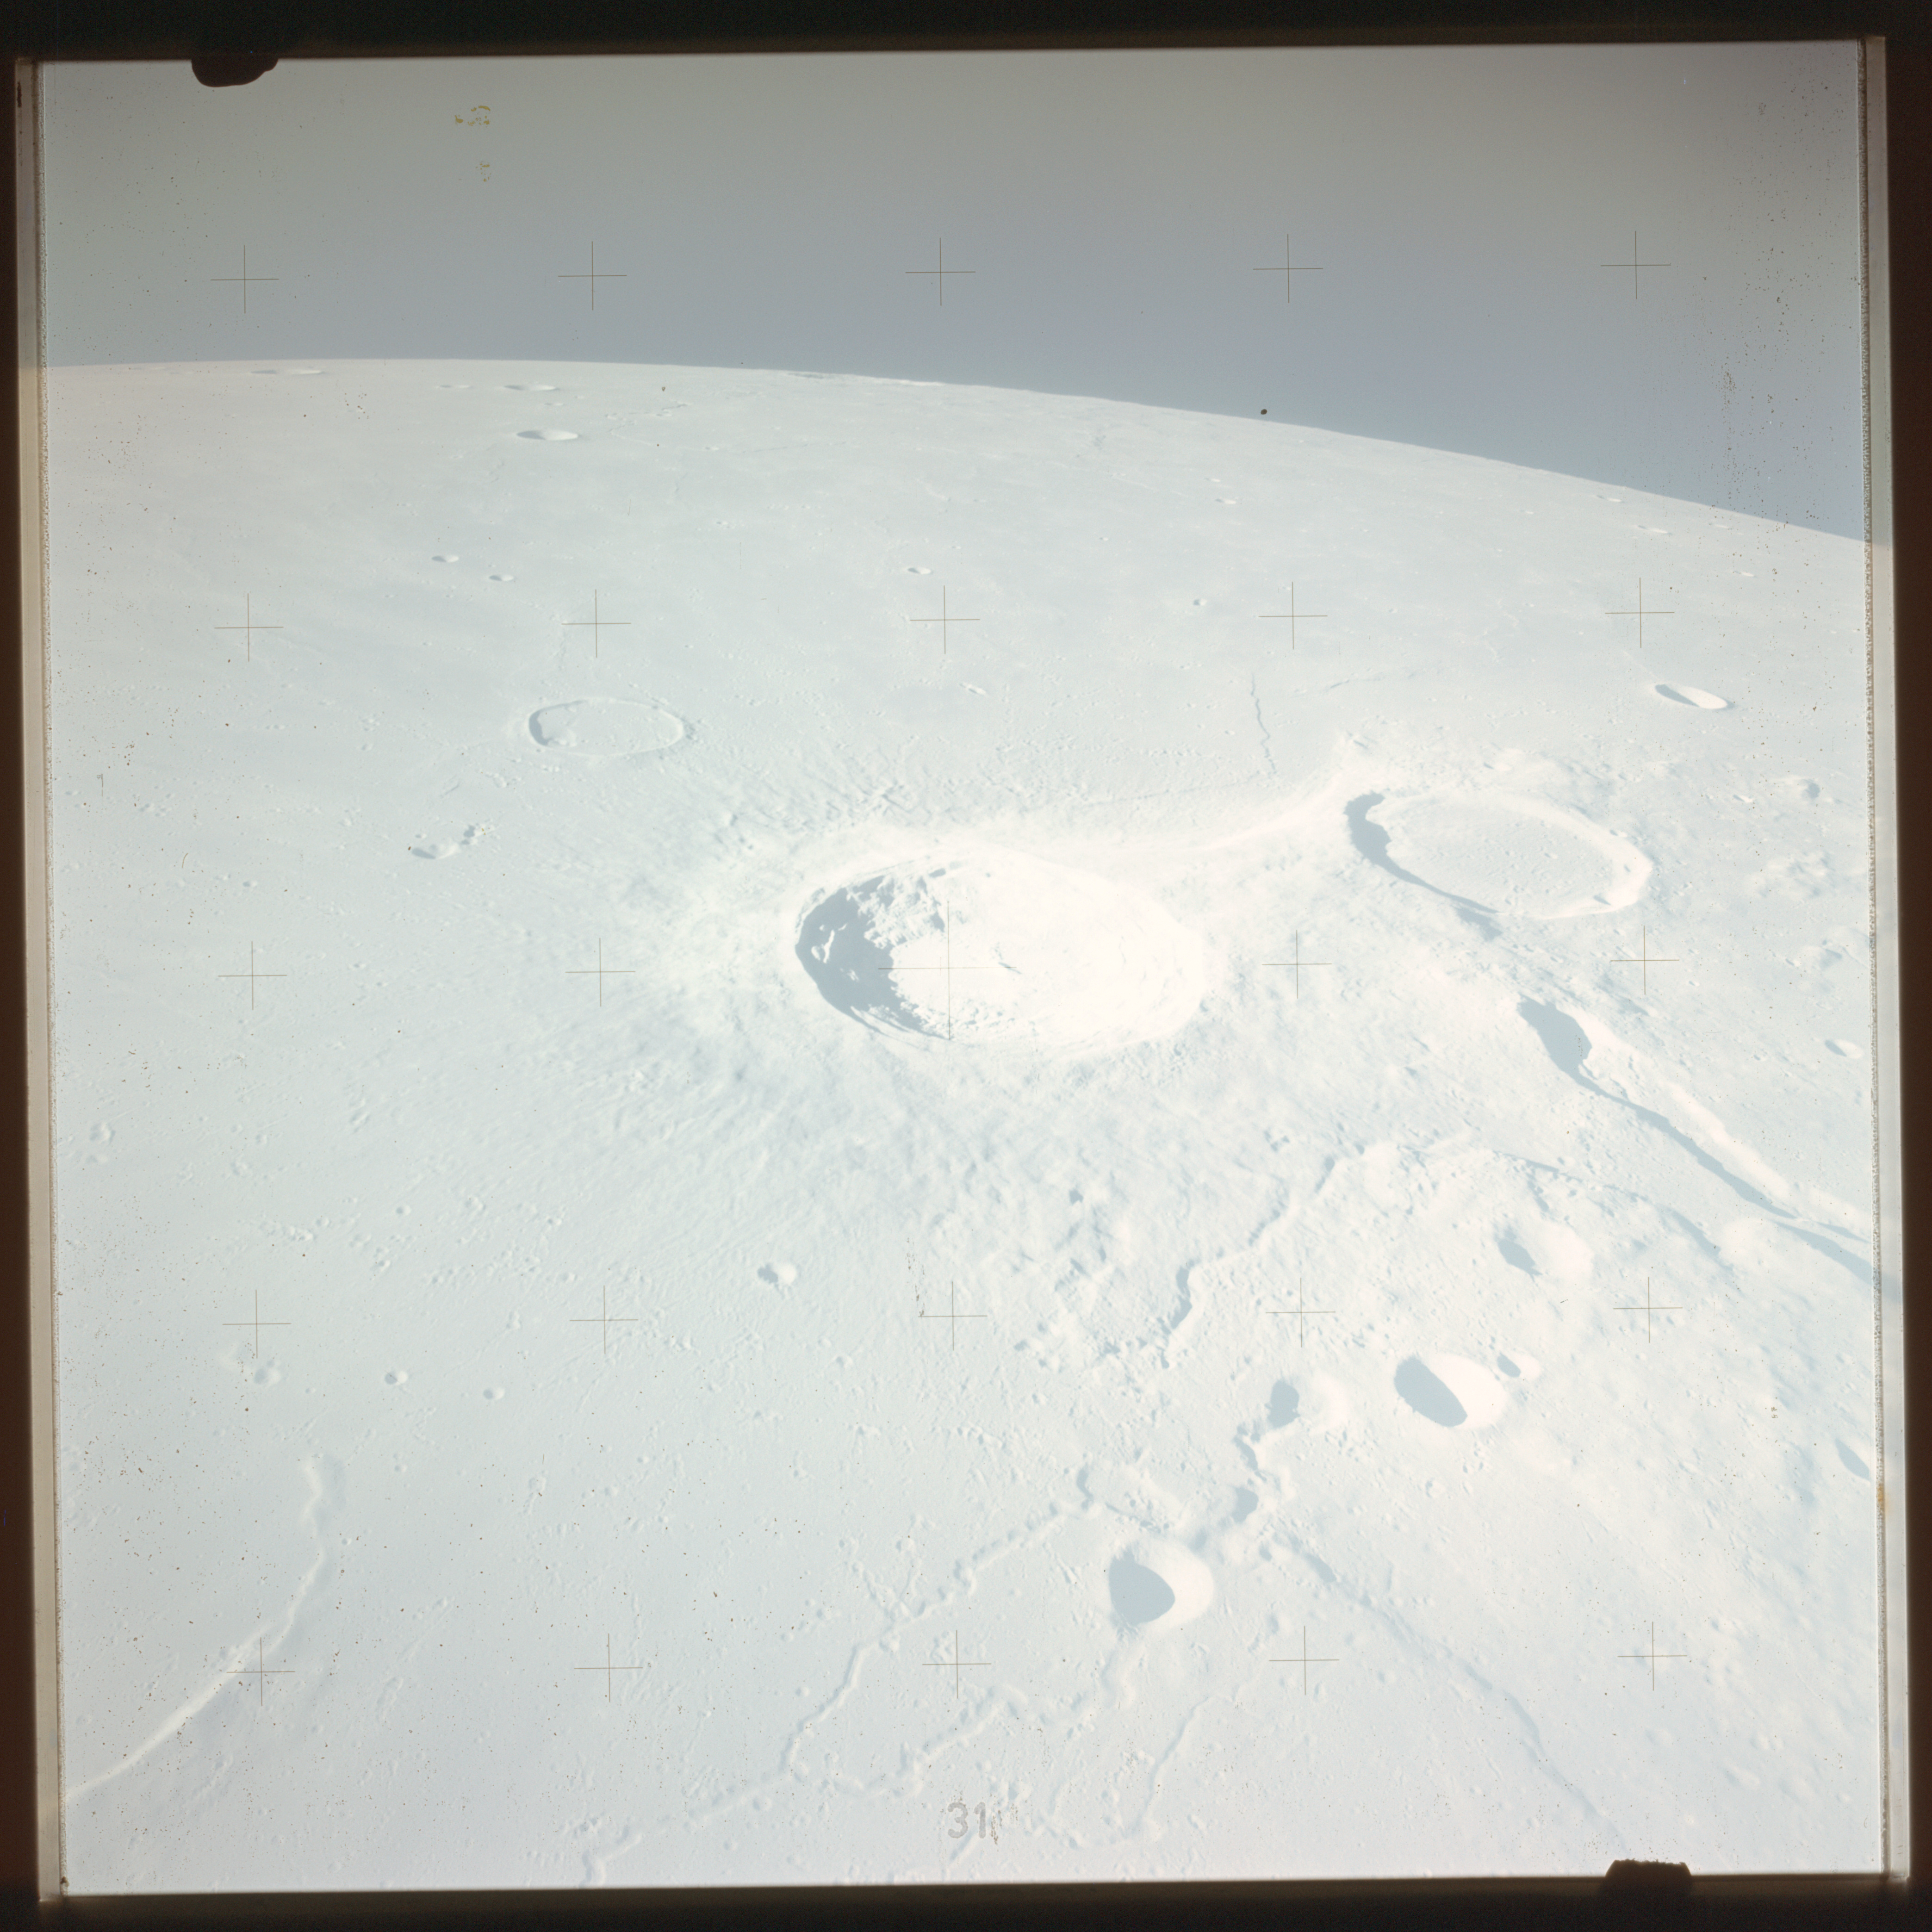
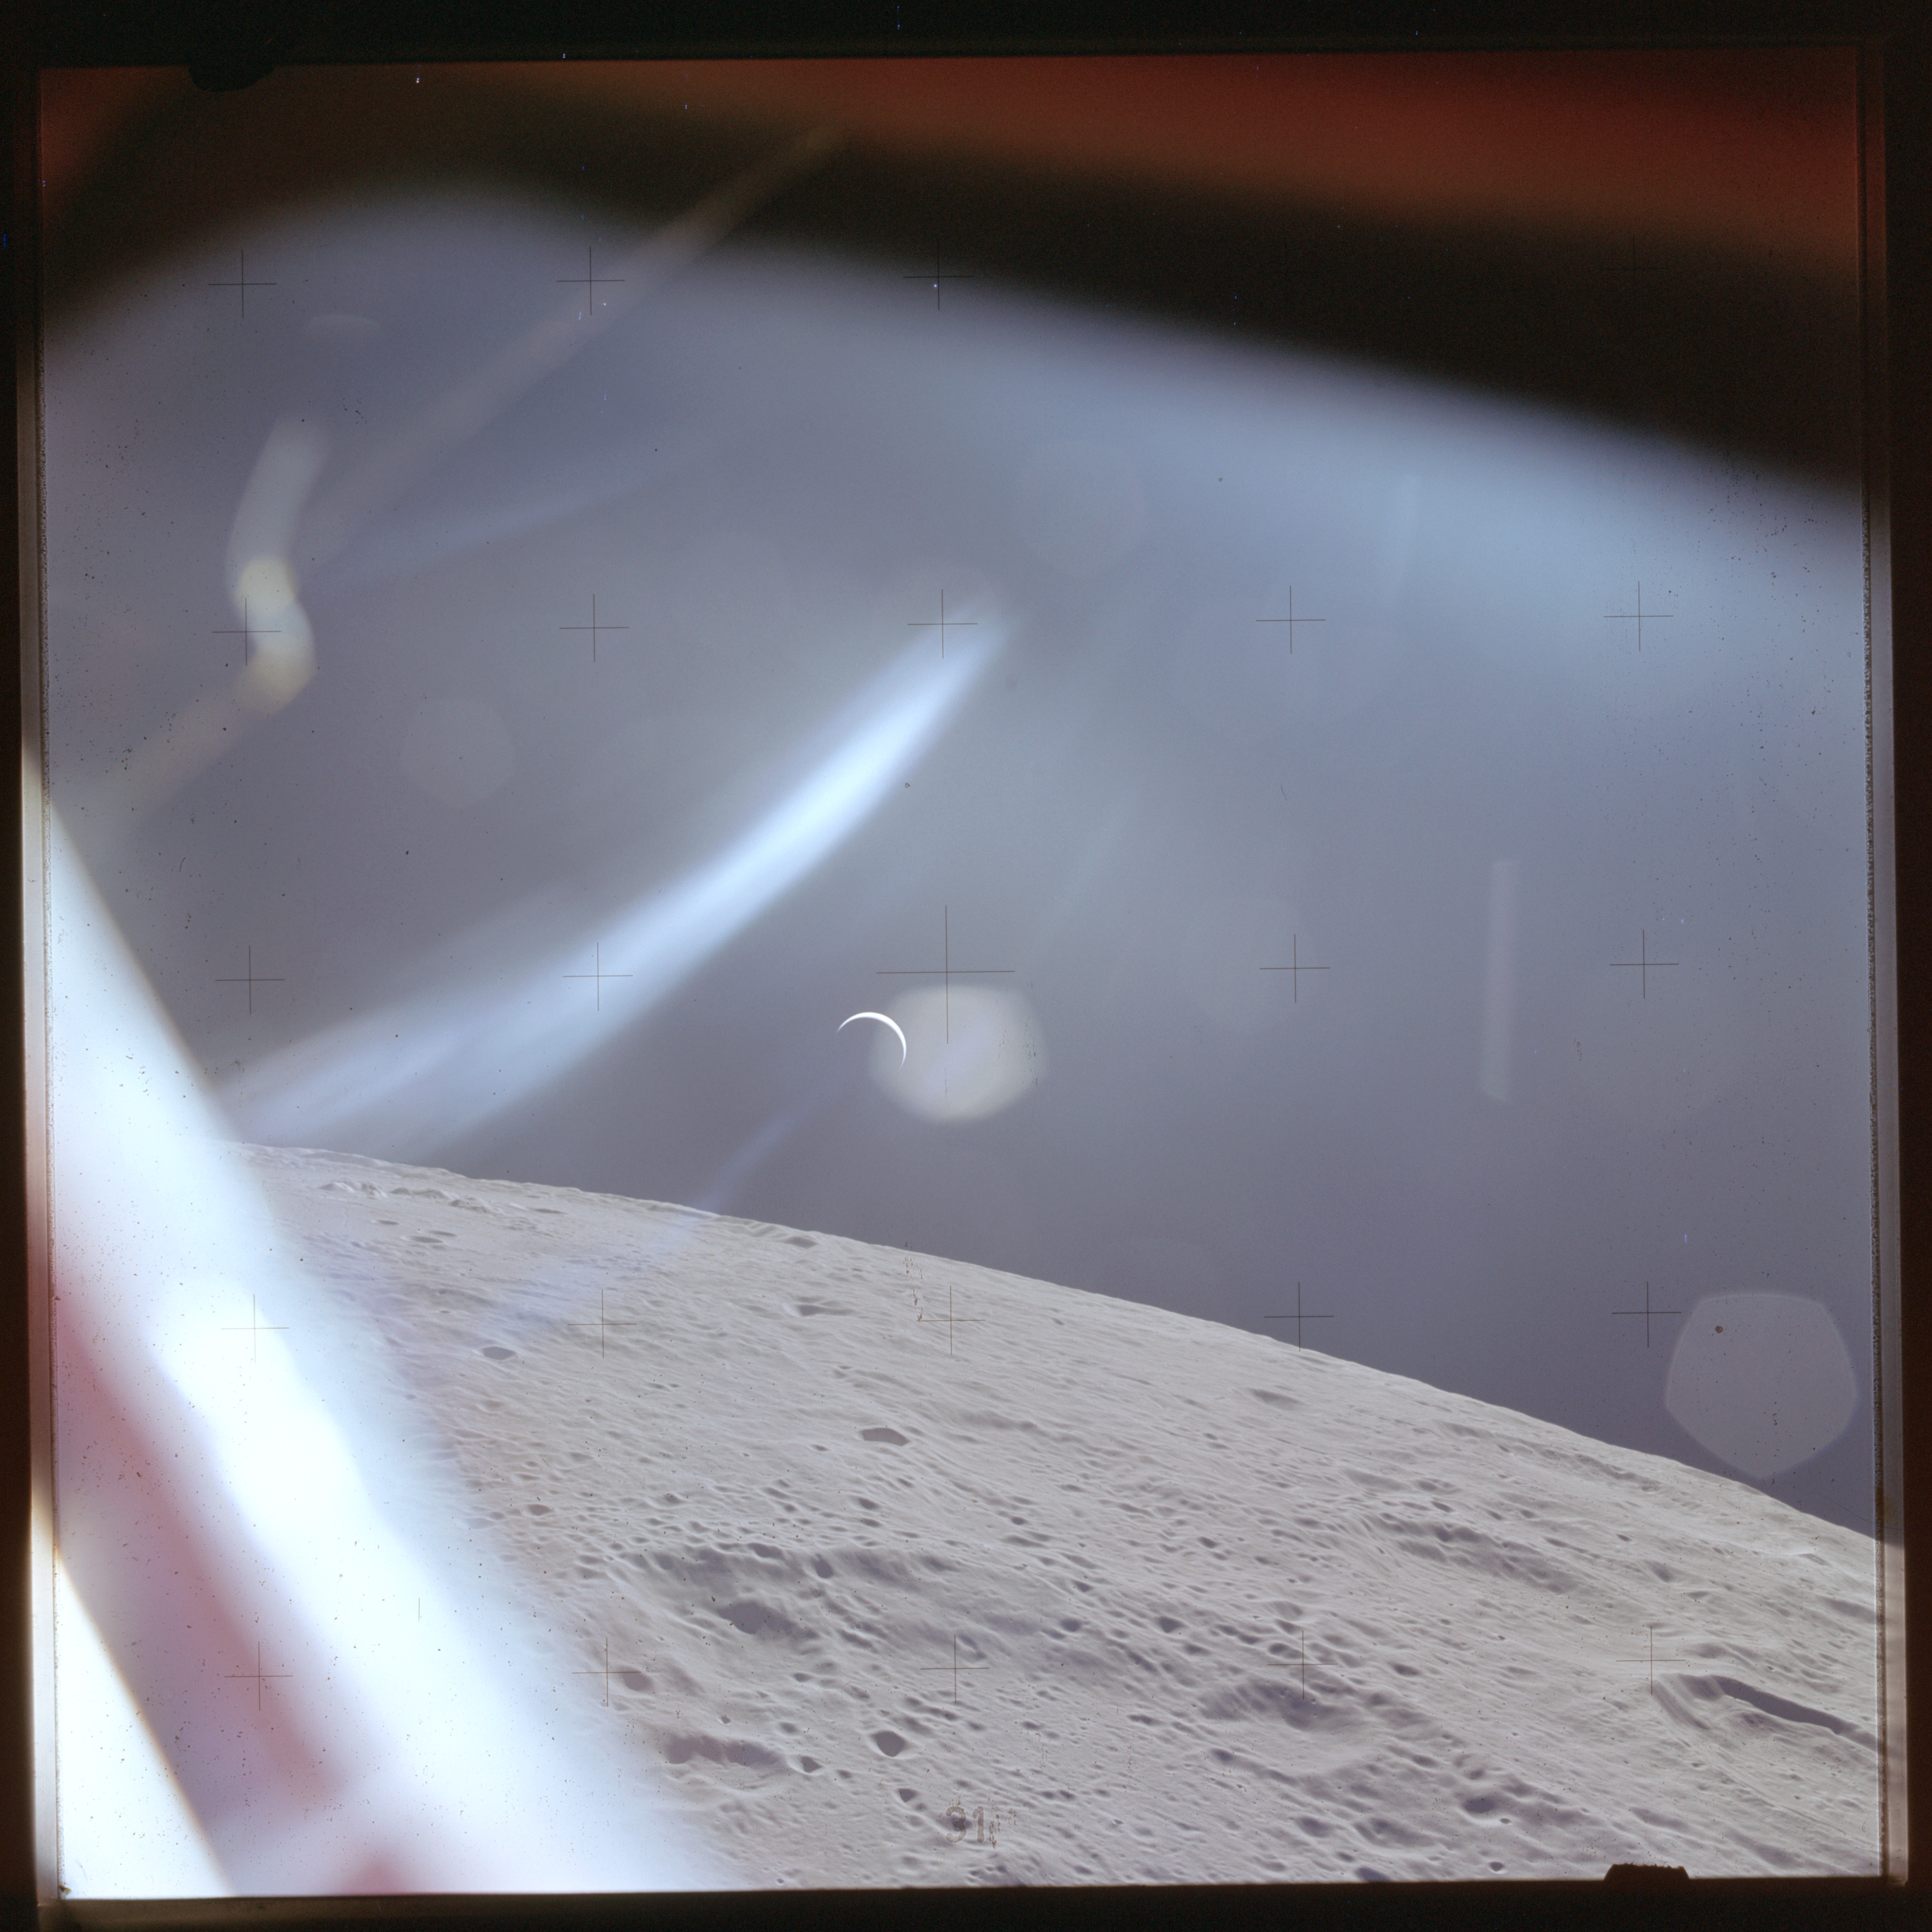
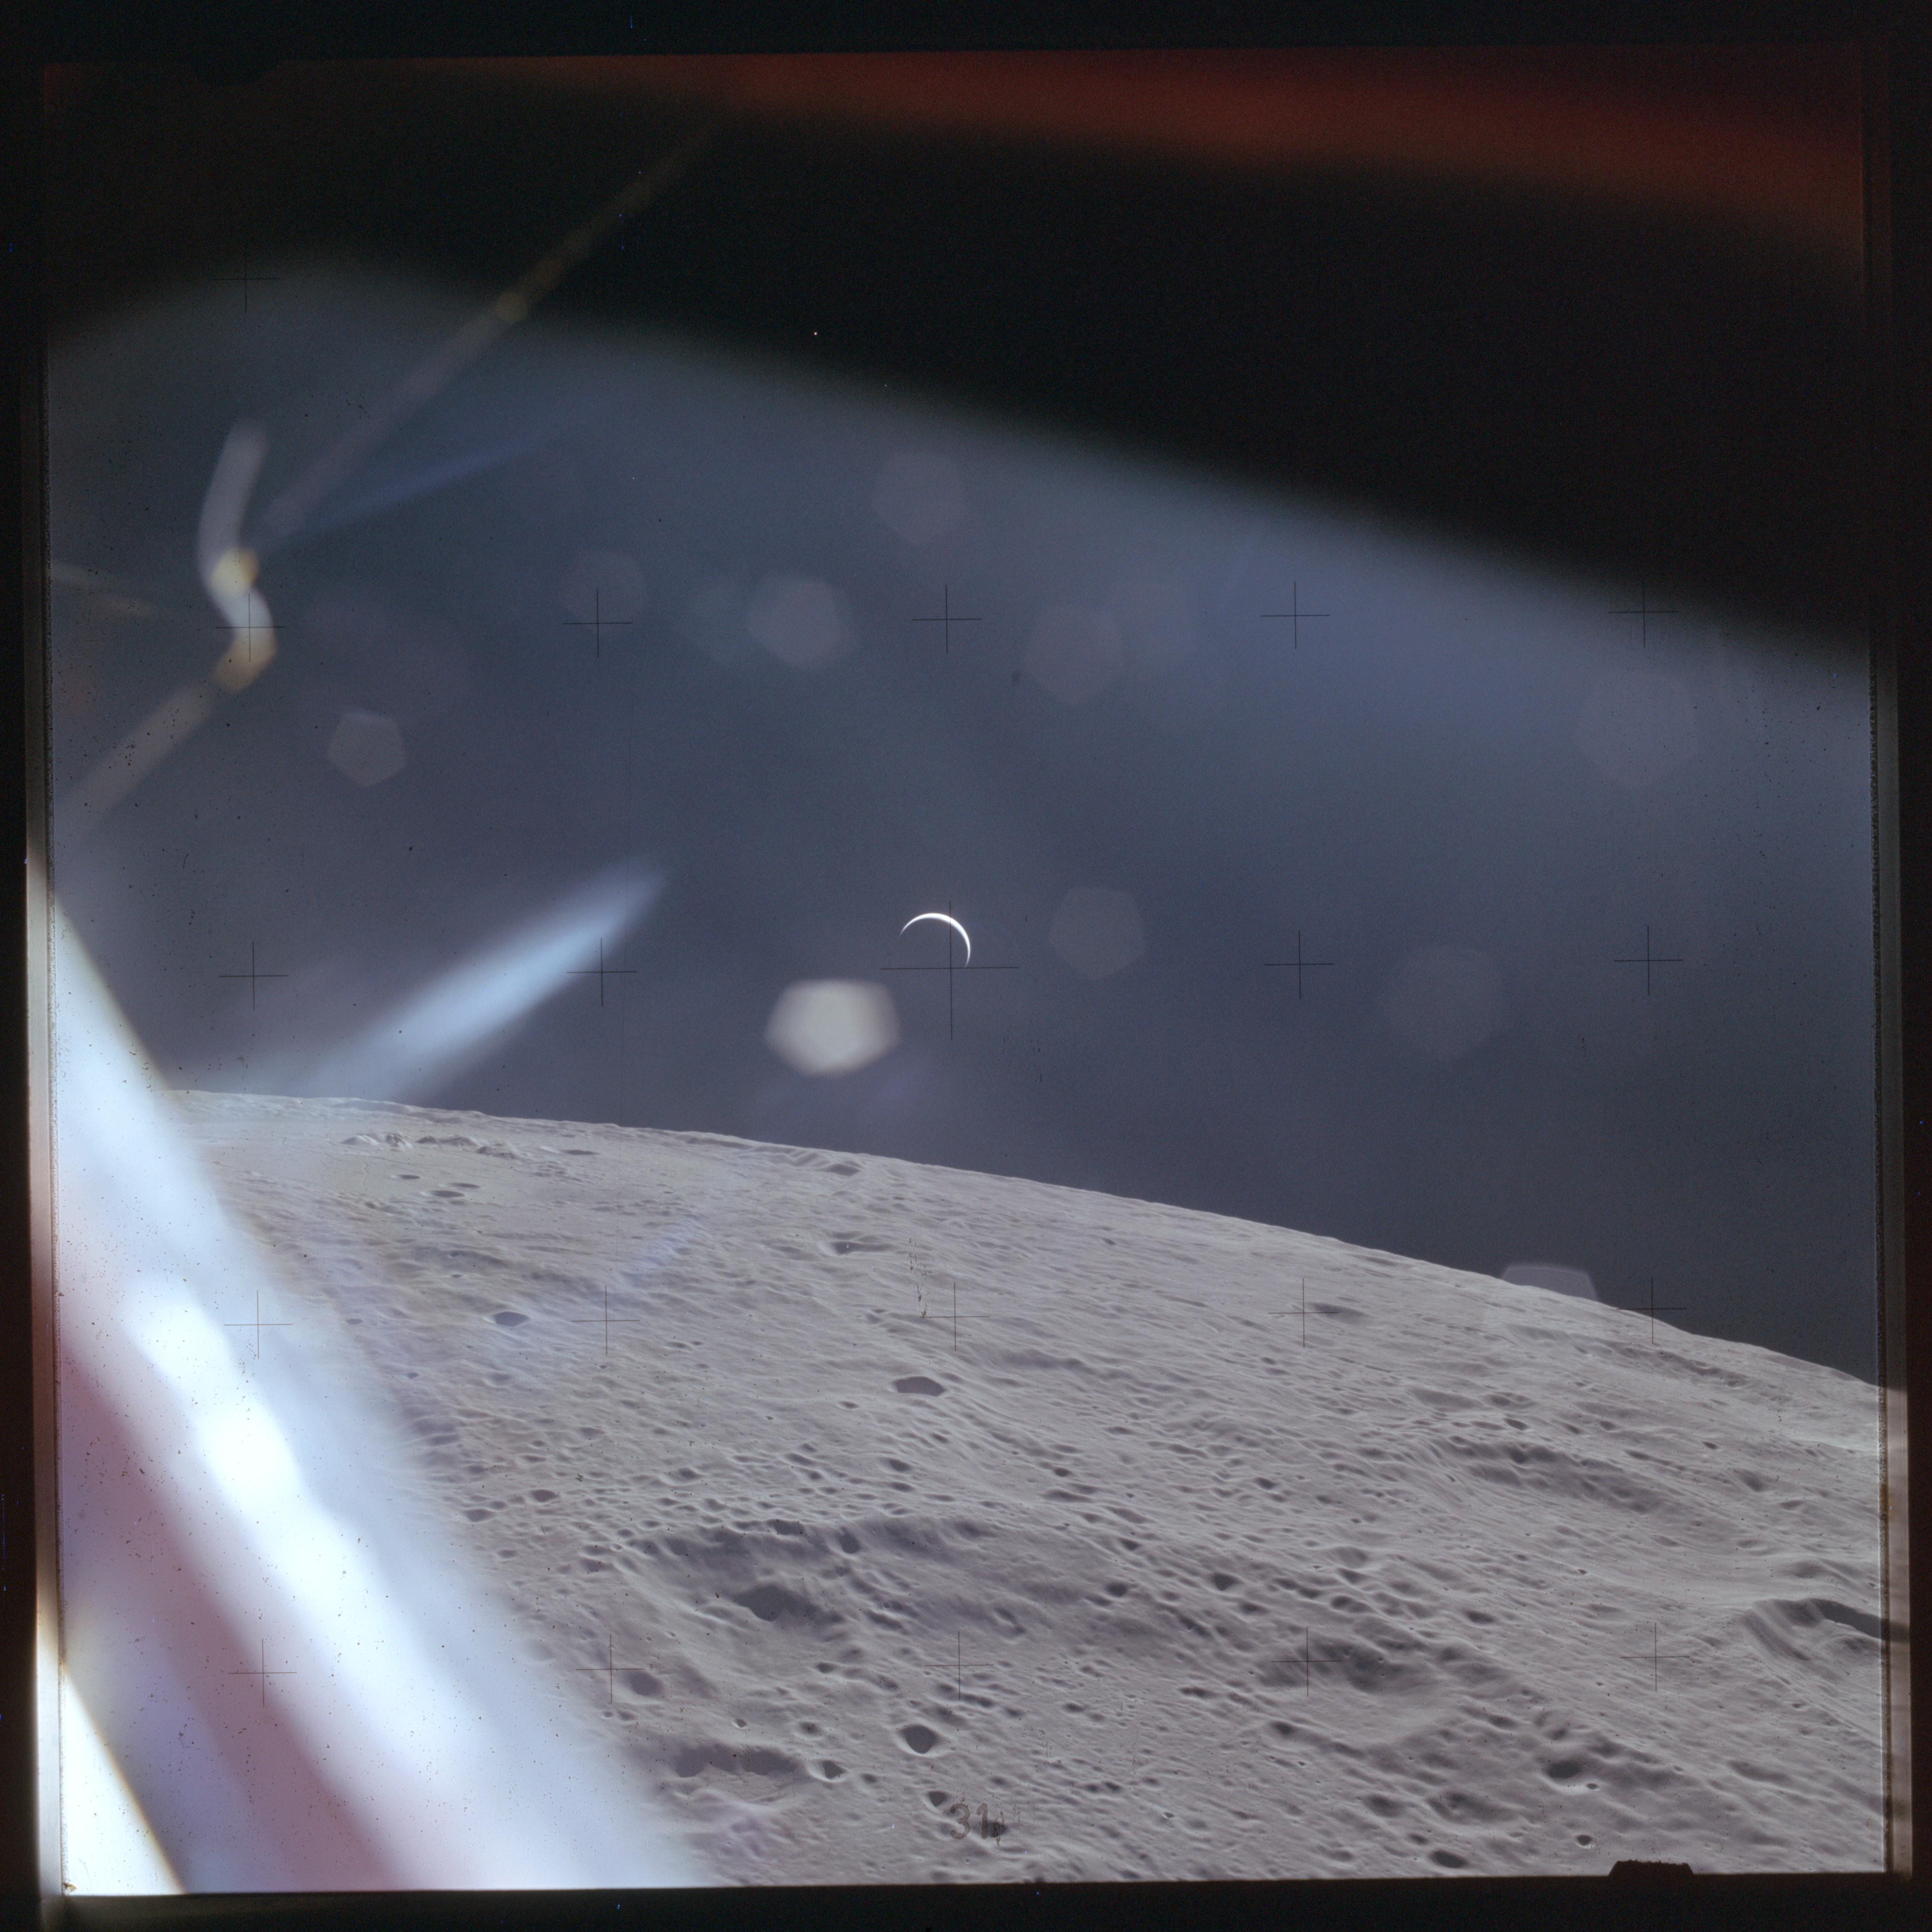
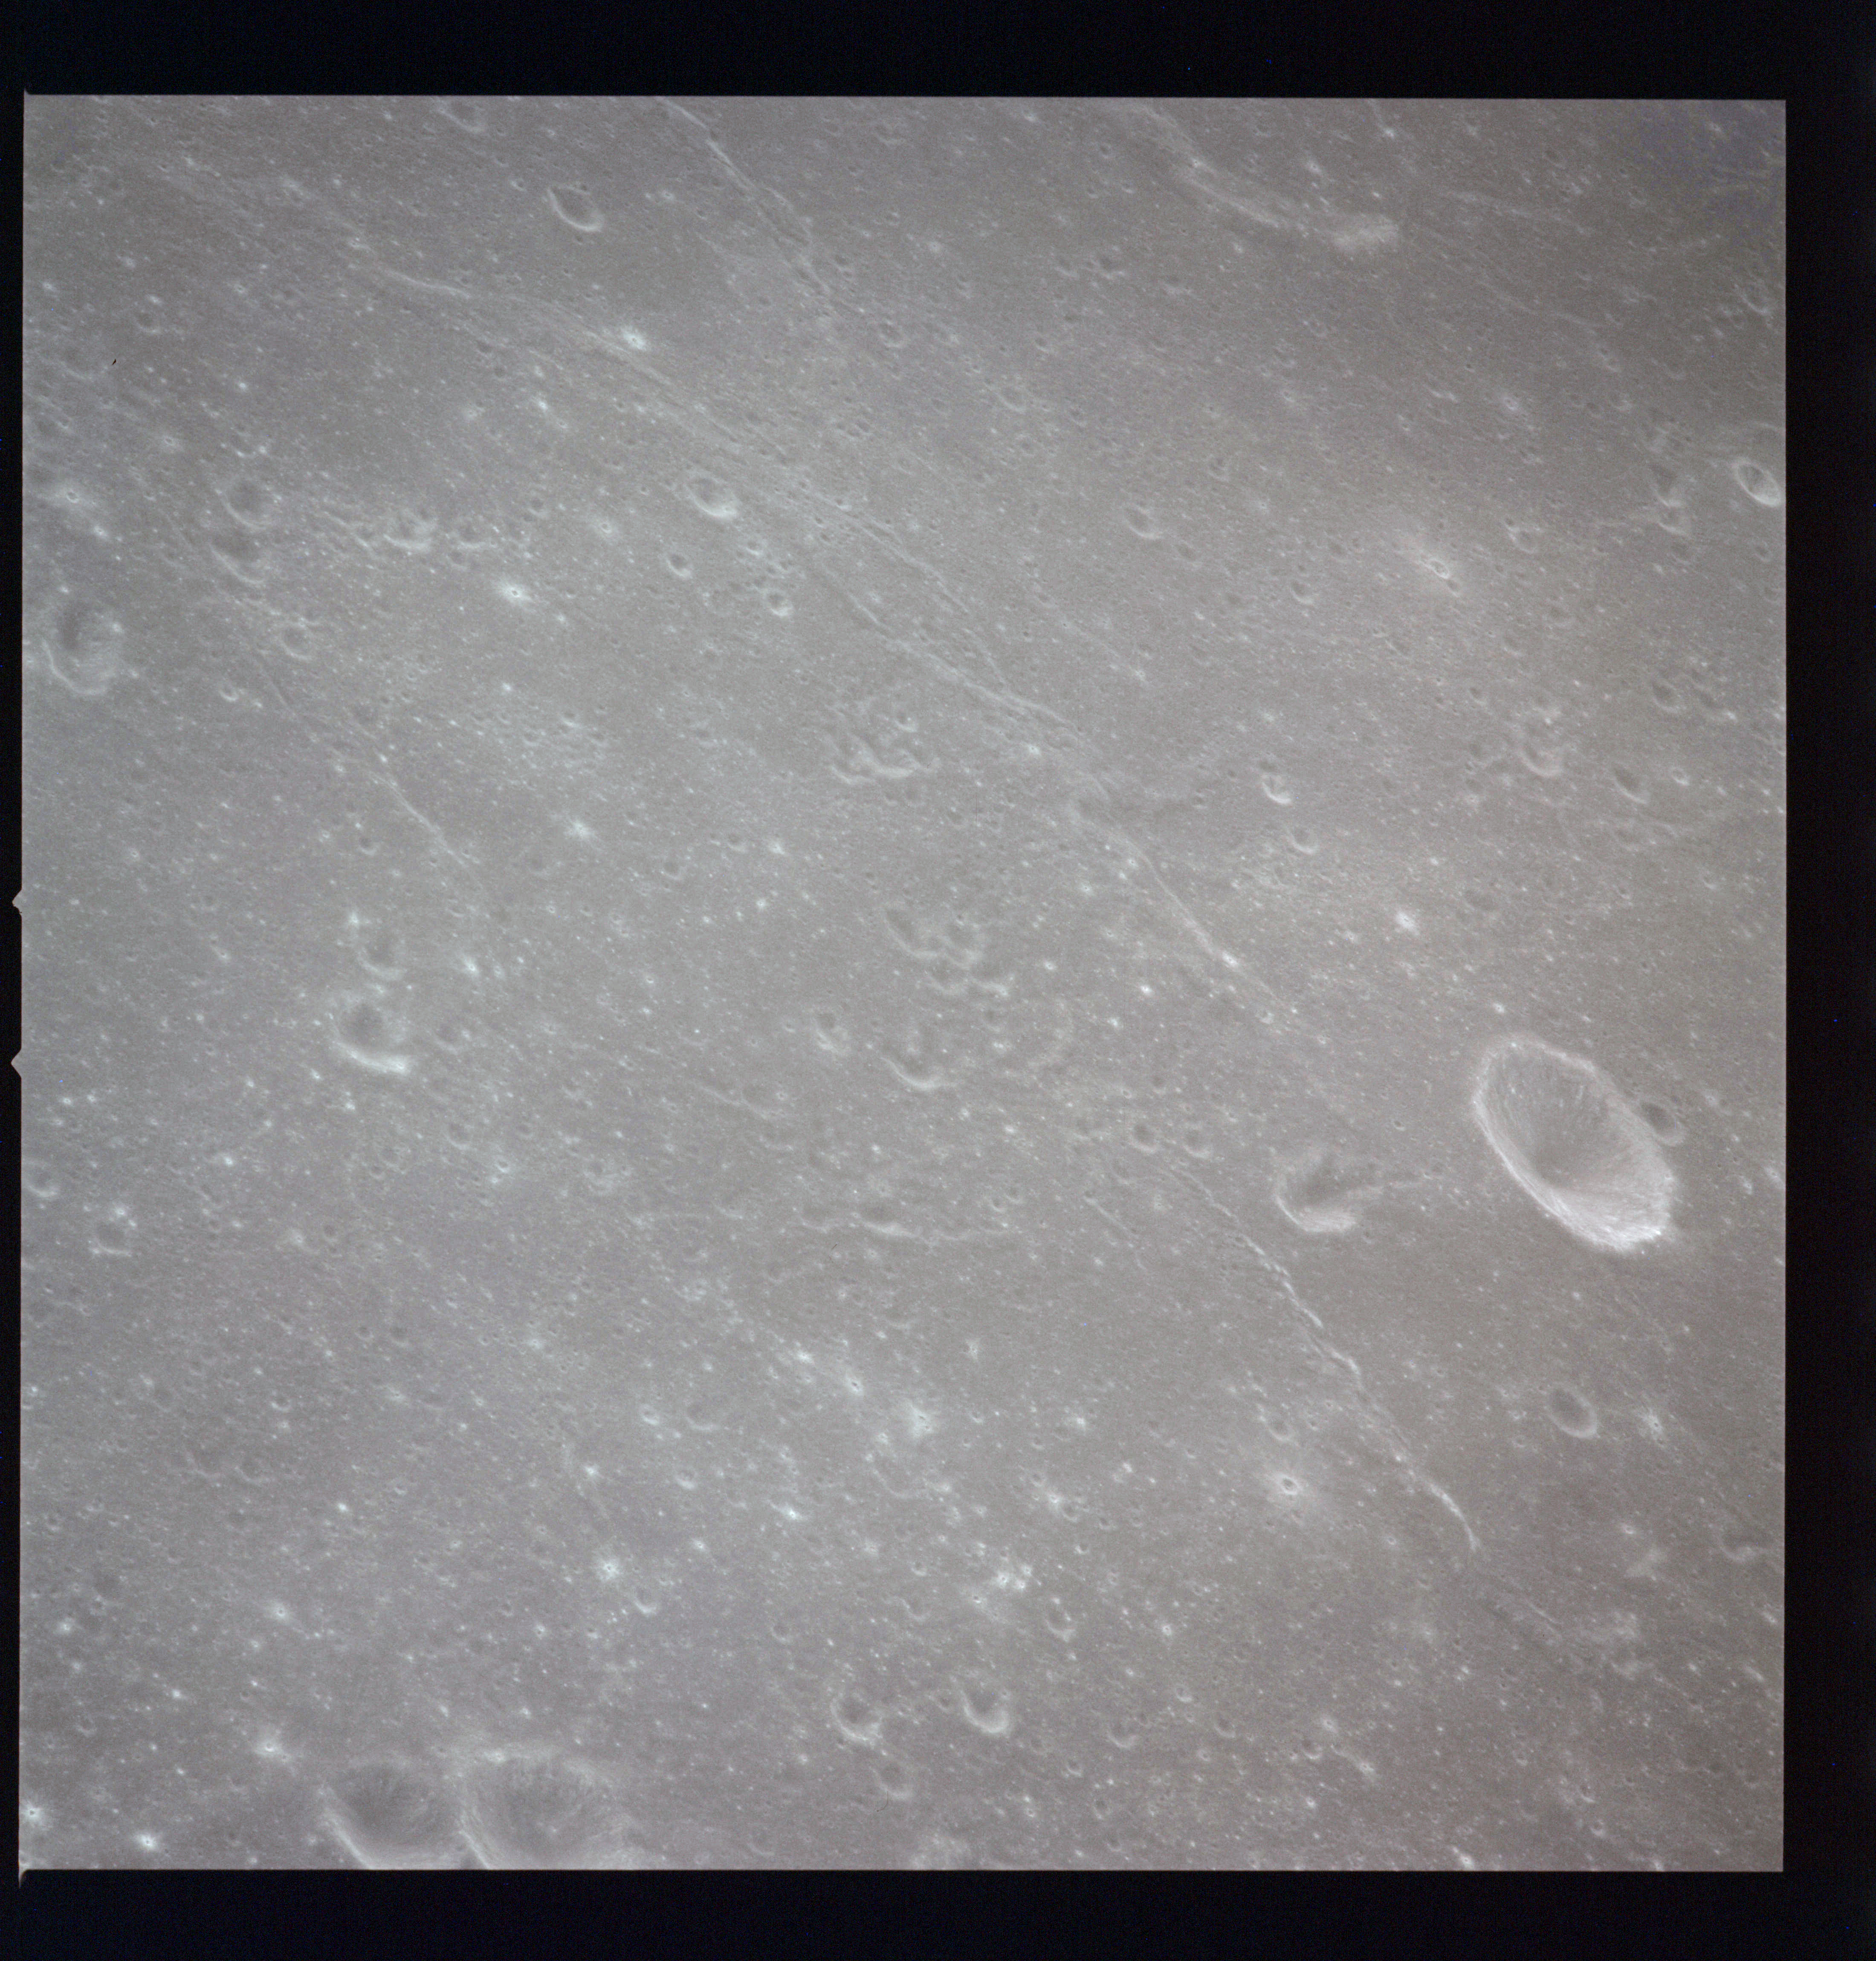
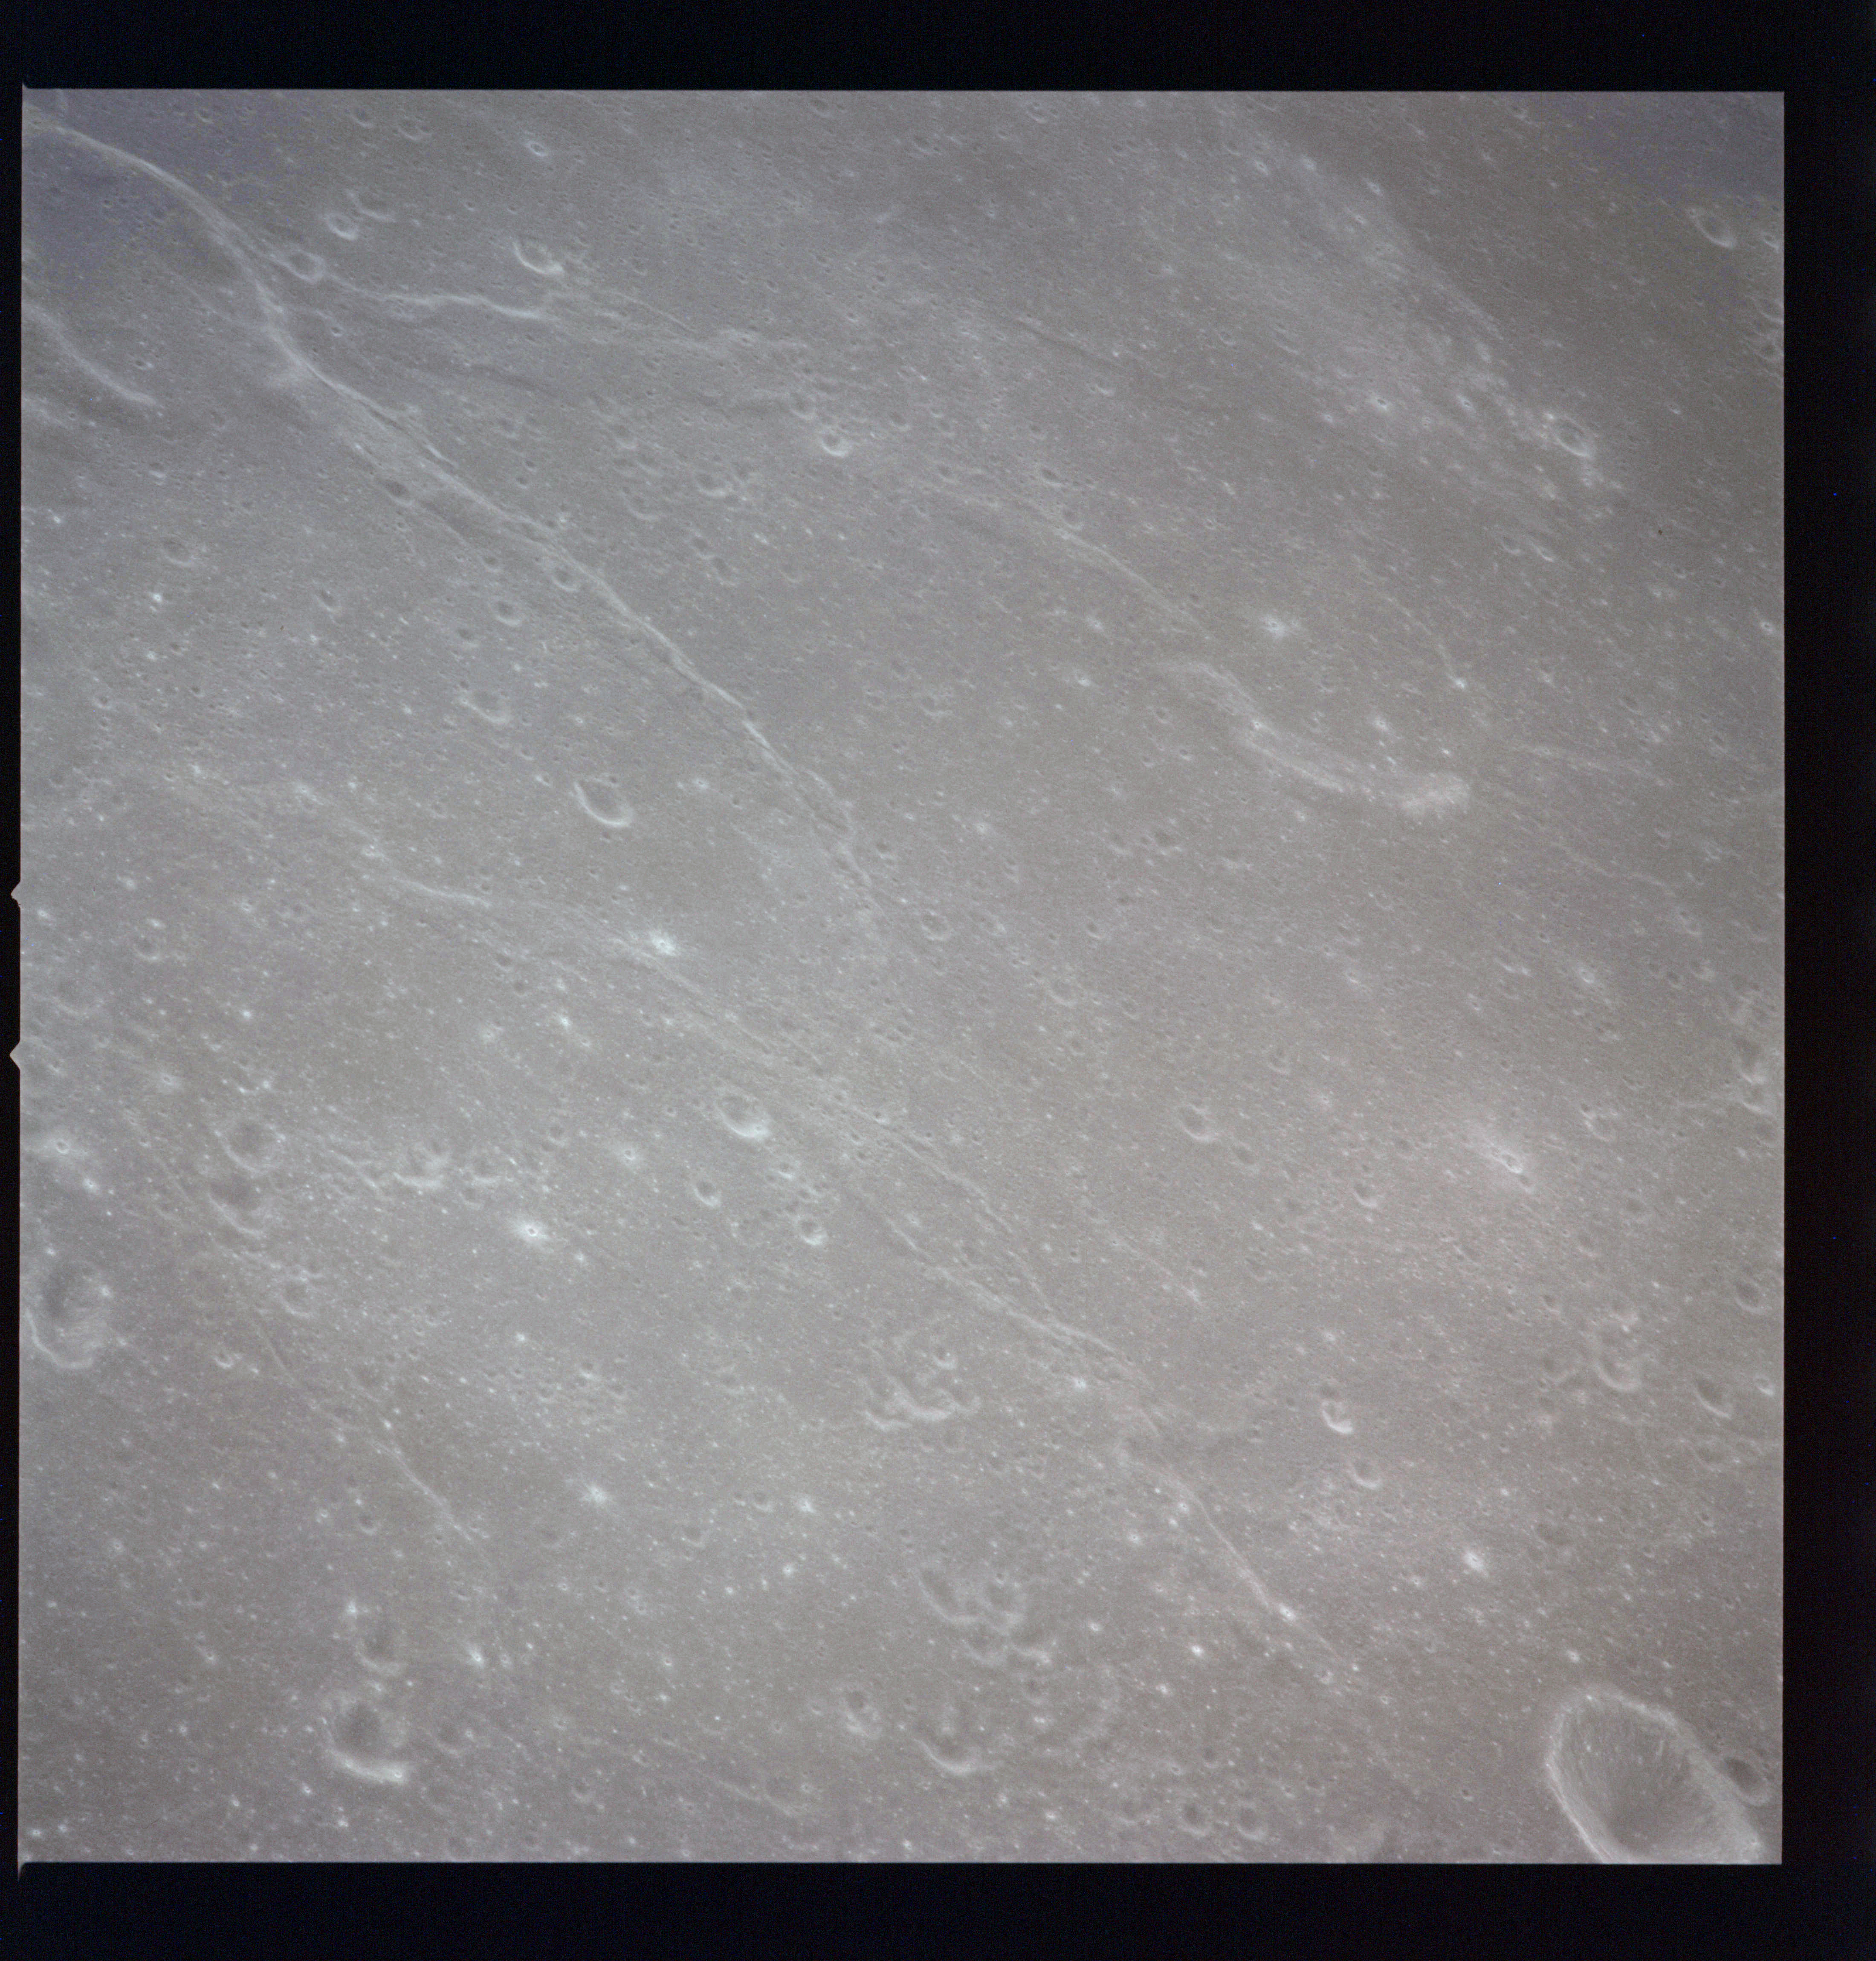
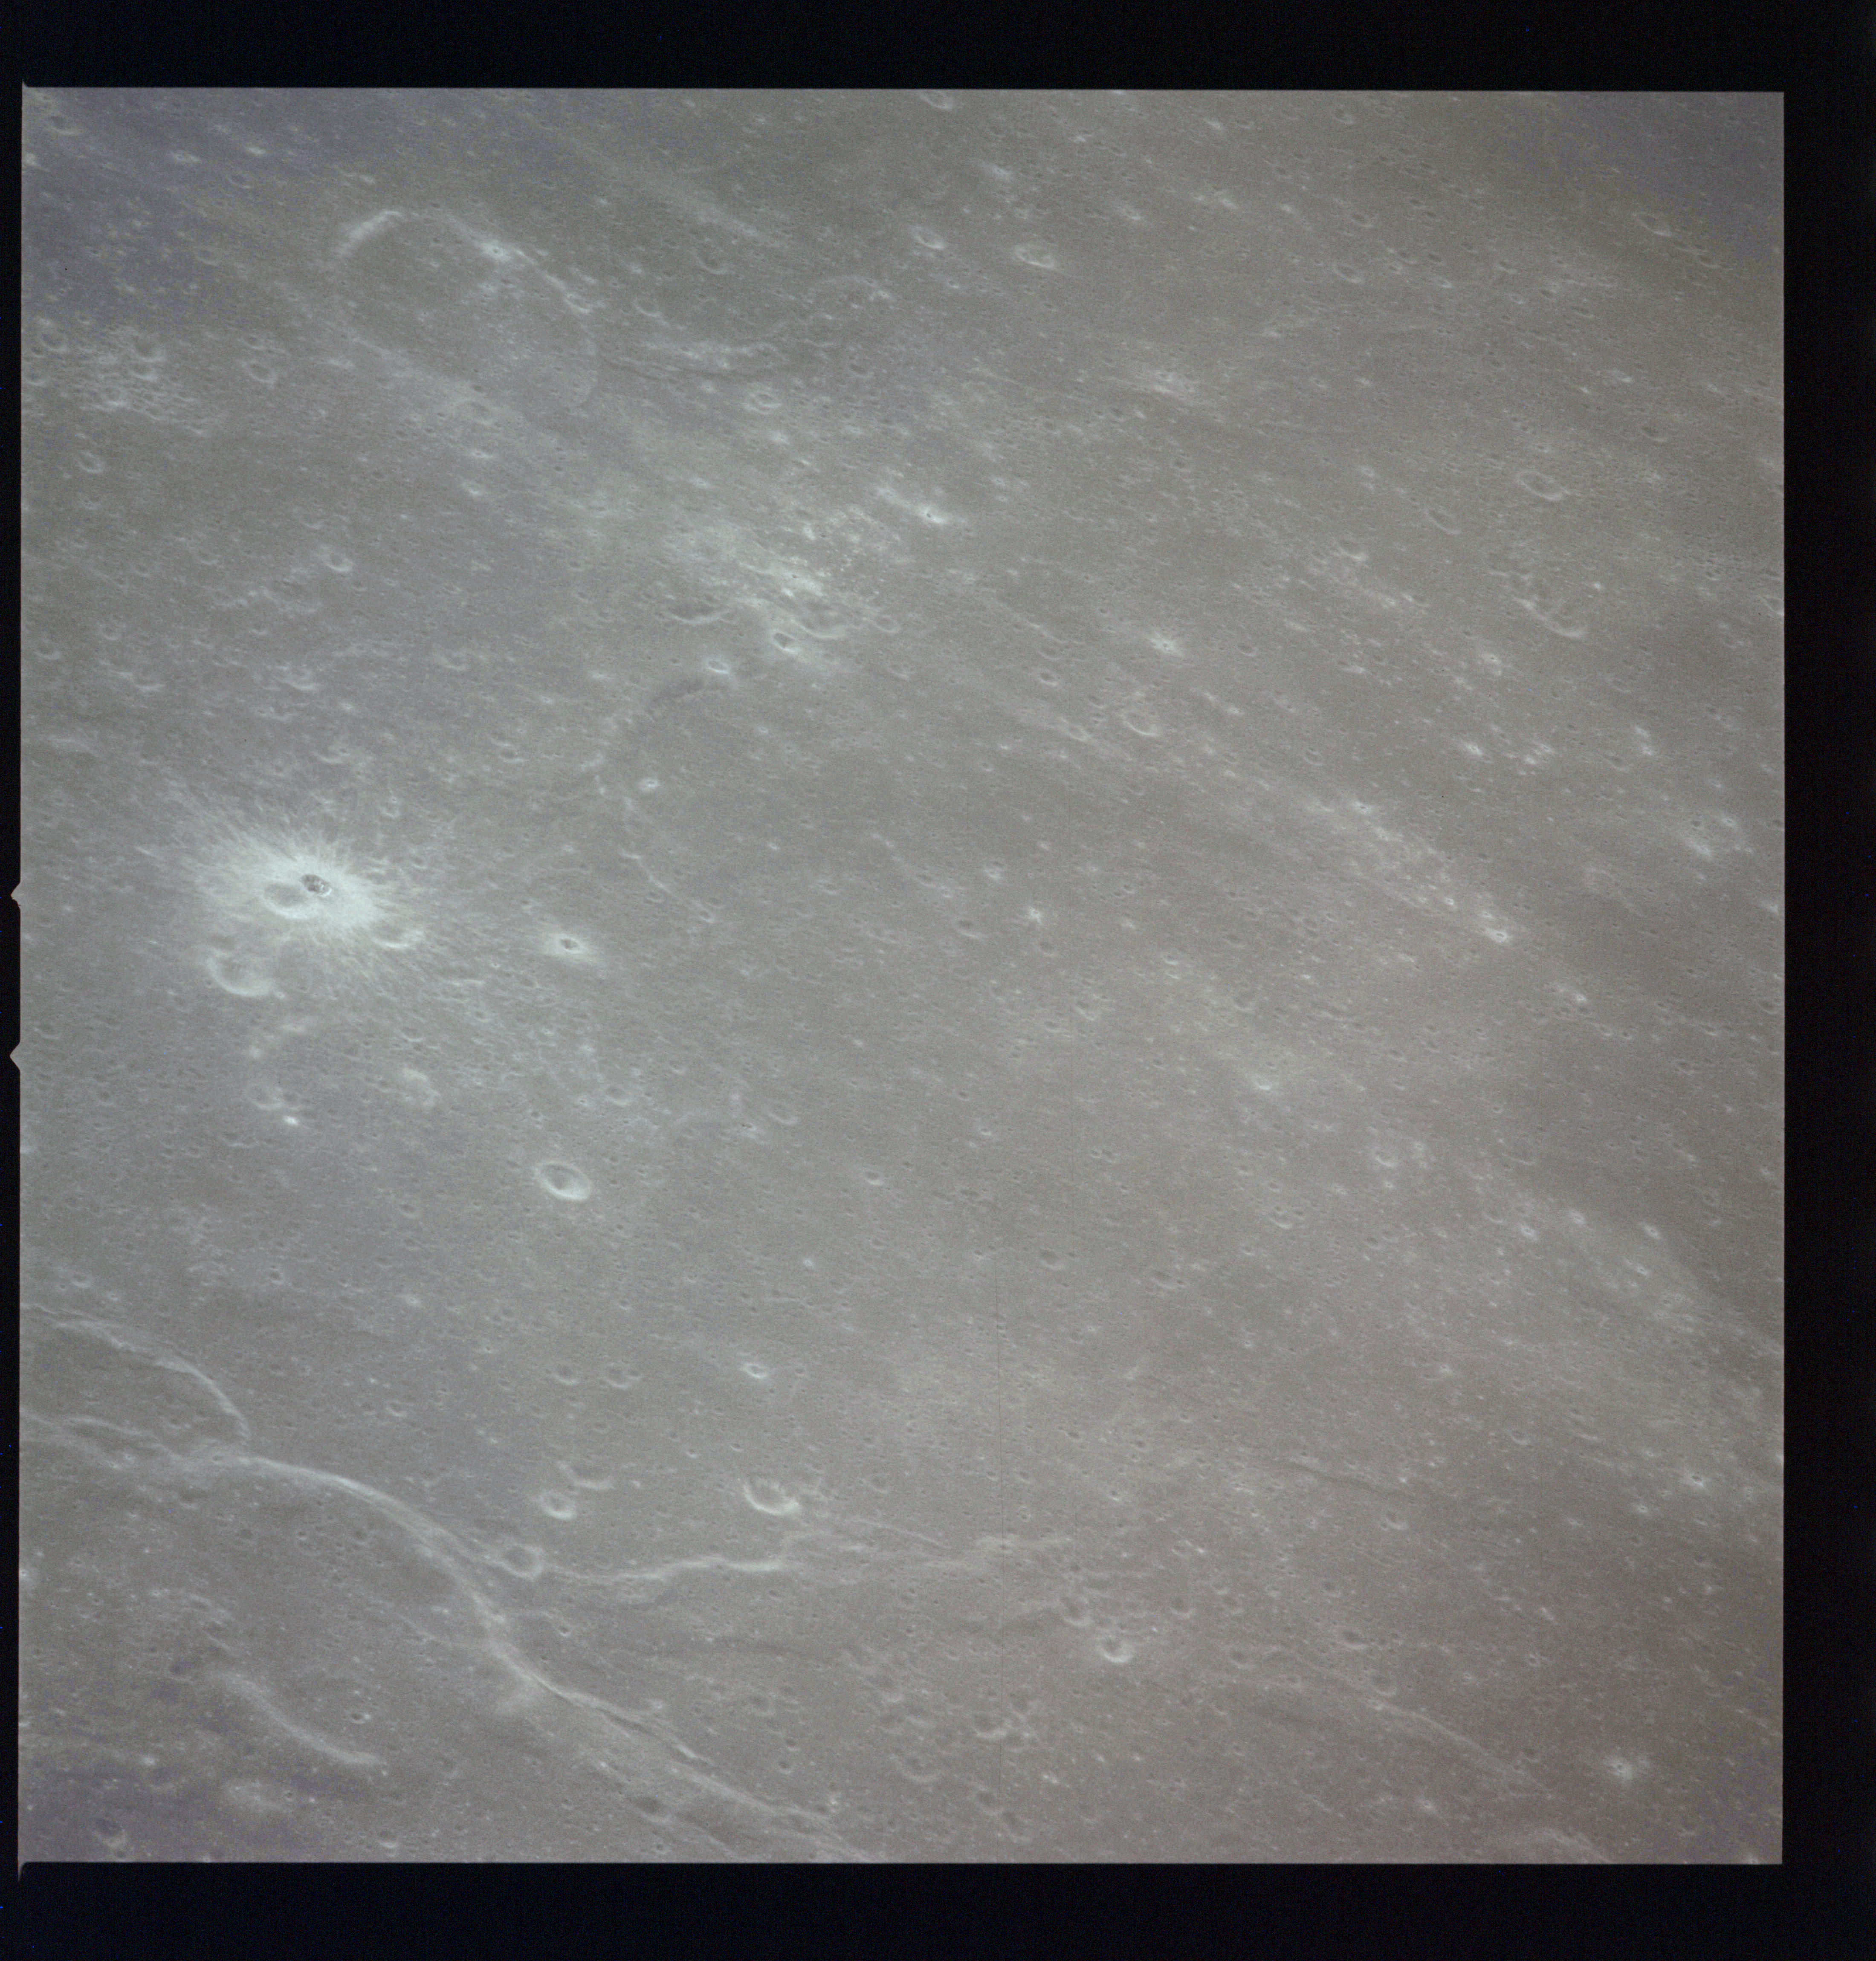
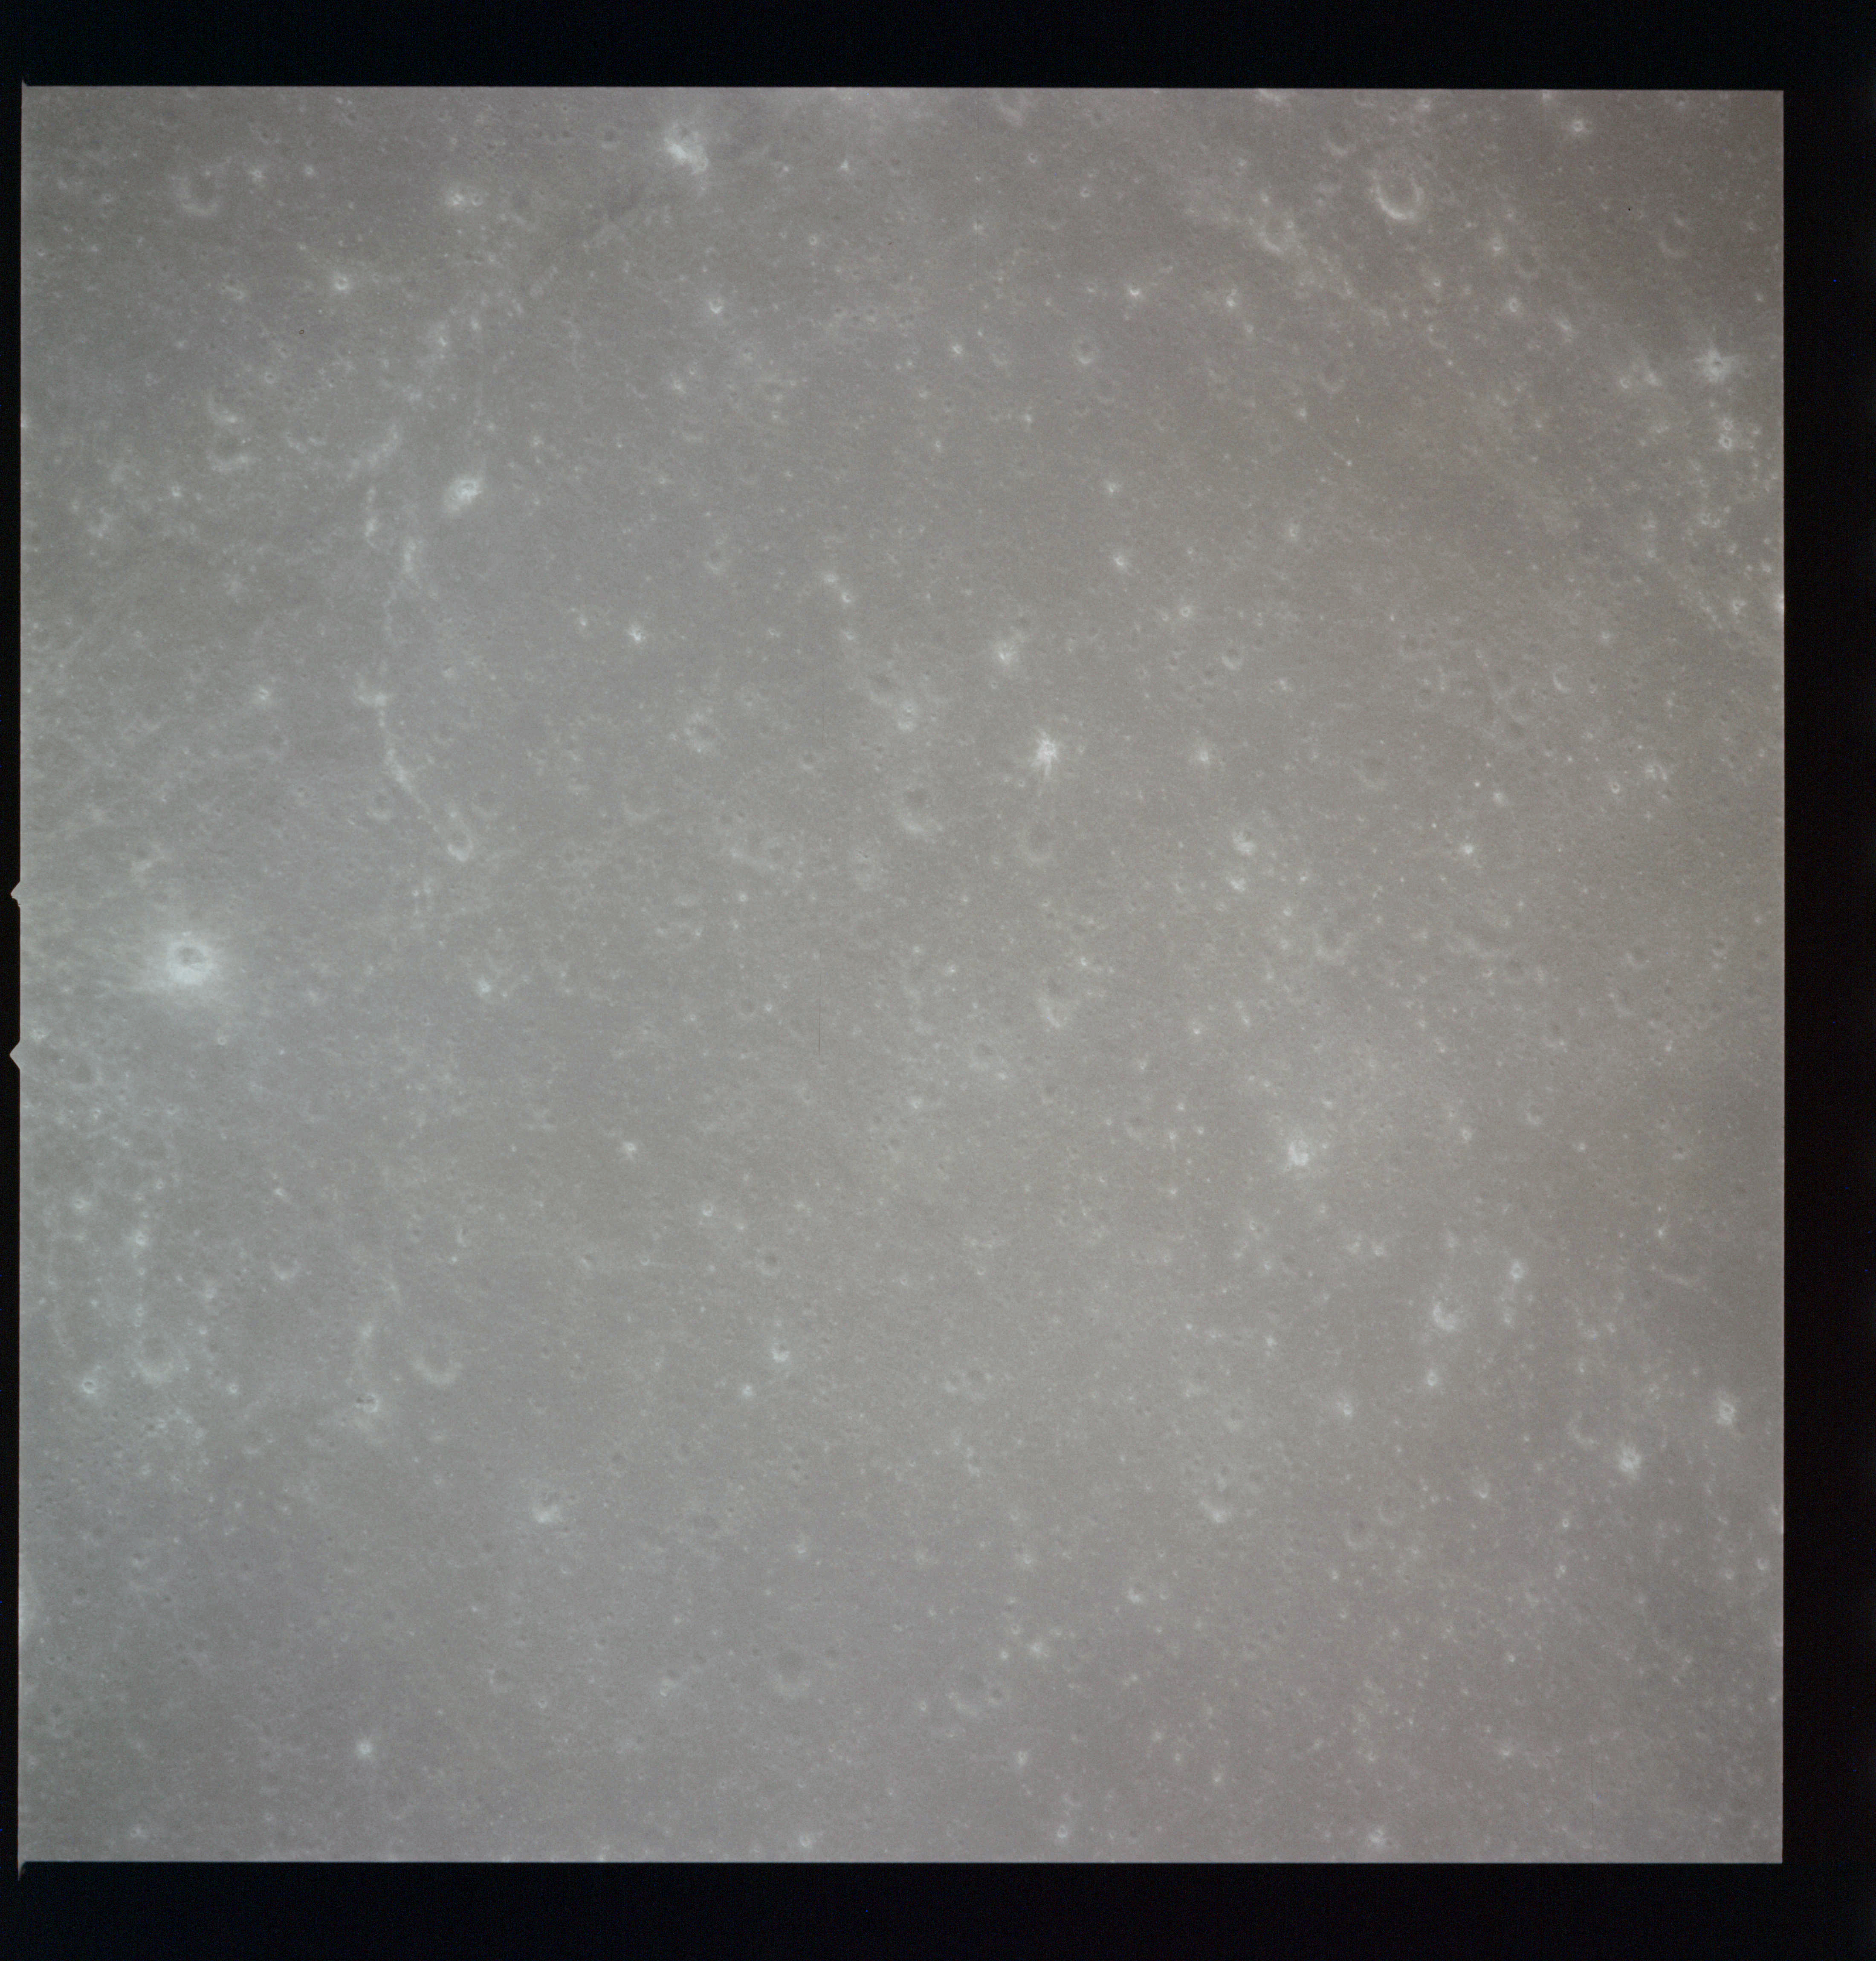
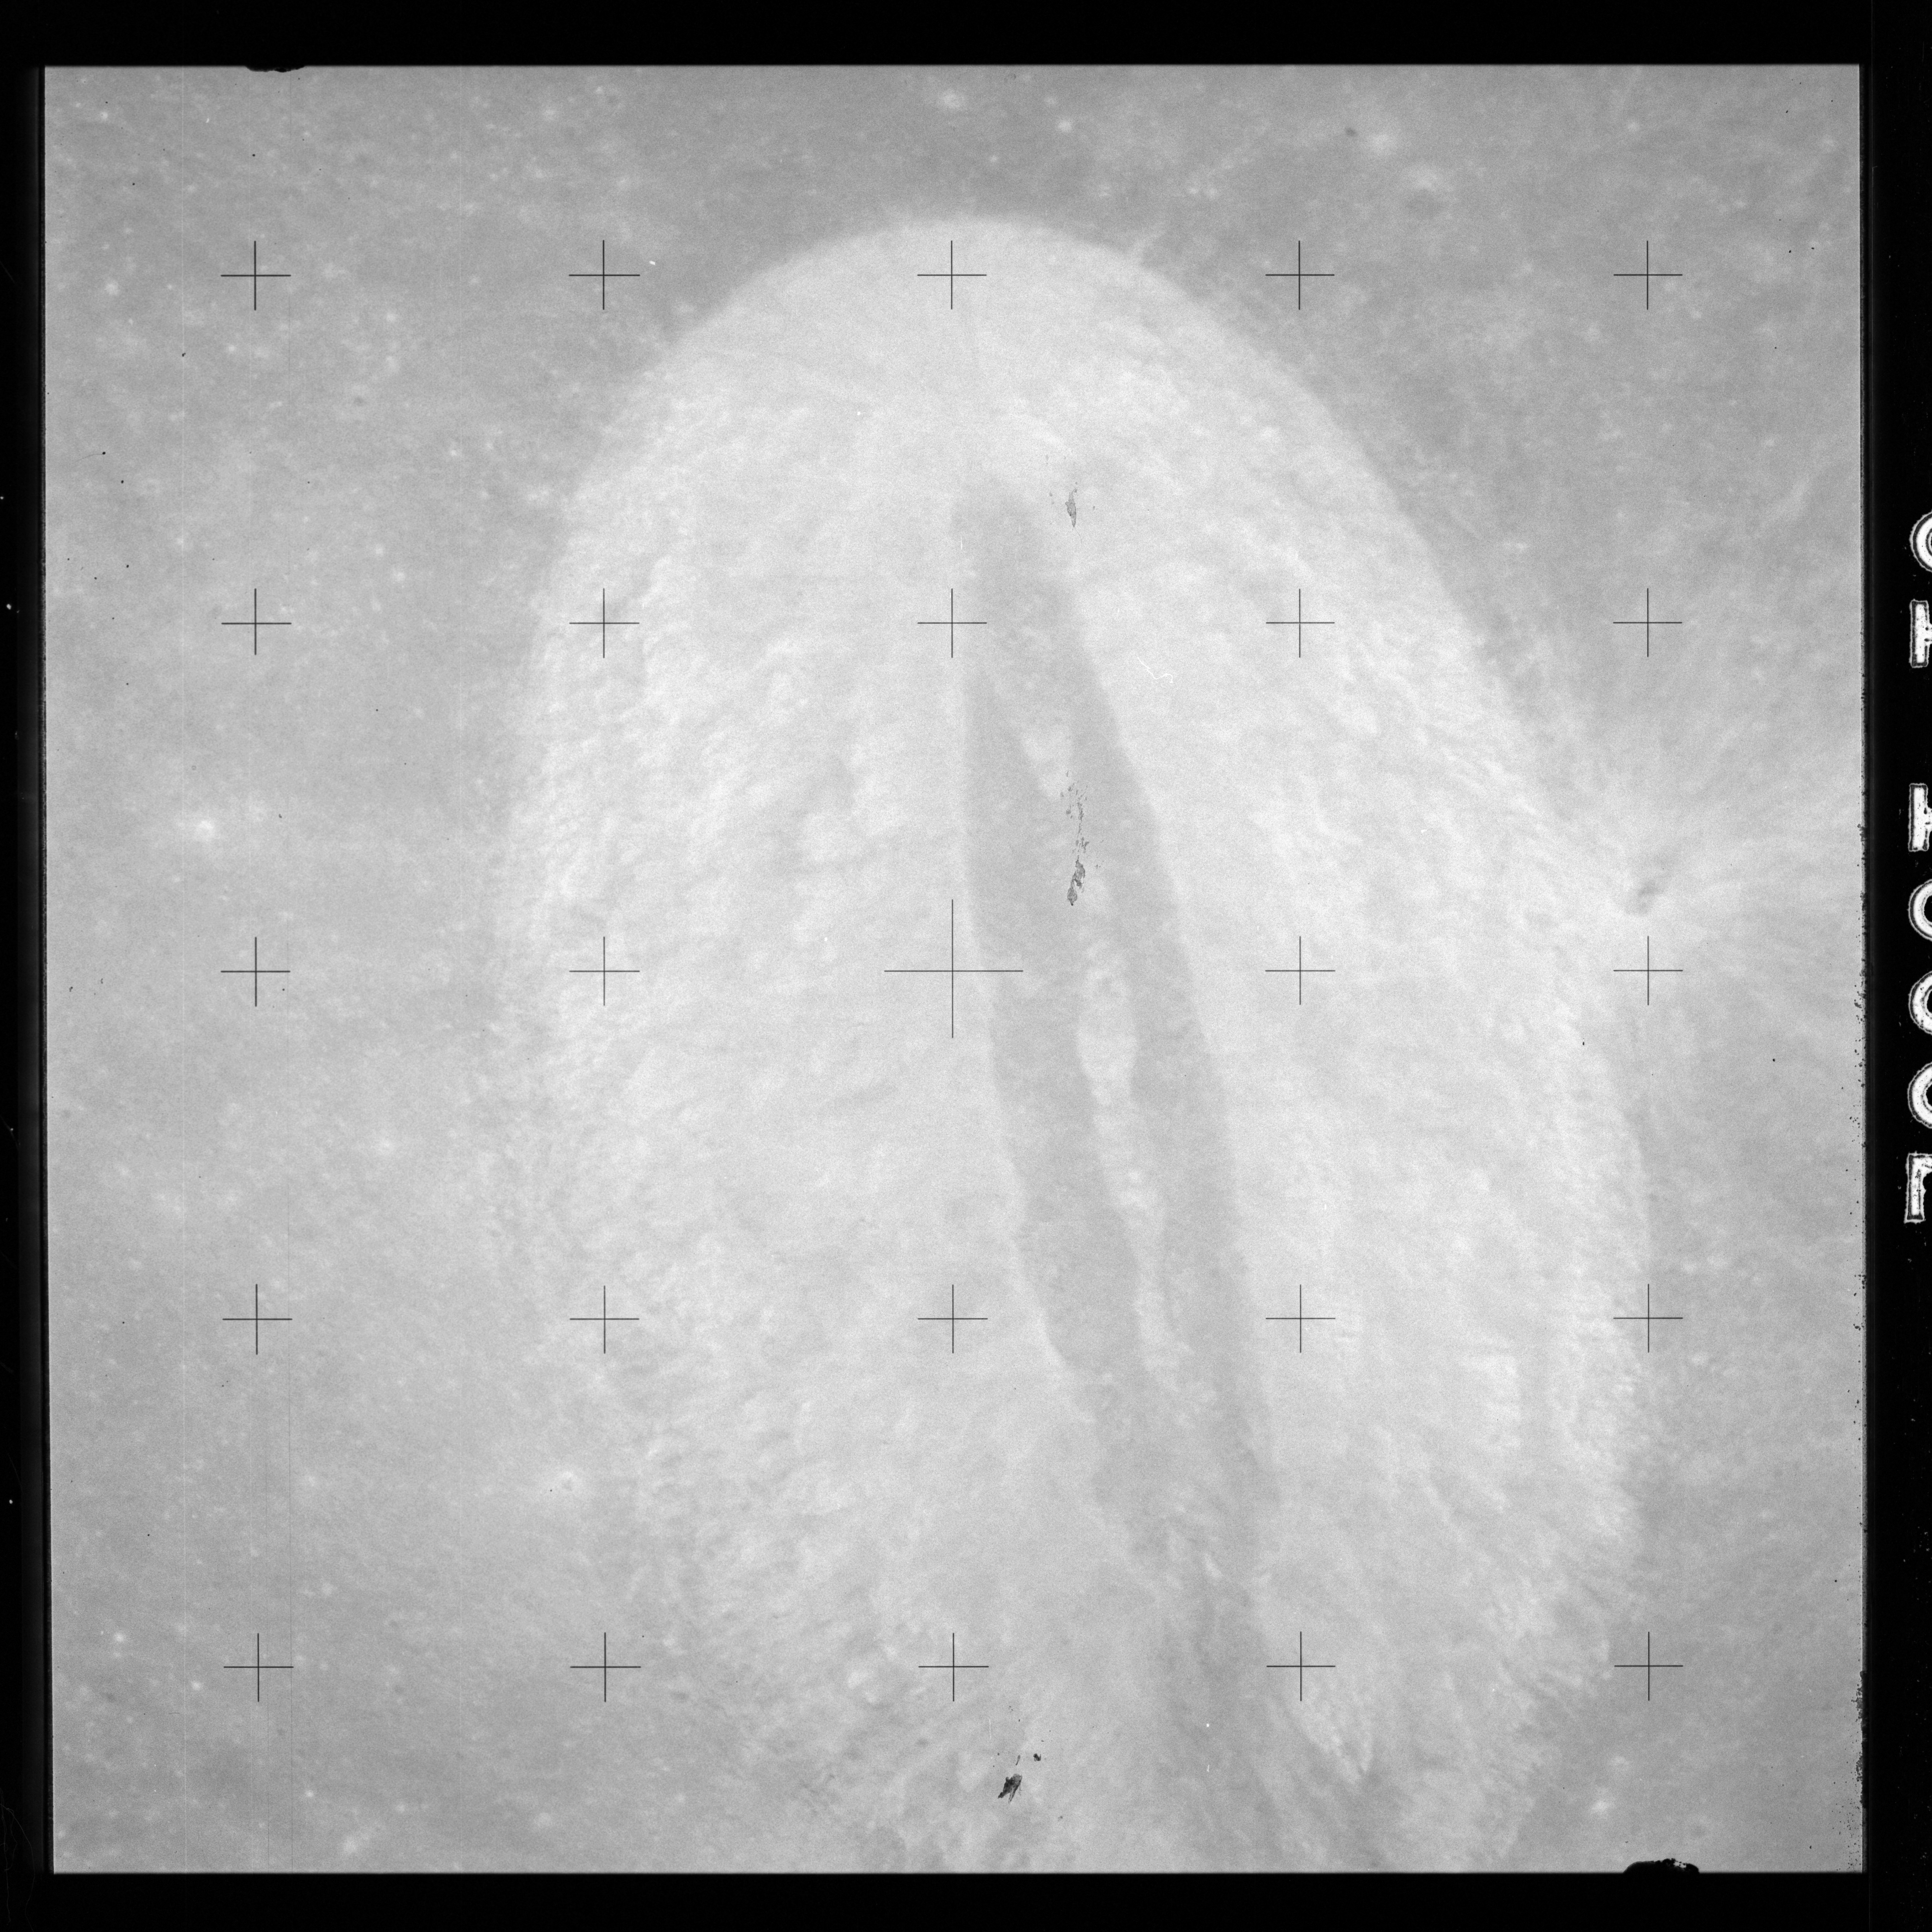
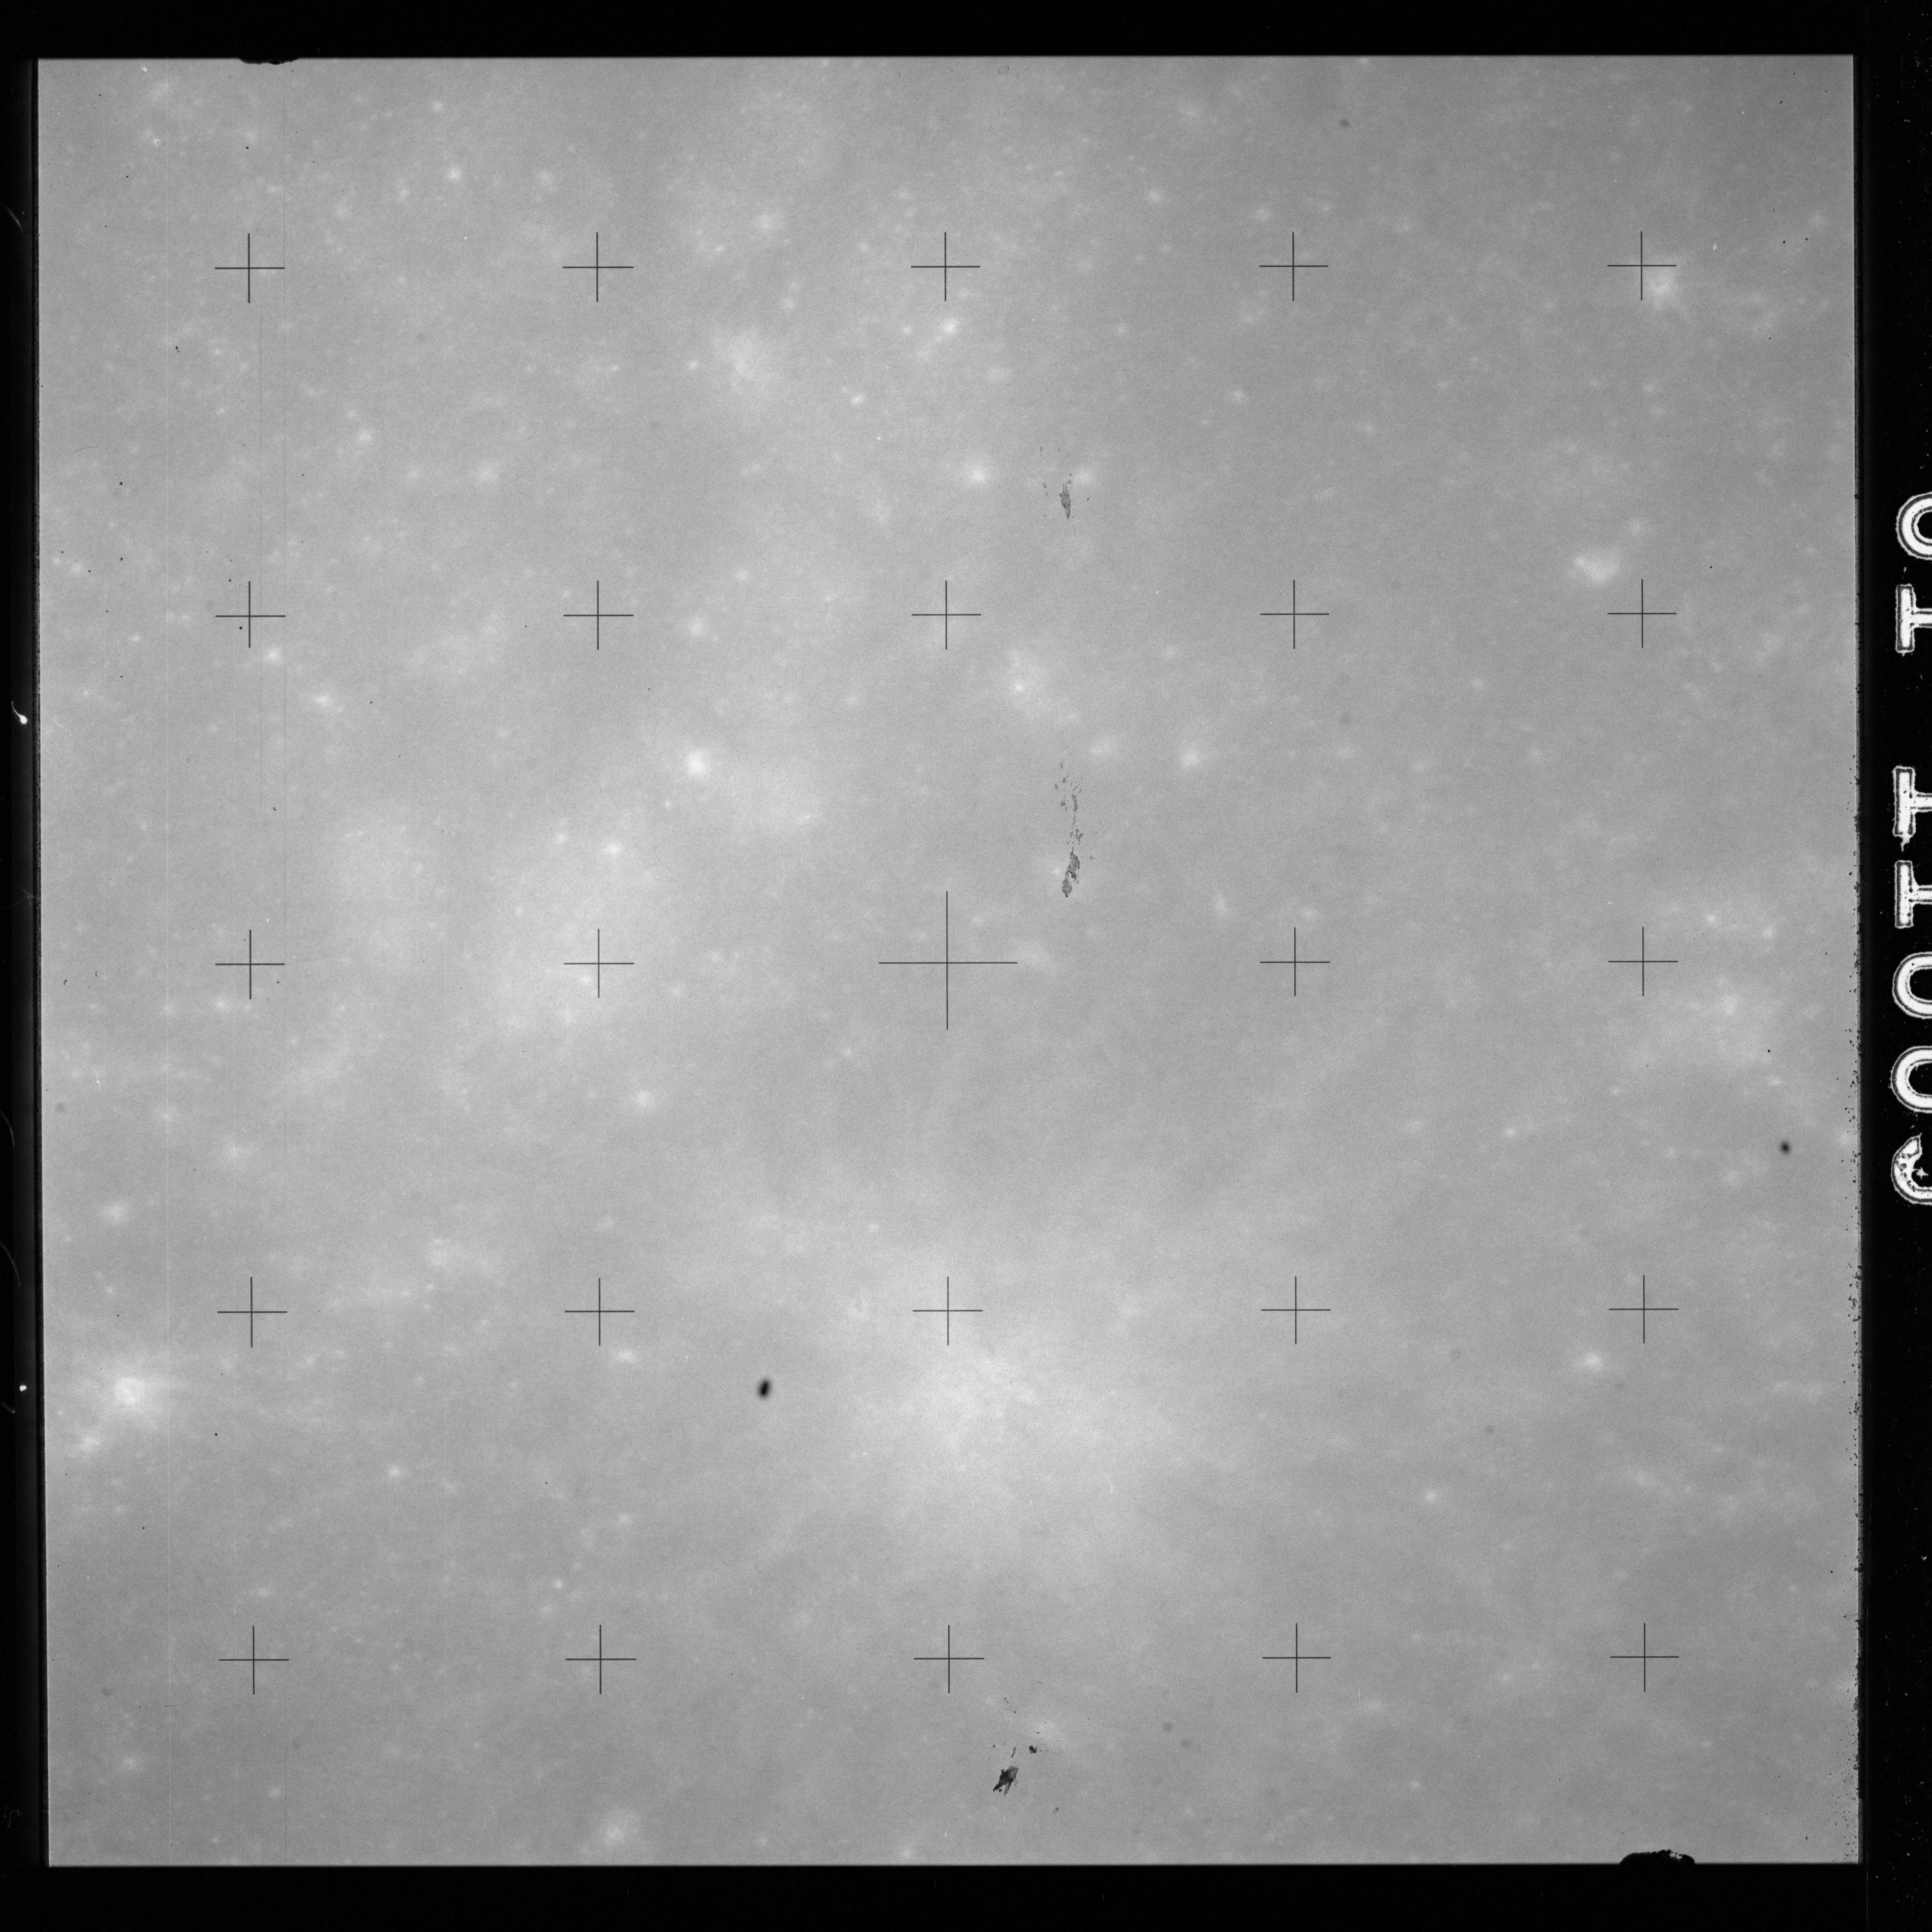
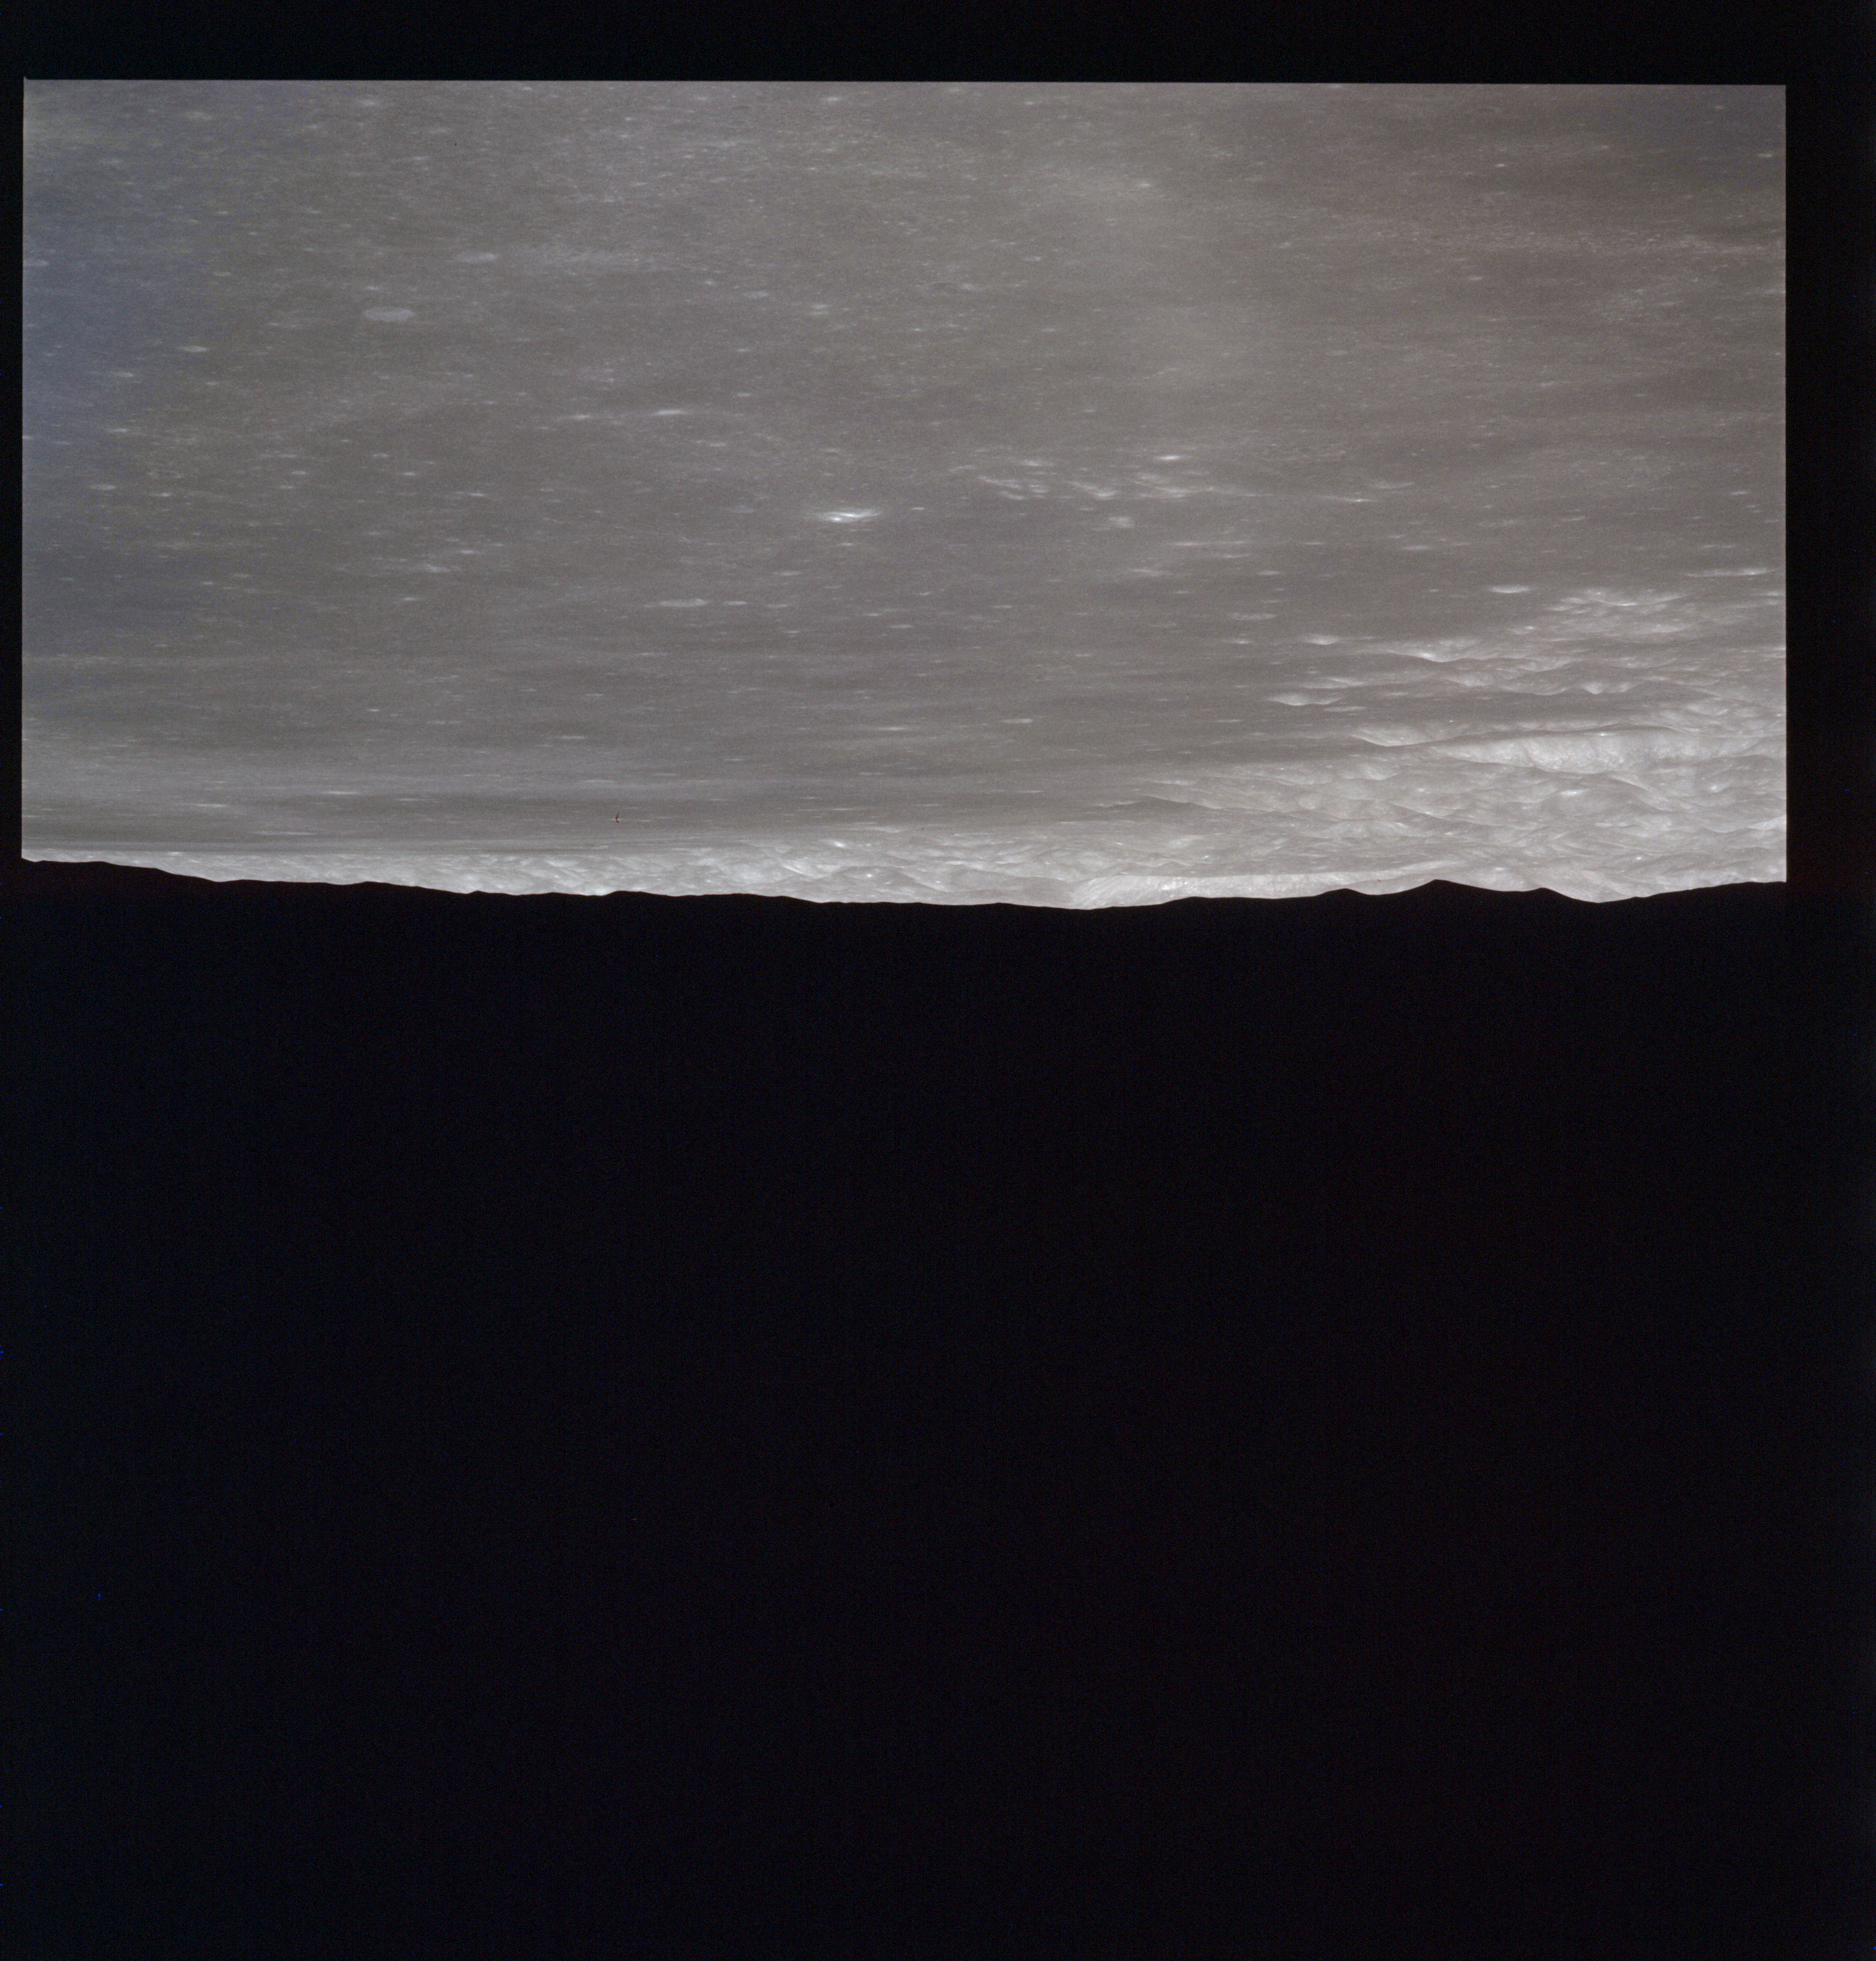
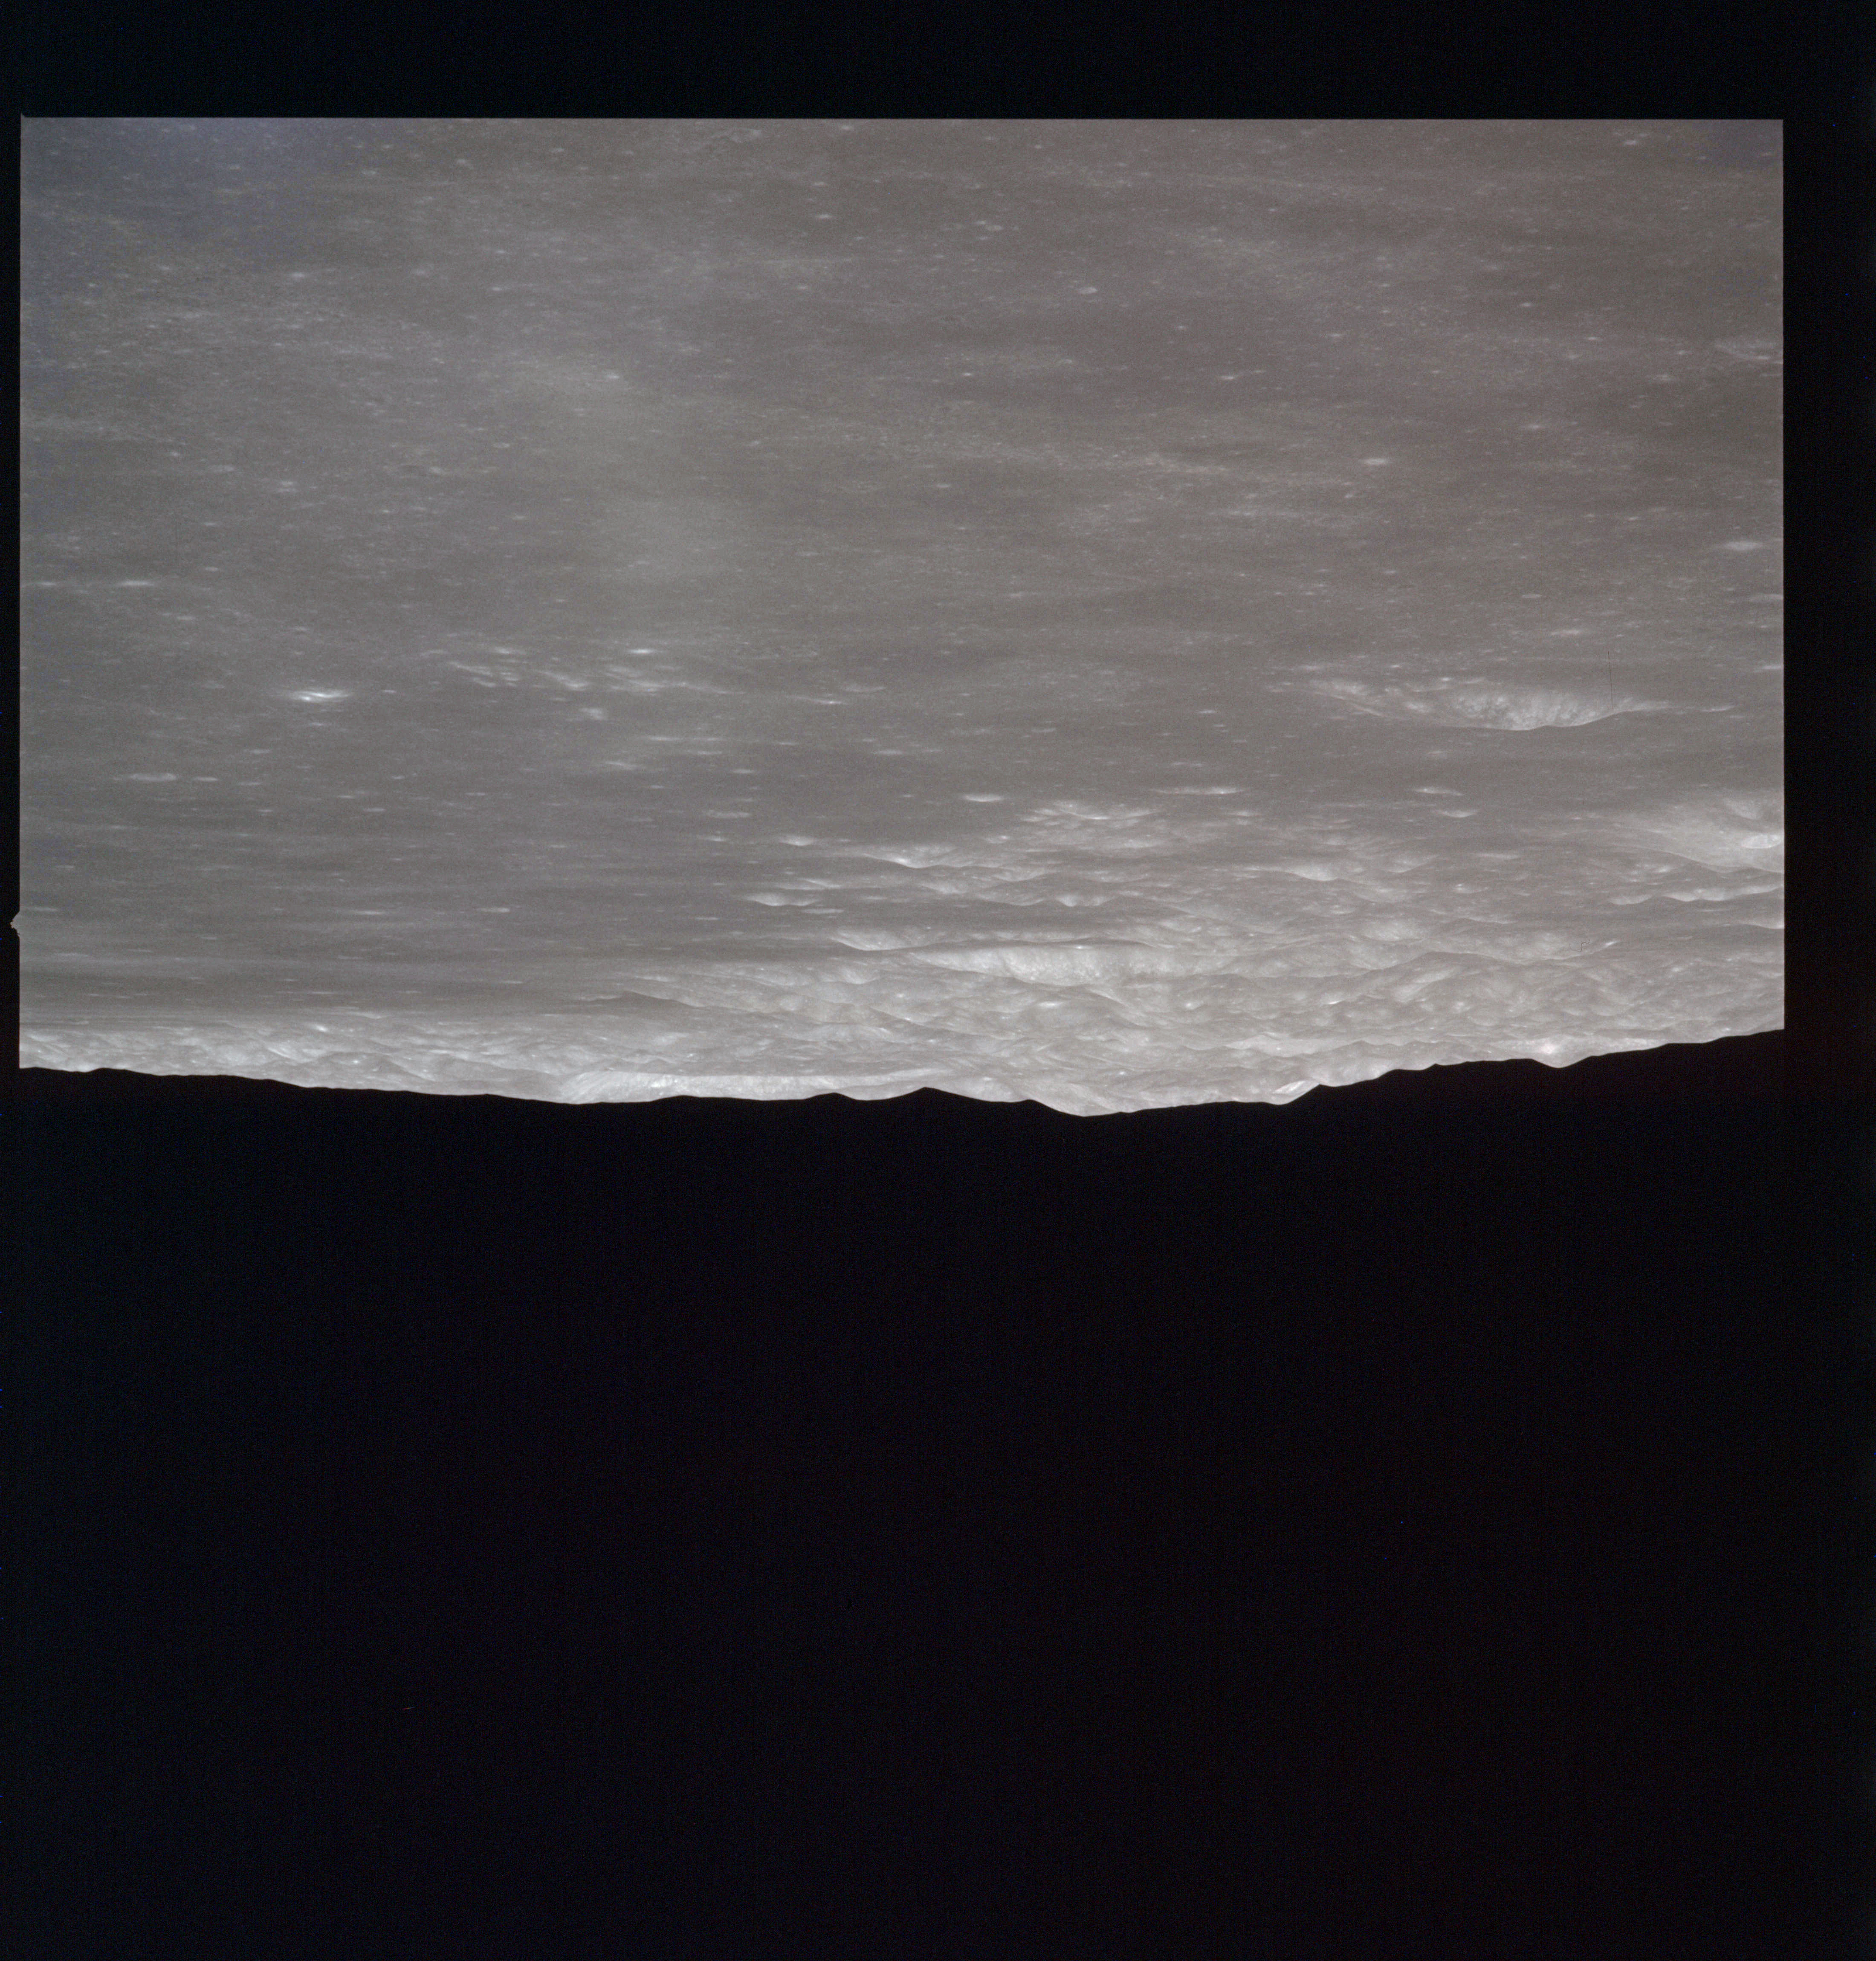
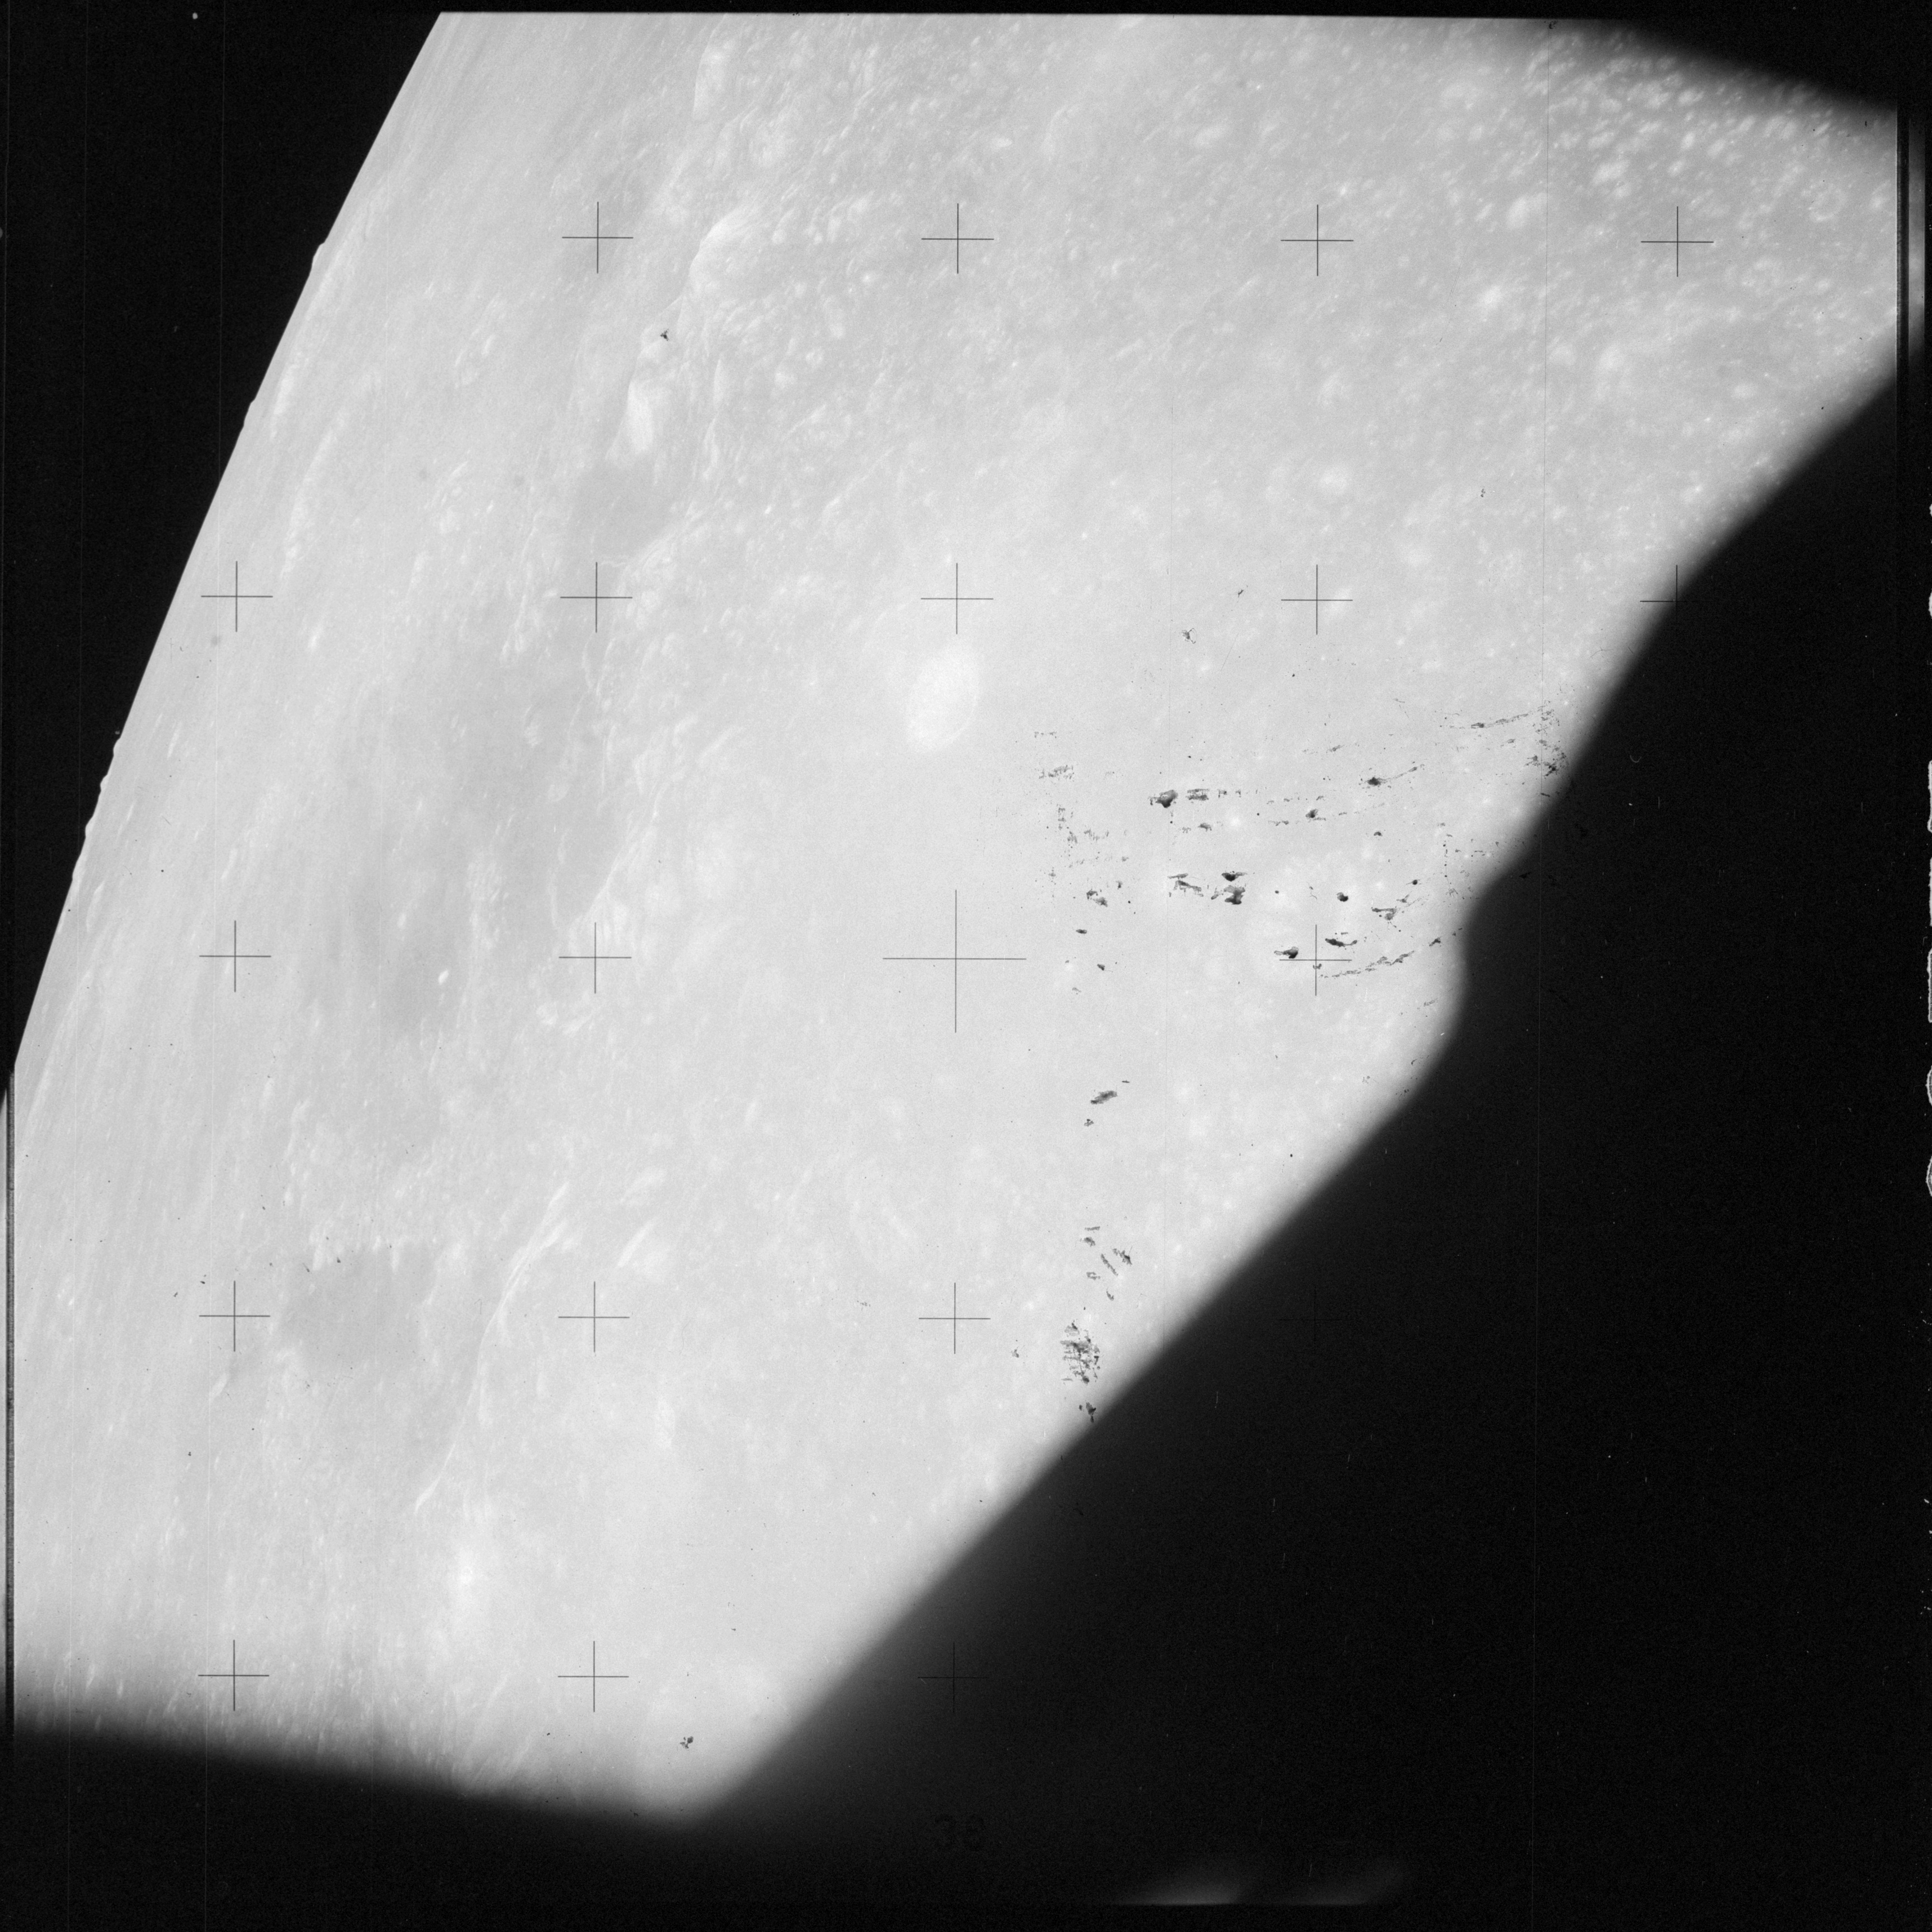
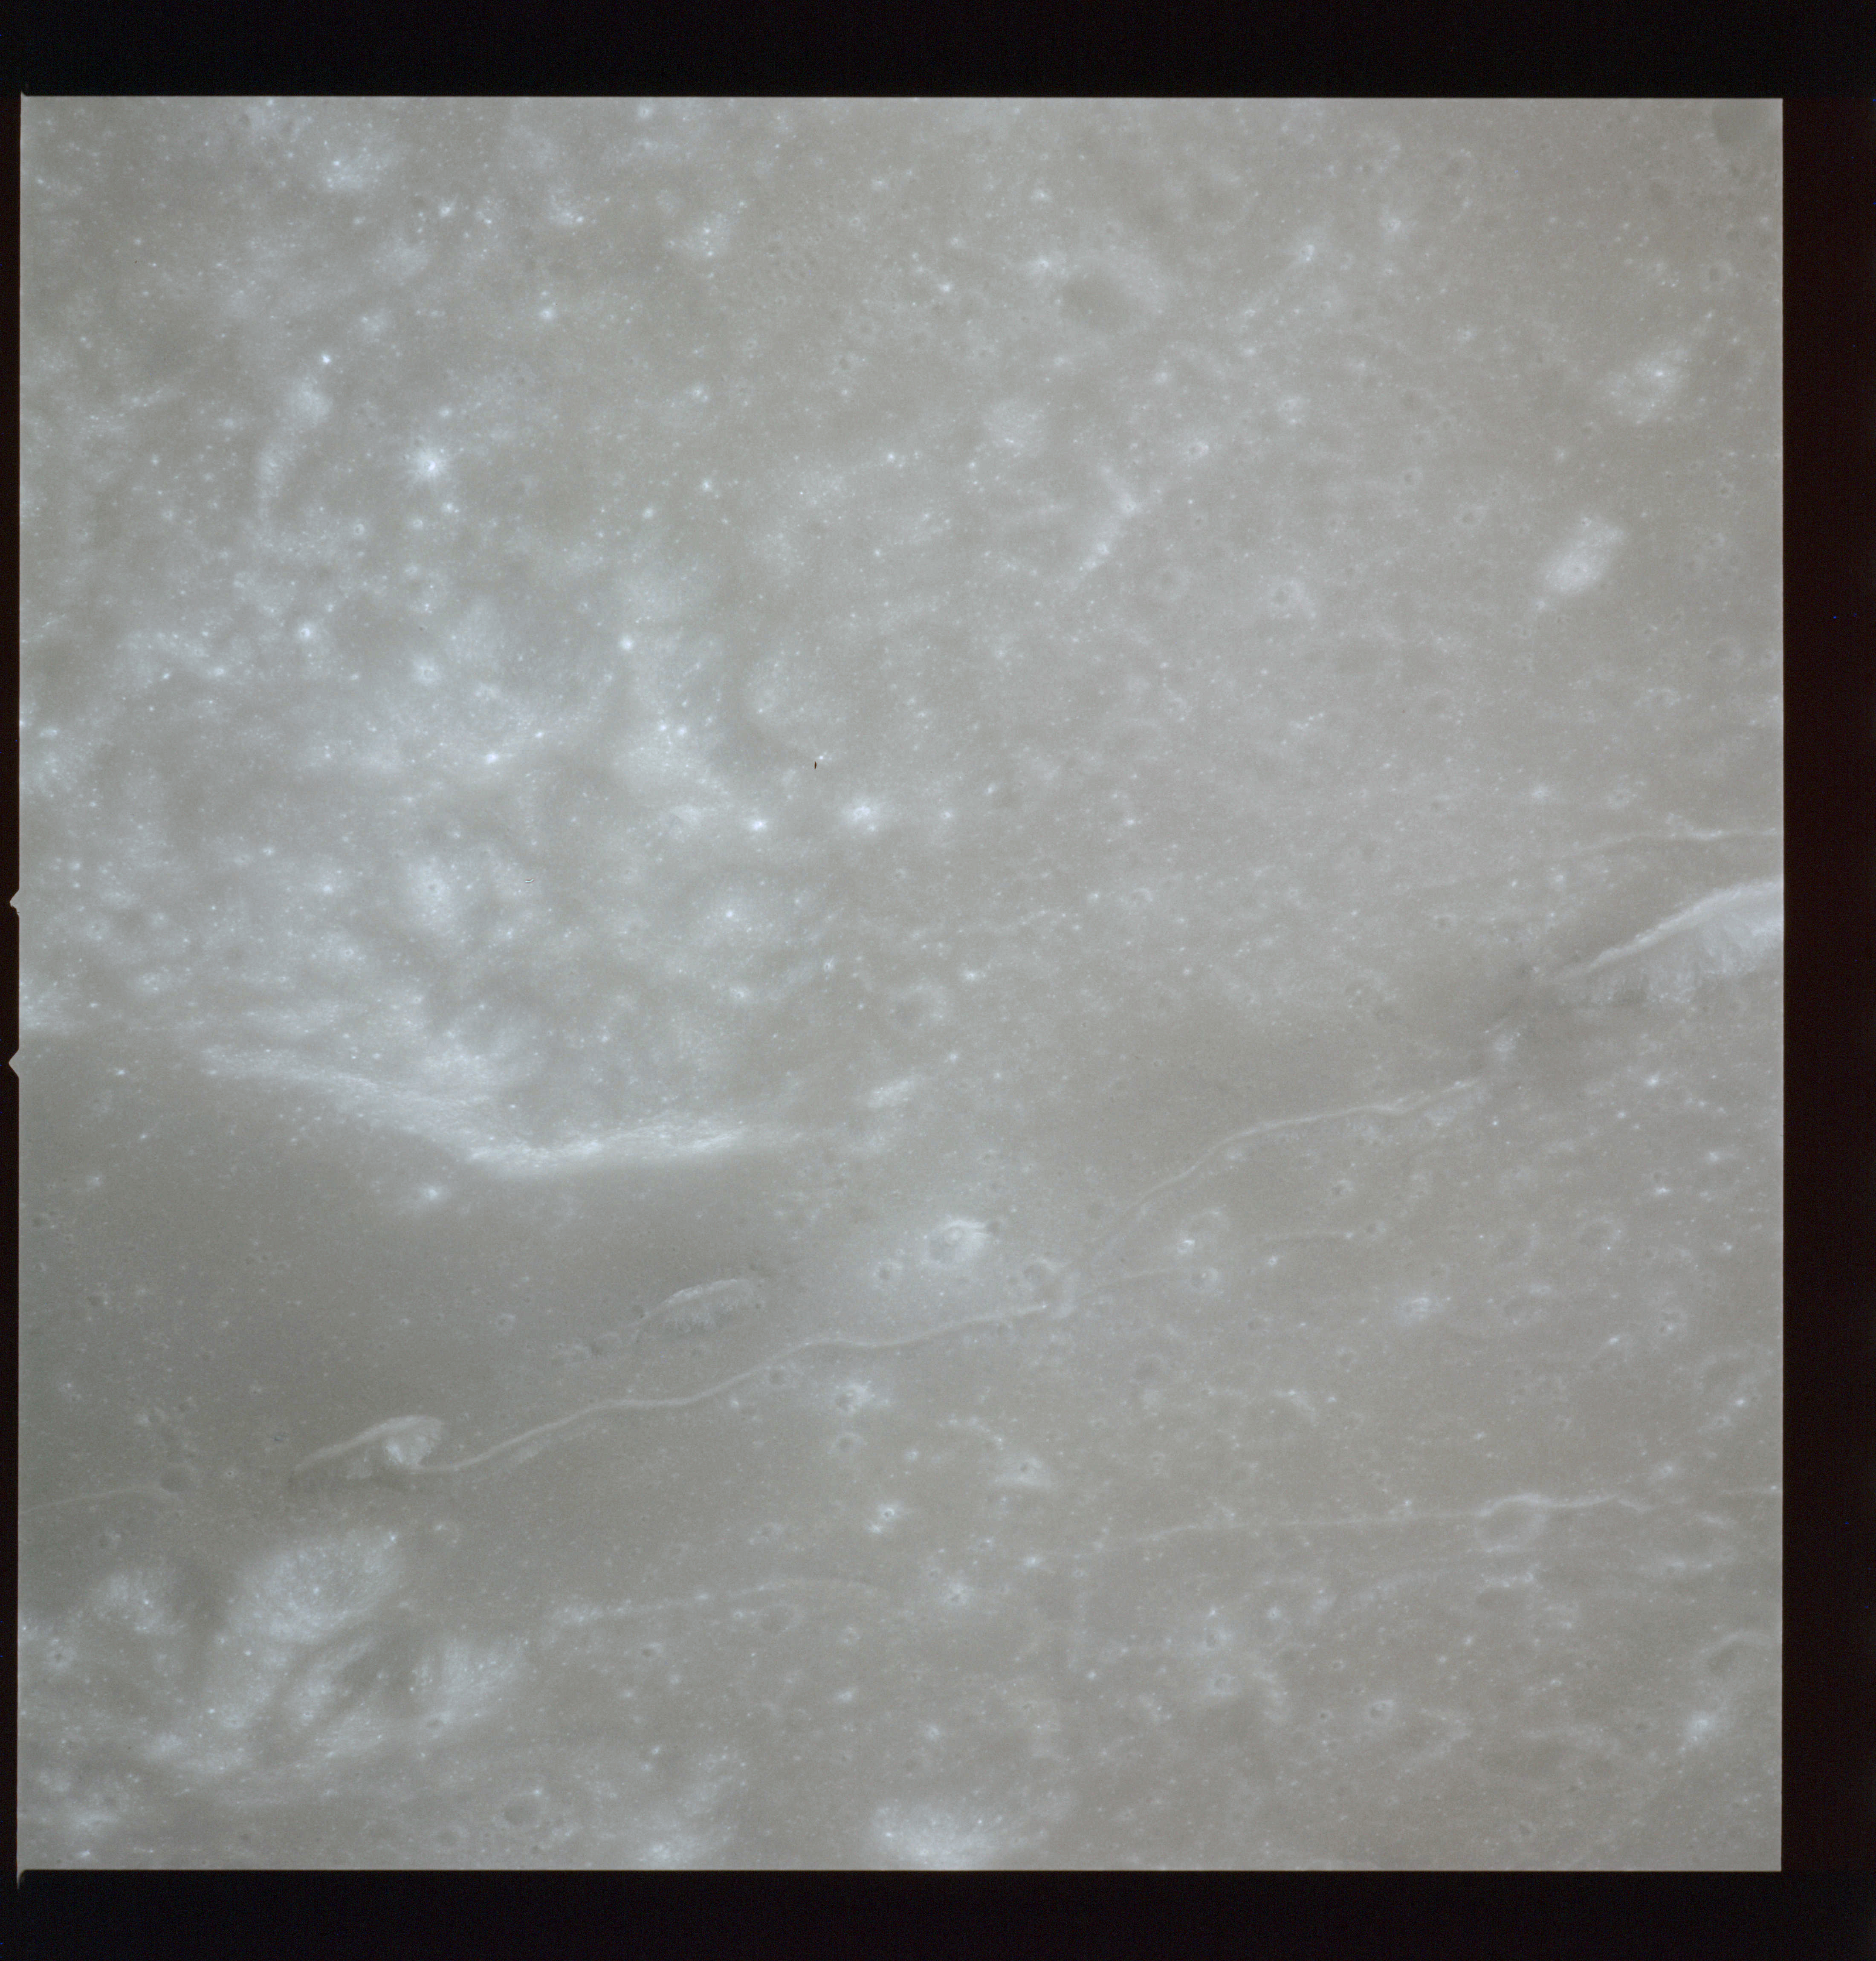
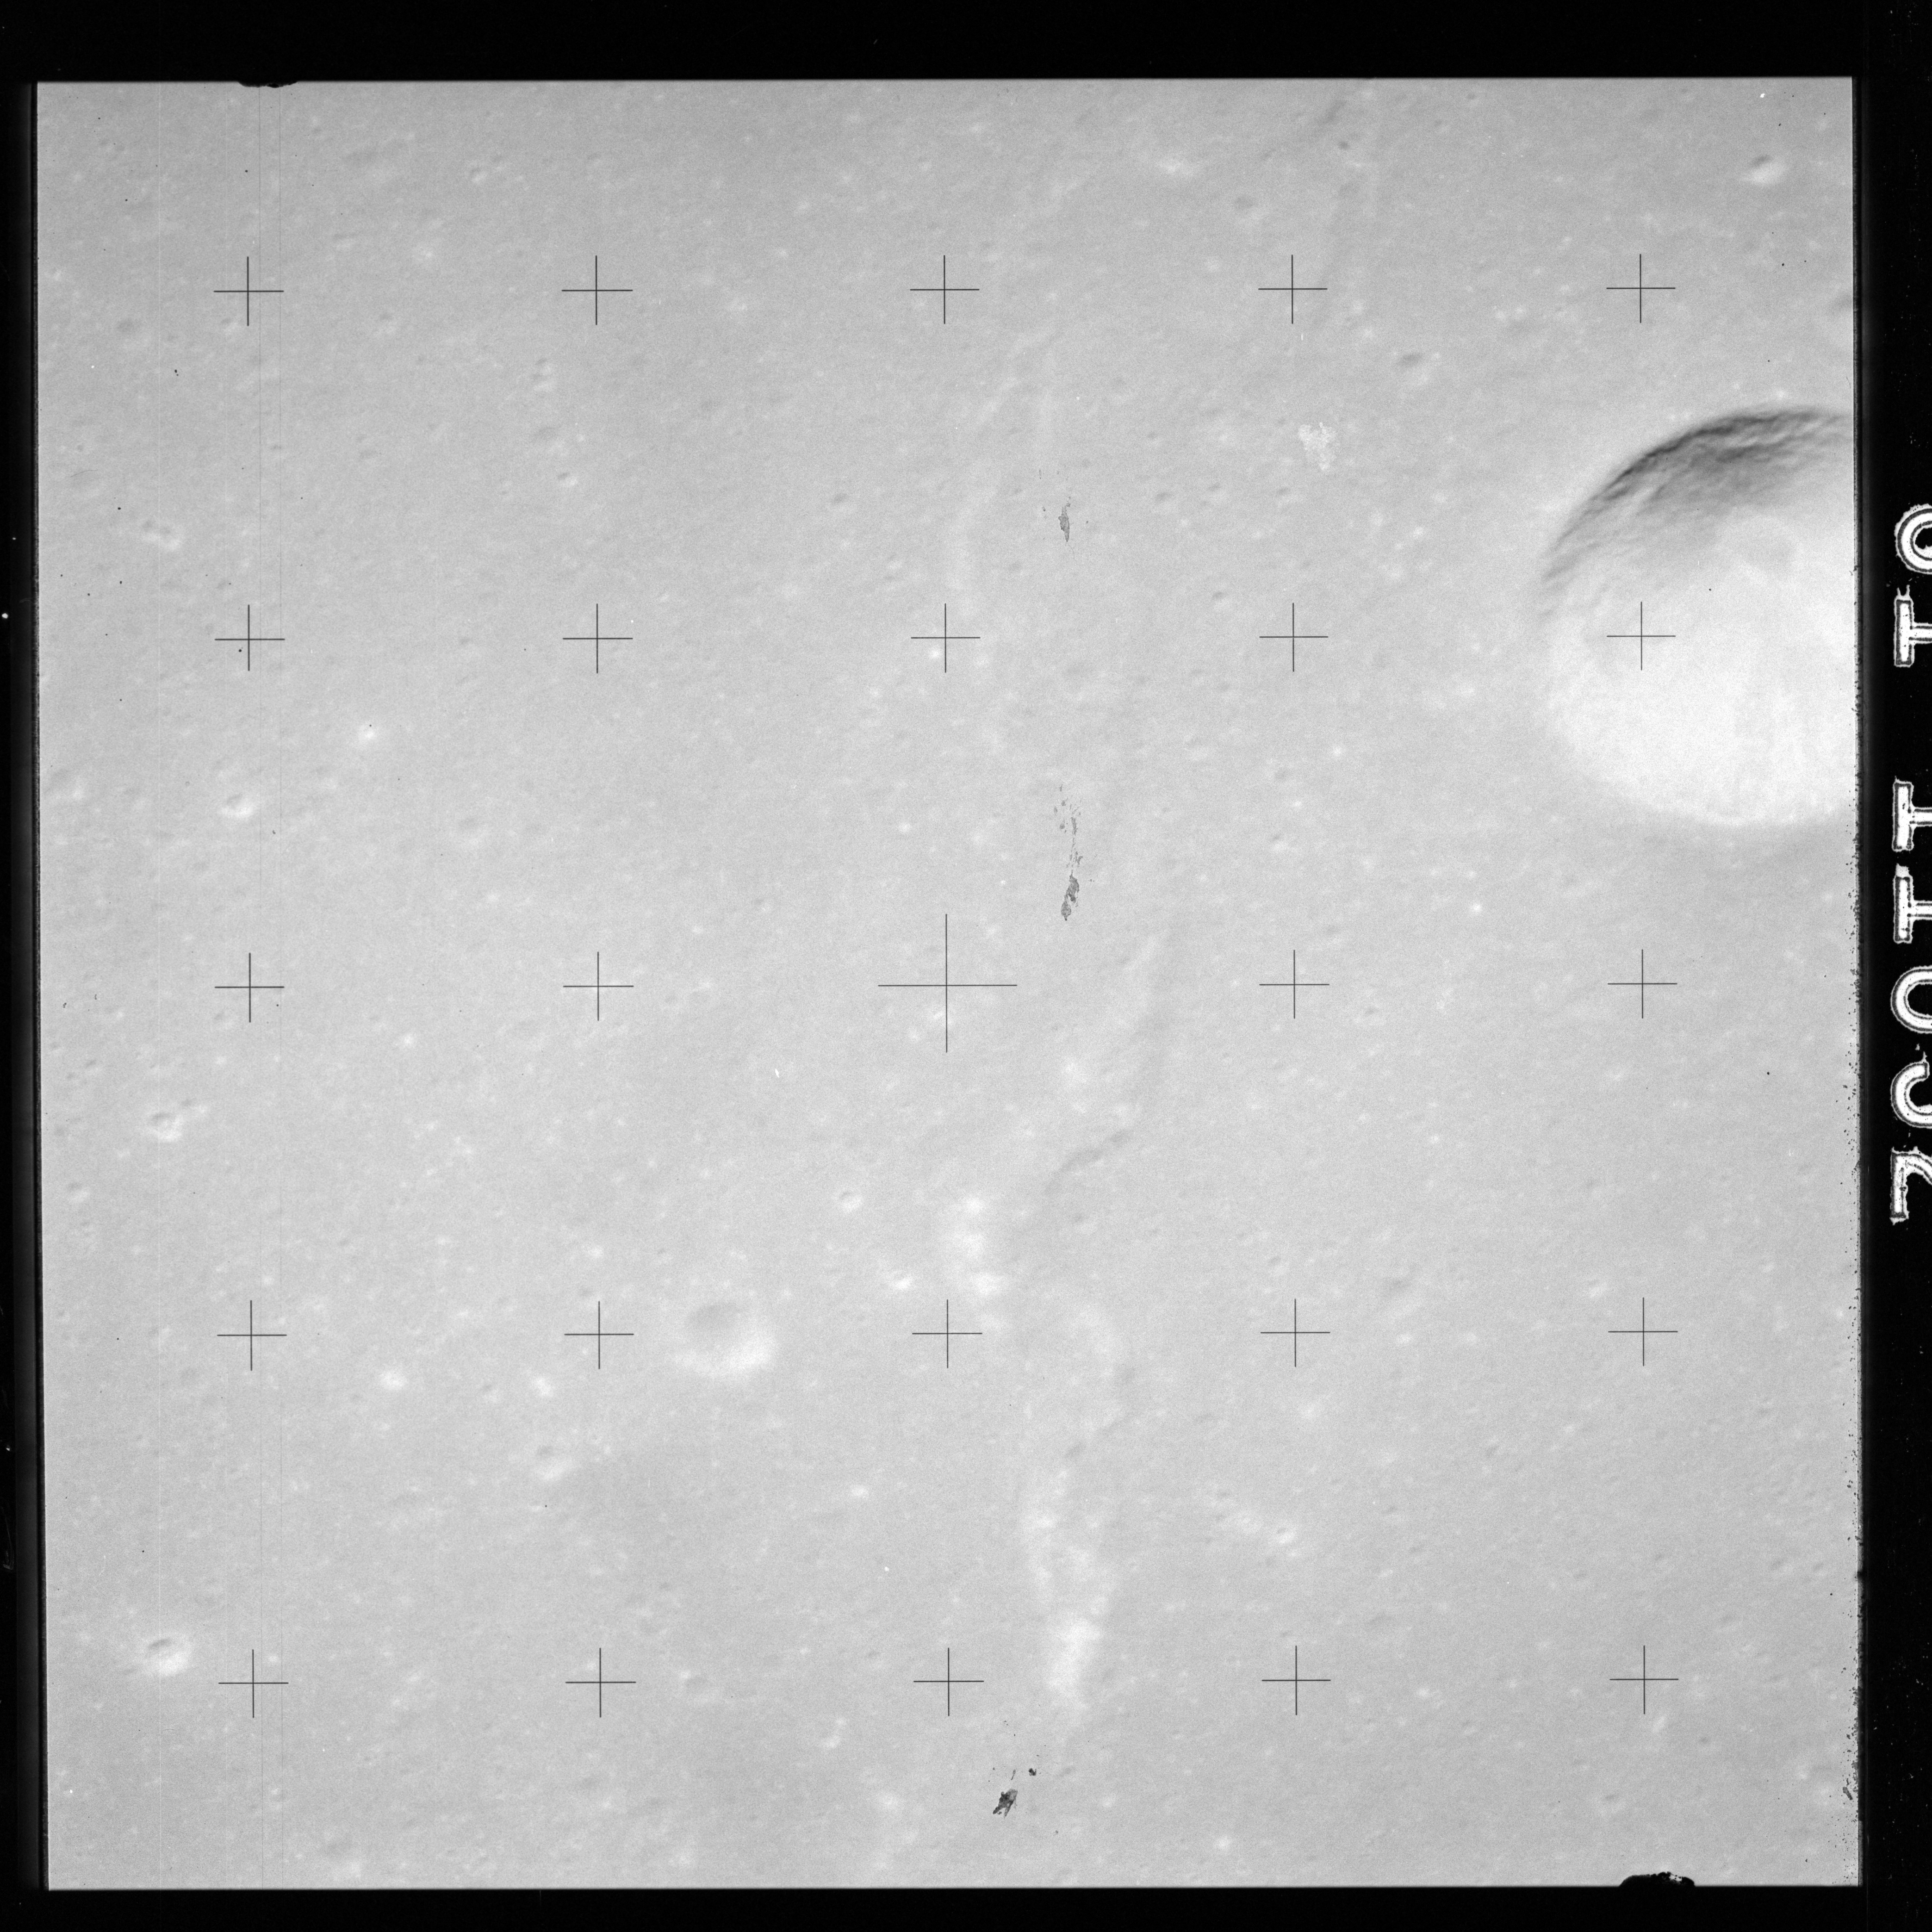
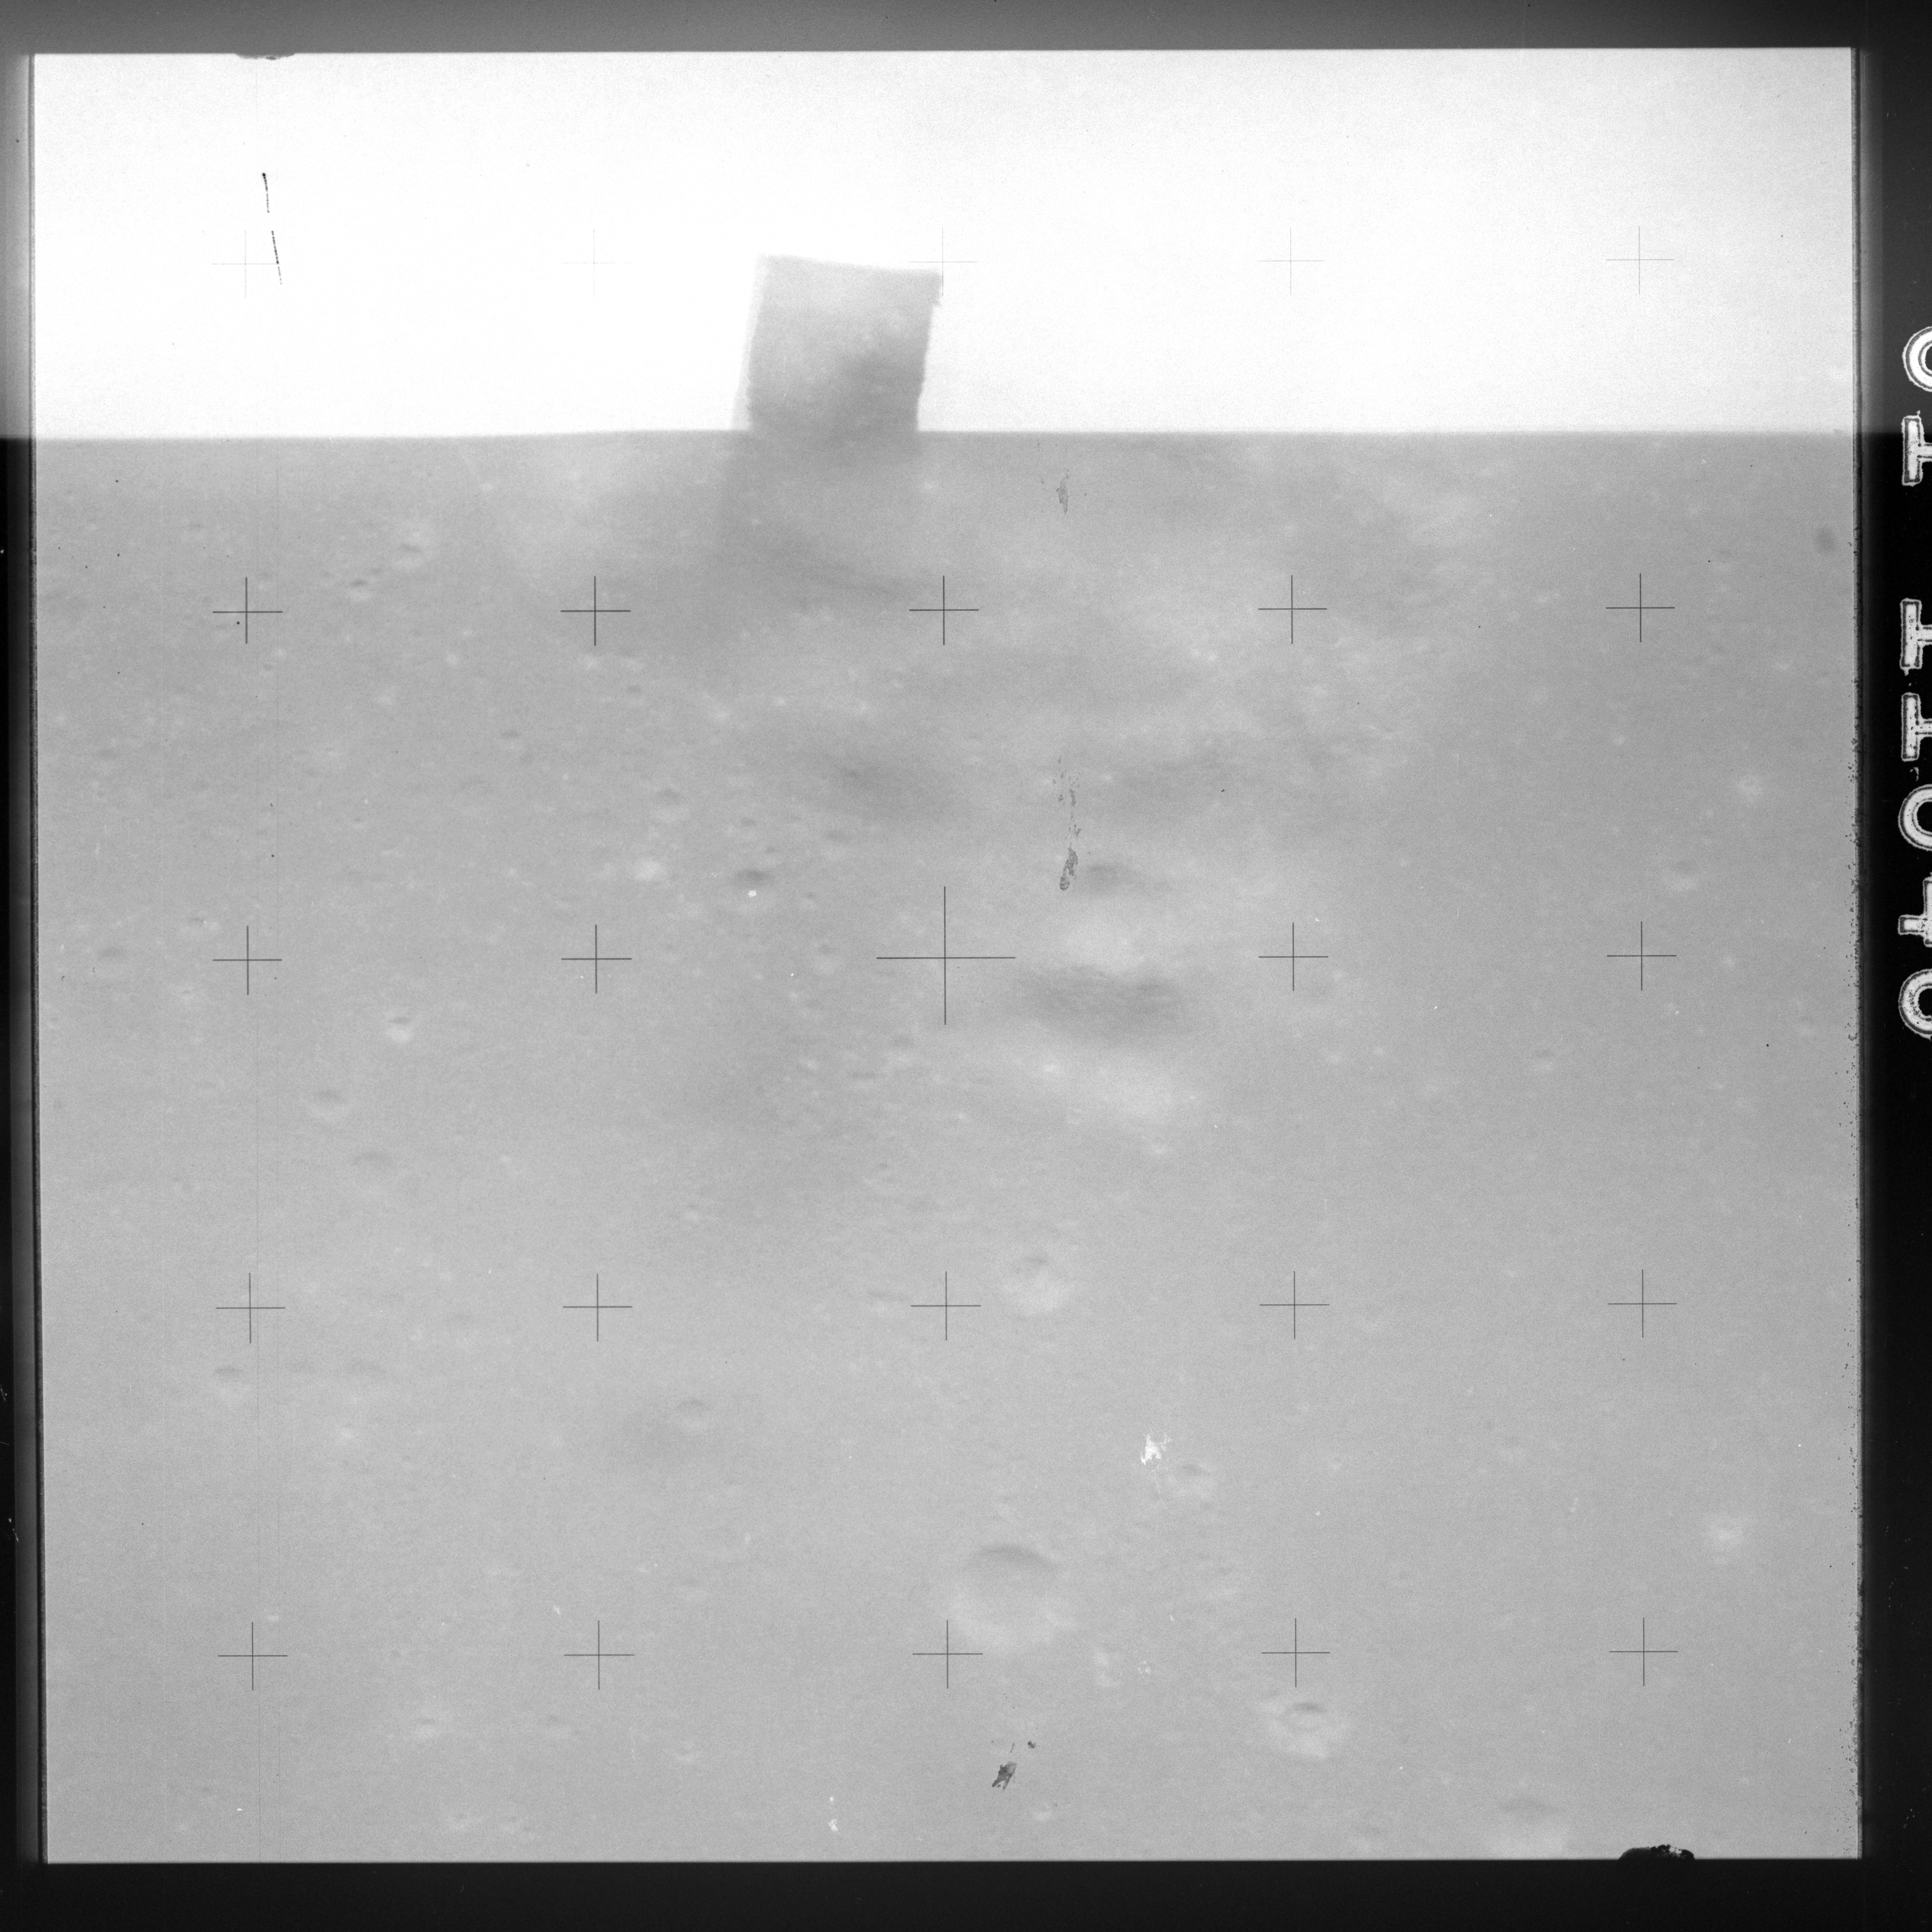
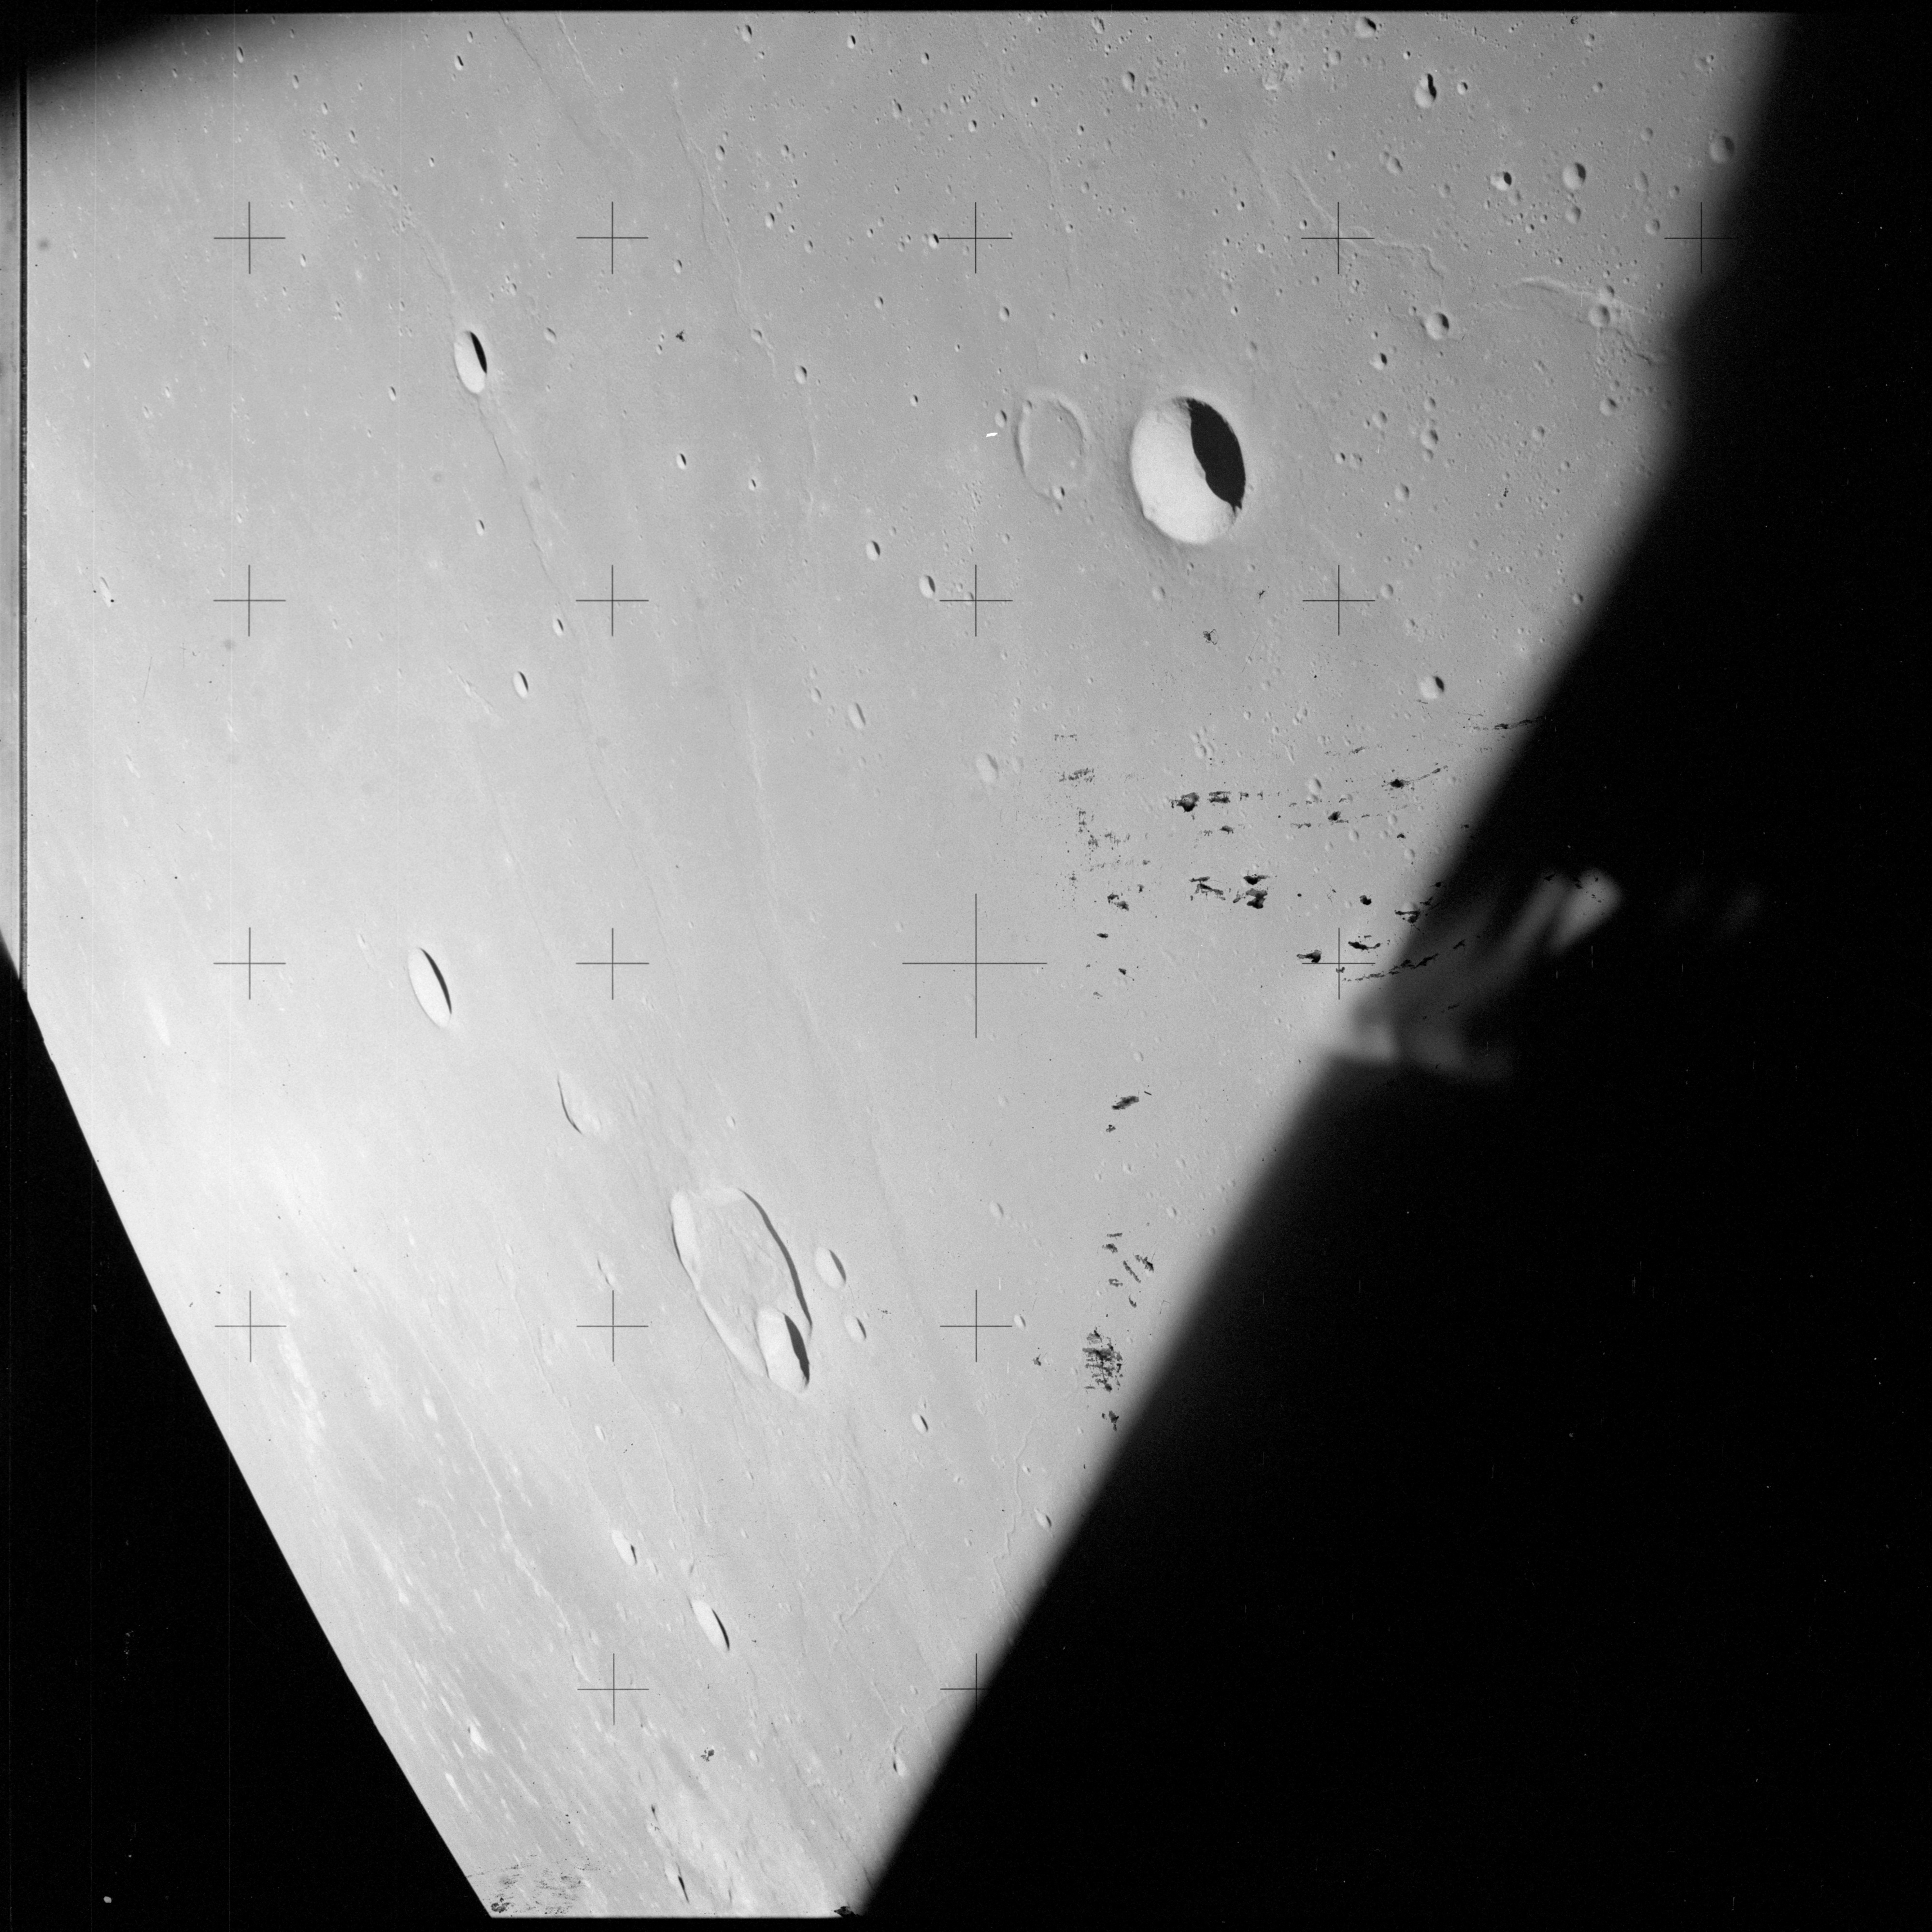
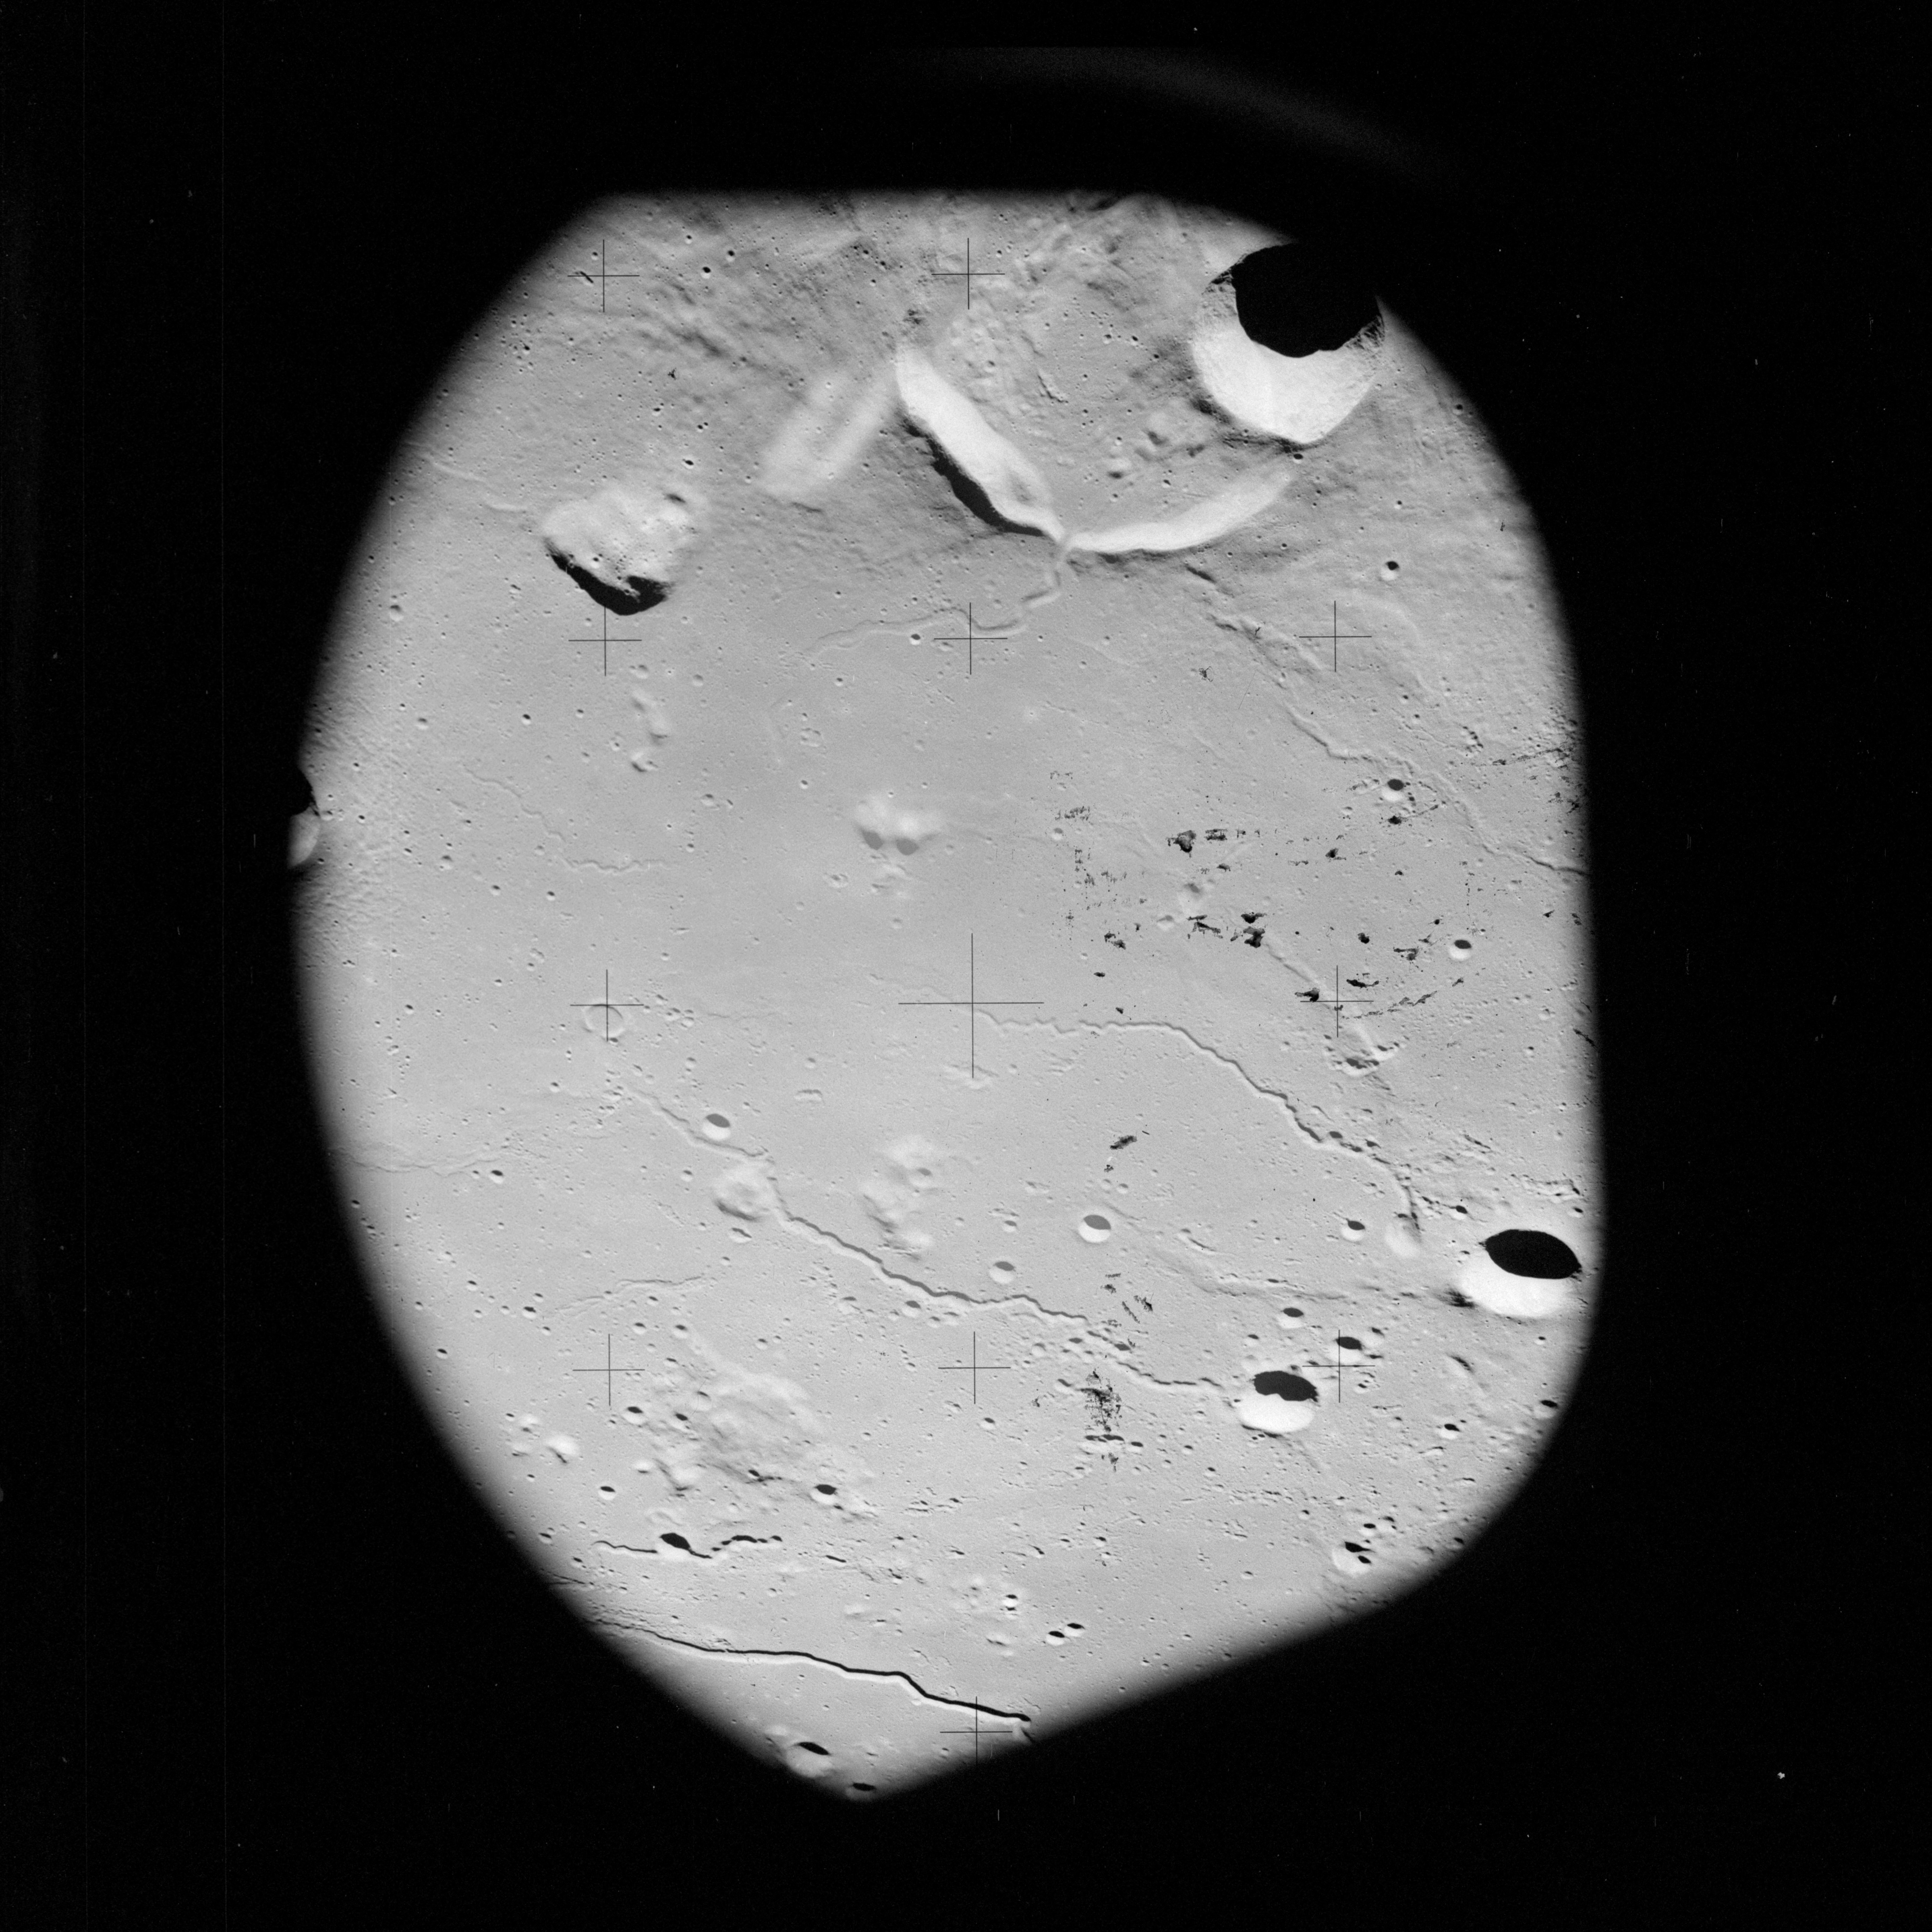
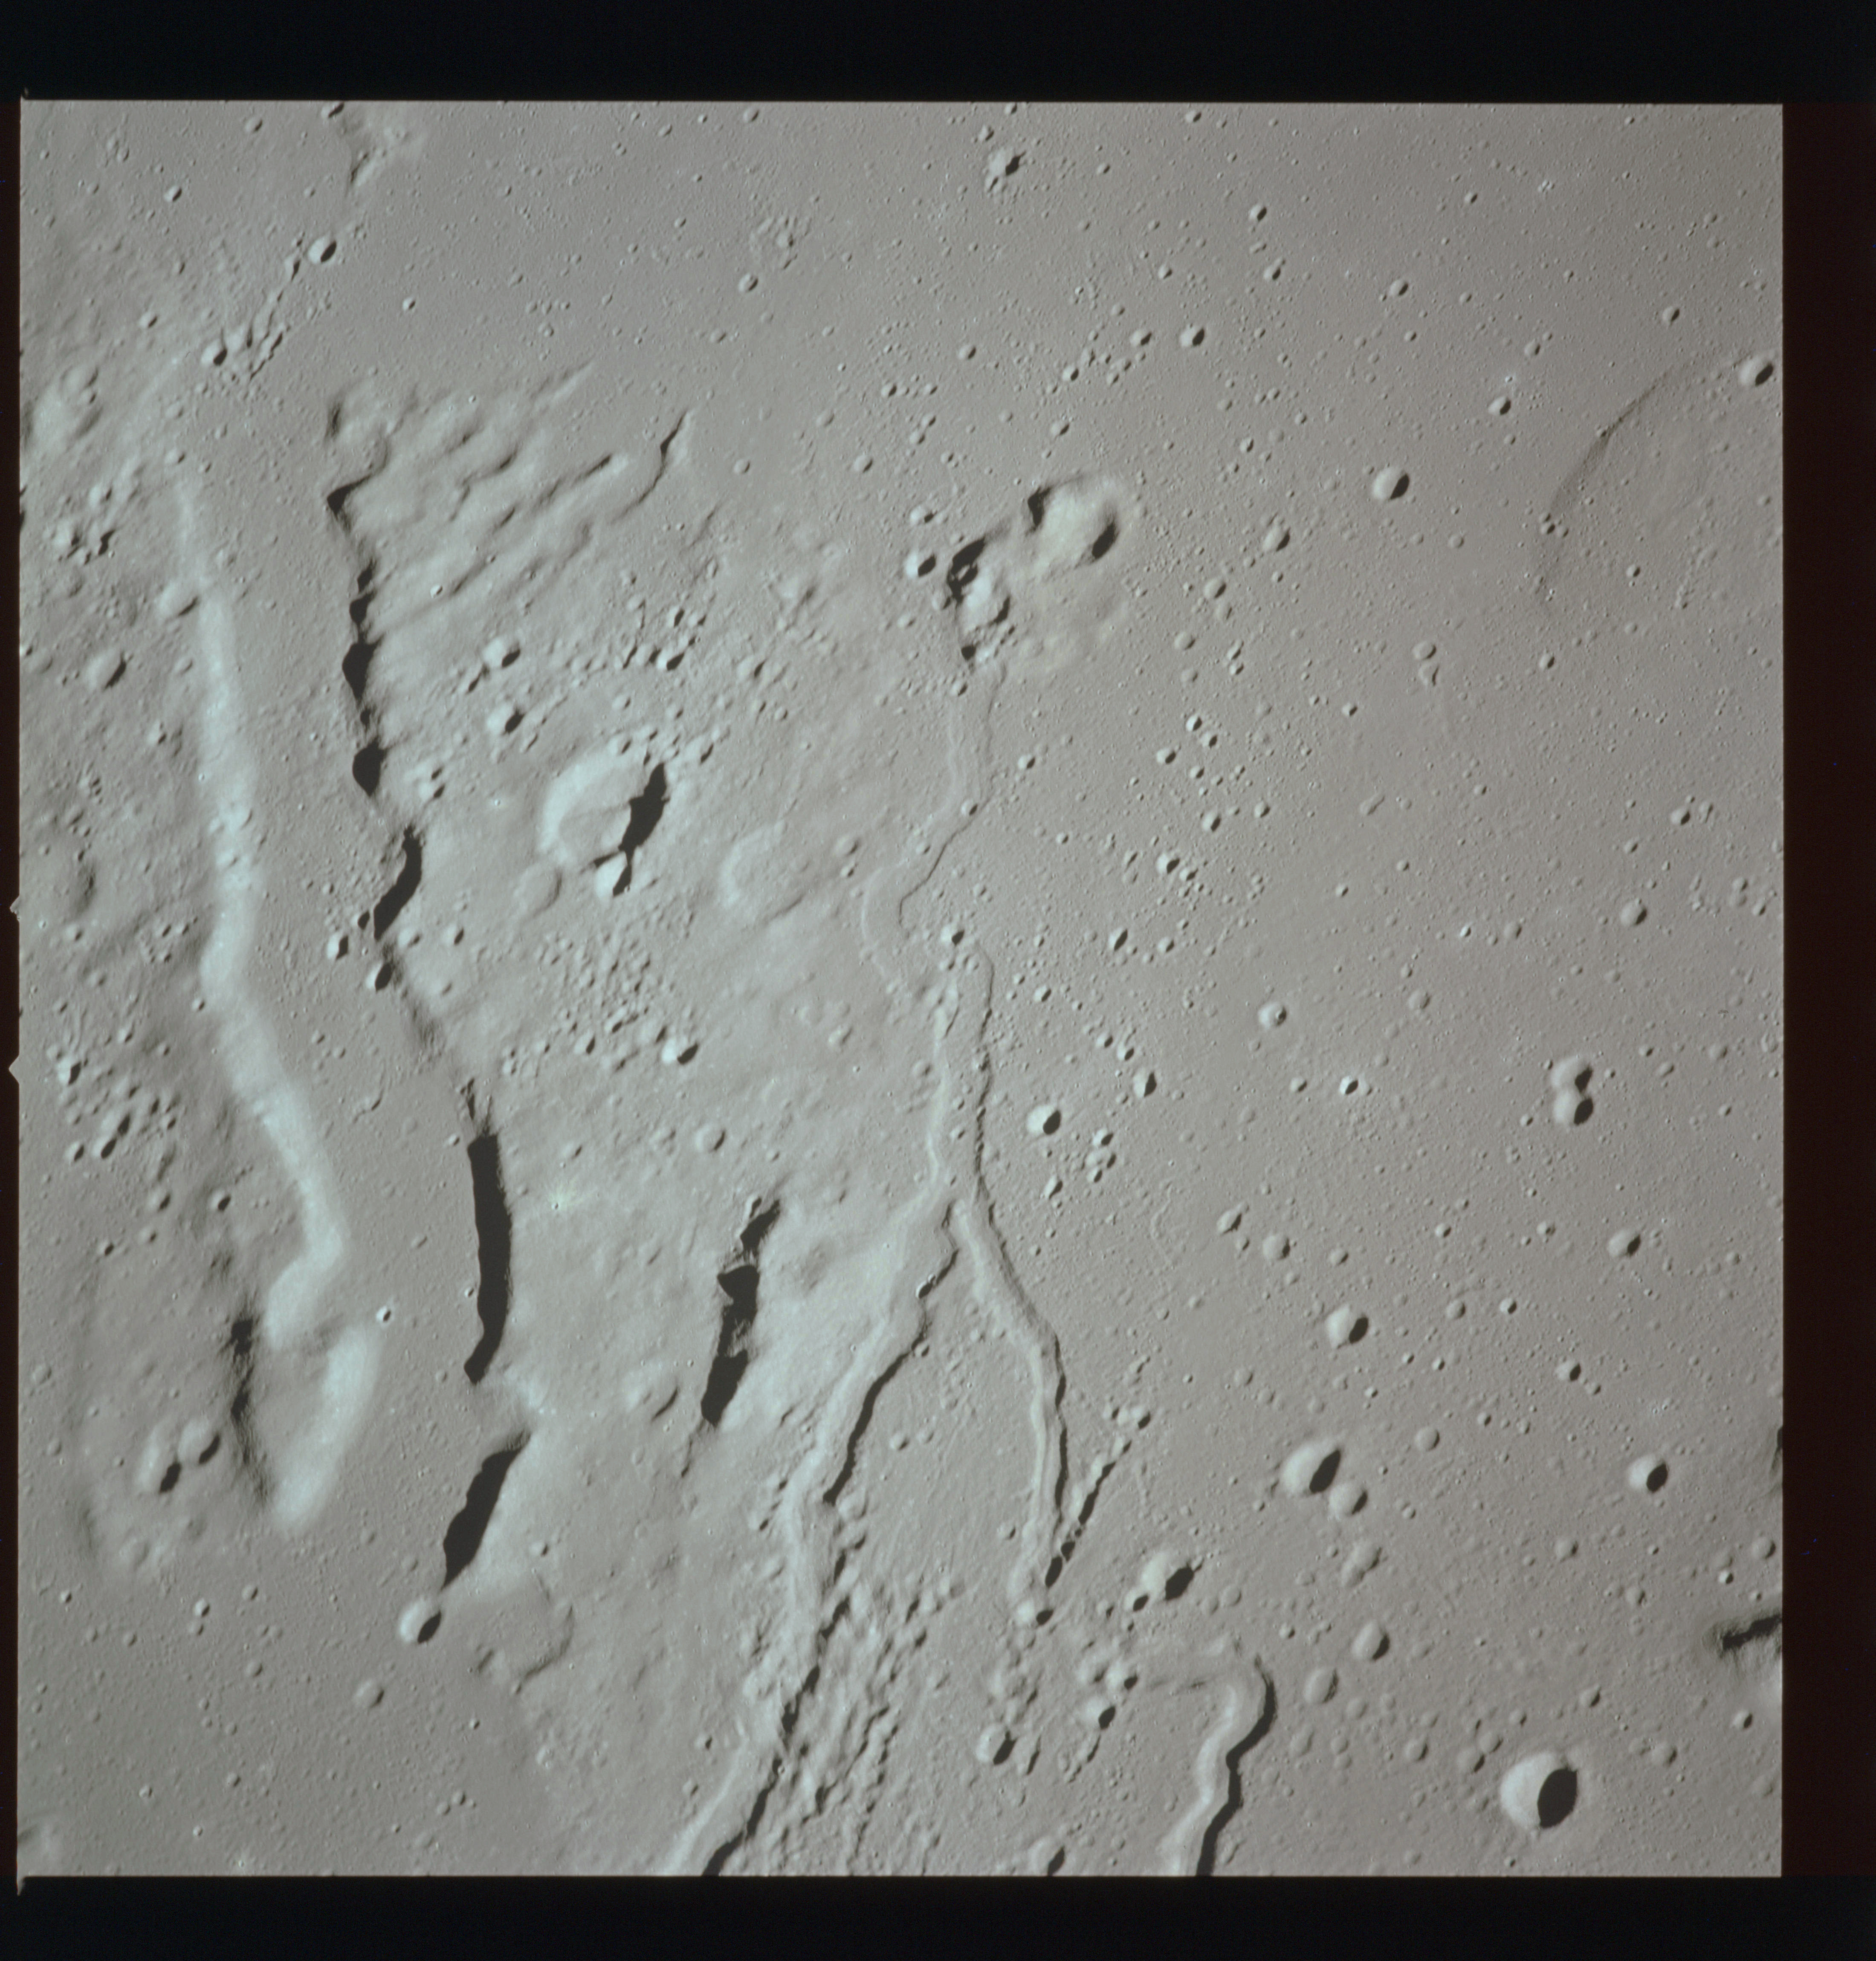
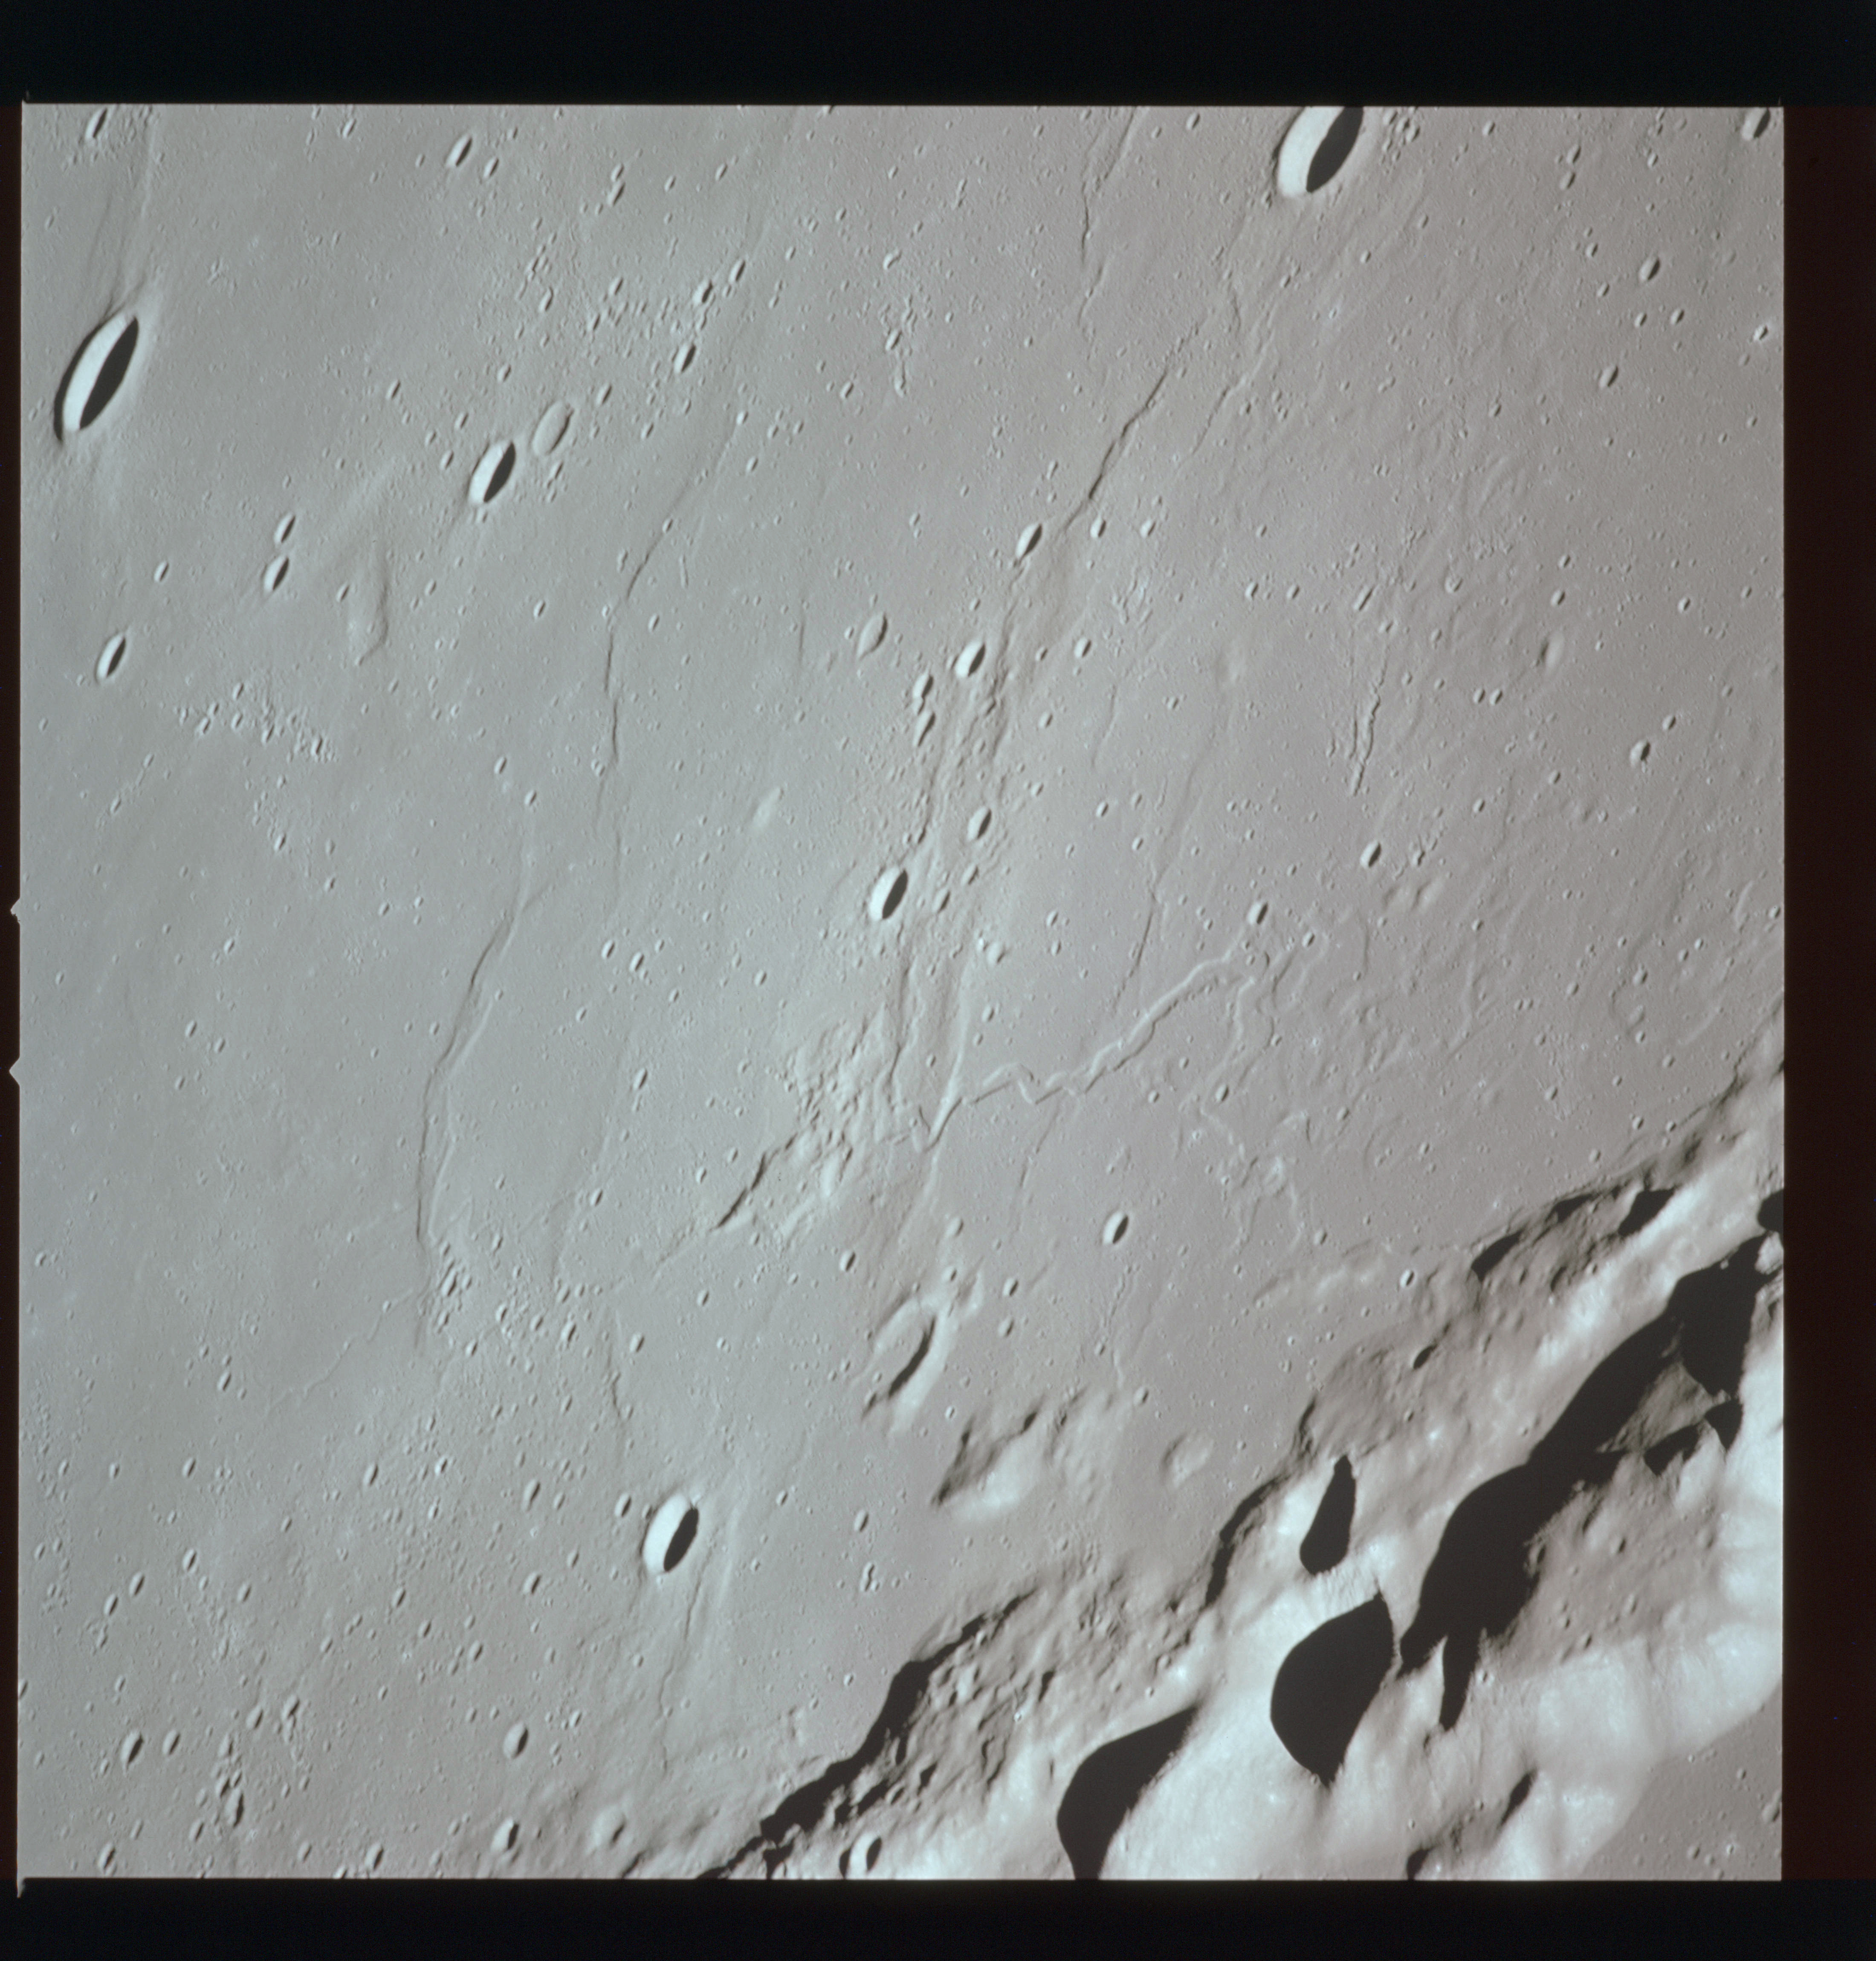
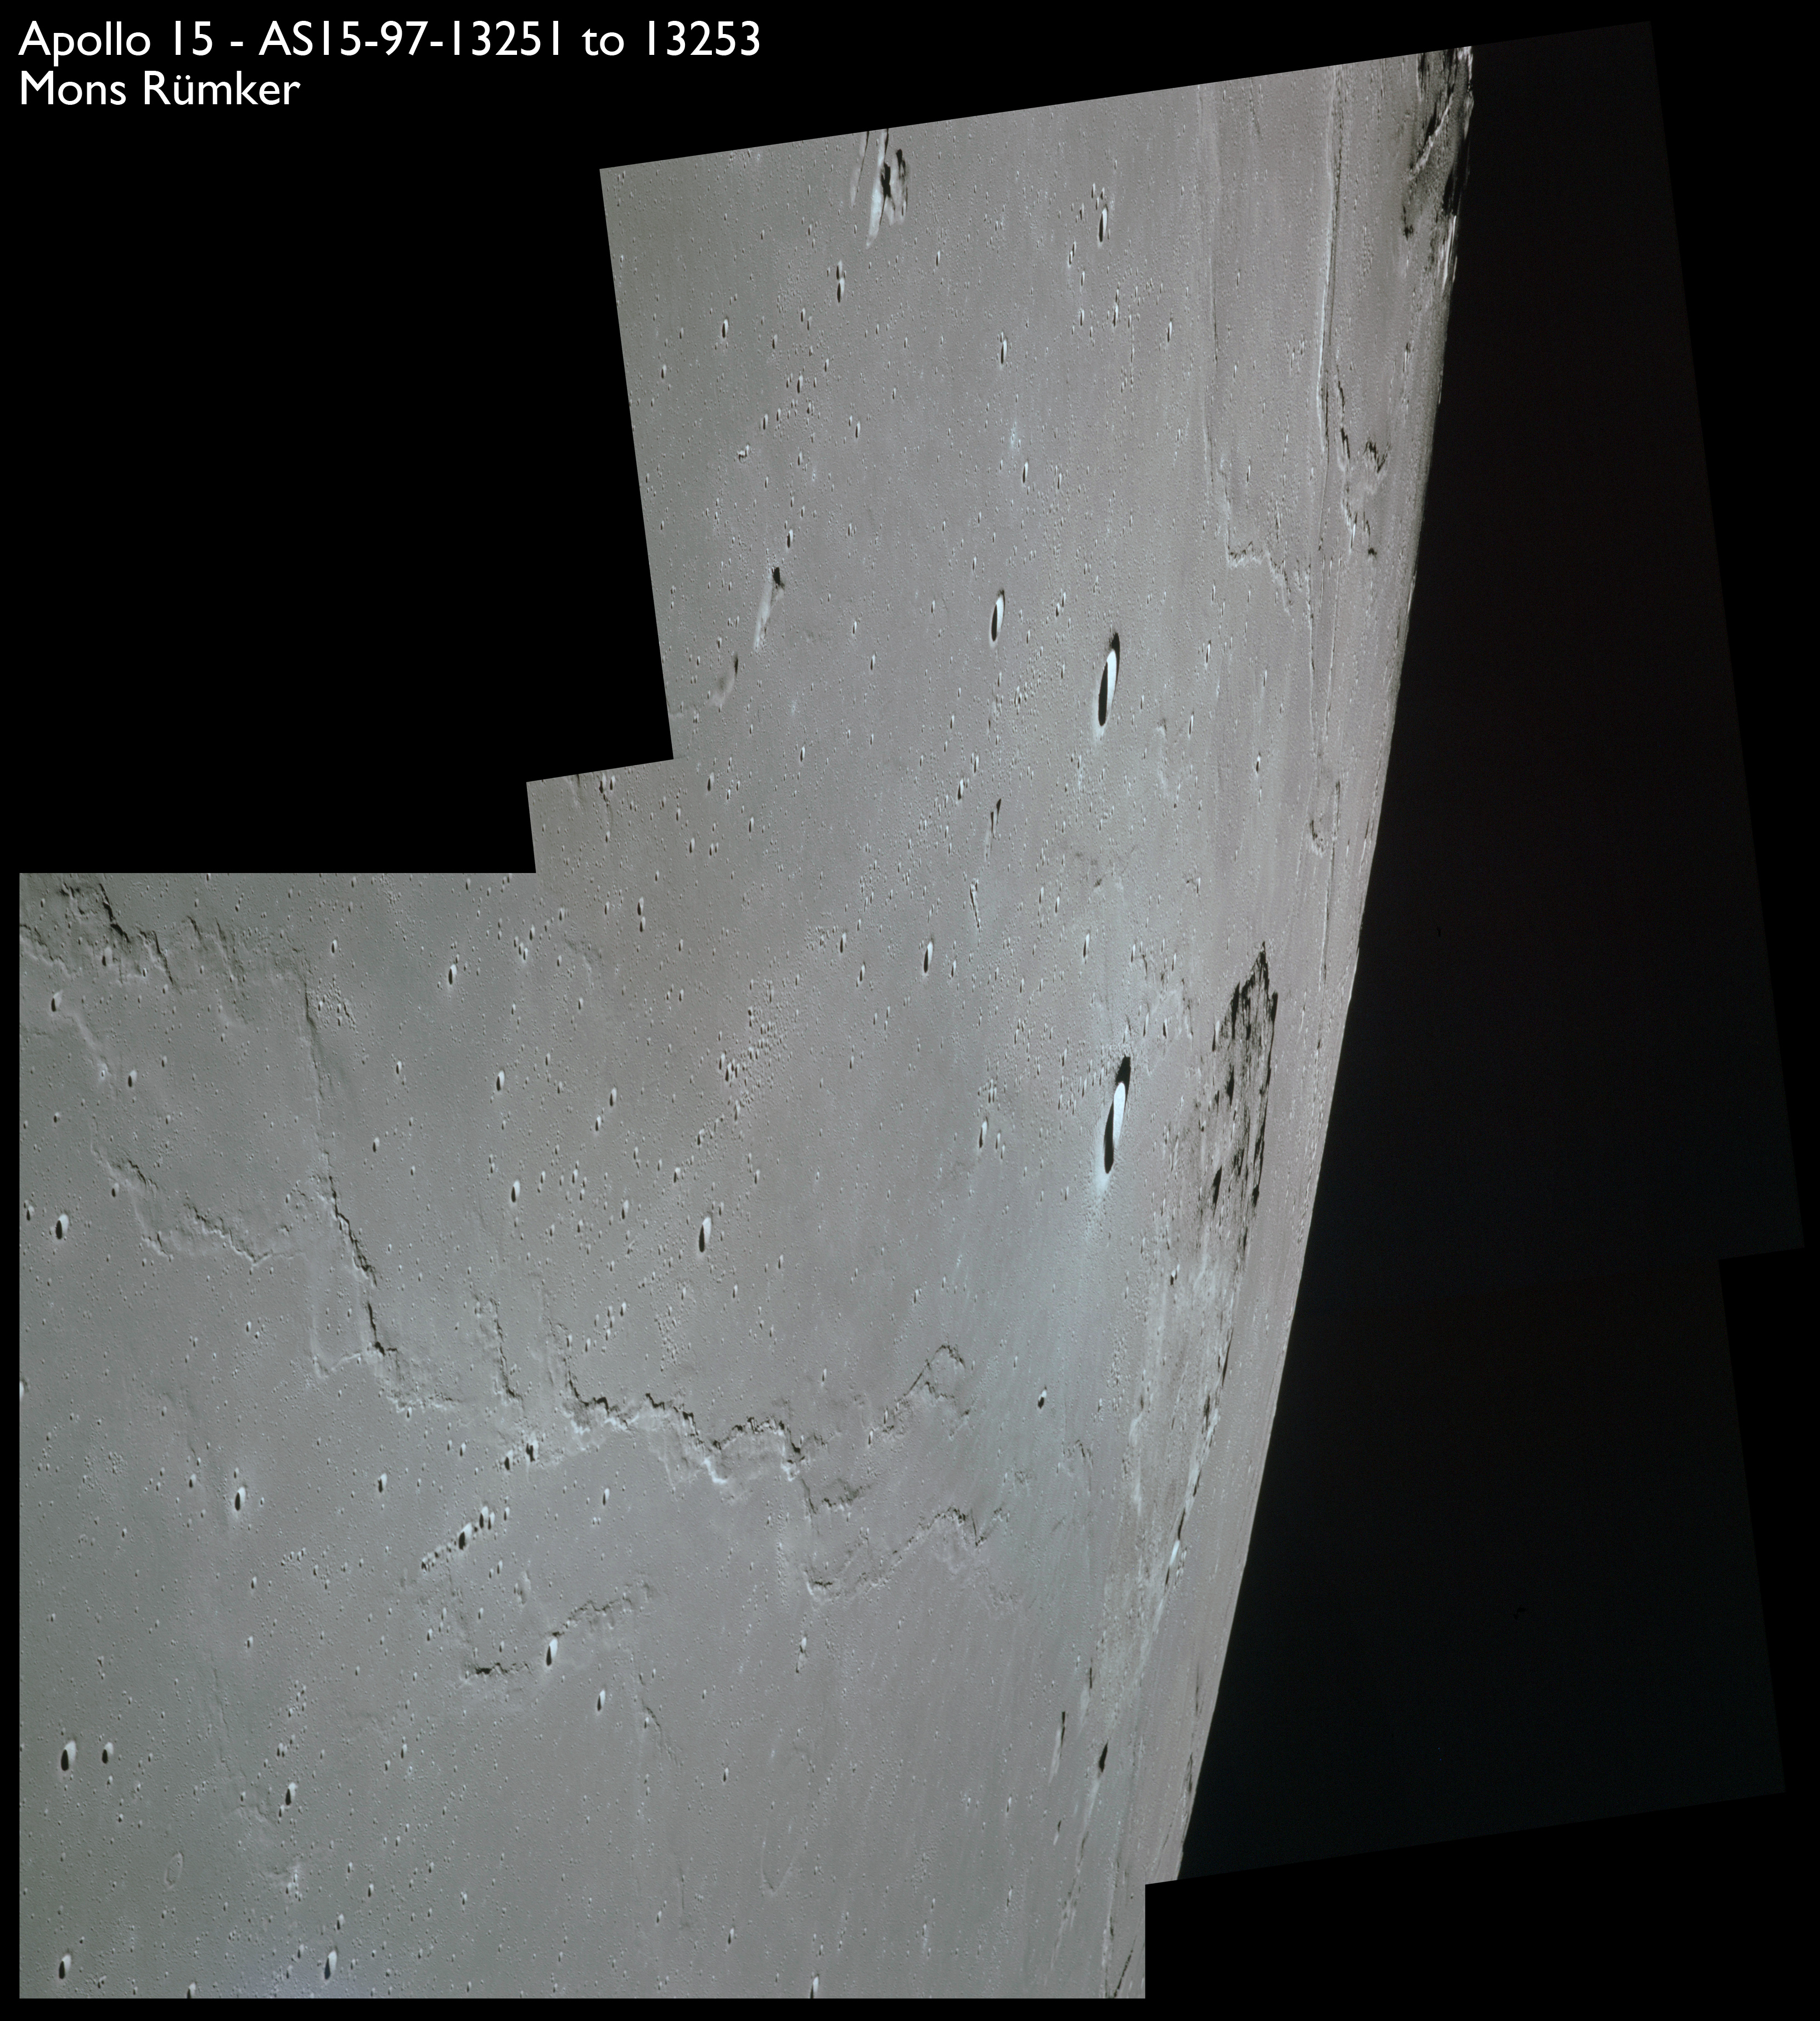
The 'Apollo 15 Index of 70-mm Photography' lists a sequence of 22 photographs as having been taken at any time between revolutions 64 and 72, the photo analysts having been unable to tie the exposures down more accurately. They were taken on magazine TT with a 60mm lens and are AS15-88-11985 to 12006. This seems as good a time as any to discuss these images.
As seen from Earth, the Moon is very near full and as a consequence, there are only about five minutes between Endeavour passing the terminator and AOS. Only limited photography can be achieved on the far side, so with magazine TT and the slightly wide-angle 60-mm lens, three images are taken during this short interval.
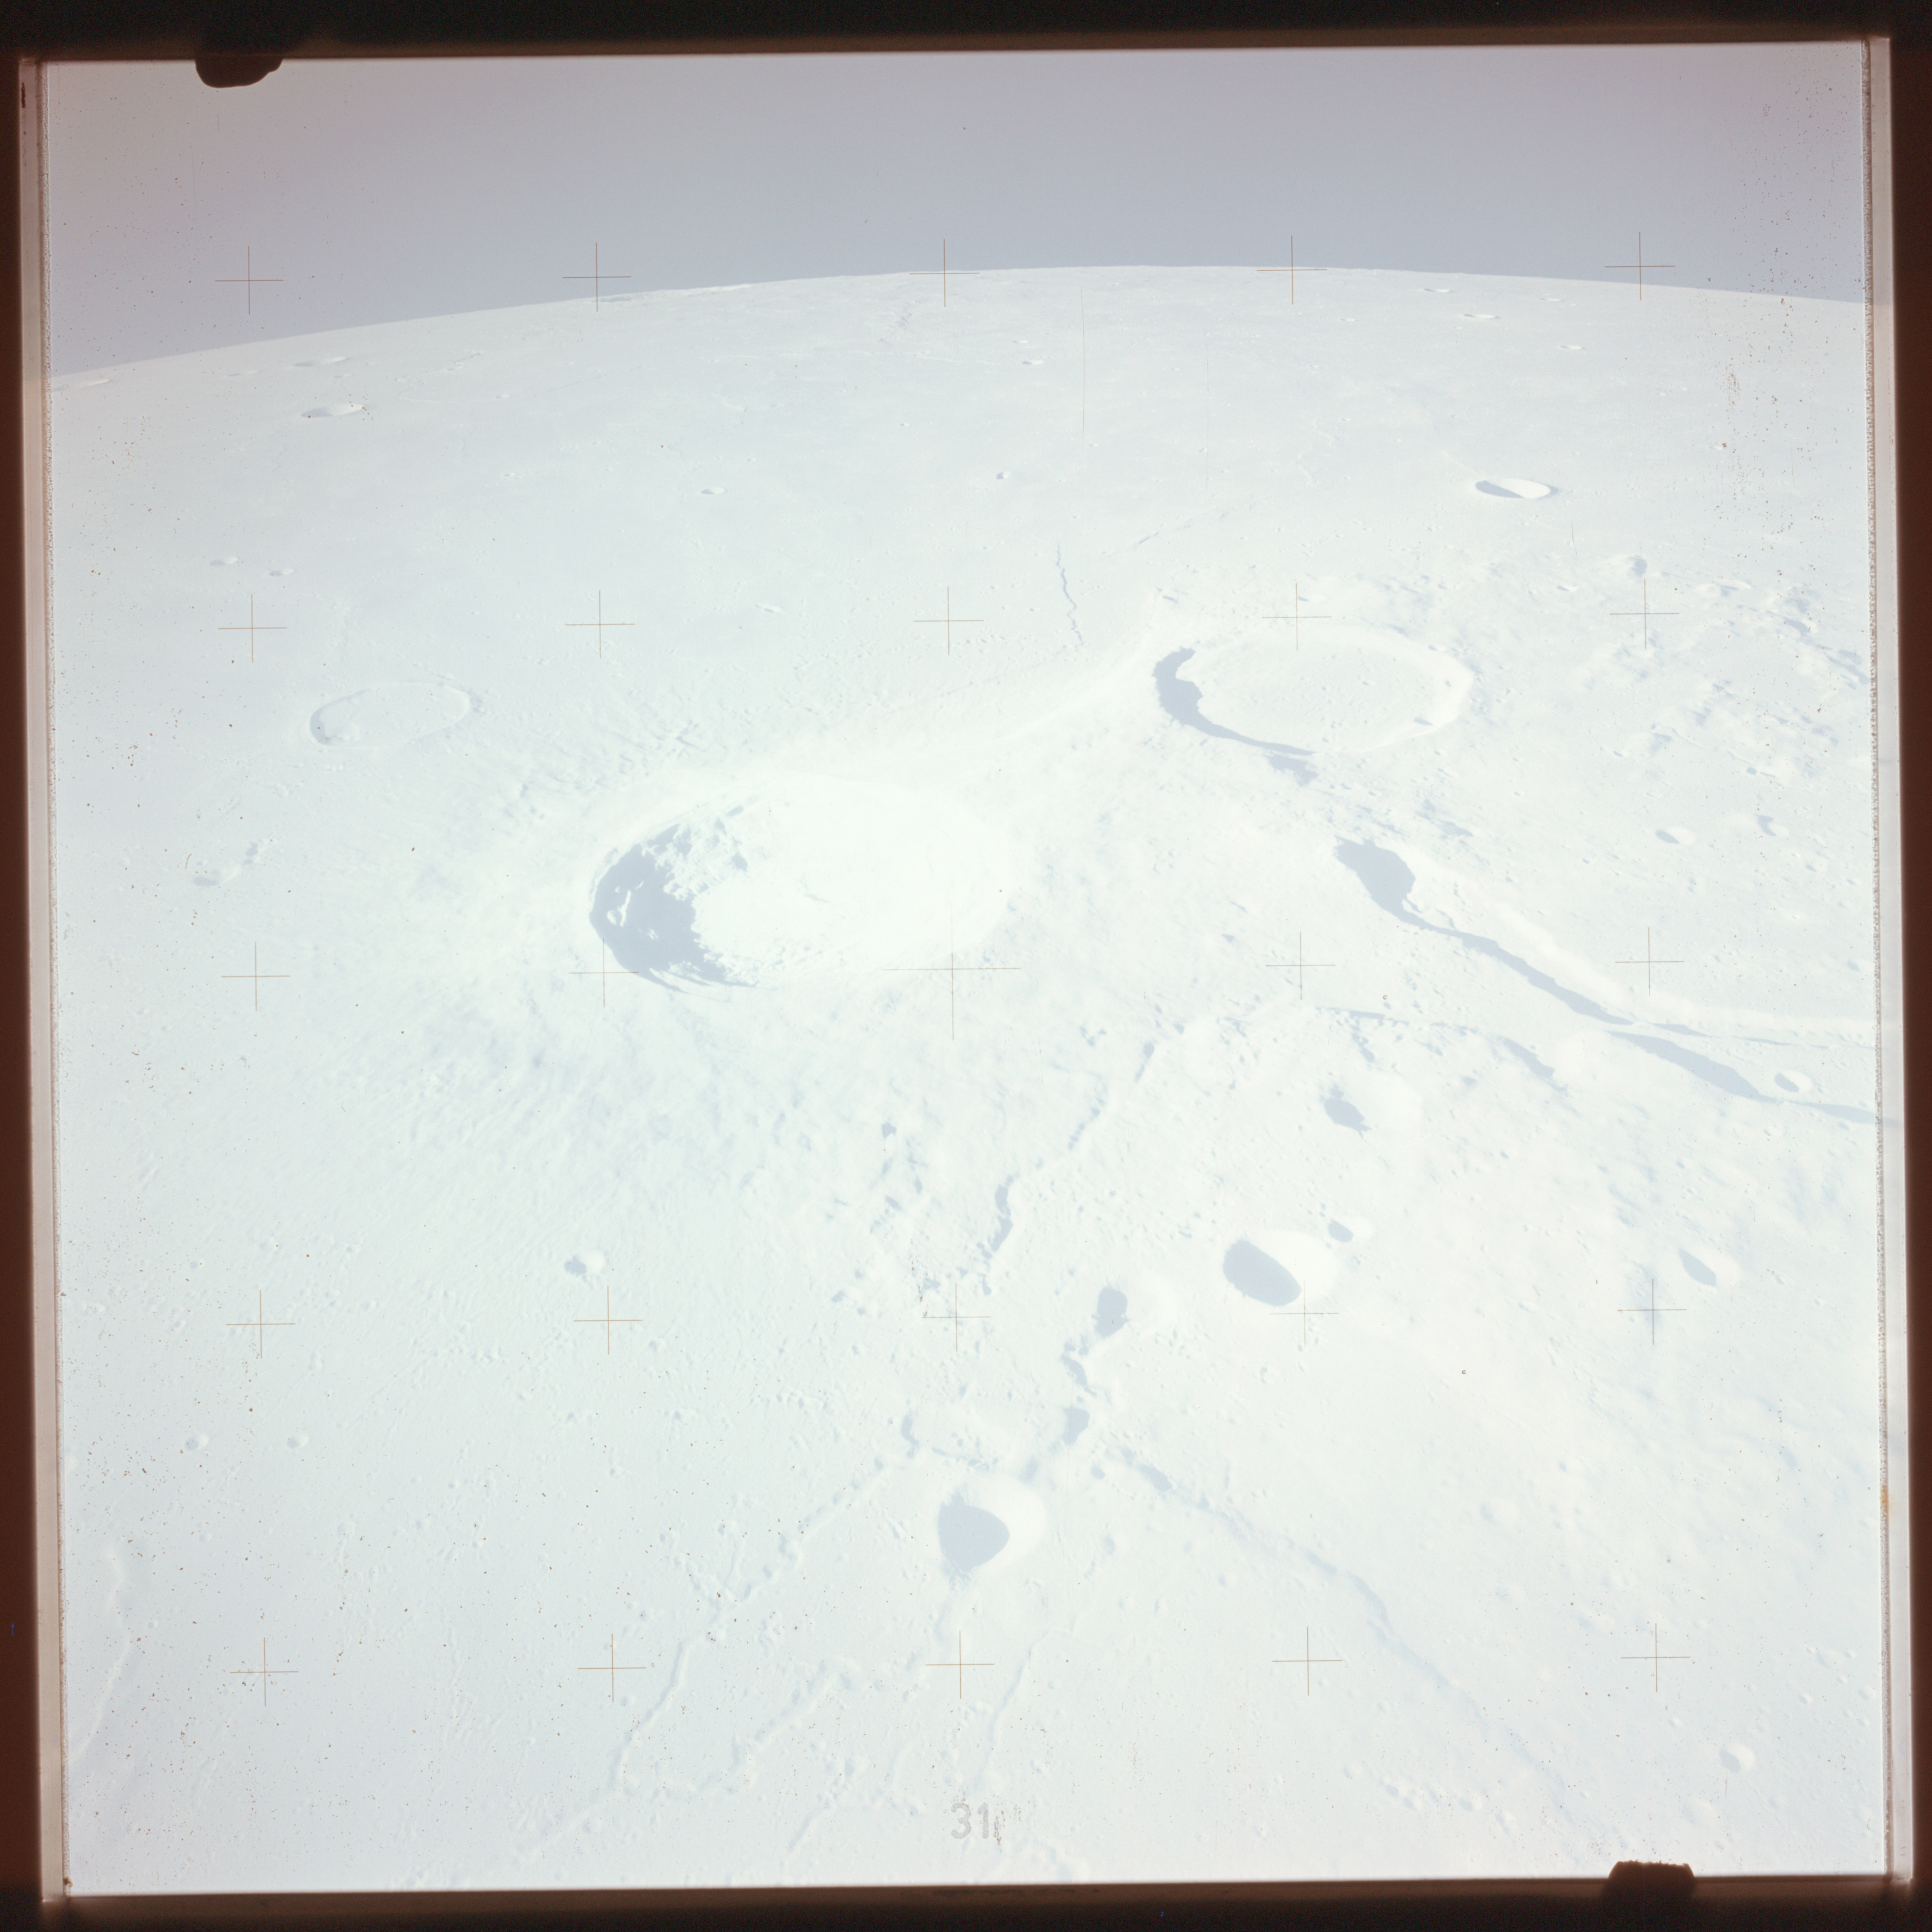
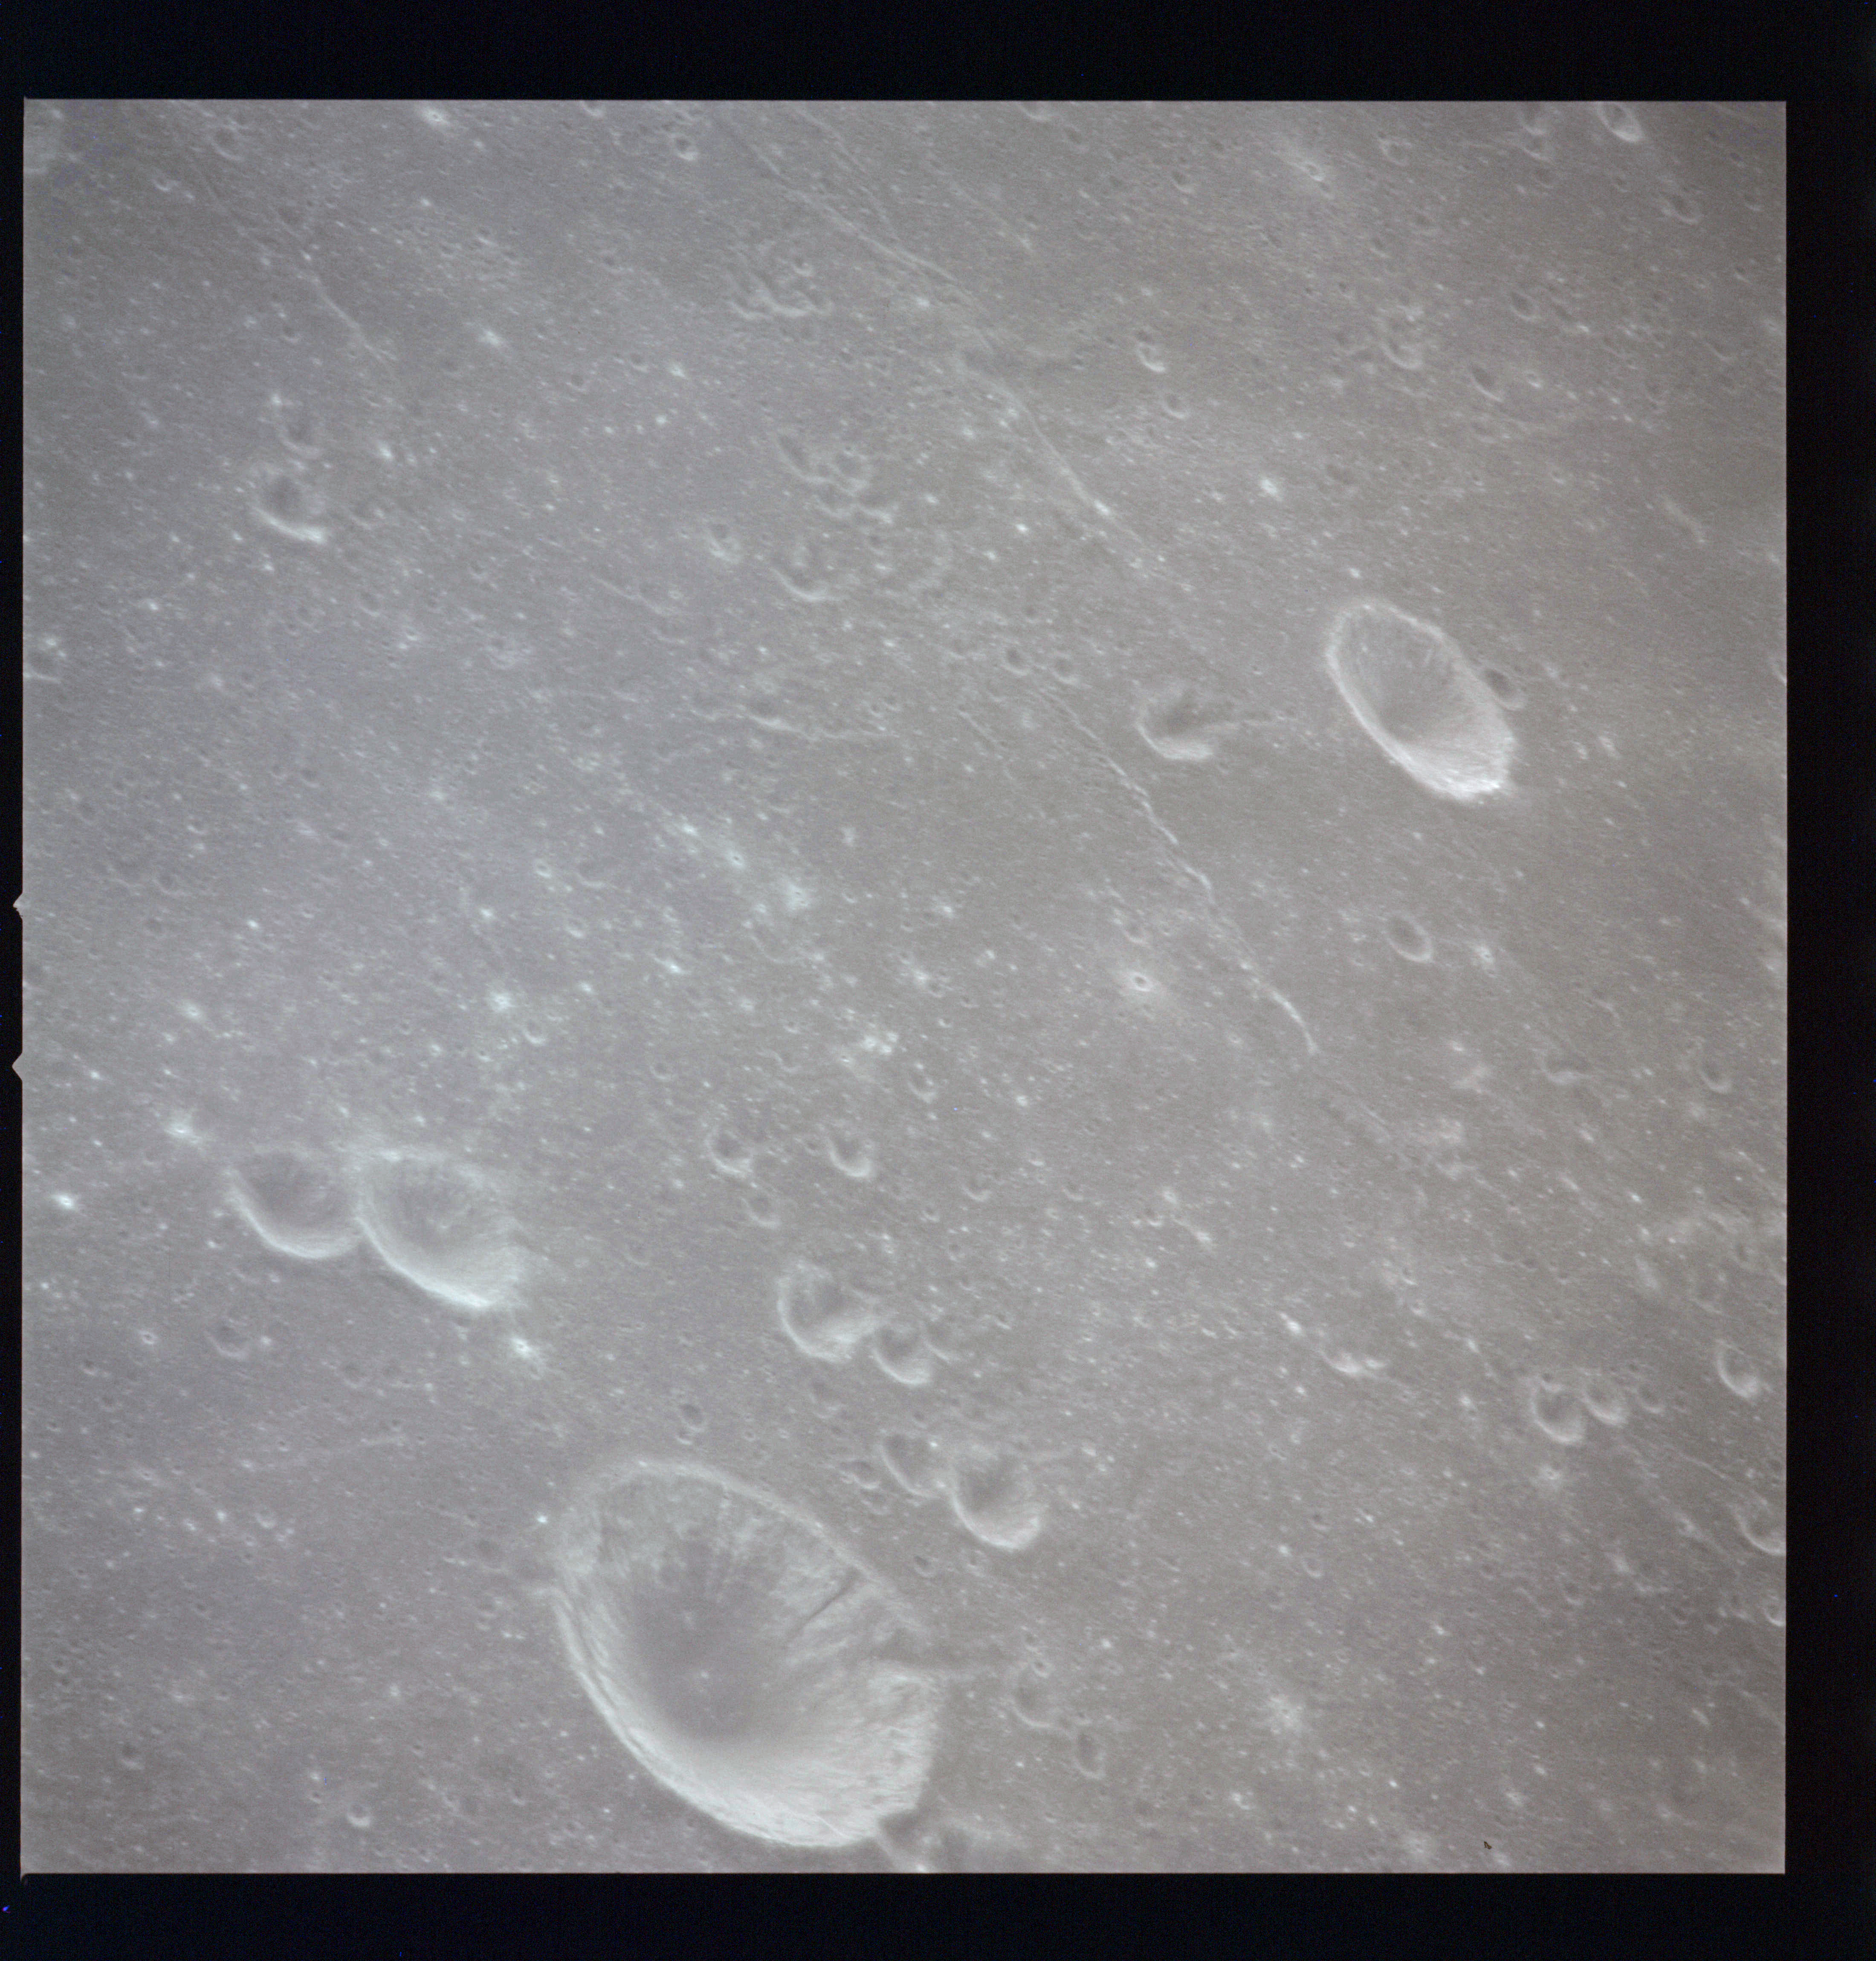
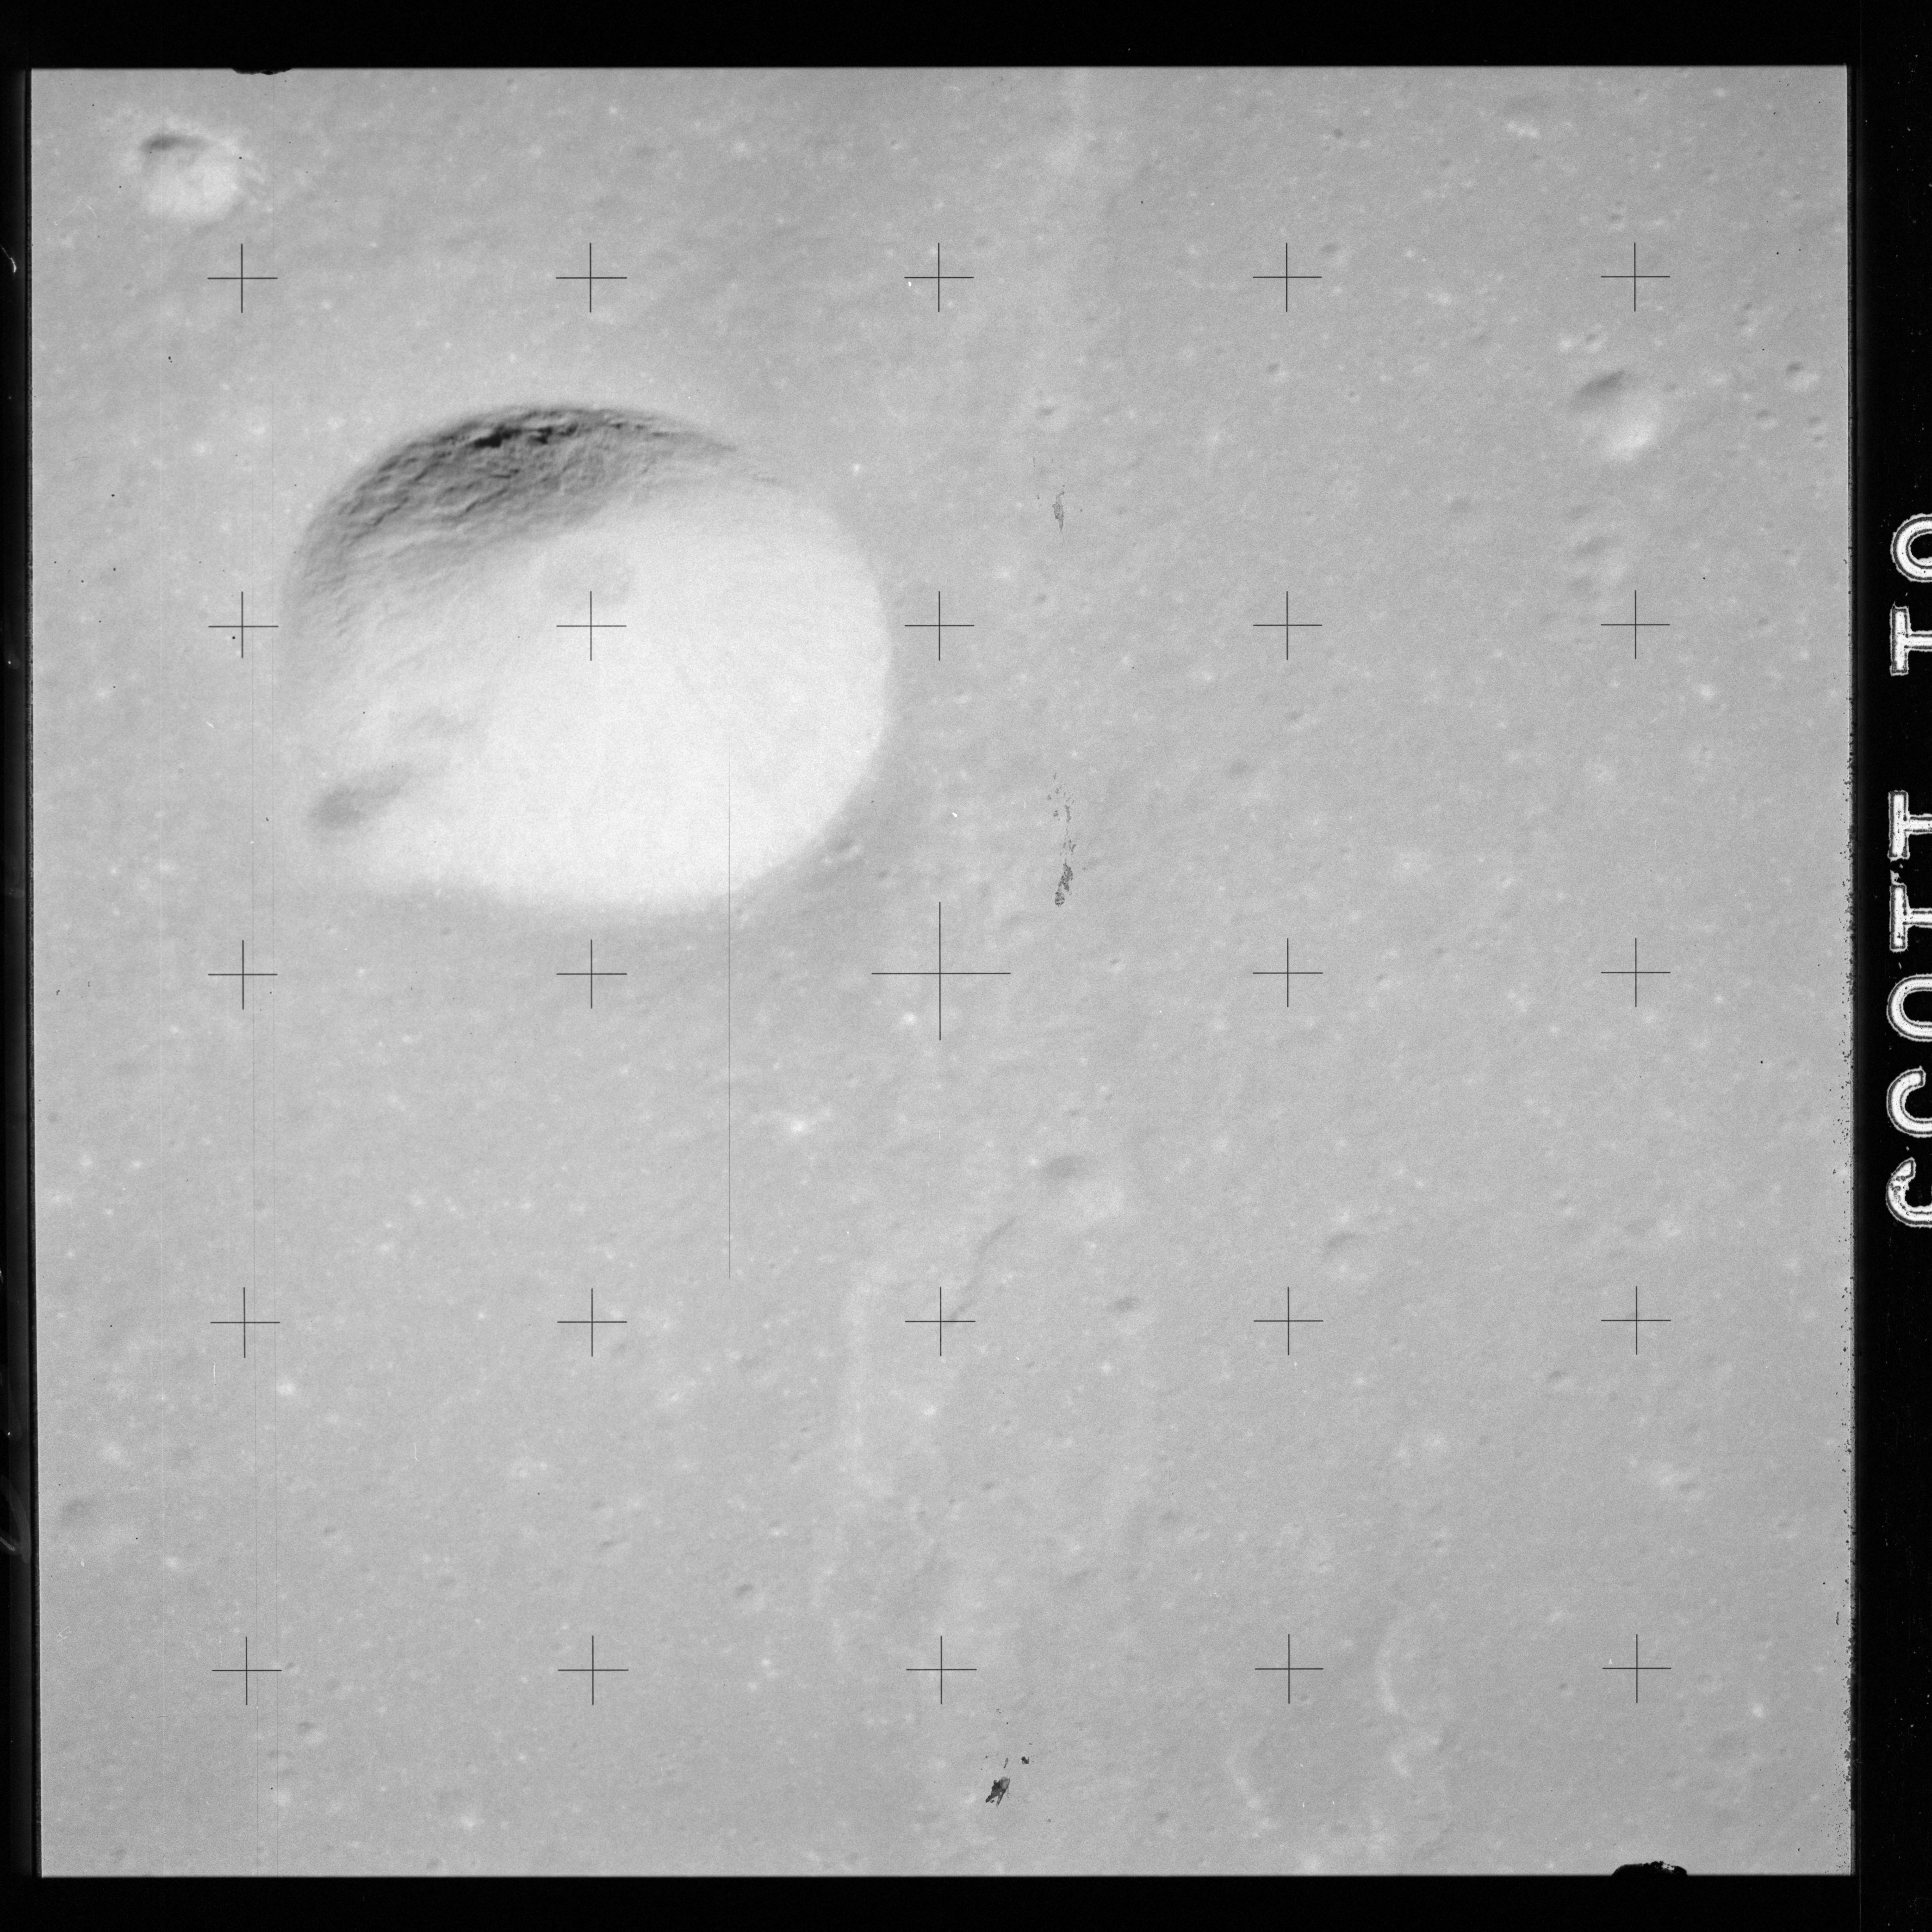
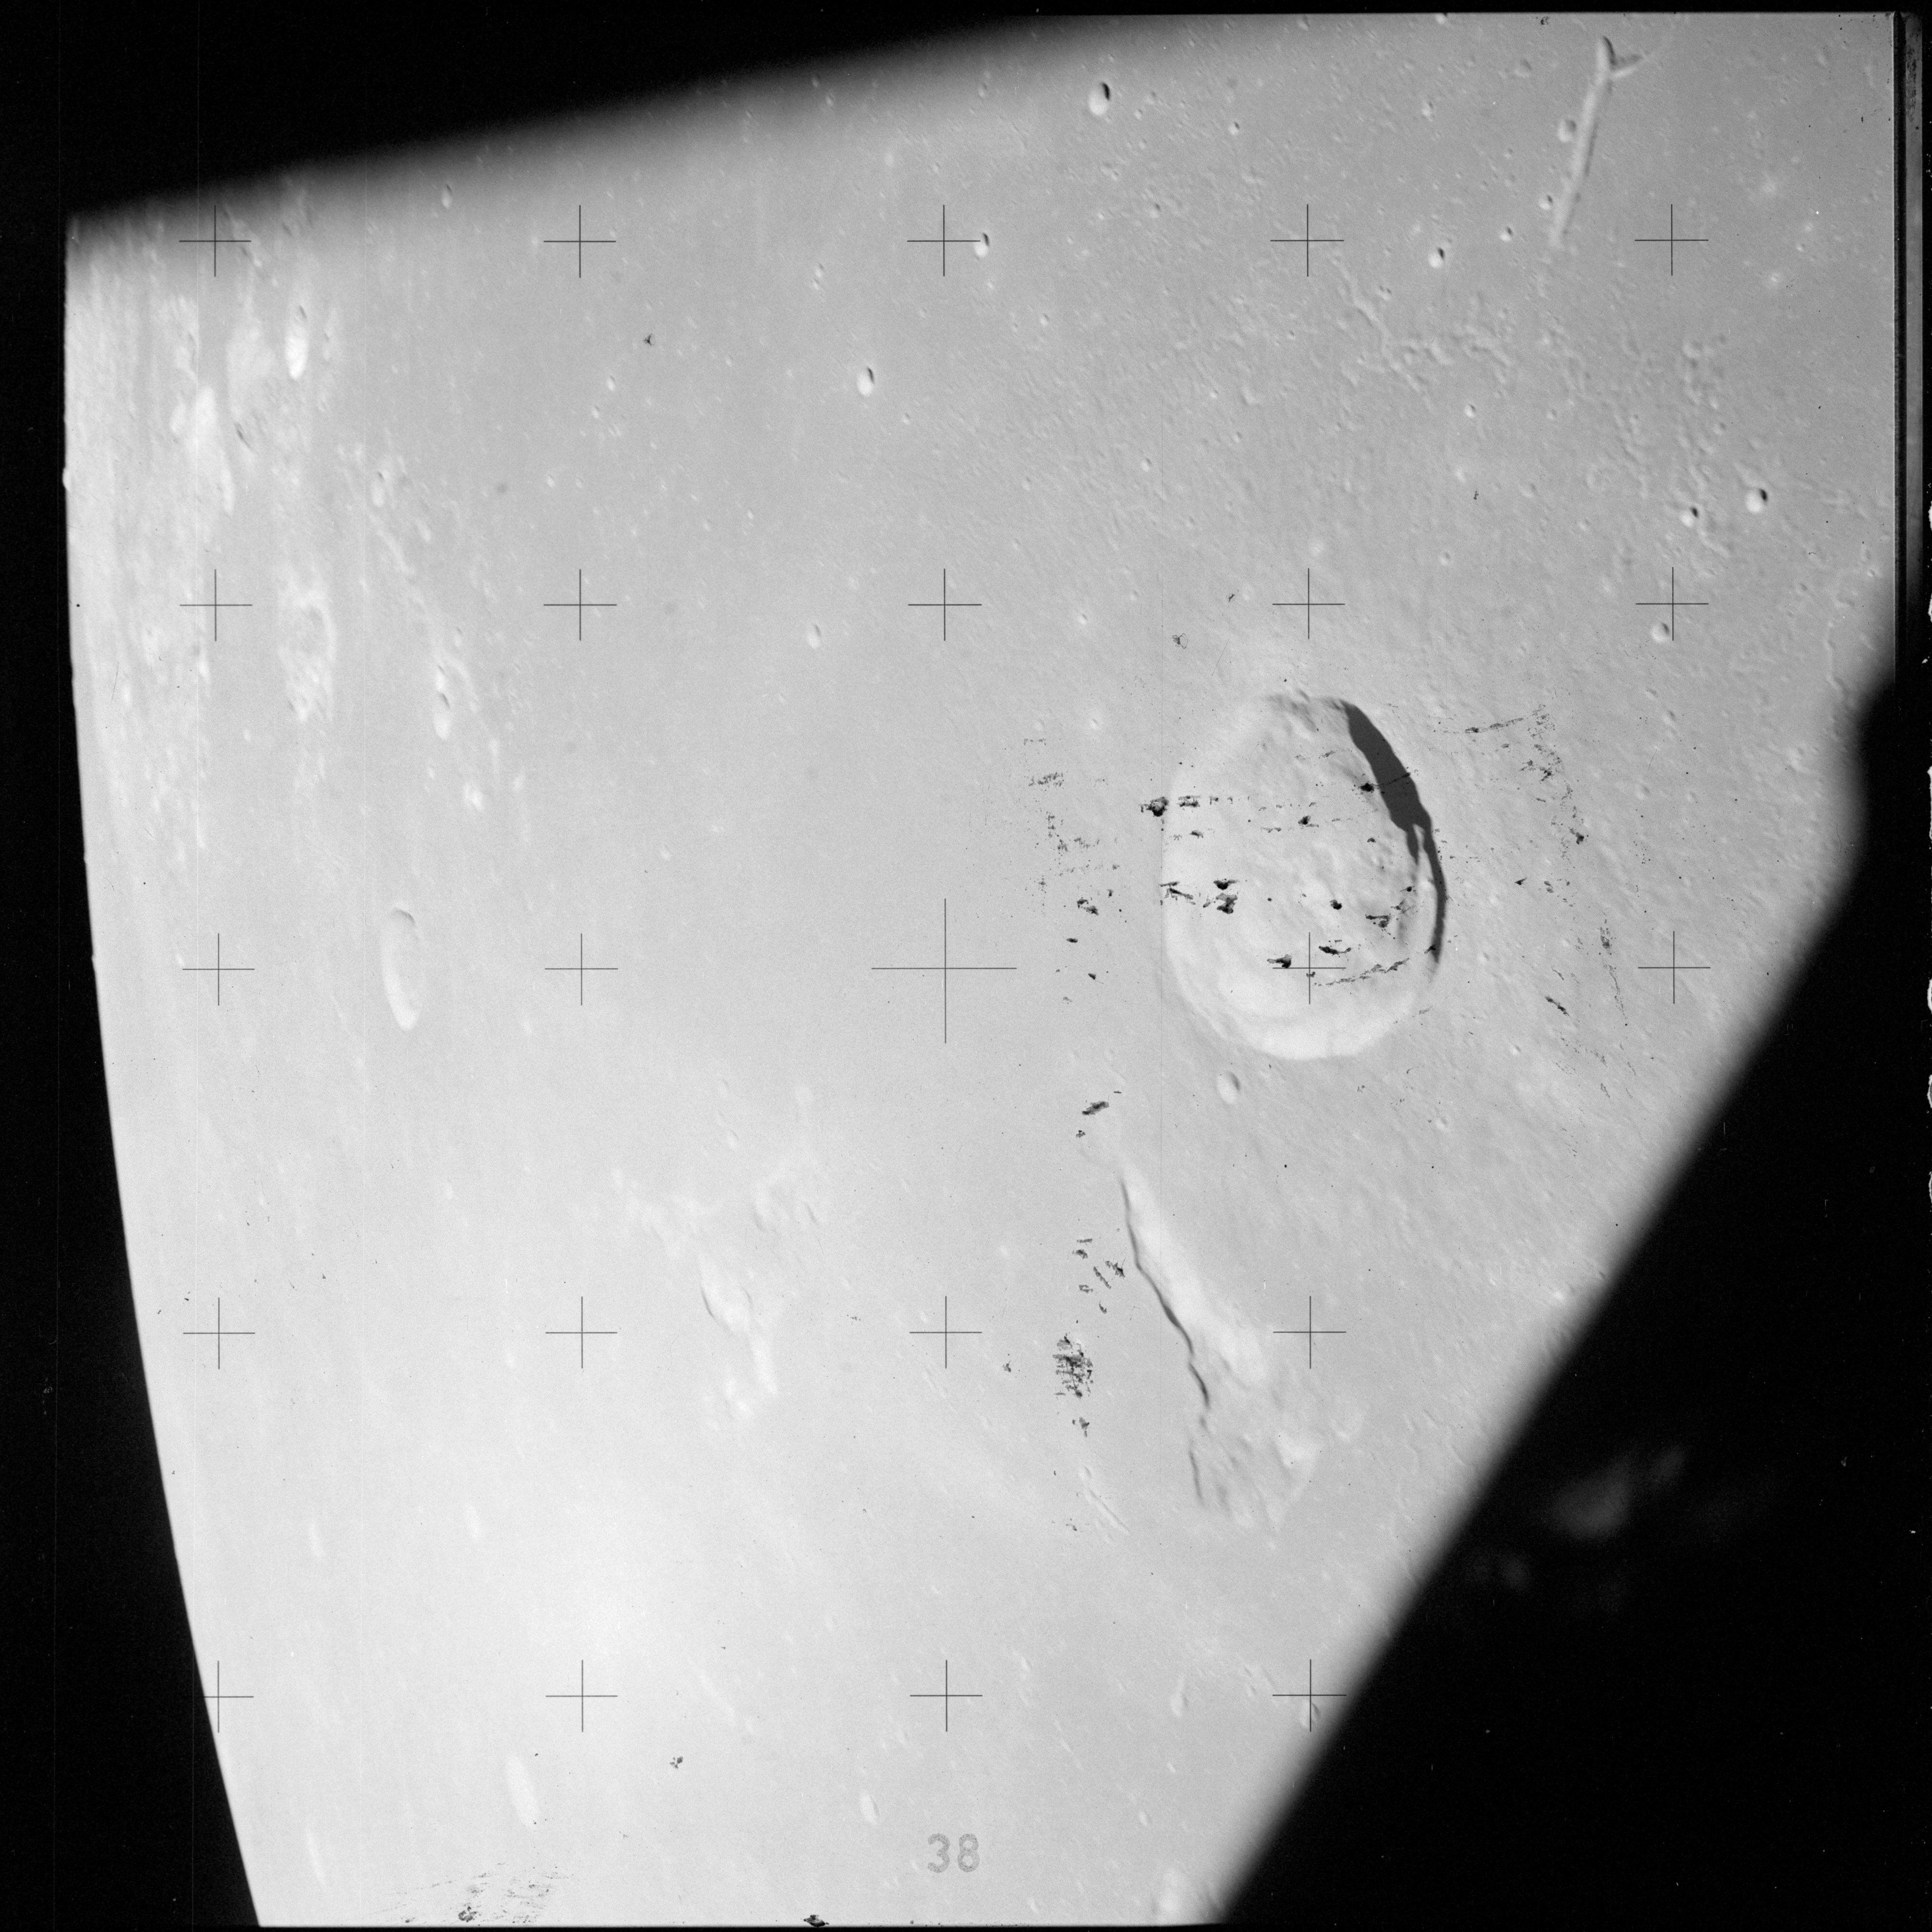
AS15-88-11985 - Craters Hilbert (cut off on centre left) and Kondratyuk (cut off on centre right) - Image by NASA/Johnson Space Center.
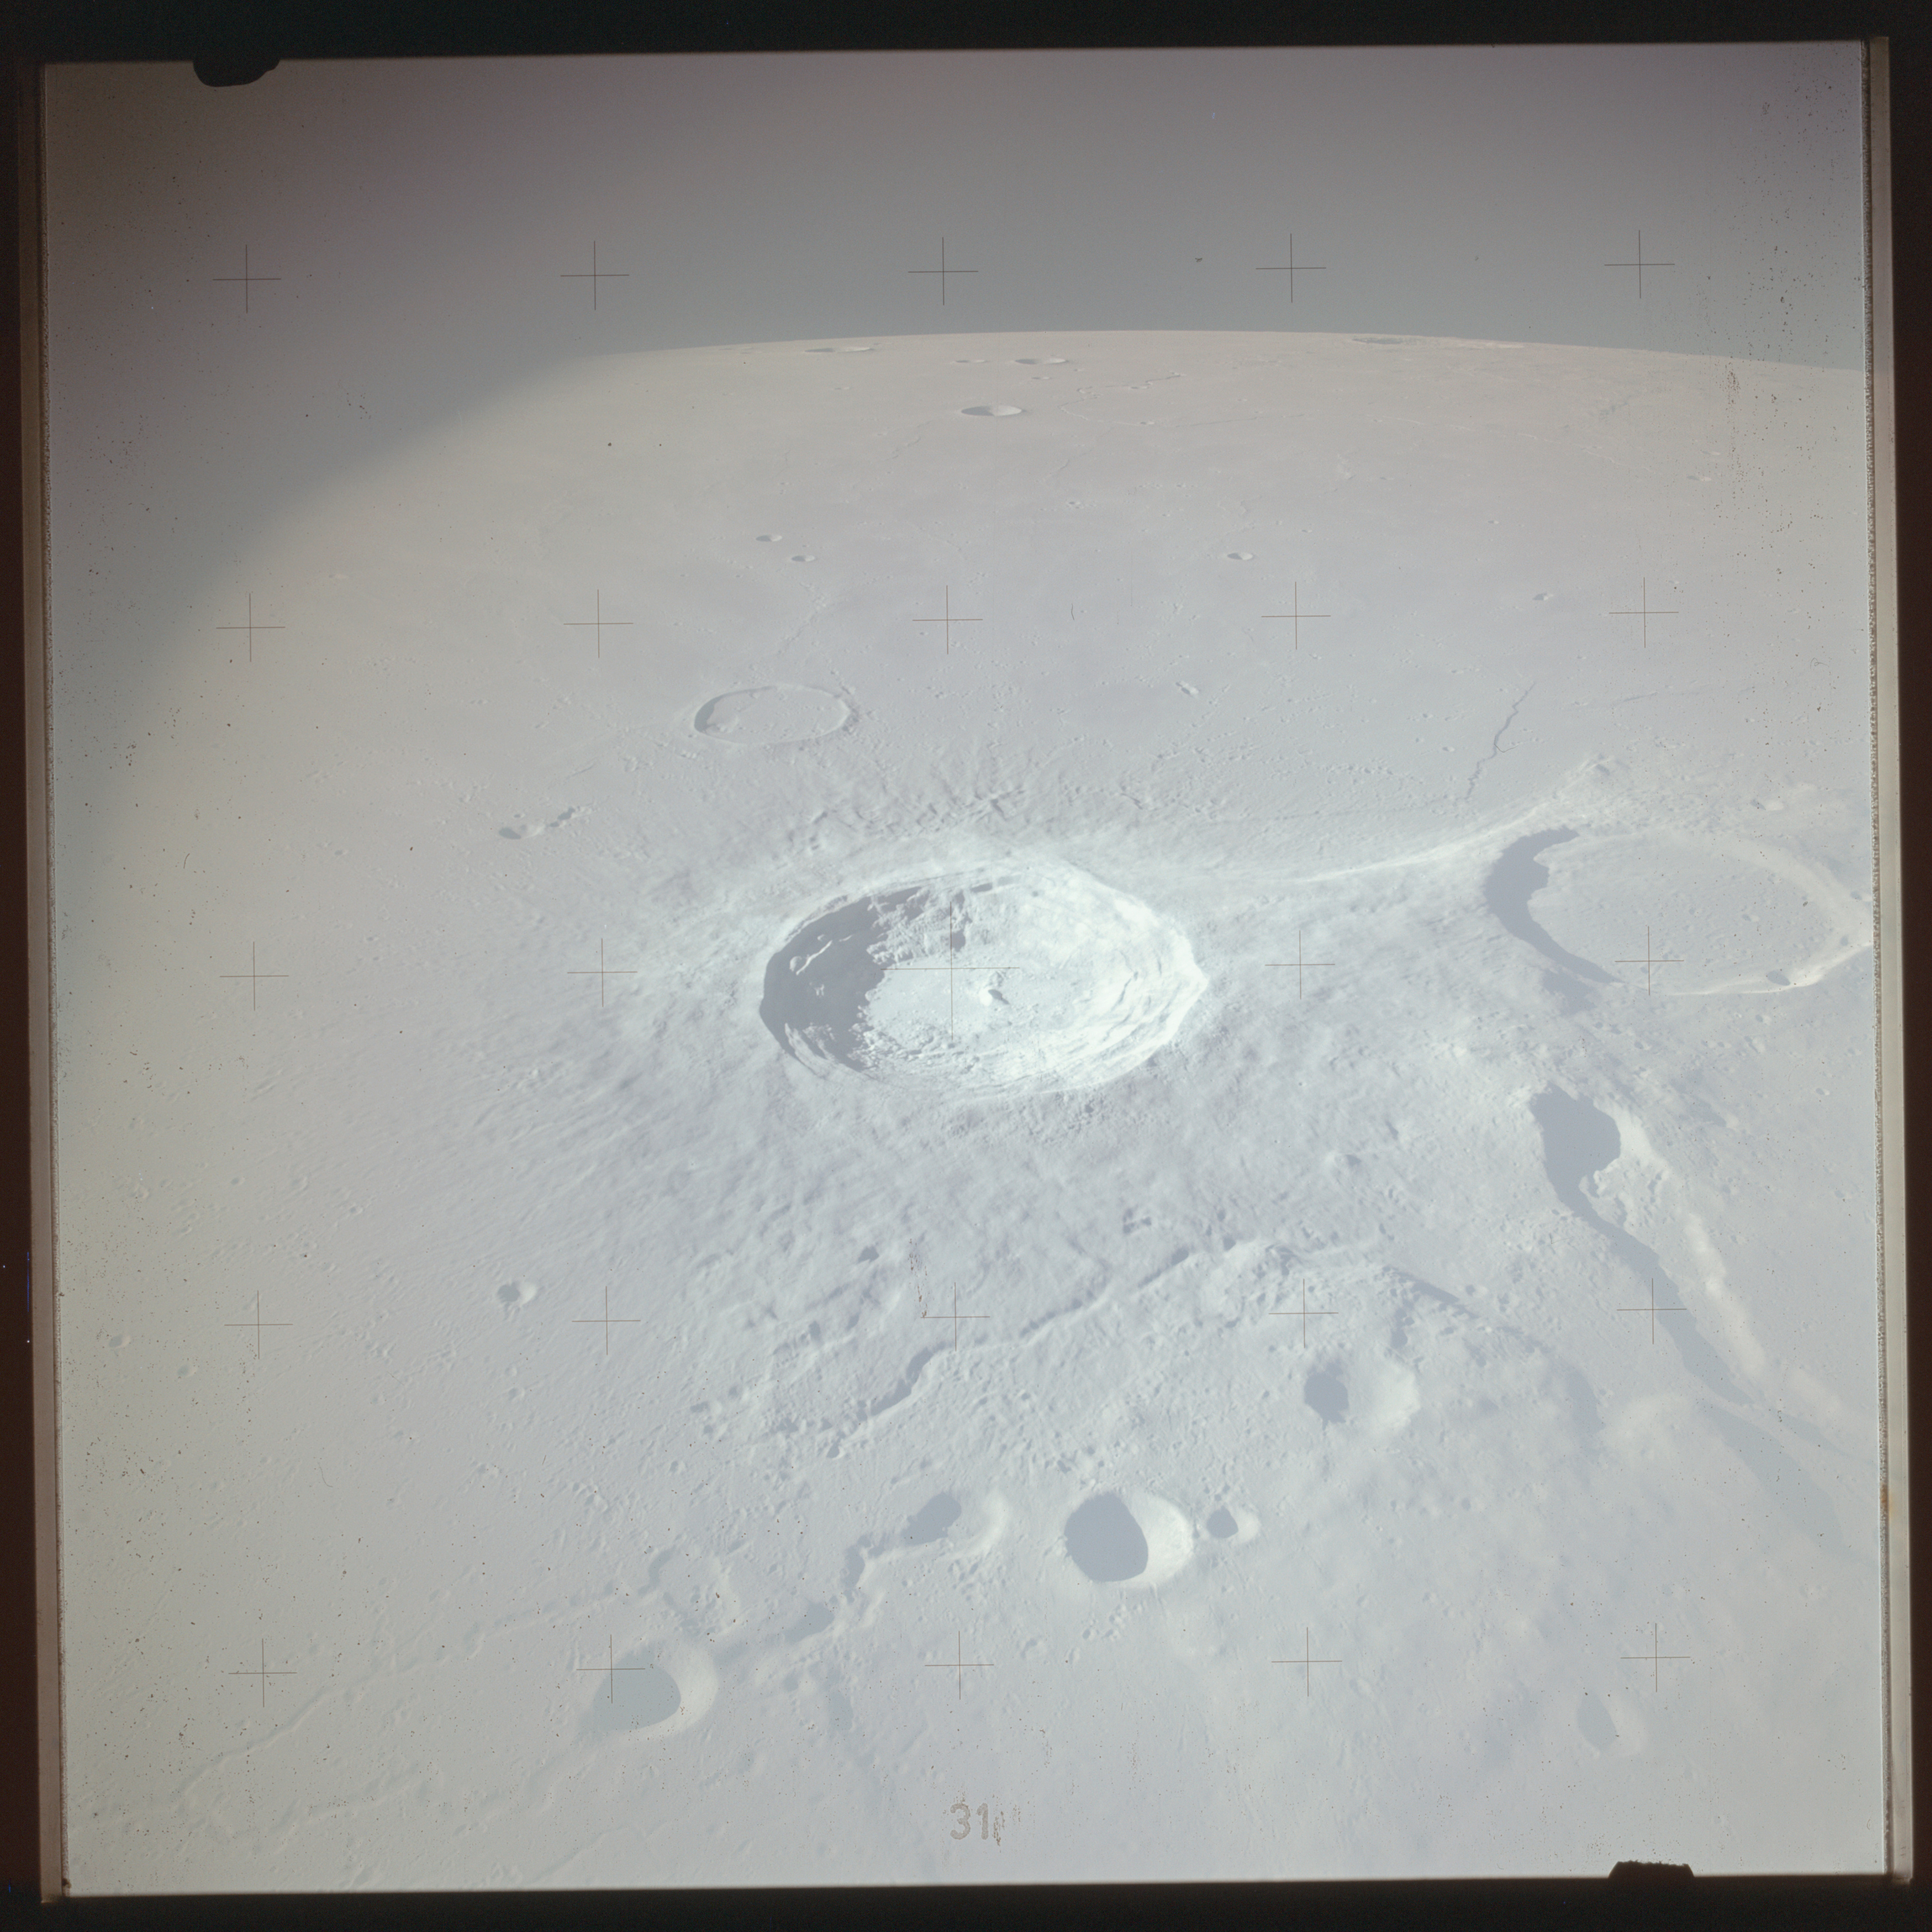
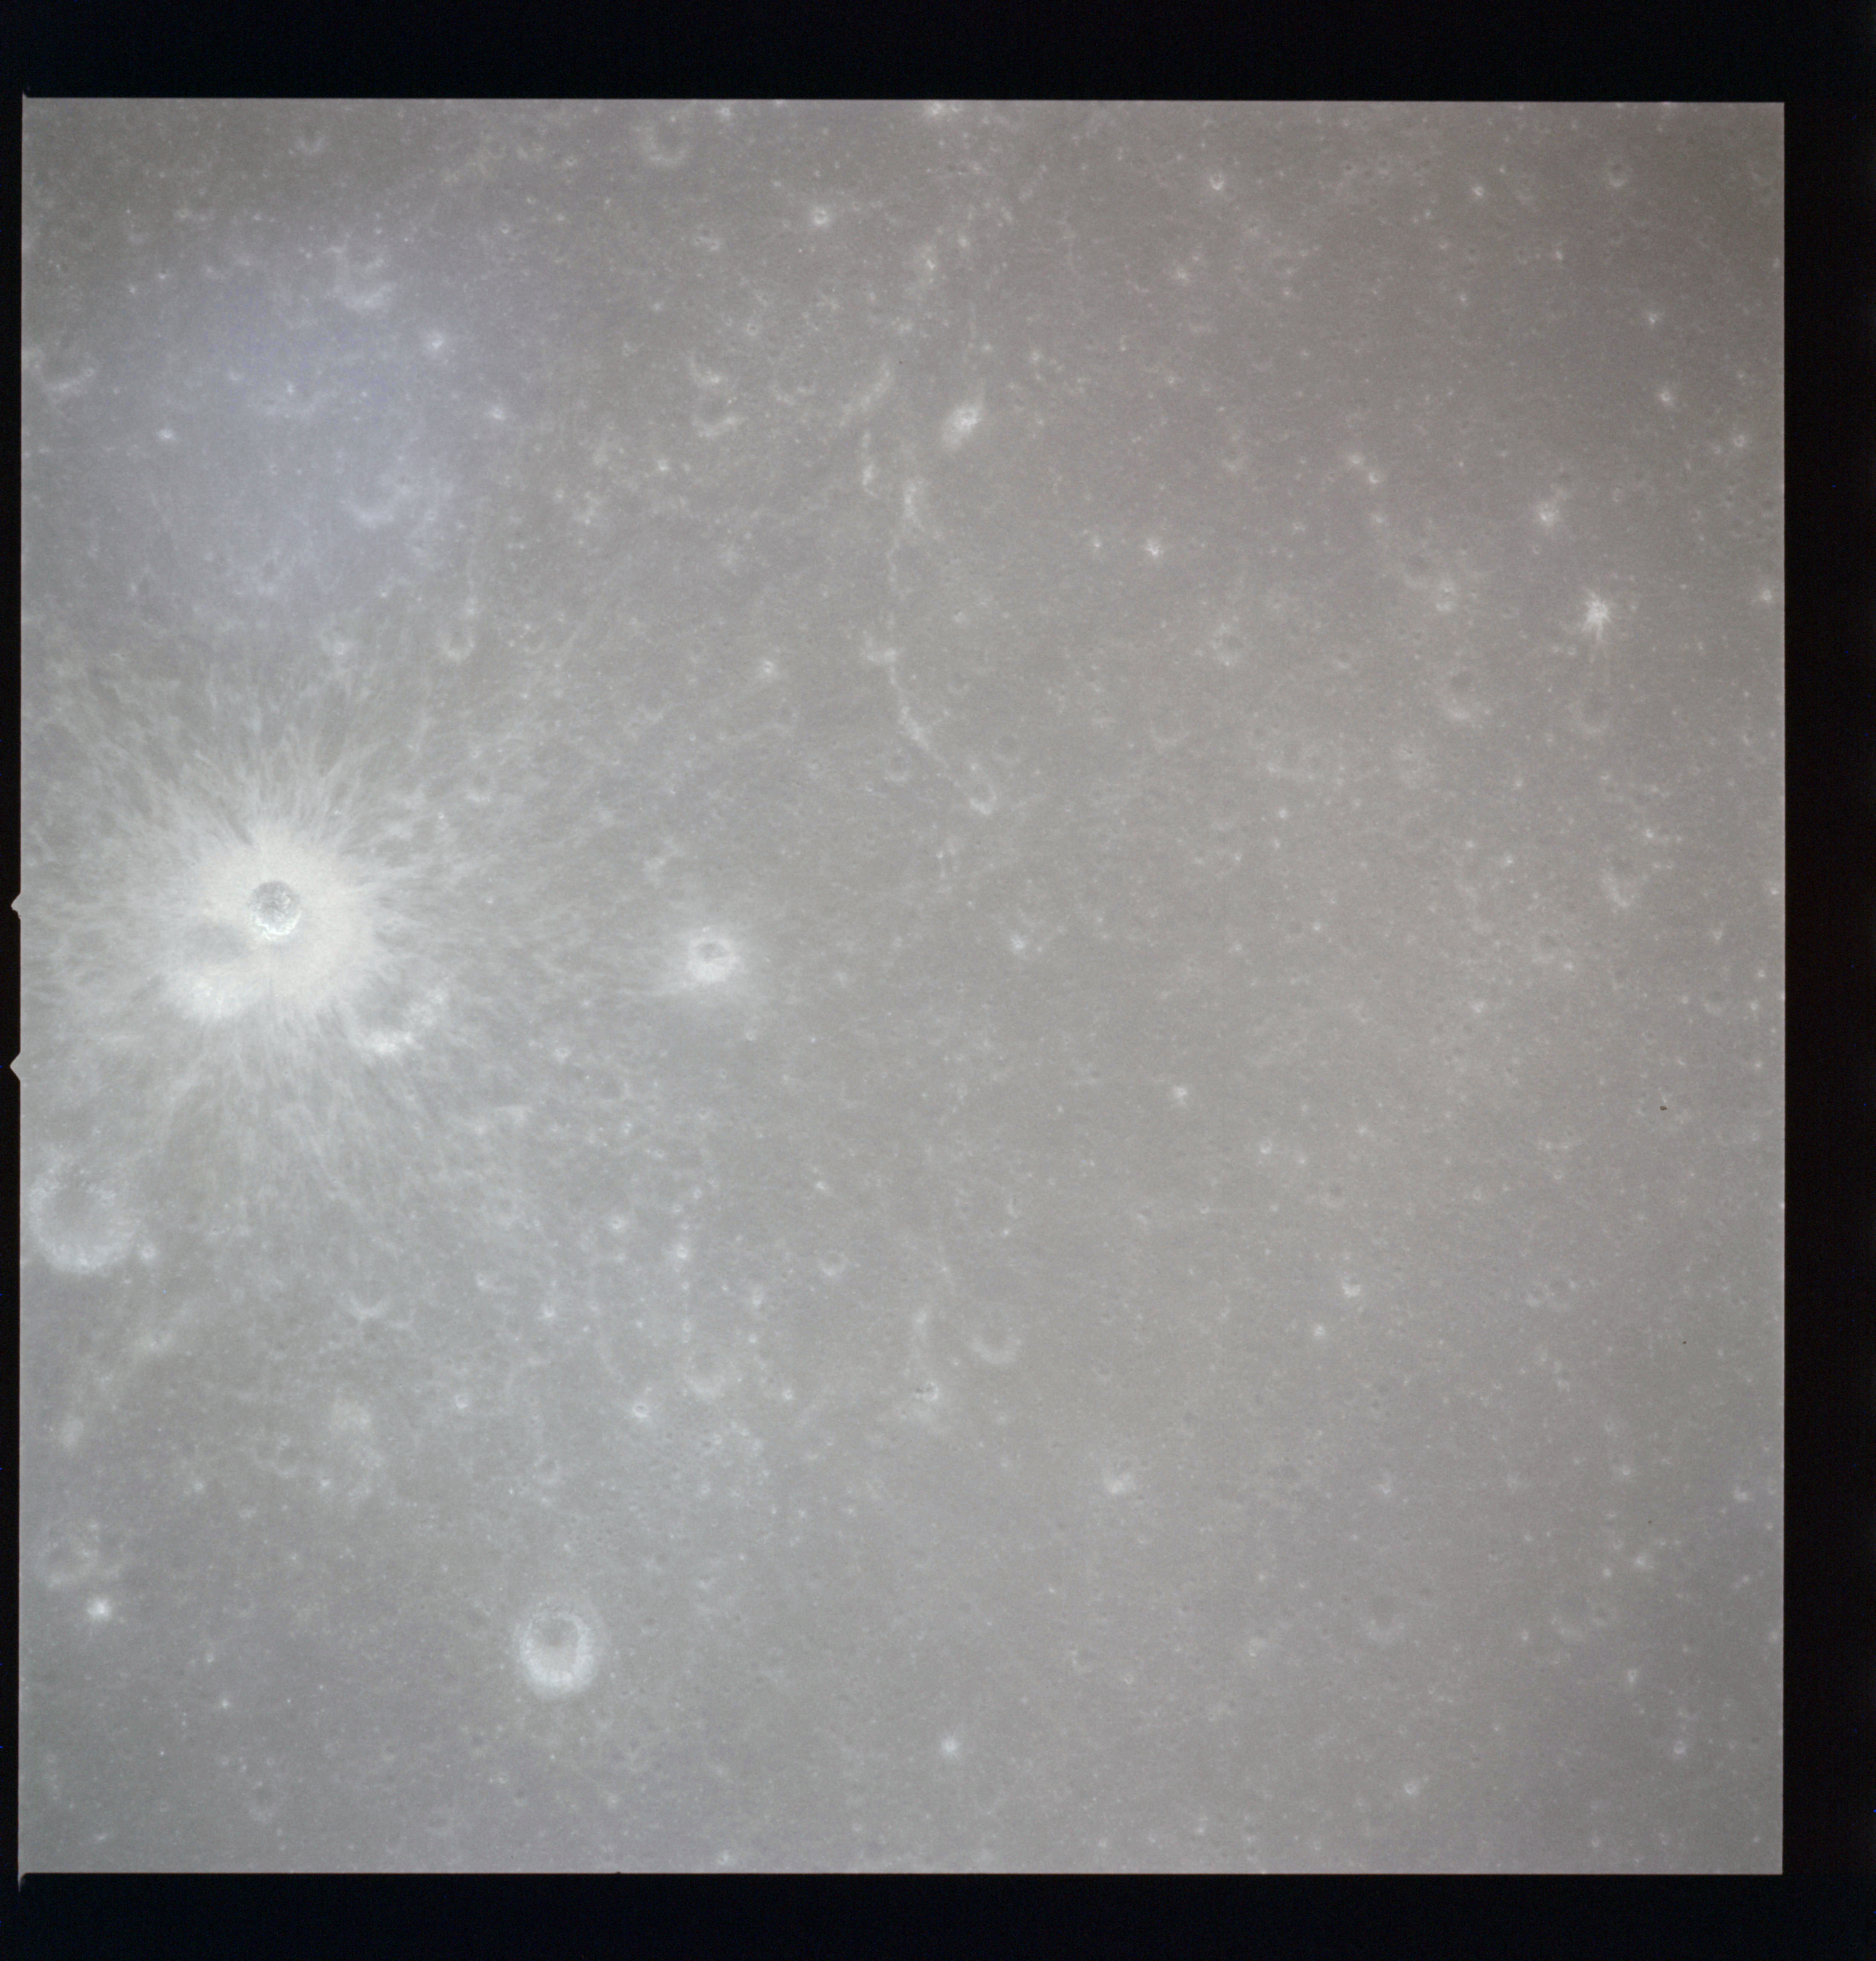
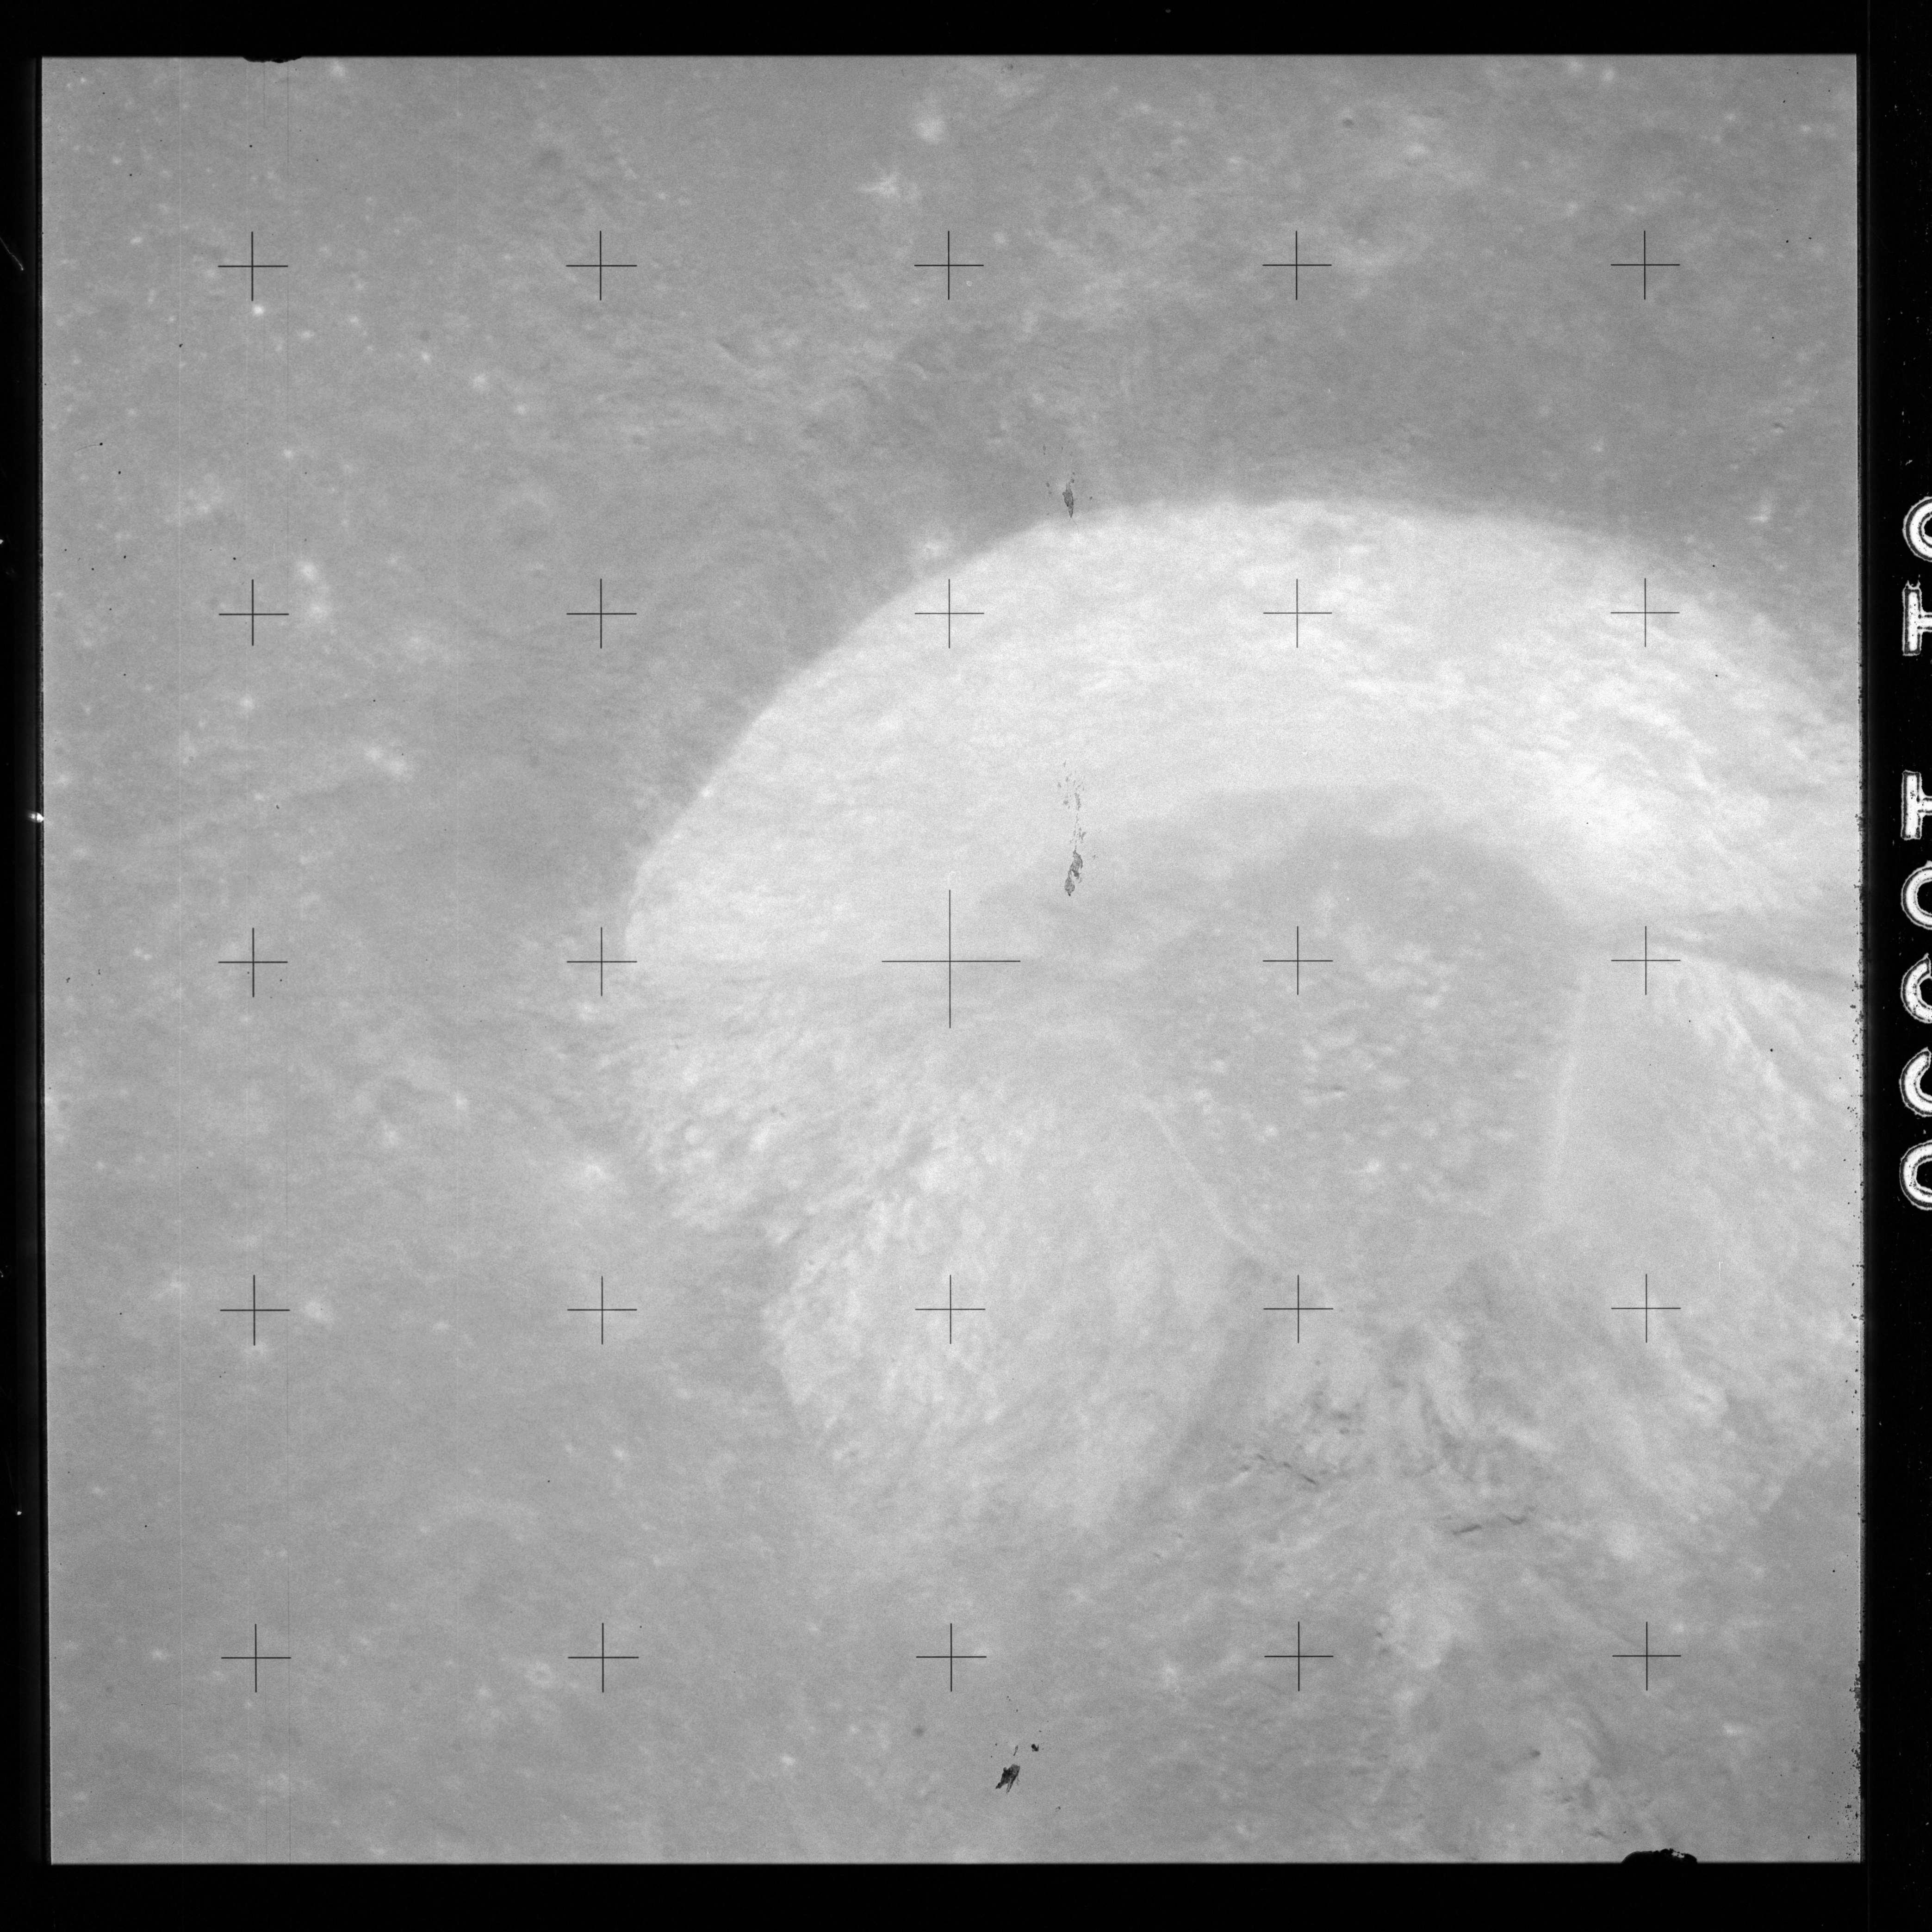
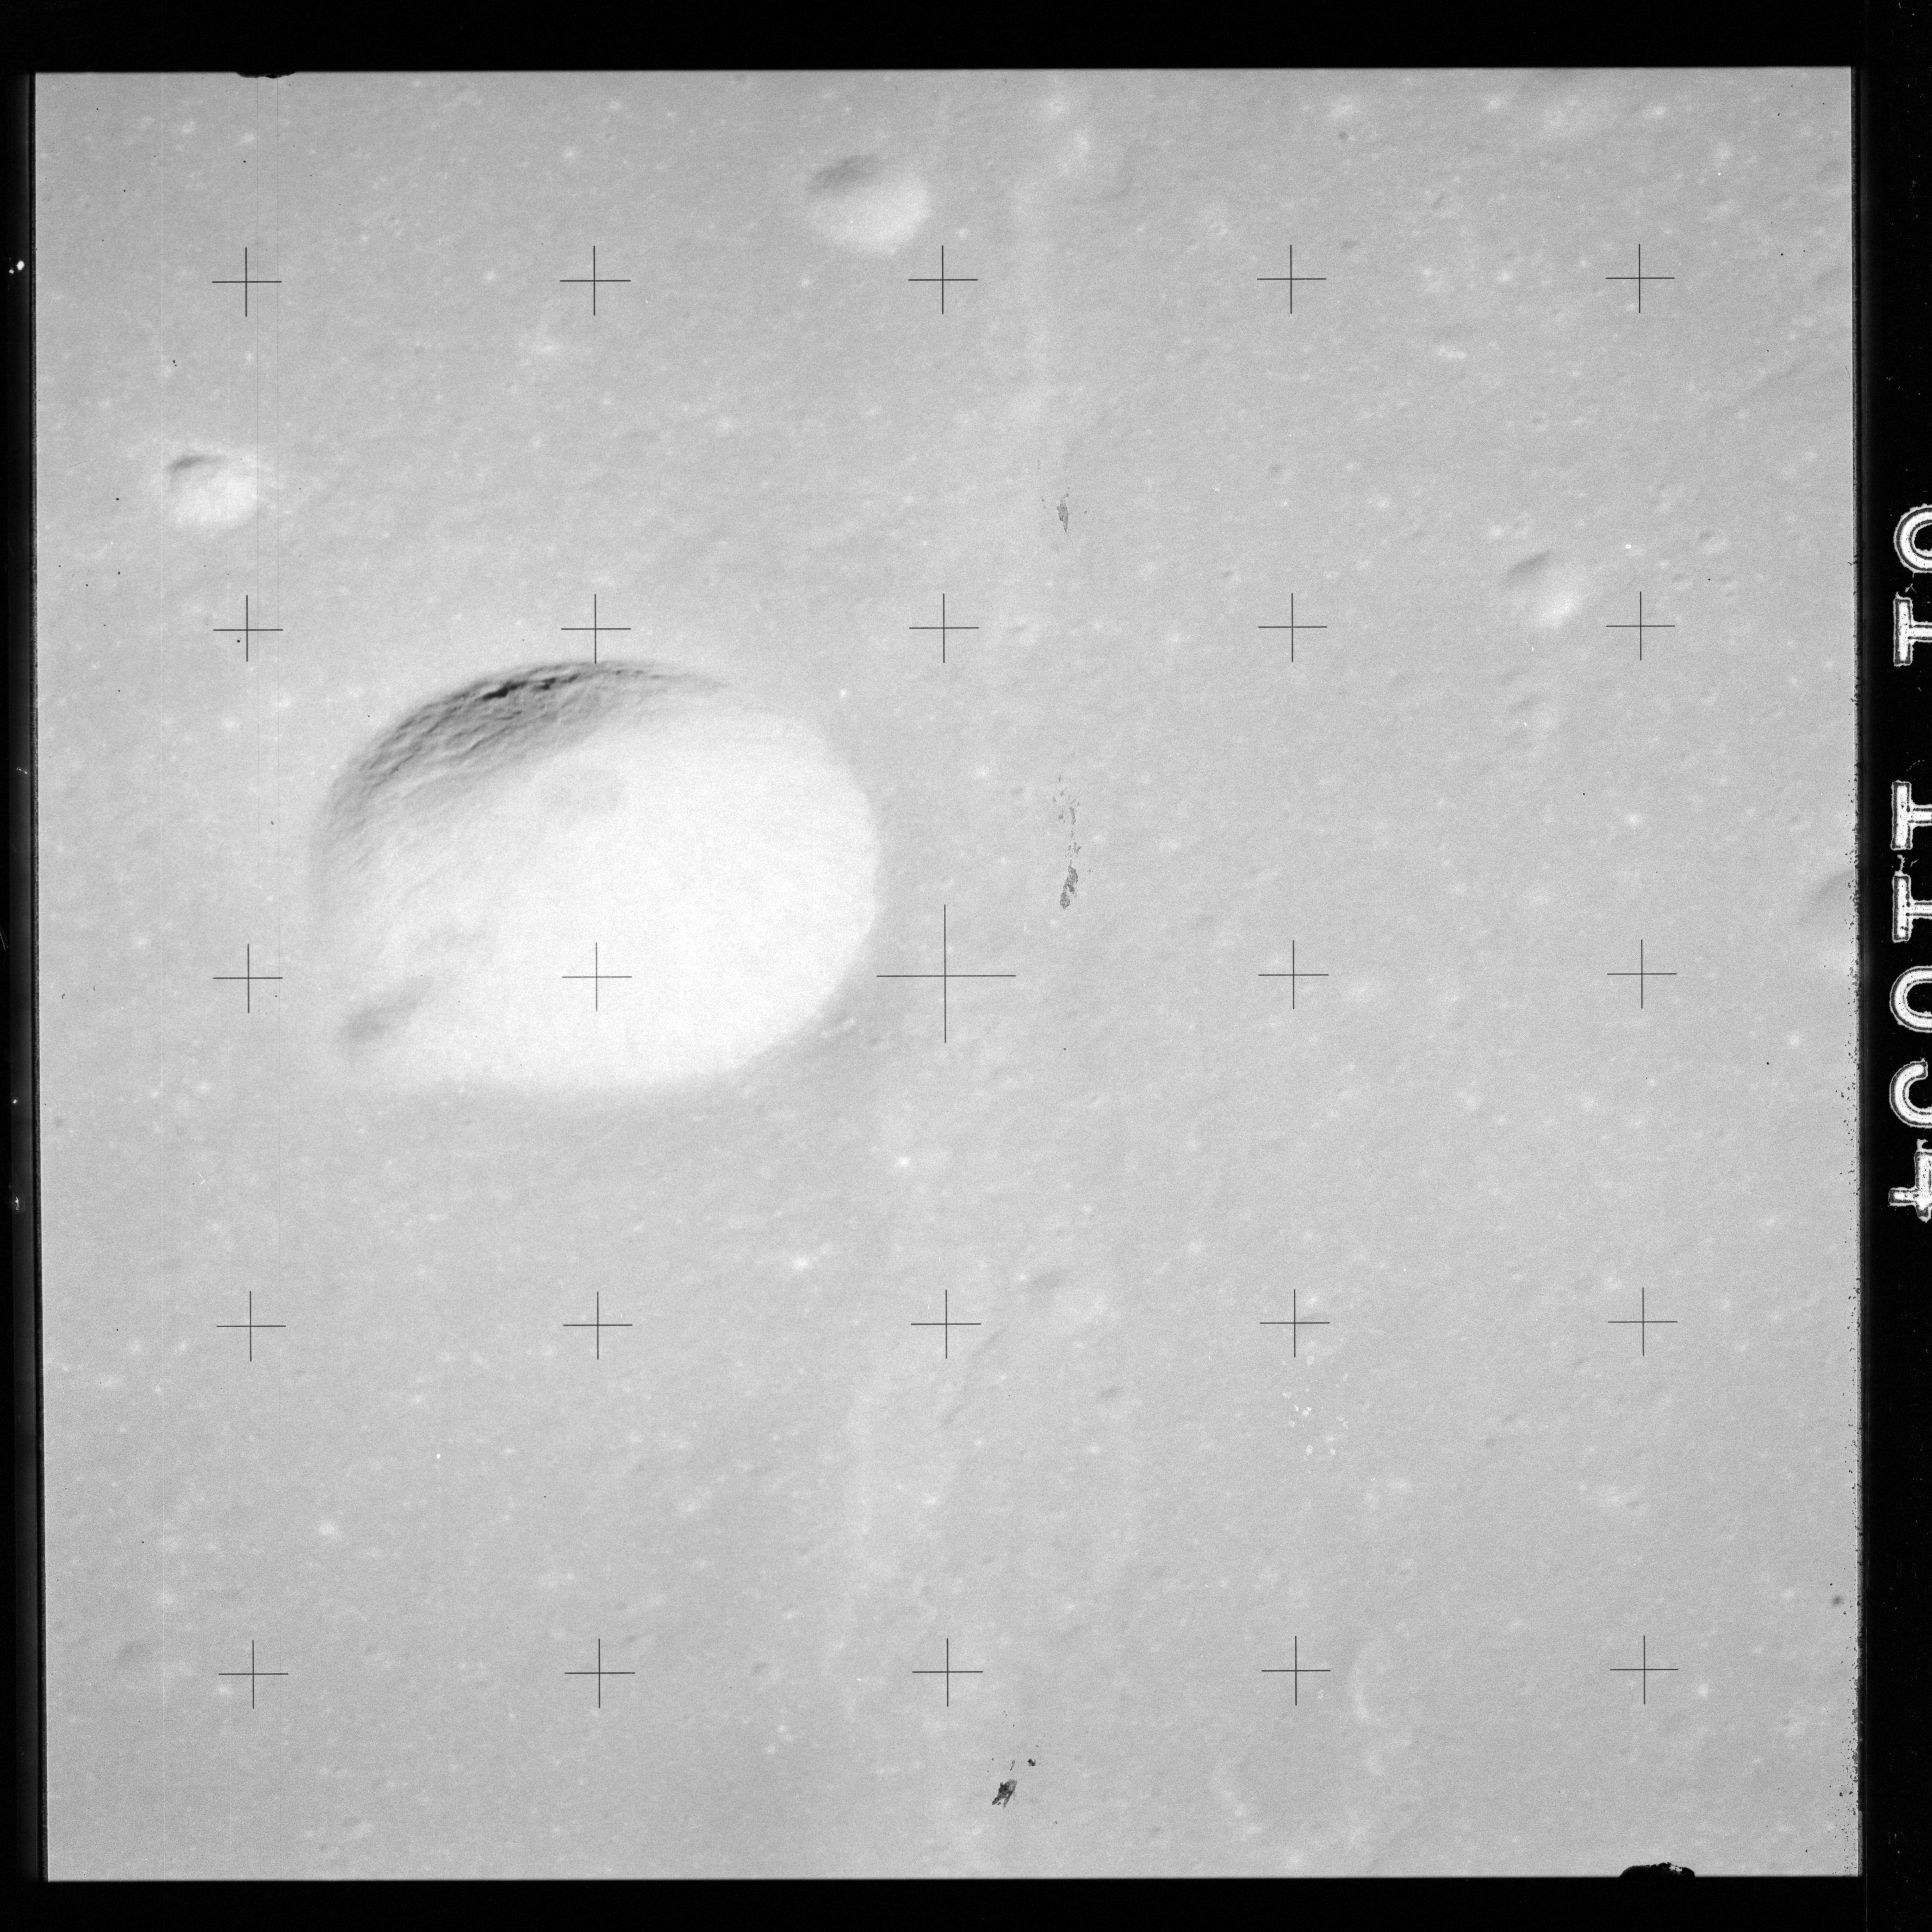
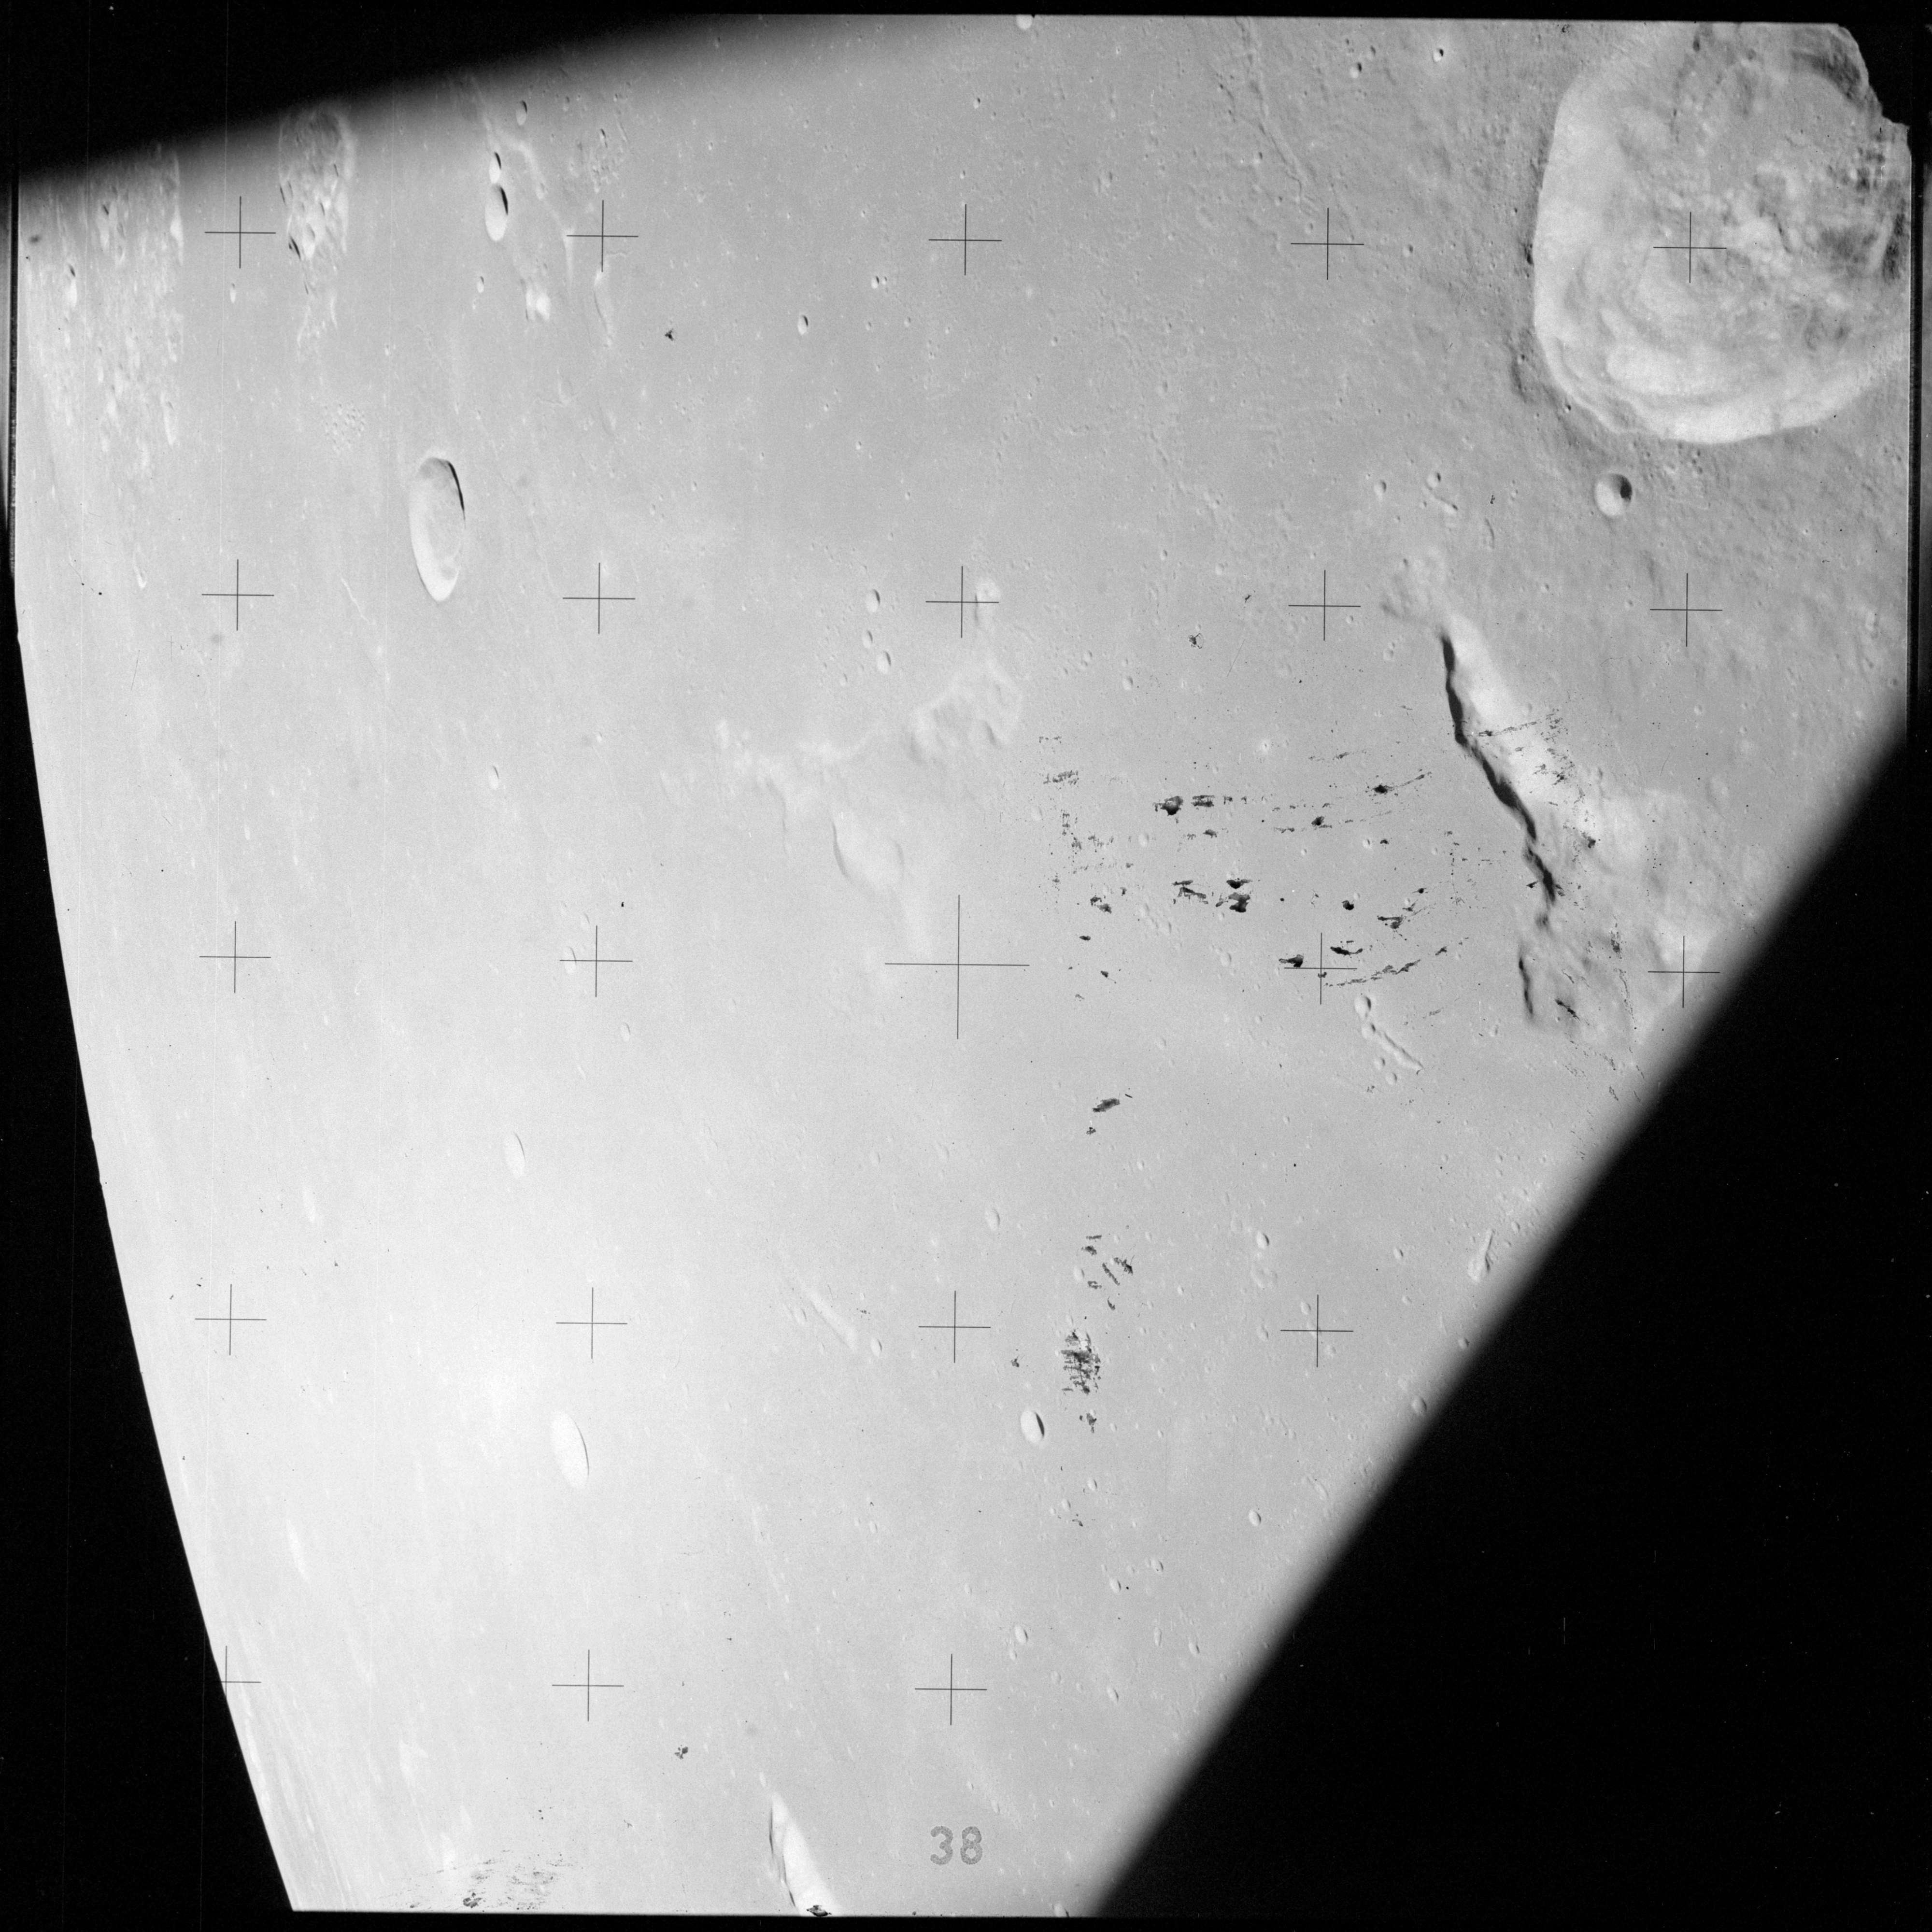
AS15-88-11985 looks towards the north and the Sun is shining from the west. Bottom right is Alden C which obliterates the north rim of Alden (shown better in the next frame). Beyond it (centre right) is the larger ring of Hilbert, and cut off on the far right is Kondratyuk, identified by two large craters within its walls. Beyond, and nearly at the horizon, is Meitner. At 168:06:09, Karl Henize asked Al to get an image of crater Alden and AS15-88-11986 would appear to be Karl's requested shot as the camera is tipped down to show it.
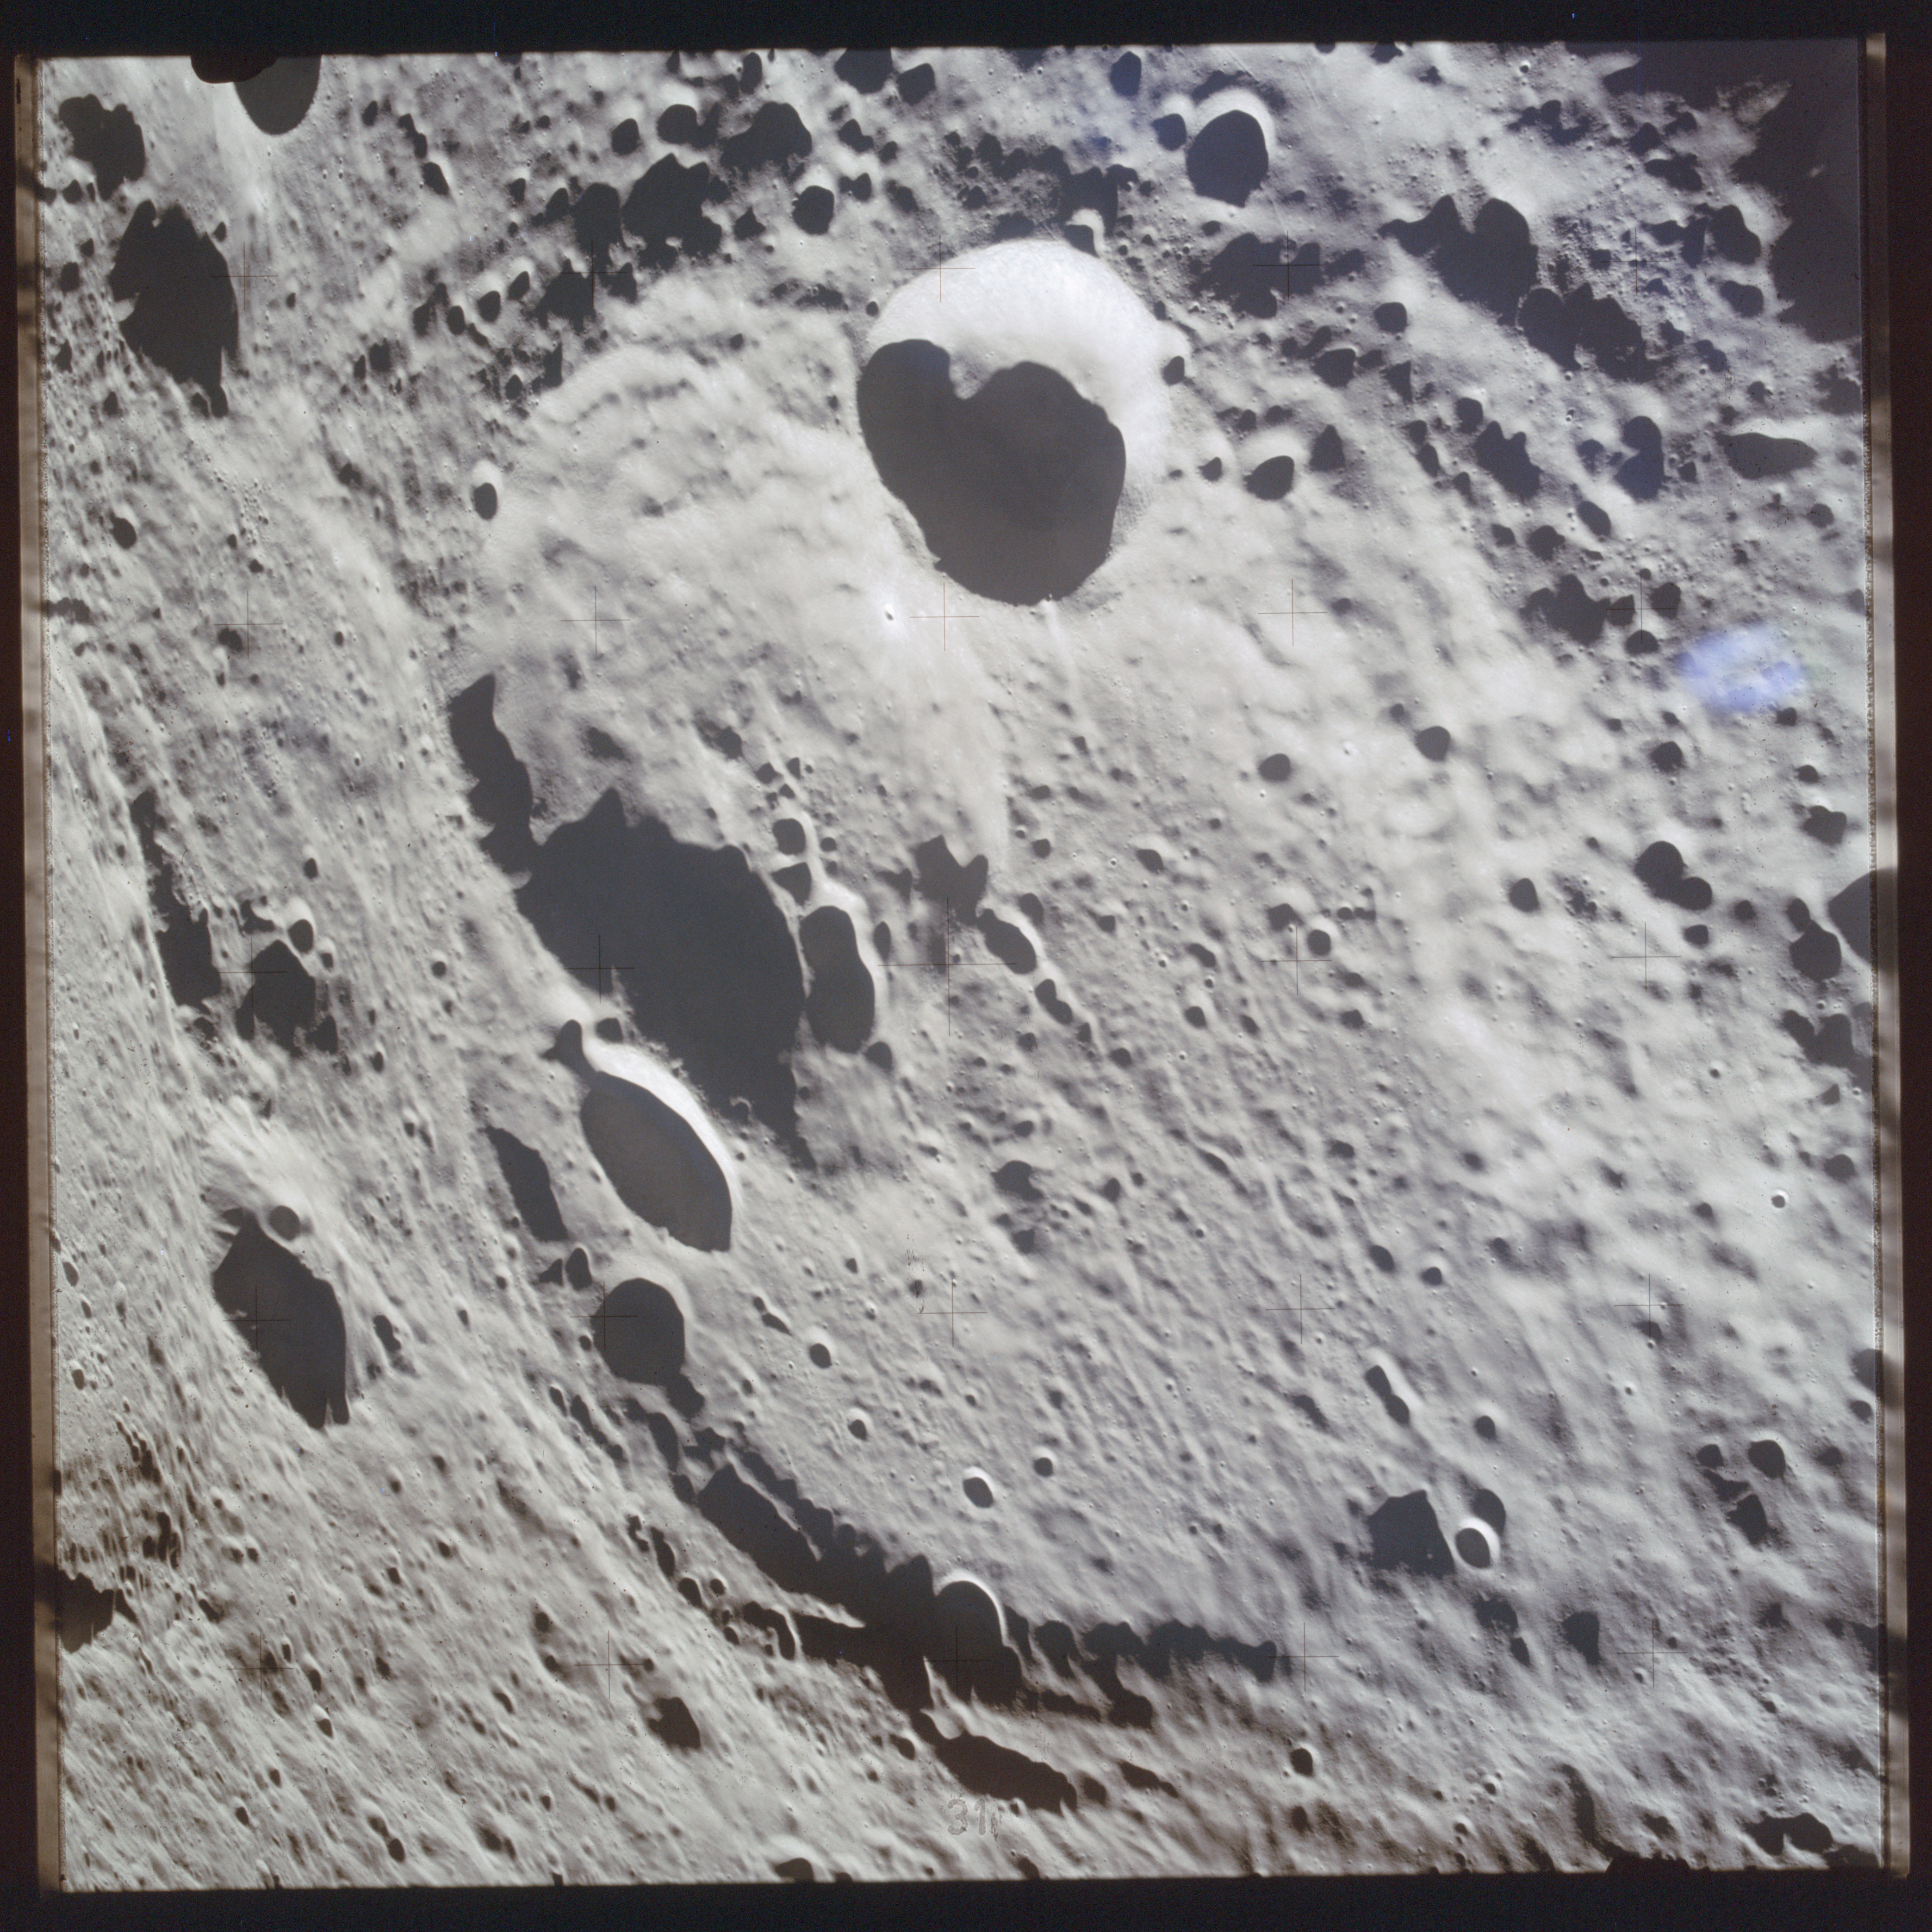
AS15-88-11986 - Crater Alden - Image by NASA/Johnson Space Center.
Alden is a highly degraded and obscured ring with its northeast rim completely destroyed by subsequent impacts that formed Alcen C and Alden E.
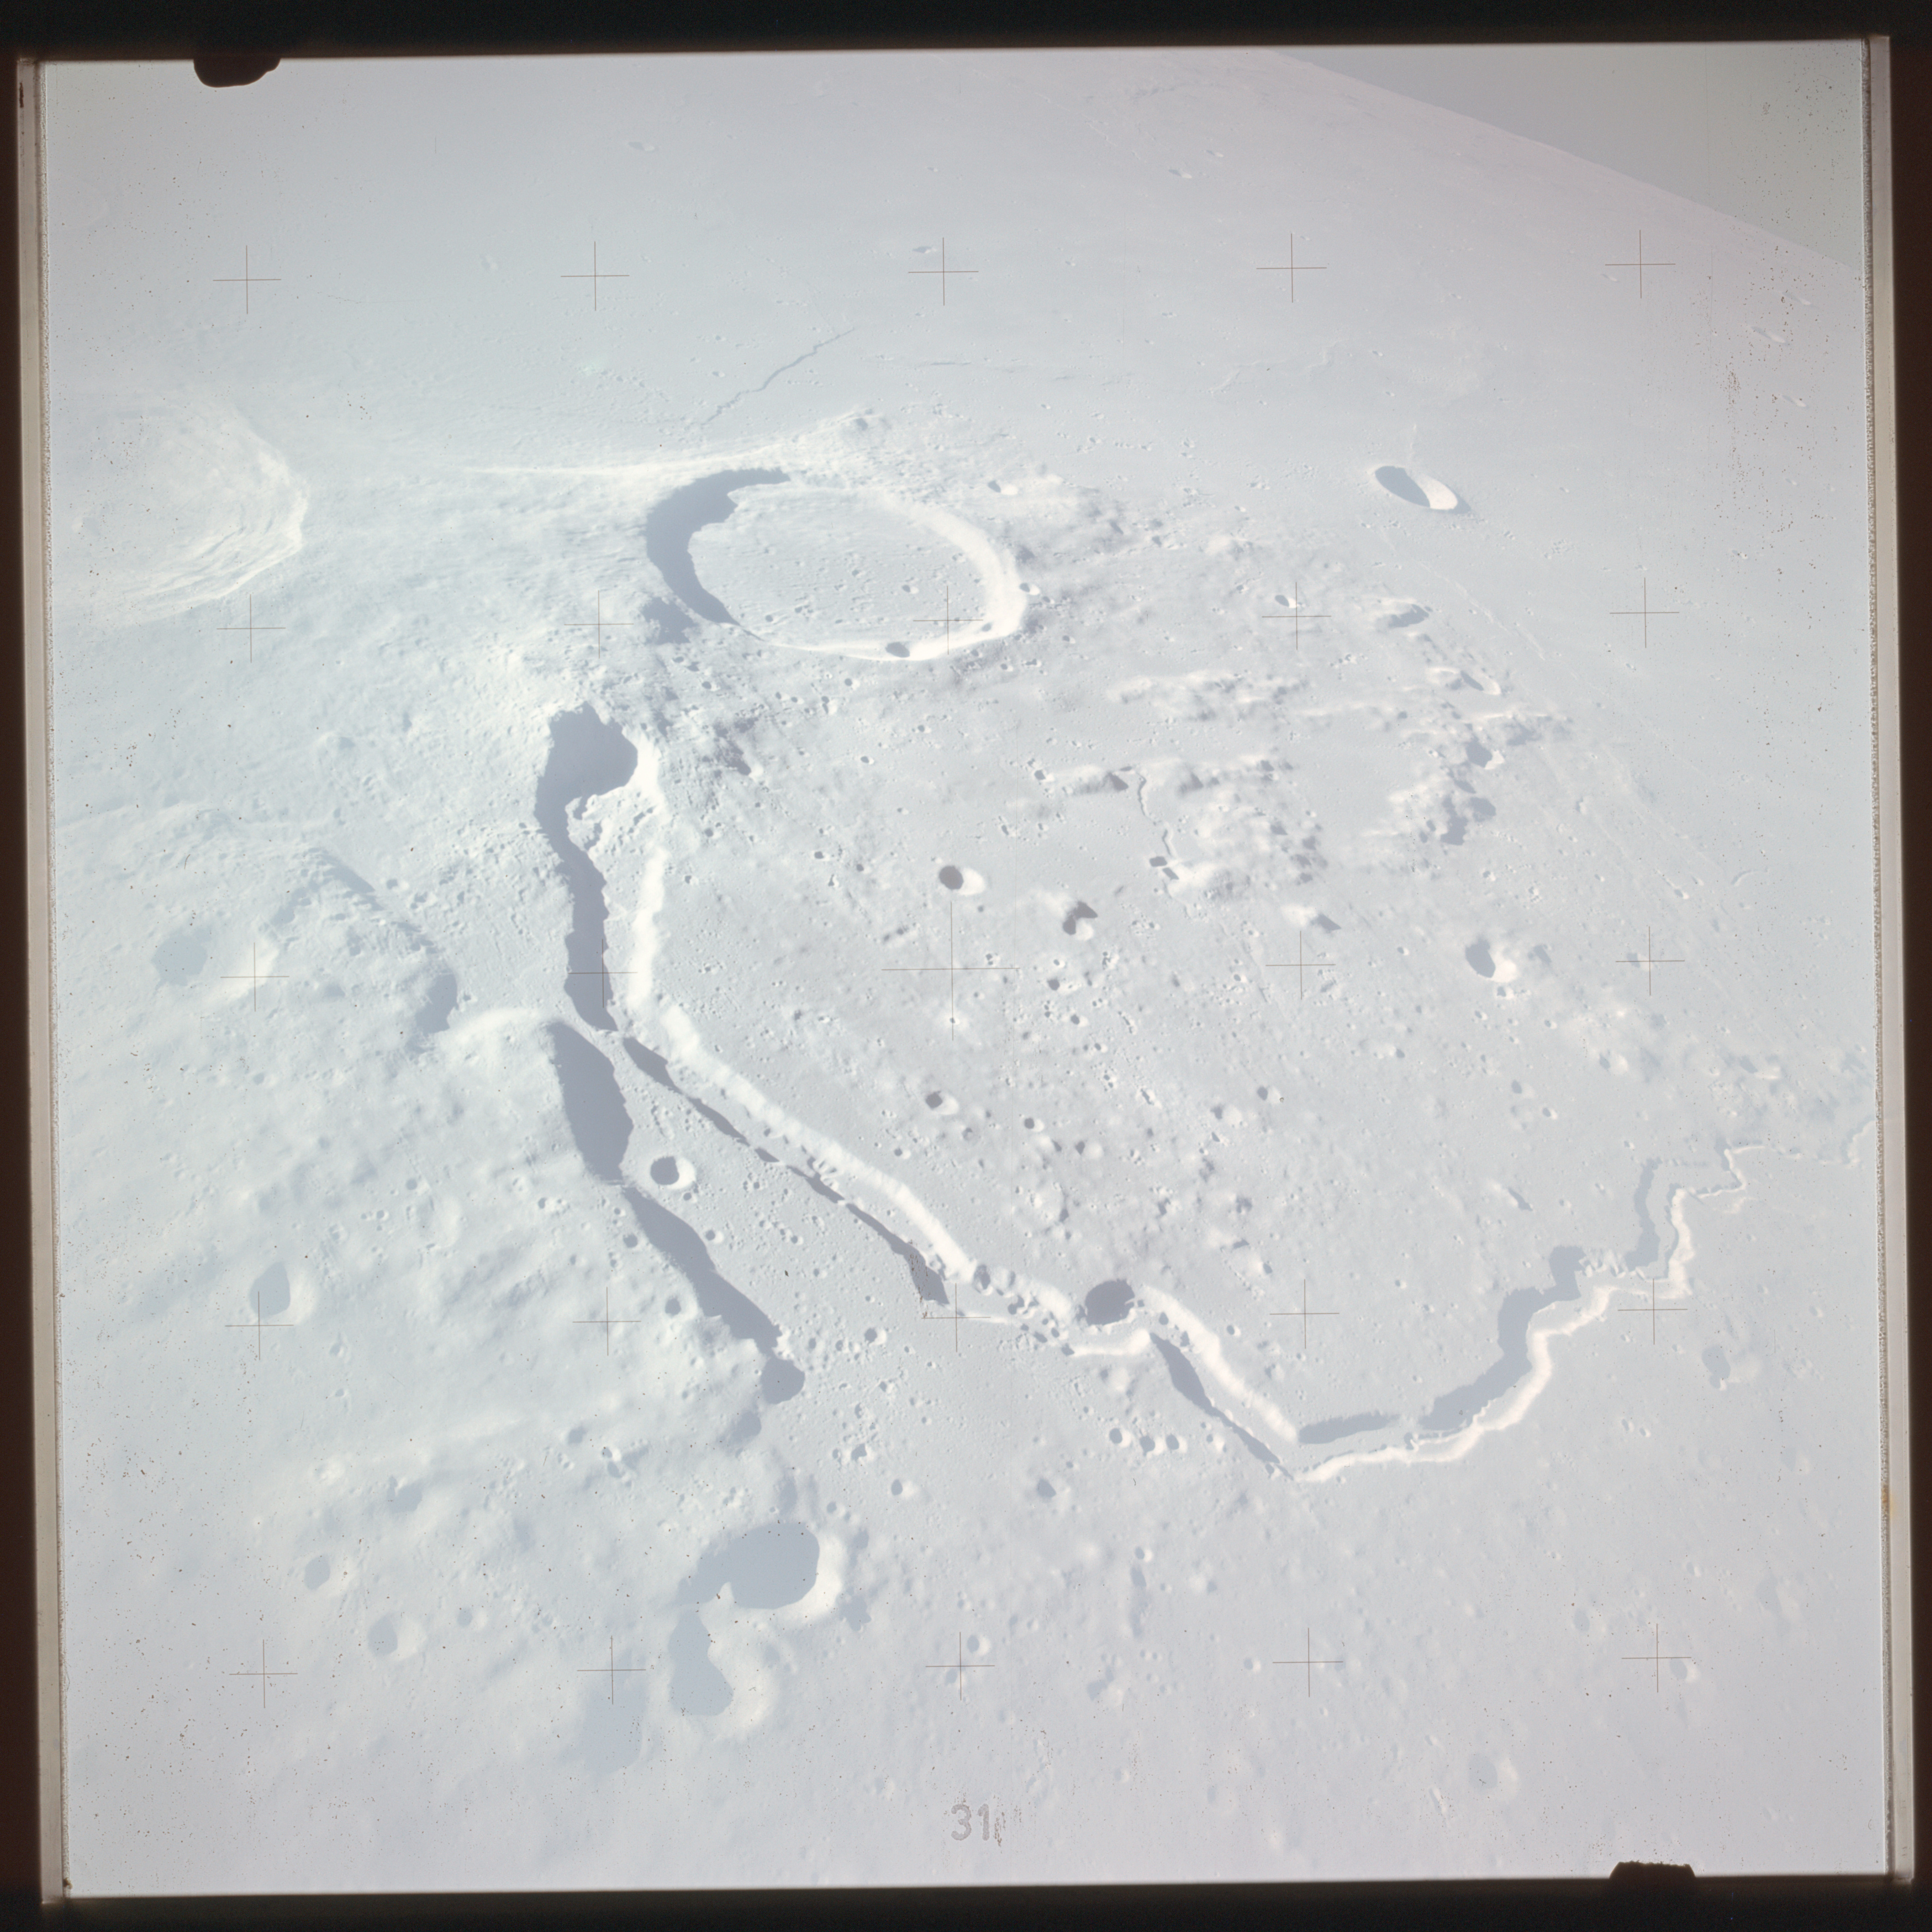
AS15-88-11987 - View northwest to 130-km crater Sklodowska - Image by NASA/Johnson Space Center.
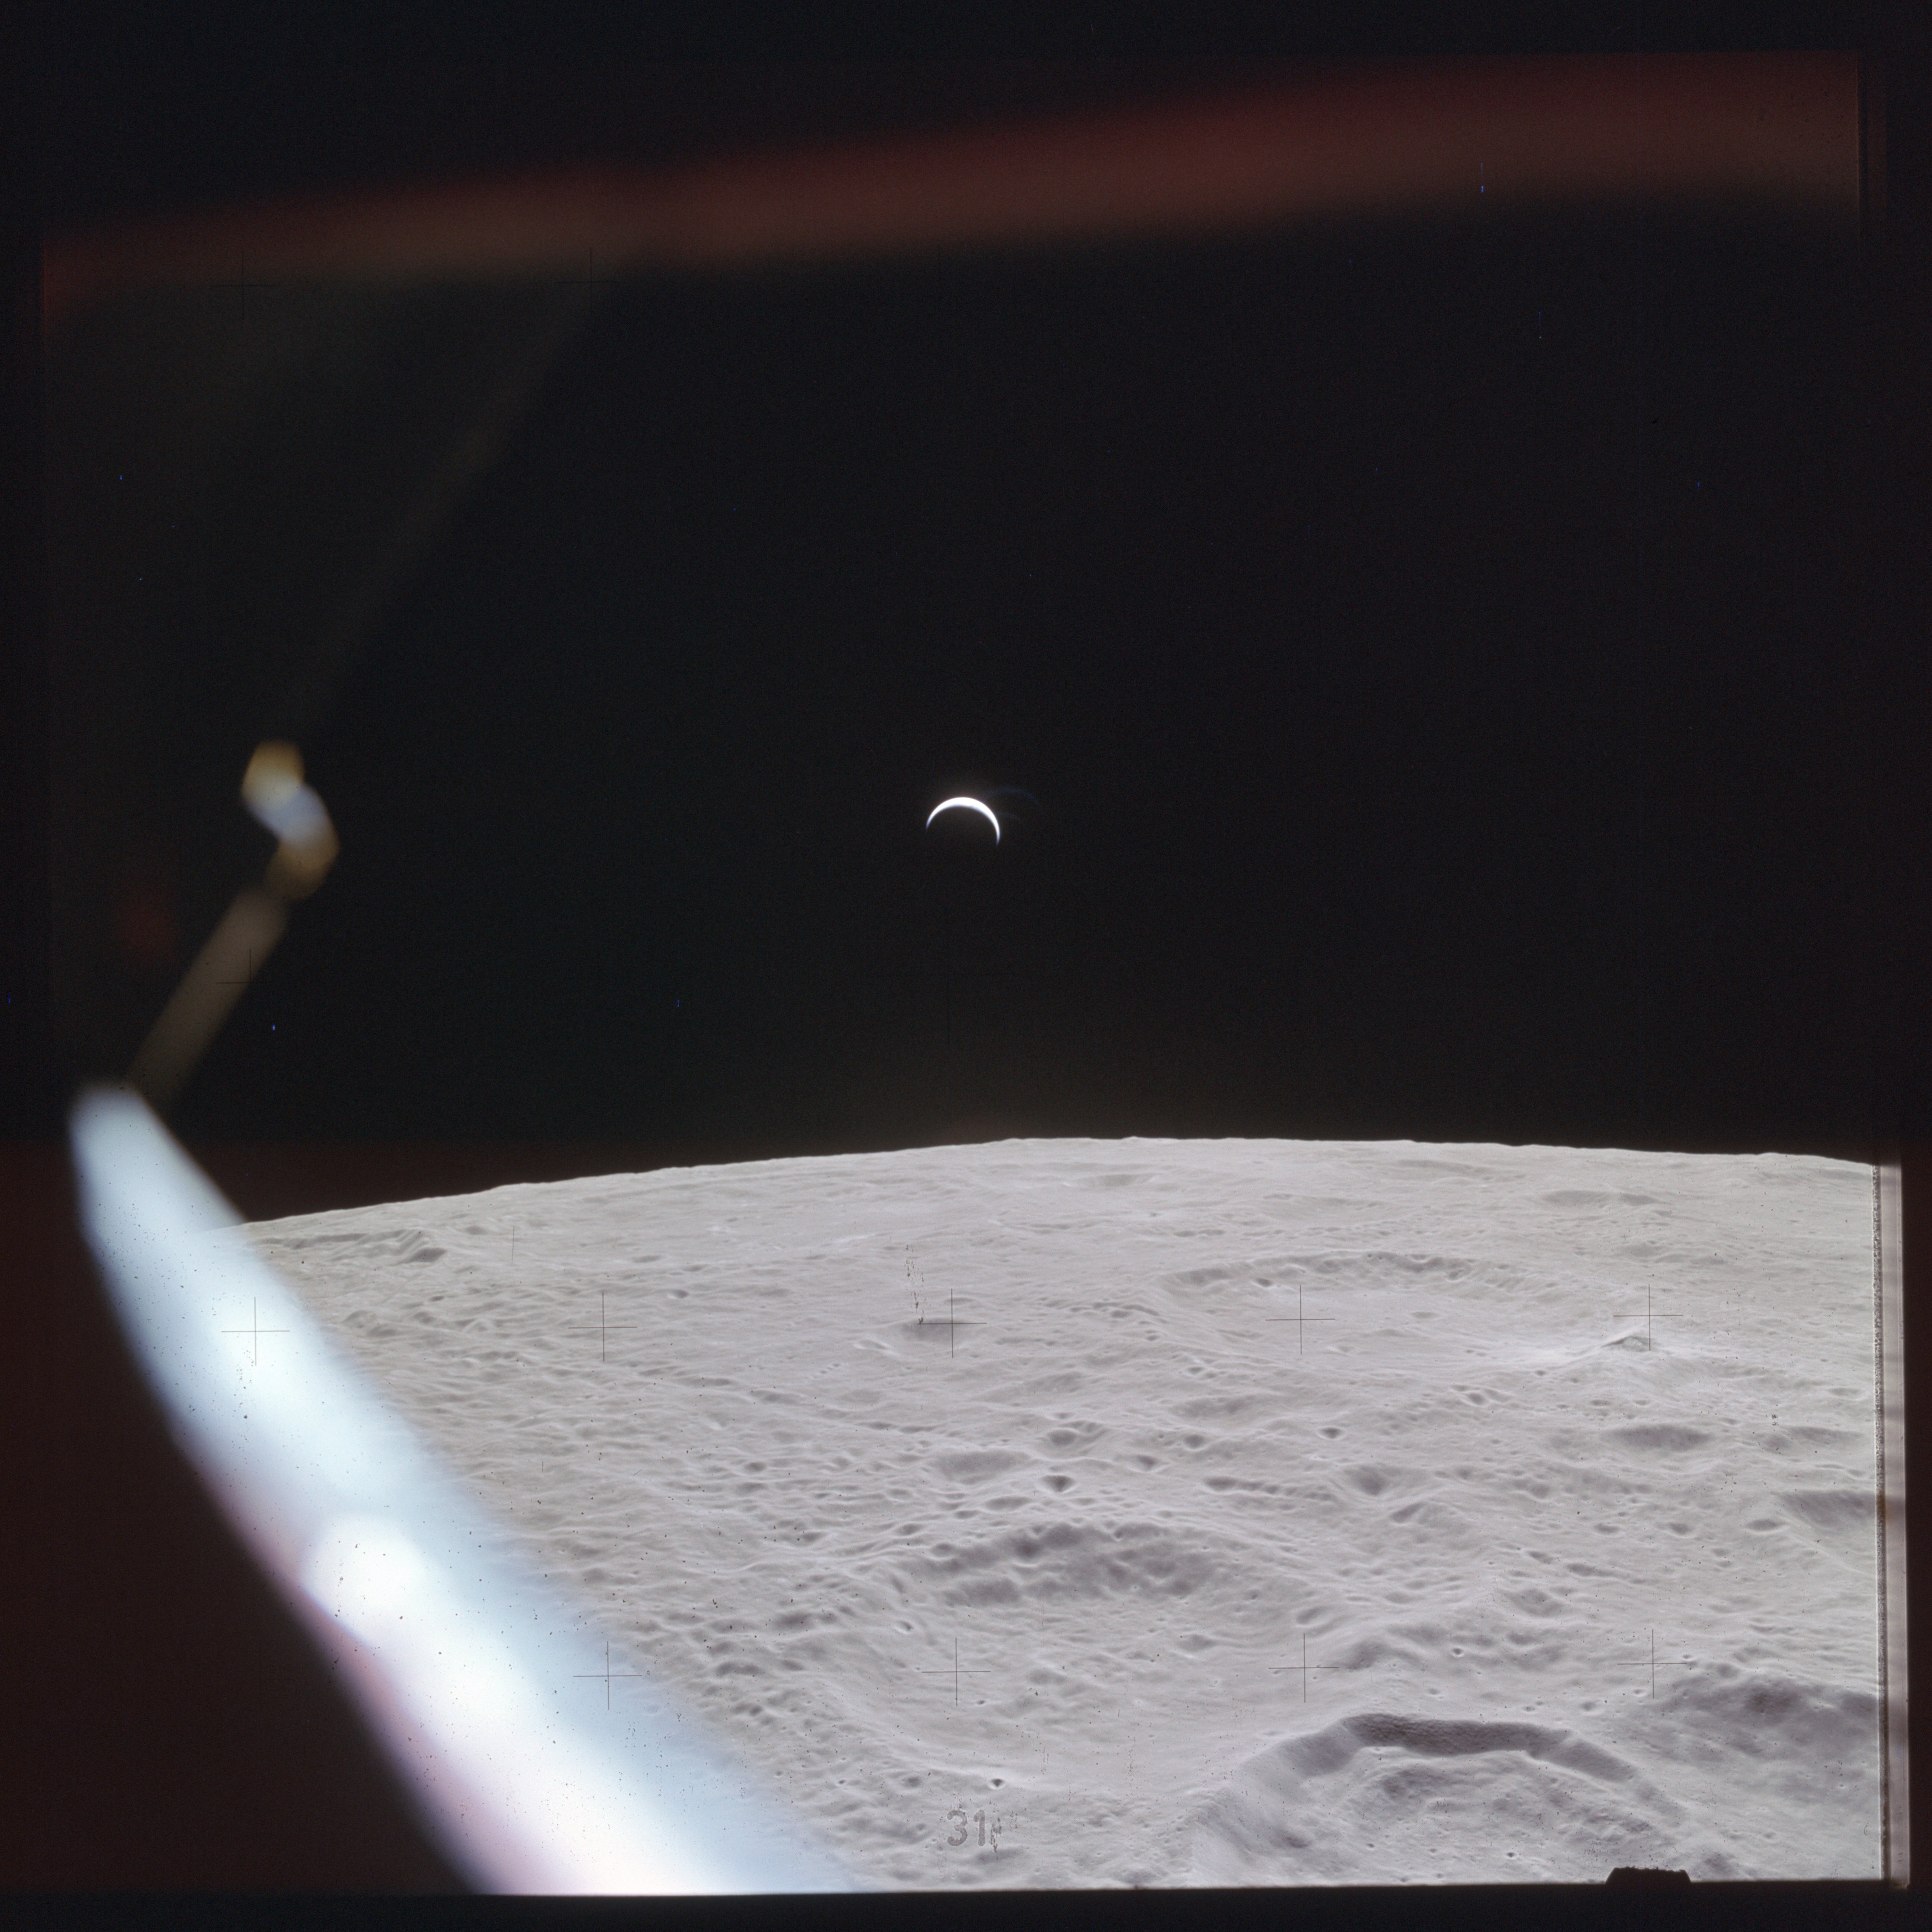
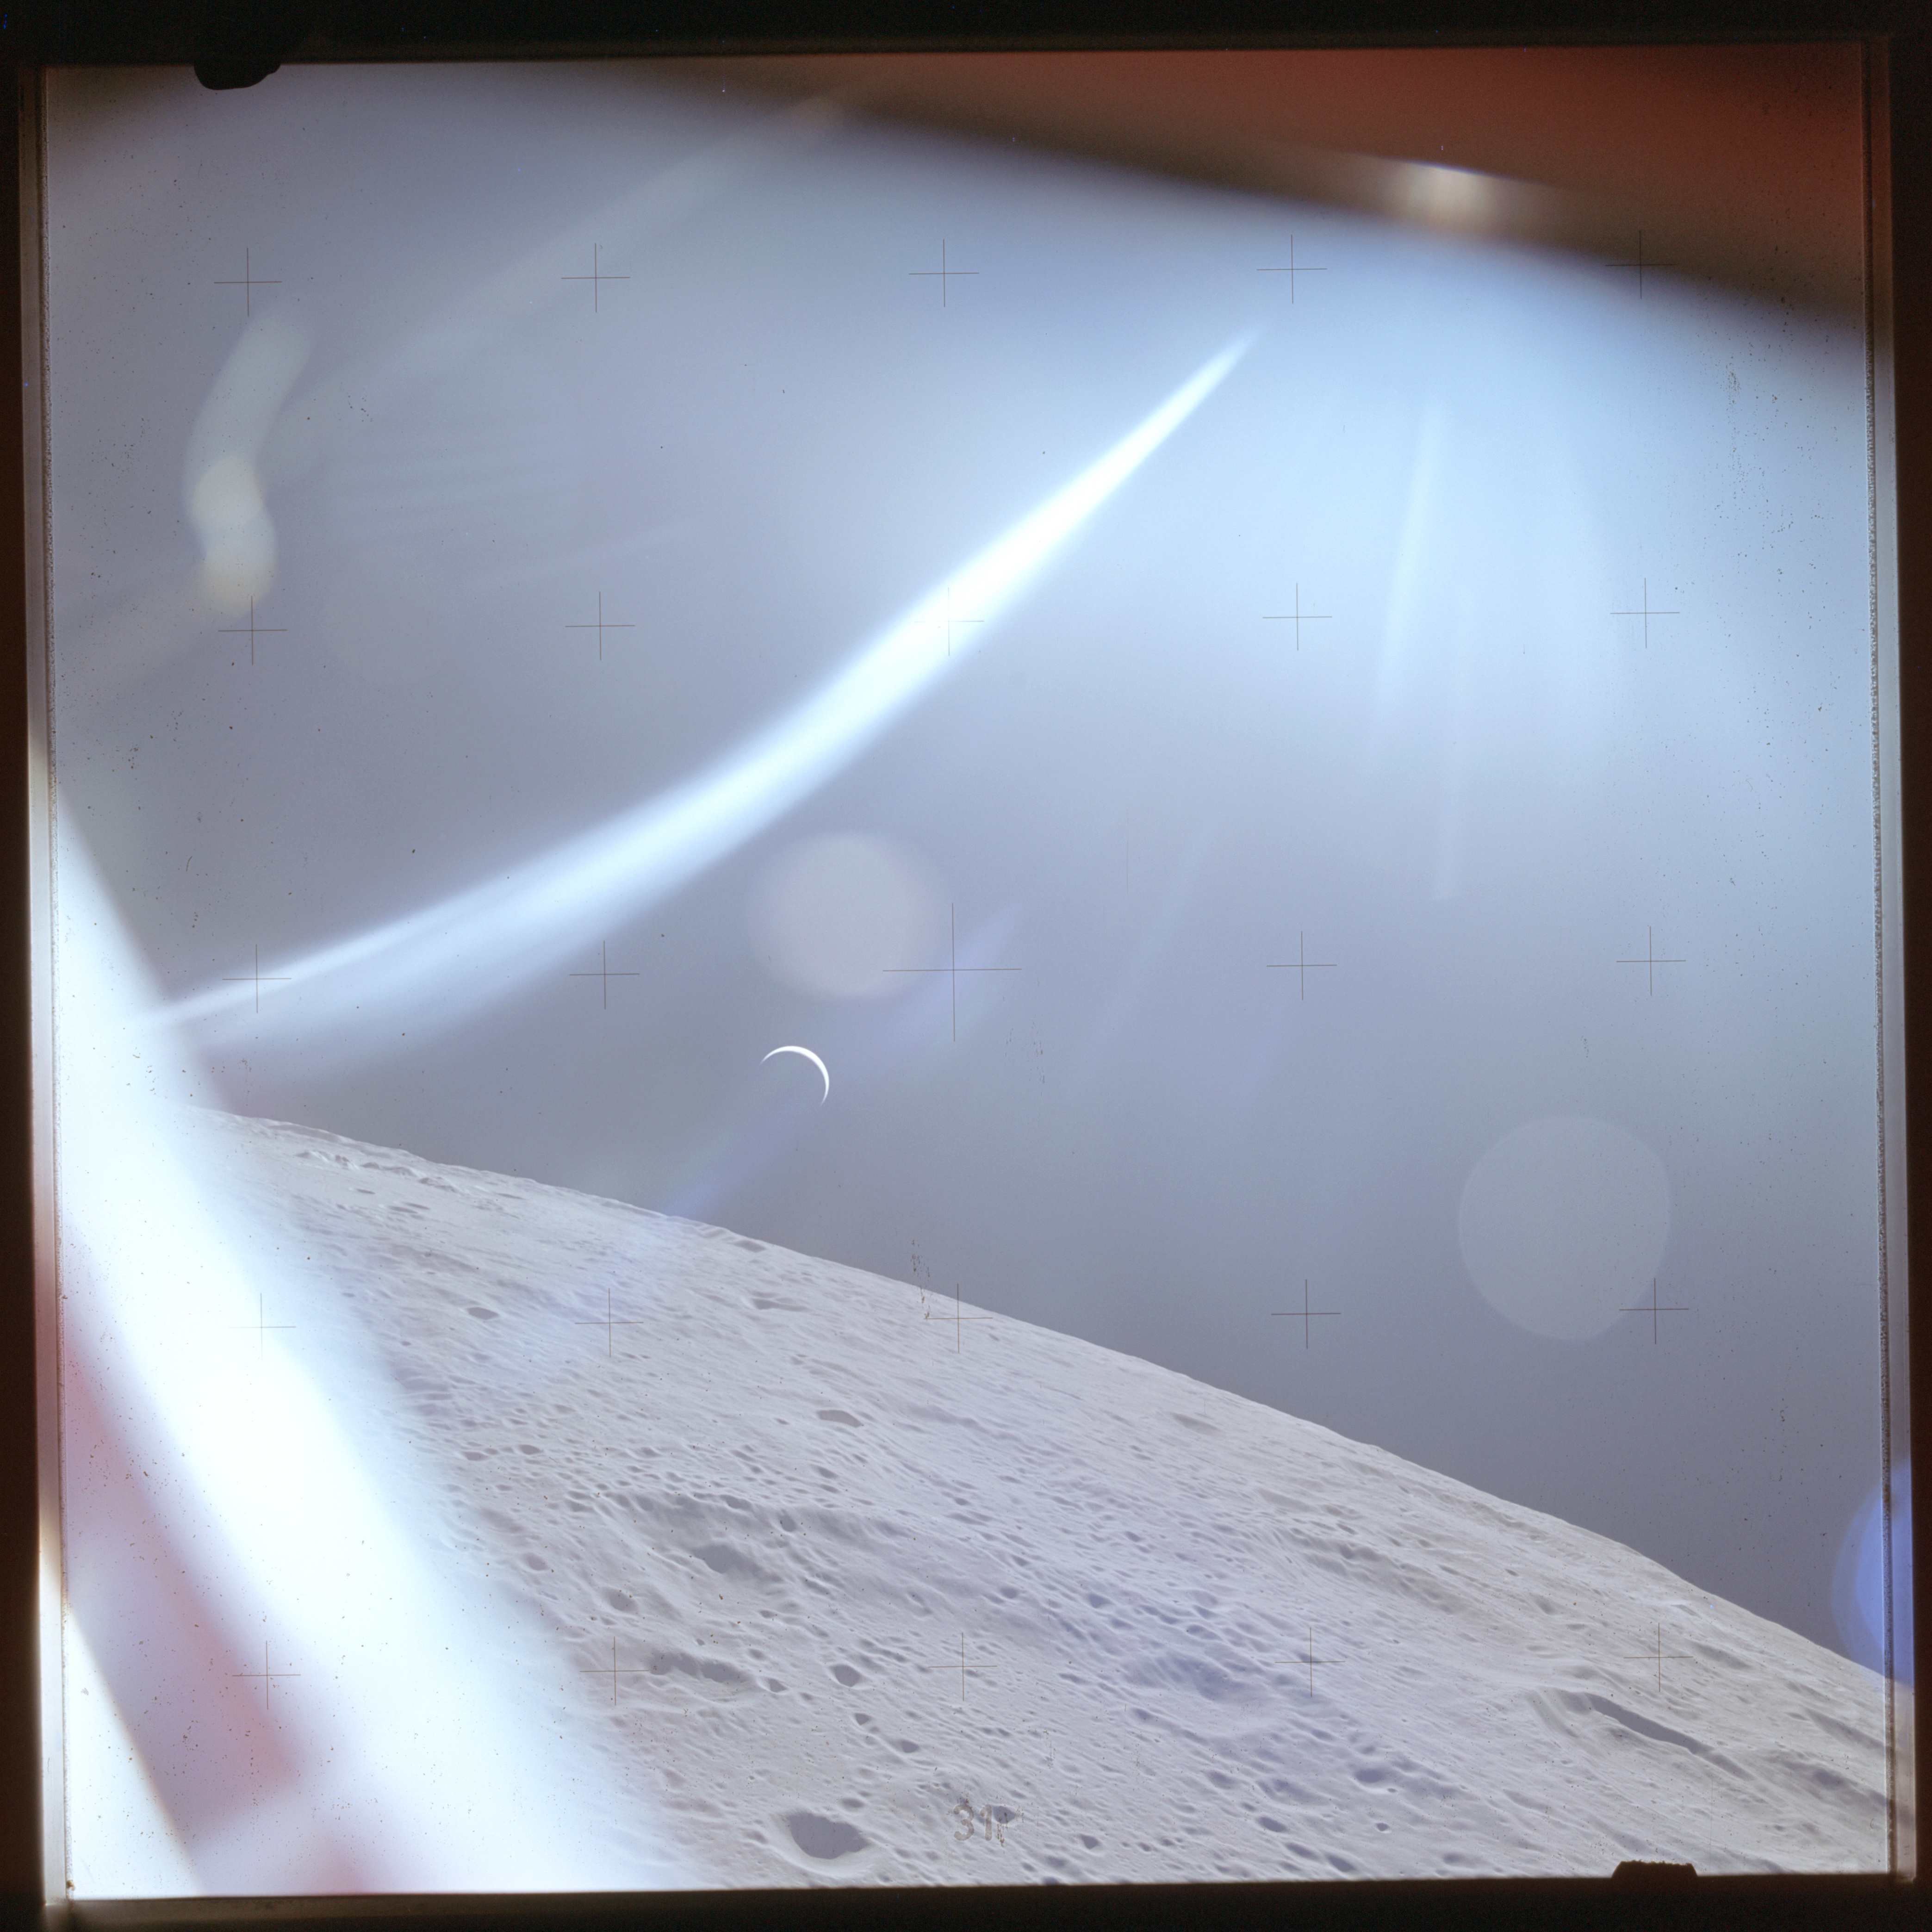
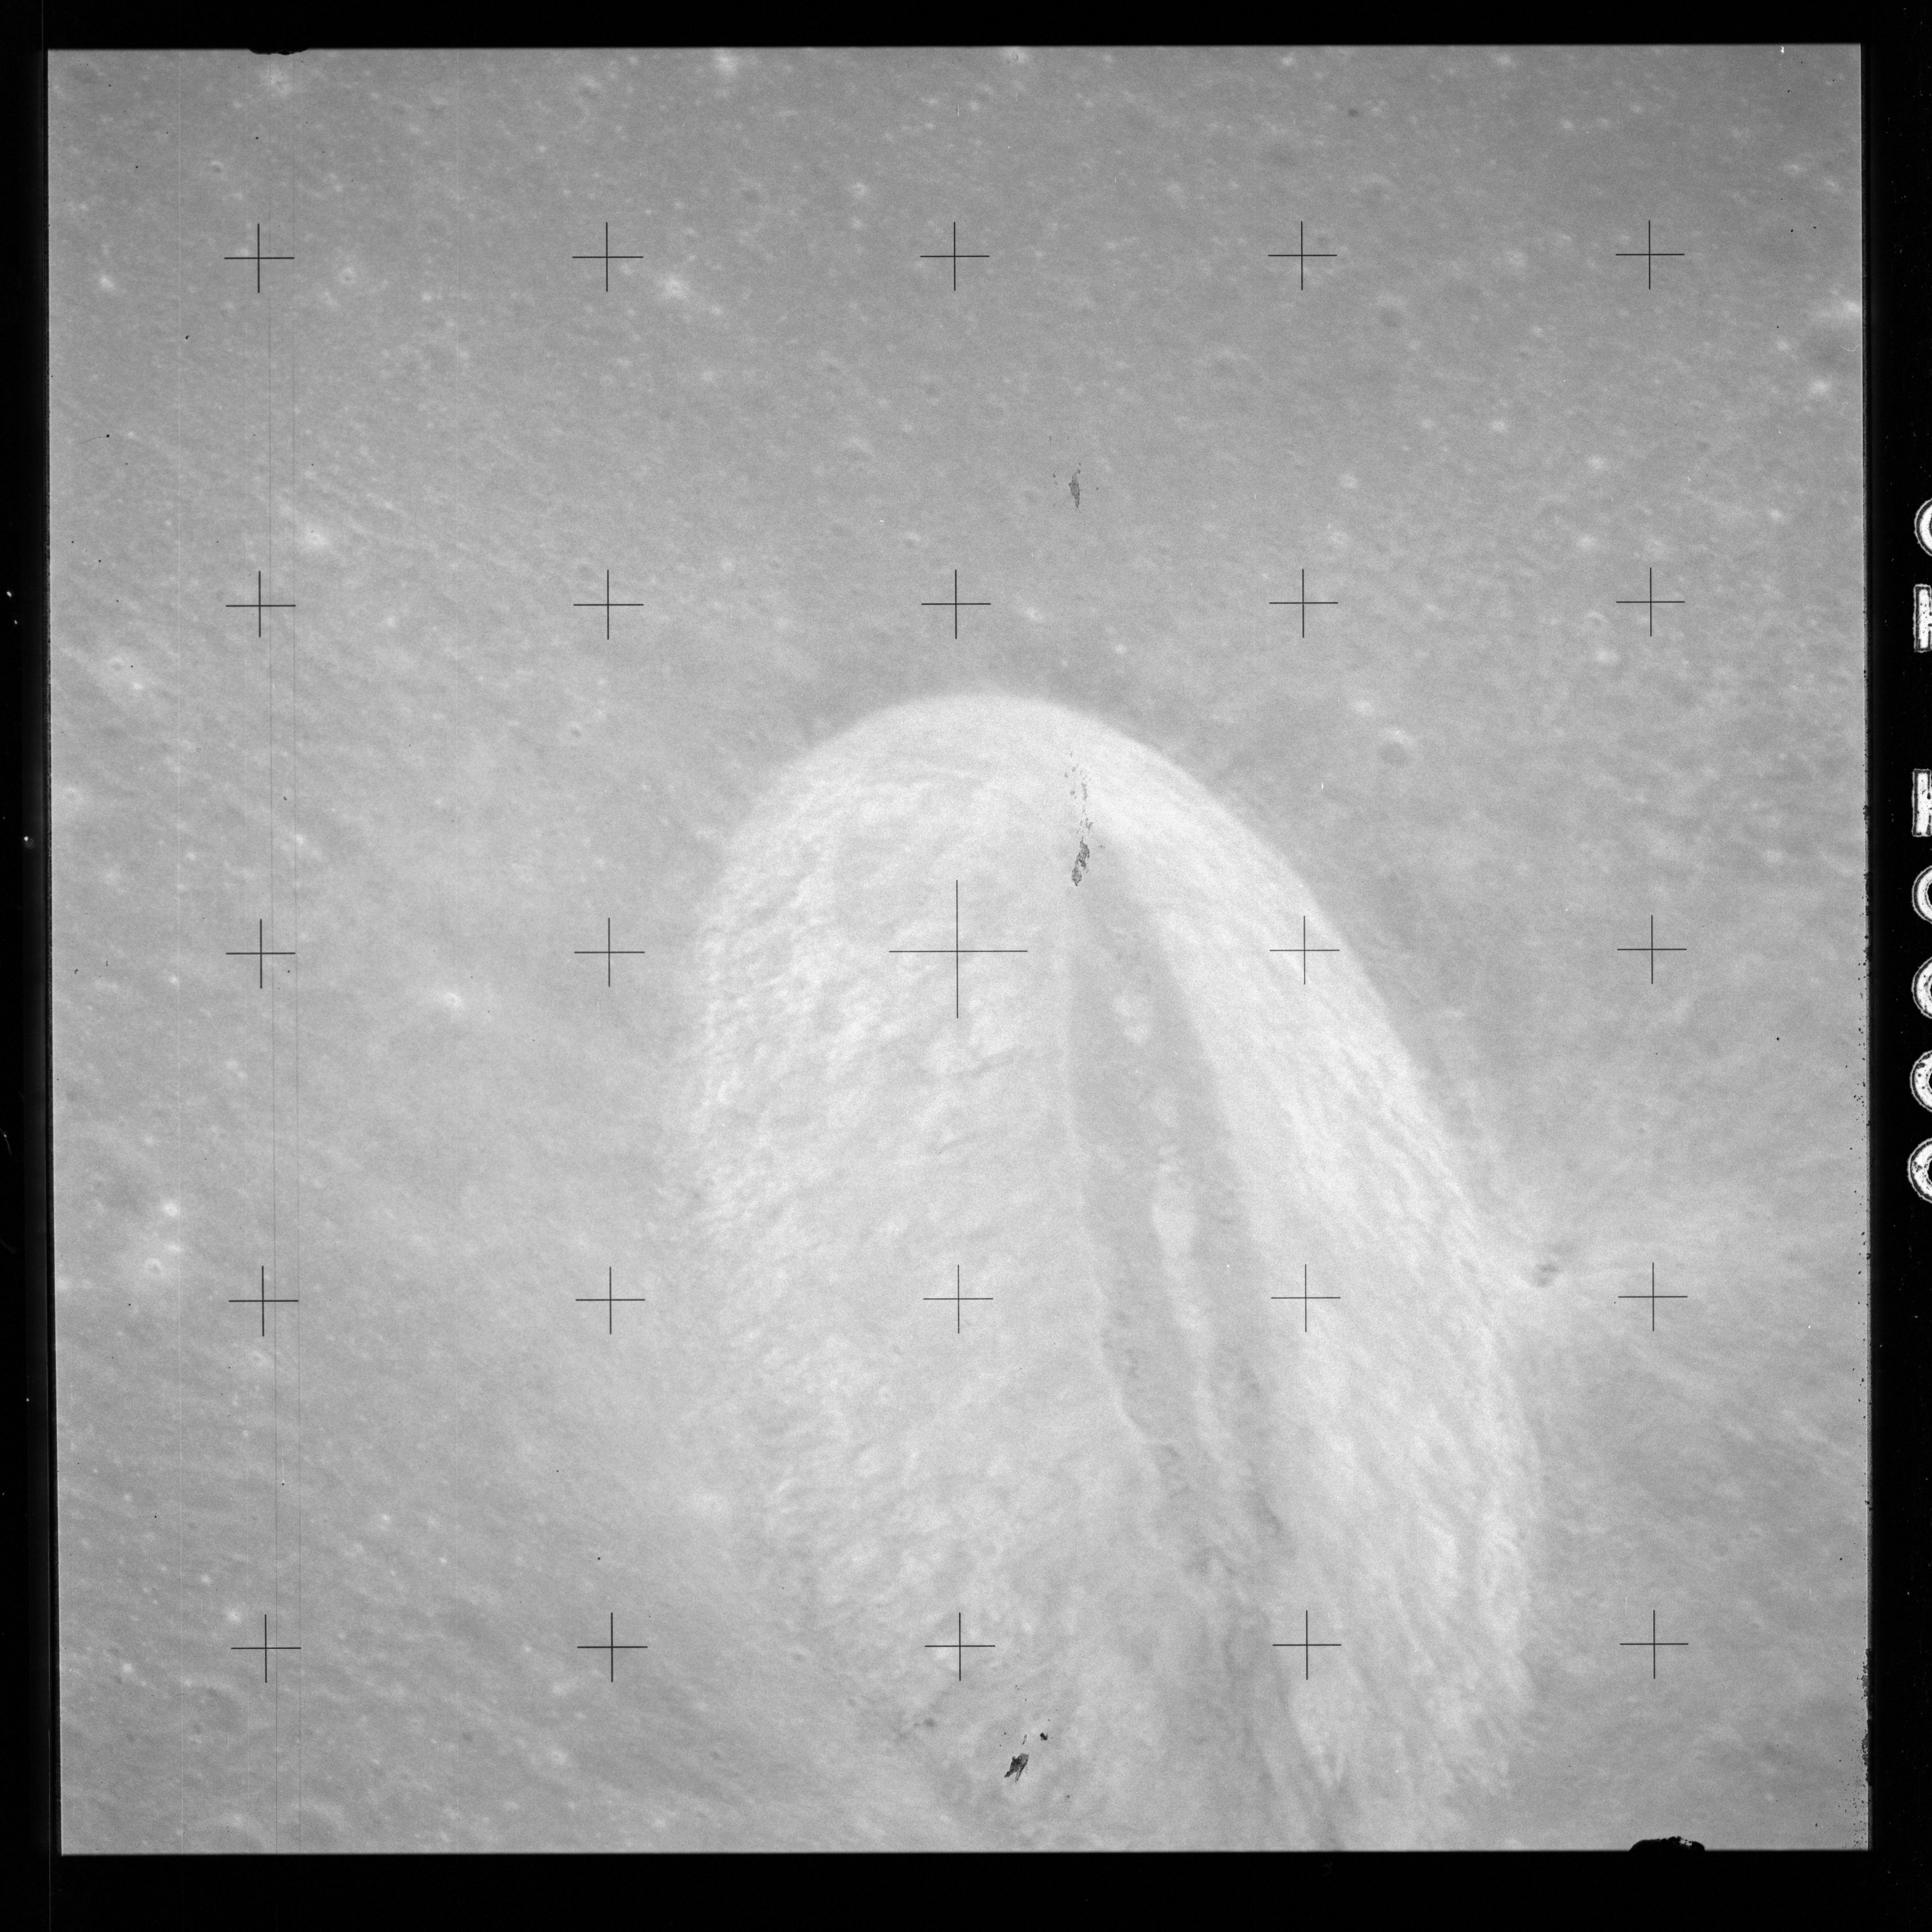
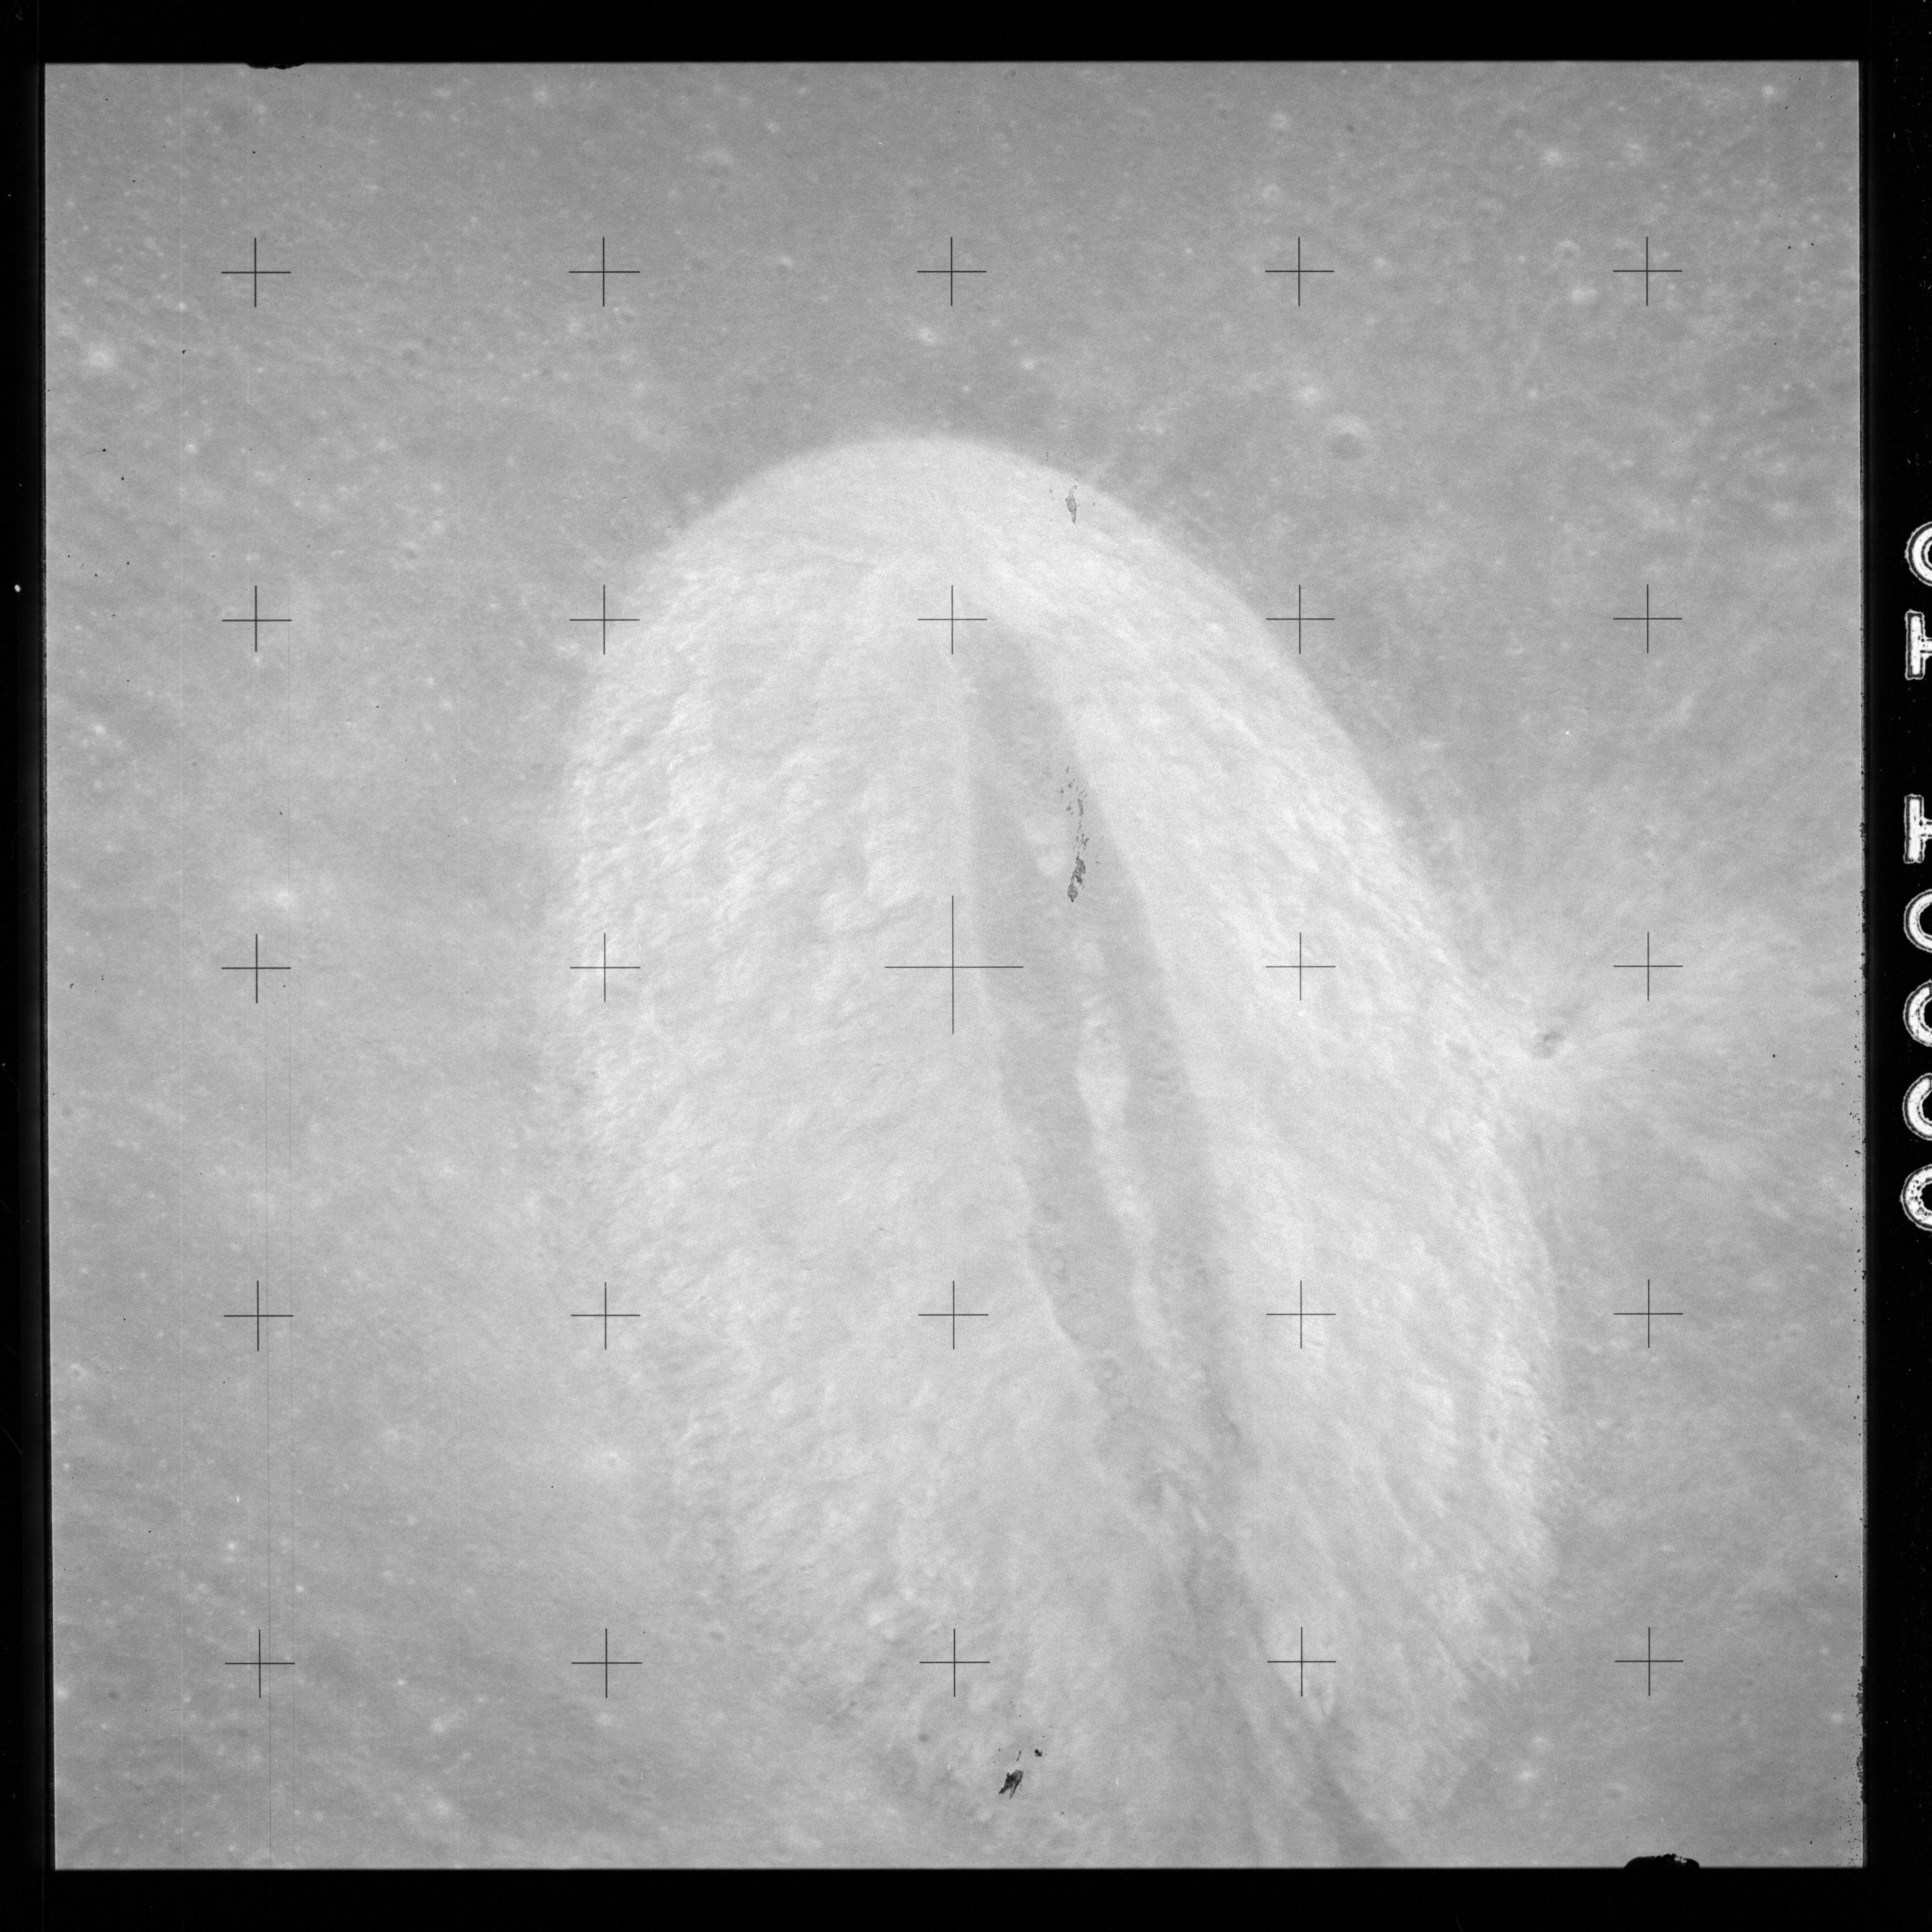
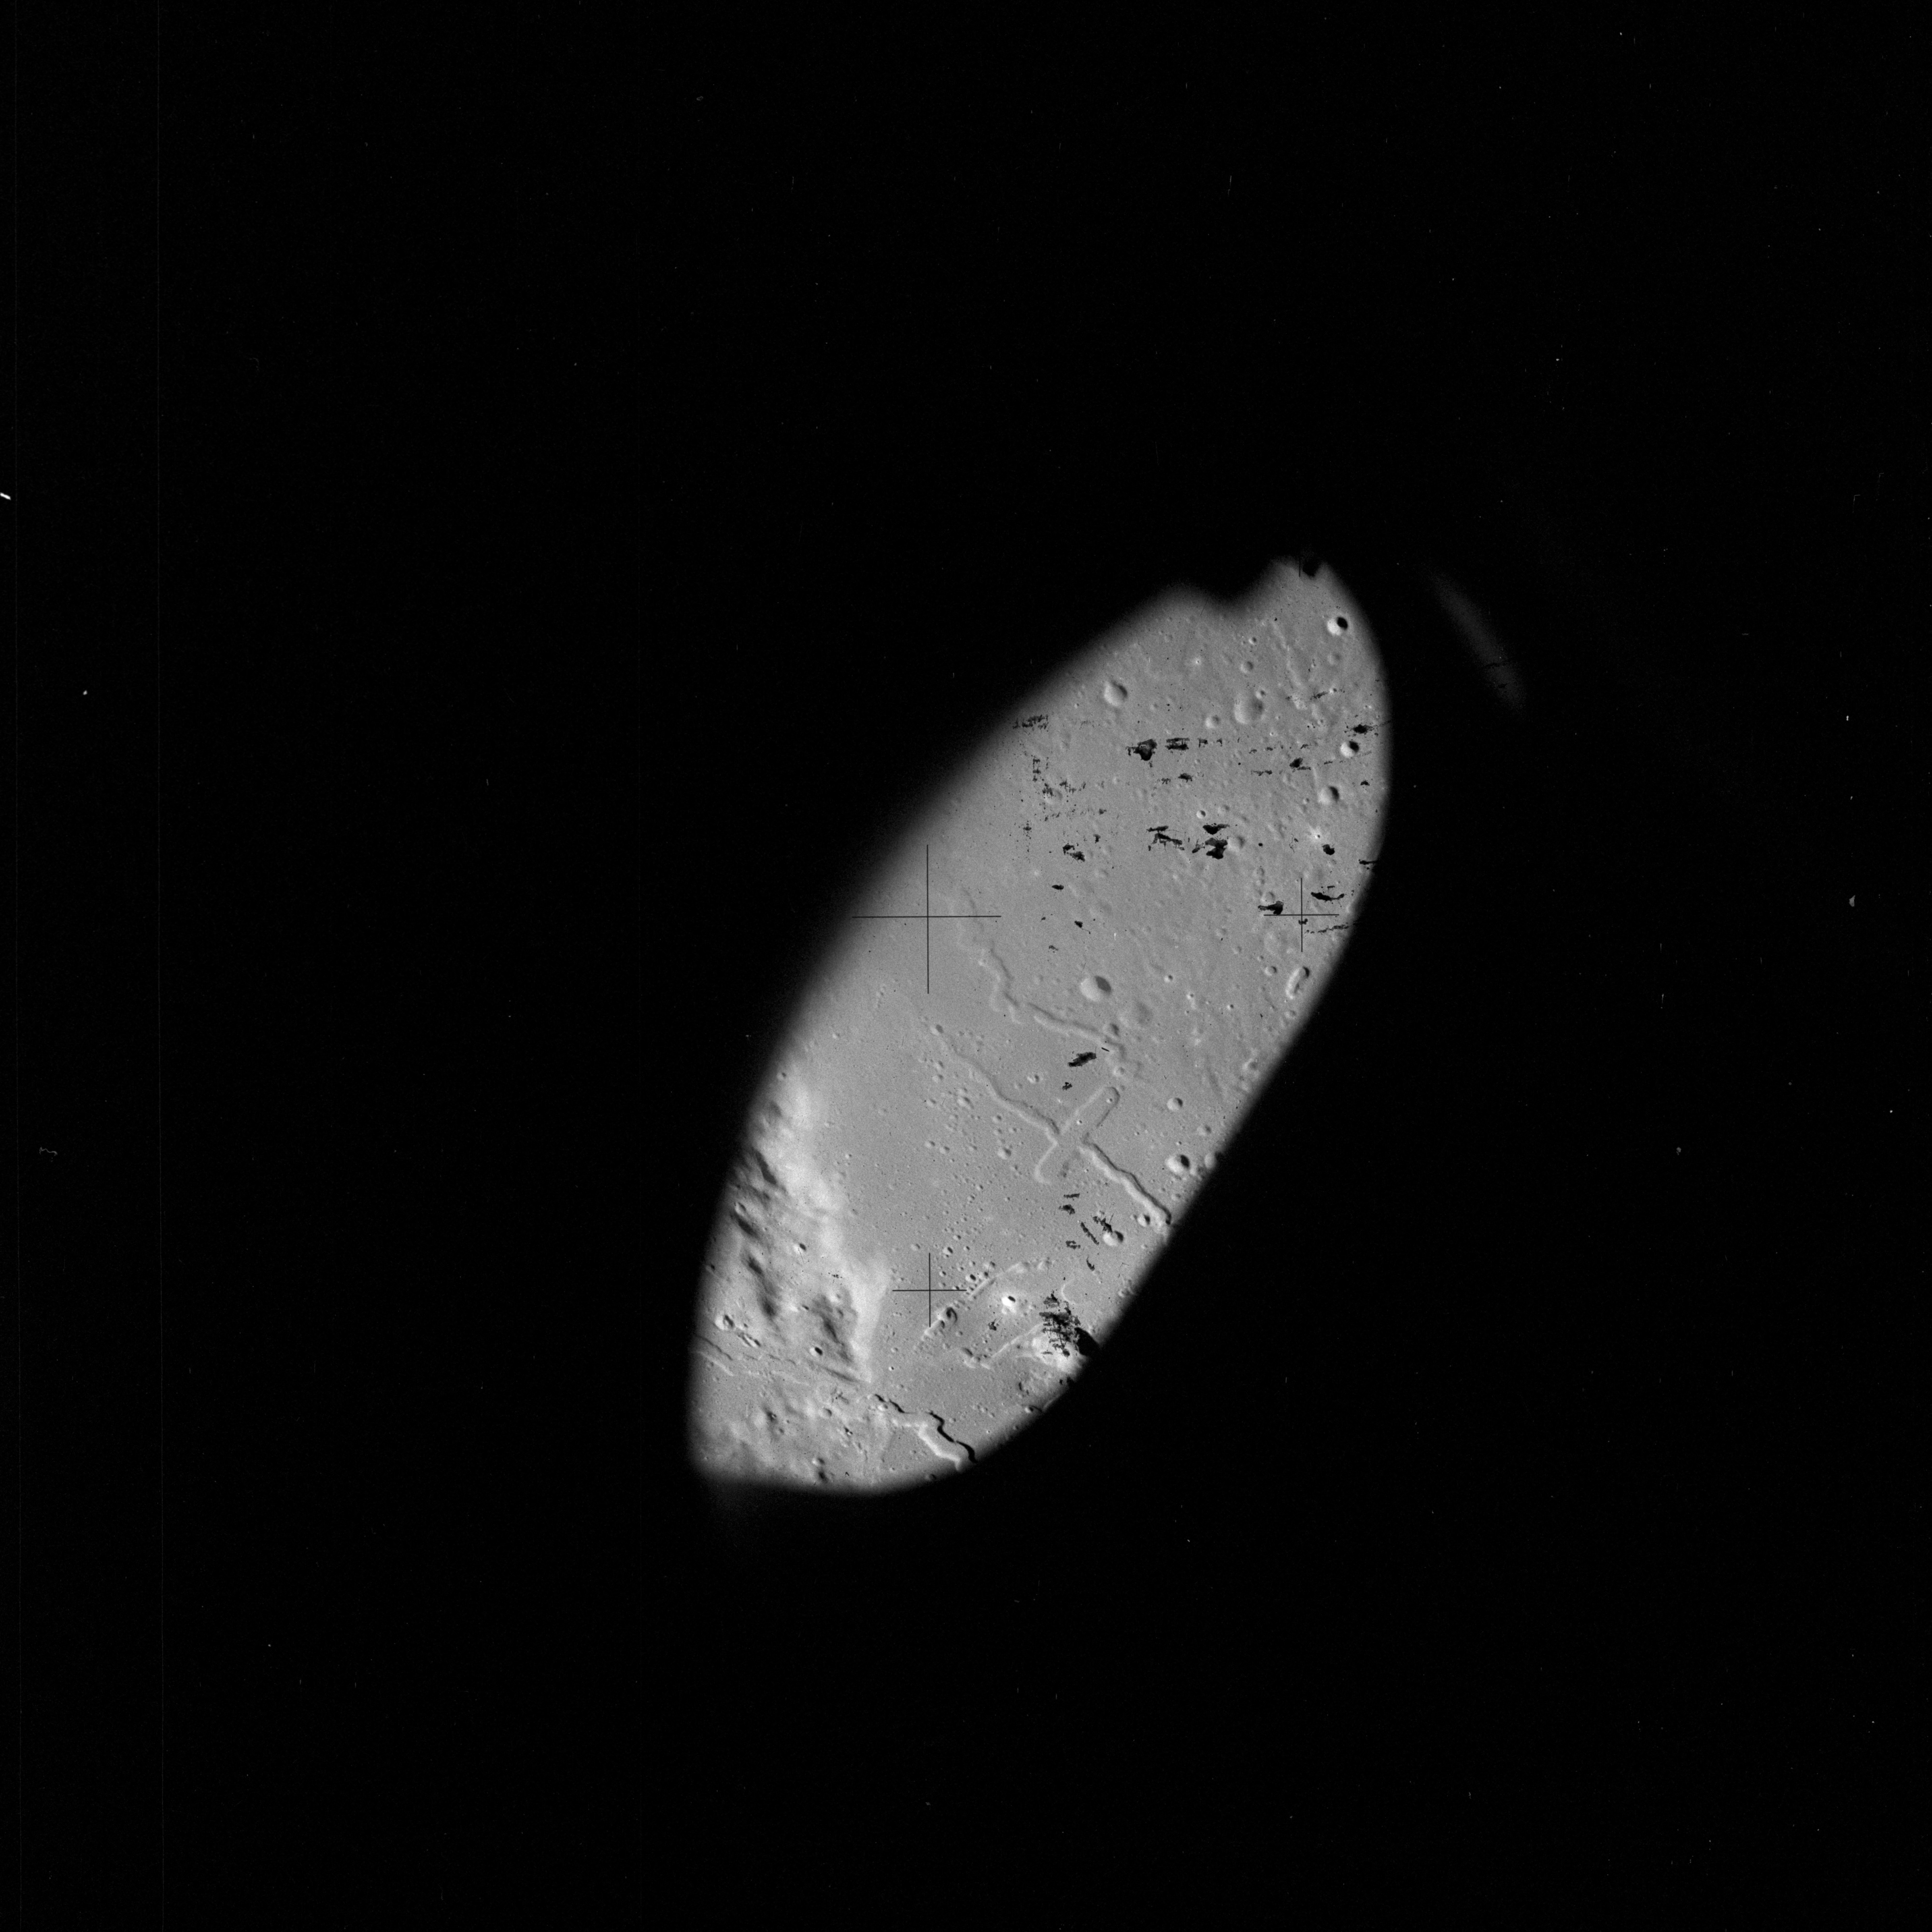
Just as the Moon appears nearly full from Earth, so the home planet reciprocates by displaying a striking crescent to the crew.
AS15-88-11988 - Earthrise, including Catena Humboldt and craters Schorr A and Gibbs - Image by NASA/Johnson Space Center.
AS15-88-11989 - Earthrise, including Catena Humboldt and crater Gibbs - Image by NASA/Johnson Space Center.
AS15-88-11988 and 11989 show an Earthrise which is very different to the Earthrise images which have been heavily publicised before because few reveal Earth in this repose. Cut off in the foreground of 11988 is Schorr, 53 km in diameter. The crater directly adjoining it to its southwest is in some atlases called Schorr A but in others Gibbs A. Beyond Schorr is the 77-km Gibbs and between the two runs a linear feature Catena Humboldt.
Under an overhead Sun, Plinius is the washed out circle in the centre of AS15-88-11990. Mare Tranquillitatis is in the foreground and the southwestern shore of Mare Serenitatis lies beyond.
AS15-88-11990 - Crater Plinius and the junction between Mare Tranquillitatis in the foreground and Mare Serenitatis in the distance - Image by NASA/Johnson Space Center.
AS15-88-11991 is taken from approximately the same position but looks northeast instead of northwest. The 30-km Vitruvius is to the right and in the foreground is Jansen D (at the edge of frame) and Jansen C, a 8.4-km simple crater now named Beketov after a Russian chemist, 1827-1911. Notice the irregularly shaped, vaguely looping dark area near the centre of the picture. In the foreground just in front of it is Mons Argaeus, a 50-km range of hills. A dark spur to its right is the Taurus/Littrow valley, destined to become the Apollo 17 landing site.
AS15-88-11991 - View north up the eastern shore of Mare Serenitatis, including craters Beketov and Vitruvius. Just below centre of frame is the valley of Taurus Littrow which will be the Apollo 17 landing site - Image by NASA/Johnson Space Center.
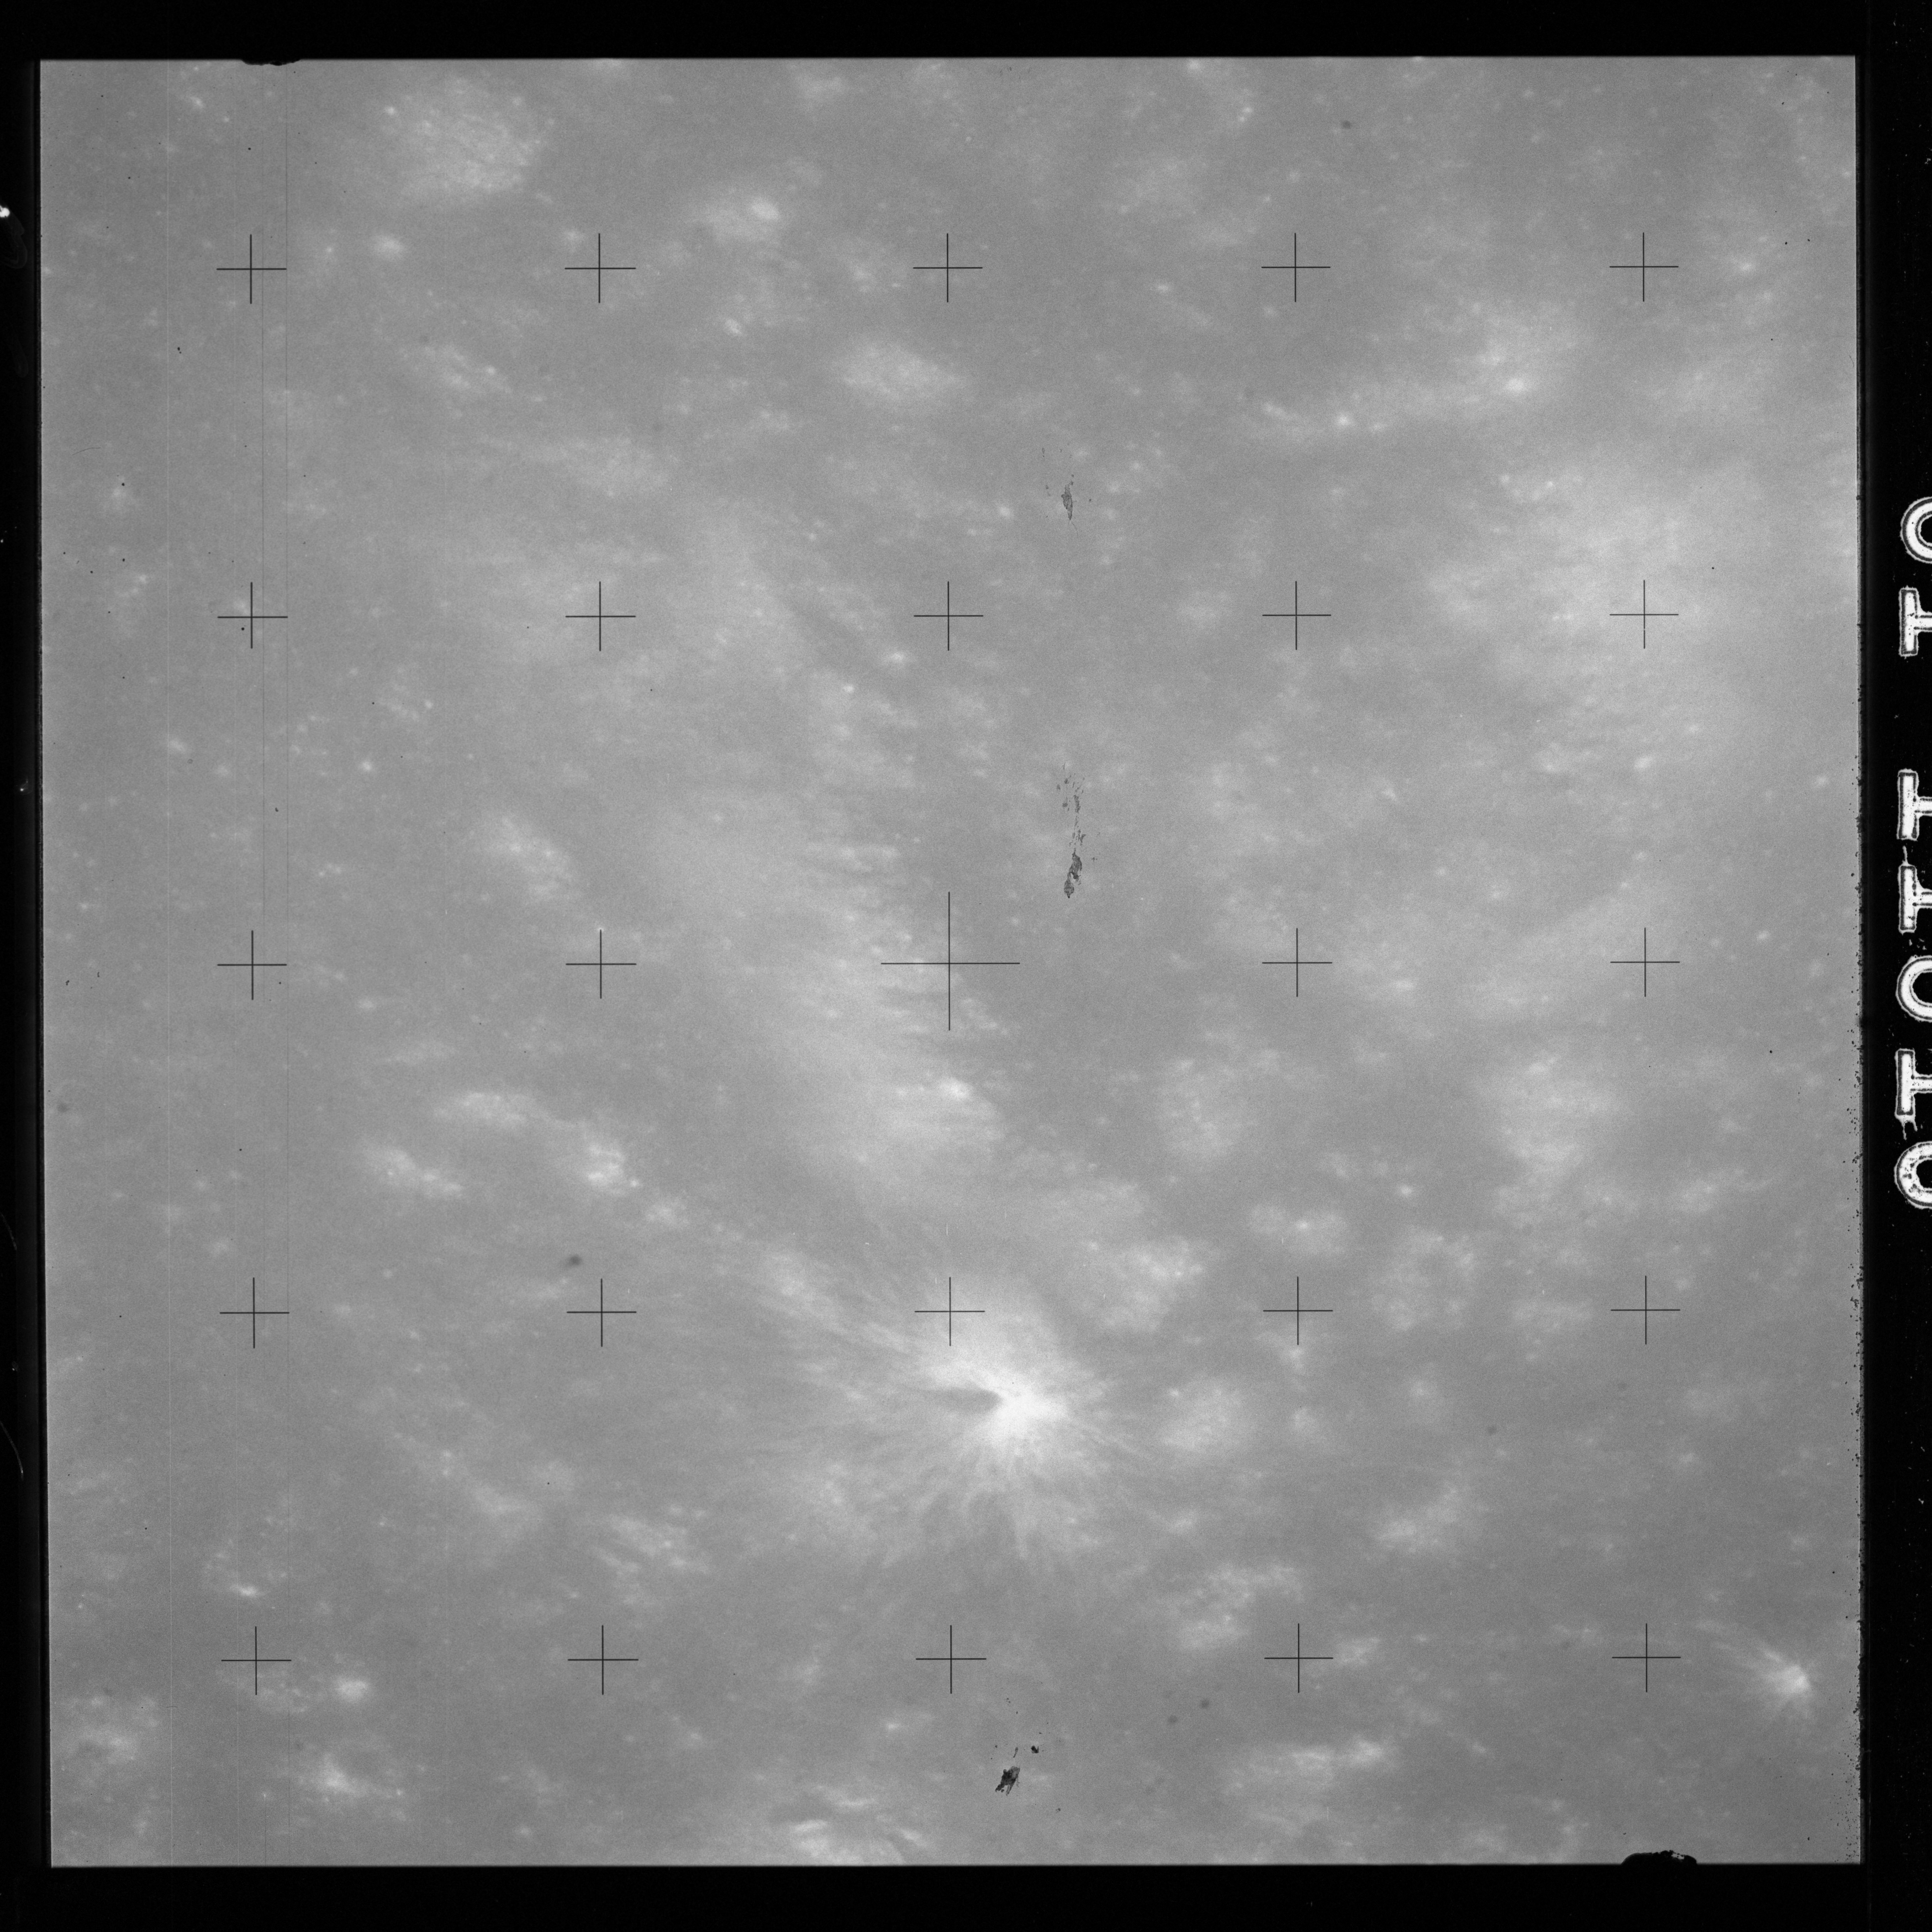
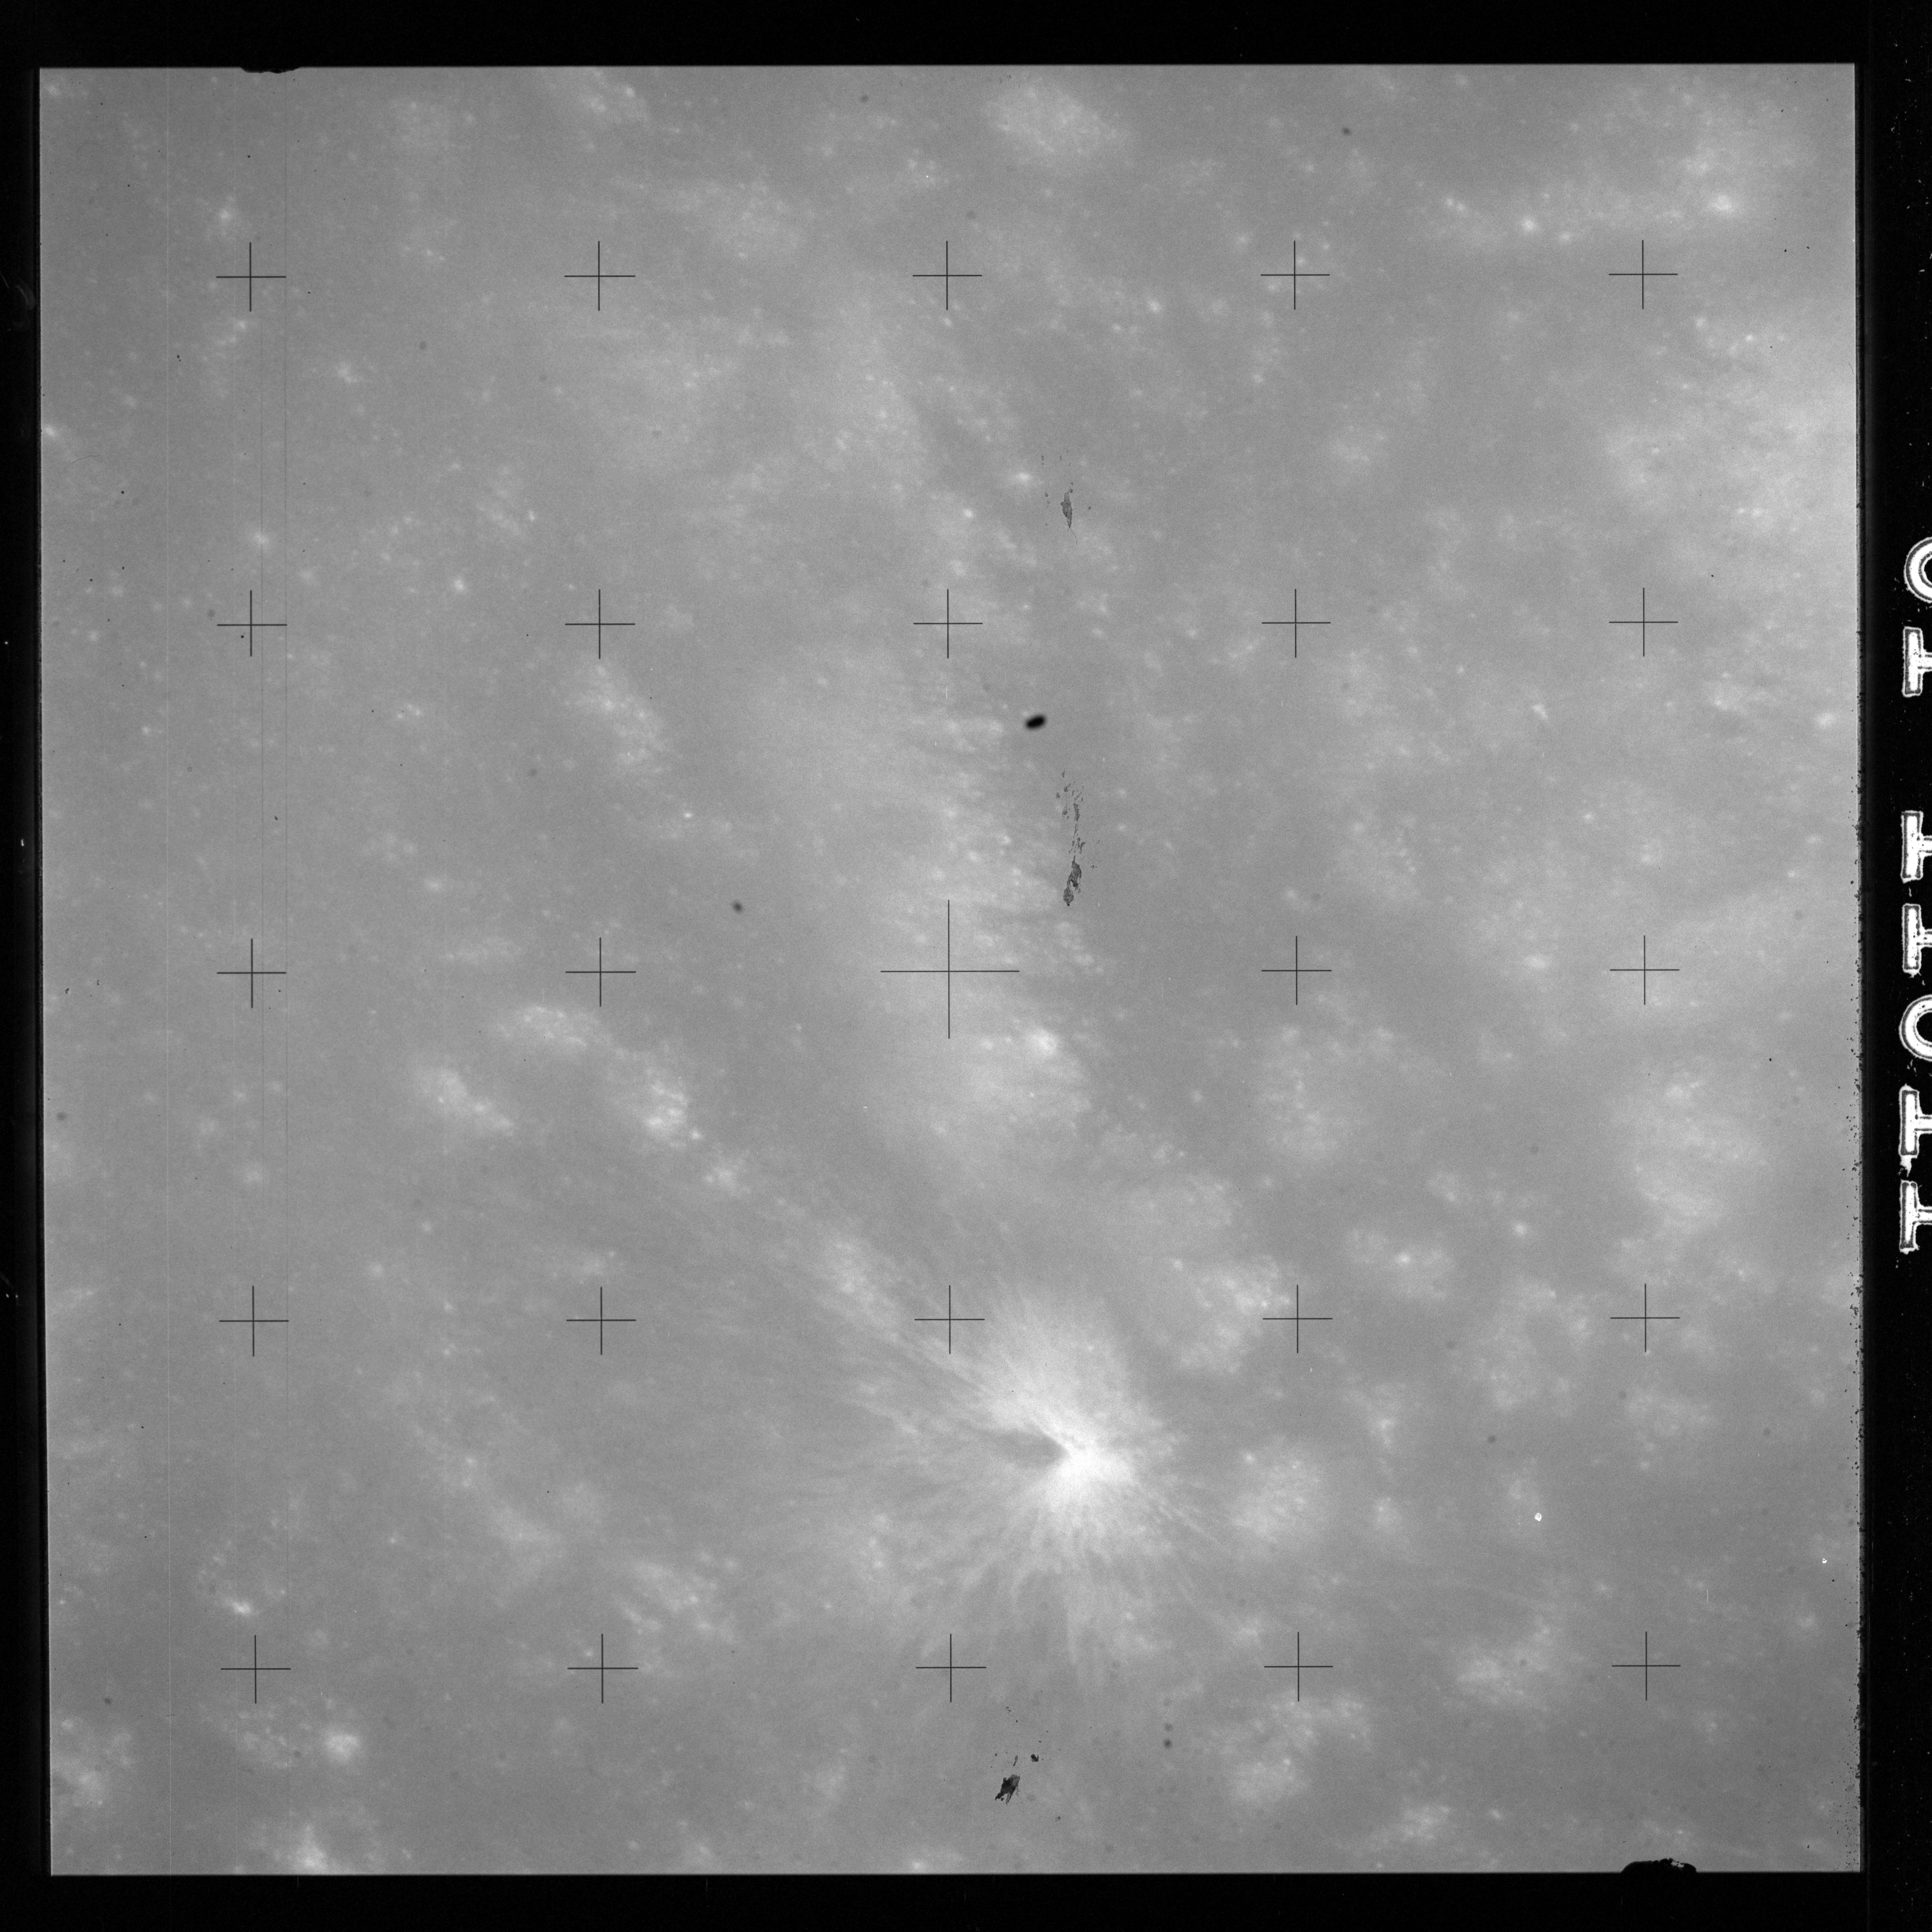
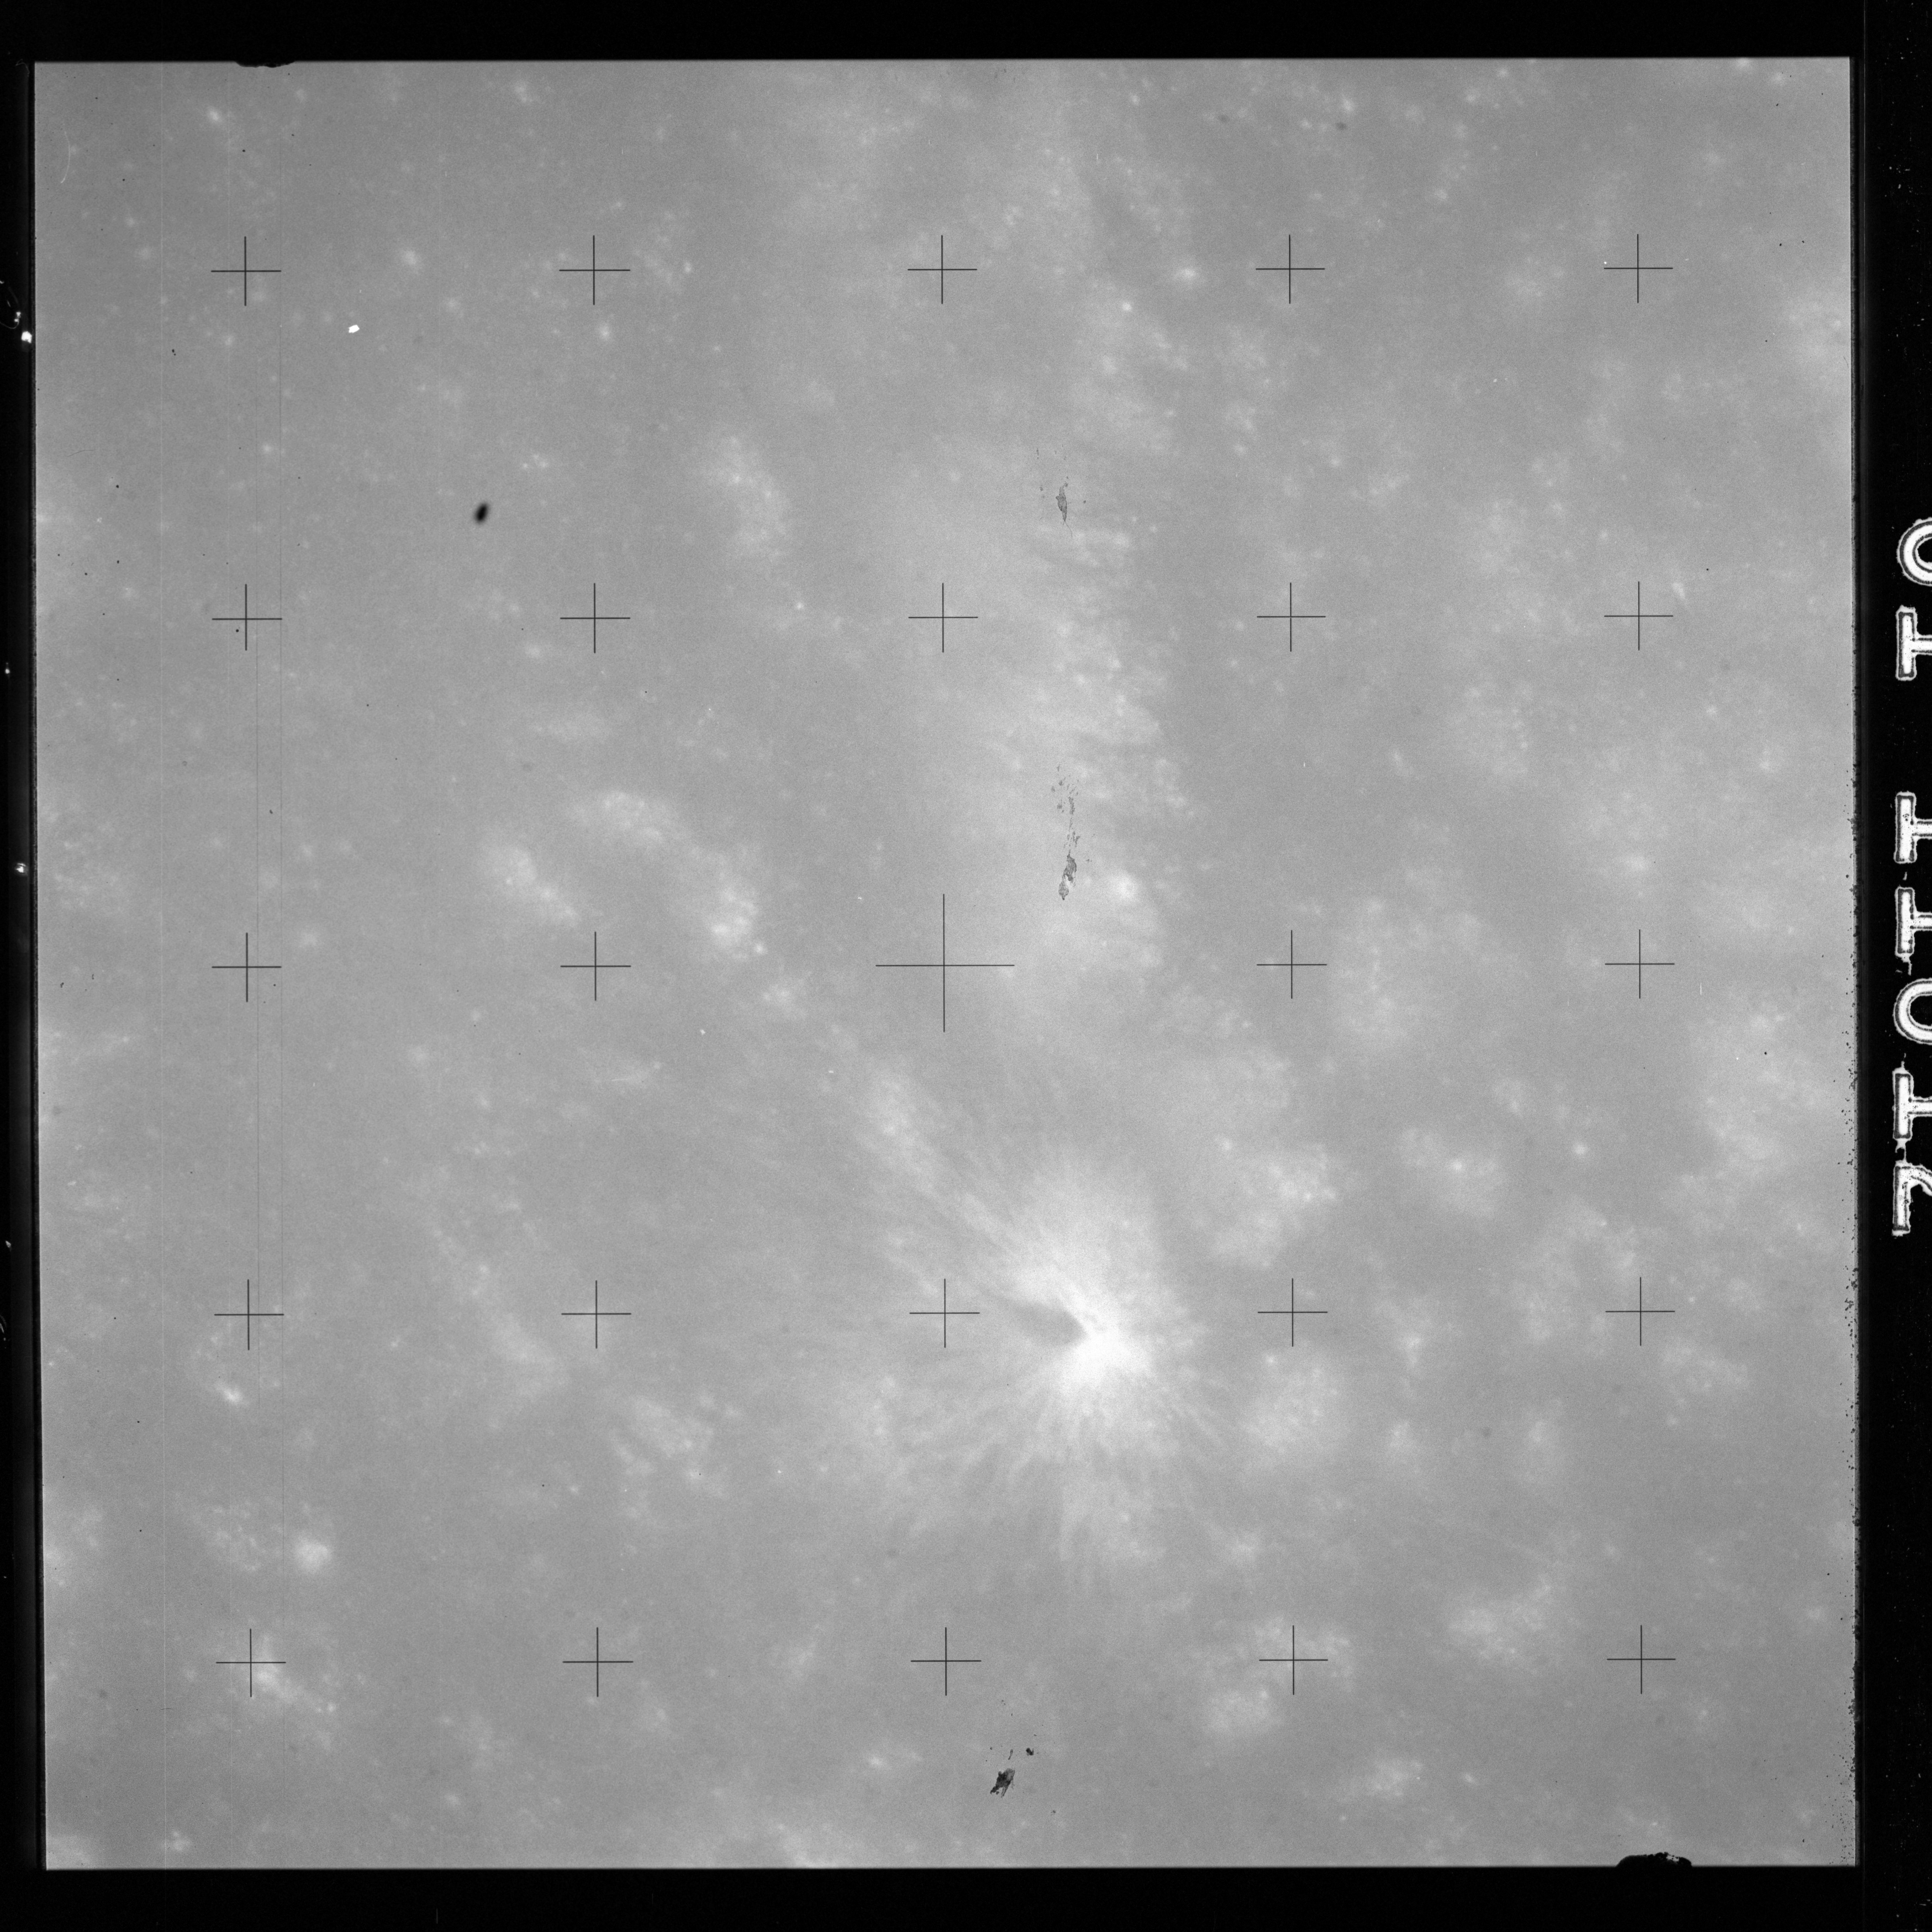
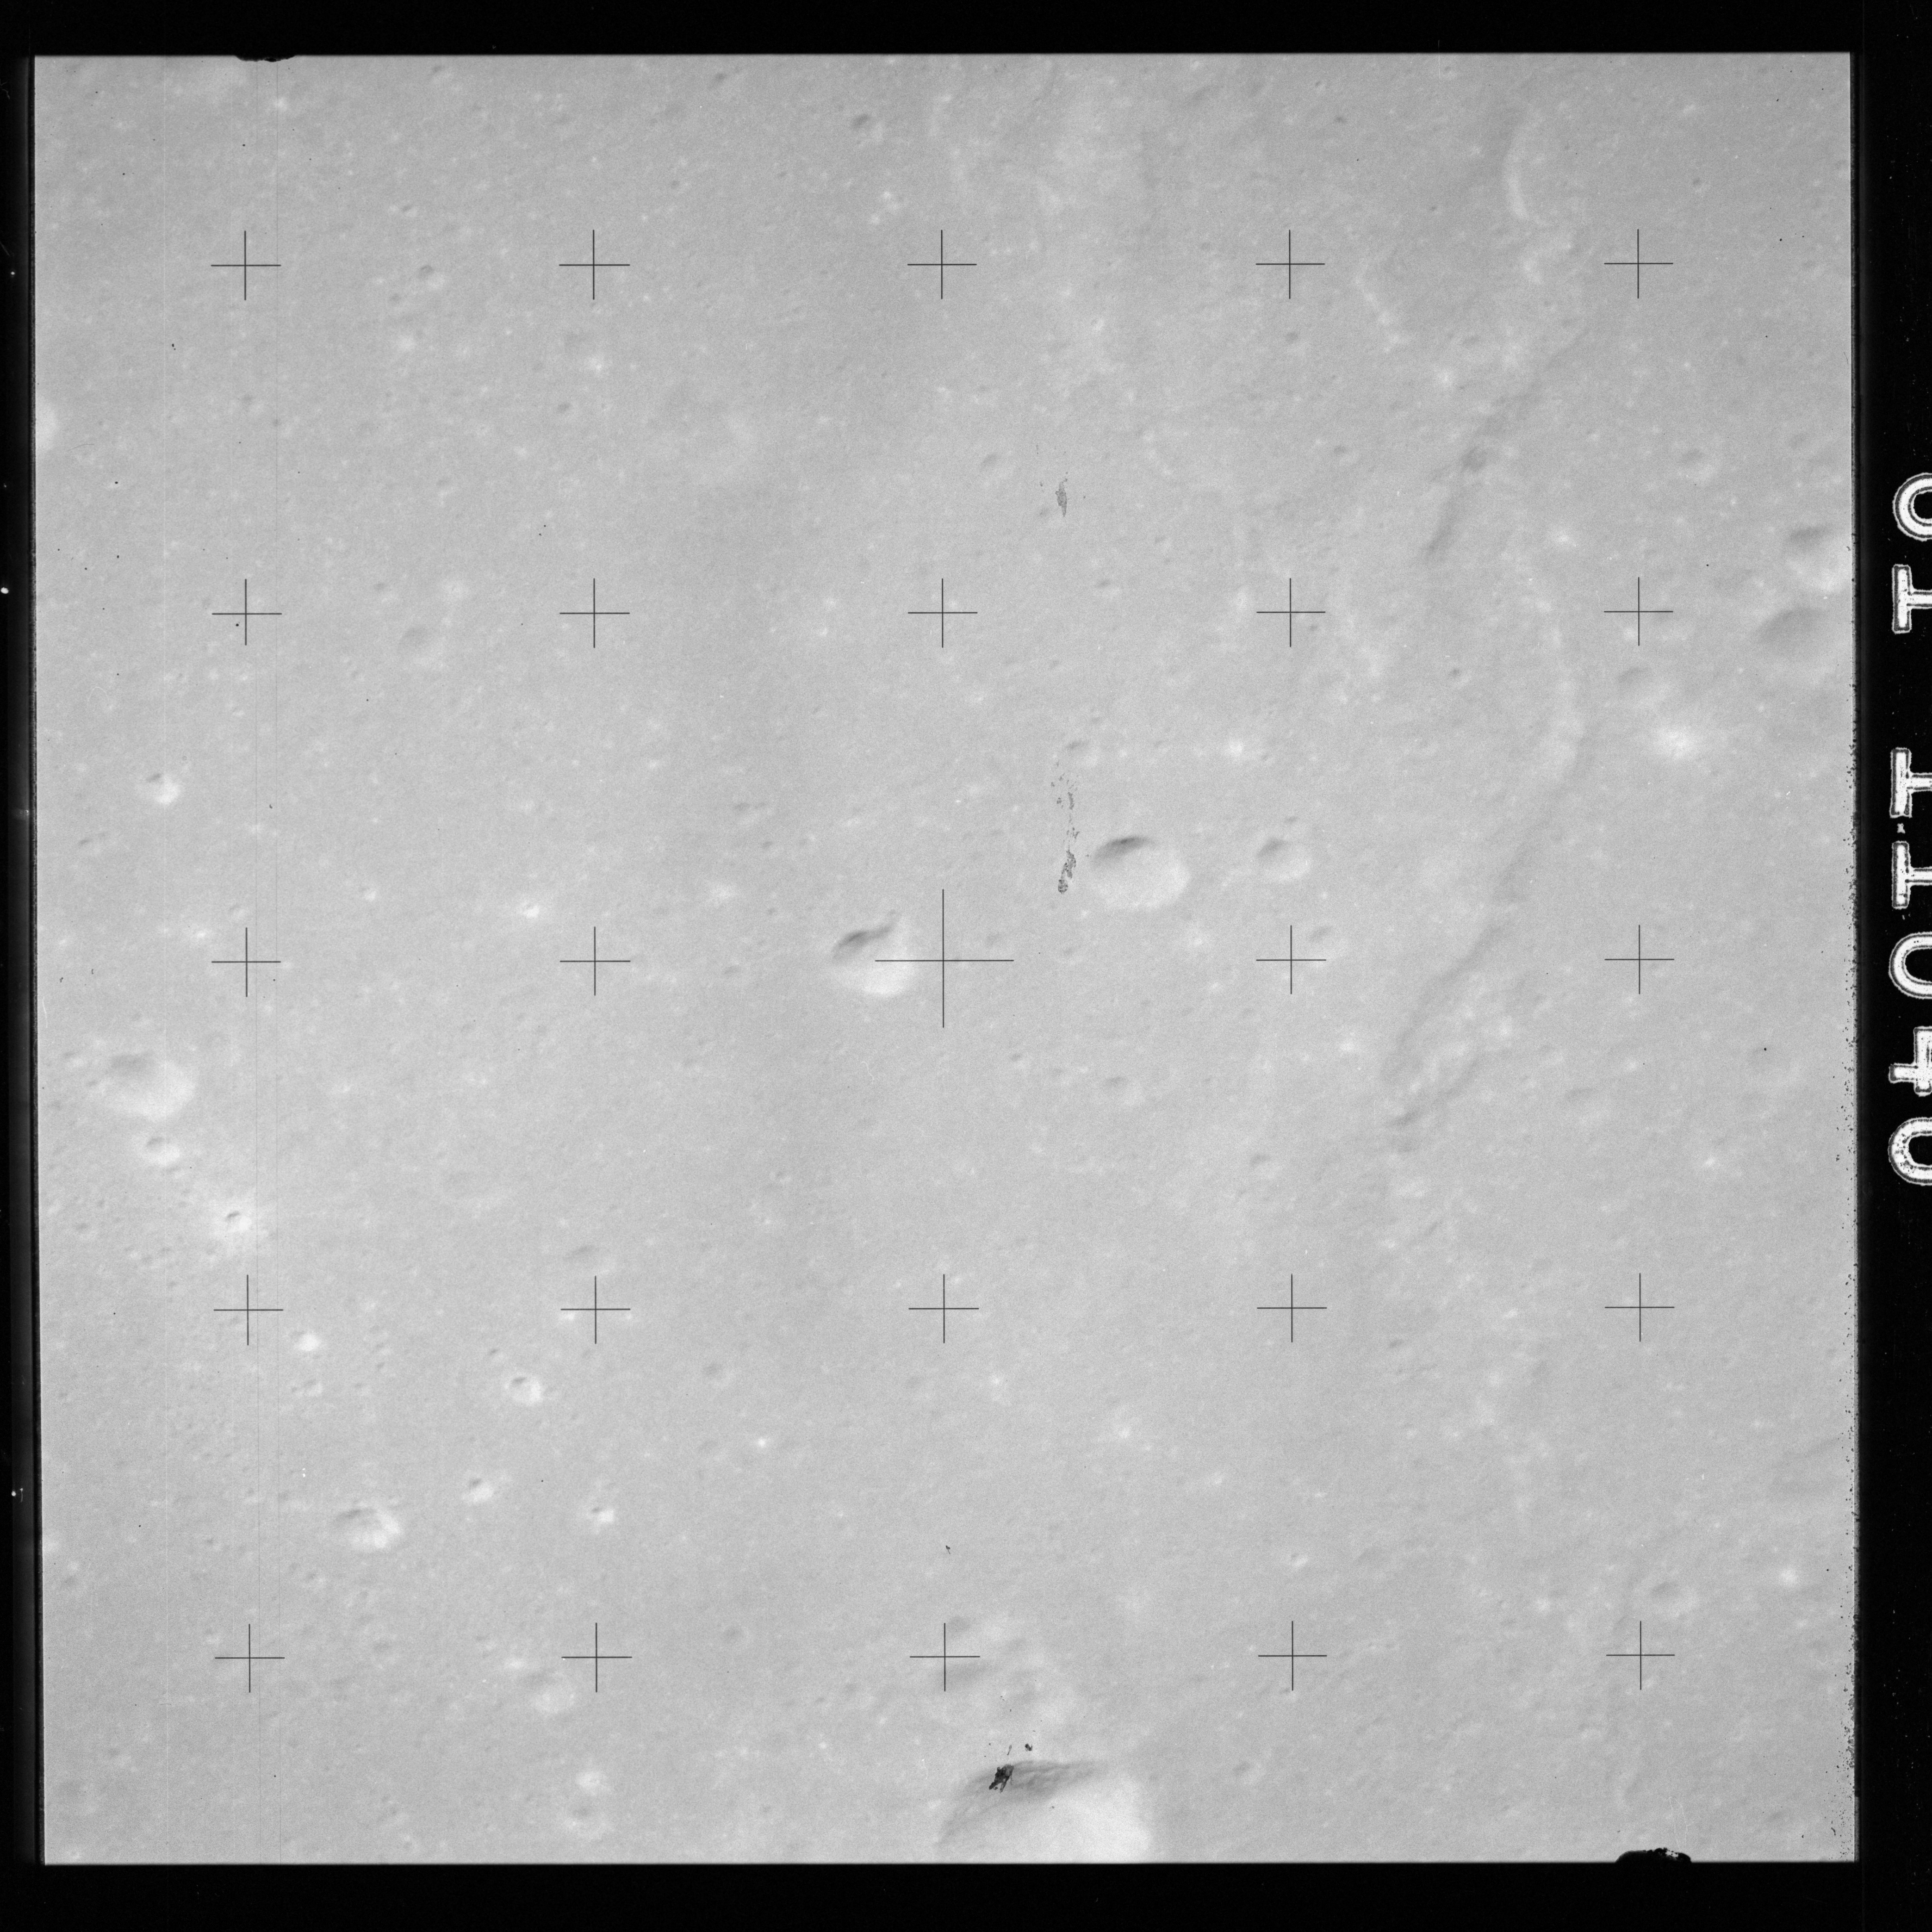
Excluding AS15-88-11994, which has no image, the next four frames, AS15-88-11992 to 11996, are all washed-out pictures of Aristarchus and Herodotus.
AS15-88-11992 - Washed-out image of craters Aristarchus and Herodotus - Image by NASA/Johnson Space Center.
AS15-88-11993 - Washed-out image of craters Aristarchus and Herodotus - Image by NASA/Johnson Space Center.
AS15-88-11995 - Washed-out image of craters Aristarchus and Herodotus - Image by NASA/Johnson Space Center.
AS15-88-11996 - Washed-out image of crater Herodotus and Vallis Schröteri - Image by NASA/Johnson Space Center.
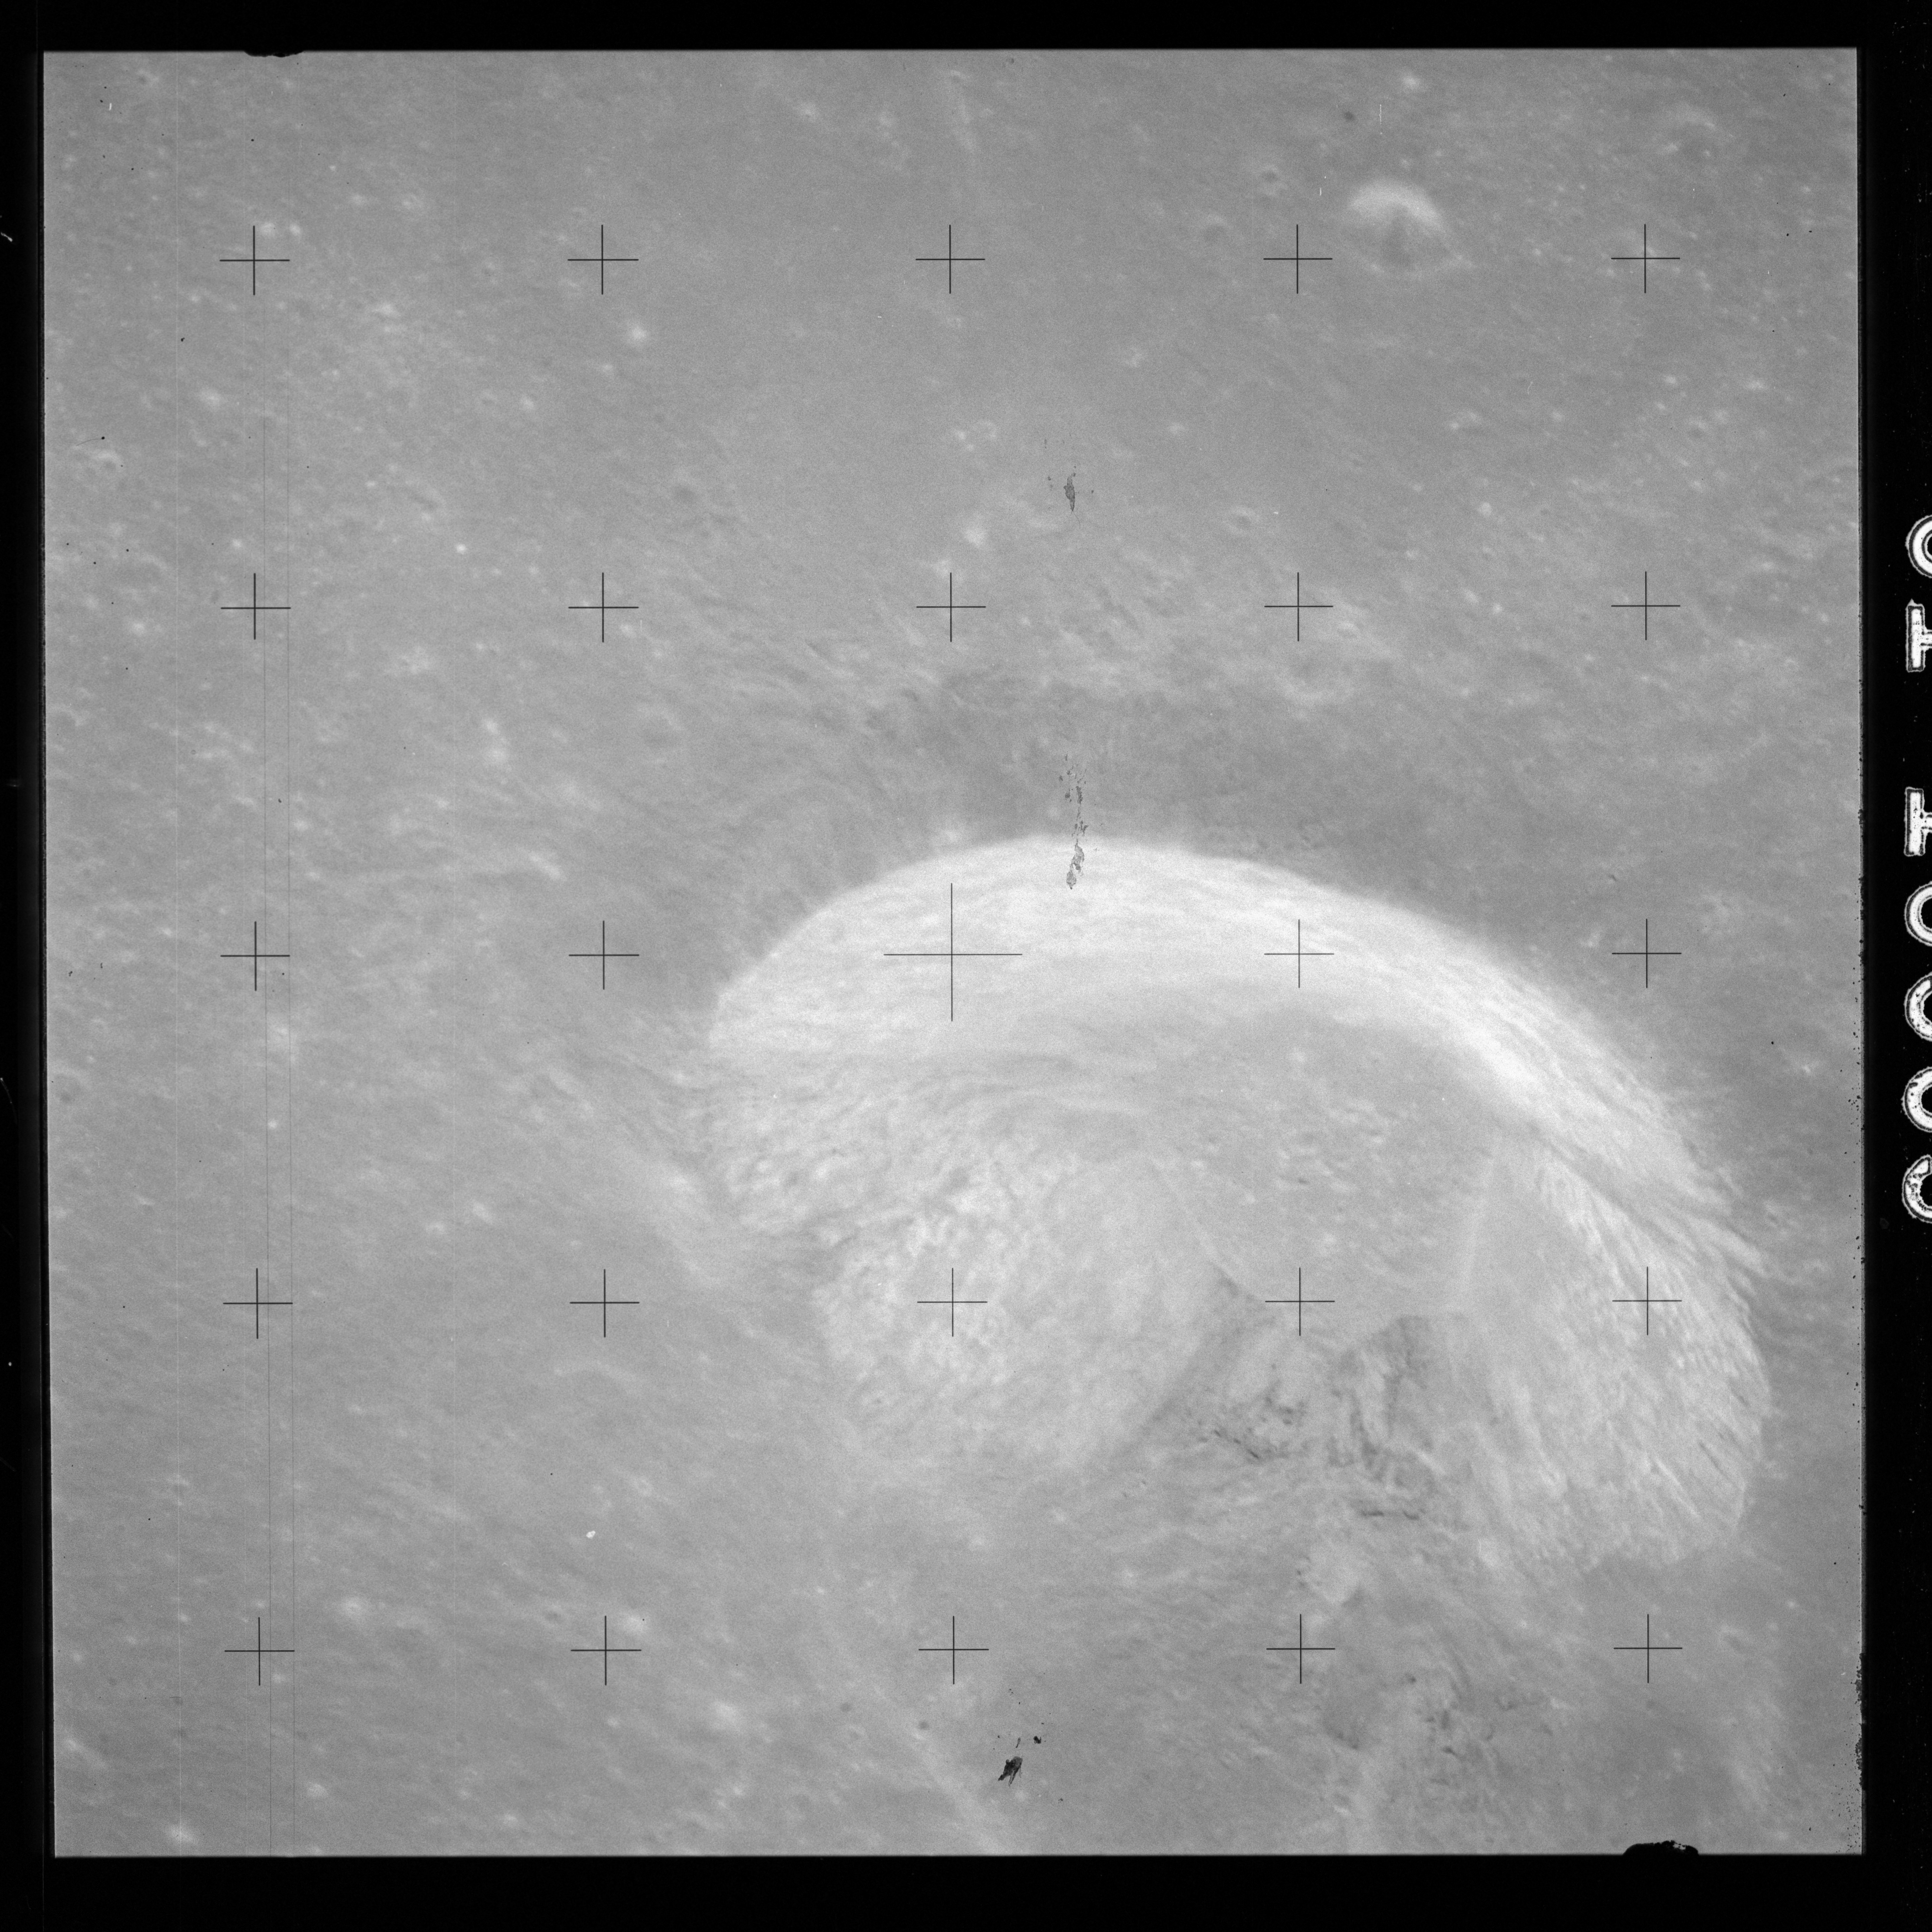
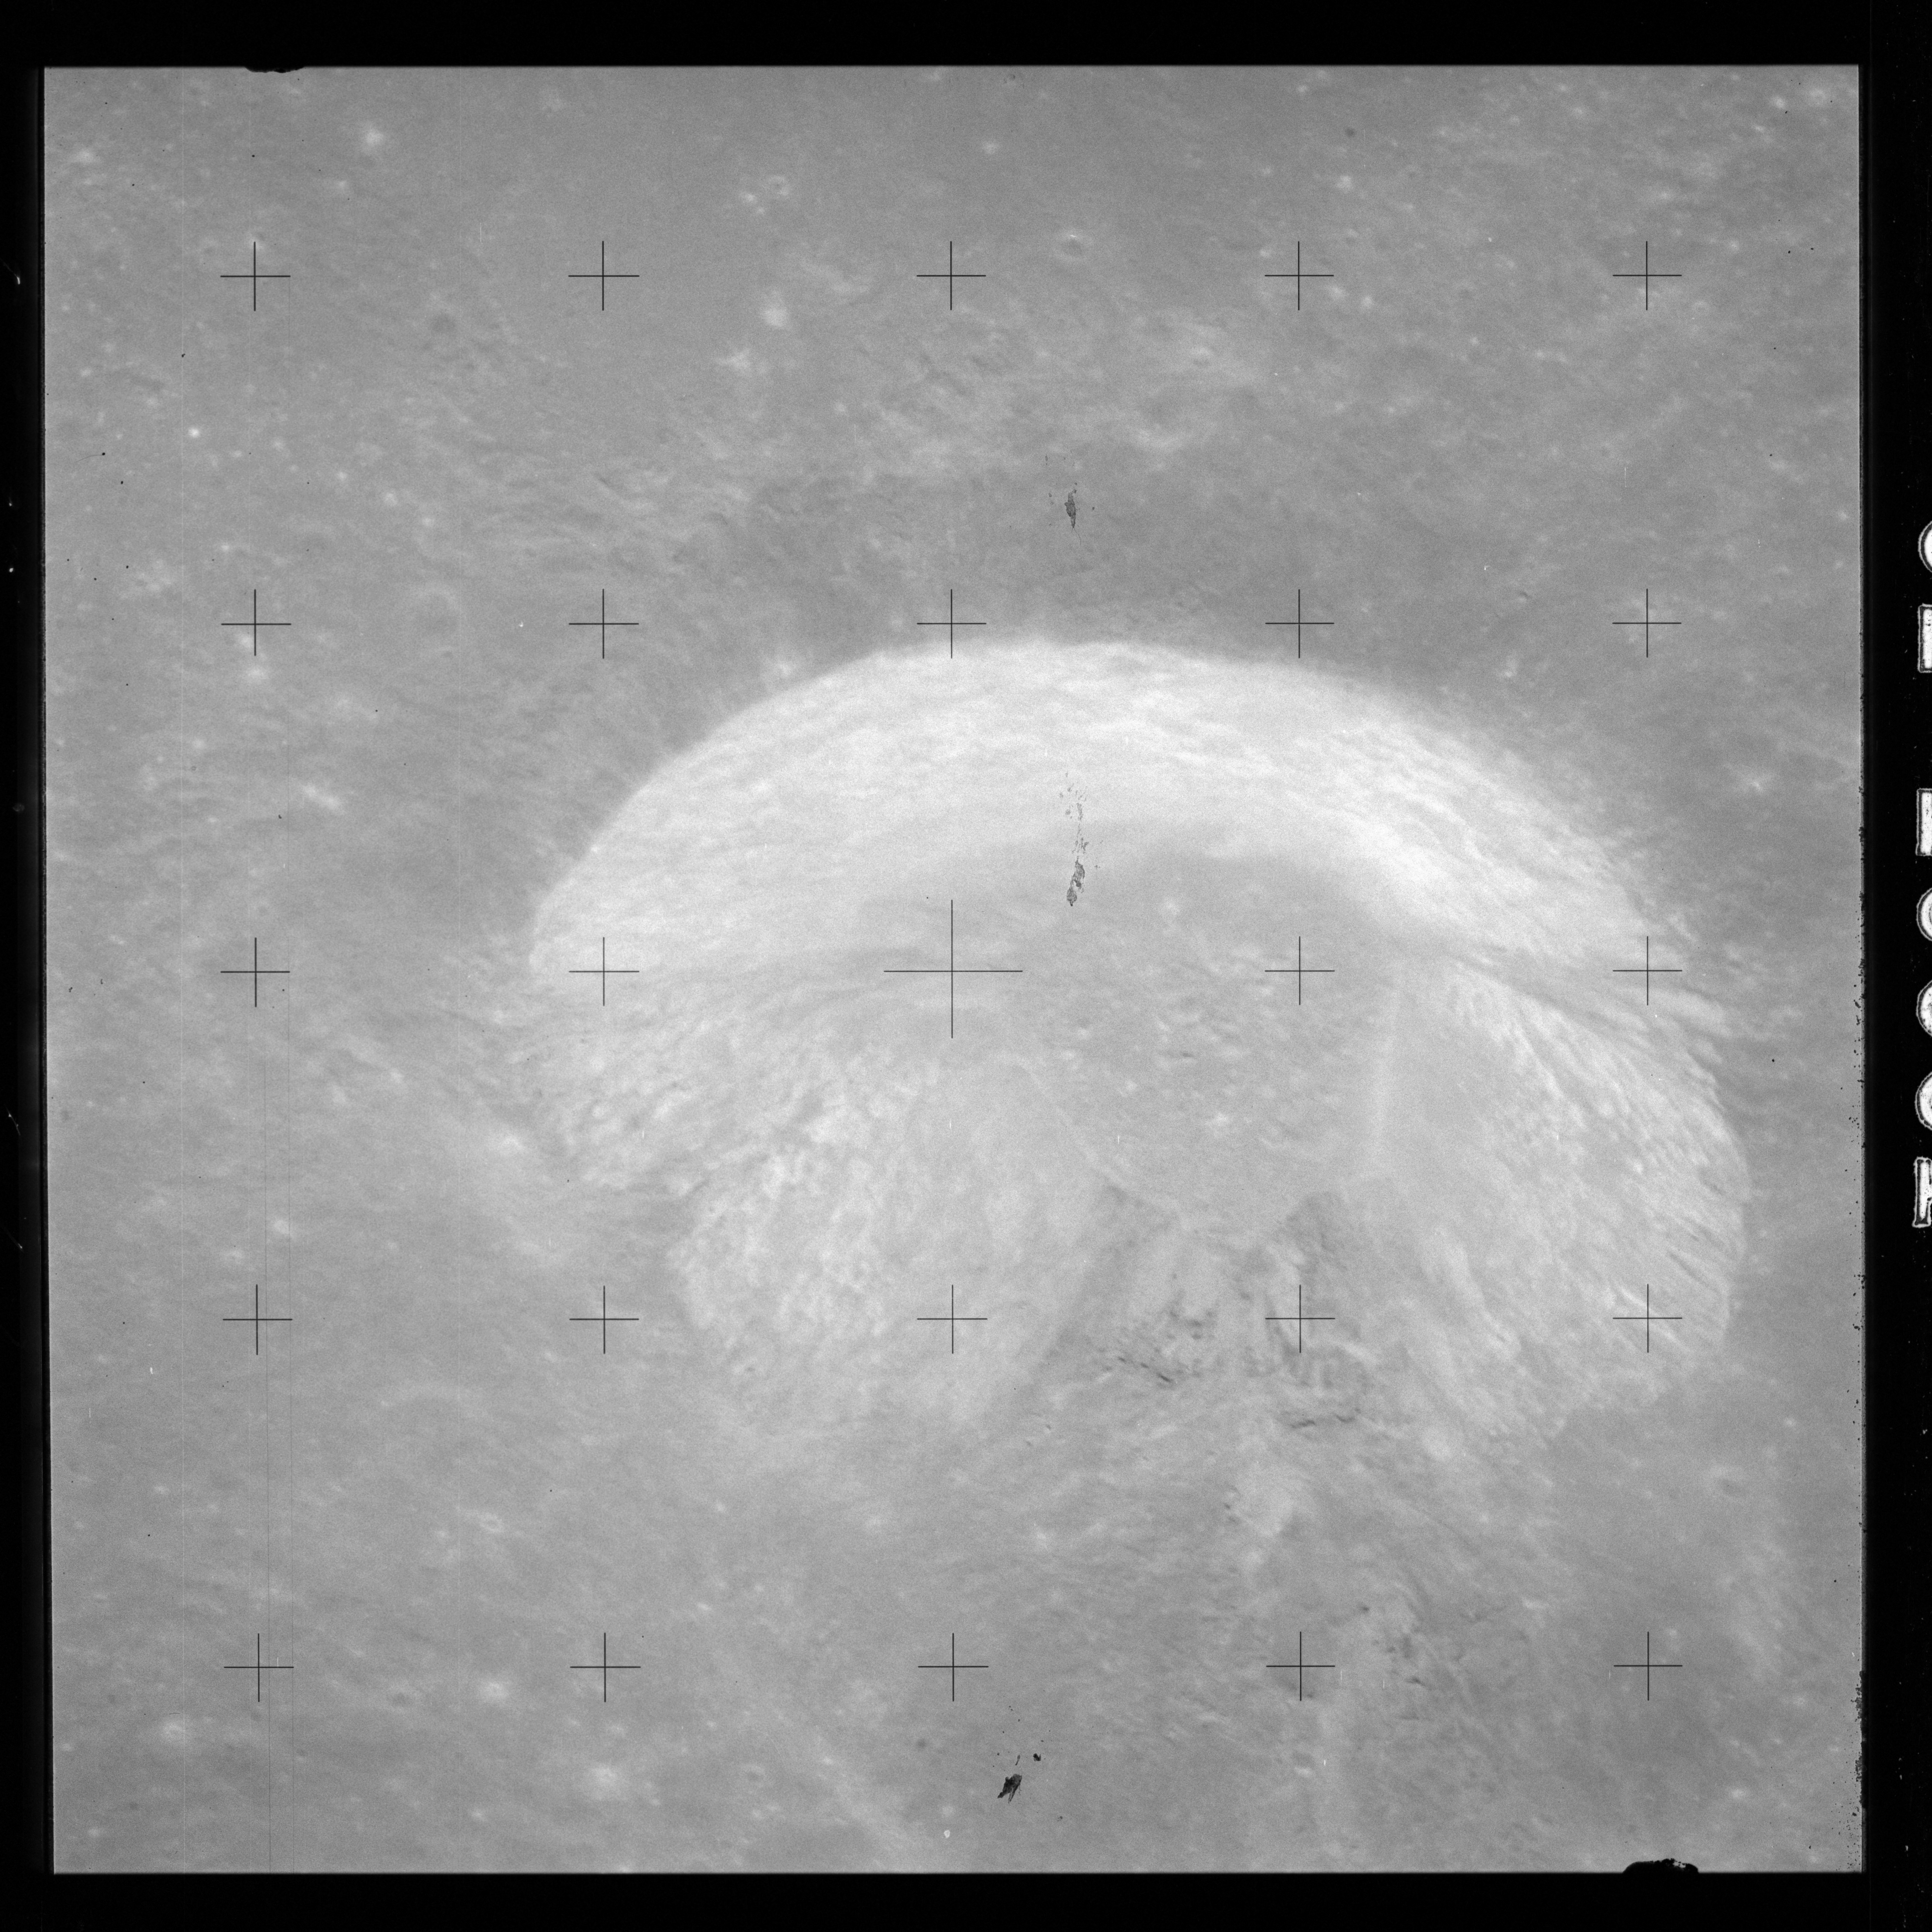
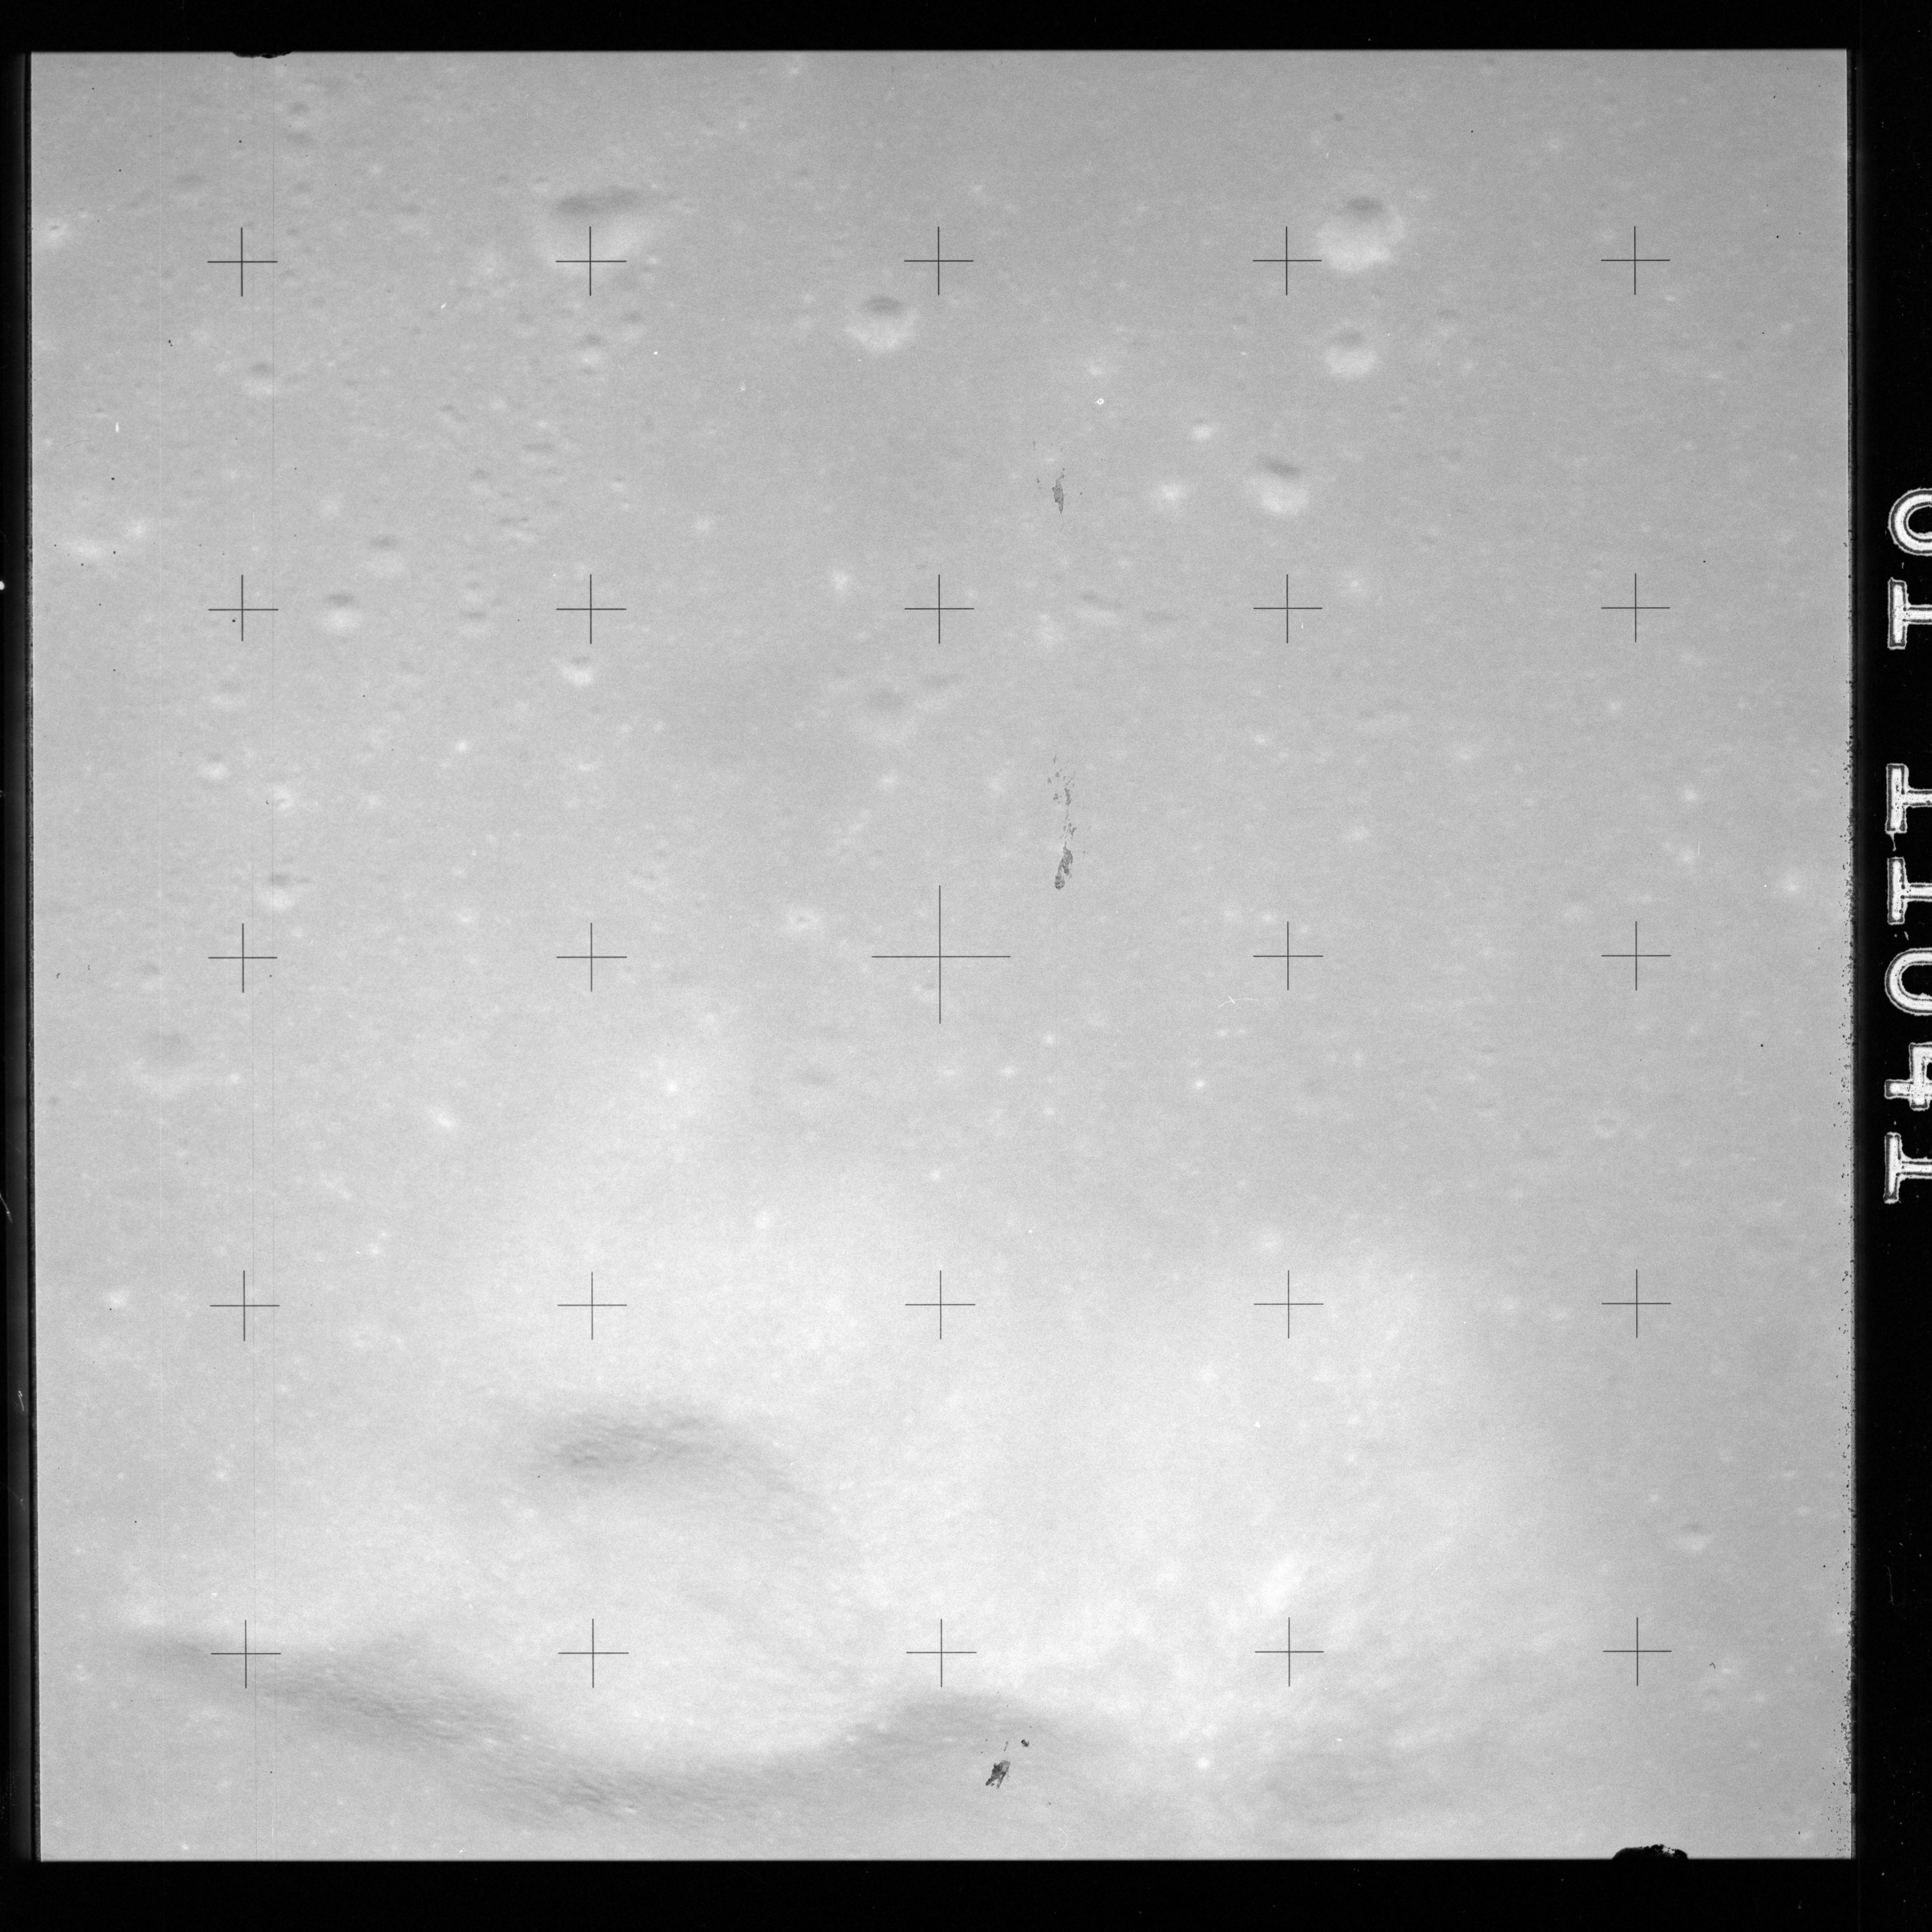
AS15-88-11997 to 11999 are further images of Earthrise which are somewhat afflicted by sunlight scattering in the window and lens. In the latter, Curie's western rim is in the foreground, the Schorr/Gibbs-A pair are at the extreme right and Gibbs lies beyond.
AS15-88-11997 - Earthrise. Crater Schorr is at bottom right - Image by NASA/Johnson Space Center.
AS15-88-11998 - Earthrise. Crater Schorr is at bottom right - Image by NASA/Johnson Space Center.
AS15-88-11999 - Earthrise. Crater Schorr is at bottom right - Image by NASA/Johnson Space Center.
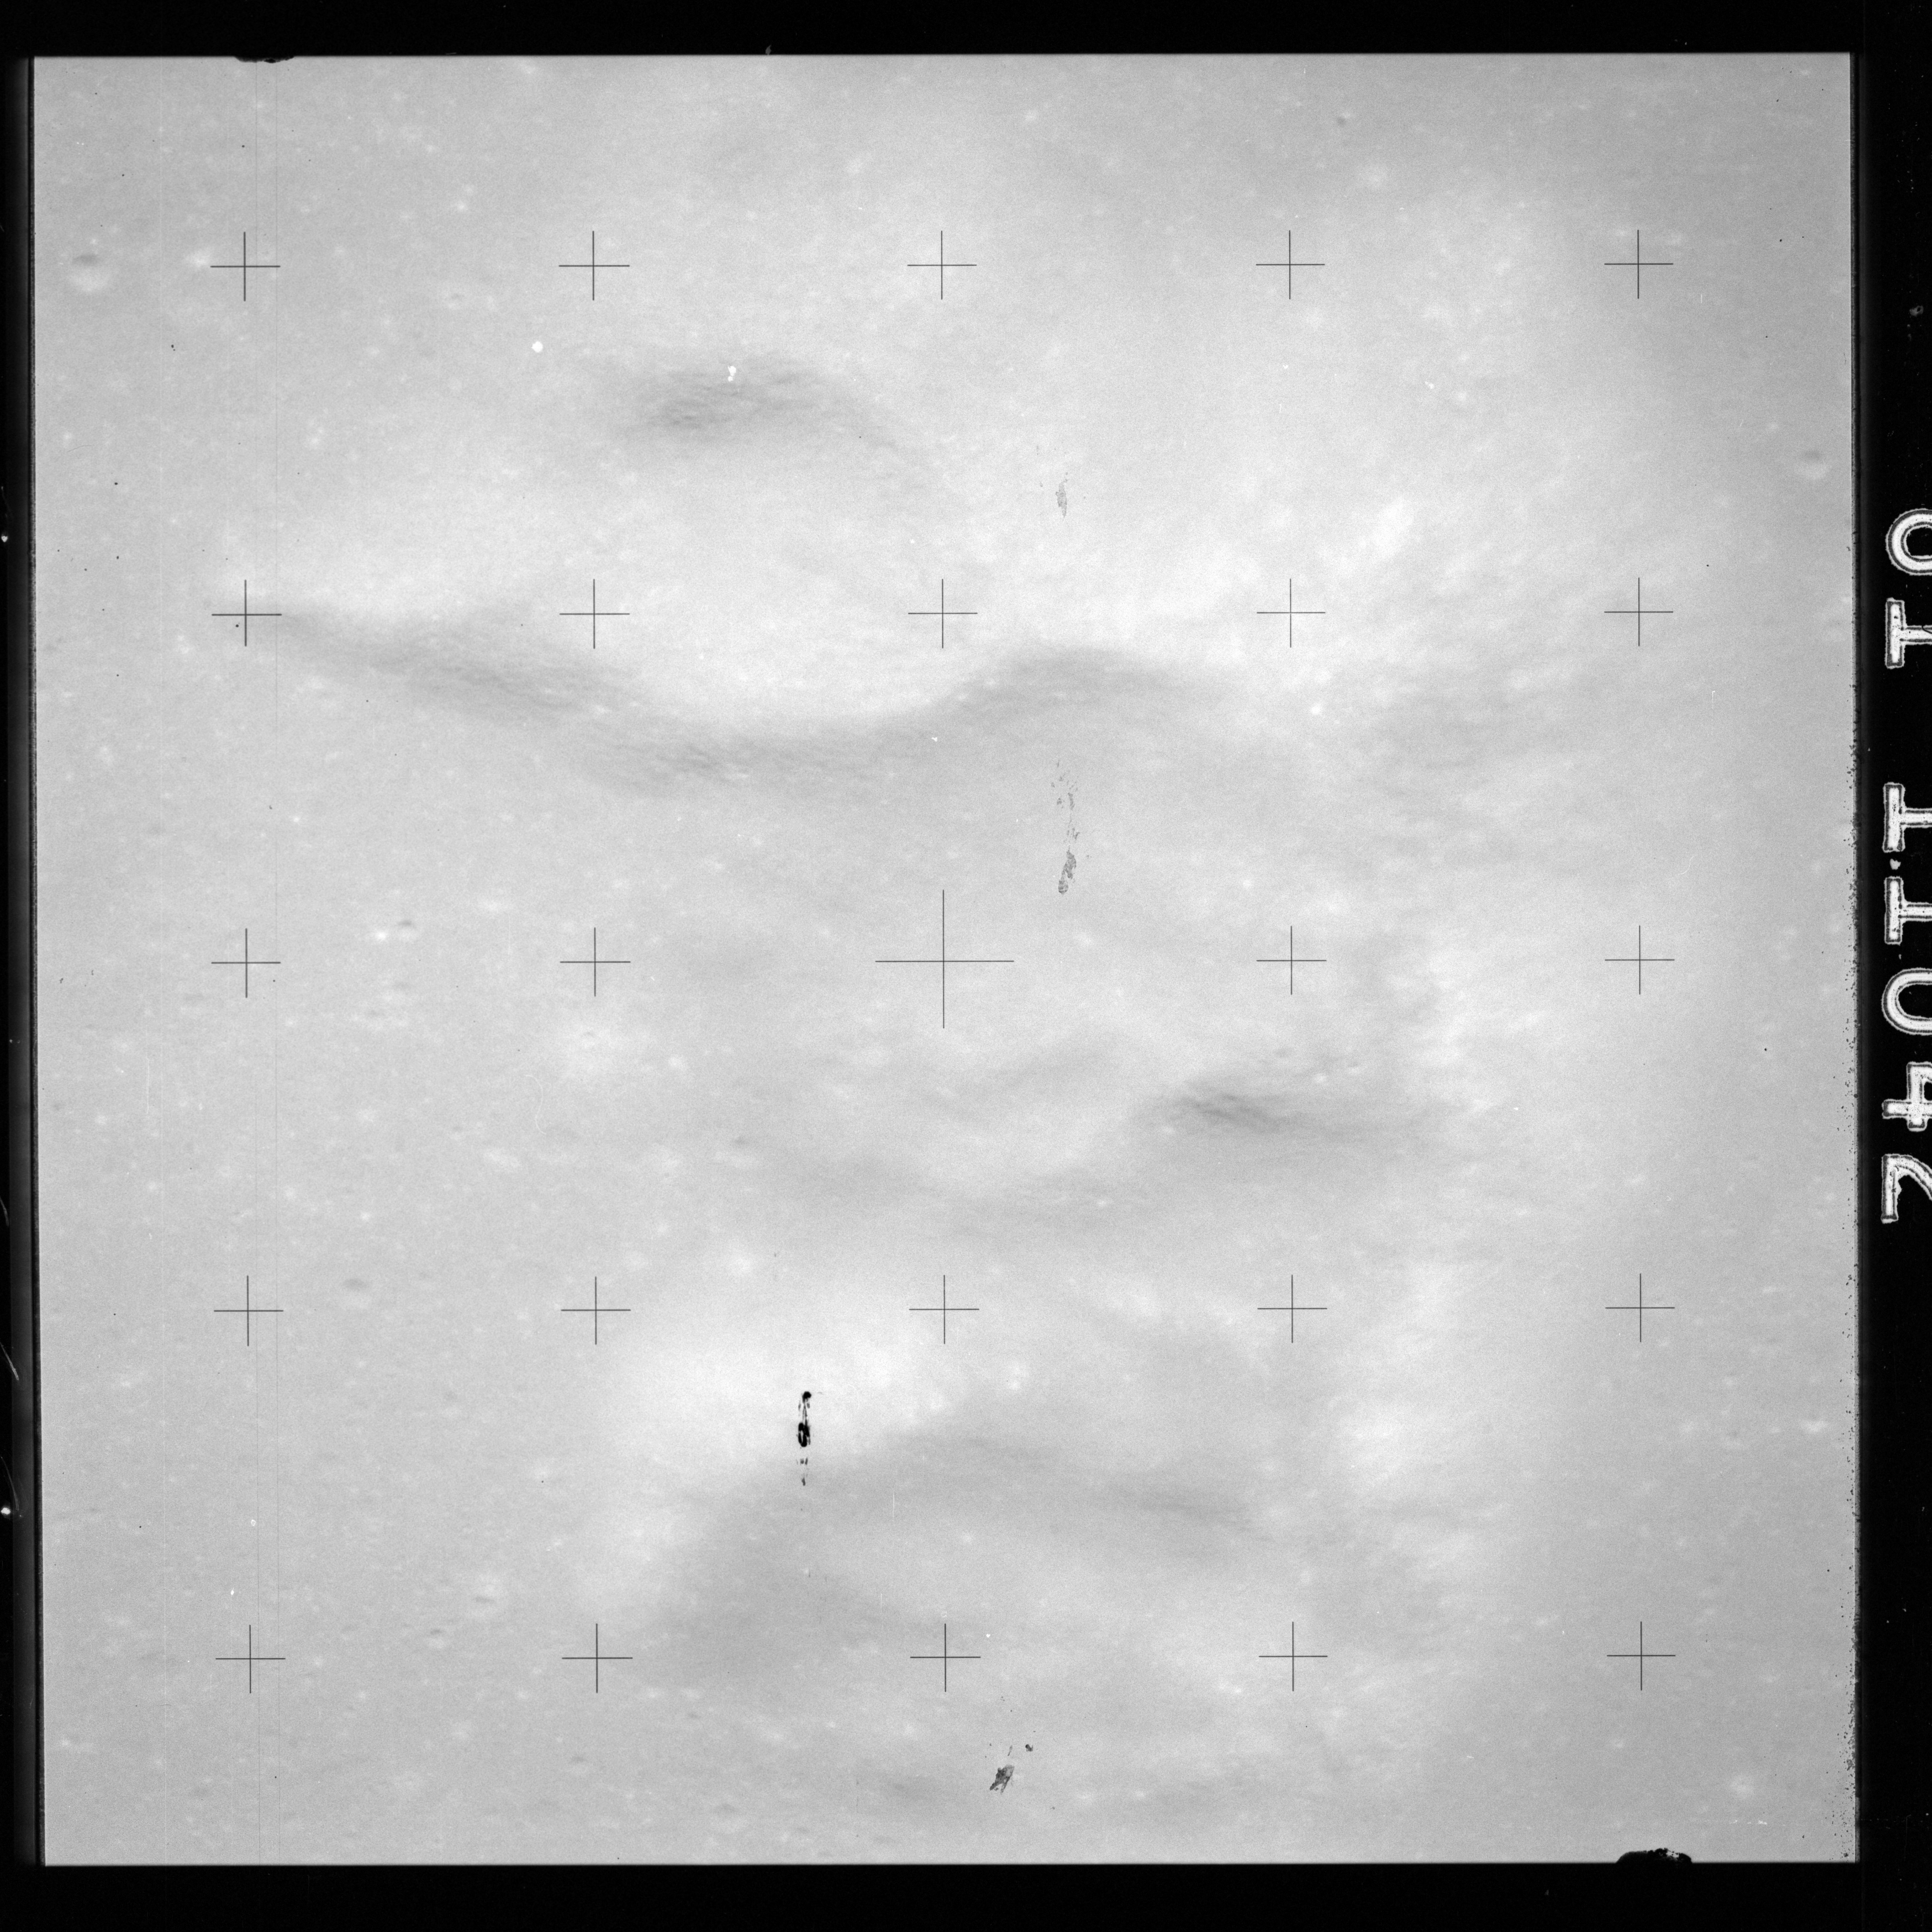
AS15-88-12000 and 12001 is of the Sulpicius Gallus region and the southwest rim of the Serenitatis basin, also known as Montes Haemus. The high Sun elevation makes the boundary between the mare and the Montes Haemus mountain chain difficult to see.
AS15-88-12000 - Montes Haemus and the southwestern shore of Mare Serenitatis, including crater Sulpicius Gallus - Image by NASA/Johnson Space Center.
AS15-88-12001 - Montes Haemus and the western shore of Mare Serenitatis. On the horizon are the peaks of Montes Apenninus - Image by NASA/Johnson Space Center.
The final five images of this sequence all return to the western mare, particularly Aristarchus and Herodotus.
AS15-88-12002 - The Aristarchus Plateau including the Cobra's Head, the source of Vallis Schröteri and craters Aristarchus and Herodotus - Image by NASA/Johnson Space Center.
AS15-88-12003 - Oceanus Procellarum including the 24-km crater Schiaparelli and, right at the terminator, the 43-km Seleucus - Image by NASA/Johnson Space Center.
AS15-88-12004 - View east over Oceanus Procellarum including craters Krieger and Prinz - Image by NASA/Johnson Space Center.
AS15-88-12005 - The Aristarchus Plateau including Vallis Schröteri and craters Aristarchus and Herodotus - Image by NASA/Johnson Space Center.
AS15-88-12006 - The Aristarchus Plateau including Vallis Schröteri and craters Aristarchus, Herodotus and Prinz - Image by NASA/Johnson Space Center.
This is Apollo Control; 211 hours, 16 minutes Ground Elapsed Time. The communications officer Ed Fendell here in the Control Center has just - either has or is preparing to send a turn-on command to the color TV camera left at Hadley Base. And we're some 9 minutes away from the wake-up call to the crew of Apollo 15 still in lunar orbit around the Moon. Where else would you have lunar orbit? Still waiting for the first glimpse of a color picture. Starting to get a signal in now.
This video may not be complete but shows a large part of the coverage at this point. It begins at 211:18:56 GET. Video is supplied courtesy of Mark Gray.
And the camera is alive and well at Hadley Base, swinging around to get a view of the descent stage of Falcon. There's the ALSEP station looking somewhat like Boot Hill from a distance. And there sits the lower half of the great bird Falcon.
Fendell is panning the horizon from one stop to the other which is something like 340 degrees around. The geologists are interested in seeing the terrain over an increased sun angle - with an increased sun angle since the last look. Also, the camera will be zoomed in on individual features in the landing site. However, the camera will not be tilted at this time. Looking backwards from the front of the Rover to the Rover control console. It should - should be about the maximum amount the camera will pan in that direction before it hits the stop. The camera temperature had reached its upper limits of design specifications toward the end of EVA-3, but it is hoped that the way the camera was stowed, the final position it was left in that the shadow of the camera itself and the fact that it was powered down would cool the drive mechanism and perhaps alleviate the slipping clutch problem encountered during EVA-3 in which the camera several times tilted straight up. Beginning wide angle panorama to the right, stopping briefly to allow color Polaroid photos to be made from a TV monitor which later will be taped together to form a photo mosaic continuous panorama, almost a full circle. Okay. Do it now.
The spacecraft communicator is preparing at this time to make a call to the crew. Punching up his air/ground button on the console.
211:24:15 Henize: Apollo 15. [No answer.]
211:25:05 Henize: Apollo 15, this is Houston. Good morning. Apollo 15, this is Houston with a message from Richard Strauss, Arthur C. Clarke and Stanley Kubrick.
211:25:17 Music - ("Also Sprach Zarathustra", Theme from "2001: A Space Odyssey")
211:26:58 Henize: Good morning, fellows. We have only about 10 minutes of comm left and we'd like to start out the morning with an Accept so we can send you up a state vector. Are you up there? [No answer.]
211:27:23 Henize: And after giving us Accept we'd like to have you manually roll clockwise 40 degrees. And then we'd like to get the sharp end forward. I'll give you the P20 when you're ready to copy. [Long pause.]
Karl Henize is reminding the crew, who have just awaken, of two items in the Flight Plan that occur soon after wakeup. First, they need to obtain the latest state vector that has been determined by the ground controllers. This can only be uplinked while the spacecraft is in contact with Earth, and there only a few minutes left before the Endeavour sails around the back side of the Moon. The request for rolling 40° is part of the maneuver to position the spacecraft for SIM bay observations with the CSM pointing forward instead of backwards. It makes the spacecraft avoid those attitudes that might cause gimbal lock while it maneuvers.
[Lunar Rover] camera now aimed at Mount Hadley. Close up of some of the...
211:28:18 Henize: Good morning, Al. How're you doing?
211:28:24 Worden: Good morning, Karl. I'm doing just fine.
211:28:27 Henize: Righto. If you didn't hear what I said before, I'd like to repeat that we'd like to have Accept, and we'll send you up a state vector. And then we need to manually roll clockwise...
211:28:38 Worden: Roger. You've got Accept.
211:28:40 Henize: ...Righto. Then we need to manually roll clockwise 40 degrees, and I have here P20 data for you to get the sharp end forward. [Pause.]
211:28:57 Worden: Okay; we're rolling, and stand by one until I get a pen. [Pause.]
211:29:09 Worden: Okay, go ahead with the P20.
211:29:11 Henize: Roger; P20, option 5; plus-X forward, SIM attitude. The time is 211 plus 40. Verb 23, Noun 78, plus 180.00. The attitude is 141, 000/177, 000. [Pause.]
The computer uses P20 and the values entered into it to keep a particular side of the spacecraft pointing, in this case, at the centre of the Moon. Option 5 also includes an entry which defines the spacecraft's orientation about the theoretical line between the two bodies. When used for pointing the SIM bay, this latter value can define whether the spacecraft flies blunt-end-forward or, as in this case, sharp-end-forward (CM apex first).
211:29:51 Worden: Roger, Karl. Understand. You want that P20 turnaround done at 211 plus 40, instead of 212:00. [Long pause.]
211:30:15 Henize: Al, we'd like to have you start the maneuver as soon as we finish the uplink, and that time is the time we should be completing the maneuver.
This implies that science teams have been watching the results from the Mass Spectrometer and would like to gain more time in the sharp-end-forward attitude. Then the inlet to the instrument will aim away from the direction of travel and it is believed that any data in this mode will be due to outgassing from the spacecraft, not from any indigenous lunar atmosphere.
211:30:26 Worden: Okay. Fine, Karl. I'll just move that whole thing up. We're doing the roll maneuver now.
211:30:32 Henize: Roger. And while you've got the Flight Plan there, the only update that concerns us for the next hour and a half - is to - Over there at 21:54 [means 211:54], delete Manual - "Manually roll clockwise". You got that one? [Pause.]
211:30:56 Worden: Yeah. Roger.
211:30:57 Henize: And everything after that, all the way down to 212 plus 20. And then we'll be in contact with you again for further updates. [Pause.]
211:31:14 Worden: Okay. Understand. That block between 21:54 - or 211 plus 54 and 212 plus 20, that - that all goes as - as scheduled.
The steps that are being deleted are the procedures for starting a Mapping Camera pass. Flight Plan updates are necessary to manage spacecraft systems, or where from real-time analysis, new targets of opportunity are revealed. In this case, the update relates to problems with the Laser Altimeter. This instrument was to be used primarily in conjunction with the Mapping Camera where it would provide accurate altitude data for each frame by having the value optically encoded on the edge of the image. During night-side passes, the Mapping Camera would continue to operate so that even though no optical image was being produced by the Metric section of the instrument, the altitude information and the associated imagery from the Stellar Camera would still be gathered.
After a useful period of operation, the Laser Altimeter began to fail and is now considered a lost cause. While daylight use of the Mapping Camera still provides useful imagery from the Metric Camera, the defunct Laser Altimeter makes night-time operation a pointless exercise.
211:31:40 Worden: Roger. Then we'll be in P20 attitude and standing by for your word when we get contact again then. [Long pause.]
211:31:57 Henize: Okay, Al. The computer's yours. [Pause.]
211:32:05 Worden: Roger. Understand. [Pause.]
211:32:16 Henize: Al, would you do a Verb 66 for us? [Pause.]
Verb 66 copies the CSM's state vector from its location in the computer to a second location normally used to store the LM's state vector. Normally, this is done when the CSM and LM are docked, to give the CSM's computer an initial idea of the LM's location. The reason why it is being done here isn't immediately obvious, but it seems to be a way to save the newly refreshed copy of the uplinked state vector.
211:34:49 Henize: Al, we need the - the TLM [Telemetry] switch in Block, please. [Pause.]
In the rush of attending to chores before losing contact with Houston, Al has inadvertently left the computer uplink switch in Accept. This effectively prevents any other use of the computer.
211:34:58 Worden: Rog, Karl. [Long pause.]
211:35:34 Henize: 15, if you'd like a quick consumables update, I can give it to you now or I can wait until the next rev. [Pause.]
211:35:48 Worden: Go ahead, Karl. If there's time, I'll copy it now.
211:35:52 Henize: Roger. The time is 211 plus 00; RCS [Reaction Control System] total 46; Quads: Alpha, 48; Baker, 45; Charlie, 44; Delta, 46; hydrogen tanks: 49, 47, 39; oxygen tanks: 61, 64, 48.
211:36:33 Henize: 15, this is Houston. Are you still reading?
And the good ship Endeavour has gone behind the Moon for the 68th time. Wake-up call by spacecraft communicator Karl Henize, was followed by a brief passage from the music used in the motion picture - science fiction motion picture '2001', which in turn had been borrowed from the tone poem by Richard Strauss, 'Also Sprach Zarathustra.' It'll be another 47 minutes approximately before Acquisition of Signal, with Apollo 15 coming around on the 69th revolution. And at 211 hours, 41 minutes Ground Elapsed Time, this is Apollo Control."
During this far-side pass, the Mass Spectrometer experiment was to be turned off and its boom retracted. This task was deleted during the update immediately before LOS to give more data collection time in their current attitude. Indeed, this period of LOS is much quieter than originally planned because of the many deletions. The platform is to be realigned at 211:45 using Falcon's lift-off orientation as its primary reference. Aligning the platform is not only essential for navigation, but the accurate attitude information that results is critical for locating surface features photographed by the Panoramic Camera. The two-part Mapping Camera has its own independent attitude reference whereby the Stellar Camera images a starfield at 96° to the axis of the Metric Camera's optics.
211:54:45 Irwin (onboard): Pretty good. I just woke up once.
211:55:54 SC (onboard) (Humming)
211:56:18 Scott (onboard): ... down there ....
211:57:03 Irwin (onboard): Want me to try to put that separator on the - dispenser down here, Dave?
211:57:09 Scott (onboard): Well, we haven't got any ...
211:57:21 Irwin (onboard): That's probably why we're farting so much.
211:57:23 Scott (onboard): What'd you say?
211:57:24 Irwin (onboard): Probably why we're farting so much up here.
211:57:27 Scott (onboard): Yes, I didn't put...
211:57:28 Irwin (onboard): All smells like hydrogen, really.
211:57:30 Scott (onboard): ...
211:57:31 Irwin (onboard): Check it here.
211:57:32 Scott (onboard): ... What's that number.
211:58:58 Irwin (onboard): Okay, Dave. Here's that other cocoa.
211:59:10 Scott (onboard): ...
211:59:12 Irwin (onboard): Too late now. Don't be an Indian giver.
212:01:08 Irwin (onboard): If you have something there to go in the hot water, Dave, I'll stick them on for you.
212:01:15 Scott (onboard): Yes, I got ...
212:01:26 Irwin (onboard): What do you want, Dave?
212:01:28 Scott (onboard): Oh, that's all right. What do you have?
212:01:32 Irwin (onboard): Okay, I'll see what I can dig up out here.
212:01:34 Scott (onboard): ...
212:01:35 Irwin (onboard): No...
212:01:36 Scott (onboard): ...
212:01:38 Irwin (onboard): Be easier since I'm here.
212:02:32 Irwin (onboard): Can you bring this back a little, Al? Will that go back?
212:02:50 Irwin (onboard): Yes.
212:03:40 Irwin (onboard): Anybody want any fruit? Lot of apricots and peaches.
212:04:02 Scott (onboard): ..., Jim?
212:04:03 Irwin (onboard): Yes.
212:04:38 Irwin (onboard): How about some bacon squares?
212:05:02 Scott (onboard): ...?
212:05:05 Irwin (onboard): Coffee.
212:05:21 Irwin (onboard): Yes. Stick it on there. Did you tighten down on it?
212:05:31 Scott (onboard): ...
212:05:36 Irwin (onboard): Is it tightened down?
212:05:37 Scott (onboard): Turn around,
212:06:20 Scott (onboard): ...
212:07:59 Scott (onboard): ... Jim ...
212:08:10 Scott (onboard): Very simple.
212:09:11 Irwin (onboard): Ready? You really have to push it on there.
212:09:14 Scott (onboard): ...
212:09:15 Irwin (onboard): Is it up all the way? Yes - you - you have to push pretty hard to get it on there.
212:09:27 Scott (onboard): Think it ...
212:09:30 Worden (onboard): I don't know ...
212:10:42 Scott (onboard): I don't know. Something coming out of there?
212:10:47 Irwin (onboard): Yes, it's coming out there, but - looks like there's a lot of water collecting at the end of the separator. No, I just - it's got a pool there at the end.
212:10:58 Scott (onboard): ...
212:11:12 Irwin (onboard): In fact, it looks like it's leaking. It is leaking. It's leaking, Dave.
212:11:23 Scott (onboard): I guess it's just ... water ...
212:12:43 Scott (onboard): ...
212:12:50 Irwin (onboard): Went to bed at 9, Got up at 2.
212:12:55 Scott (onboard): Got up at 4!
212:13:03 Irwin (onboard): Seven hours.
212:14:14 Scott (onboard): ...
212:14:54 Scott (onboard): What?
212:16:54 Scott (onboard): ...
212:17:02 Irwin (onboard): When are we going to listen to music? Were you listening to - your recor - the recorder last night, Dave?
212:17:12 Scott (onboard): Say what?
212:17:13 Irwin (onboard): Were you listening to your recorder last night?
212:17:15 Scott (onboard): ...
212:17:17 Irwin (onboard): Did - didn't you have some music on last night? I'd swear I heard music just before I went to sleep.
212:17:24 Scott (onboard): ...
212:17:26 Irwin (onboard): Put me to sleep anyway.
212:17:32 Scott (onboard): ...
212:17:34 Irwin (onboard): (Laughter)
212:17:45 Scott (onboard): ...
212:19:25 Scott (onboard): ...
212:20:48 Irwin (onboard): Want me to put some hot water in those eggs, Dave?
212:21:13 Scott (onboard): ...
212:21:15 Irwin (onboard): About ready to go again.
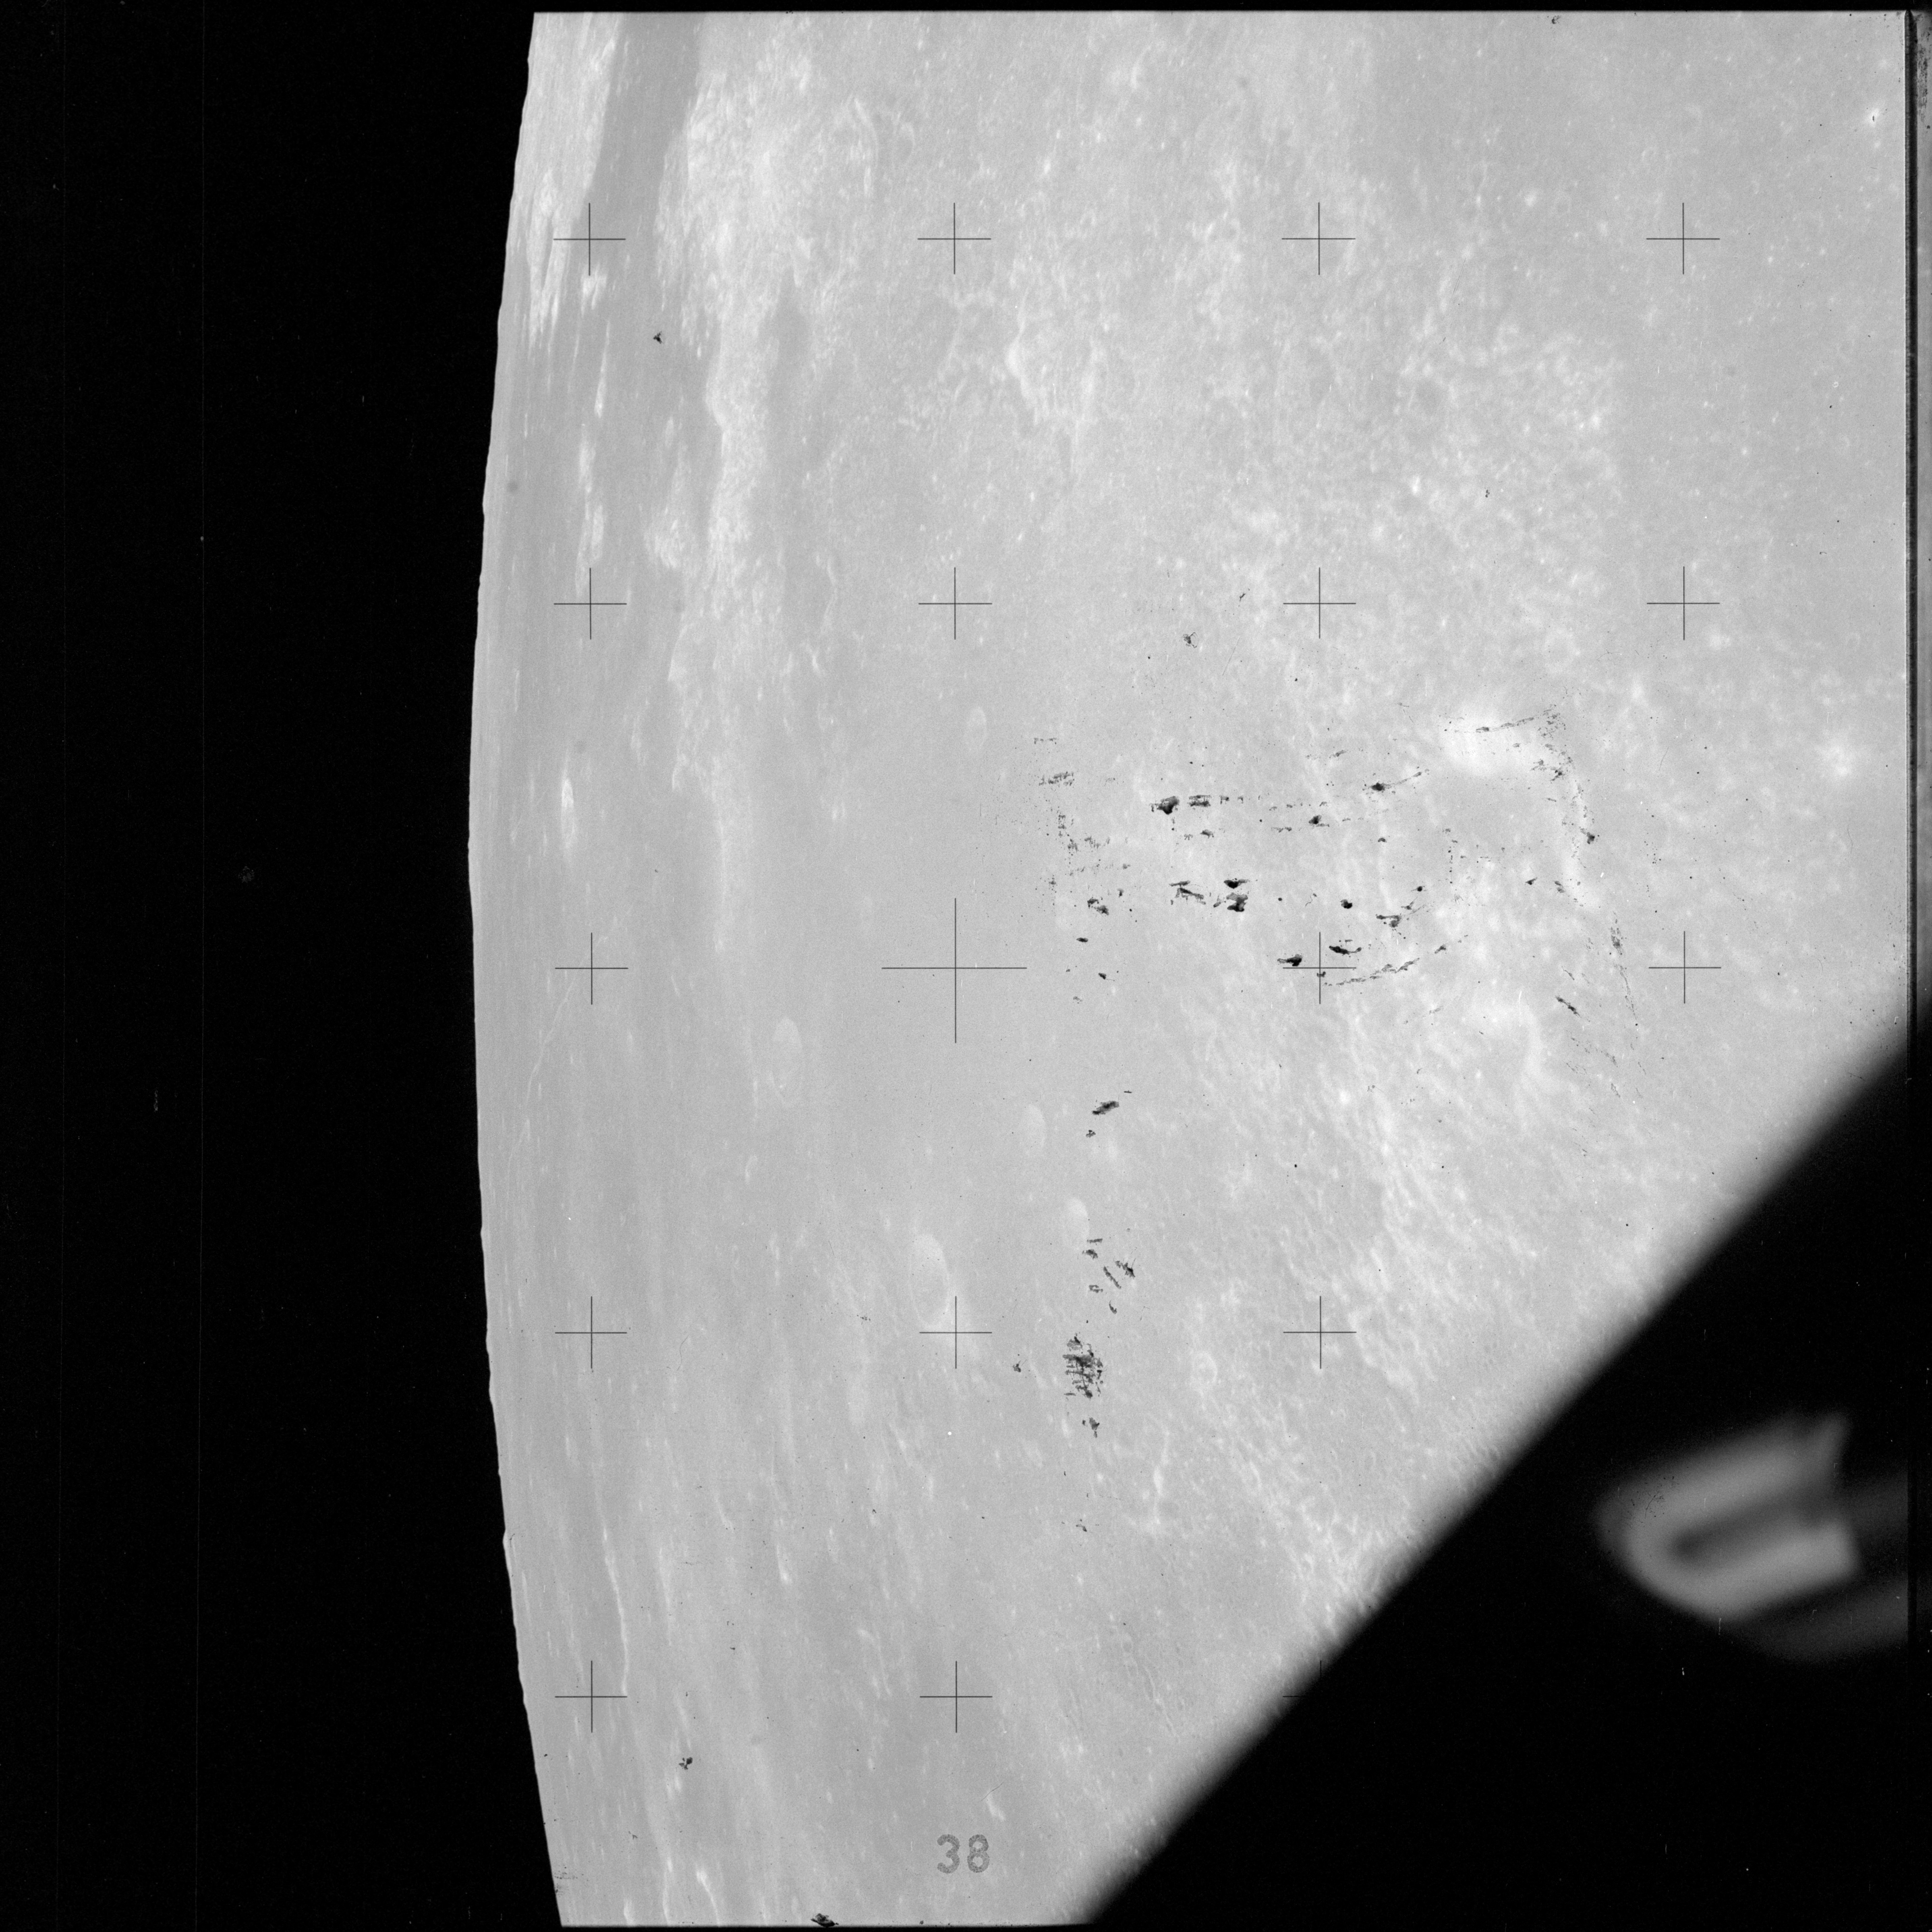
This is Apollo Control at 212 hours, 21 minutes Ground Elapsed Time. The color television camera left at Hadley Base by Apollo 15 crewmen Dave Scott and Jim Irwin was found to be alive and well this morning when it was commanded to wake up. The camera made a slow panorama for the benefit of lunar geologists who wanted to view the features around Hadley Base at a higher sun angle. Only zoom and pan commands were sent to the camera for it was feared that the tilt clutch might again slip and cause the camera to topple belly up on its mount as it did several times during Scott and Irwin's third Moon walk. There would be no one out there to right the camera if it tilted straight up again. Signals from the camera stopped suddenly when the downlink was hopefully lost temporarily. We're less than 2 minutes away from Acquisition of Signal with Apollo 15 on the 69th revolution. We'll leave the air/ground line up and catch the first words as the crew of Apollo 15 begin their day's work.
By working back from the Mapping Camera start and stop times on the next rev (rev 70), the times that they coast over the terminator on this rev (69) can be inferred. By this, they should be crossing the sunset terminator about now, 212:22, at a longitude of about 114°E.
212:28:05 Henize: Apollo 15, this is Houston. How do you read? [Pause.]
212:28:14 Scott: Hi, Houston; 15. Loud and clear. How us?
212:28:17 Henize: Hi, Dave. You're coming through loud and clear. How did our consumables update get to you. Okay? [Pause.]
212:28:25 Scott (onboard): Yes, we got normal ...
212:28:30 Scott: Okay. We got everything but the oxygen.
212:28:35 Henize: Okay. Want me to read those three up? [Pause.]
212:28:46 Scott: Okay. Go ahead. [Pause.]
212:28:51 Henize: Roger. Oxygen tanks at that same time that I gave you originally were 61, 64, 48. [Long pause.]
212:29:12 Scott: Okay. 61, 64 and 48. And I have a P52 for you and a crew status report.
212:29:20 Henize: Fire away with them. [Pause.]
212:29:26 Scott: Okay. The P52: Noun 05 was .01, Noun 93 was plus .029, minus .025, plus .018. [The platform] was torqued out at 211:52:00.
212:29:48 Henize: Roger. [Pause.]
This alignment of the platform was done quite accurately. The true angular difference between the stars, whose positions are well defined, and as measured by the sextant sightings performed by the crew, give two values. Only 000.01° (as displayed by Noun 05) separated these two values. A low value is a source of pride, as it indicates that the sightings were done particularly well.
212:29:55 Scott: And if you still have your pencil handy, why, the sleep came out to 7, 7¼, 7. And the PRD's: 25026, 23182 and 08033. And go ahead with your updates.
Flight Plan updates are a important part of the housekeeping for each revolution.
From the Apollo 15 Mission Report: "After rendezvous and with all three crewmen aboard the Command and Service Modules, the Flight Plan was updated to utilize the full capability of the Scientific Instrument Module bay. The Flight Plan changes were considerable, but with one crewman free to copy the updates, the other two crewmen were available to monitor and perform the Scientific Instrument Module activities. This meant that all three crewmen were utilized a good percentage of the time. The operation was performed satisfactorily and the real-time changing of the Flight Plan was accomplished without difficulty. The philosophy, that there would be no changes in the Flight Plan during solo operations, and that the Flight Plan would be subject to real-time change when all three crewmen were aboard, was satisfactory."
212:30:18 Henize: Roger. [Pause.] Okay. Flight Plan updates for the coming rev and - There's several of them here. And just to keep you feeling a little bit more optimistic, on the following revs, there are very few updates. Okay. At 212:40, we want to delete "Map Camera Image Motion, Increase." [Pause.] At 2...
212:30:57 Scott: Roger. Got the deletion at 212:40. Go.
212:30:59 Henize: Roger. At 213 plus 24, we want to delete the "Gamma-ray Boom Deploy". [Pause.] And at that - there are 3...
212:31:11 Scott: 213:24 [I] have the deletion.
212:31:15 Henize: Roger. And just below that, the "MSFN verify lens tuck in" and also the "Pan Camera, Power, Off", delete both of those.
212:31:27 Scott: Roger. Copy the next two deletions also. Go.
212:31:30 Henize: At 214 plus 02, we want to change that camera configuration to the 250-millimeter lens, 250. The f-stop should be 5.6; the exposure time should be 1 over 125. [Pause.]
212:32:00 Scott: Rog. 214:02. Camera configuration: 250-millimeter lens, f/5.6 at 1/125. Go.
Originally, they were to use a 80-mm lens on Hasselblad, but the crew is to substitute a 250-mm telephoto instead. This change affects terminator photography at 124:02, where the science team wishes to get a closer look at the terrain. The change in lens type also affects the f-stop as the telephoto cannot achieve as wide an aperture as the standard lens. To compensate, the exposure time must be increased.
212:32:08 Henize: Correct. At 214 plus 06, add "Mass Spectrometer, Ion Source, Off. Experiment, Standby". And at the same time, add "Logic Power, 2, Deploy/Retract". [Long pause.]
212:32:49 Henize: Roger. At 214 plus 11, "If Ion source, Off, 5 minutes, Mass Spectrometer Boom, Retract." [Long pause.]
212:33:13 Henize: 15, we'd like High Gain [Antenna], Auto.
212:33:17 Scott: Okay. At 214:11, "If Ion, Off for 5 minutes, Mass Spec. Boom, Retract." Go.
212:33:26 Henize: At 214 plus 12, we add "Mapping Camera/Laser Experiment Covers, Open; Mapping Camera Track, Extend; Mapping Camera Image Motion, On." [Long pause.]
212:34:09 Henize: Roger. At 214 plus 16, we change the "EL, On to T-stop minus 1:40" to "T-start 1:40." Simply change stop to start.
212:34:29 Scott: Rog. Stop to start. Go.
212:34:31 Henize: And at 214 plus 17, again change stop to start. And at that time also, add "Laser Altimeter, On." [Long pause.]
212:34:53 Scott: Okay. 214:17, stop to start and "Laser Altimeter, On." Go.
212:34:58 Henize: And at 214 plus 18, change "Mapping Camera On, Off" to "Mapping Camera On, On". In another words, change Off to On. Add parenthesis T-start. Delete the next line, "Mapping Camera," - delete "Mapping Camera On, to Standby". And the third line, change "Mapping Camera, Image Motion, Off", to "Mapping Camera, Image Motion, Increase; barber pole plus four steps/On." [Long pause.]
212:35:42 Scott: Okay. 214:18. "Map Camera, Image Motion, Increase; barber pole plus four steps/On." [Pause.]
212:35:57 Henize: Roger. And did you get the "Mapping Camera" - "Mapping Camera, On" on T-start? [Pause.]
212:36:09 Scott: Oh, Rog. "Map Camera, On", on T-start, and scratch the "Map Camera, On, to Standby".
212:36:14 Henize: Roger. That takes care of all the - all the updates required for the next rev. [Pause.]
212:36:24 Scott: Rog. Understand. Thank you.
Comm break.
The changes to the Flight Plan are, in part, a continuing adjustment to the changes in Mapping Camera operation in light of the failing Laser Altimeter. Instead of being turned off, the camera is now to be turned on at 214:18:00, this being the start of a daylight pass. Terminator photos scheduled be taken starting at 214:13 were to coincide with the last few pictures in the original Mapping Camera pass. As the Mapping Camera is now scheduled to be started immediately after the terminator passed below, the back room wants detailed pictures of the terminator areas with a telephoto lens.
212:39:26 Henize: 15, this is Houston. A couple of comments, and then a - one change in your G&C checklist. The comments are as follows. As you will note from the consumables update, we now have single-tank capability at the 40-amp level.
The call of "single tank capability" refers to an electrical power contingency mode. If troubles should occur that leave the spacecraft with only a single hydrogen tank and oxygen tank, the spacecraft can make it home if they power down to a 40-amp level. At a nominal 28 volts, this translates to a mere 1.1 kilowatts; about the same amount of power used for a stylist's hair dryer. Although this is a small fraction of the 4.3 kilowatts the fuel cells can generate, it provides for far more systems (and options) than the Apollo 13 crew had.
Henize (continued): And, concerning the Mass Spectrometer boom problem, it appears to us that this is temperature-associated problem. And the next time you retract the Mass Spectrometer boom, we suggest that you retract it only once for 4 minutes. And if it [the talkback] hasn't gone gray, just leave it there. There is no need to go in and out until it turns gray. That won't be a critical problem until we come closer to a burn. [Pause.]
212:40:15 Scott: Okay. I understand. Just retract it for 4 minutes and leave it there. Okay?
212:40:32 Scott: Okay. Stand by. We'll pull it out. [Long pause.]
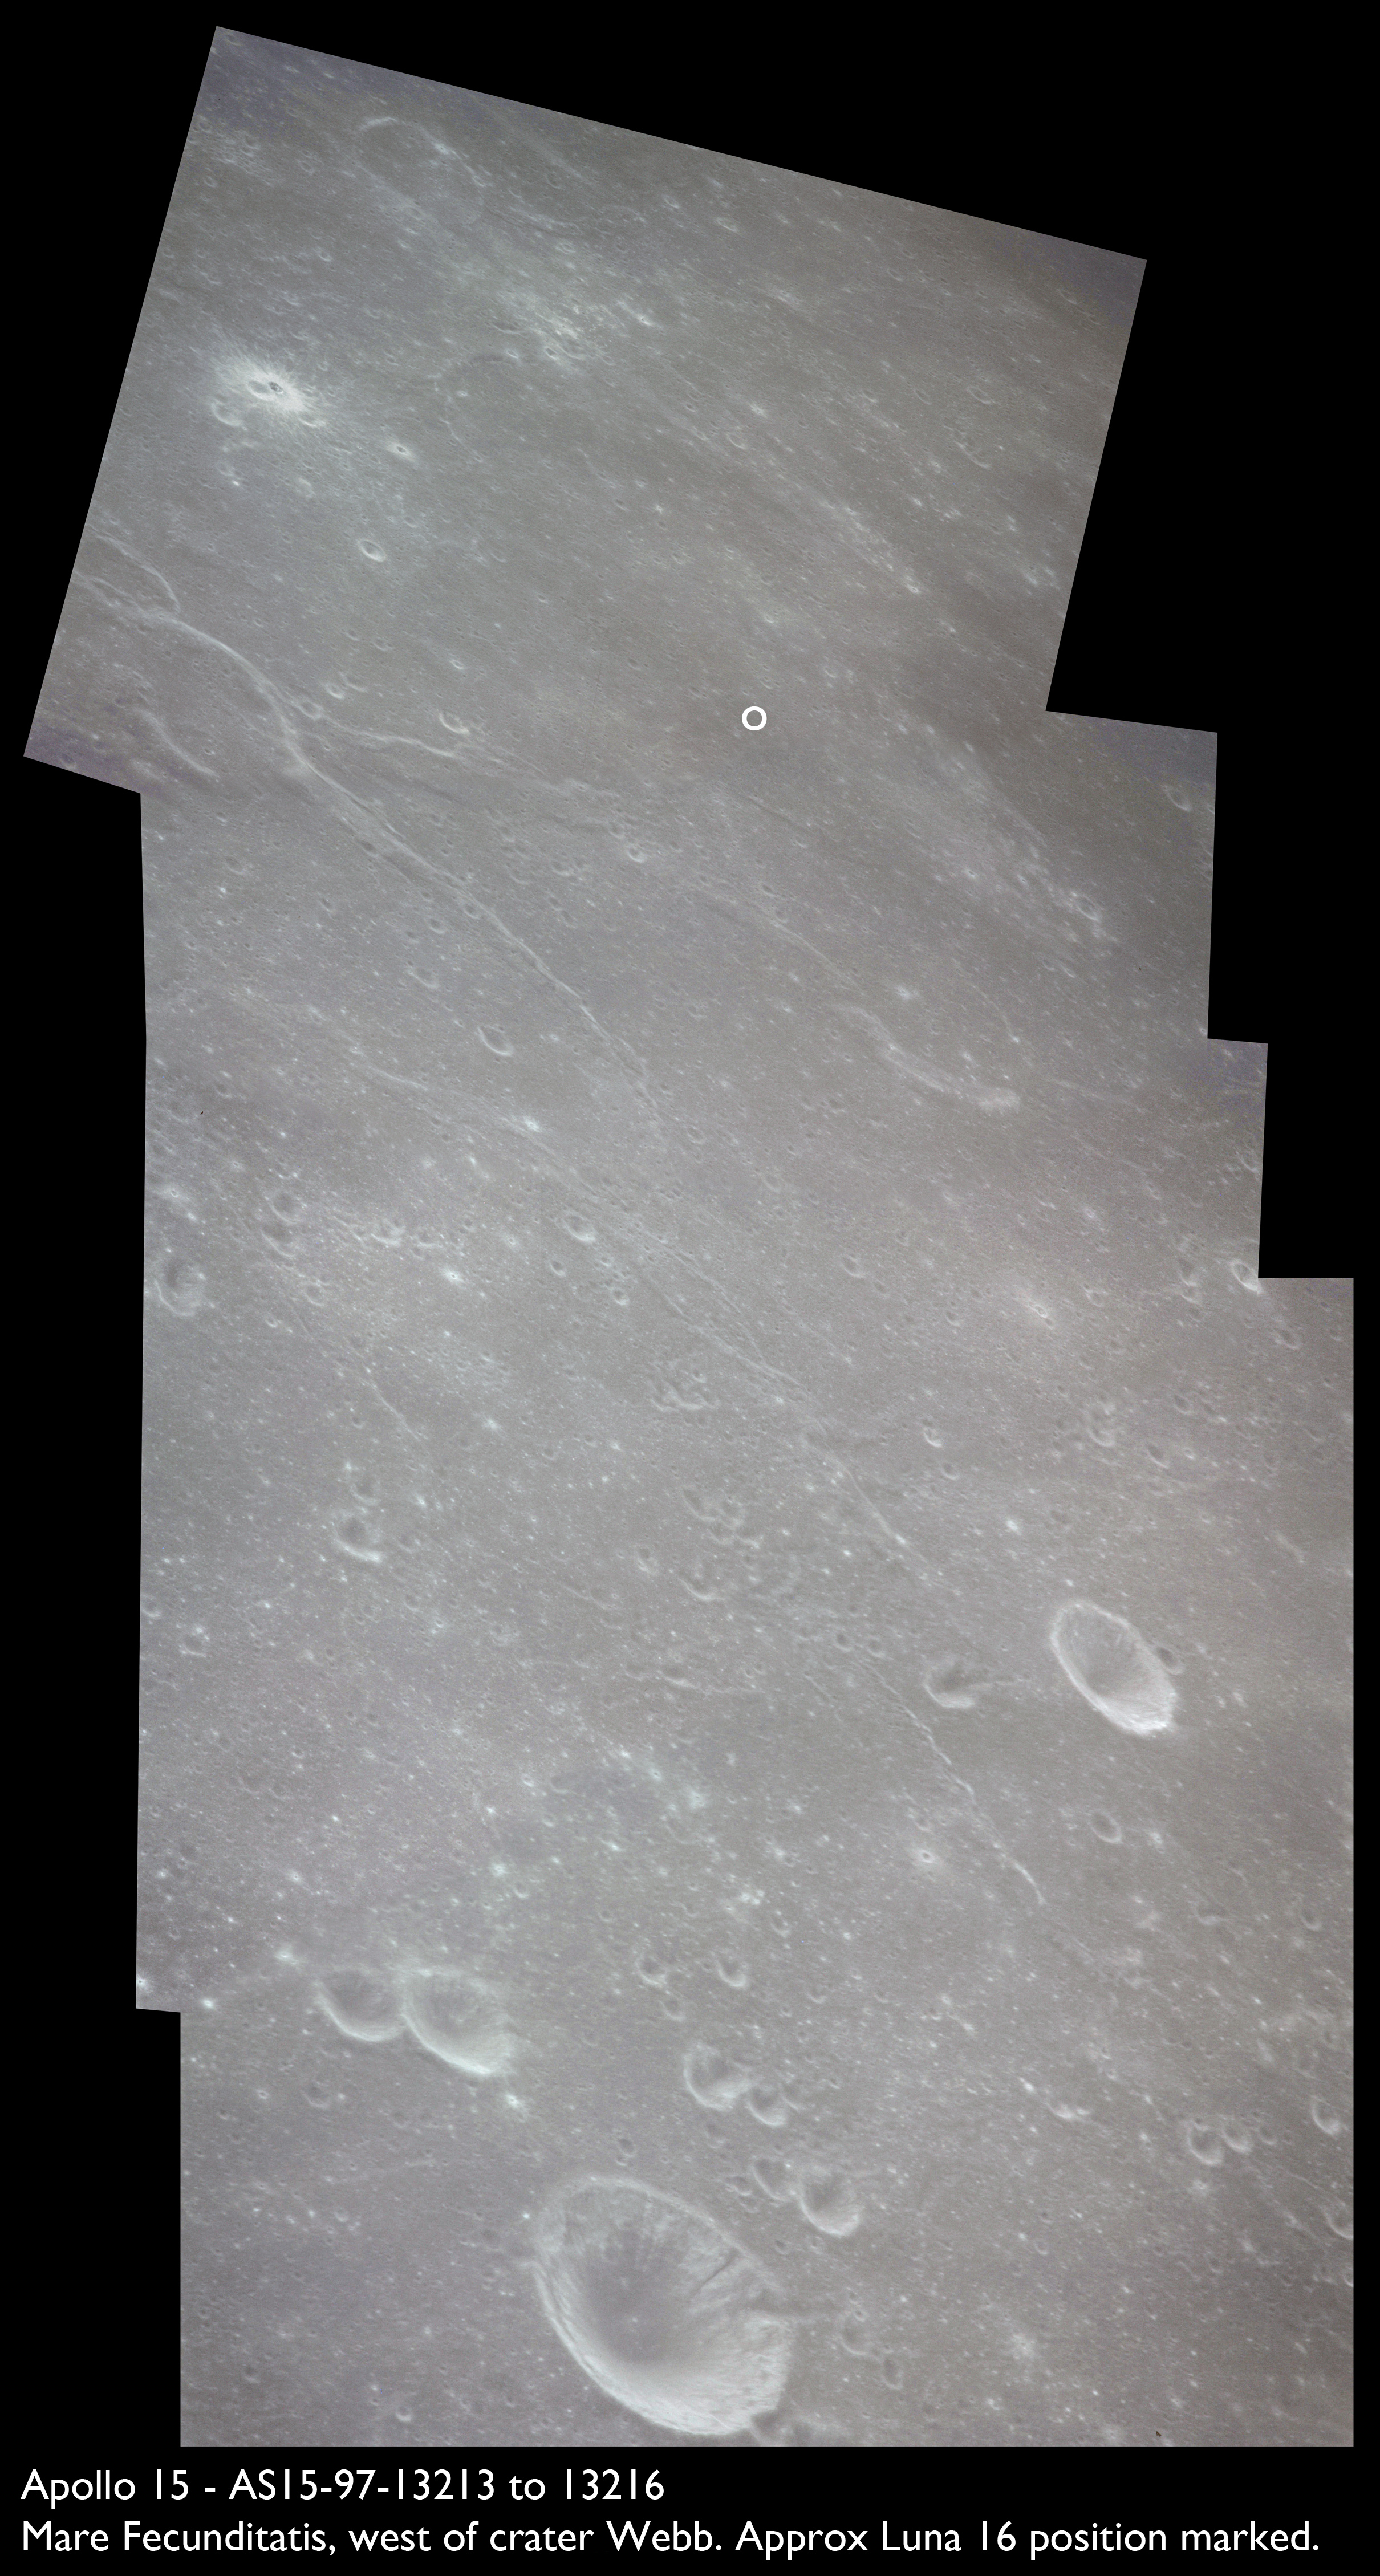
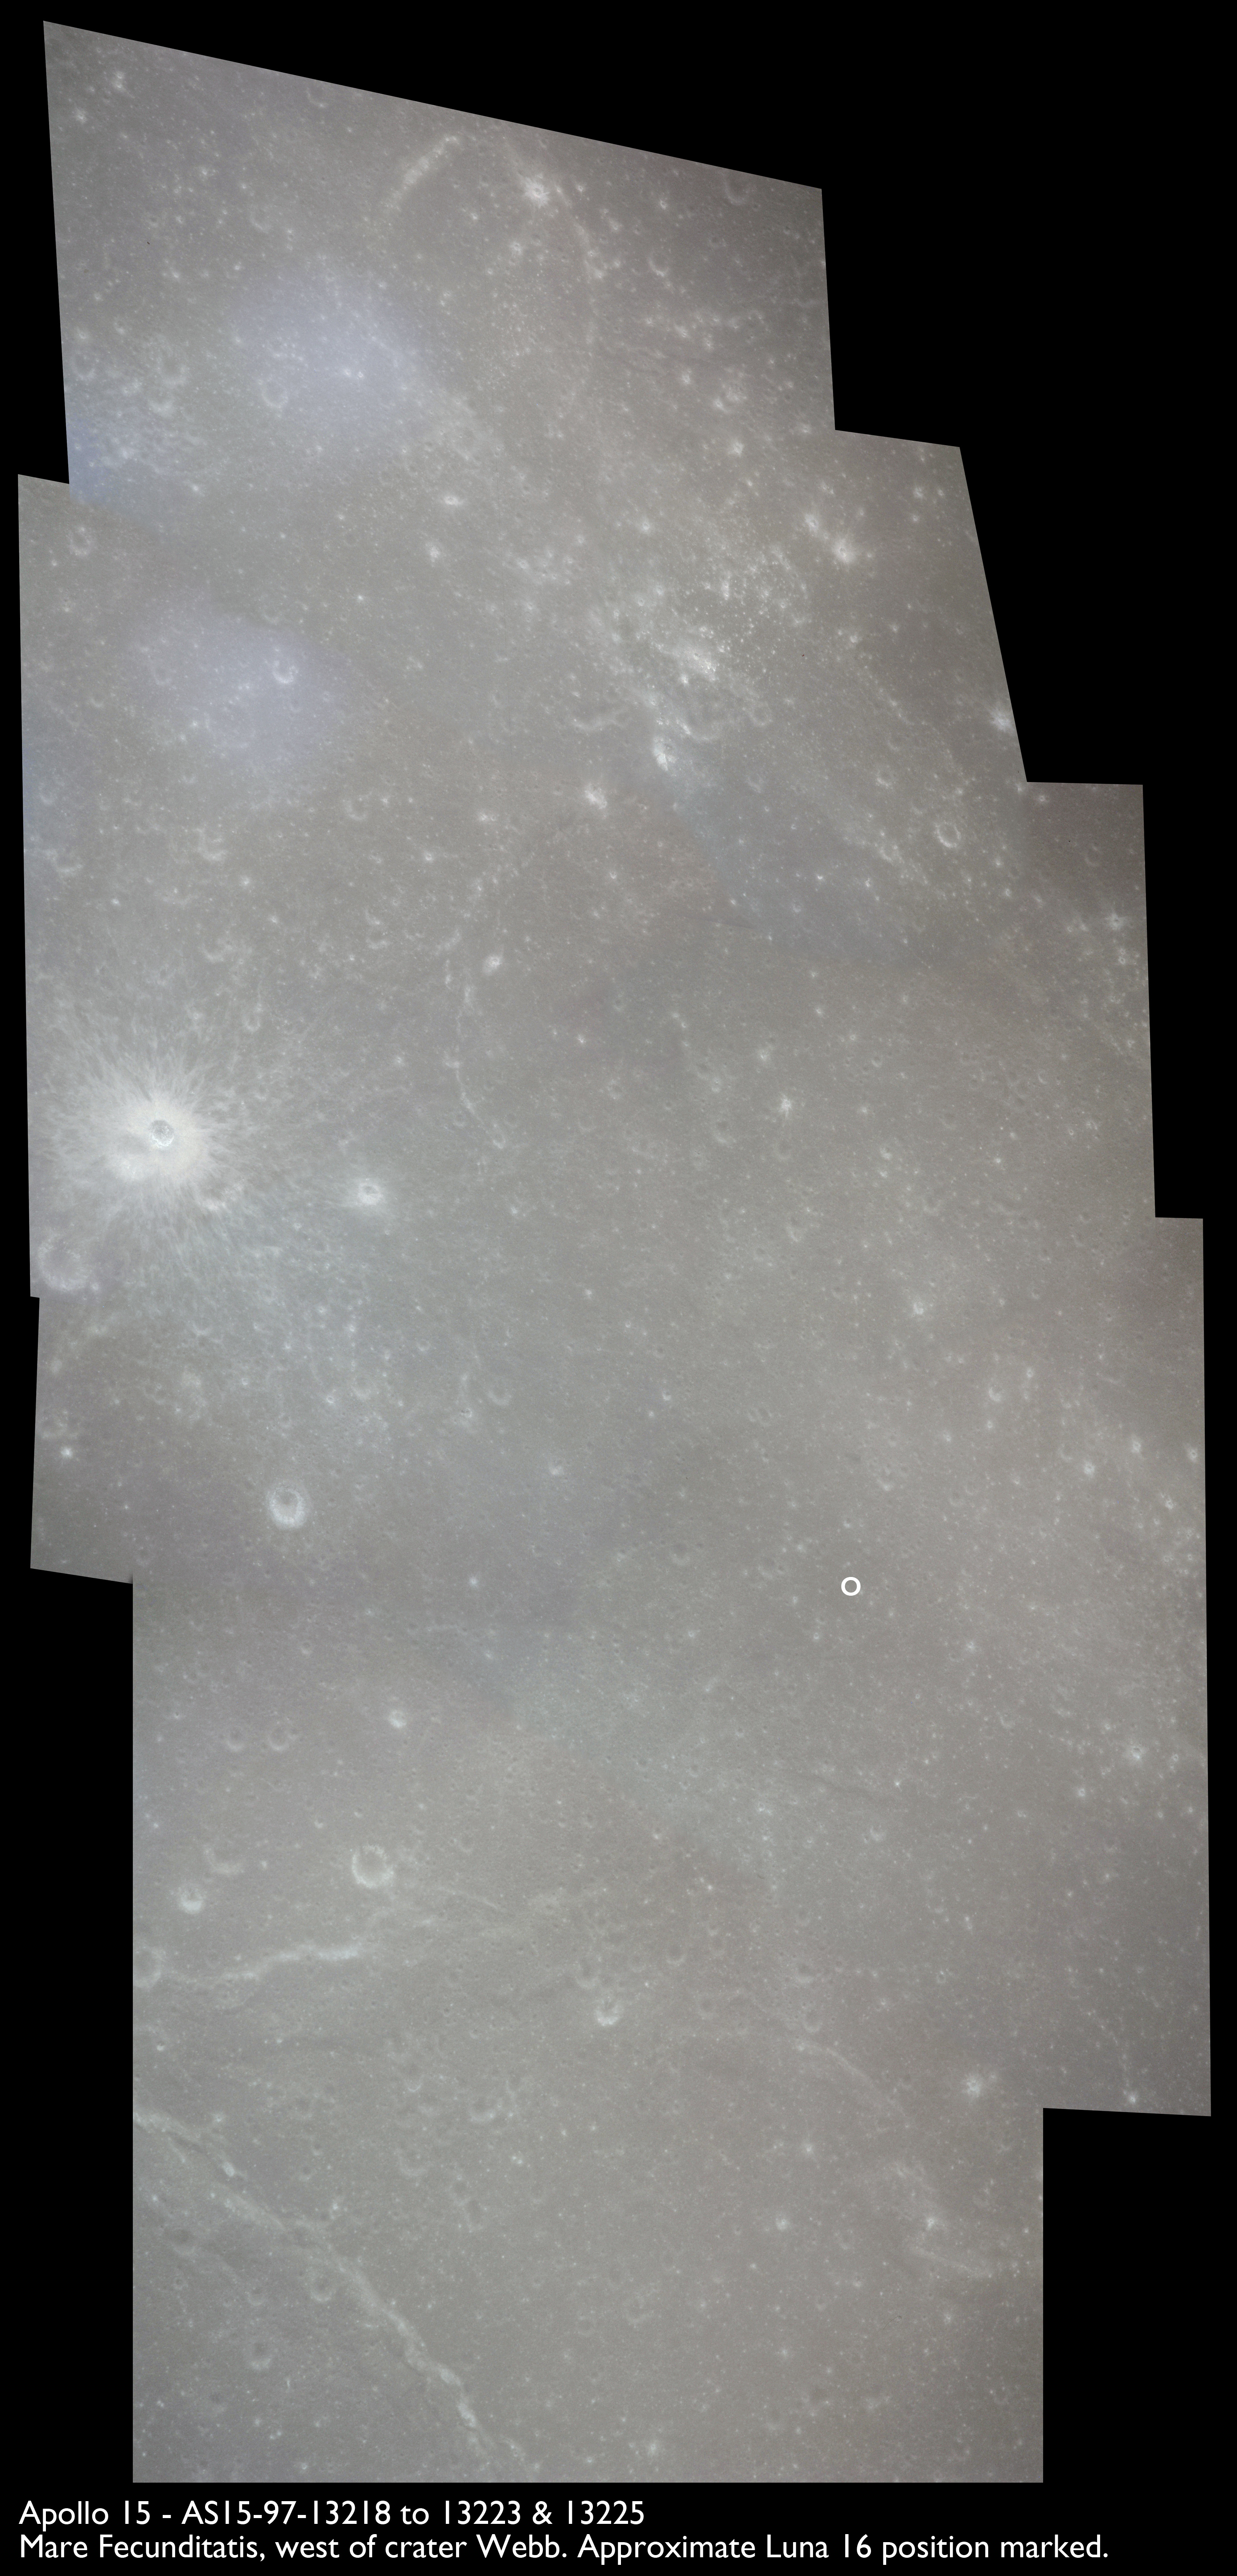
Endeavour's time in lunar orbit is drawing to a close and there is no point in bring unexposed film back to Earth so an intensive period of unplanned Hasselblad photography across the near side of the Moon begins with a sequence, AS15-97-13213 to 13229, taken over Mare Fecunditatis in support of Luna 16, a Soviet probe which soft-landed and returned a core sample to Earth just ten months before Apollo 15. These are taken using magazine O and a medium telephoto lens. This photography was held over from yesterday at 200:50 during rev 63.
AS15-97-13213 - View northwest over Mare Fecunditatis. Crater Webb H is in the foreground with Webb B beyond - Image by NASA/Johnson Space Center.
AS15-97-13214 - View northwest over Mare Fecunditatis. Crater Webb B is on the right - Image by NASA/Johnson Space Center.
AS15-97-13215 - View northwest over Mare Fecunditatis. Crater Webb B is at the bottom right and Dorsa Andrusov is at top left - Image by NASA/Johnson Space Center.
AS15-97-13216 - View northwest over Mare Fecunditatis. Dorsa Andrusov is at bottom left - Image by NASA/Johnson Space Center.
AS15-97-13213 to 13216 have been combined into a single image.
Composite image of the view northwest over Mare Fecunditatis including the Luna 16 landing site - Source images by NASA/Johnson Space Center.
AS15-97-13217 - View northwest over Mare Fecunditatis towards crater Smithson - Image by NASA/Johnson Space Center.
AS15-97-13218 - Mare Fecunditatis including Dorsa Andrusov. Image centre at 0.98°S, 56.81°E - Image by NASA/Johnson Space Center.
AS15-97-13219 - Mare Fecunditatis near Dorsa Andrusov. Image centre at 0.70°S, 56.41°E - Image by NASA/Johnson Space Center.
AS15-97-13220 - Mare Fecunditatis west of Dorsa Andrusov. Image centre at 0.56°S, 55.89°E - Image by NASA/Johnson Space Center.
AS15-97-13221 - Mare Fecunditatis west of Dorsa Andrusov. Image centre at 0.90°S, 55.88°E - Image by NASA/Johnson Space Center.
AS15-97-13222 - Mare Fecunditatis west of Dorsa Andrusov. Image centre at 0.87°S, 55.57°E - Image by NASA/Johnson Space Center.
AS15-97-13223 - Mare Fecunditatis west of Dorsa Andrusov. Image centre at 0.70°S, 55.02°E - Image by NASA/Johnson Space Center.
AS15-97-13224 - Mare Fecunditatis west of Dorsa Andrusov. Image centre at 0.72°S, 55.85°E - Image by NASA/Johnson Space Center.
AS15-97-13225 - Mare Fecunditatis. Image centre at 0.49°S, 55.36°E - Image by NASA/Johnson Space Center.
Composite image of the view northwest over Mare Fecunditatis including the Luna 16 landing site - Source images by NASA/Johnson Space Center.
AS15-97-13226 - Mare Fecunditatis. Image centre at 0.21°S, 53.96°E - Image by NASA/Johnson Space Center.
AS15-97-13227 - Mare Fecunditatis. Image centre at 0.17°S, 53.39°E - Image by NASA/Johnson Space Center.
AS15-97-13228 - Mare Fecunditatis. Image centre at 0.09°N, 53.00°E - Image by NASA/Johnson Space Center.
AS15-97-13229 - Mare Fecunditatis south of Taruntius P and Taruntius K. Image centre at 0.34°N, 52.21°E - Image by NASA/Johnson Space Center.
212:41:07 Scott: All right. I've got page 9-4. Go ahead.
212:41:10 Henize: All right. We'd like to correct one of the short burn constants, and it's in column D, row 5. The number should be changed from 1 - 01605 - it should be changed to 01614. [Pause.]
Short burn constants are used, not surprisingly, for very short burns of the spacecraft's main engine, the Service Propulsion System or SPS. All engines have reasonably well defined startup and tailoff thrust characteristics that may last from milliseconds to several tenths of a second, as engines take a few moments to come up to full thrust, and thrust does not fall to zero at the moment the engine valves close at shutdown. In very short burns lasting less than a few seconds, the transitions from zero to full thrust, and from full thrust to zero, become a non-trivial part of the total impulse of the engine. The computer uses these constants when calculating the total time for the burn.
Accurately monitoring the progress of the burn is also a problem when its duration is very short. Although the computer updates the change in velocity every 1/10 of a second, and updates the entire state vector every two seconds, this is not sufficient to accurately determine the precise start and stop times of the engine. When a short burn constant is used in these calculations, an accurate burn is achieved, and very little manual trim is required from the crew.
Because of the problems with the intermittent short in the circuitry controlling the SPS's Bank A valves, all the short burns in lunar orbit will be performed using a single bank of valves, Bank B. While this does not significantly affect the performance of the engine when it fires for several seconds, the startup and shutdown characteristics change quite a bit. Engineers from Aerojet General, the manufacturer of the engine, have calculated the new engine characteristics based on its operation seen so far in the flight, both in dual-bank and single-bank operation. This information has allowed them to recalculate the short burn constants, which will be used for the rest of the mission.
212:41:52 Scott: Okay. I've got it now. I'm sorry. I thought you said B, Bravo. How about reading the number again, please.
212:41:59 Henize: Roger. The correct number is 01614. [Pause.]
212:42:13 Scott: Okay. 01614 by 01605.
212:42:18 Henize: That's correct. [Long pause.]
212:42:33 Henize: And whenever somebody tells me he's ready to stop breakfast and copy a PAD, I have TEI-71 and also a Mapping Camera photo PAD.
212:42:48 Scott: All right. Stand by one, please. Probably be a couple of minutes.
212:42:52 Henize: Righto.
Comm break.
Photography continues on magazine QQ with black and white film and using the 500-mm telephoto lens. The first in this sequence is AS15-81-10987, an unremarkable patch of Mare Fecunditatis dominated by an unnamed elongate crater.
AS15-81-10987 - Mare Fecunditatis. Image centred at 2.97°S, 50.17°E. Image is contrast stretched. Image without contrast stretching - Image by NASA/Johnson Space Center.
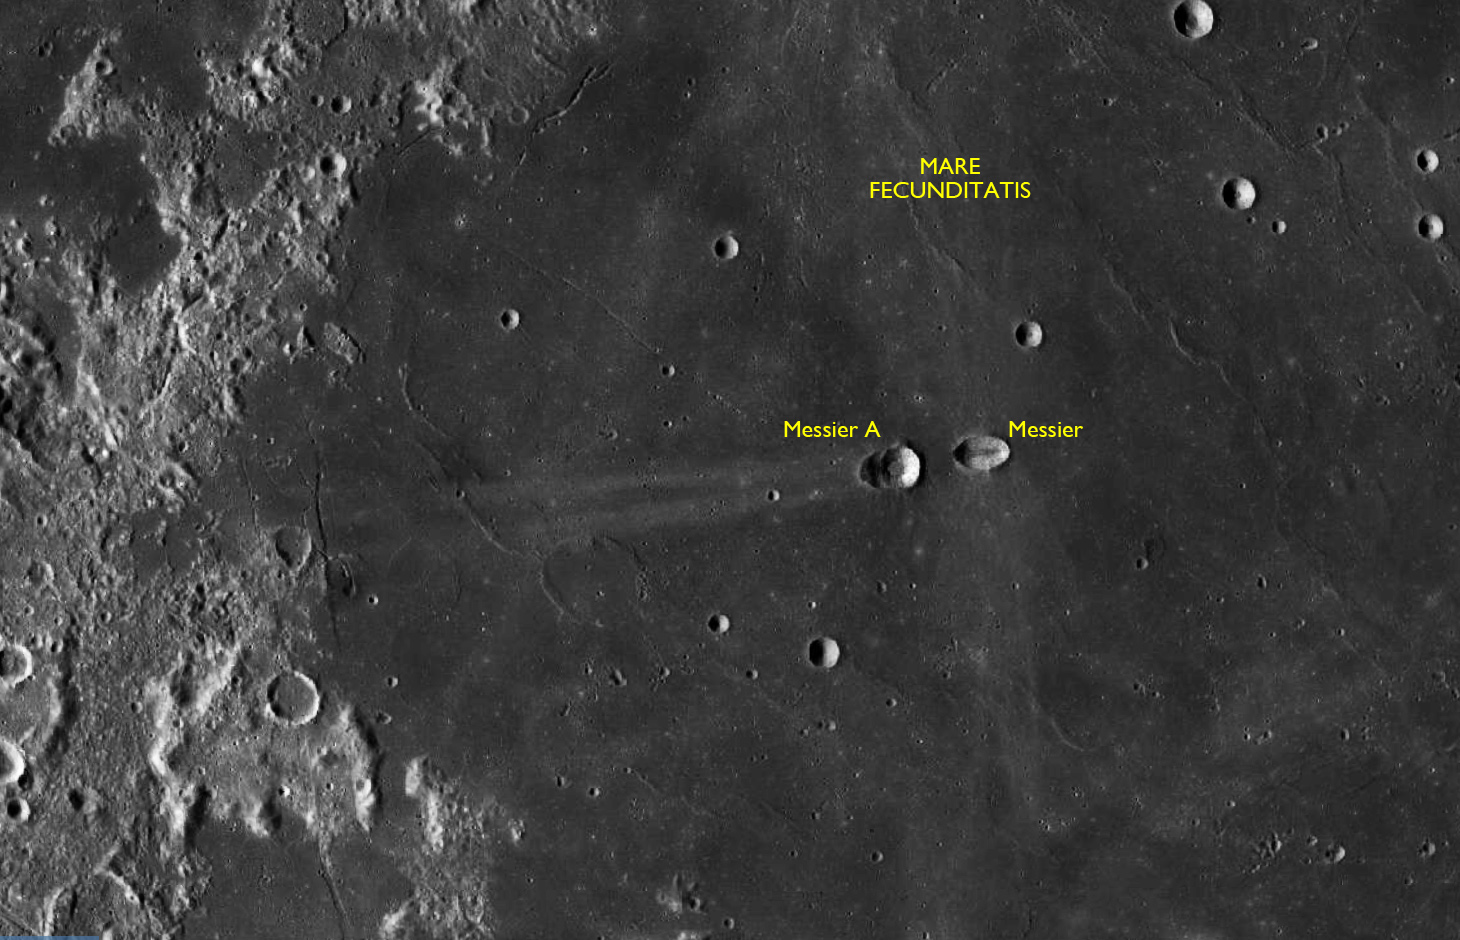
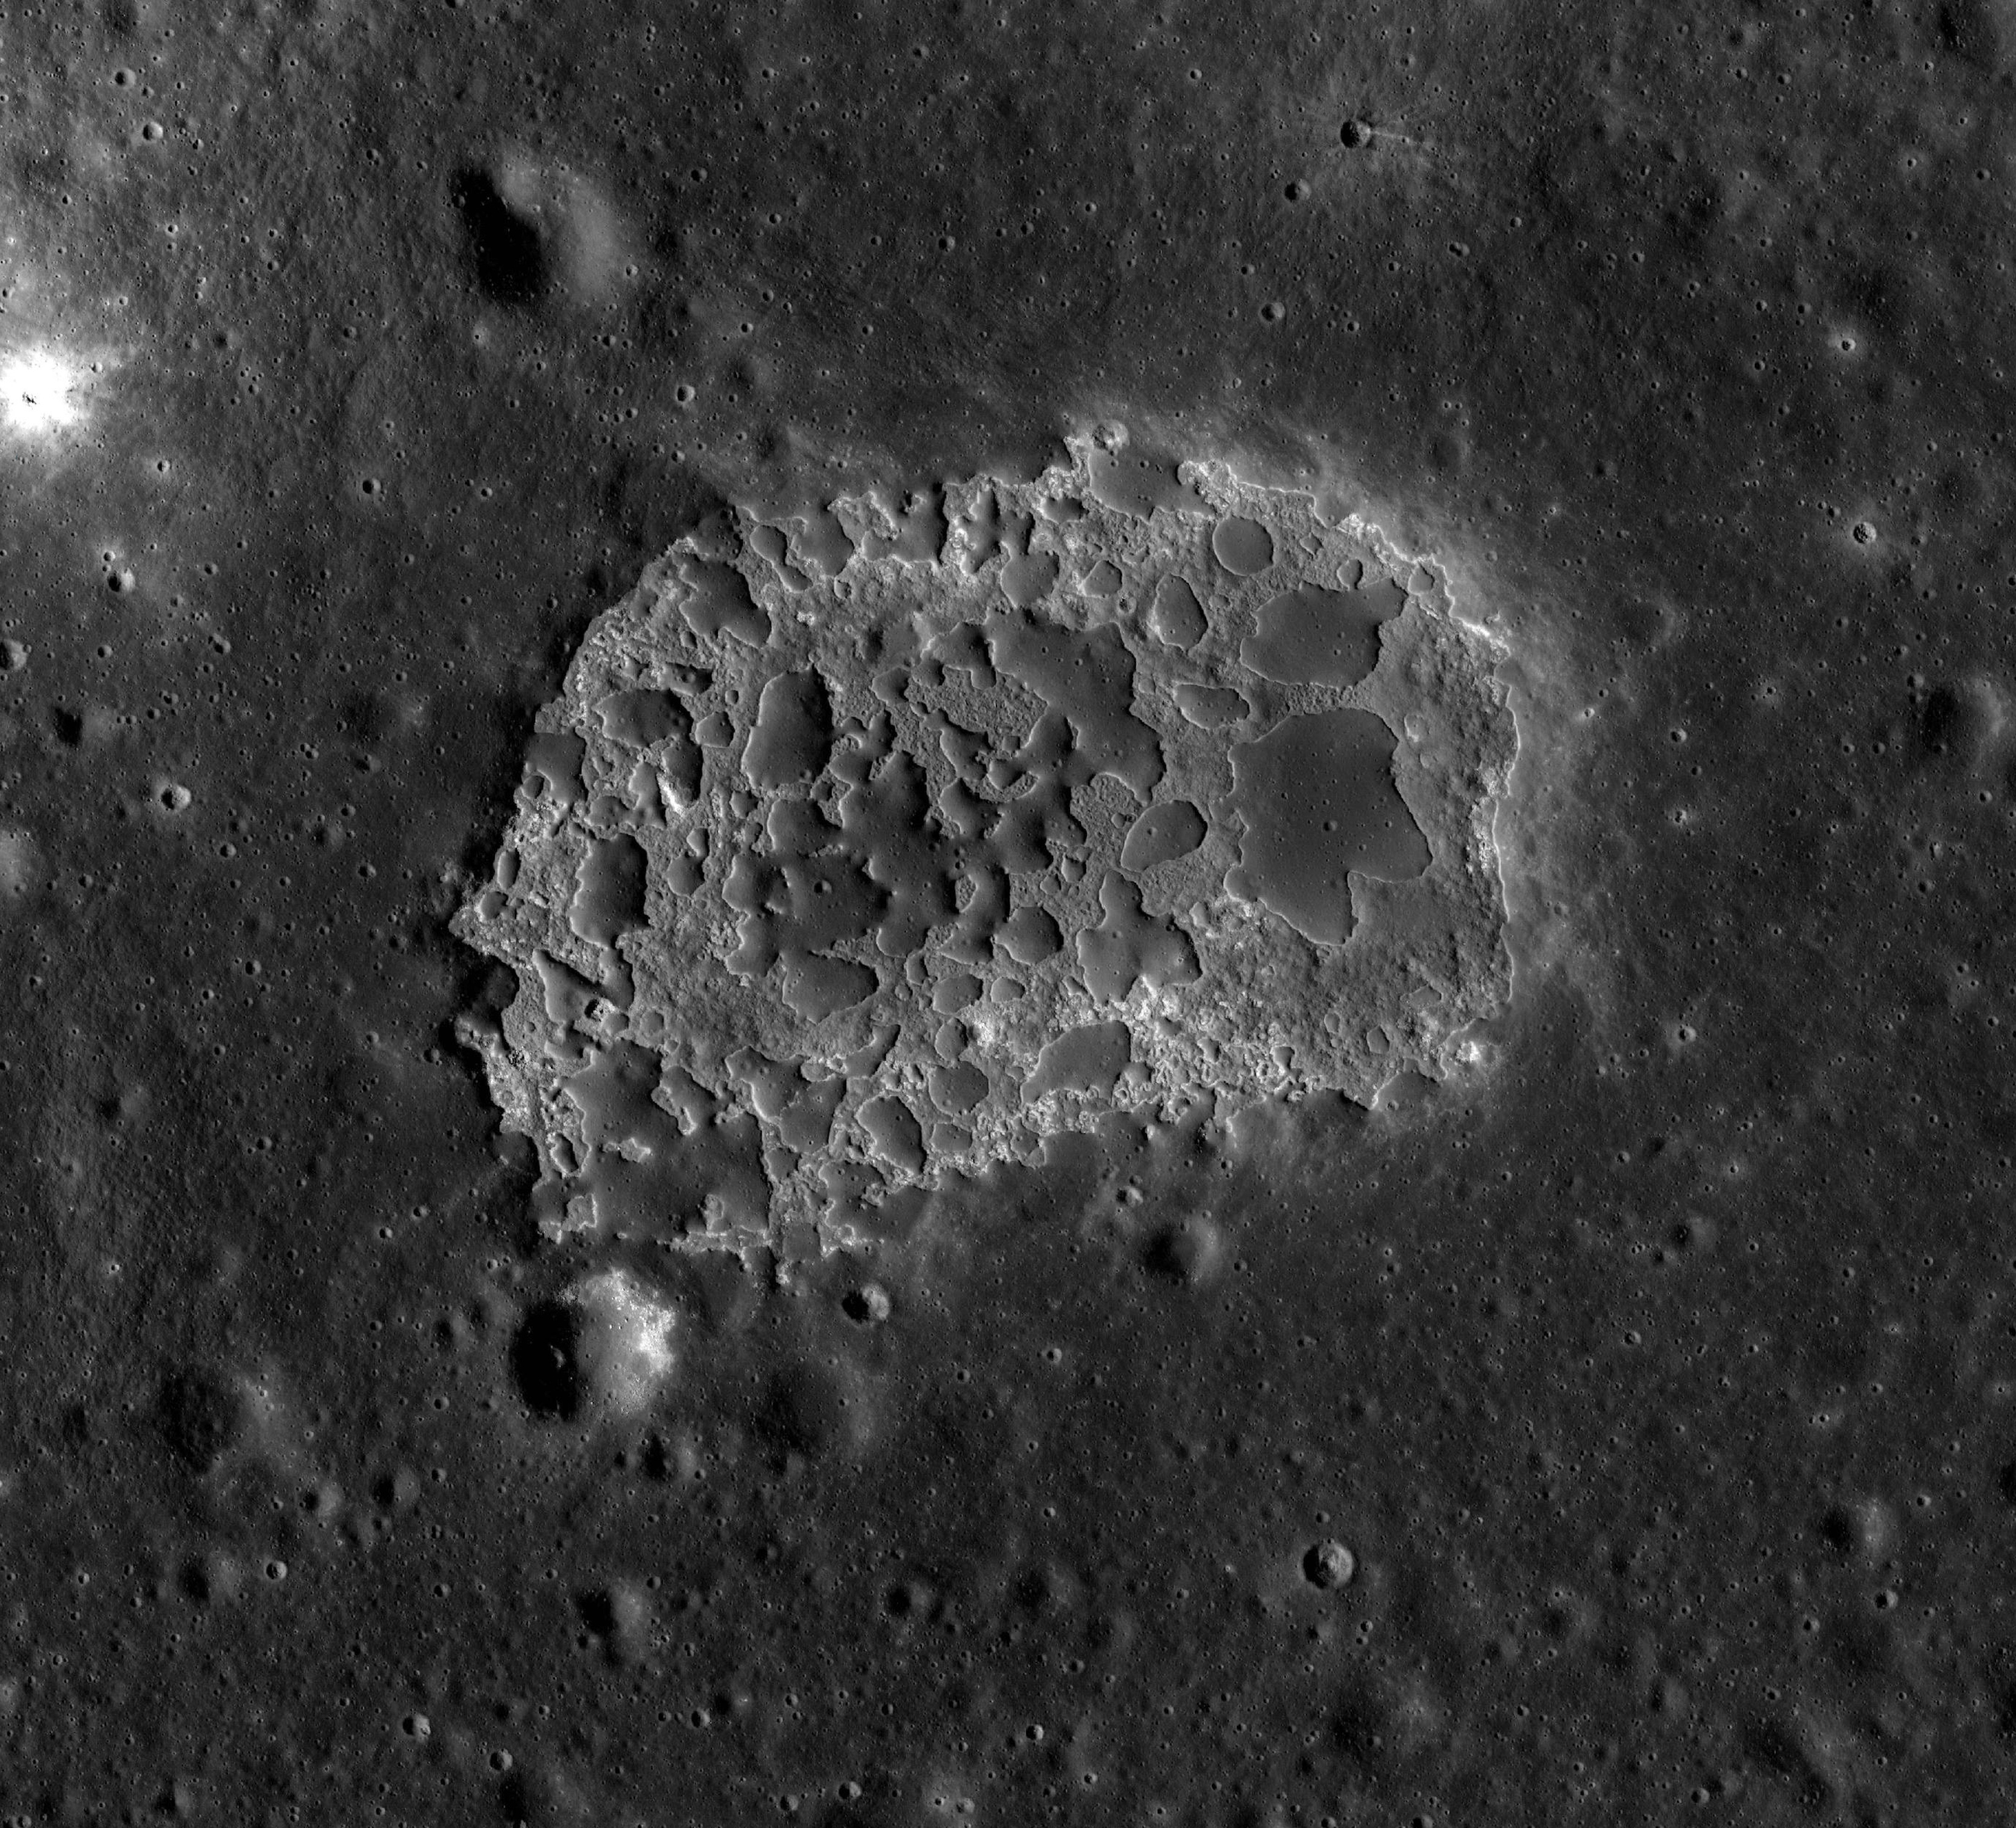
The following six images take alternate shots of two of the most extraordinary elongate craters on the Moon, the Messier twins.
AS15-81-10988 - Crater Messier. Image is contrast stretched. Image without contrast stretching - Image by NASA/Johnson Space Center.
AS15-81-10989 - Crater Messier A. Image is contrast stretched. Image without contrast stretching - Image by NASA/Johnson Space Center.
AS15-81-10990 - Crater Messier. Image is contrast stretched. Image without contrast stretching - Image by NASA/Johnson Space Center.
AS15-81-10991 - Crater Messier A. Image is contrast stretched. Image without contrast stretching - Image by NASA/Johnson Space Center.
AS15-81-10992 - Crater Messier. Image is contrast stretched. Image without contrast stretching - Image by NASA/Johnson Space Center.
AS15-81-10993 - Crater Messier A. Image is contrast stretched. Image without contrast stretching - Image by NASA/Johnson Space Center.
A context image from the Lunar Reconnaissance Orbiter helps to show why these two craters were of great interest to geologists.
LROC context image of Mare Fecunditatis to show the Messier twin craters and their unusual ray system - Image by LROC/ASU.
The current favoured theory is that a double asteroid impacted the Moon at a very shallow angle. Each impactor gouged out its own elongated crater and the extreme angle produced the very unusual ray system. This system is dominated by two narrow rays that run westward across the mare. A fainter broad ray set of rays appear to perpendicular to the long axis of Messier.
212:44:04 Irwin: Okay, Karl. I'm ready to copy the TEI PAD. [Pause.]
212:44:11 Henize: Roger, Jim. Good morning. TEI-71, SPS/G&N. The weight is not applicable. P trim: Noun 48 is plus 0.64, plus 0.98; 217:49:18.04; plus 2838.6, minus 0581.0, minus 0027.7; 178, 129, 351; the rest is N/A. Four jet ullage for 12 seconds. And that's all. [Pause.]
212:45:16 Irwin: Okay. TEI-71 readback. SPS/G&N. Weight is N/A; plus 0.64, plus 0.98; 217:49:18.04; plus 2838.6, minus 0581.0, minus 0027.7; 178, 129, 351; four jet for 12 seconds. Over.
An interpretation of the PAD follows:
Purpose: This is the next-to-the last in the series of abort PAD that are sent to the crew in the event of communications breakdown or problems with the spacecraft, this one based on an ignition towards the end of Rev-71.
System: The maneuver would use the Service Propulsion System, the main engine with 22,500 pounds of thrust, under the control of the primary Guidance and Navigation system.
CSM Weight (Noun 47): is not applicable as the current weight is assumed.
Pitch and yaw trim (Noun 48): +0.64° and +0.98°. These are the angles to which the SPS engine must be aimed to align its thrust axis with the spacecraft's centre of gravity.
Time of ignition, TIG (Noun 33): 217 hours, 49 minutes, 18.04 seconds.
Change in velocity (Noun 81), fps (m/s): x, +2,838.6 (+865.2); y, -581.0 (-177.1); z, -27.7 (-8.4). Velocity components are expressed with respect to the local vertical frame of reference.
Spacecraft attitude: Roll, 178°; Pitch, 129°; Yaw, 351°. These attitudes are expressed with respect to the lift-off REFSMMAT.
The final note in the PAD states that SPS propellants should be settled in their tanks by firing the plus-X thrusters on all four of the Service Module RCS quads for 12 seconds.
212:45:44 Henize: Roger, J - Roger, Jim. And would you repeat the - the yaw trim.
212:45:54 Irwin: Yaw trim was plus 0.98.
212:45:56 Henize: That's all correct. Thank you. [Pause.] And the last bit of information I have down here is a Mapping Camera photo PAD. At 214 plus...
212:46:14 Irwin: Okay. Go ahead.
212:46:15 Henize: Roger. It's at 214 plus 20 in your Flight Plan and there is no slot for it. You'll just have to stick it in. Mapping Camera, Start, 214:20:03; Stop, 215:19:49.
212:46:43 Irwin: Copy 214:20:03 and 215:19:49.
212:46:48 Henize: That's correct.
Comm break.
This Mapping Camera PAD puts some numbers into the earlier change at 212:34:09 whereby a planned T-stop time was converted into a T-Start time.
At around this time, a photo is taken with the medium wide-angle (60-mm) lens looking northwest towards Mare Tranquillitatis.
AS15-90-12293 - View northwest to Mare Tranquillitatis and crater Cauchy - Image by NASA/Johnson Space Center.
The camera used for this image has been brought up from the lunar surface and its Réseau plate (serial number 38) has been heavily contaminated, hence the dark marks on the right of the image. The U-shaped artefact lower right is a reflection in the cabin window of one of the spacecraft's fluorescent lights. In the foreground is a small mountain range, Montes Secchi, and the crater after which the range is named. Pietro Angelo Secchi, 1818-1878, was an Italian astronomer who pioneered the use of spectroscopy to analyse the chemical makeup of stars. In this picture, the very high Sun elevation makes the crater virtually invisible. The dark bay at the top of the photo is Sinus Concordiae which leads off the northeast edge of Mare Tranquillitatis.
The next photography takes place over the southern shore of Mare Tranquillitatis. There are four shots of Censorinus and one of the 24-km crater, Maskelyne.
AS15-81-10994 - Crater Censorinus and Censorinus A. Image is contrast stretched. Image without contrast stretching - Image by NASA/Johnson Space Center.
AS15-81-10995 - Crater Censorinus and Censorinus A. Image is contrast stretched. Image without contrast stretching - Image by NASA/Johnson Space Center.
AS15-81-10996 - Crater Censorinus and Censorinus A. Image is contrast stretched. Image without contrast stretching - Image by NASA/Johnson Space Center.
AS15-81-10997 - Crater Censorinus and Censorinus A. Image is contrast stretched. Image without contrast stretching - Image by NASA/Johnson Space Center.
Of the two craters in these images, it is the smaller, at only 3.8 km in diameter, that carries the name Censorinus by virtue of its brightness and visibility from Earth at high illumination angles. The brightness reflects its relative youth. The 7-km Censorinus A beside it probably once looked much like its companion, but over a large fraction of an aeon (an aeon being one billion years) or more, the lunar environment has darkened its ray system to invisibility.
Censorinus was often considered as a possible site for the more limited Apollo H-class missions once Apollo 12 had proved that pinpoint landings were possible. Had Apollo 13 not aborted and budget cuts not converted Apollo 15 to a J-class mission, Censorinus might today have a spent LM descent stage sitting nearby, very likely the same one that now hangs in the Apollo/Saturn building at Kennedy Space Center, Florida. Instead, Apollo 14 visited Fra Mauro to the east and subsequent missions moved on to the multi-objective J-class missions, of which Apollo 15 is now the first.
Censorinus was interesting to Apollo planners because it is a fresh crater from a meteorite which had driven into an ancient terra landscape. It is a happy fact of crater formation that the distance of ejecta from a crater is related to the depth from which it was hauled by the impact, with the deepest material being deposited on the rim. By radially sampling an ejecta blanket going towards a crater, one can lift rocks brought from successively deeper layers below. An image from Lunar Reconnaissance Orbiter helps to give the context of Censorinus.
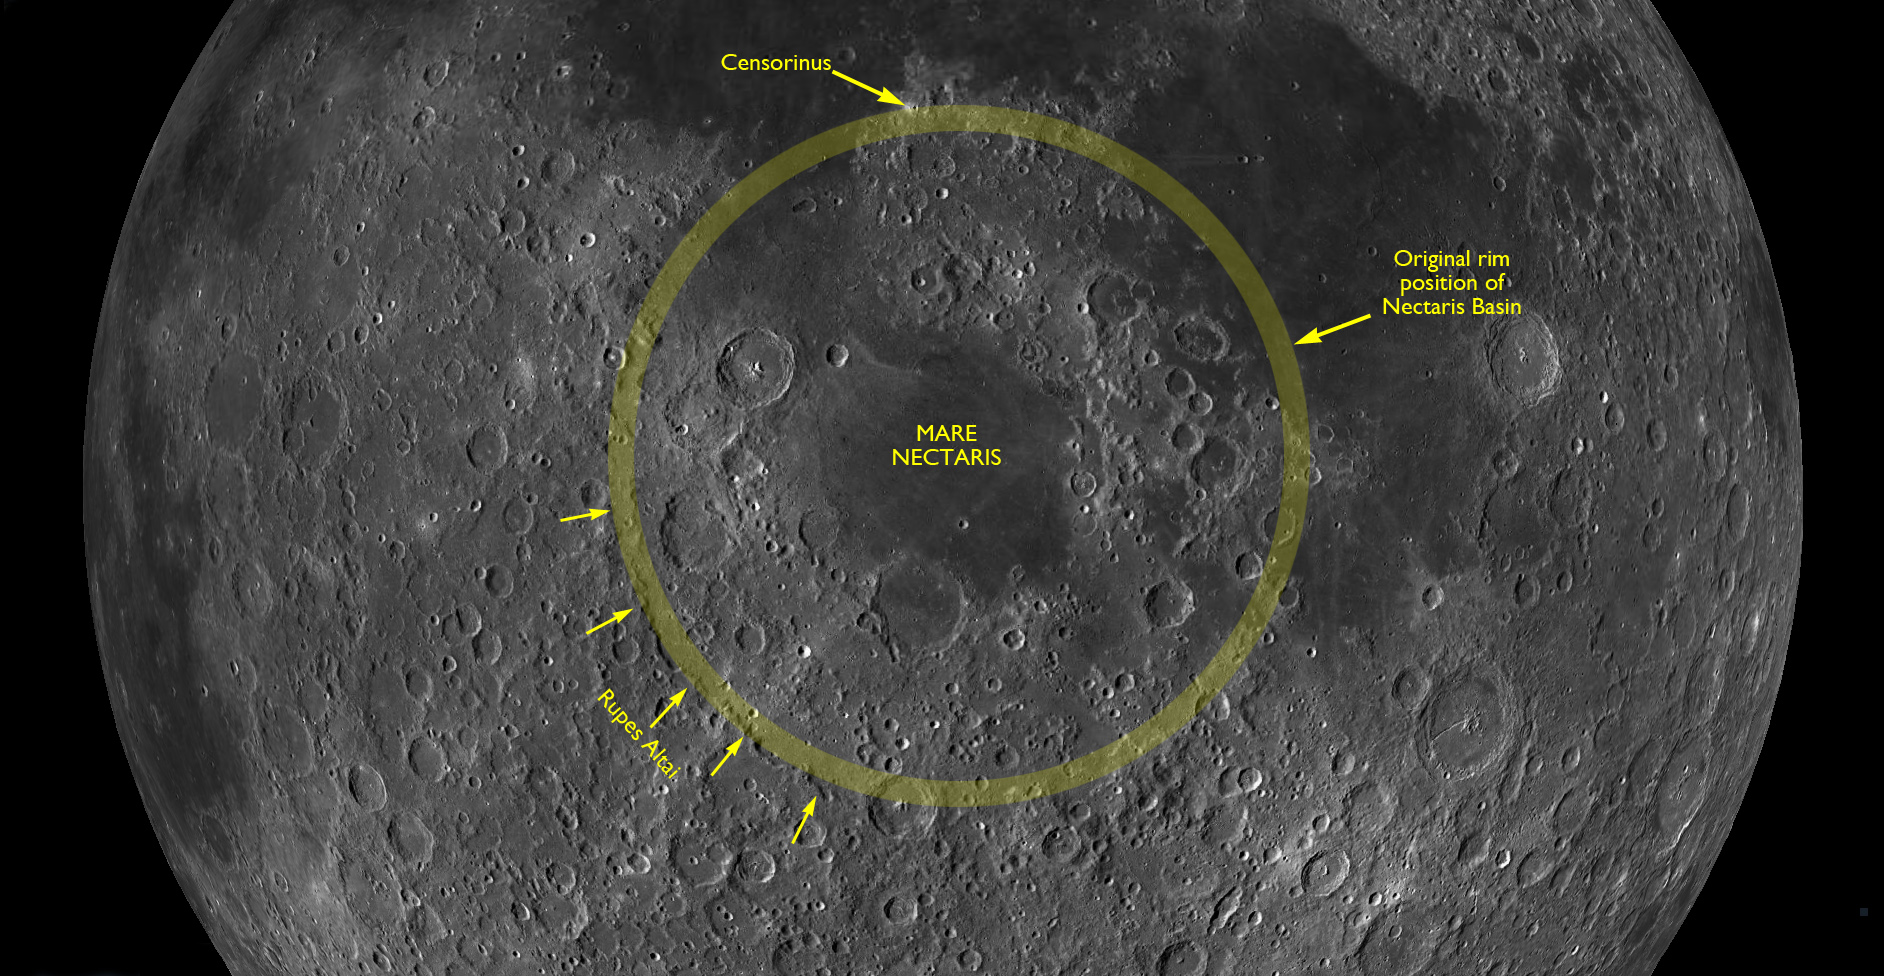
LROC context image of Mare Nectaris and Censorinus - Image by LROC/ASU.
This large-scale image shows that south of Censorinus is Mare Nectaris (Sea of Nectar). An arc-shaped scarp to its west, Rupes Altai, betrays the truth that the Nectaris basin is a much larger structure than Mare Nectaris. The scarp is part of the Nectaris basin rim and Mare Nectaris is just where lava only managed to full the central ring. Censorinus just happens to lie at the northern extreme of this basin and therefore provides a convenient drill-hole into the rim of the Nectaris basin. If a crew had been able to sample its ejecta, a rich record of one of the earliest major impacts might have been recovered.
The other image taken at this time is AS15-81-10998, which looks straight down into the 24-km, frame-filling crater, Maskelyne. The right of the picture shows some slumping of the crater walls. A central peak rises from the floor but is indistinguishable in this image. Nevil Maskelyne, 1732-1811, was the fifth Astronomer Royal of Britain at a time when one of the main goals of astronomy was in aiding navigation around the globe. He was involved in assessing the accuracy of various designs of chronometer which would help ships determine longitude while at sea and he is also noted for determining the density of Earth.
212:48:29 Henize: 15, this is Houston with just a passing comment to Dave. We have Lee Silvers and Jim Head in the backroom,r available for any questions or comments concerning the lunar surface activities that you'd like to make. Is there anything on your mind you'd like to discuss with them? [Pause.]
Lee Silver led the training of the crew for their geological exploration of the Moon. Jim Head was primarily involved in the analysis carried out by Bellcomm on NASA's behalf to select a site and study the logistics for its exploration. Both men were part of the science backroom team interacting with Dave and Jim while on the surface and with Al during his solo mission. As they did for many of the geology team, the crew named features at the Hadley landing site in their honour. Silver Spur is an apparent peak 20 km SSE of the landing site which fascinated geologists for its layering, and everyone else for its beauty. Head Valley, seen in this annotated view of the landing site, is actually that part of Rima Hadley where it runs along the base of Mount Hadley Delta before turning North at Elbow Crater.
212:48:54 Scott: Well, it shouldn't take more than about a couple of weeks, I guess, if we started now. I guess we got a lot to discuss with them. We've talked it over a little bit. We've come to some conclusions about rilles and mountains and those sort of things. And I - I guess, rather than get into the details now, we probably ought to wait until the debriefing. If they have any questions for us, we'd be happy to answer.
212:49:21 Henize: Okay. It's my understanding that they didn't - you - you gave them so much data they didn't really have any questions left but stand by. I'll see if they - if they come up with some after you've invited them to - Joe says, hey, they just might have...
212:49:37 Scott: Okay.
212:49:38 Henize: ...something. So stand by.
212:49:42 Scott: Yeah, that's right. I've never seen the day yet when those two didn't have some questions.
212:49:47 Henize: You opened yourself up there, Dave.
212:49:53 Scott: Yeah, that's good. We're ready.
Long comm break.
Taken around this time is AS15-81-10998, which looks straight down into the 24-km, frame-filling crater, Maskelyne.
AS15-81-10998 - Crater Maskelyne. Image is contrast stretched. Image without contrast stretching - Image by NASA/Johnson Space Center.
The top of the picture shows some slumping of the crater walls. A central peak rises from the floor but is indistinguishable in this image. Nevil Maskelyne, 1732-1811, was the fifth Astronomer Royal of Britain at a time when one of the main goals of astronomy was in aiding navigation around the globe. He was involved in assessing the accuracy of various designs of chronometer which would help ships determine longitude while at sea and he is also noted for determining the density of Earth.
About four minutes later and the spacecraft has coasted across Mare Tranquillitatis. In image AS15-81-10999 and looking far to the SSW, the crater Dionysius is photographed using the 500-mm lens and magazine QQ.
AS15-81-10999 - Crater Dionysius. Image is contrast stretched. Image without contrast stretching - Image by NASA/Johnson Space Center.
From Earth during the full Moon, the 17.6-km Dionysius appears quite bright as a spot at the southwest shore of Mare Tranquillitatis. The appearance of the crater and its striking, classic ejecta blanket in this photograph shows why. Notice the transition from the continuous to the discontinuous ejecta blanket at about one crater-diameter from the rim.
AS15-81-11000 - Ray crater northwest of Al-Bakri. Image centre at 14.71°N, 20.61°E. Image is contrast stretched. Image without contrast stretching - Image by NASA/Johnson Space Center.
AS15-81-11001 - West of crater Al-Bakri. Image centre at 14.82°N, 19.10°E. Image is contrast stretched. Image without contrast stretching - Image by NASA/Johnson Space Center.
AS15-81-11002 - Ray crater northwest of Al-Bakri. Image centre at 14.67°N, 20.58°E. Image is contrast stretched. Image without contrast stretching - Image by NASA/Johnson Space Center.
AS15-81-11003 - Area south of crater Menelaus. Image centre at 12.81°N, 15.30°E. Image is contrast stretched. Image without contrast stretching - Image by NASA/Johnson Space Center.
AS15-81-11004 - Area south of crater Menelaus. Image centre at 12.62°N, 15.57°E. Image is contrast stretched. Image without contrast stretching - Image by NASA/Johnson Space Center.
AS15-81-11005 - Area south of crater Menelaus. Image centre at 15.05°N, 16.01°E. Image is contrast stretched. Image without contrast stretching - Image by NASA/Johnson Space Center.
AS15-81-11006, 11007 and 11008 are all views into the 27-km crater Menelaus. Living about 100 AD, Menelaus was a Greek astronomer and geometer. The crater named after him is situated at the southeastern end of Montes Haemus on the rim of the Serenitatis basin.
AS15-81-11006 - Crater Menelaus. Image is contrast stretched. Image without contrast stretching - Image by NASA/Johnson Space Center.
AS15-81-11007 - Crater Menelaus. Image is contrast stretched. Image without contrast stretching - Image by NASA/Johnson Space Center.
AS15-81-11008 - Crater Menelaus. Image is contrast stretched. Image without contrast stretching - Image by NASA/Johnson Space Center.
These shots were taken using the 500-mm lens whereas AS15-90-12294, taken with a 60-mm lens, shows the crater in context with the southwestern shore of Mare Serenitatis and the Sulpicius Gallus region.
AS15-90-12294 - View northwest past crater Menelaus along the southwestern shore of Mare Serenitatis and the peaks of Montes Apenninus on the horizon - Image by NASA/Johnson Space Center.
212:53:46 Henize: Lee and Jim are sitting right beside me here; and their comment is they - they don't really want to ask very many questions and perturb the debriefing a week from now. But they do just have a couple. And the first one - the first one concerns a unique crater close to Scarp that you described as having about a 40-meter diameter, with a very soft rim. And the texture of the material in it was - instead of being fine angular fragments, was more in the form of clods. They'd like to know a little bit more, if - if possible, about it's location relative to Scarp, and any other comments you can make about the unique - the particular uniqueness of this crater.
212:54:34 Scott: Okay. Stand by one.
Comm break.
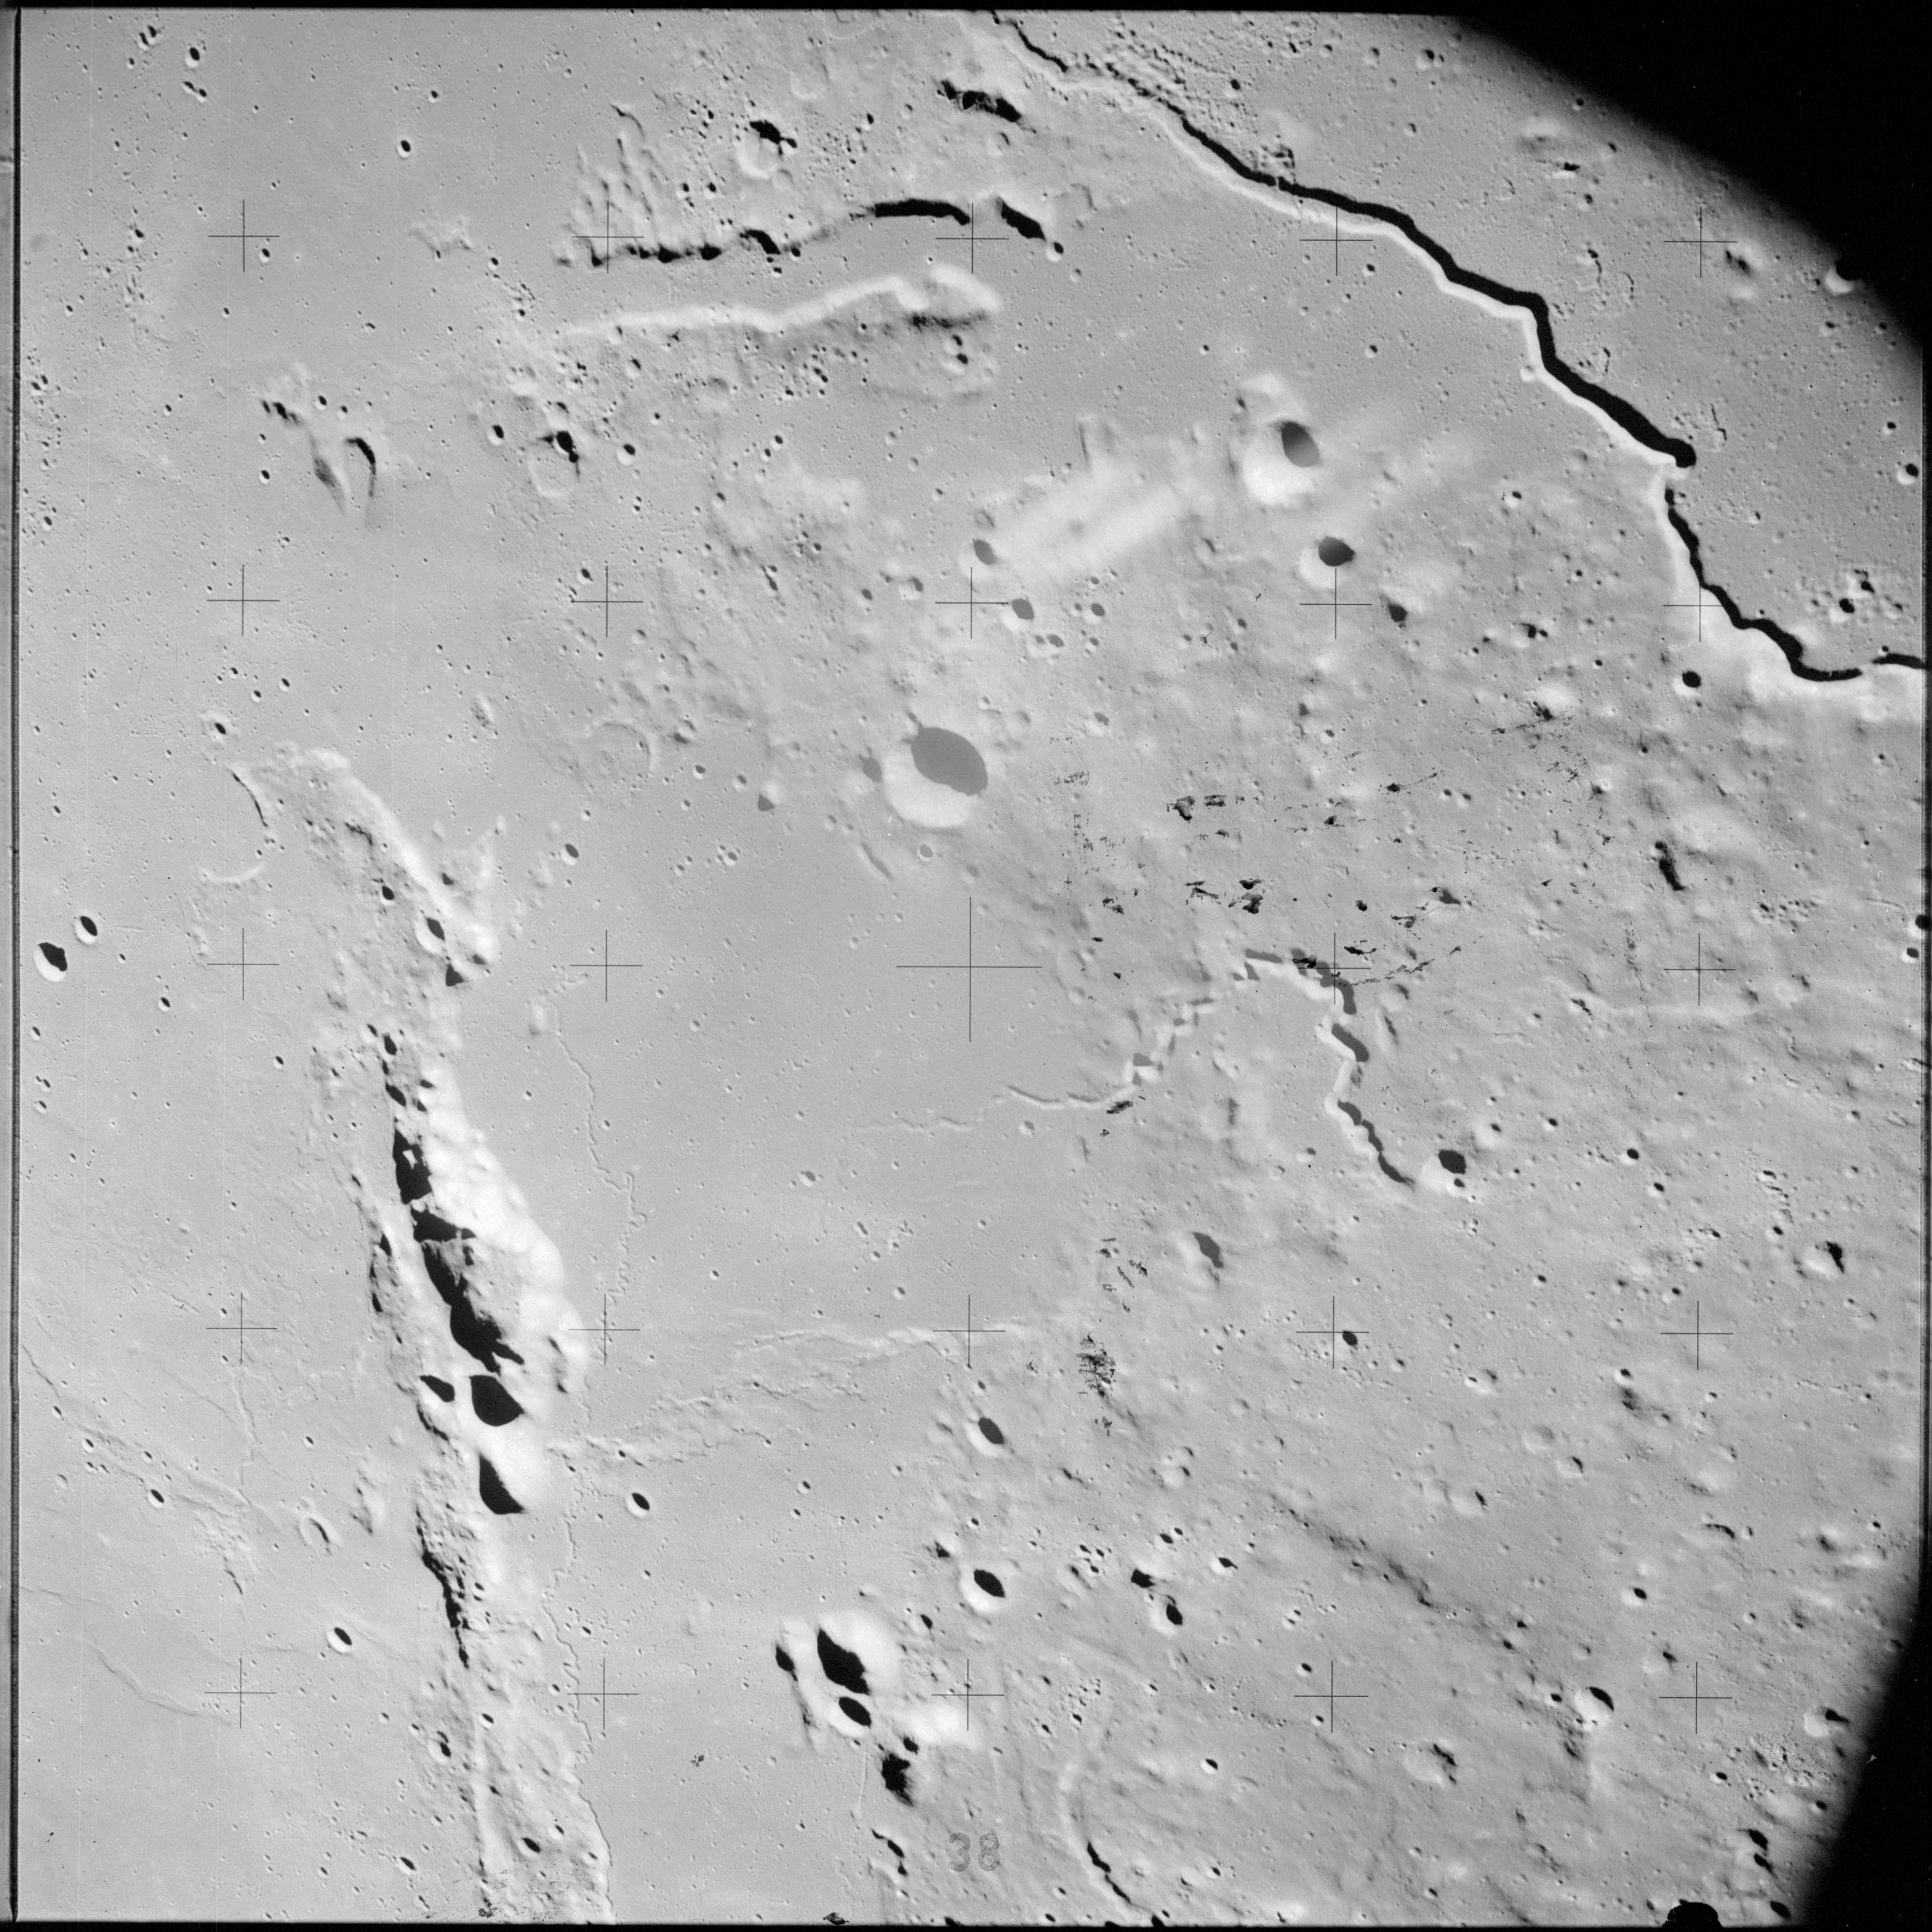
The crater Henize is referring to is actually a 15-metre crater southeast of Scarp. It became Station 9 during the third EVA and attracted Dave and Jim's attention because of its blockiness and freshness. A pan of the crater and its environs has been constructed from AS15-82-11066 to 11092 by David Byrne and shows the crater to the right and the large amount of debris scattered in and around it.
AS15-82-11066 to 11092 - Panoramic composite of surface Station 9 on the surface - Image construction by David Byrne.
A bench structure, visible left of the crater's floor, is what interests the geologists most. Normally a bench indicated that the crater has uncovered a subsurface layer. However, the soft, fragile clods of breccia around the crater's rim indicate that it never got past the regolith which is the thick layer of debris that covers everywhere on the Moon. While studying it, Jim had noticed the amount of glass covering the rocks at or below the bench and surmised that this crater was a larger version of the many small craters they had seen which have a pool of solidified melt glass at the bottom. His observation turned out to be correct. The crater had not hit bedrock and instead the shock of impact had produced a ring of glass which welded the clods of rock together to form the bench.
212:56:25 Scott: Okay, Houston. I guess our answer to that is that we had interpreted that particular crater as being Scarp. Perhaps it wasn't. Perhaps we were near Scarp and that was a somewhat smaller crater. But, I guess, as we remember it, that was the one we had called Scarp, and it was, I believe, the only crater we really sampled as we approached Rim Crater in the terrace there. And that particular crater had very soft rims - extremely soft, and all the fragments - the apparent fragments were very frangible. They just fell apart like dirt clods. And we did sample some, and we had a discussion, I think, at the time, and - and I guess we still don't exactly agree relative to the amount of glass that was present in the fragments. Jim seems to think there was a fair amount, and I - I don't remember any in particular. But it was a fairly uniform crater. And all the debris around the crater, as I remember, there was something like 20 percent or so of angular frags - all of it apparently would break apart very easy. And there were no solid fragments that we could see or distinguish. Of course, everything is covered by dust. And we did sample some. And I guess that's about the size - the size of it. Is there anything more specific you'd be interested in? [Long pause.]
212:58:20 Henize: Dave, this particular crater sounds more and more interesting to the people down here. And I guess the next question is what - Was there anything about the crater, it's shape or anything else, that would lead you to think it had a different origin than most of the other impact craters? [Pause.]
212:58:44 Scott: No. It - it's depth-to-diameter ratio was about par for the - for the course up there. And it had a slightly raised rim, and the rim may have been somewhat higher than - than others. But I wouldn't be able to distinguish that specifically. It - it was a rather standard-appearing crater, until we walked up onto the rim, and it was extremely soft. And, of course, we only sampled one edge of the rim there. We didn't get any circumferential sampling on it, so it might have been a - a unique part. But it looked pretty uniform all the way around.
212:59:21 Henize: Roger.
212:59:25 Scott: And, we did get the appropriate photographs plus a pan at that site, which, I think, when we go over during the debriefing - perhaps we can extract some more of what we saw. As you remember, at that particular time, we were pretty well hustling, and we didn't have a chance to do much looking at the maps as we got there.
212:59:47 Henize: They say that's great. Thanks a lot.
212:59:52 Scott: Okay. Anything else? [Pause.]
As the above conversation is taking place, photography is continuing and will do for the next 20 minutes, most likely taken by Al. Four photos, AS15-81-11009 to 11012, are taken on the black and white magazine QQ with the 500-mm lens of an area beyond the rim of the Serenitatis basin called Montes Haemus.
This bright craterlet is within an area of mare material adjacent to Lacus Gaudii (Lake of Joy).
AS15-81-11009 - Northeast of crater Menelaus. Image centre at 16.89°N, 10.85°E. Image is contrast stretched. Image without contrast stretching - Image by NASA/Johnson Space Center.
The next three show another bright craterlet, this time 57 kilometres WSW of Sulpicius Gallus.
AS15-81-11010 - Southwest of crater Sulpicius Gallus. Image centre at 18.79°N, 10.03°E. Image is contrast stretched. Image without contrast stretching - Image by NASA/Johnson Space Center.
AS15-81-11011 - Southwest of crater Sulpicius Gallus. Image centre at 18.86°N, 10.01°E. Image is contrast stretched. Image without contrast stretching - Image by NASA/Johnson Space Center.
AS15-81-11012 - Southwest of crater Sulpicius Gallus. Image centre at 18.91°N, 9.98°E. Image is contrast stretched. Image without contrast stretching - Image by NASA/Johnson Space Center.
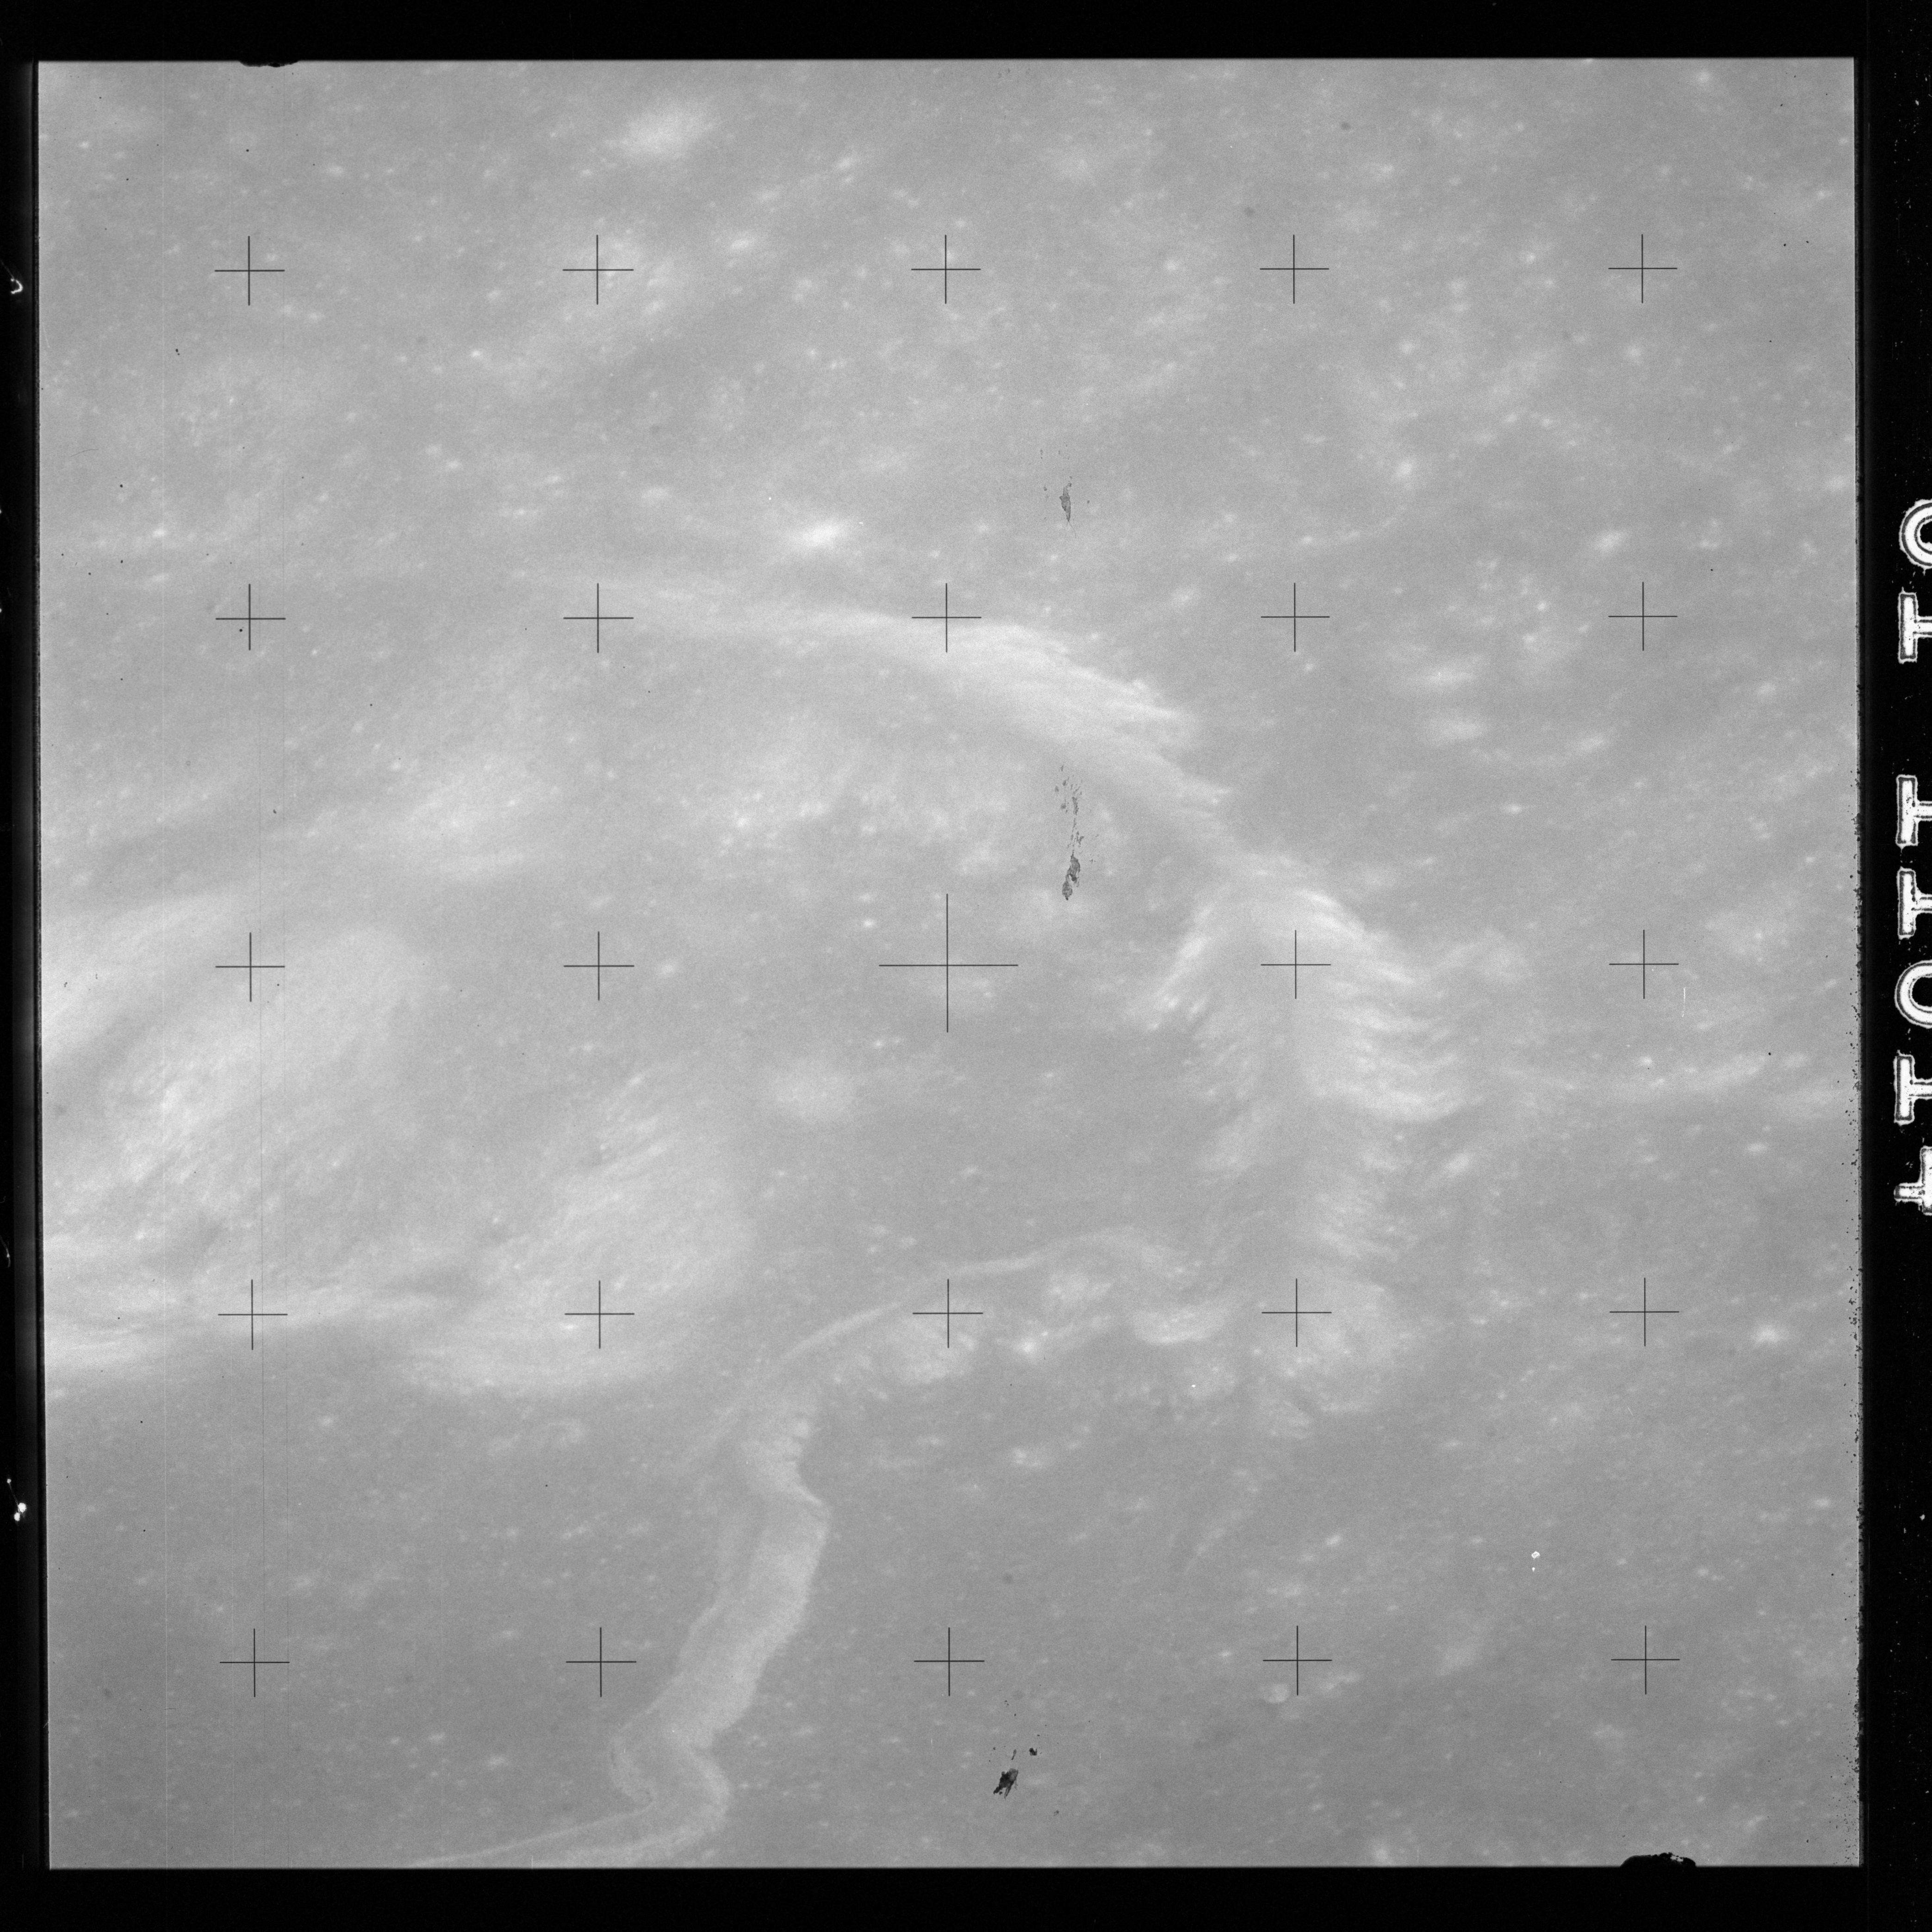
On colour magazine O using a 250-mm lens, photos AS15-97-13230 and 13231 look north across the western shore of Mare Serenitatis towards Montes Caucasus.
AS15-97-13230 - Montes Caucasus - Image by NASA/Johnson Space Center.
AS15-97-13231 - Montes Caucasus - Image by NASA/Johnson Space Center.
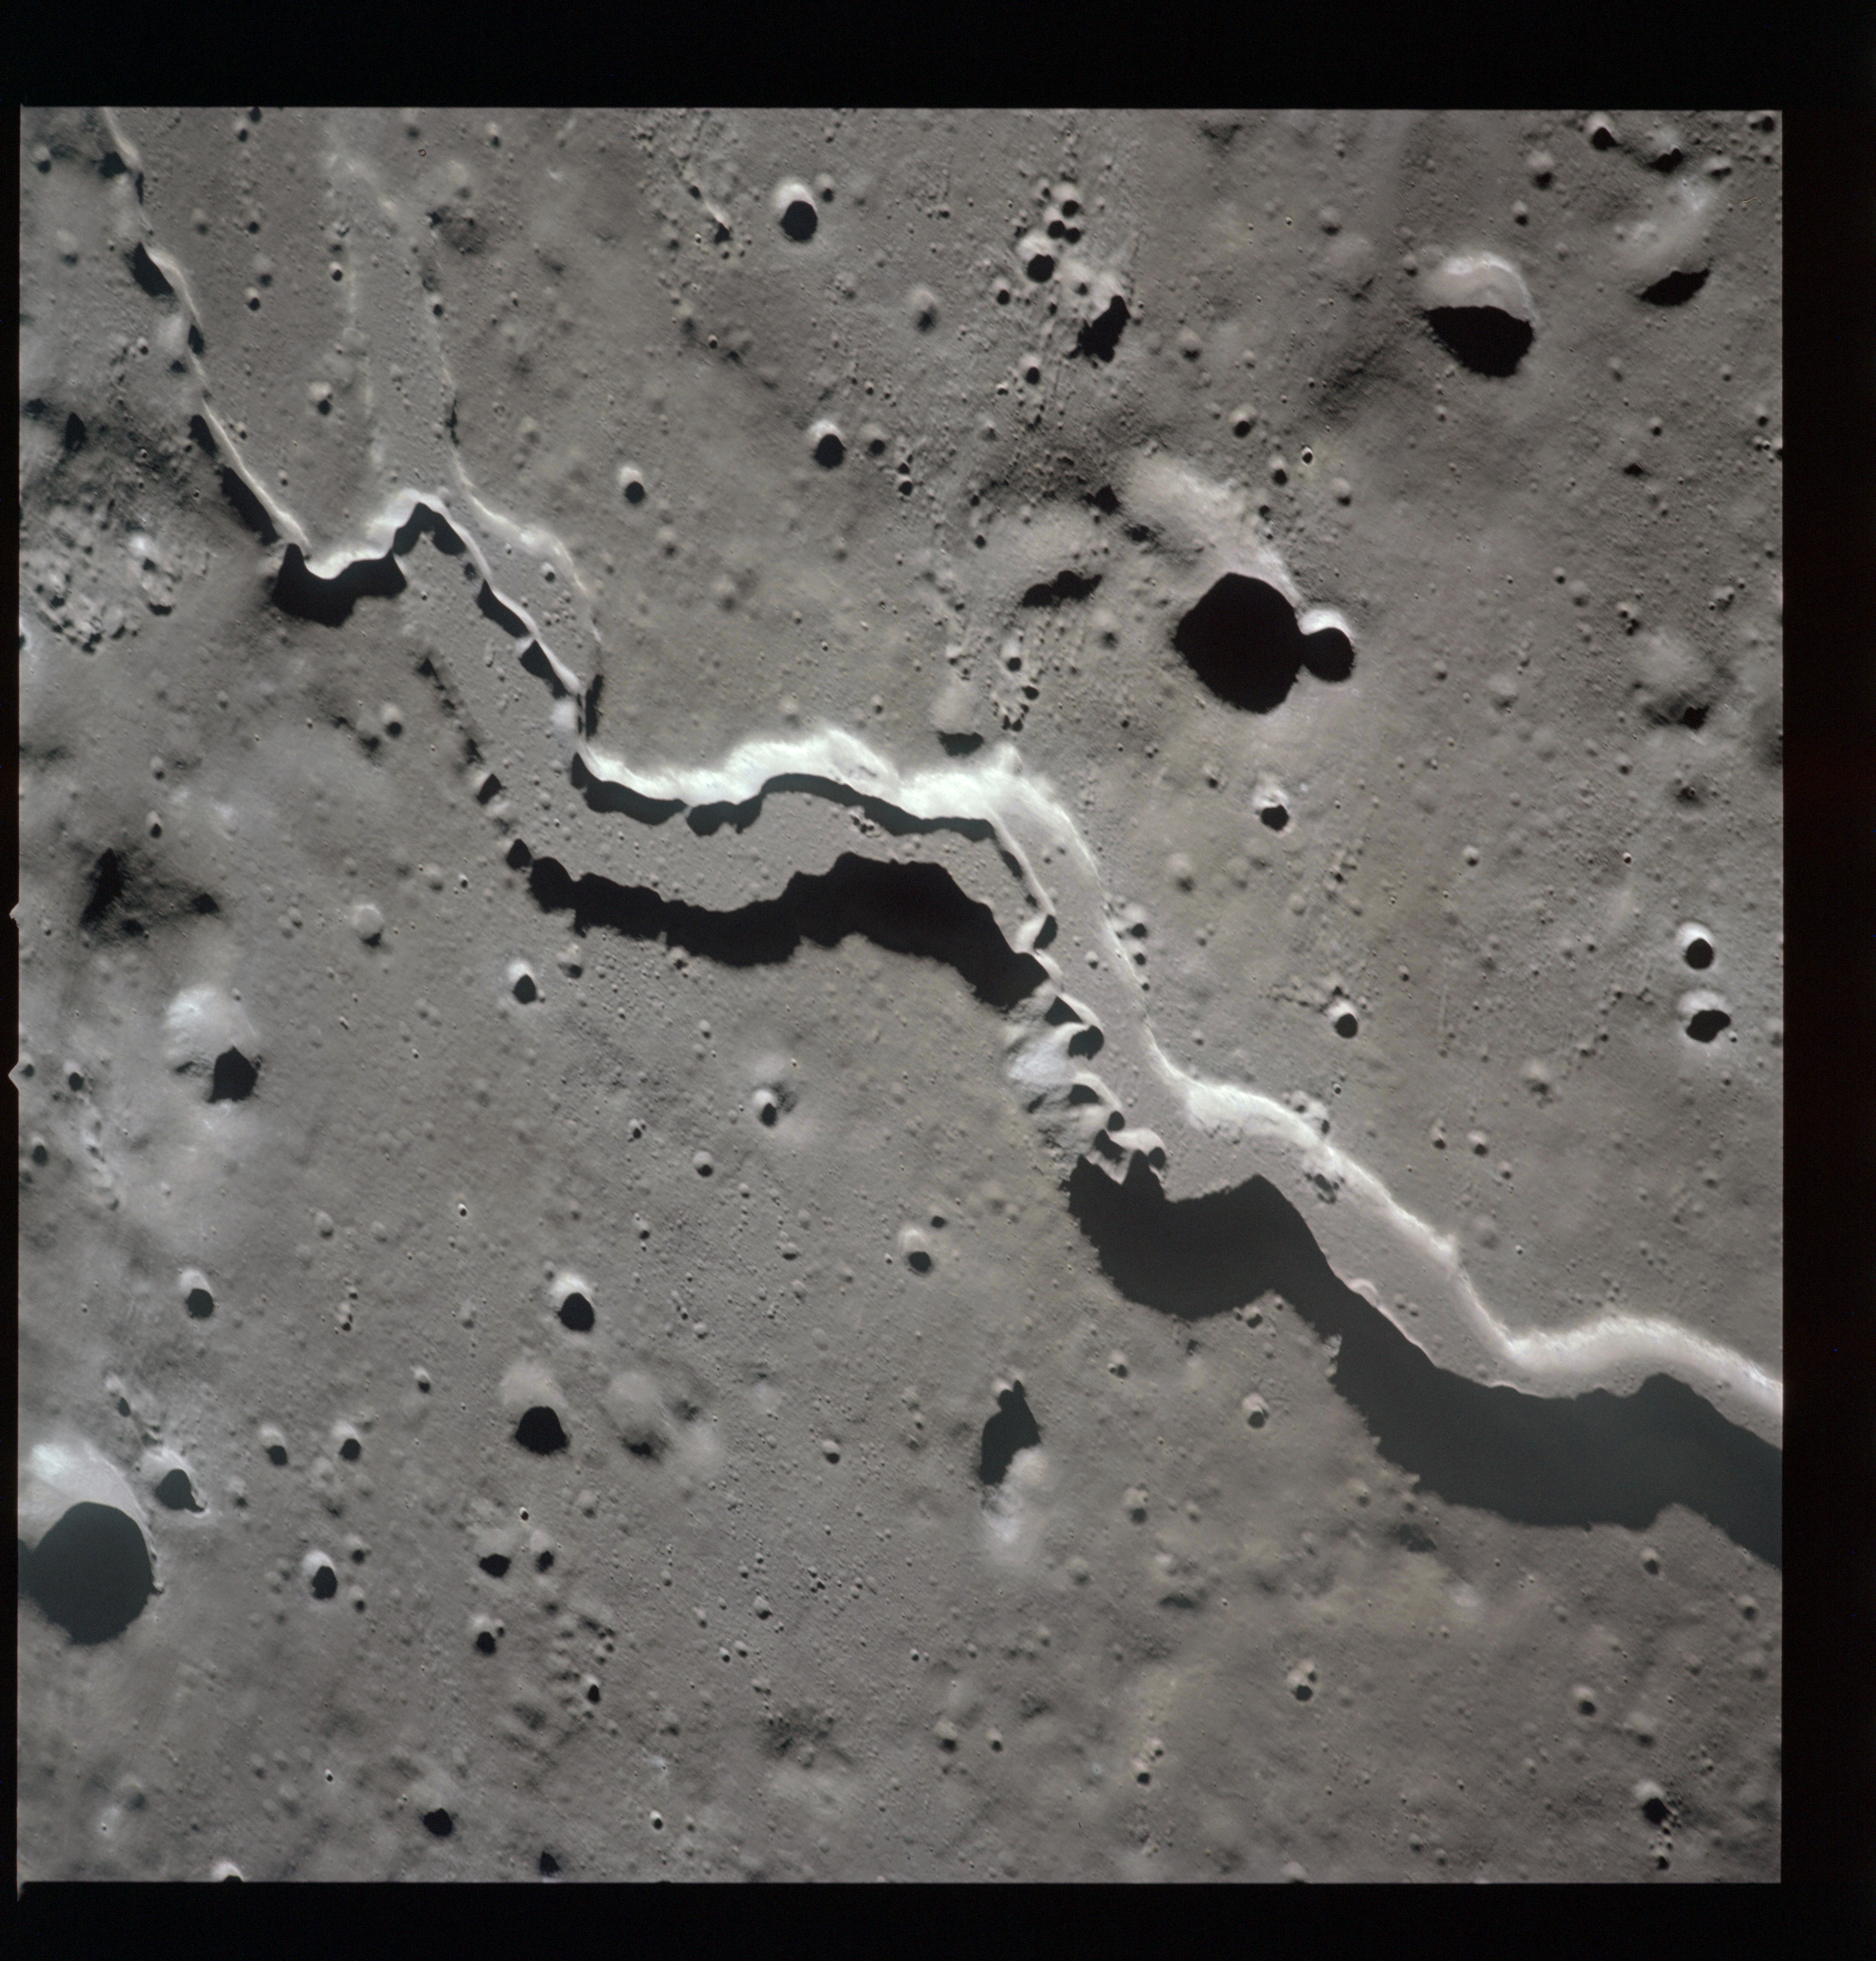
The spacecraft is approaching the Apennines and the landing site and a frame, AS15-97-13232, is taken looking forward and north to Rima Hadley.
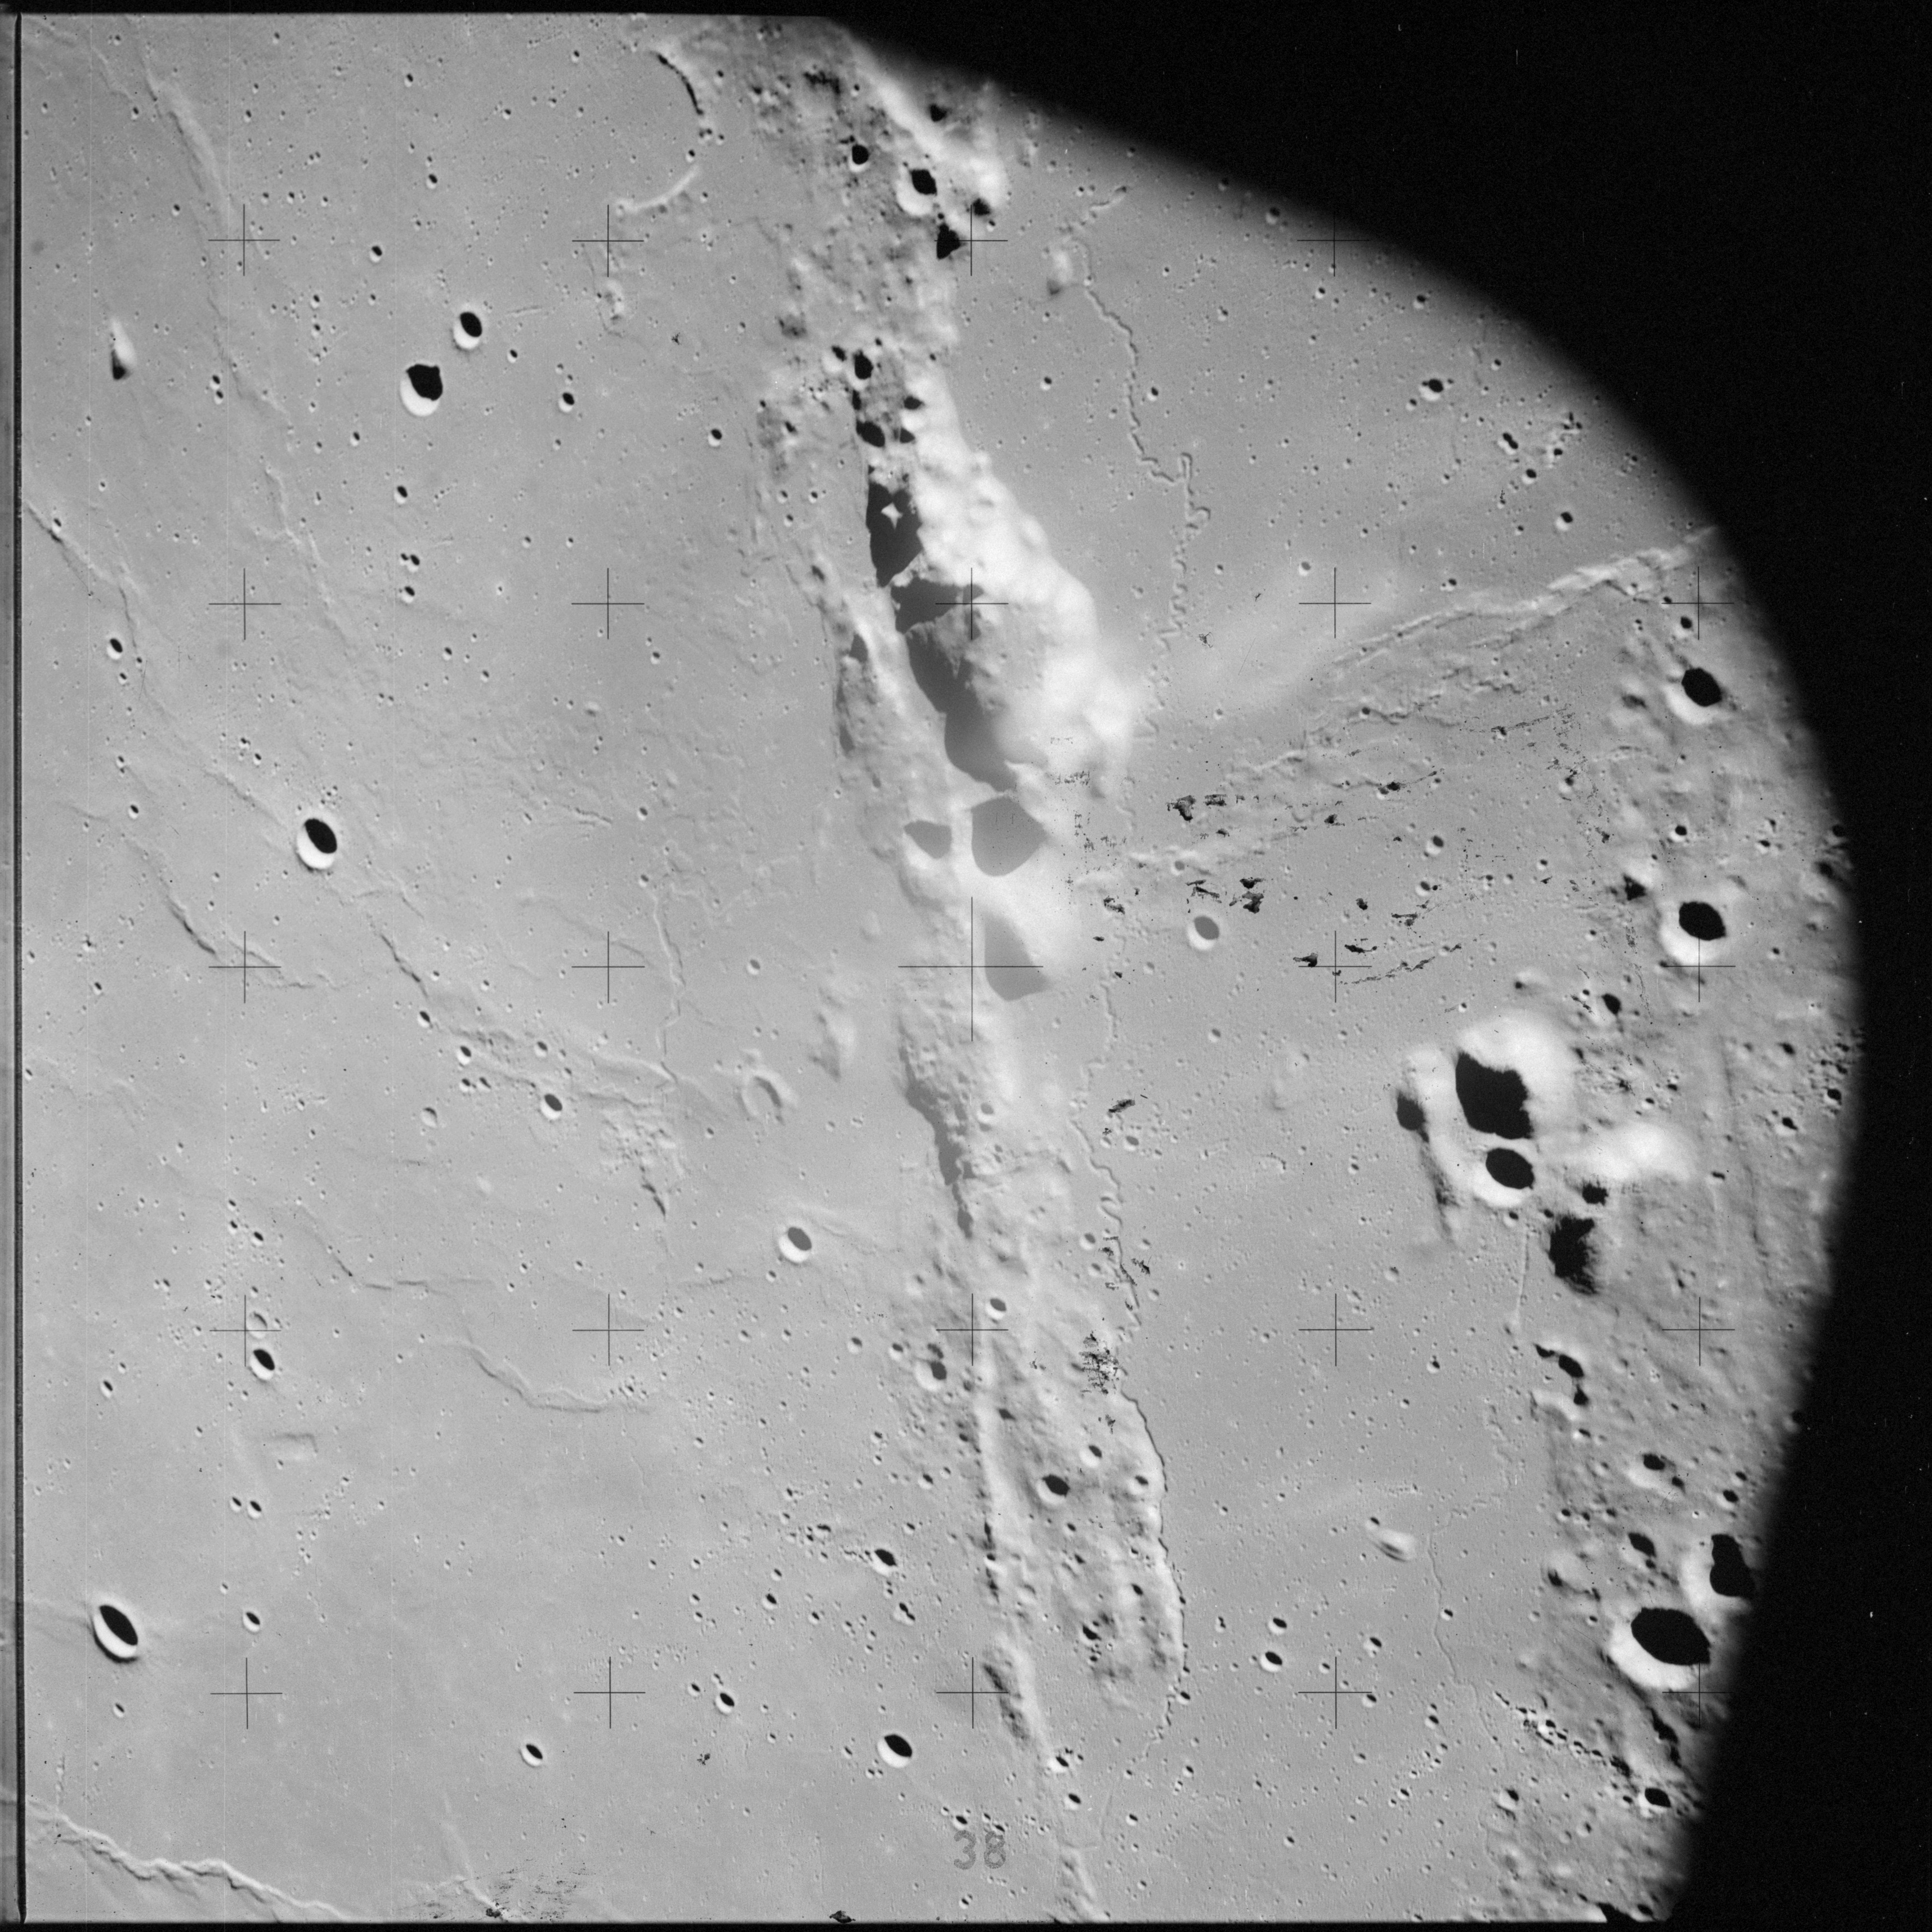
AS15-97-13232 - Rima Hadley - Image by NASA/Johnson Space Center.
Mount Hadley Delta is on the right with the landing site just beyond it. The source of the rille, the arcuate cleft, Béla, is at the extreme bottom left.
On magazine PP, two frames, AS15-90-12295 and 12296, are taken of the same view of the Apennine range but with a 60-mm lens.
AS15-90-12295 - Montes Apenninus - Image by NASA/Johnson Space Center.
AS15-90-12296 - Montes Apenninus - Image by NASA/Johnson Space Center.
The bright crater is Aratus and the darker crater to its lower right is Galen, a 10-km bowl named after a Greek physician, Galenos, c. 129-200 AD and formerly known as Aratus A. Extend a line from Galen to Aratus and the same distance beyond and you come to Mount Hadley Delta and the landing site.
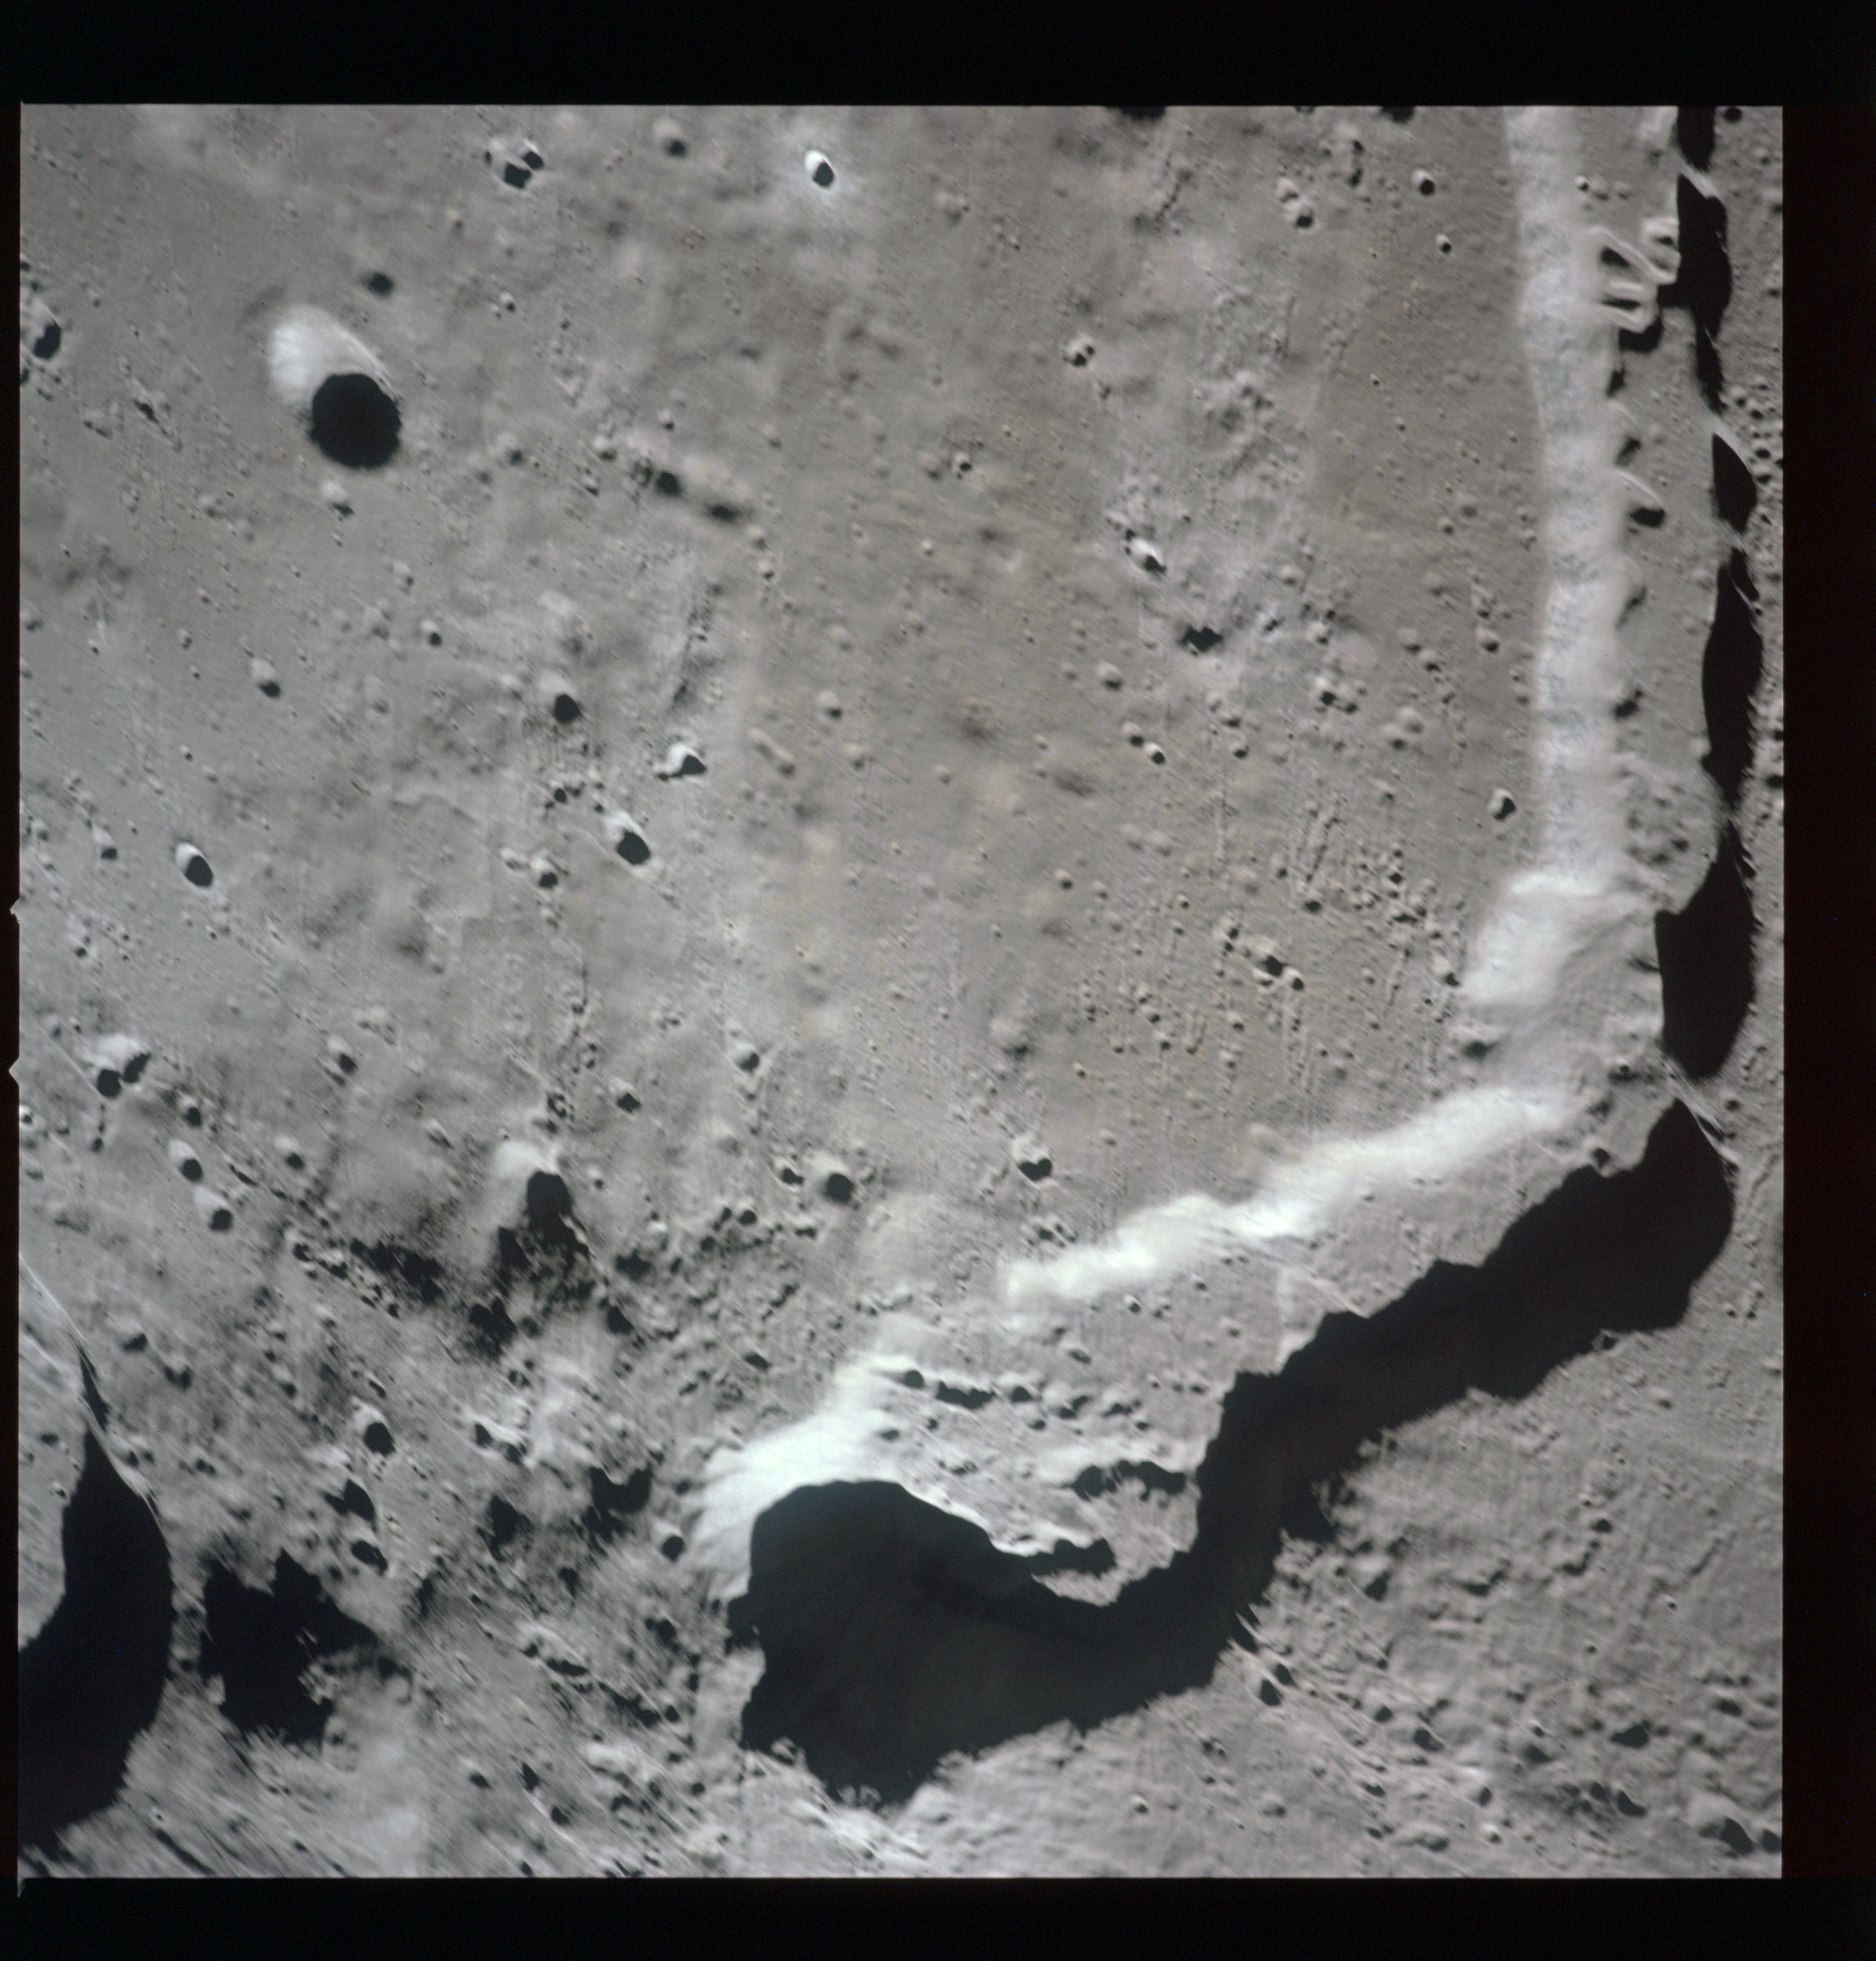
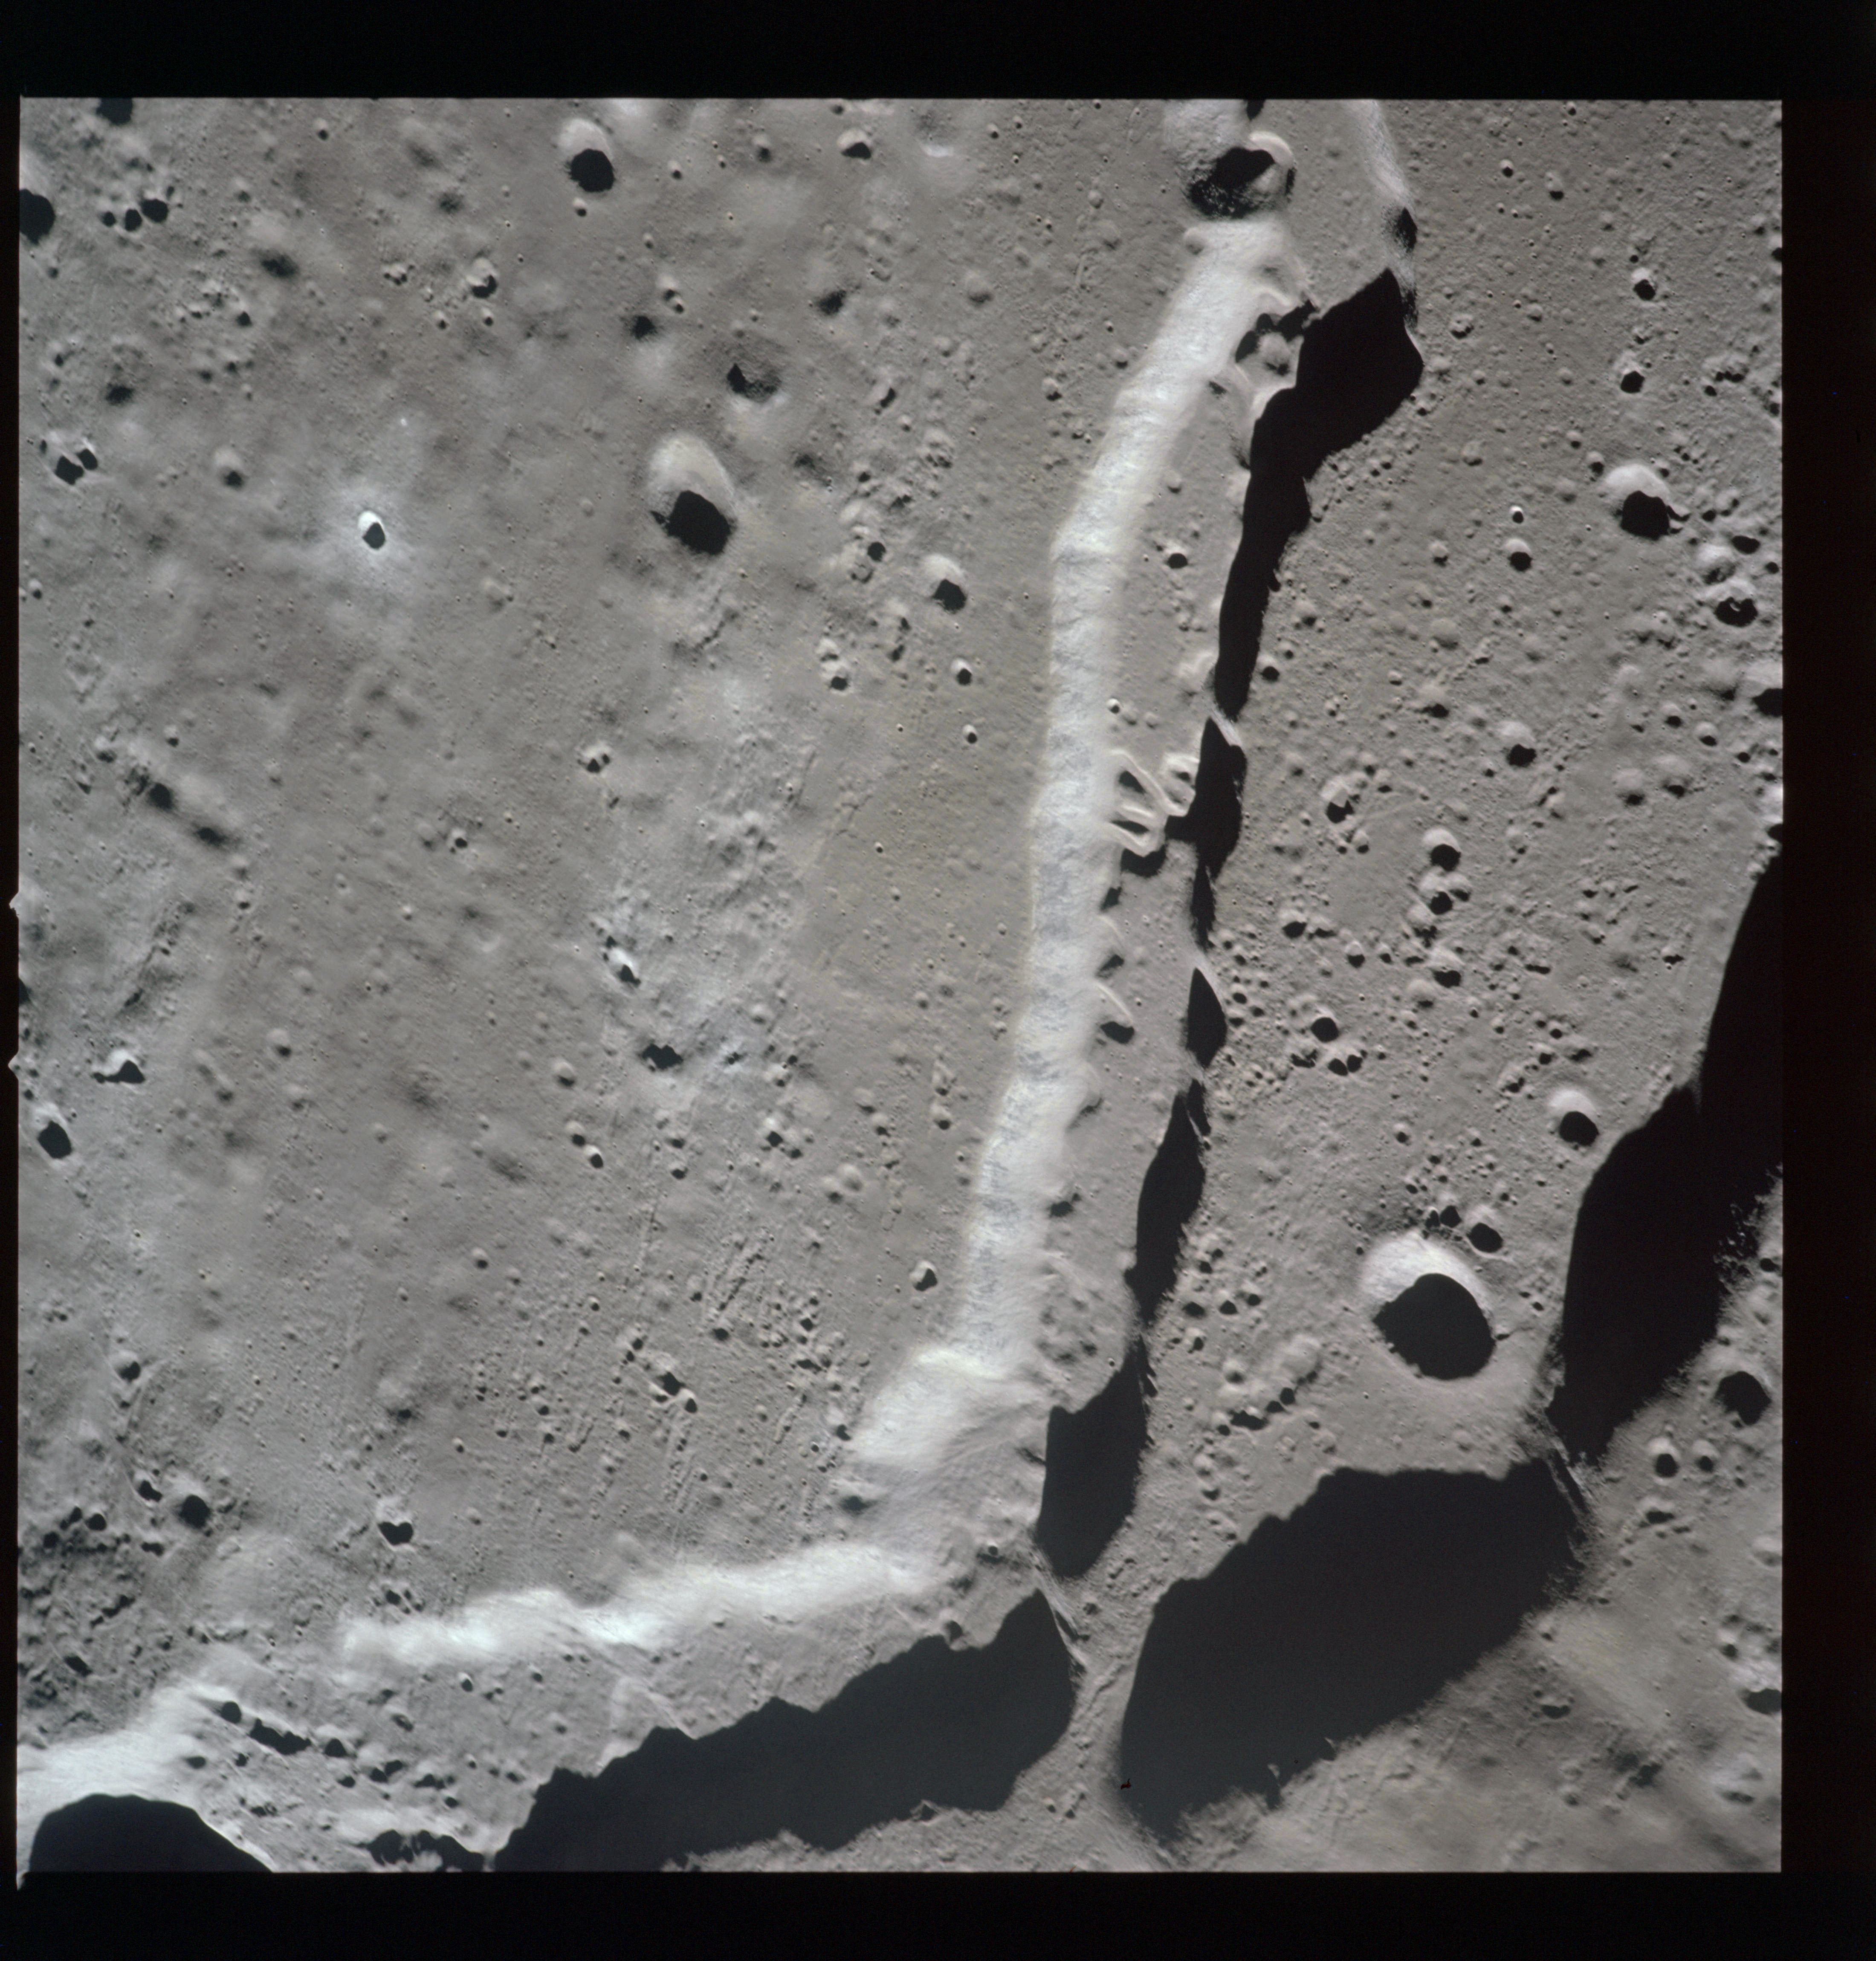
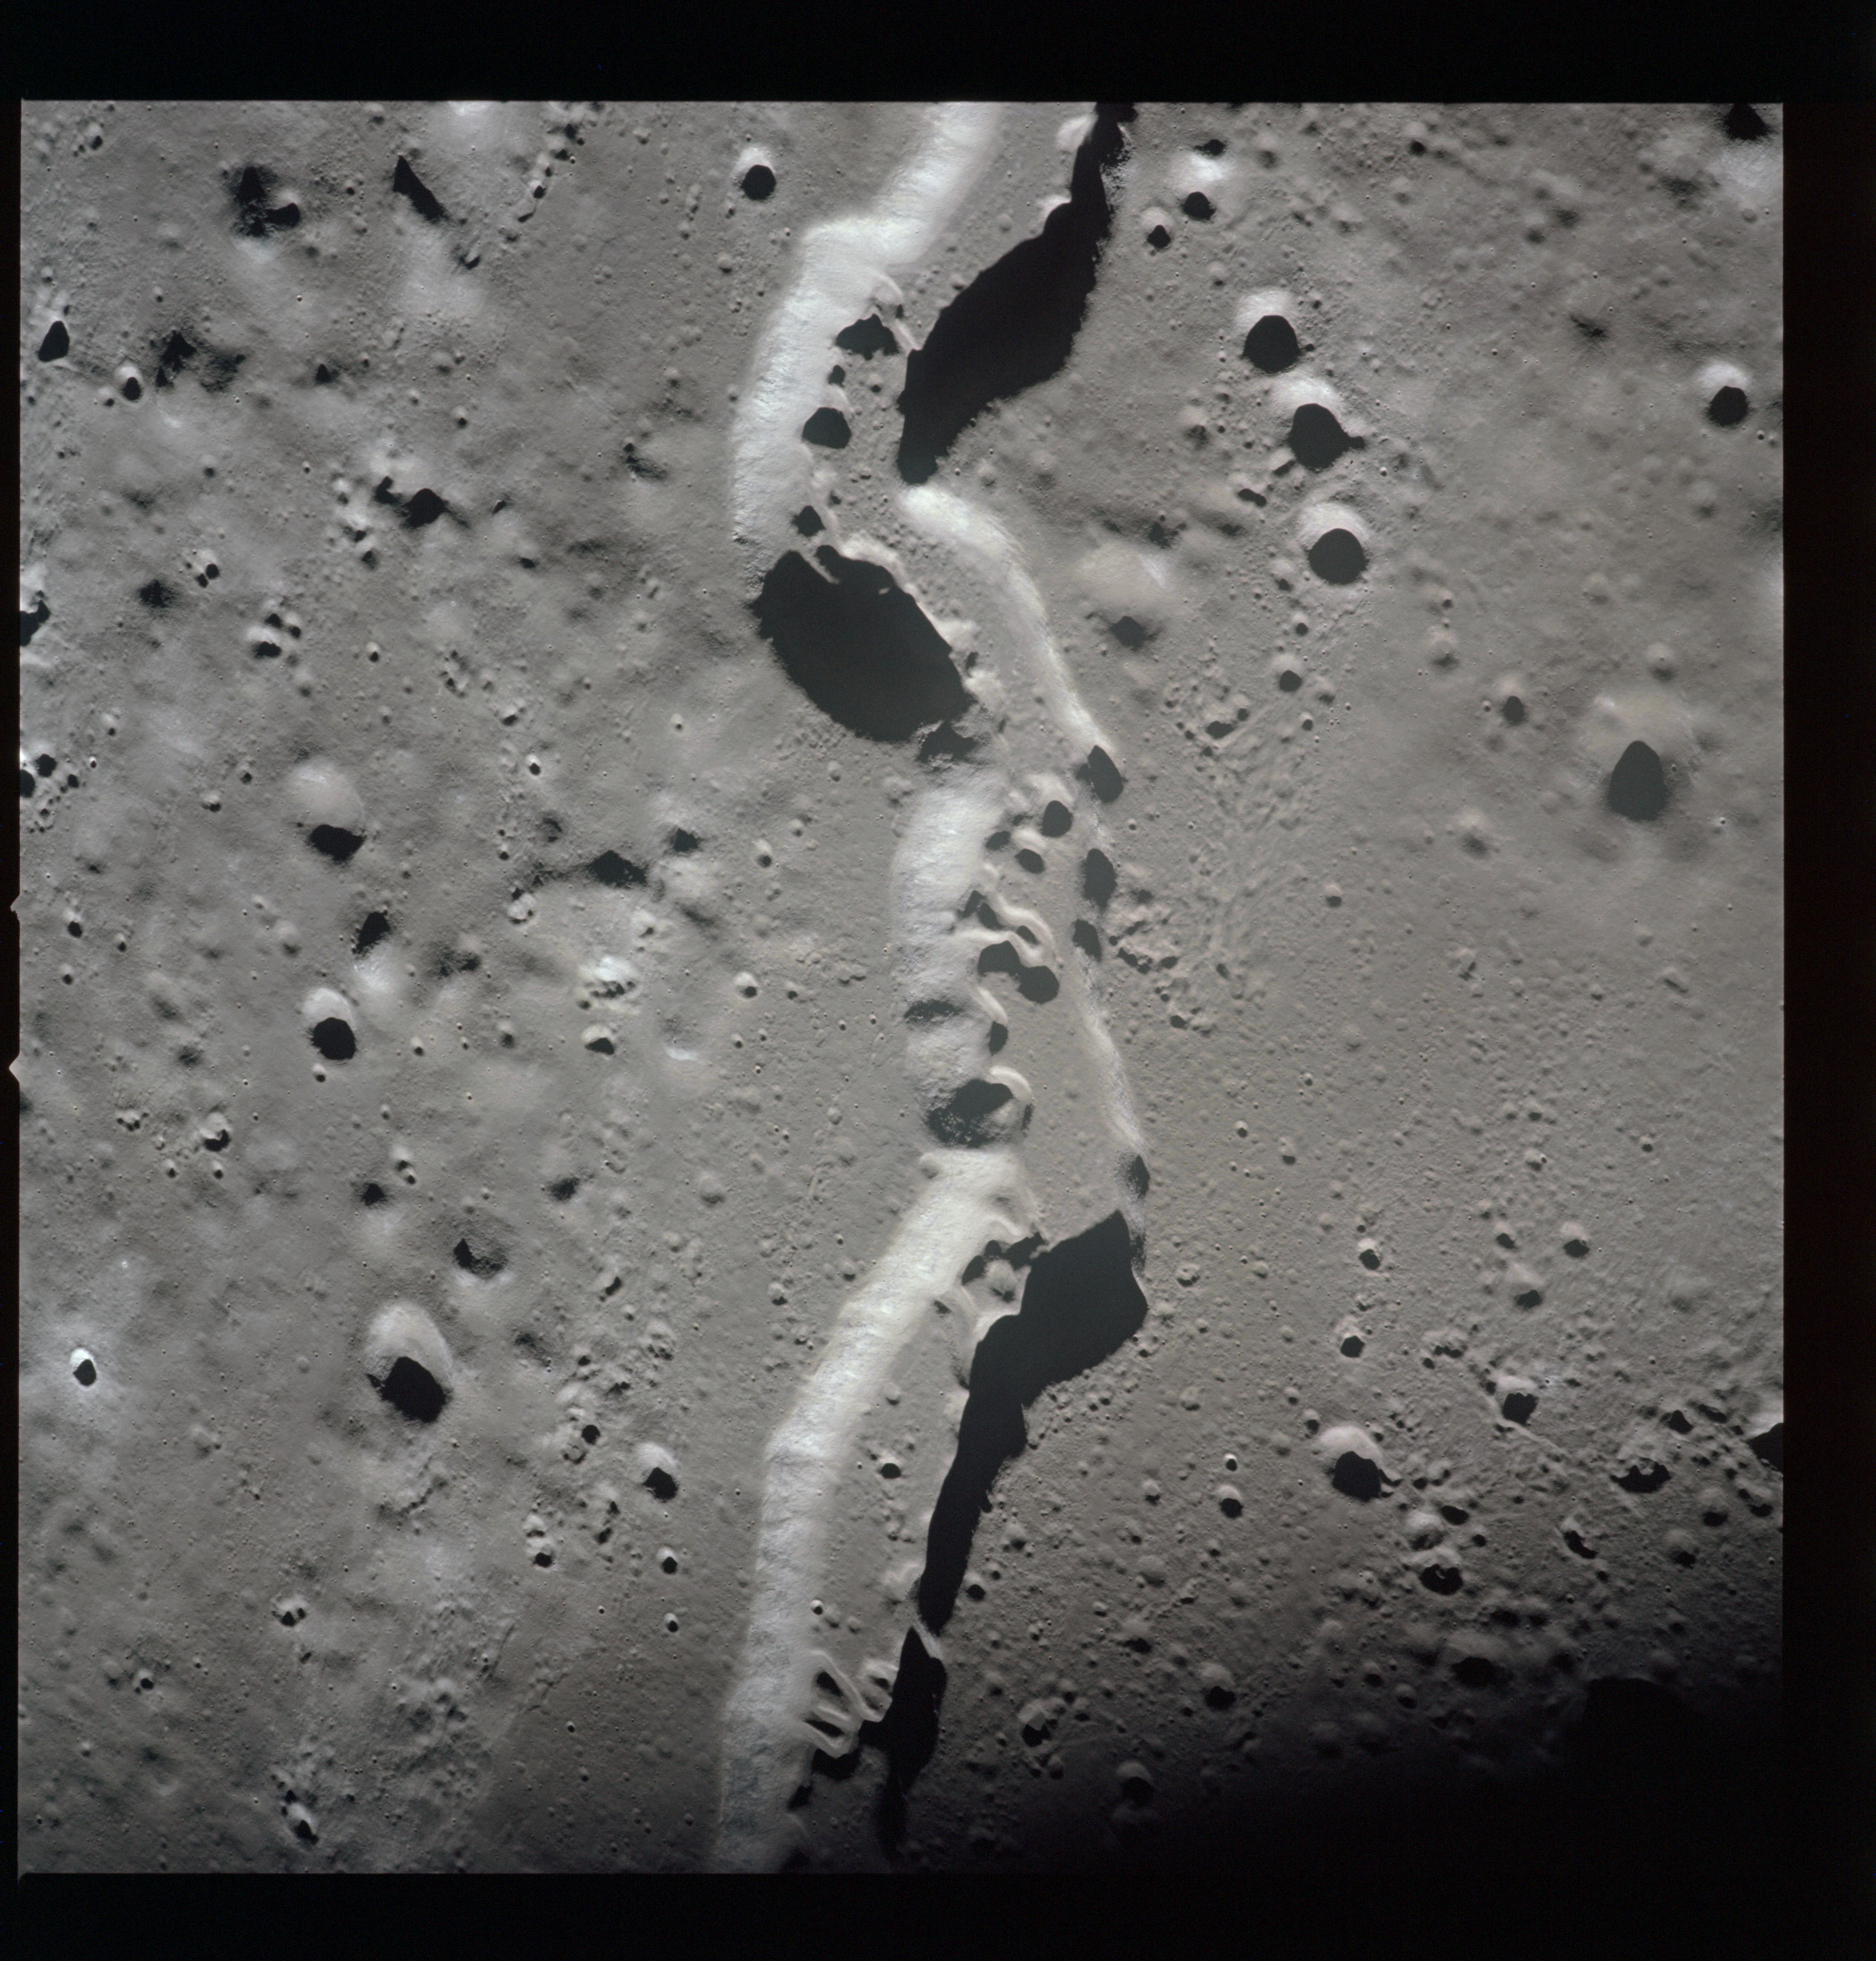
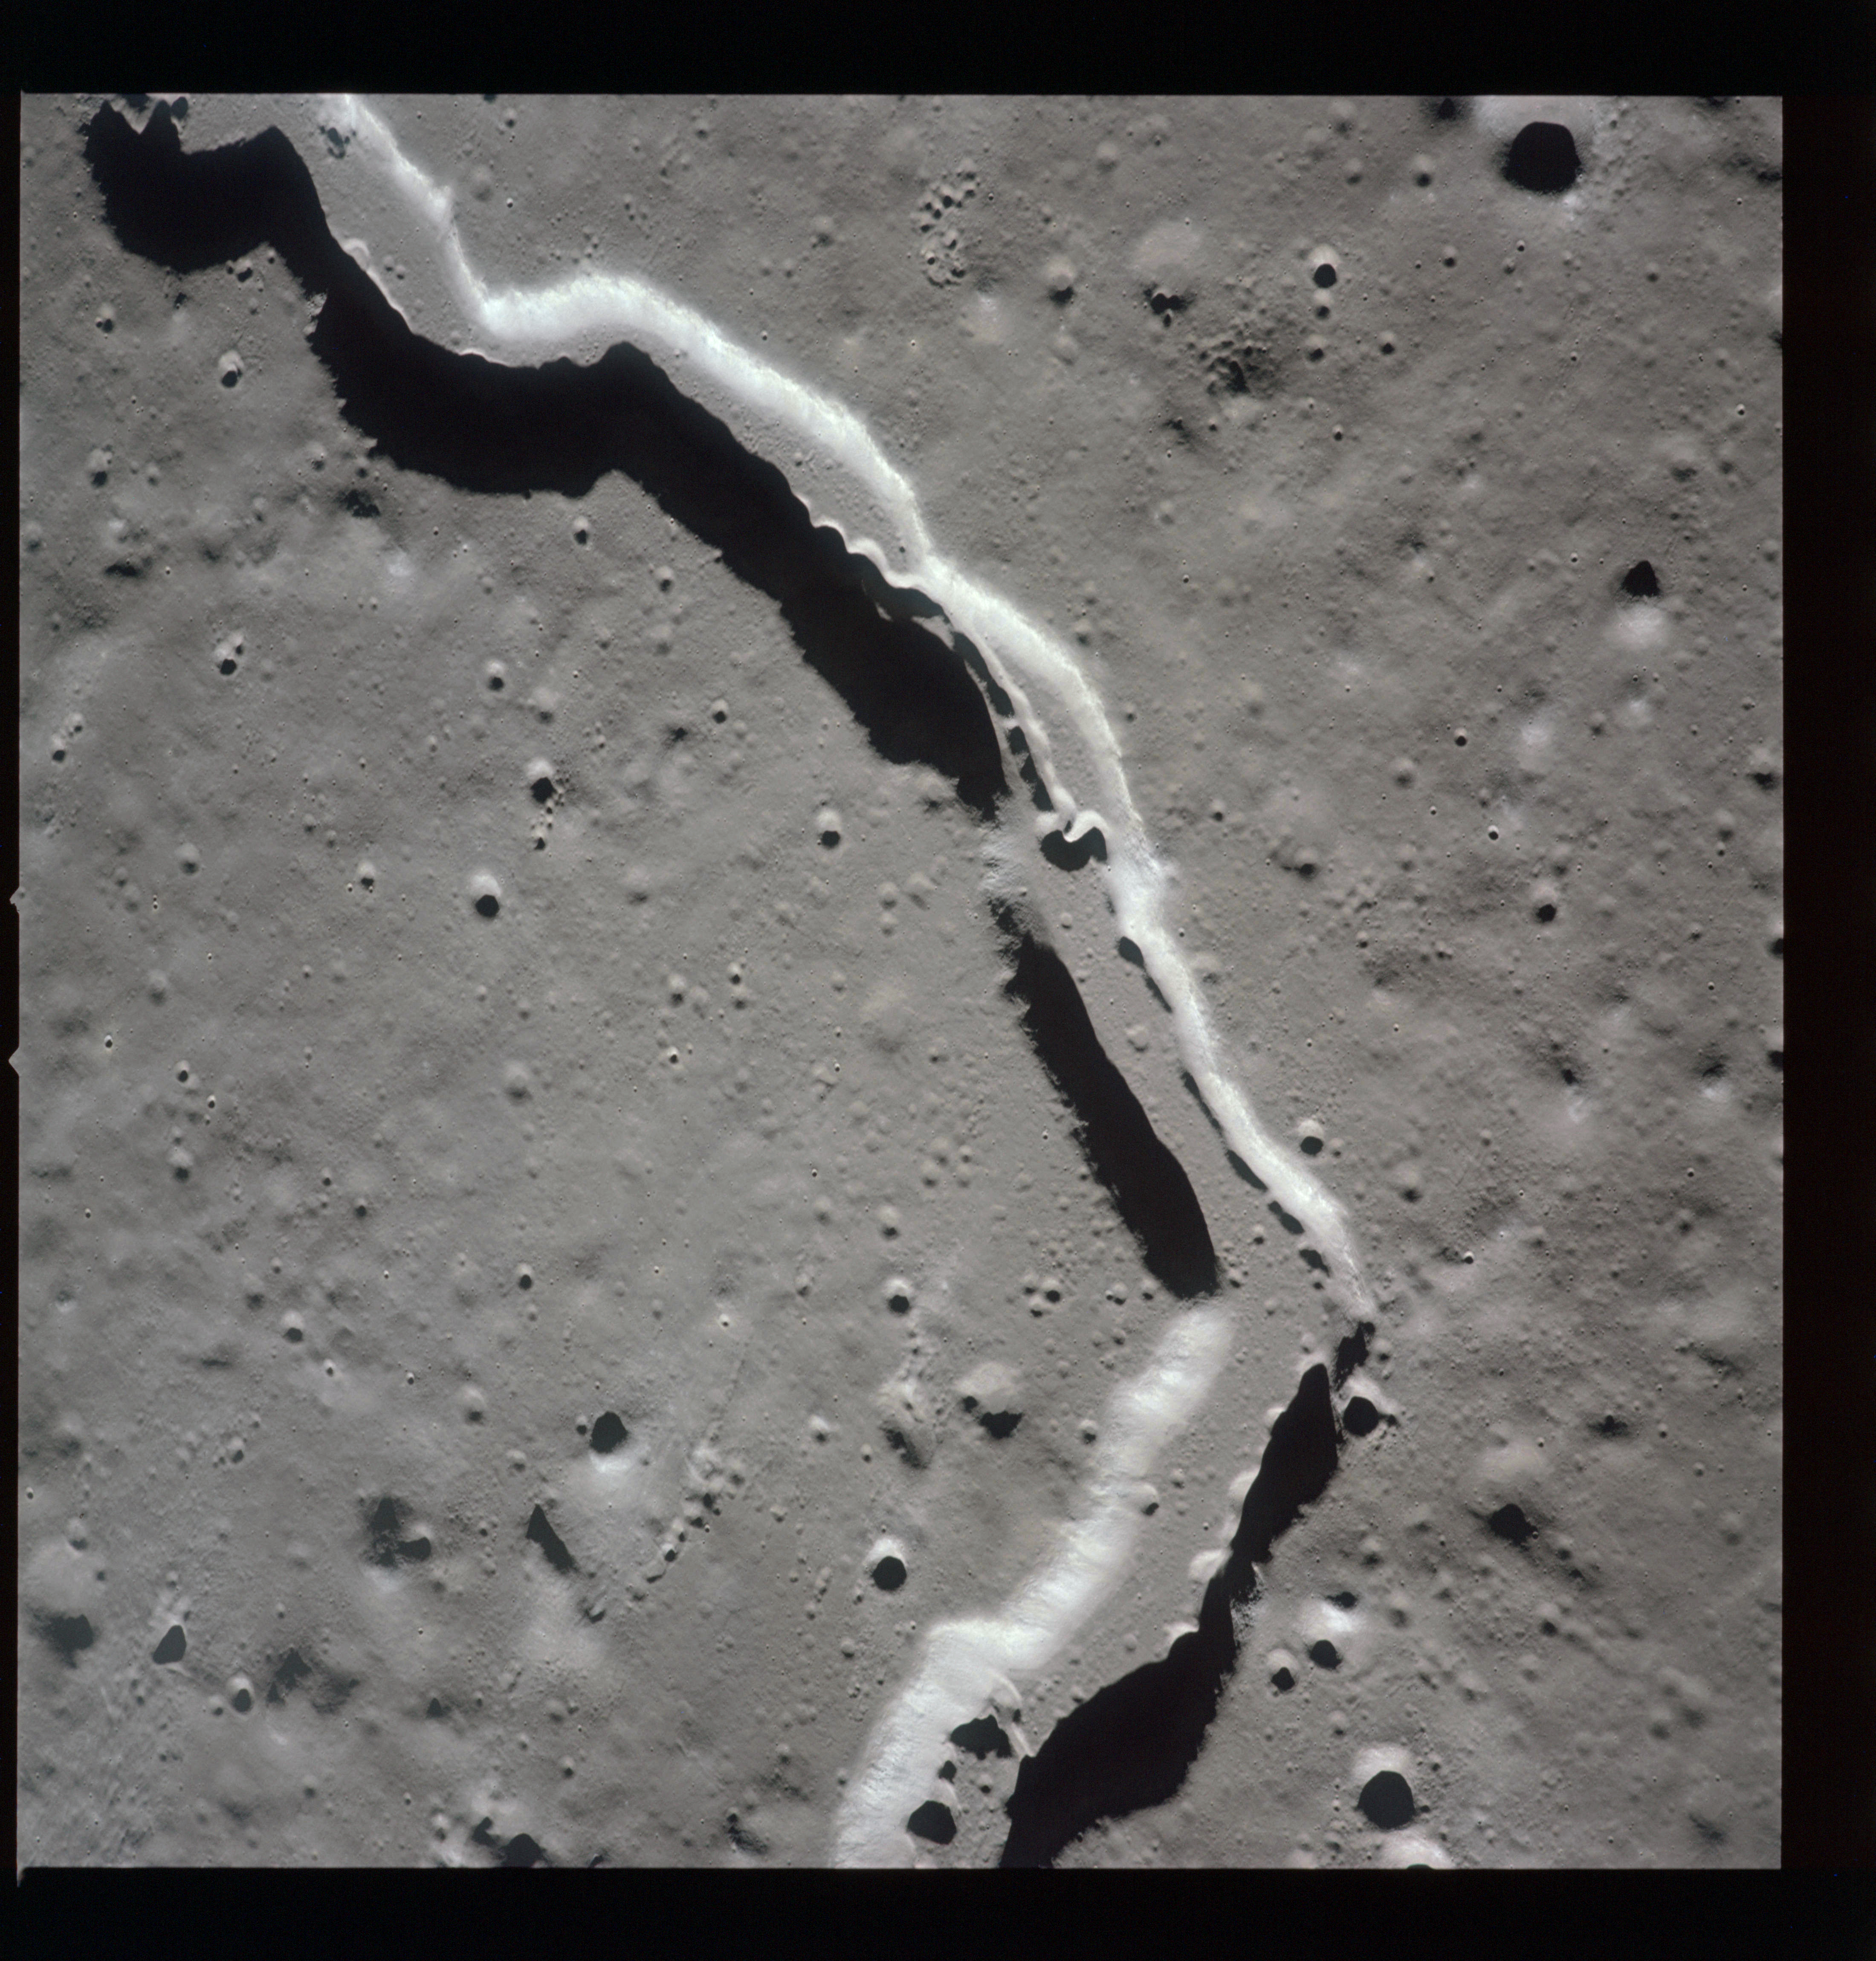
Going from the wide-angle to the 500-mm telephoto lens, AS15-81-11013 is a somewhat indistinct view of one of the most unusual features on the Moon, Ina.
AS15-81-11013 - Lacus Felicitatis including lunar feature Ina. Image centre at 18.71°N, 5.39°E. Image is contrast stretched. Image without contrast stretching - Image by NASA/Johnson Space Center.
LROC context image of lunar feature Ina - Image by LROC/ASU.
As shown by the above image from Lunar Reconnaissance Orbiter, Ina is clearly very different in form to just about everywhere else on the Moon and its appearance has raised some controversies about its origin. Recent theories suggest that it shows signs of relatively recent volcanism; i.e. less than 100 million years ago, which in lunar terms is almost current. This is largely based on the technique of crater counting whereby the record of impact can be used as a proxy for time. However, others point out that this technique may have been skewed because the basalt that comprises the feature seems to have been formed from a gas-rich, foamy lava. The porosity of such a basalt would so profoundly affect the formation of craters that it would alter their size and apparent distribution and thereby affect the feature's apparent age. Compensating for this effect would make the feature be as old as the surrounding mare, at about 3.5 billion years. There is another similar feature 47 km west of the sunken crater Maskelyne F in Mare Tranquillitatis, a photograph of which was taken as AS15-92-12519 during Rev 71.
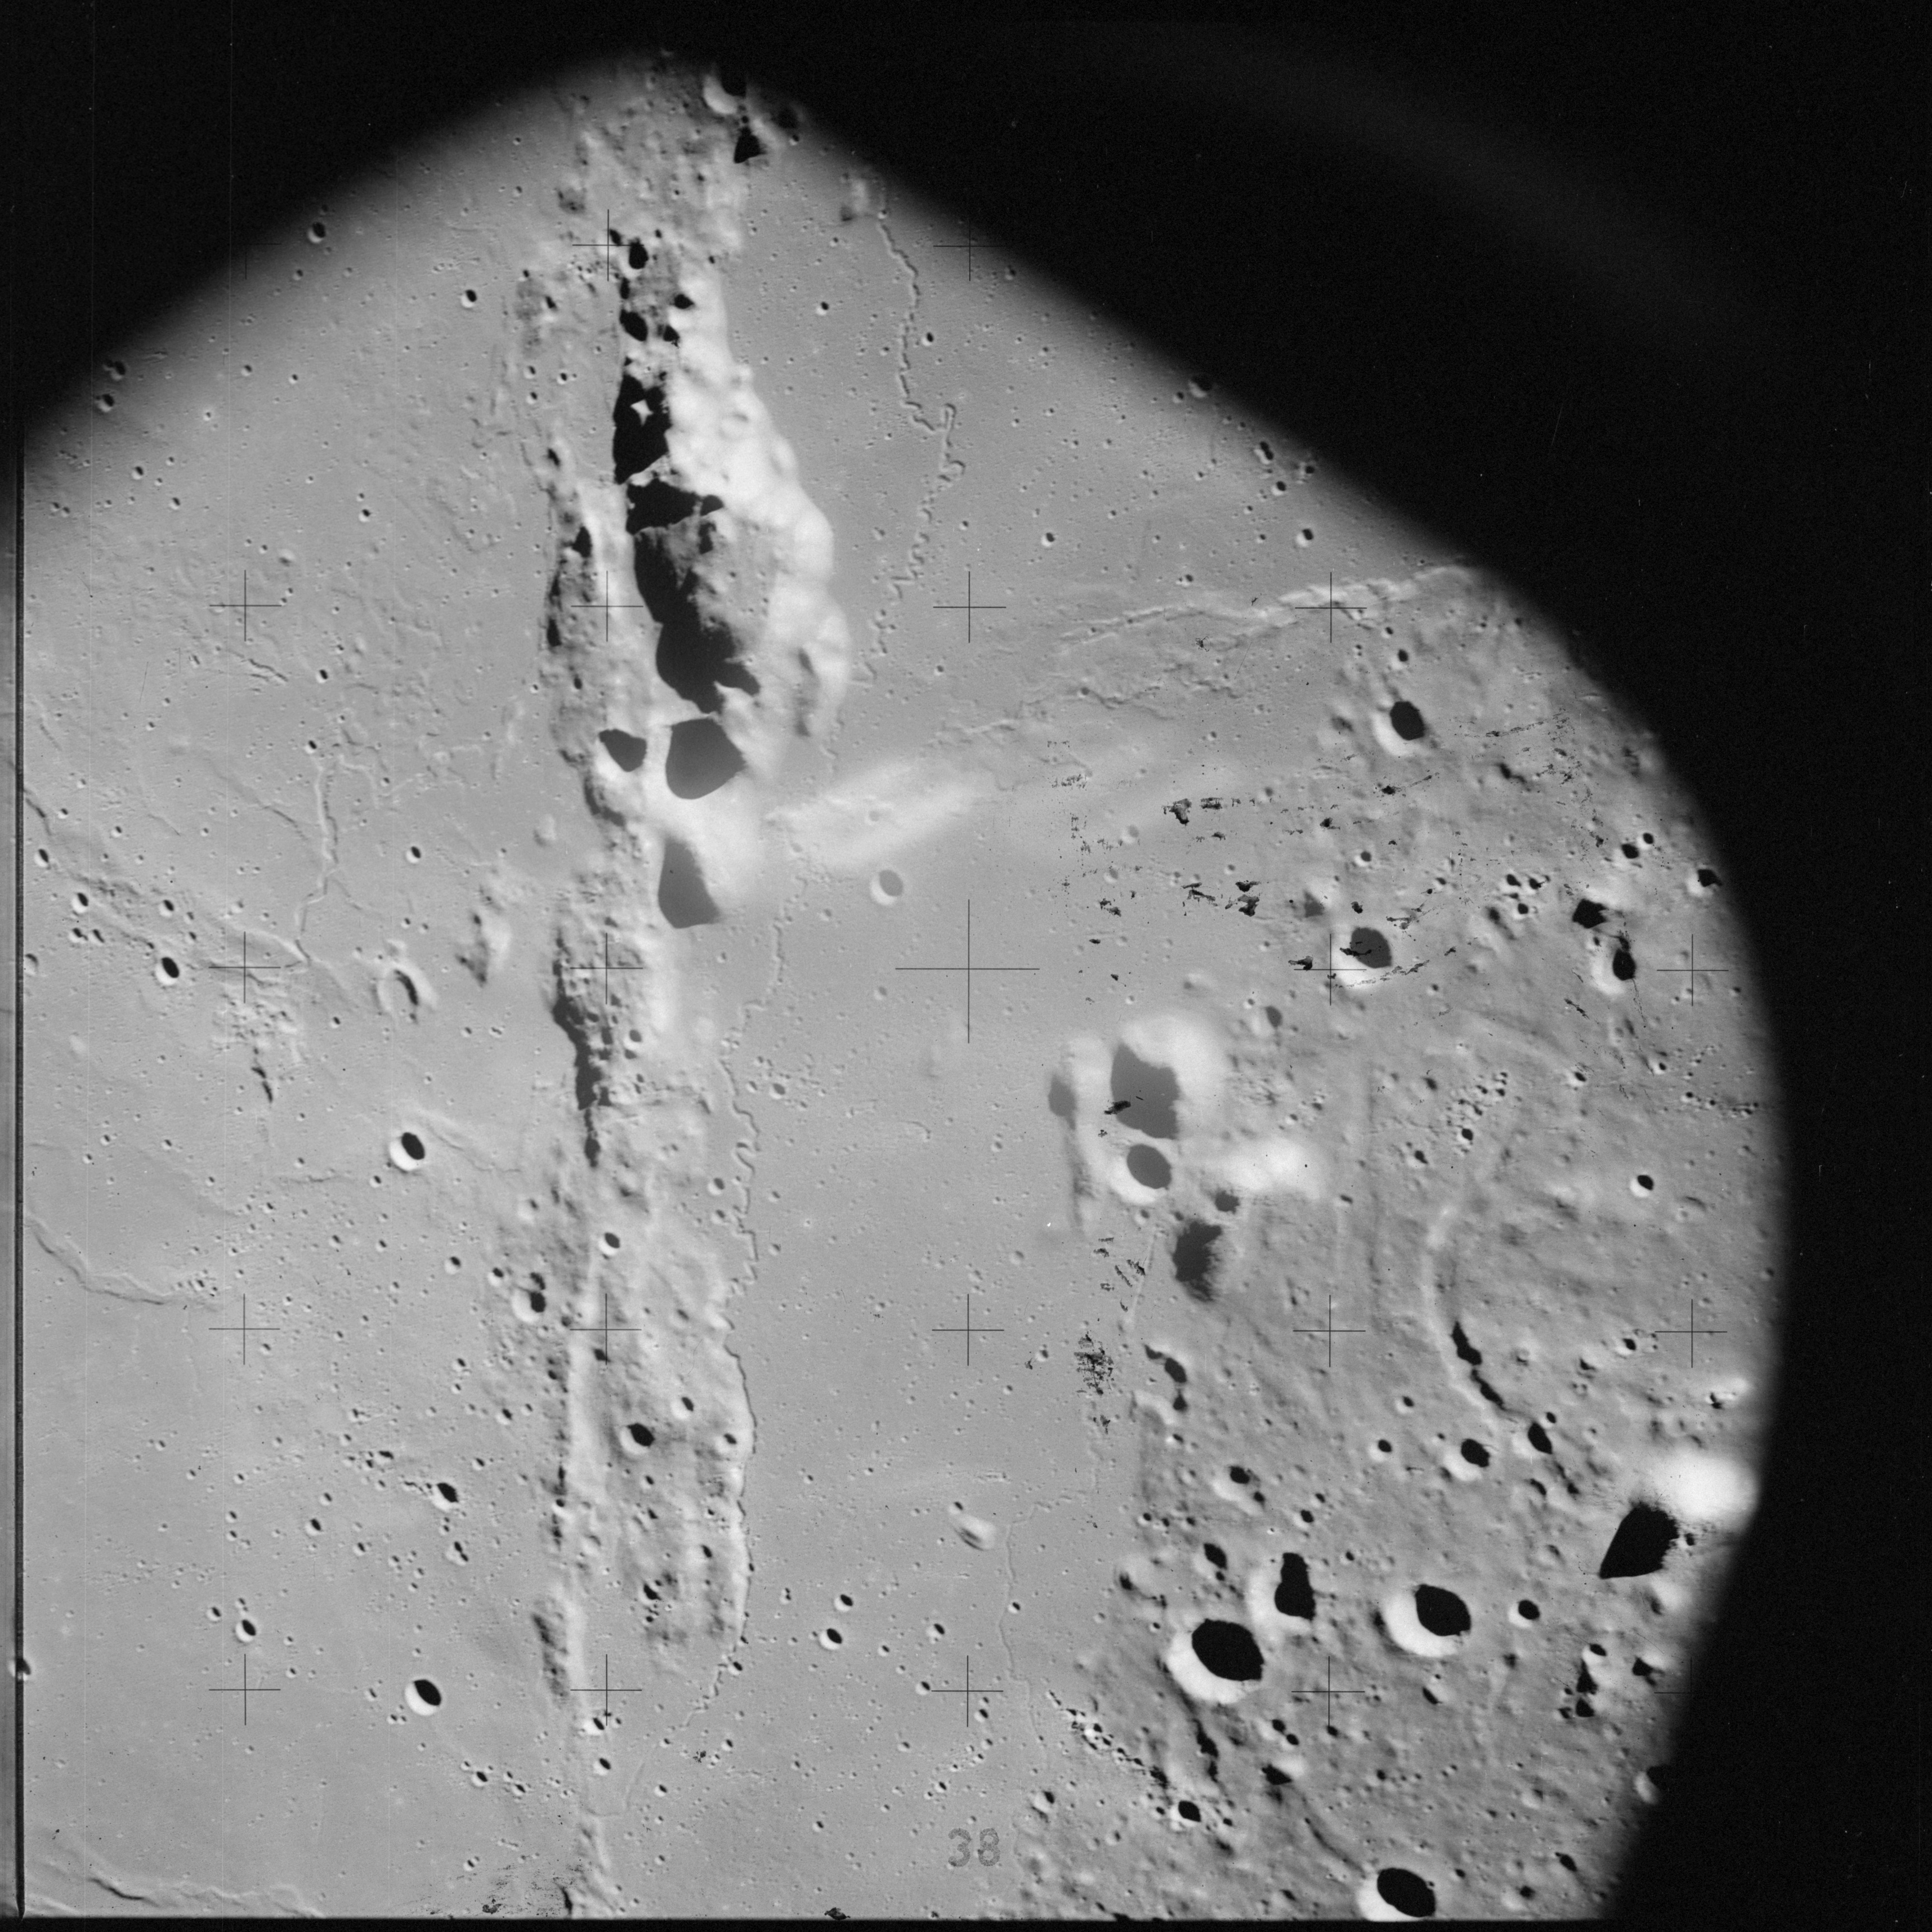
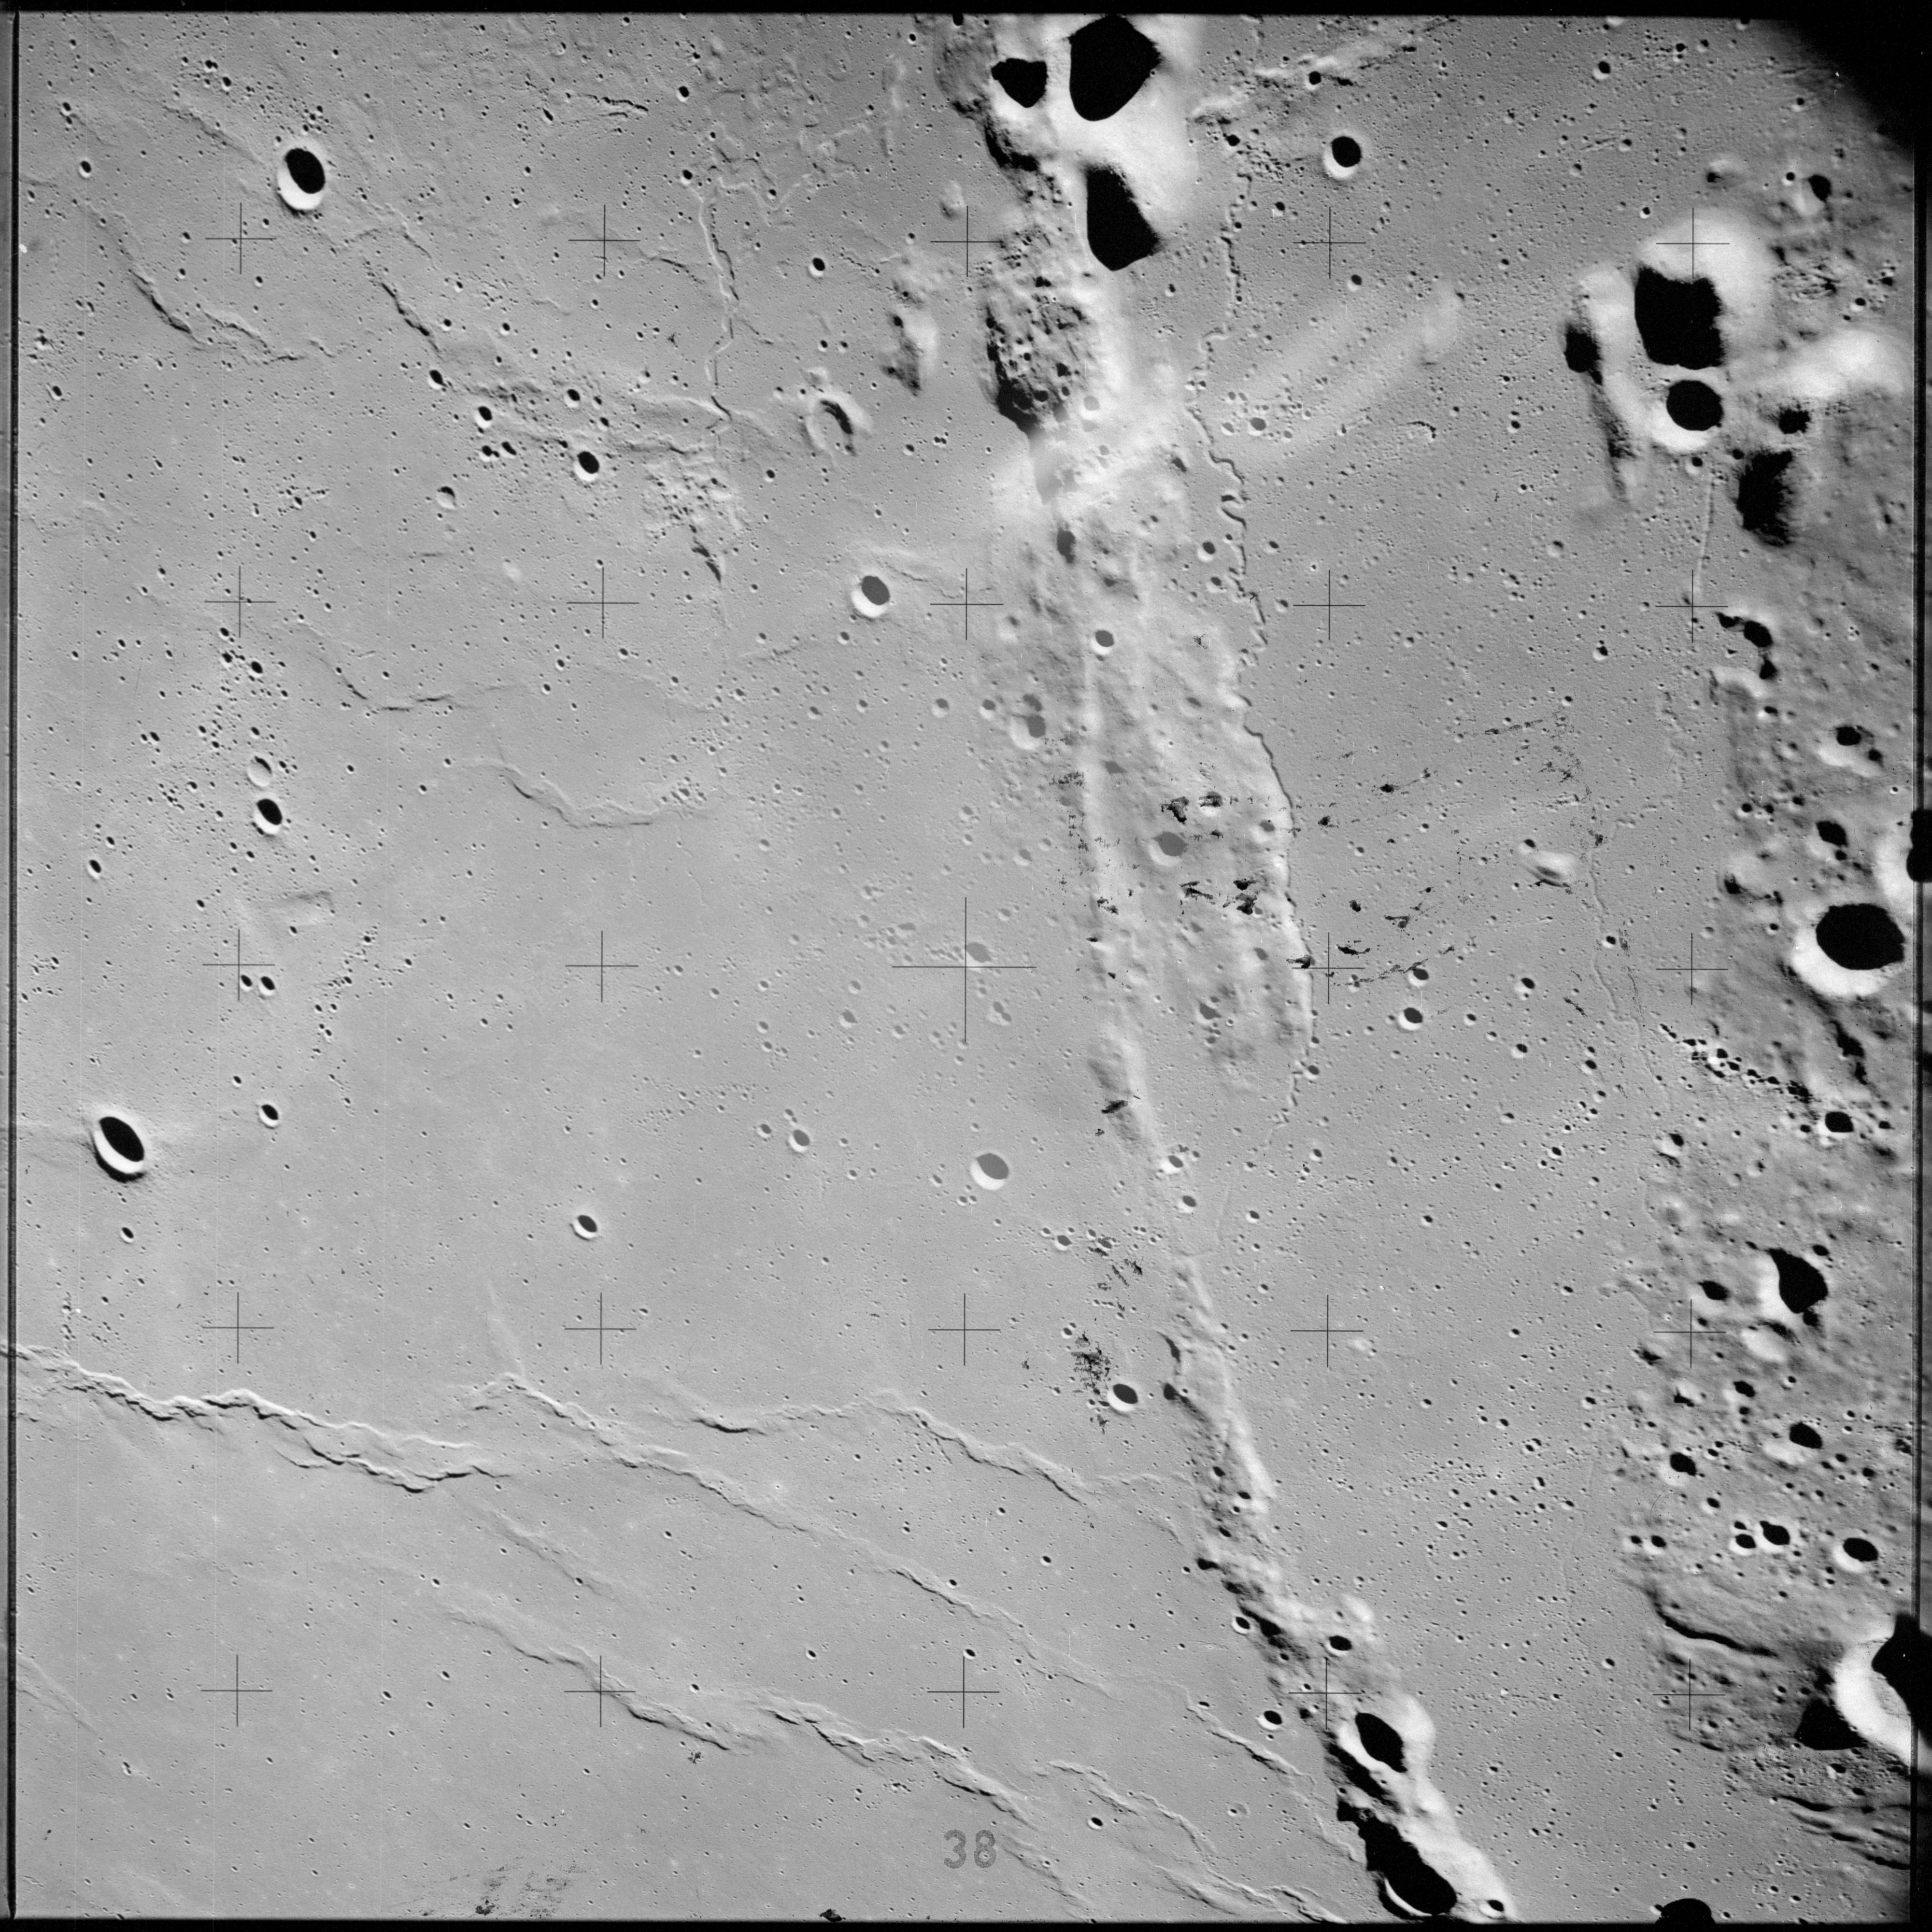
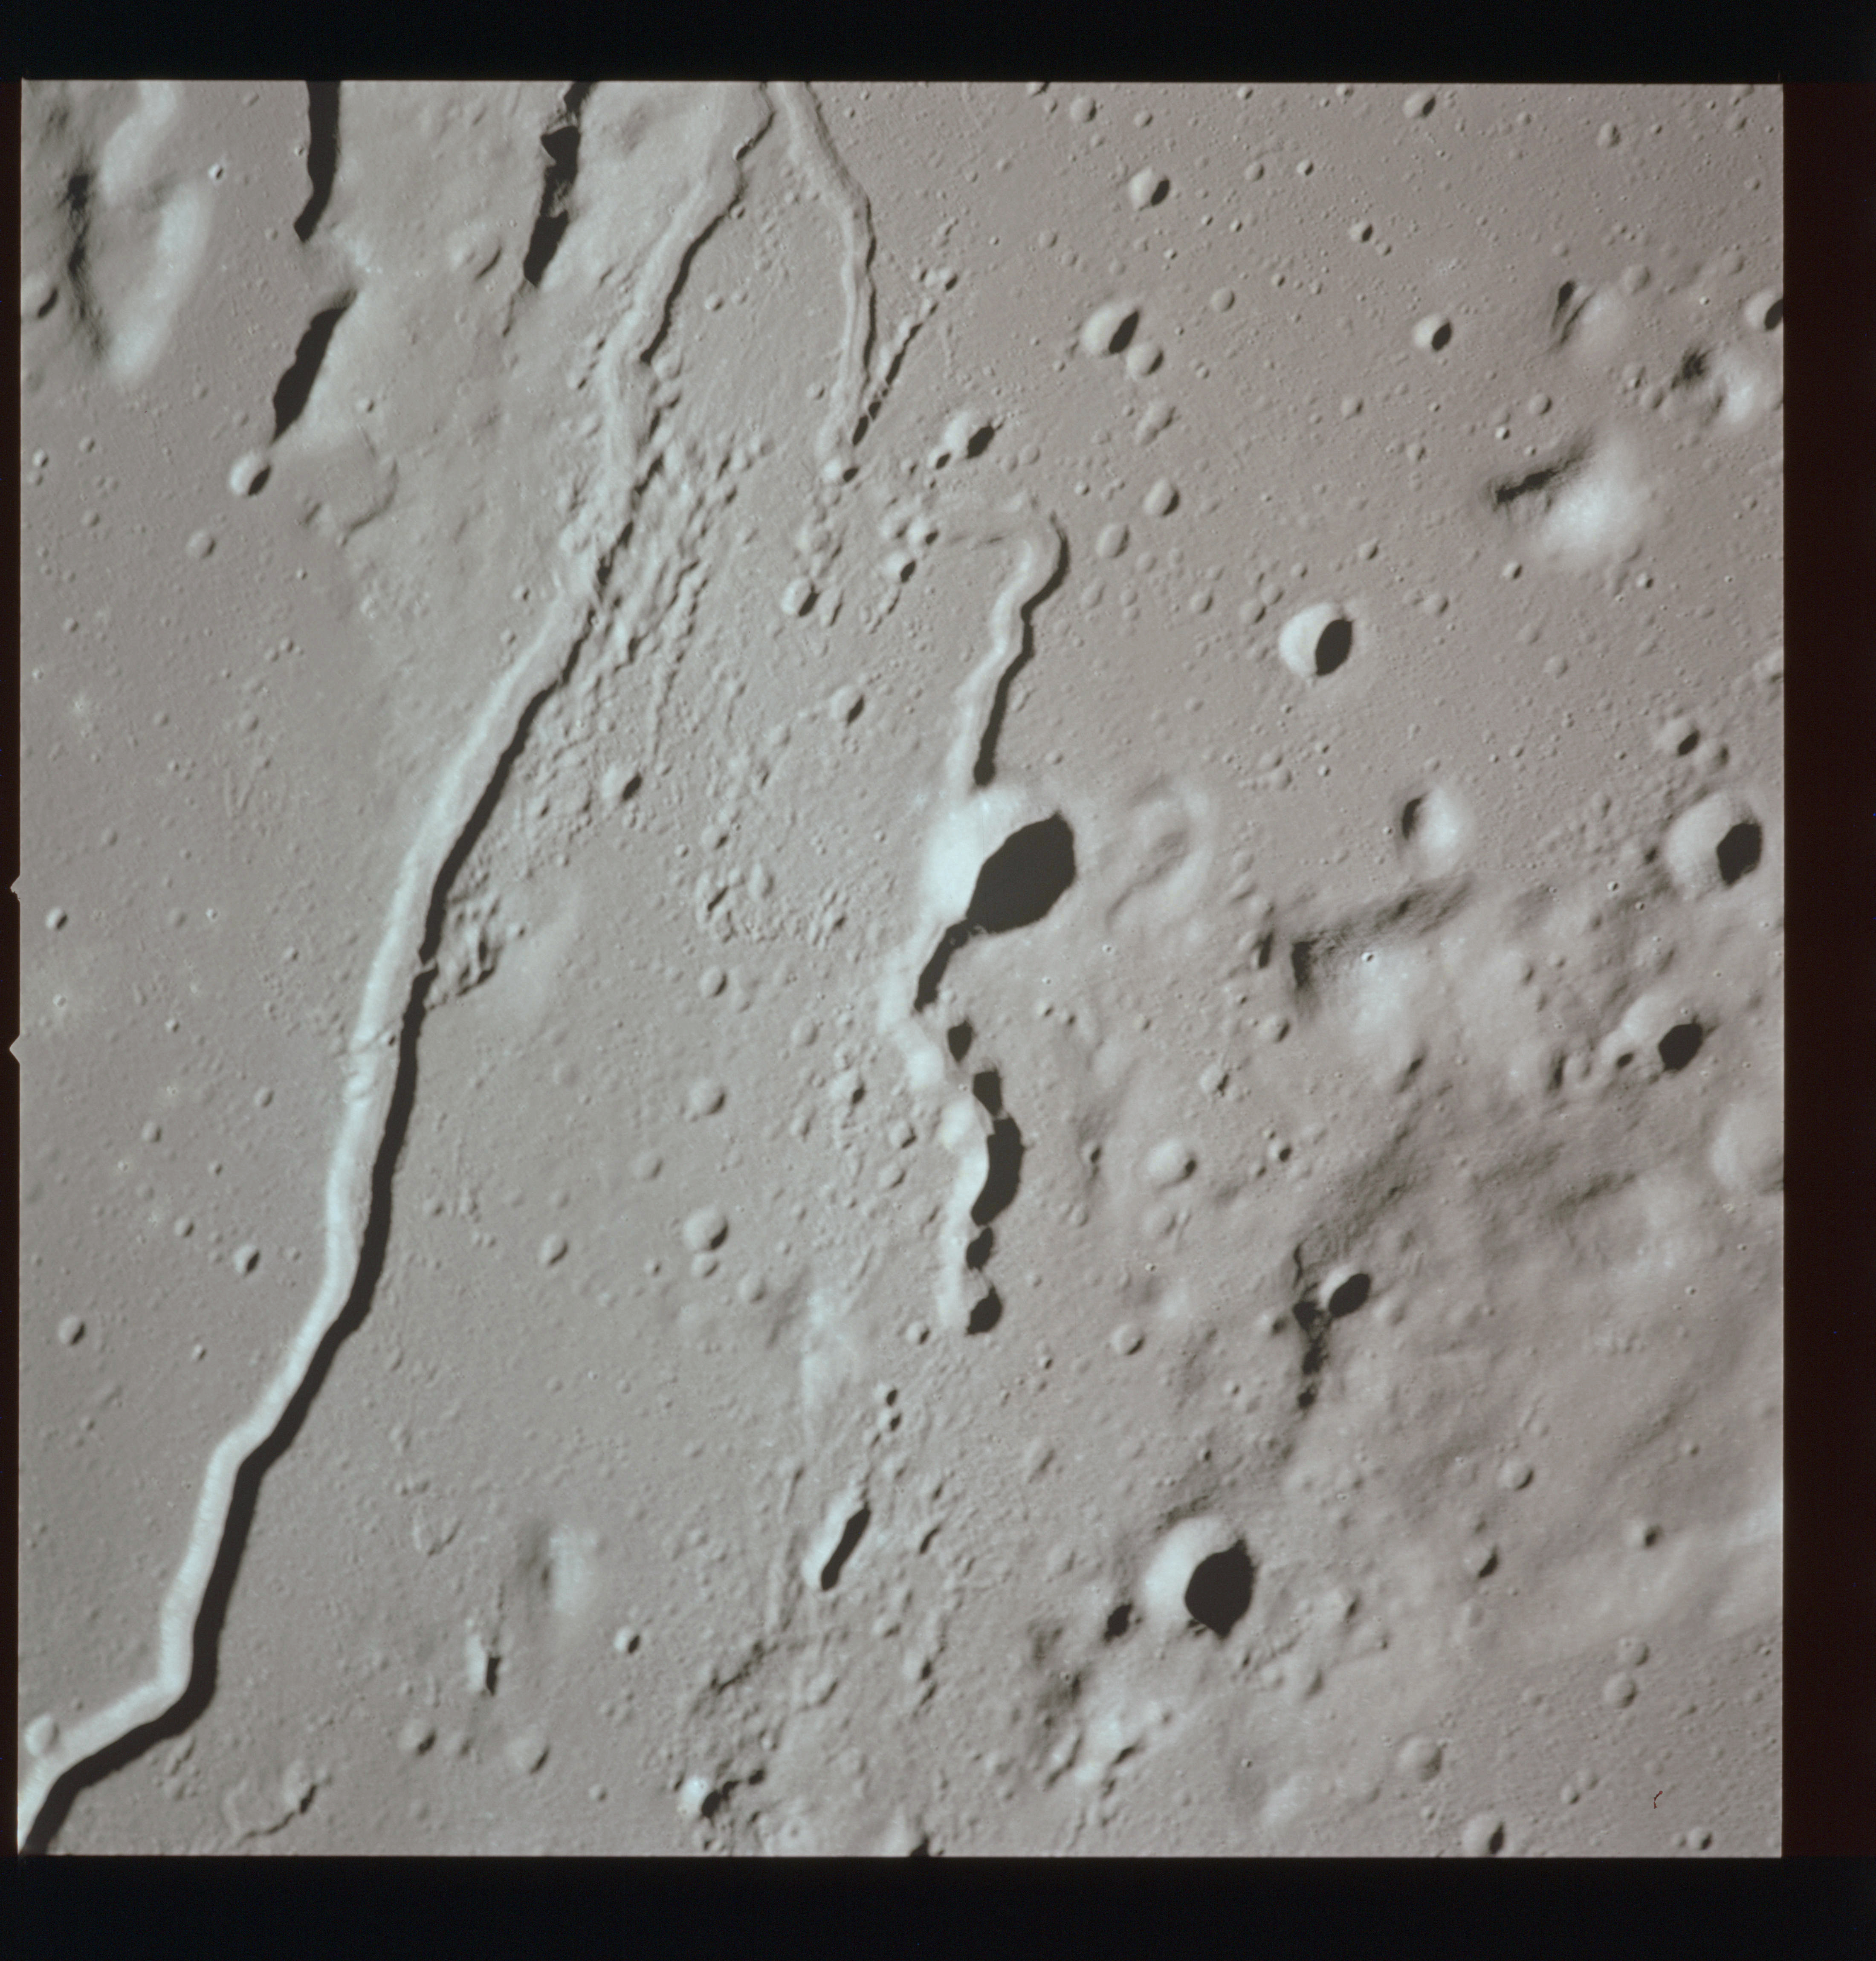
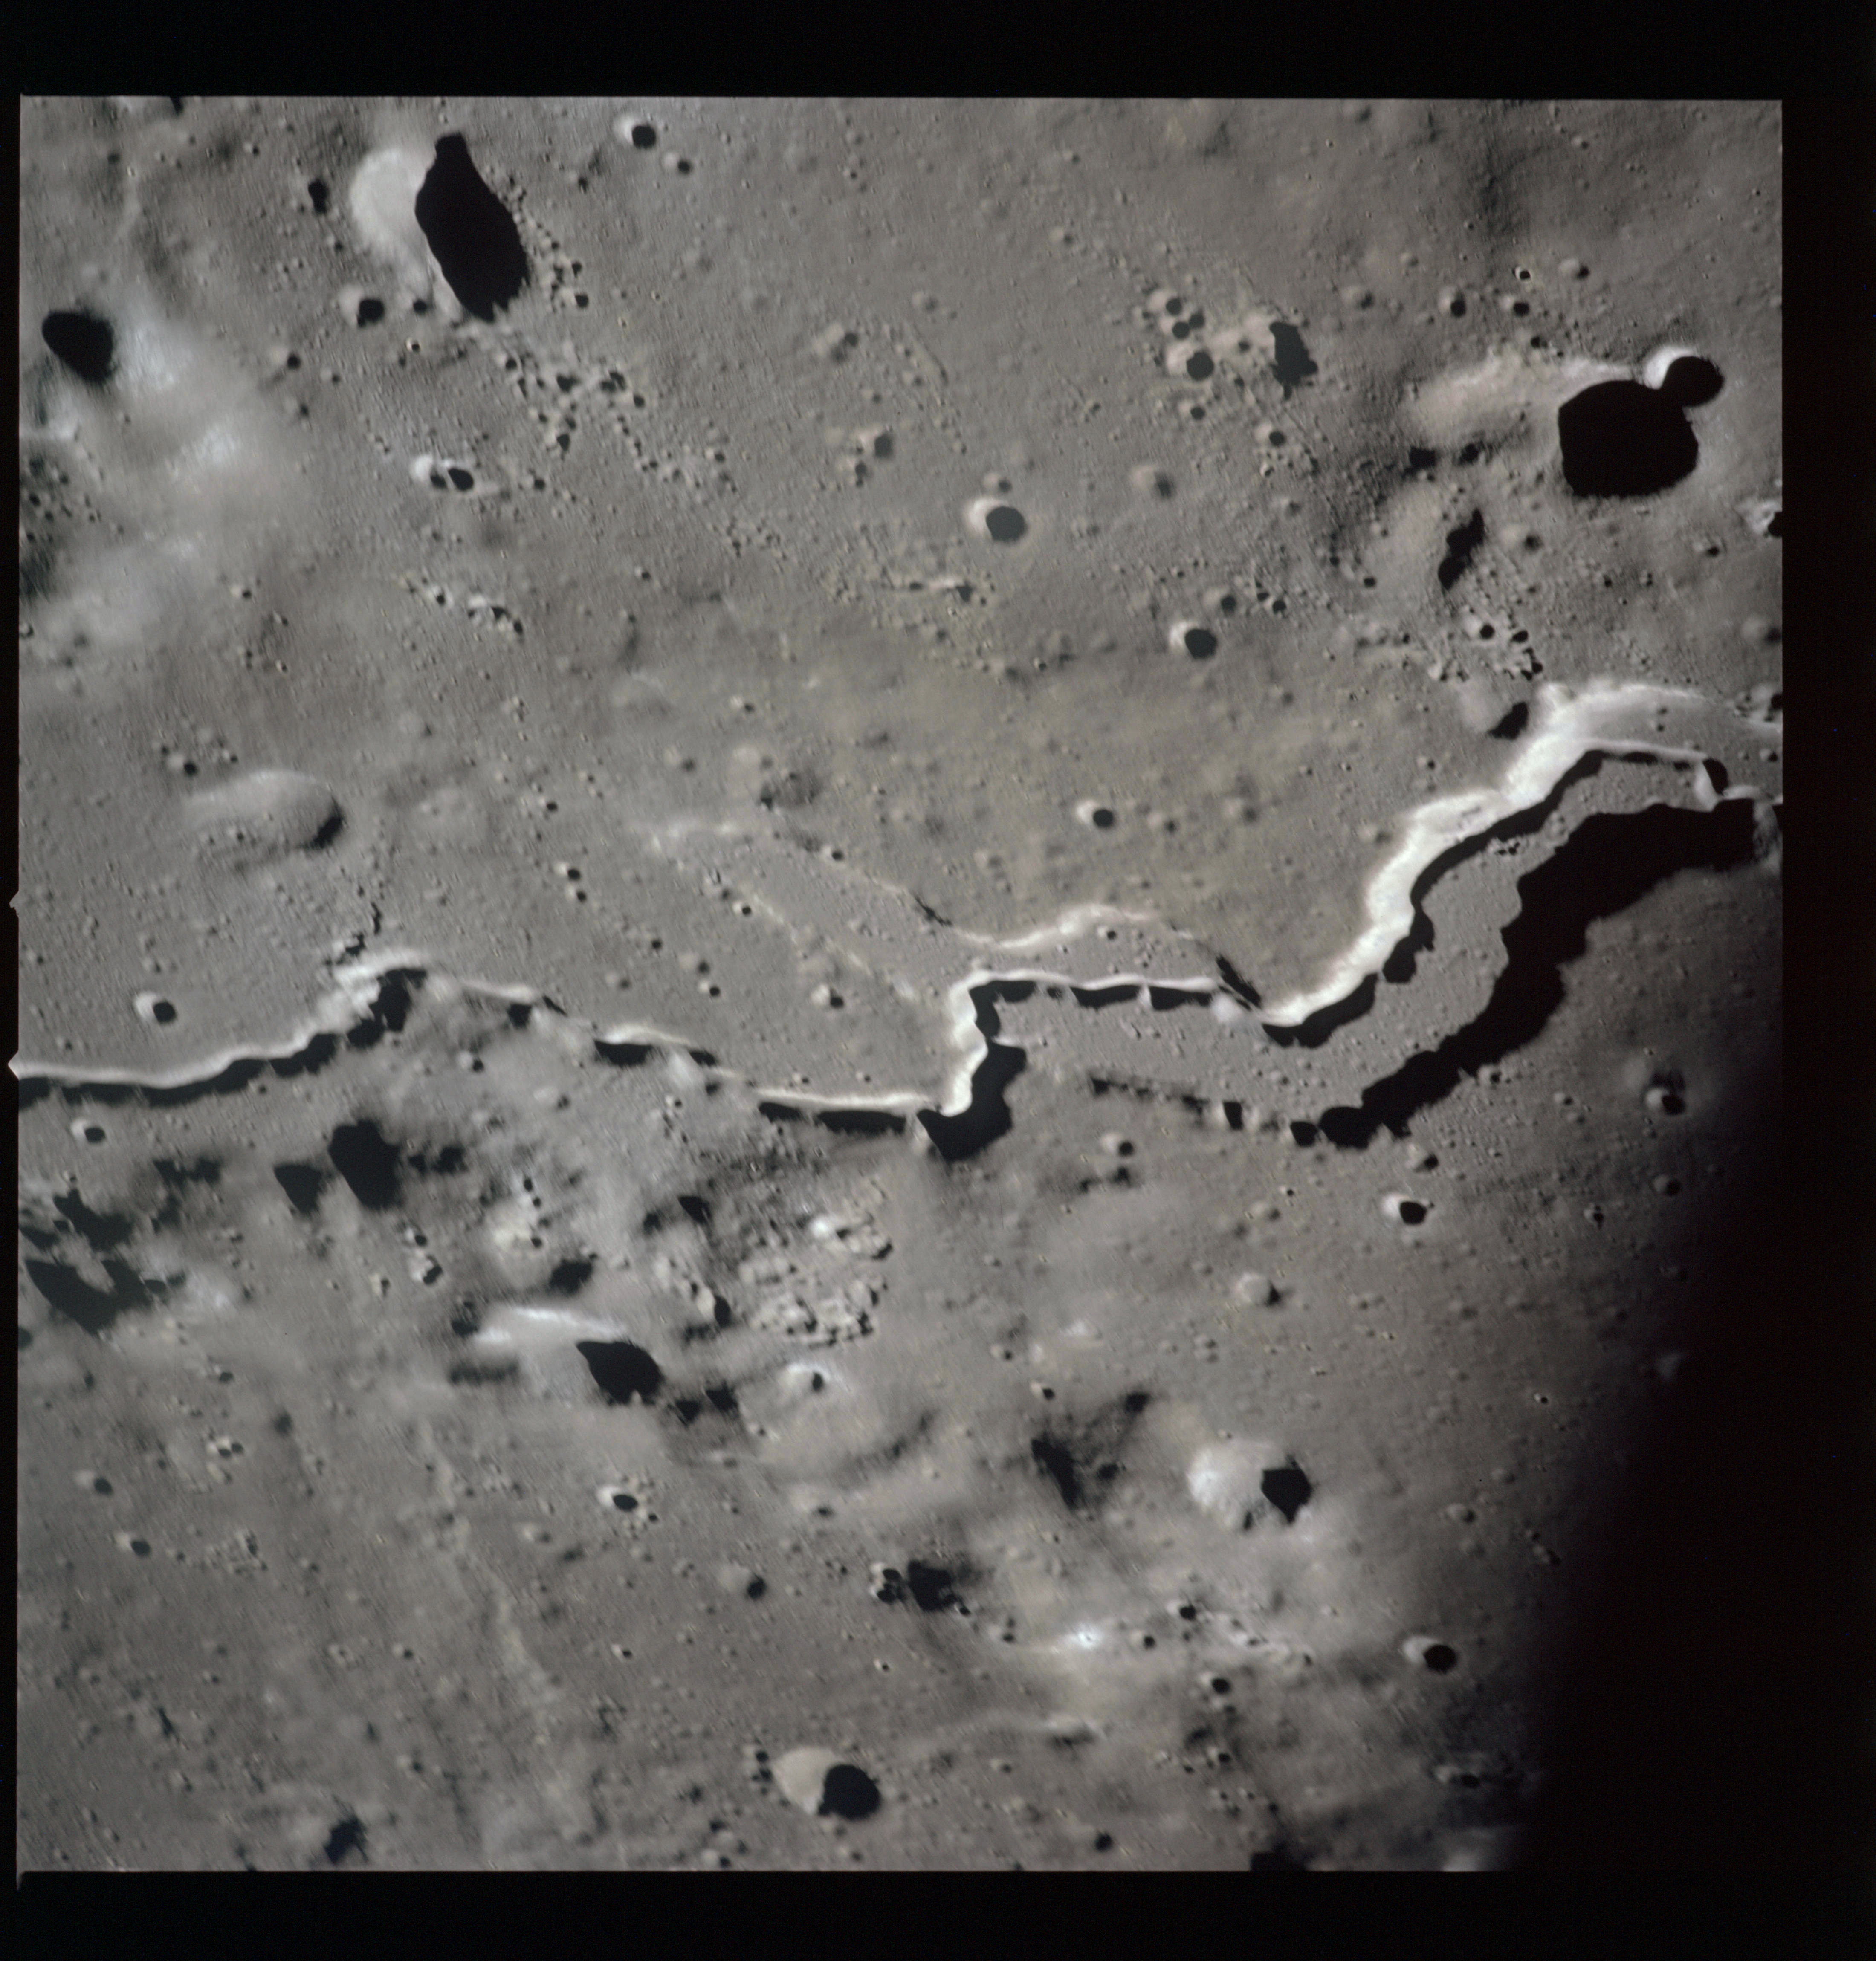
AS15-81-11014 - The southern end of Rima Hadley and the arcuate clef, Béla. Image is contrast stretched. Image without contrast stretching - Image by NASA/Johnson Space Center.
AS15-81-11015 - Ray crater northwest of Conon. Image centre at 22.94°N, 1.05°E. Image is contrast stretched. Image without contrast stretching - Image by NASA/Johnson Space Center.
AS15-81-11016 - Area northeast of crater Bradley H. Image centre at 22.93°N, 0.17°E. Image is contrast stretched. Image without contrast stretching - Image by NASA/Johnson Space Center.
AS15-81-11017 - Ray crater northwest of Conon. Image centre at 23.01°N, 1.05°E. Image is contrast stretched. Image without contrast stretching - Image by NASA/Johnson Space Center.
Two shots are taken on magazine PP with the wide-angle lens that show the Montes Apenninus range in high Sun, including crater Conon.
AS15-90-12297 - Montes Apenninus and crater Conon - Image by NASA/Johnson Space Center.
AS15-90-12298 - Montes Apenninus and crater Conon - Image by NASA/Johnson Space Center.
A small but rather touching moment ensues when Lee Silver becomes the only non-astronaut geologist to speak to a crew during a flight.
213:00:00 Silver: Hey, Dave. You've done a lovely job. You just don't know how we're jumping up and down, down here.
213:00:10 Scott: Well, that's because I happened to have had a very good professor.
213:00:16 Silver: A whole bunch of them, Dave.
213:00:22 Scott: That's right. As a matter of fact, so many of them, it's just hard to - hard to remember it all. But we sure appreciate all you all did for us in getting us ready for this thing. And I'll tell you, I think Jim and I both felt quite comfortable when we got there, about looking around and - and seeing things. I just wish we had had more time, because, believe me, there's an awful lot to be seen and done up there.
213:00:48 Silver: Yes. We think you defined the first site to be revisited on the Moon.
213:00:57 Scott: Well, as we go around in lunar orbit here, I can look down - and I could just spend weeks and weeks looking. And I can pick out any number of superb sites down there which would take you several weeks to analyze on the surface. There is just so much here. To coin a phrase, it's mindboggling.
213:01:18 Silver: Beautiful, Dave. Thank you so much.
213:01:24 Scott: Yes, sir. And I hope someday we can get you all up here too. I - I think we really need to have some good professional geologists up here. As a matter of fact, good professional scientists of all disciplines, not only in lunar orbit, but right on the surface, because you all would just really have a field day, where - with your backgrounds and what you know. There's just so much to be gained up here. [Pause.]
213:01:55 Henize: Great, Dave. Thanks a lot.
213:02:03 Scott: Roger.
Very long comm break.
David Woods, from 2004 mission review: "In this conversation, you are very vocal about human exploration of the Moon. The Moon nowadays is sidelined by many in the planetary sciences world. You suggest here that having humans wander about the surface, being geologists, is a great thing. In the present environment [in light of the 2004 Bush Moon/Mars plan] do you think it's still a great way to go?"
Scott, from 2004 mission review: "Yeah, especially for a geologist. If you're a geologist, it's a great place to go. If you are trying to collect science and you don't have any money, you send a robot. The variables in that equation are about ten. So if you want to solve that equation, you have to put all the variables in there. It's not that simple. It'd be great, go back and everybody have an opportunity to go, do geology on the surface of the Moon, given unlimited budgets, unlimited technology. Just like if you want to go out in someplace on the Earth and do geology and you can get your four-wheeler somewhere and drive out into the mountains or the fields or - geology started in England, yeah? Drive out there and spend a couple or three weeks, terrific. Got your petrol, got your tent, got some fire? Got your boots, your hammer? Head on out there. Same thing on the Moon. Gee, if you're gonna go out there and do it, do it! That's what I'm saying here. I'm not looking at all the other elements of the equation."
The birth of geology as a science is generally attributed to James Hutton, an Edinburgh-born farmer and part of the Scottish Enlightenment of the 18th century.
David Harland, from 2004 mission review: "It's also seeing it from the perspective of the time."
Scott, from 2004 mission review: "Sure. But I'd still say the same thing."
Woods, from 2004 mission review: "It was a time when it was thought it was possible. It was a time when we felt it ought not to be long to a return."
Scott, from 2004 mission review: "It's part of a general discussion. It not a programmatic debate or a project pitch to try and sell anything. It's sort of like what's there, what would you like to do? I'd like to do a lot of things."
Harland, from 2004 mission review: "Yours was the first science mission and you're talking to your mentor and you're just being very enthusiastic saying it was a good thing to do and we should keep doing it and there are plenty places to see."
Scott, from 2004 mission review: "Plenty. And the point is that there's lots of variety on the Moon. All the landing sites we didn't go to as an example. And all the landing sites we could have gone to. Tycho and Tsiolkovsky and, I mean there's fabulous places that nobody had been to that have great variety. But, you couldn't do them all in Apollo, obviously. You were limited to a band around the middle - couldn't get down to Tycho - and the surface areas were questionable. That's why we had all these debates on landing sites. Had to factor all the issues in there to decide where to go. But I'd say, yeah, that's great, go. Bring everybody up here!"
Woods, from 2004 mission review: "How do you reply to people that describe the Moon as a useless ball of dirt? Would you argue with that outlook?"
Scott, from 2004 mission review: "Of course. I mean, it's not a useless ball. It influences a lot of things on the Earth. Without the Moon, we wouldn't have the Earth as it is. Right? So the Earth-Moon system really creates the environment in which we live."
Woods, from 2004 mission review: "But as a place to go and visit, either by humans or remotely."
Scott, from 2004 mission review: "Well, you know, the more you learn about the Solar System, the more you learn about the Earth, the more you learn about yourself, and humans and where they live and how they live in the environment. We did, in the whole discussion - in fact we've just been going through quotes for the book ['Two Sides of the Moon', David Scott and Alexei Leonov with Christine Toomey, 2004, Simon & Schuster] and found a good one by Socrates. 'The only way you're going to understand the world in which you live is to get above the atmosphere and look back at it.' Kinda paraphrased. So I think those who say it's a waste to go to the Moon don't really understand, or else they'll choose to think about the environment and the way the Earth was created, if you will, and the influence of the Moon and what we learn by going into the Solar System, about ourselves, about the Earth, and it sort of goes on and on and on. But that's why, if somebody says the Moon is a worthless ball of dust, I say 'OK, fine. If that's all you're interested in, if that's all you know about it, fine. Choose your path.' And I don't really have a lot of time for them. You're not going to convince them and if you get into a big debate and they argue about it, I don't have any time for that."
Woods, from 2004 mission review: "But it's useful to know what you think of it, what your point of view is. It's interesting, as someone who has been there and who has invested an important part of their life in that exploration, it's interesting to know how you view exploration."
Scott, from 2004 mission review: "Oh yeah. But, you know, I'm only the sort of point of the pyramid because all 400,000 people who worked on it probably think the same. And you guys do too, for it's worth doing because it's worth learning about who we are and how we are and how we live and people who take the opposite view; that's OK, they get their choice, you know, and they can view it that way if they want to but I would suggest they spend a little bit of time trying to understand more about the scientific aspects, the geology, etc., and just the spirit of exploration. Why people do this. Why people go out and, you know, fly in the sky and plunge to the depths of the ocean and go to the Moon and all that. It's adventure and that's why humans are humans."
Woods, from 2004 mission review: "Adventure and knowledge."
Scott, from 2004 mission review: "Yeah."
Woods, from 2004 mission review: "Thank you for that."
The best recording of the following PAO announcement has a music track bleeding through. It may be that there was a bit of unintended crosstalk between audio feeds while someone in the Public Affairs department was enjoying some entertainment.
This is Apollo Control. In the discussion with the crew on the observations of geology at the Hadley Base landing site with spacecraft communicator Karl Henize, Henize was joined by Doctor Leon T. Silver of California Institute of Technology, who is one of the mission geologists for Apollo 15.
This exchange was portrayed in 'Mr Galileo Was Right', the Apollo 15 episode of Tom Hanks' excellent From the Earth to the Moon TV series, made in 1998, on which Dave served as a technical adviser.
There is no more communication until after the spacecraft has passed the terminator. However, there is a lot of photography taking place. Returning to the long lens and magazine QQ, there are more shots of details around the Apennine Bench Formation.
AS15-81-11018 - Small ray crater at the southern corner of the Apennine Bench Formation. Image centre at 21.72°N, 2.34°W. Image is contrast stretched. Image without contrast stretching - Image by NASA/Johnson Space Center.
AS15-81-11019 - Small ray crater at the southern corner of the Apennine Bench Formation. Image centre at 21.69°N, 2.36°W. Image is contrast stretched. Image without contrast stretching - Image by NASA/Johnson Space Center.
AS15-81-11020 - Between crater Archimedes N and Mons Huygens. Image centre at 21.71°N, 3.55°W. Image is contrast stretched. Image without contrast stretching - Image by NASA/Johnson Space Center.
AS15-81-11021 - Area south of crater Archimedes N. Image centre at 23.16°N, 3.74°W. Image is contrast stretched. Image without contrast stretching - Image by NASA/Johnson Space Center.
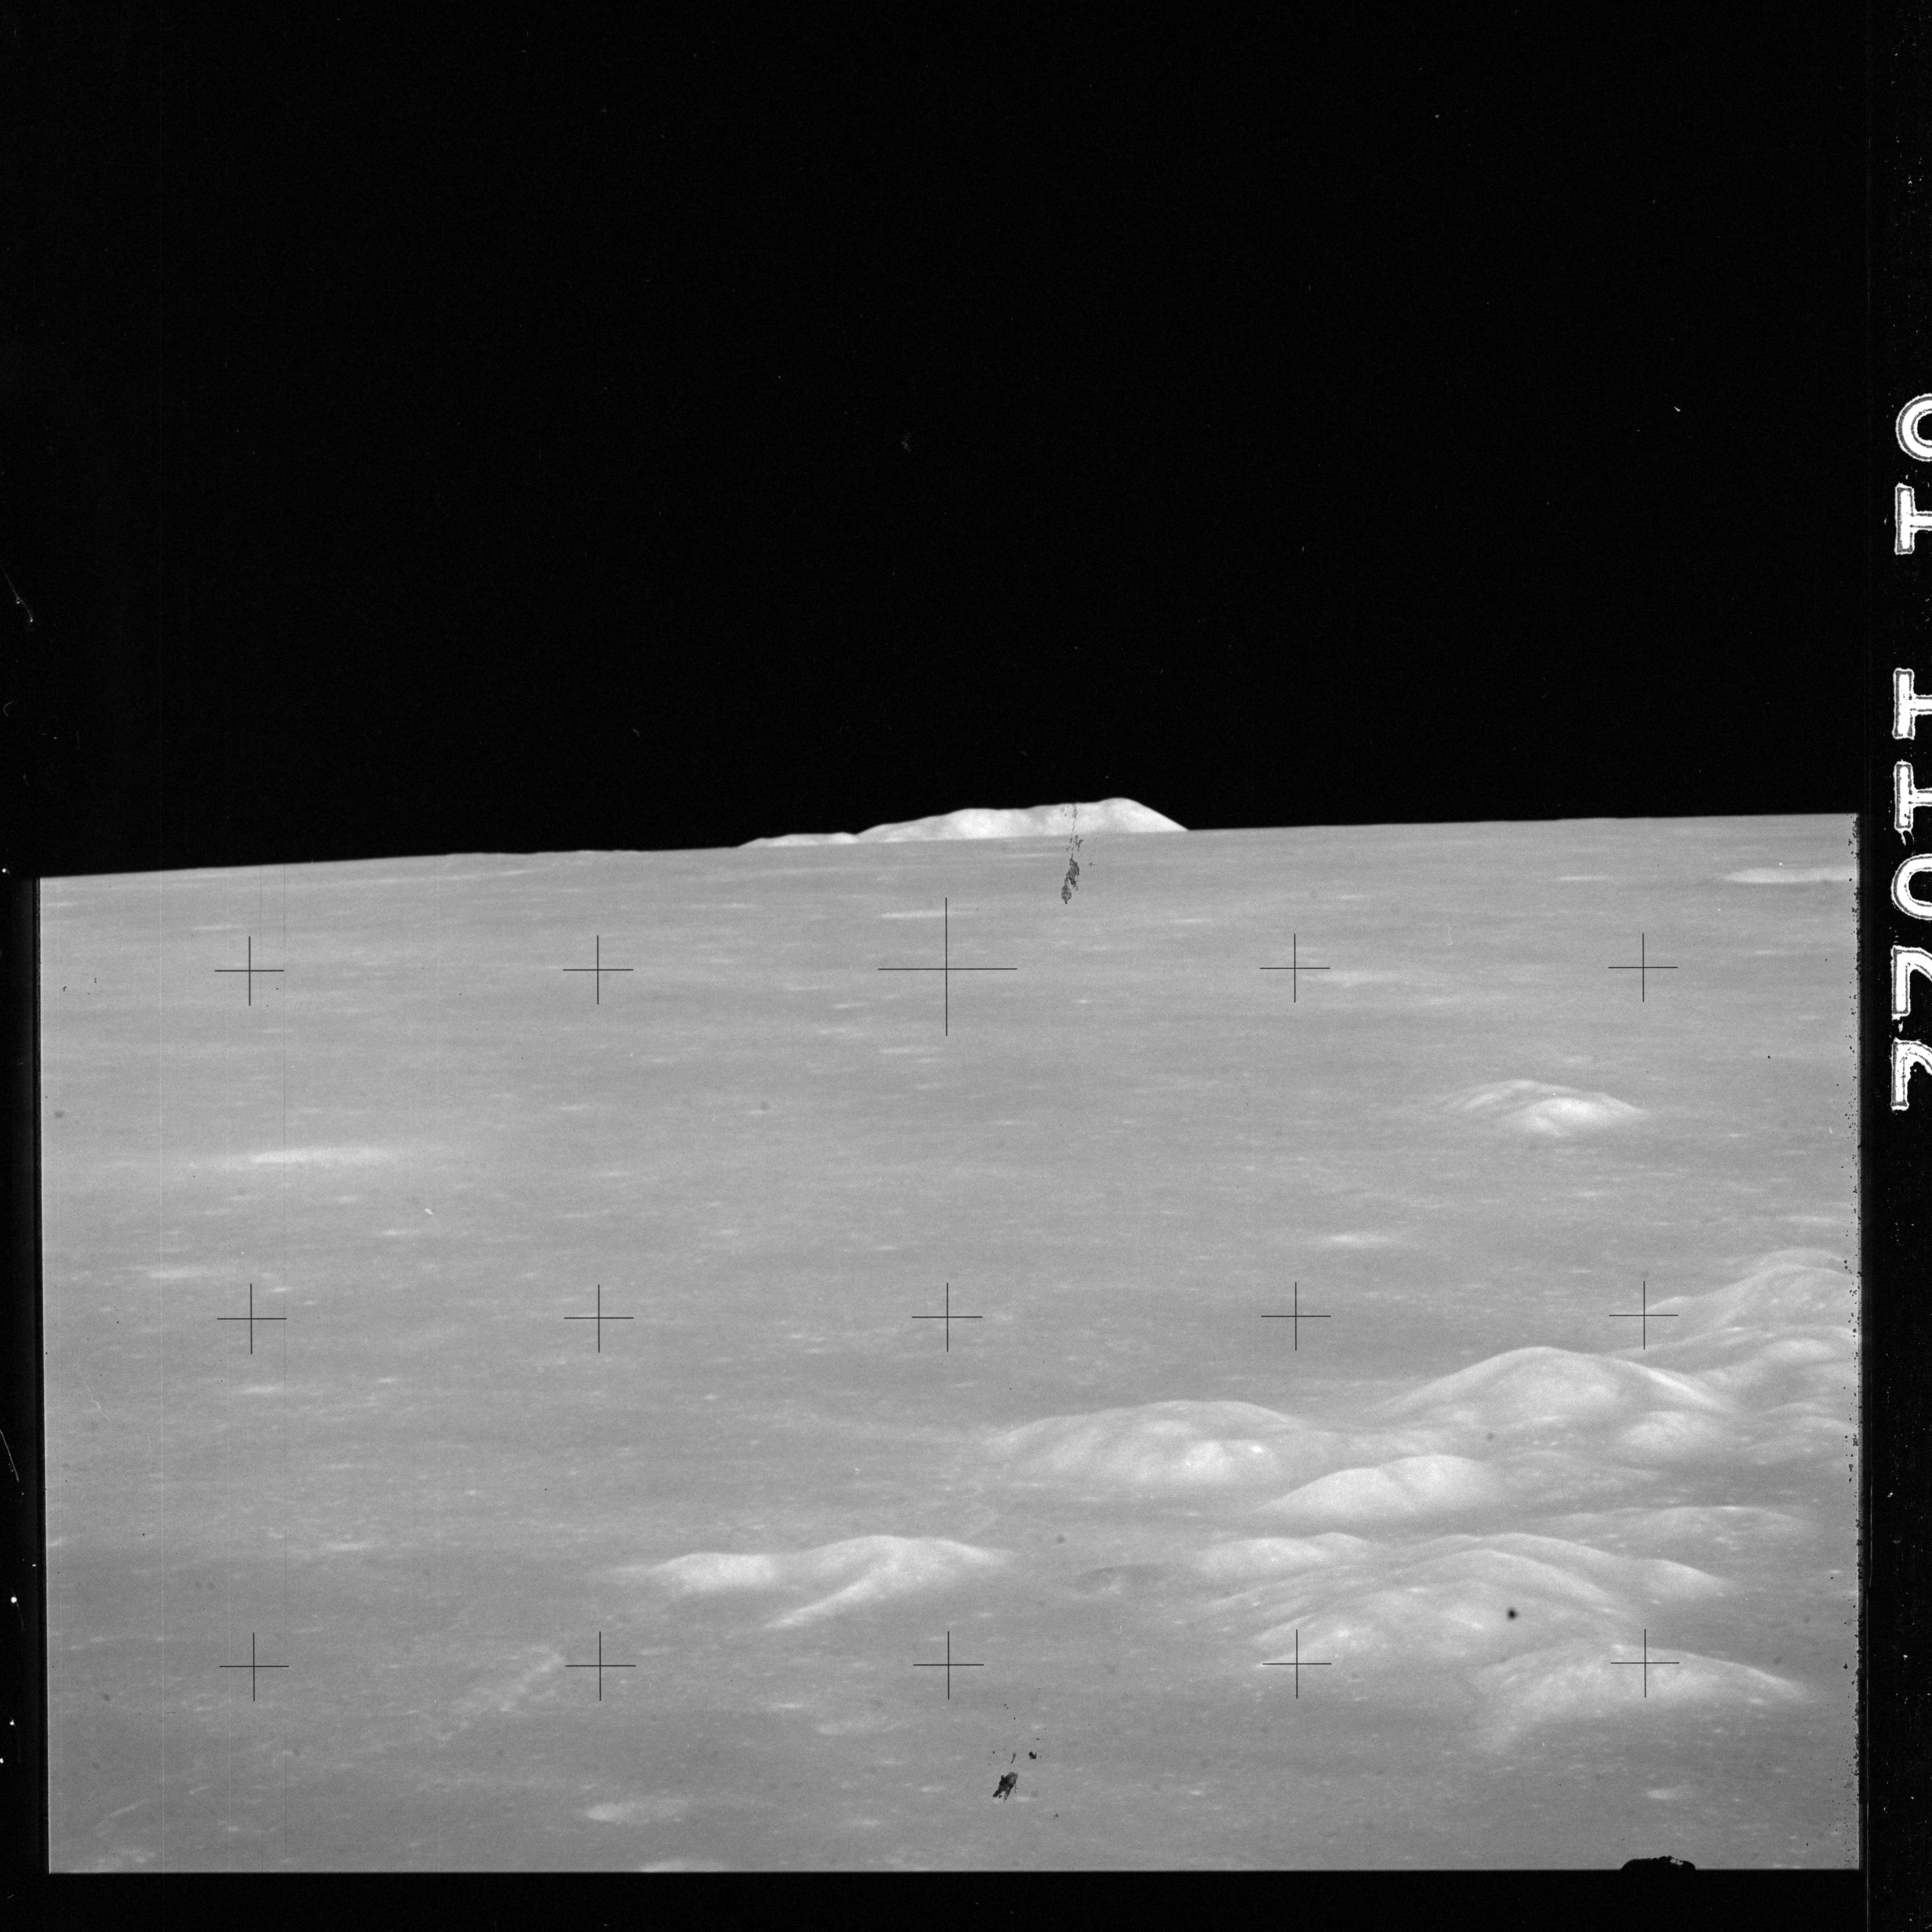
AS15-81-11022 is a spectacular view across Mare Imbrium. In the foreground is Montes Spitzbergen, and rising out of the horizon is the Beta Prominence, an isolated minor hill about 70 km south of Mons Pico. These hills, along with two other ranges to the northwest, are believed to be remnants of an inner ring of the Imbrium Basin.
AS15-81-11022 - Montes Spitzbergen (lower right) and on the horizon, Beta Prominence. Image is contrast stretched. Image without contrast stretching - Image by NASA/Johnson Space Center.
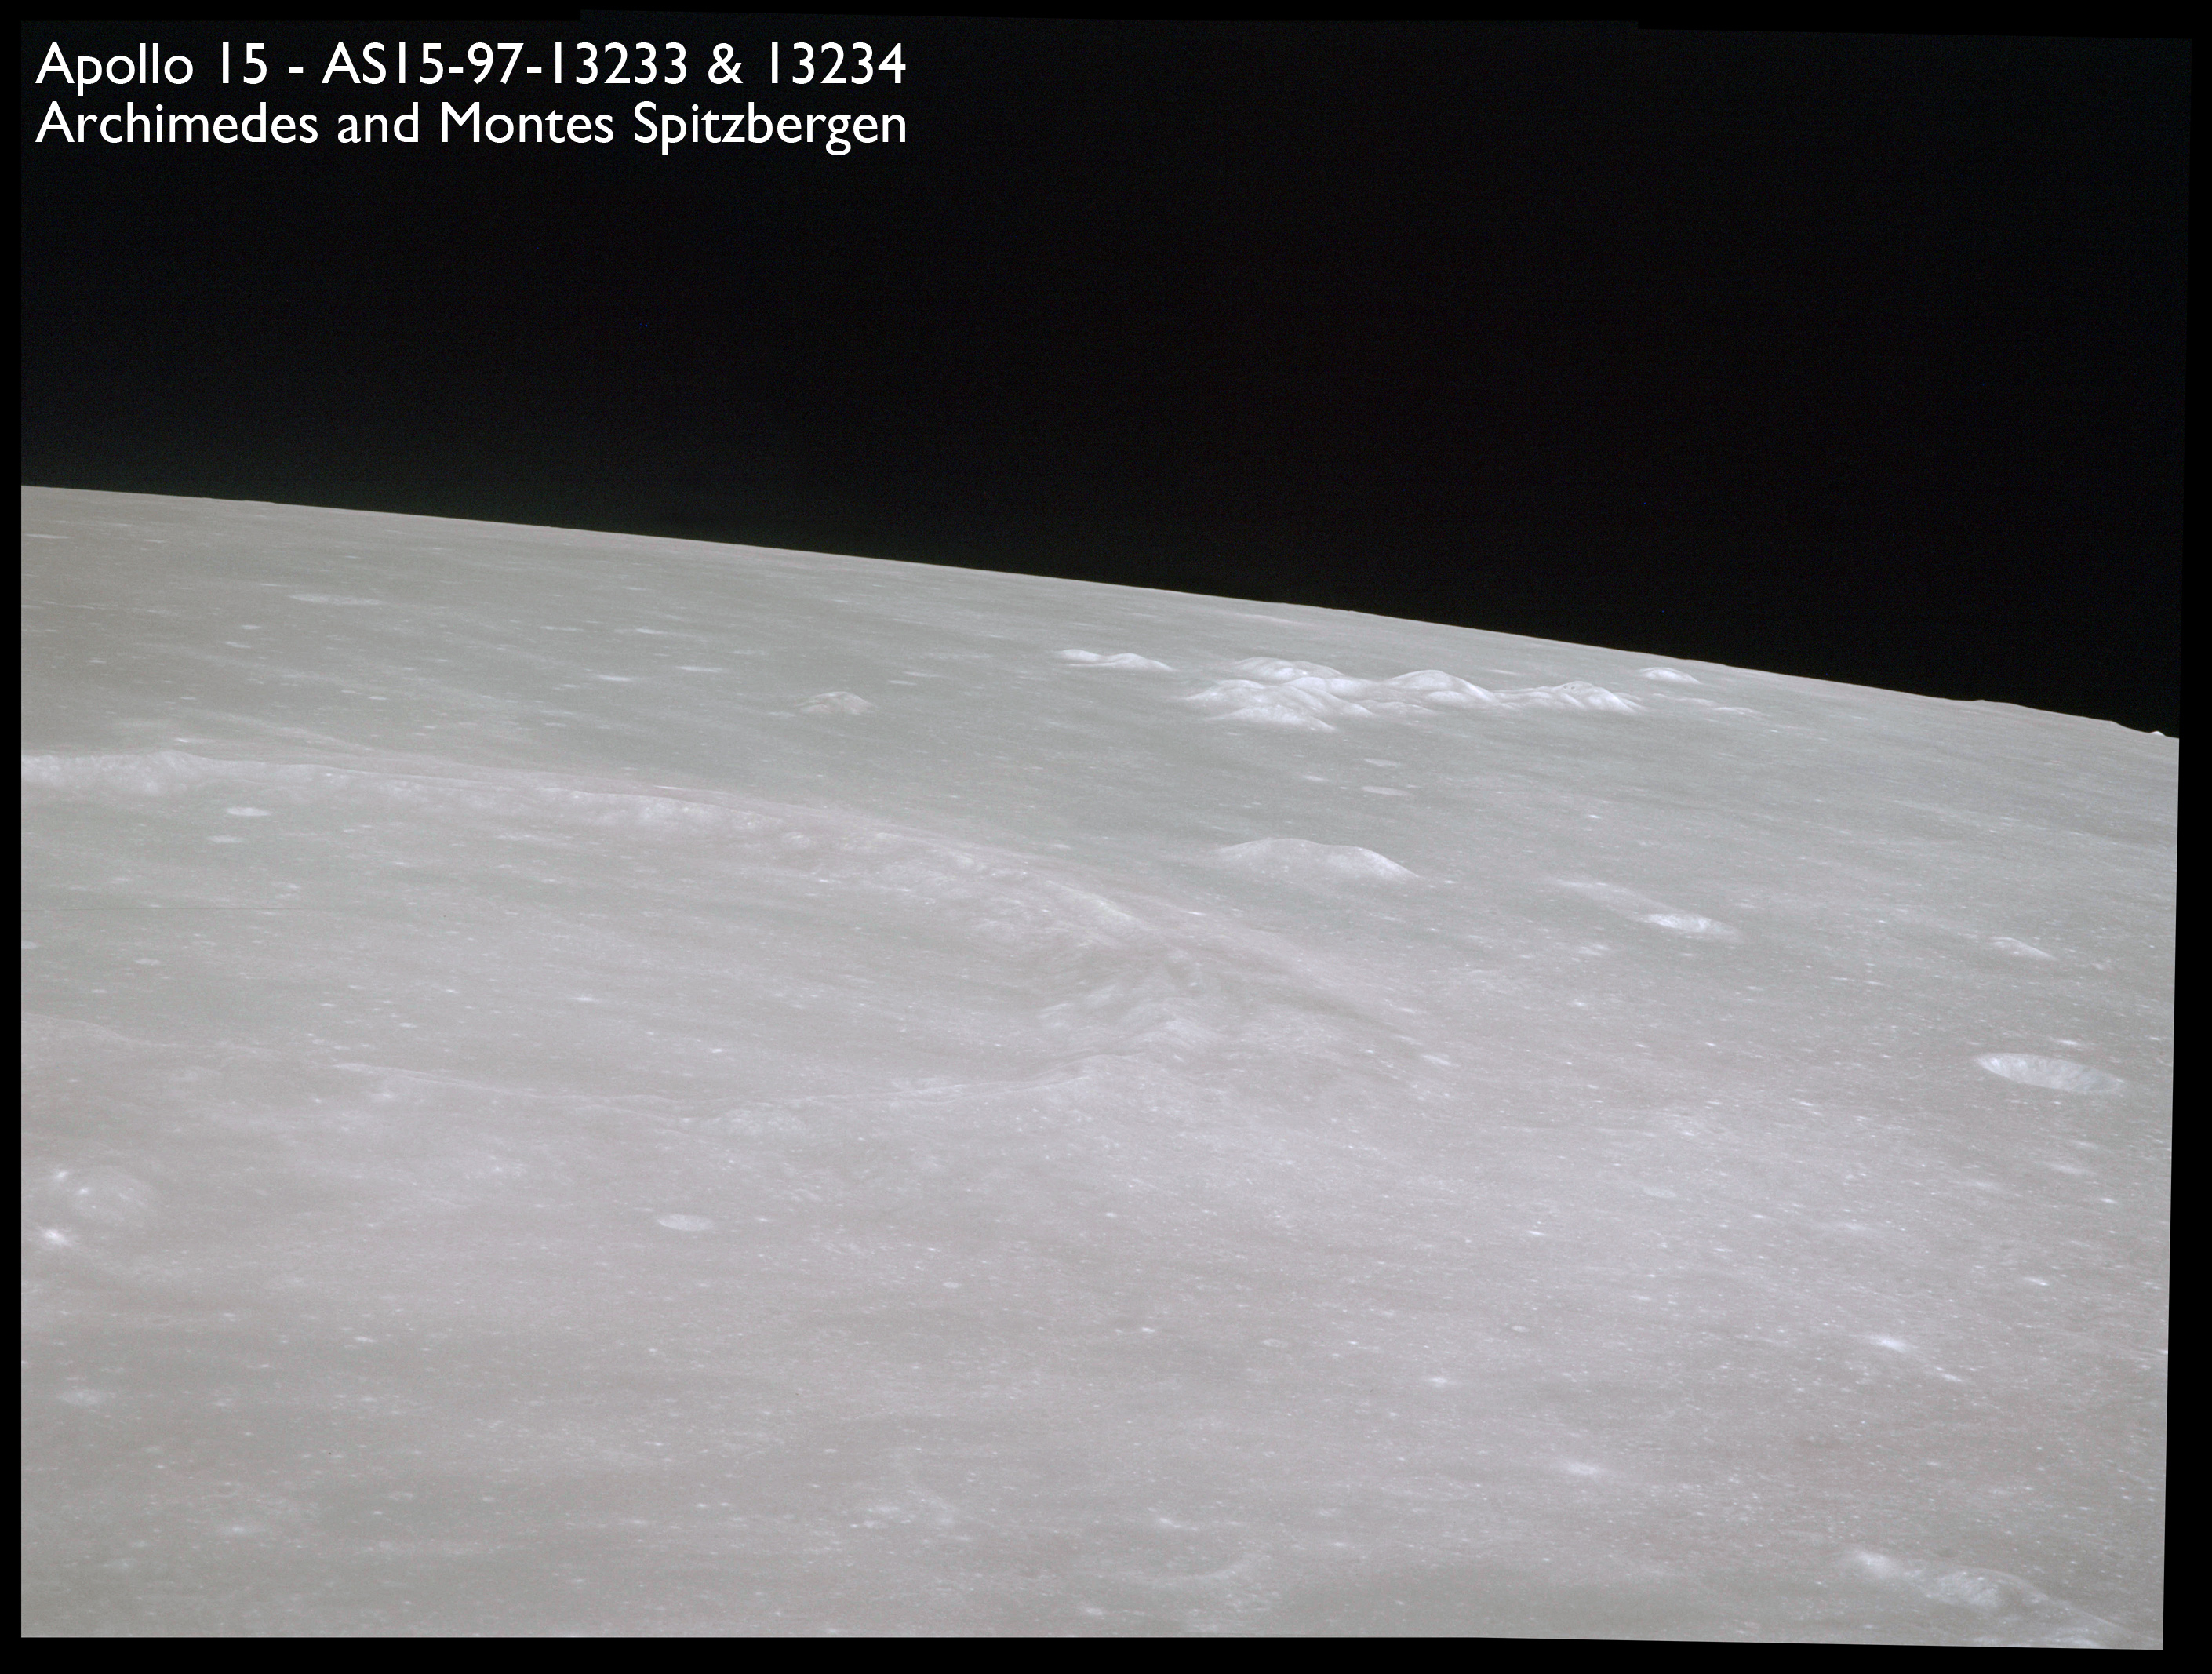
Using a 250-mm lens and colour film on magazine O, AS15-97-13233 and 13234 look northeast over the 83-km ring of Archimedes towards Montes Spitzbergen.
AS15-97-13233 - Montes Spitzbergen beyond crater Archimedes - Image by NASA/Johnson Space Center.
AS15-97-13234 - Montes Spitzbergen beyond crater Archimedes - Image by NASA/Johnson Space Center.
These two frames have been combined into a single image.
Composite image of Montes Spitzbergen beyond crater Archimedes - Source images by NASA/Johnson Space Center.
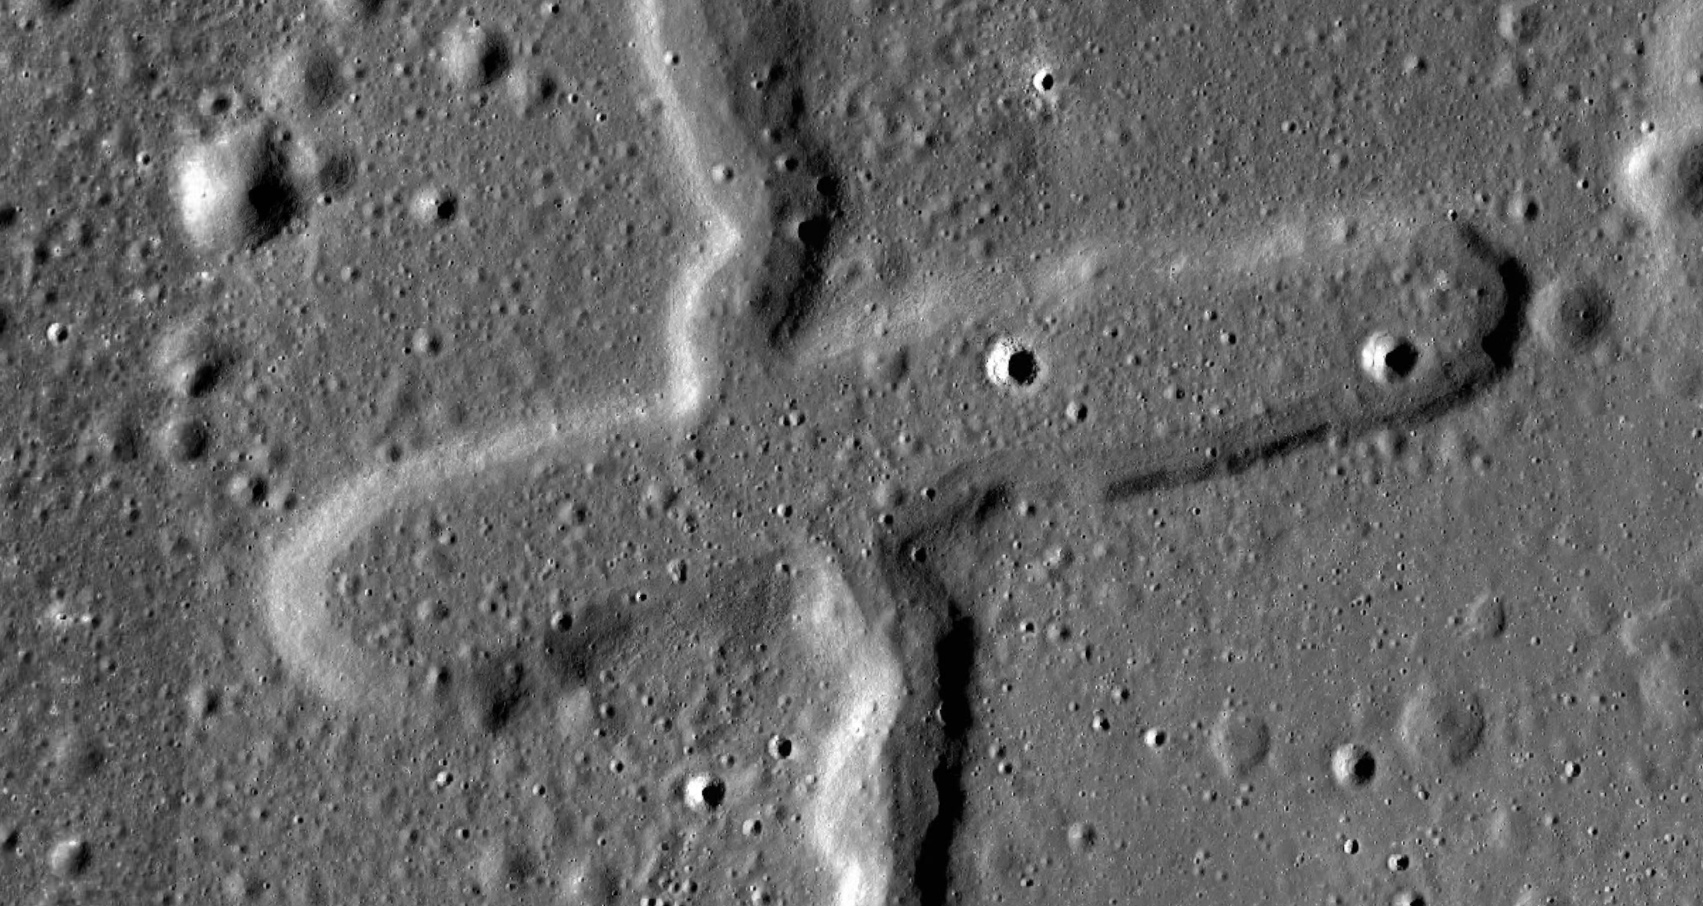
Rima Vladimir and Rima Bradley are covered by four images from AS15-97-13235 to 13238.
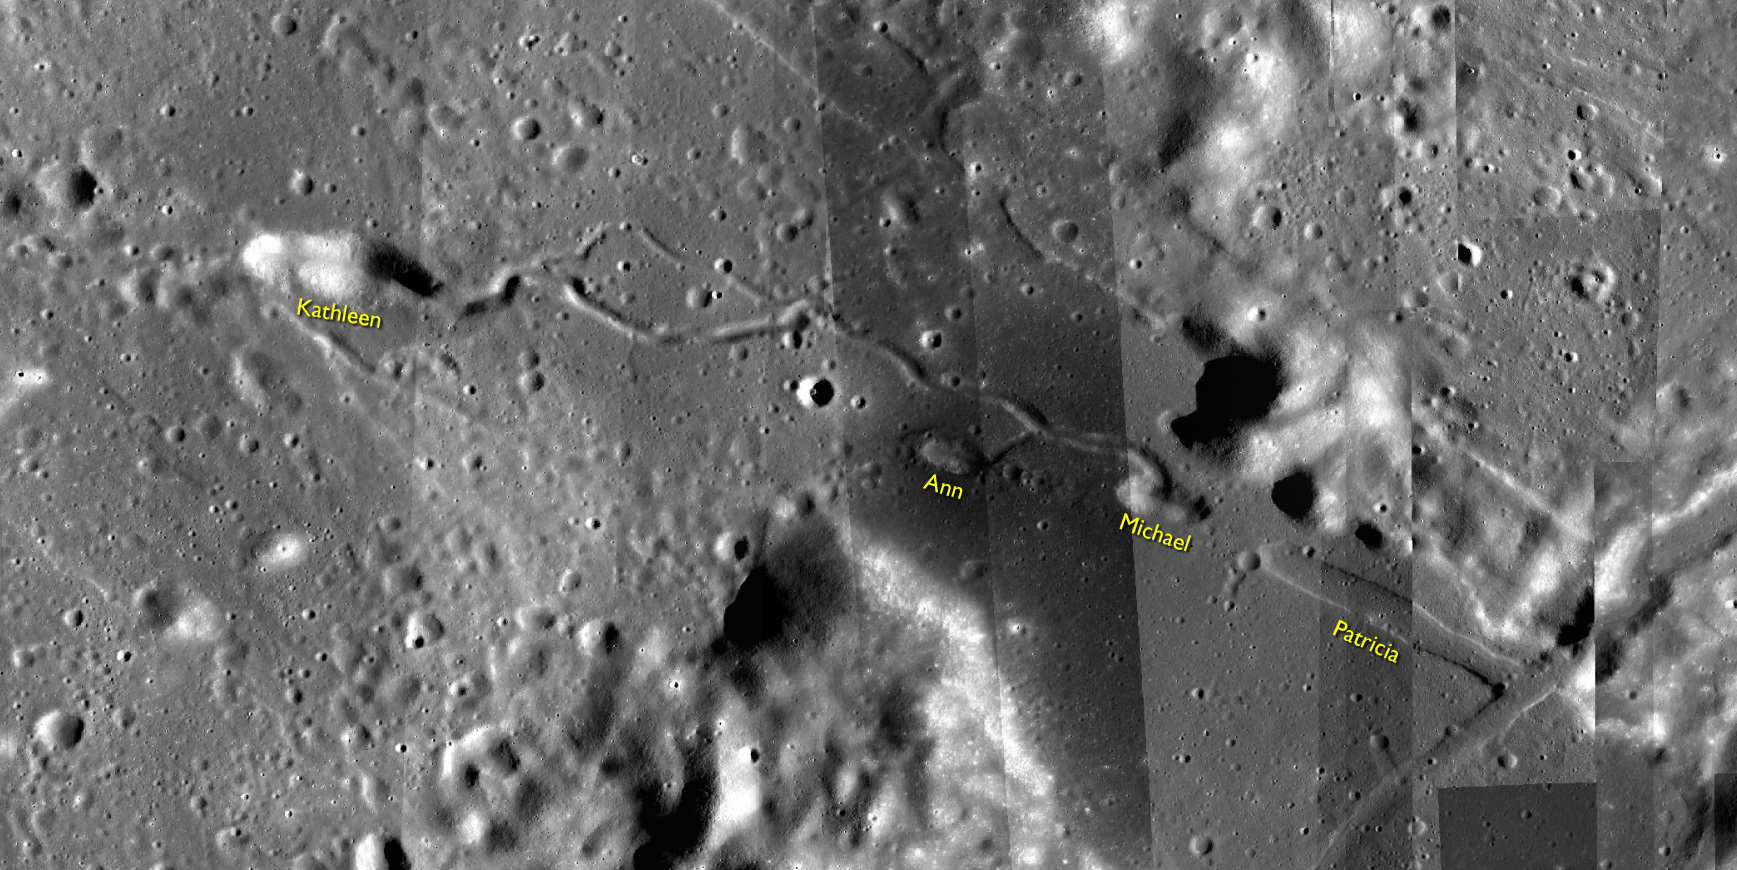
AS15-97-13235 - Rima Vladimir and the depression Kathleen. Rima Bradley runs across the bottom right corner - Image by NASA/Johnson Space Center.
Both rilles are more clearly seen in 13236 with Rima Bradley running from right-centre to bottom-centre.
AS15-97-13236 - Rima Vladimir and the depressions Kathleen, Ann, Michael and Patricia. Rima Bradley runs across the bottom right corner - Image by NASA/Johnson Space Center.
The four depressions that run along Rima Vladimir have names that ring a bell with those who study Apollo. When Mike Collins orbited the Moon on Apollo 11, he announced that he was naming a 138-metre crater that he was using as a navigation landmark in honour of his children and wife; Kate, Ann, Michael and Patricia; hence KAMP. Mike's suggestion for this crater in Mare Spumans has not been recognised by the IAU. However, it is notable that the same names have been applied in the same order to these four depressions along Rima Vladimir.
LROC image of the four depressions Kathleen, Ann, Michael and Patricia - Image by LROC/ASU.
AS15-97-13237 - Rima Vladimir and the depressions Kathleen and Ann - Image by NASA/Johnson Space Center.
AS15-97-13238 - Rima Vladimir and the depressions Kathleen, Ann and Michael - Image by NASA/Johnson Space Center.
Returning to the longest lens, the next sequence of photos is frames AS15-81-11023 to 11026. These show MacMillan, formerly known as Archimedes F, and its environs. This 7.5-km crater is named after William Duncan MacMillan, 1871-1948, an American astronomer and mathematician.
AS15-81-11023 - Crater MacMillan. Image is contrast stretched. Image without contrast stretching - Image by NASA/Johnson Space Center.
AS15-81-11024 - Craterlet north of Archimedes W. Image centre at 24.34°N, 6.28°W. Image is contrast stretched. Image without contrast stretching - Image by NASA/Johnson Space Center.
AS15-81-11025 - Crater Archimedes H. Image is contrast stretched. Image without contrast stretching - Image by NASA/Johnson Space Center.
AS15-81-11026 - Crater MacMillan, indistinct at the bottom left. Image centre at 24.02°N, 7.65°W. Image is contrast stretched. Image without contrast stretching - Image by NASA/Johnson Space Center.
At around 213:05 using magazine O and the 250mm lens, and moving towards the centre of Mare Imbrium, two photographs are taken of Timocharis.
AS15-97-13239 - Southern rim of crater Timocharis - Image by NASA/Johnson Space Center.
AS15-97-13240 - Western rim of crater Timocharis - Image by NASA/Johnson Space Center.
These have been combined to show three quarters of this prominent crater's rim.
Composite image of crater Timocharis beyond crater Archimedes - Source images by NASA/Johnson Space Center.
The terracing or scalloping around the rim is a classic example of what happens to the walls of large craters which are unable to retain the original bowl shape that smaller craters exhibit. These are essentially large scale landslides. The crater also has a small crater-like depression at its centre where a central peak would normally be expected.
AS15-97-13241 - Secondary craters southwest of crater Sampson - Image by NASA/Johnson Space Center.
These last targets for the crew's cameras, plus a few others, are captured in more detail by near simultaneous photography using magazine QQ and the 500-mm lens. AS15-81-11027 and 11029 are of a little triangular hill that lies between Timocharis and Lambert. These isolated hills, including Mons La Hire, are a feature of Mare Imbrium and are thought to be traces of the original multi-ring structure formed directly by the impact that created the Imbrium basin.
AS15-81-11027 - Peak between Timocharis and Lambert. Image centre at 26.60°N, 18.44°W. Image is contrast stretched. Image without contrast stretching - Image by NASA/Johnson Space Center.
AS15-81-11029 - Peak between Timocharis and Lambert. Image centre at 26.52°N, 18.40°W. Image is contrast stretched. Image without contrast stretching - Image by NASA/Johnson Space Center.
AS15-81-11028 is another little hill between Timocharis and Lambert with a distinctive triple peak.
AS15-81-11028 - Small peak between Timocharis and Lambert. Image centre at 27.24°N, 17.07°W. Image is contrast stretched. Image without contrast stretching - Image by NASA/Johnson Space Center.
Lambert exhibits an unusual asymmetry in its ejecta blanket which is shown in detail in 11030 and 11031.
AS15-81-11030 - Ejecta scarp north of crater Lambert. Image centre at 26.49°N, 20.69°W. Image is contrast stretched. Image without contrast stretching - Image by NASA/Johnson Space Center.
AS15-81-11031 - Ejecta scarp north of crater Lambert. Image centre at 26.48°N, 20.76°W. Image is contrast stretched. Image without contrast stretching - Image by NASA/Johnson Space Center.
Compare this shot to AS15-97-13242, taken with the 250mm lens, which shows it in context with the crater rim. This ejecta "spur" may be traces of a wrinkle ridge that Lambert just happens to lie upon.
AS15-97-13242 - Ejecta scarp north of crater Lambert - Image by NASA/Johnson Space Center.
There are two further sequences in magazine QQ before it is fully exposed. Al took particular interest in the area when he observed it under low-angle illumination on the third day of his solo mission after noticing traces of lobate margins to lava flows. The first sequence is AS15-81-11032 to 11036, which show the two small craters, La Hire A and La Hire B, and the part of Dorsum Zirkel that runs between them. These craters are about 50 km from Mons La Hire and crater A is distinguishable by the little "rim-shot" crater on its northern rim.
AS15-81-11032 - Crater La Hire B and Dorsum Zirkel. Image centre at 27.91°N, 22.97°W. Image is contrast stretched. Image without contrast stretching - Image by NASA/Johnson Space Center.
AS15-81-11033 - Dorsum Zirkel. Image centre at 28.19°N, 23.23°W. Image is contrast stretched. Image without contrast stretching - Image by NASA/Johnson Space Center.
AS15-81-11034 - Crater La Hire A and Dorsum Zirkel. Image centre at 28.48°N, 23.57°W. Image is contrast stretched. Image without contrast stretching - Image by NASA/Johnson Space Center.
AS15-81-11035 - Dorsum Zirkel. Image centre at 28.79°N, 23.99°W. Image is contrast stretched. Image without contrast stretching - Image by NASA/Johnson Space Center.
AS15-81-11036 - Dorsum Zirkel. Image centre at 29.17°N, 24.40°W. Image is contrast stretched. Image without contrast stretching - Image by NASA/Johnson Space Center.
These five images have been composited.
Composite image of Dorsum Zirkel and craters La Hire A (centre) and La Hire B (cut off bottom left) - Source images by NASA/Johnson Space Center.
The sequence along Dorsum Zirkel is repeated.
AS15-81-11037 - Crater La Hire B and Dorsum Zirkel. Image centre at 27.99°N, 23.03°W. Image is contrast stretched. Image without contrast stretching - Image by NASA/Johnson Space Center.
AS15-81-11038 - Dorsum Zirkel and crater La Hire A. Image centre at 28.24°N, 23.31°W. Image is contrast stretched. Image without contrast stretching - Image by NASA/Johnson Space Center.
AS15-81-11039 - Crater La Hire A and Dorsum Zirkel. Image centre at 28.52°N, 23.62°W. Image is contrast stretched. Image without contrast stretching - Image by NASA/Johnson Space Center.
AS15-81-11040 - Dorsum Zirkel. Image centre at 28.88°N, 24.00°W. Image is contrast stretched. Image without contrast stretching - Image by NASA/Johnson Space Center.
Mons La Hire is shown in images AS15-81-11041 to 11043. In the oblique sunlight Al first saw them by, he was struck by the crater-like depressions along its northern flank which gave him a sense that he was looking at the remains of a volcano.
AS15-81-11041 - Mons La Hire, eastern end. Image is contrast stretched. Image without contrast stretching - Image by NASA/Johnson Space Center.
AS15-81-11042 - Mons La Hire, central section. Image is contrast stretched. Image without contrast stretching - Image by NASA/Johnson Space Center.
AS15-81-11043 - Mons La Hire, western end. Image is contrast stretched. Image without contrast stretching - Image by NASA/Johnson Space Center.
These three images have been composited.
Composite image of Mons La Hire - Image by NASA/Johnson Space Center.
The sequence along Mons La Hire is repeated until magazine QQ runs out of film.
AS15-81-11044 - Mons La Hire, eastern end. Image is contrast stretched. Image without contrast stretching - Image by NASA/Johnson Space Center.
AS15-81-11045 - Mons La Hire, central section. Image is contrast stretched. Image without contrast stretching - Image by NASA/Johnson Space Center.
AS15-81-11046 - Mons La Hire, western end, and end of film. Image is contrast stretched. Image without contrast stretching - Image by NASA/Johnson Space Center.
Now that magazine QQ is finished, subsequent photography on this rev is carried out using PP and O. Dealing with magazine O first and the 250mm lens, a photograph of the whole of Mons La Hire is taken.
AS15-97-13243 - Mons La Hire - Image by NASA/Johnson Space Center.
The next photo on magazine O is a patch of eastern Mare Imbrium with Dorsum Zirkel passing to the right. This is taken at around 213:10 GET.
AS15-97-13244 - Eastern Mare Imbrium and Dorsum Zirkel. Approximate image centre at 30.5°N, 26.5°W - Image by NASA/Johnson Space Center.
Using colour film in magazine PP and its wide-angle lens, AS15-90-12299 begins a sequence of four images which allow the spacecraft's motion to track the camera across the western Mare Imbrium. The contamination on the Réseau plate of this camera is very apparent.
AS15-90-12299 - Mons Delisle and crater Delisle. Crater Diophantus B on the right and Rima Delisle at top - Image by NASA/Johnson Space Center.
The camera is tipped up to the horizon in AS15-90-12300 so that the 16-km crater, Gruithuisen comes into view. Beyond and near the top of the picture is Mons Gruithuisen Gamma. This image does not show it well but it is an interesting dome-like structure with a 900-metre craterlet at the top.
AS15-90-12300 - Mons Delisle, crater Delisle and Rima Delisle (top right). Crater Gruithuisen on left - Image by NASA/Johnson Space Center.
AS15-90-12301 - Mons Delisle and crater Delisle. Crater Gruithuisen on upper left - Image by NASA/Johnson Space Center.
AS15-90-12302 - Craters Angström (upper right) and Krieger (lower left) - Image by NASA/Johnson Space Center.
These photographs illustrate one of the features of lunar illumination which is rarely seen on Earth, the "zero-phase" which is the bright spot to the lower left next to the crater Angström. This author (Woods) has noticed the same effect while flying on a sunny day over a dew-covered grassy field. It is always seen on the Moon at a point exactly opposite the Sun for the observer. Part of the reason for it is, like the dew on the grass, the presence in the lunar regolith of countless tiny beads of glass produced over the aeons by the incessant pounding and melting of rock when rocks fall from space. A fraction is also due to glass that was sprayed out during early volcanic processes. Another mechanism that only came to light in 1986 is coherent backscatter, a subtle quantum effect that increases the intensity of the zero phase. This zero-phase light proved very uncomfortable to surface crews when they had to walk or drive away from the Sun. Notice how, by AS15-90-12302, it has "moved" with the spacecraft. In this latter frame, the 9.8-km Angström is in the foreground and the complex of craters centred around Krieger is plainly visible beyond. The single crater this side of zero-phase is Wollaston. Next to Angström is the dim outline of a ghost crater about 7 kilometres across. This would have been formed just before the final deluge of runny lunar lava passed this way filling the bowl and leaving the crater rim sitting proud of the mare surface.
The camera moves to a different window to gain a view more directly downwards.
AS15-90-12303 - Rimae Prinz through hatch window - Image by NASA/Johnson Space Center.
This frame manages to capture an unusual feature part way along one of the Prinz rilles which journal contributor John Pfannerstill has named The Paperclip.
LROC image of the unofficially-named Paperclip - Image by LROC/ASU.
With excessive hubris, this author (Woods) has come up with a formation mechanism for The Paperclip. Since the 1994 impact of comet Shoemaker-Levy 9 into Jupiter, there has been a better understanding of how tidal forces can disrupt a small, loosely aggregated body as it makes a close passage by a large planet. The differential gravitational field separates the constituents of such a body to form a string of possible impactors. If these then happen upon a larger world, be it a moon or planet, they will impact, one after the other. Of course, the larger body has its own rotation so it is expected that the resultant impacts will be spread apart on the surface, depending on how fast that rotation is and how far apart the impactors had drifted apart prior to impact. A few of the crater chains on the Moon that don't have an association with lava rilles are likely to have been formed this way and the Davy Rille (Catena Davy) near the centre of the near side is now thought to be a good example. I would propose the same mechanism for The Paperclip, that a string of objects came barrelling in to produce a row of similarly-sized overlapping craters in a mare landscape that was still being formed. This would have occurred three or more billion years ago when great outpourings of the Moon's runny lava would have been common. A river of such lava happened to be running right where the crater chain formed and its lavas inundated the chain, filling the craters and melting away any sign of their separate identities as it helped to form Oceanus Procellarum.
The Paperclip also appears in image AS15-90-12304 but is partly obscured by the dirt on the camera's Réseau plate.
AS15-90-12304 - Rimae Prinz through hatch window - Image by NASA/Johnson Space Center.
At about this time (213:15), a colour image is taken on magazine O with the 250mm lens.
AS15-97-13245 - Wrinkle ridge northeast of crater Krieger. Approximate image centre at 30.2°N, 44.7°W - Image by NASA/Johnson Space Center.
This shows the area just north of Krieger, whose ejecta blanket is visible at the very top-left corner of the image. Two wrinkle ridges run north across the image (north is to the right). These features are signs of the stresses within the basalt beds of the mare. As the bulk of the dense basalt sinks unequally, some areas sustain compressional forces which causes upthrust along points of weakness. As they protrude above the surrounding surface, they are collectively called "dorsa".
The next image on magazine PP is an image framed in the window of the main hatch that was used in the astonishing book, 'Full Moon' by Michael Light, who has kindly donated this version to the Journal, this being number 28 in his collection. Light has processed his version heavily to increase its contrast, remove the Réseau plate dirt and remove the reflections of the cabin lights in the window.
AS15-90-12305 - Craters Krieger and Van Biesbroeck through hatch window - Image by NASA/Johnson Space Center.
On the original scan, north is to the left and the large crater is Krieger at 22 kilometers in diameter. Interrupting its southern rim is Van Biesbroeck, a simple 10-km crater. The two craters to the east are Rocco (the larger crater) and Ruth. Note the rille that runs from a breach in the western wall into Oceanus Procellarum. This is Rima Krieger. As was thoroughly documented during yesterday's photography, this area, the Aristarchus Plateau is very rich in rilles. AS15-90-12306 takes the viewpoint away from Krieger somewhat to the craters north of Aristarchus which are the source of some of these rilles, the Rimae Aristarchus.
AS15-90-12306 - Rimae Aristarchus and craters Krieger, Van Biesbroeck, Wollaston N and Toscanelli through hatch window - Image by NASA/Johnson Space Center.
The crater to the right of the rille-producing pair is Toscanelli. The remaining ten frames on magazine PP for this pass follow slightly to the west of Toscanelli across the northern edge of the Aristarchus Plateau to Montes Agricola, finally settling on its northern end.
AS15-90-12307 - Rimae Aristarchus and craters Wollaston N and Toscanelli - Image by NASA/Johnson Space Center.
AS15-90-12308 - Rimae Aristarchus and craters Wollaston N and Toscanelli - Image by NASA/Johnson Space Center.
AS15-90-12309 - Rimae Aristarchus, Montes Agricola and craters Wollaston N and Toscanelli - Image by NASA/Johnson Space Center.
AS15-90-12310 - Crater Wollaston R and Montes Agricola - Image by NASA/Johnson Space Center.
AS15-90-12311 - Craters Nielsen, Wollaston R and Montes Agricola - Image by NASA/Johnson Space Center.
AS15-90-12312 - Oceanus Procellarum and Montes Agricola - Image by NASA/Johnson Space Center.
AS15-90-12313 - Northern end of Montes Agricola - Image by NASA/Johnson Space Center.
AS15-90-12314 - Northern end of Montes Agricola - Image by NASA/Johnson Space Center.
AS15-90-12315 - Northern end of Montes Agricola - Image by NASA/Johnson Space Center.
AS15-90-12316 - Oceanus Procellarum and Montes Agricola - Image by NASA/Johnson Space Center.
Simultaneously with these wide-angle images in and around the Aristarchus Plateau, another crop are being taken of this rich area using colour film and the medium telephoto (250-mm) lens. These are AS15-97-13246 to 13265.
AS15-97-13246 - Rilles north of the Aristarchus Plateau. Approximate image centre at 29.6°N, 49.2°W - Image by NASA/Johnson Space Center.
AS15-97-13247 - Rilles north of the Aristarchus Plateau. Approximate image centre at 30.3°N, 49.7°W - Image by NASA/Johnson Space Center.
AS15-97-13248 - Rilles north of the Aristarchus Plateau. Approximate image centre at 30.5°N, 49.8°W - Image by NASA/Johnson Space Center.
These three can be composited.
Composite image of Rima Aristarchus VIII - Source images by NASA/Johnson Space Center.
Linear features that are sunken are called "rima" and these images, AS15-97-13246 to 13248 show examples of this type, particularly Rima Archimedes VIII running from bottom-left in this composite. This author (Woods) believes the large cleft to the left is the inundated remains of a much older and wider rille which may have been somewhat similar to Vallis Schröteri which the crew will photograph soon. Part of Montes Agricola is seen running across the next pair of photos, AS15-97-13249 and 13250. The northern edge of the Aristarchus plateau runs along the bottom of 13249.
AS15-97-13249 - Mare, rilles and wrinkle ridge south of Montes Agricola. Approximate image centre at 29.0°N, 52.6°W - Image by NASA/Johnson Space Center.
AS15-97-13250 - Mare north of Montes Agricola including crater Humason. Approximate image centre at 30.2°N, 54.2°W - Image by NASA/Johnson Space Center.
These two have been composited.
Composite image of Montes Agricola - Source images by NASA/Johnson Space Center.
The photography now looks northwest across Oceanus Procellarum. Of much interest to lunar geologists before Apollo were the "special features", odd landforms that were outside the ordinary when looking at the Moon. Only later would the collective mind of science realise that much of the important story of the Moon can be deduced by looking at the big picture - the maria, basins and terra - and the impacts that modelled them. Mons Rümker, seen among the next three frames, AS15-97-13251 to 13253, is an example of a special feature. It is a collection of low volcanic domes in the northern regions of Oceanus Procellarum named after a German astronomer Karl Ludwig Christian Rümker, 1788-1862.
AS15-97-13251 - Unnamed wrinkle ridge on Oceanus Procellarum leading to Mons Rümker. Approximate image centre at 35.8°N, 53.5°W - Image by NASA/Johnson Space Center.
AS15-97-13252 - Mons Rümker and crater Rümker E - Image by NASA/Johnson Space Center.
AS15-97-13253 - Mons Rümker including craters Rümker E and F - Image by NASA/Johnson Space Center.
These three images can be composited together.
Composite image of Mons Rümker - Source images by NASA/Johnson Space Center.
Frames AS15-97-13254 and 13255 look further to the west at the terminator.
AS15-97-13254 - Oceanus Procellarum including craters Naumann, Naumann G and Lichtenberg B. Approximate image centre at 33.6°N, 58.9°W - Image by NASA/Johnson Space Center.
AS15-97-13255 - Dorsum Scilla, craters Naumann G and Lichtenberg B, H and Humason. Approximate image centre at 32.0°N, 58.5°W - Image by NASA/Johnson Space Center.
A composite of these two frames shows the 9.6-km Naumann at the bottom and the complex of wrinkle ridges that cross Oceanus Procellarum.
Composite image of Mons Rümker - Source images by NASA/Johnson Space Center.
As Endeavour passes over the Aristarchus Plateau, a crewmember, probably Al, takes one of the most spectacular sequences of Hasselblad photographs from the mission. The eight frames in this sequence look approximately south to show the full 160-km length of Vallis Schröteri from its source in the so-called "Cobra Head" on the left to where it fades out in Oceanus Procellarum.
AS15-97-13256 - Vallis Schröteri - Image by NASA/Johnson Space Center.
AS15-97-13257 - Vallis Schröteri - Image by NASA/Johnson Space Center.
AS15-97-13258 - Vallis Schröteri - Image by NASA/Johnson Space Center.
AS15-97-13259 - Vallis Schröteri - Image by NASA/Johnson Space Center.
AS15-97-13260 - Vallis Schröteri - Image by NASA/Johnson Space Center.
AS15-97-13261 - Vallis Schröteri - Image by NASA/Johnson Space Center.
AS15-97-13262 - Vallis Schröteri - Image by NASA/Johnson Space Center.
AS15-97-13263 - Vallis Schröteri - Image by NASA/Johnson Space Center.
These have been composited.
Composite image of Mons Rümker - Source images by NASA/Johnson Space Center.
The valley is visible from Earth with even a small telescope but it took spacecraft to reveal the smaller meandering rille within. When compared to the bulk of the rille, the Cobra Head is very heavily pitted with craters. These are secondary impacts from the ejecta thrown out by Aristarchus a few dozen kilometres to the left and much younger than the rille. While Schröter's Valley is about 3 aeons old, Aristarchus' age is "only" about ½ an aeon or less. The composite was produced from frames AS15-97-13256 to 13263. Paul Spudis is a geologist at the Lunar and Planetary Institute in Houston and we discussed the sinuous rilles.
Paul Spudis, from 2000 correspondence: "Basically, these are lava channels, formed during eruption of the mare basalts. There is currently a debate about whether the rilles are constructional features (i.e., that they are built up by lava overplating, as here on Earth) or if they are erosional features (hot, runny, turbulent lava actually erodes the Moon's surface.) It may be that different processes are of differing importance in different rilles."
The final images in this series are of a wrinkle ridge, Dorsa Whiston, which runs across Oceanus Procellarum south of the small crater Humason (formerly Lichtenberg G).
AS15-97-13264 - Dorsa Whiston. Approximate image centre at 29.7°N, 57.2°W - Image by NASA/Johnson Space Center.
AS15-97-13265 - Dorsa Whiston. Approximate image centre at 30.2°N, 57.4°W - Image by NASA/Johnson Space Center.
Both have been composited to show a greater contigious length.
Composite image of Dorsa Whiston - Source images by NASA/Johnson Space Center.
These are the last images from this daylight pass and the spacecraft passes the sunrise terminator at about 213:21.
213:34:31 Henize: 15, this is Houston; 3 minutes to LOS, and all your systems are Go. [Long pause.]
213:35:19 Henize: 15, this is Houston. How do you read?
Comm break.
213:36:29 Henize: 15, this is Houston. Could you give us a comm check, please.
Very long comm break.
This is Apollo Control. We've had Loss Of Signal as Apollo 15 sailed around behind the Moon again. Nearing the end of the 69th lunar revolution. Back around the eastern side of the Moon, back in view of the big dishes in the Manned Space Flight tracking Network in about 47 minutes. And at 213 hours, 38 minutes Ground Elapsed Time; this is Apollo Control.