This chapter covers the final period of lunar orbit science before the crew of Apollo 15 begin their preparations to return to Earth. Date: 4 August 1971.
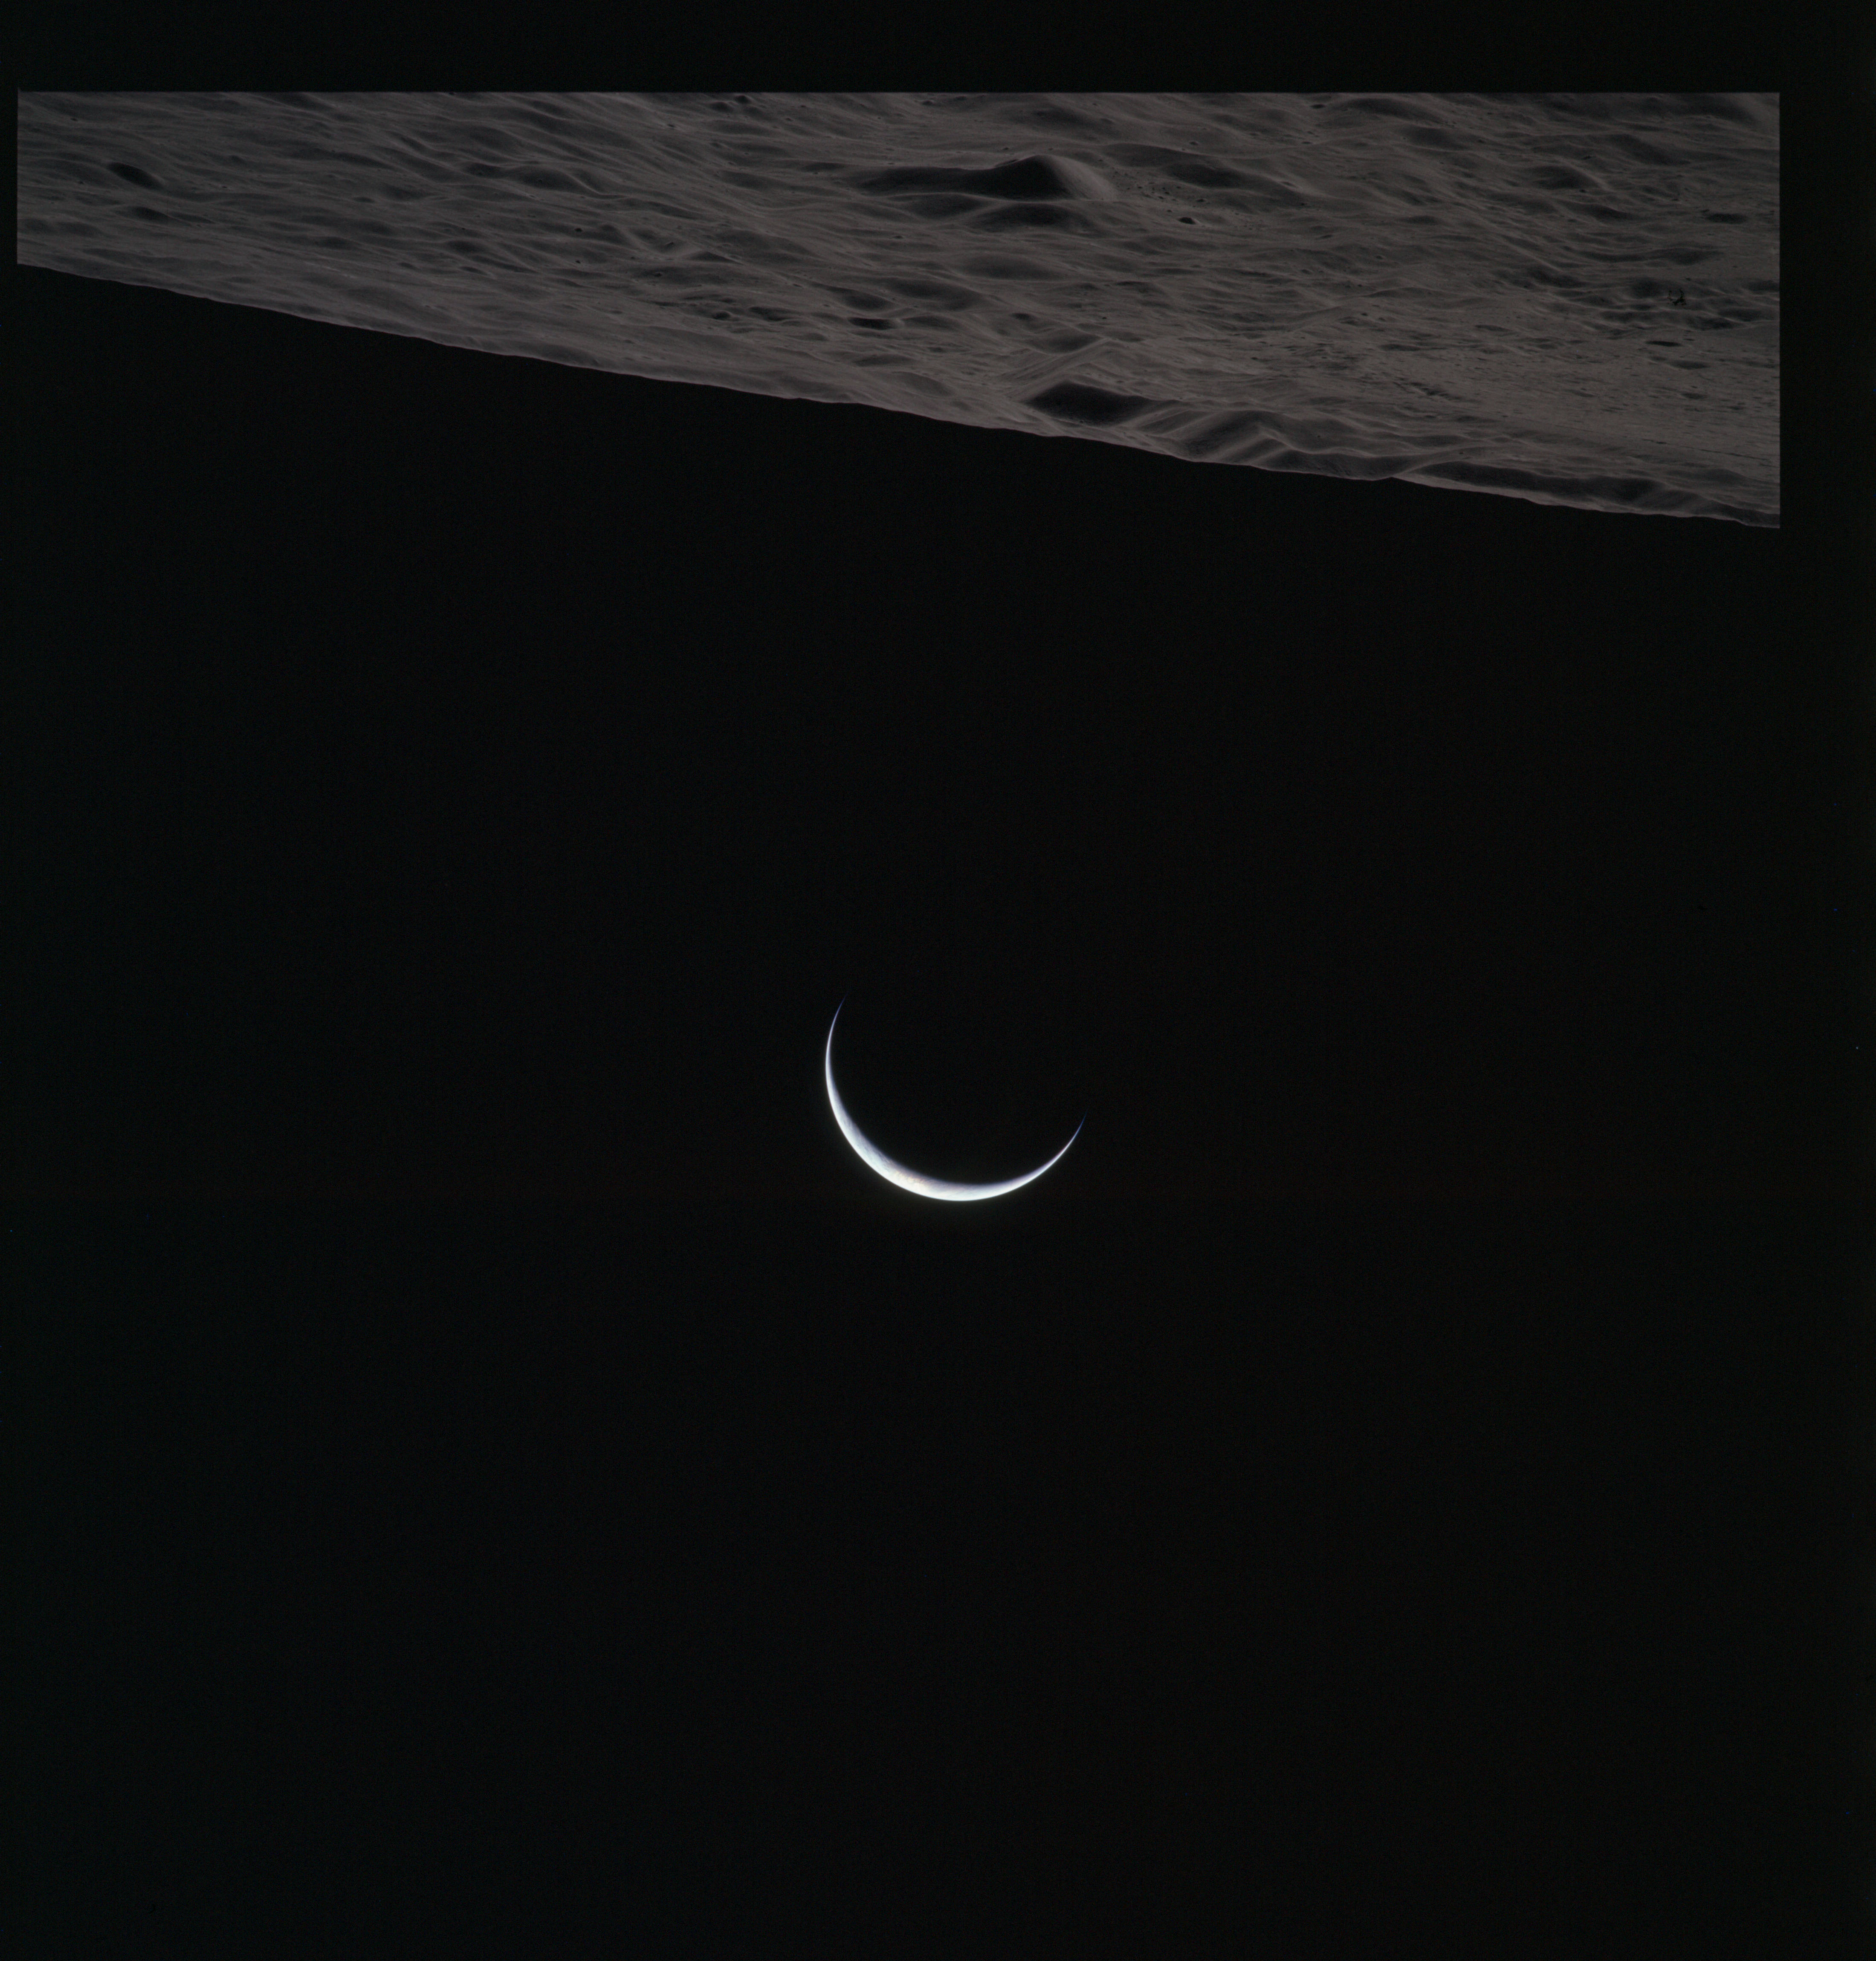
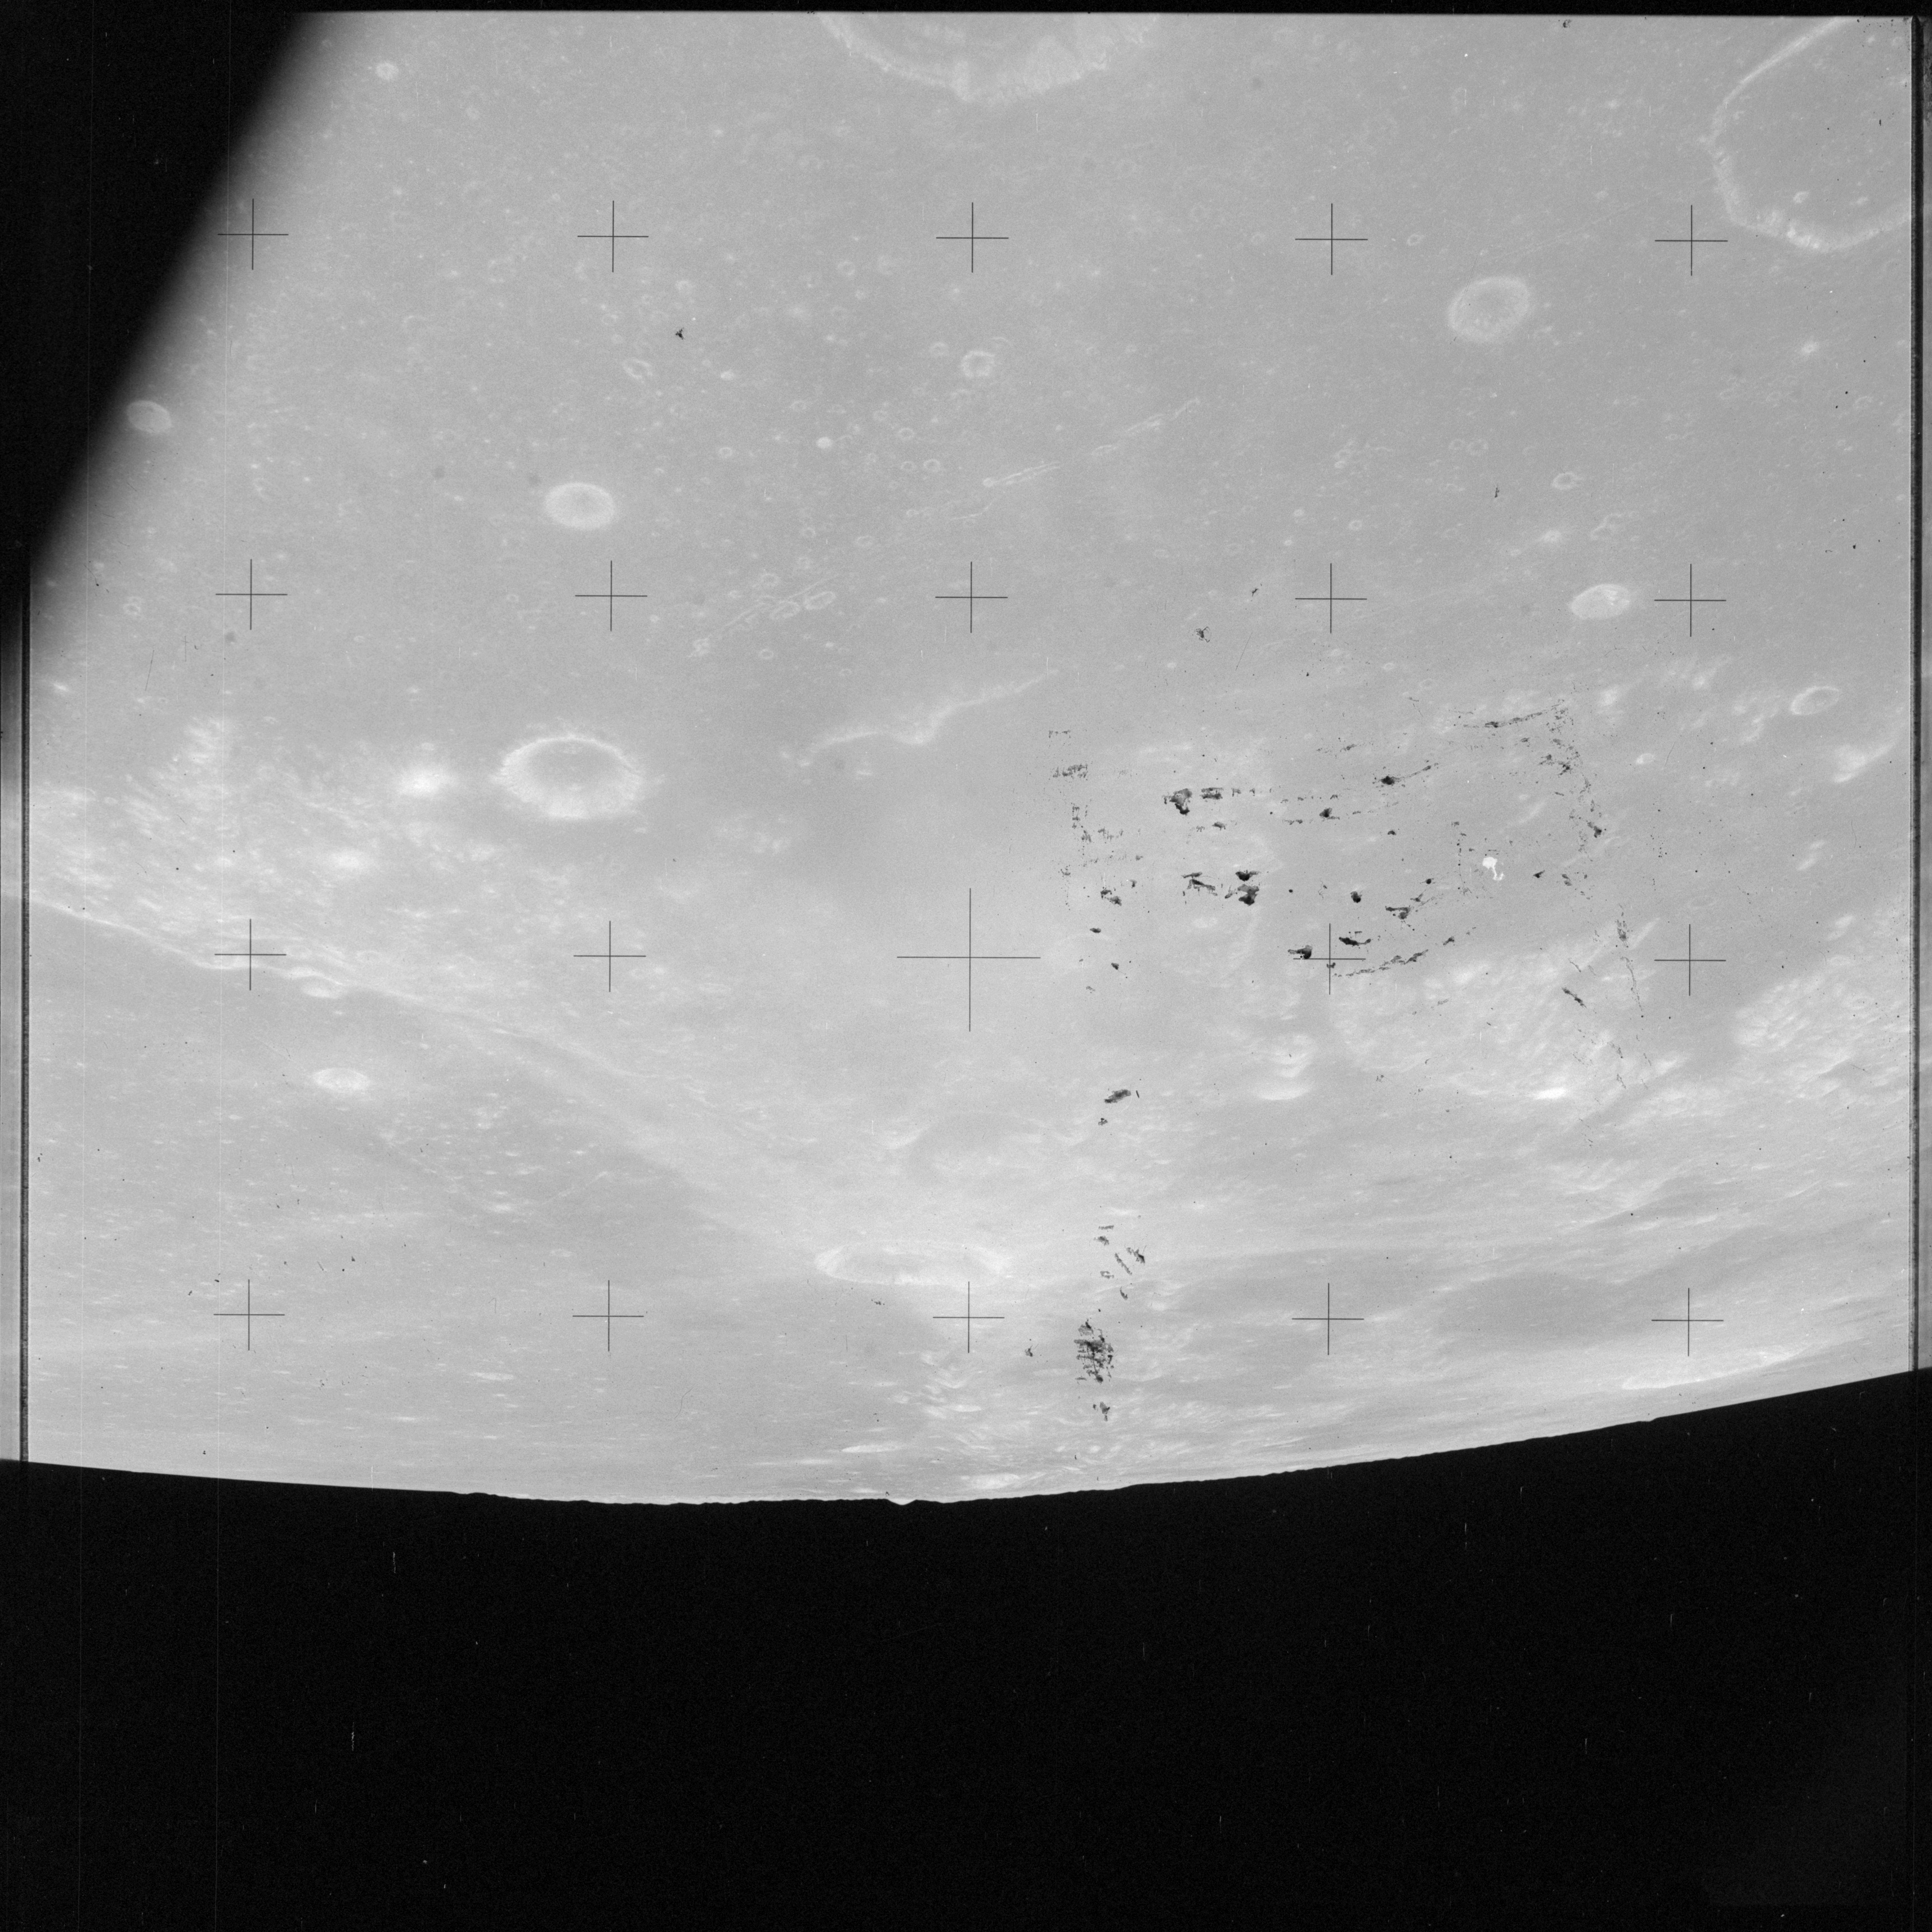
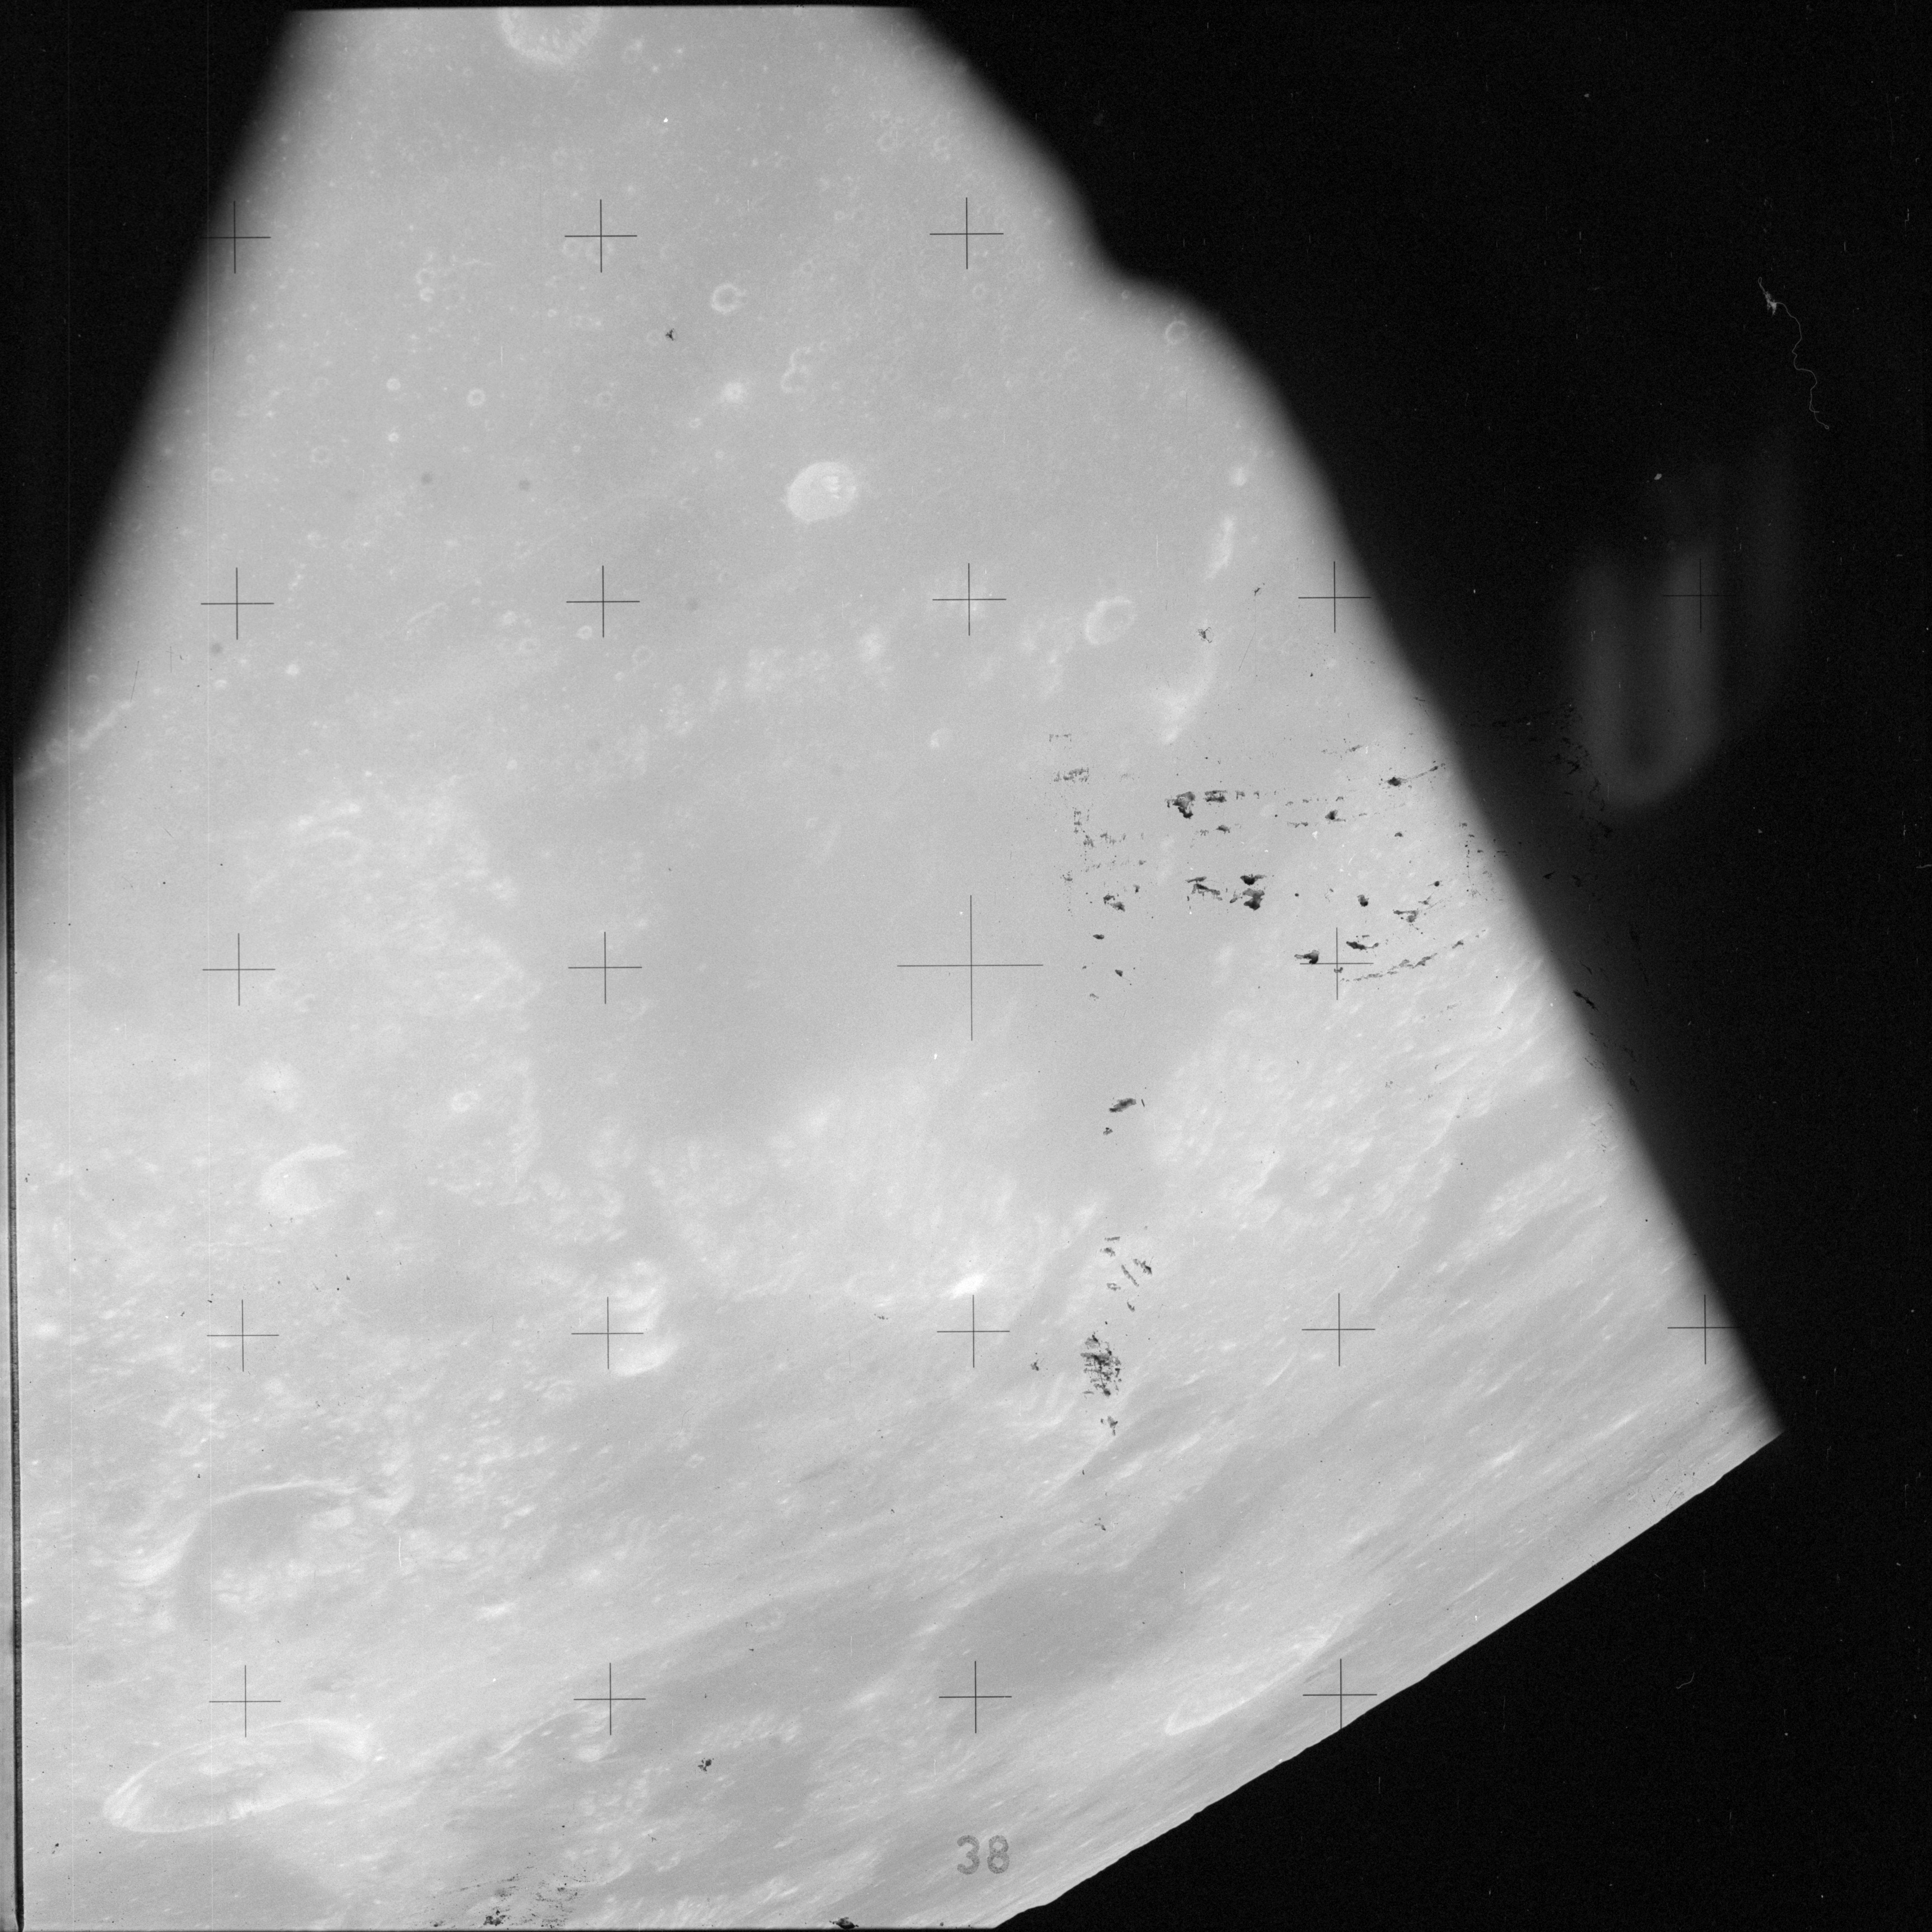
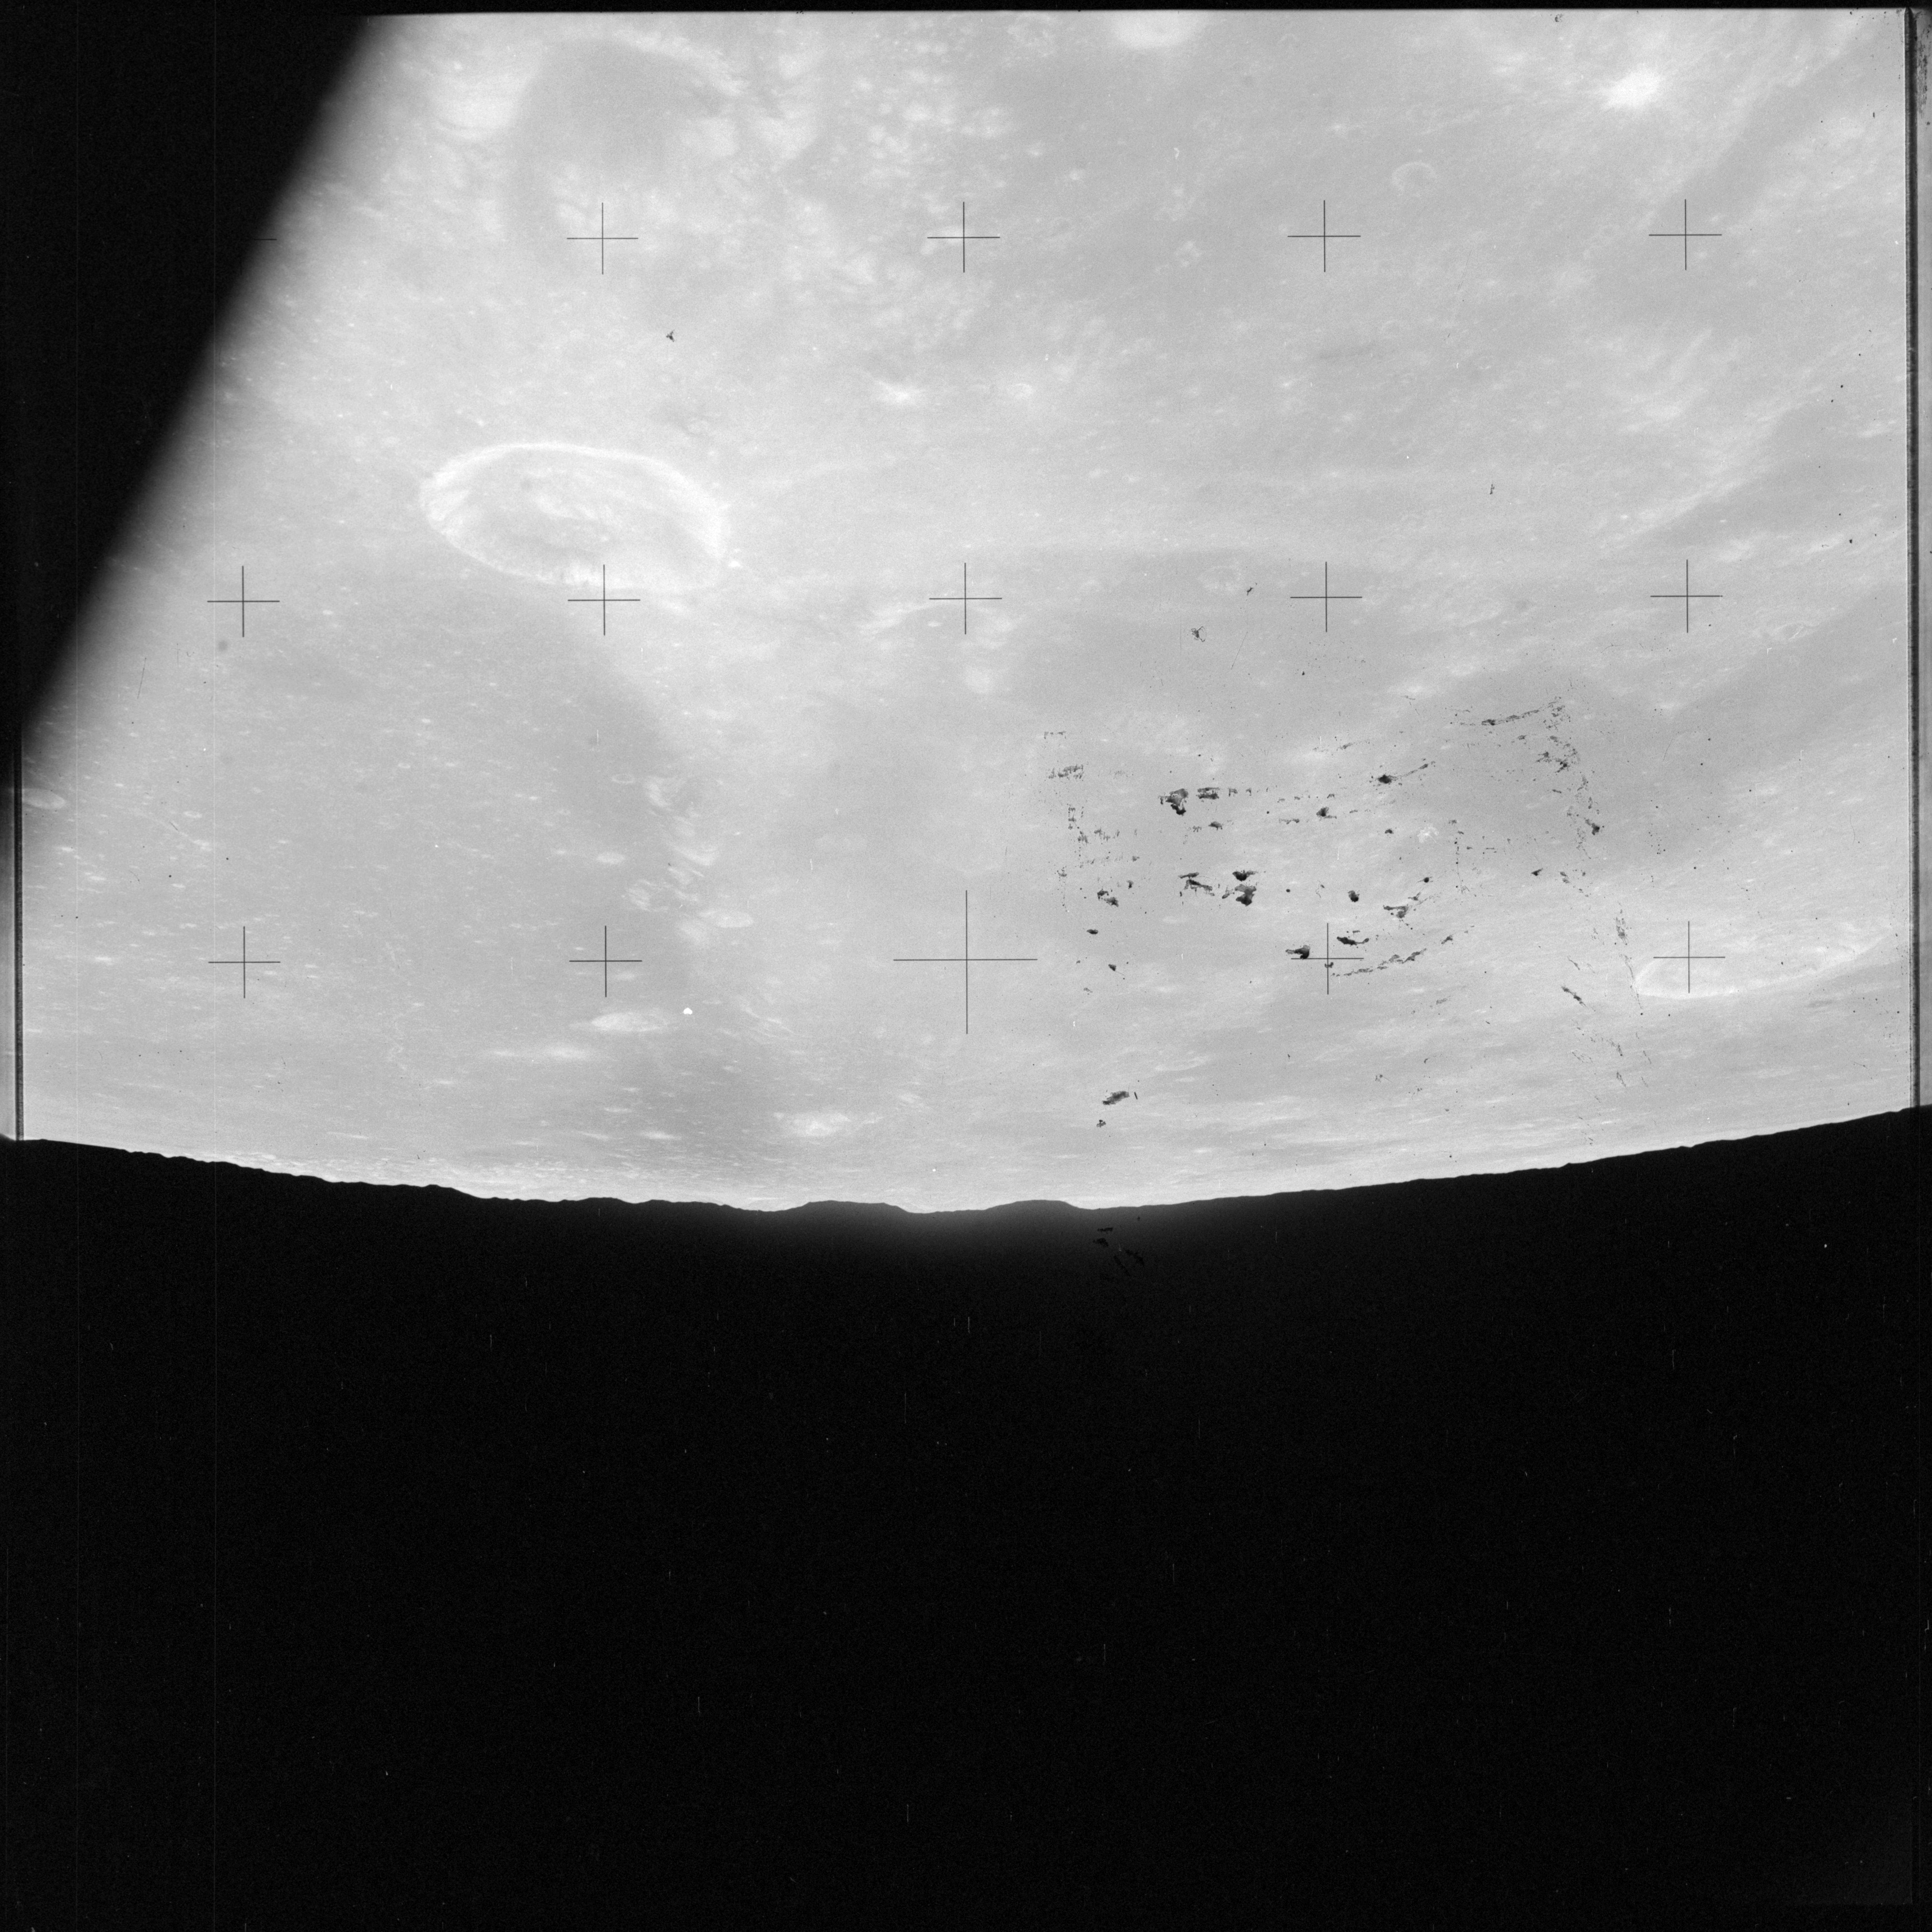
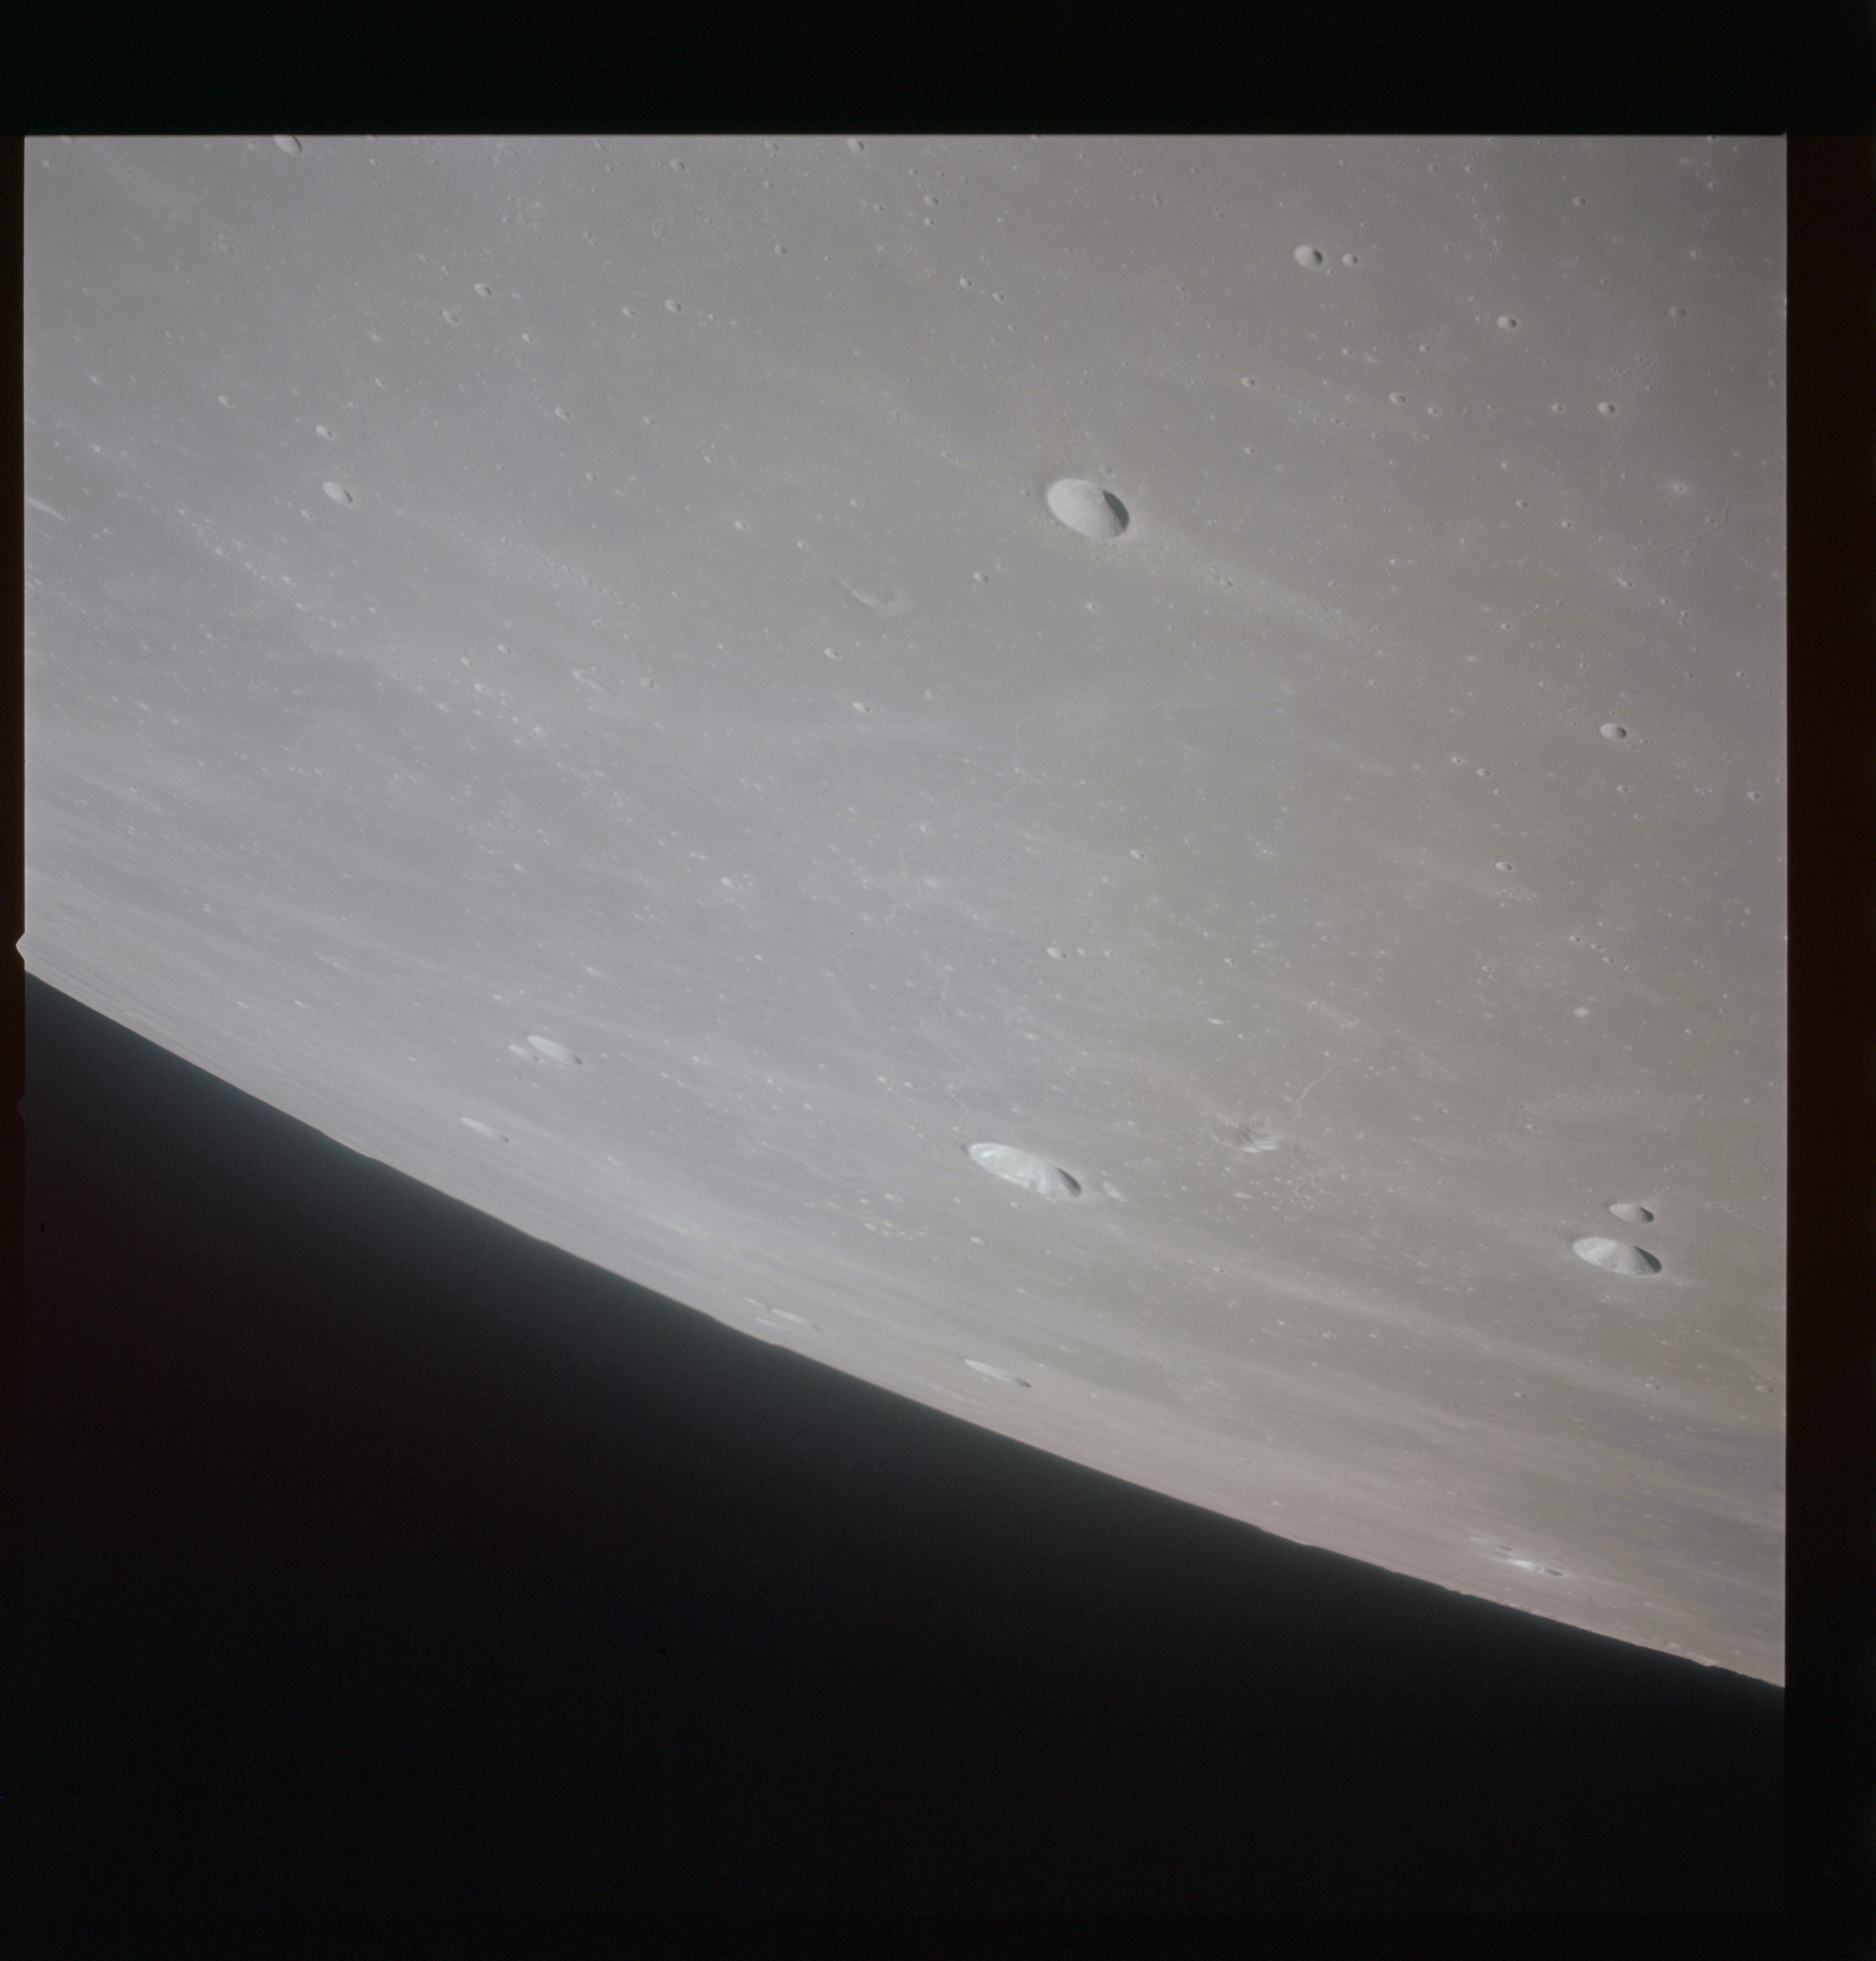
Endeavour is about to complete rev 69, having just passed out of sight of Earth. As the PAO announcer soon intimates, the crew will finish their breakfast during this far-side pass, then continue with the science objectives for the day. First among these is to prepare a Hasselblad with a 250-mm lens and very high speed black and white film in magazine R for photography of the terminator just before AOS. The Mass Spectrometer is turned off and, after five minutes, retracted into the side of the Service Module, along with the Gamma-ray Spectrometer. With these two instruments out of the way, the Mapping Camera is extended and readied for operation once the spacecraft crosses the terminator. As a last hope, the Laser Altimeter will be switched on in support of the camera but it is believed to be useless now having been seen to progressively fail during its operation in lunar orbit.
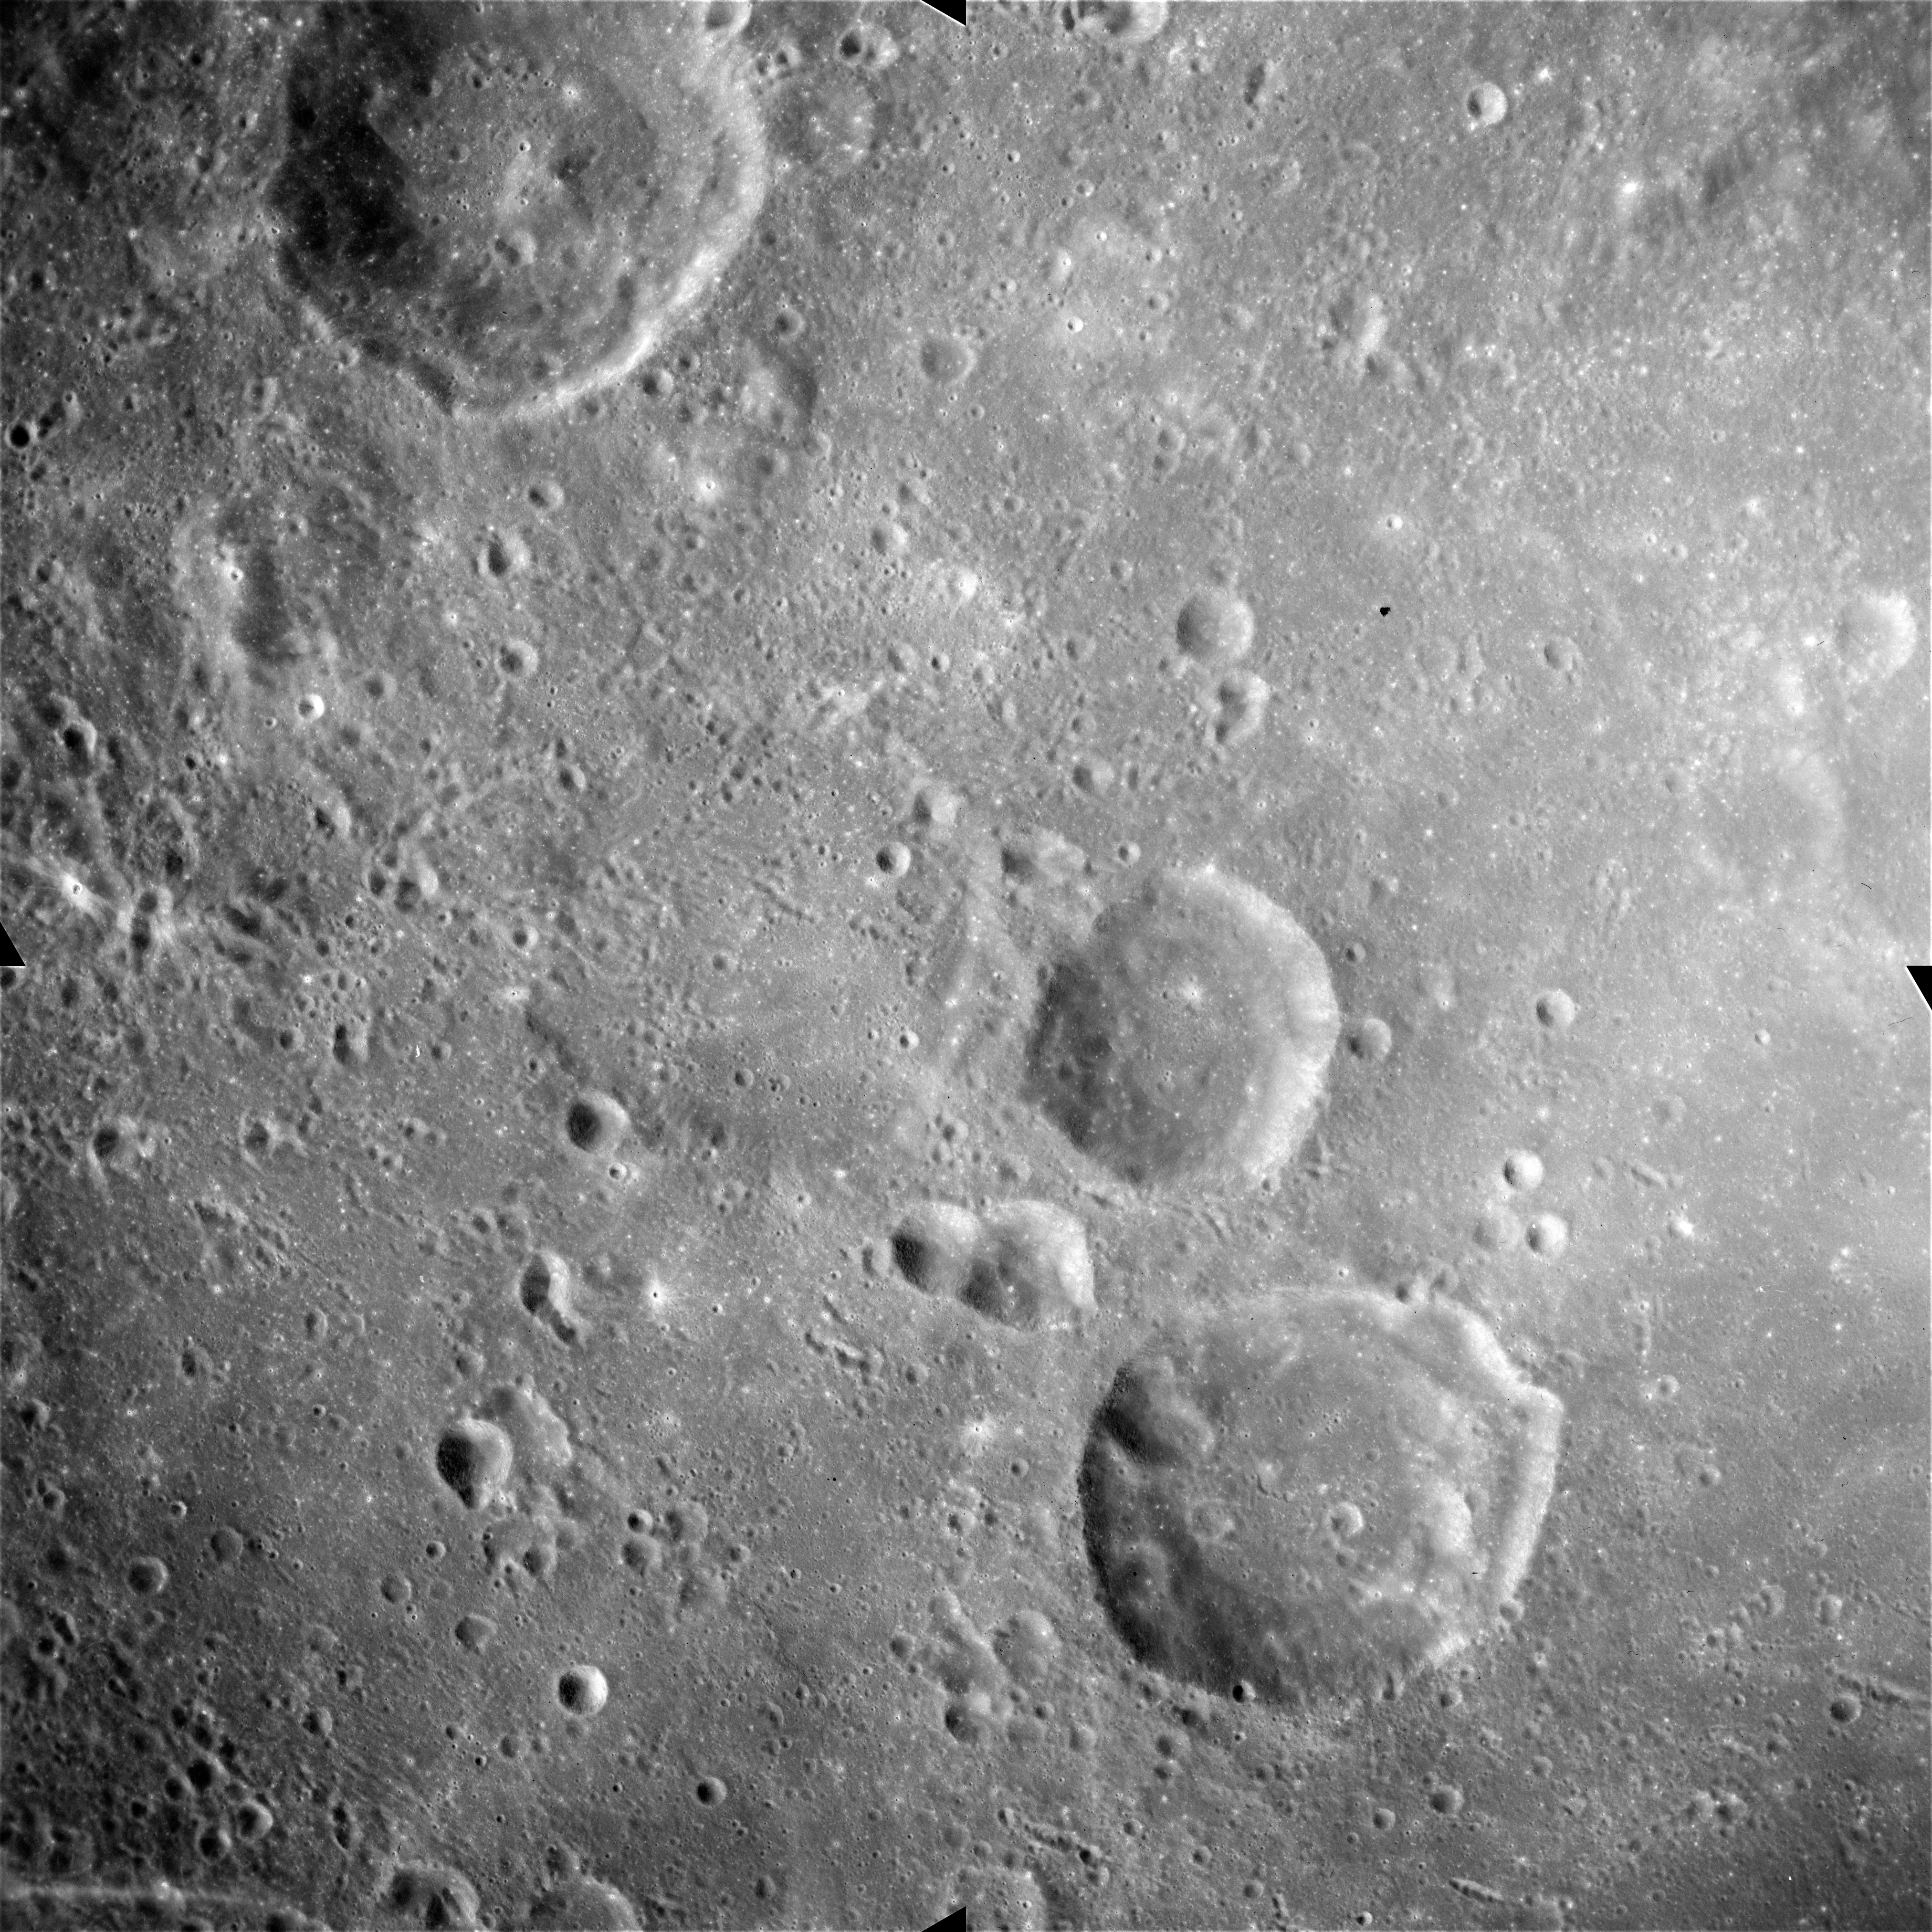
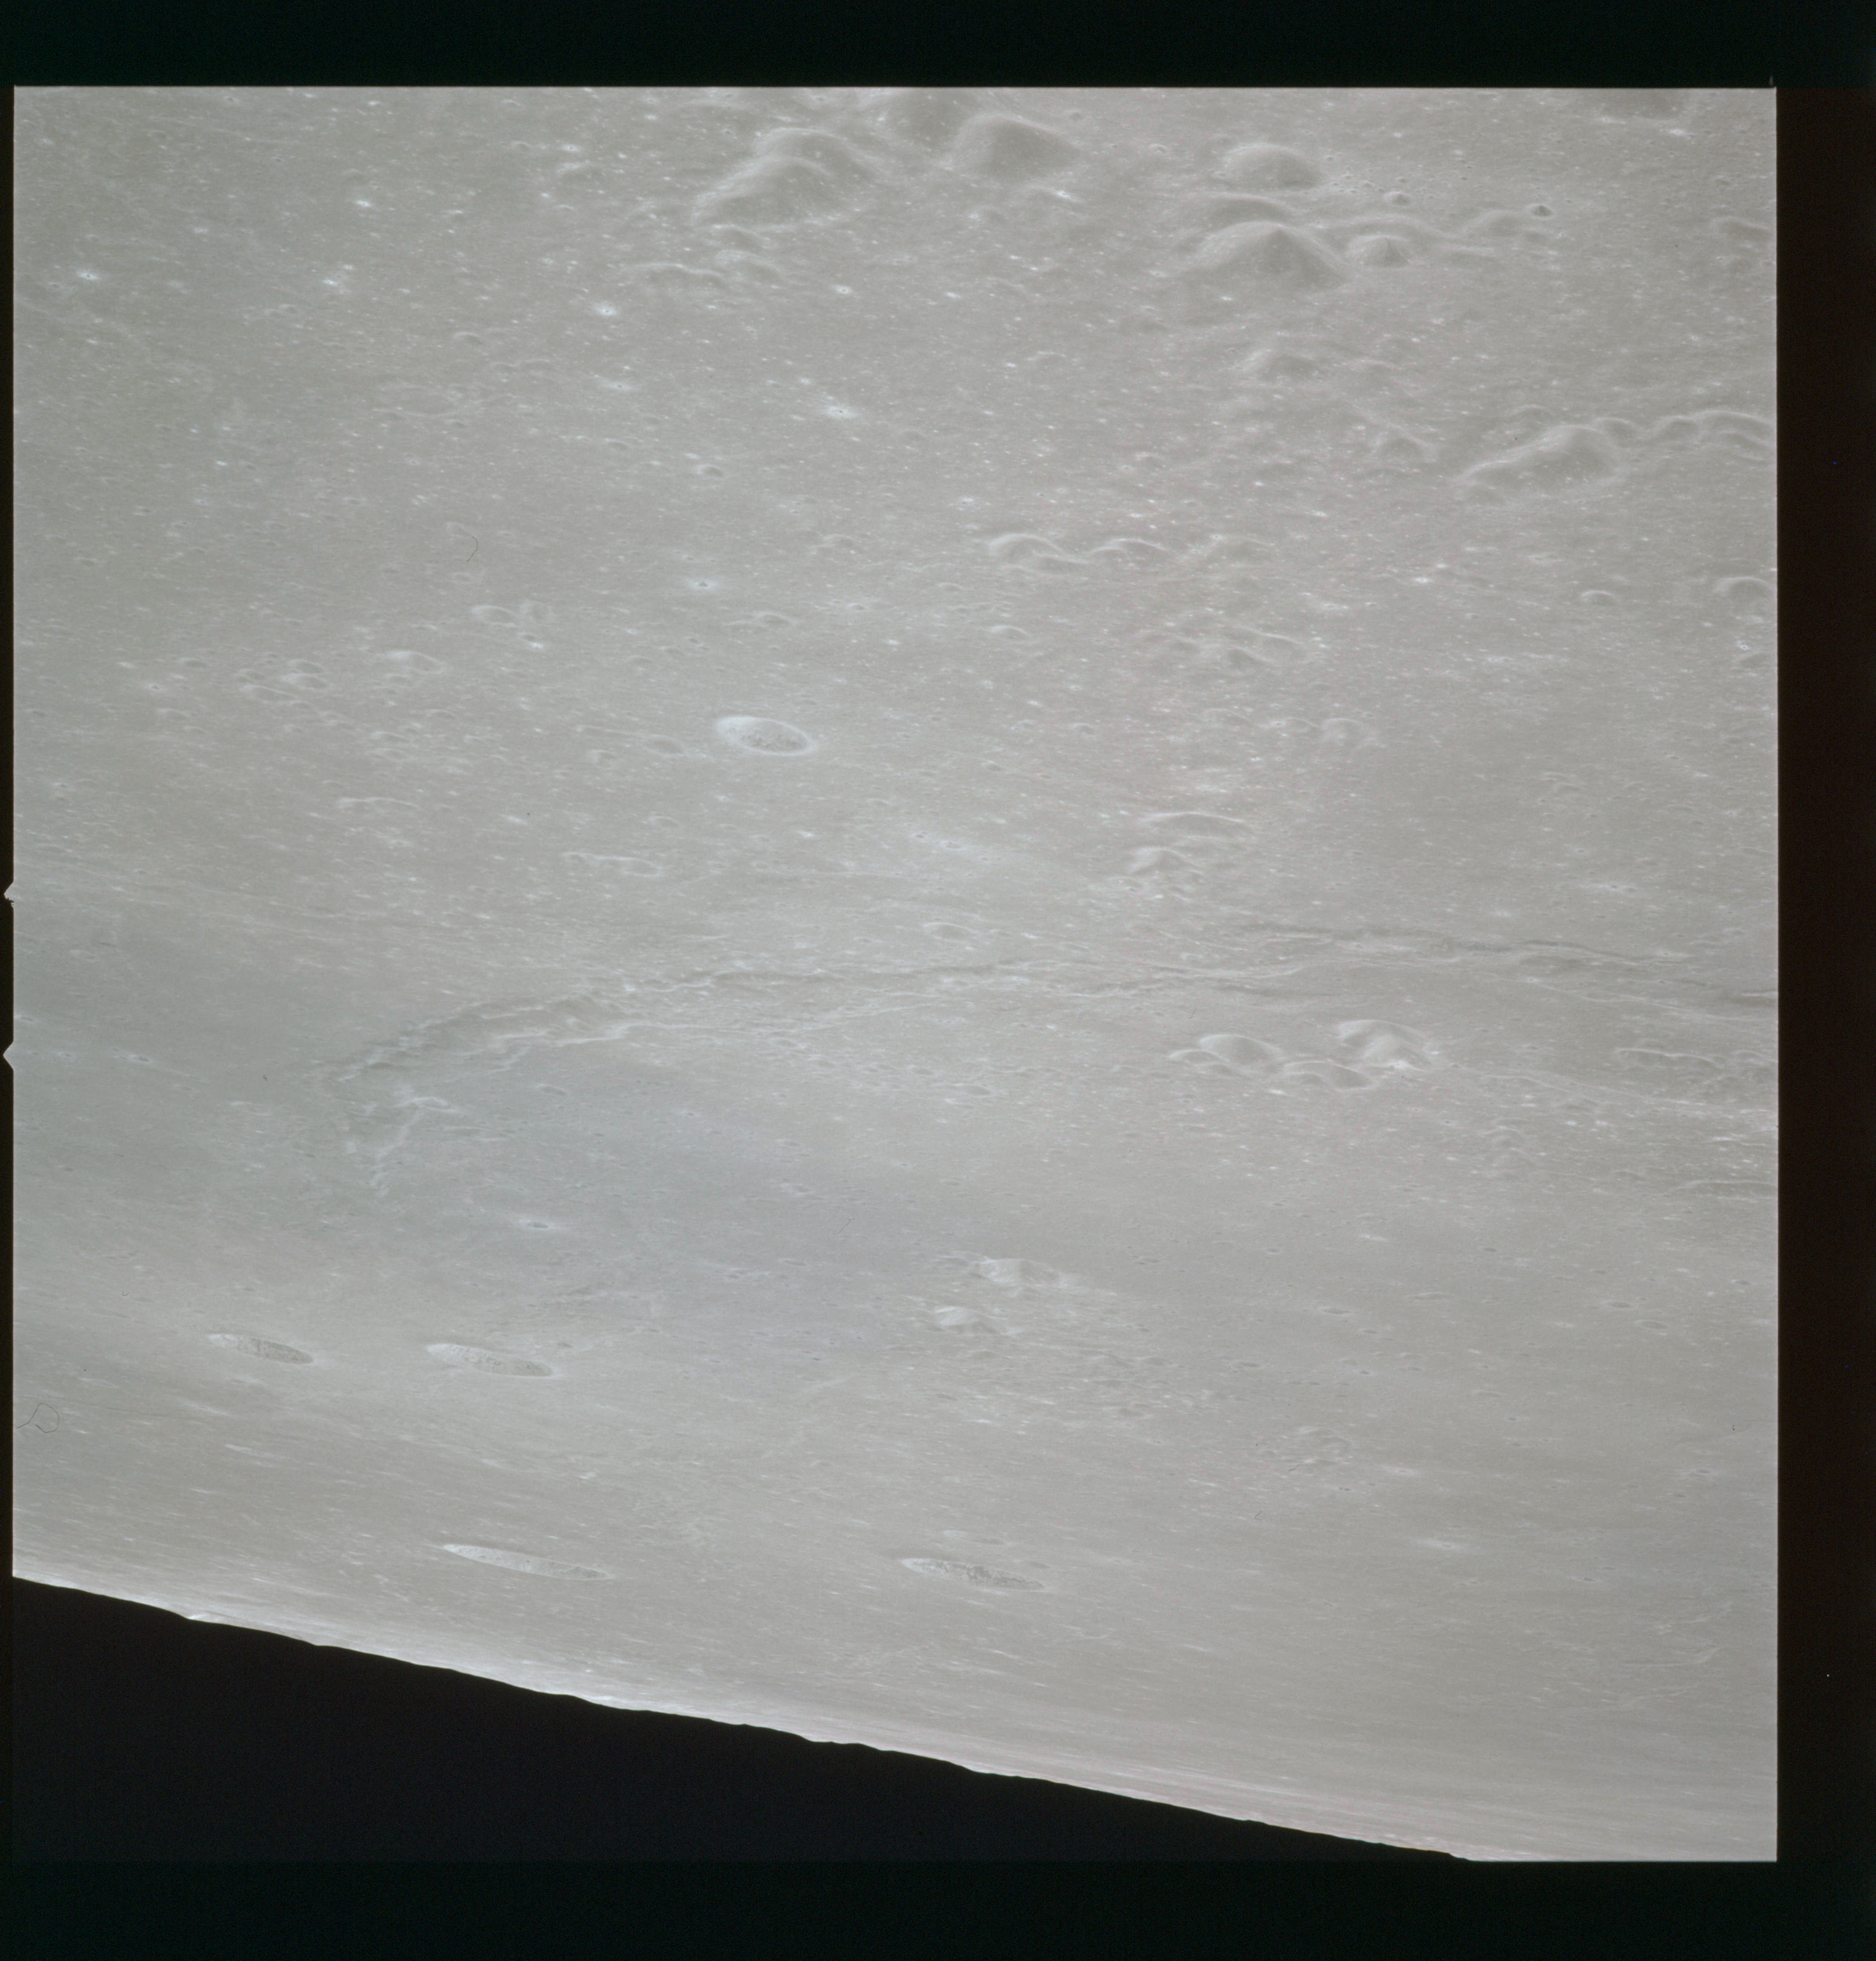
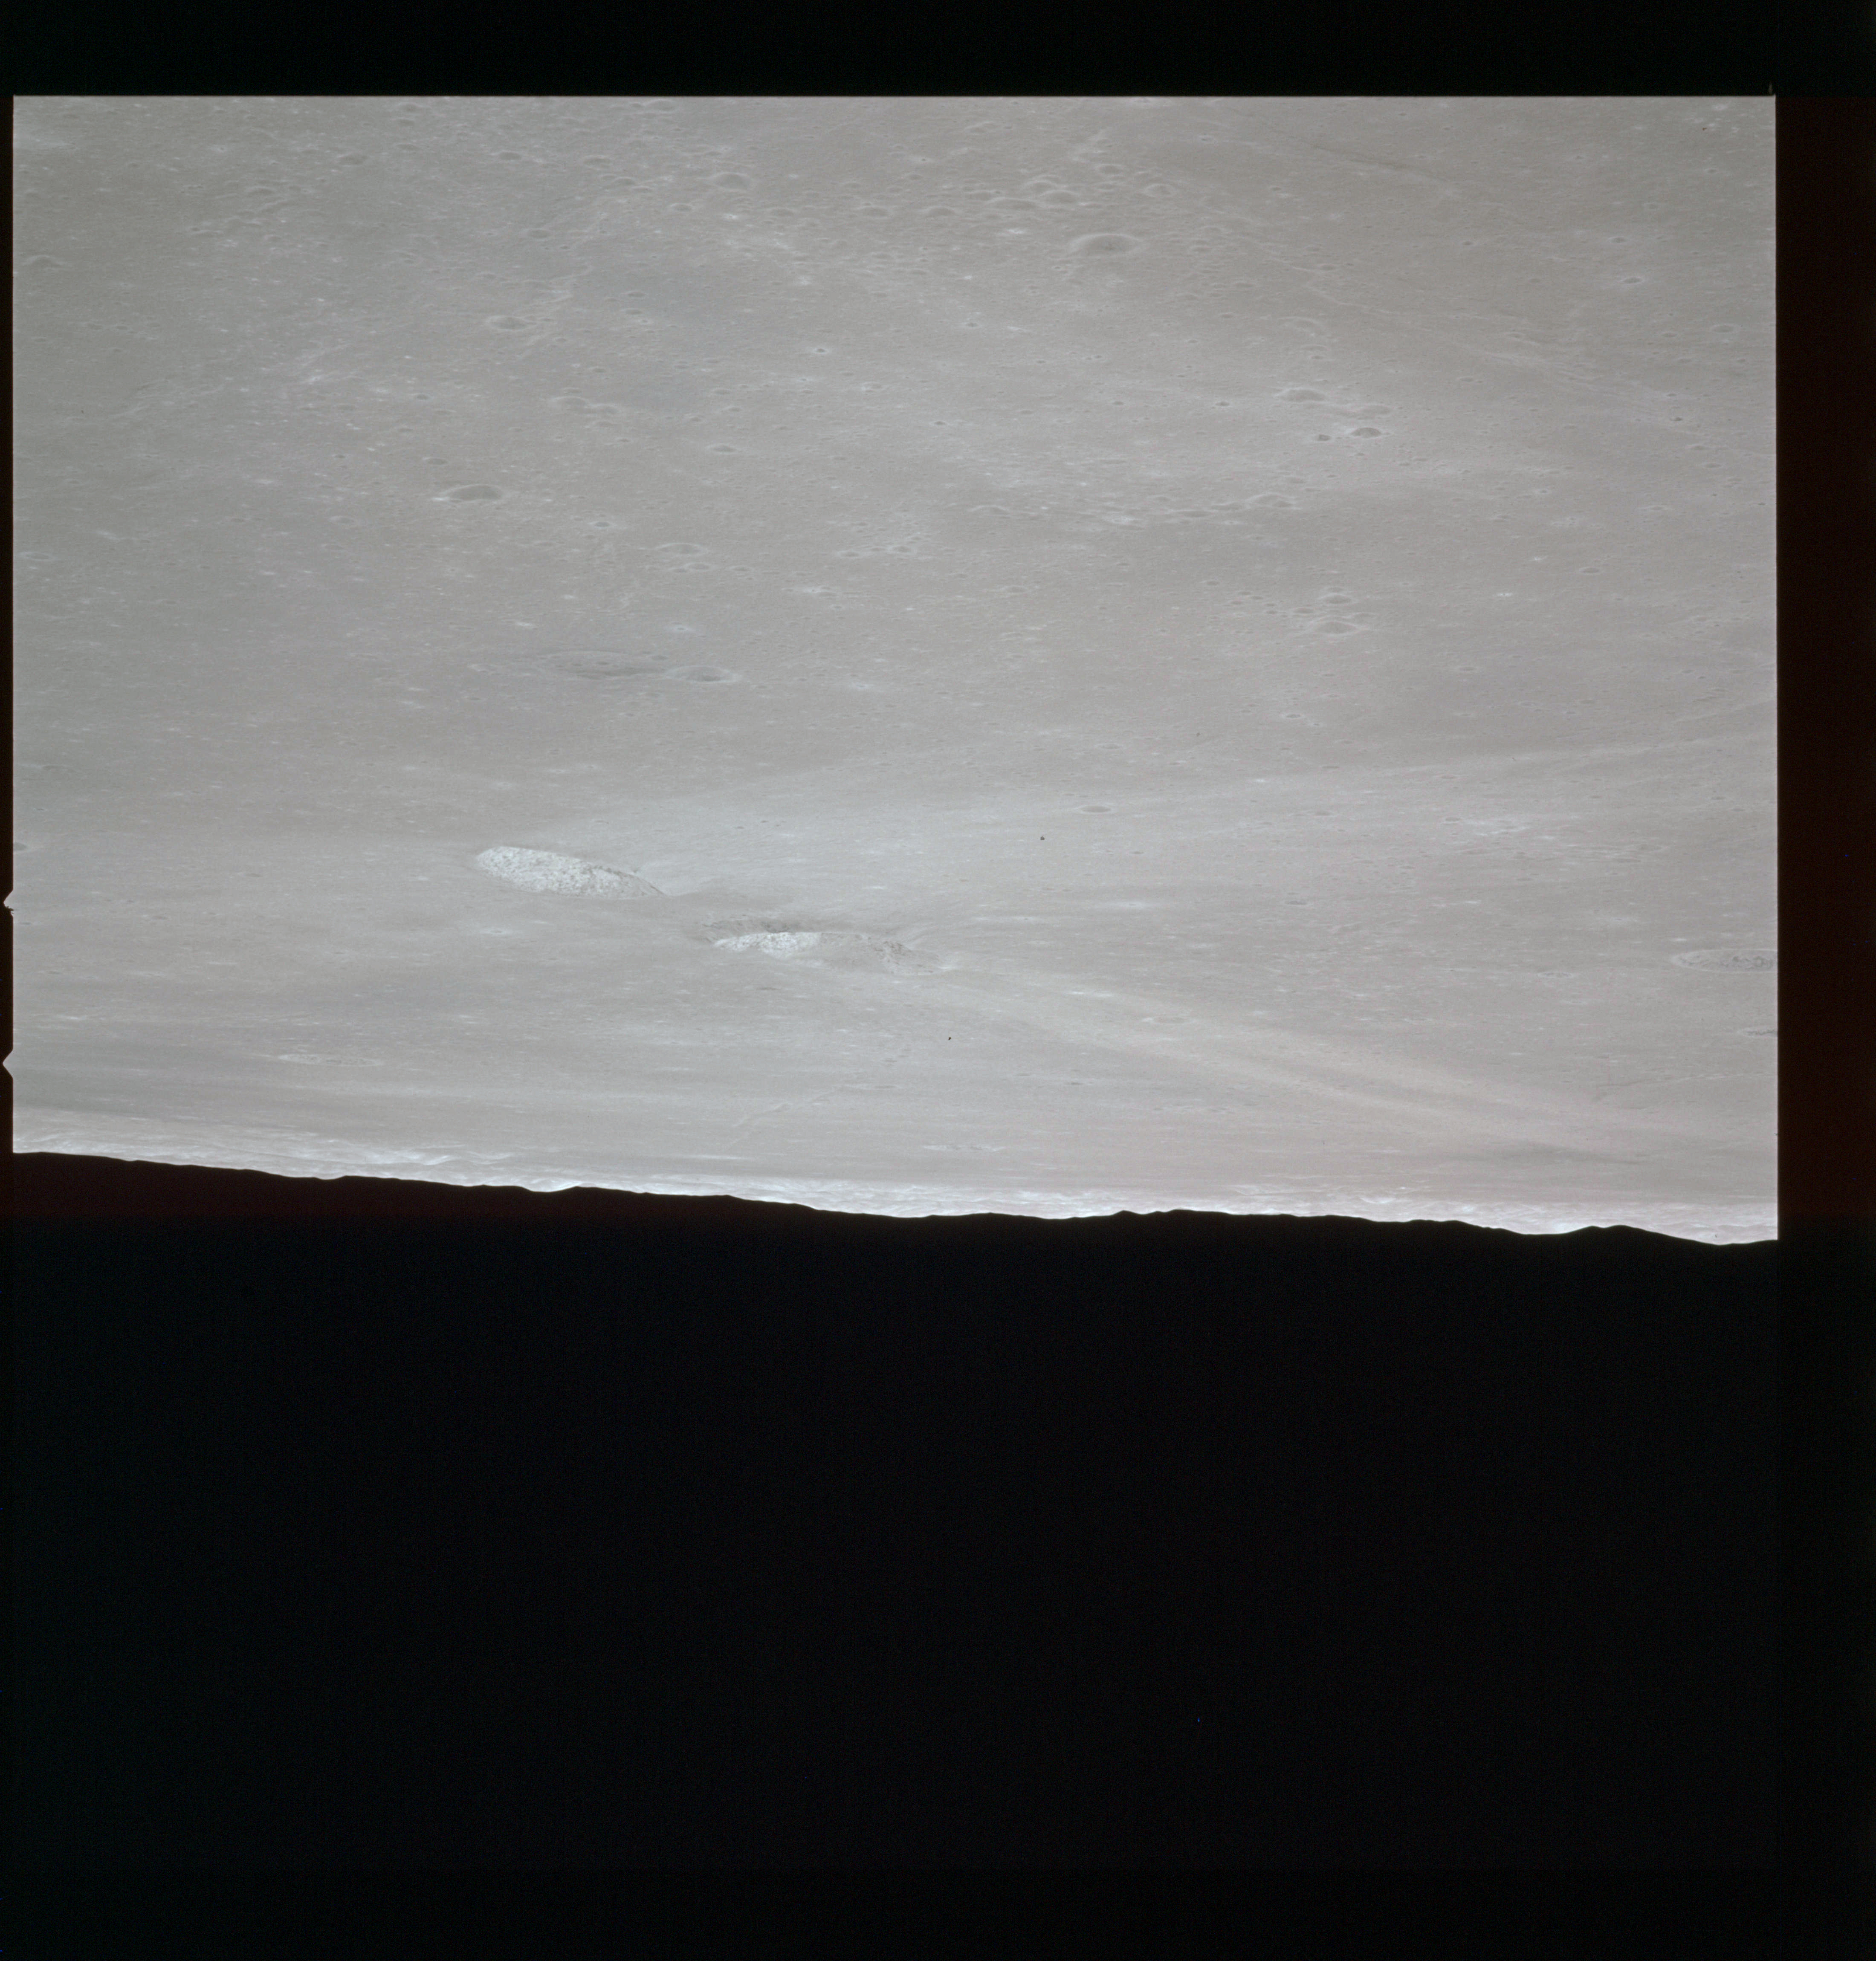
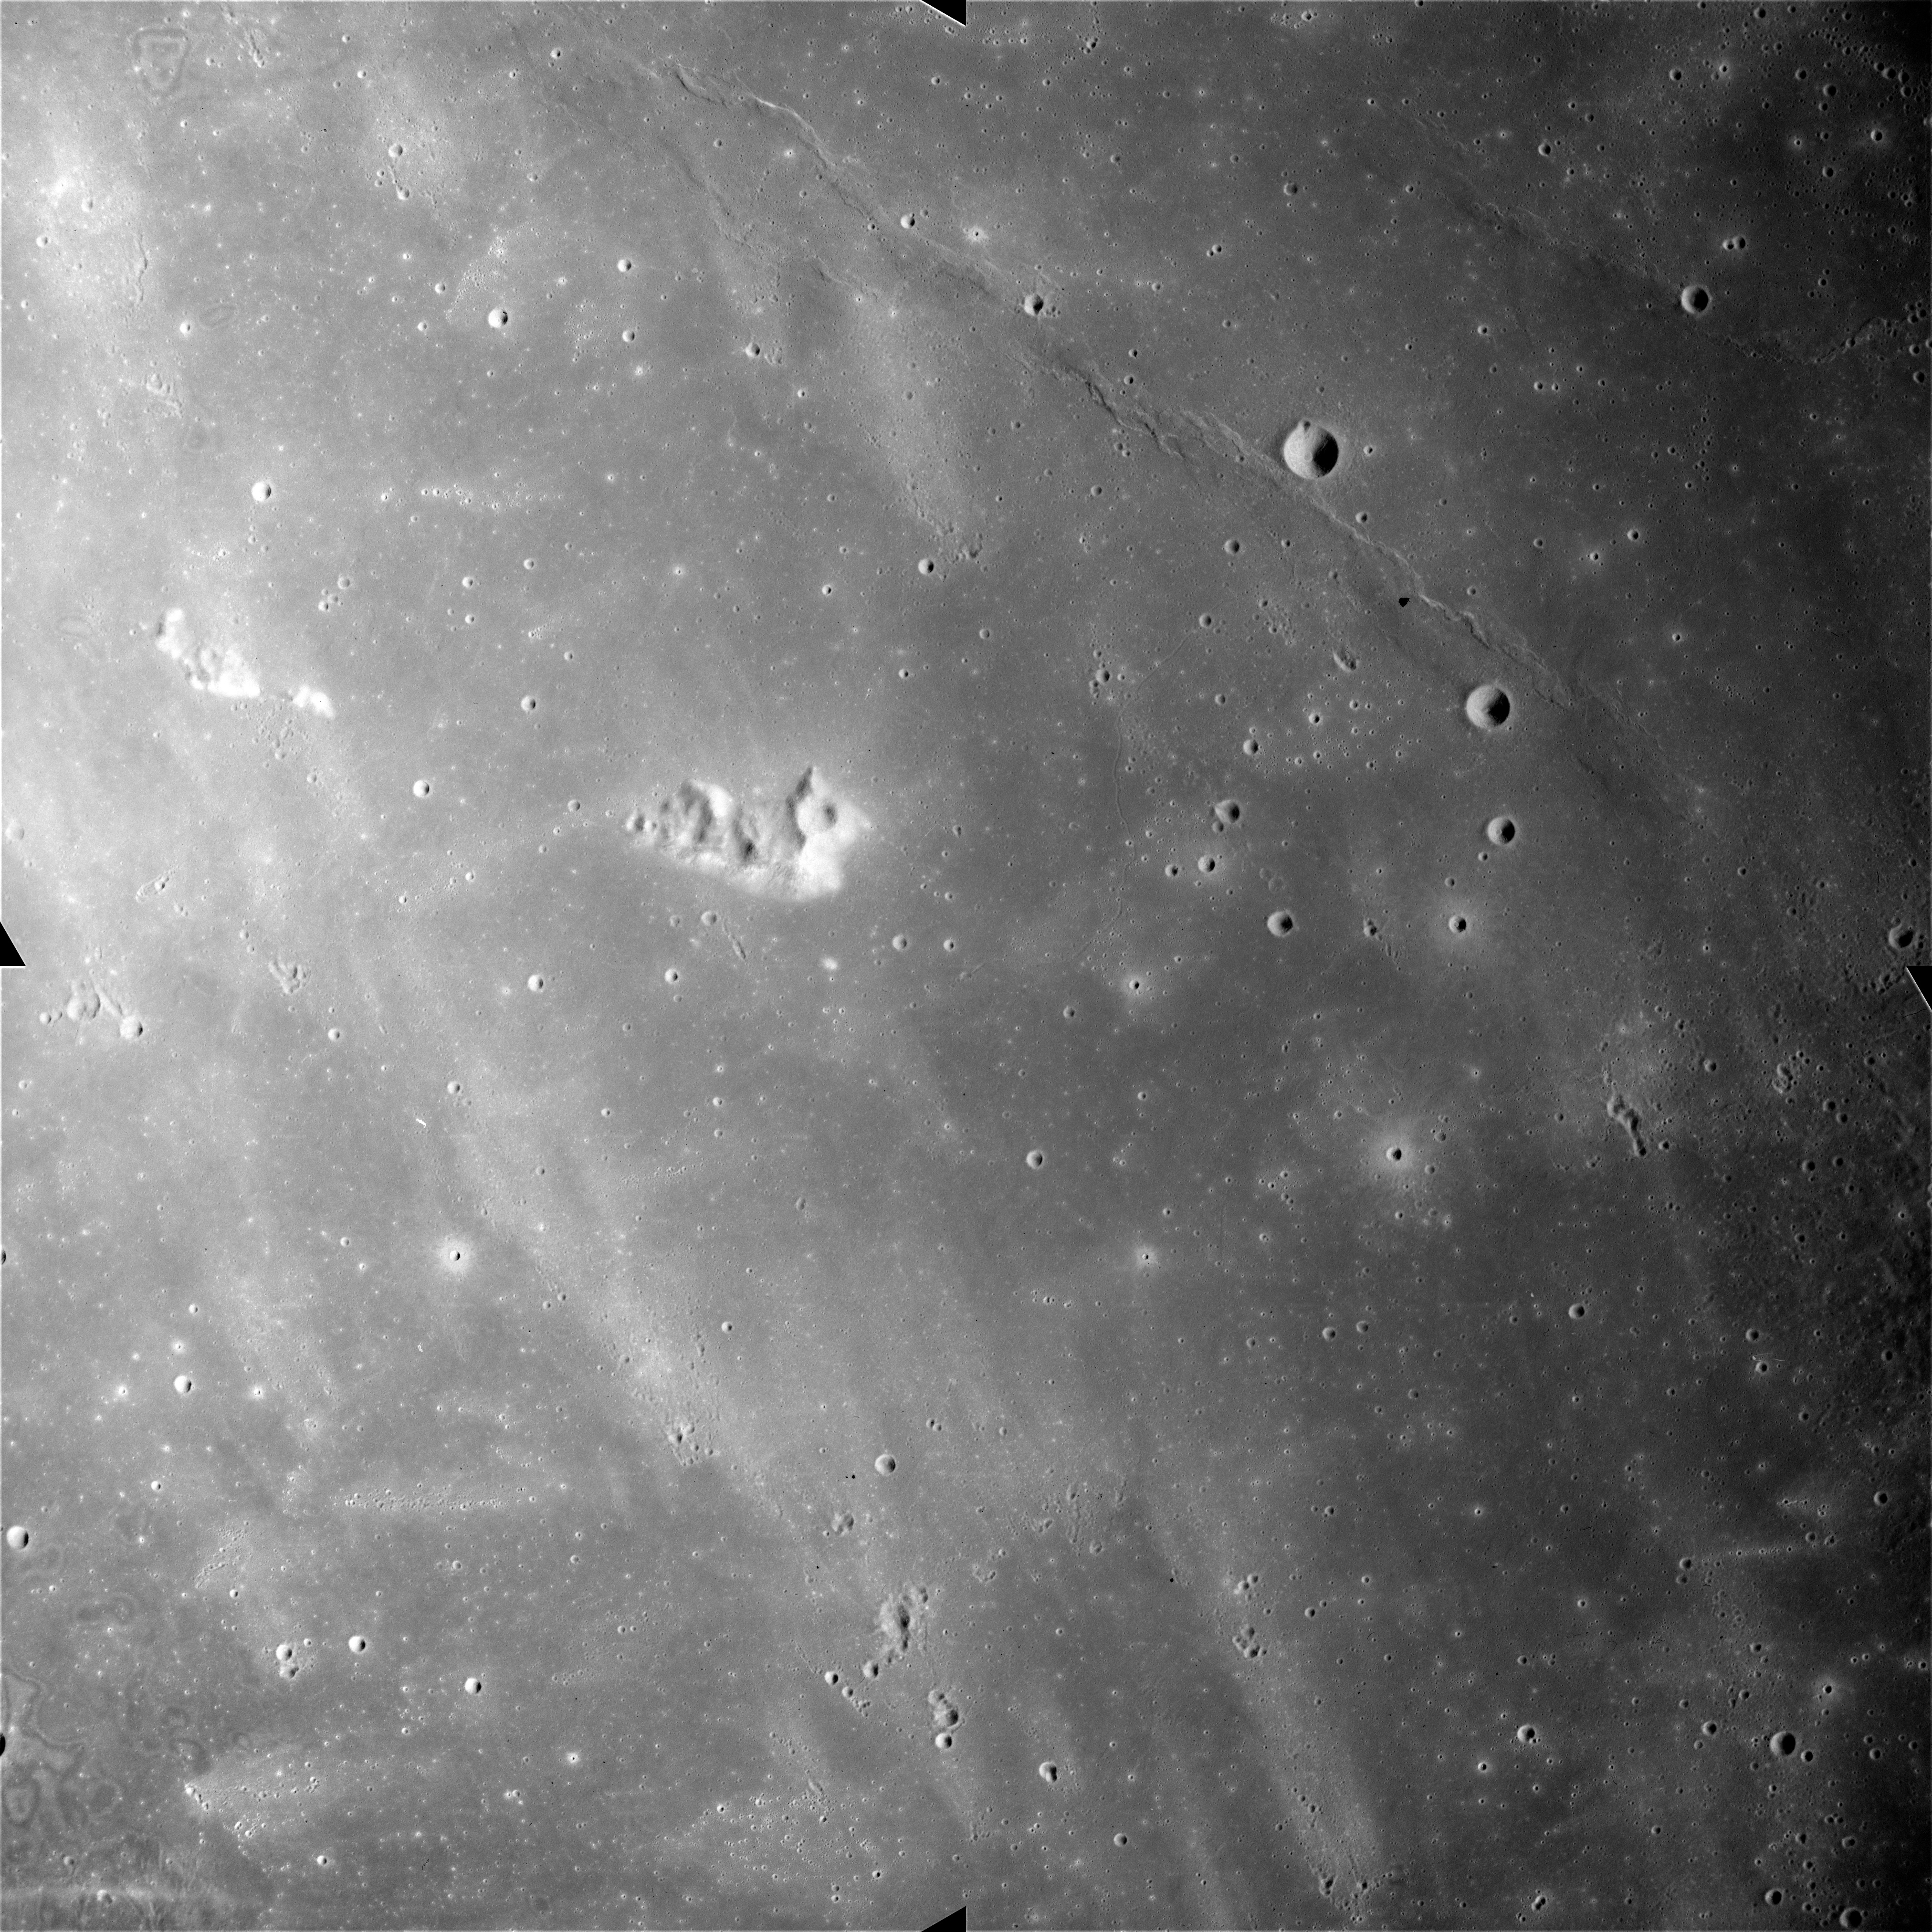
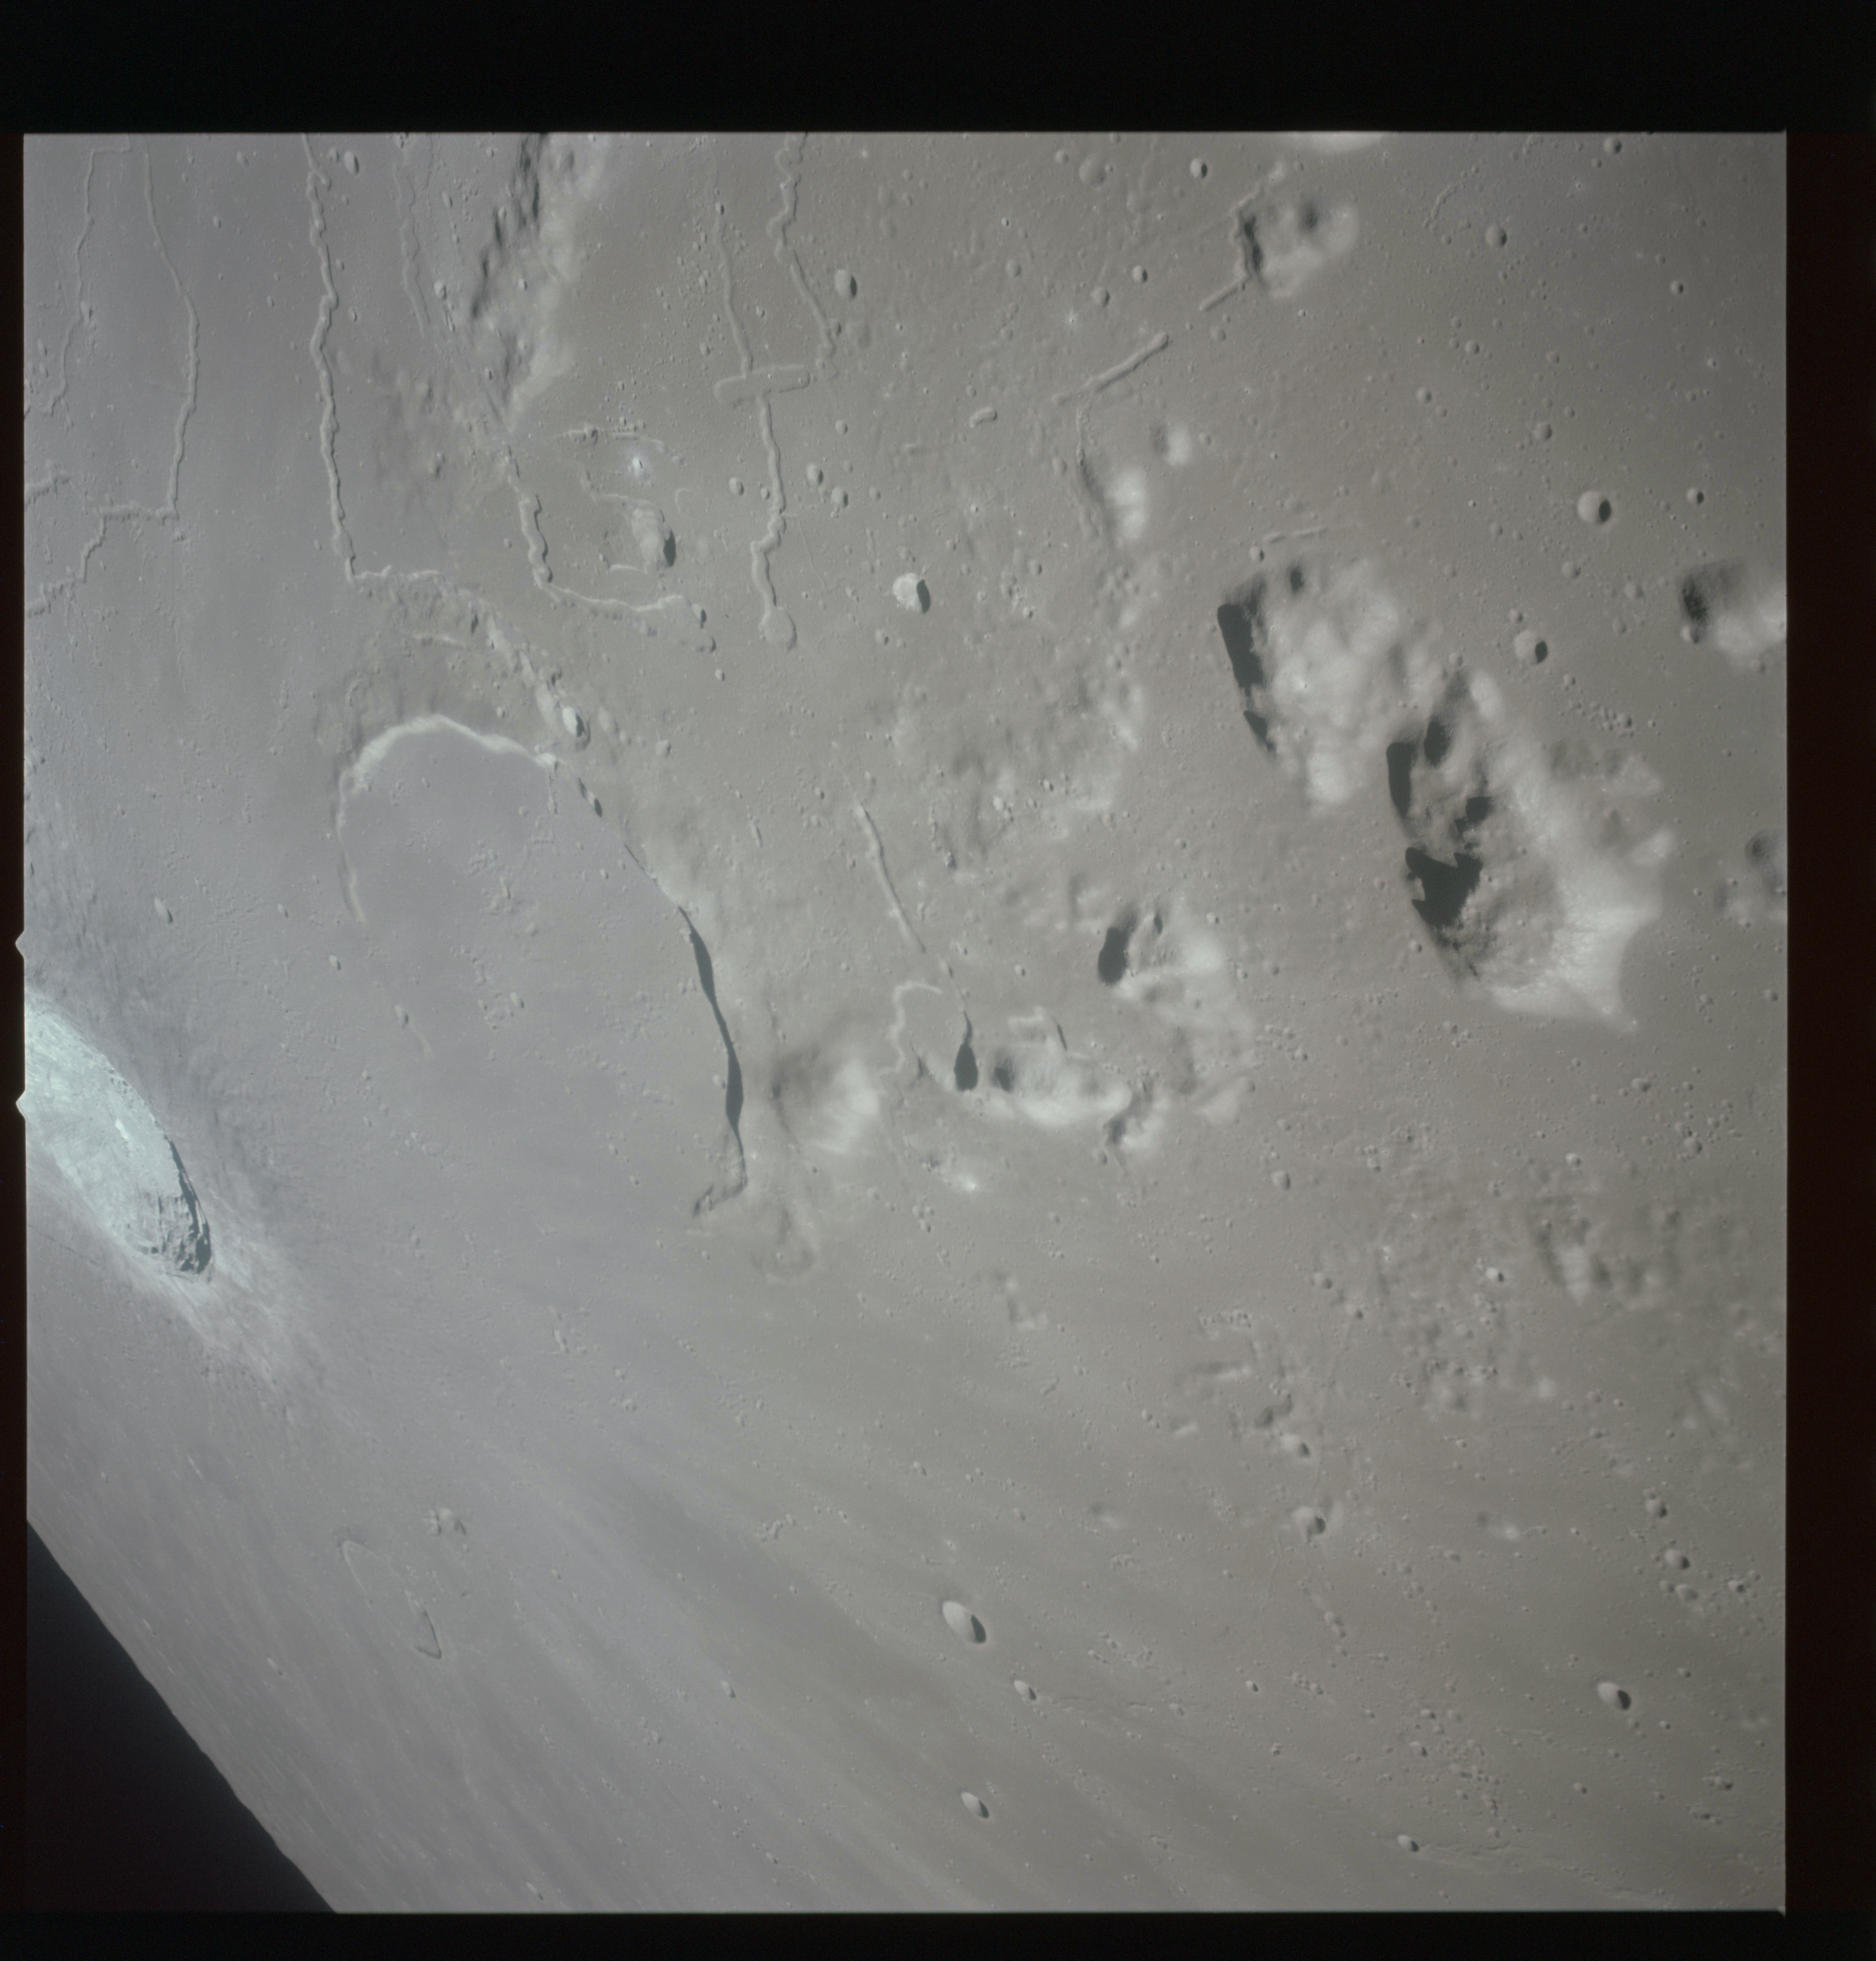
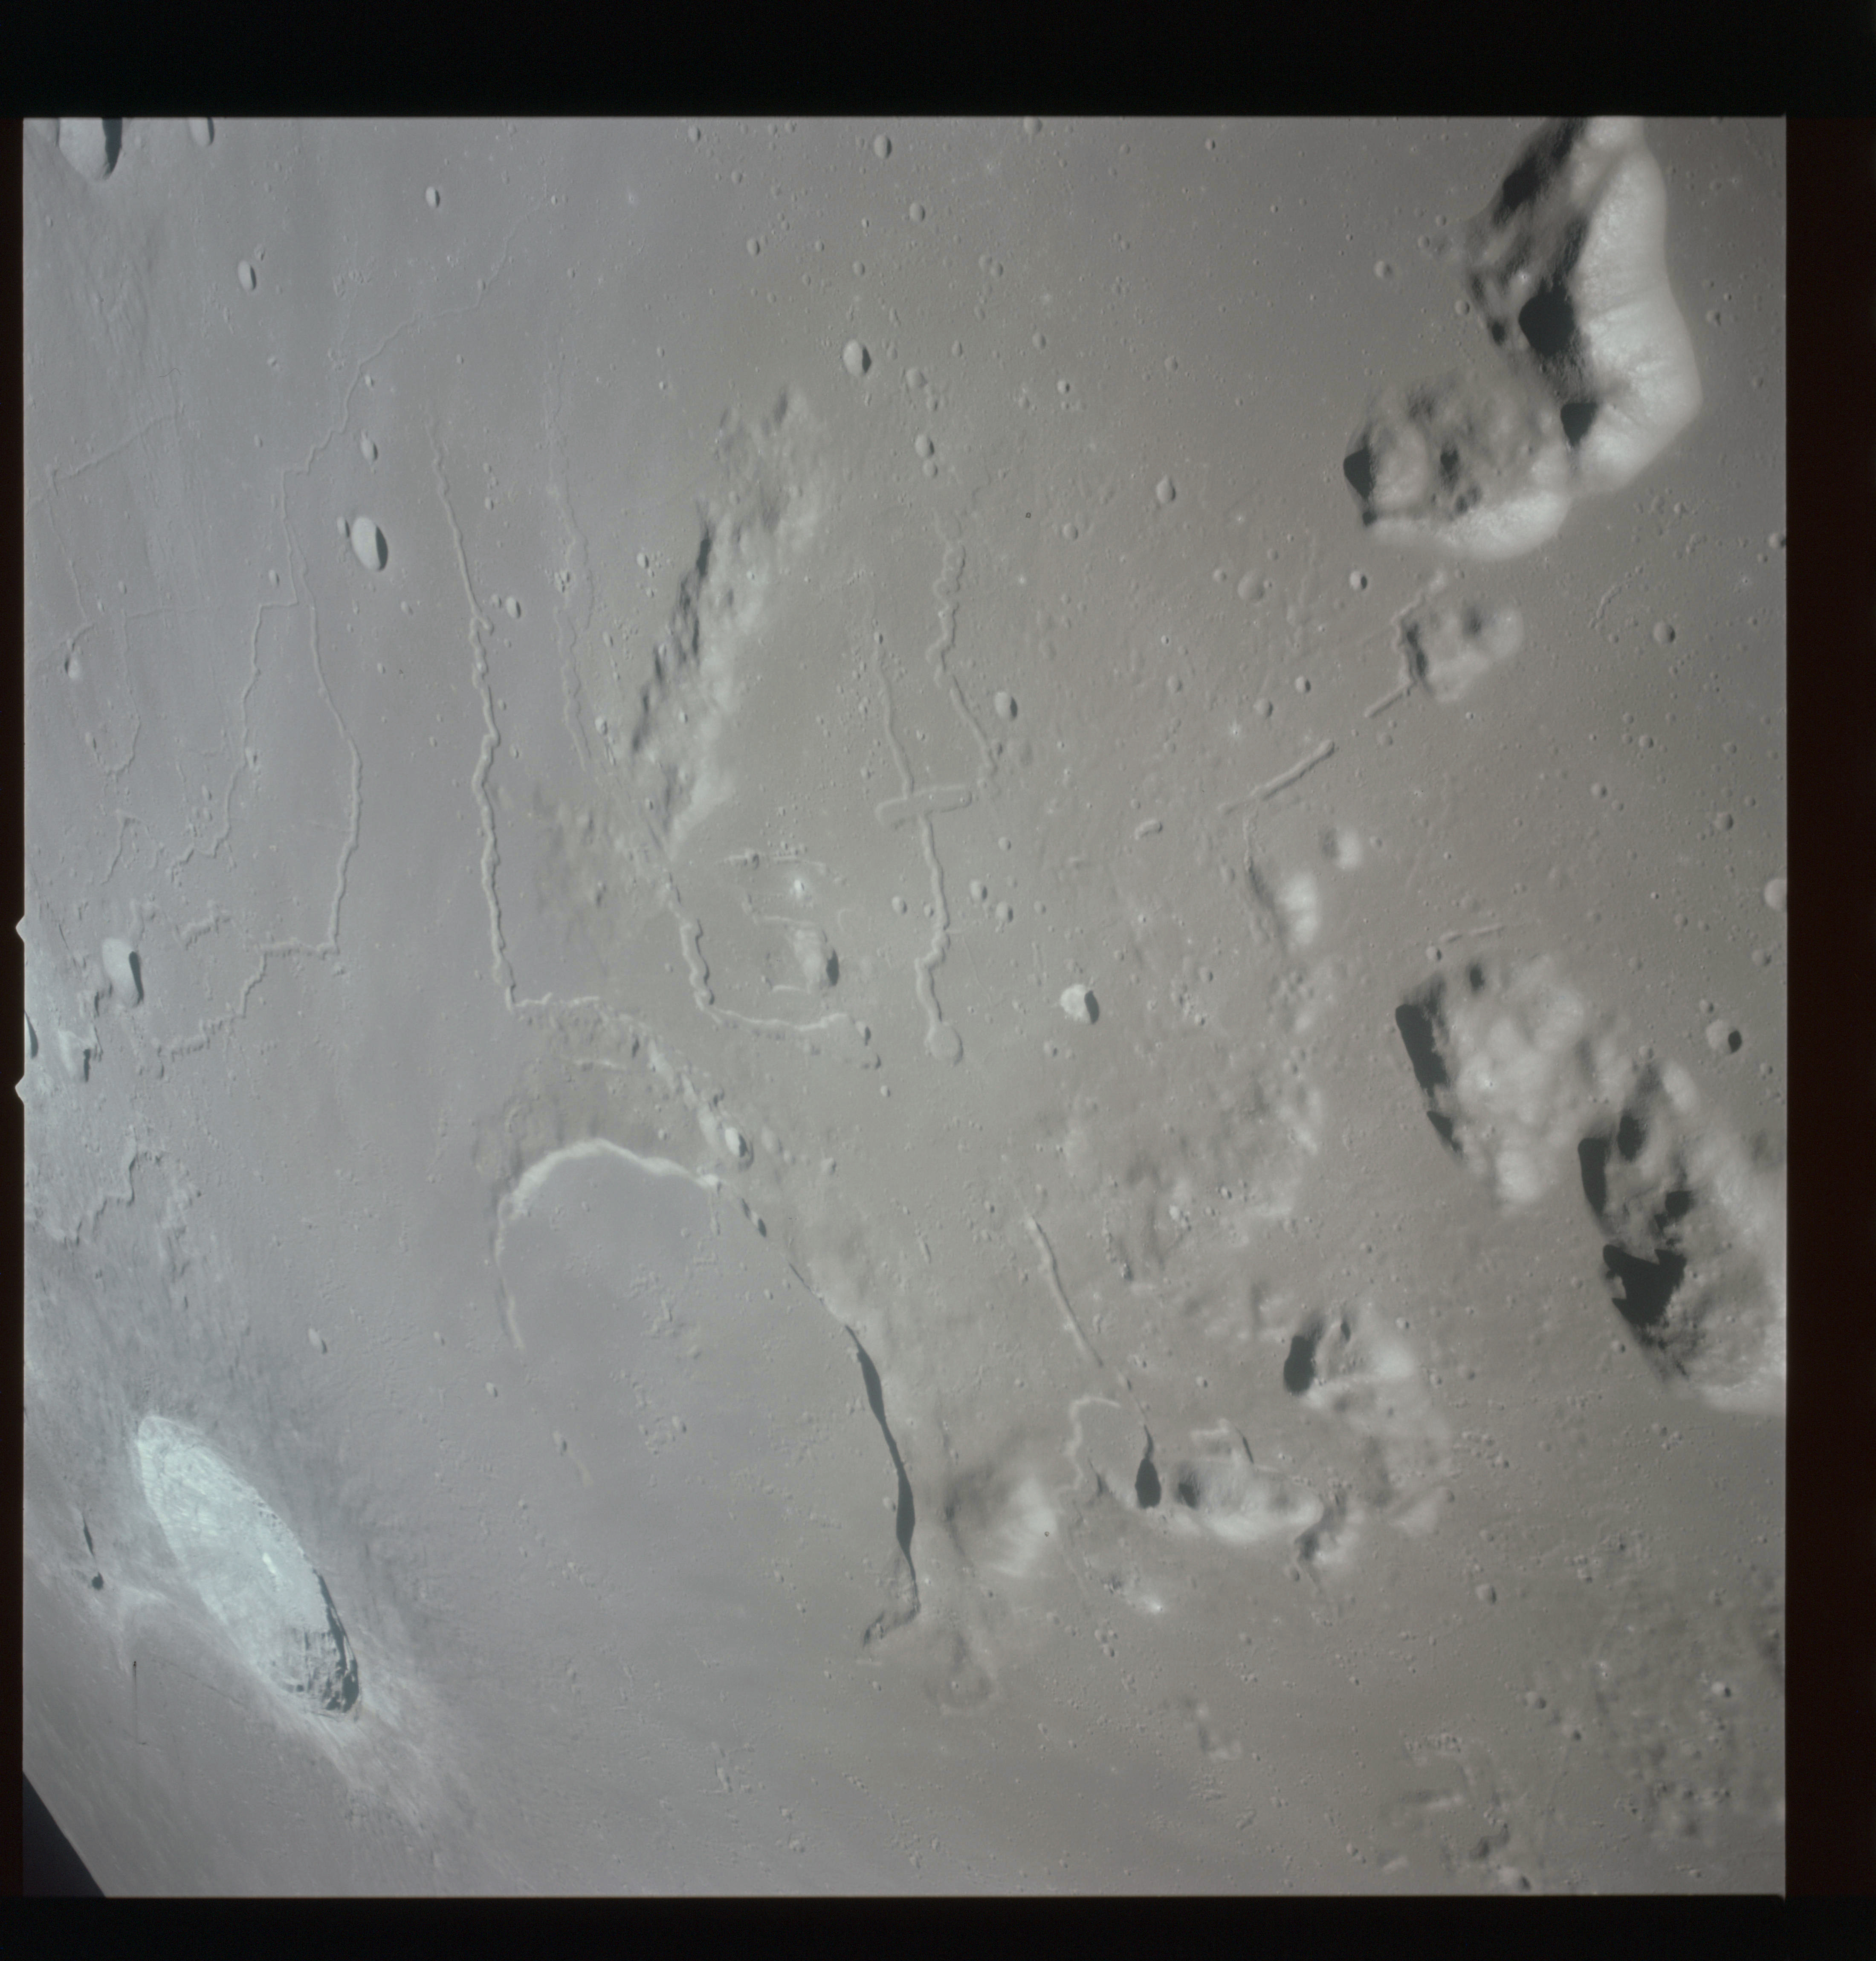
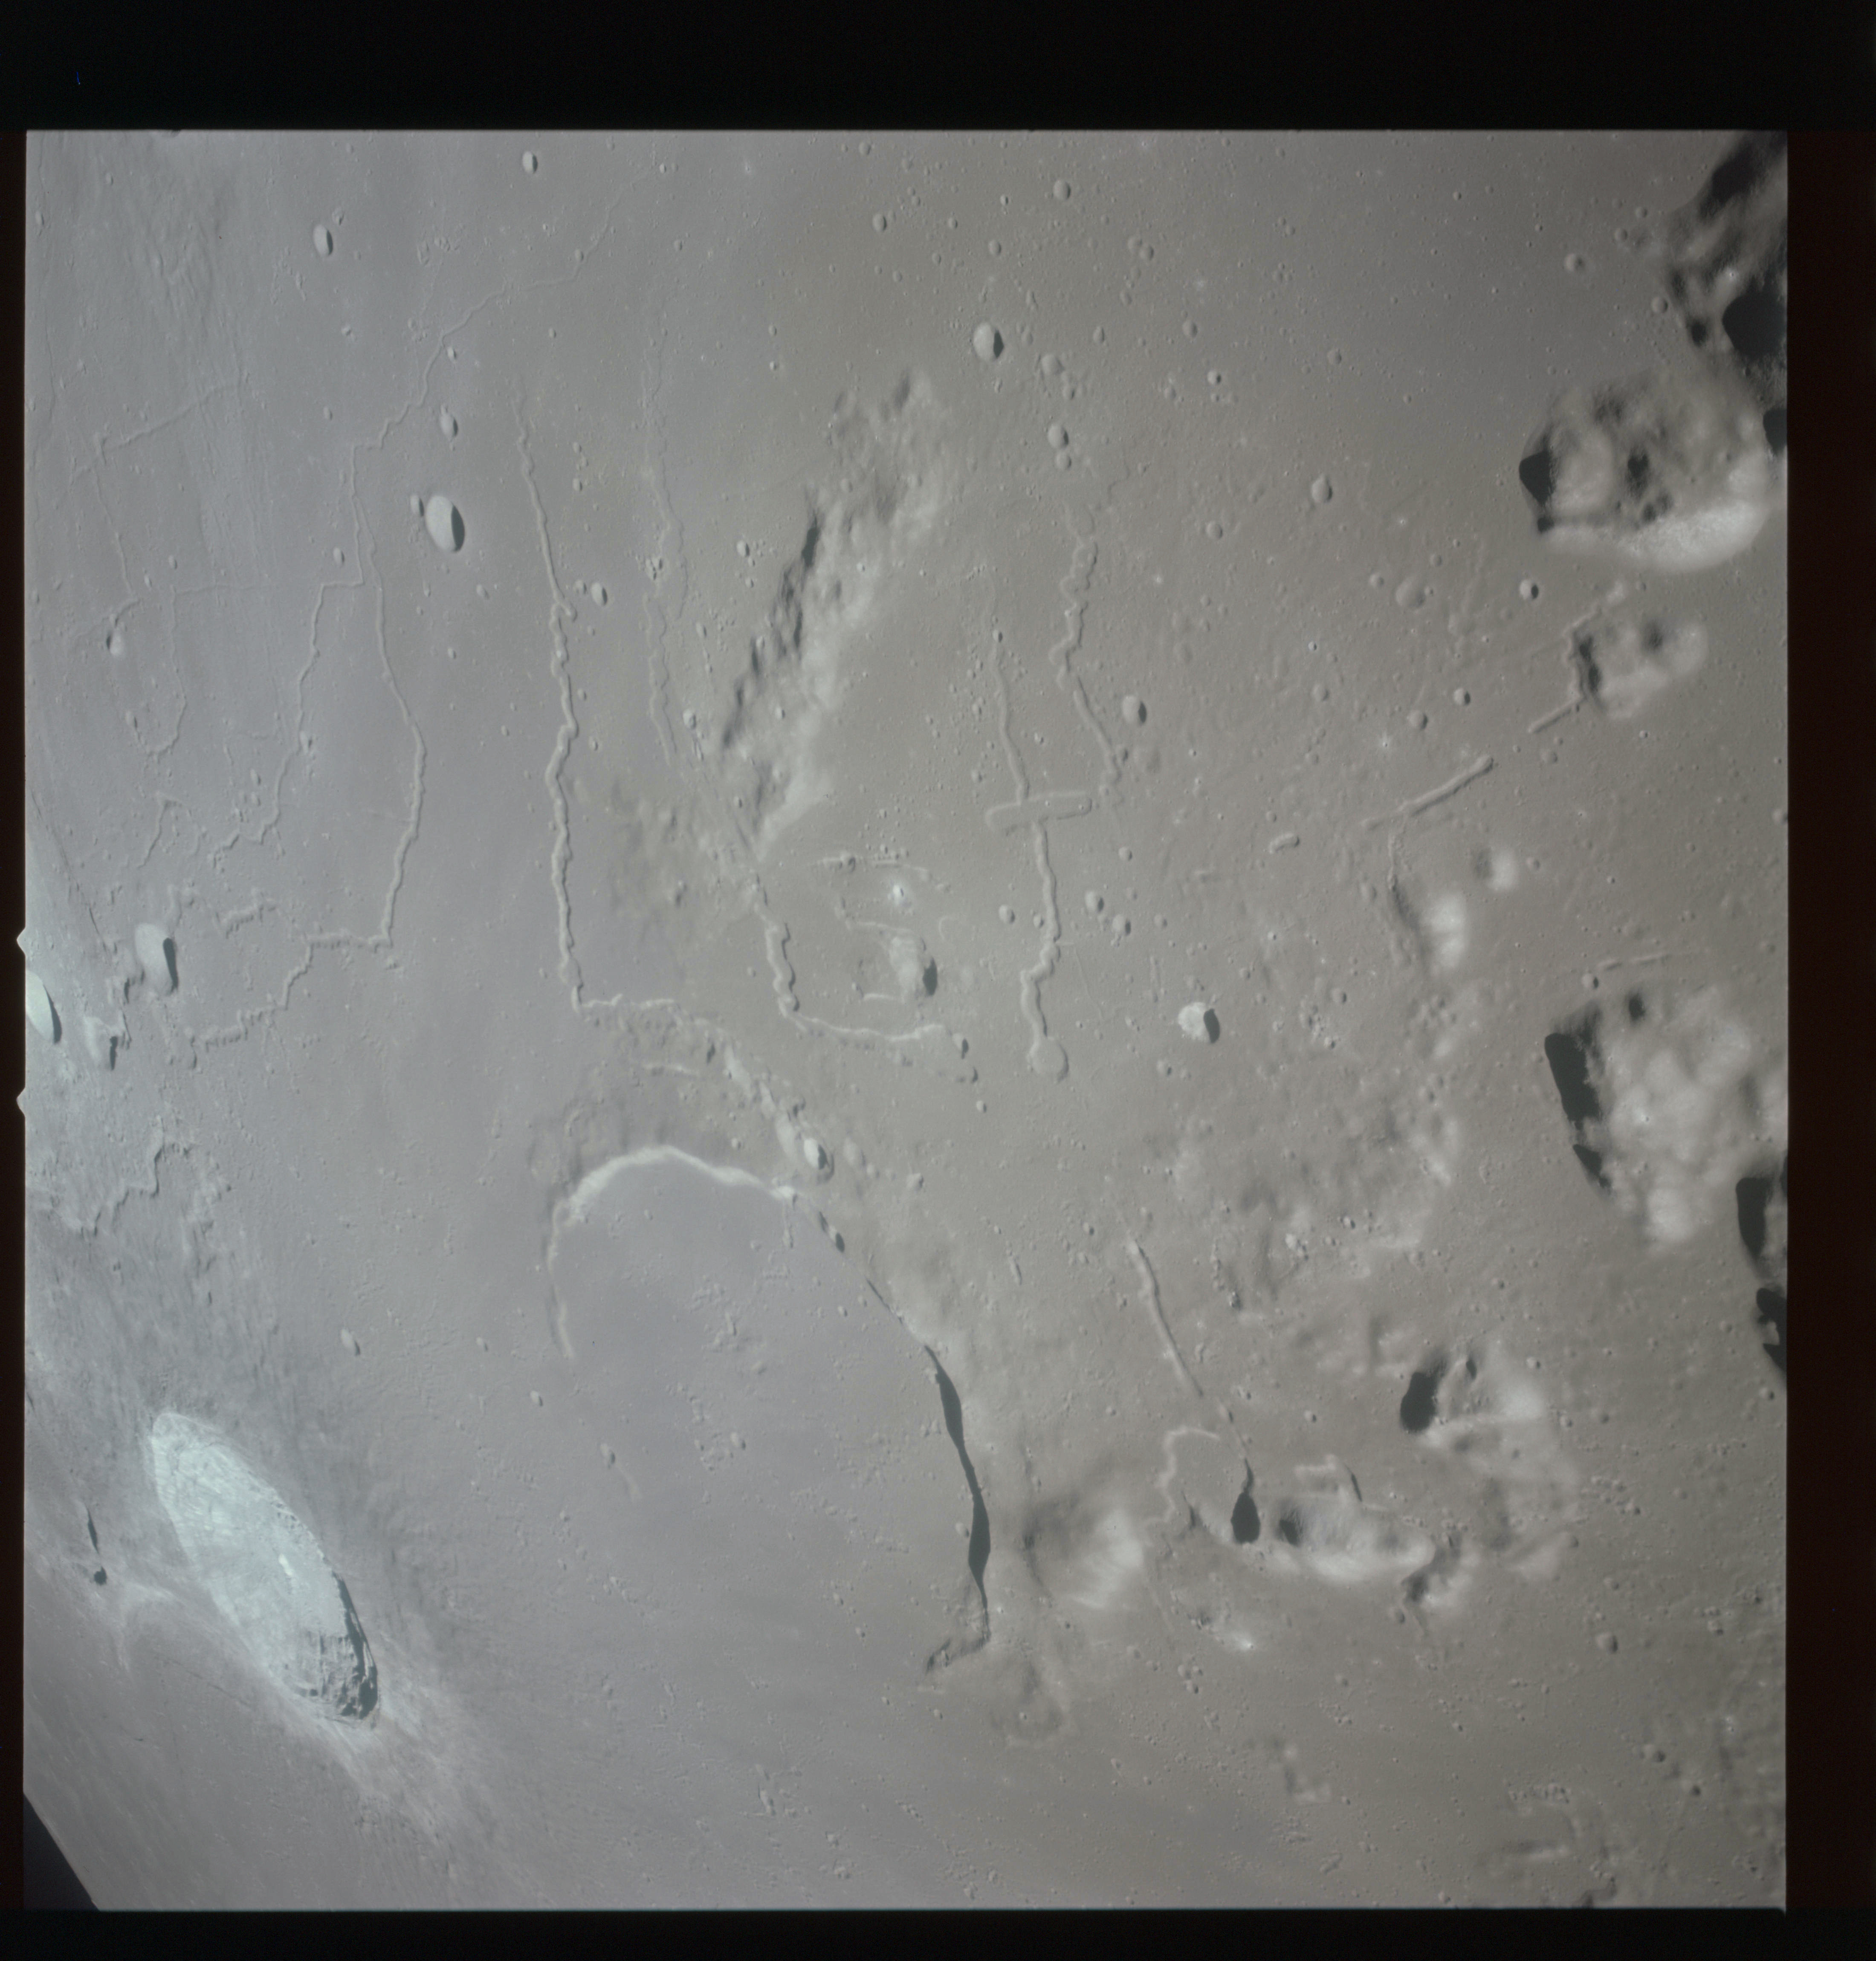
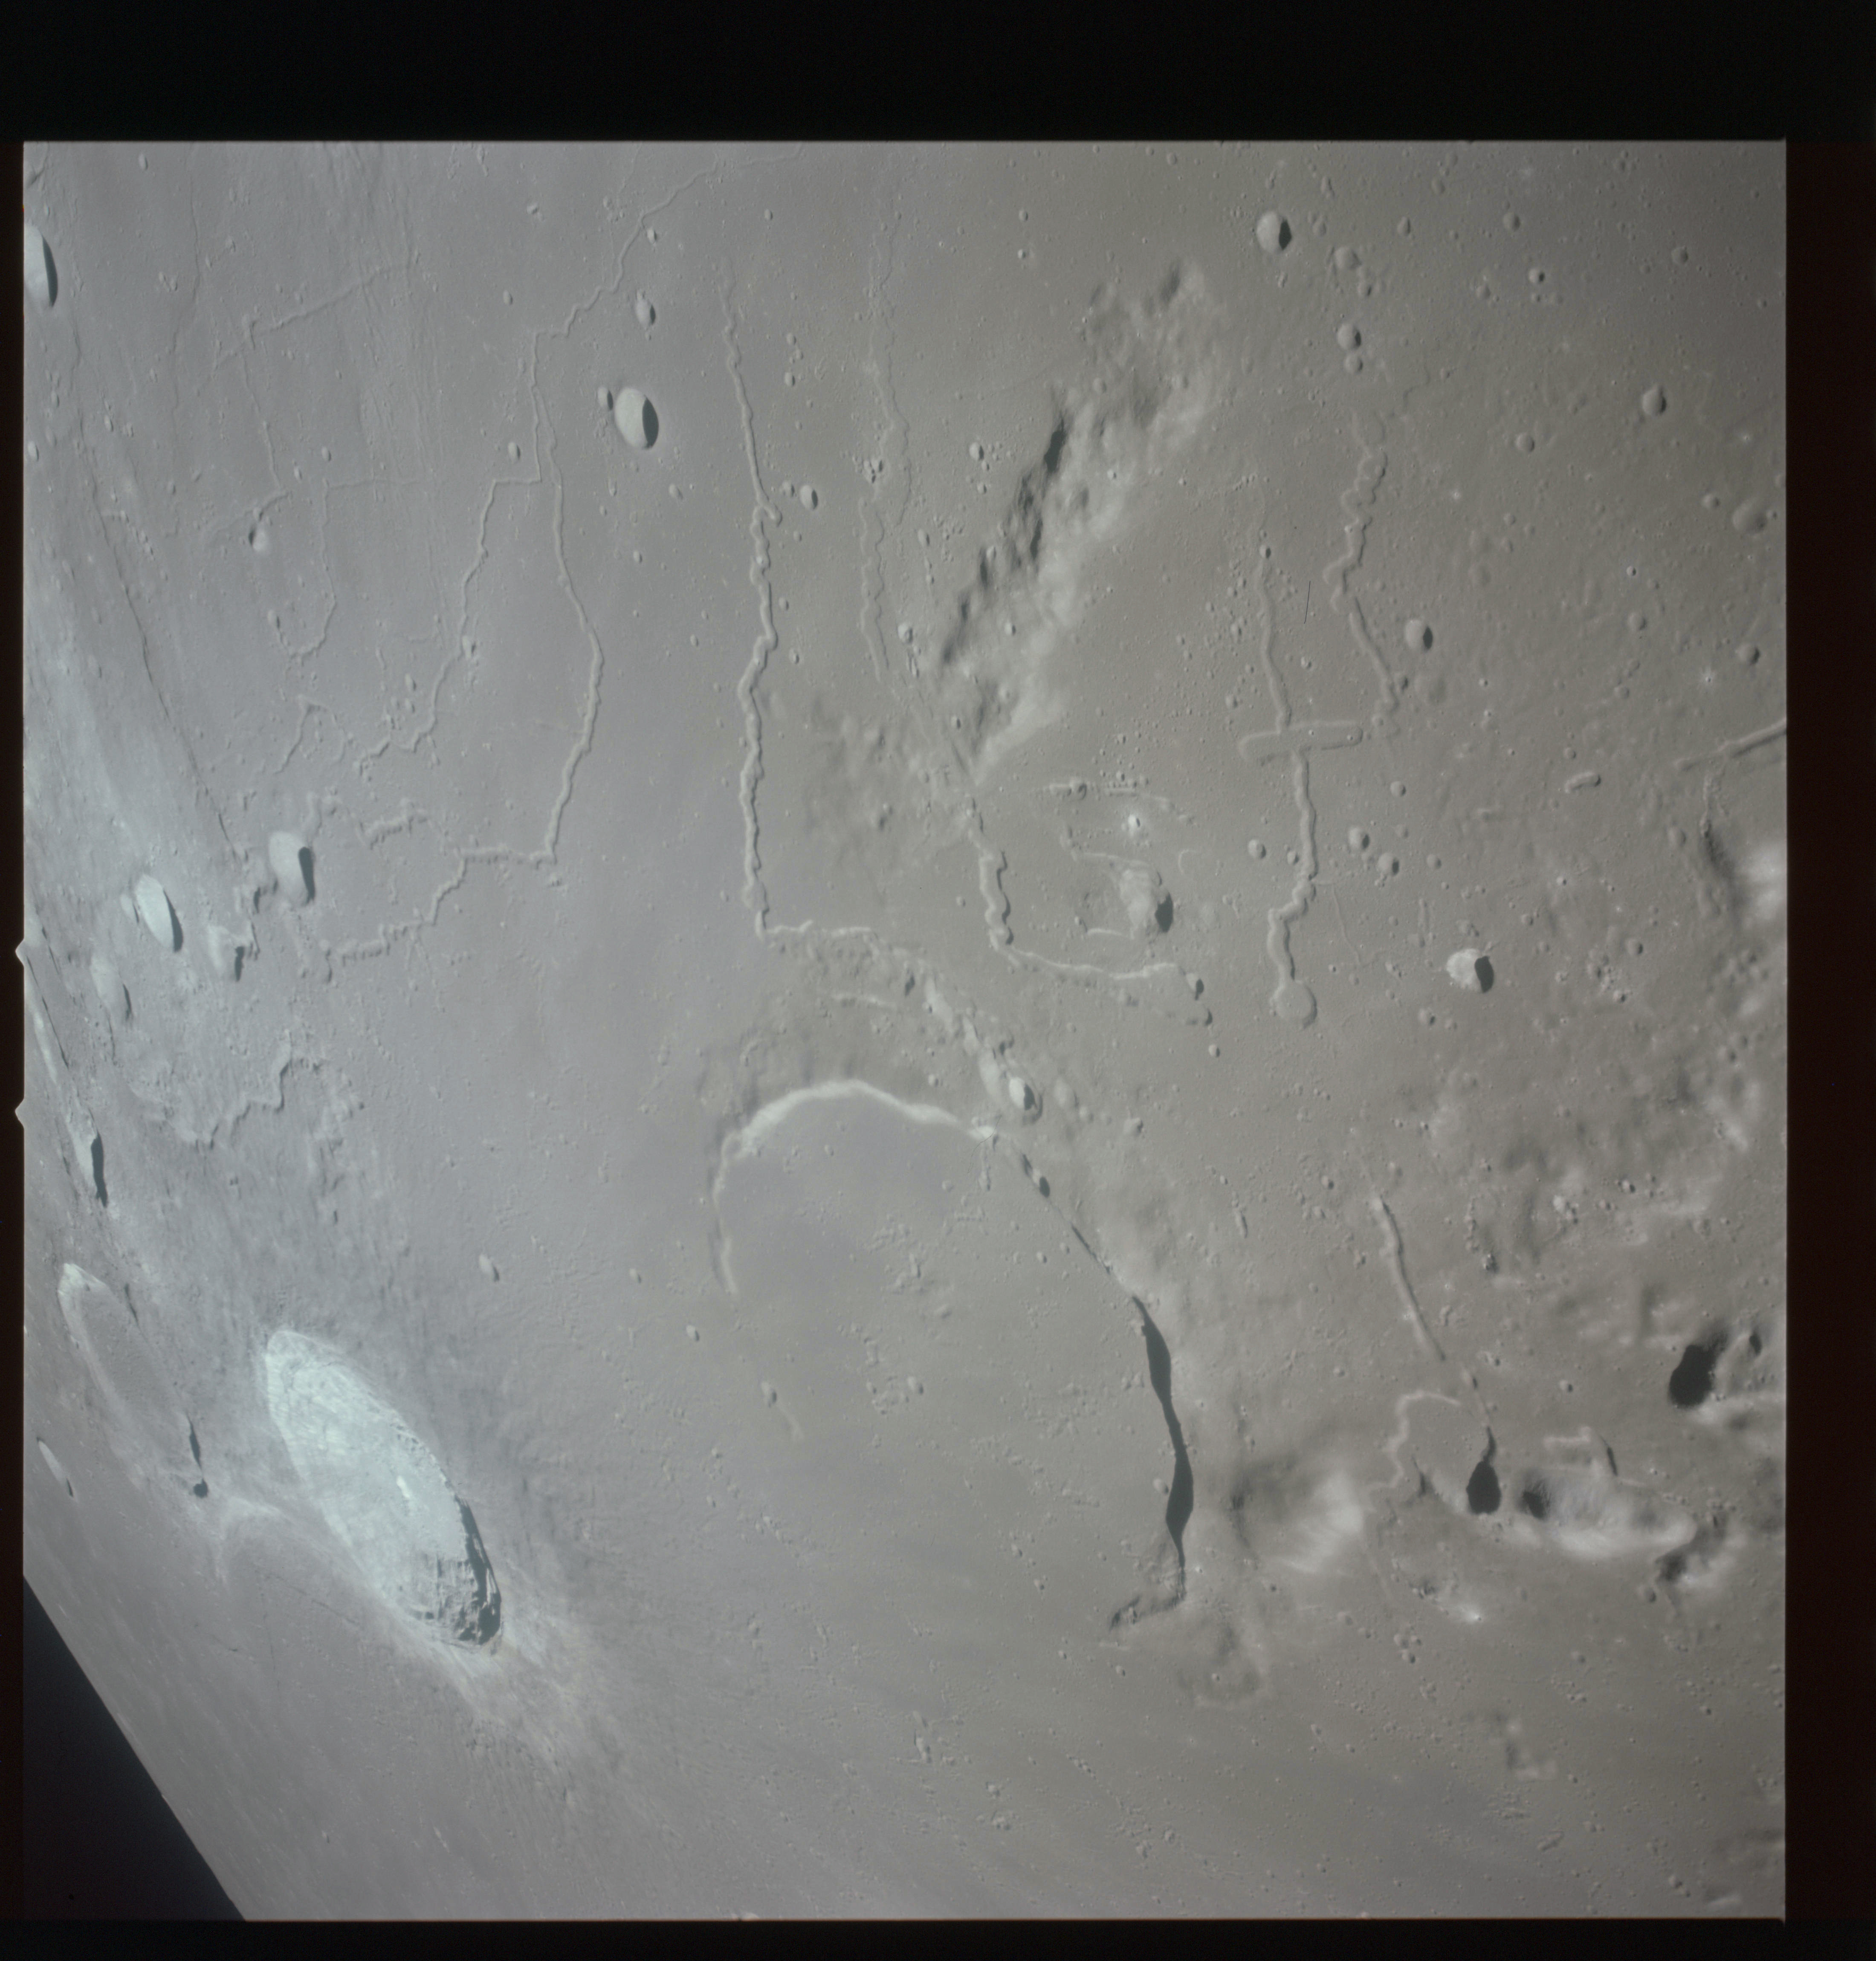
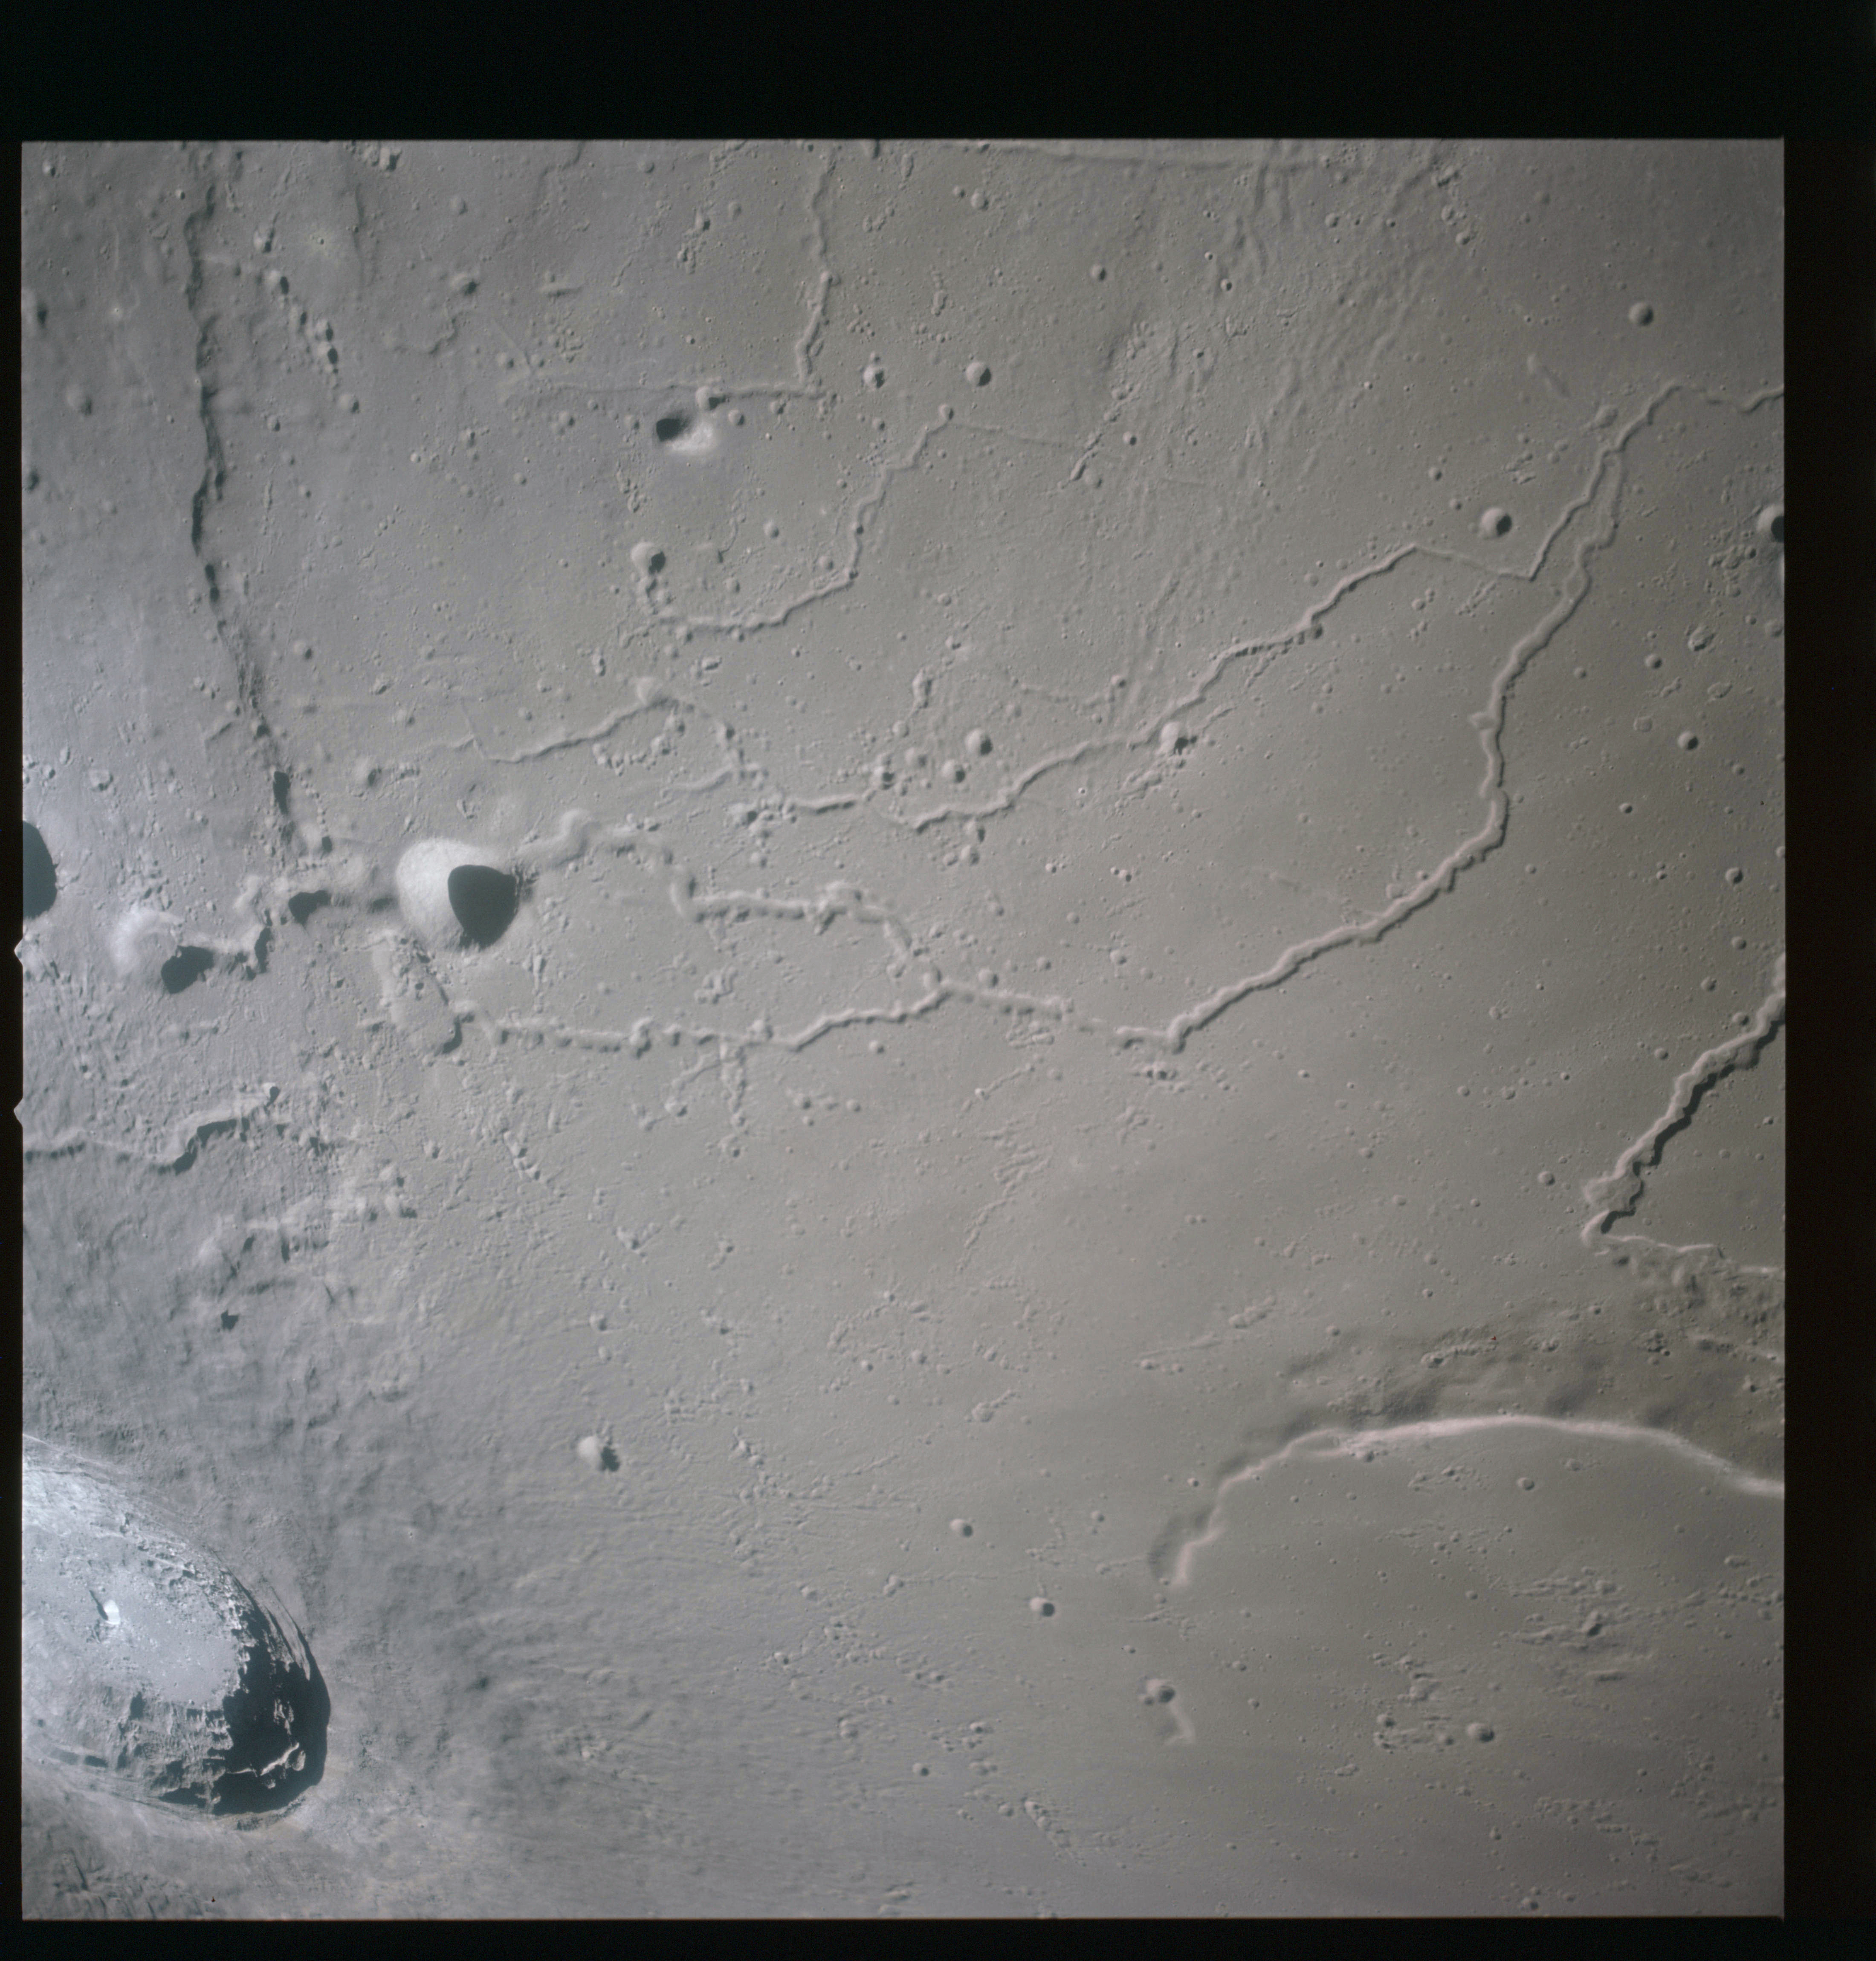
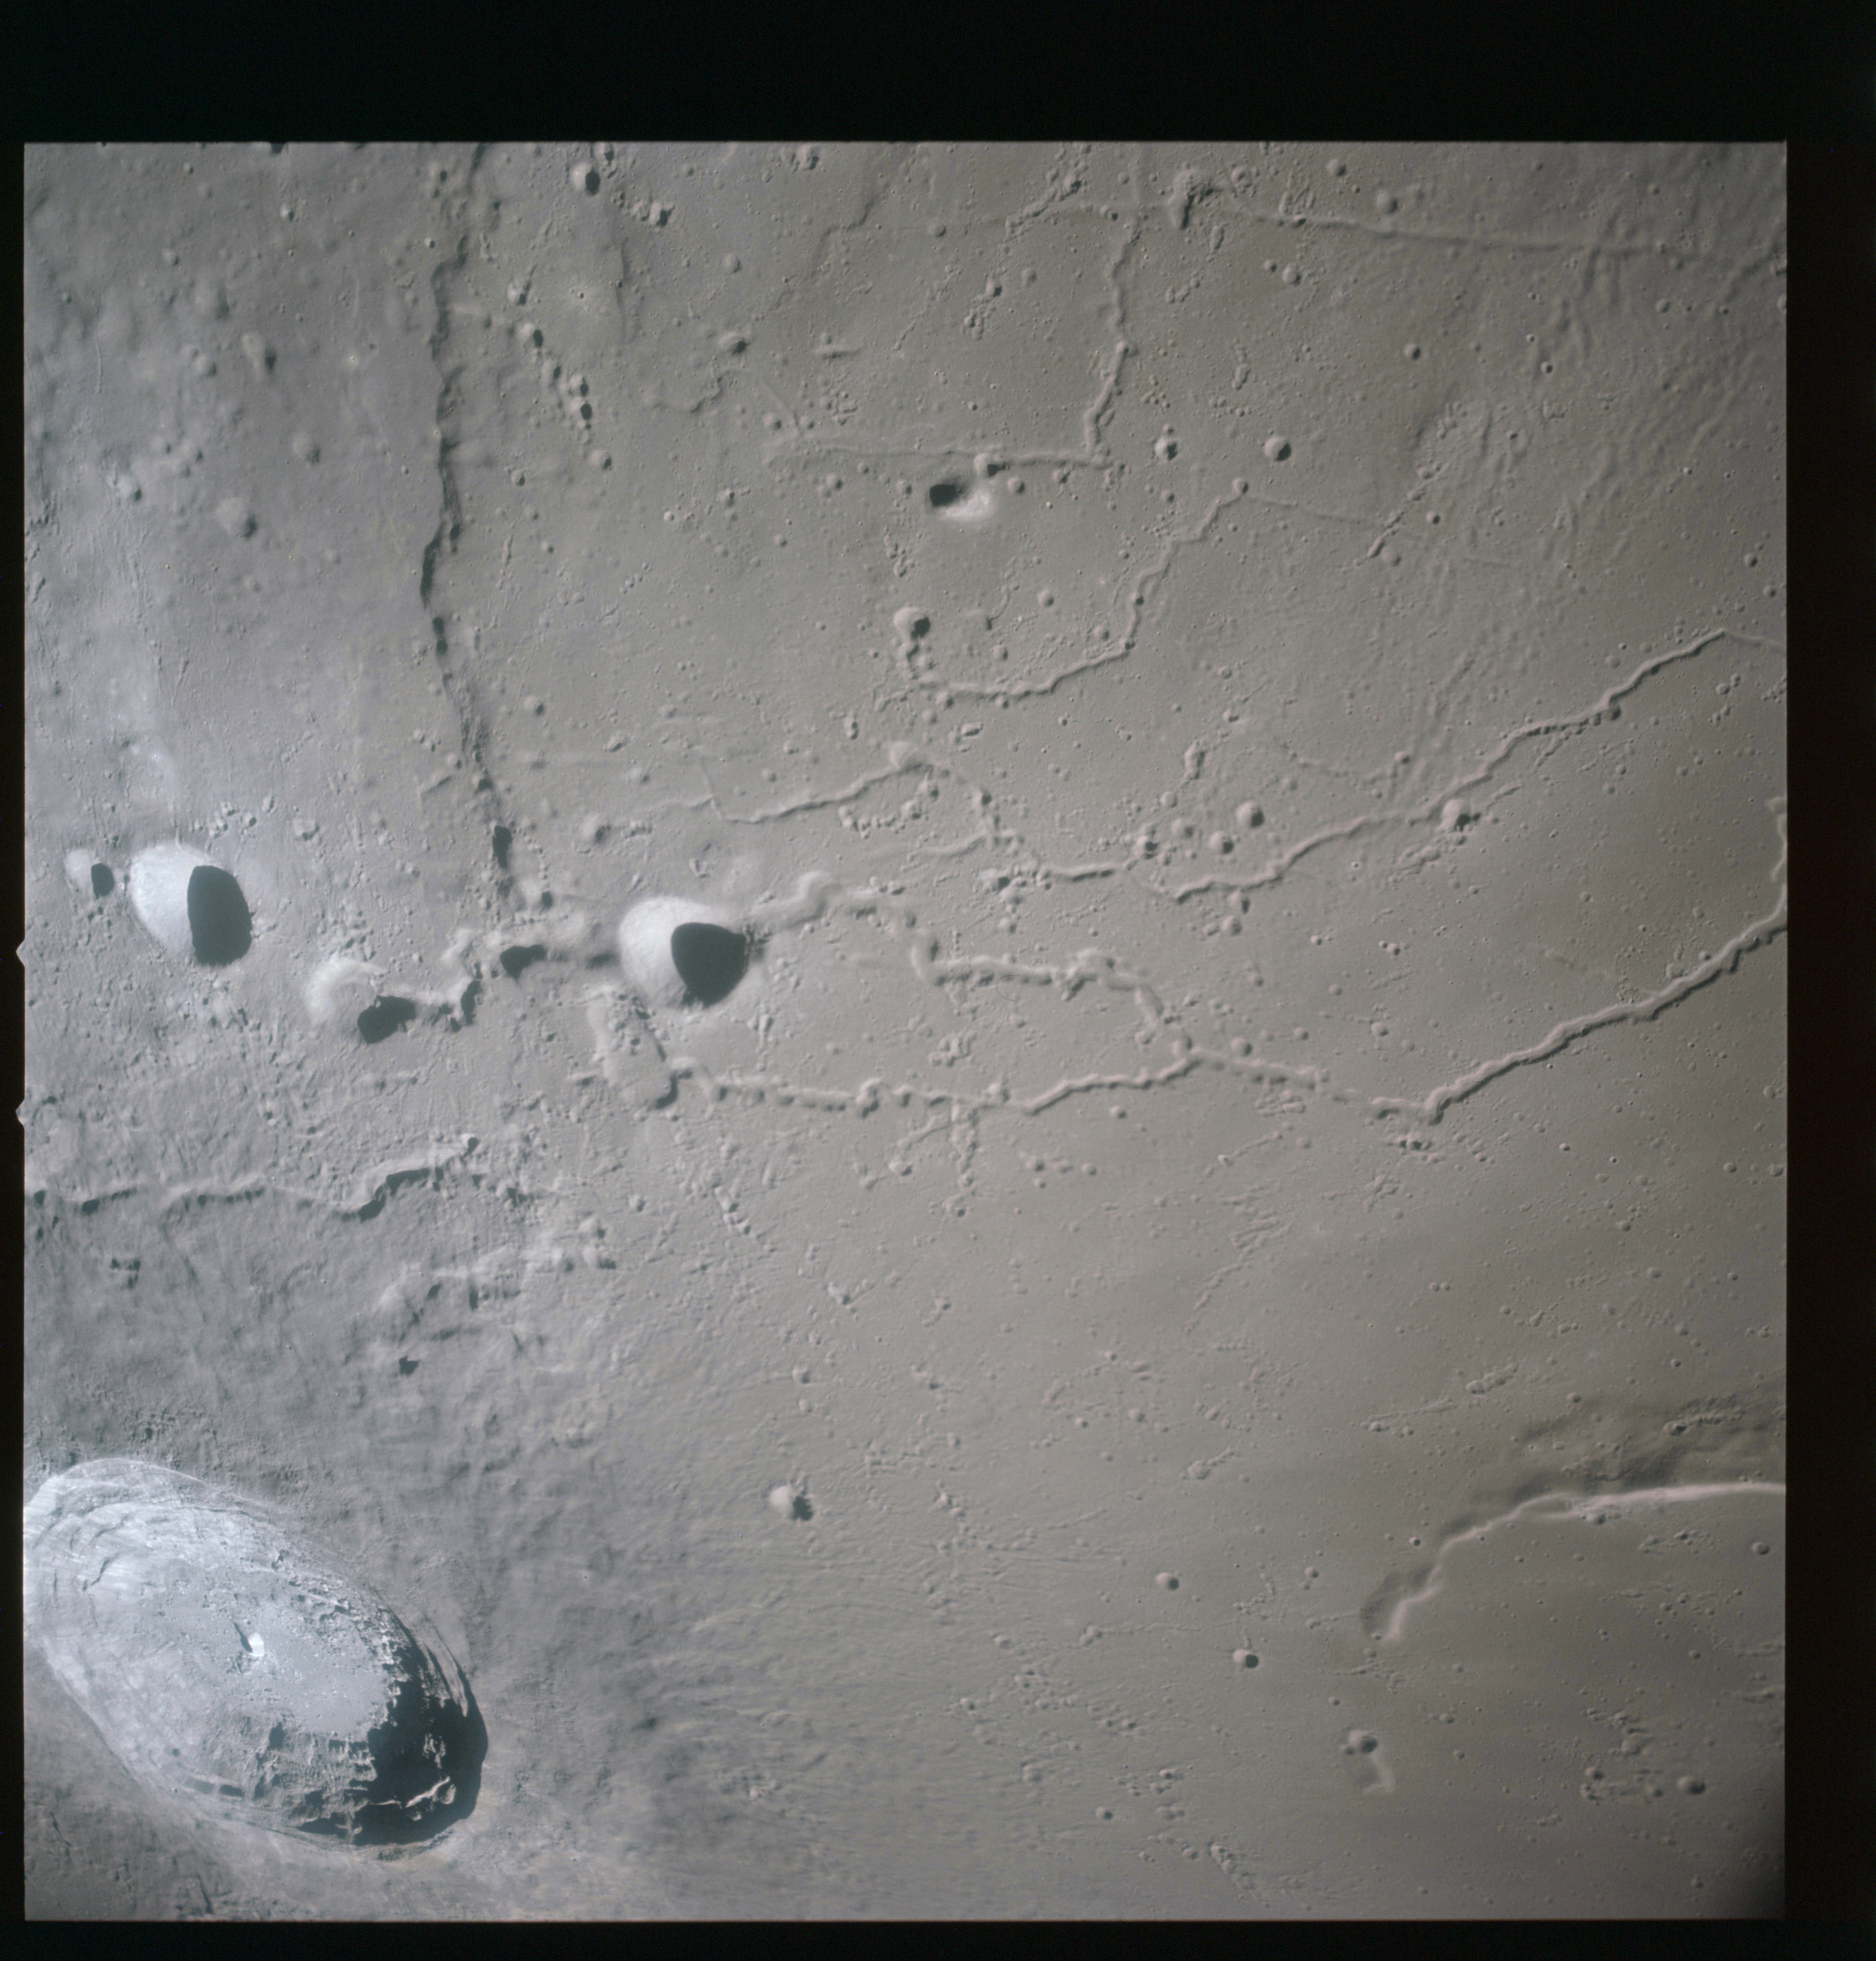
When the terminator does arrive, the Mapping Camera is started, its PAD T-start time being 214:20:03. In this pass it will take 143 frames between the sunset and sunrise terminators, about one frame every 25 seconds. These are AS15-M-2351 to 2493 and they will be looking directly downwards. Beginning with AS15-M-2354, every tenth image from this sequence will be presented here.
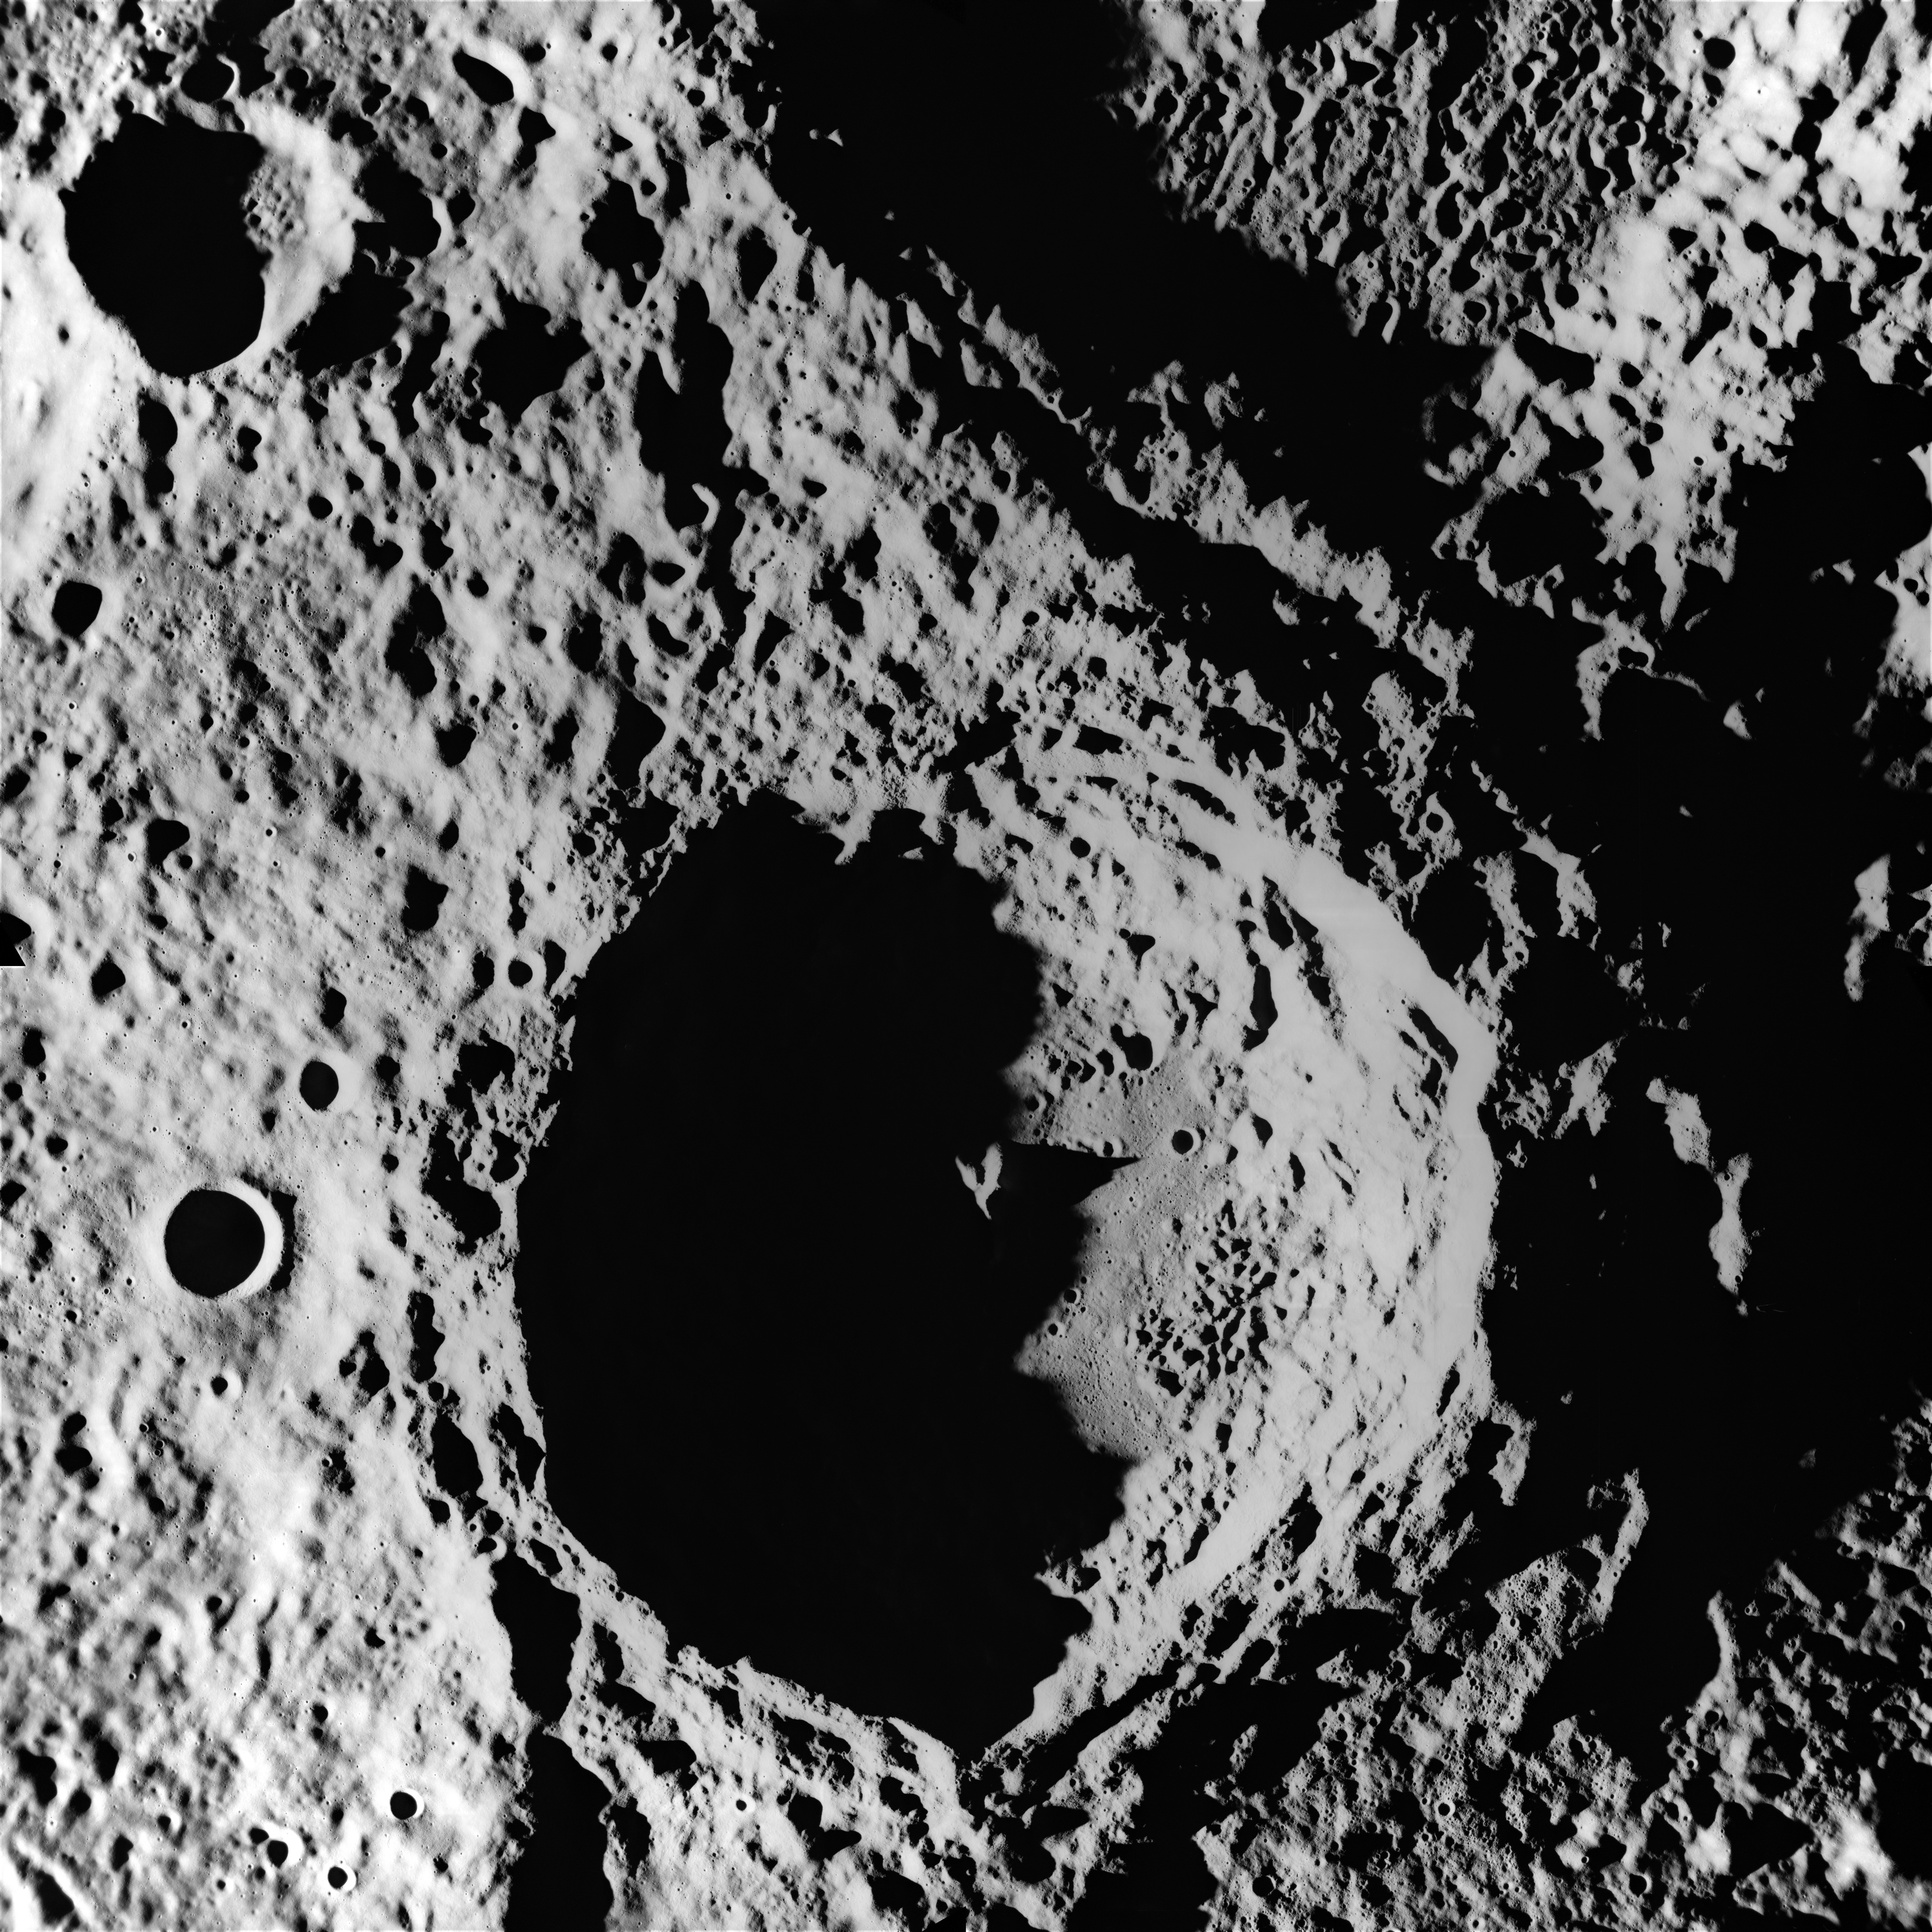
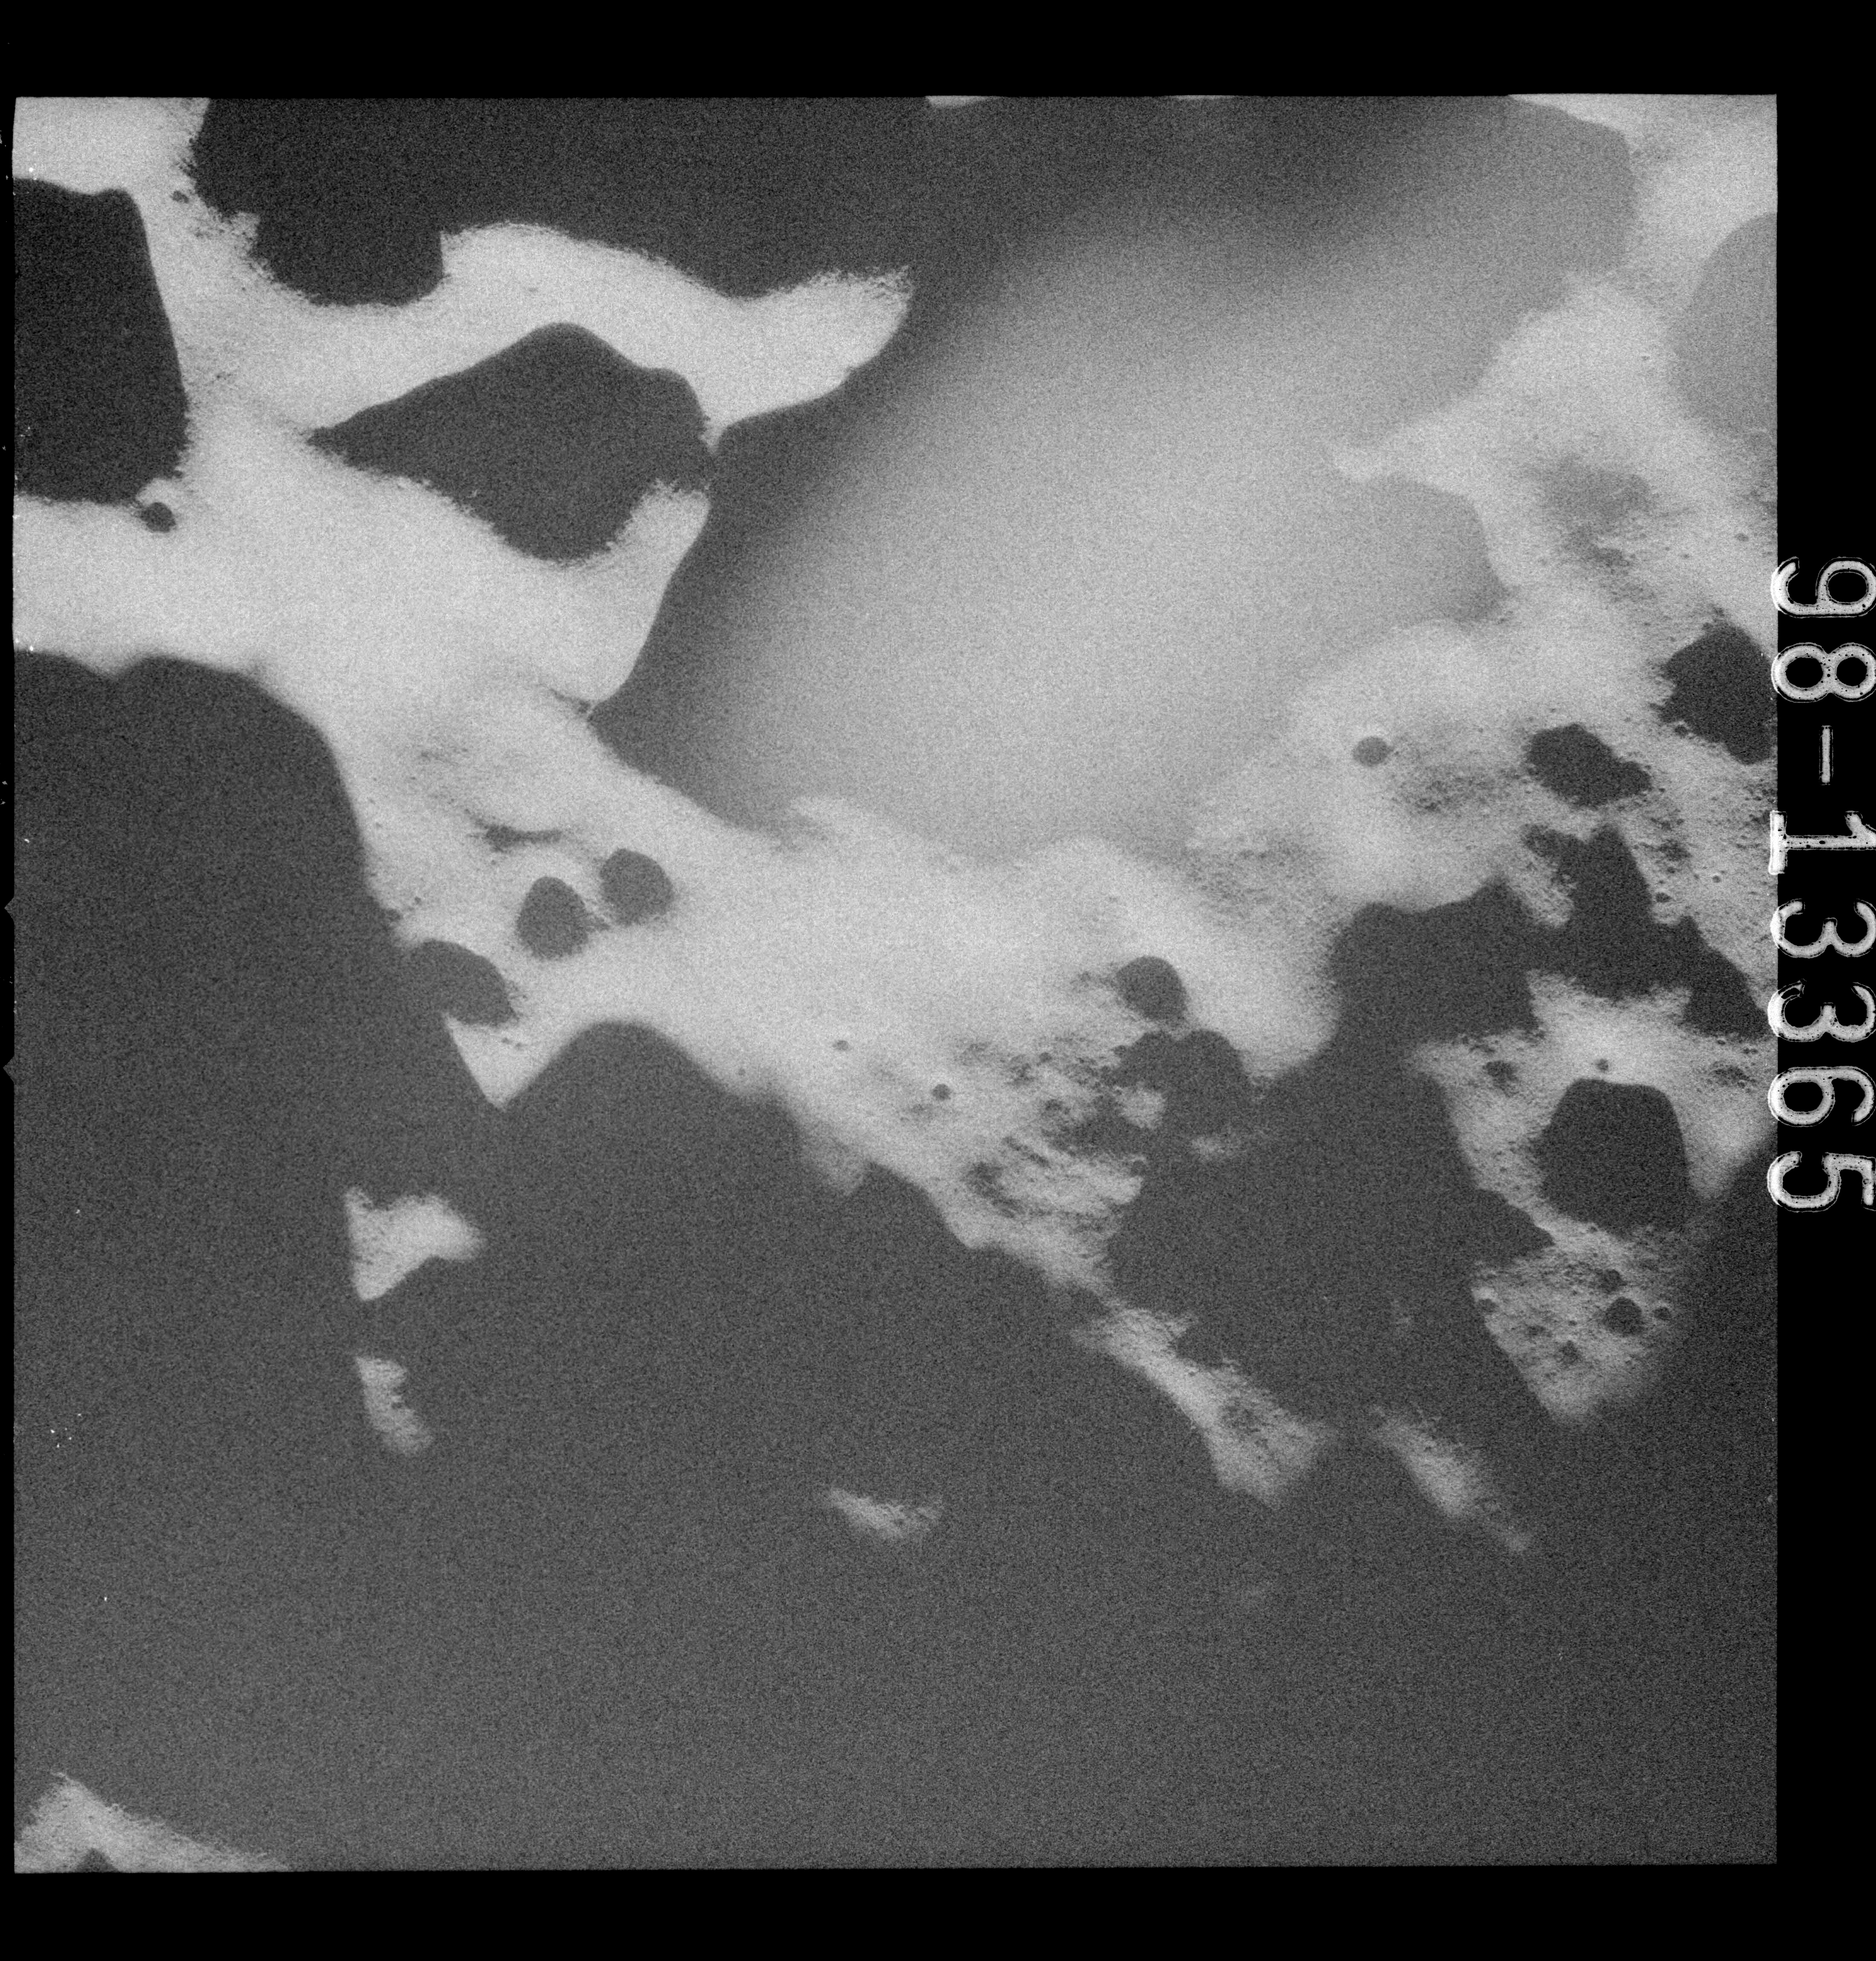
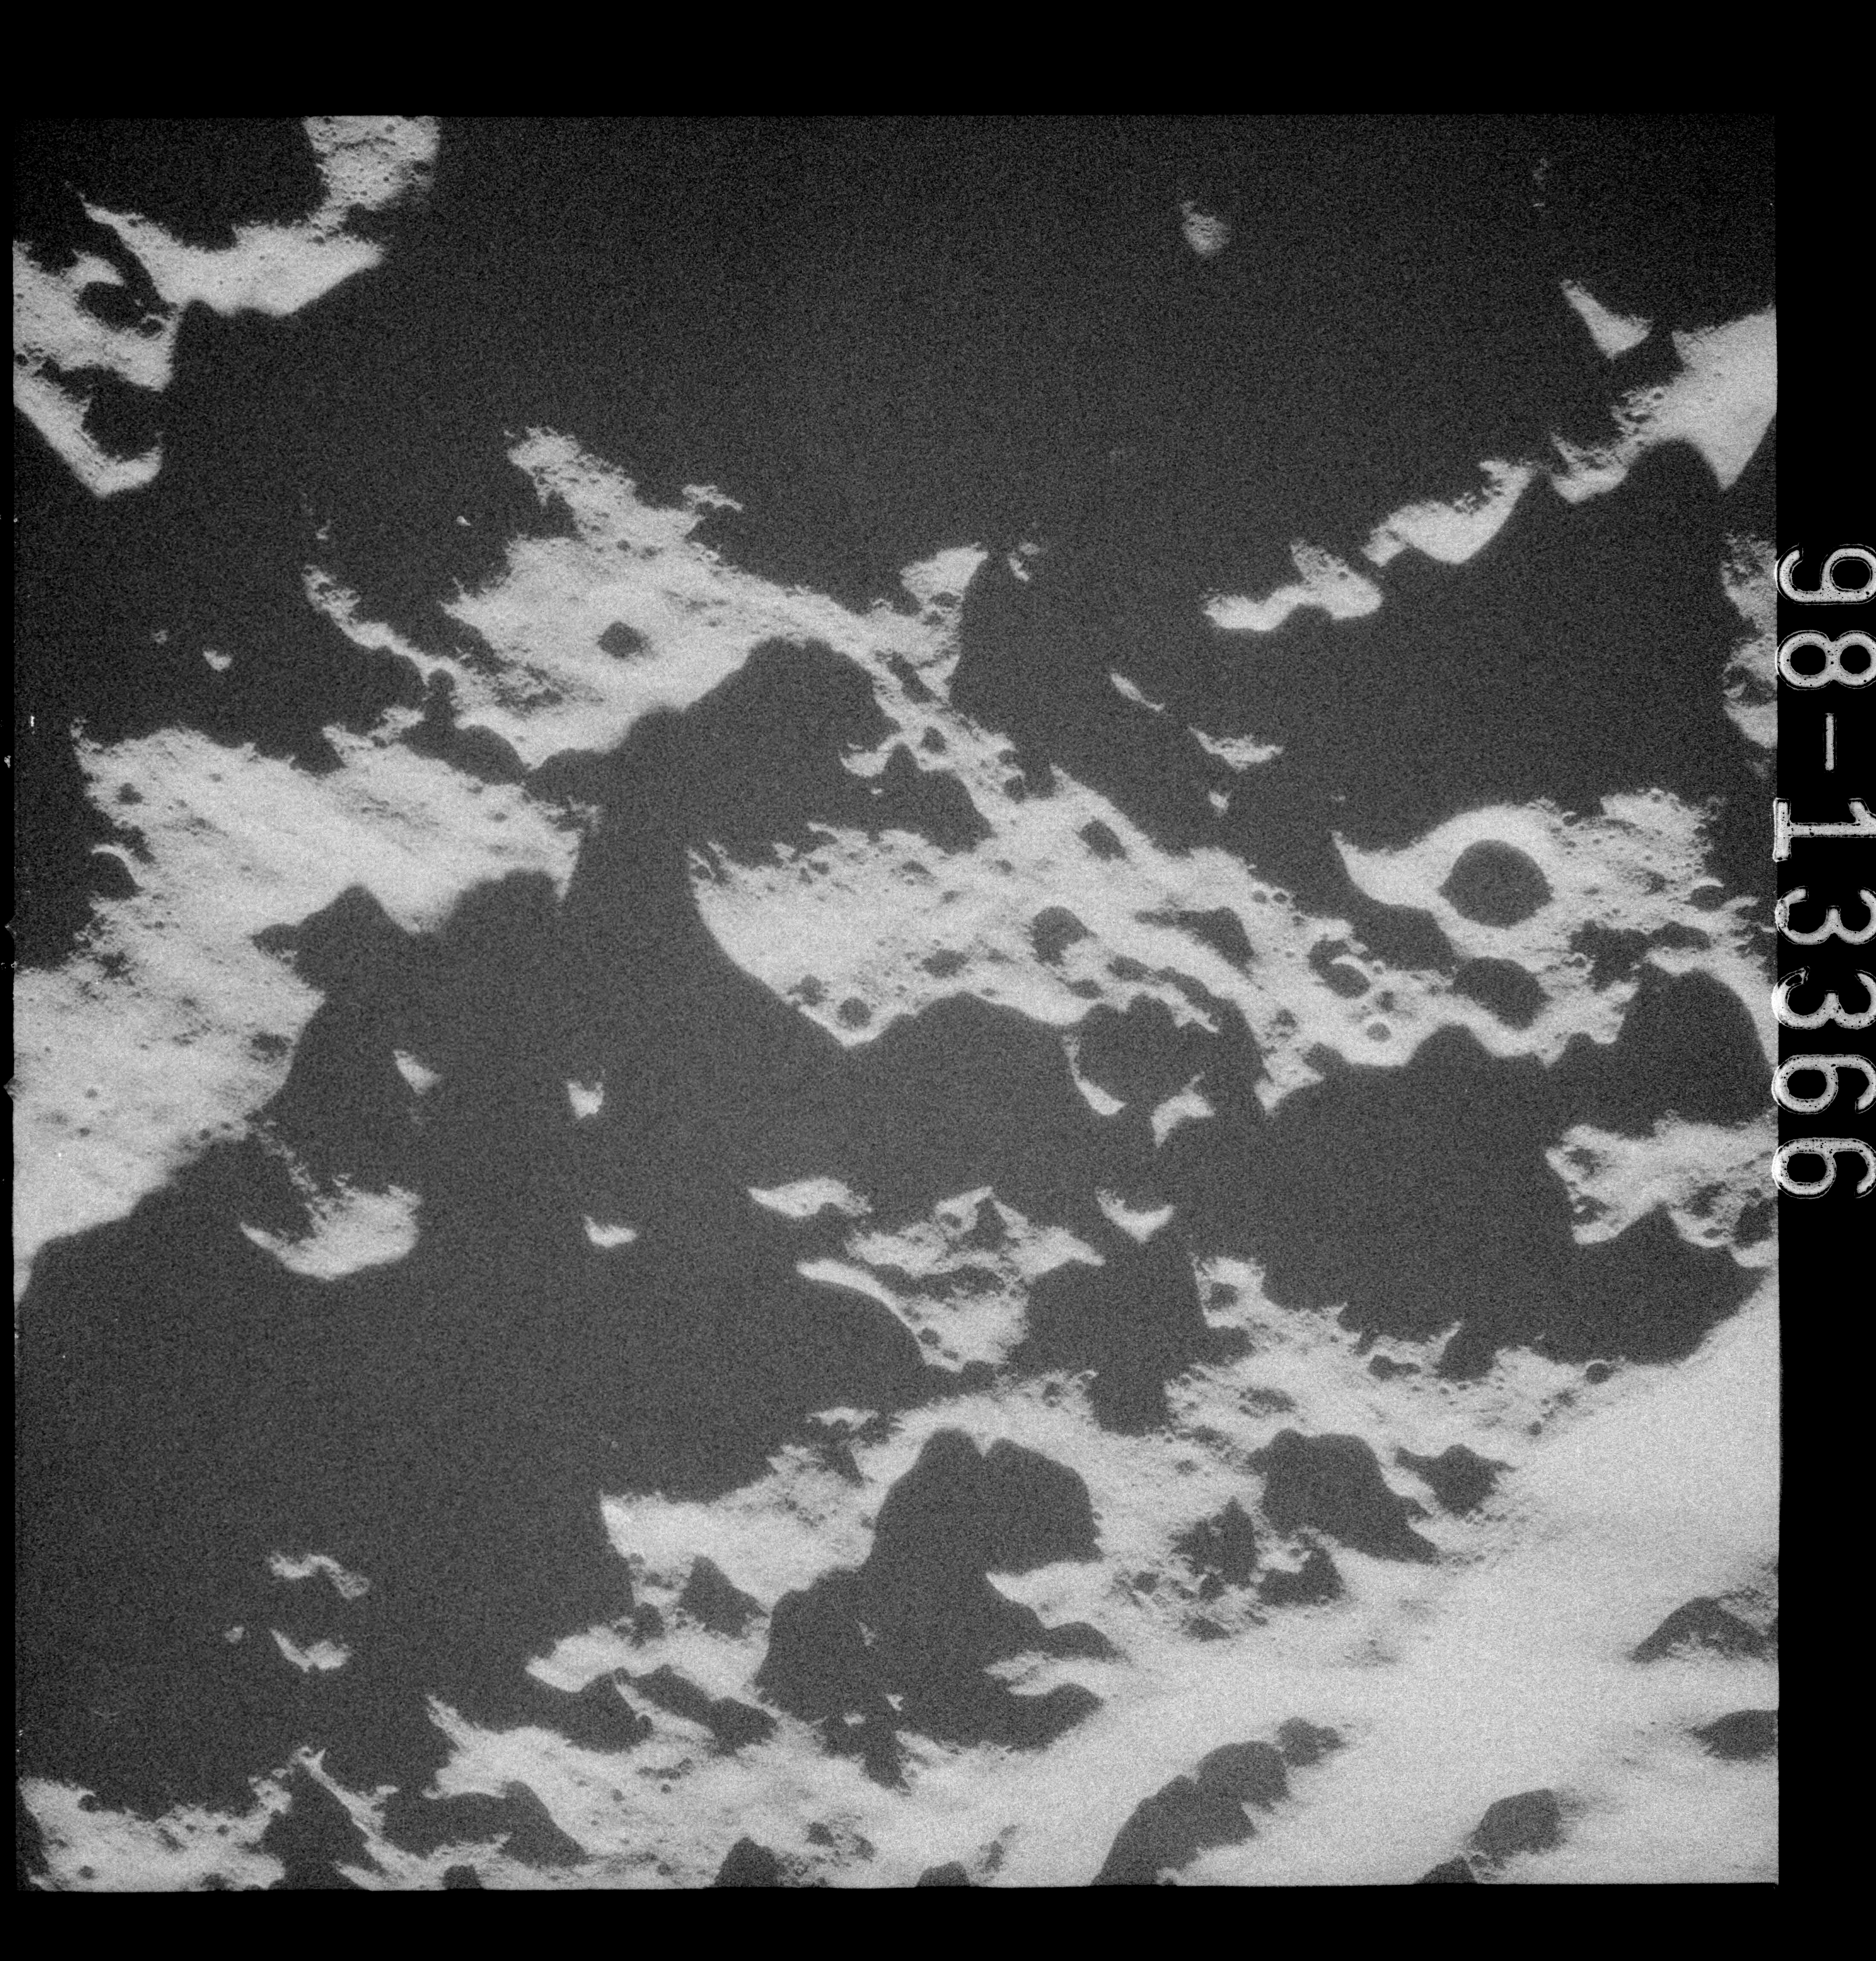
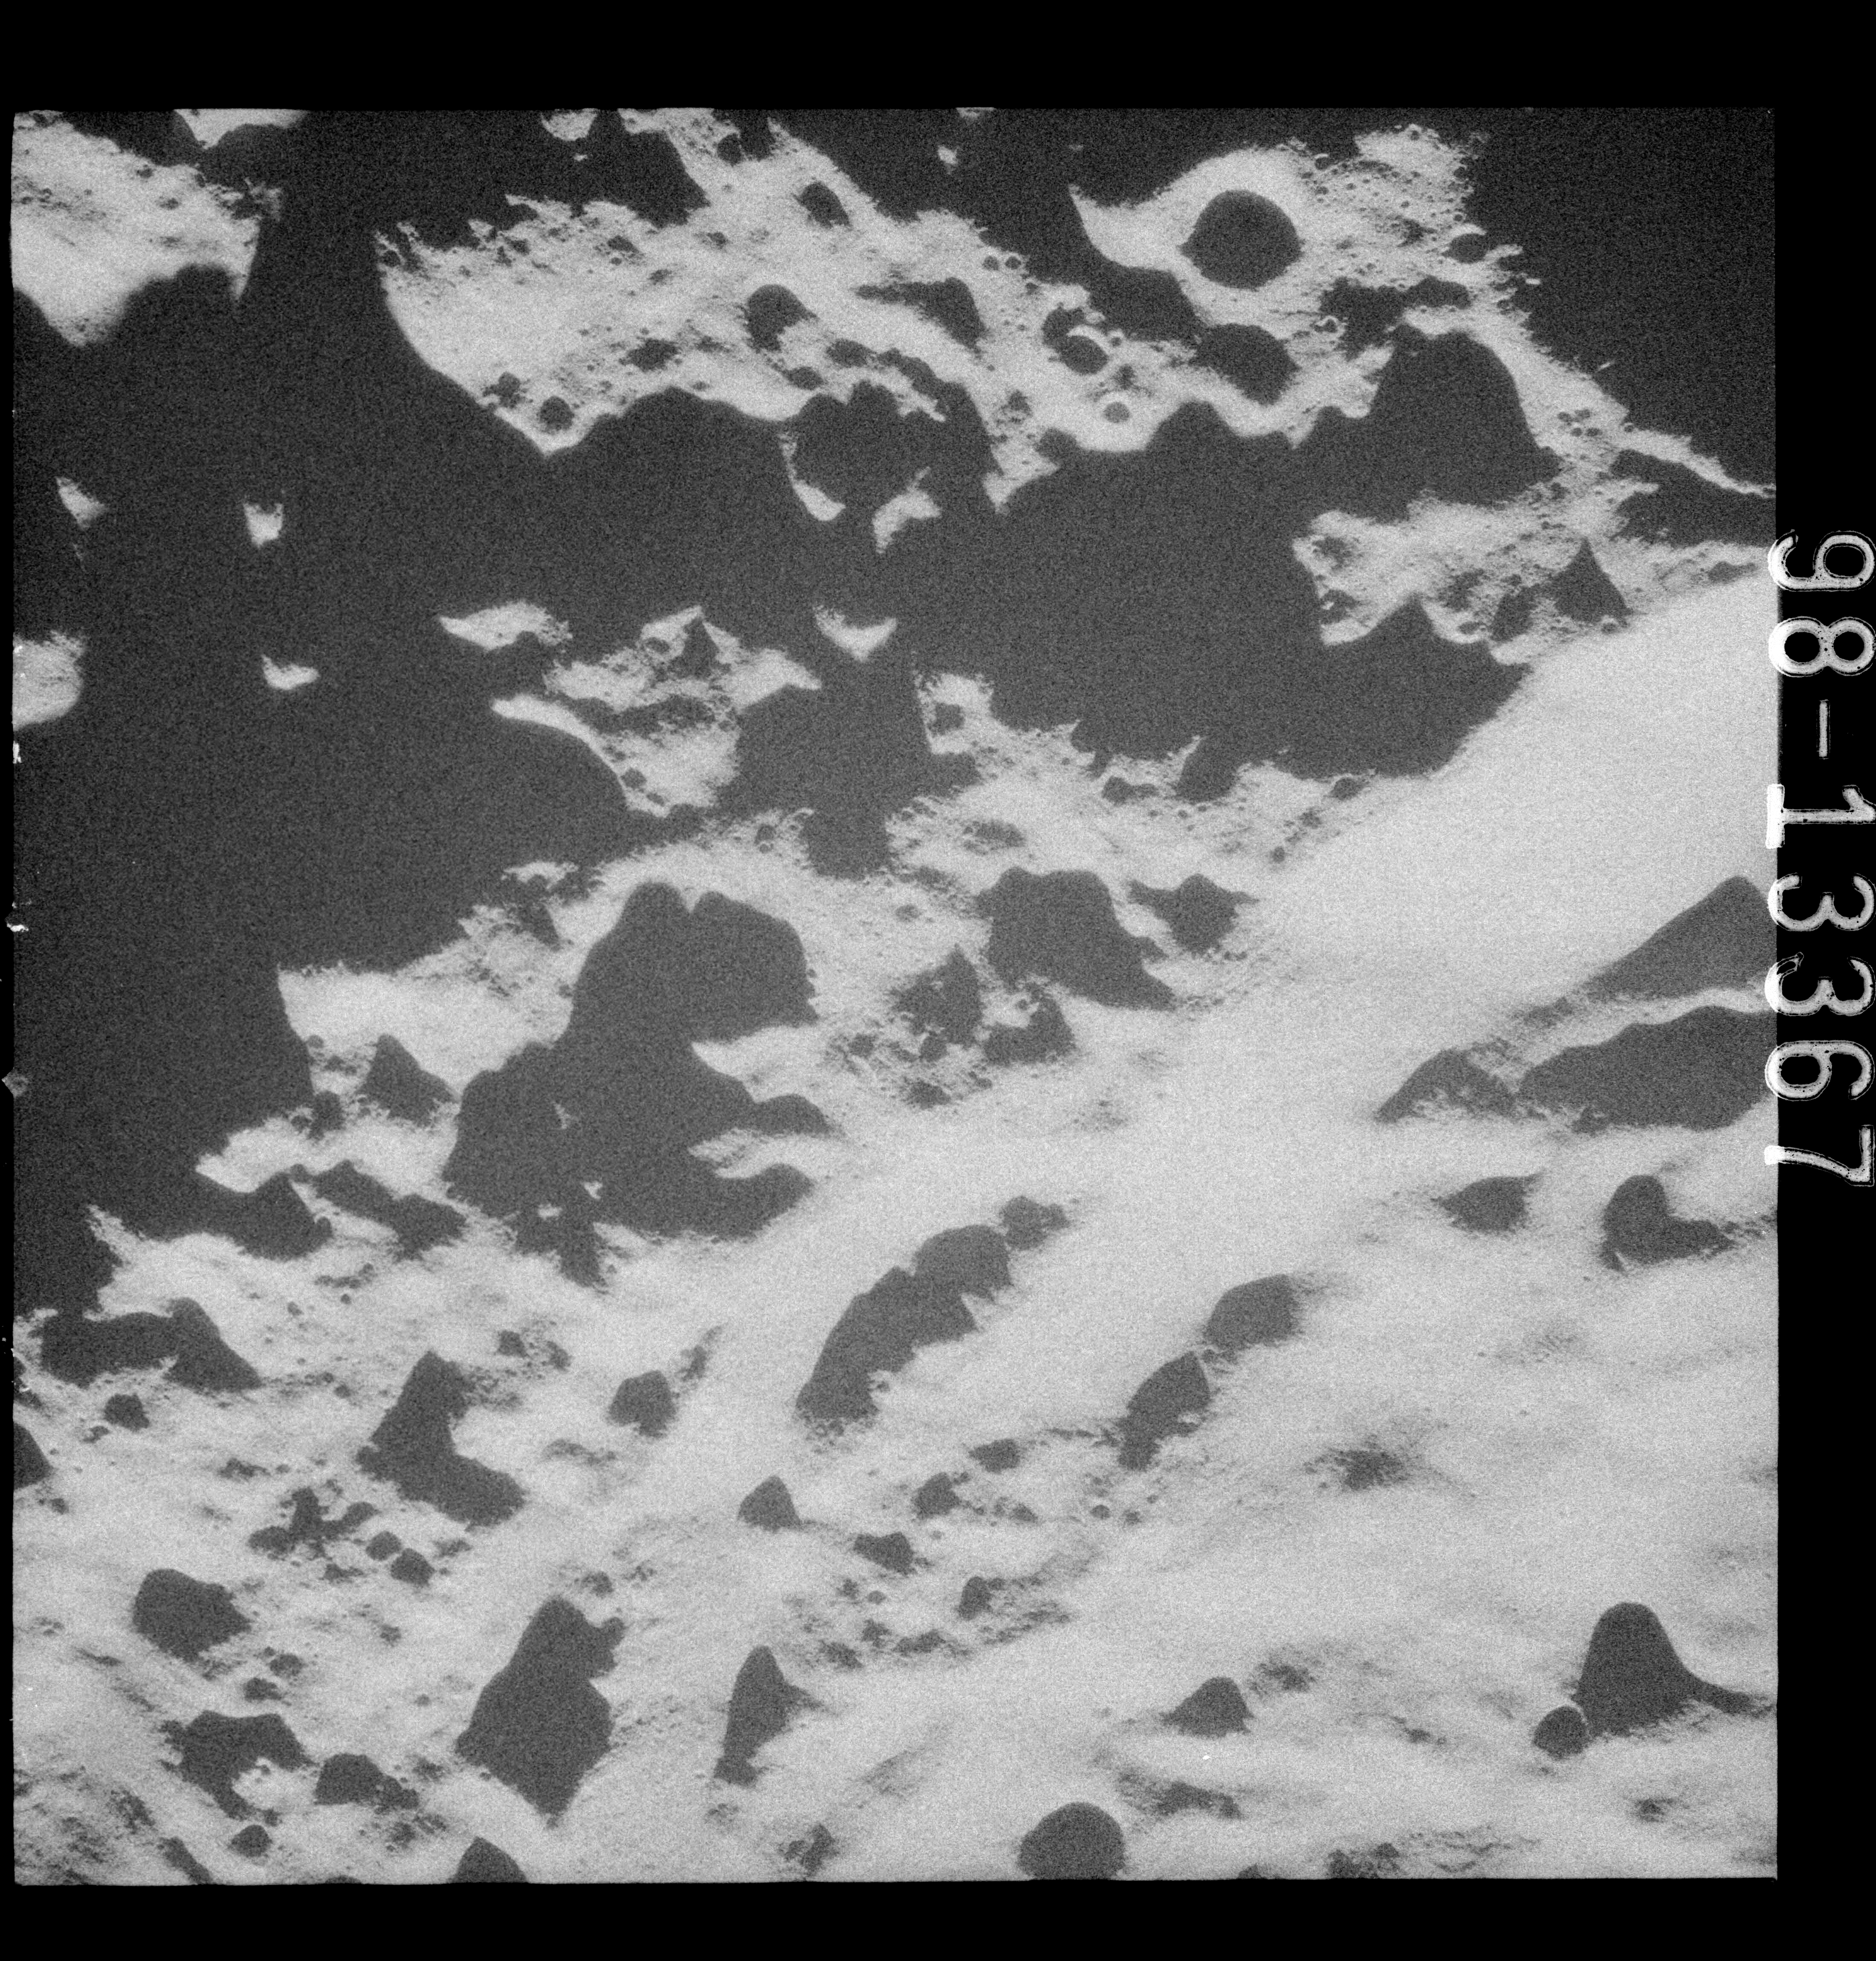
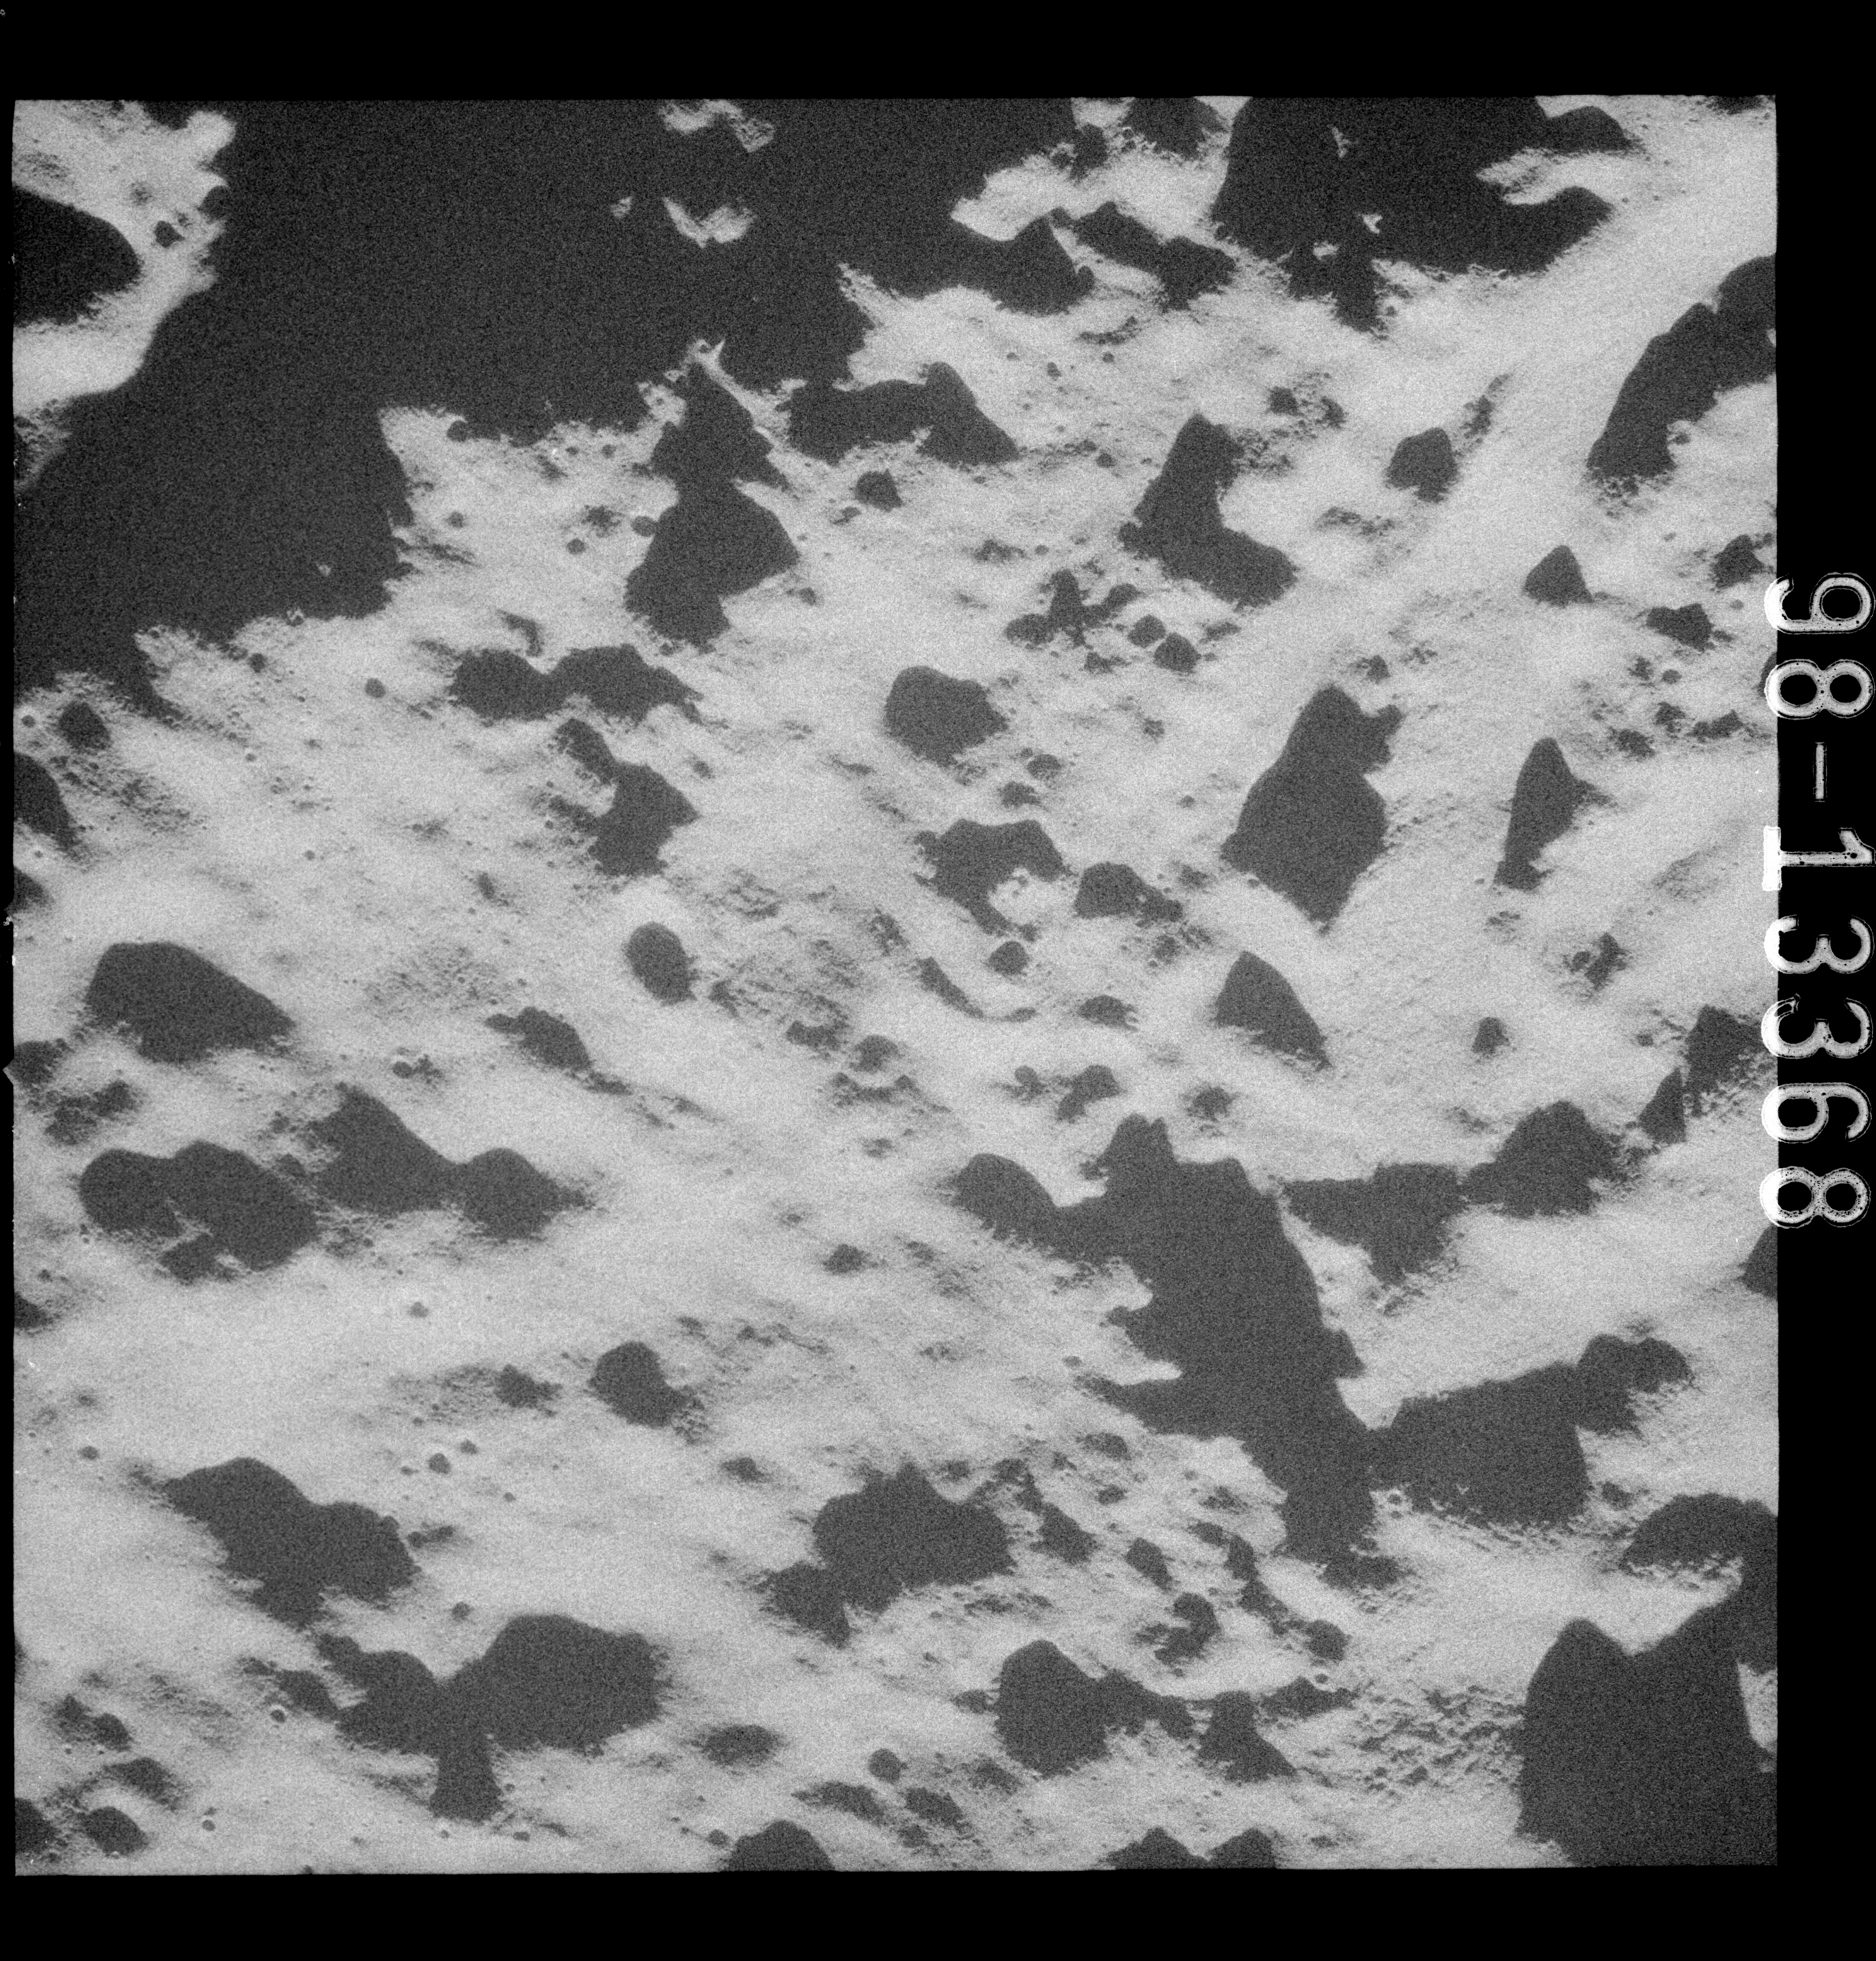
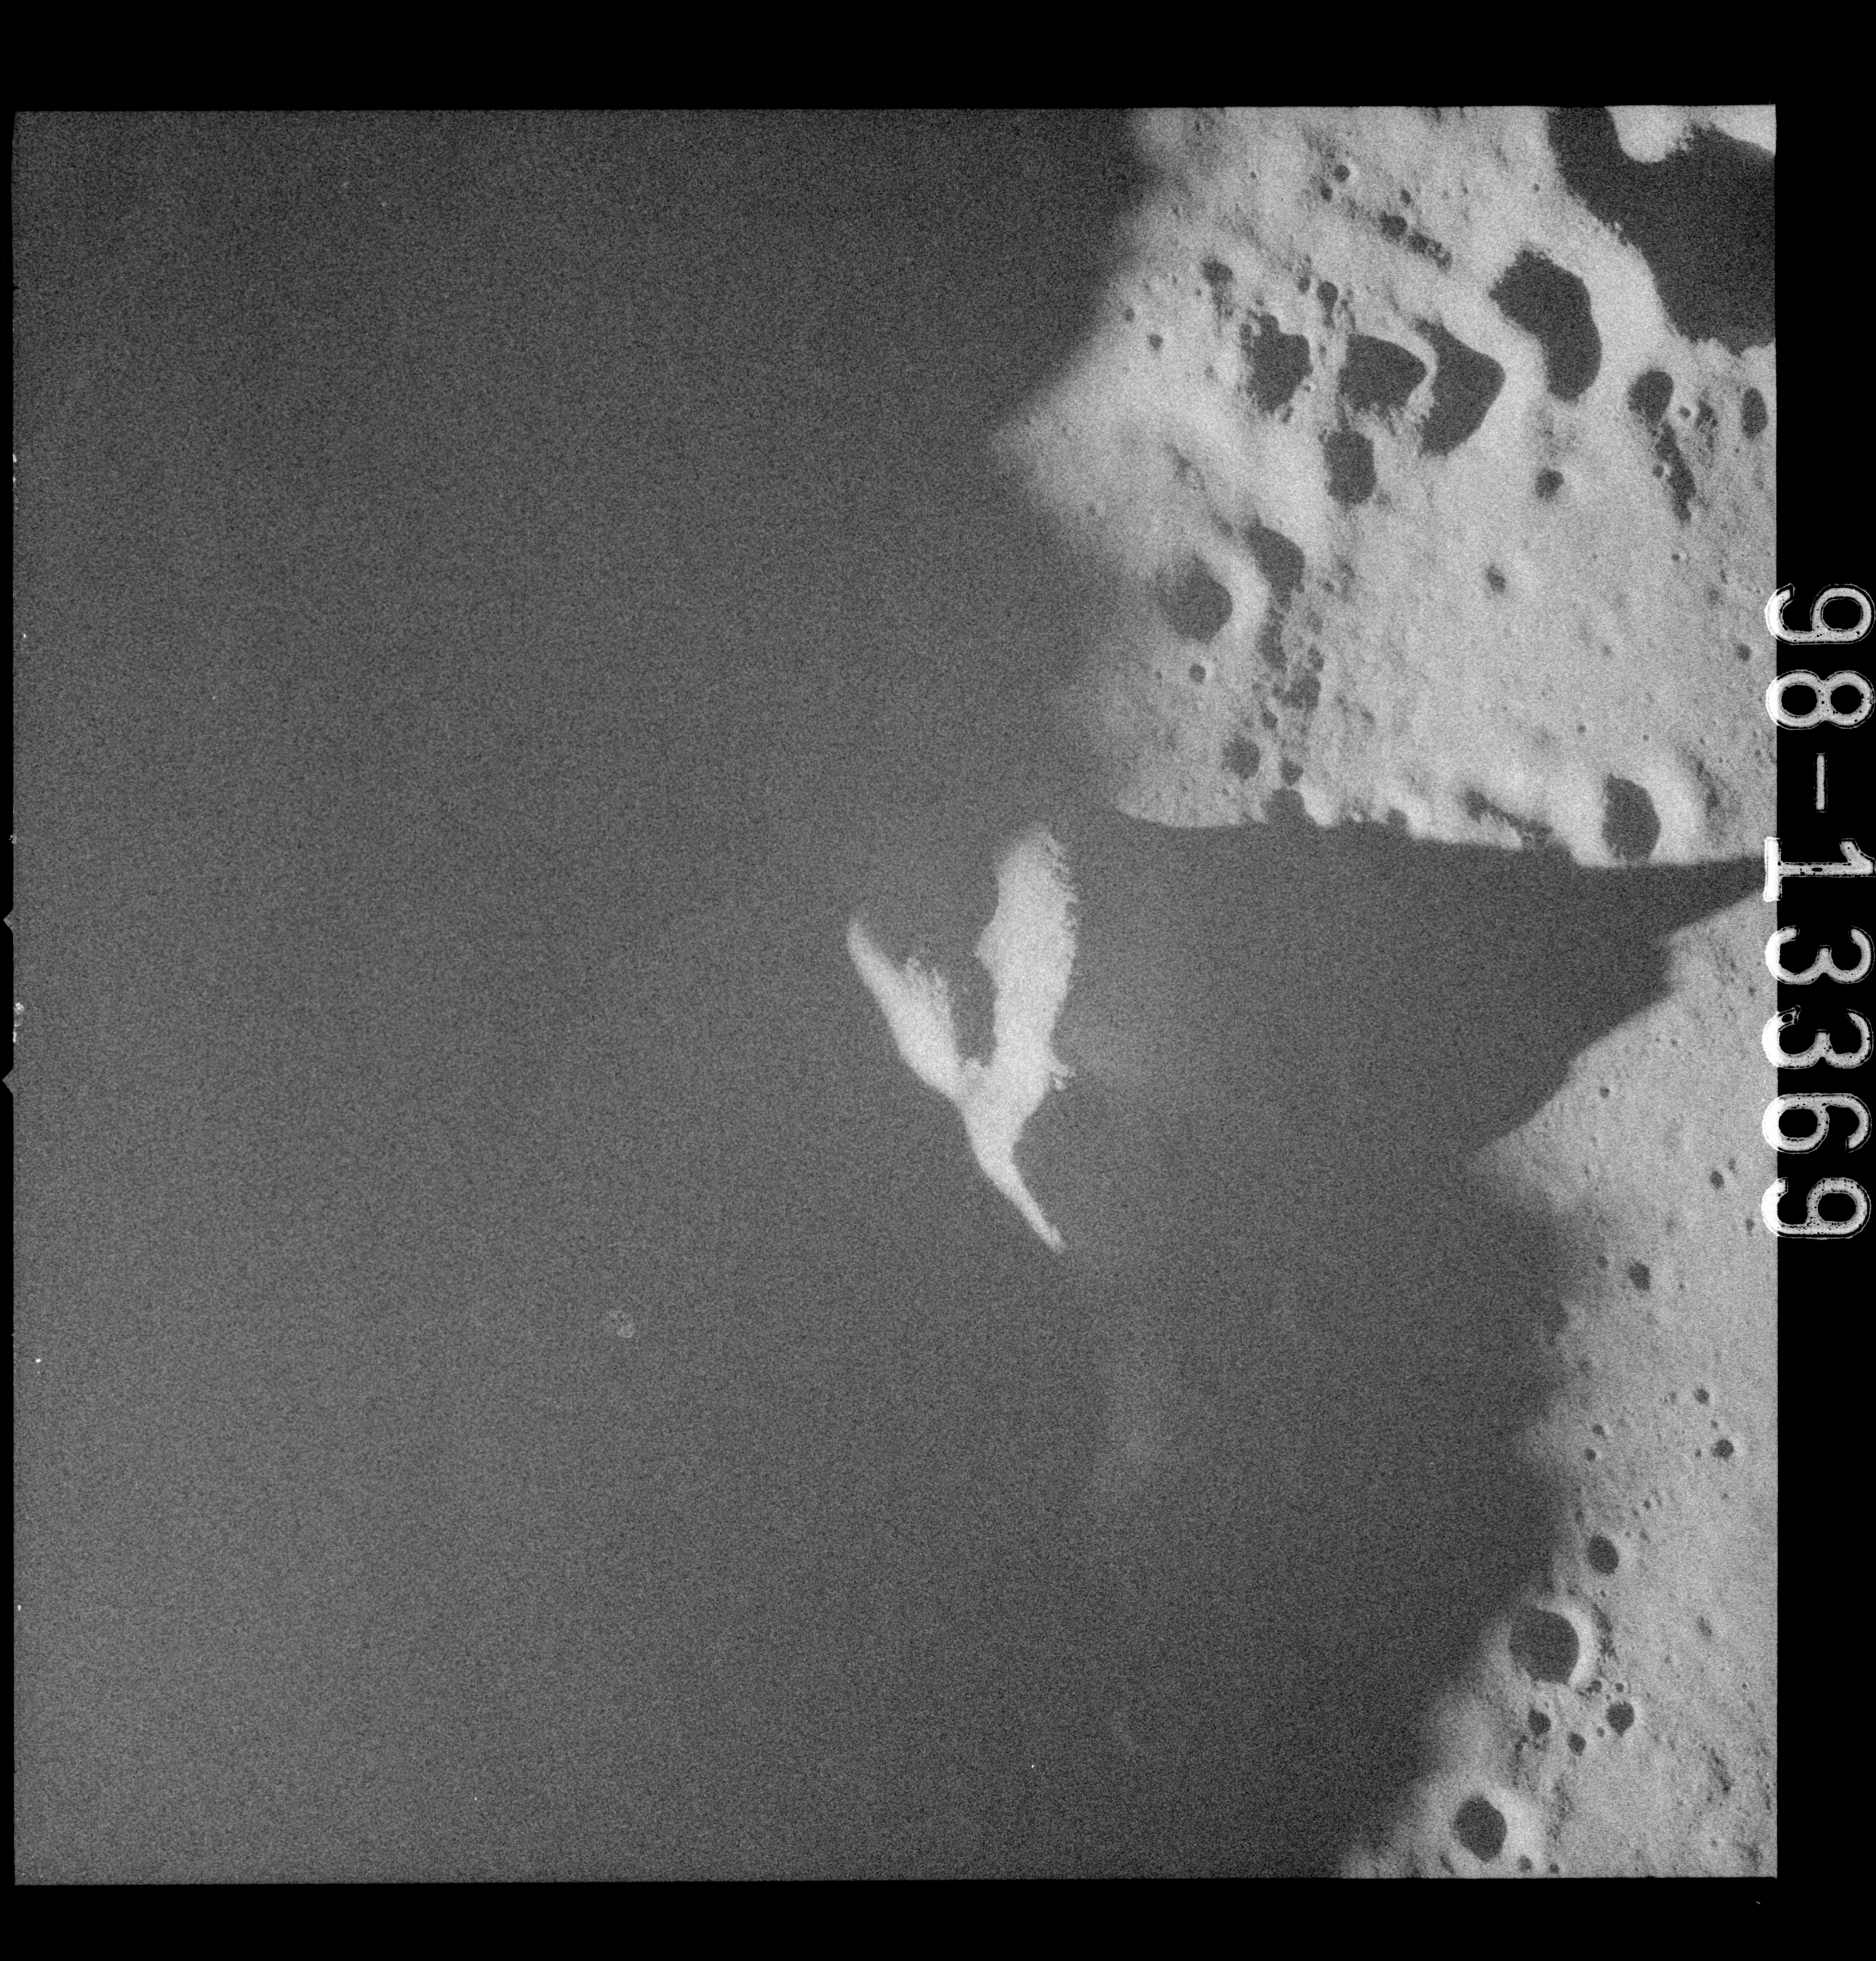
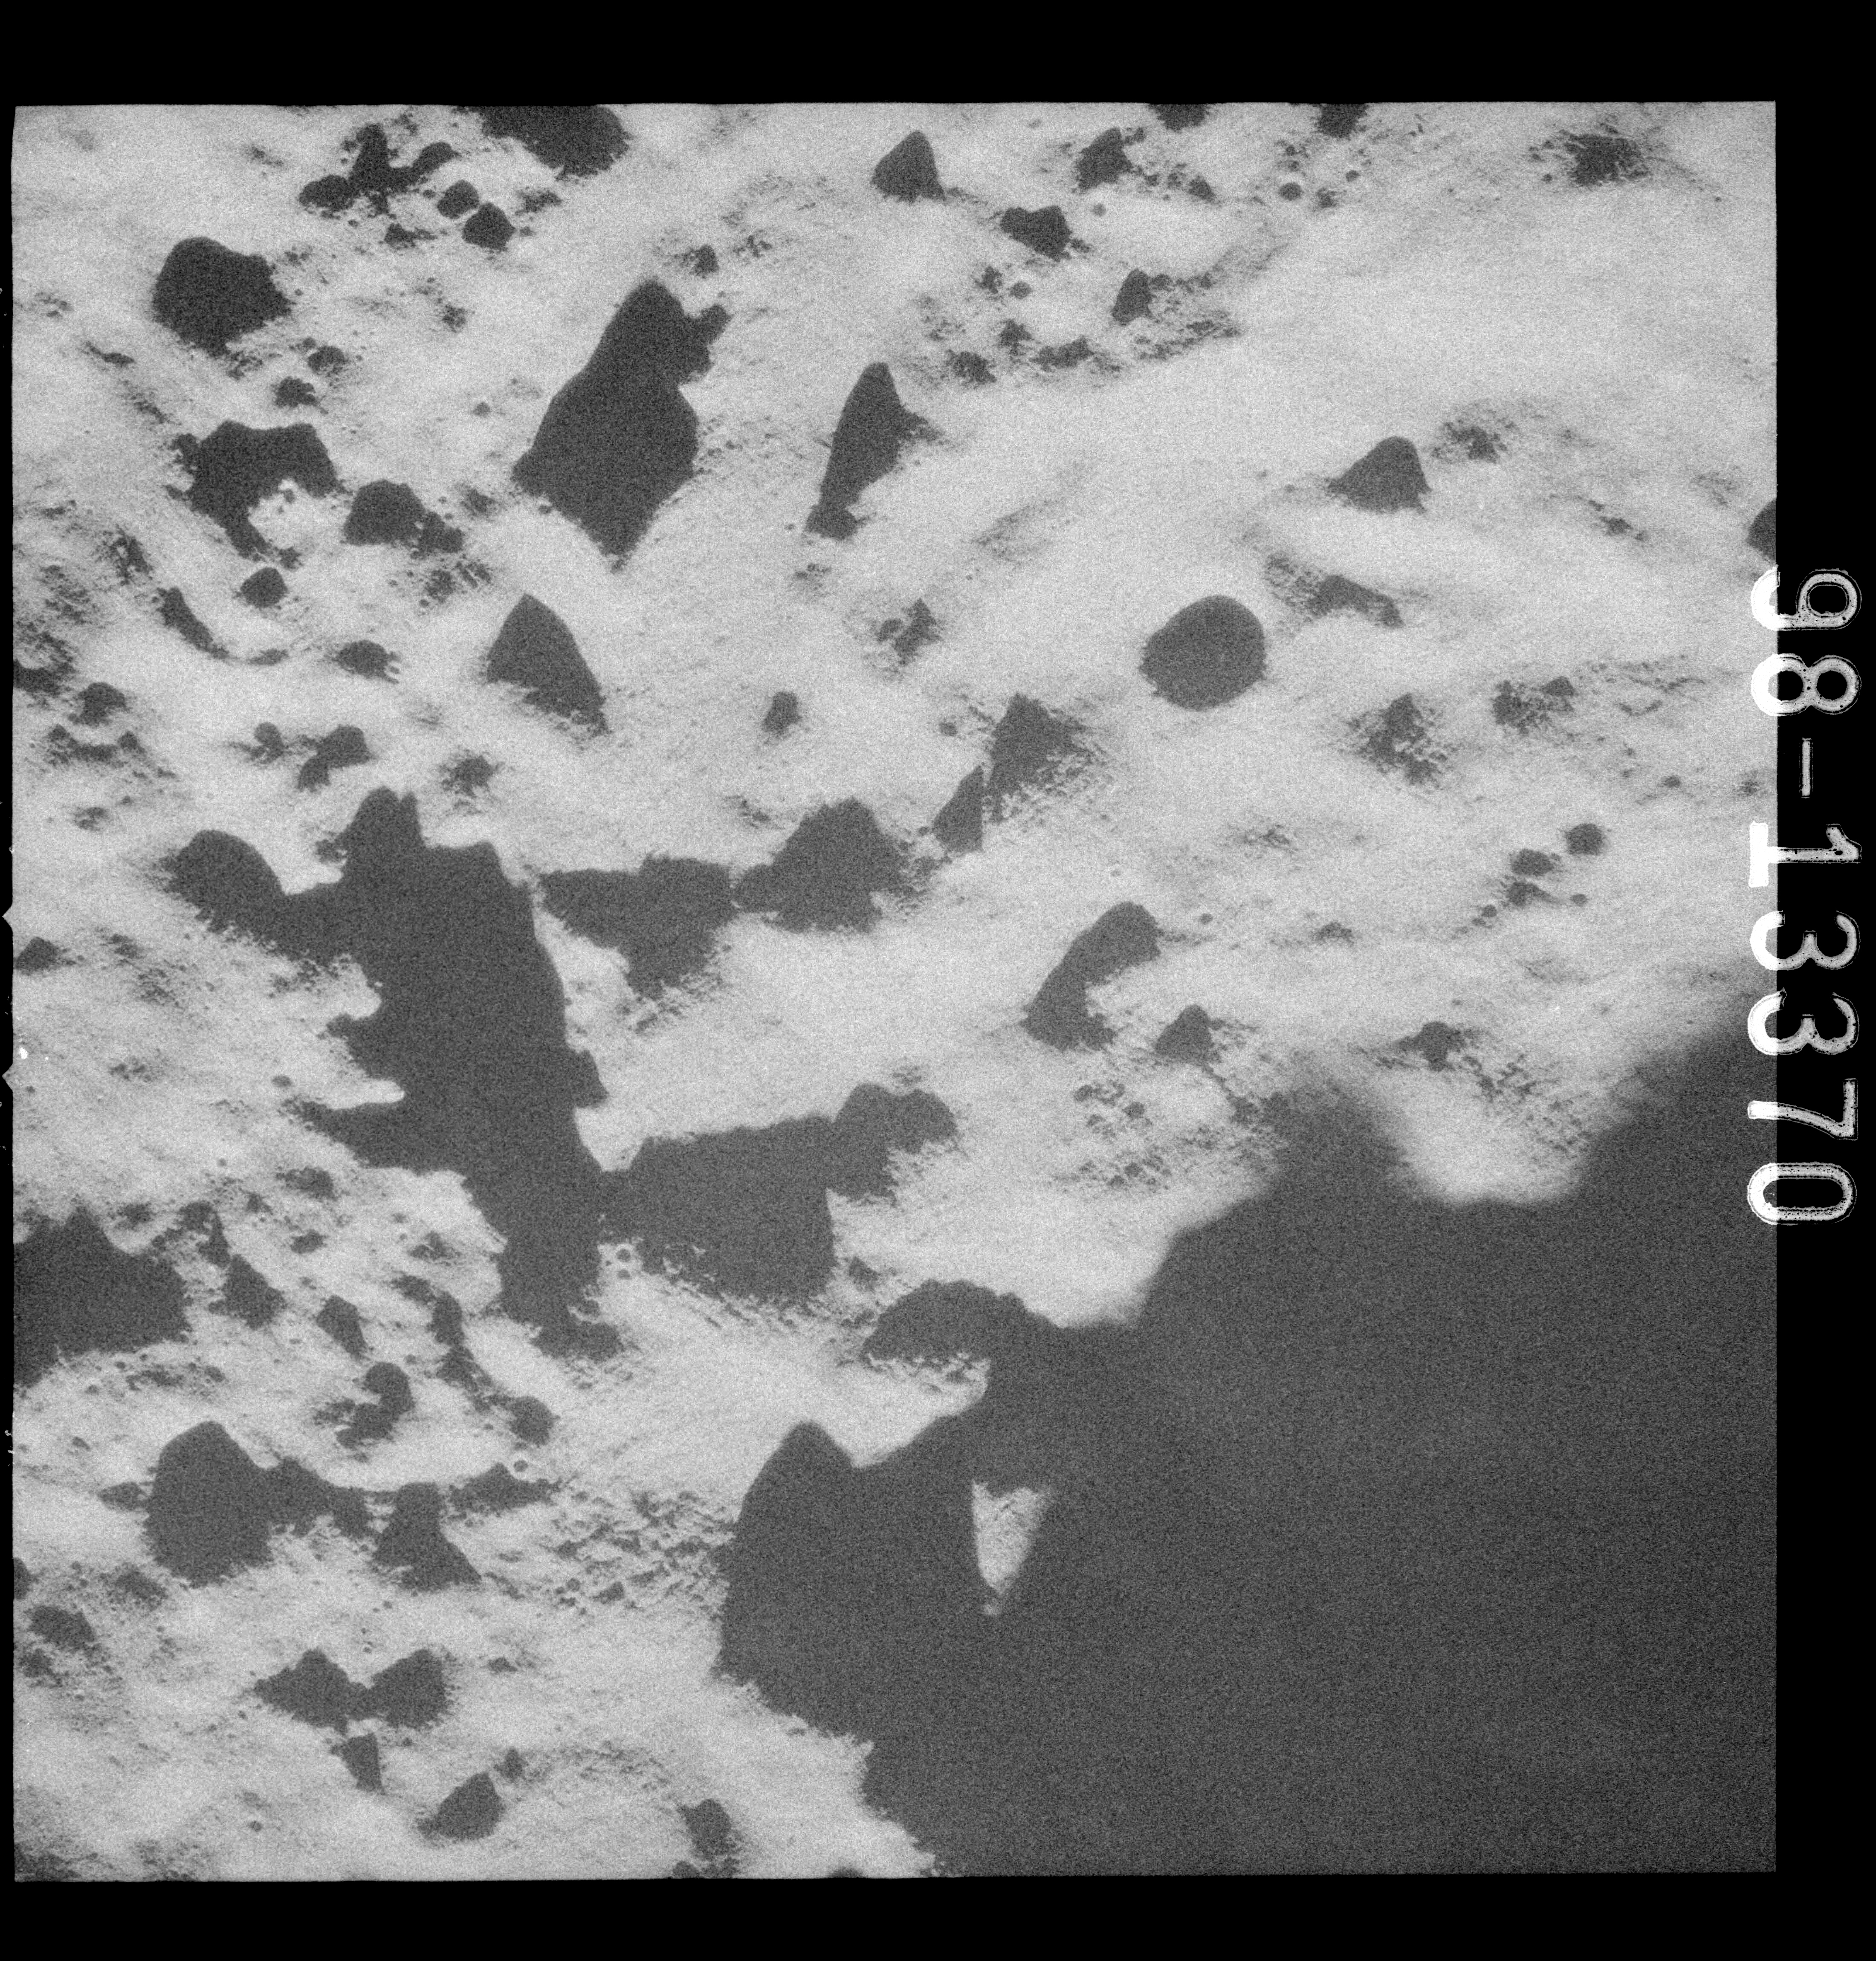
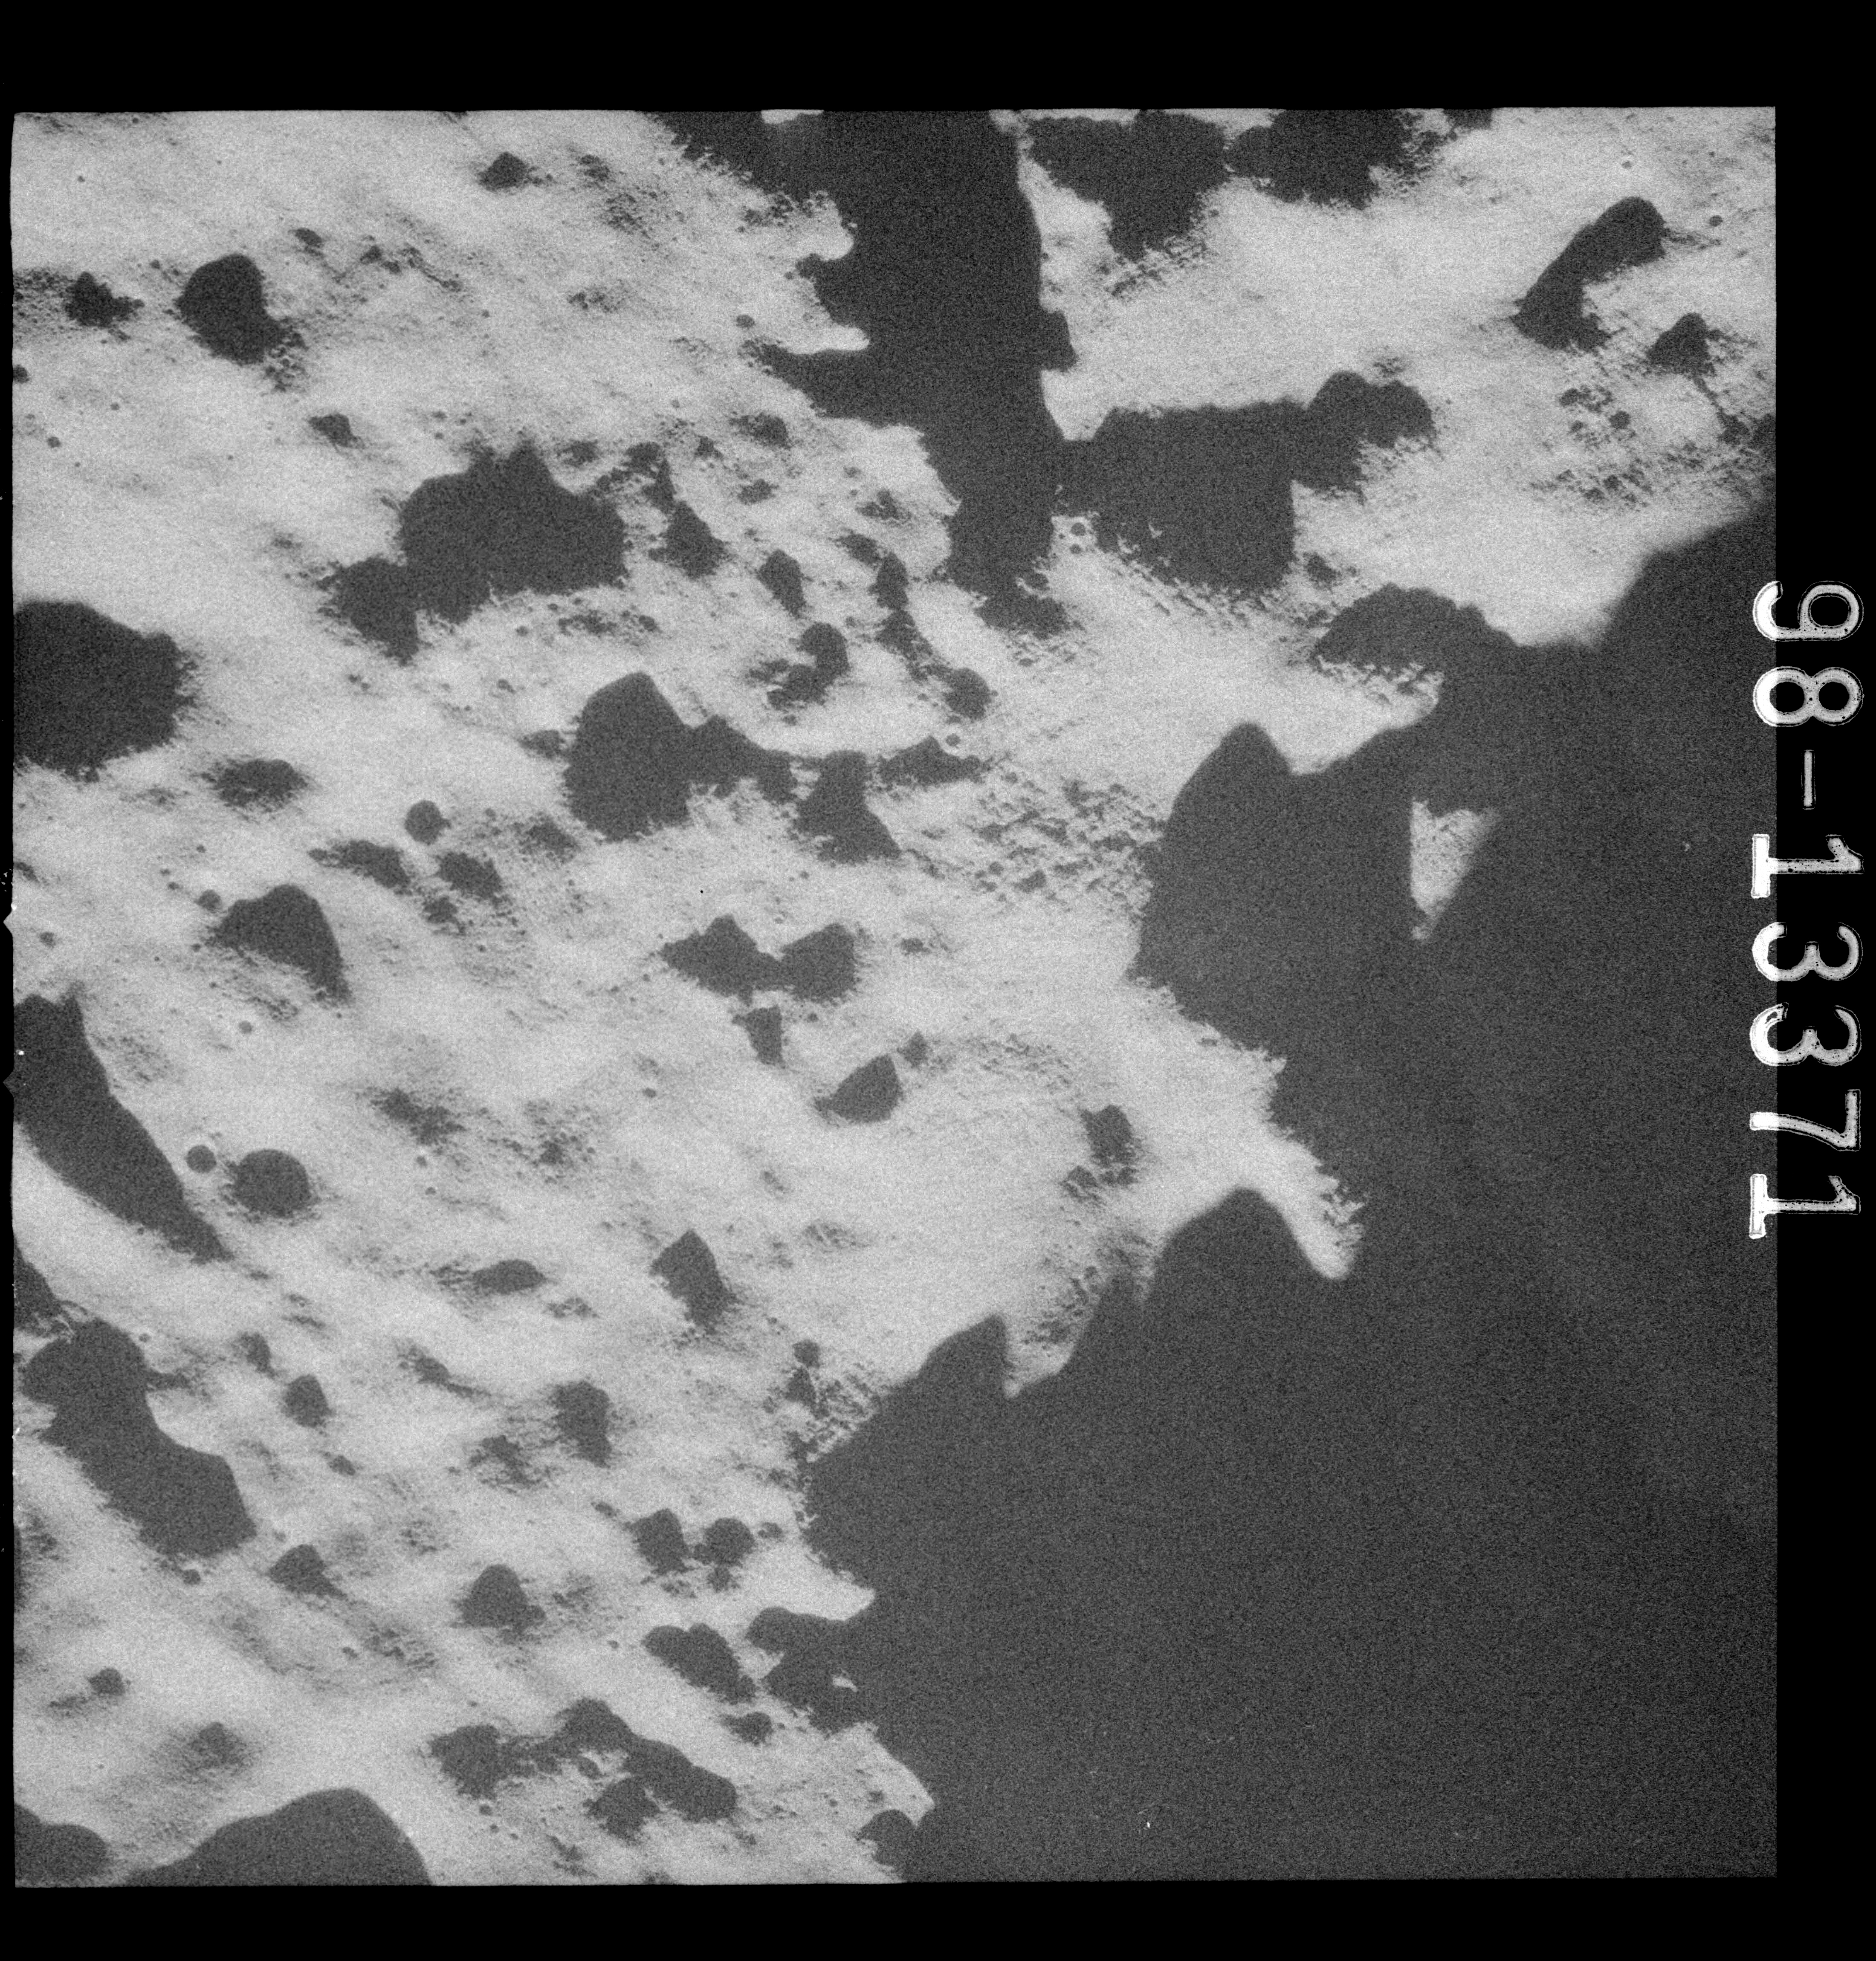
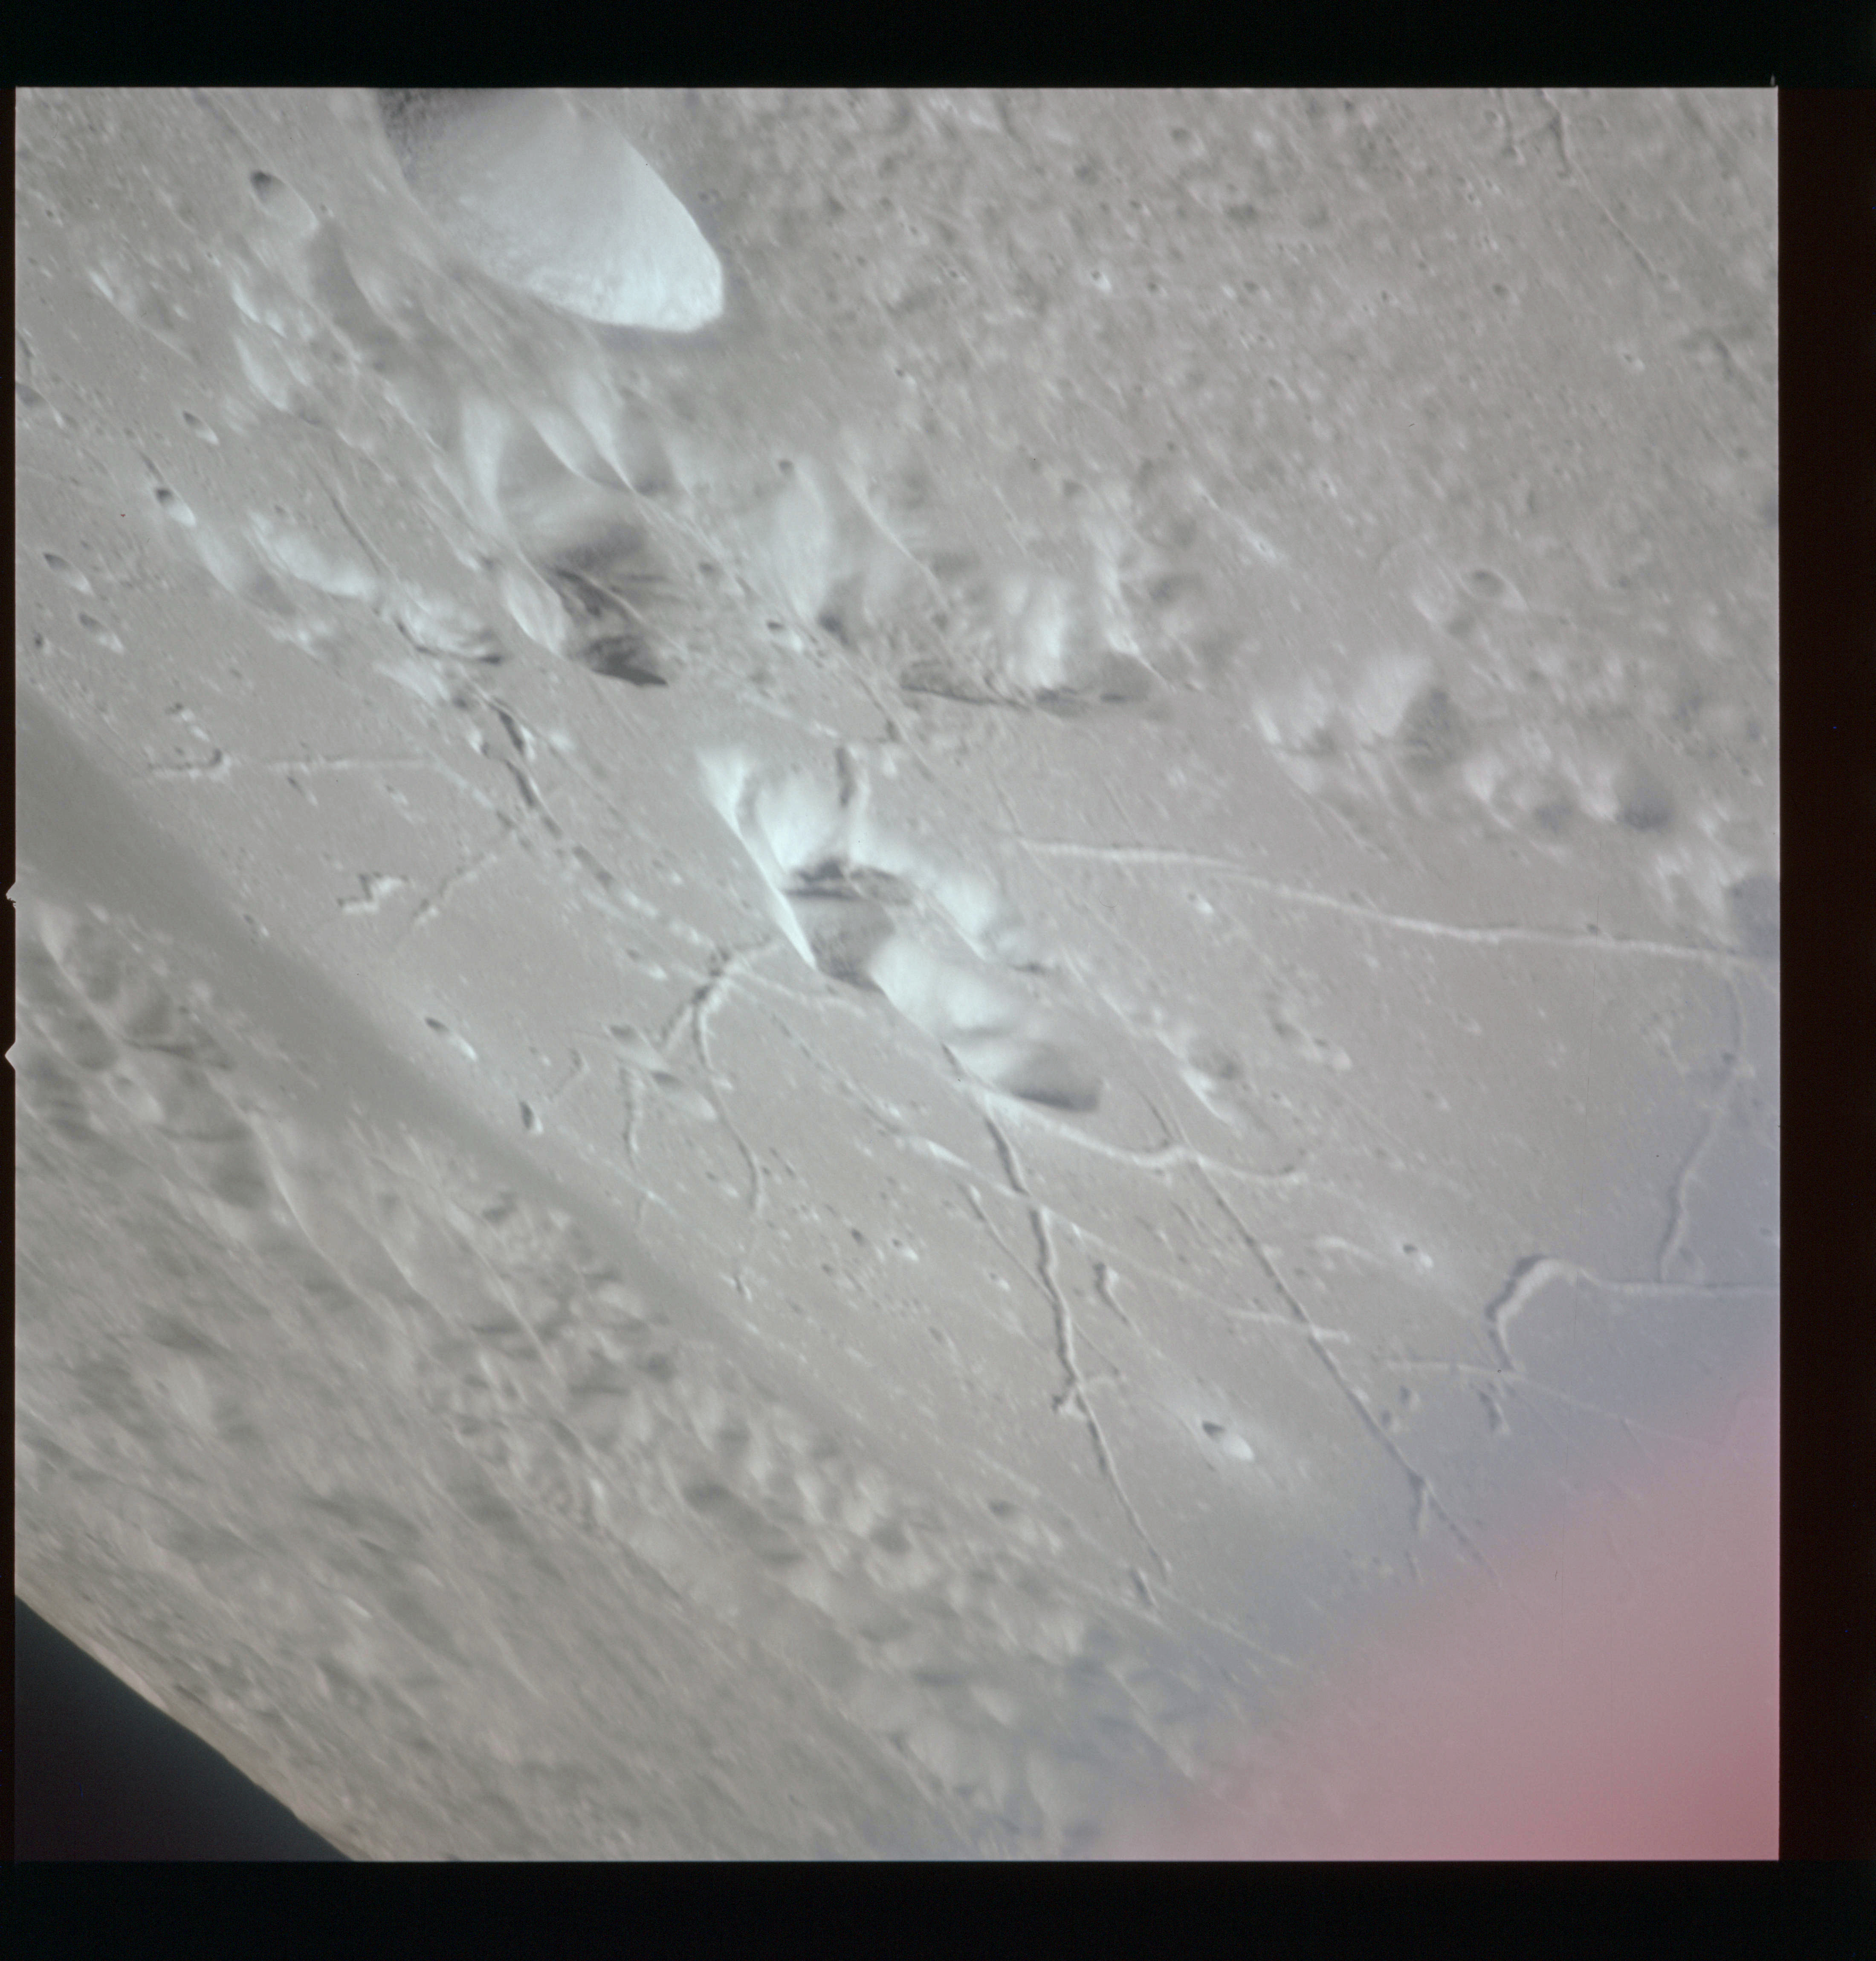
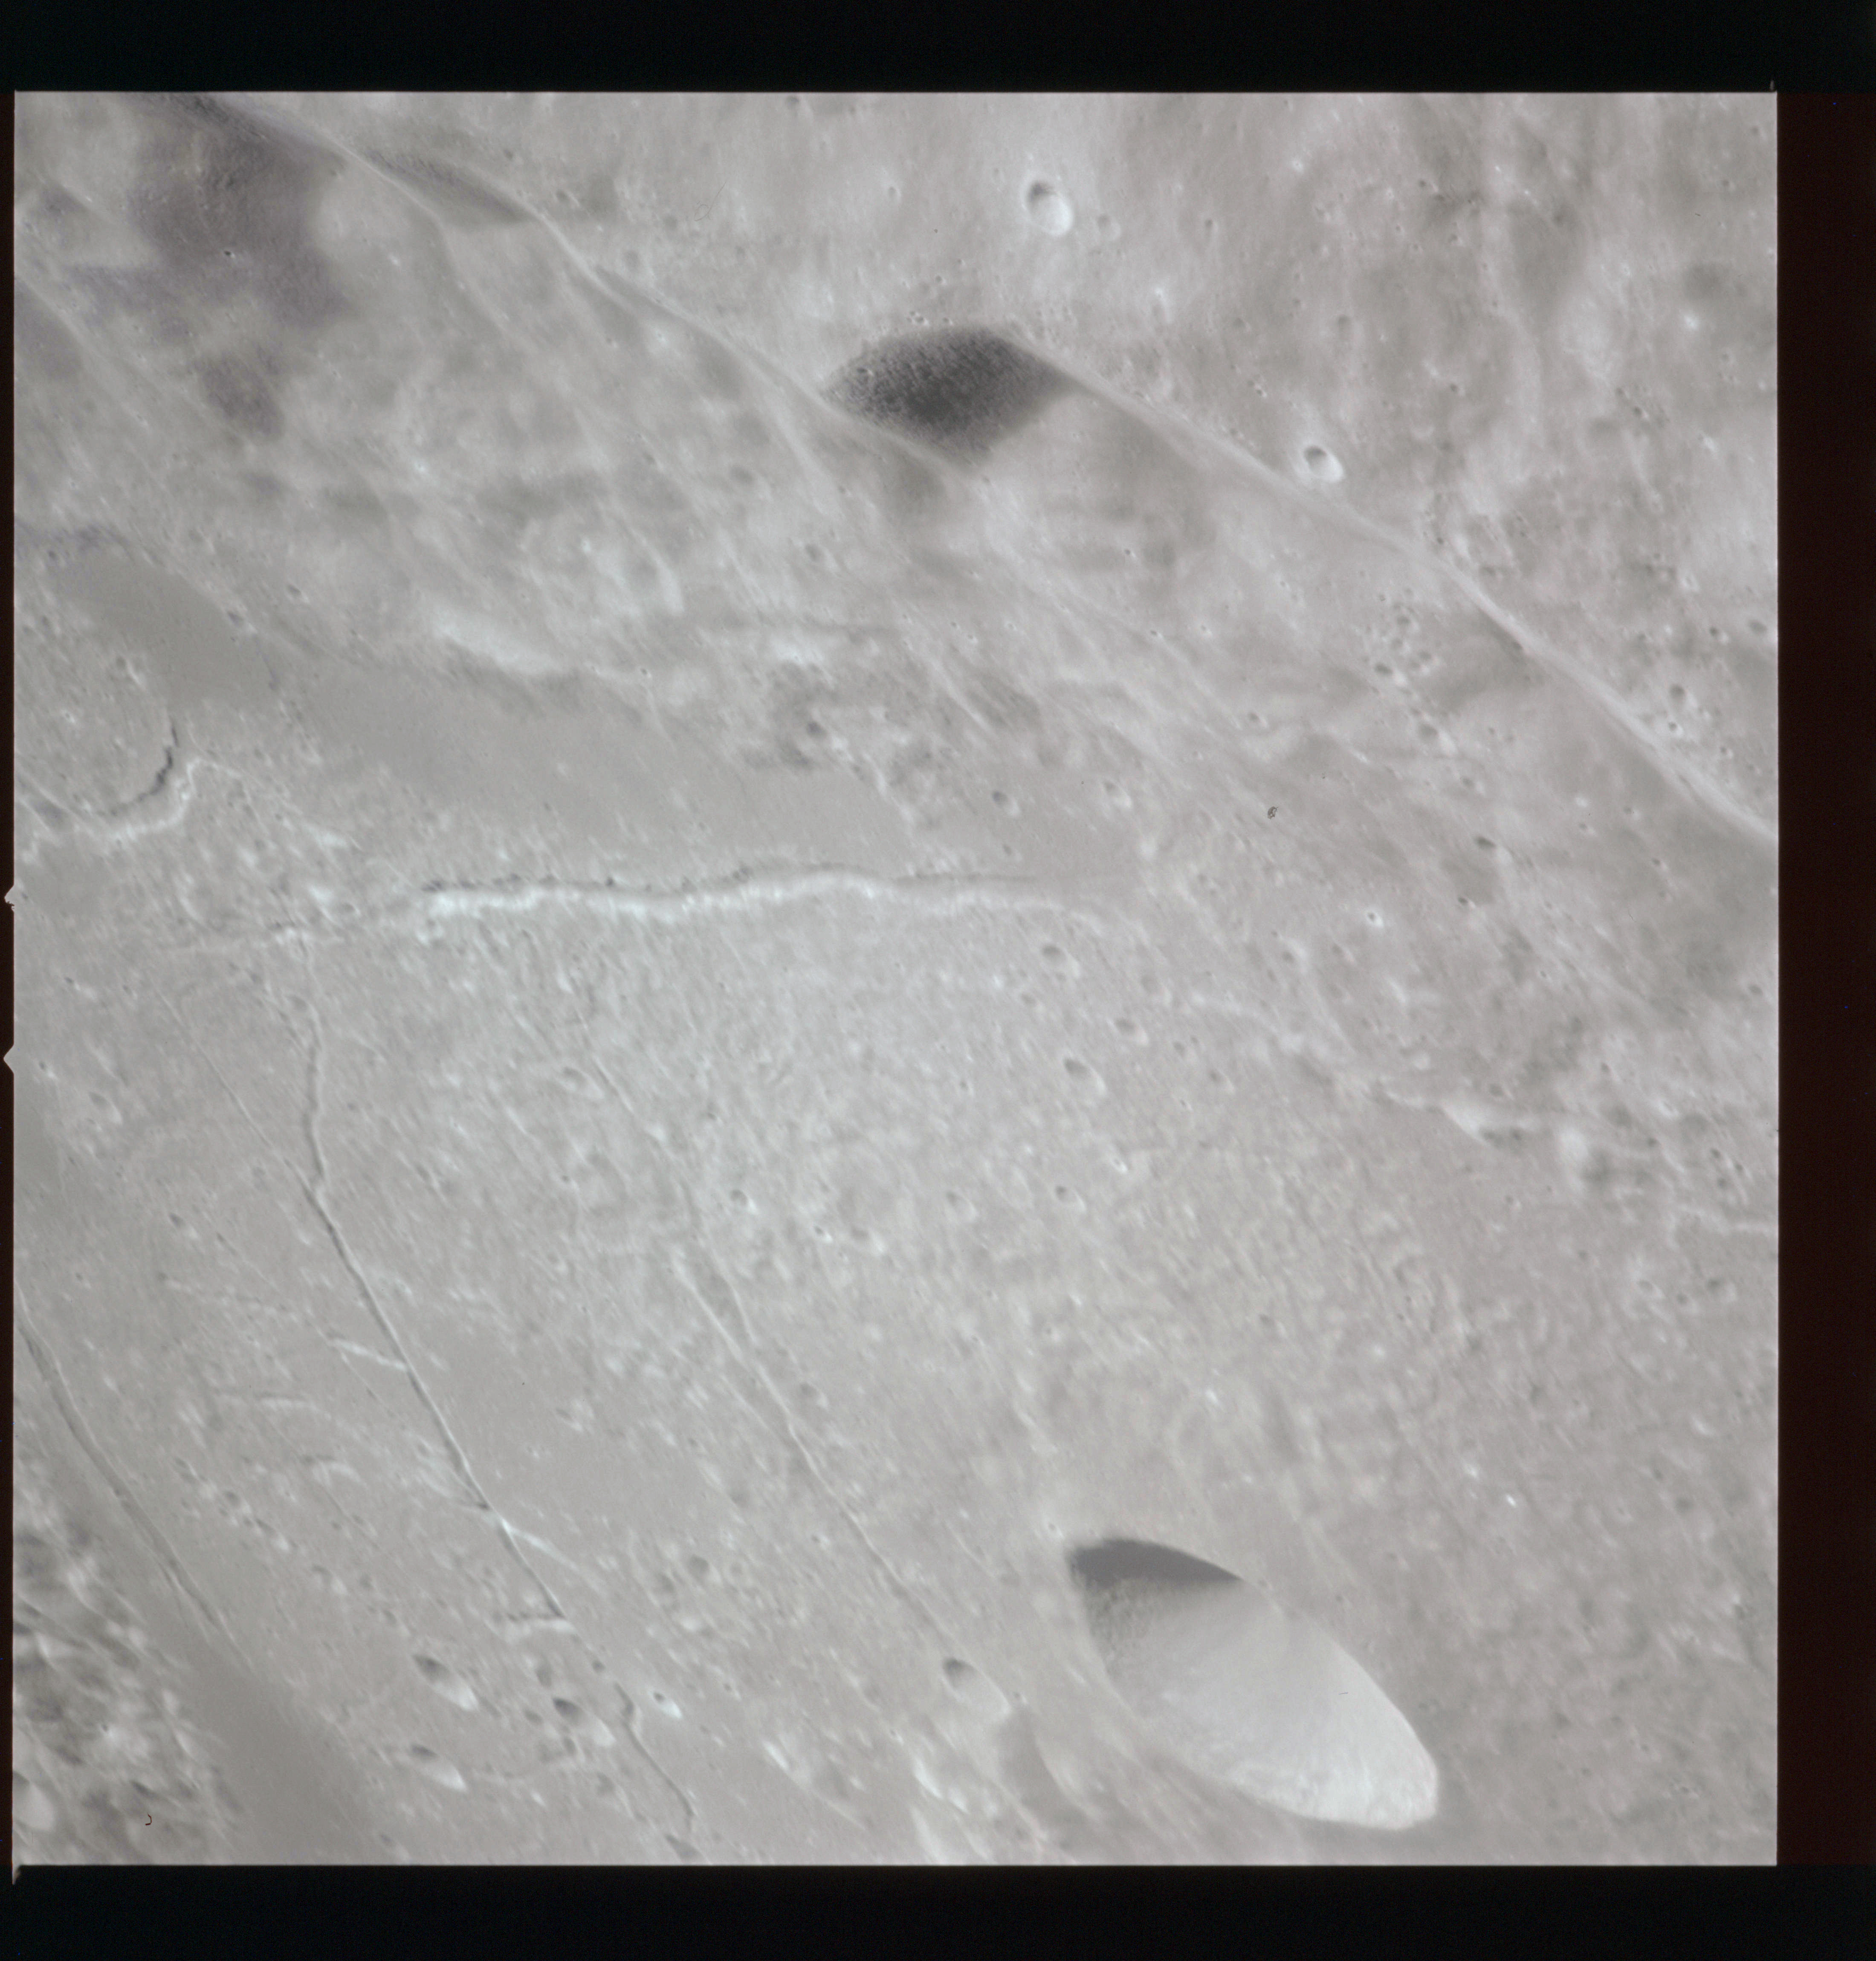
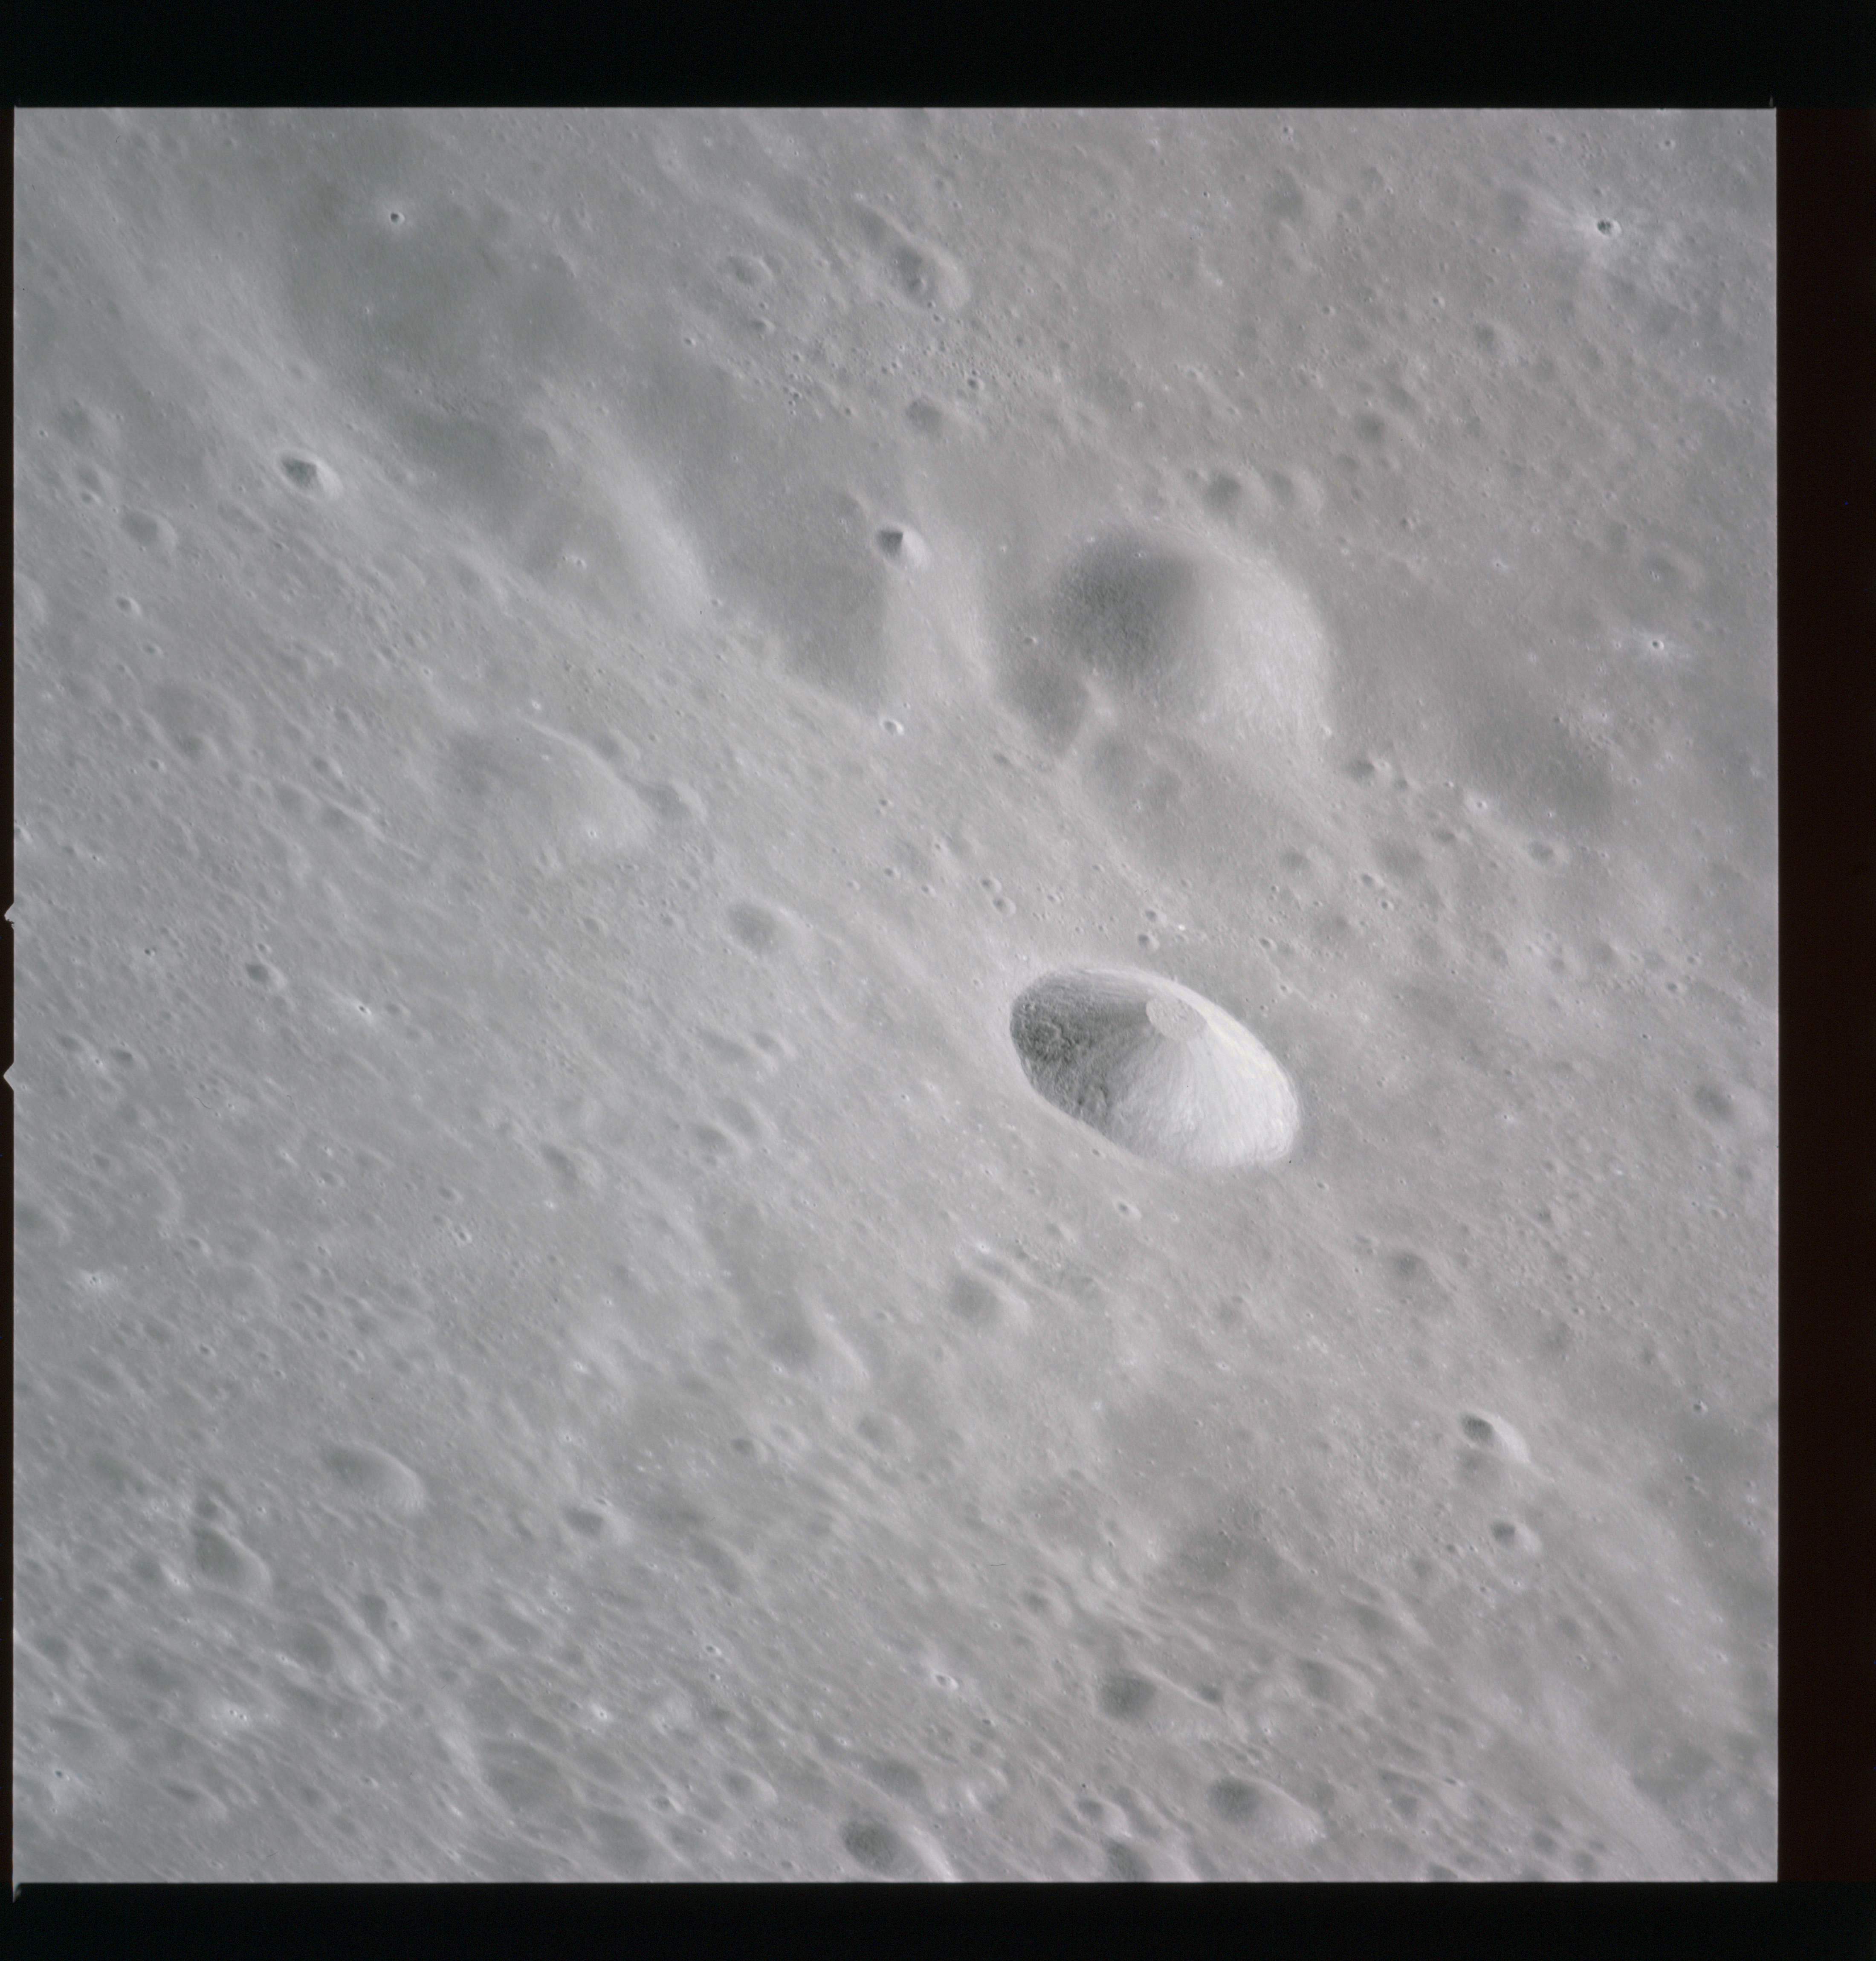
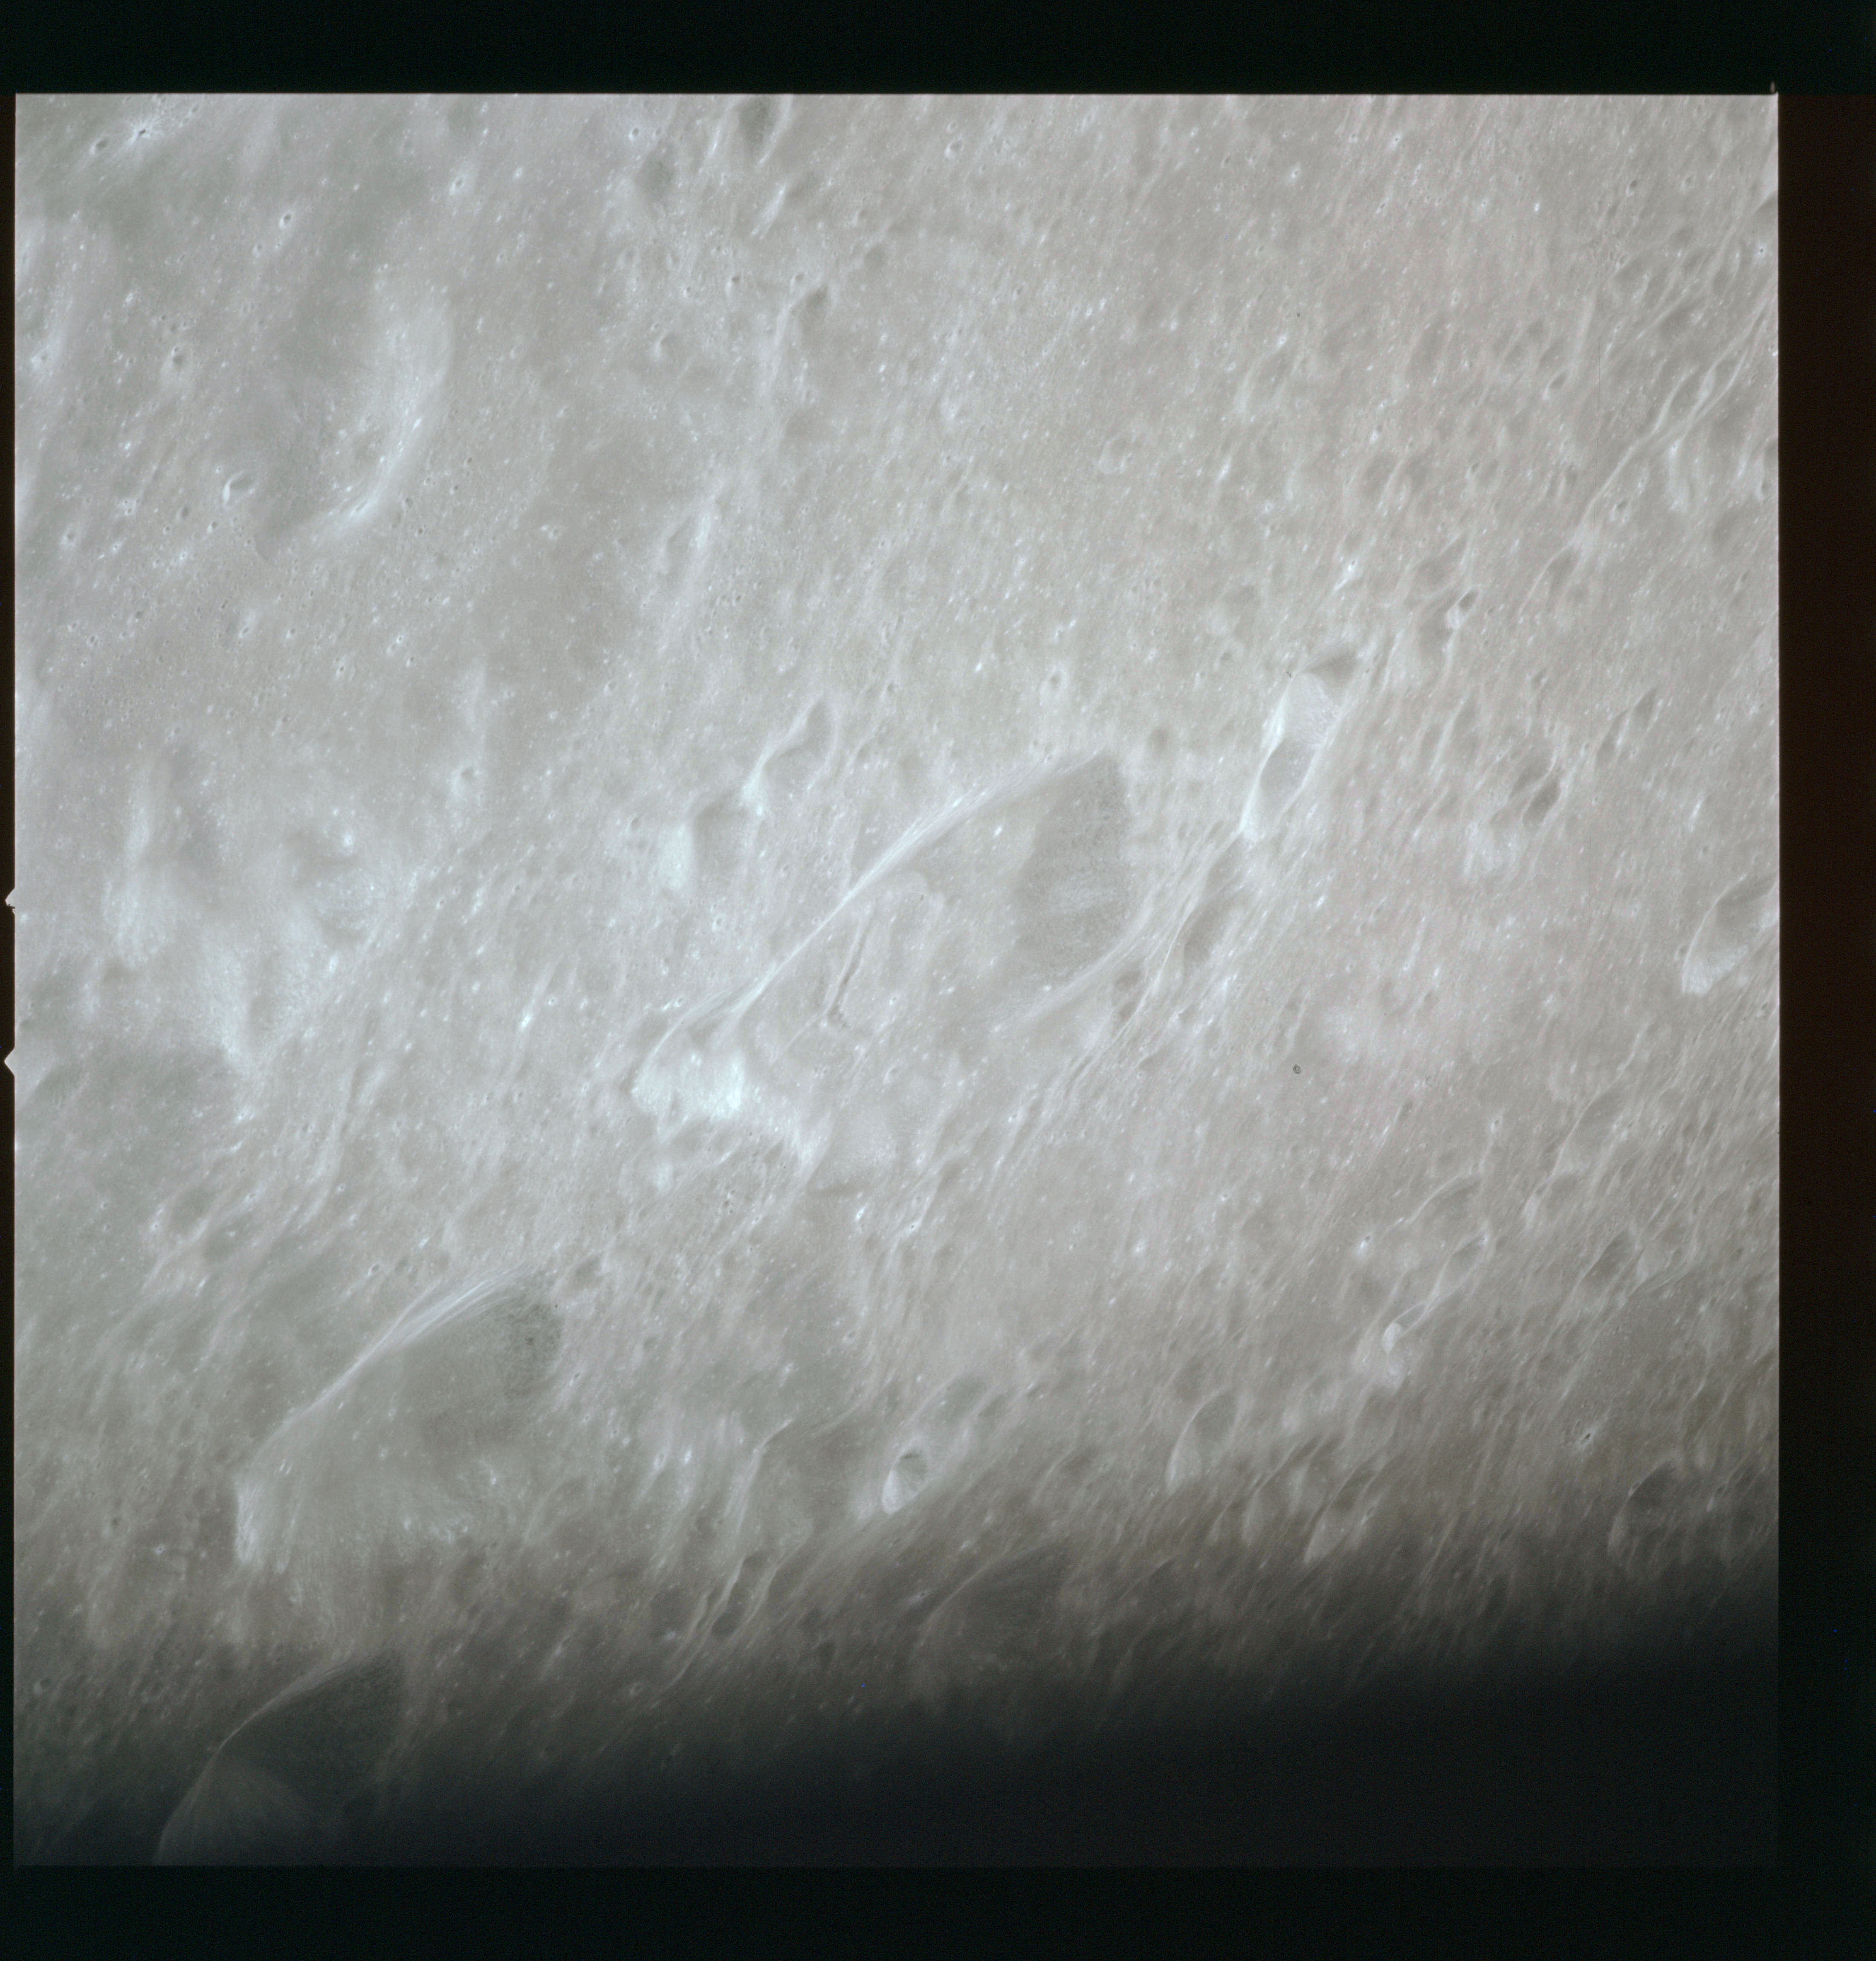
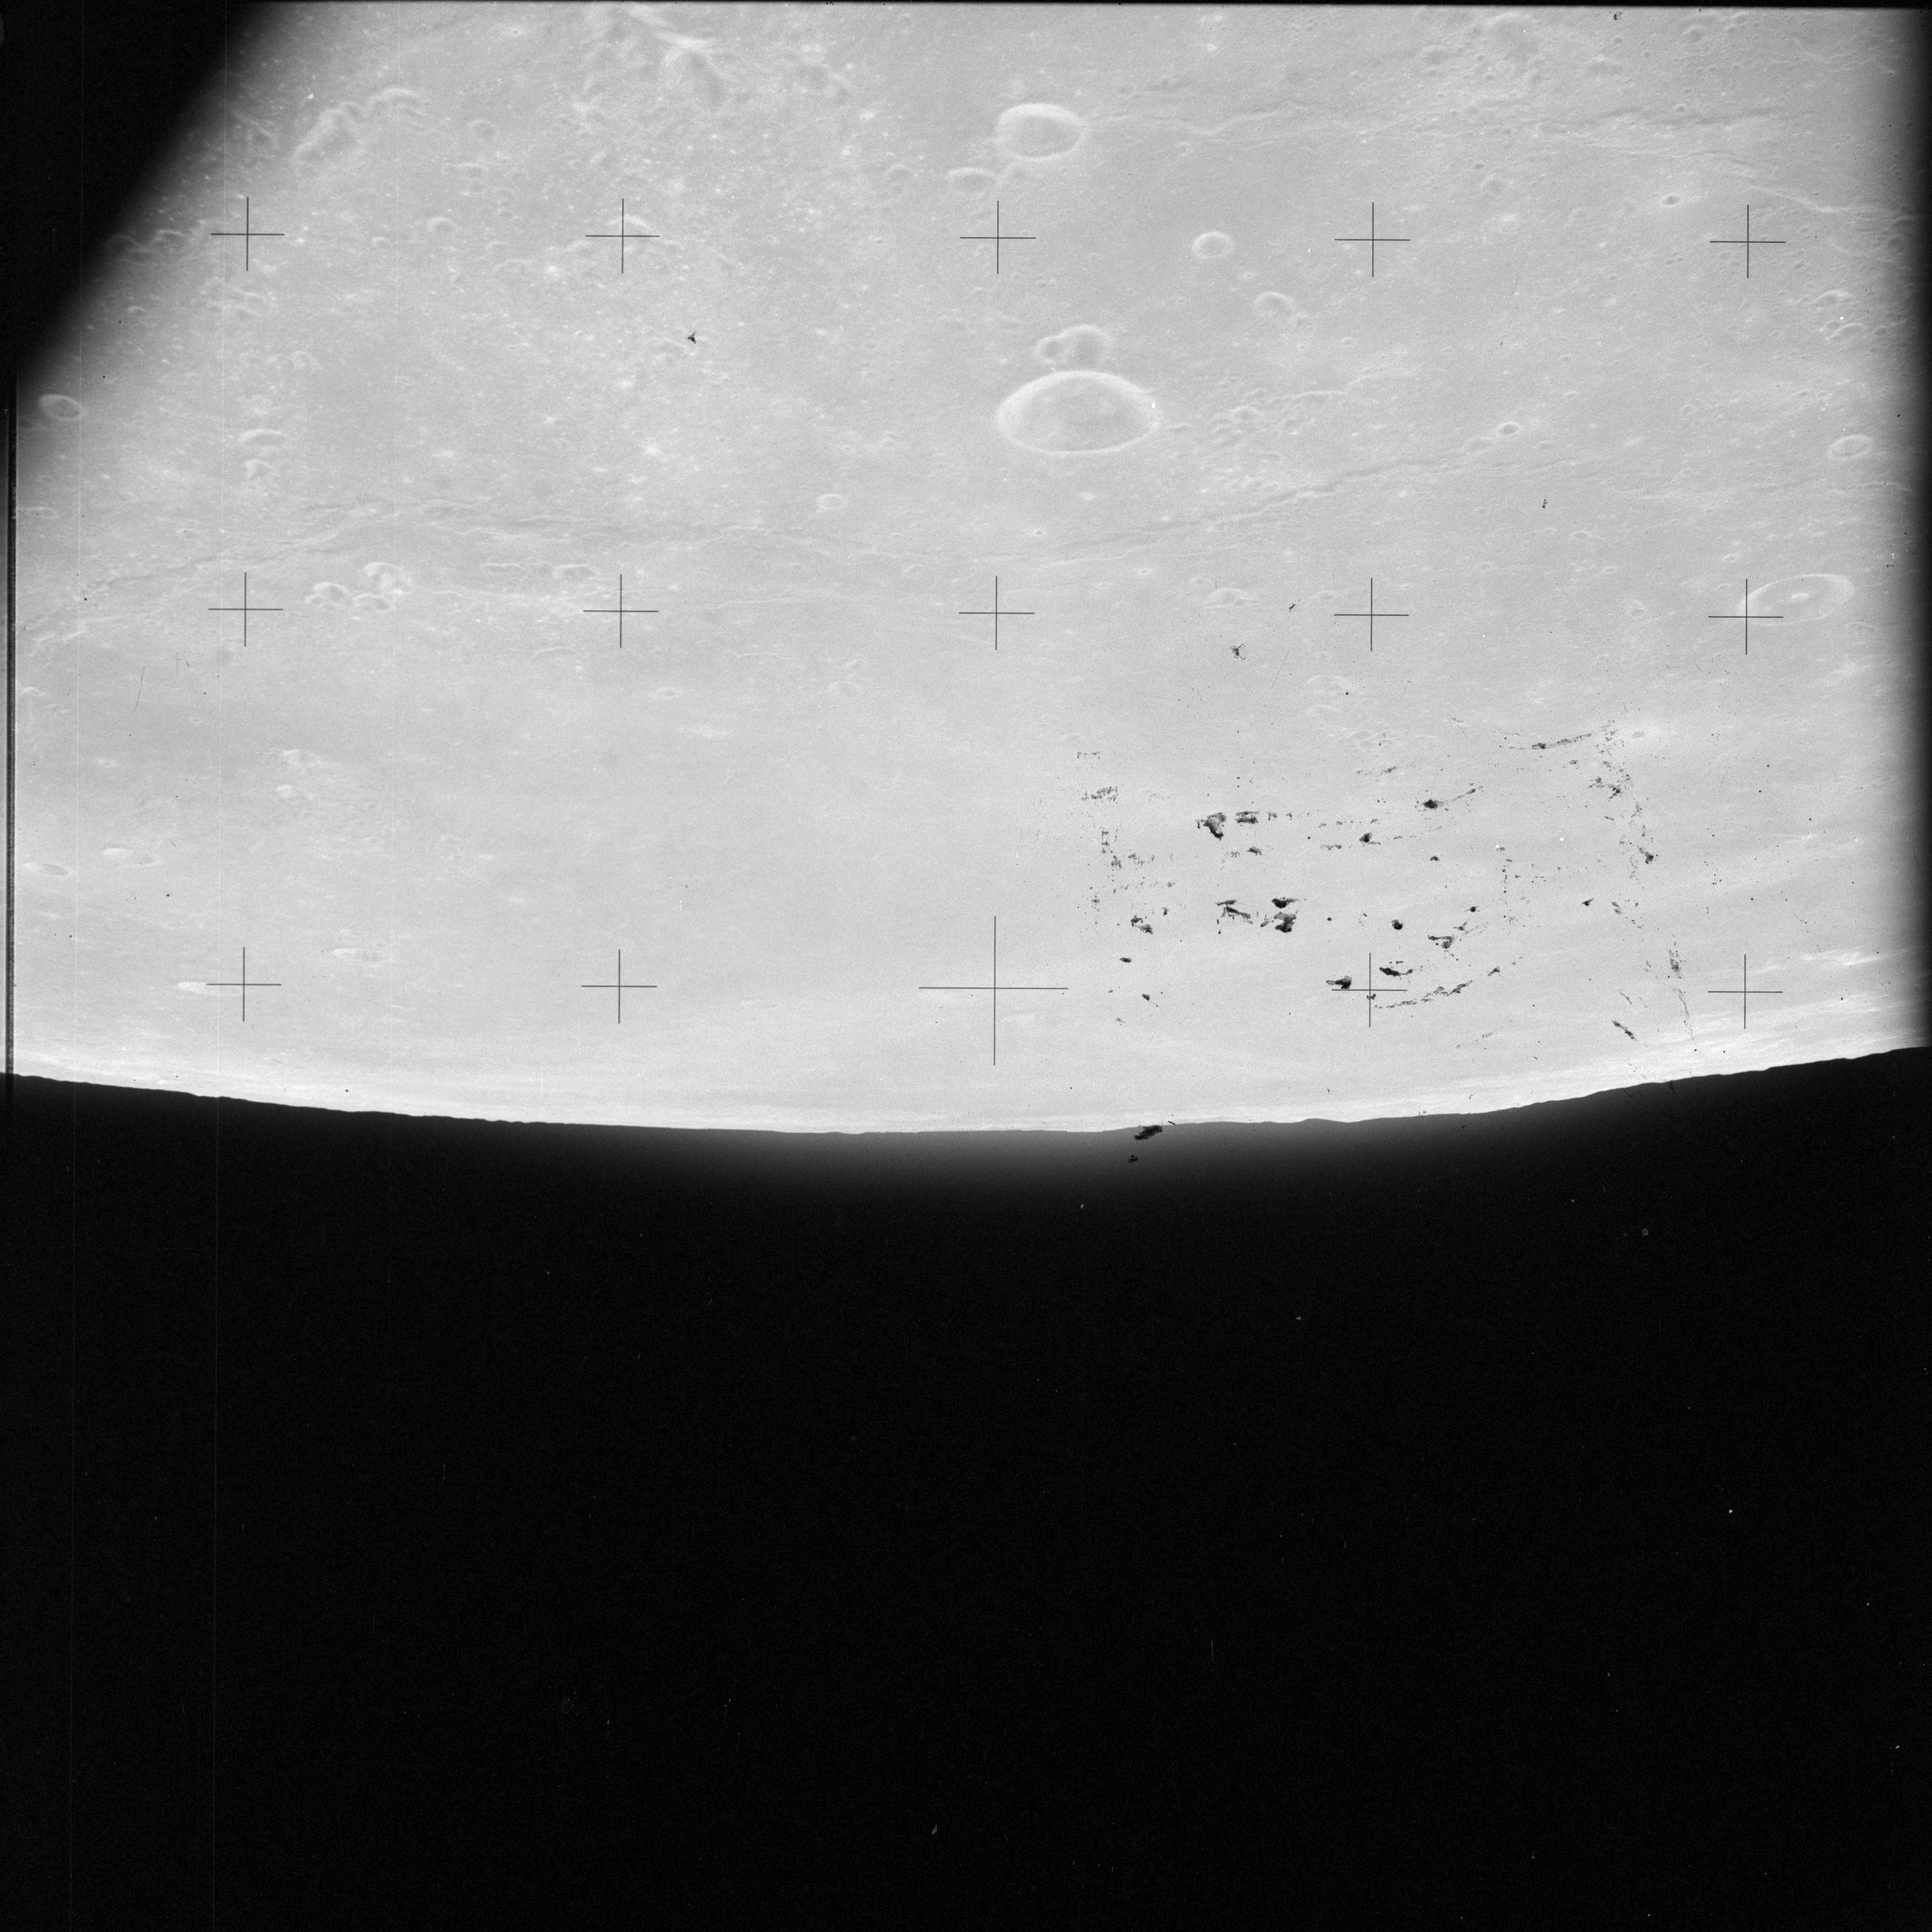
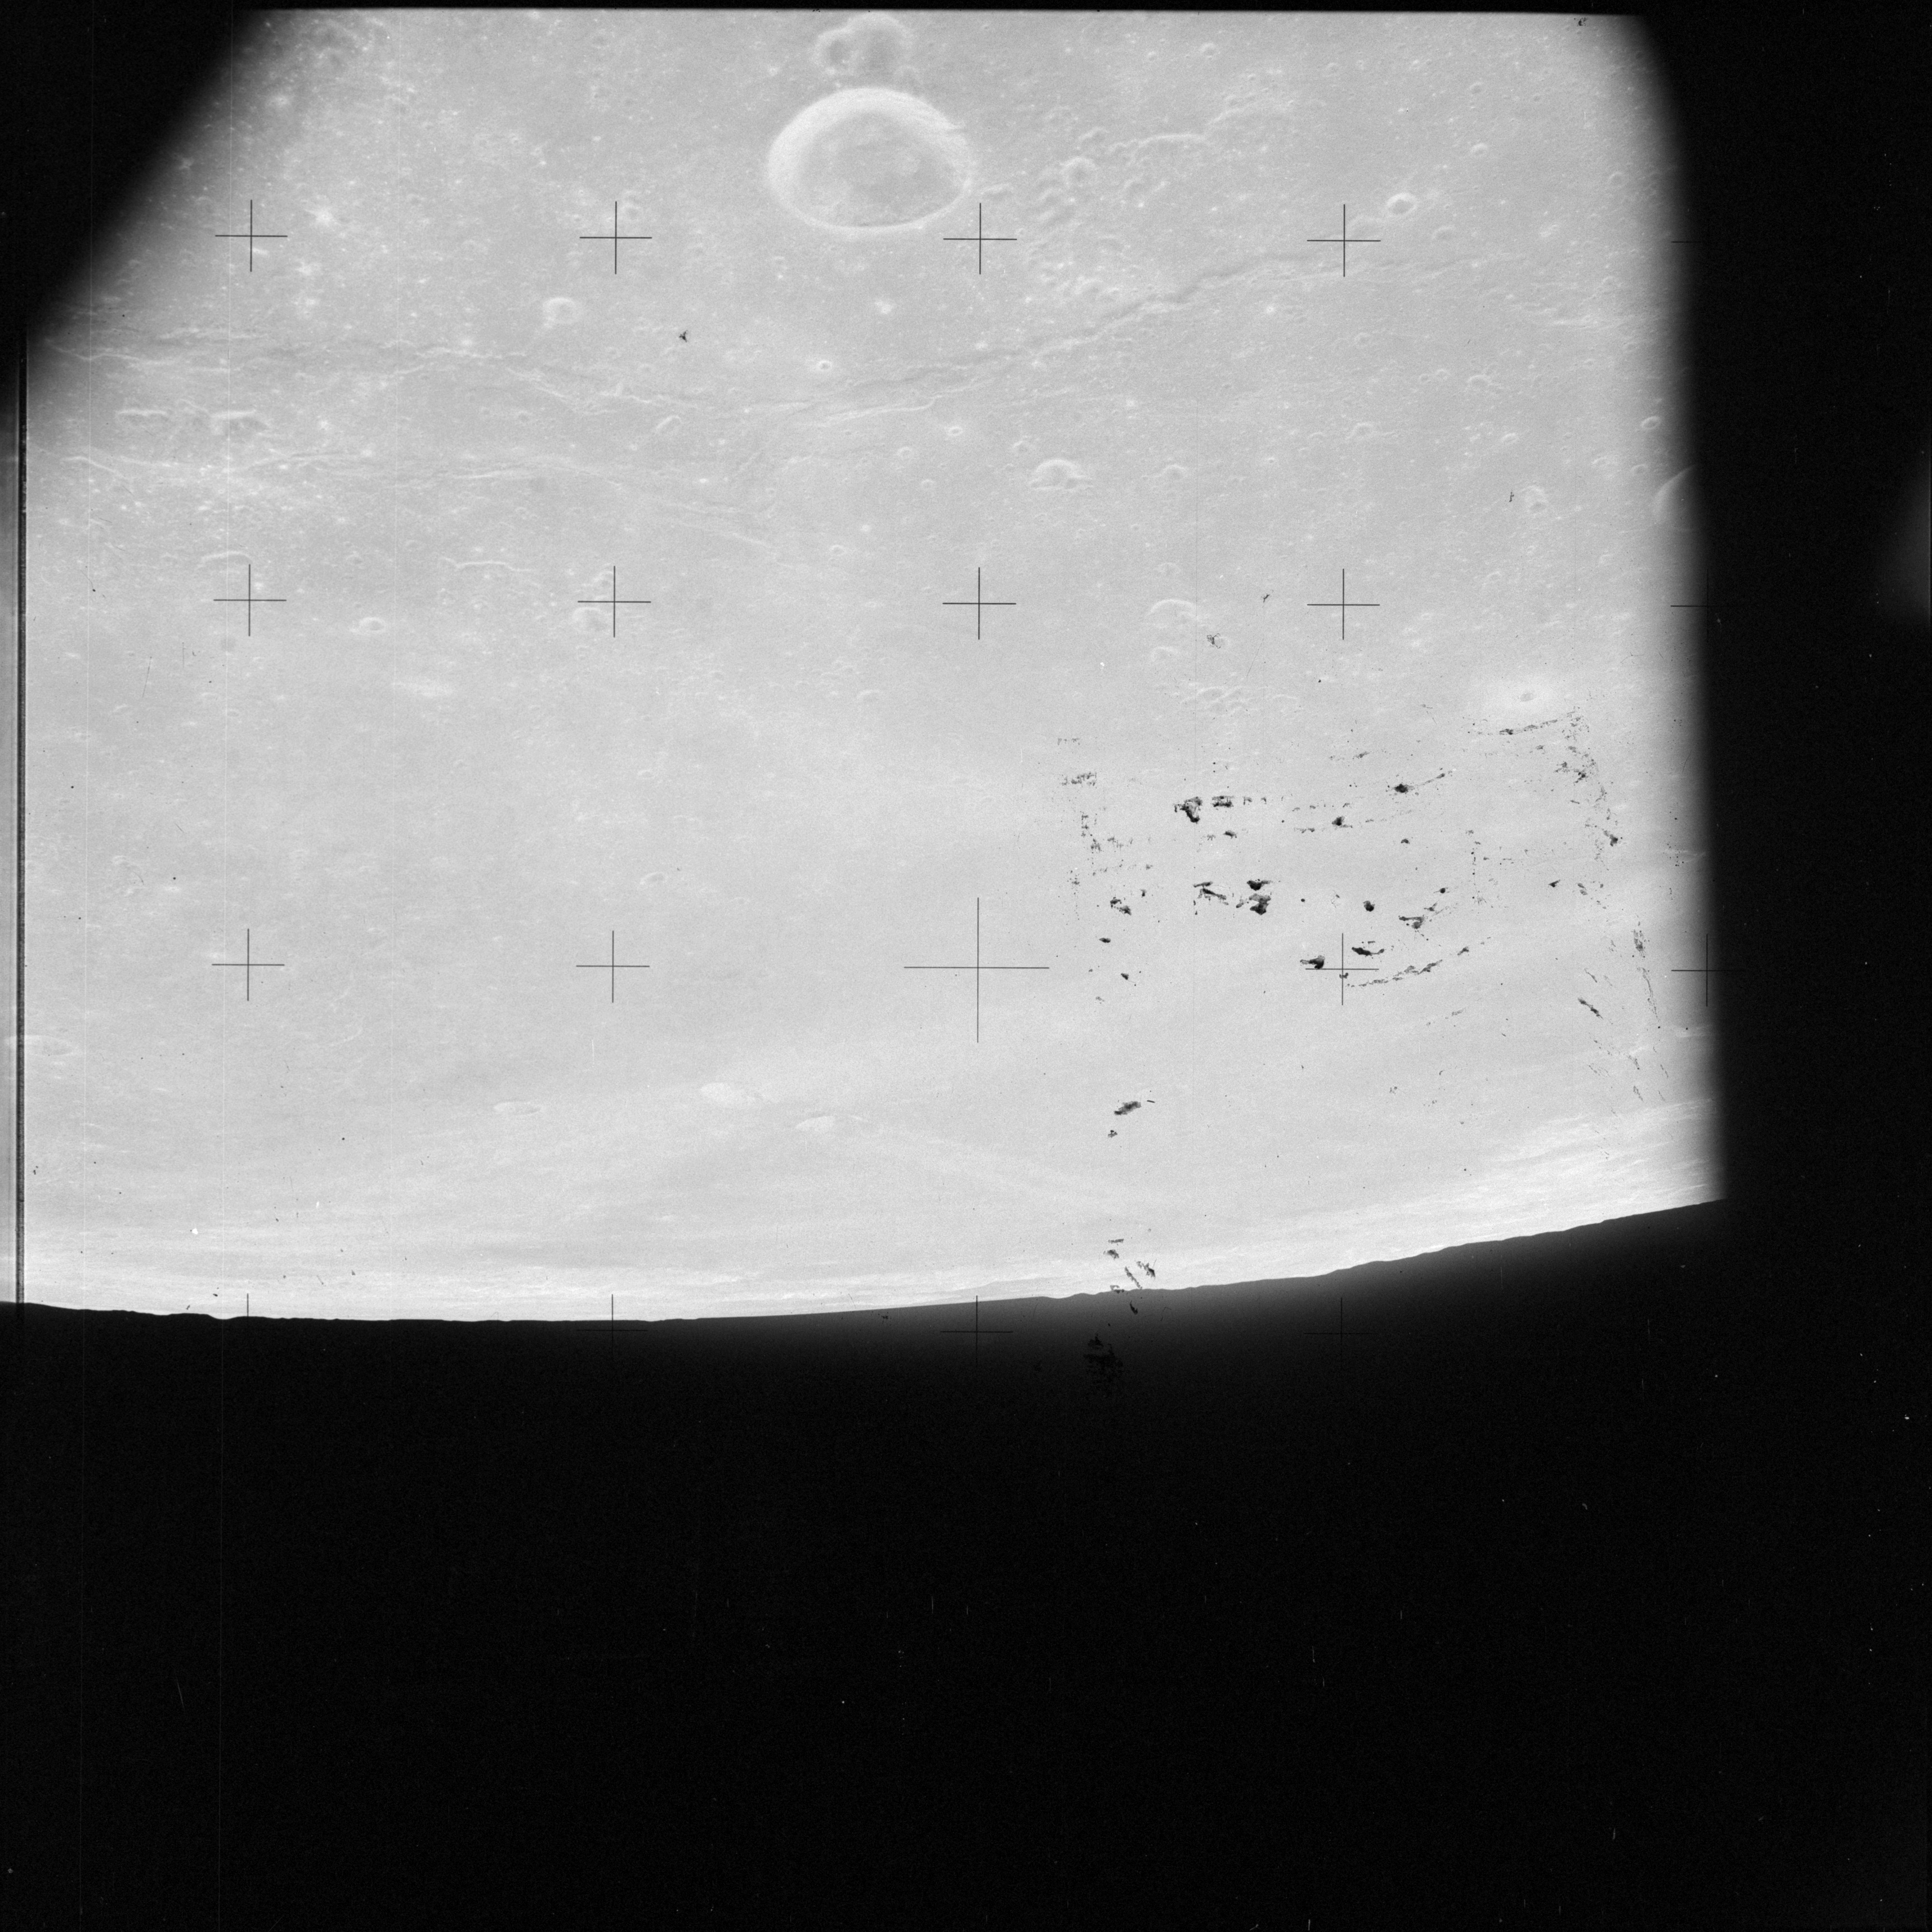
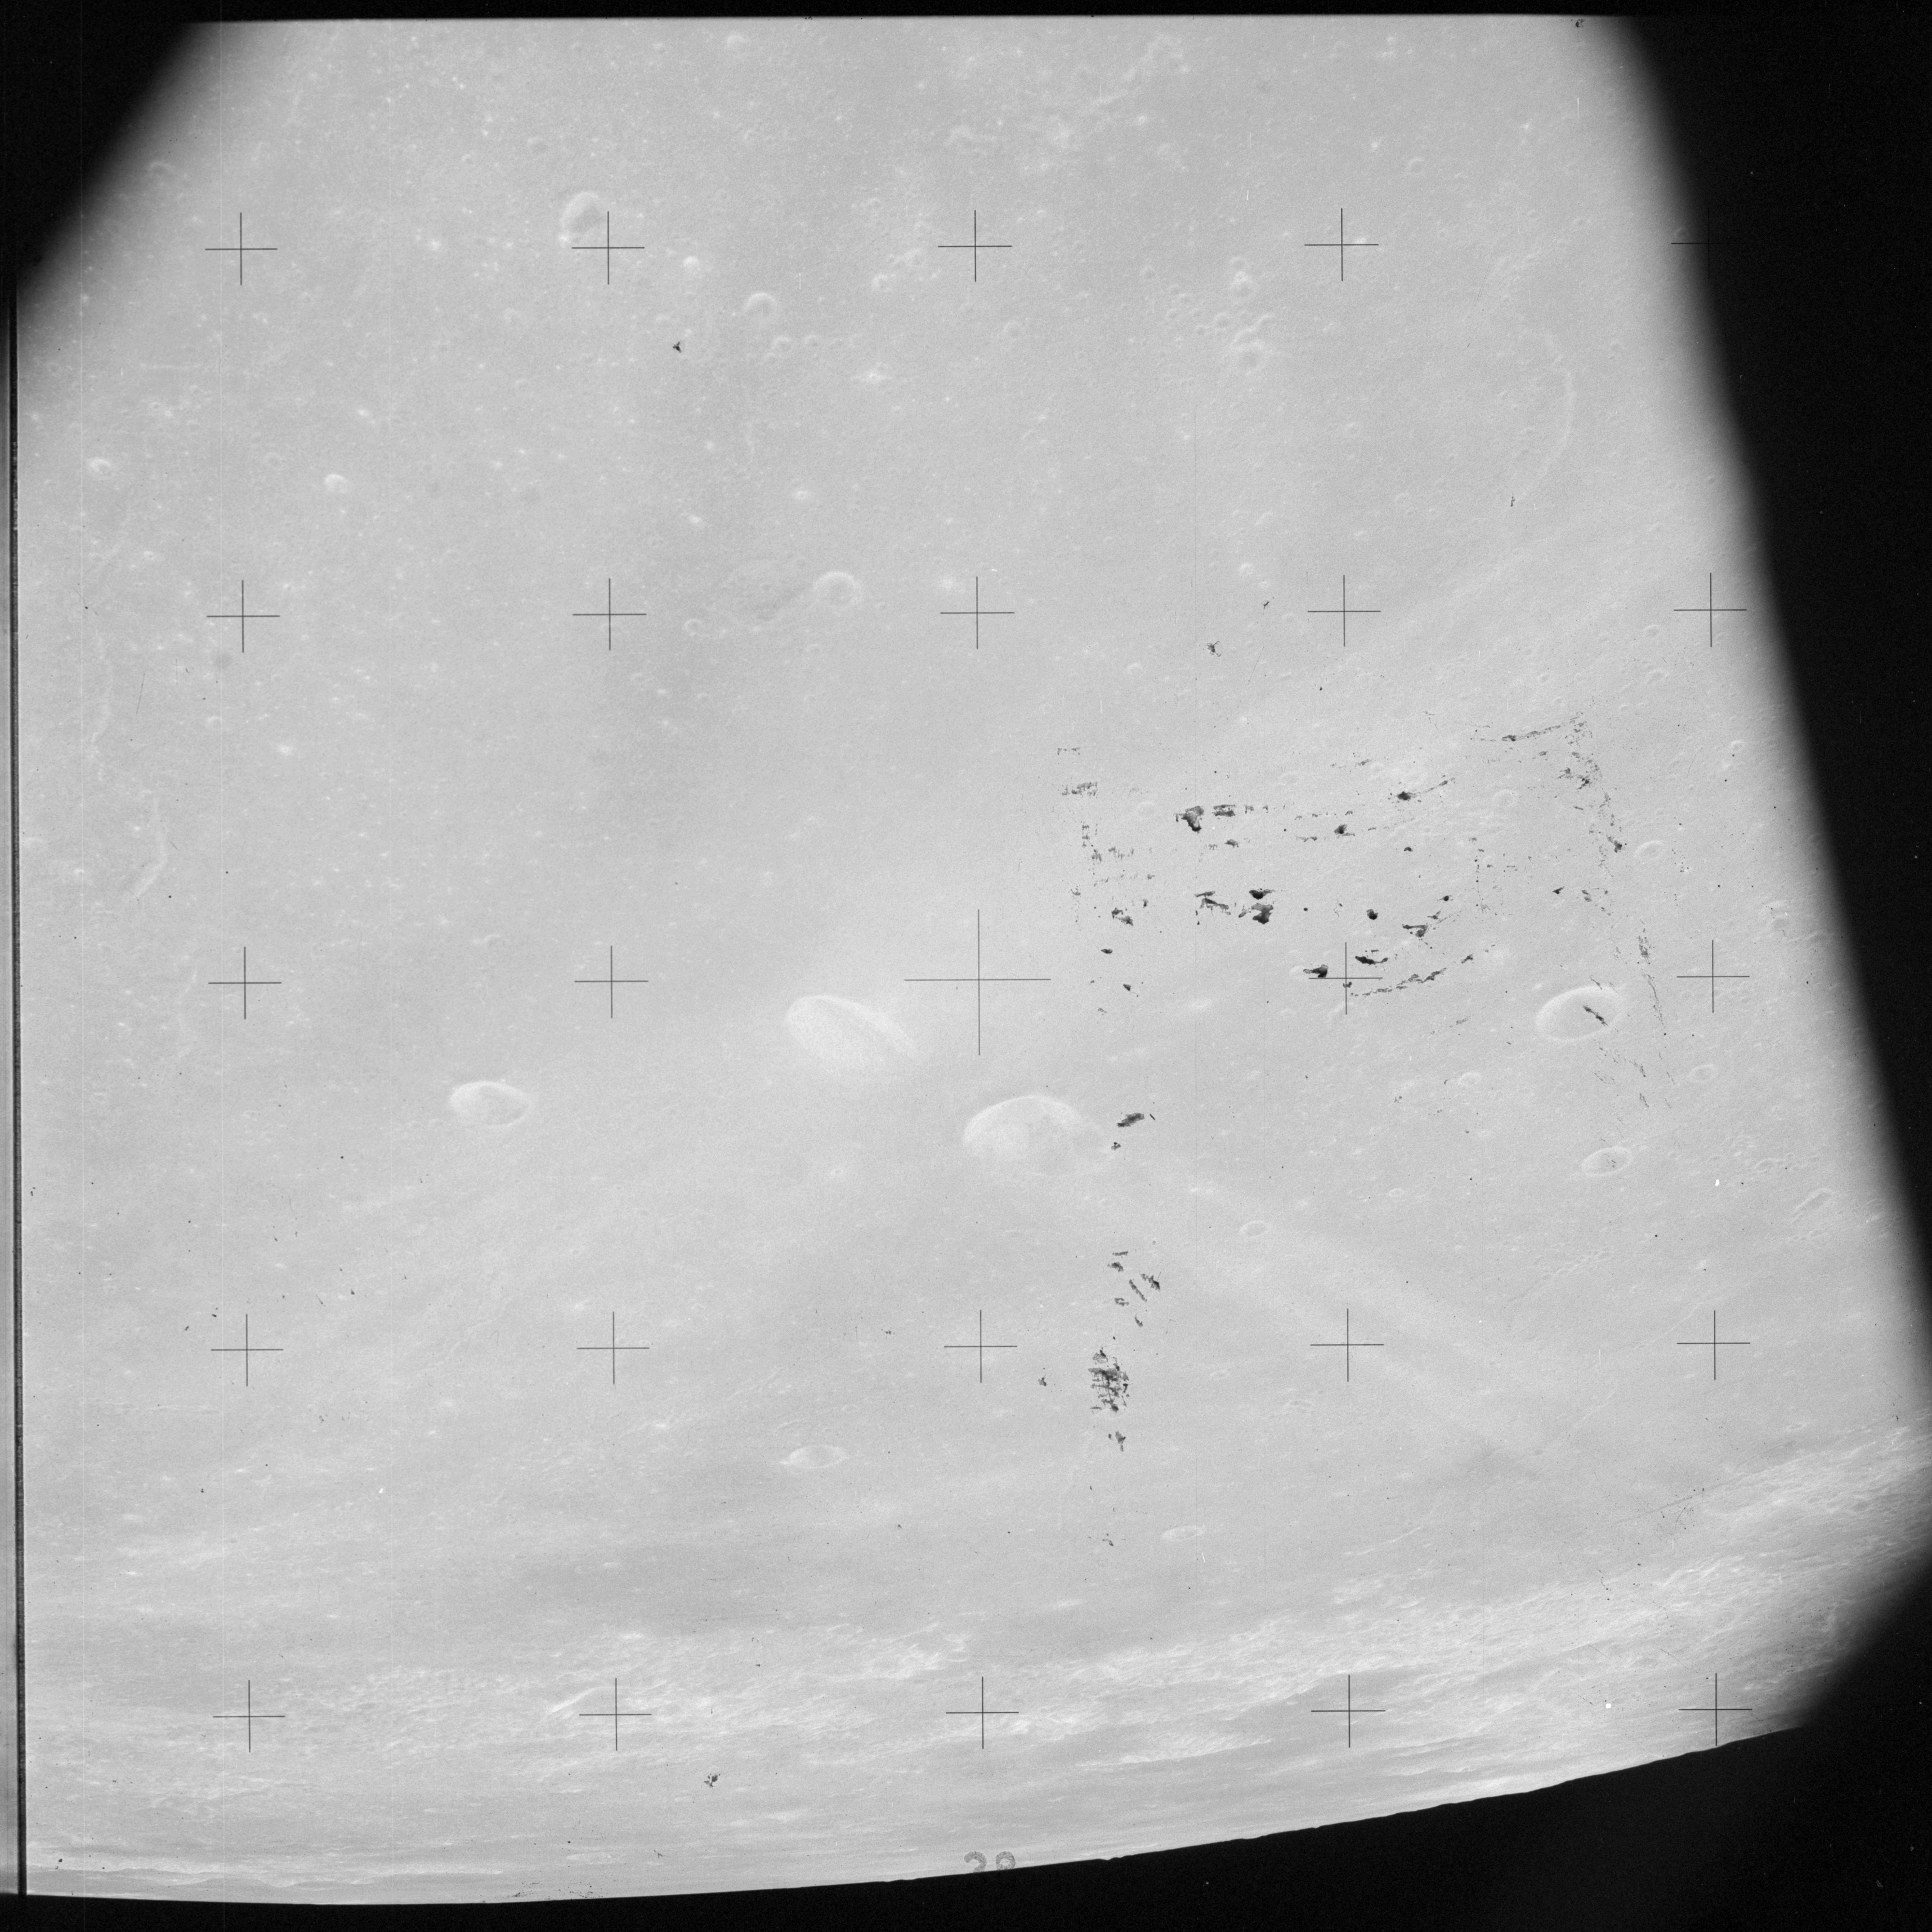
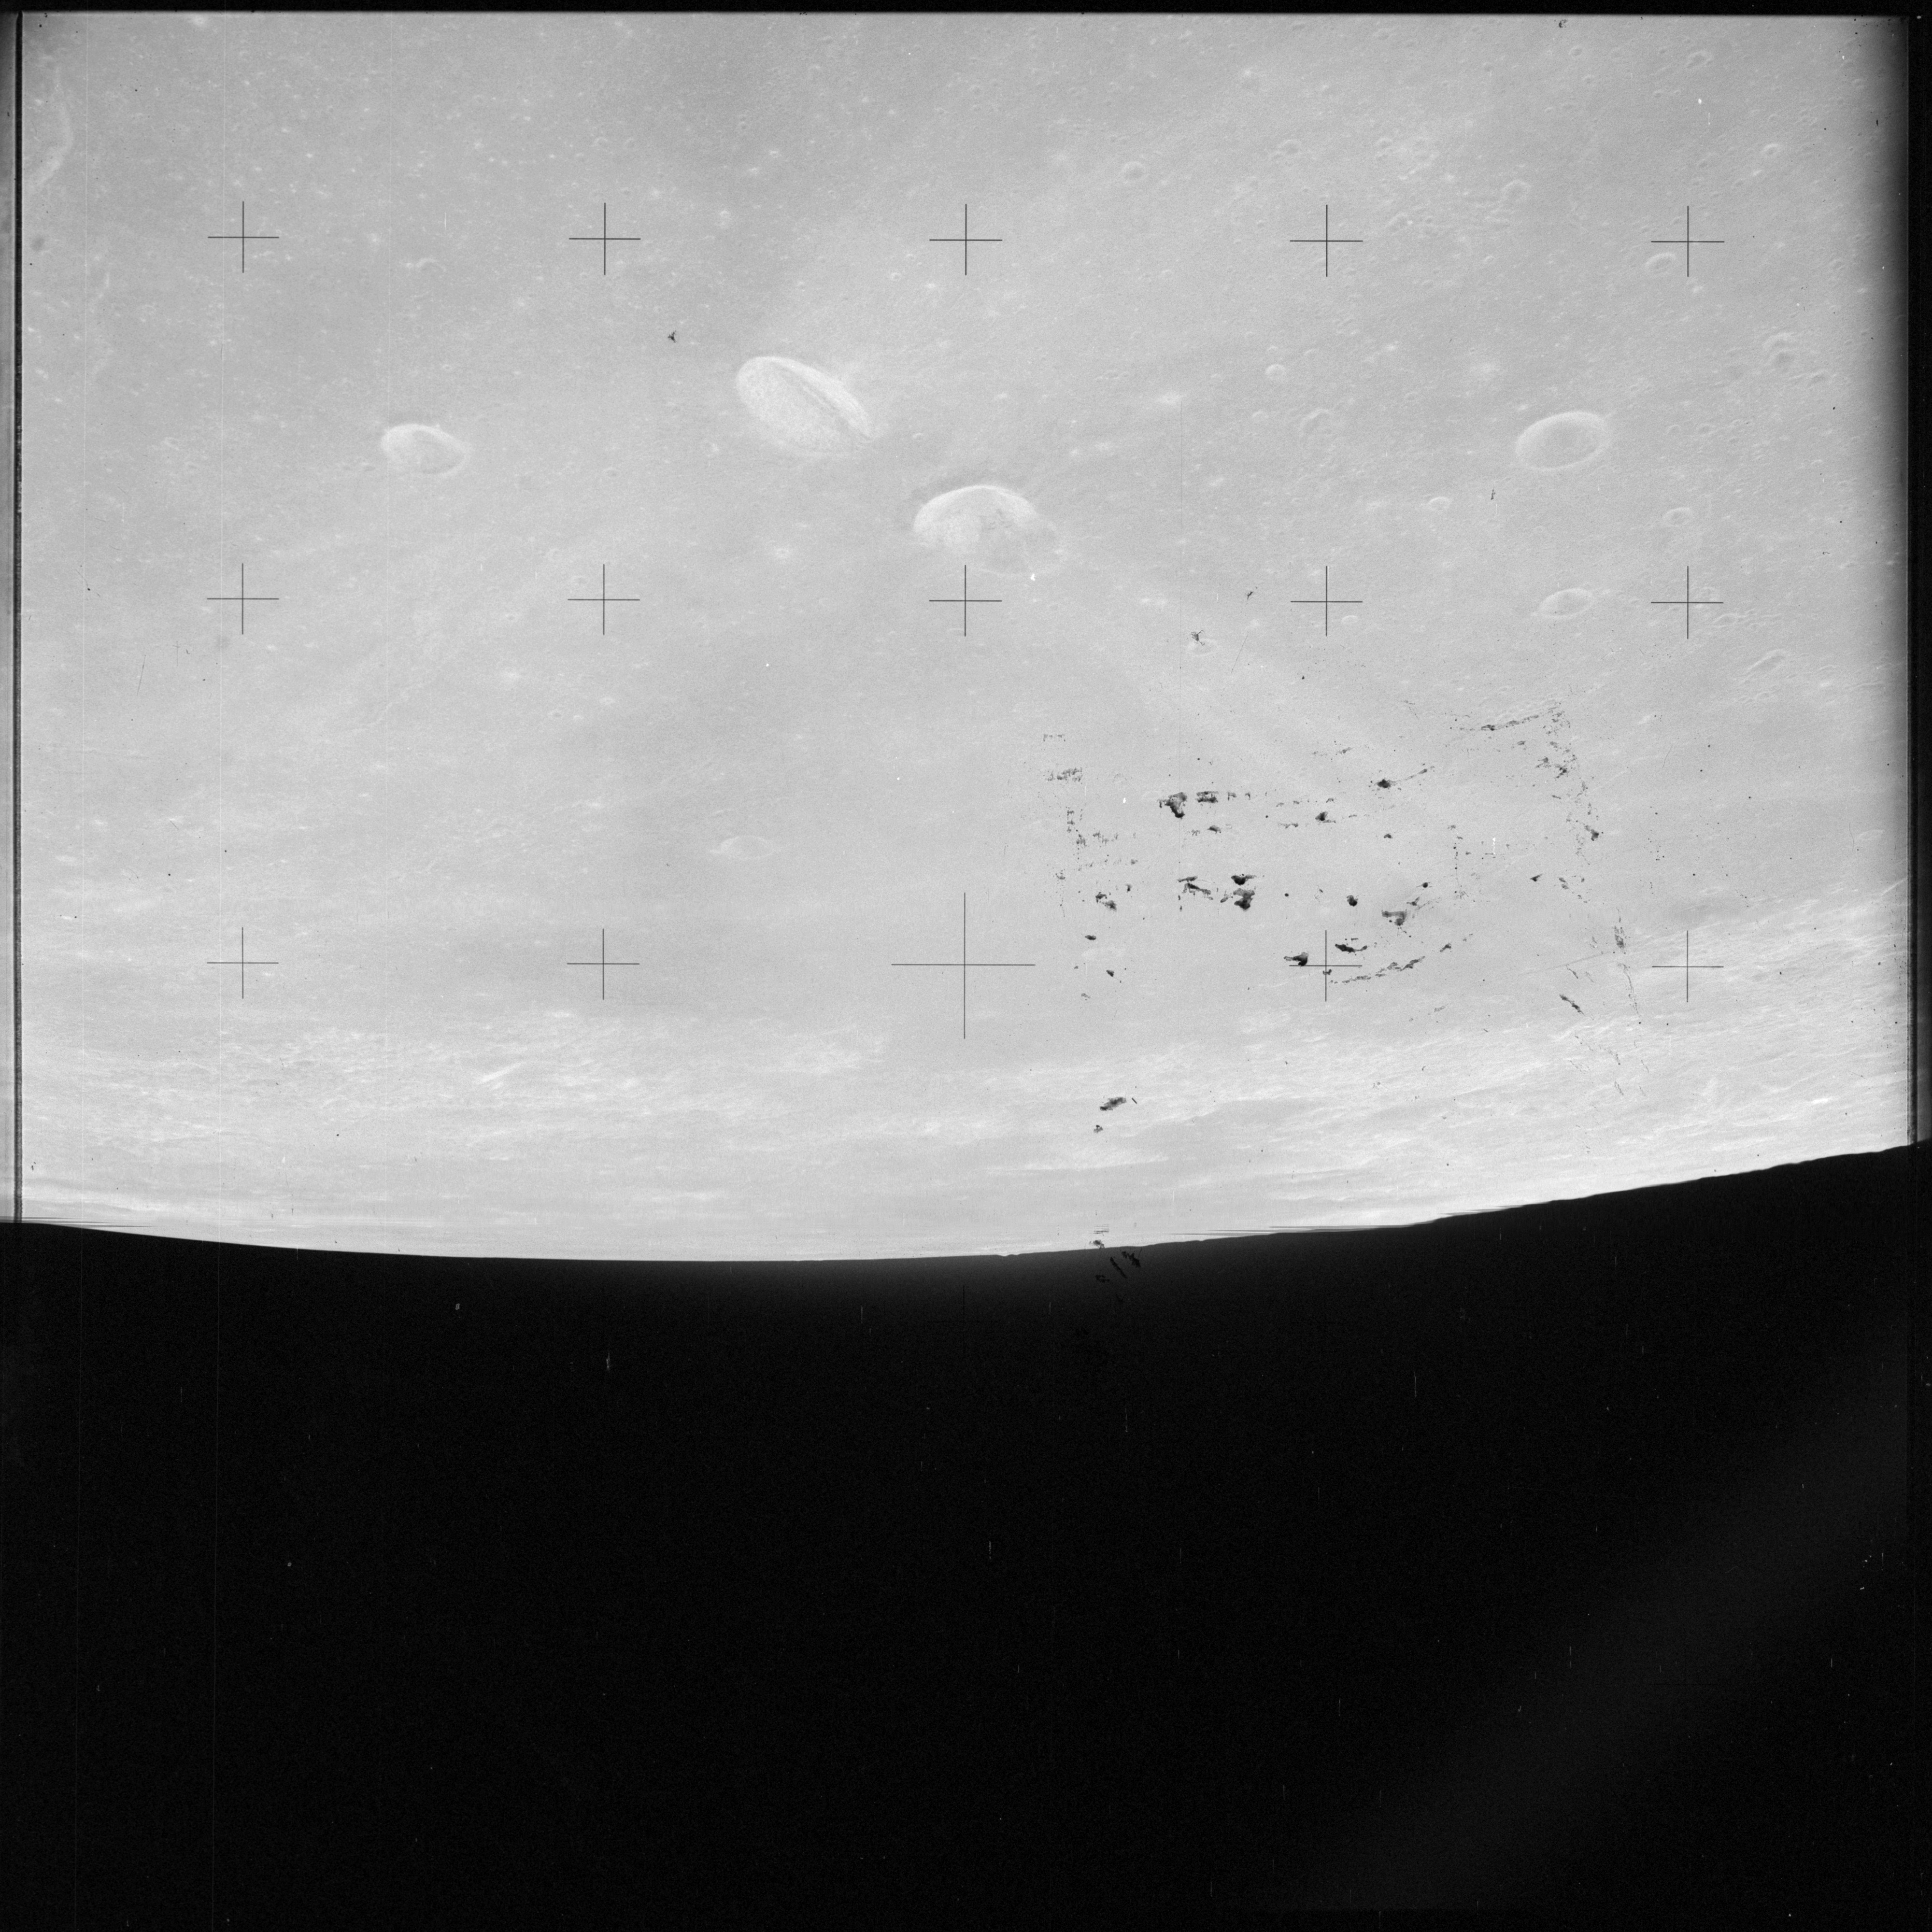
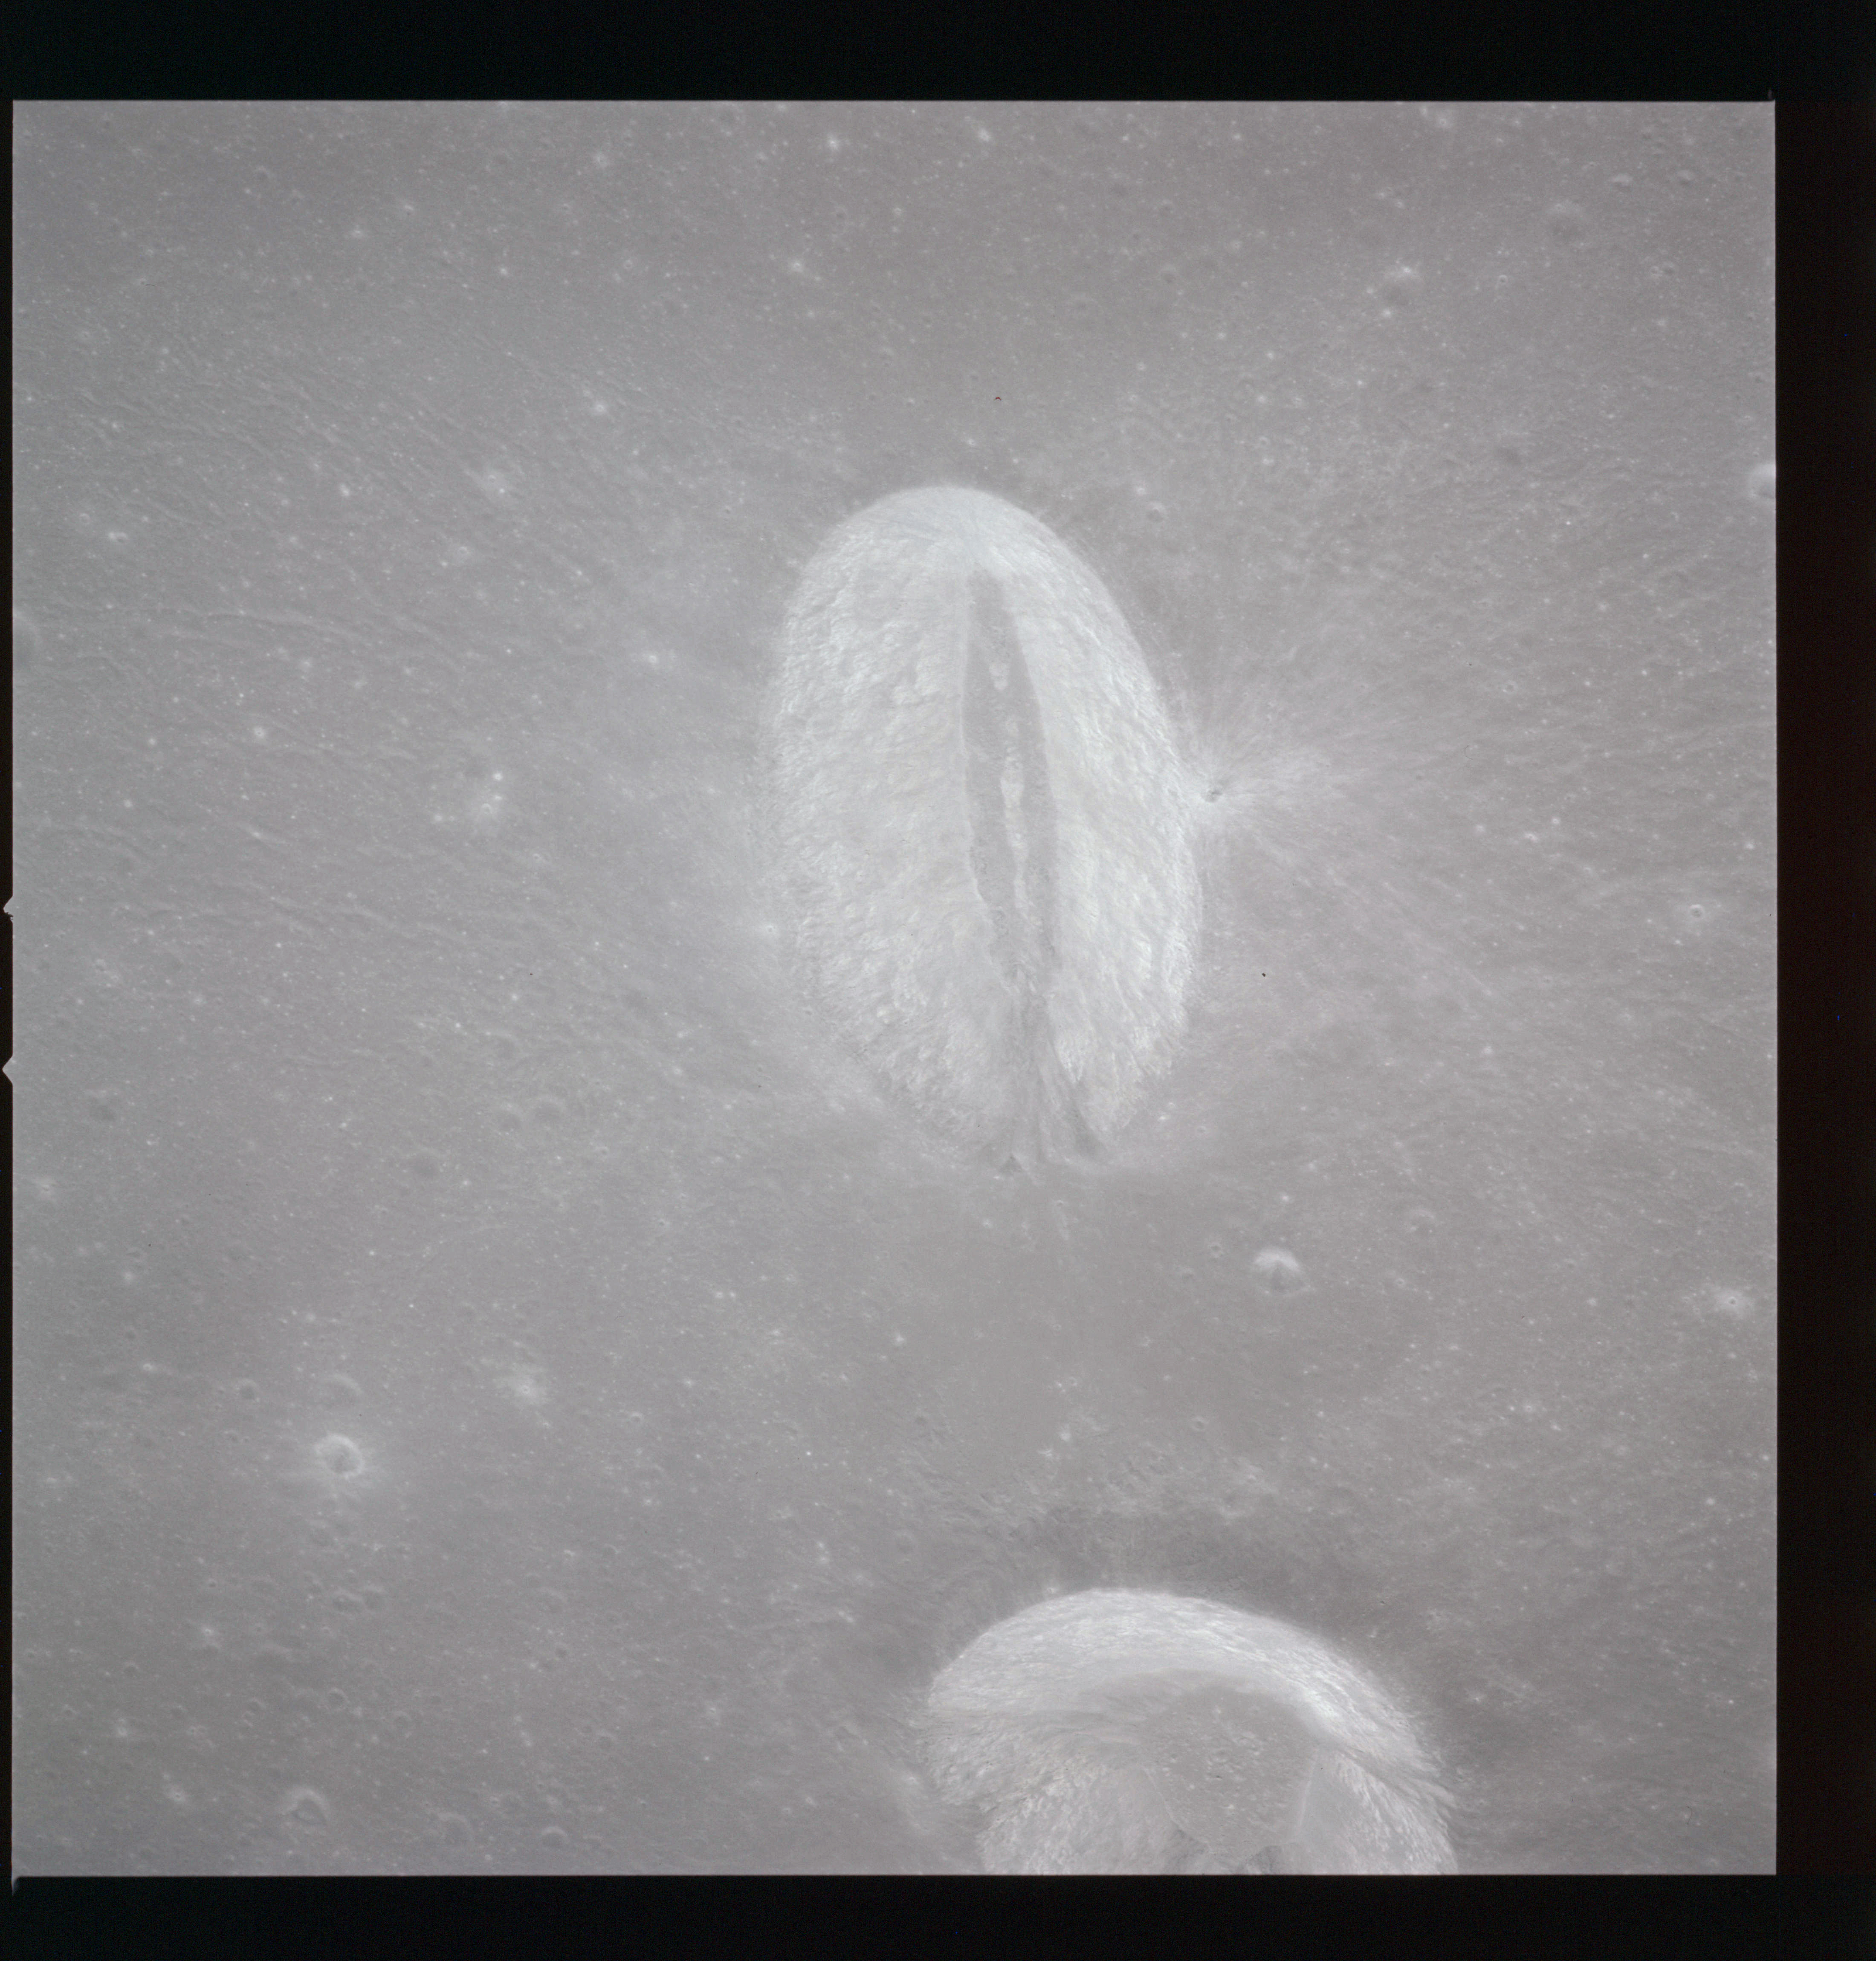
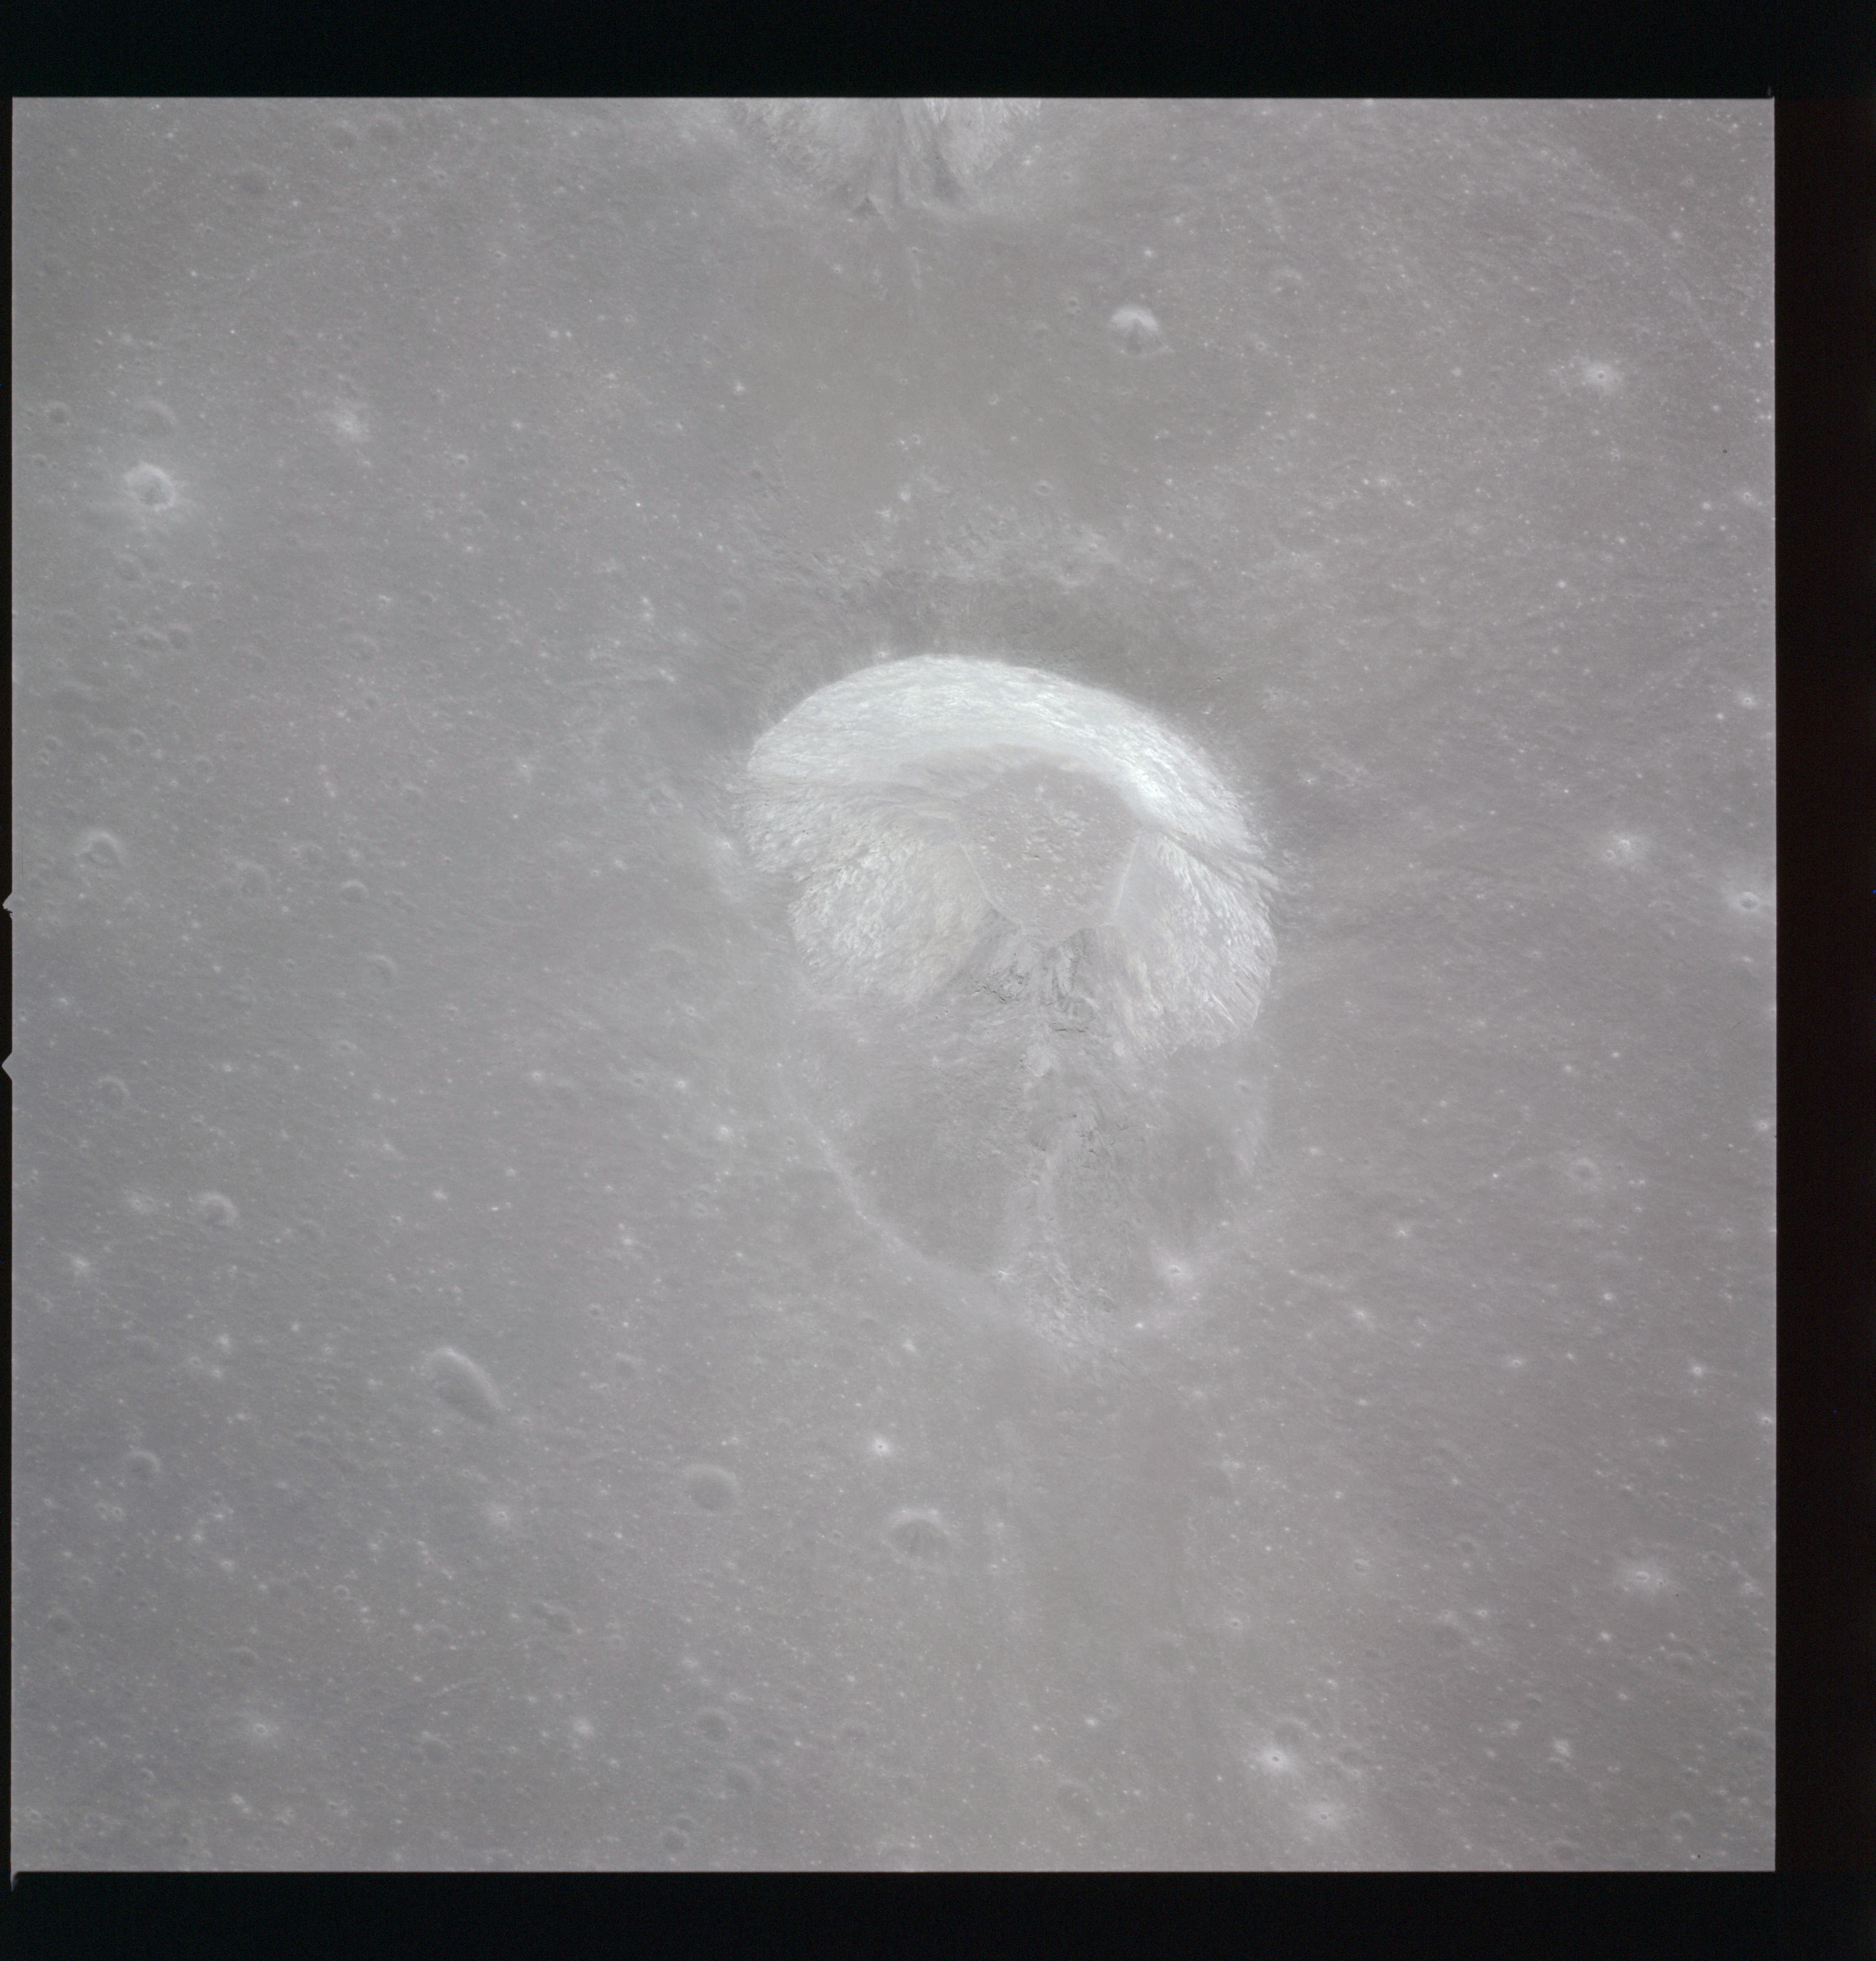
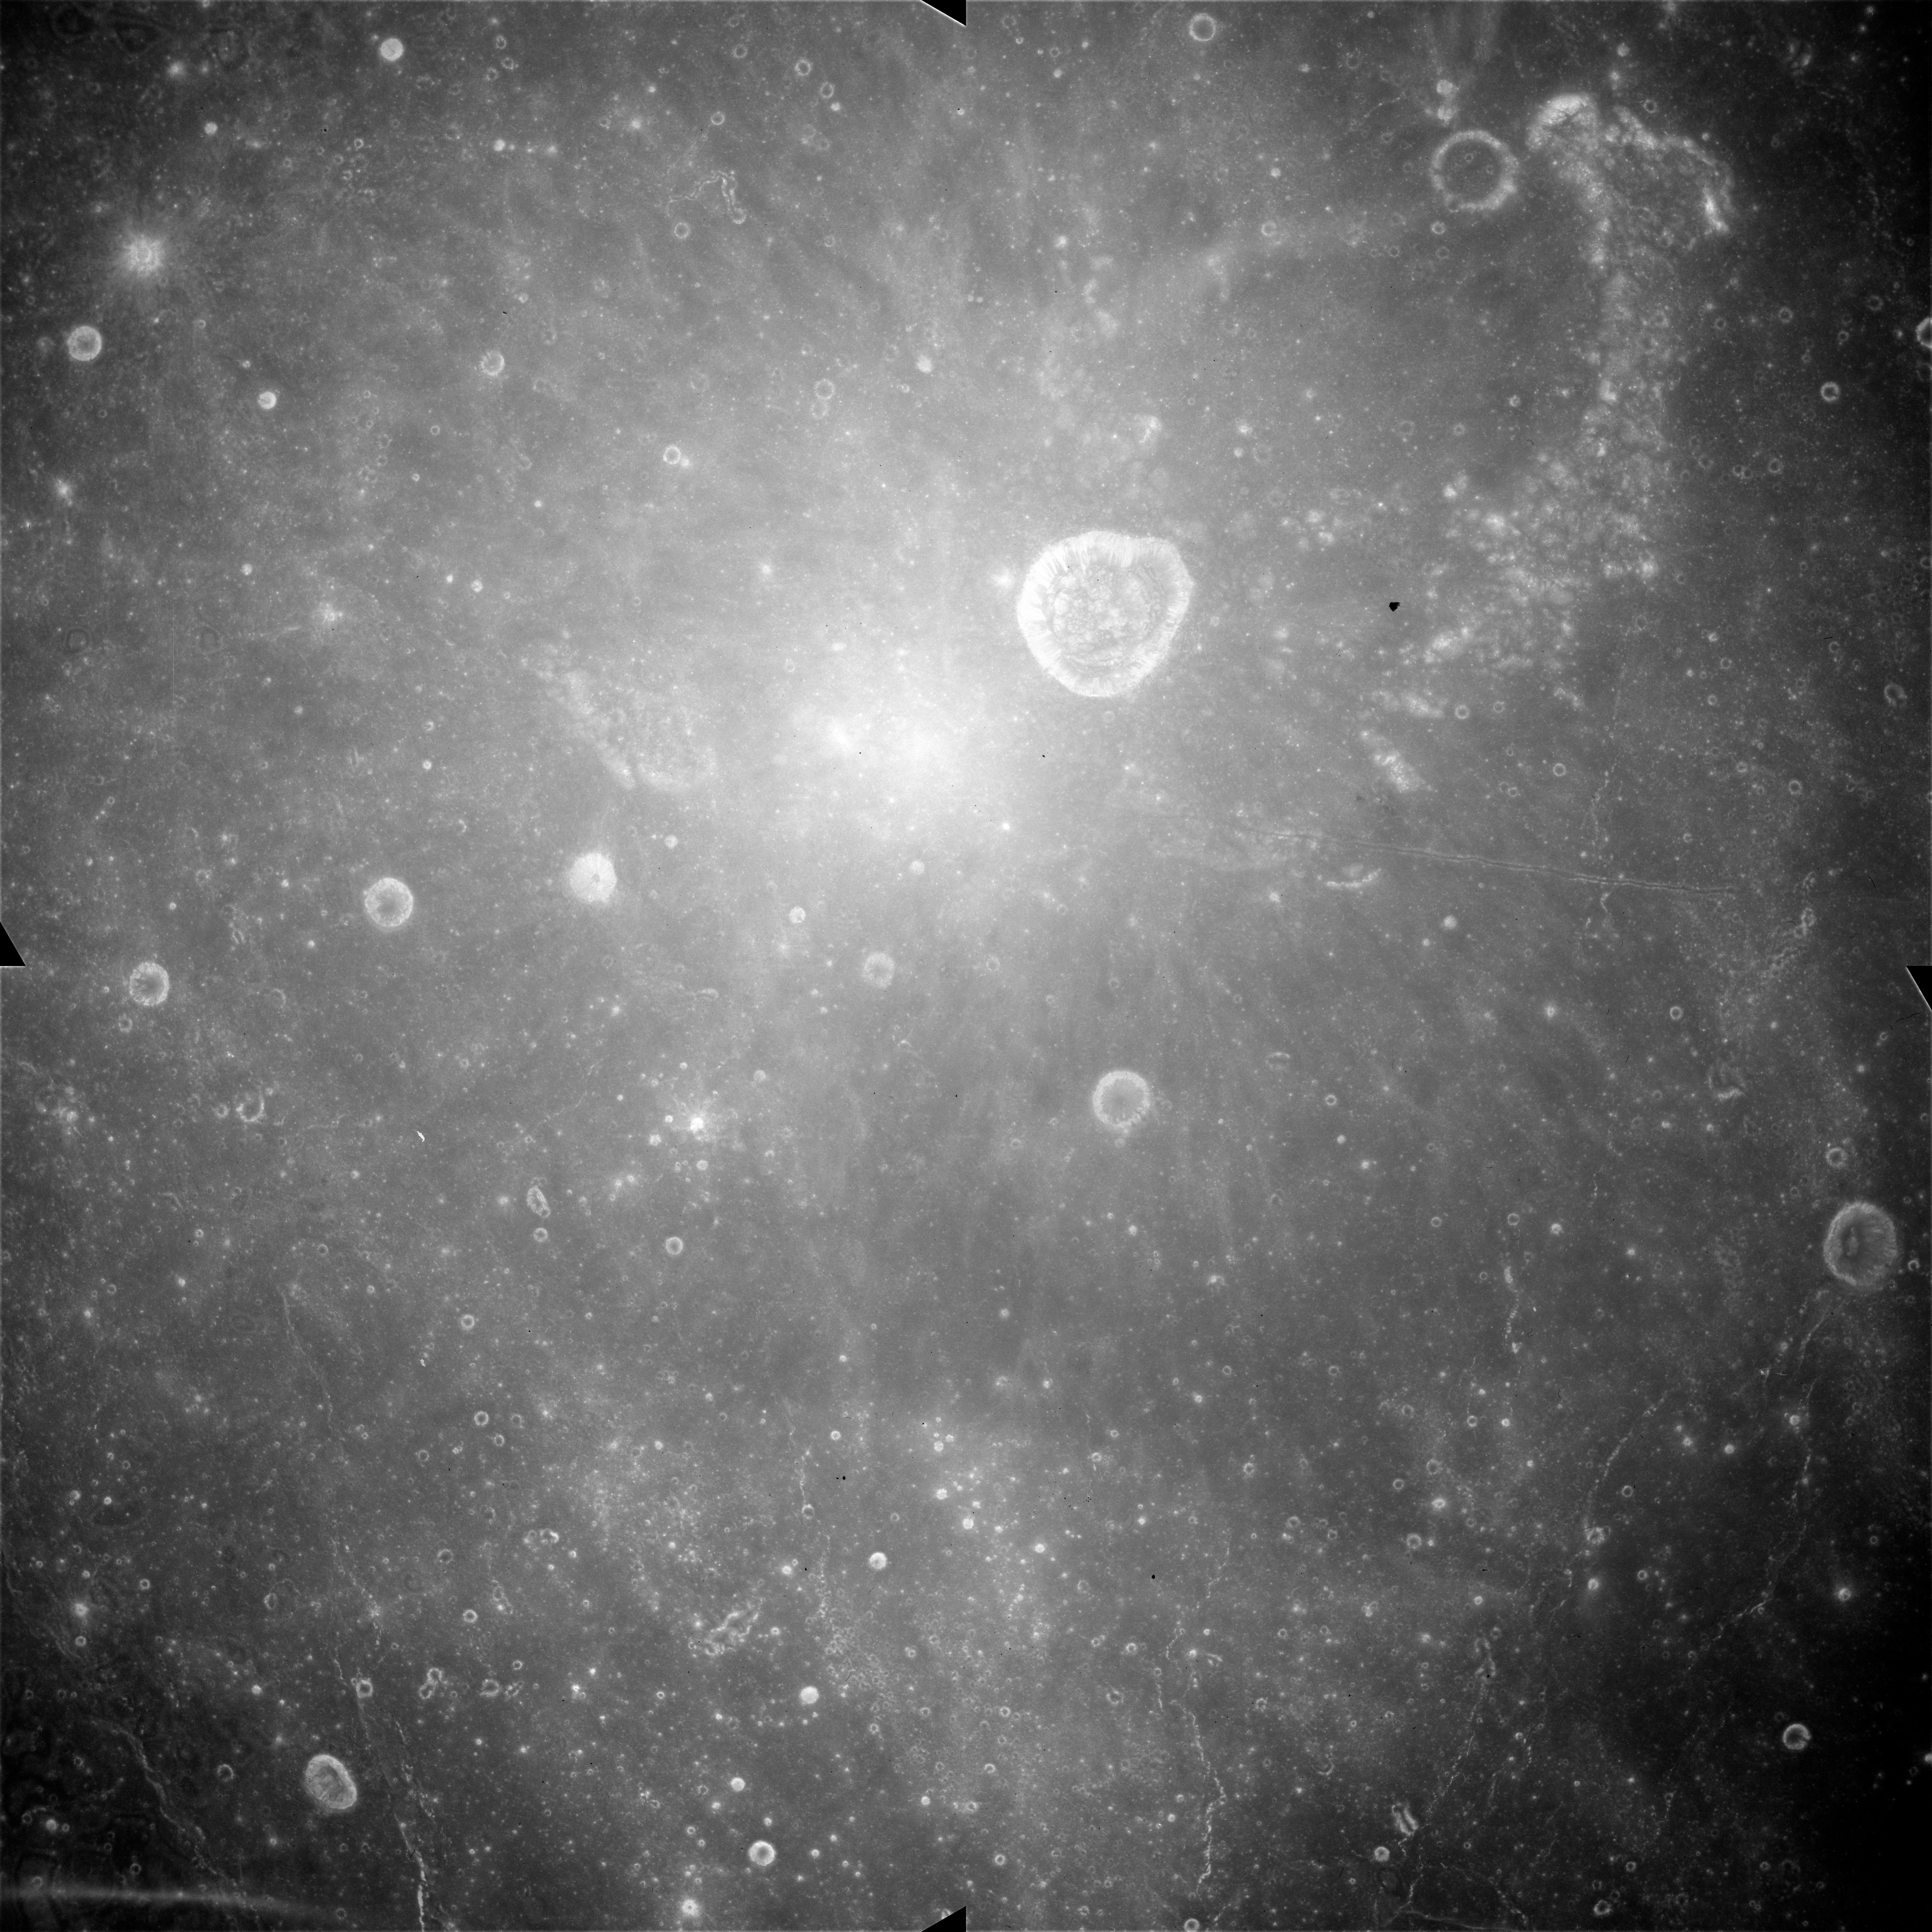
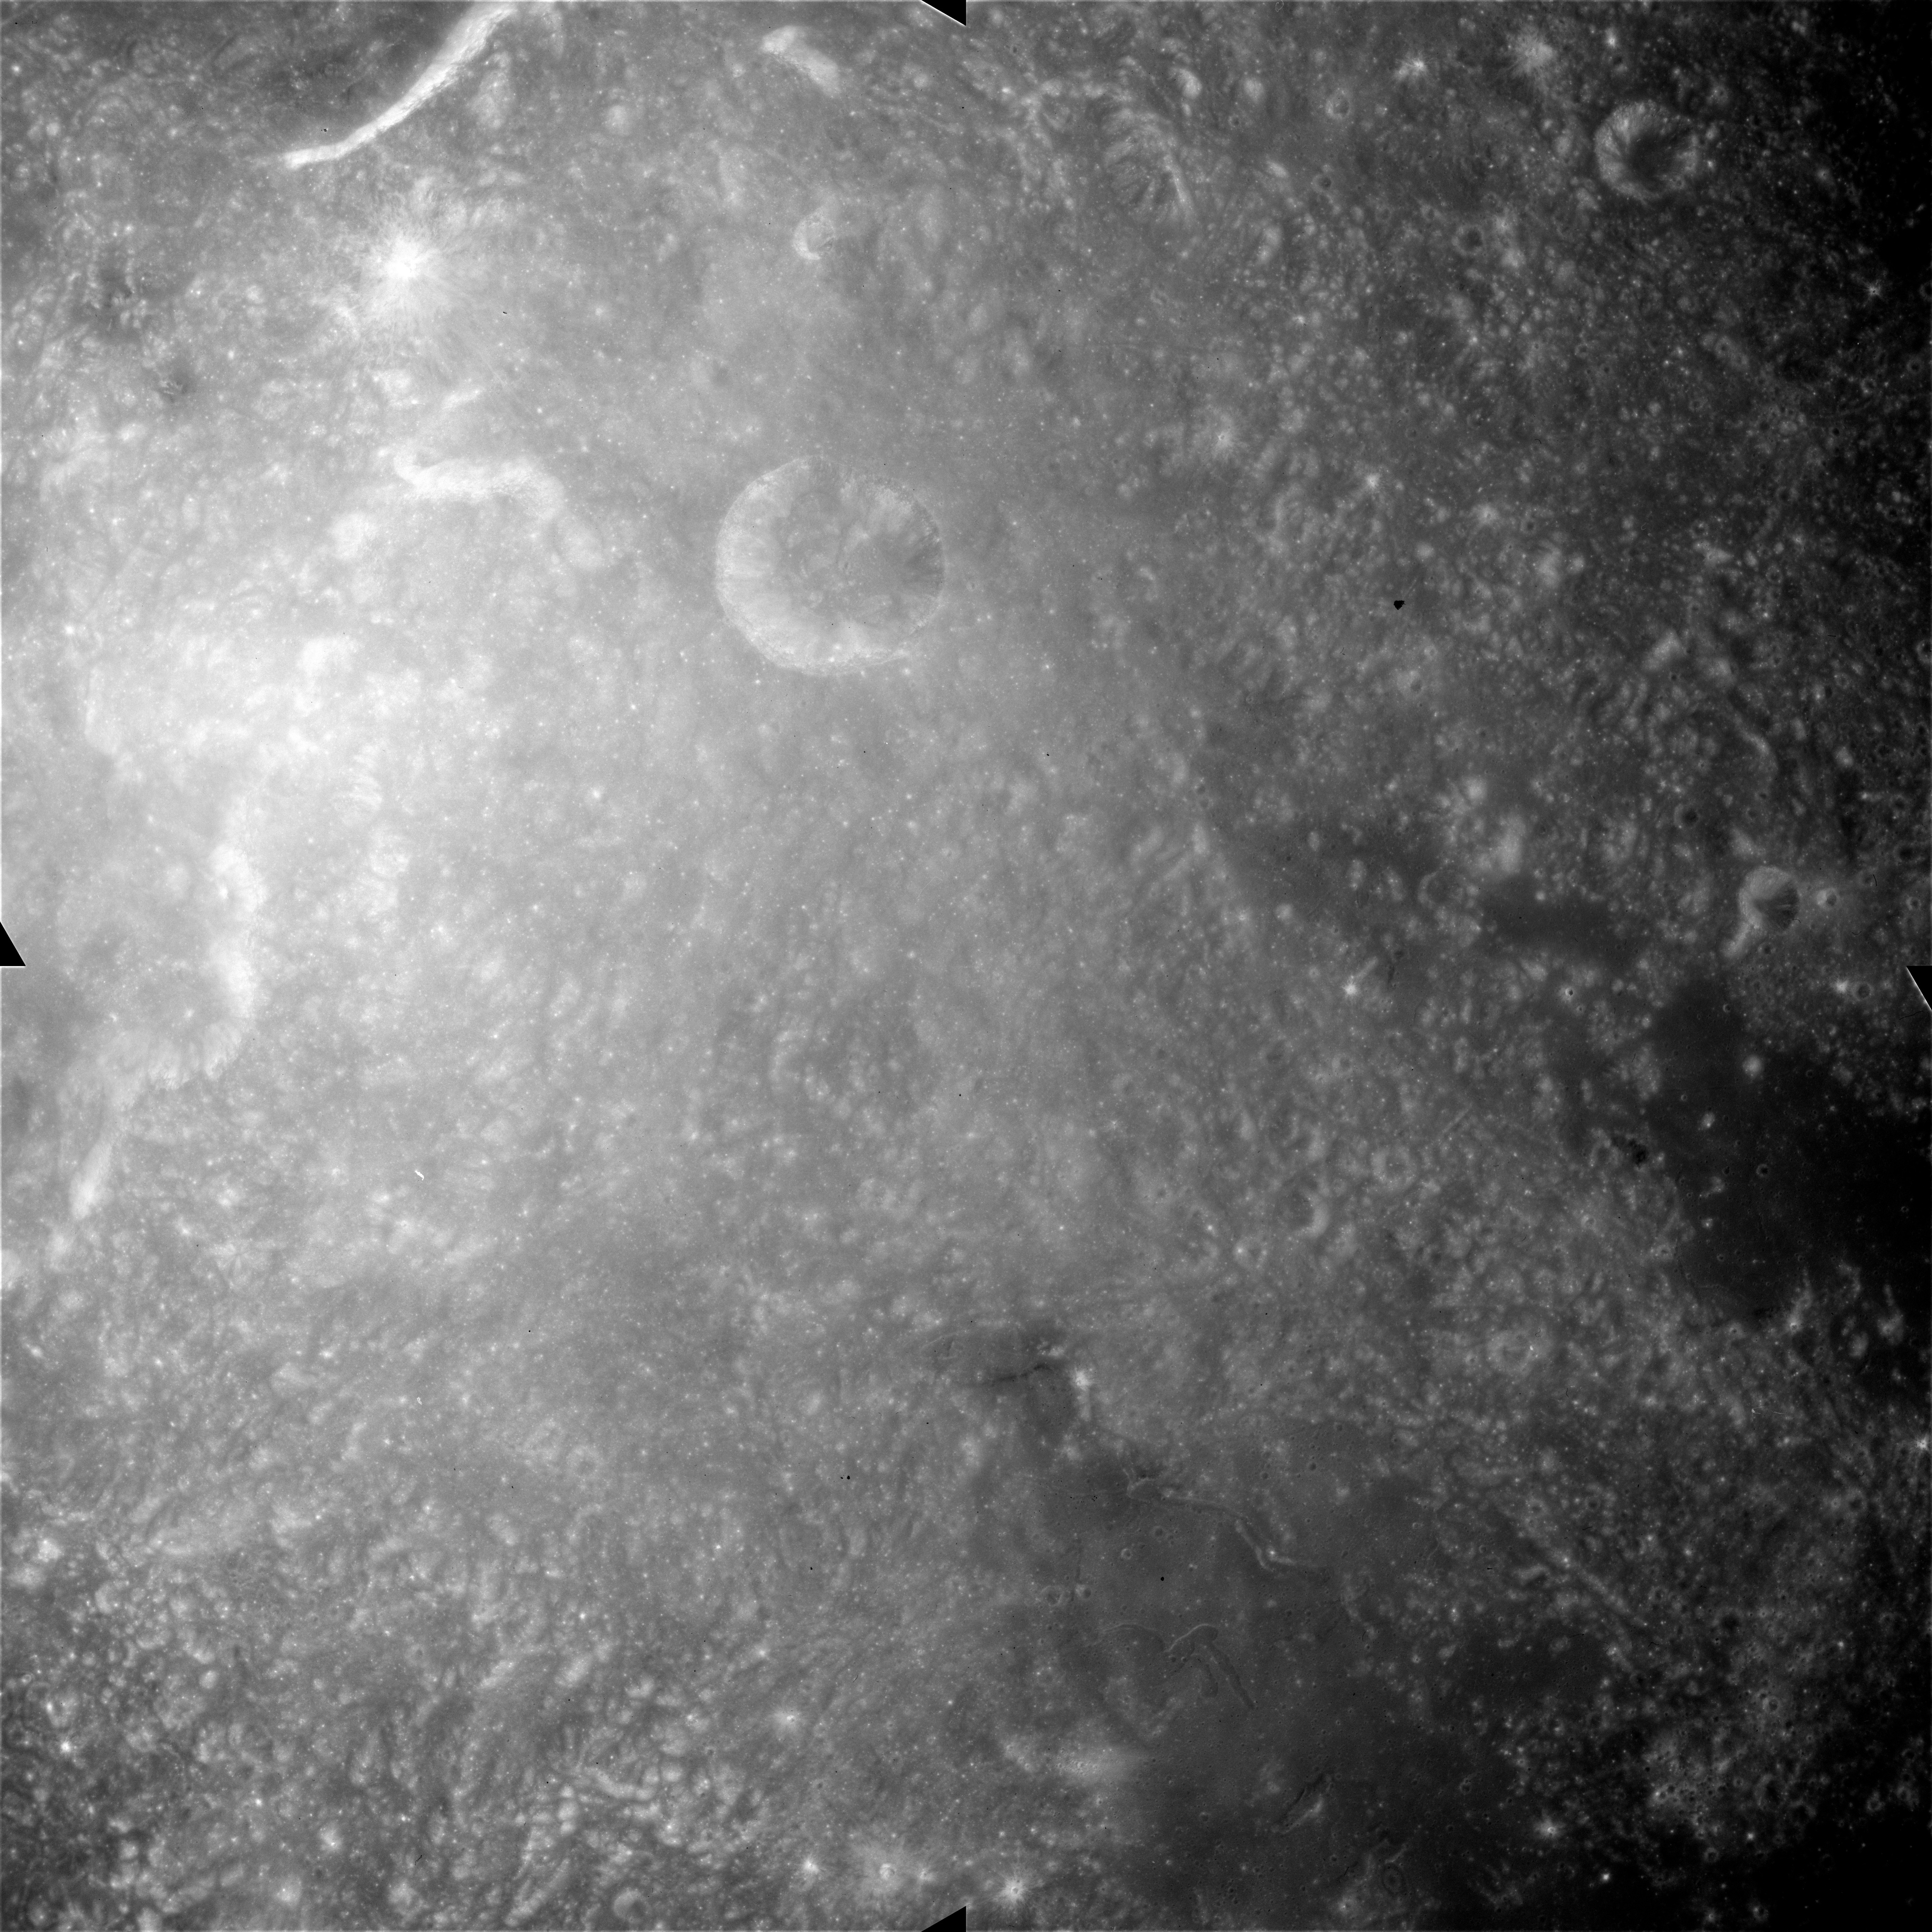
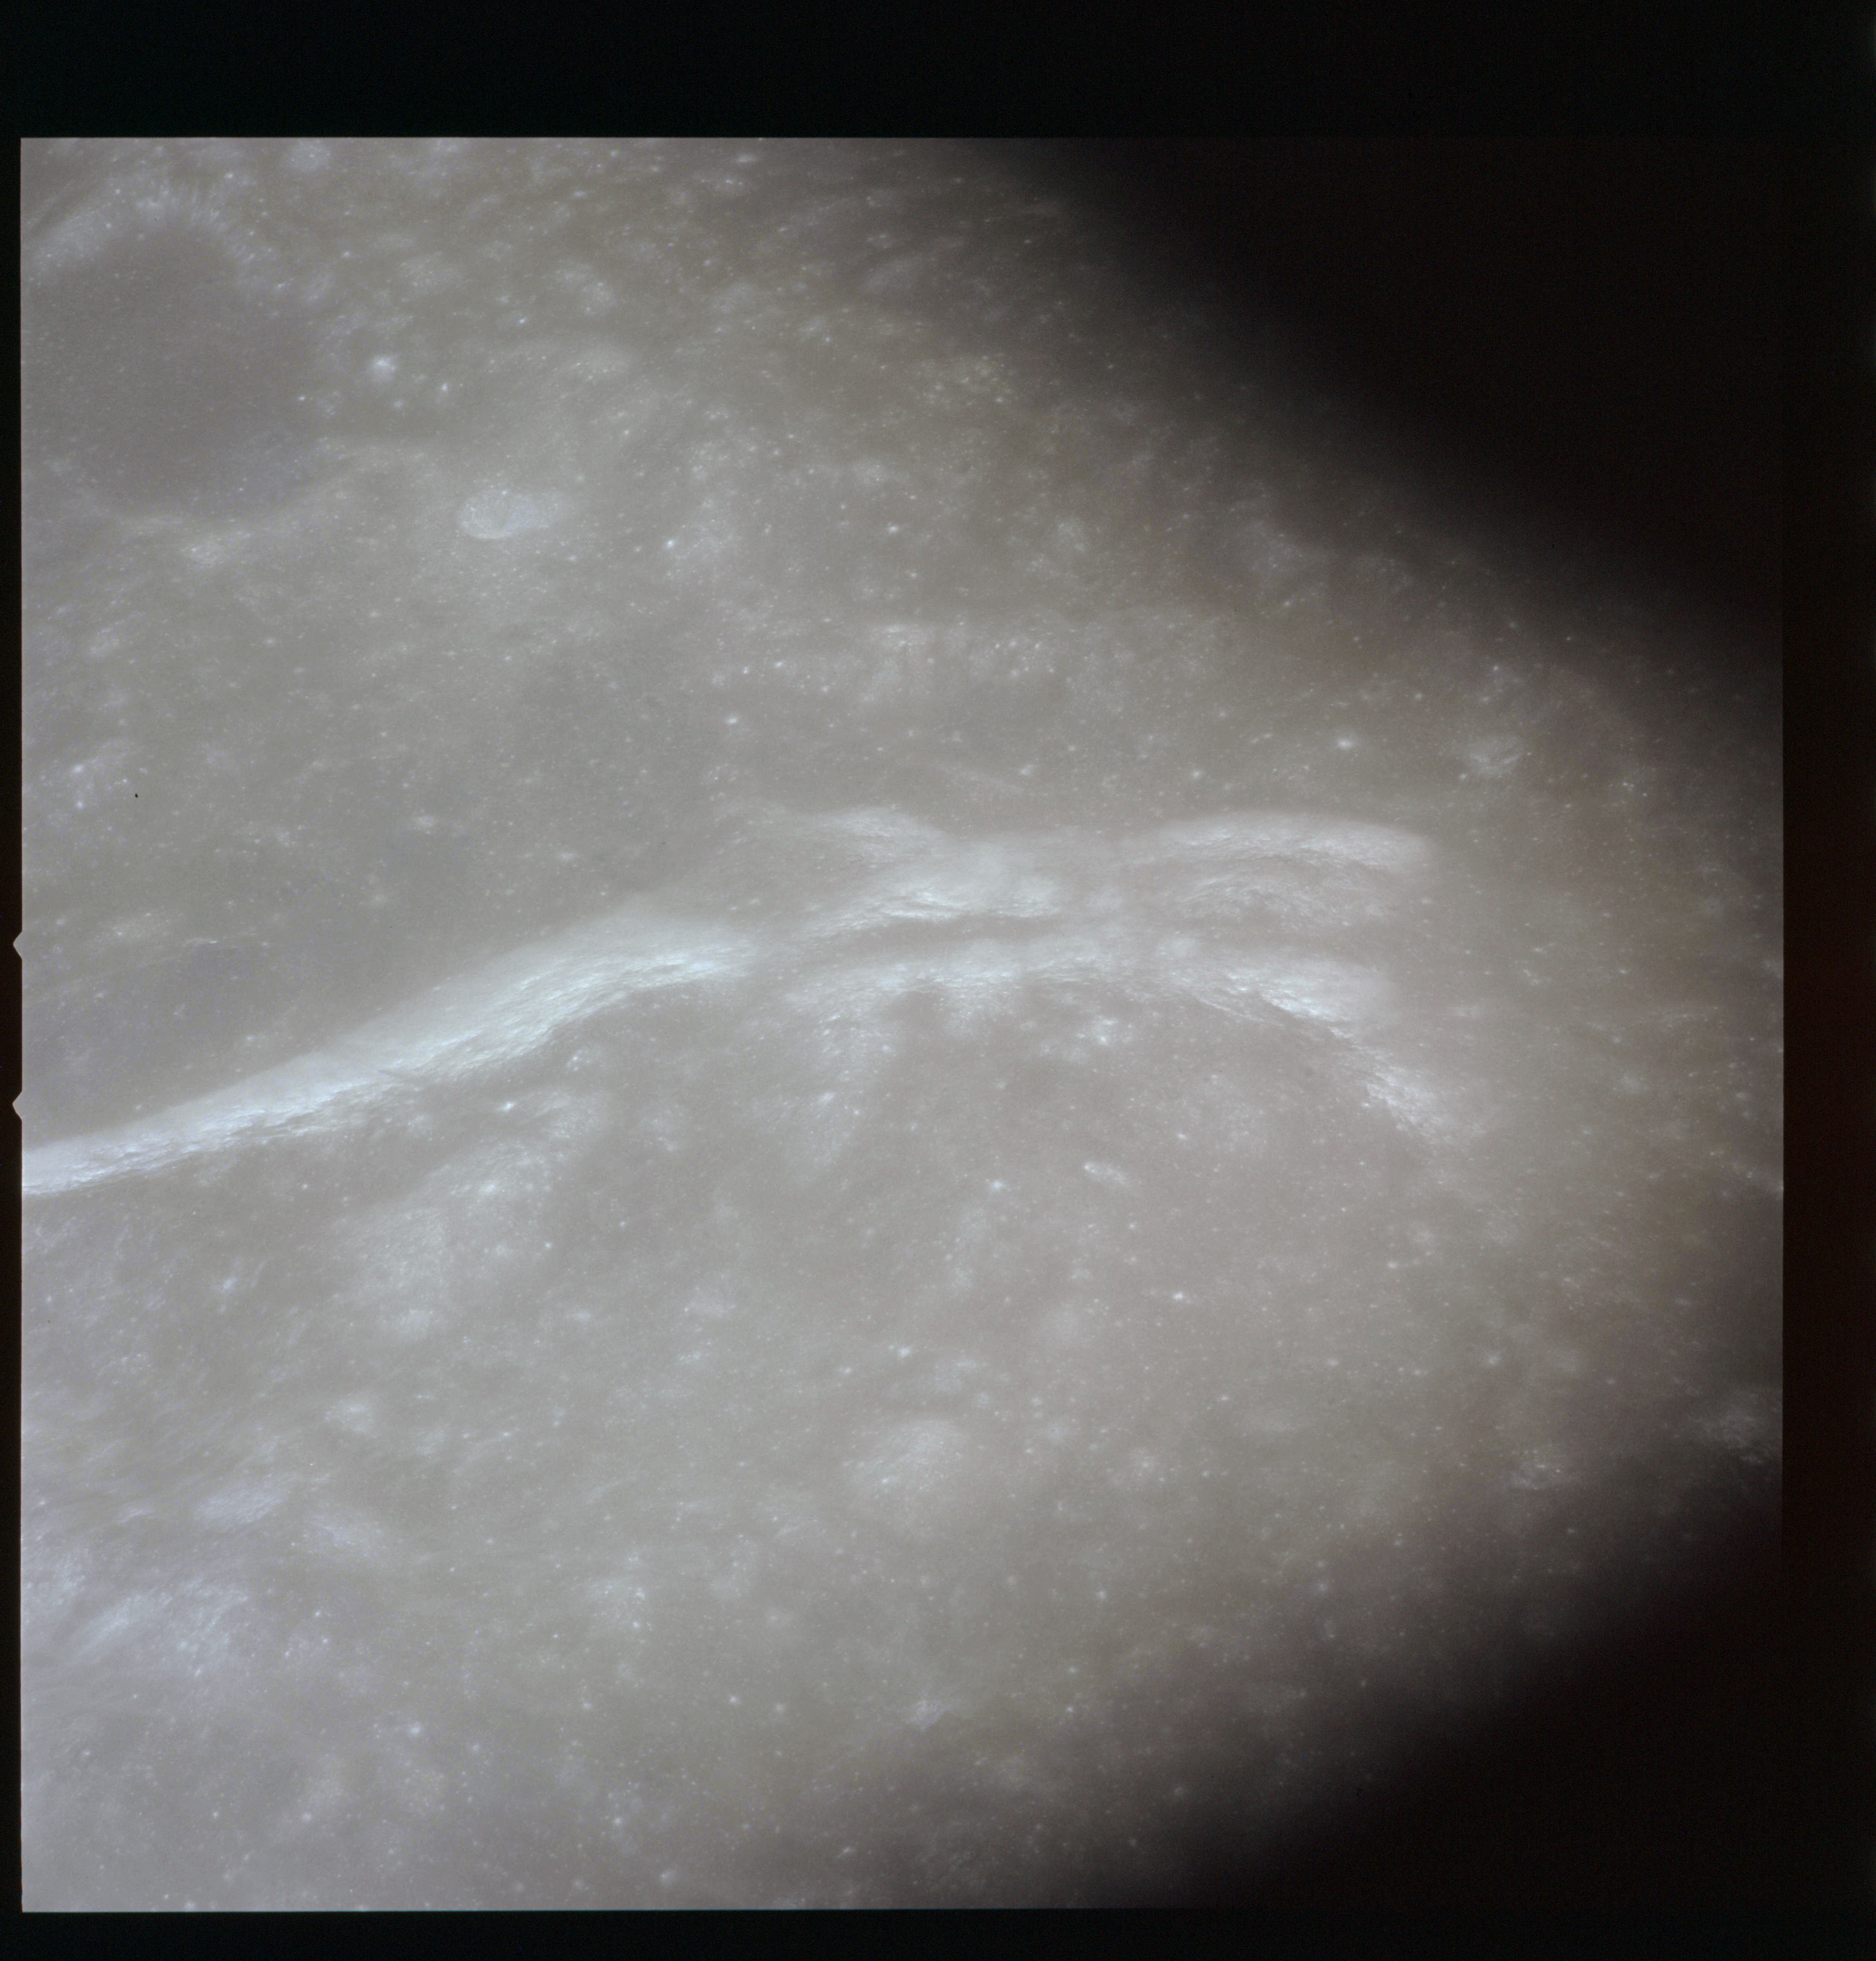
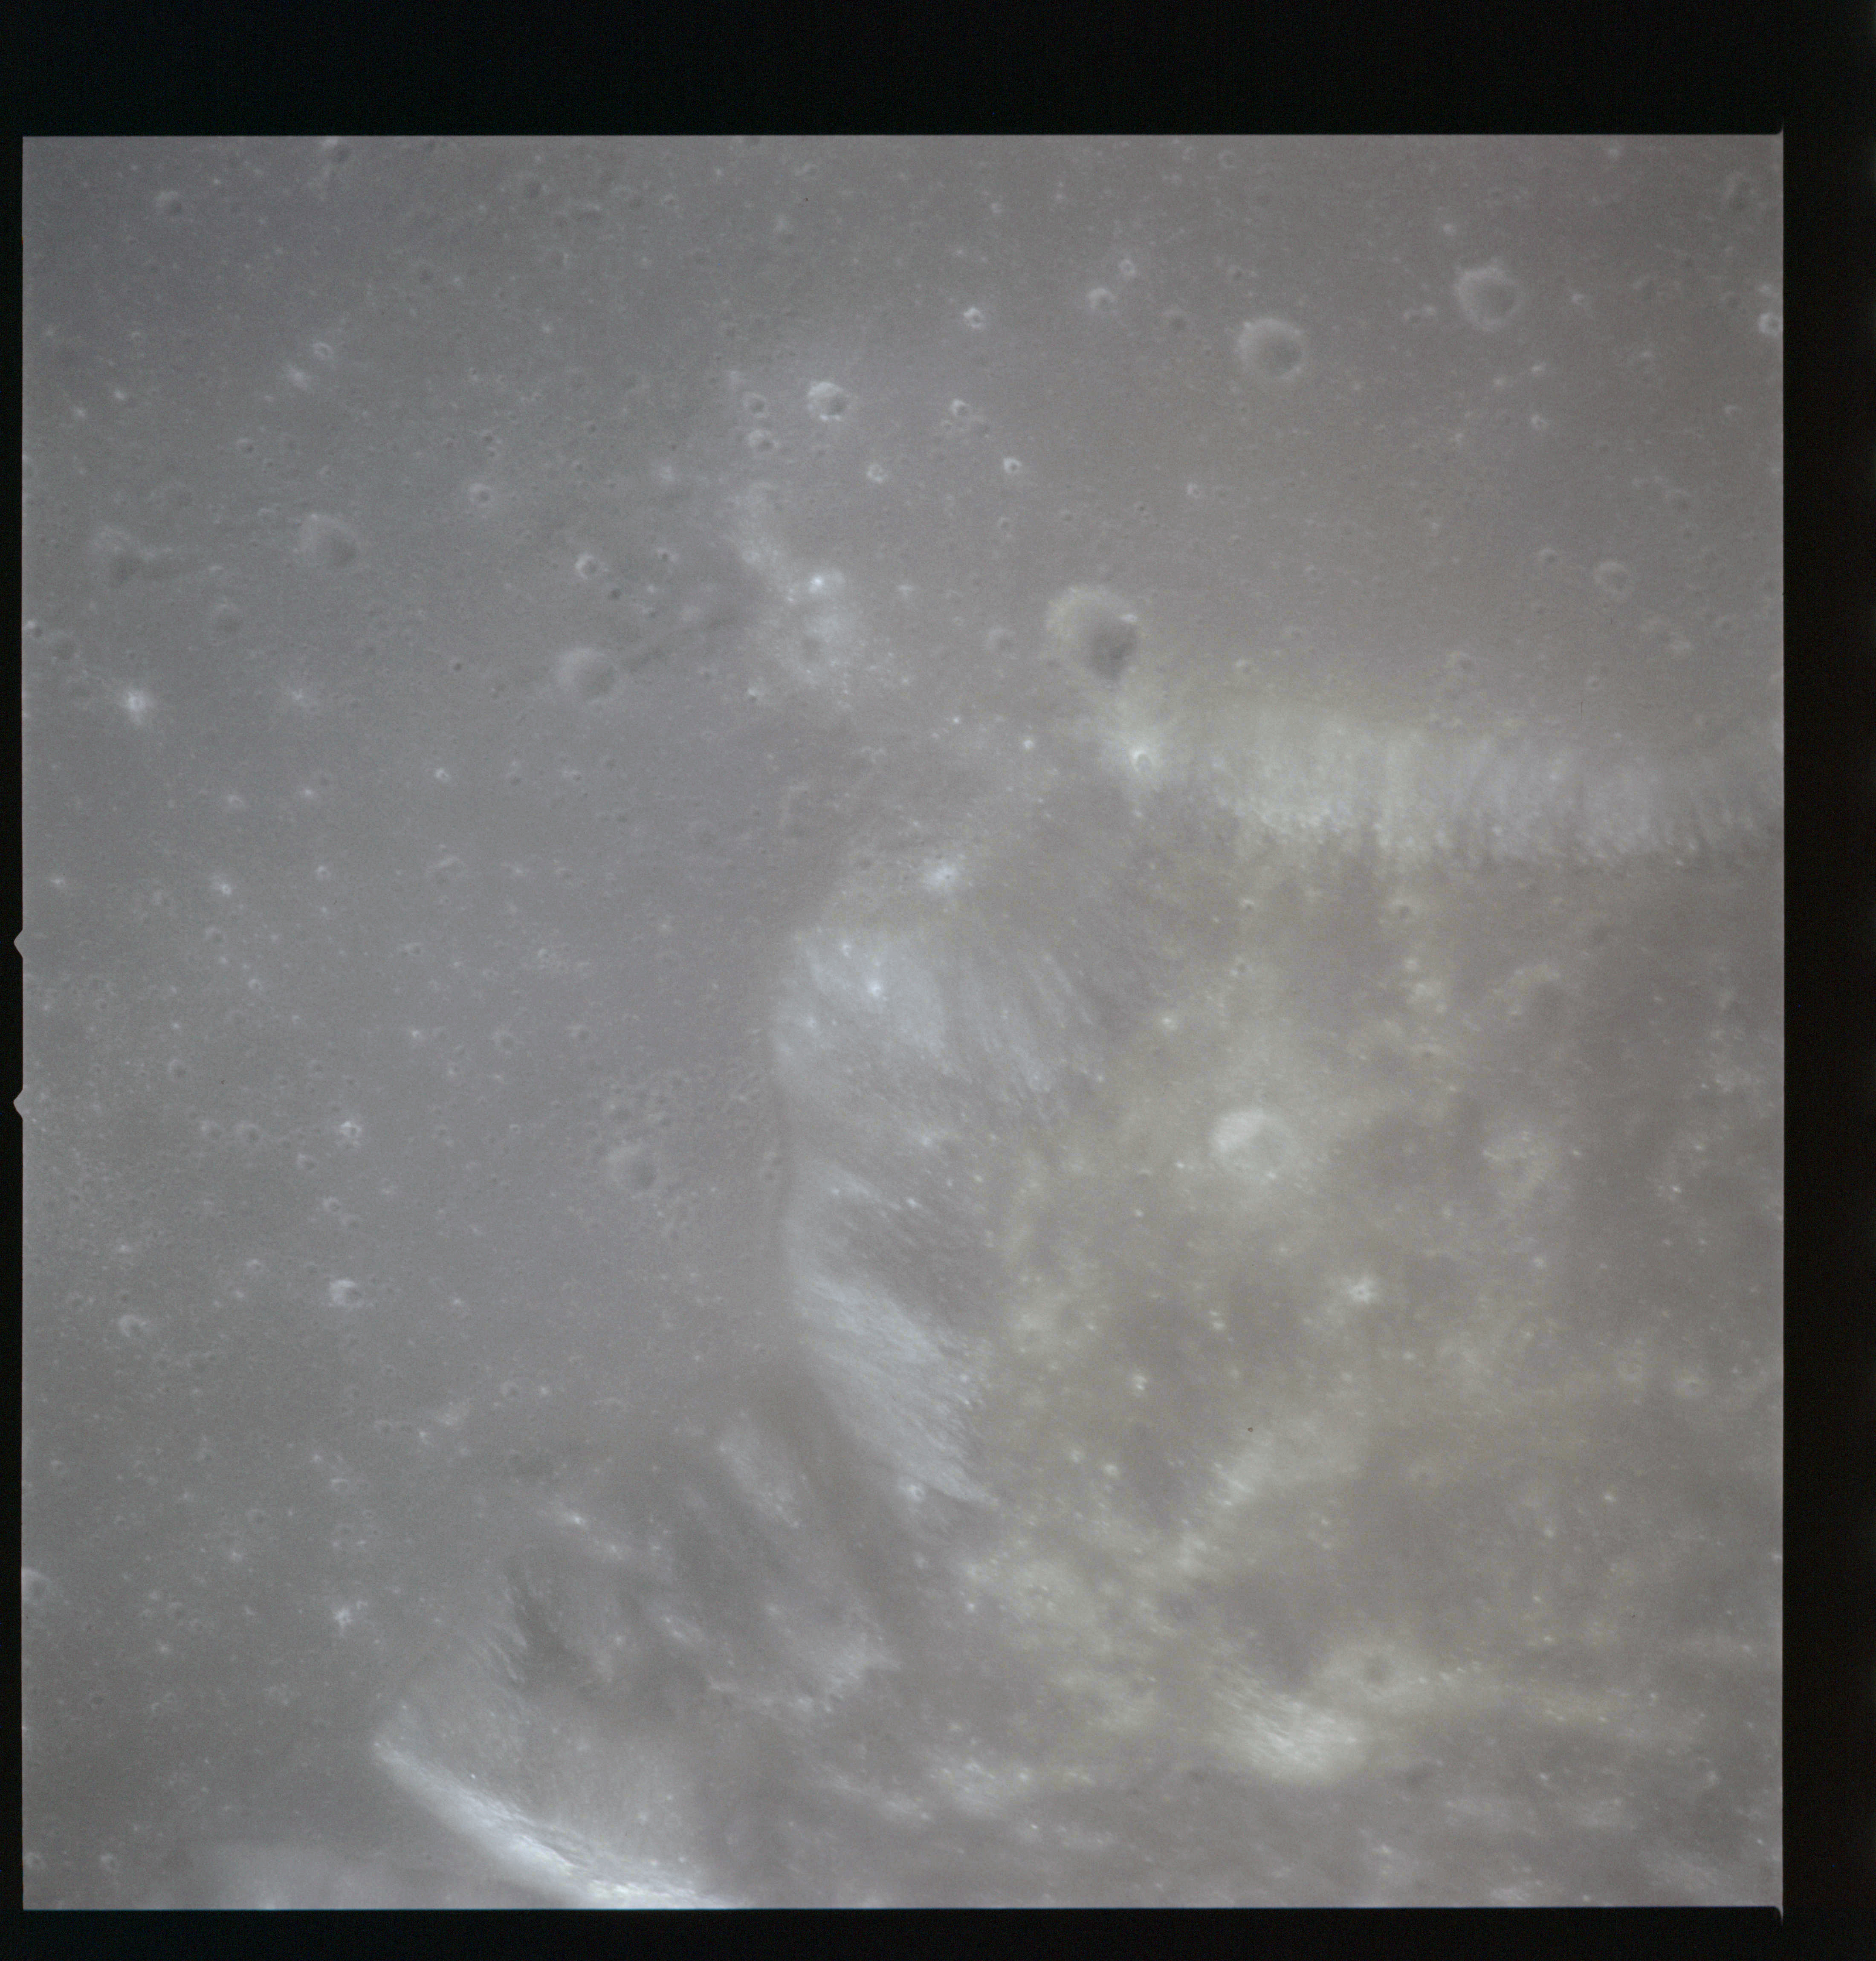
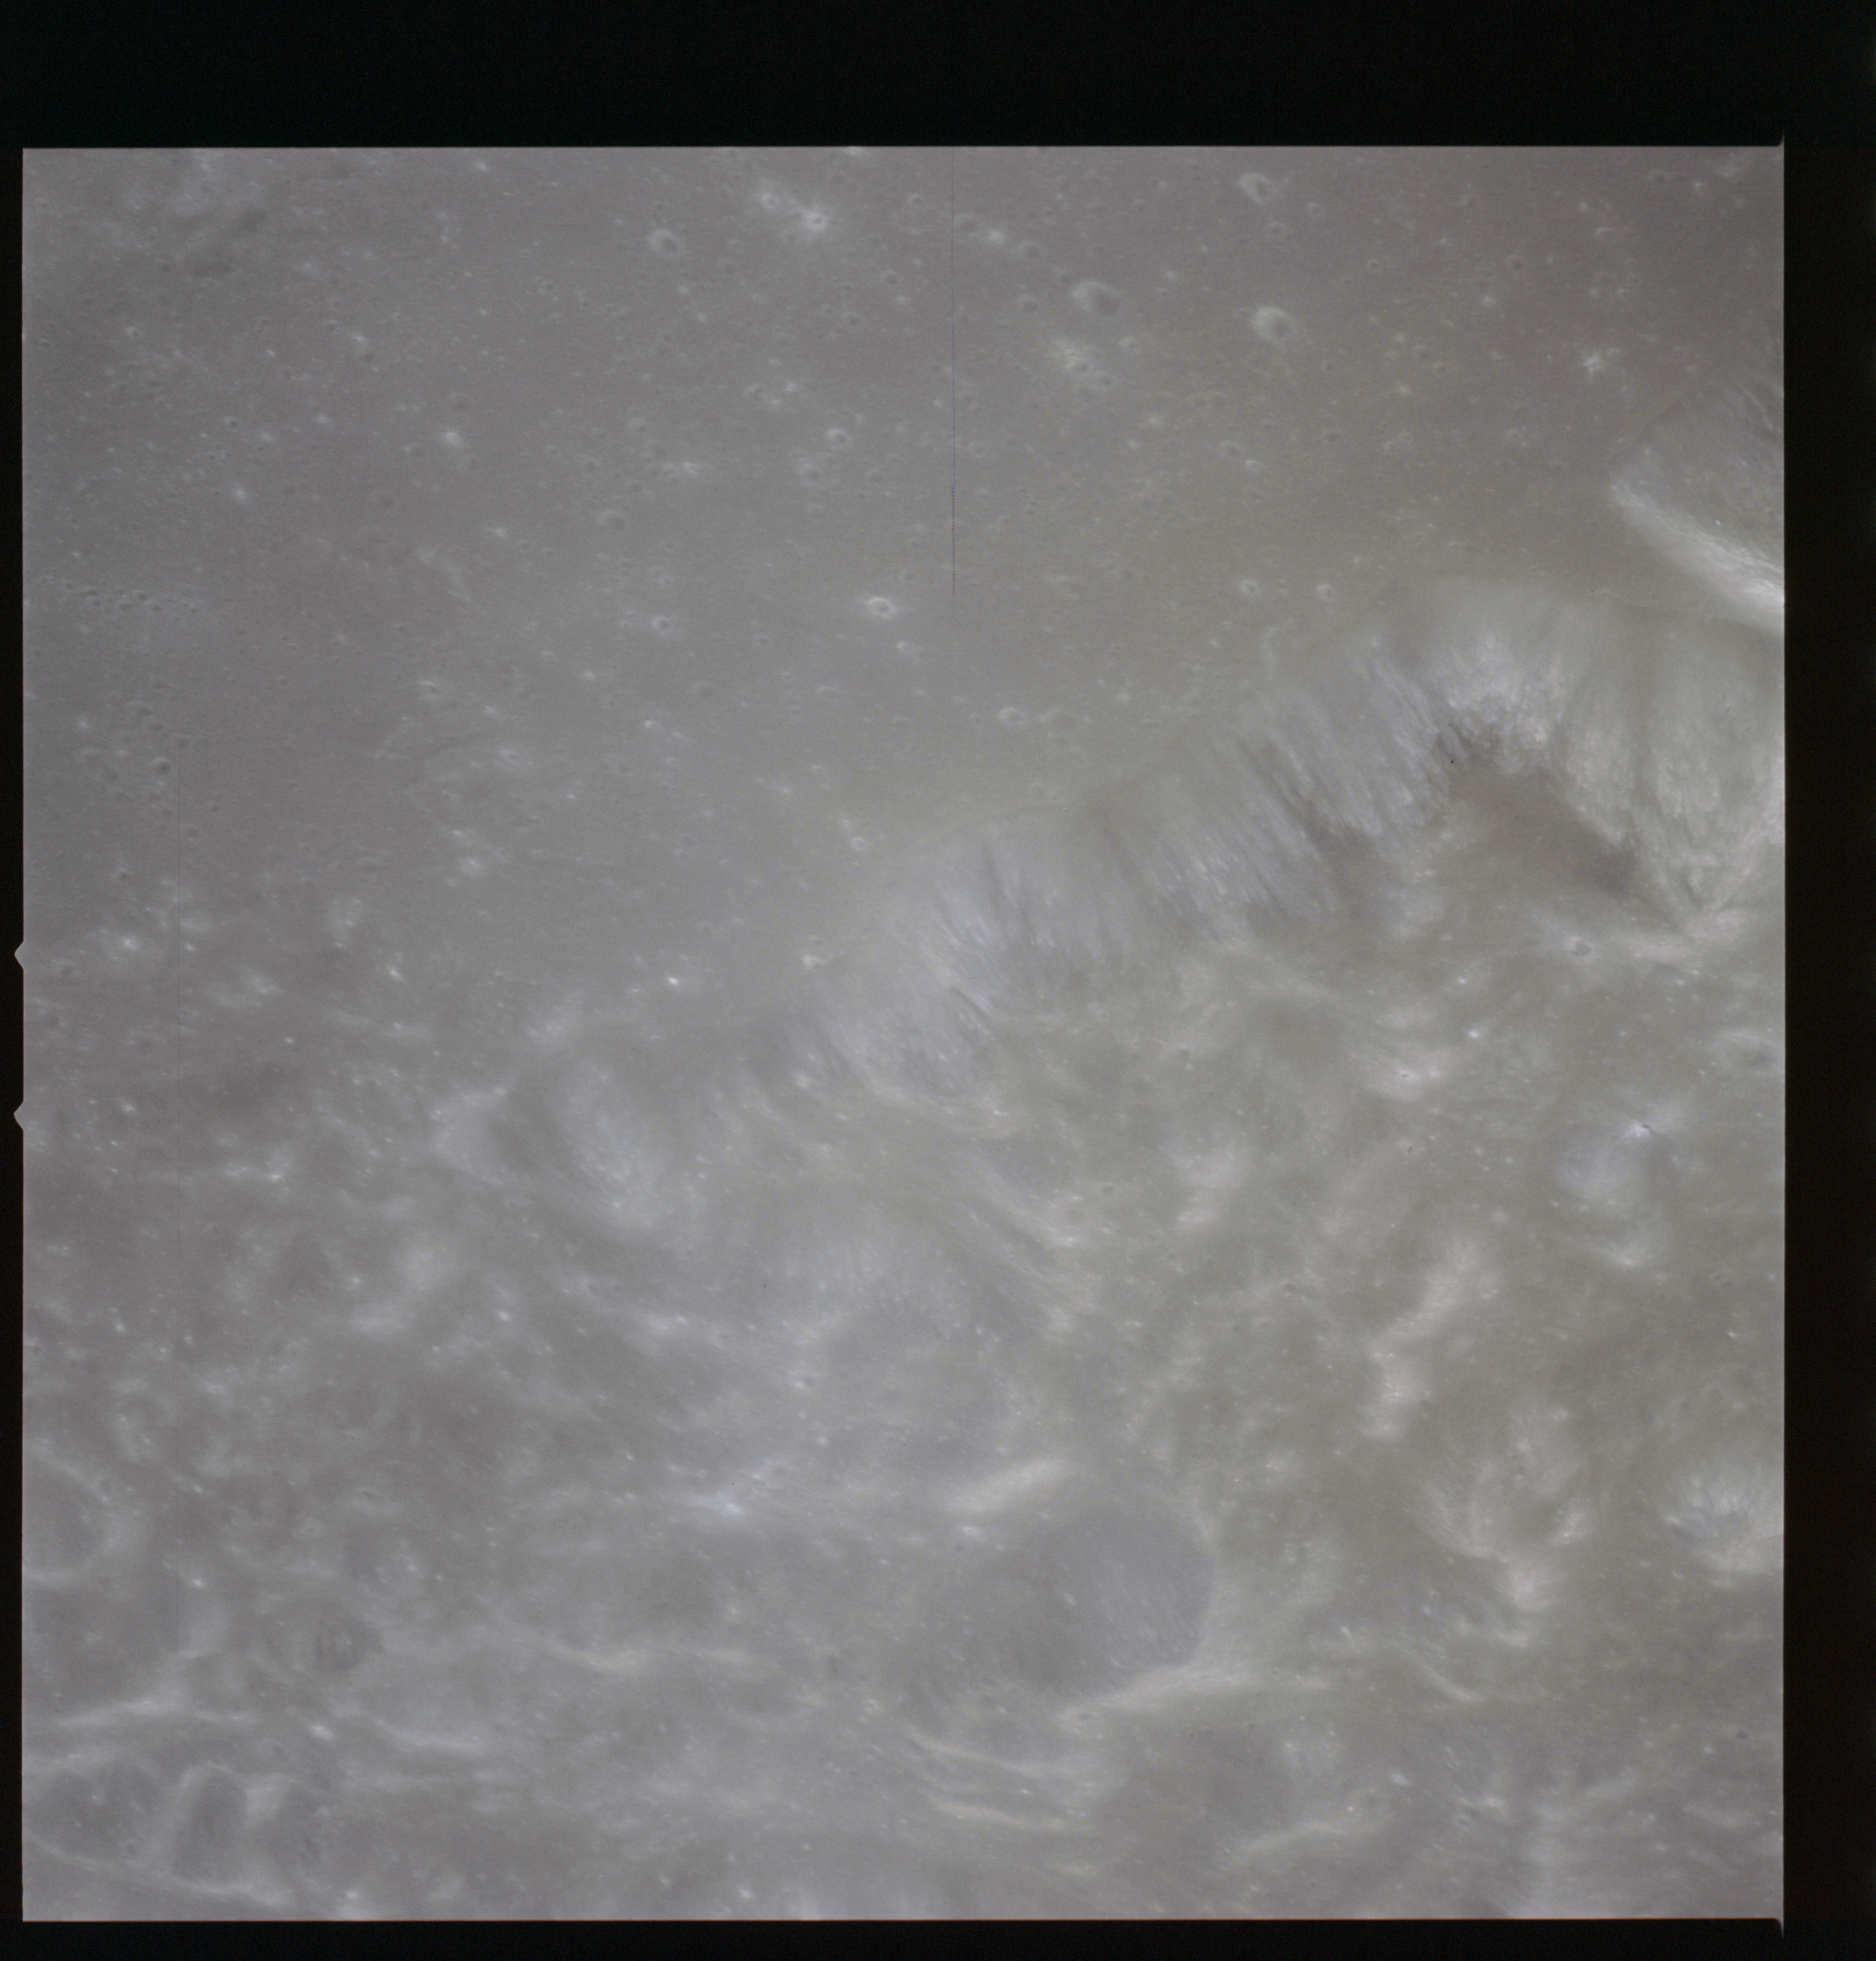
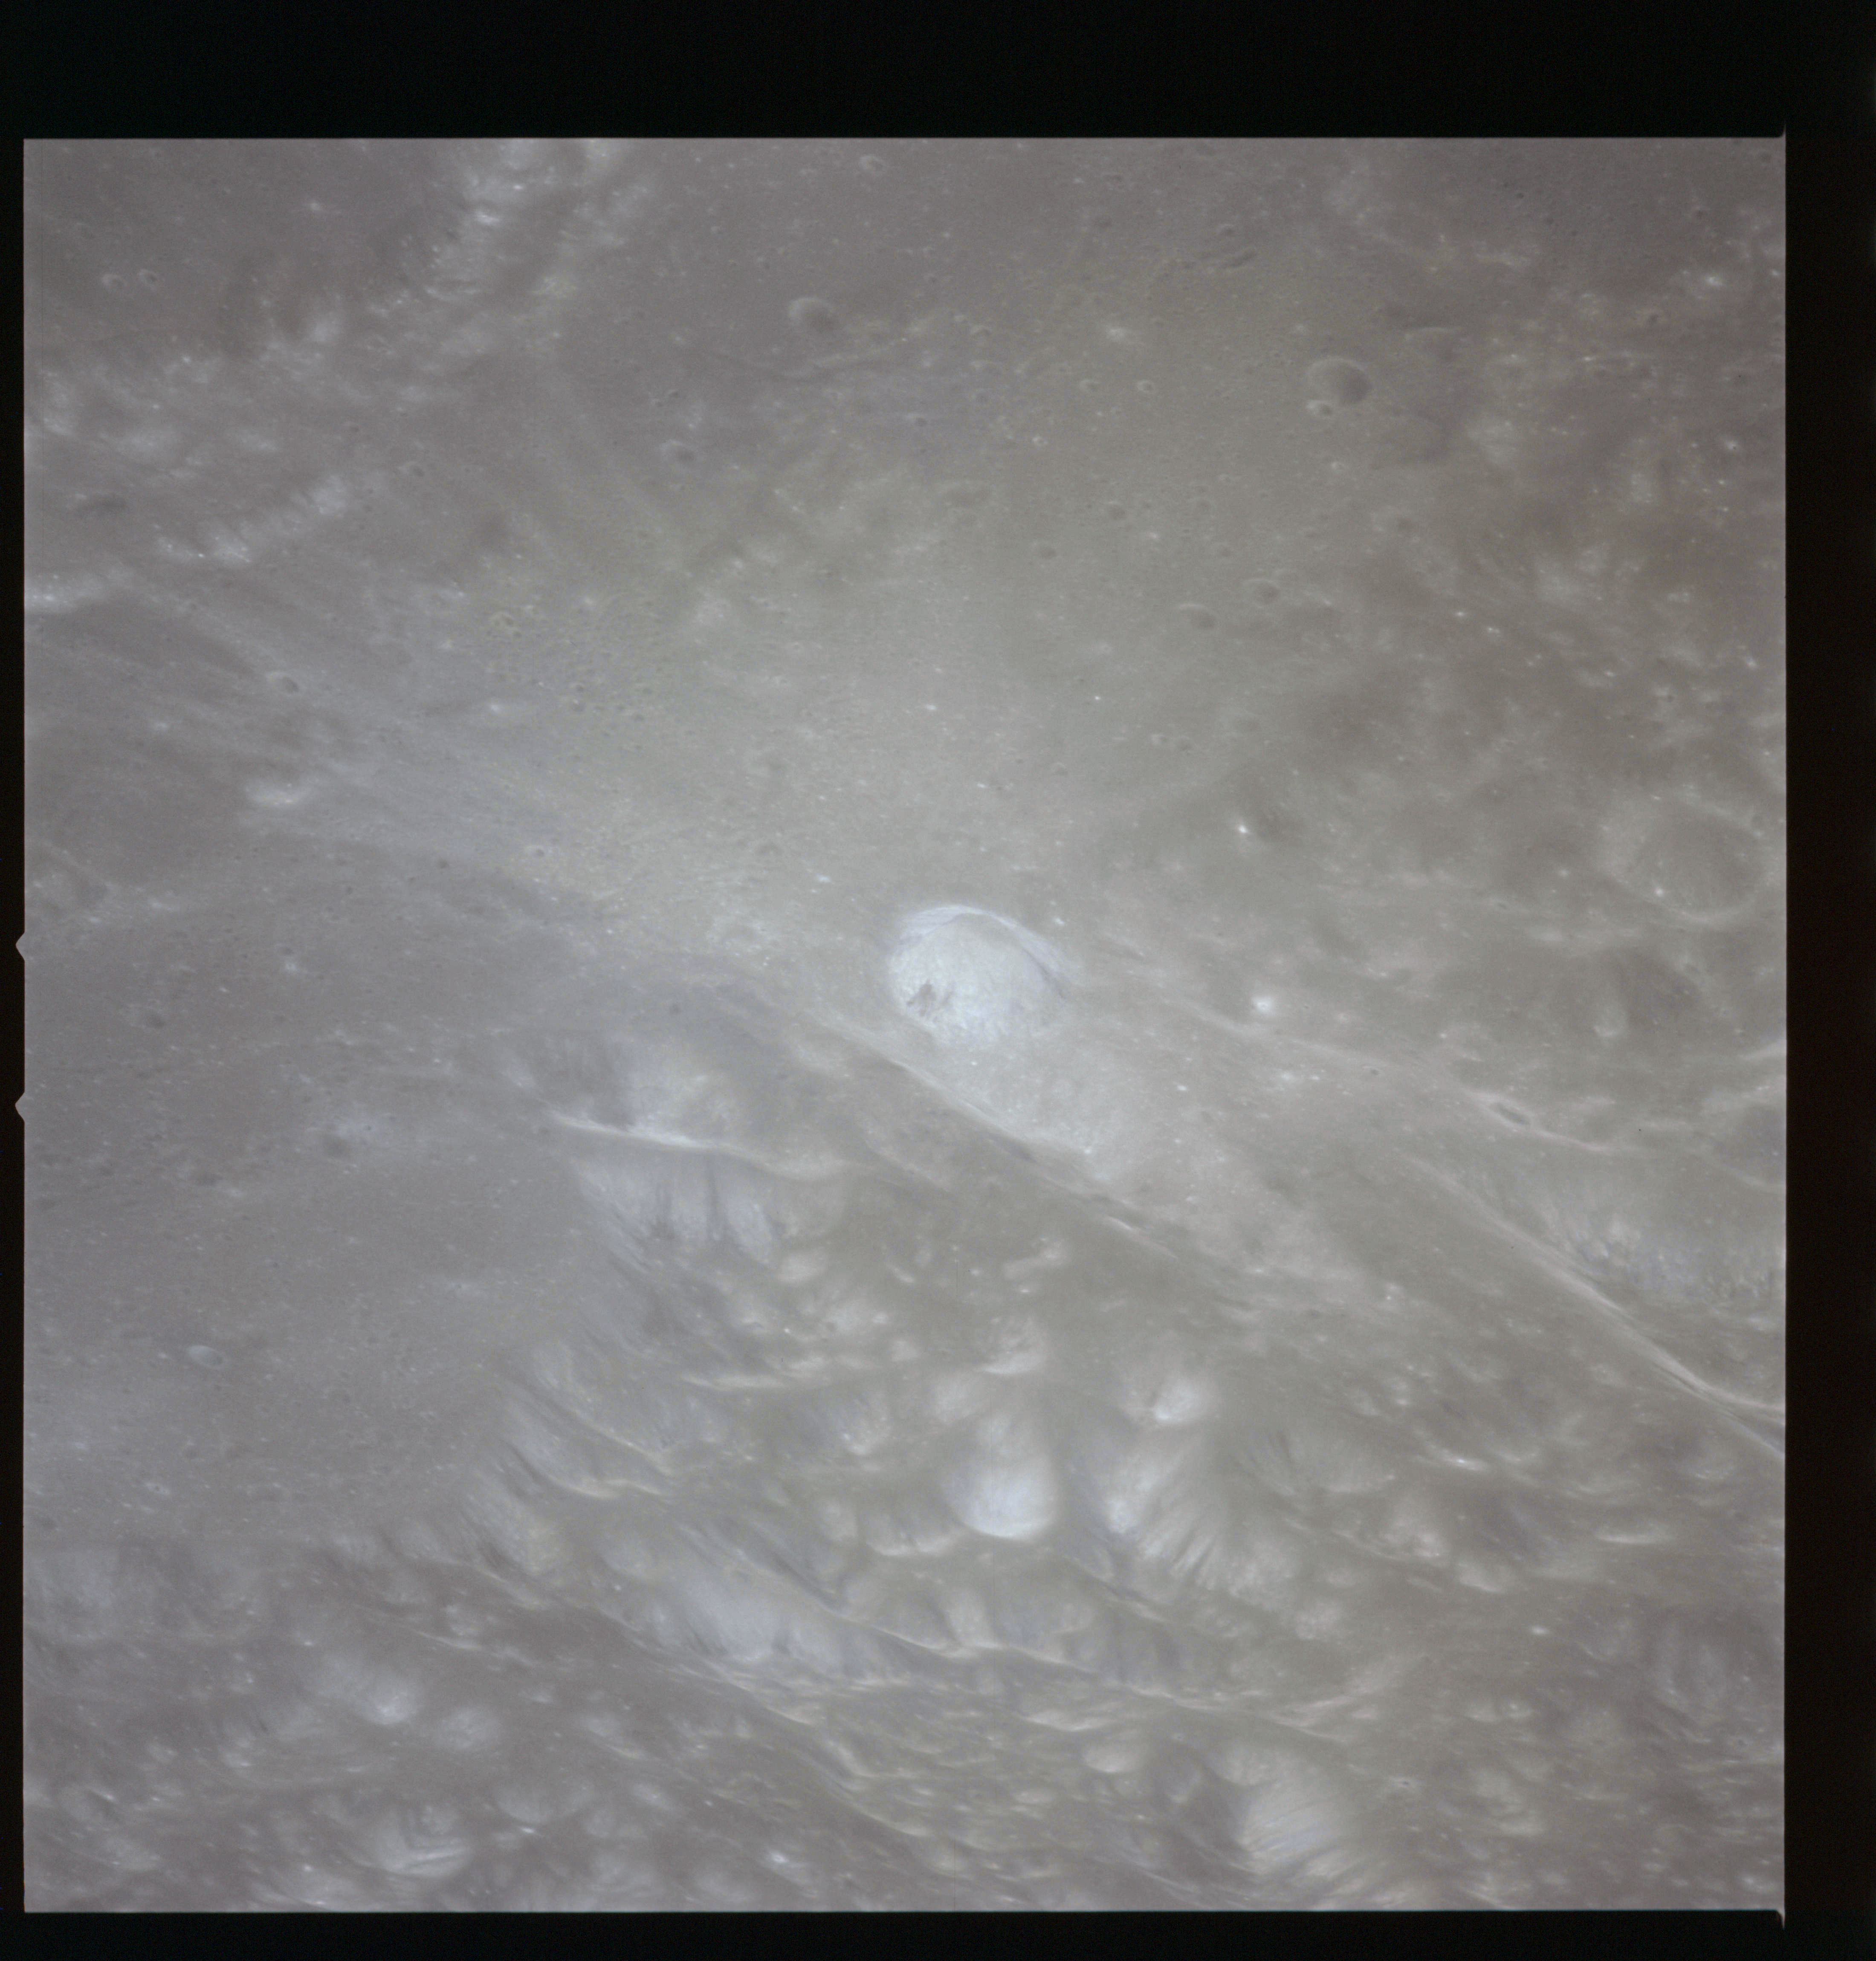
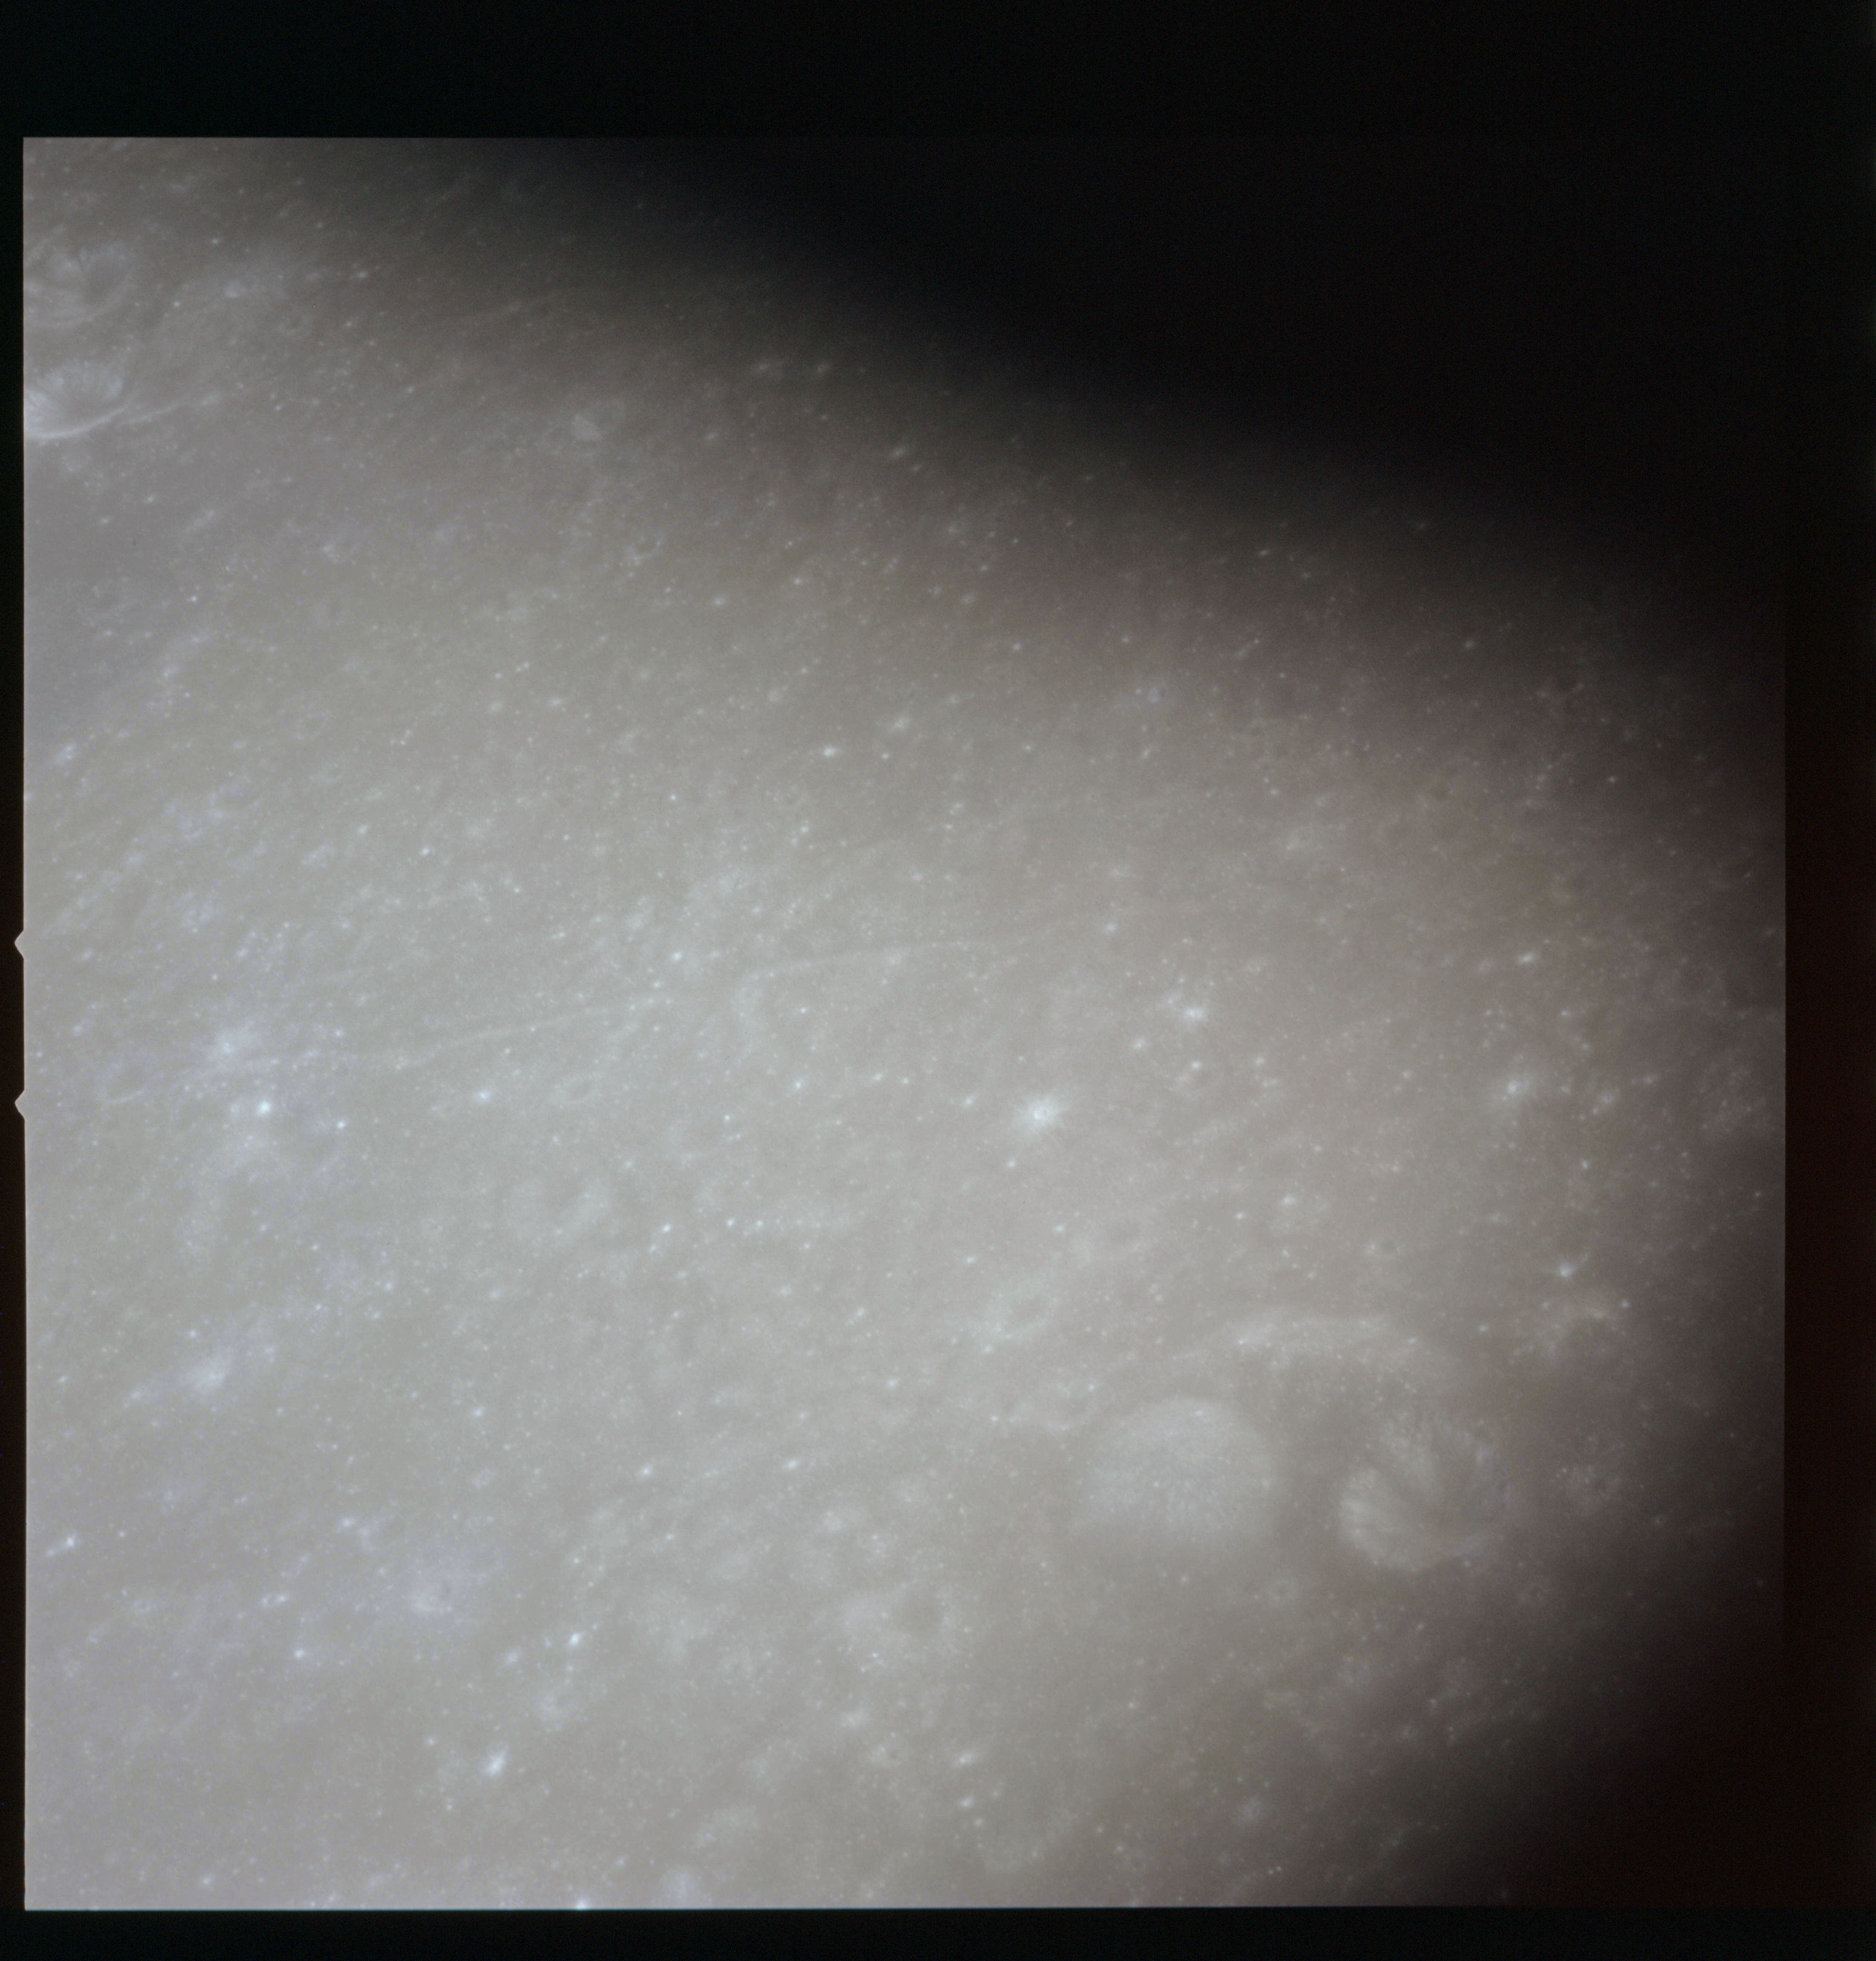
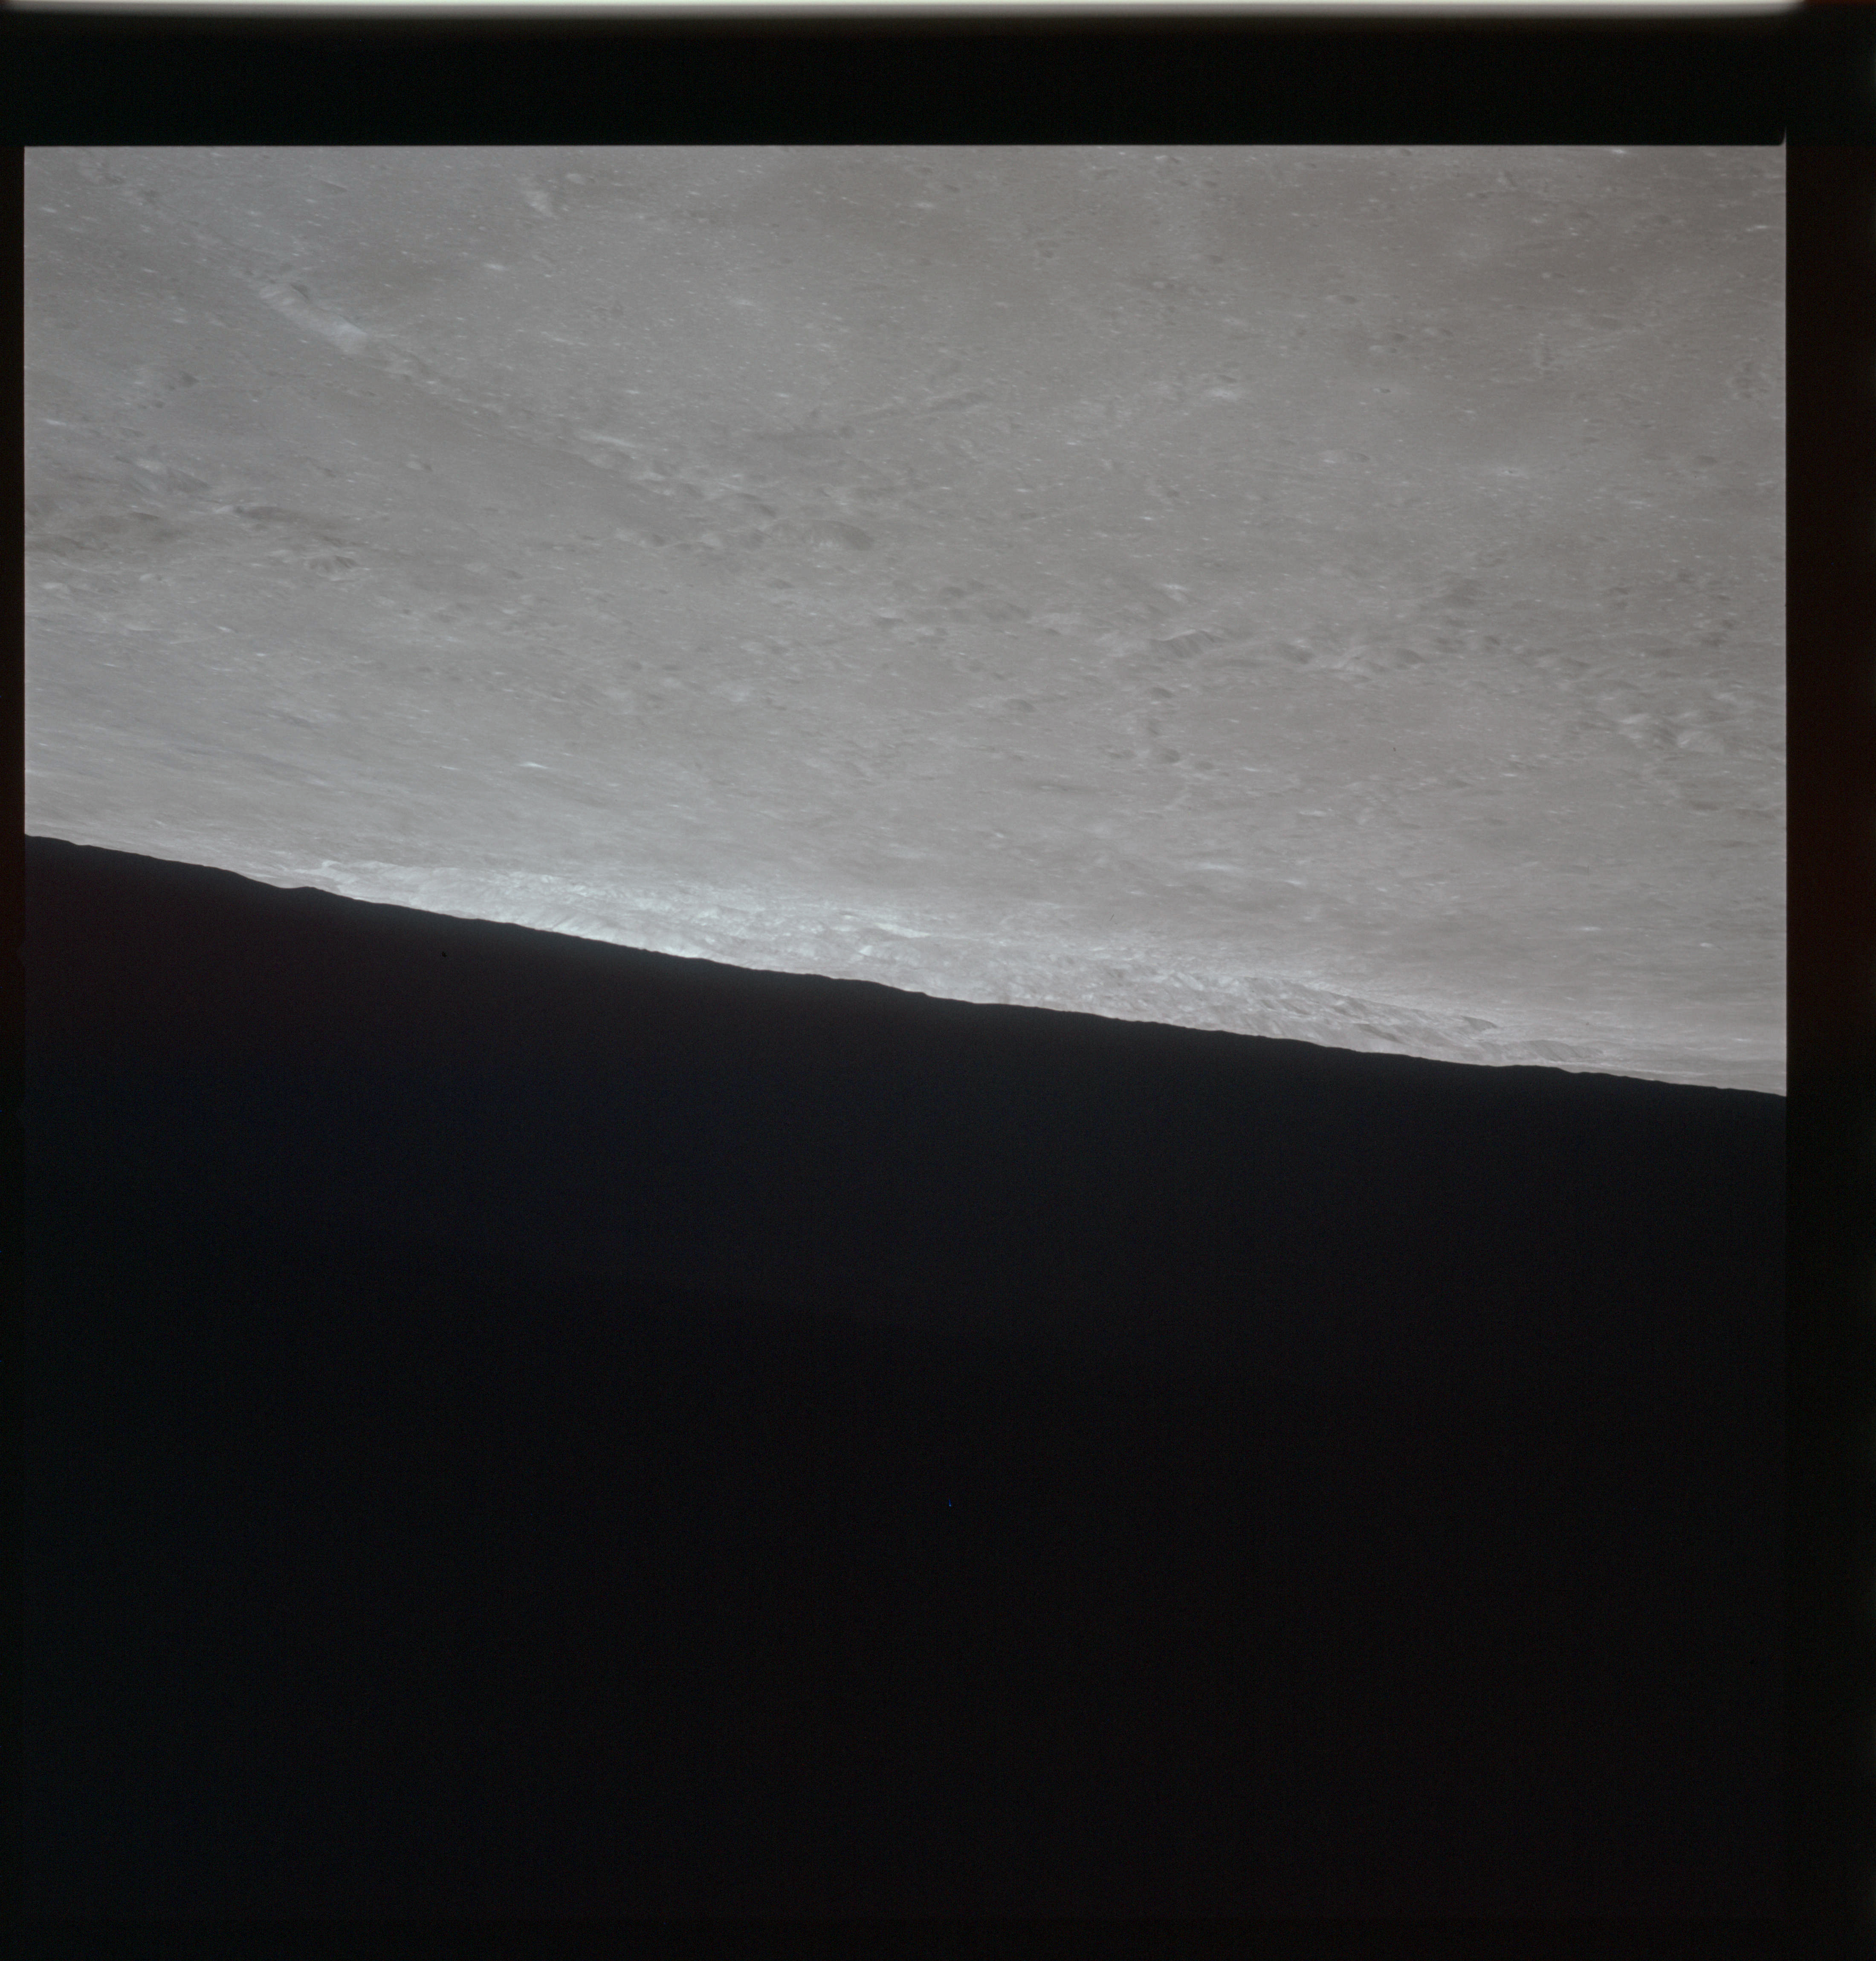
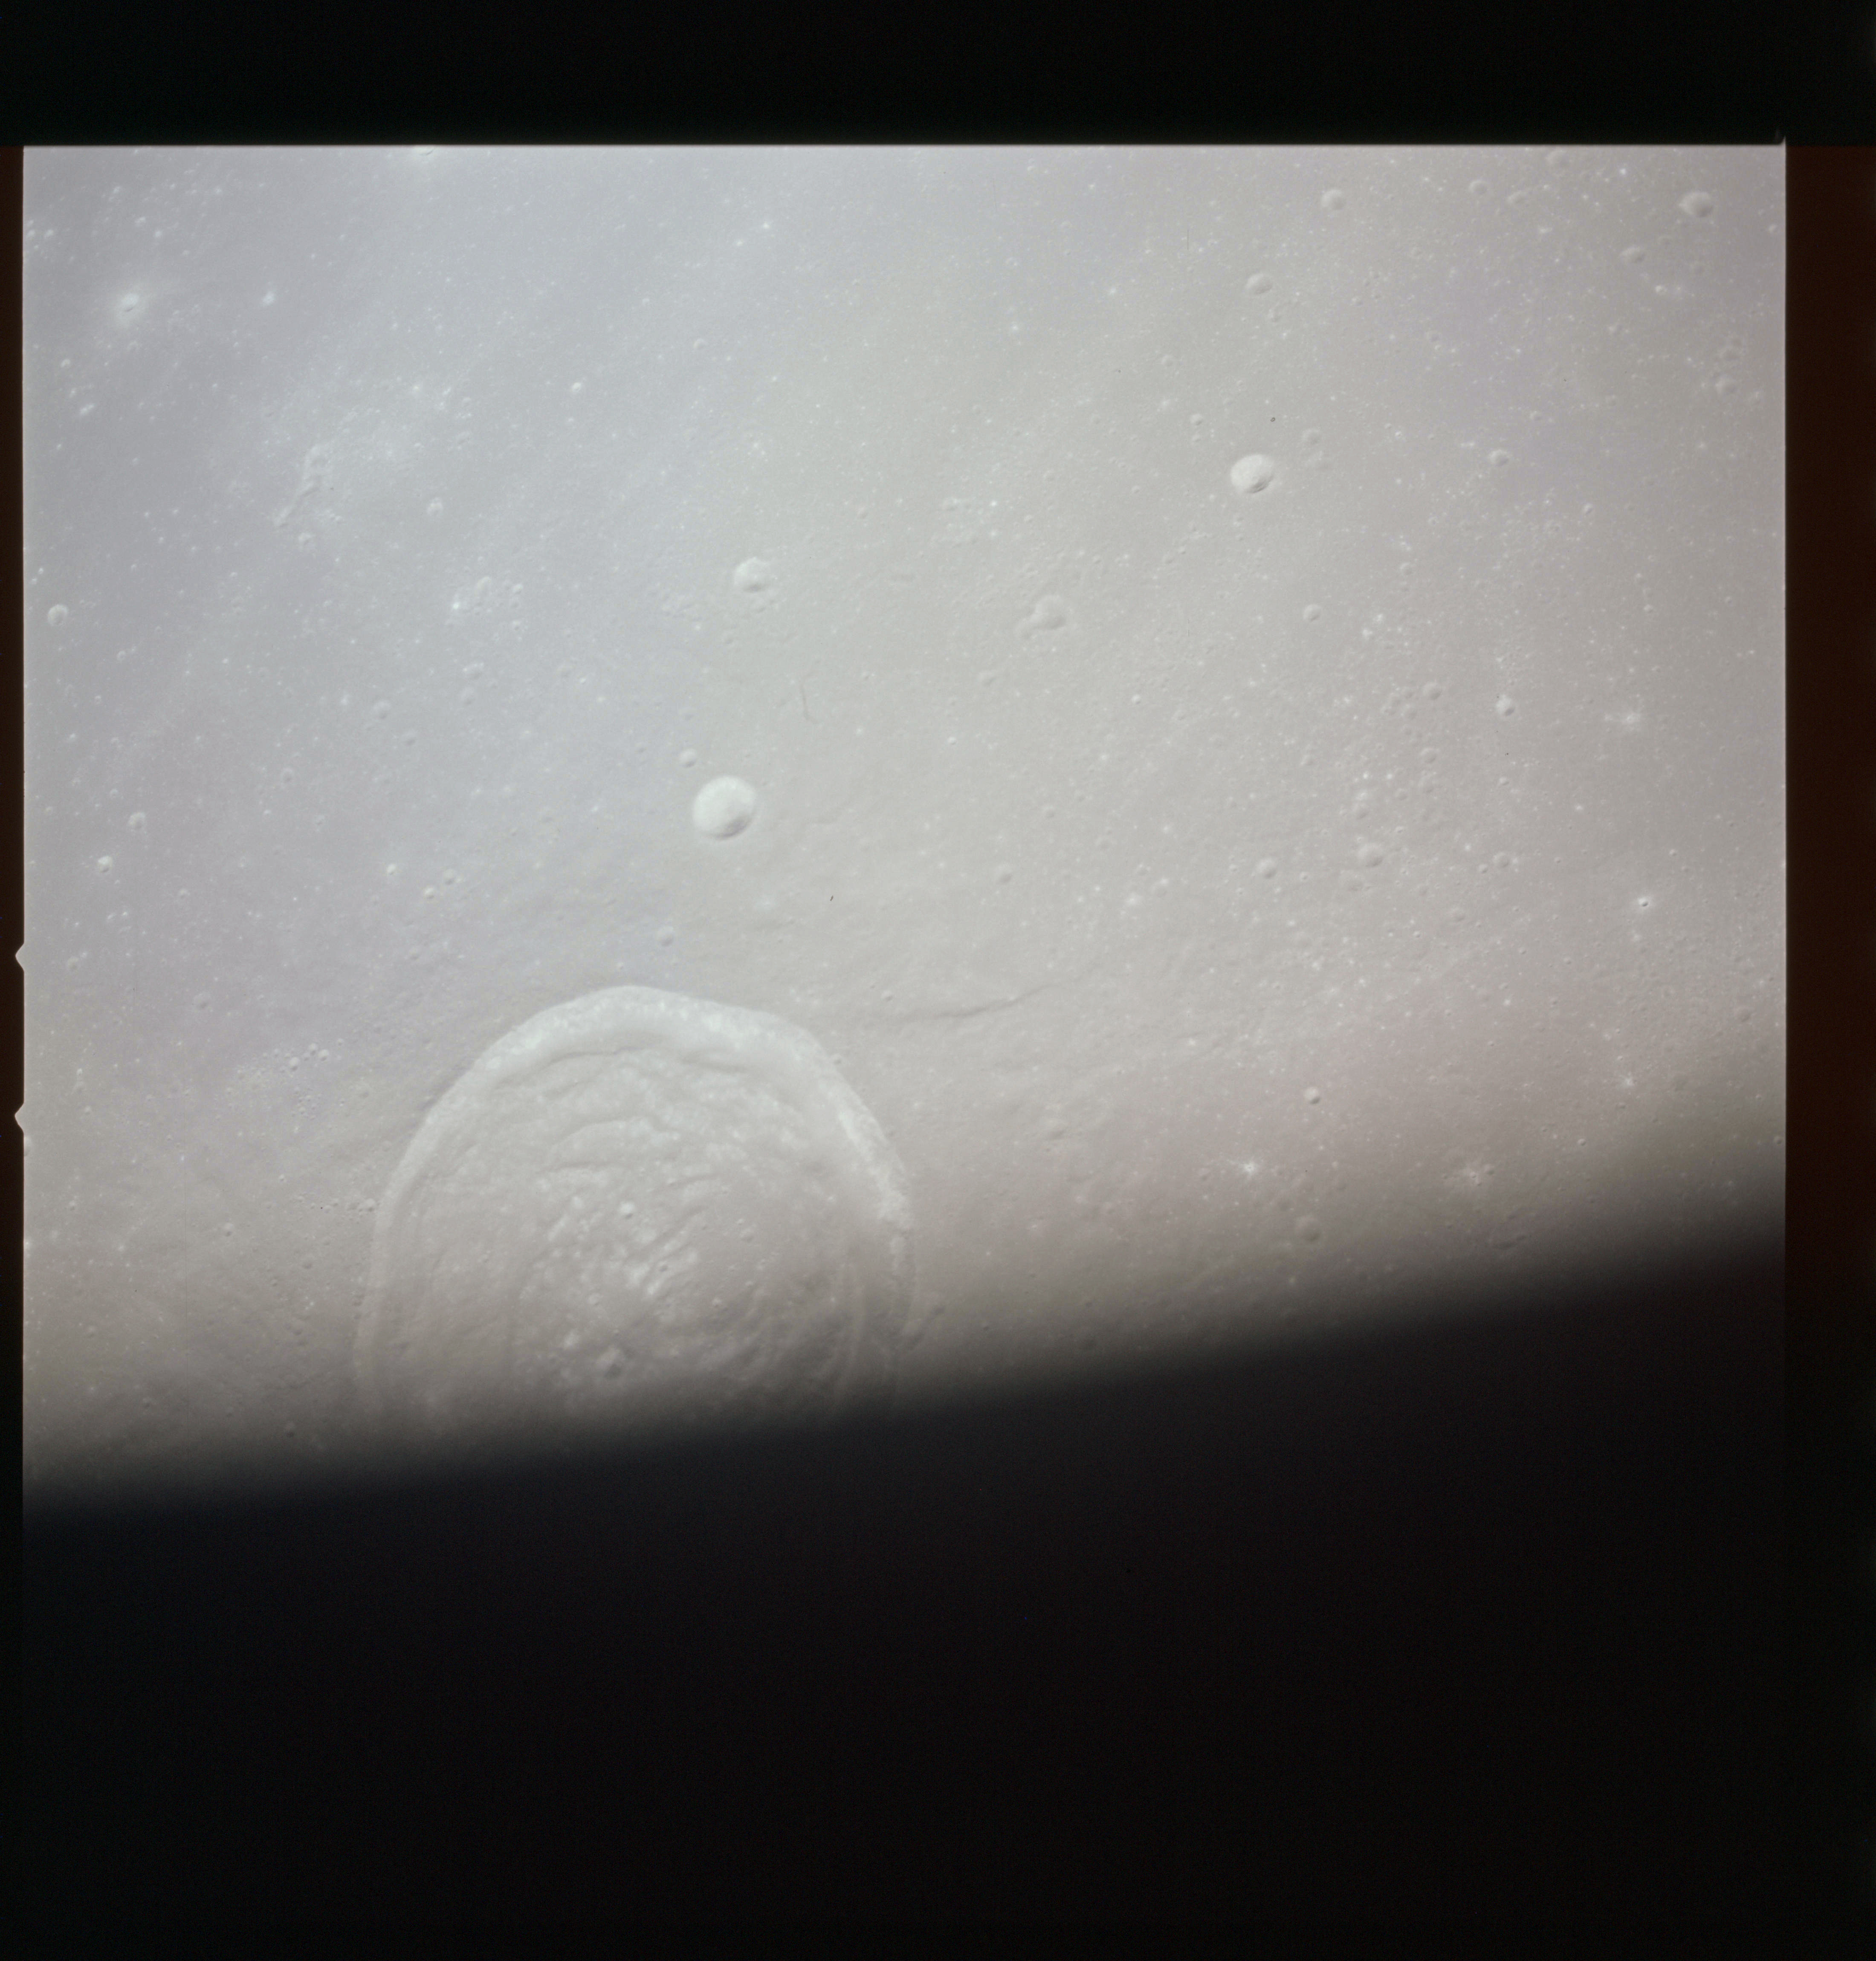
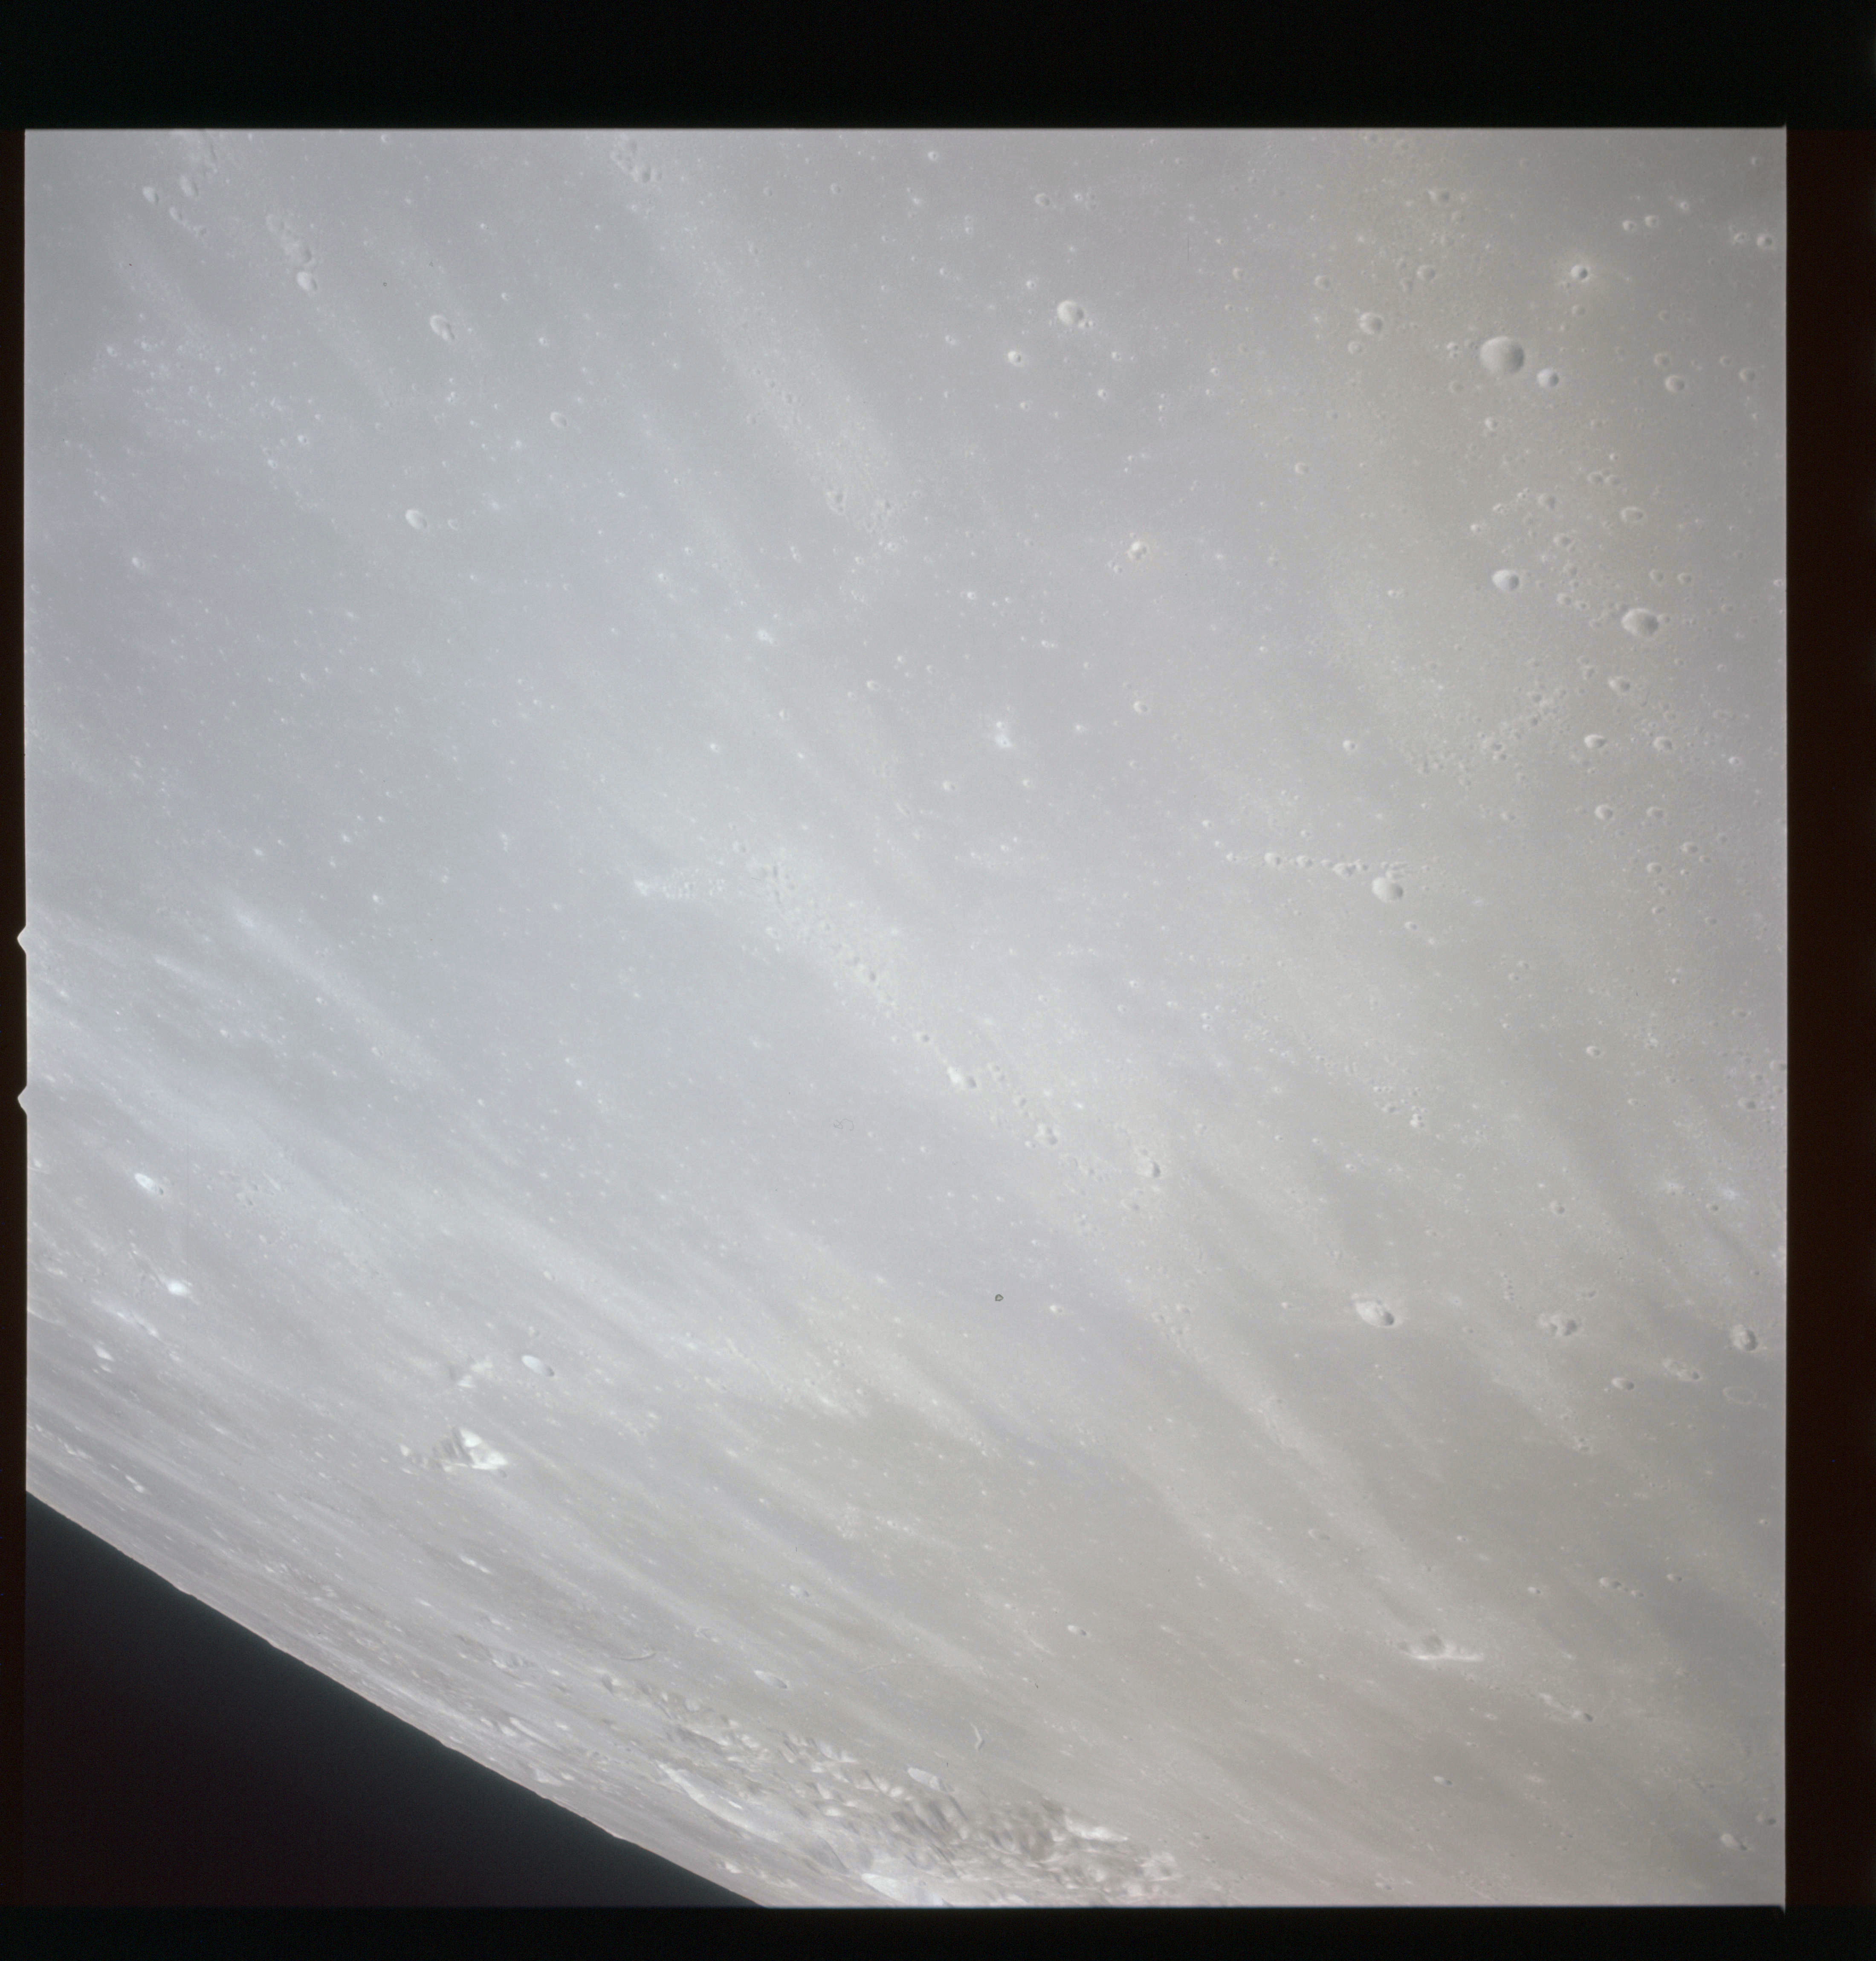
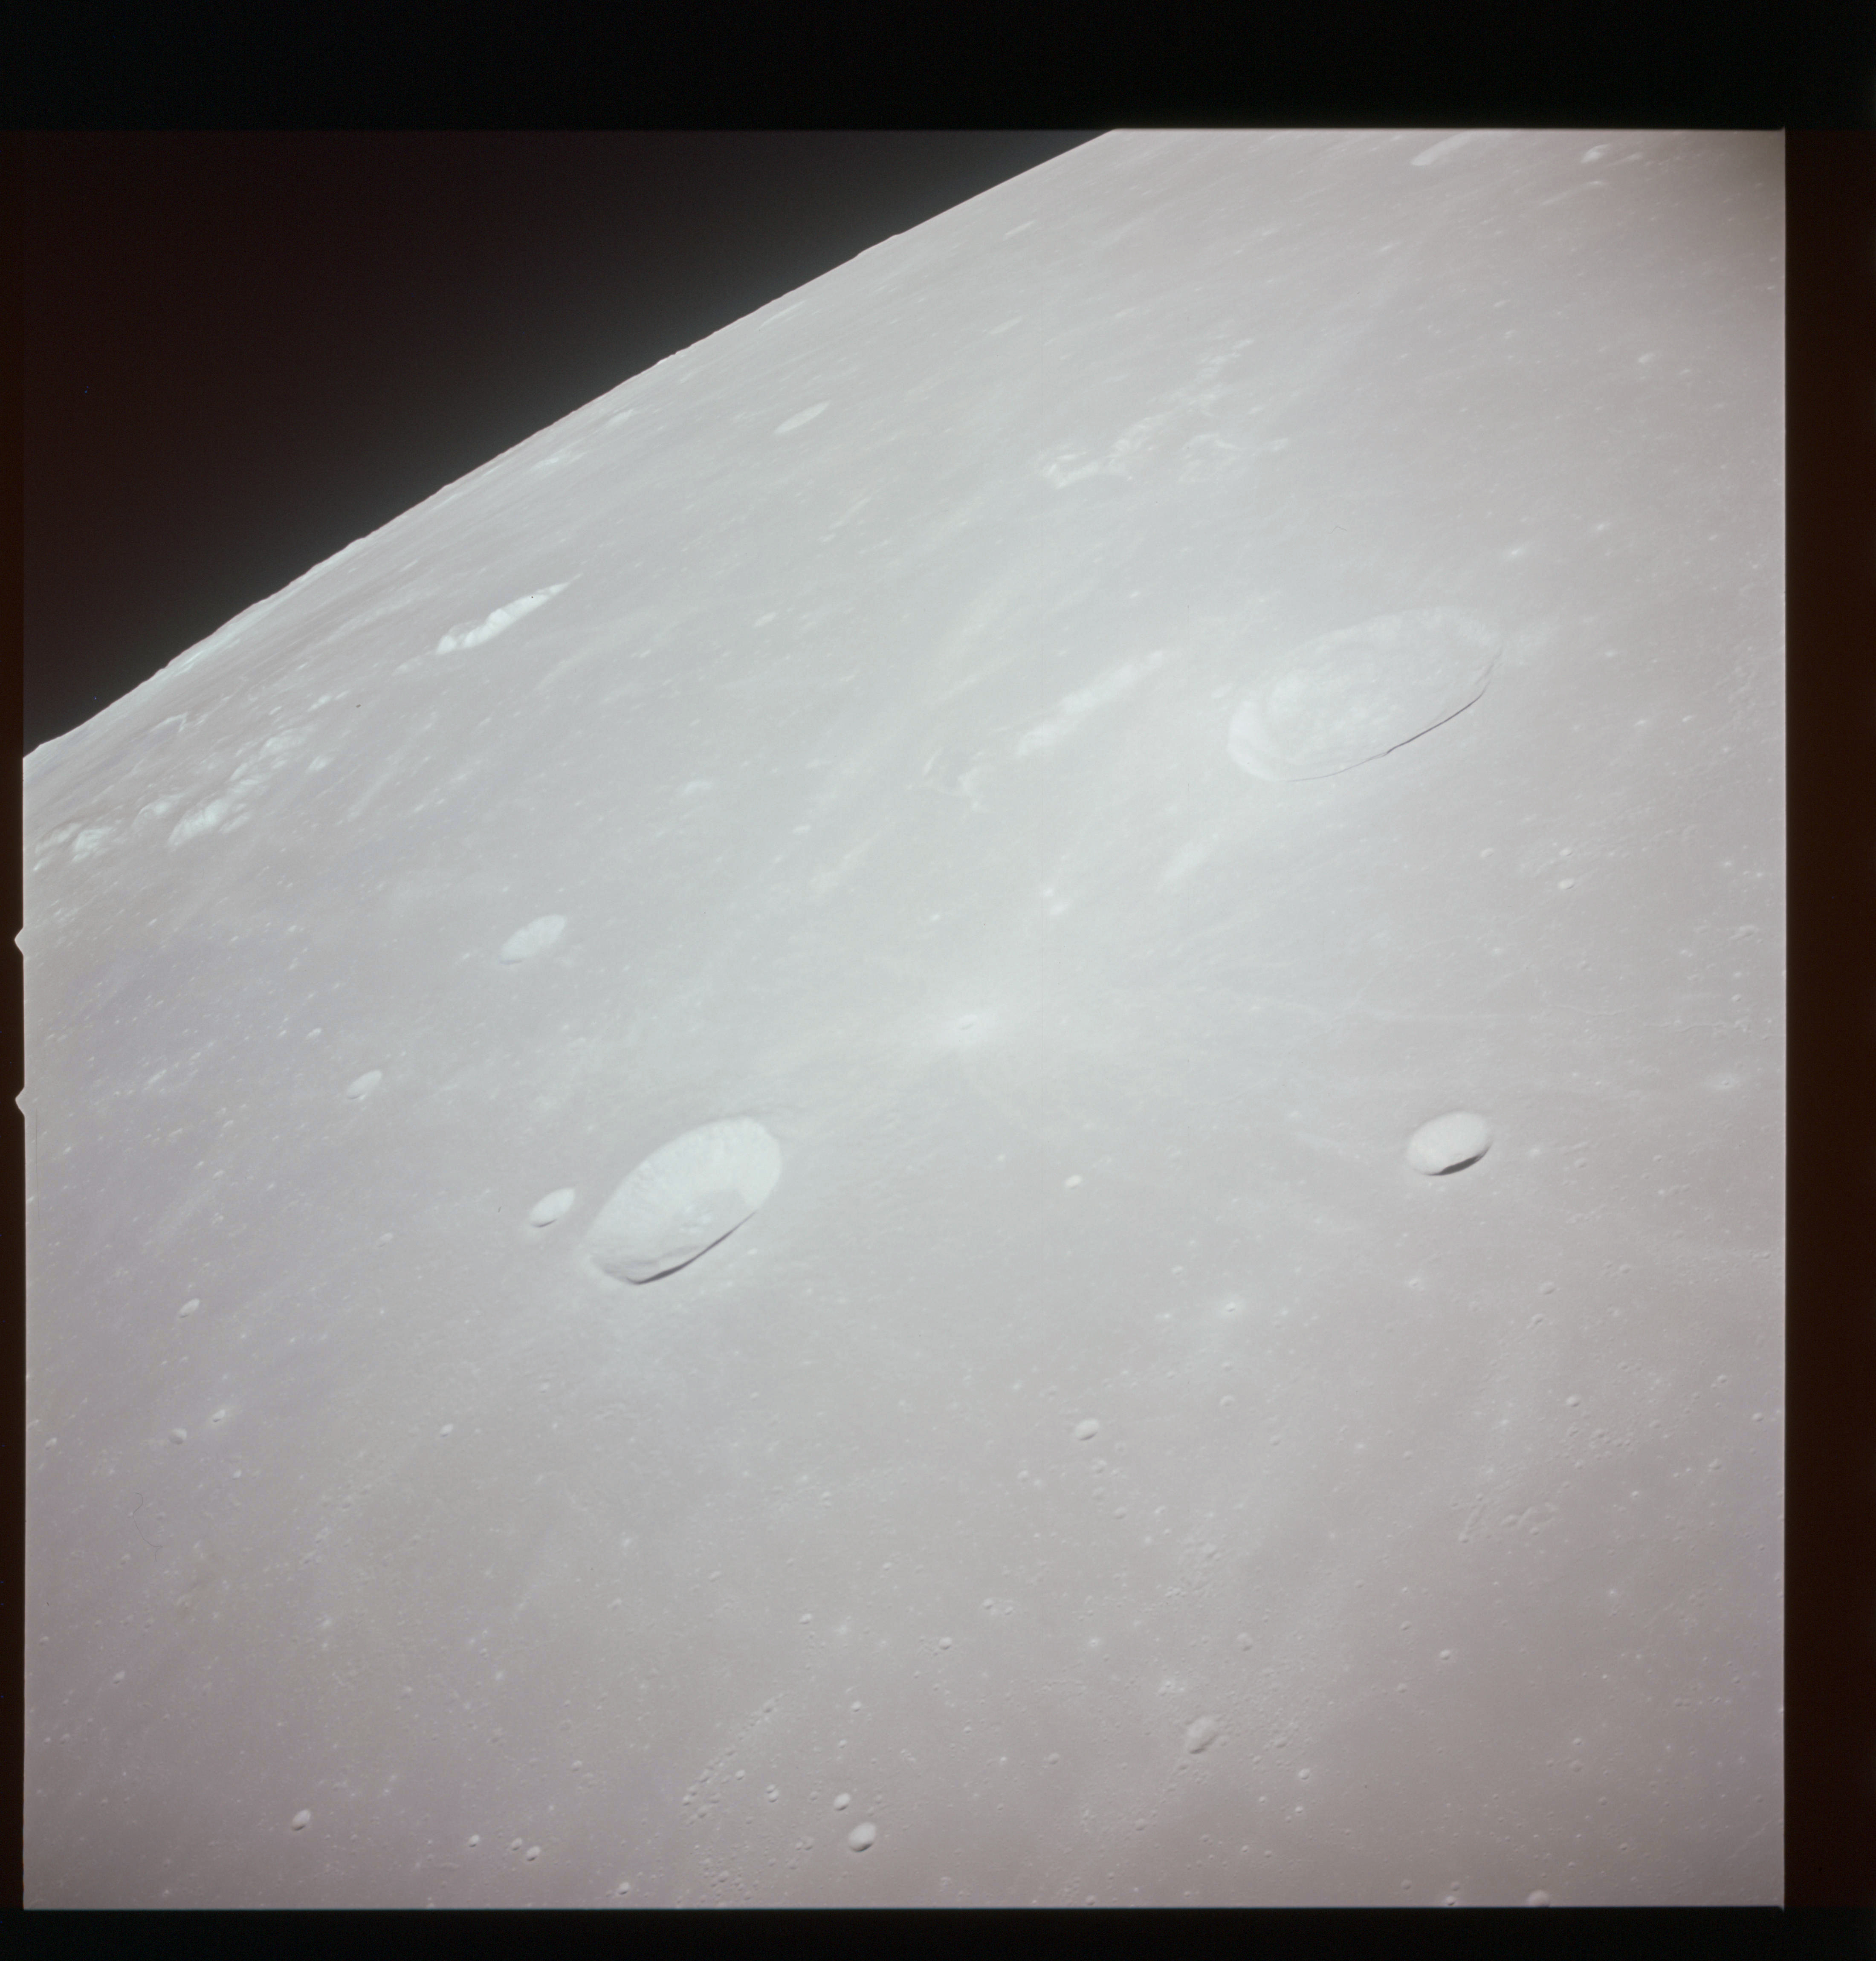
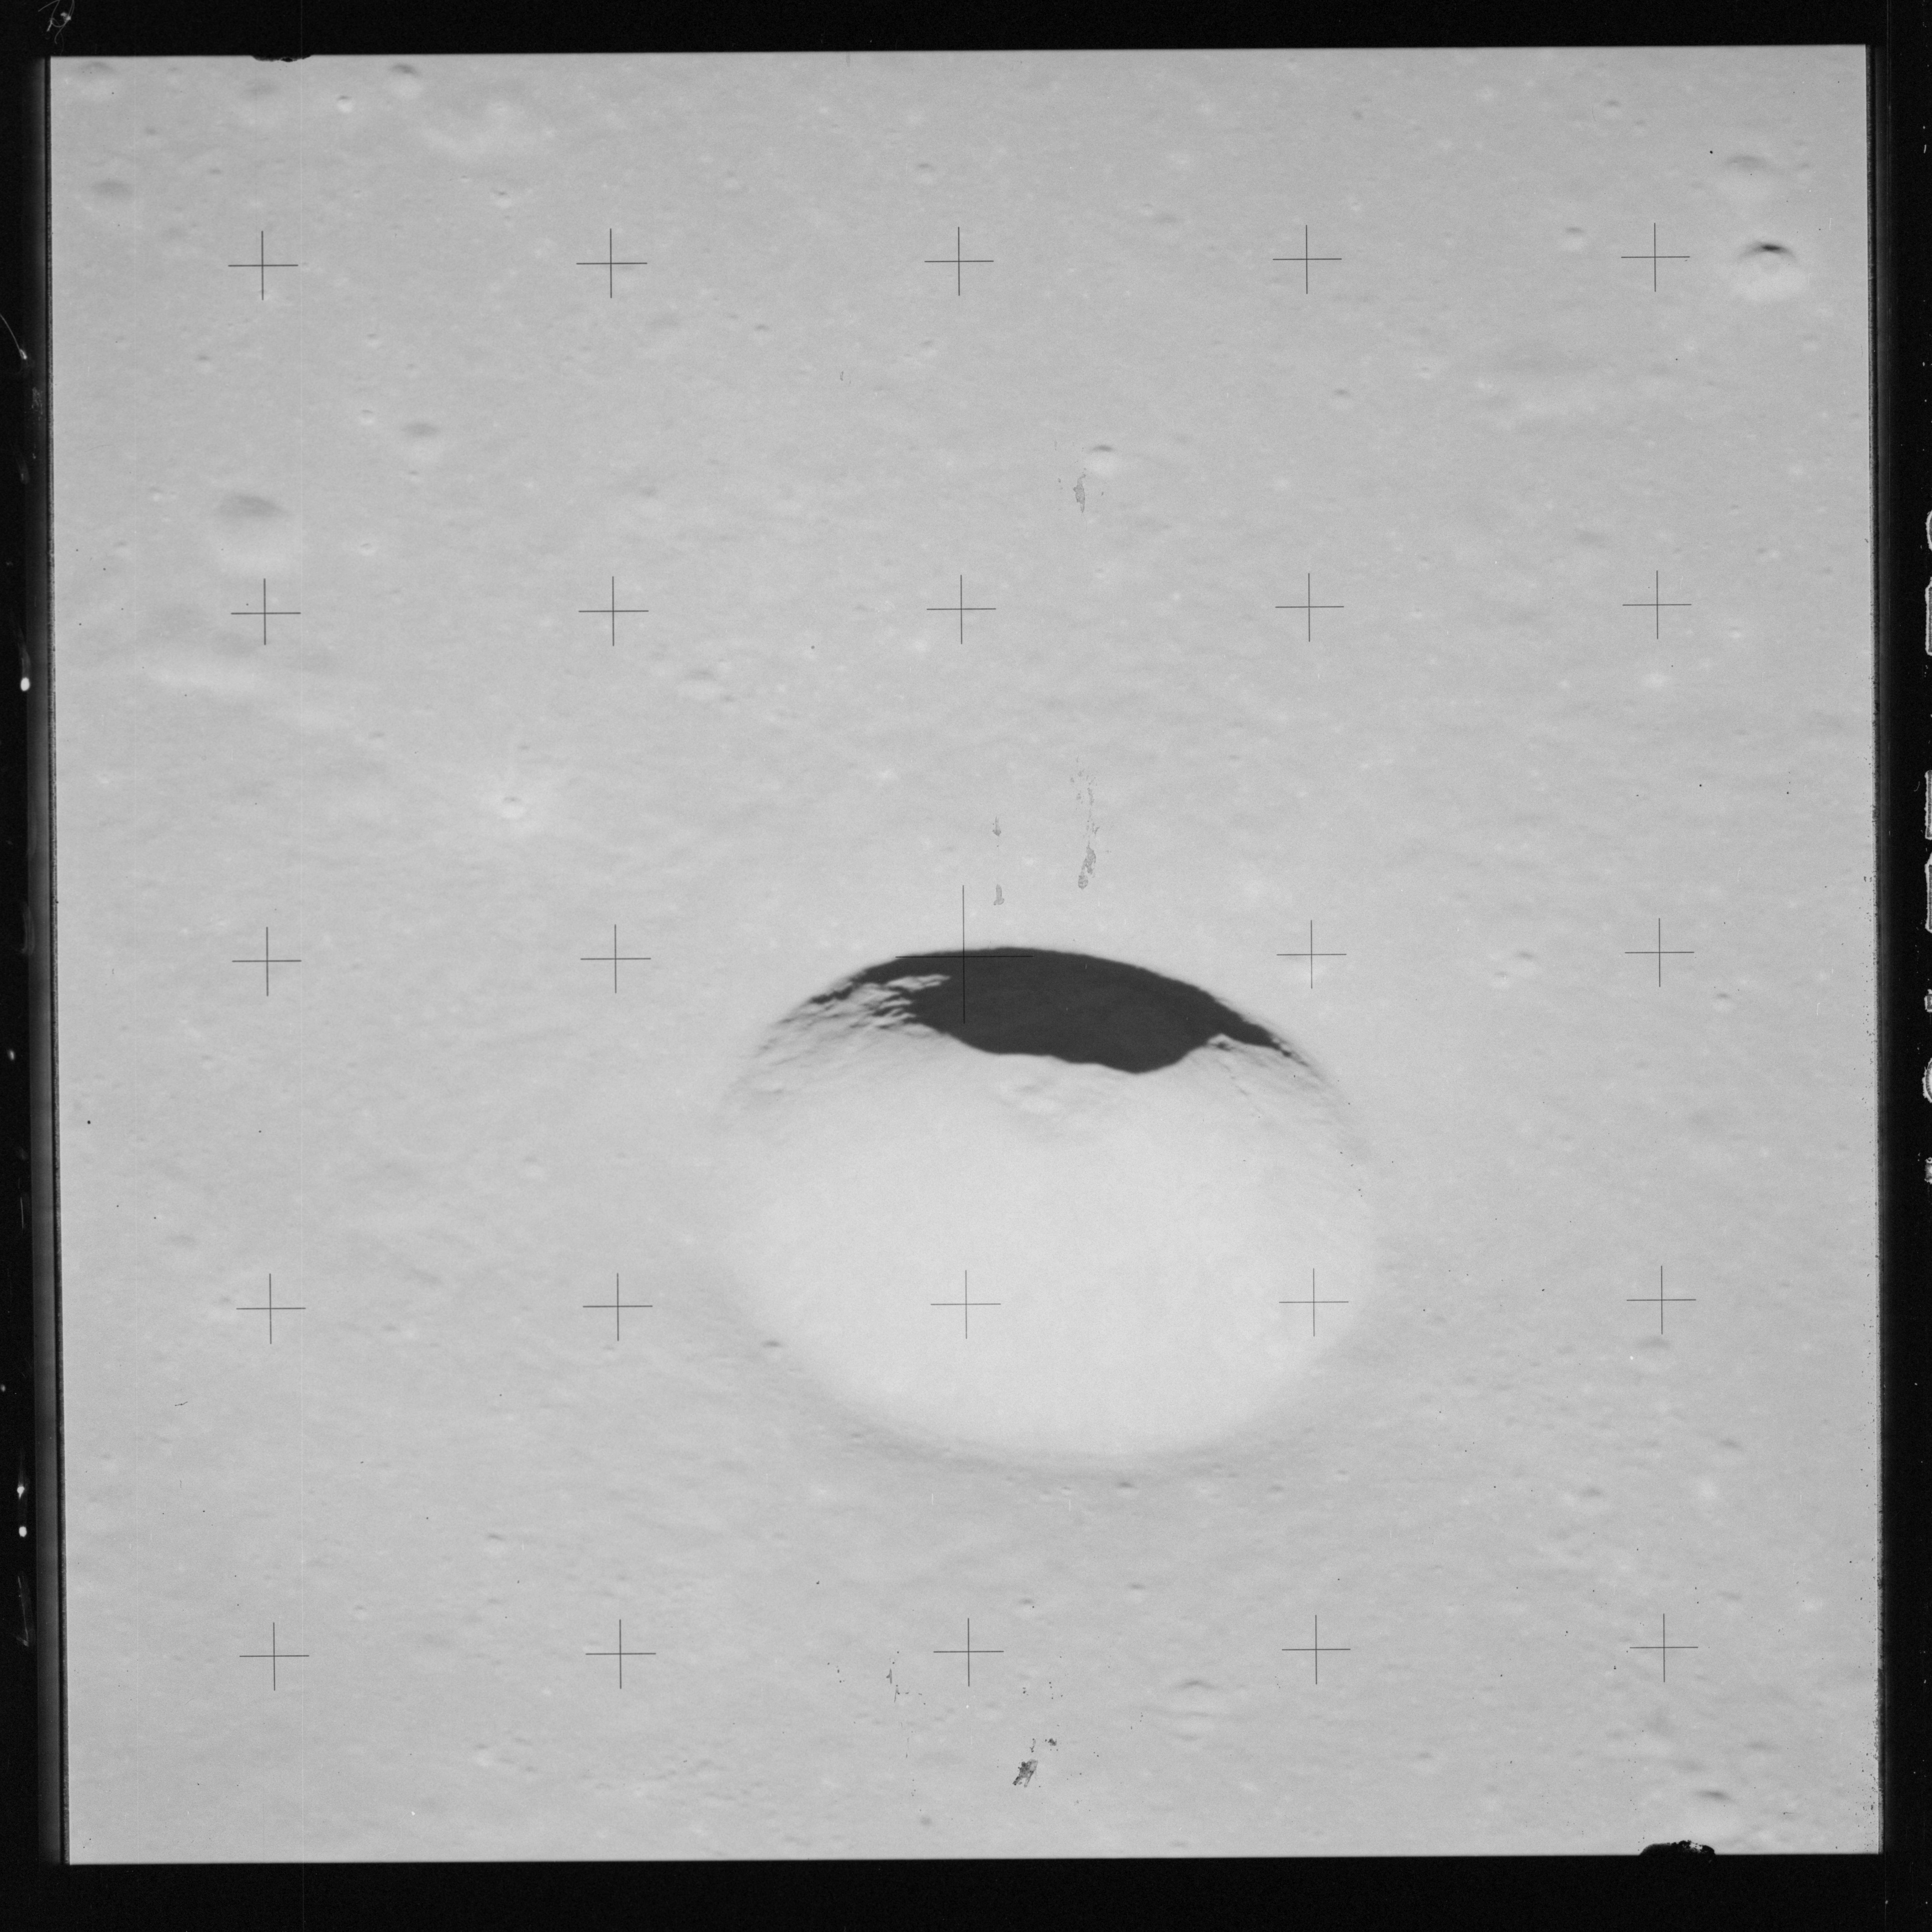
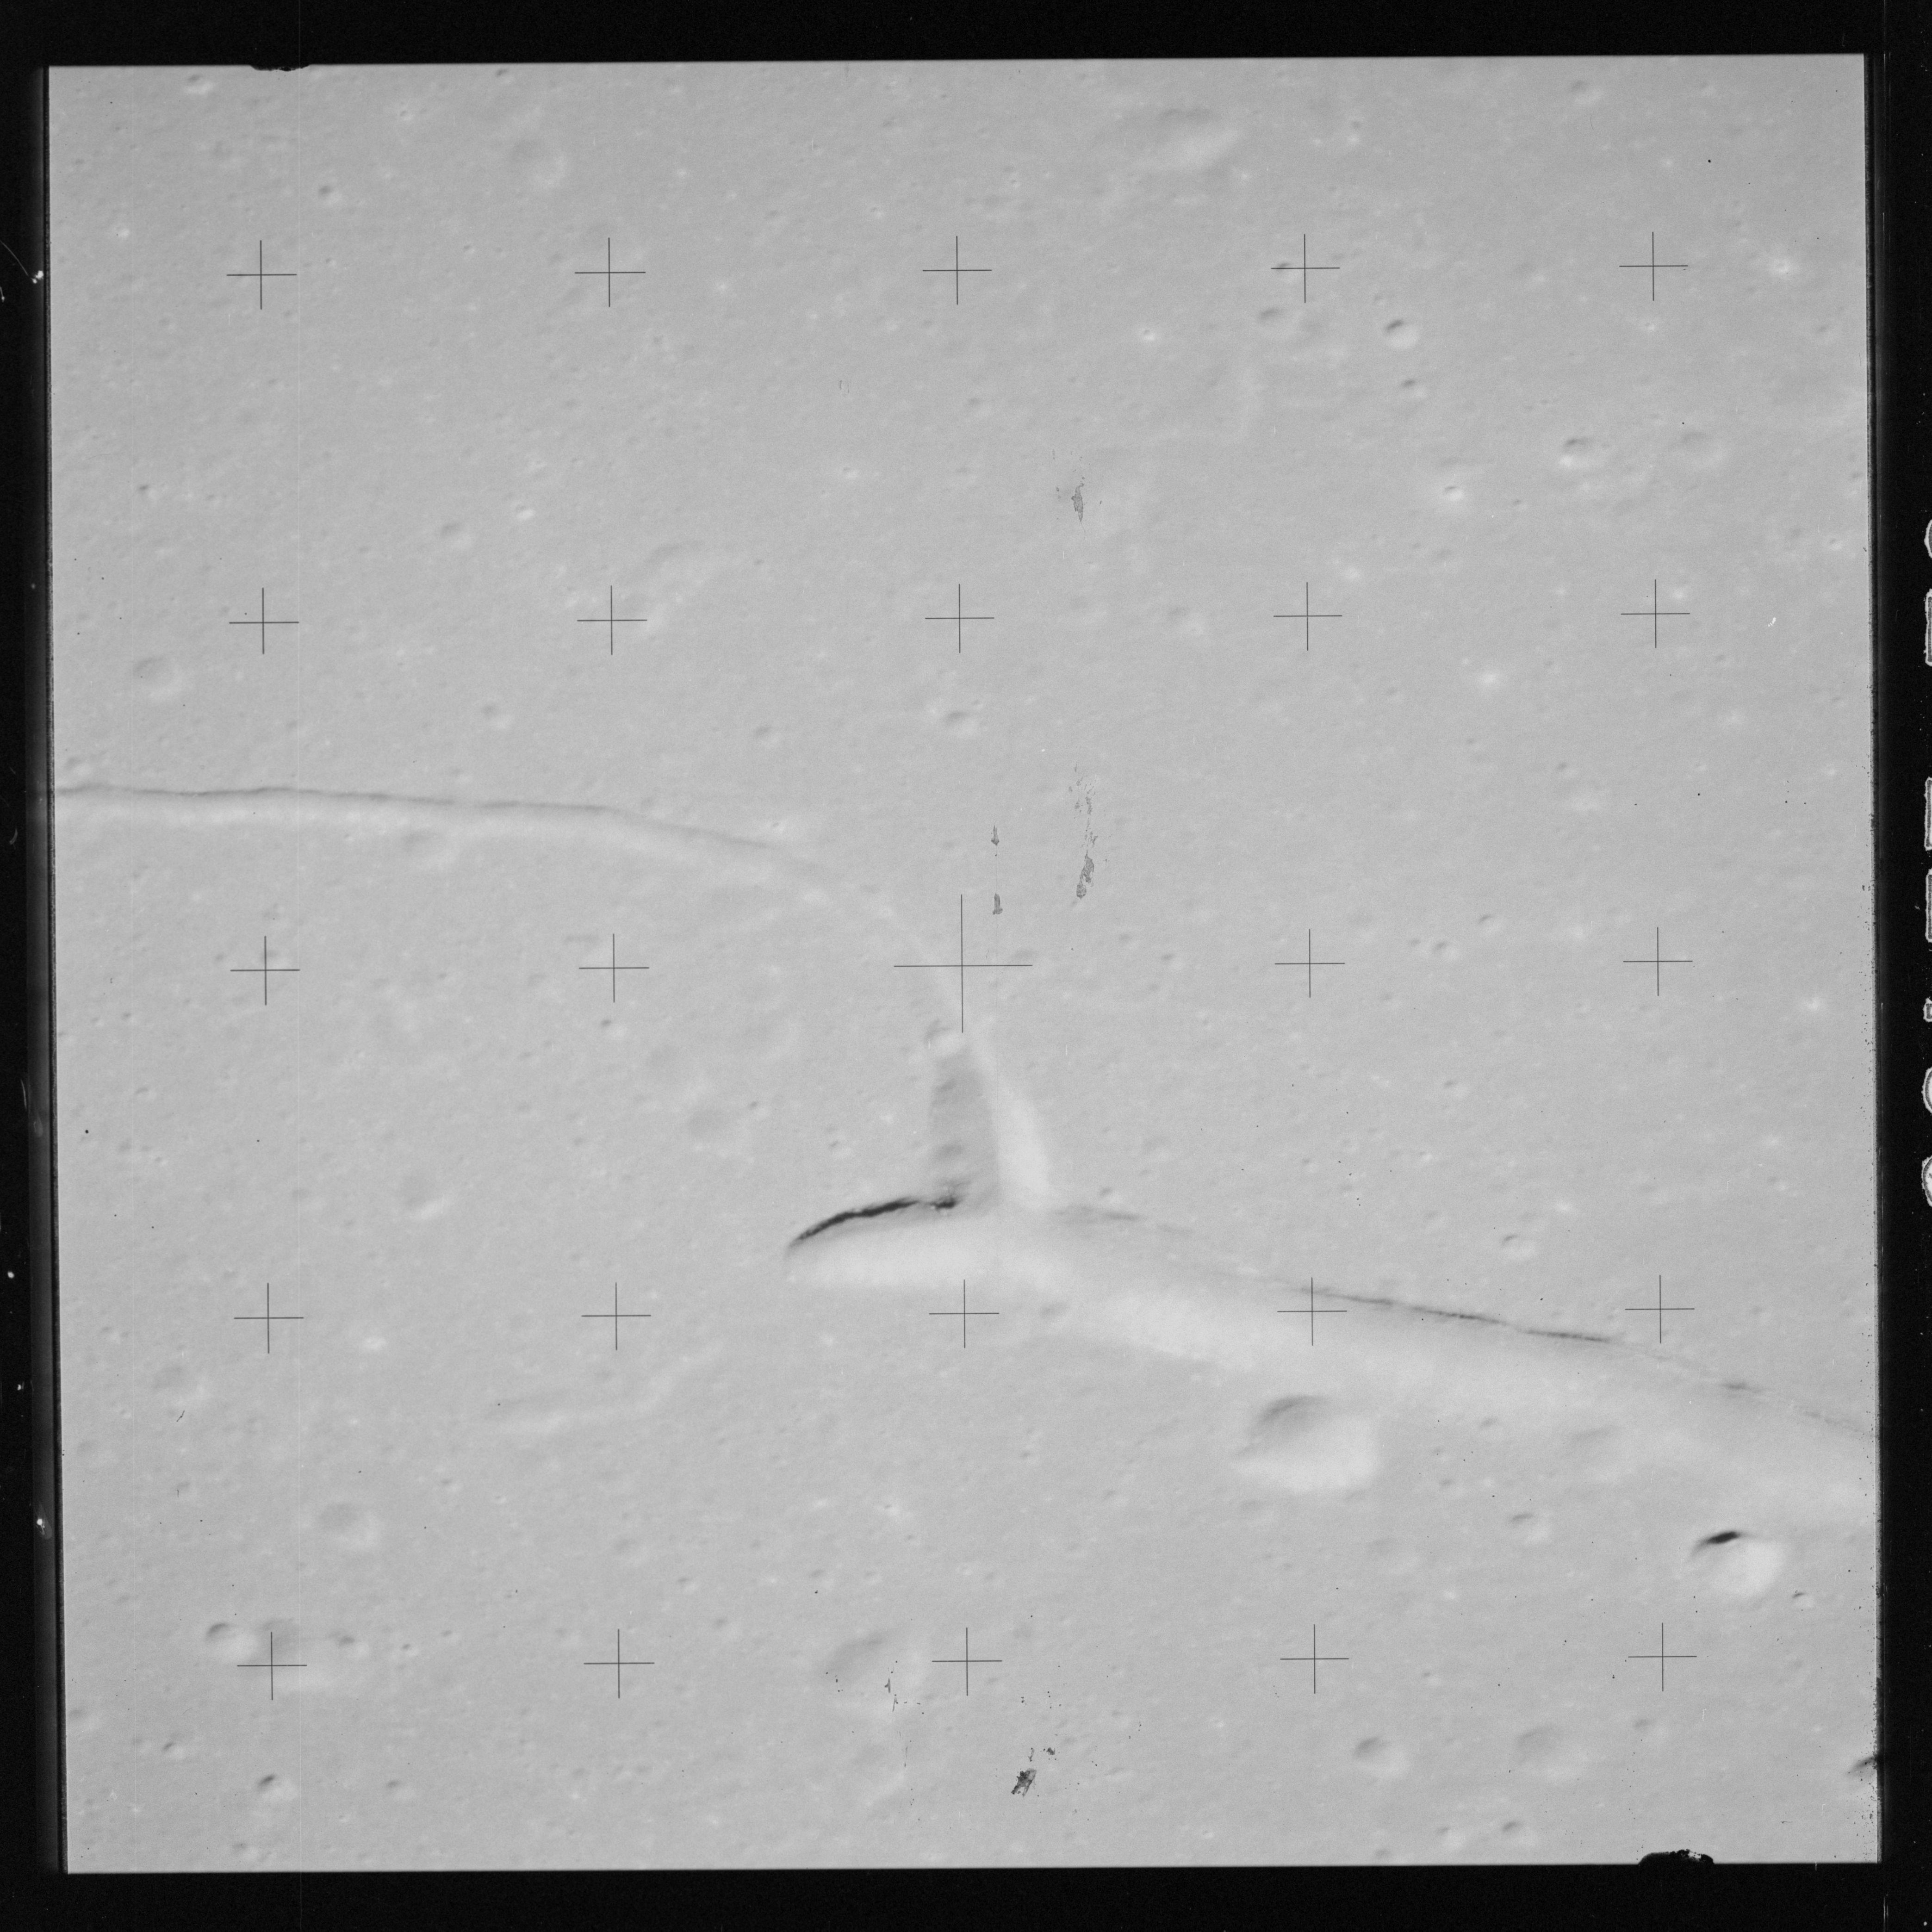
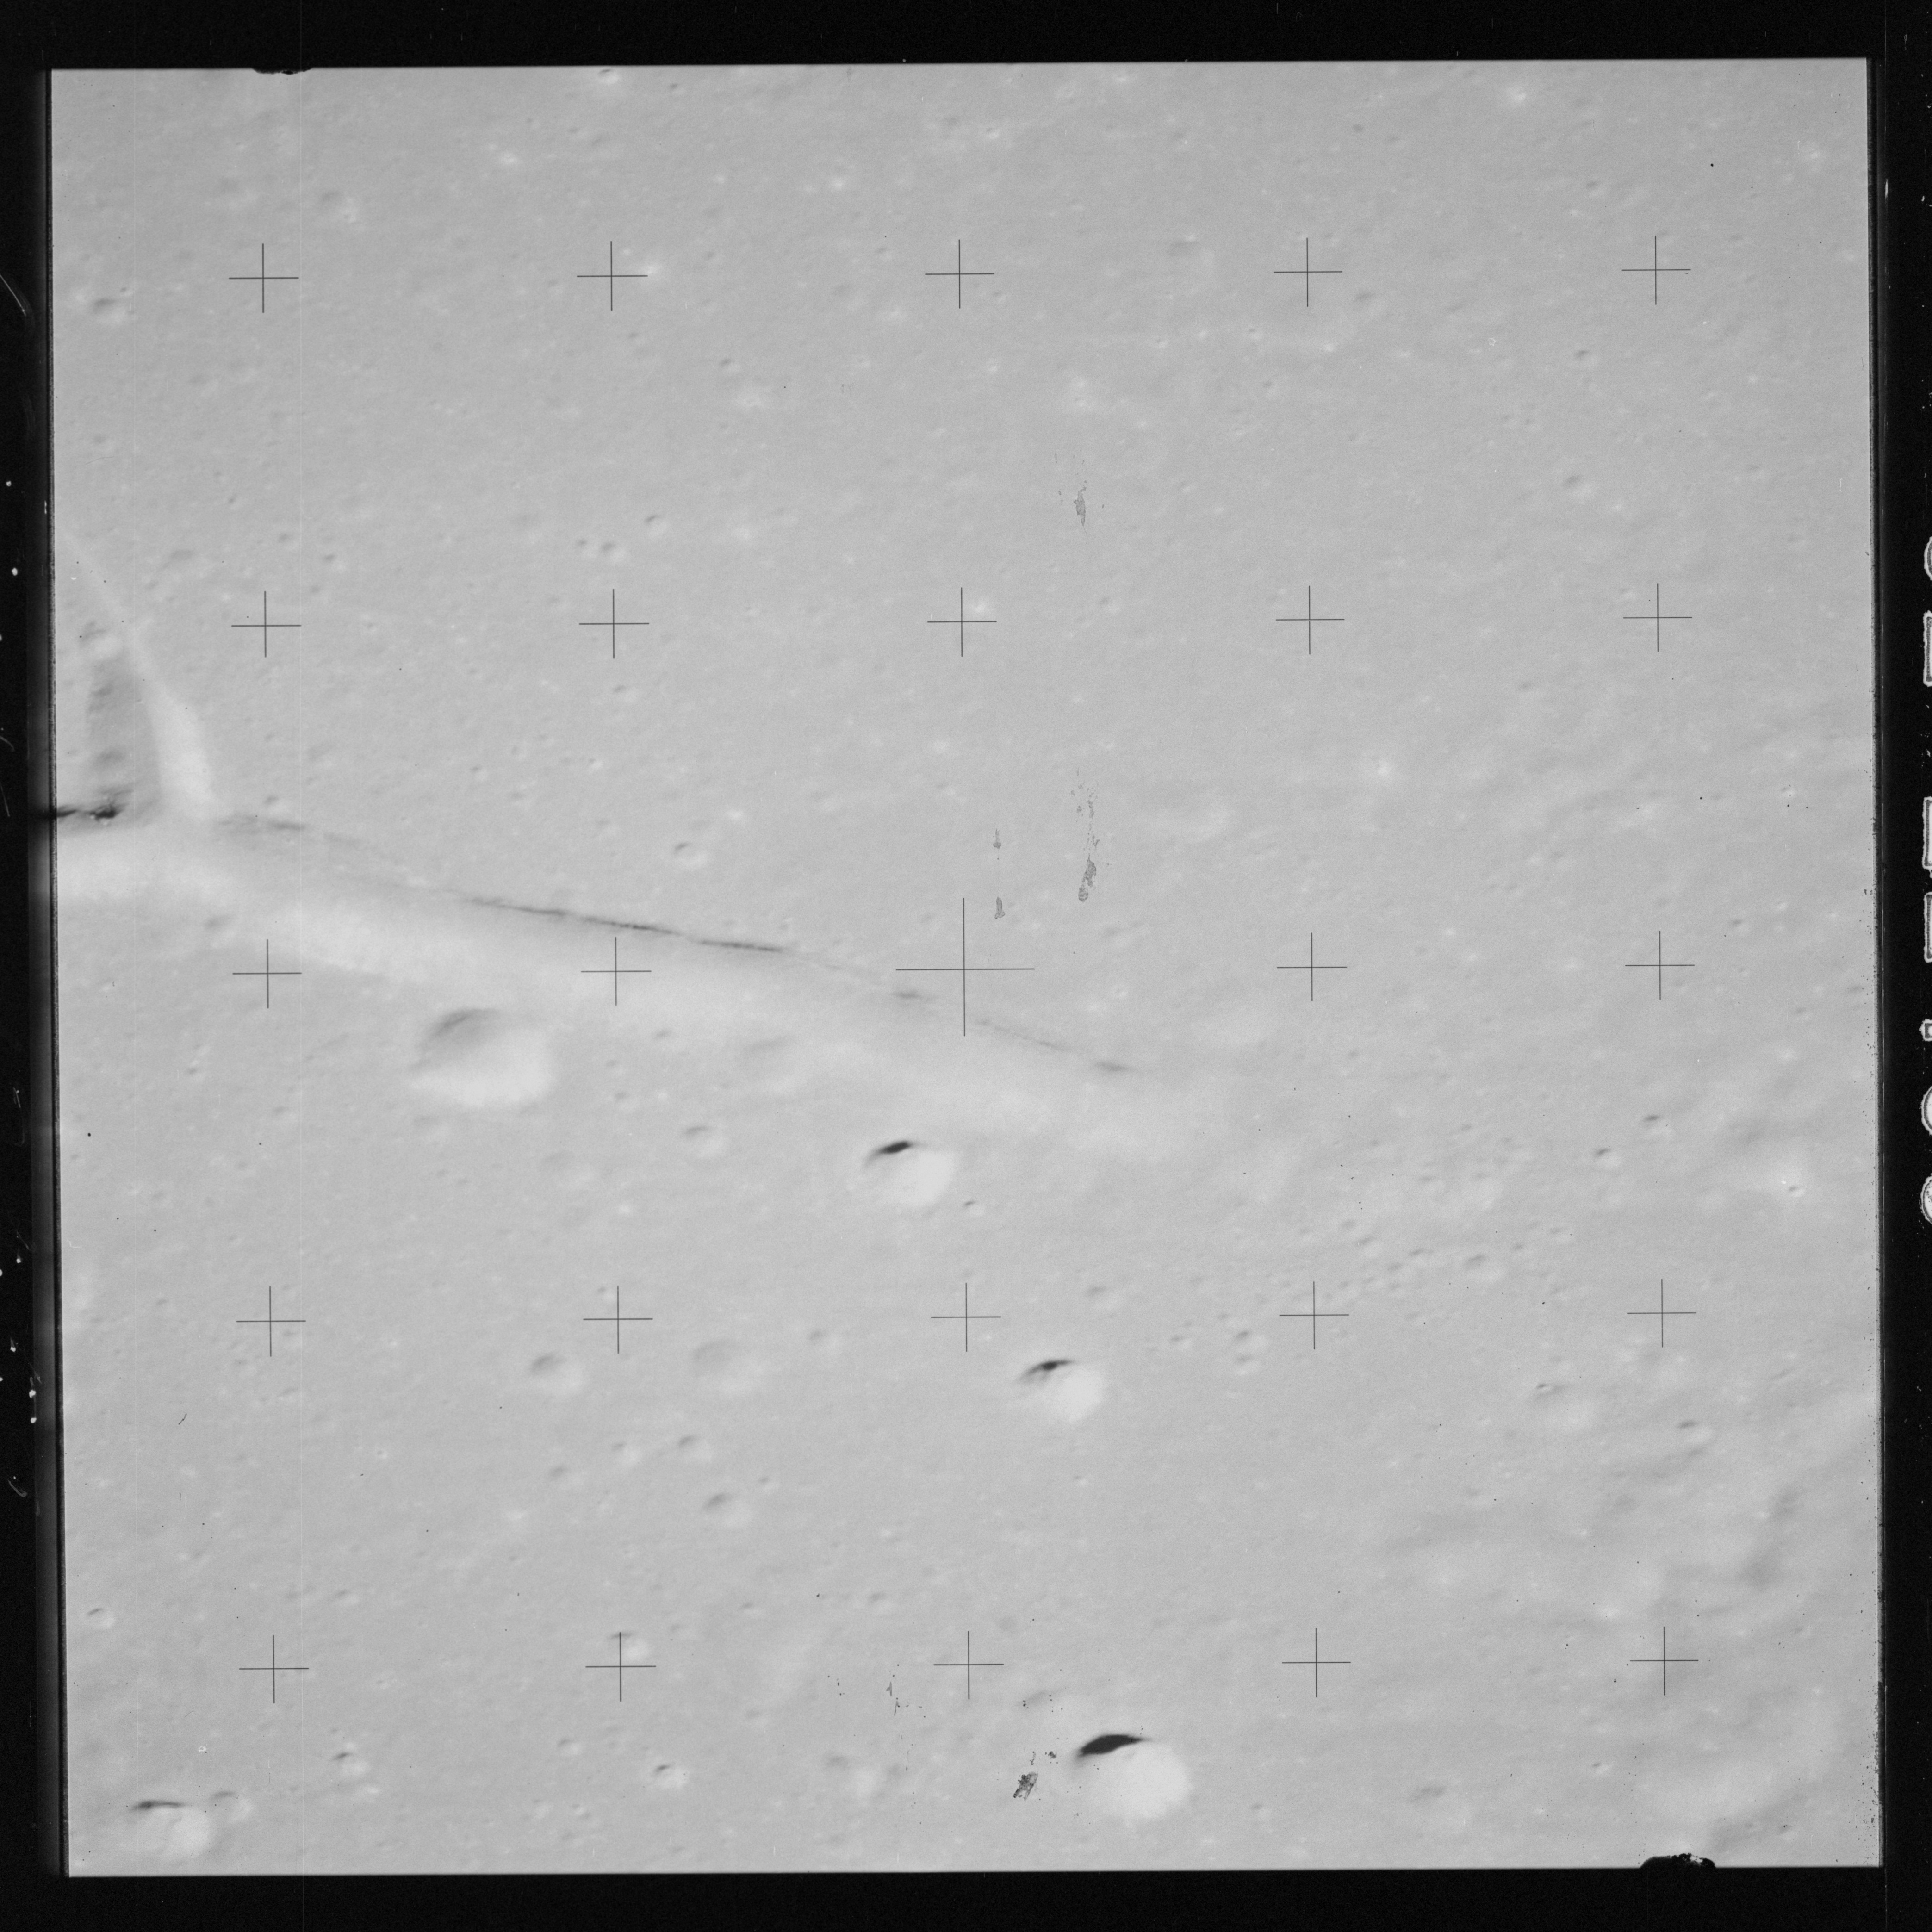
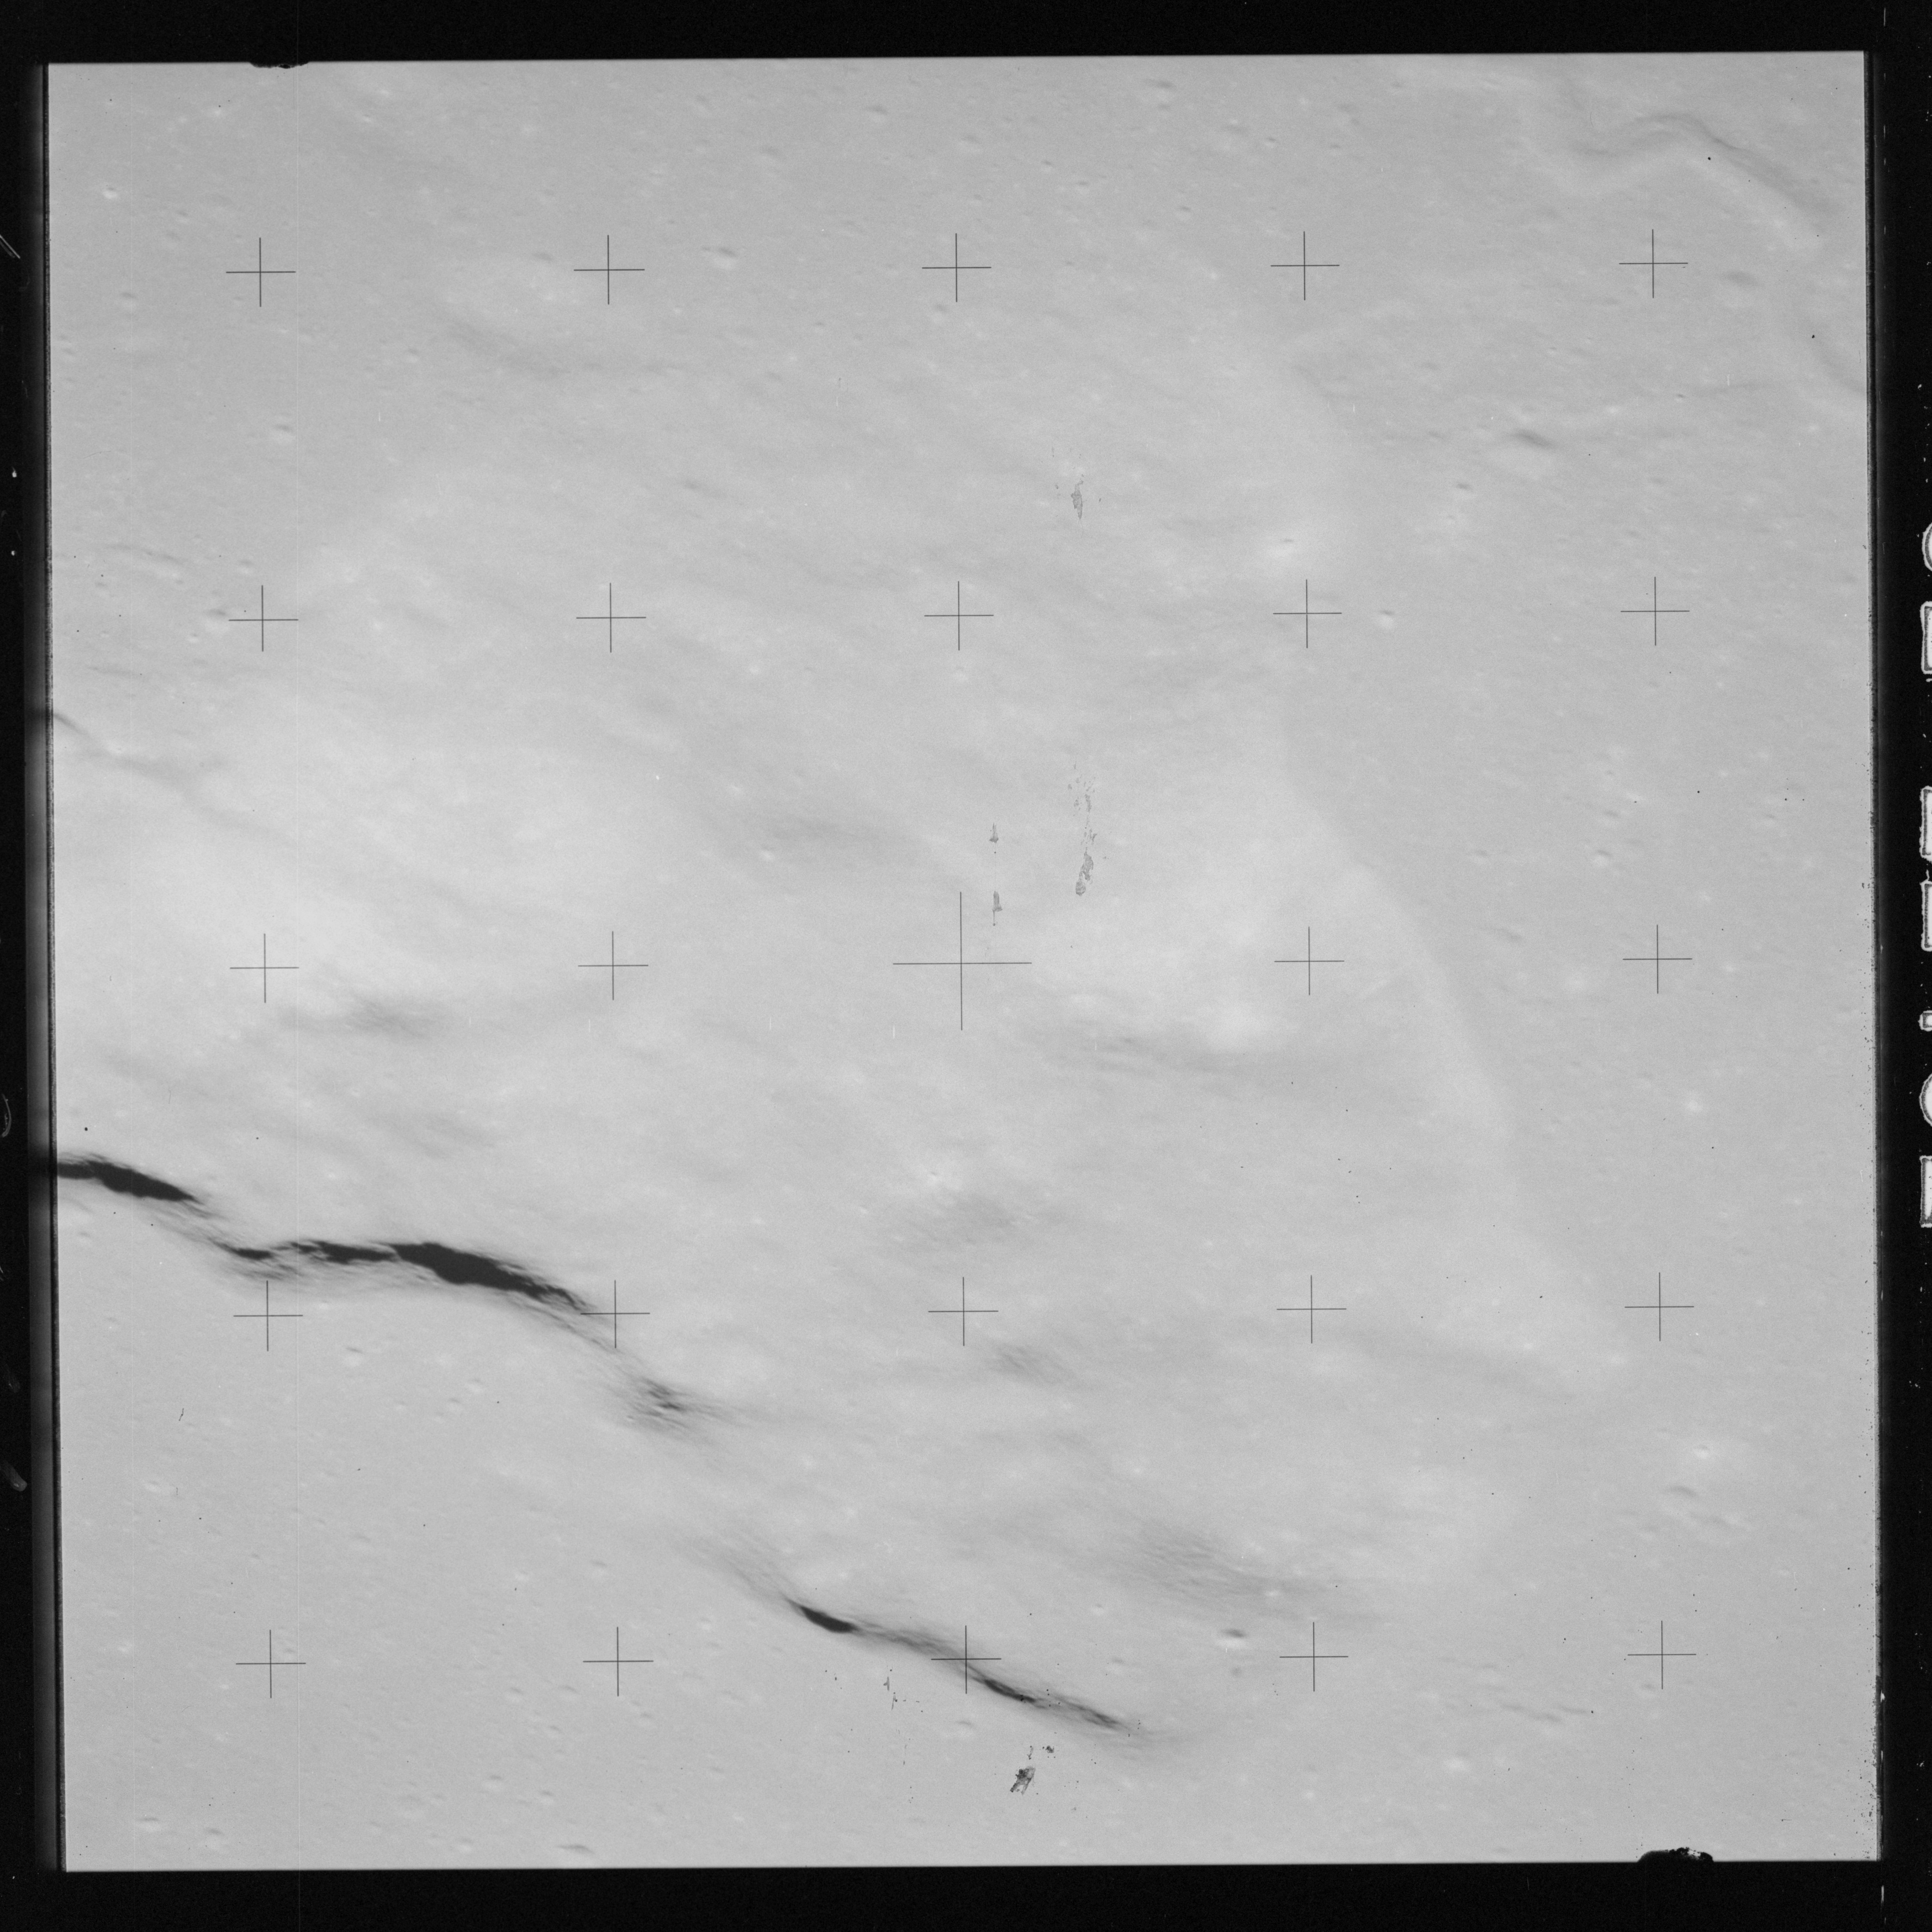
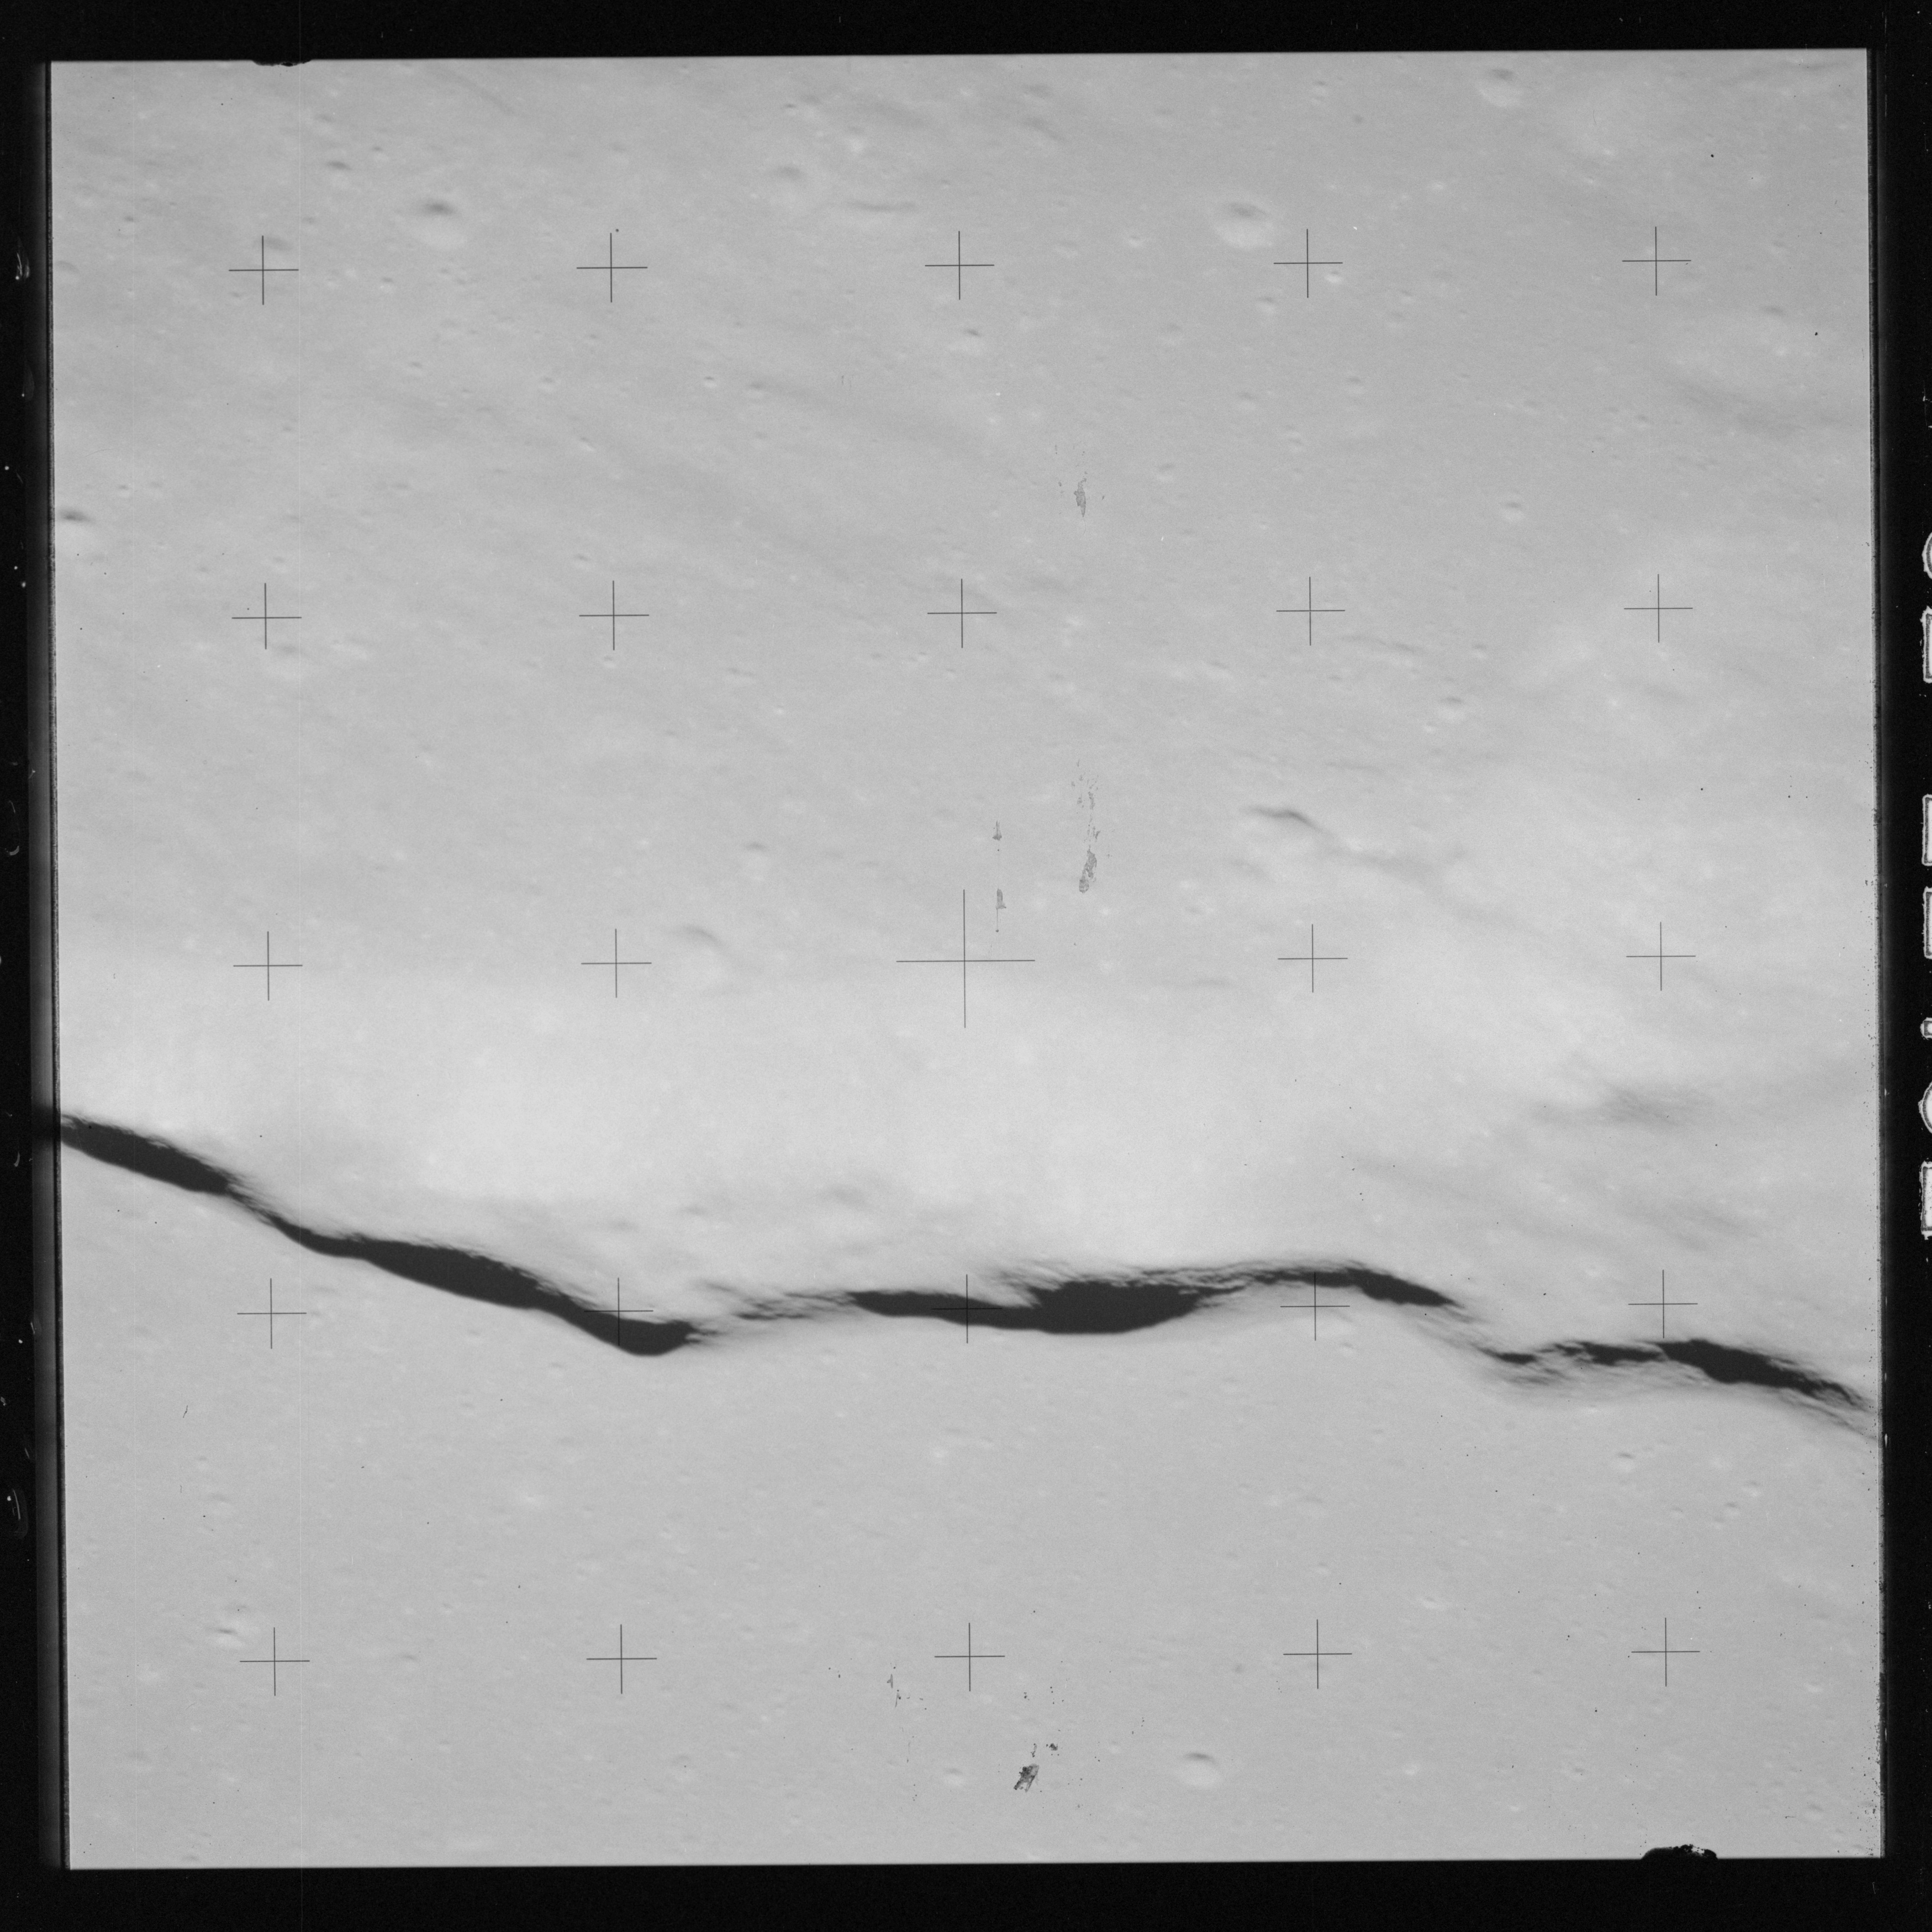
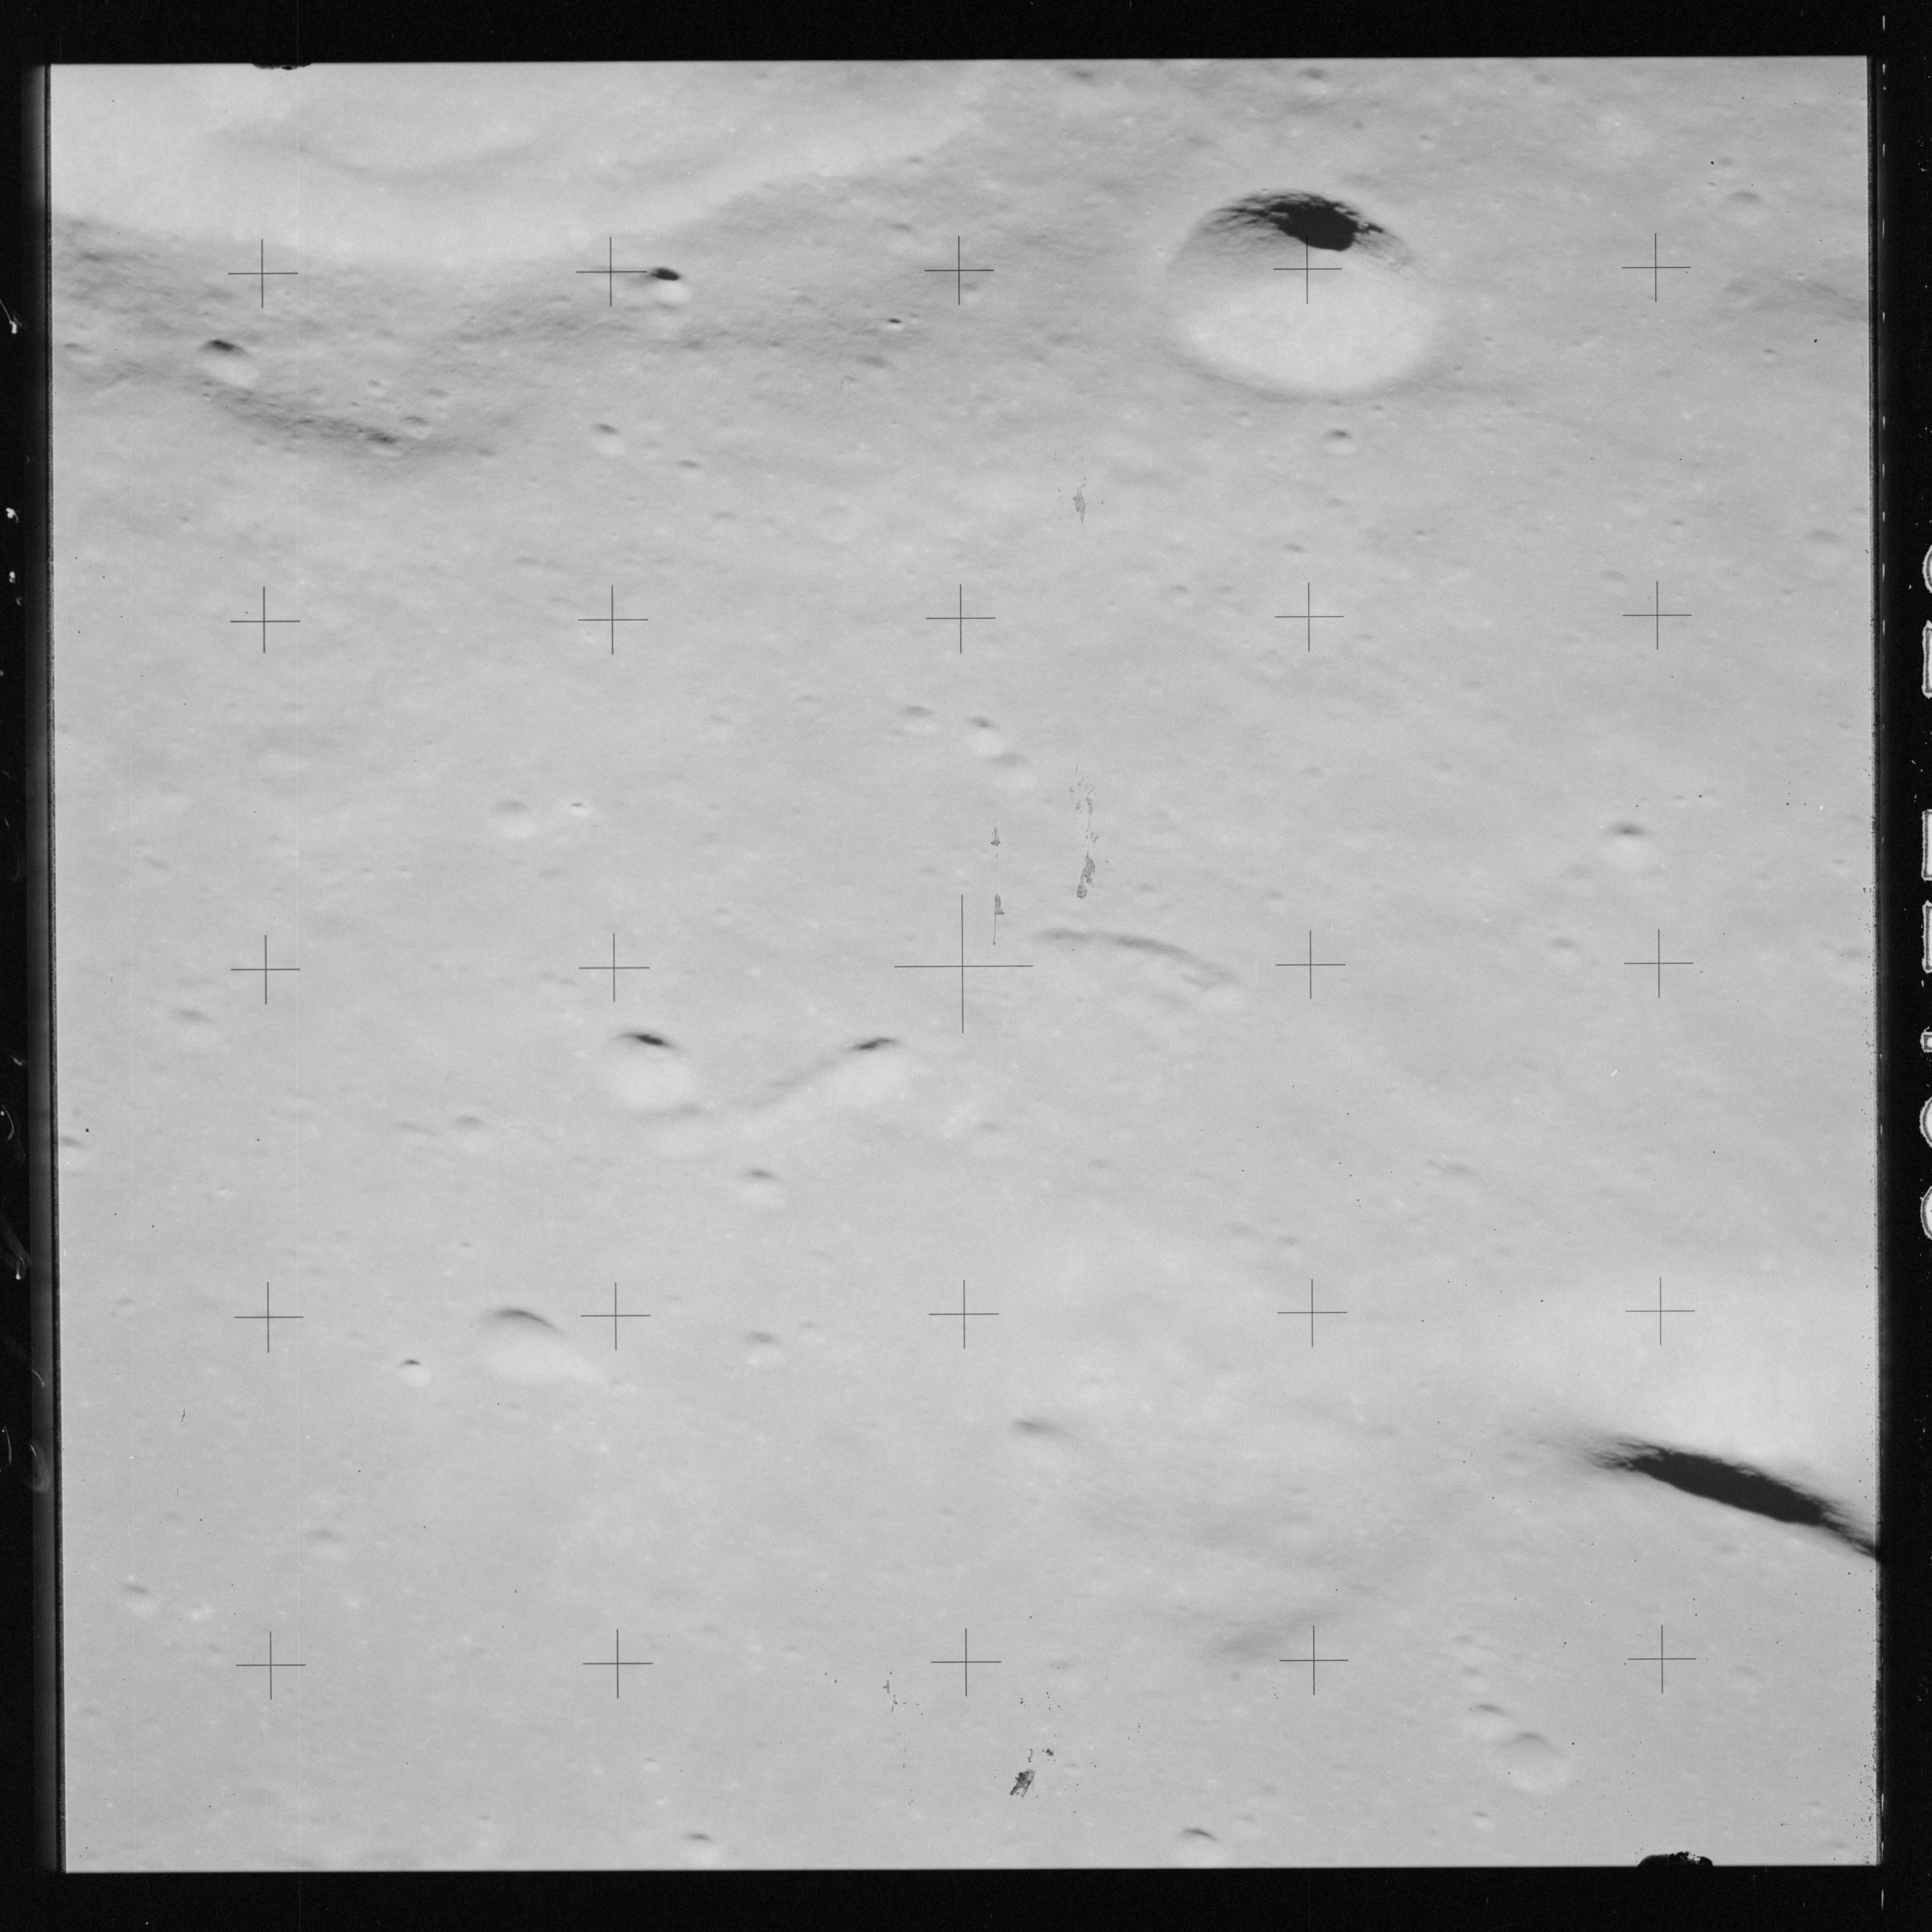
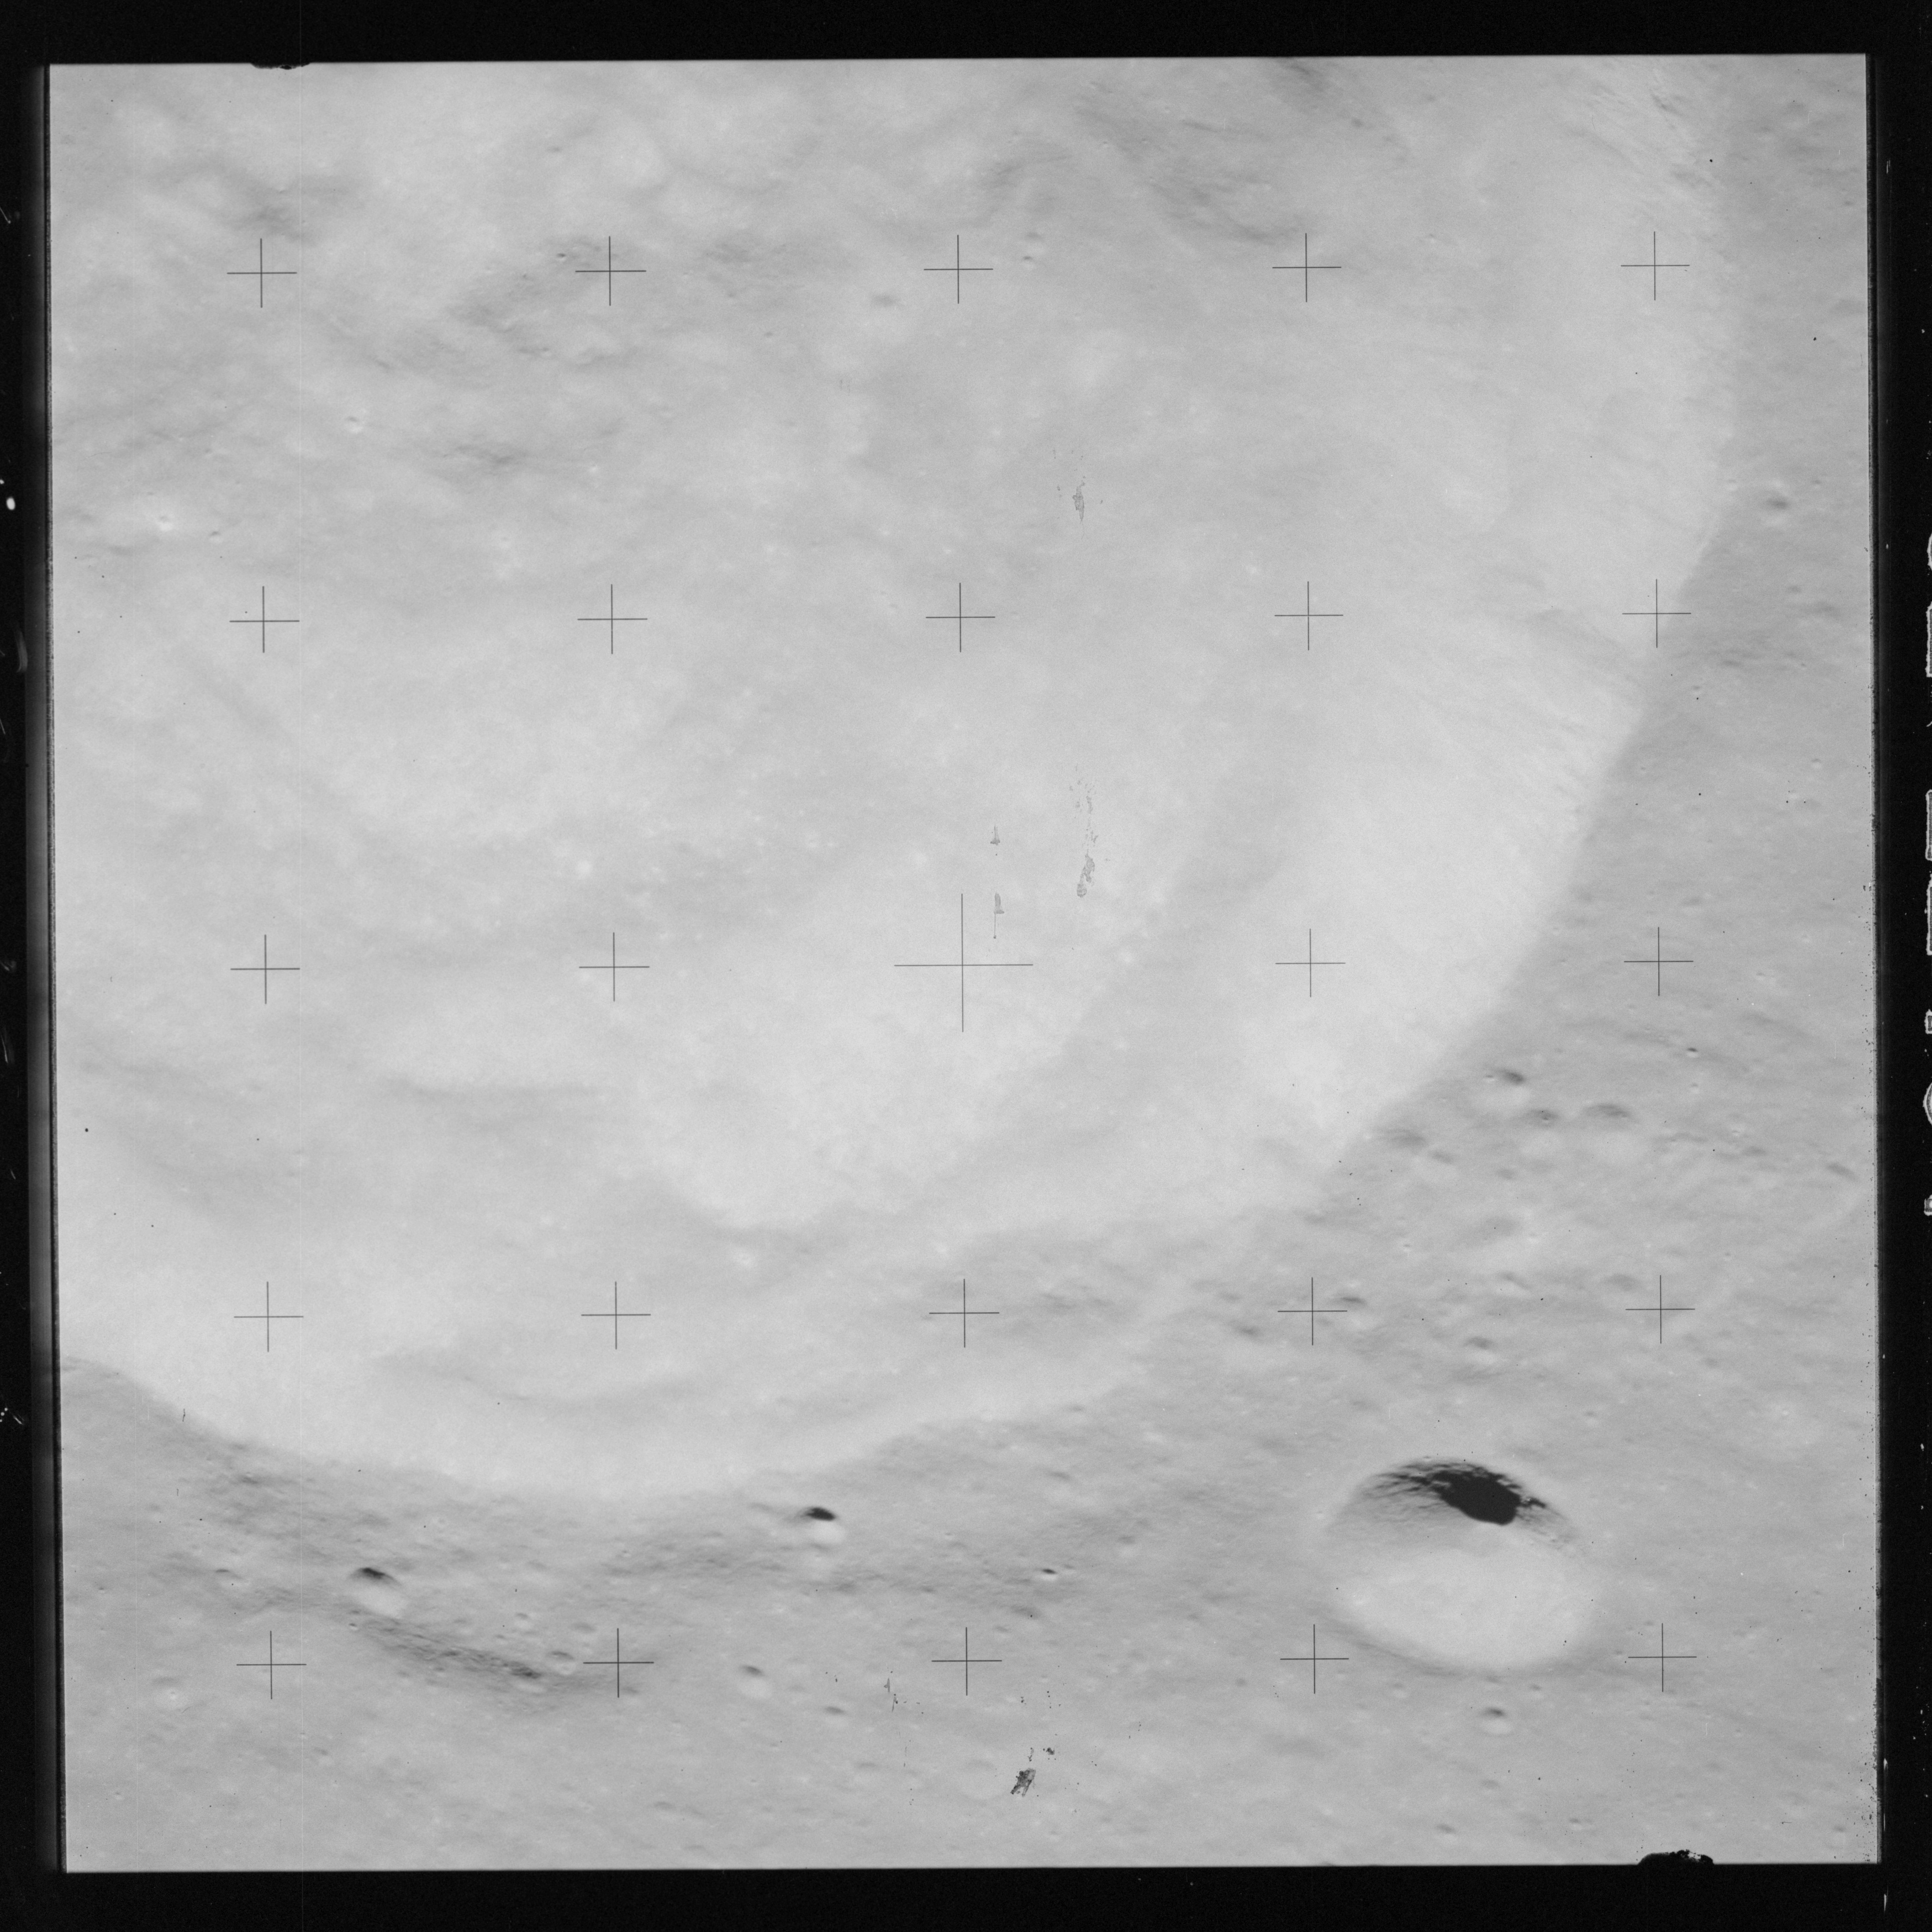
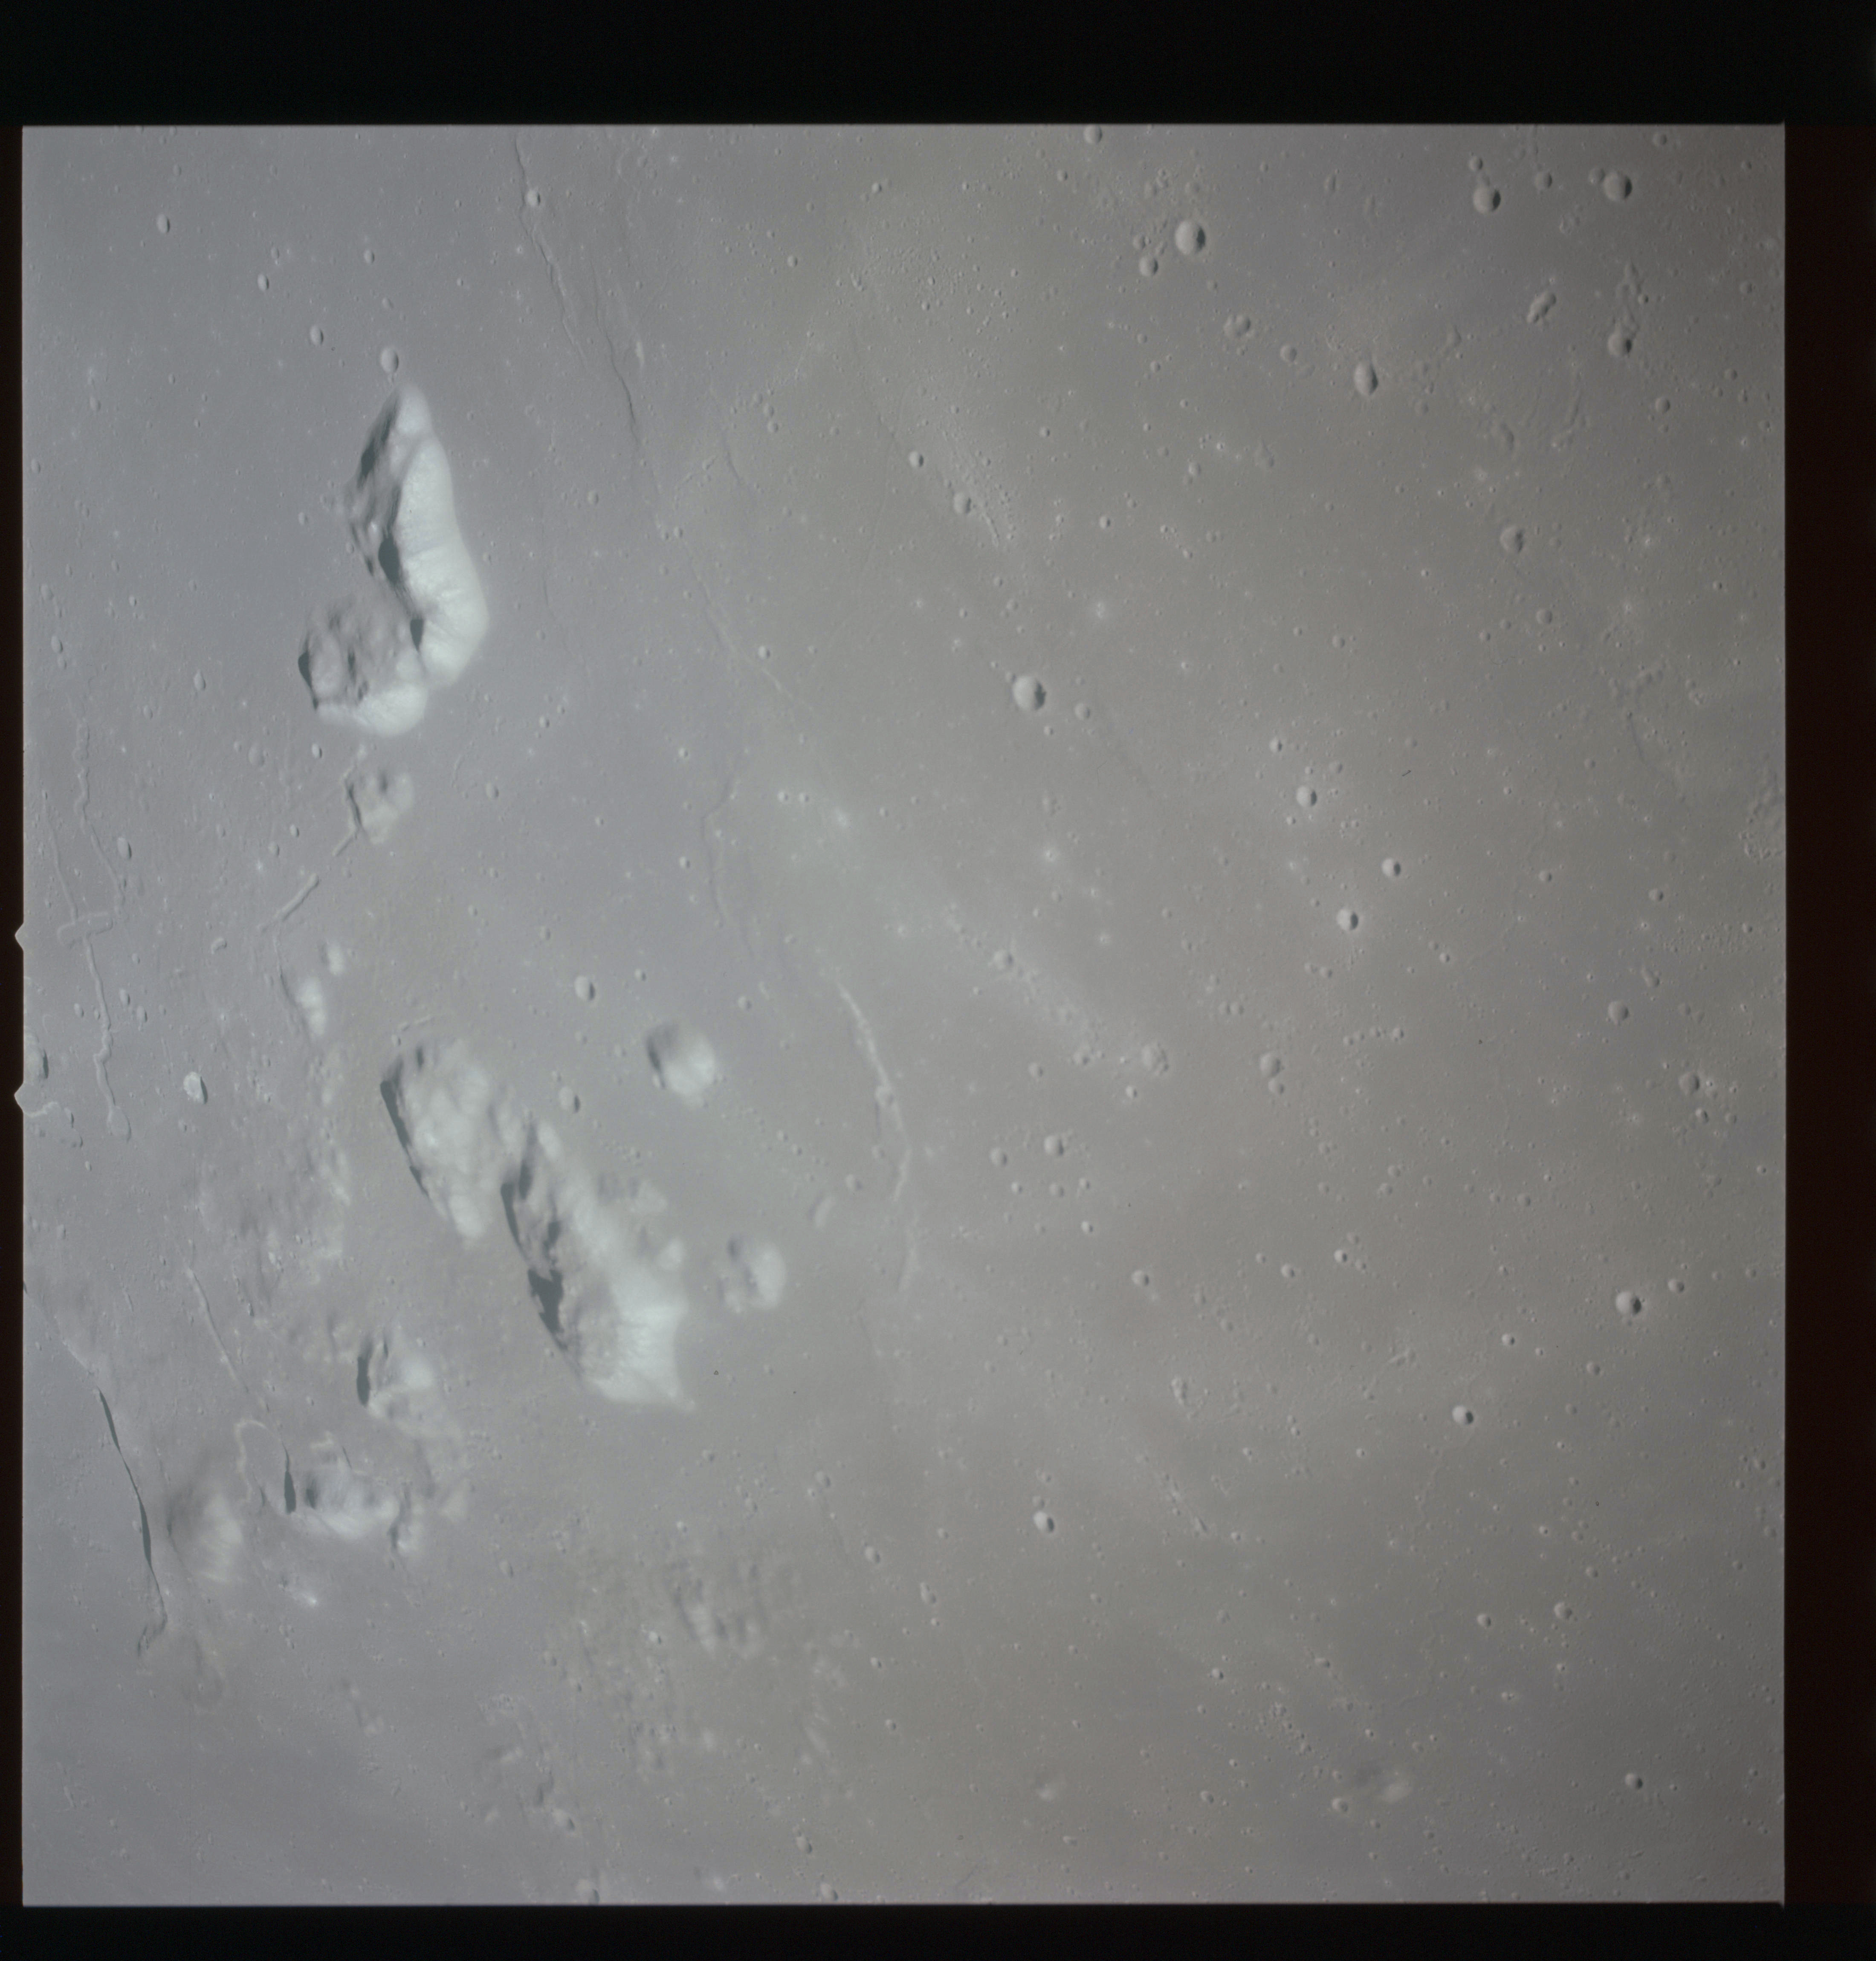
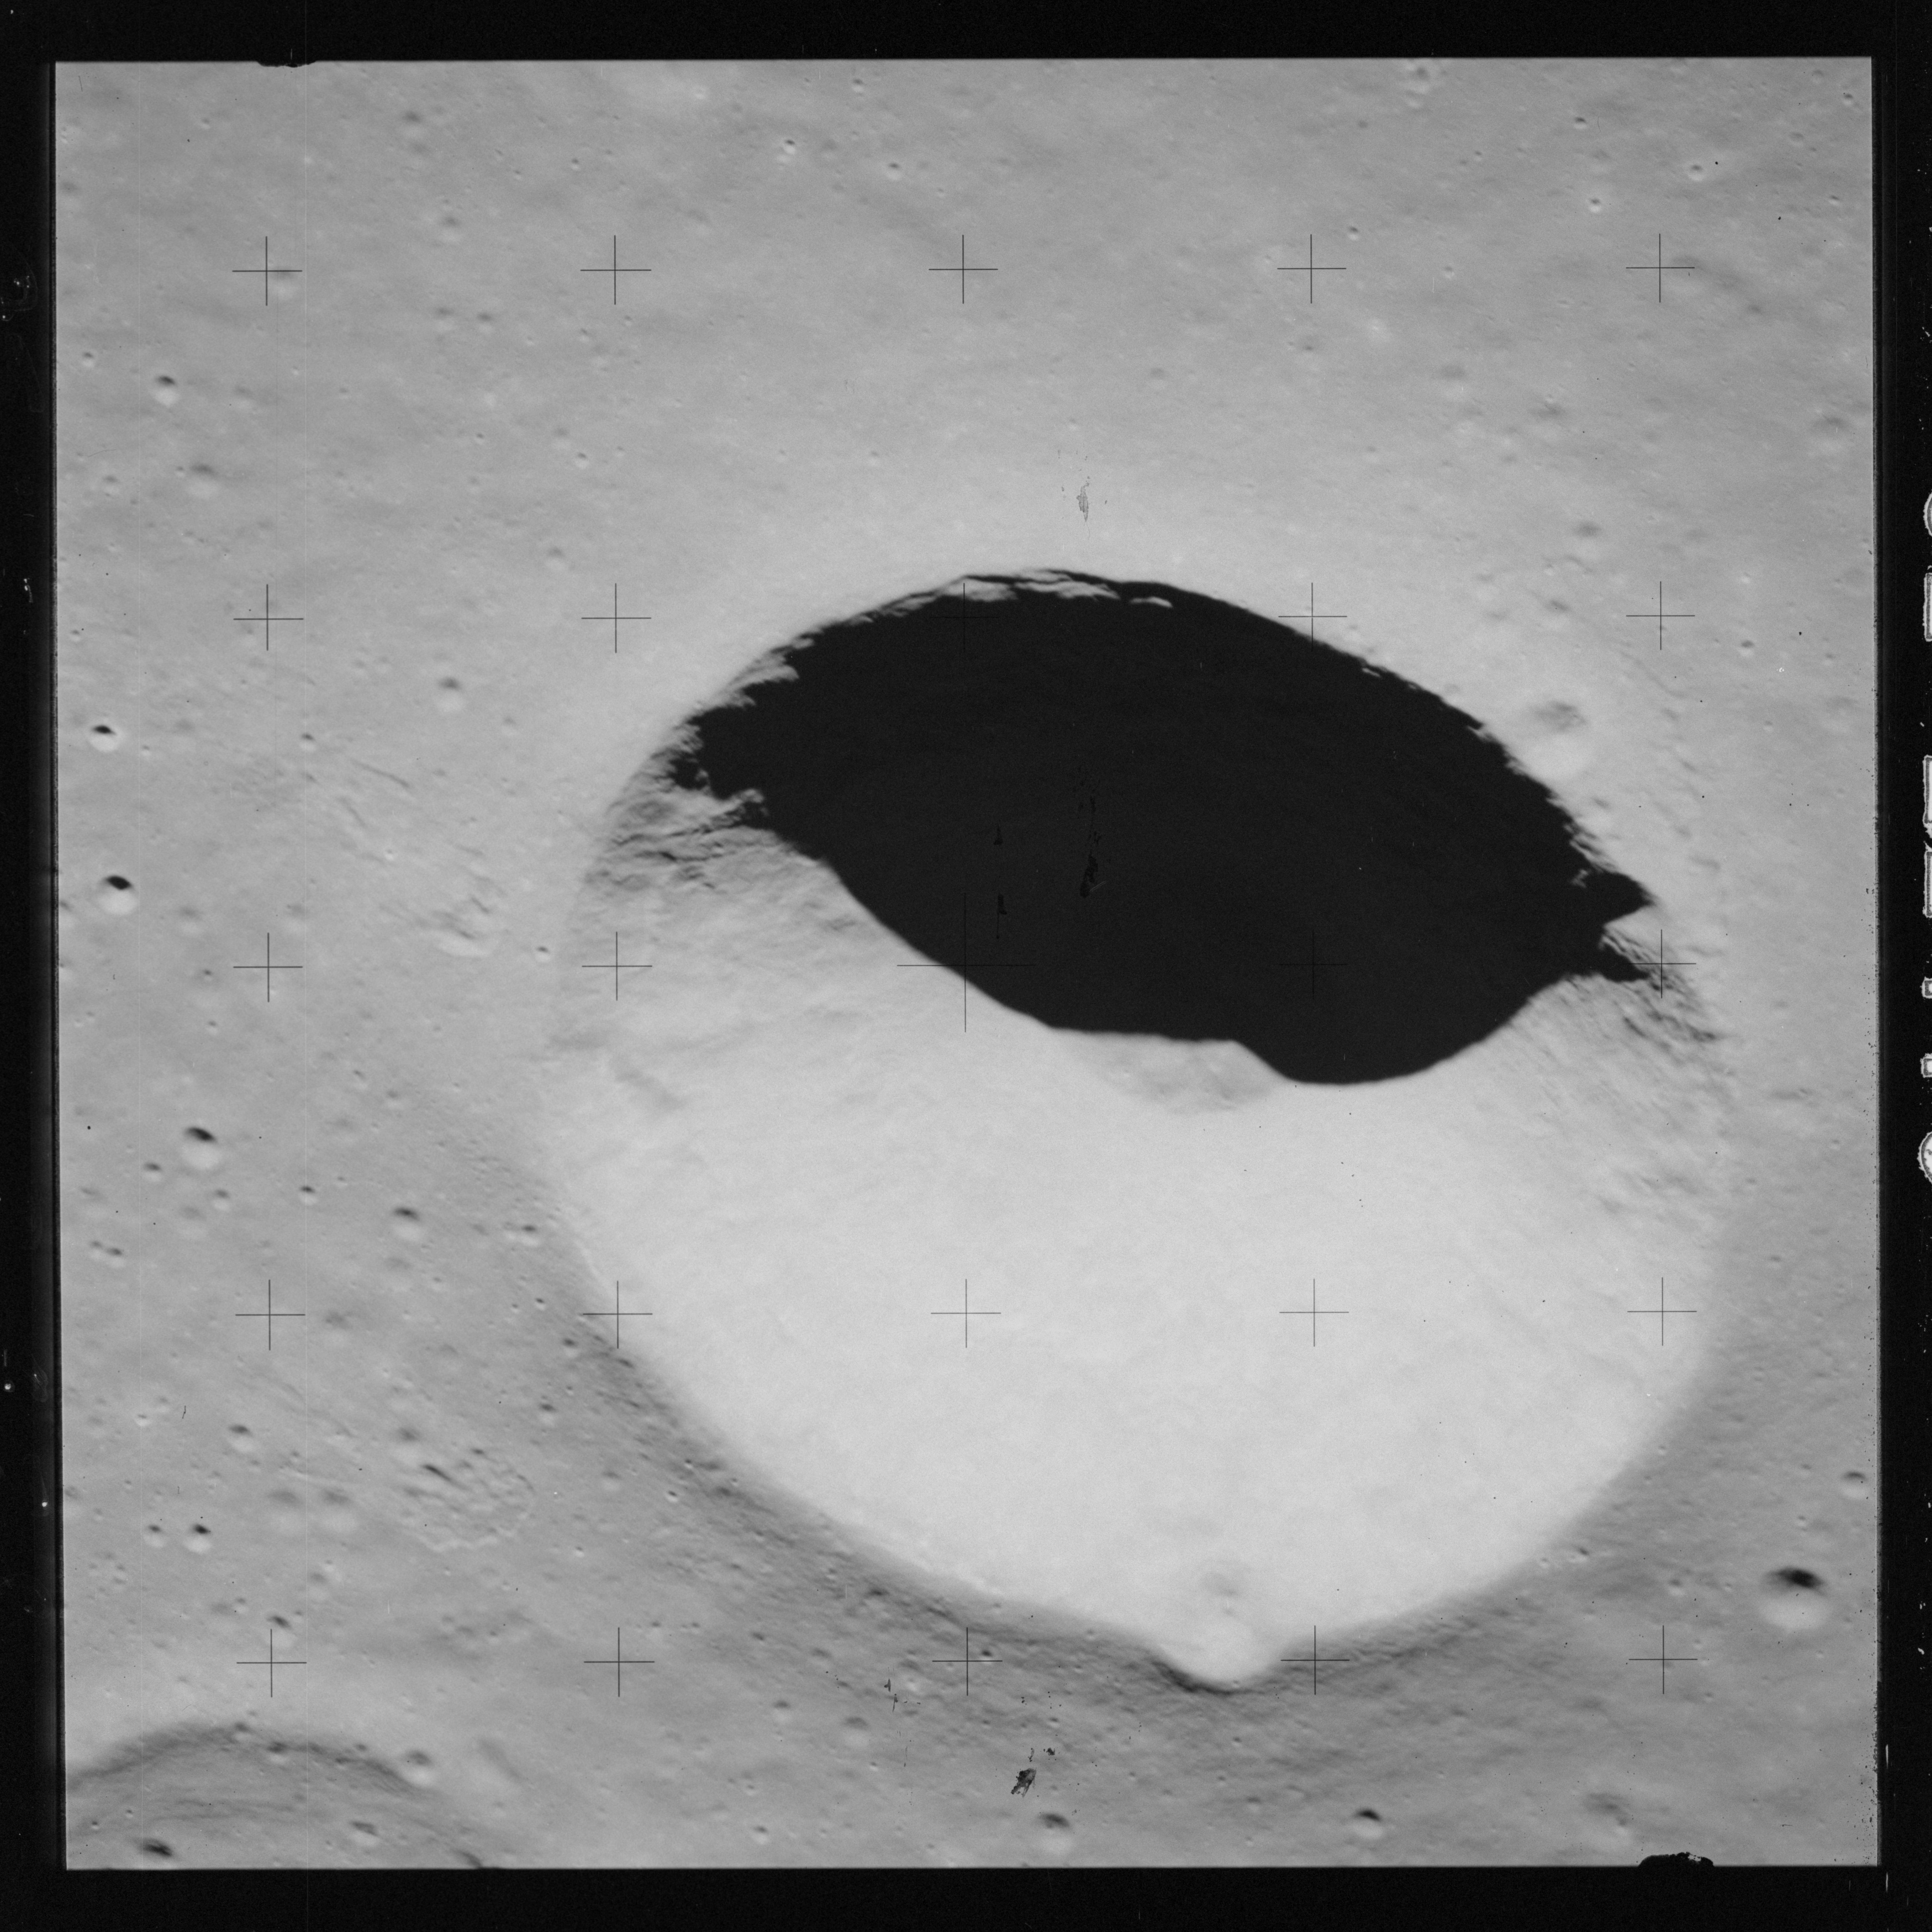
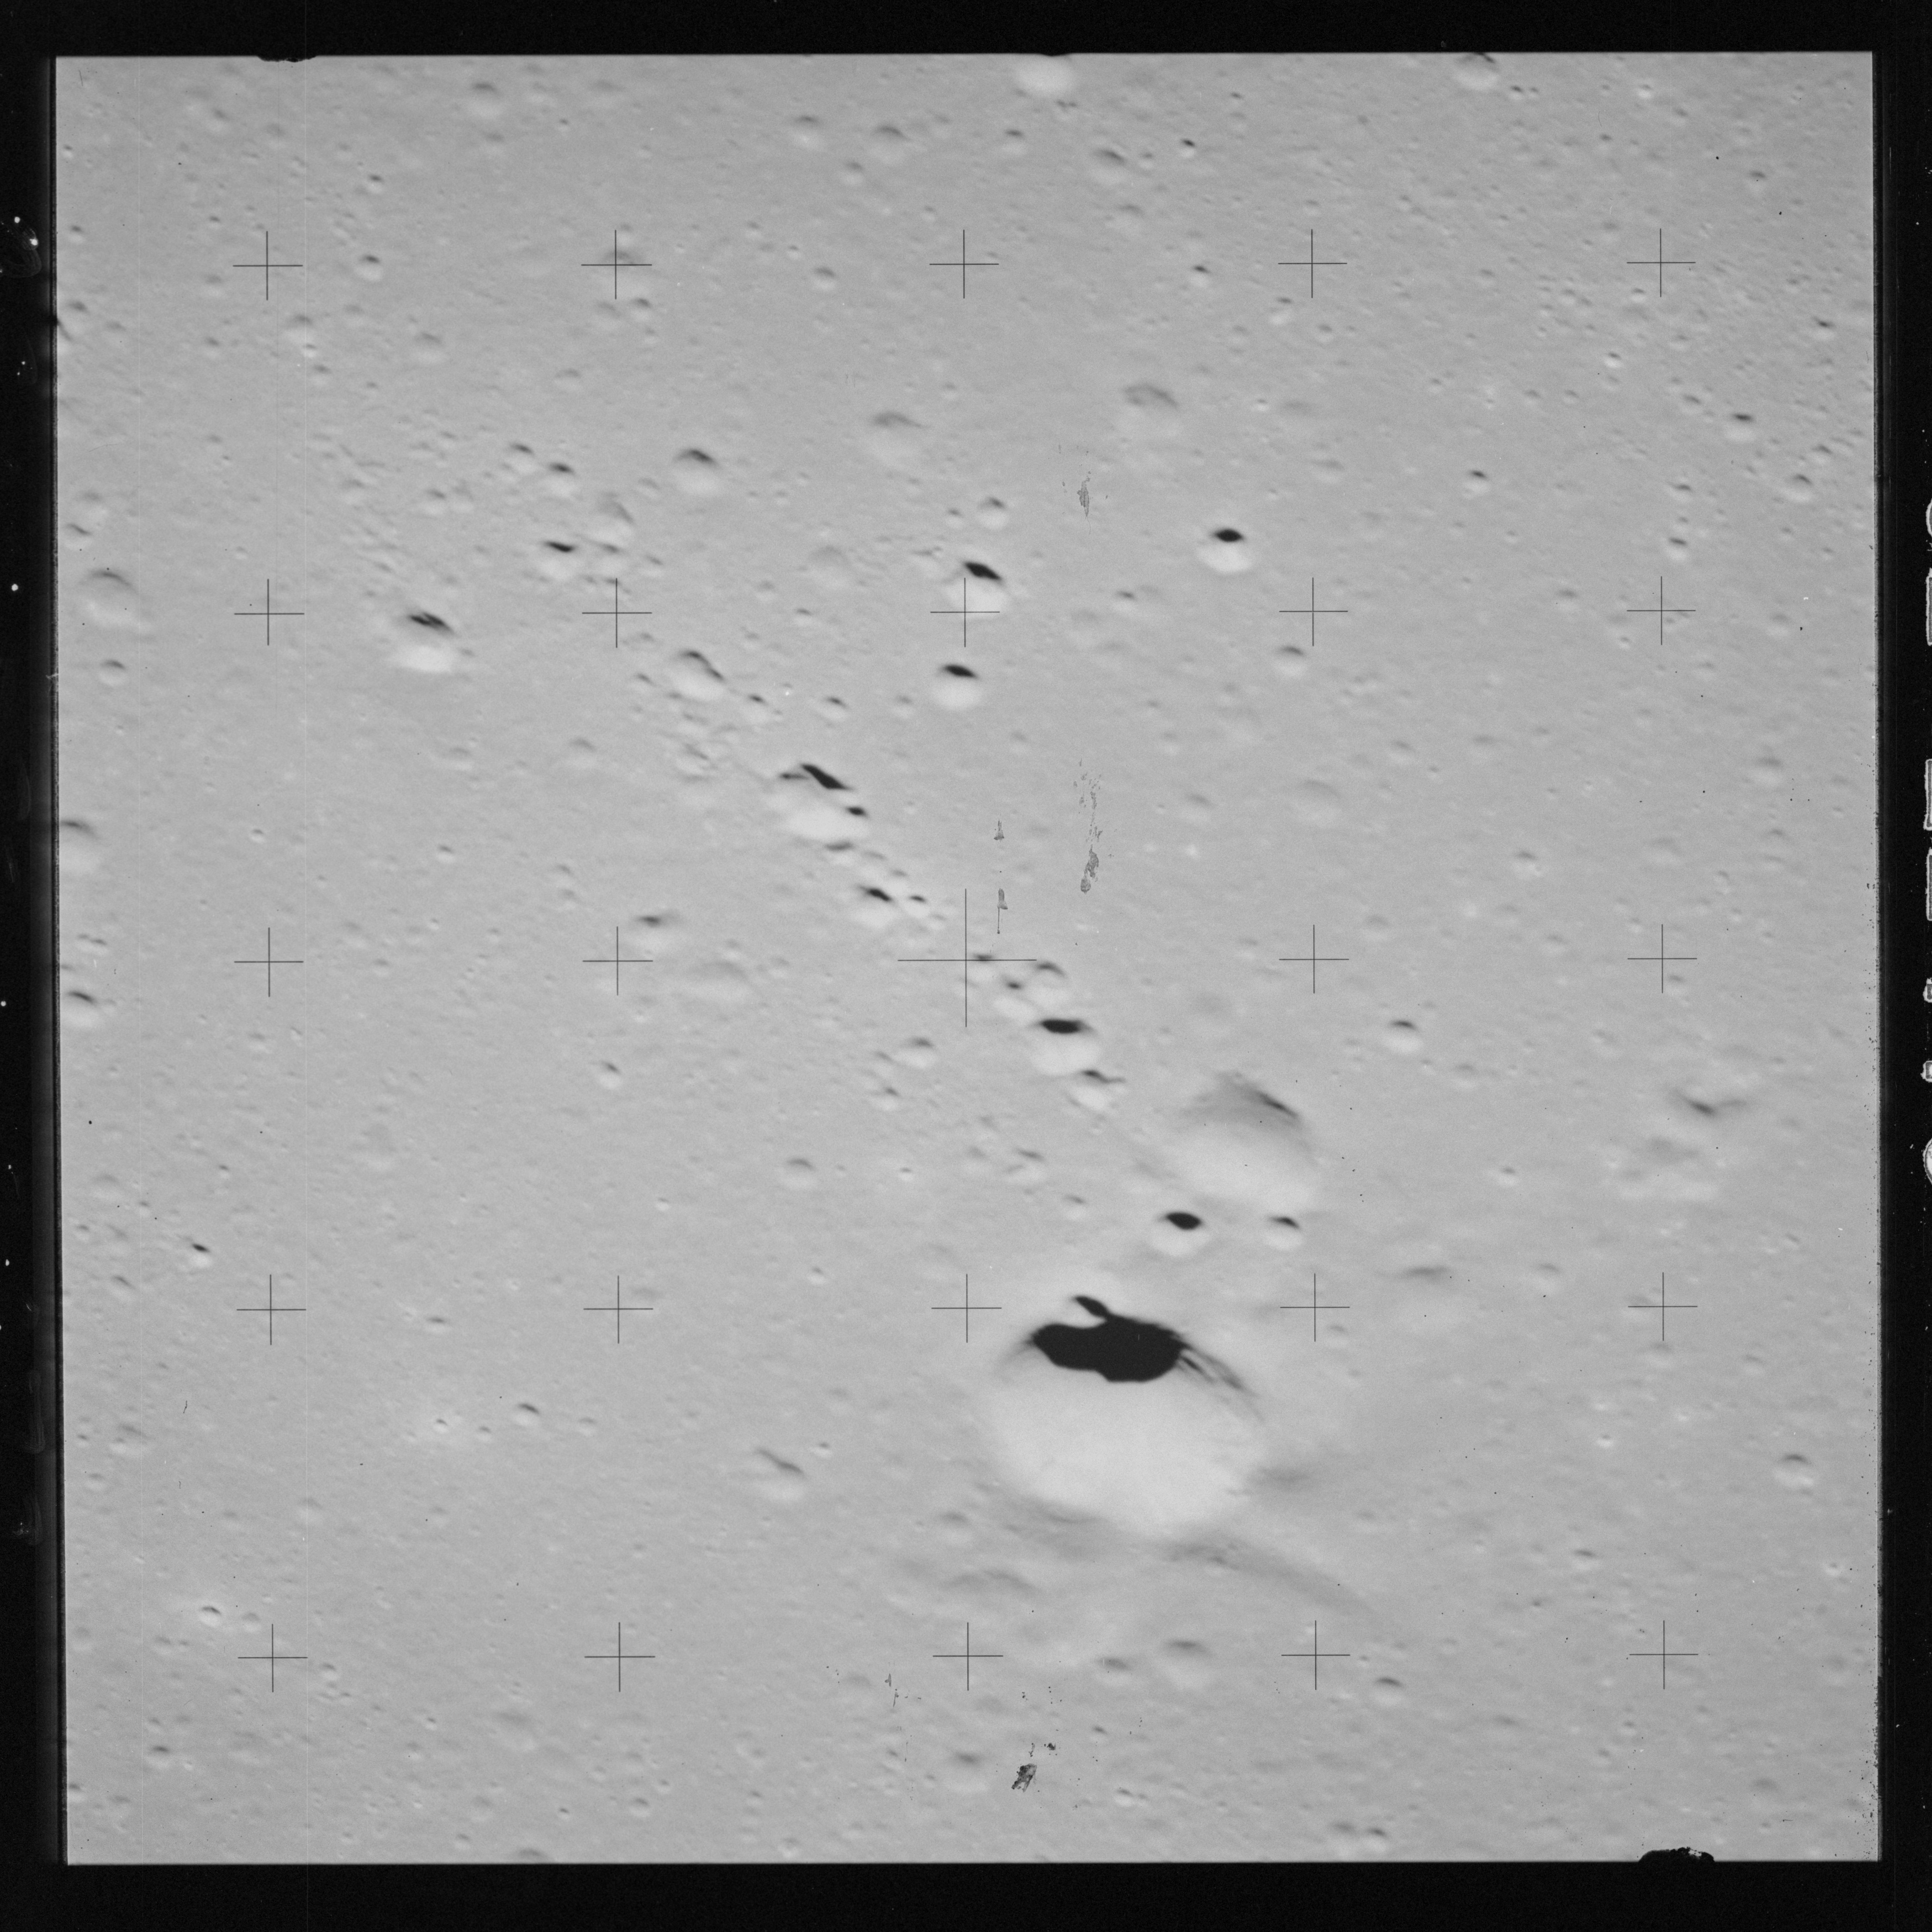
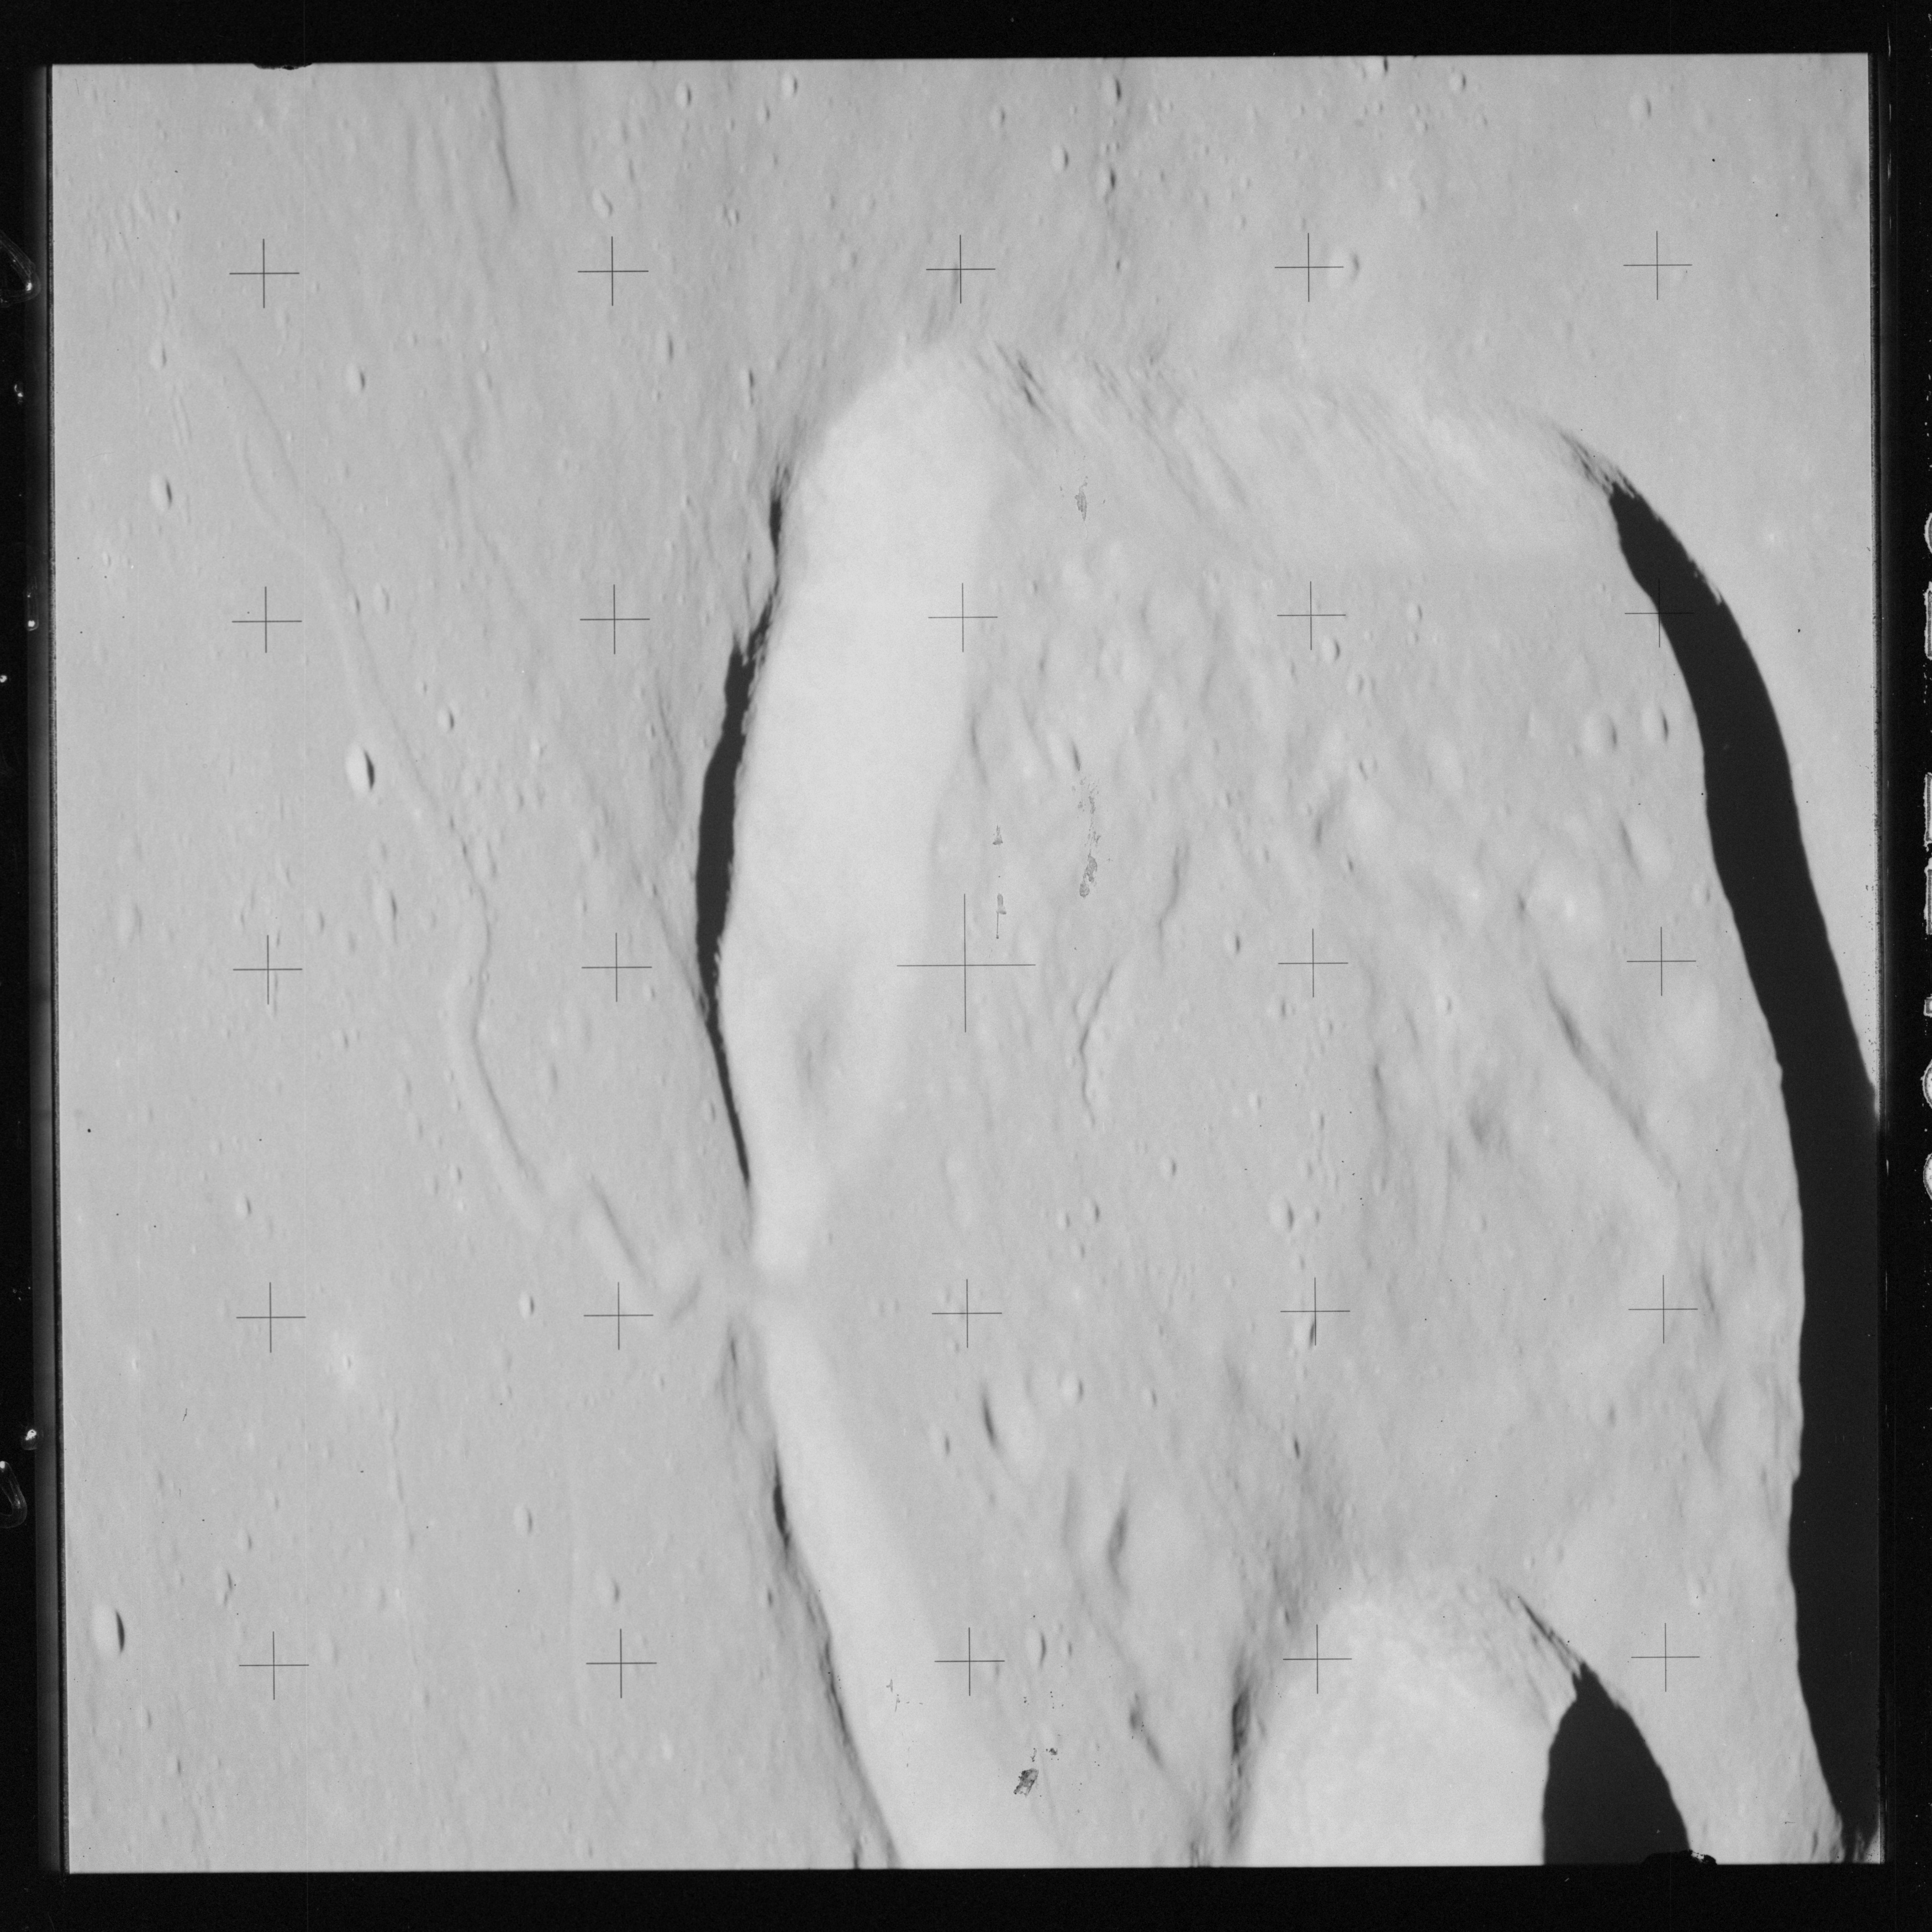
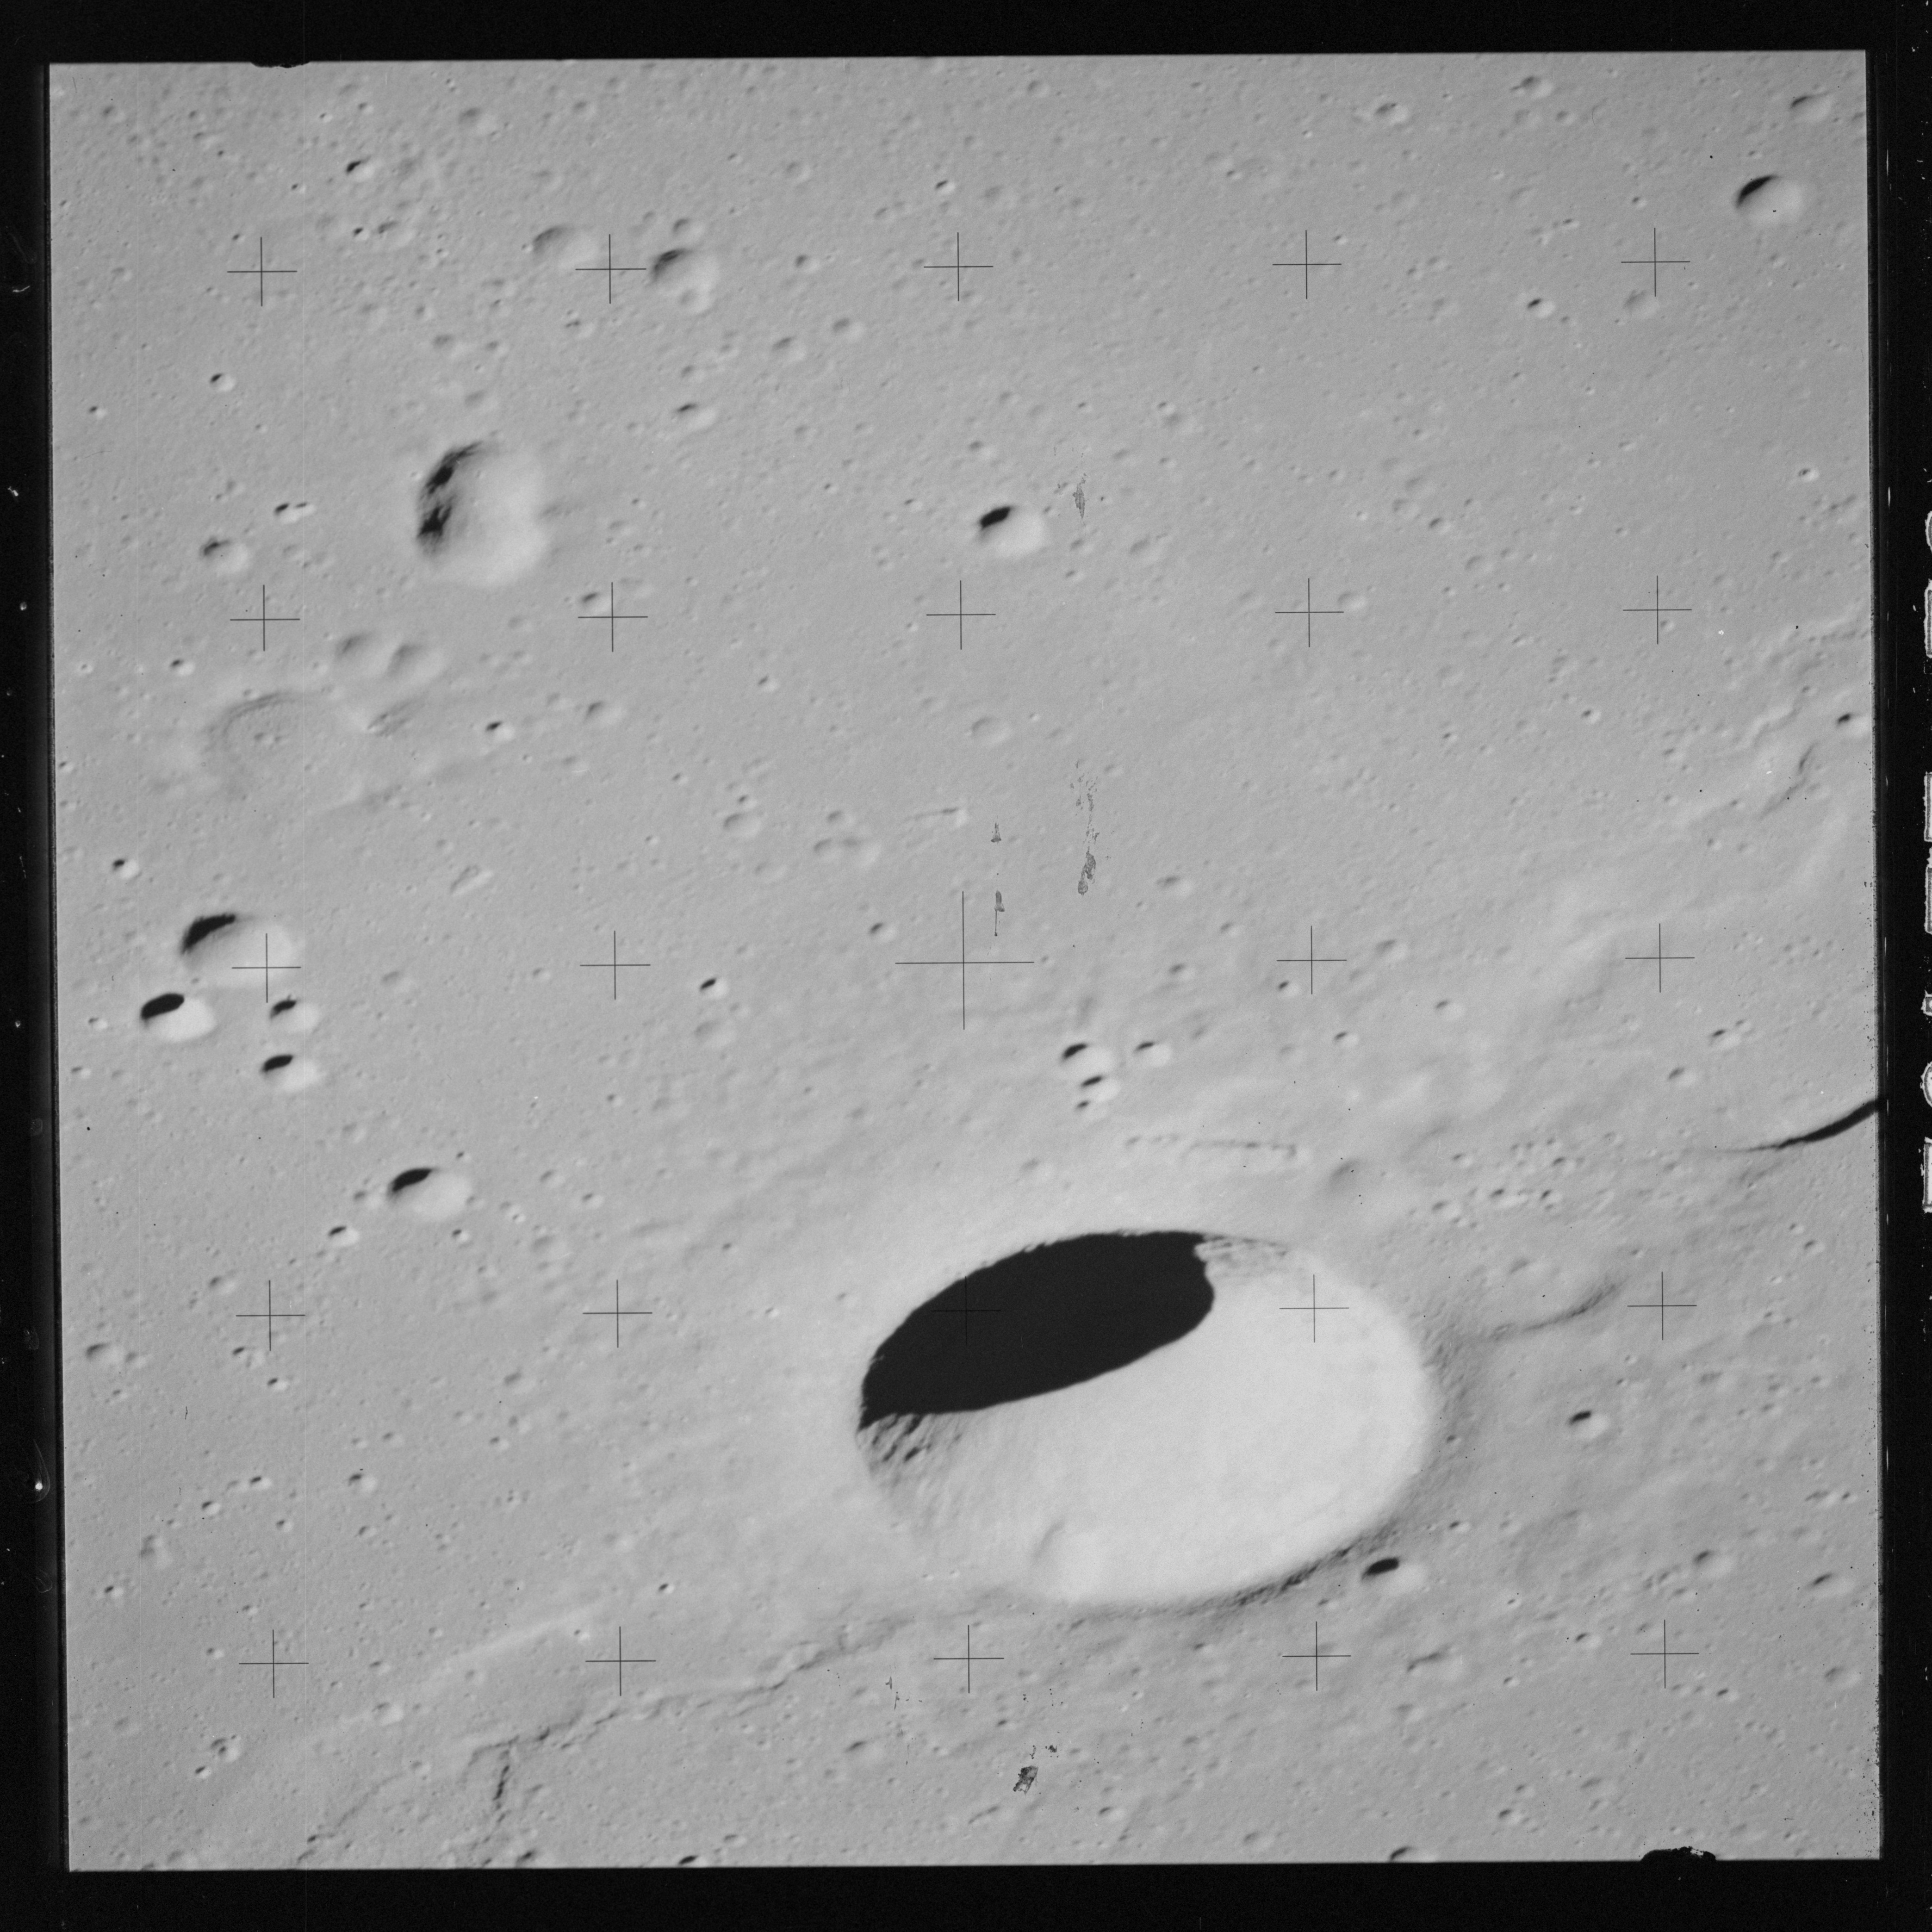
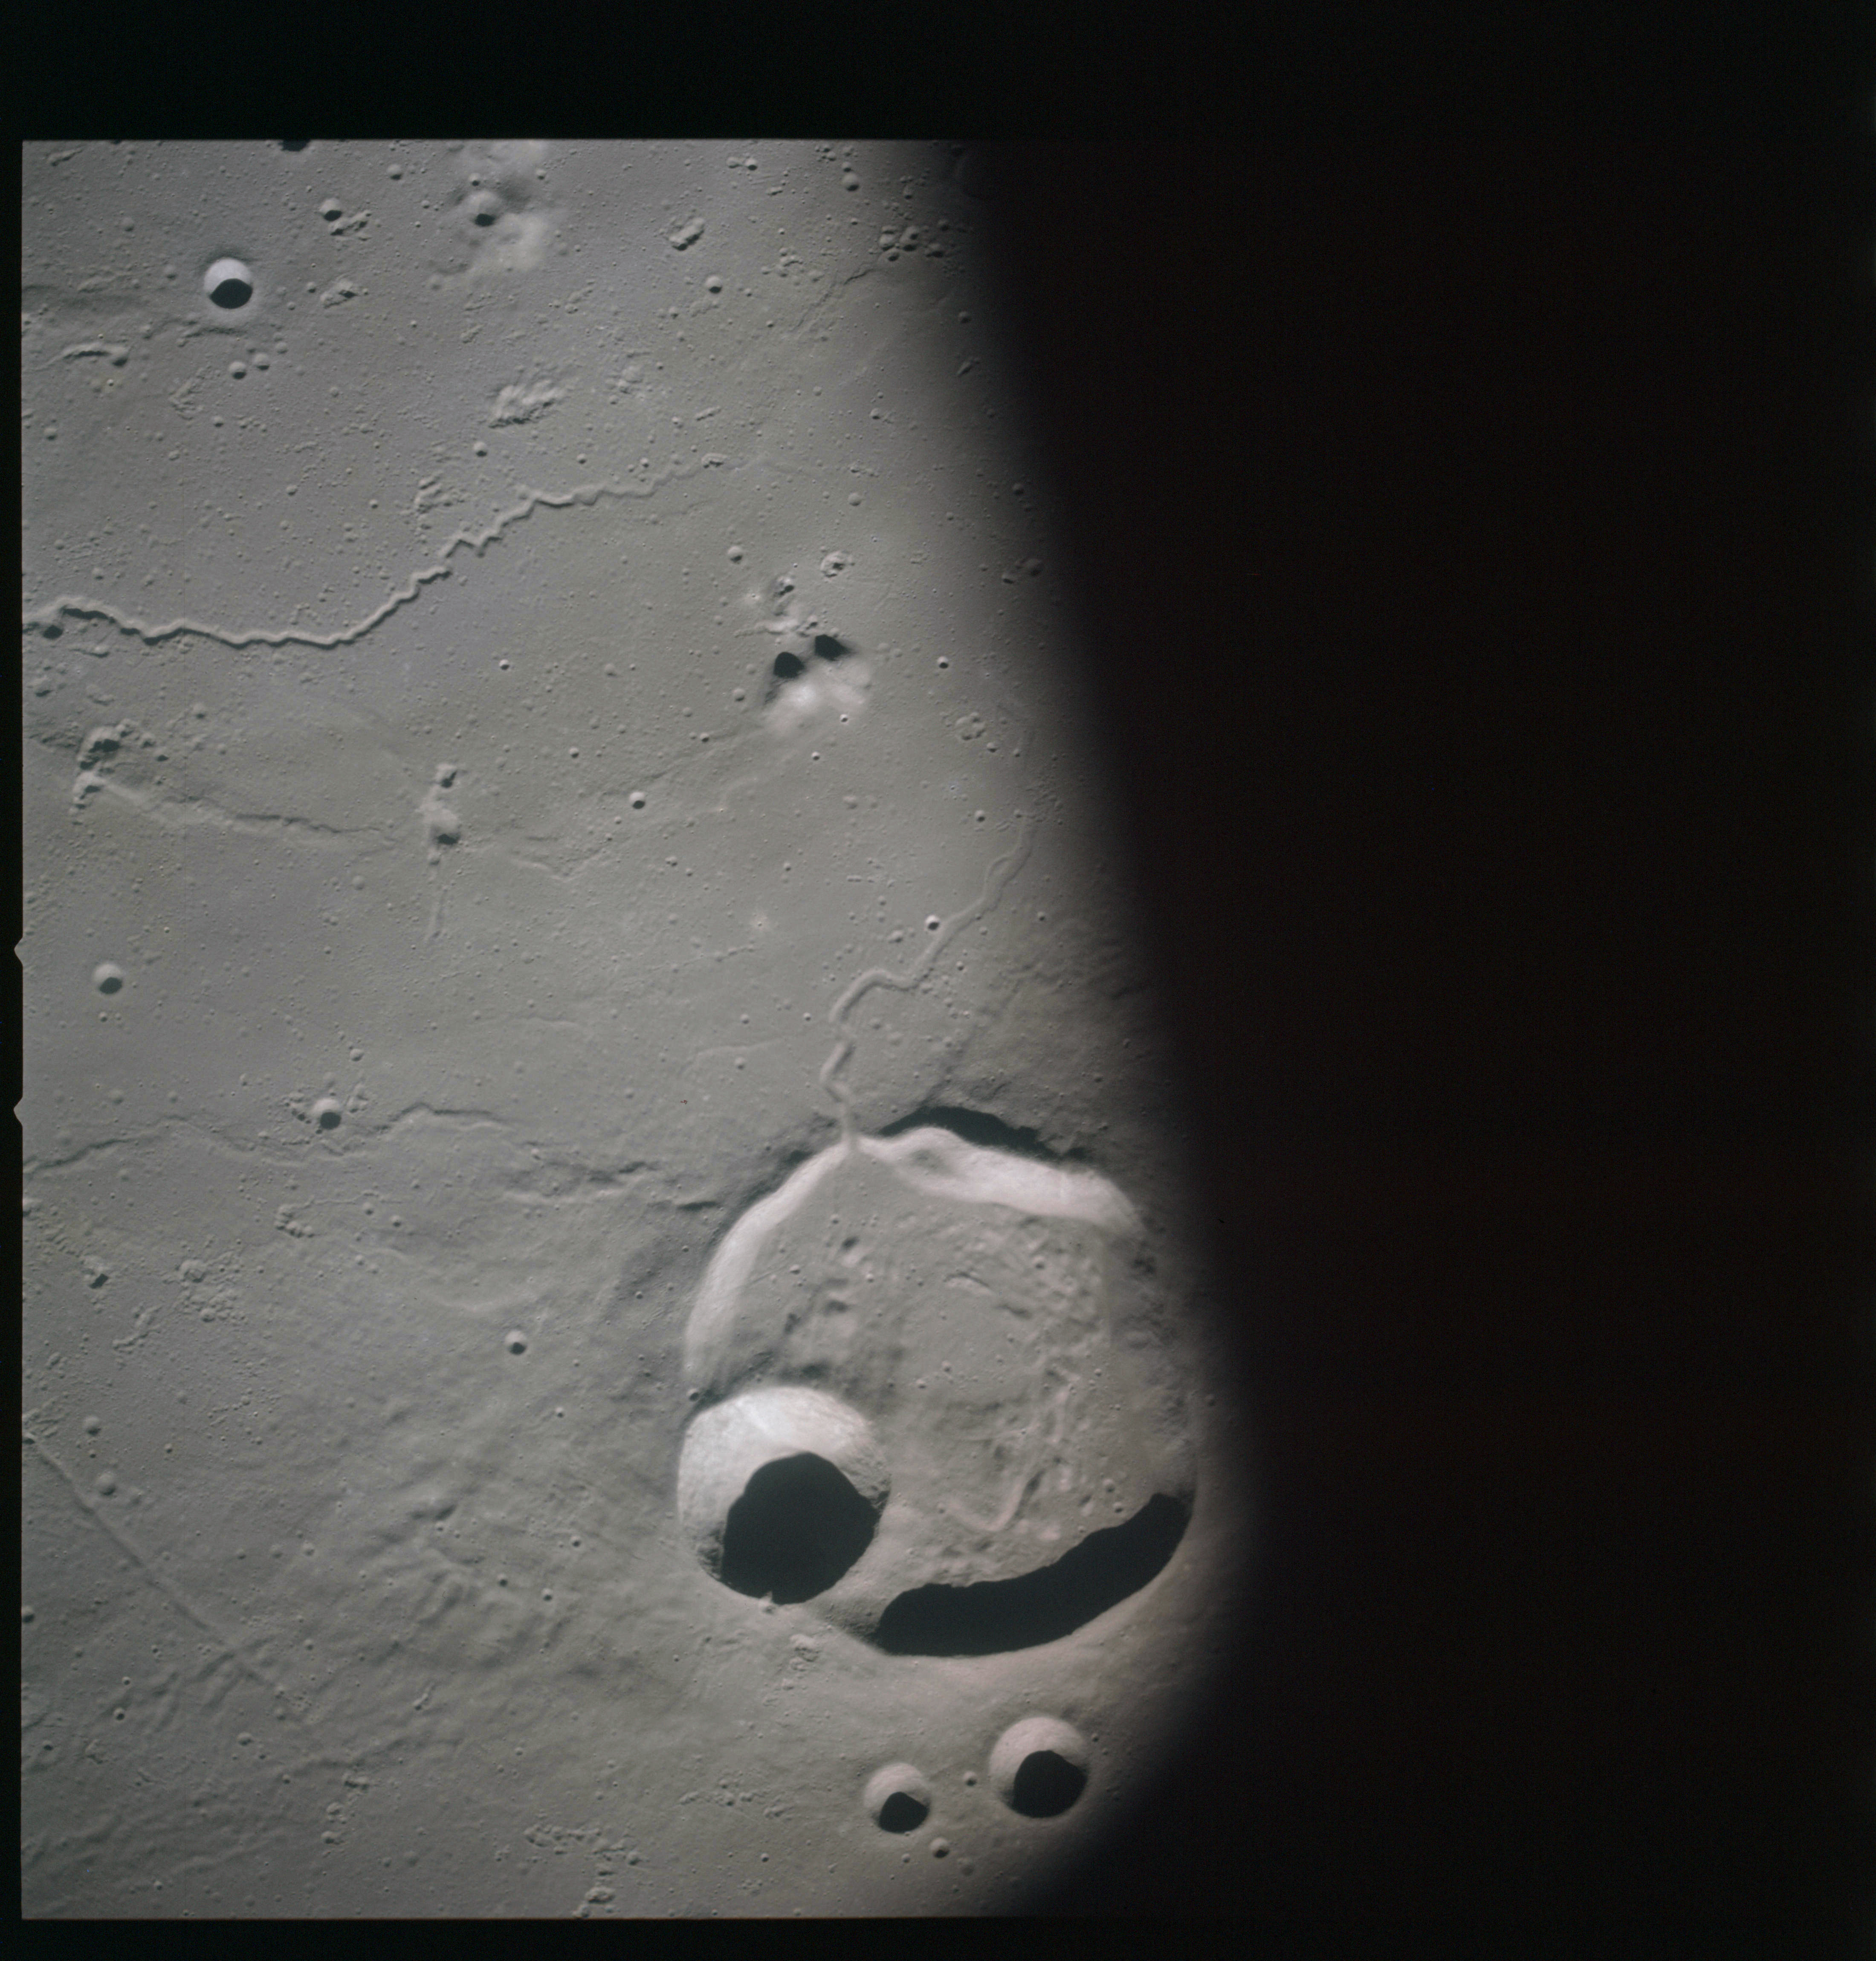
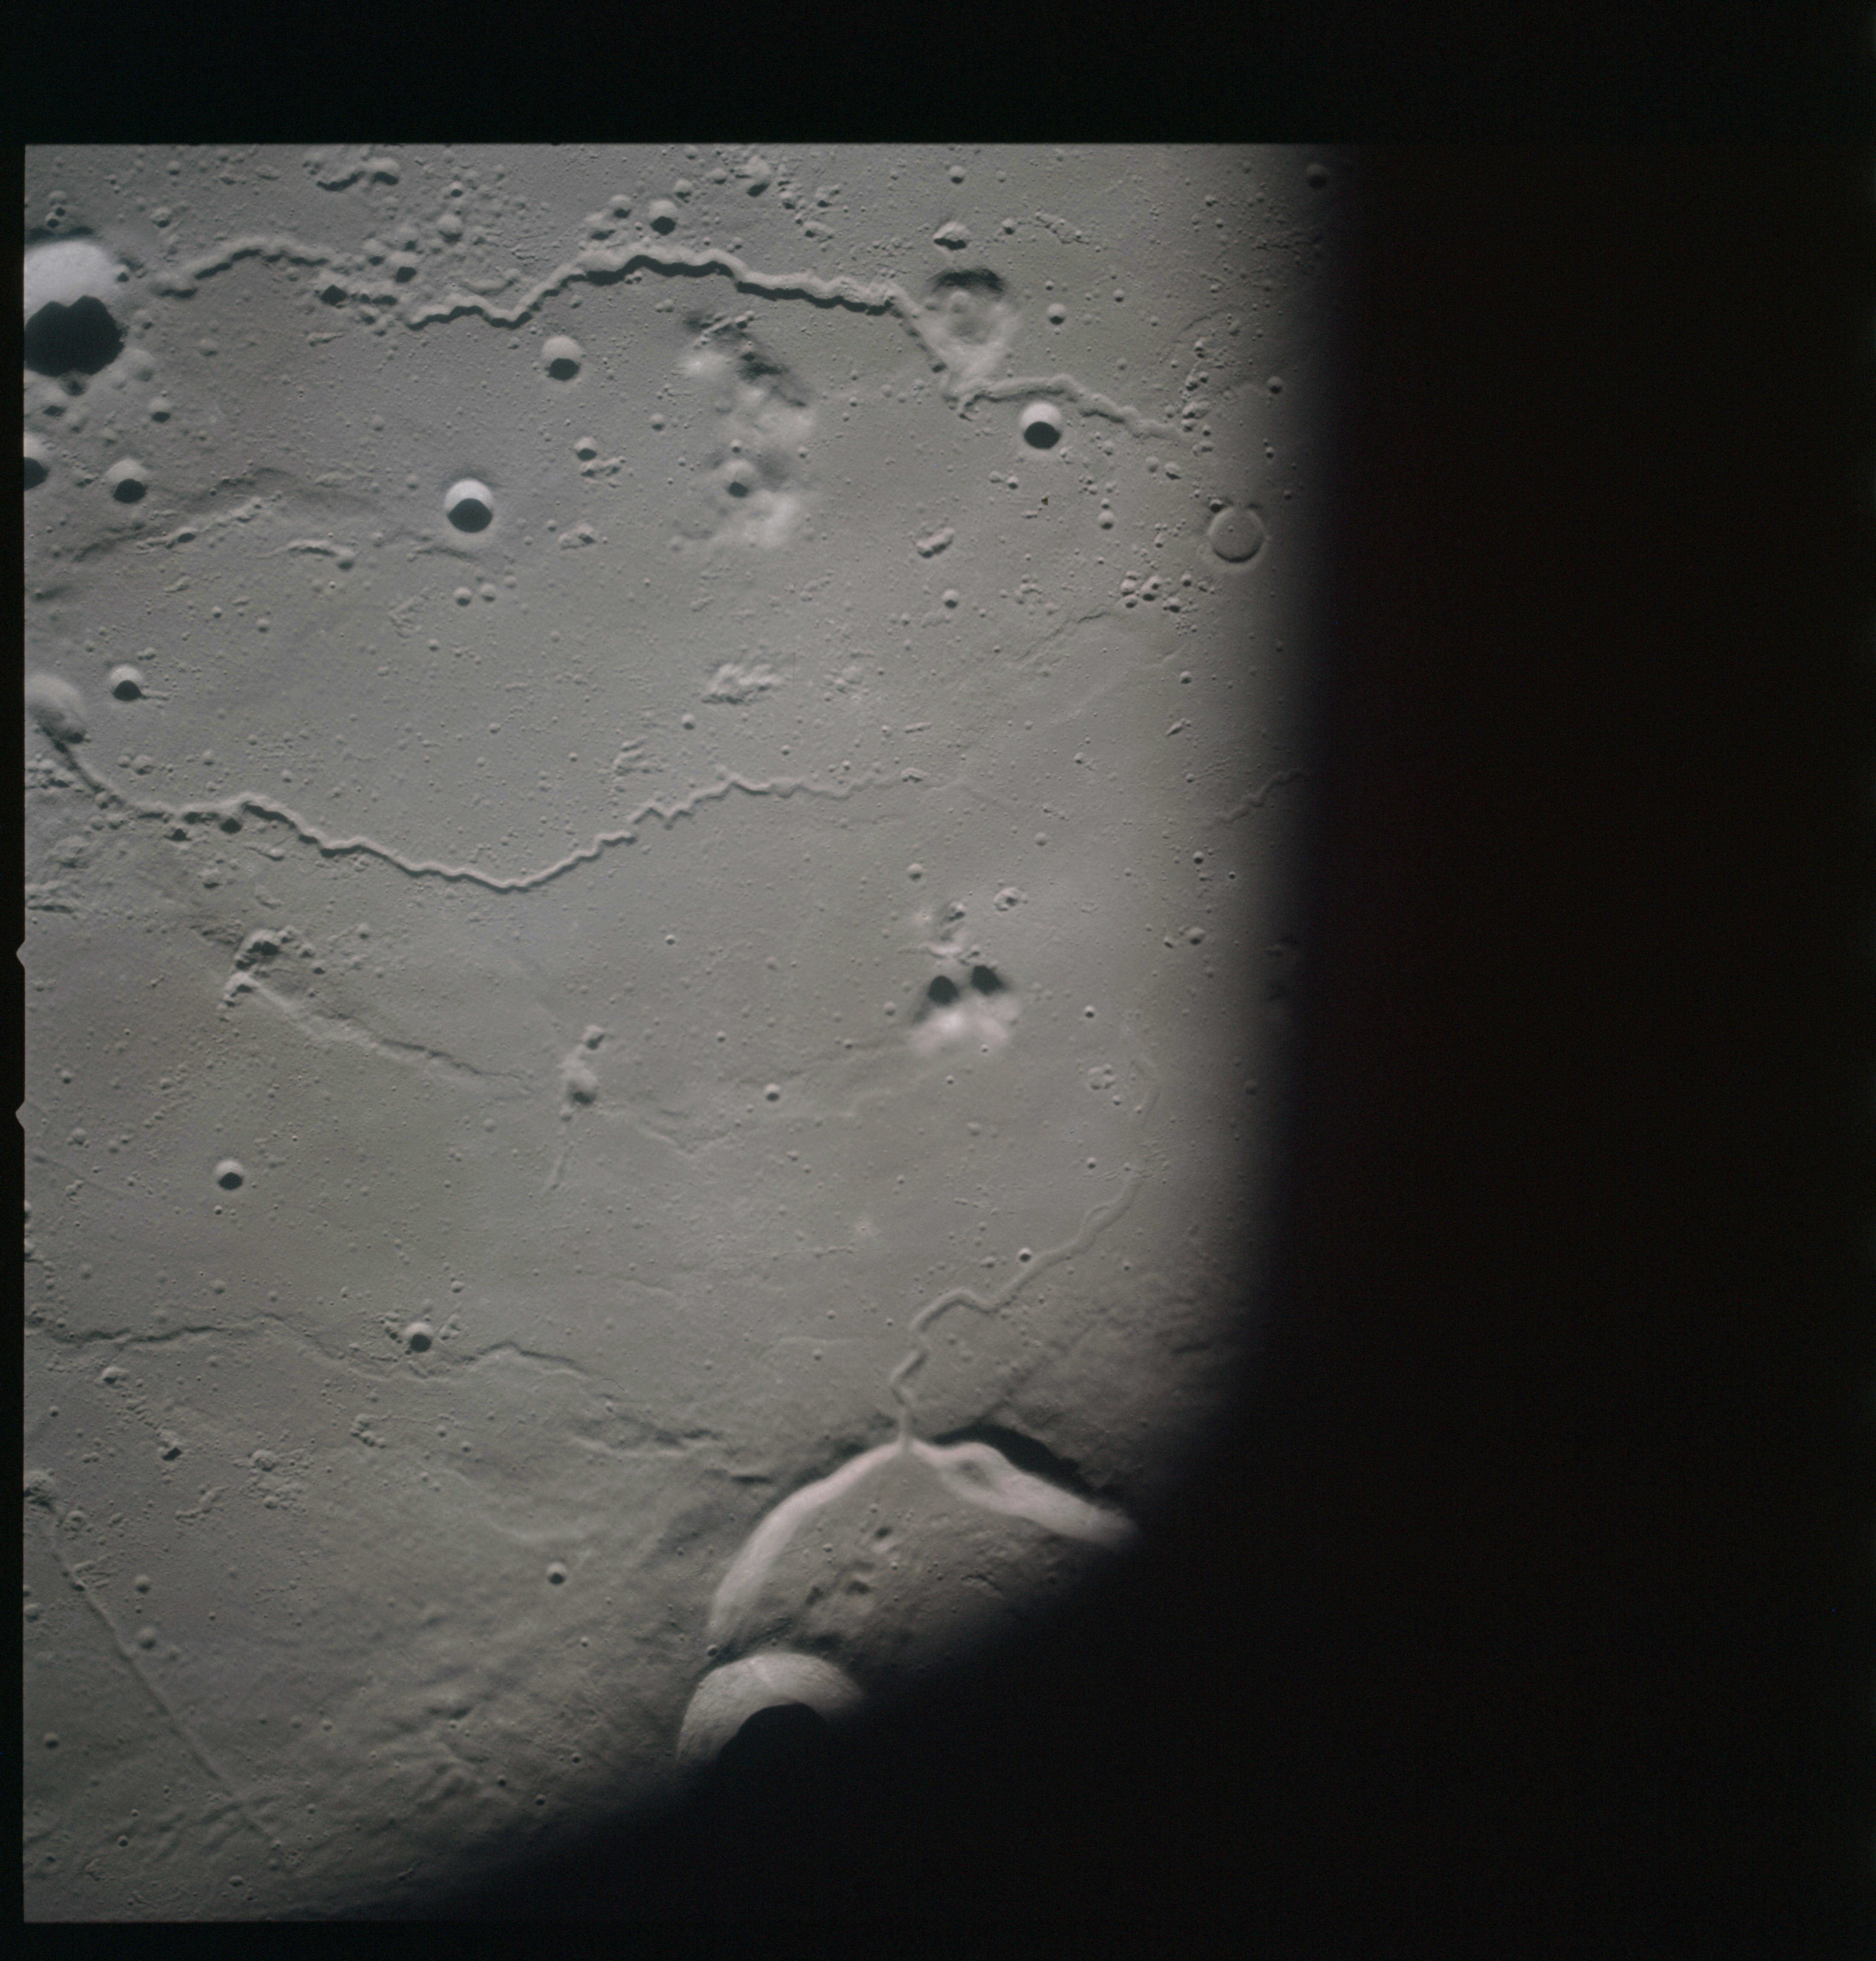
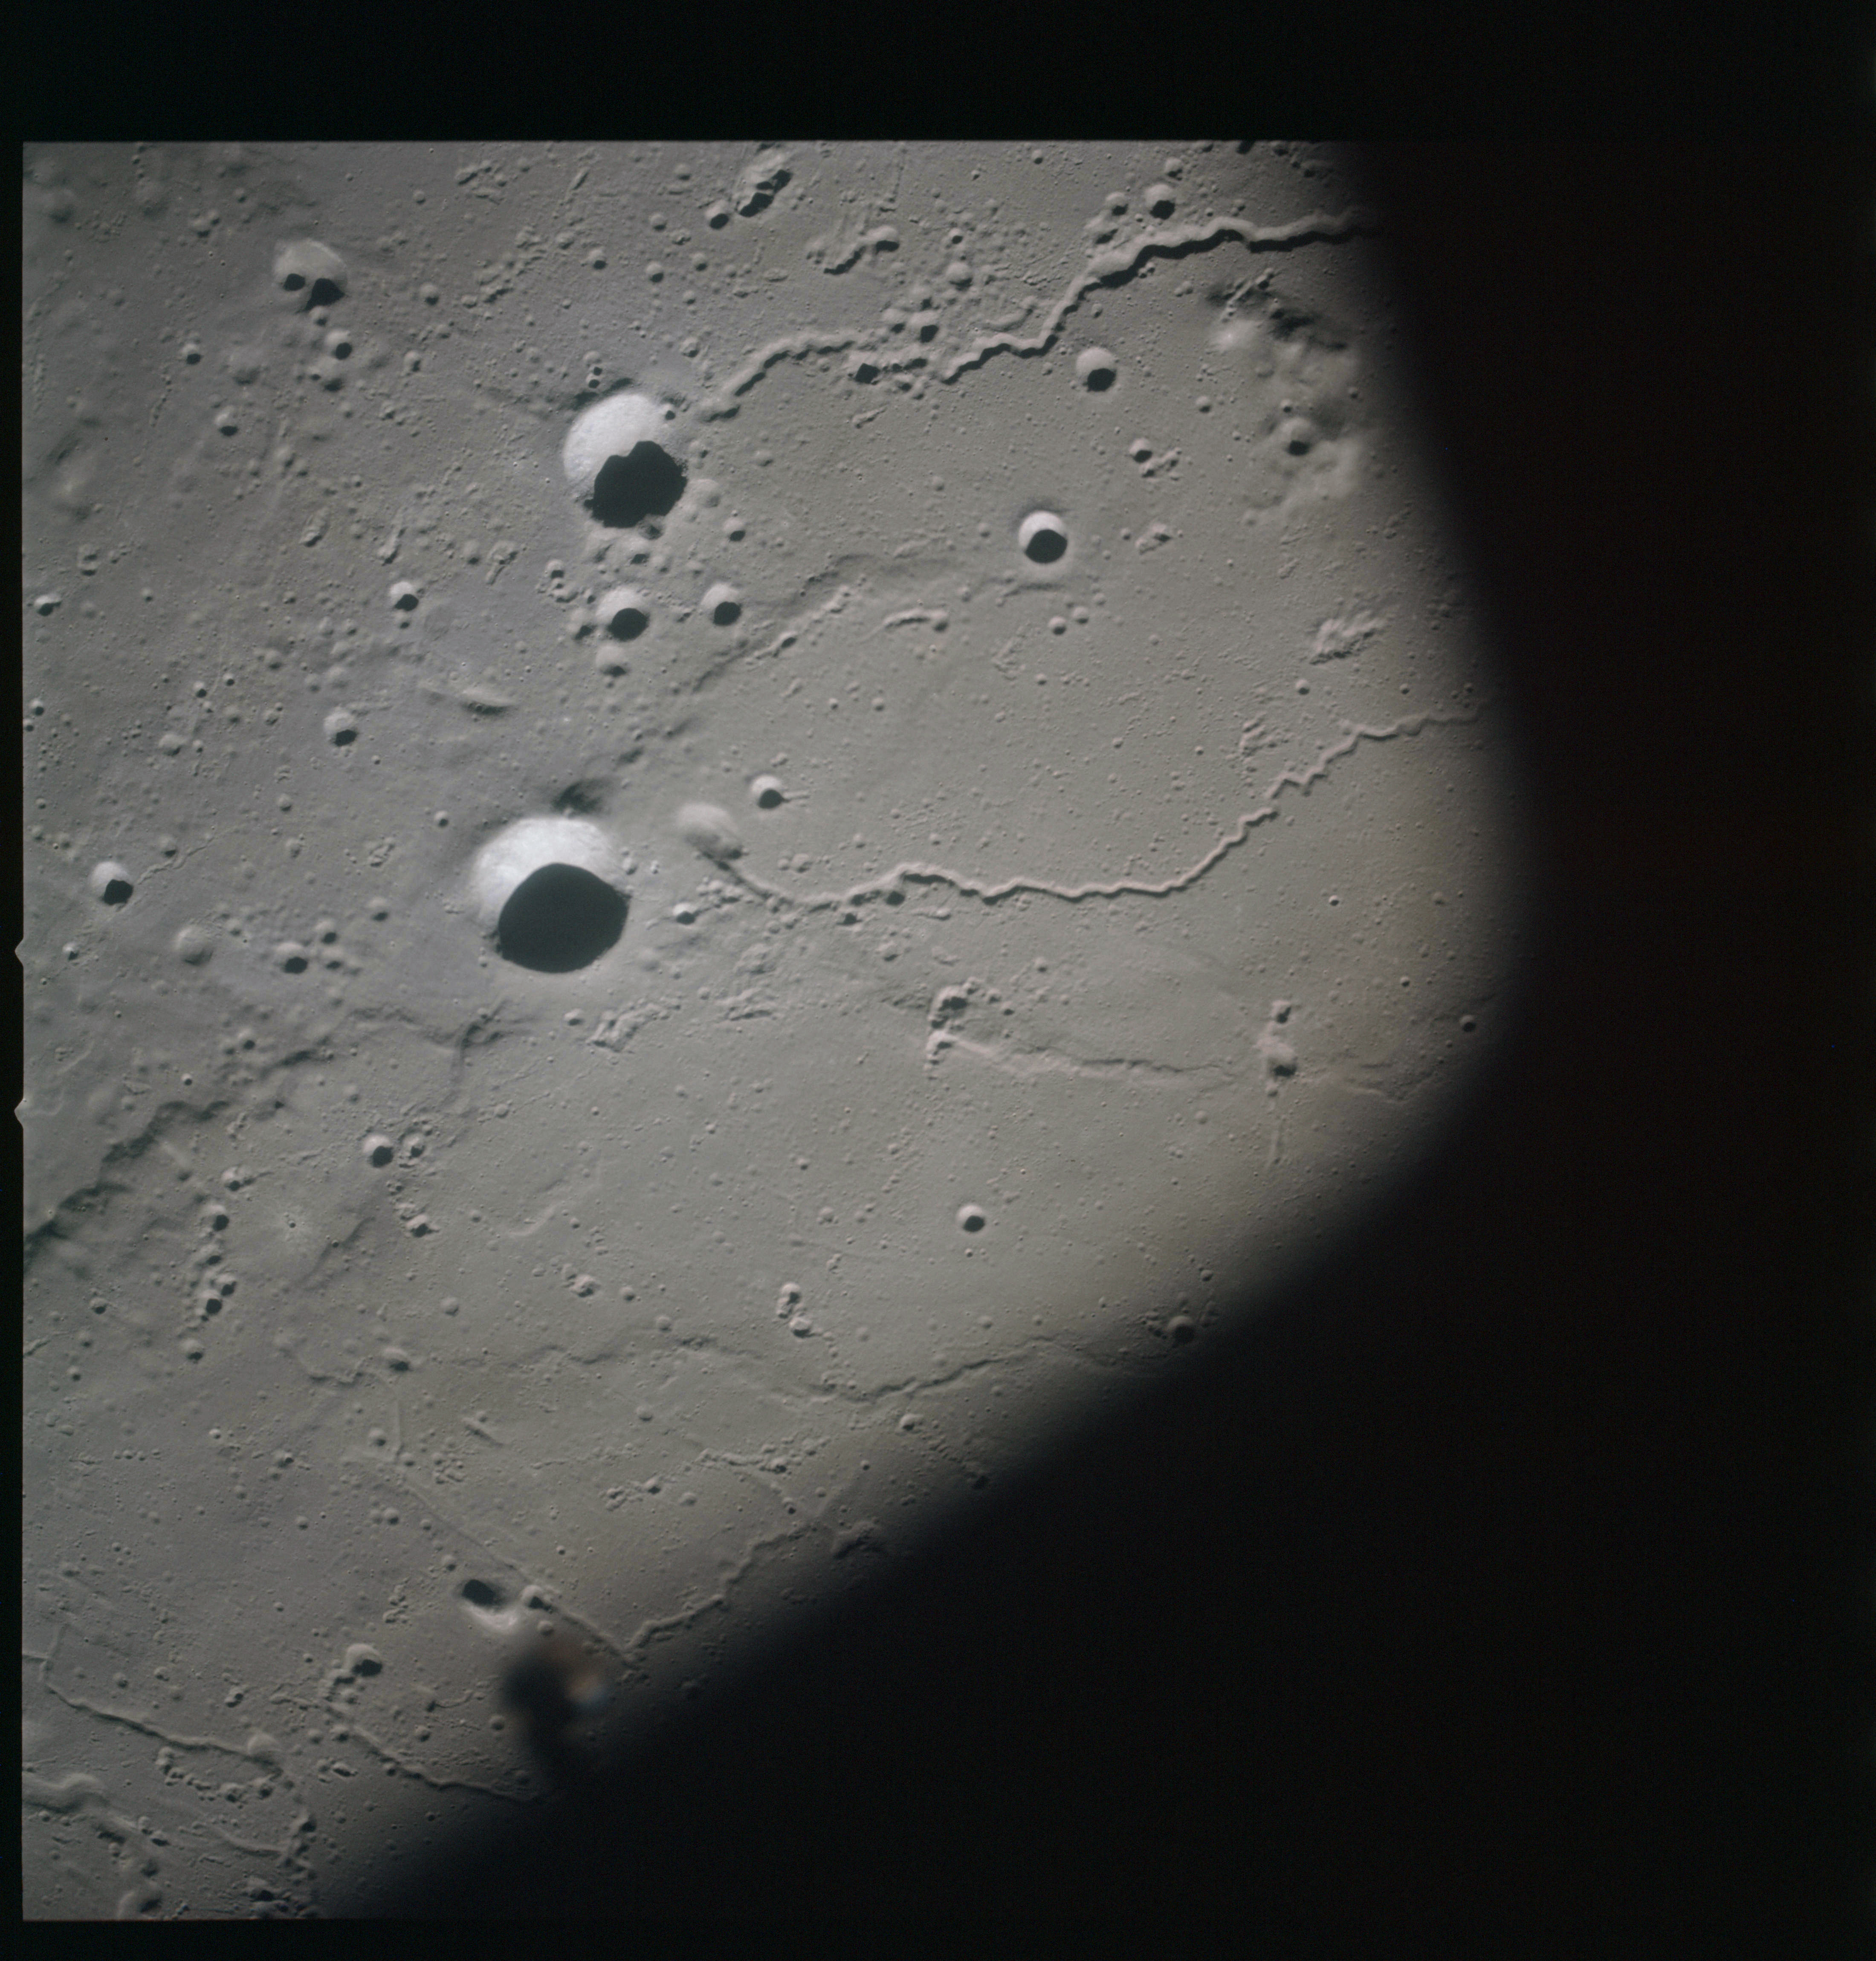
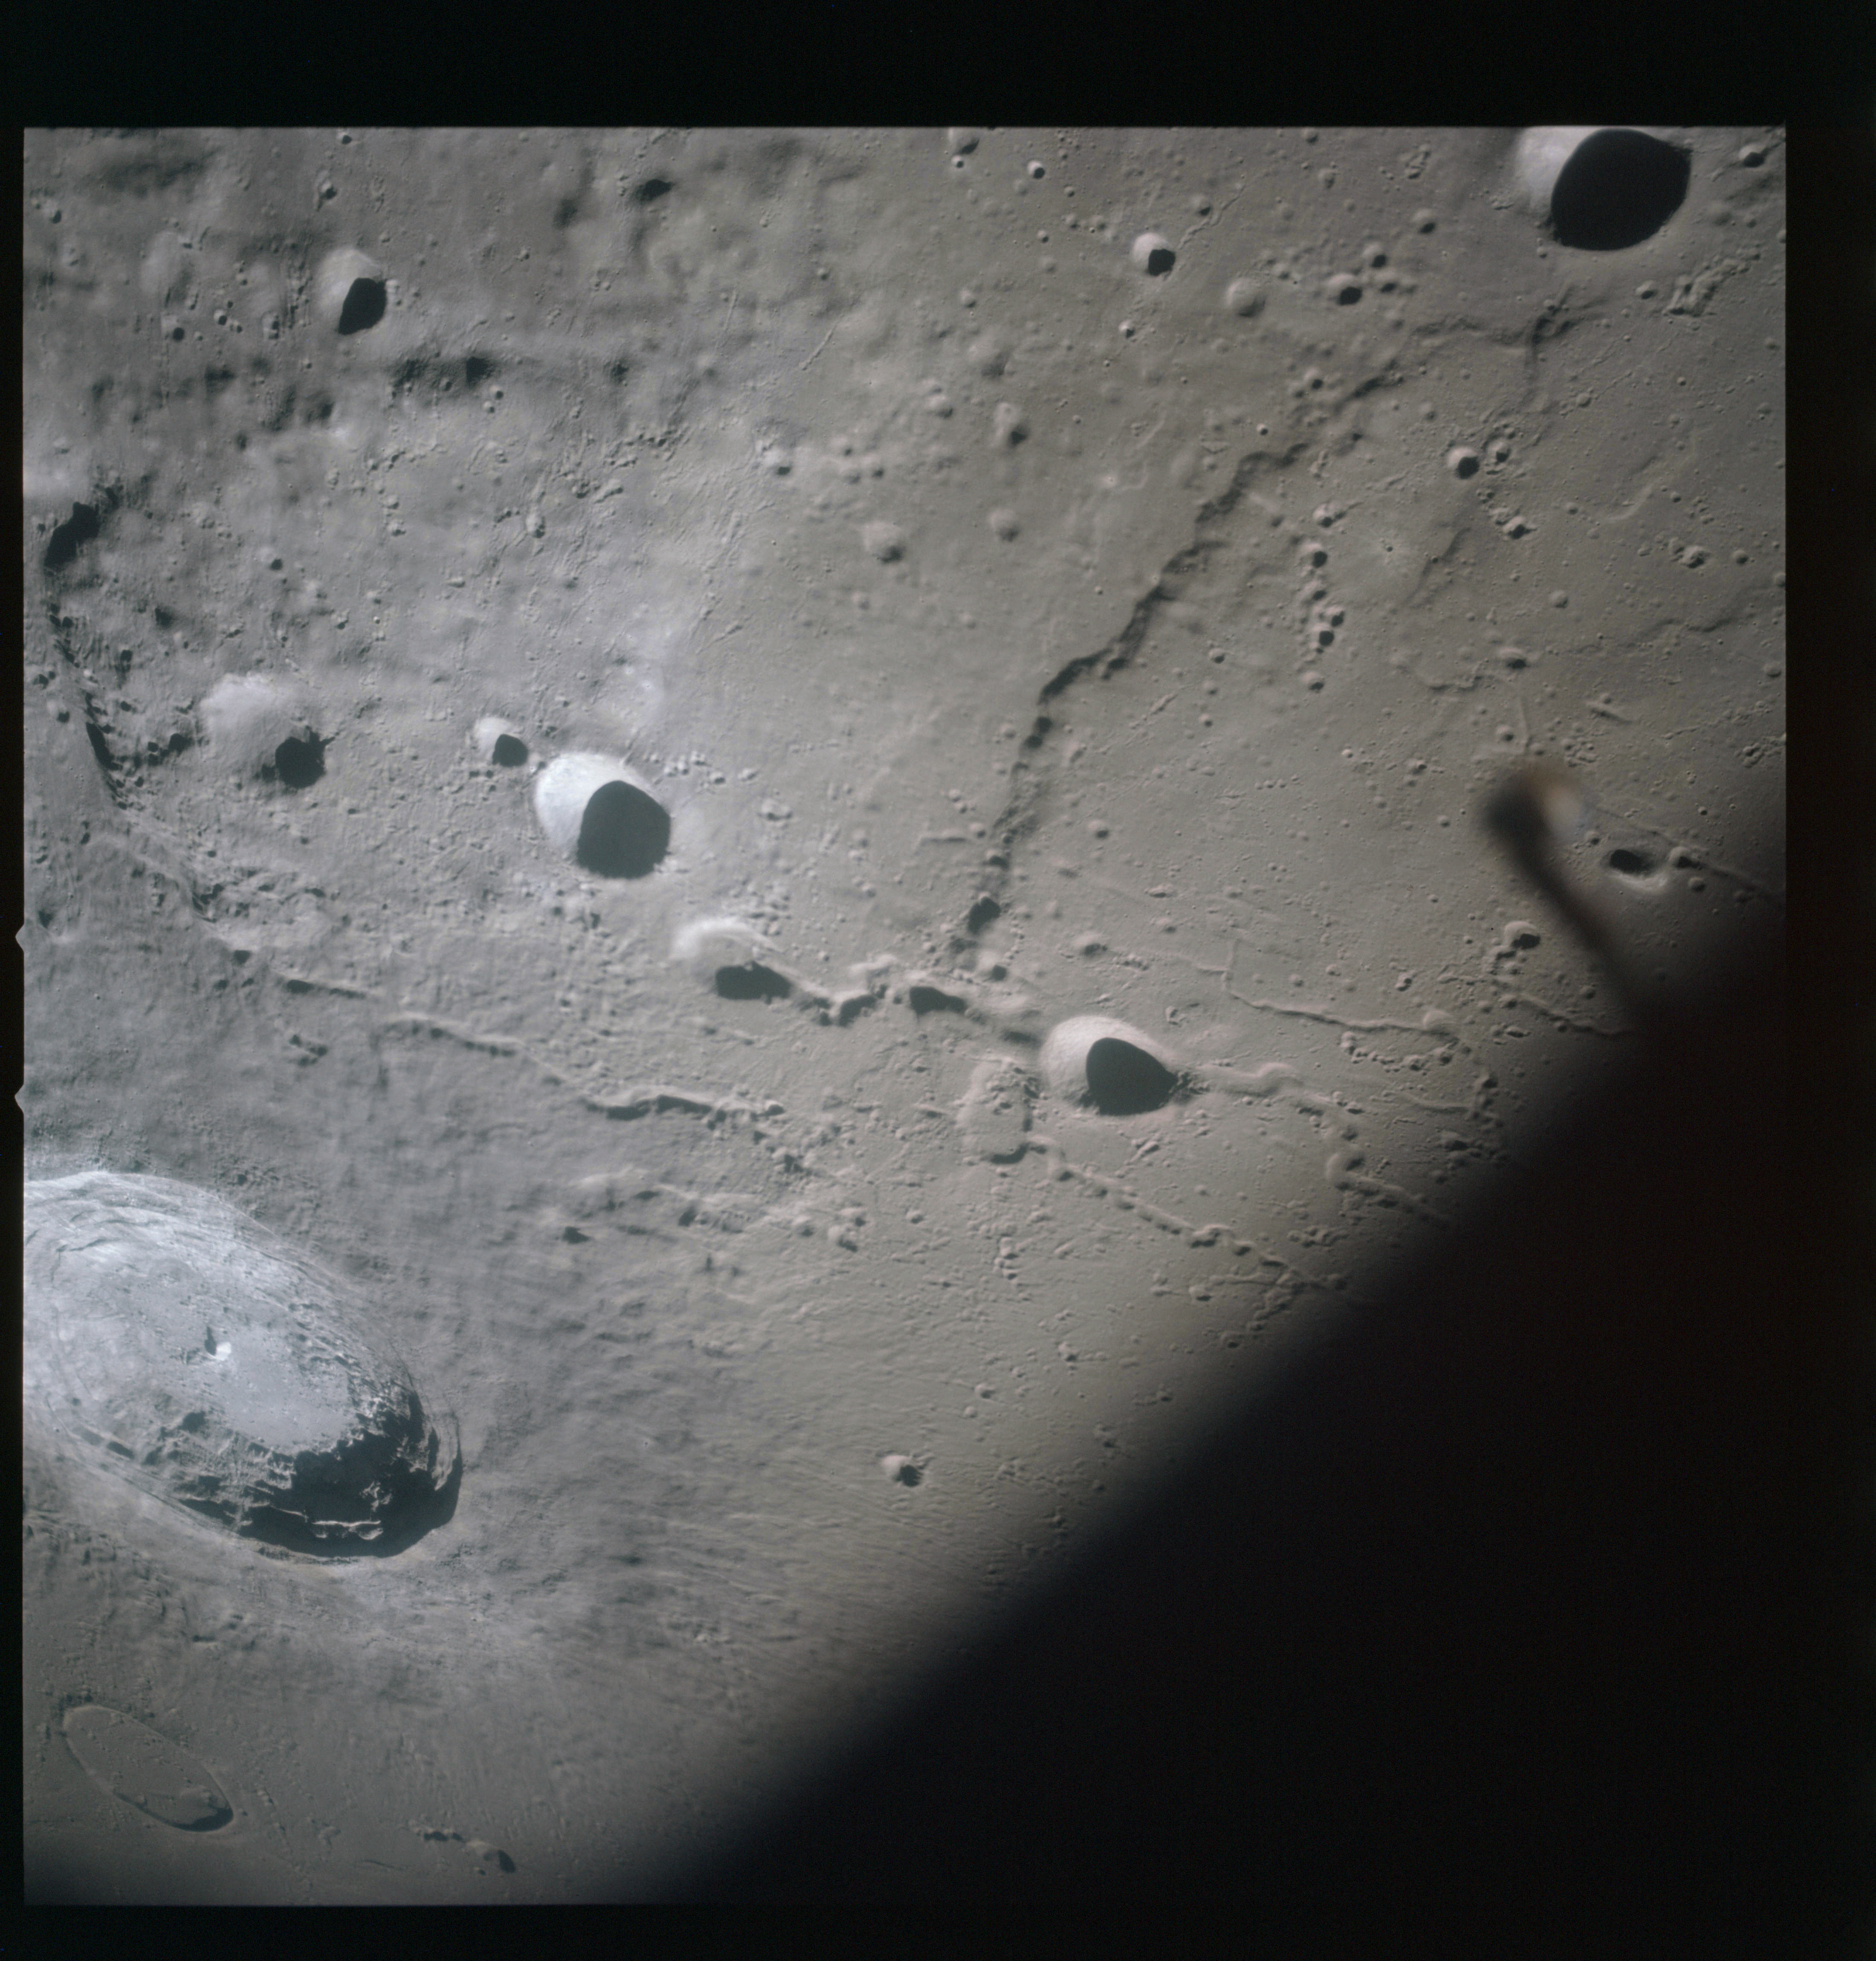
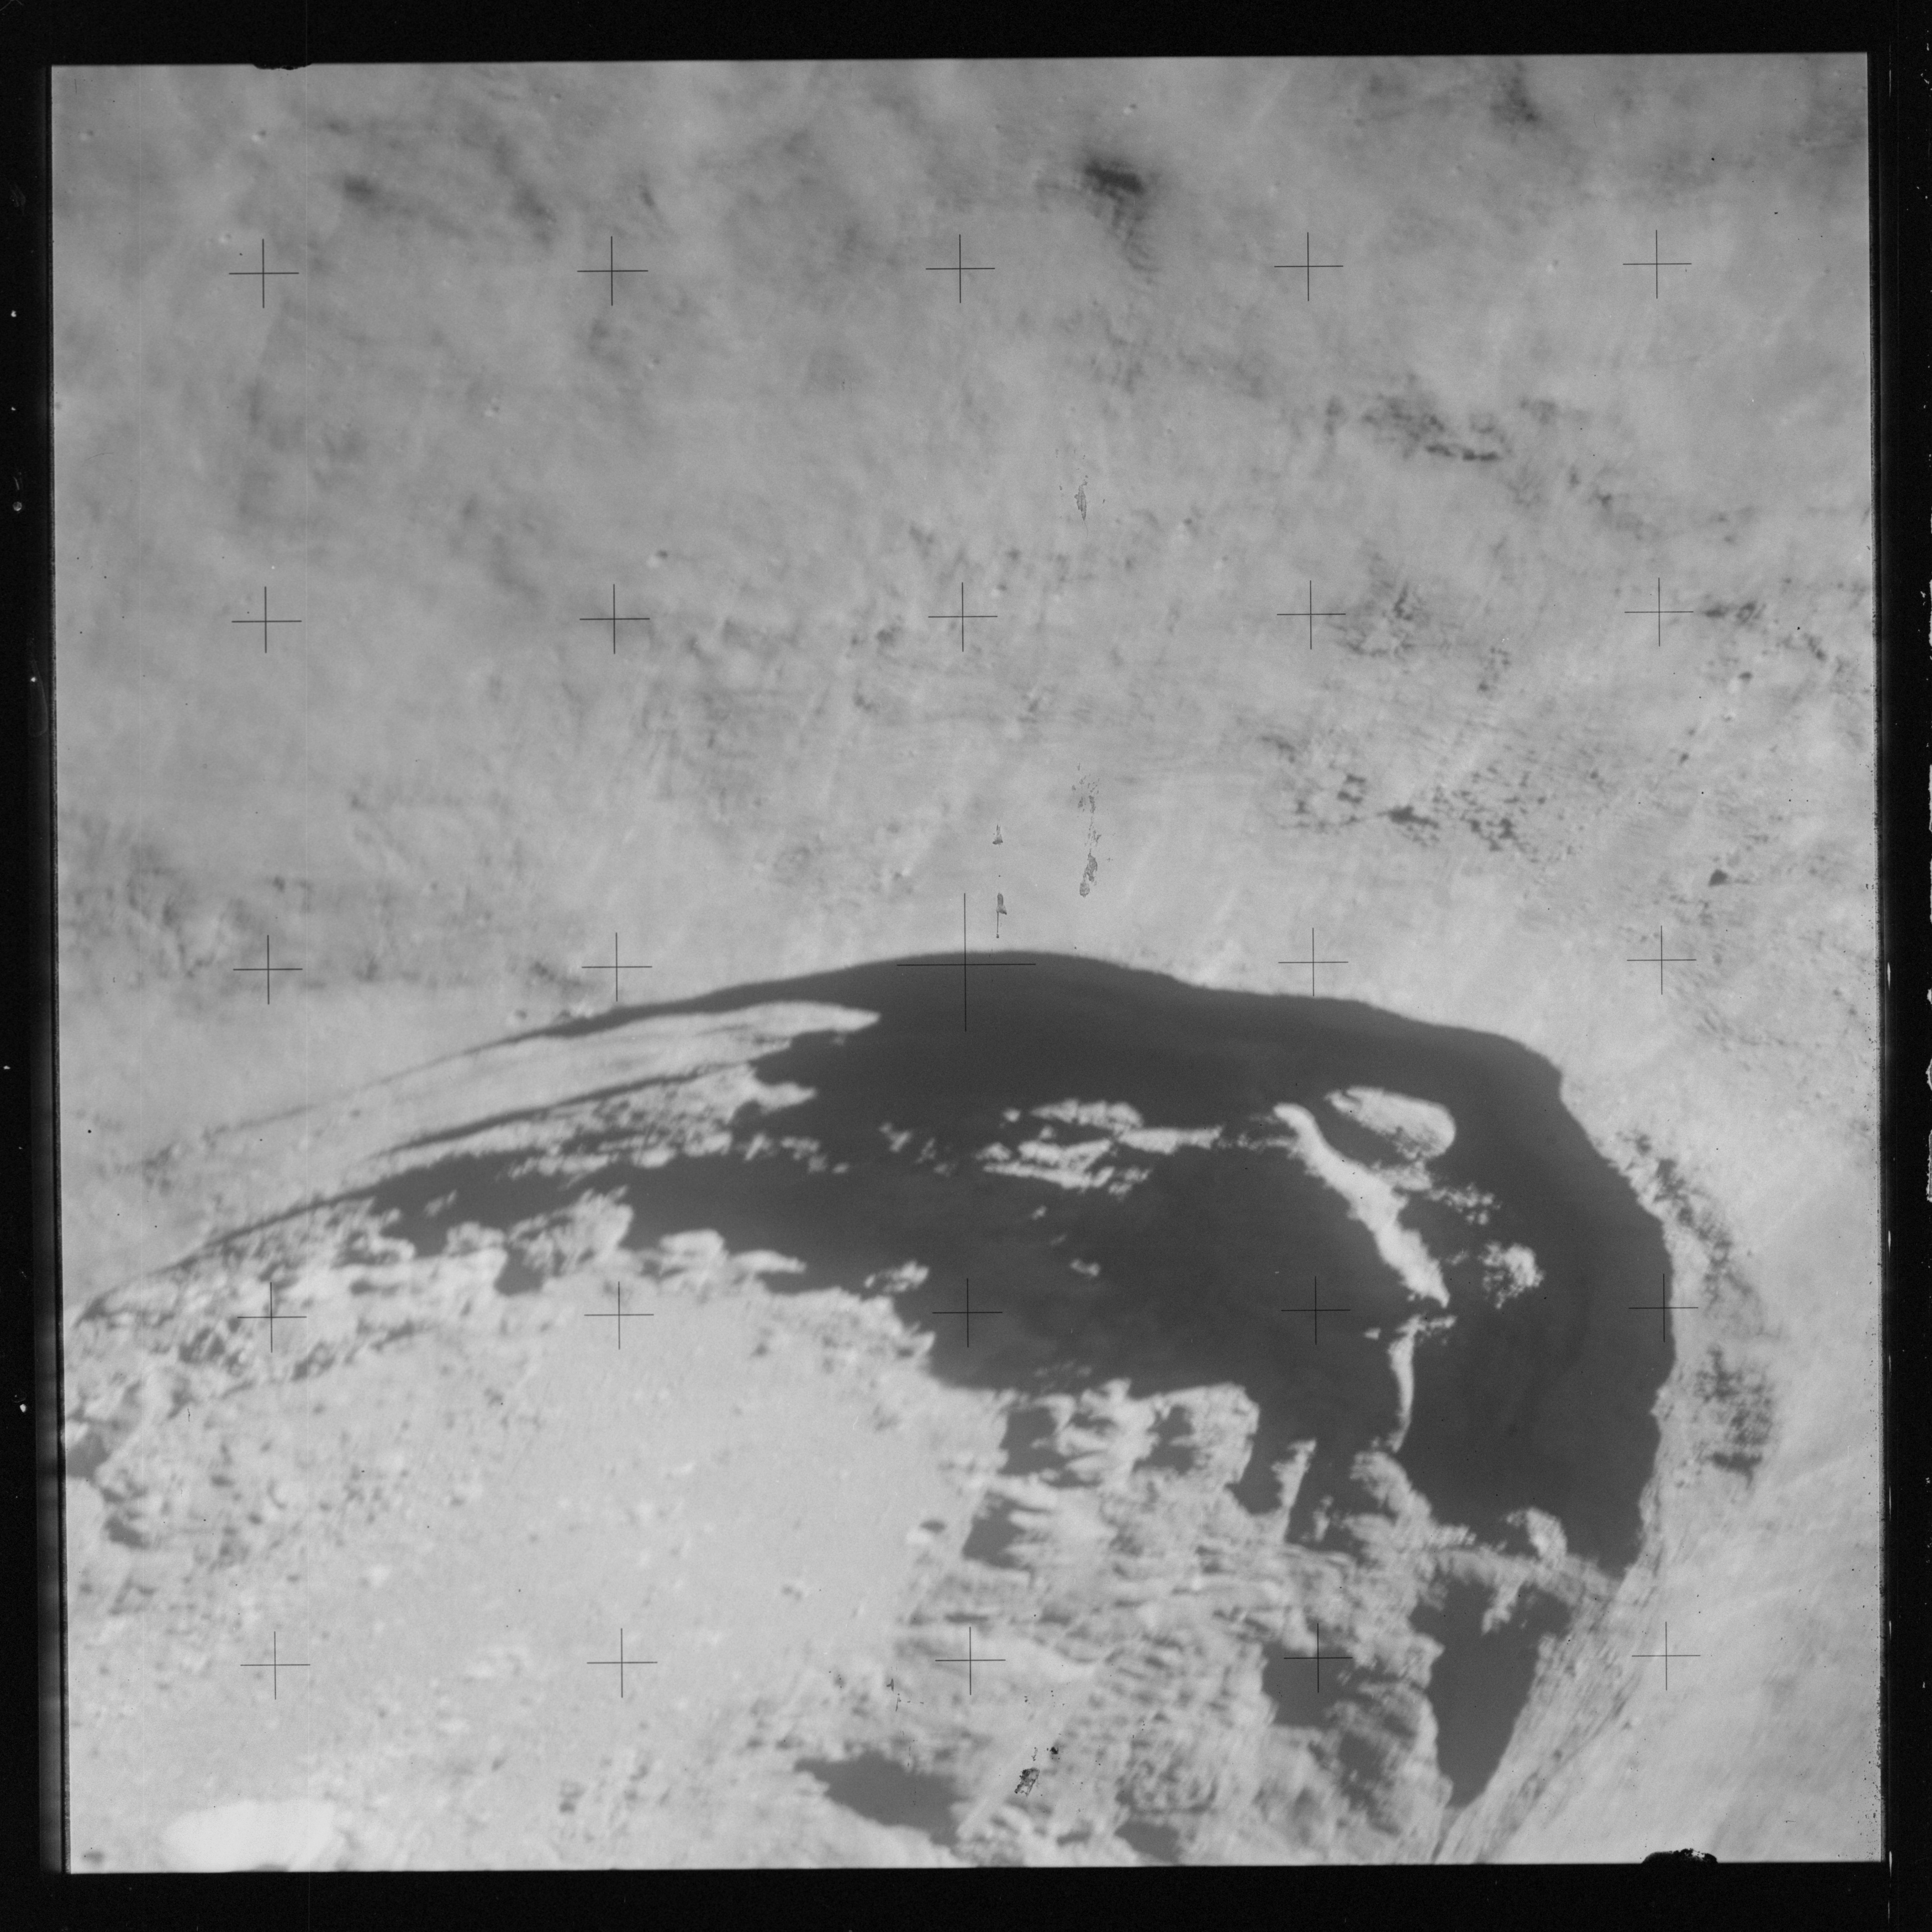
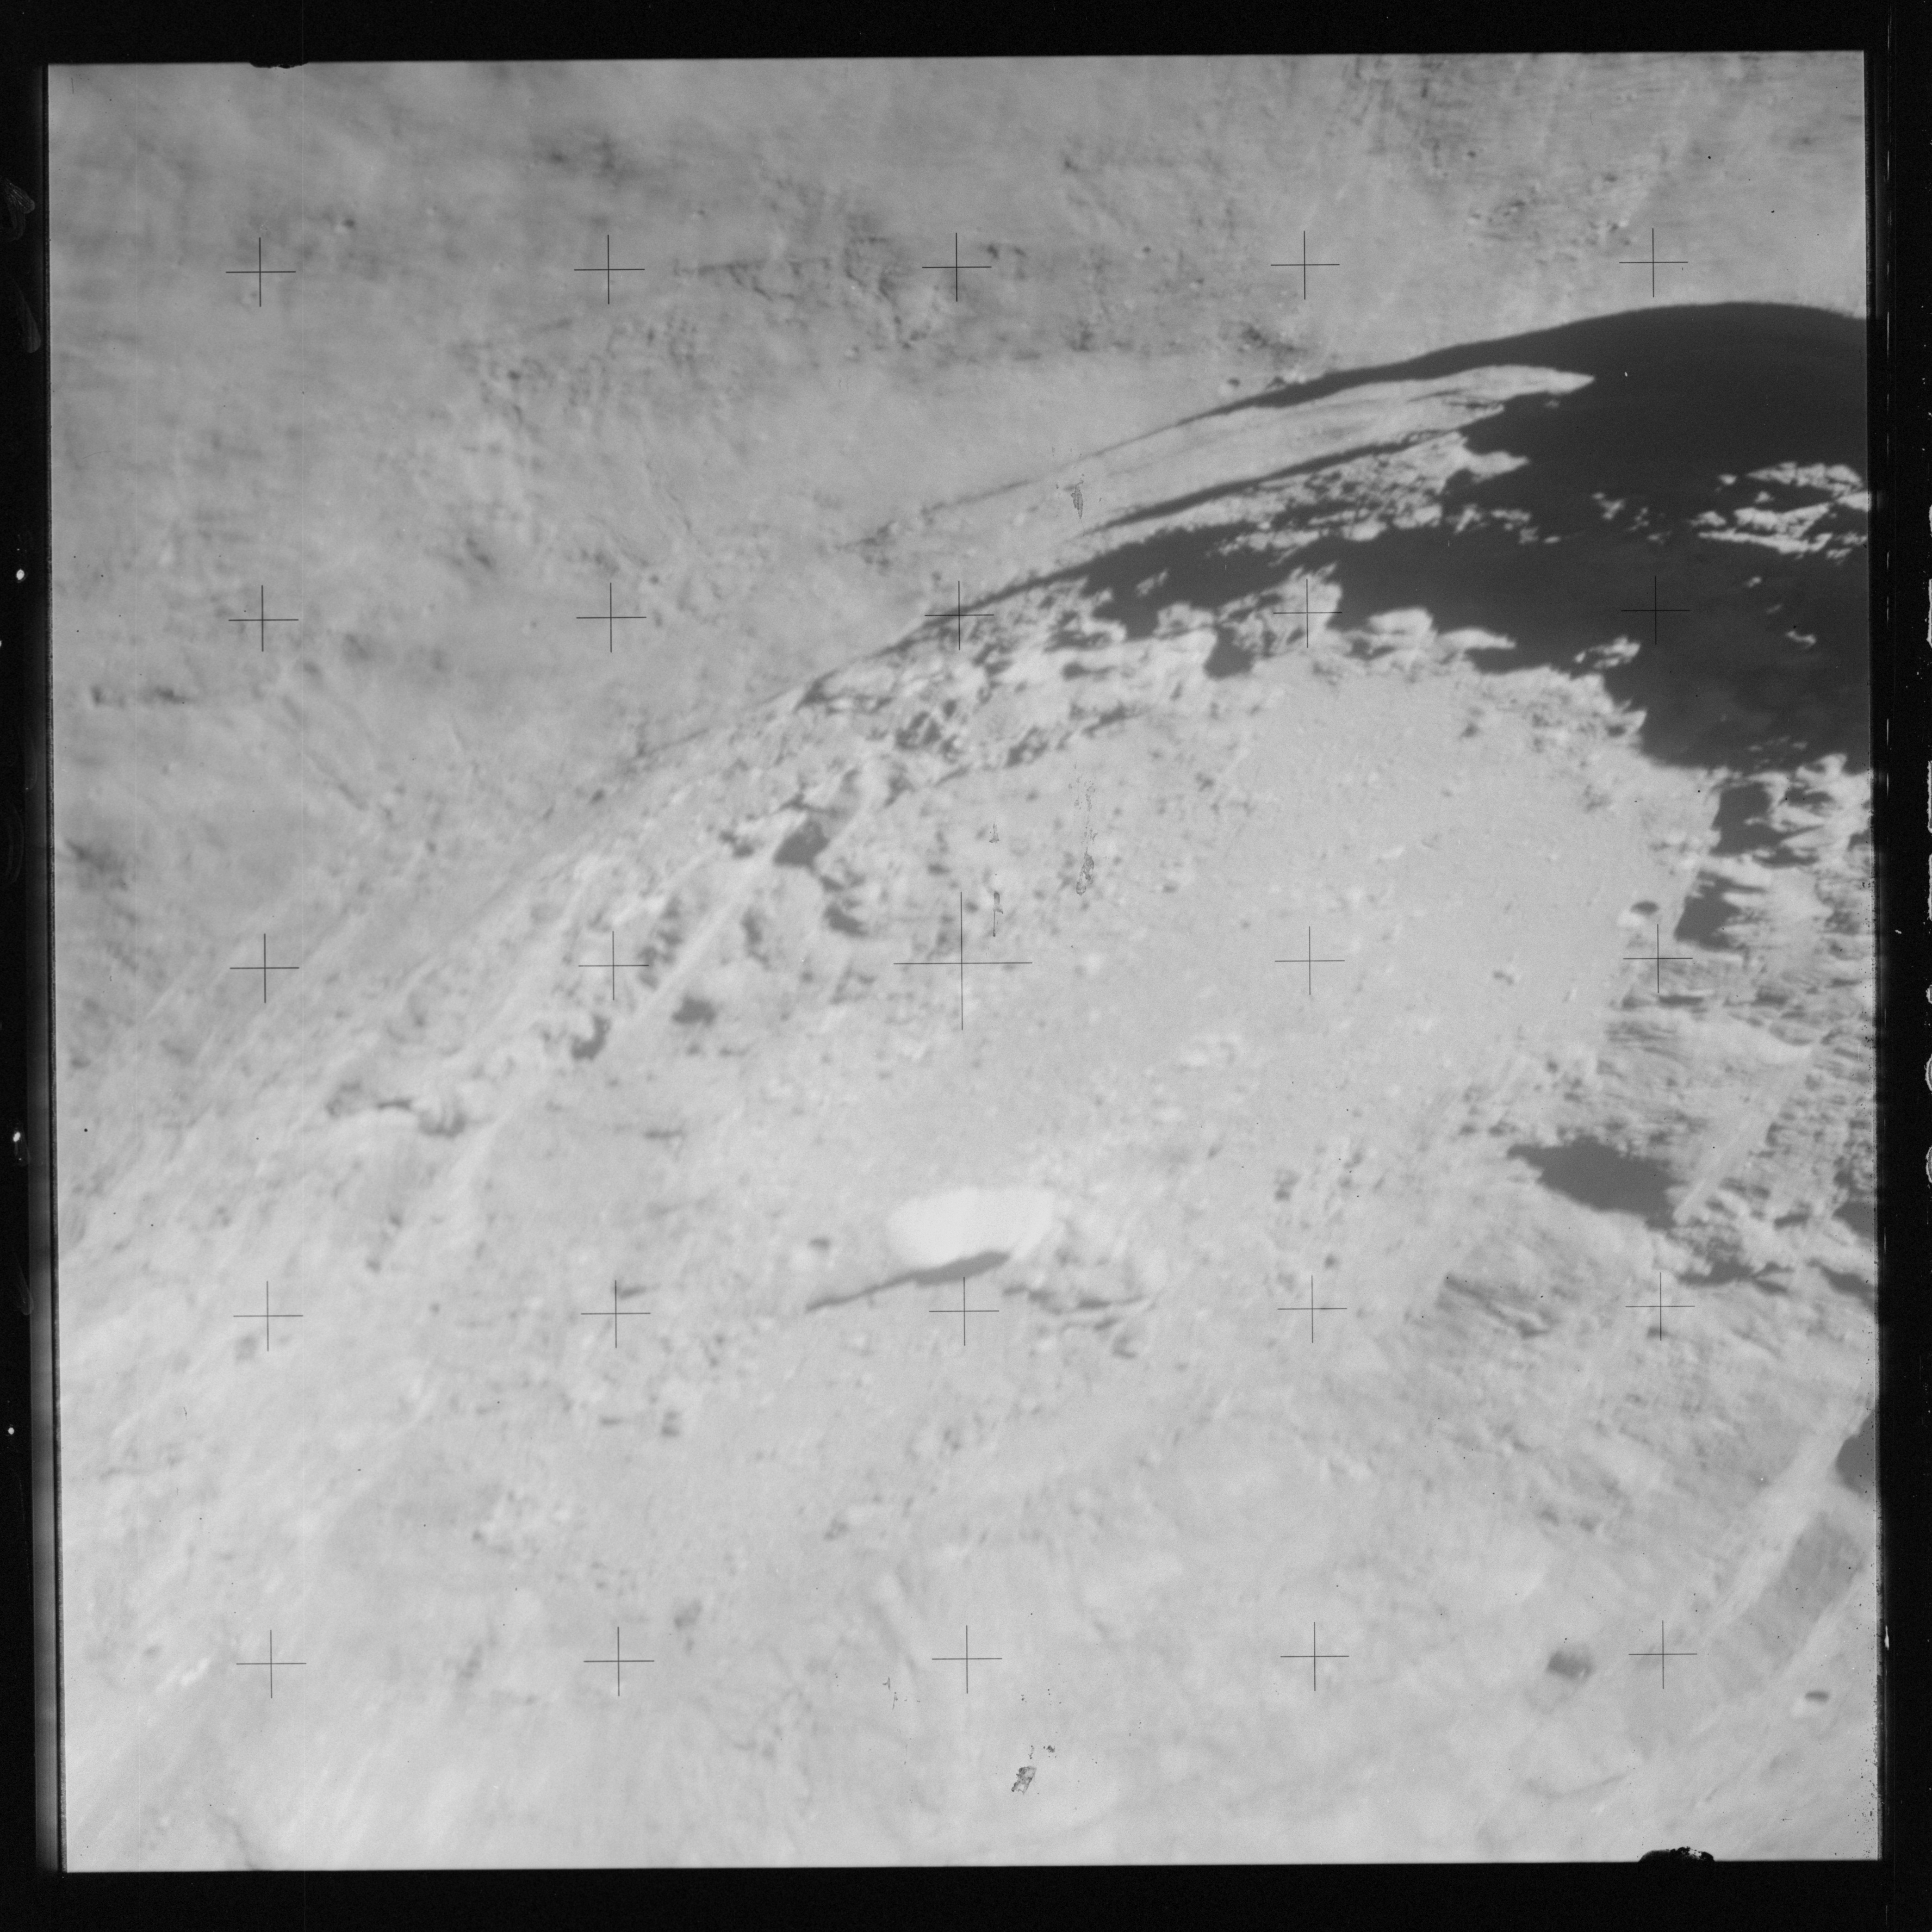
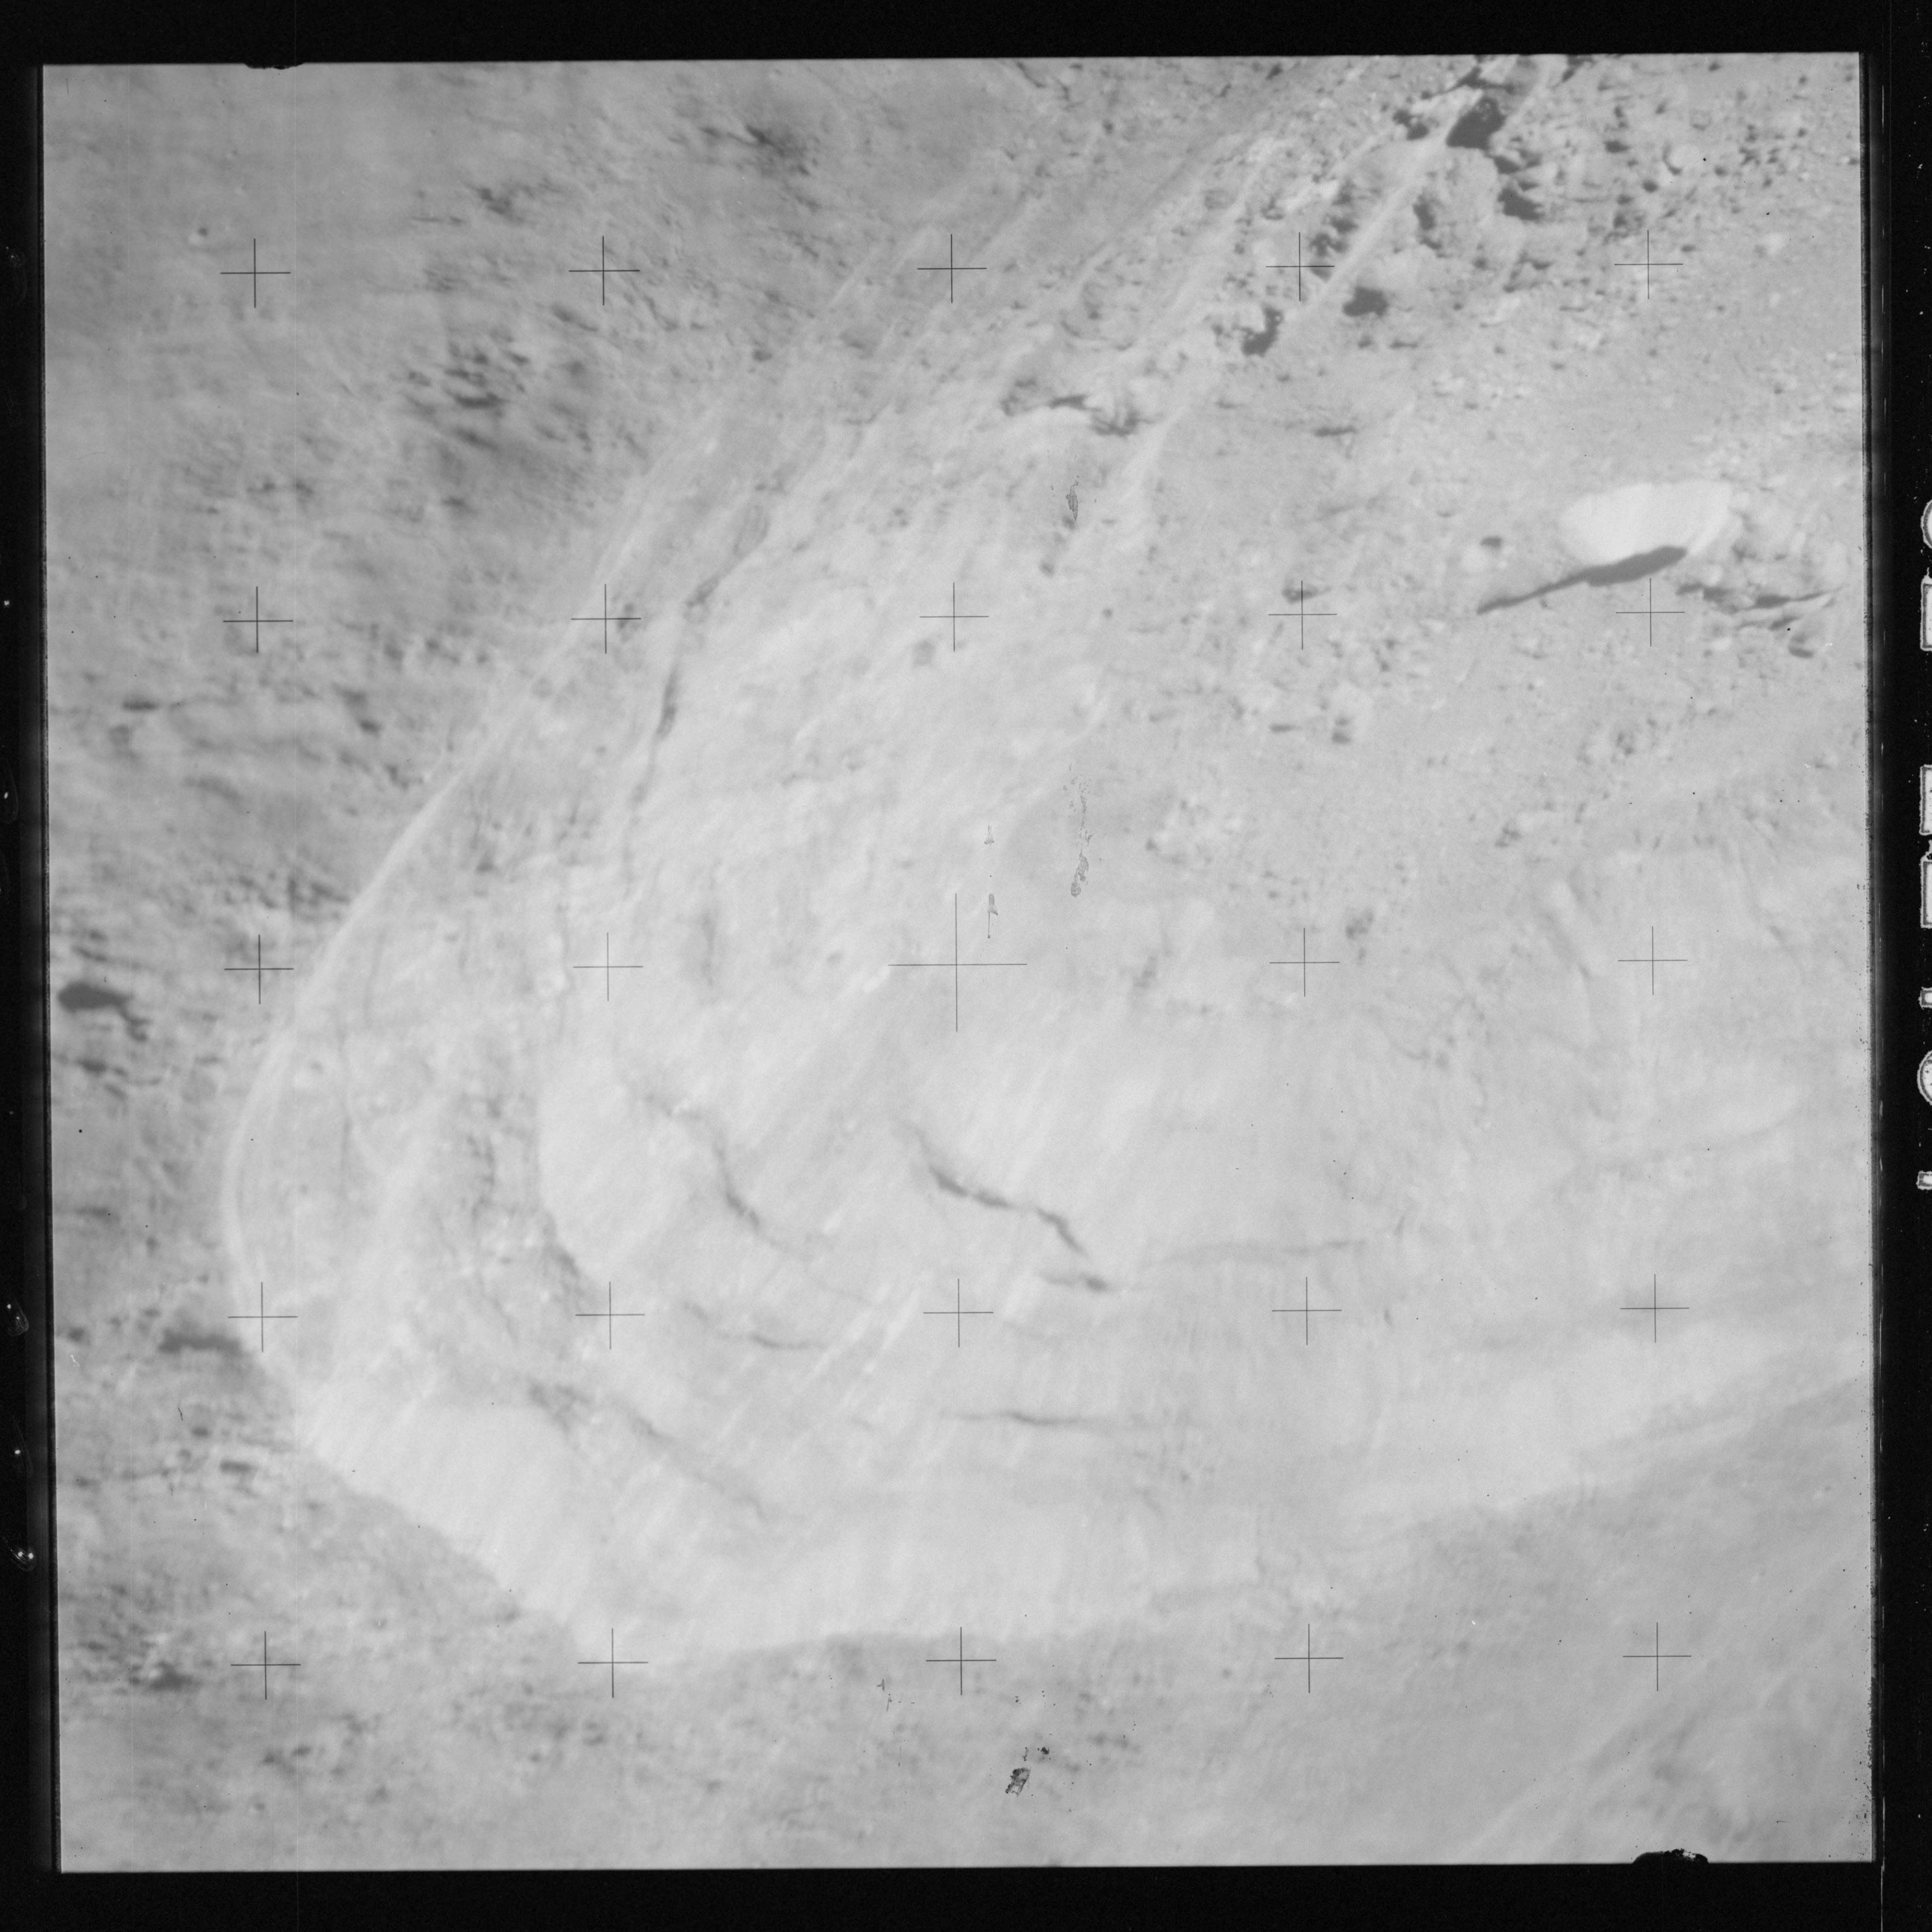
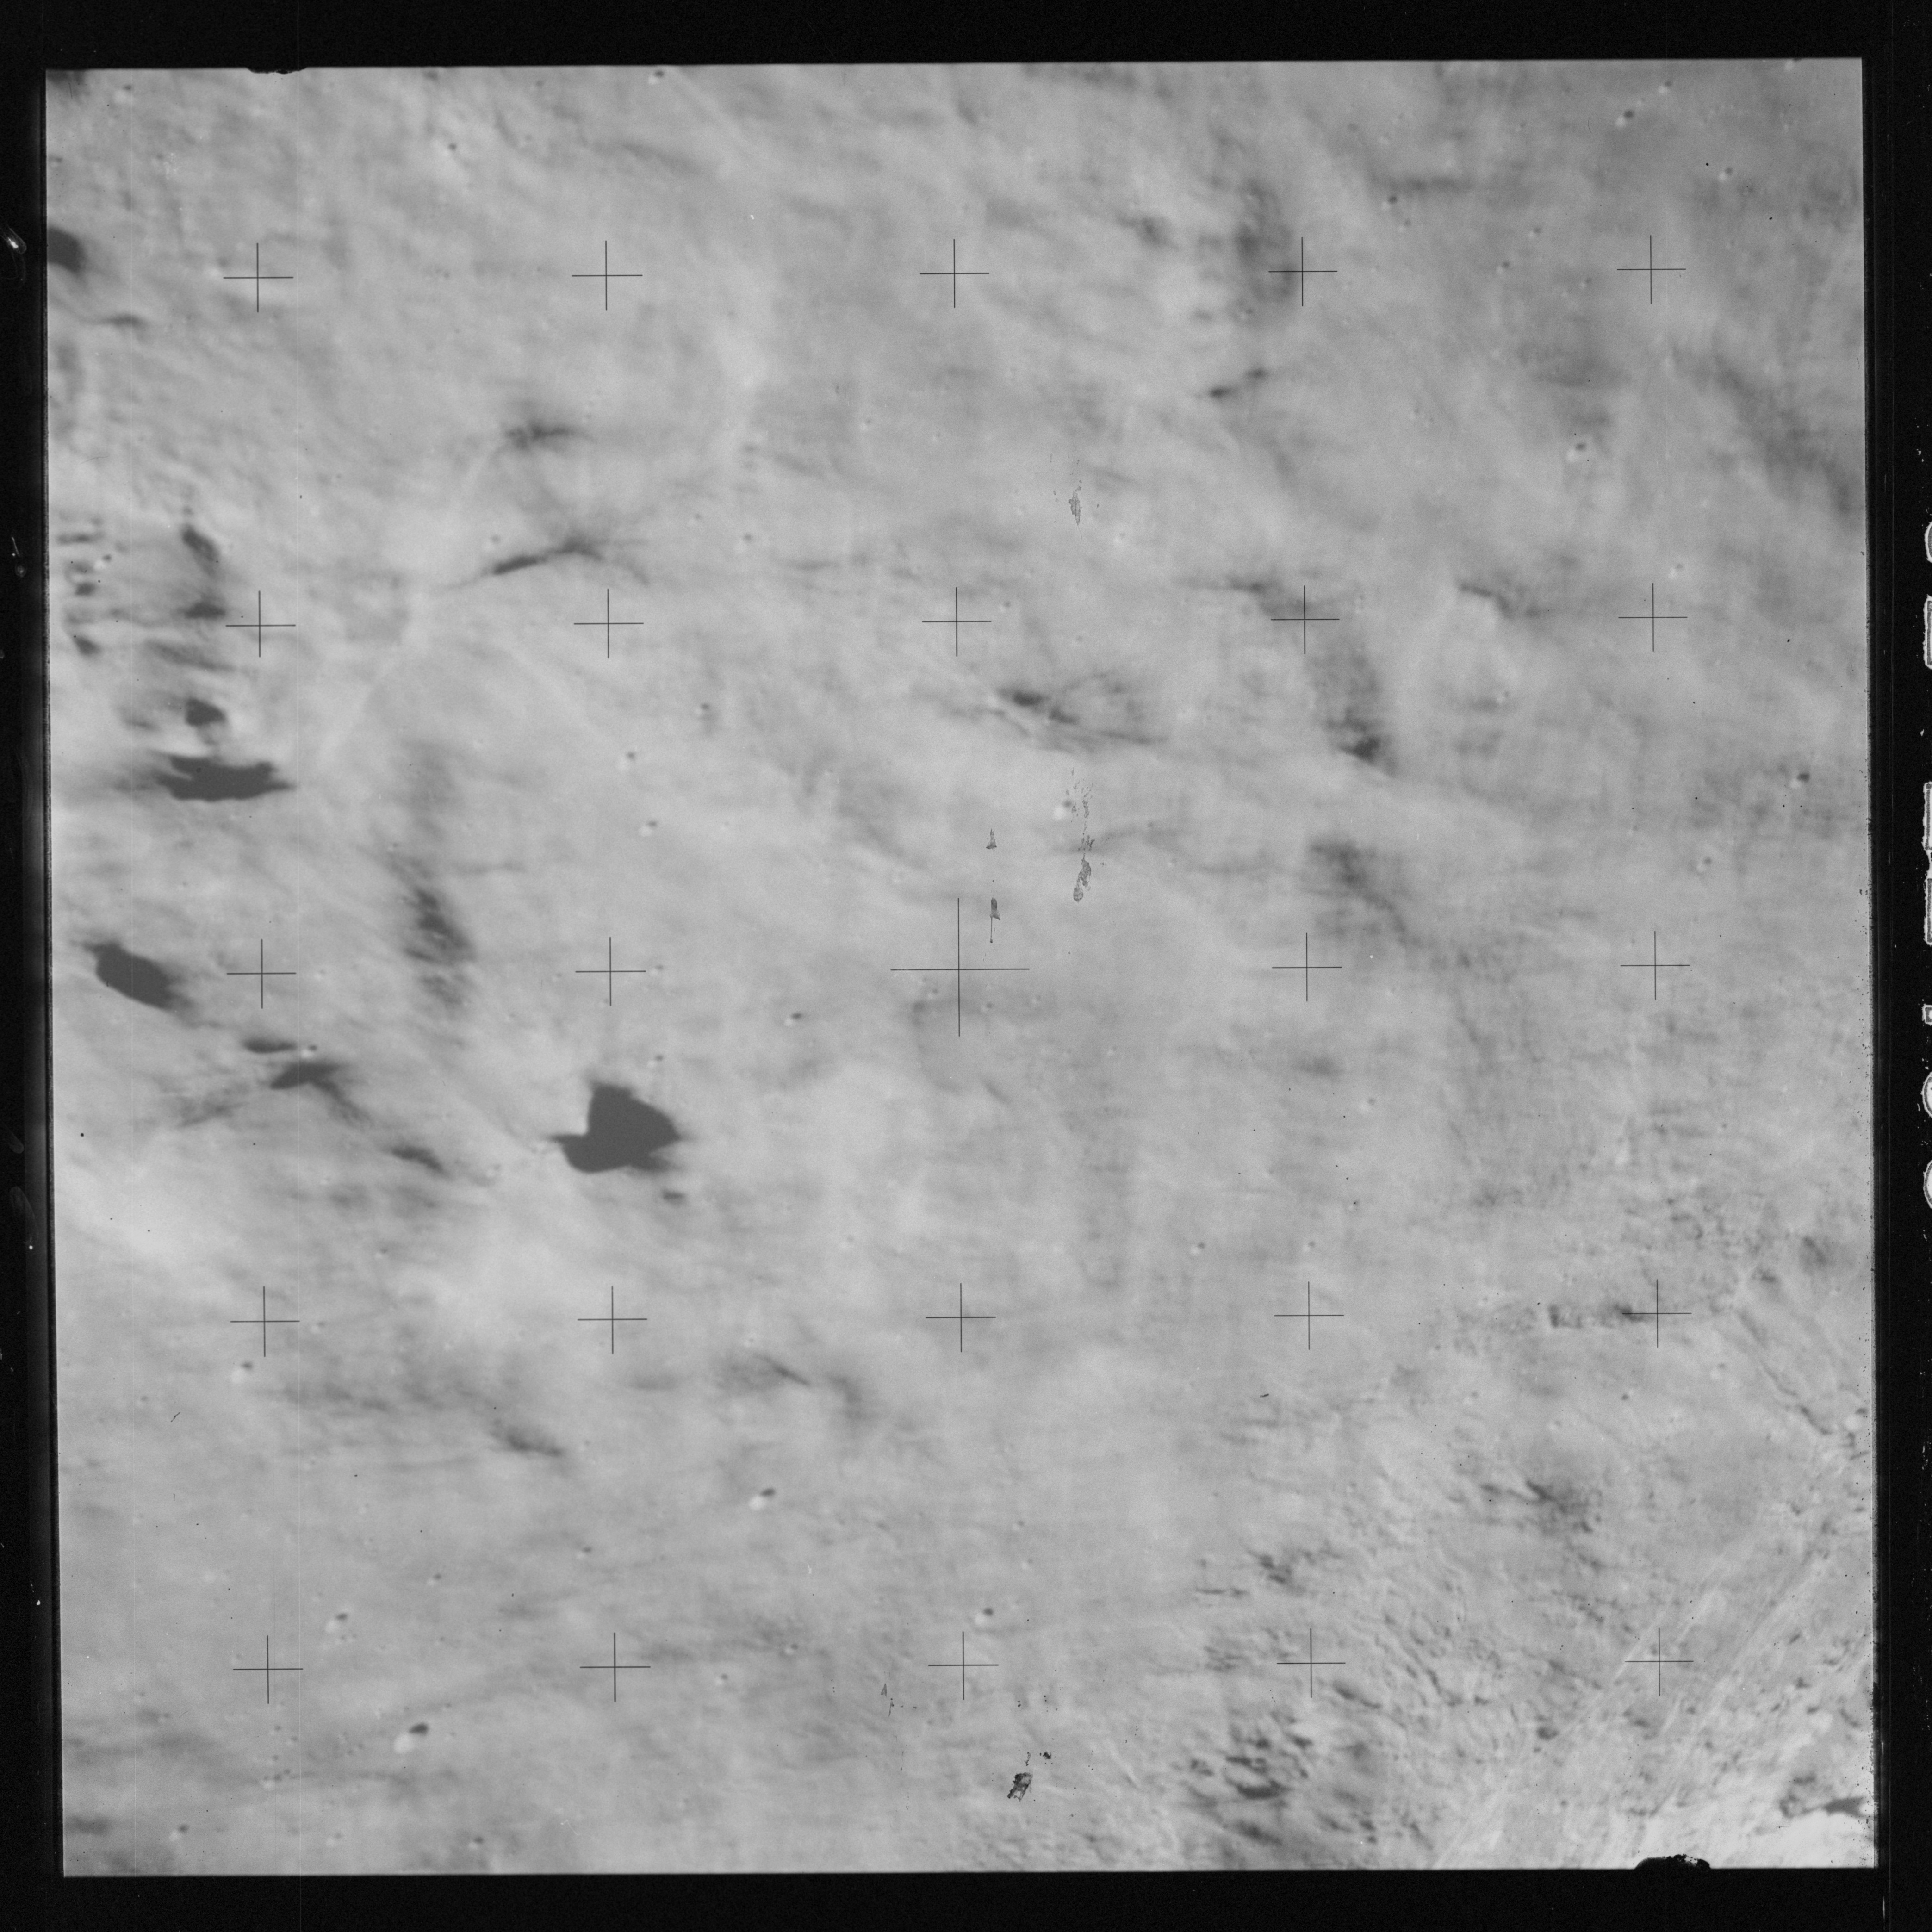
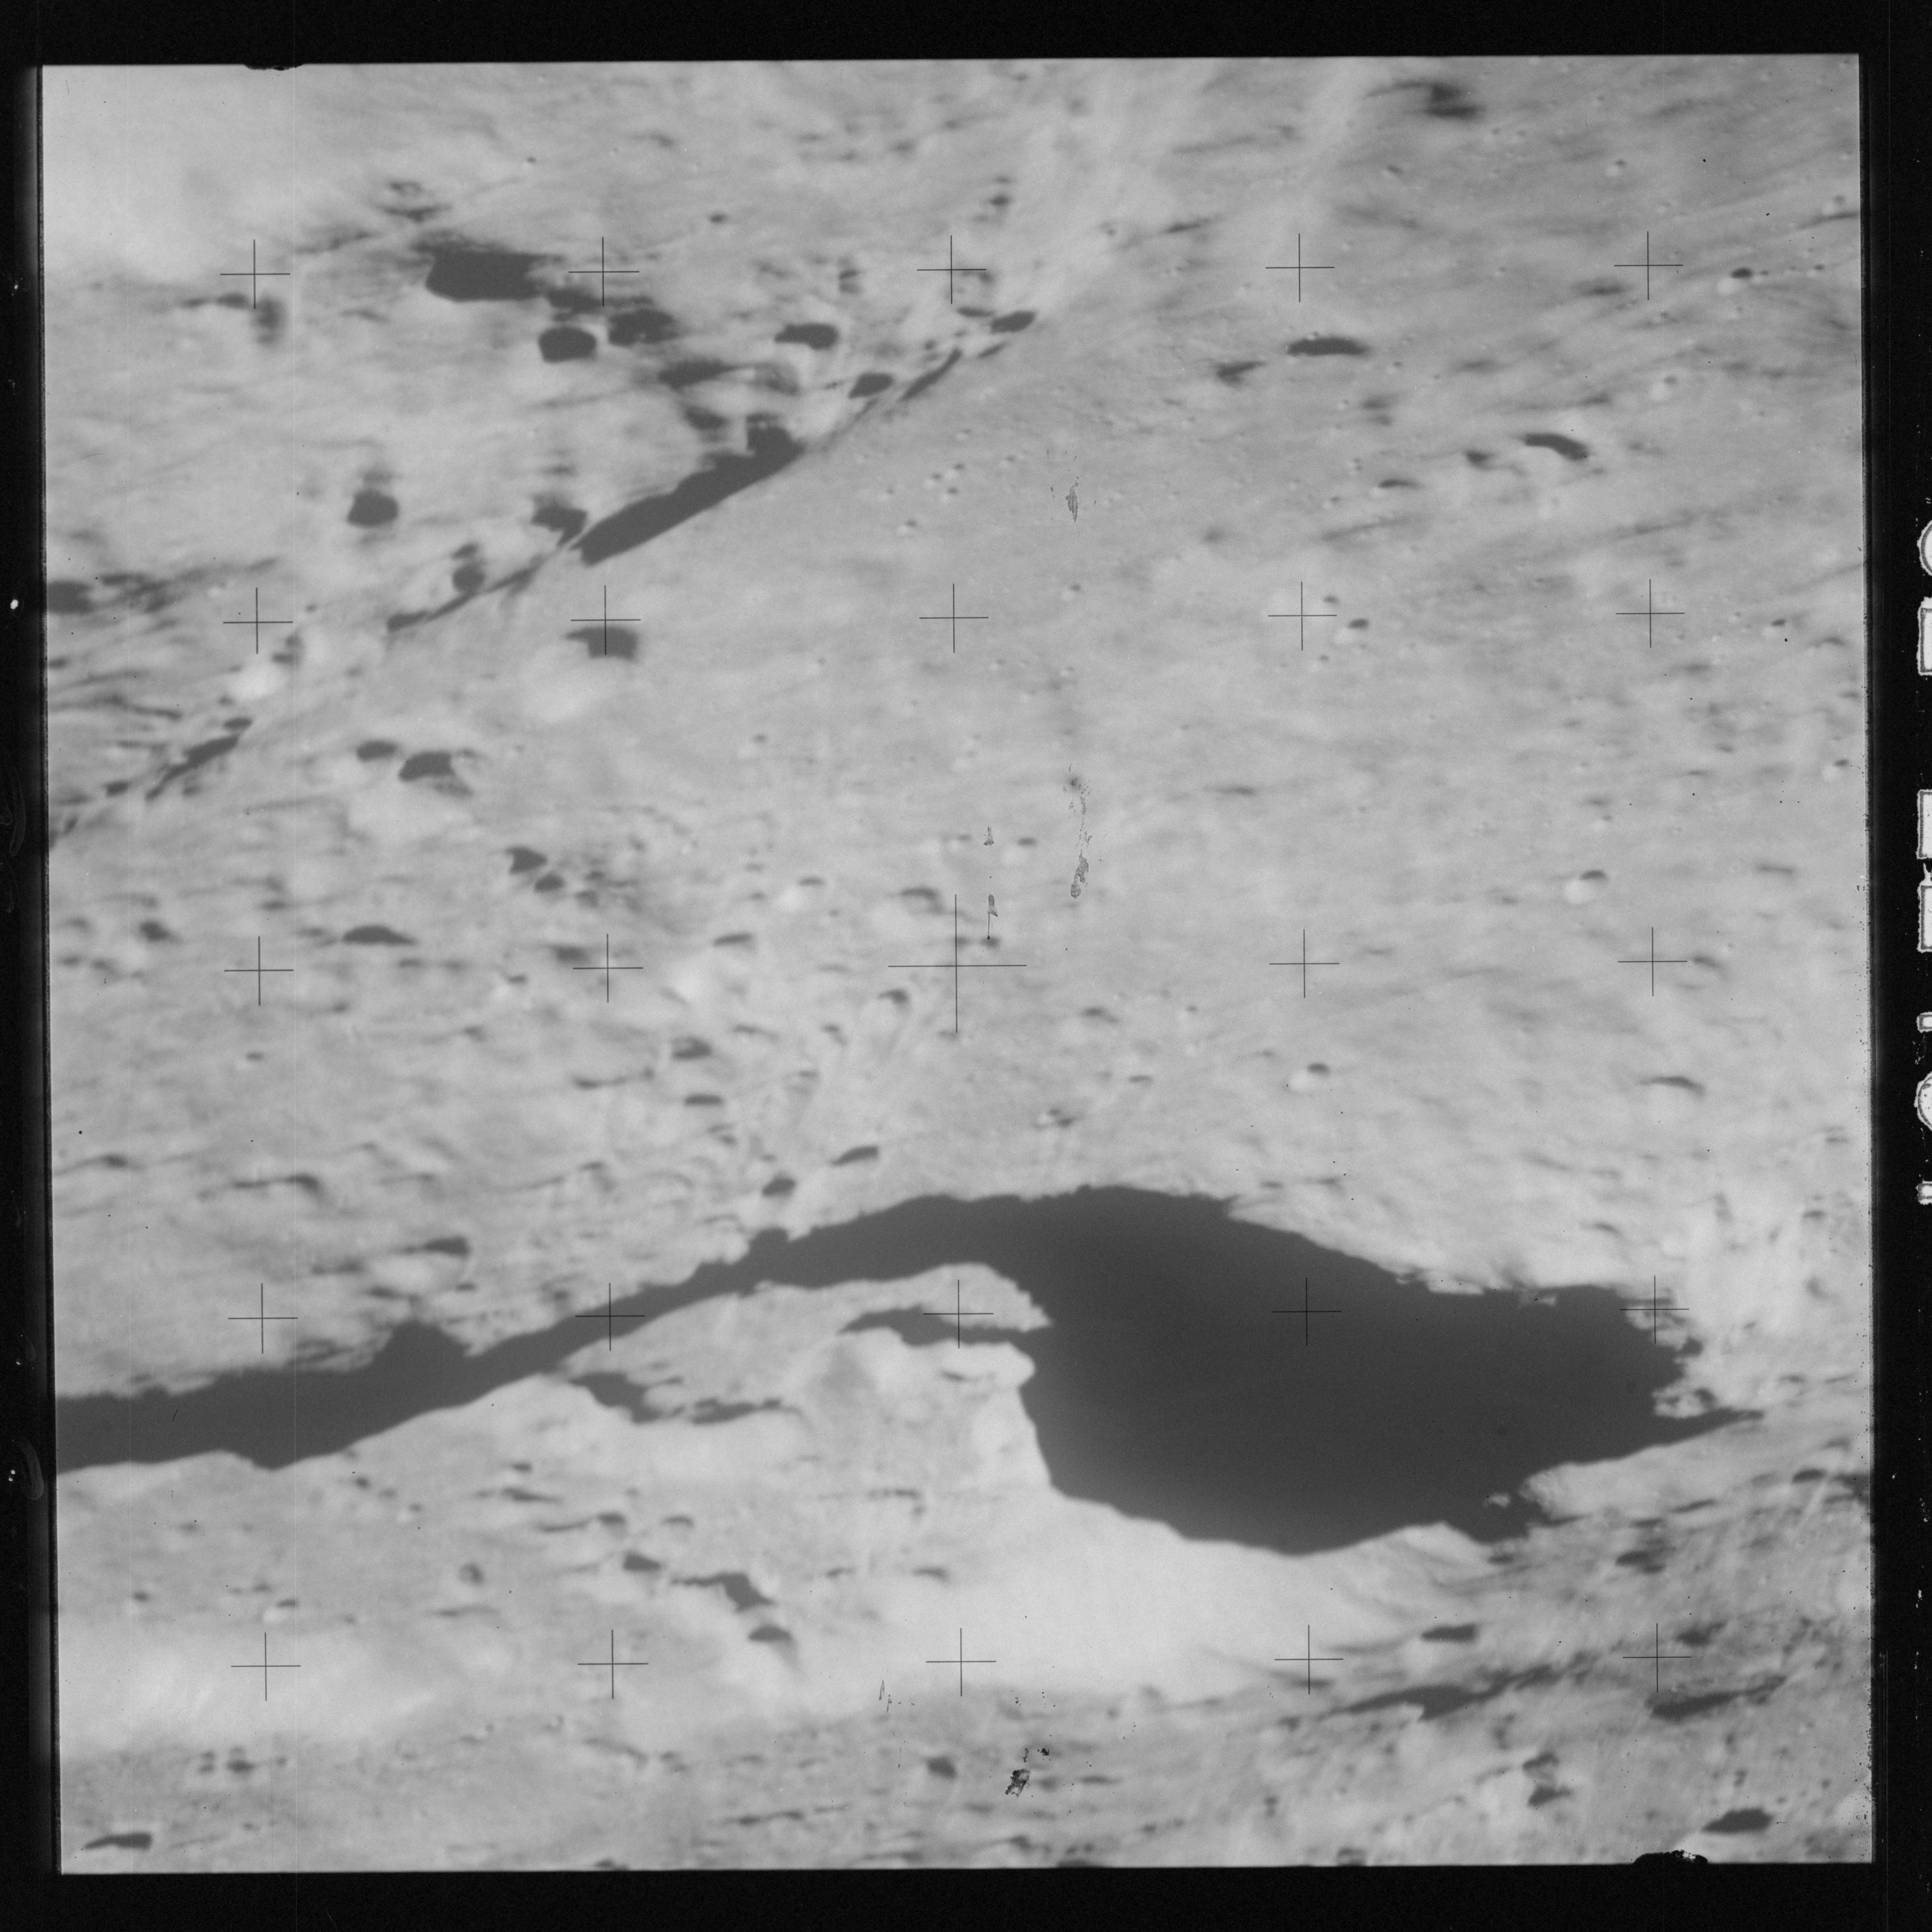
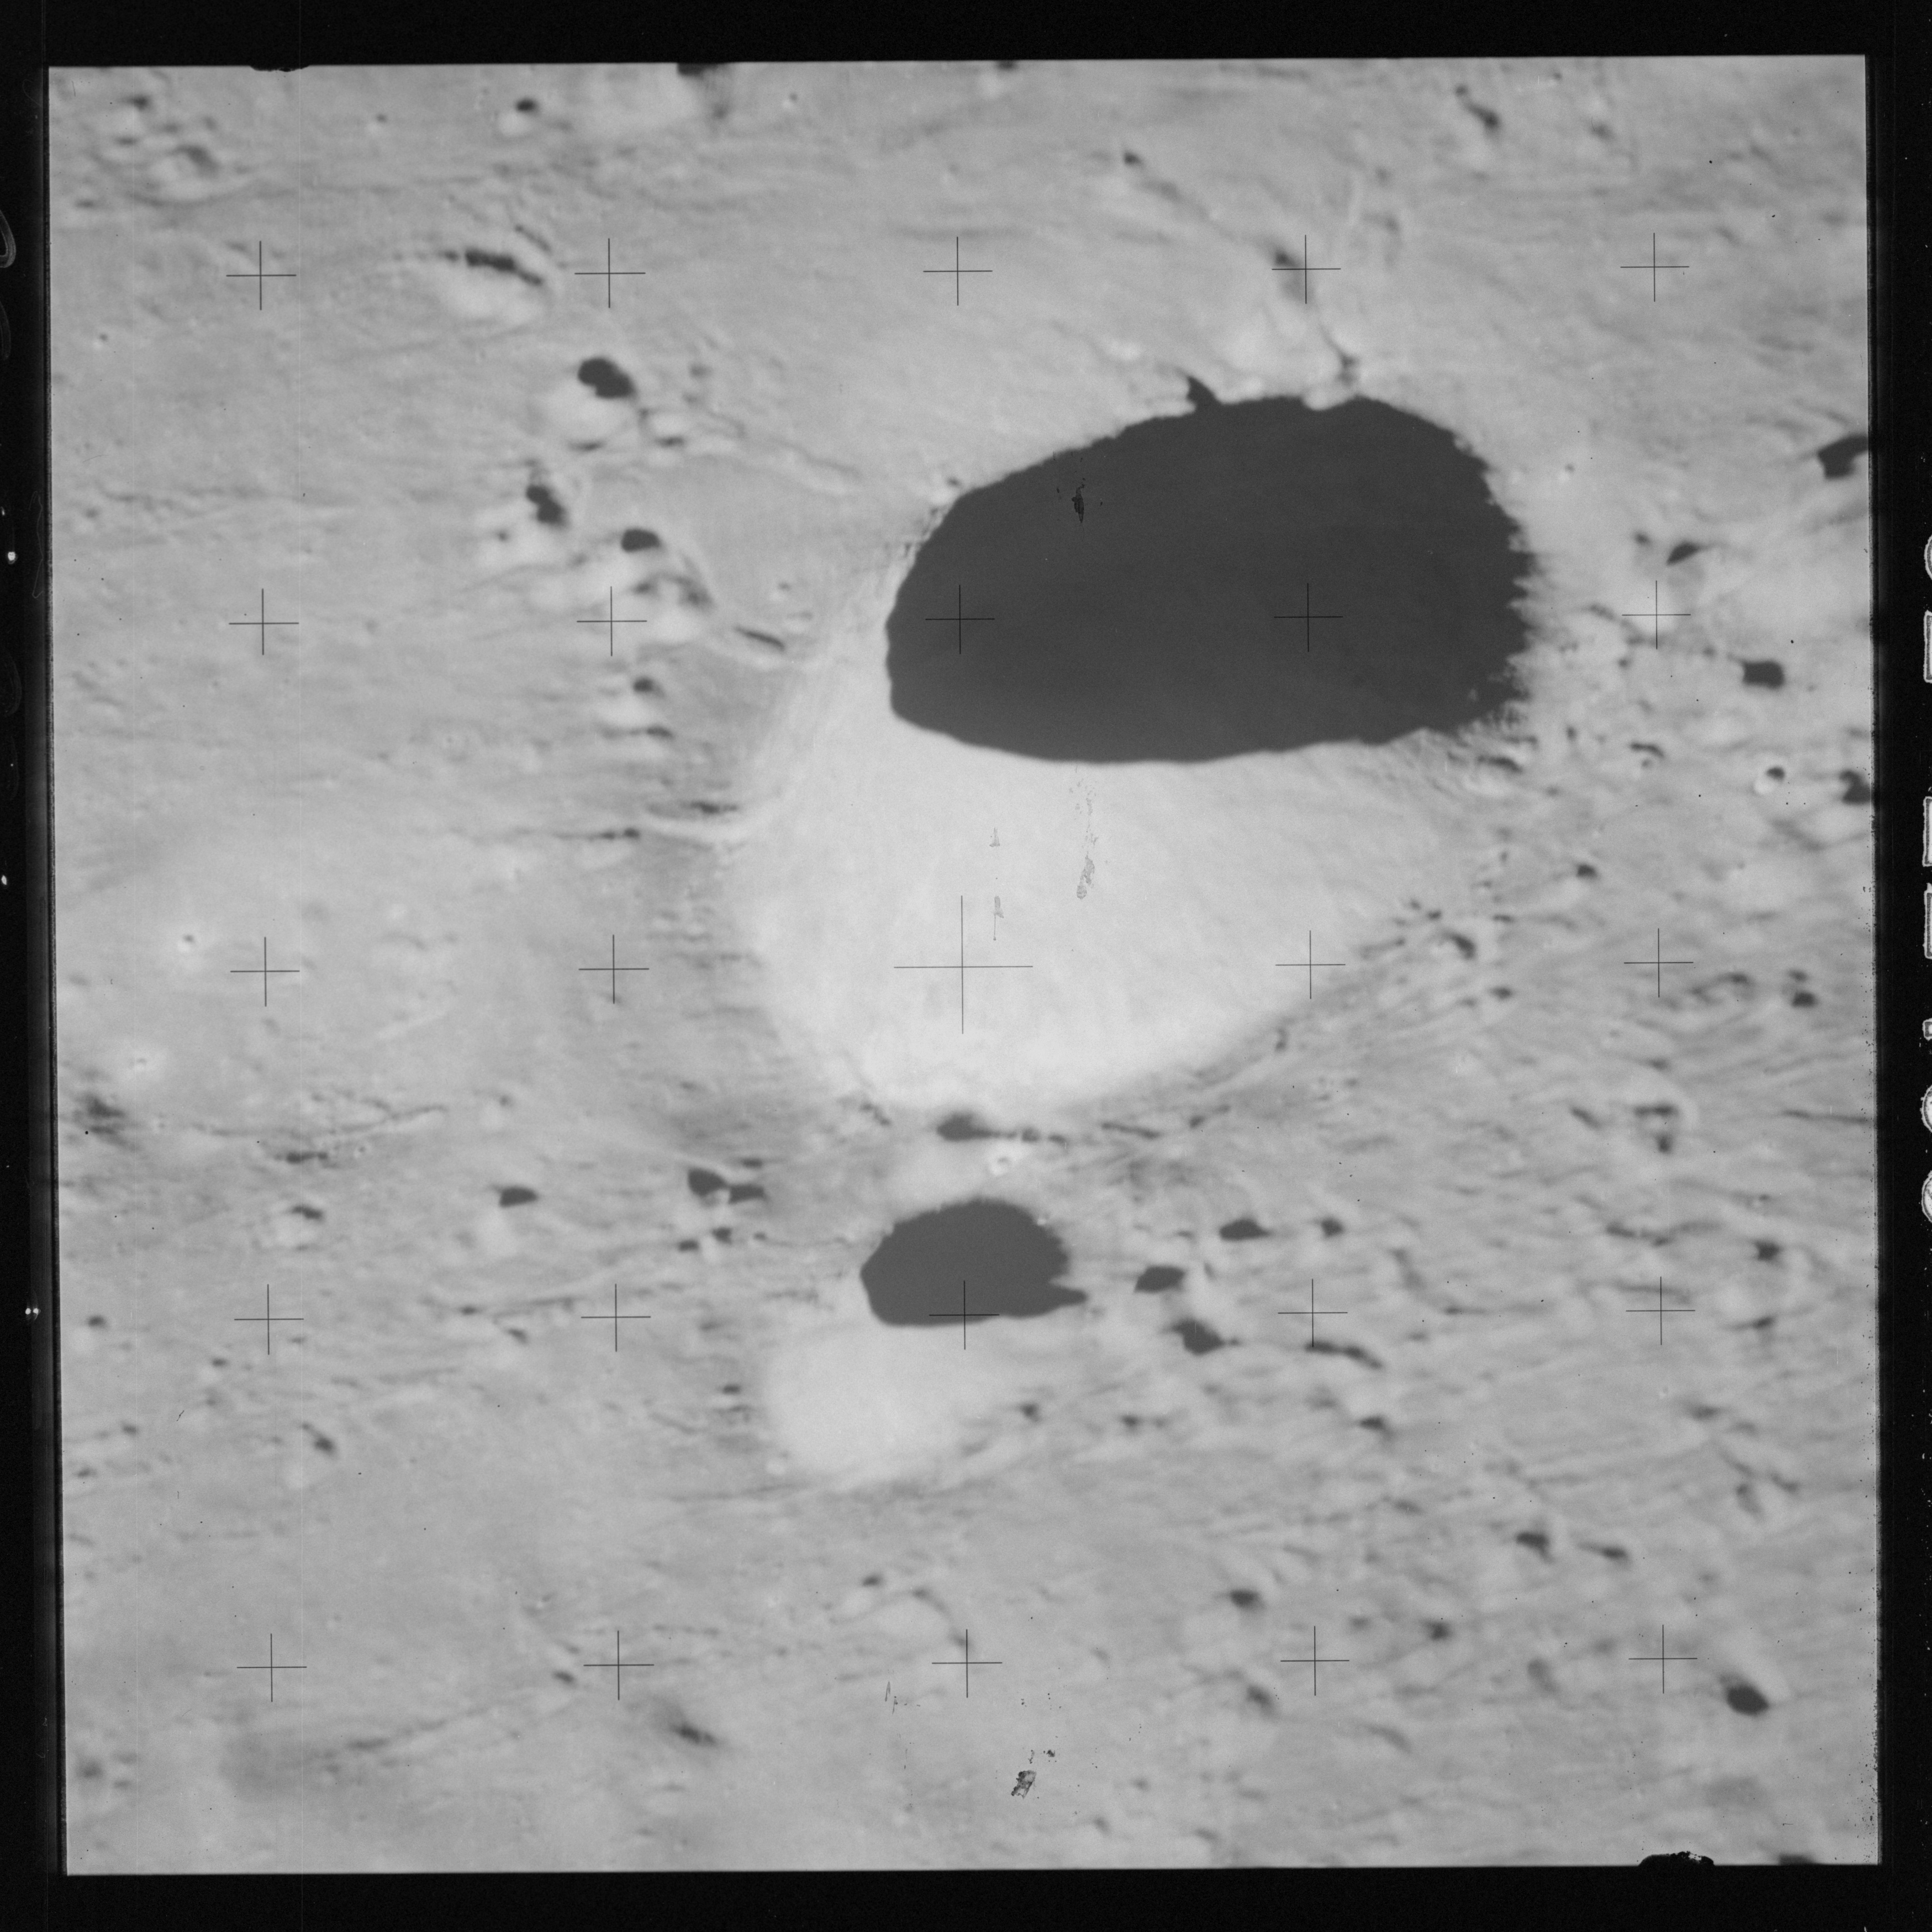
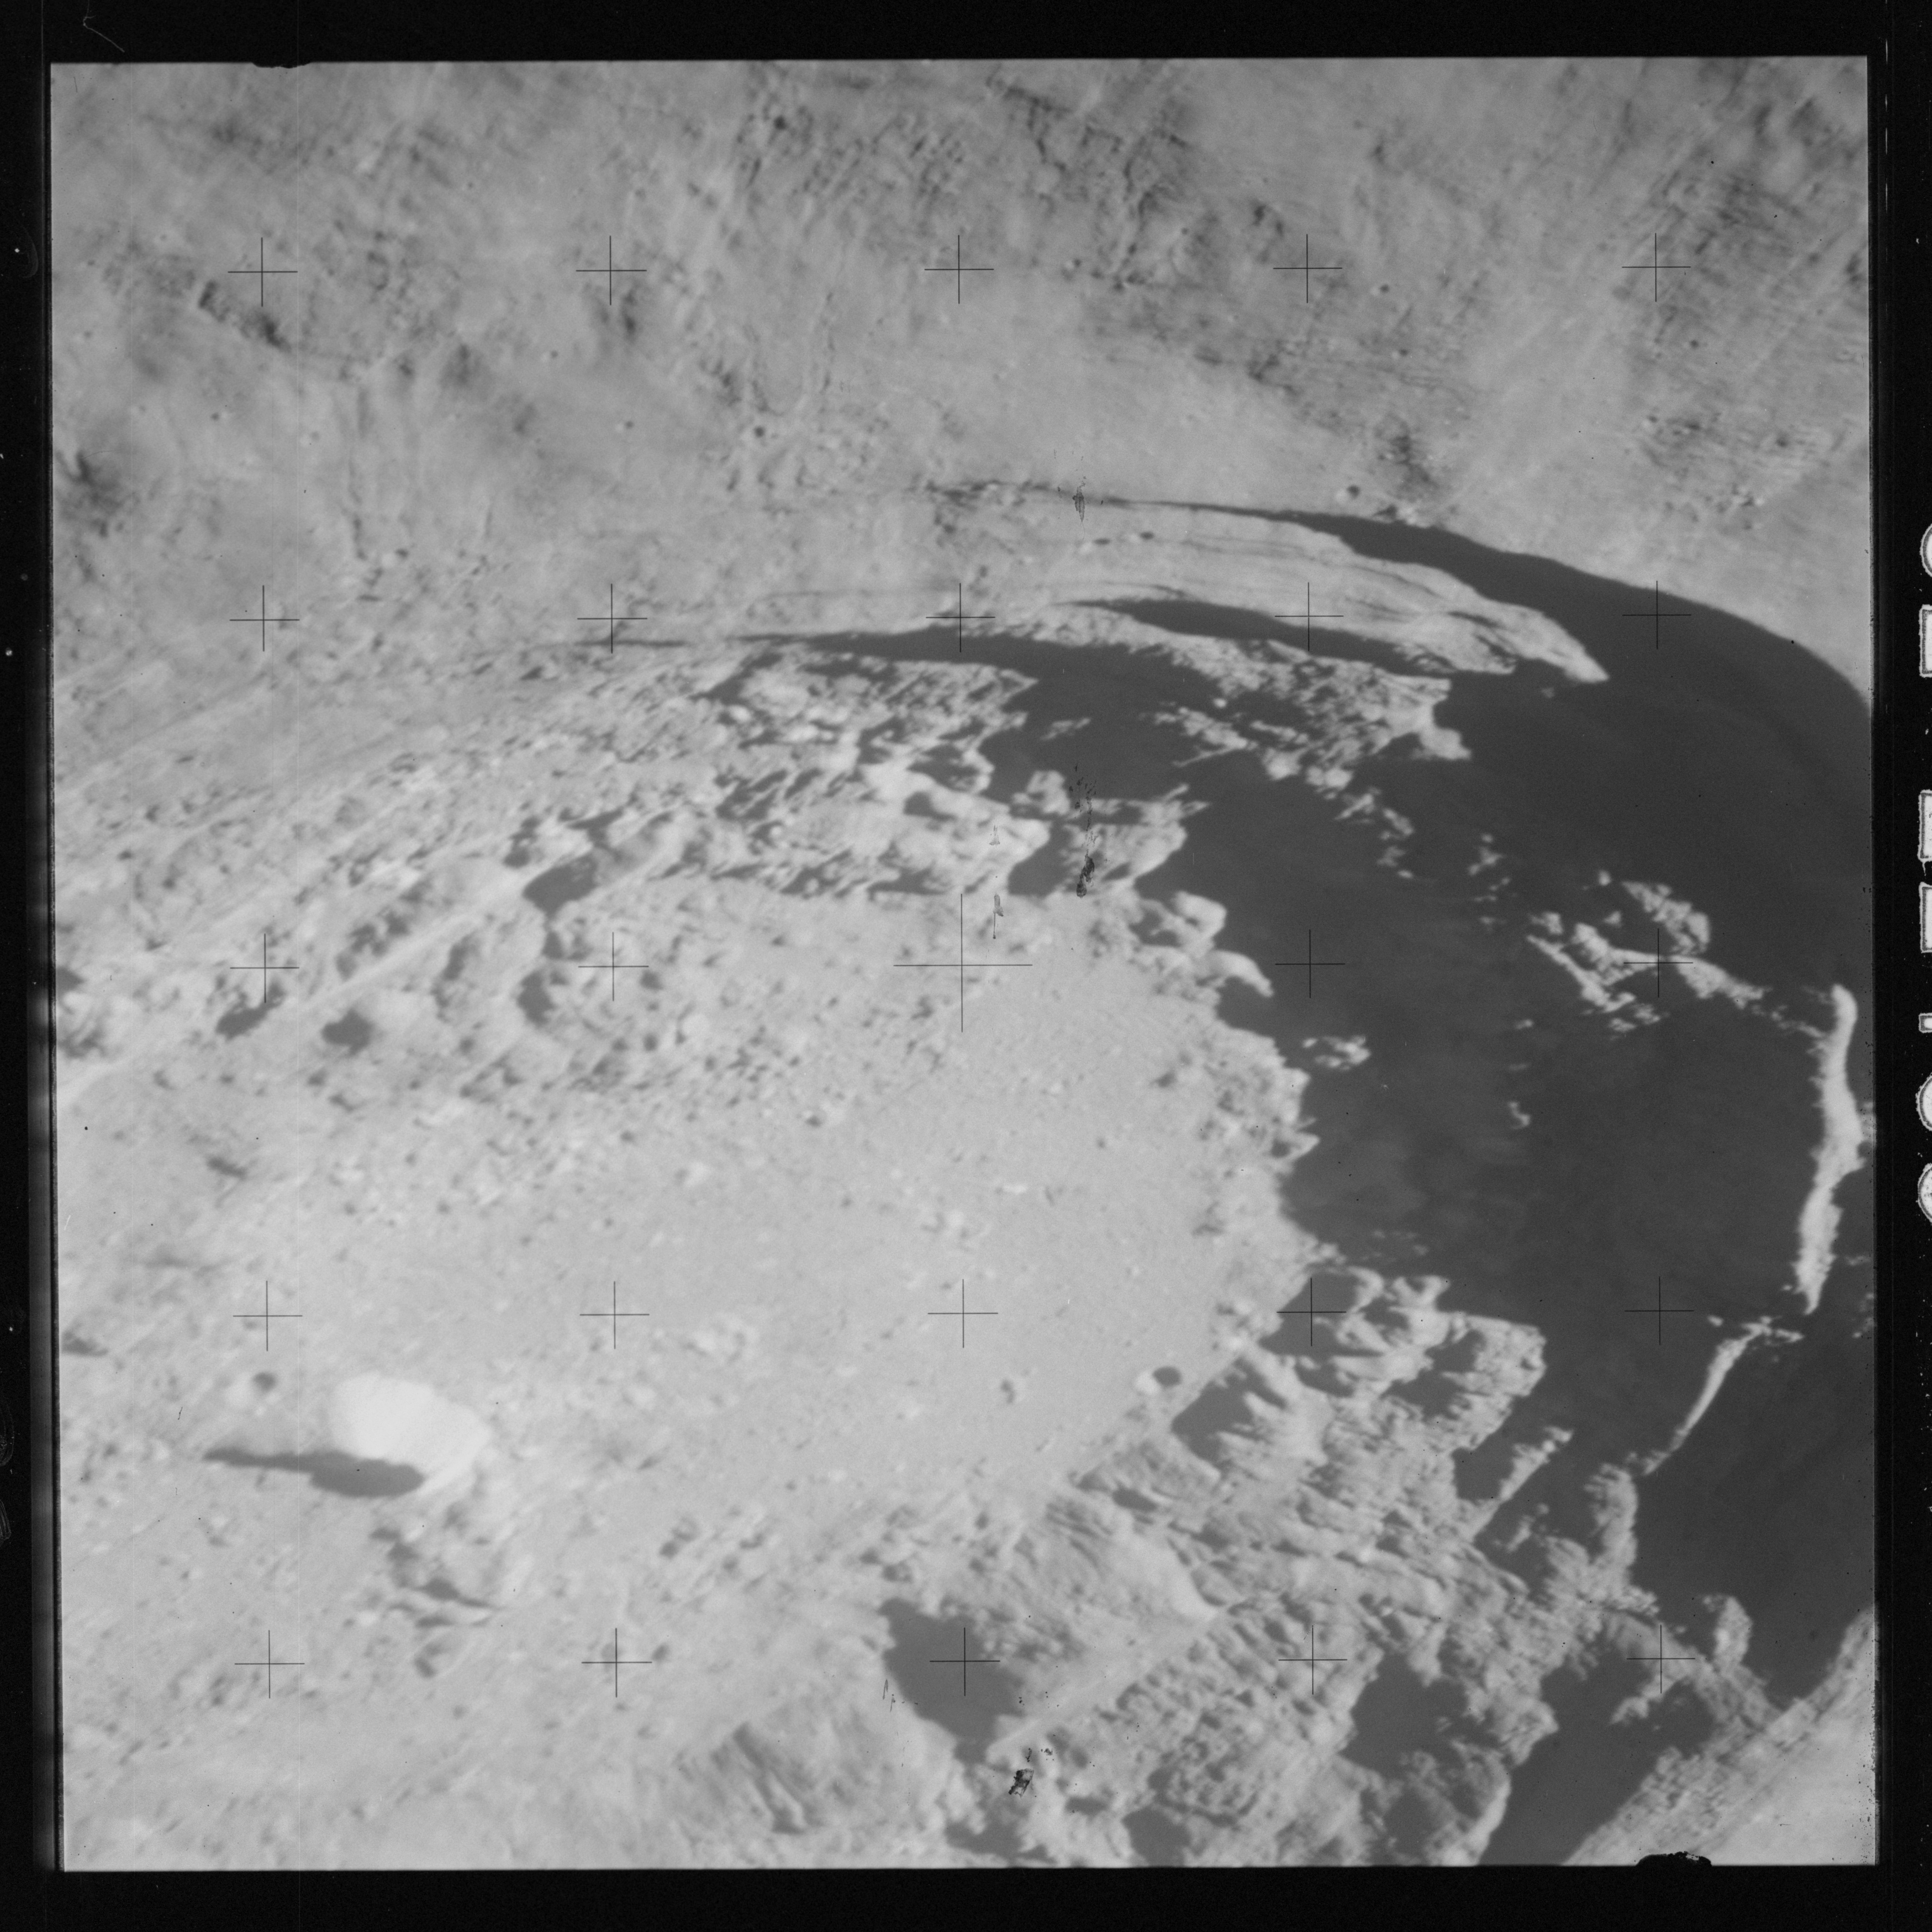
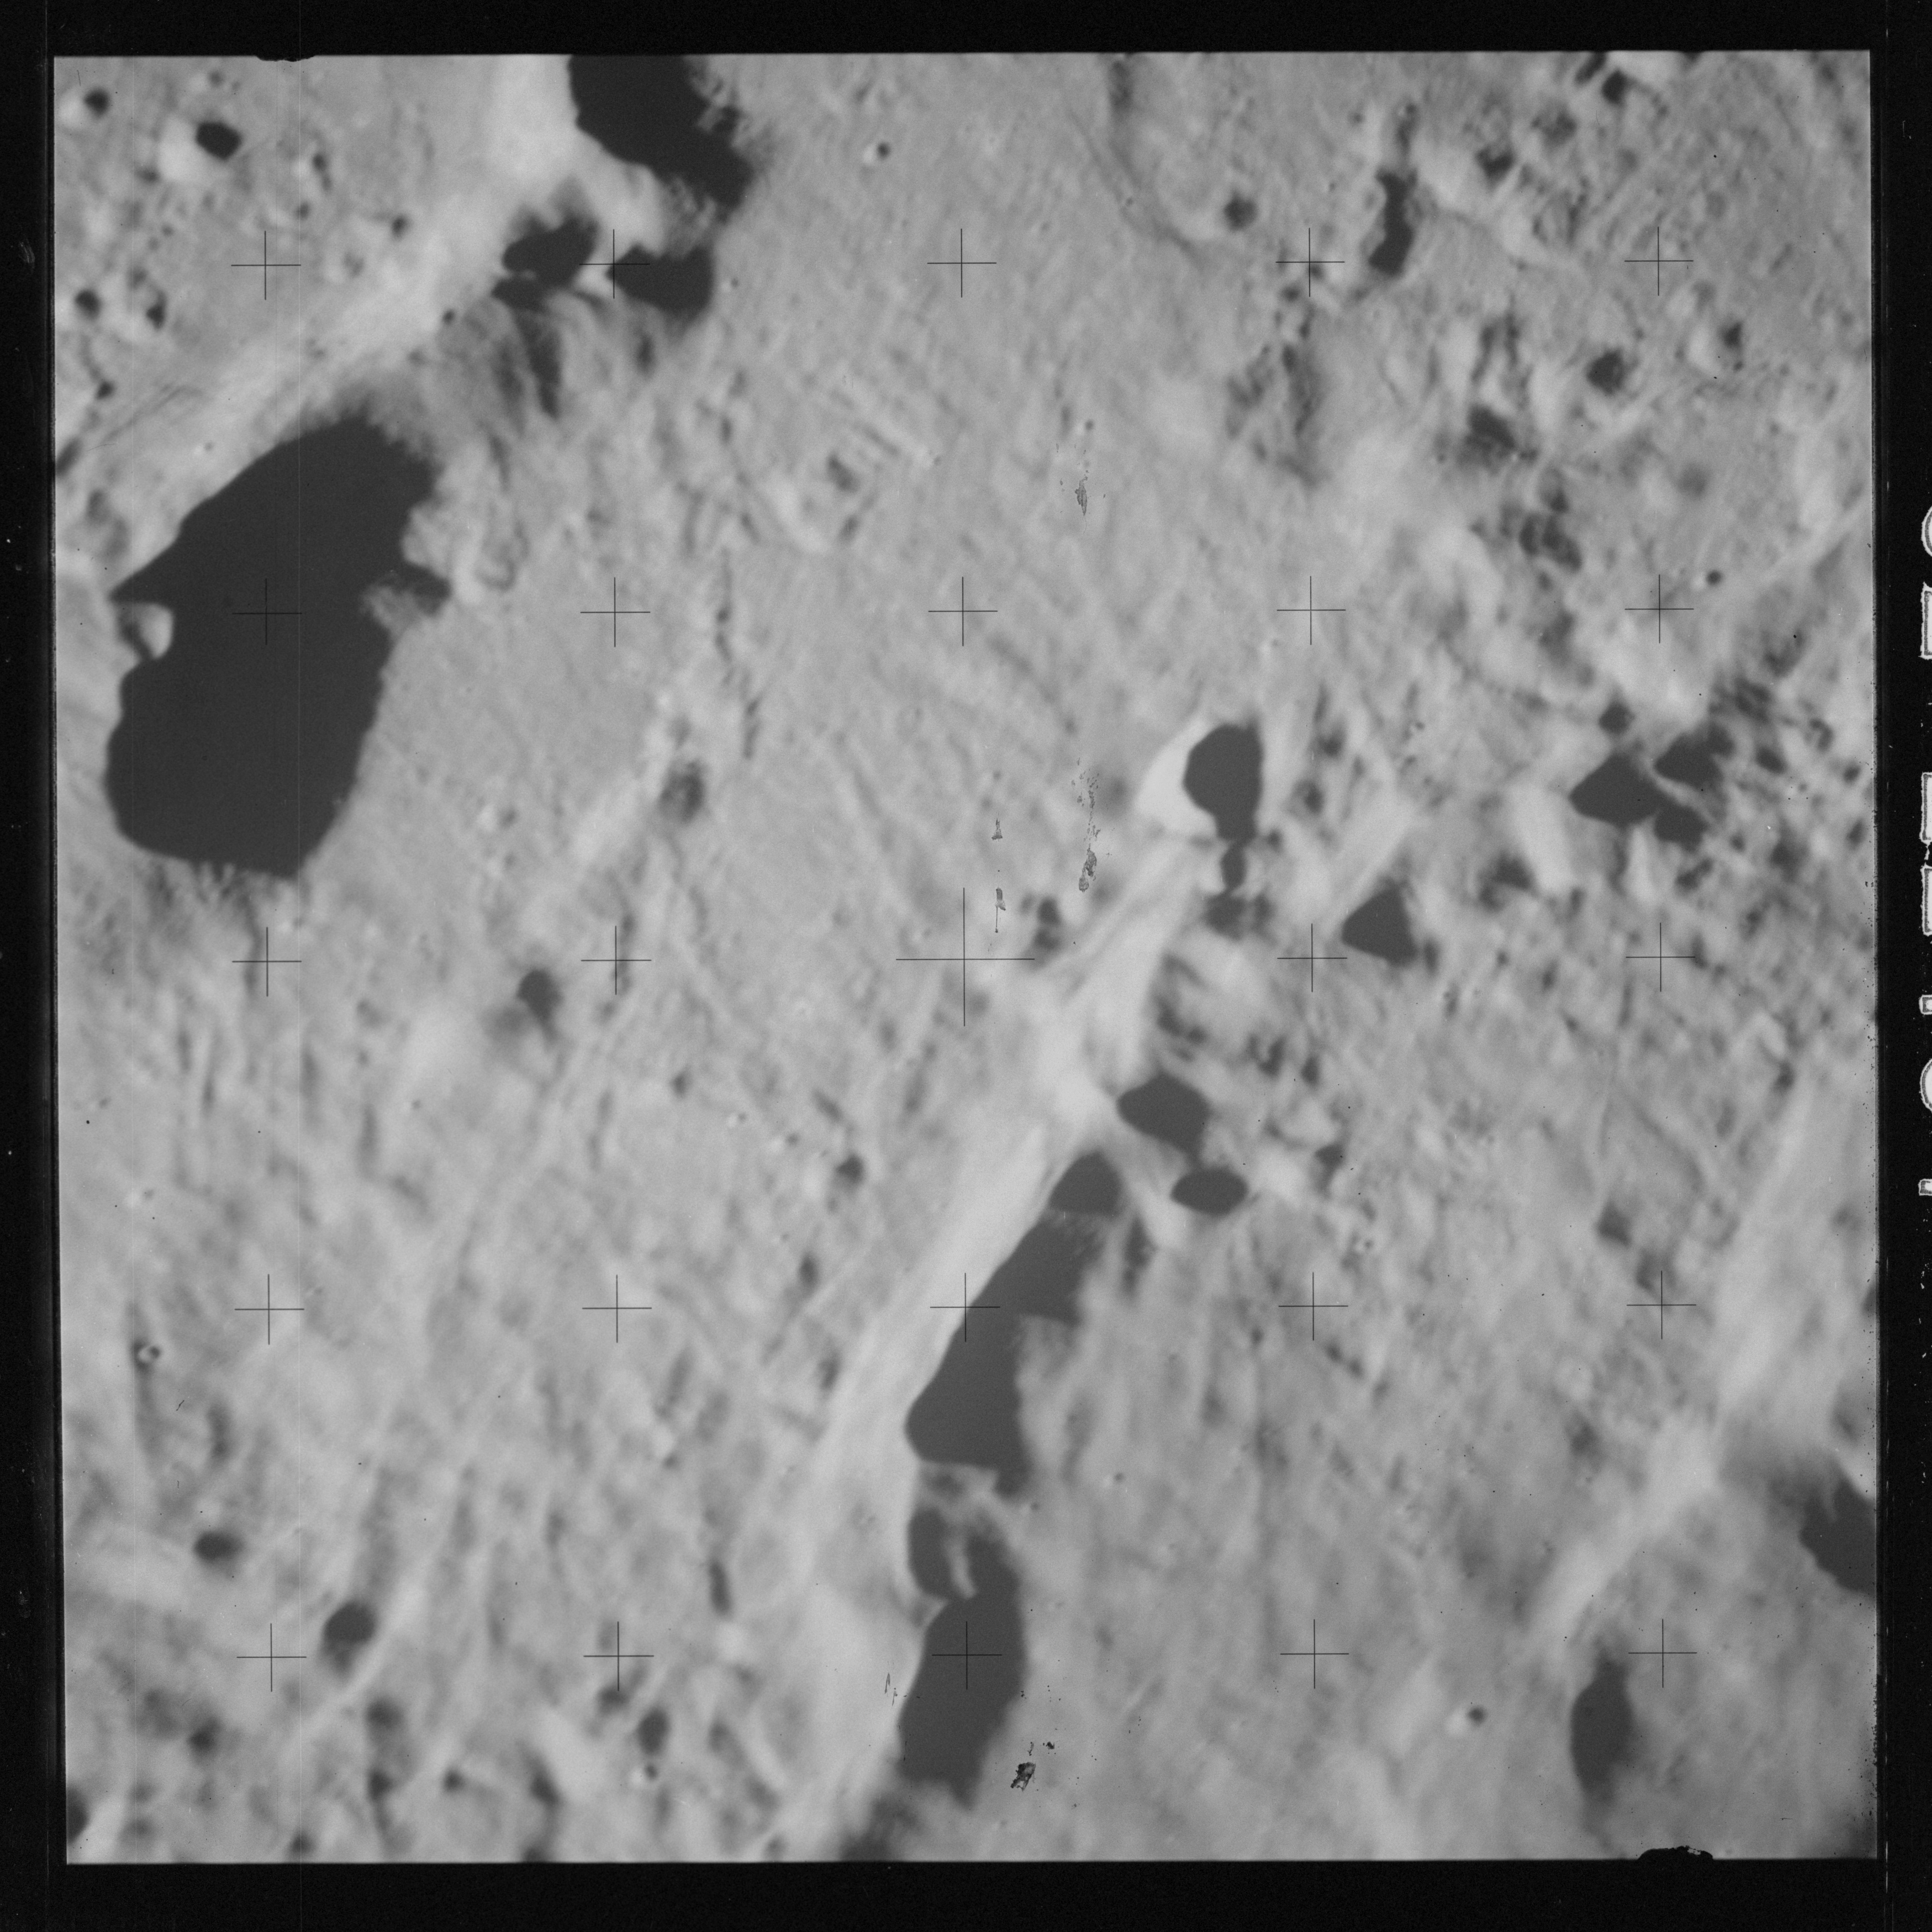
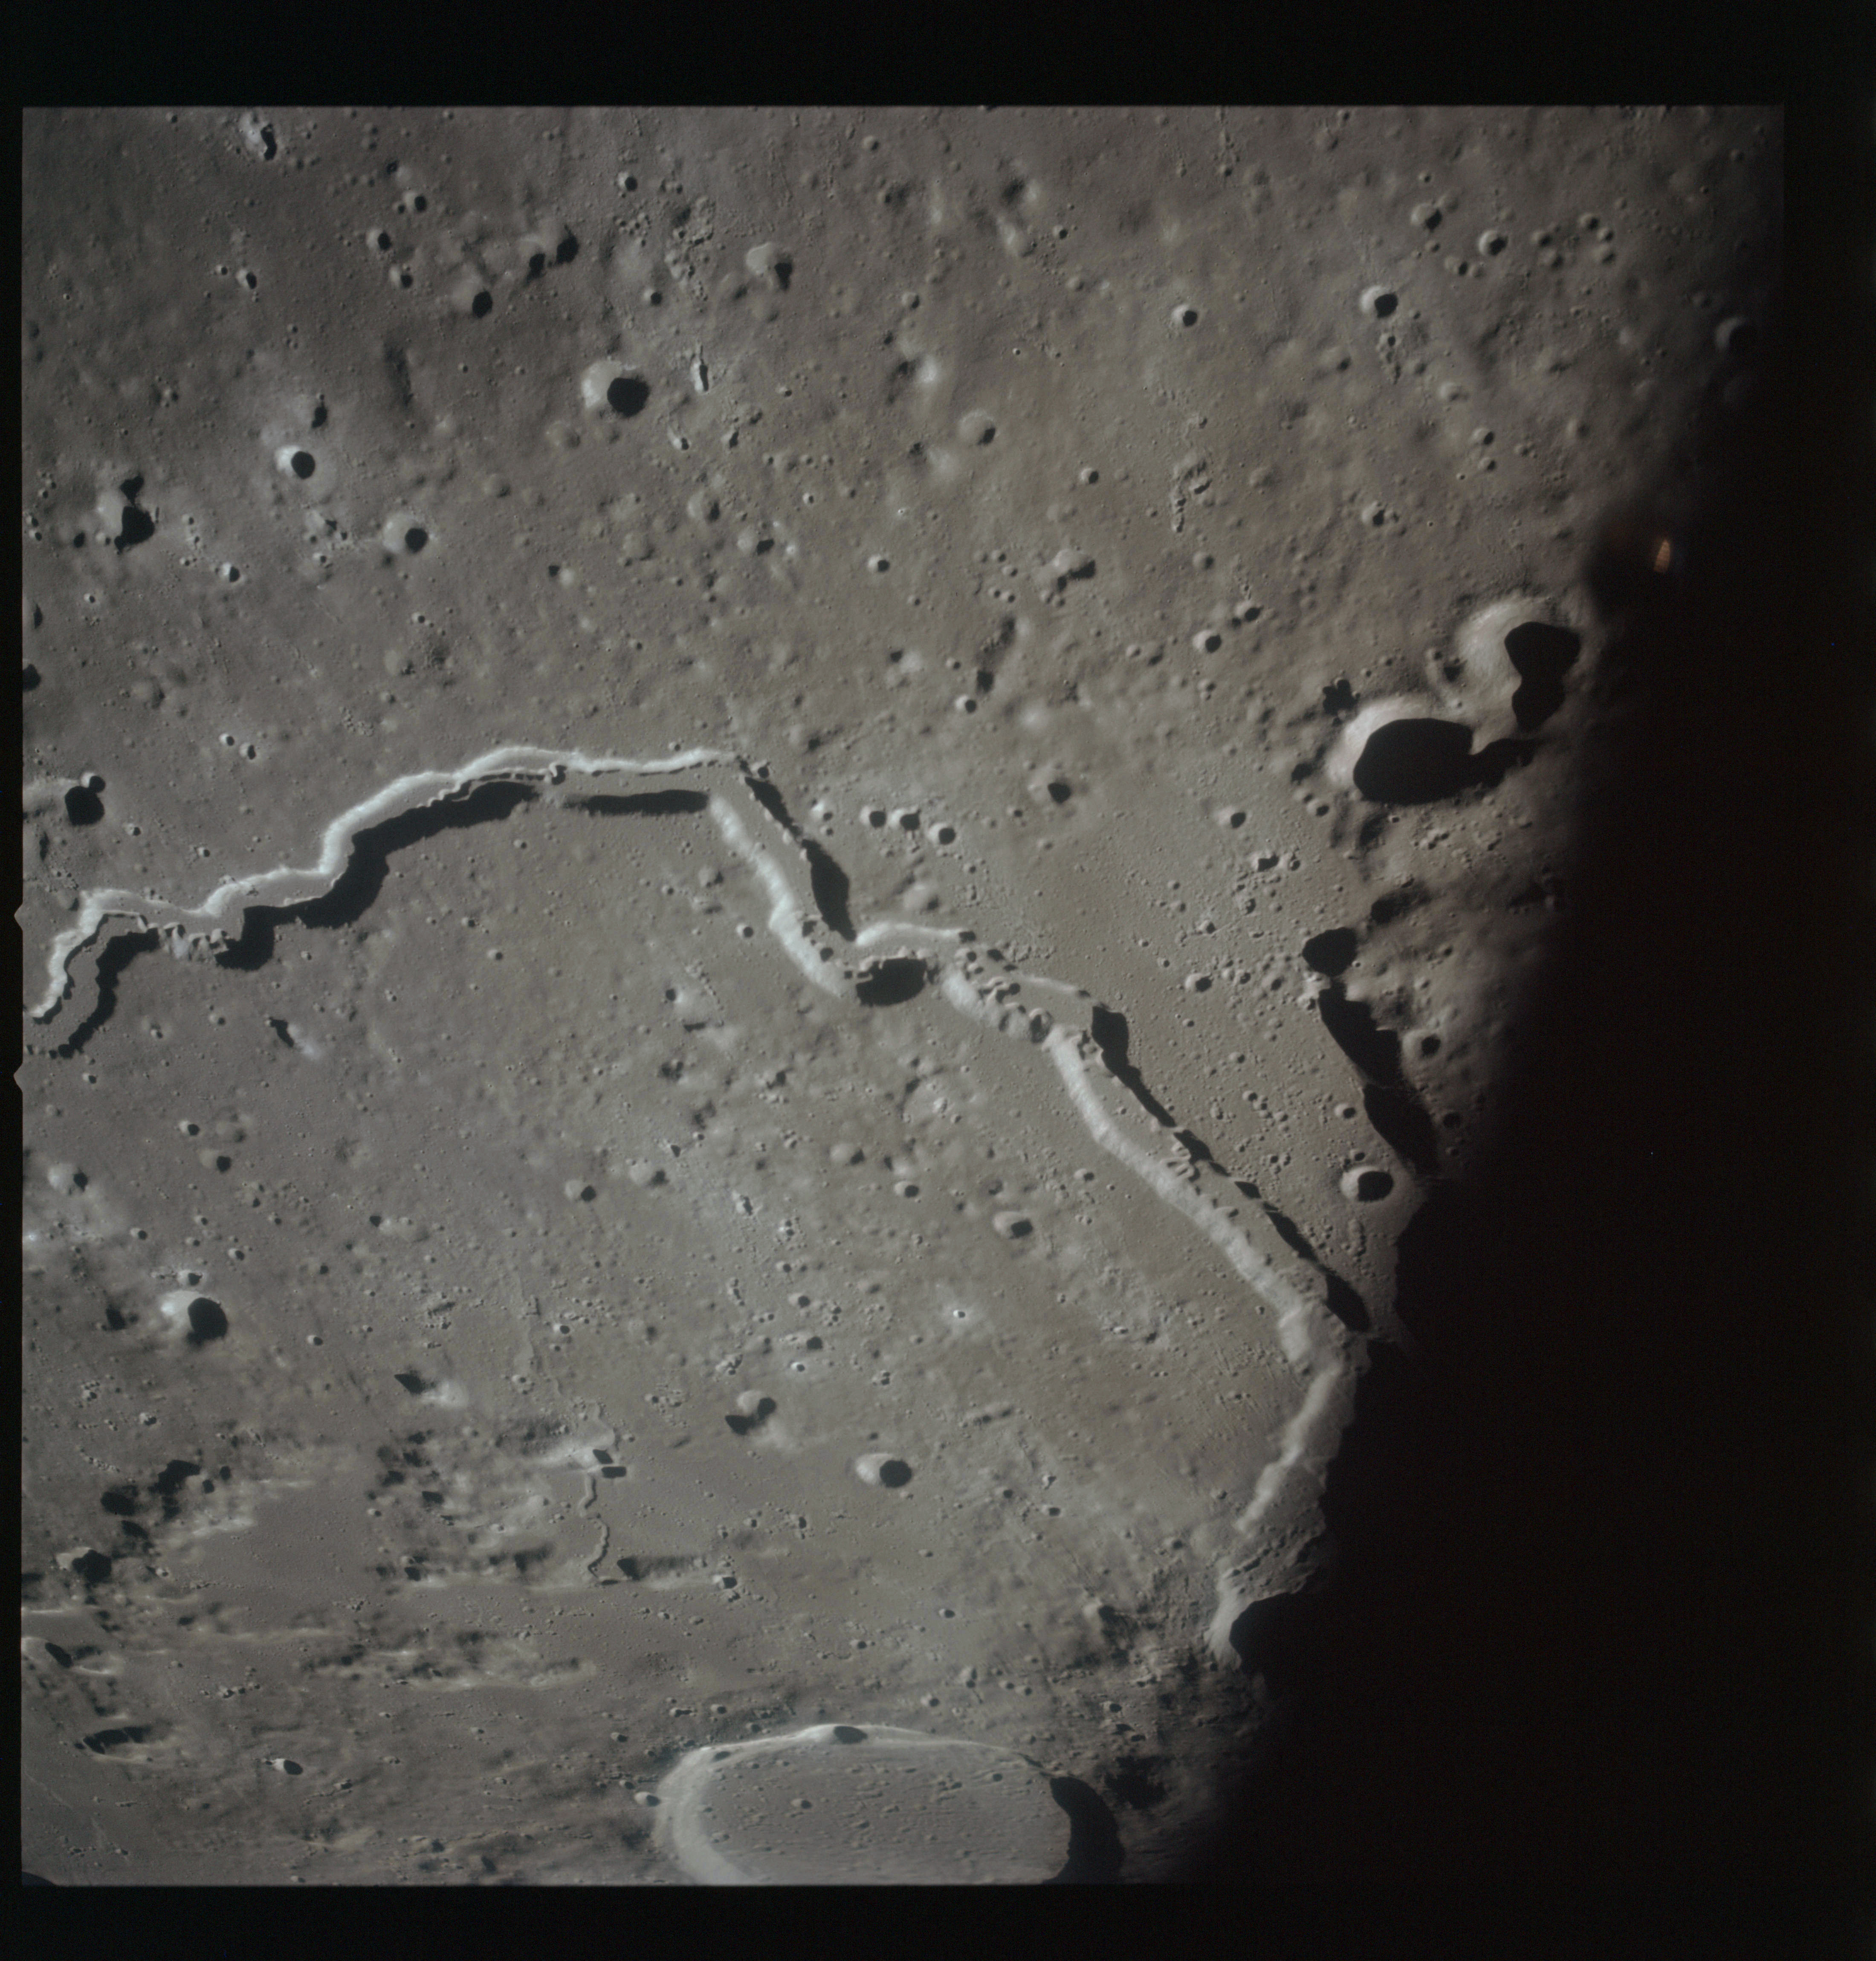
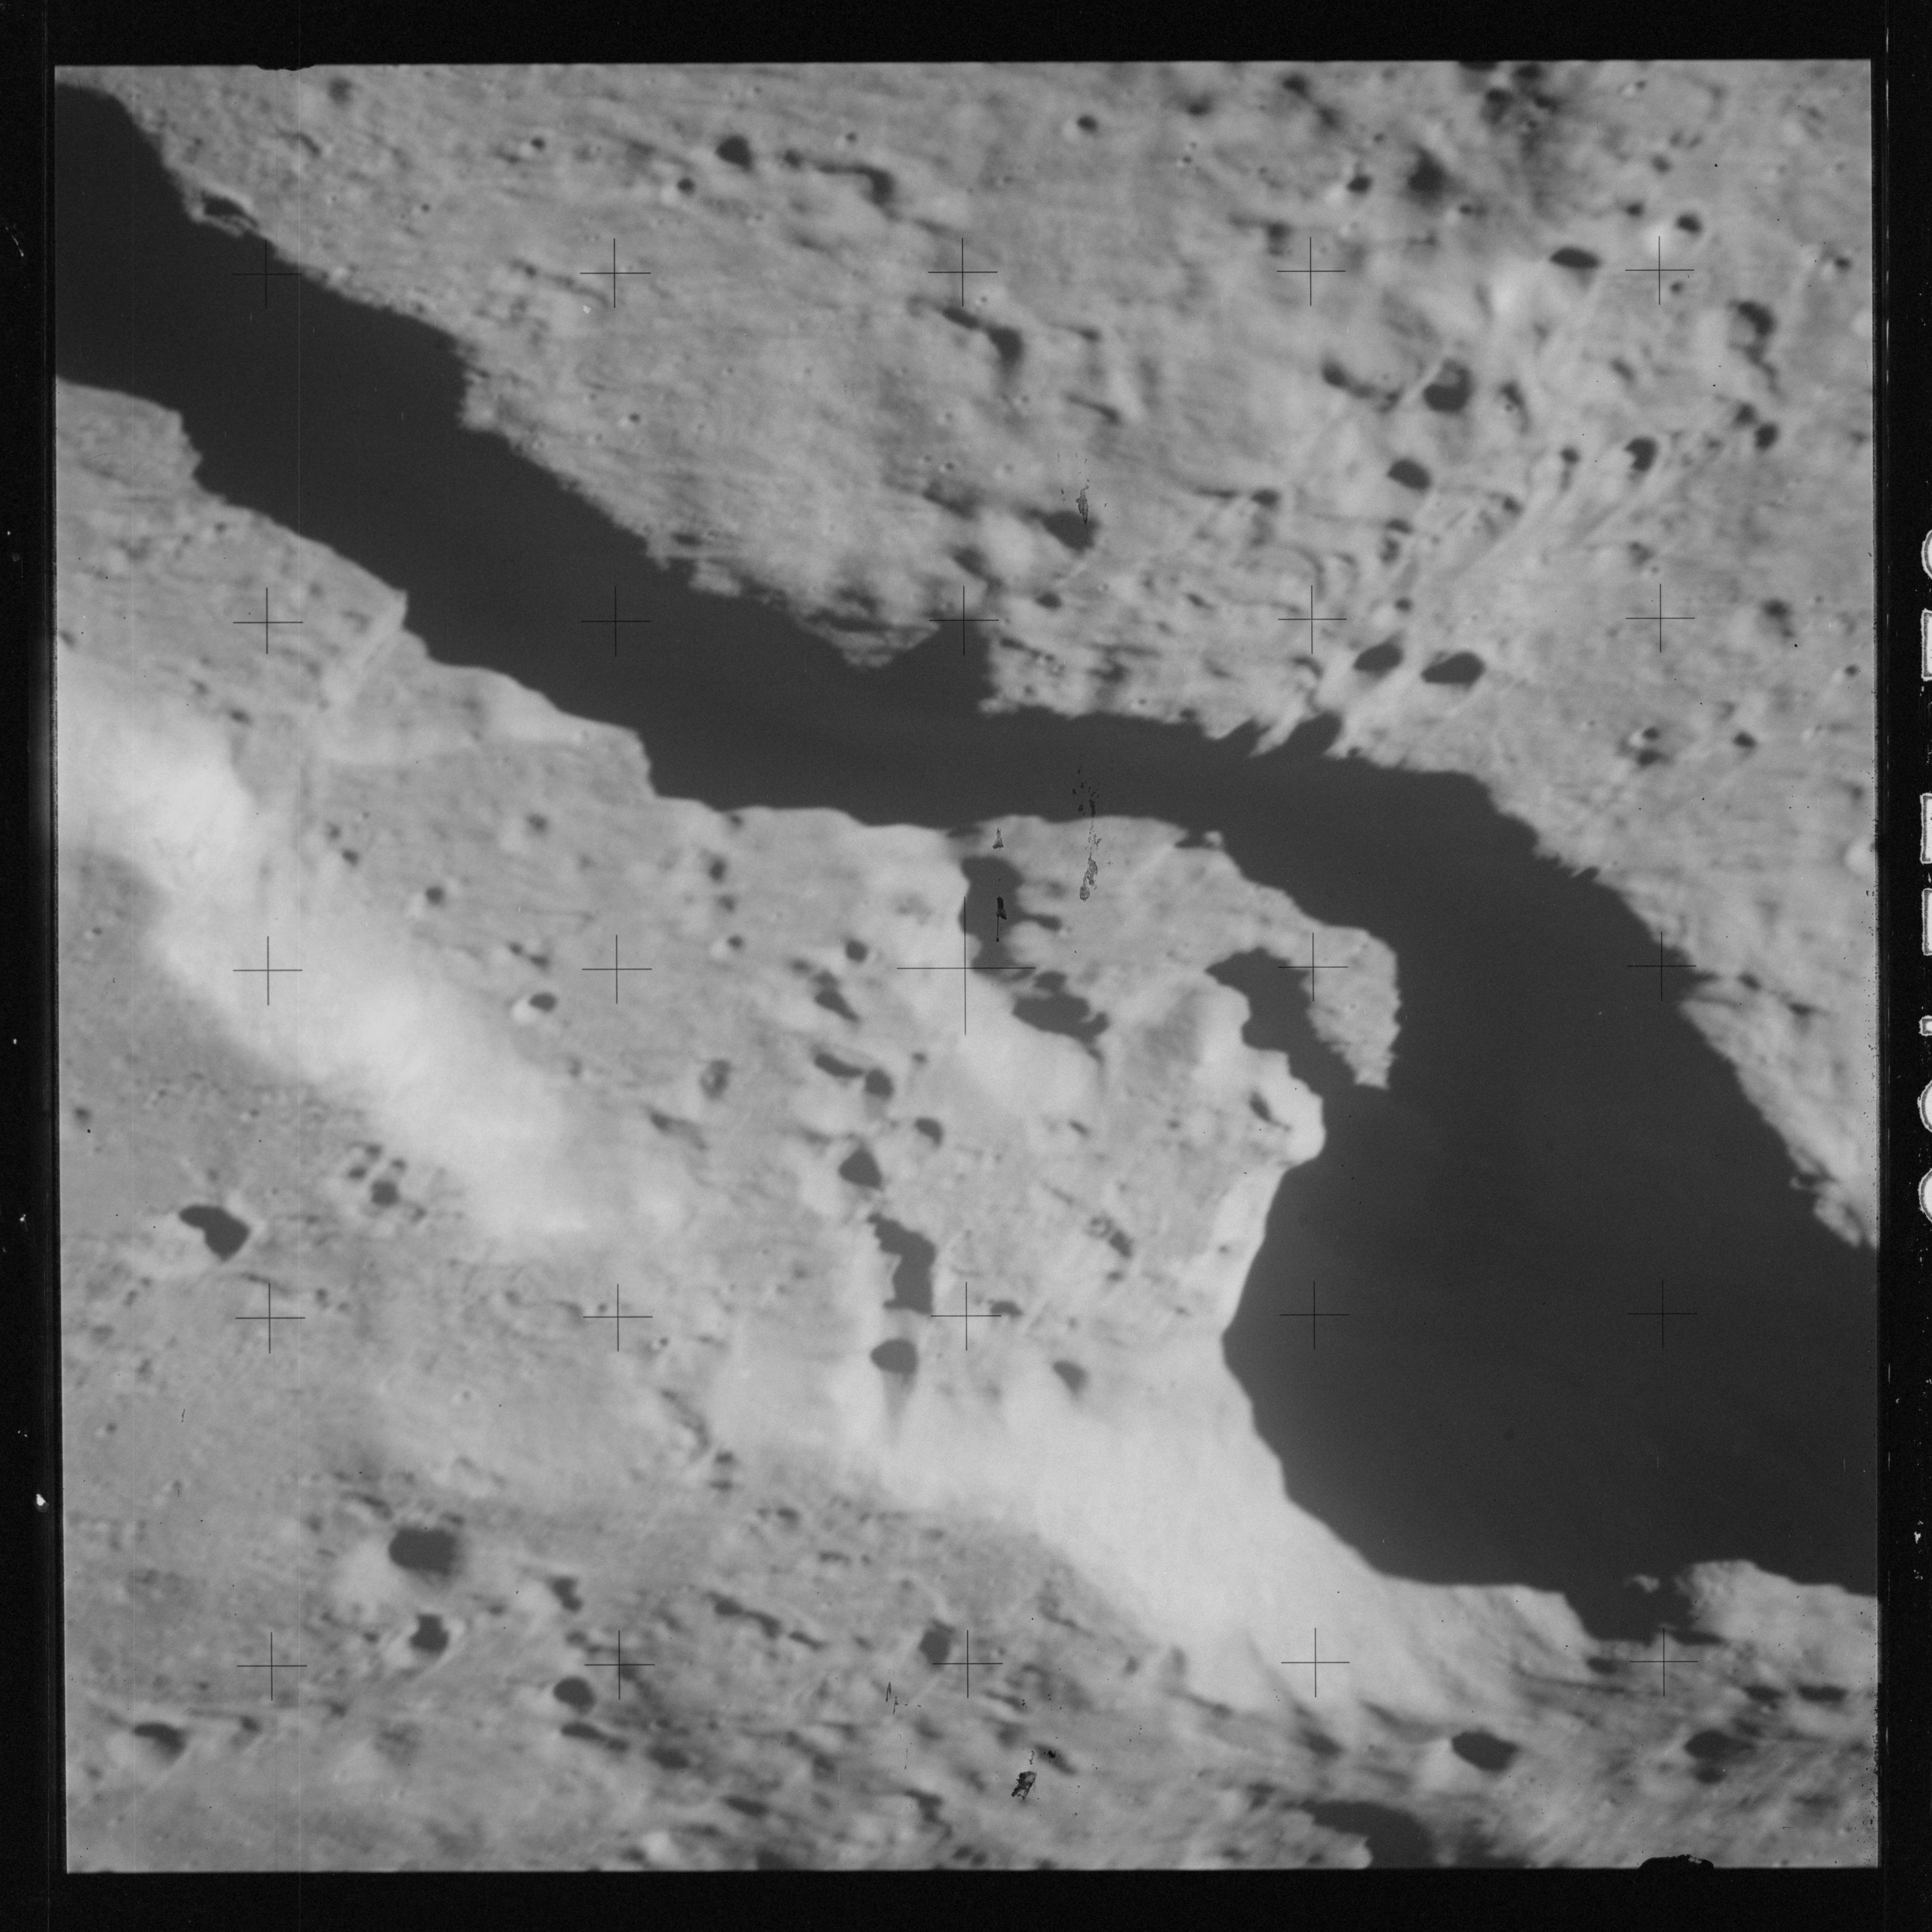
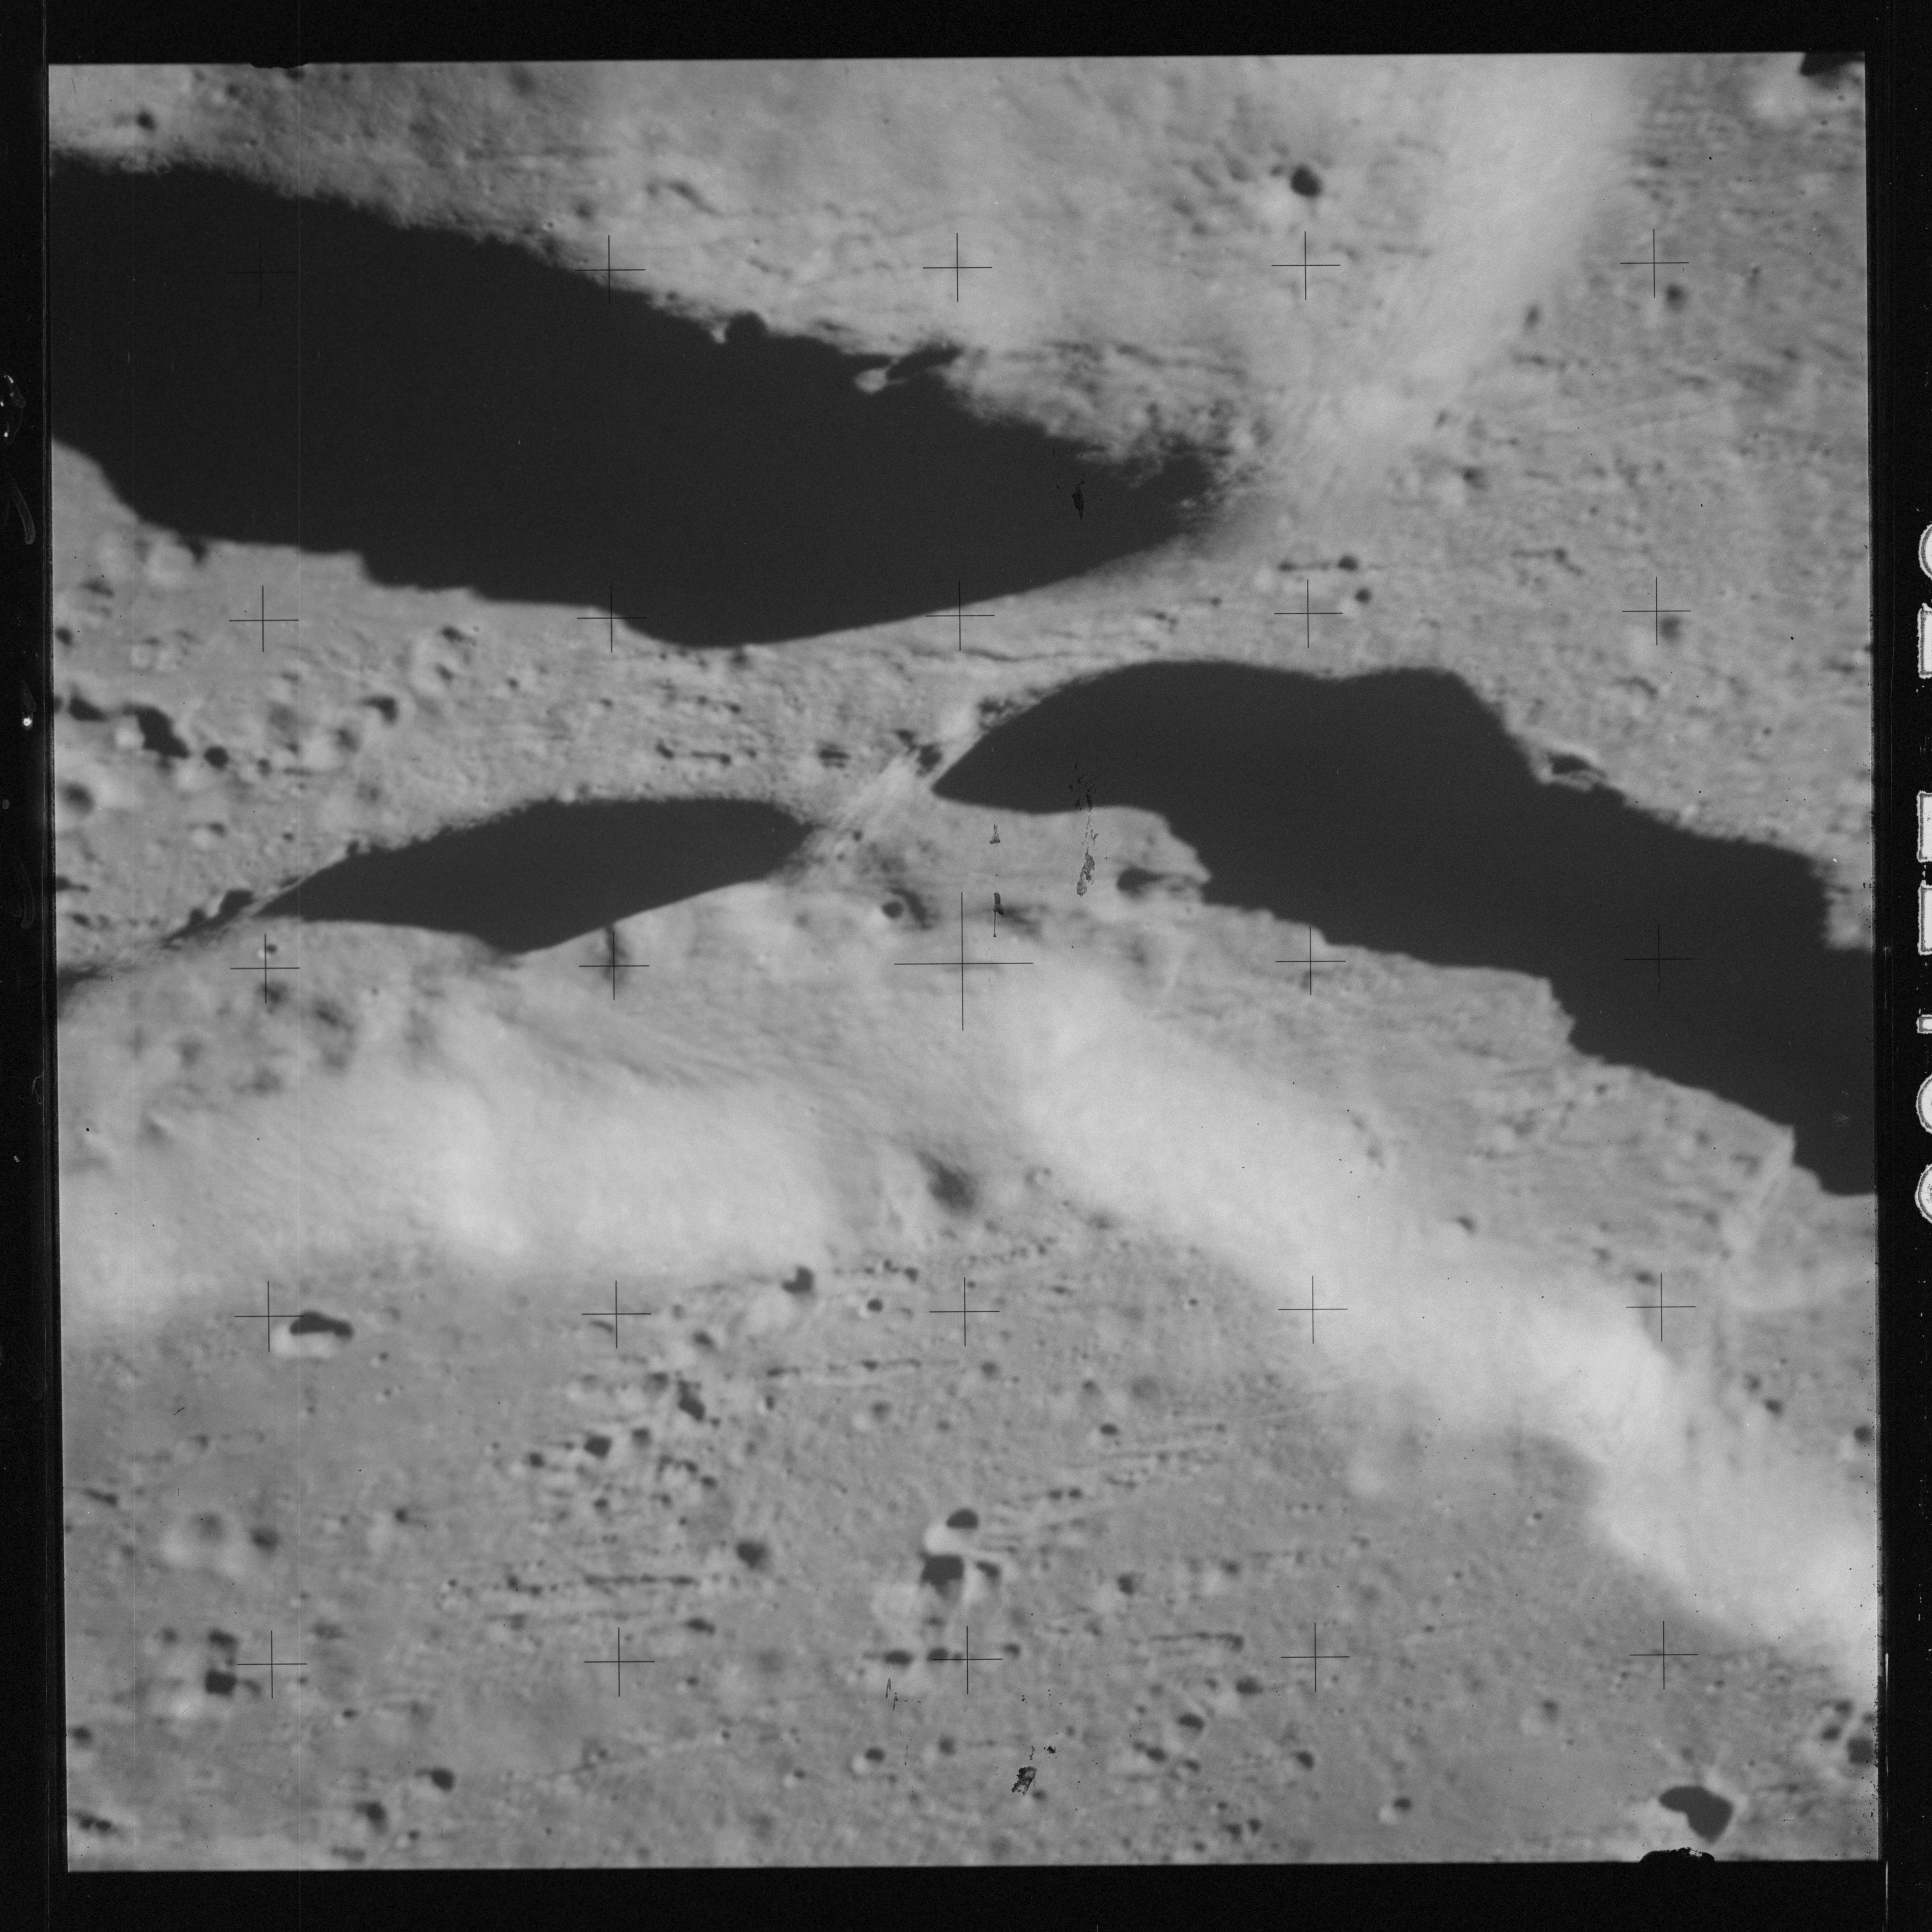
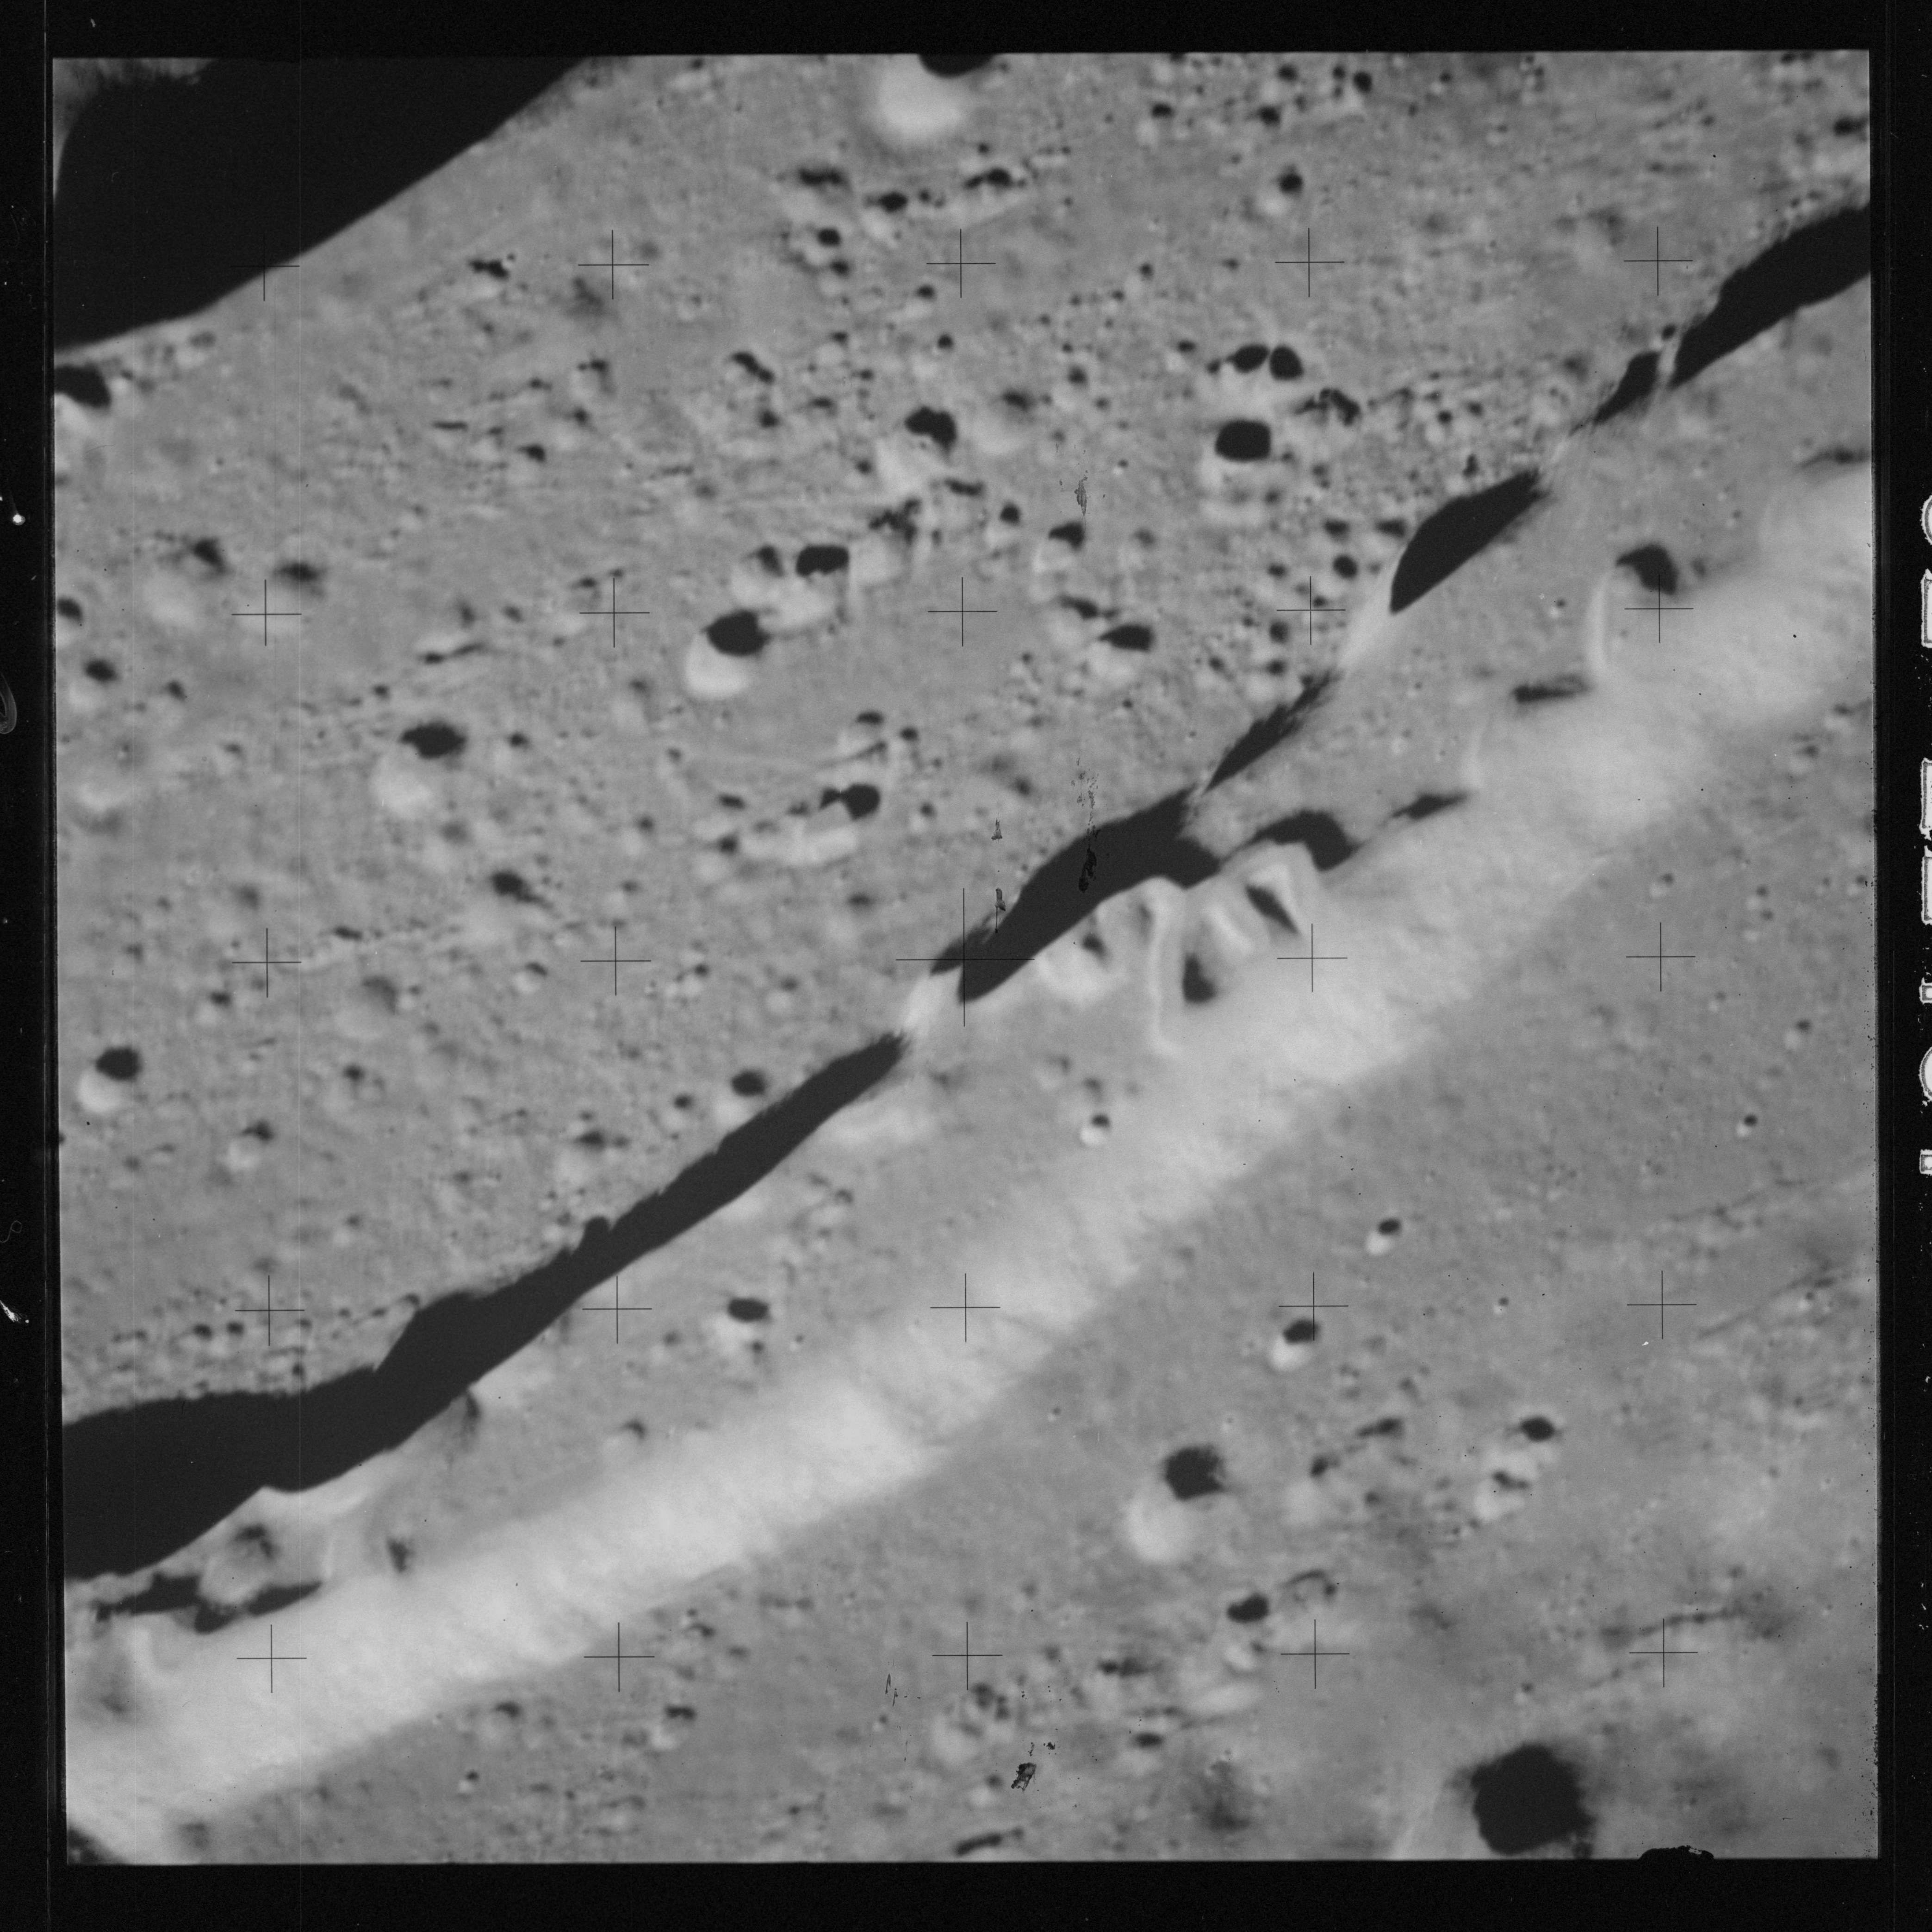
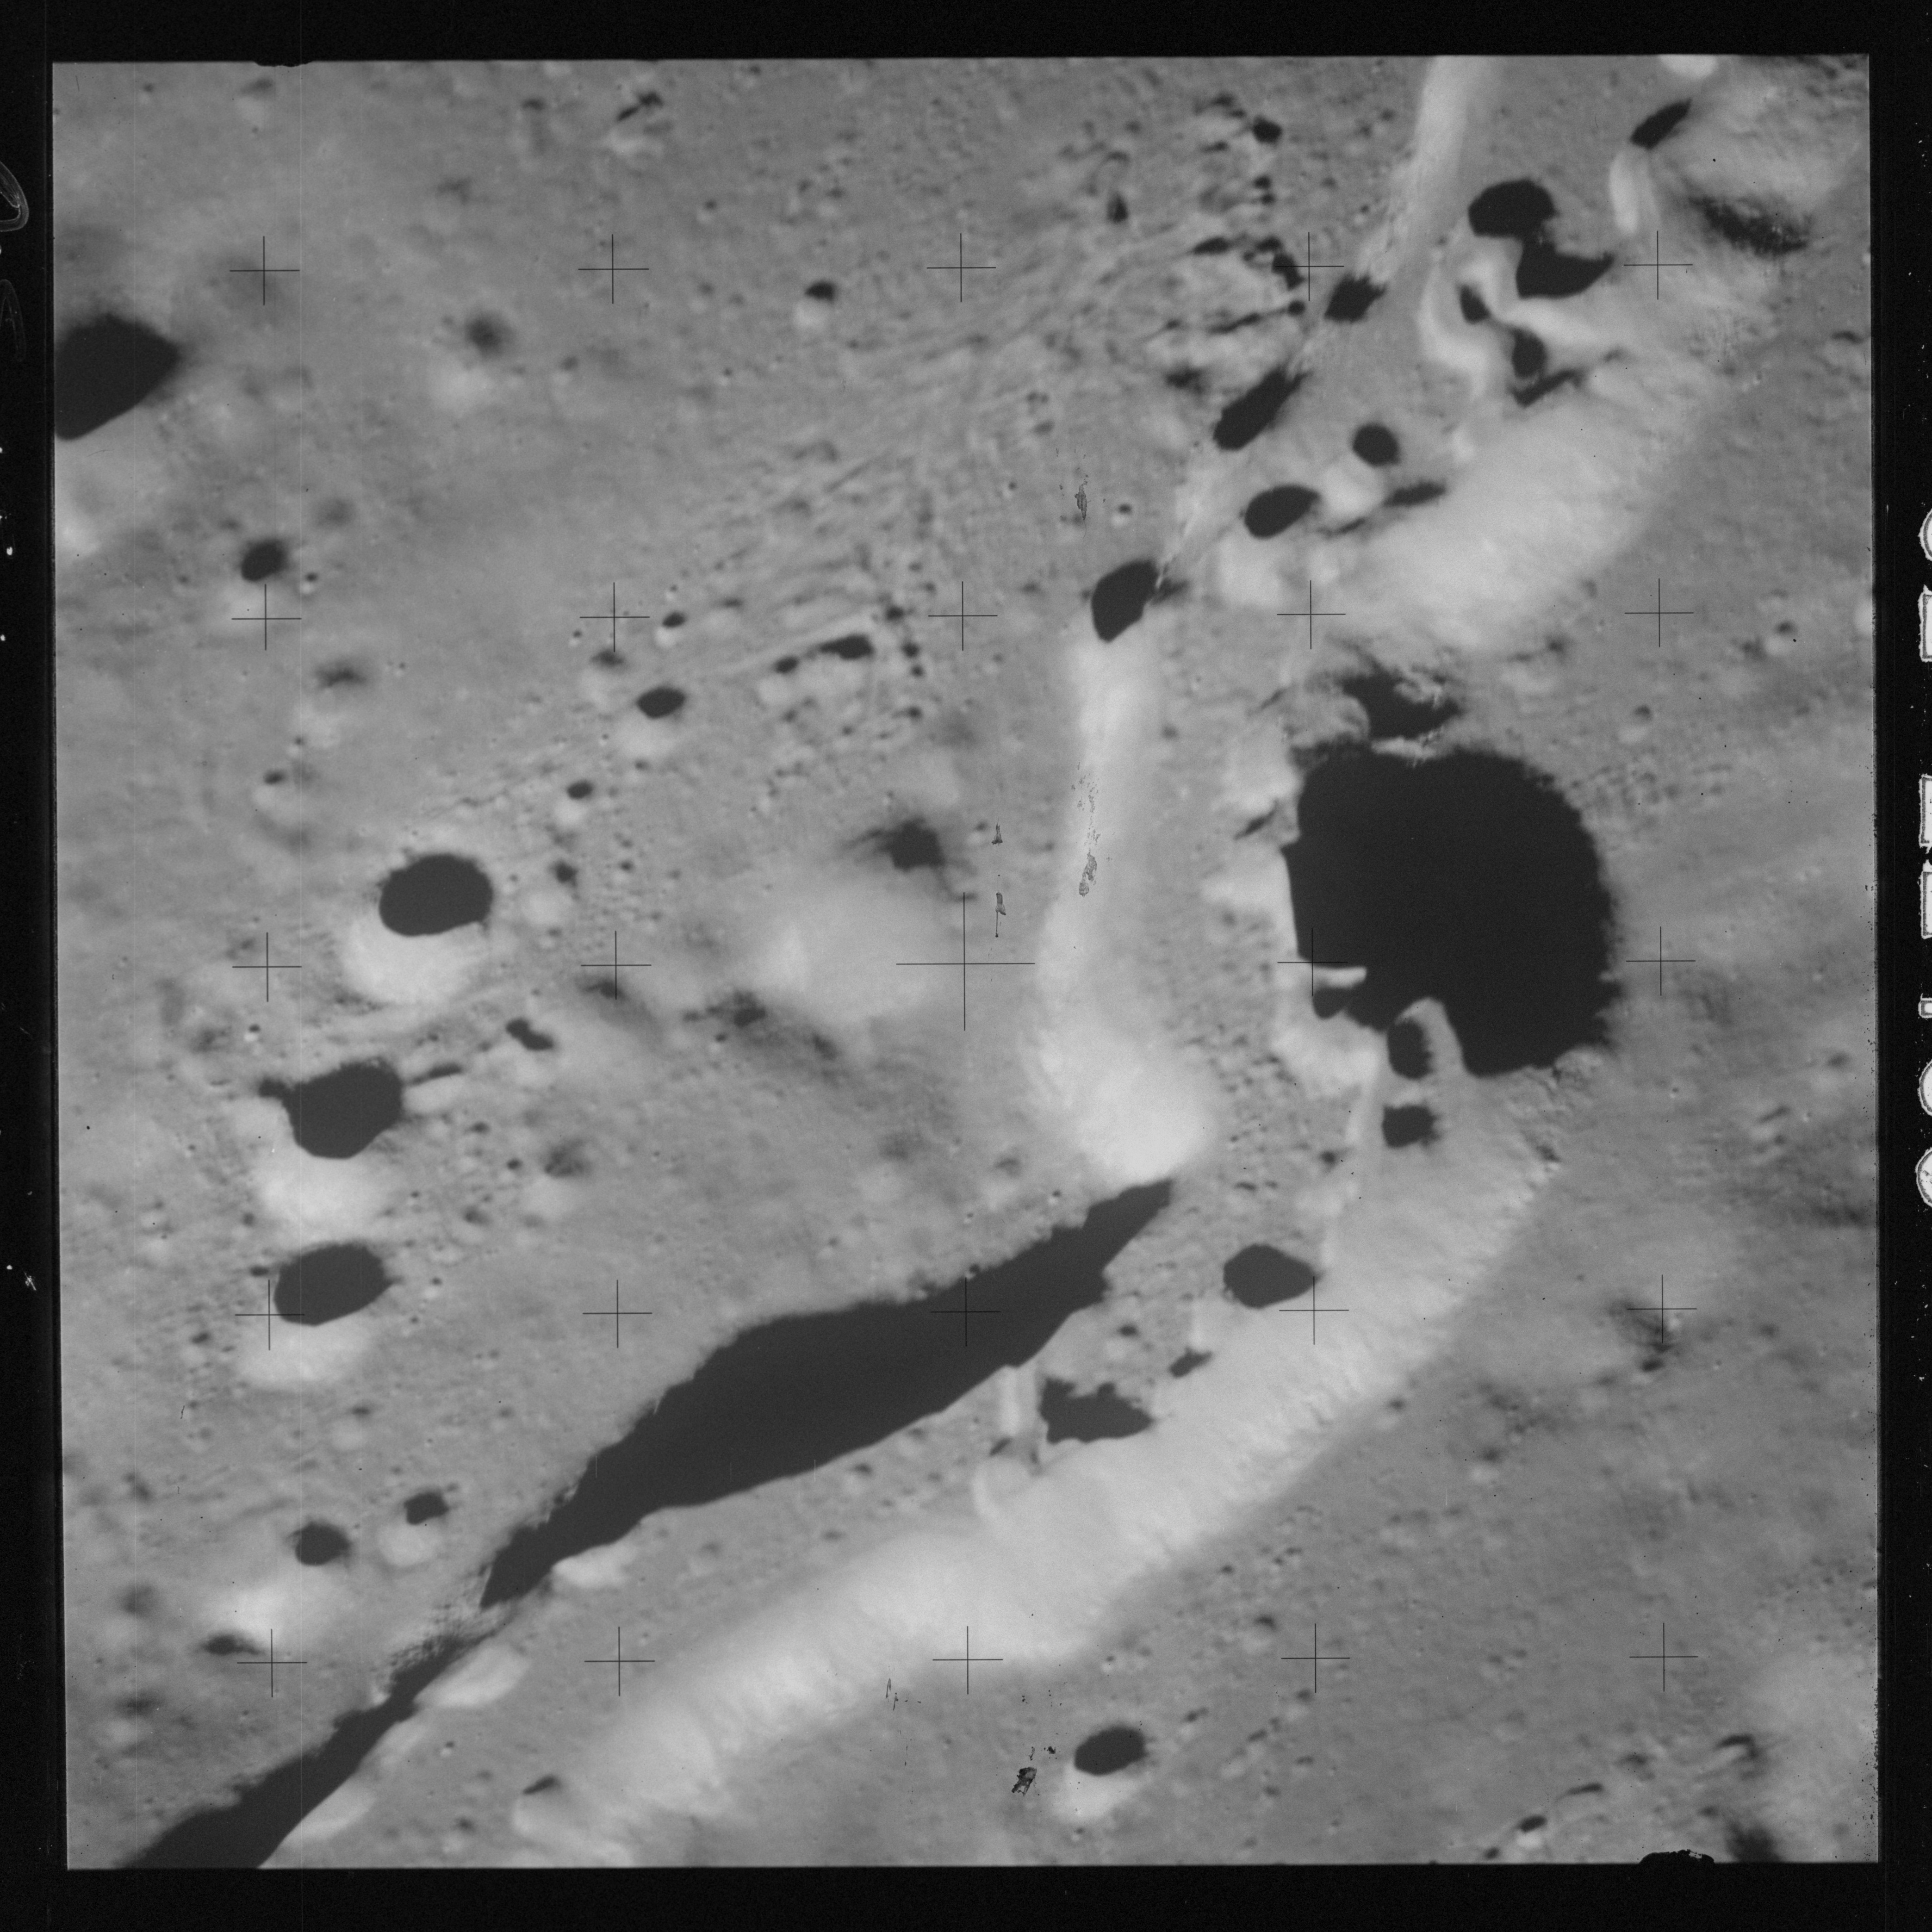
At around the same time, nine images are taken of Scaliger and the landscape near the rim of this 84-km crater in the extremely low-angle lighting near the terminator. These photographs use magazine R which is loaded with film type 2485, very high speed black and white film with a speed rating of 6000 (ASA or ISO). The images are AS15-98-13365 to 13373.
AS15-98-13365 - Terminator area, between Scaliger and Schaeberle U. Image centre is at 26.08°S, 112.47°E - Image by NASA/Johnson Space Center via National Archives.
AS15-98-13366 - Terminator area. Northeast rim of Scaliger. Image centre is at 25.92°S, 110.68°E - Image by NASA/Johnson Space Center via National Archives.
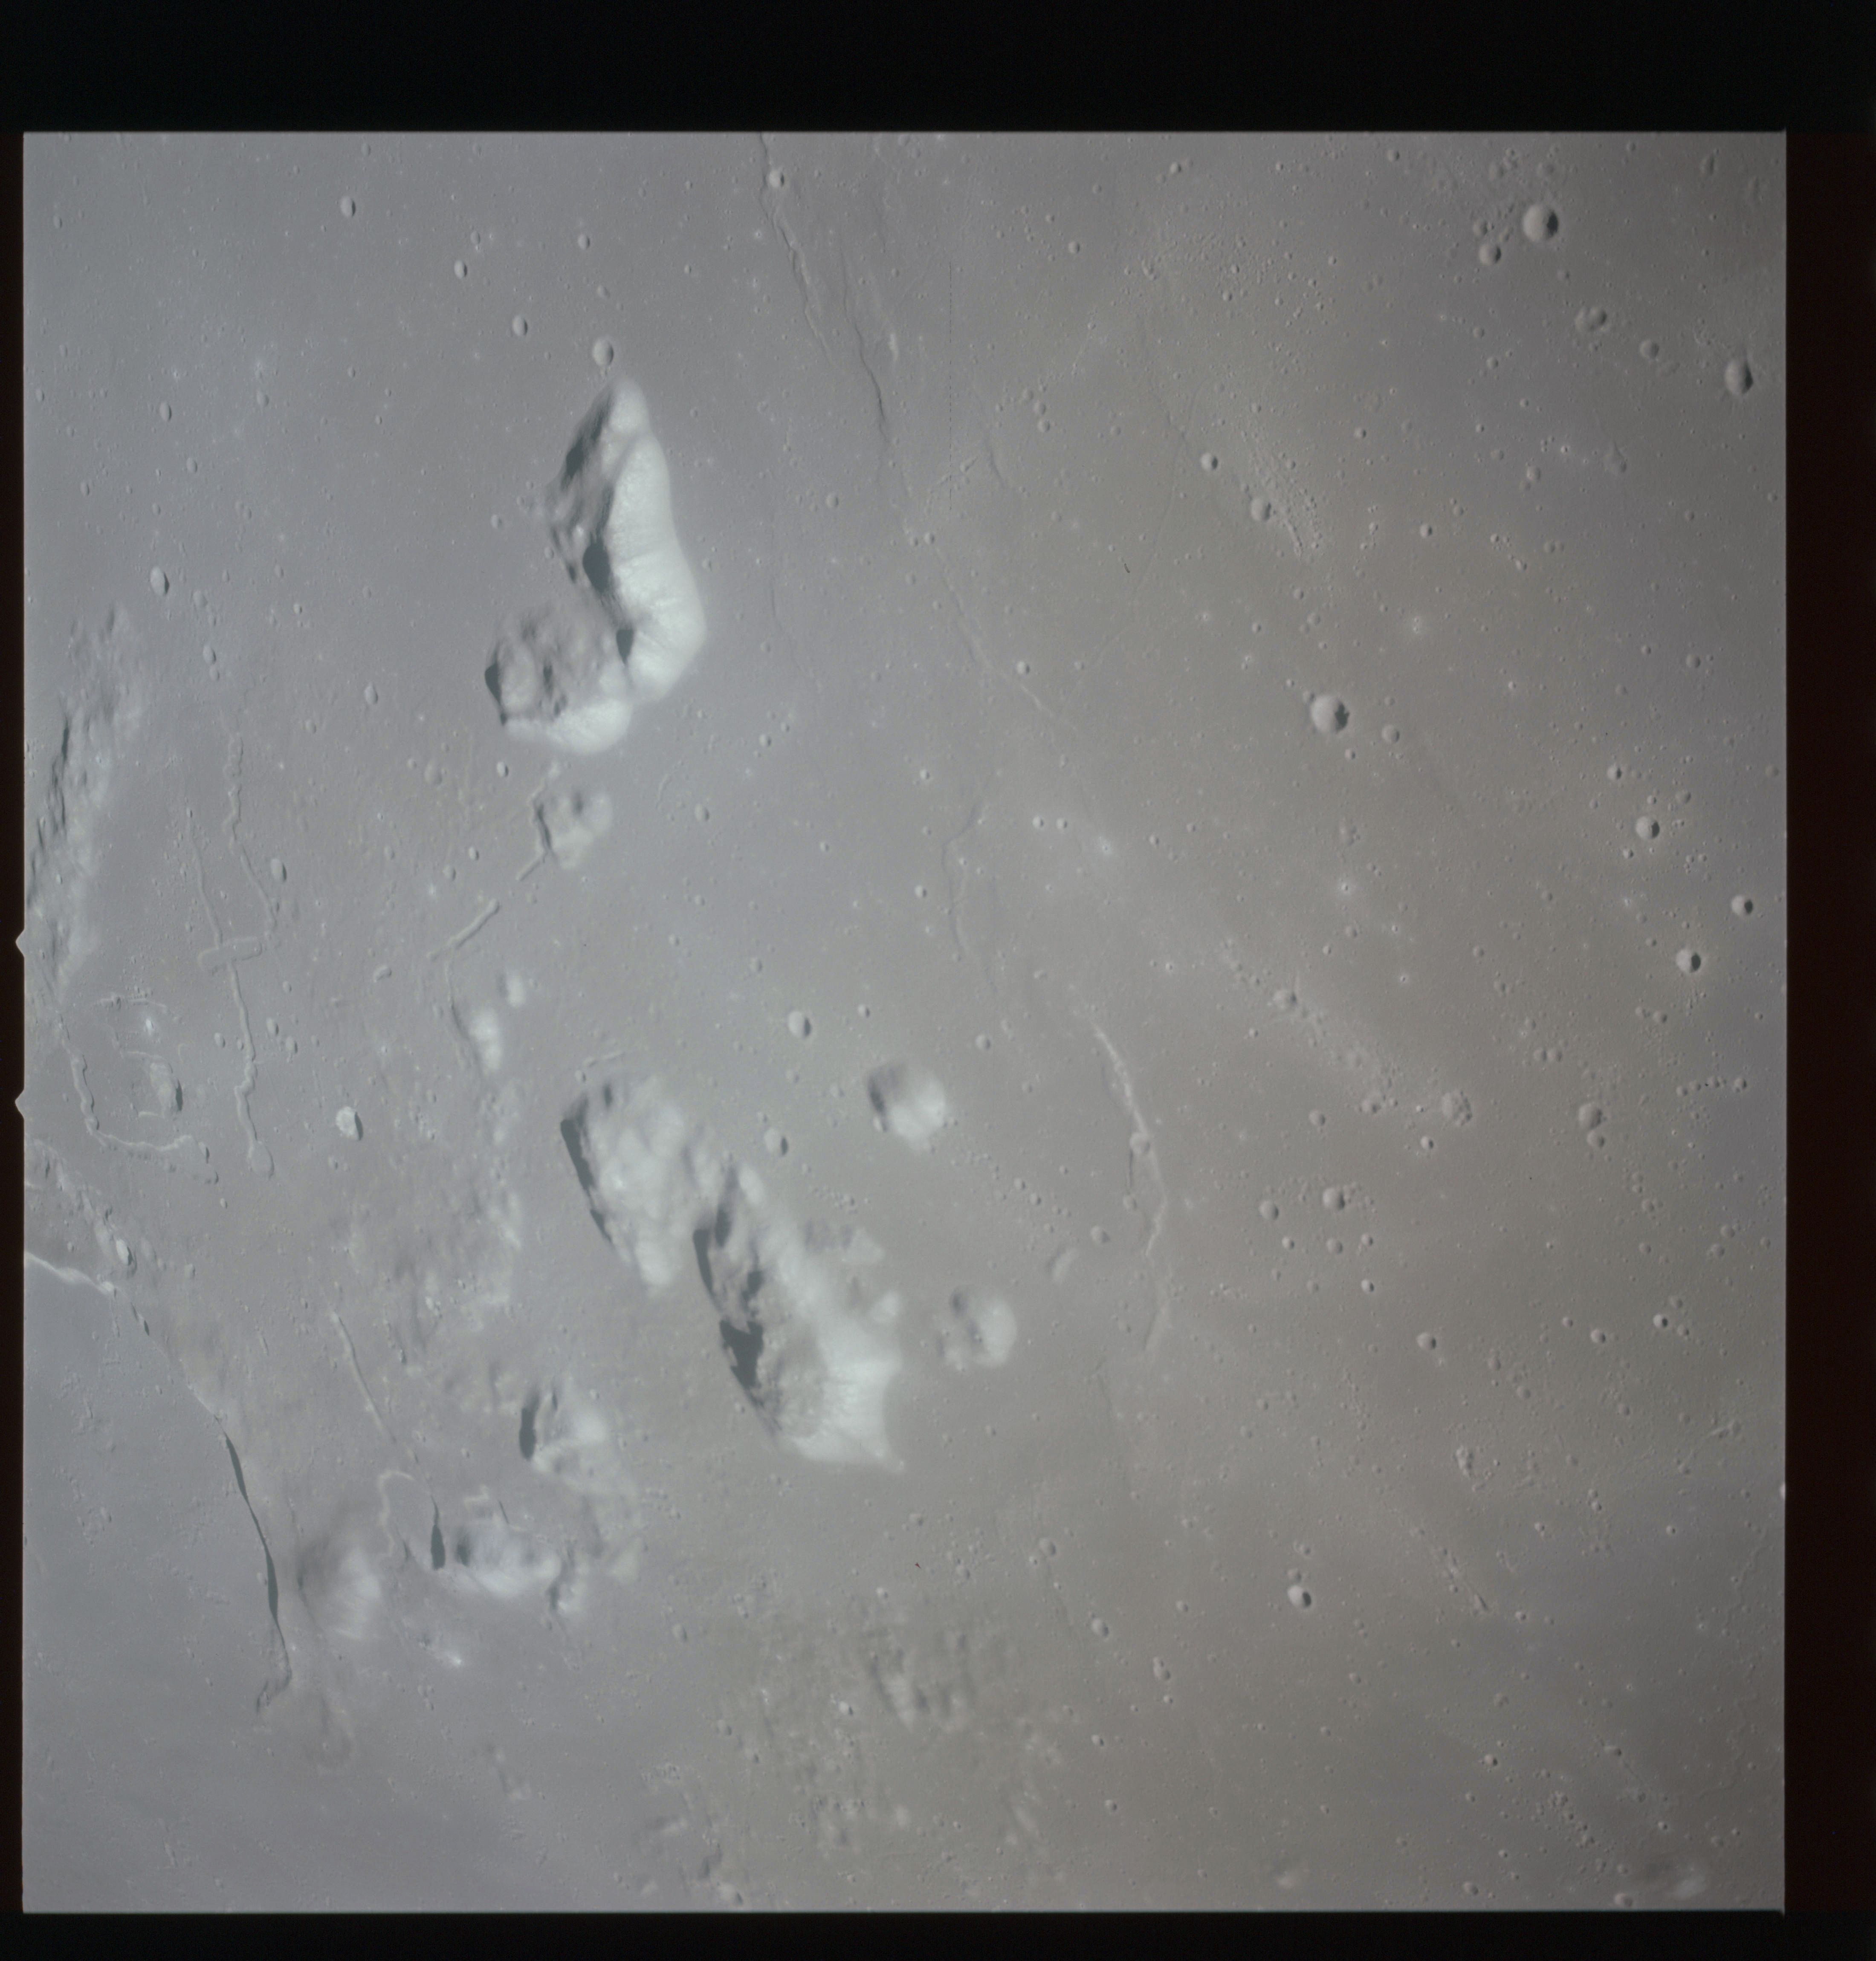
AS15-98-13367 - Terminator area. Northeast rim of Scaliger. Image centre is at 26.14°S, 110.31°E - Image by NASA/Johnson Space Center via National Archives.
AS15-98-13368 - Terminator area. Northeast rim of Scaliger. Image centre is at 25.67°S, 109.65°E - Image by NASA/Johnson Space Center via National Archives.
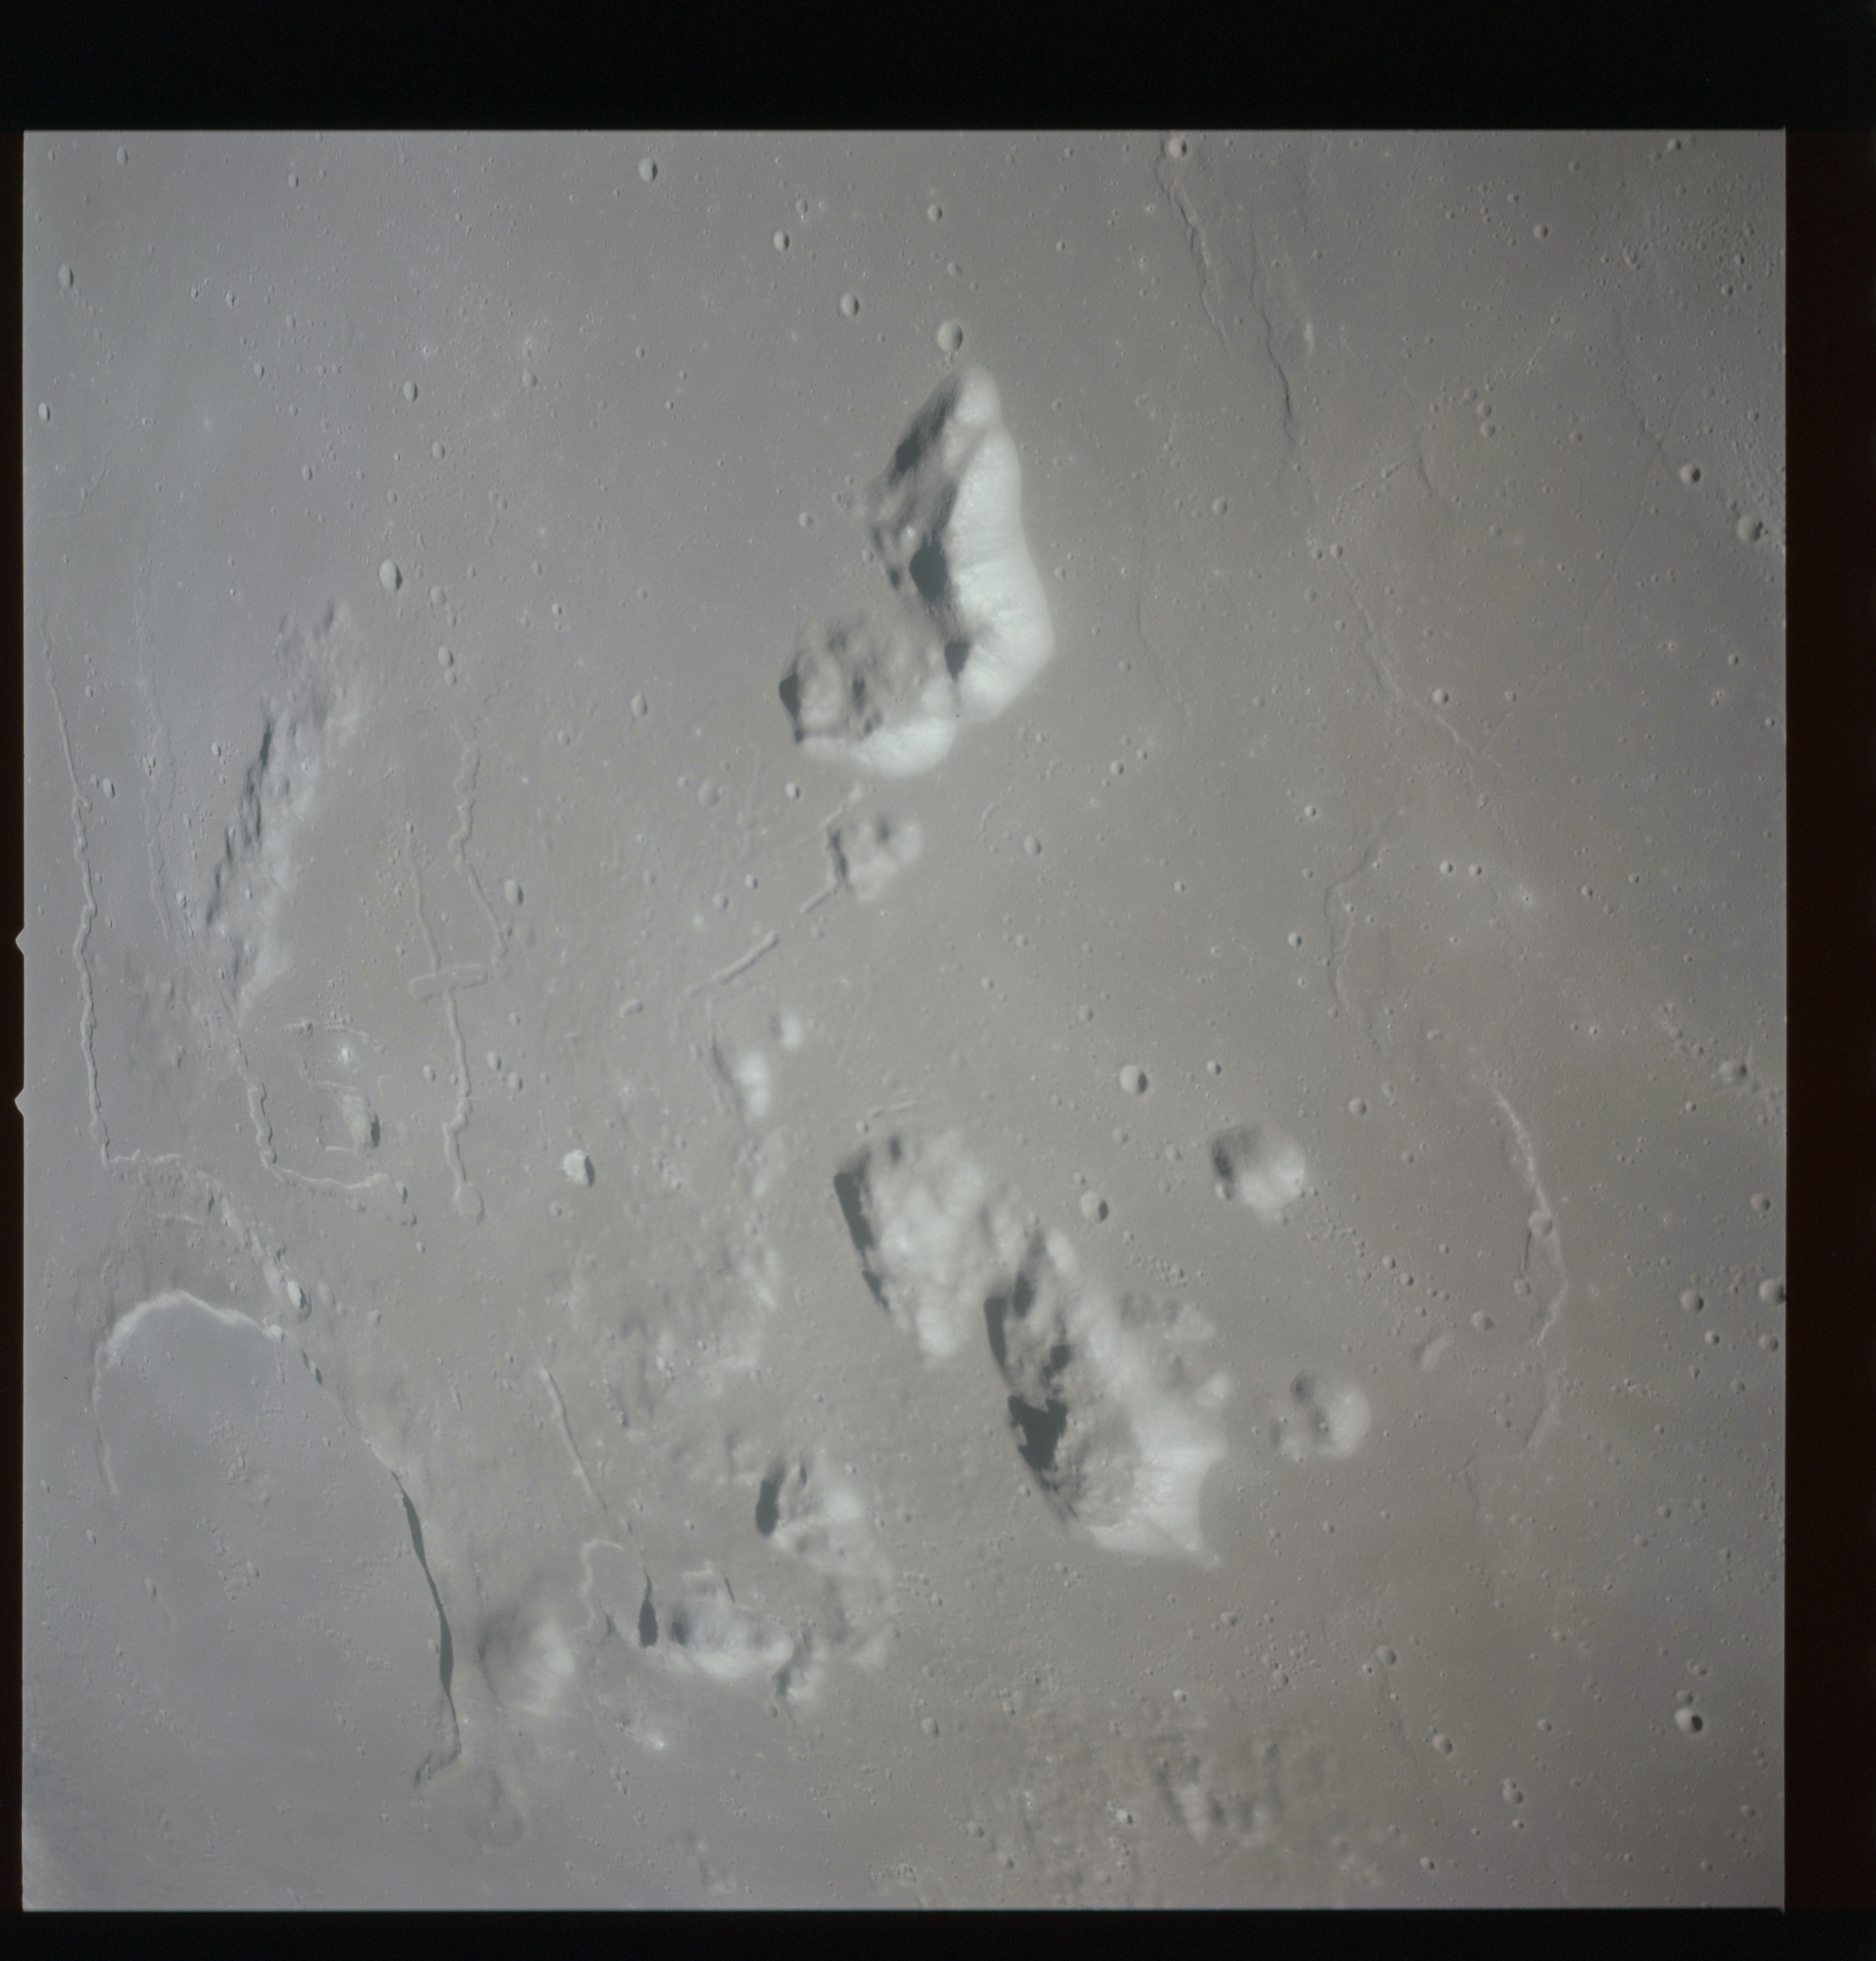
AS15-98-13369 - Terminator area. Scaliger central peak. Image centre is at 26.97°S, 109.09°E - Image by NASA/Johnson Space Center via National Archives.
AS15-98-13370 - Terminator area. North rim of Scaliger. Image centre is at 25.93°S, 109.45°E - Image by NASA/Johnson Space Center via National Archives.
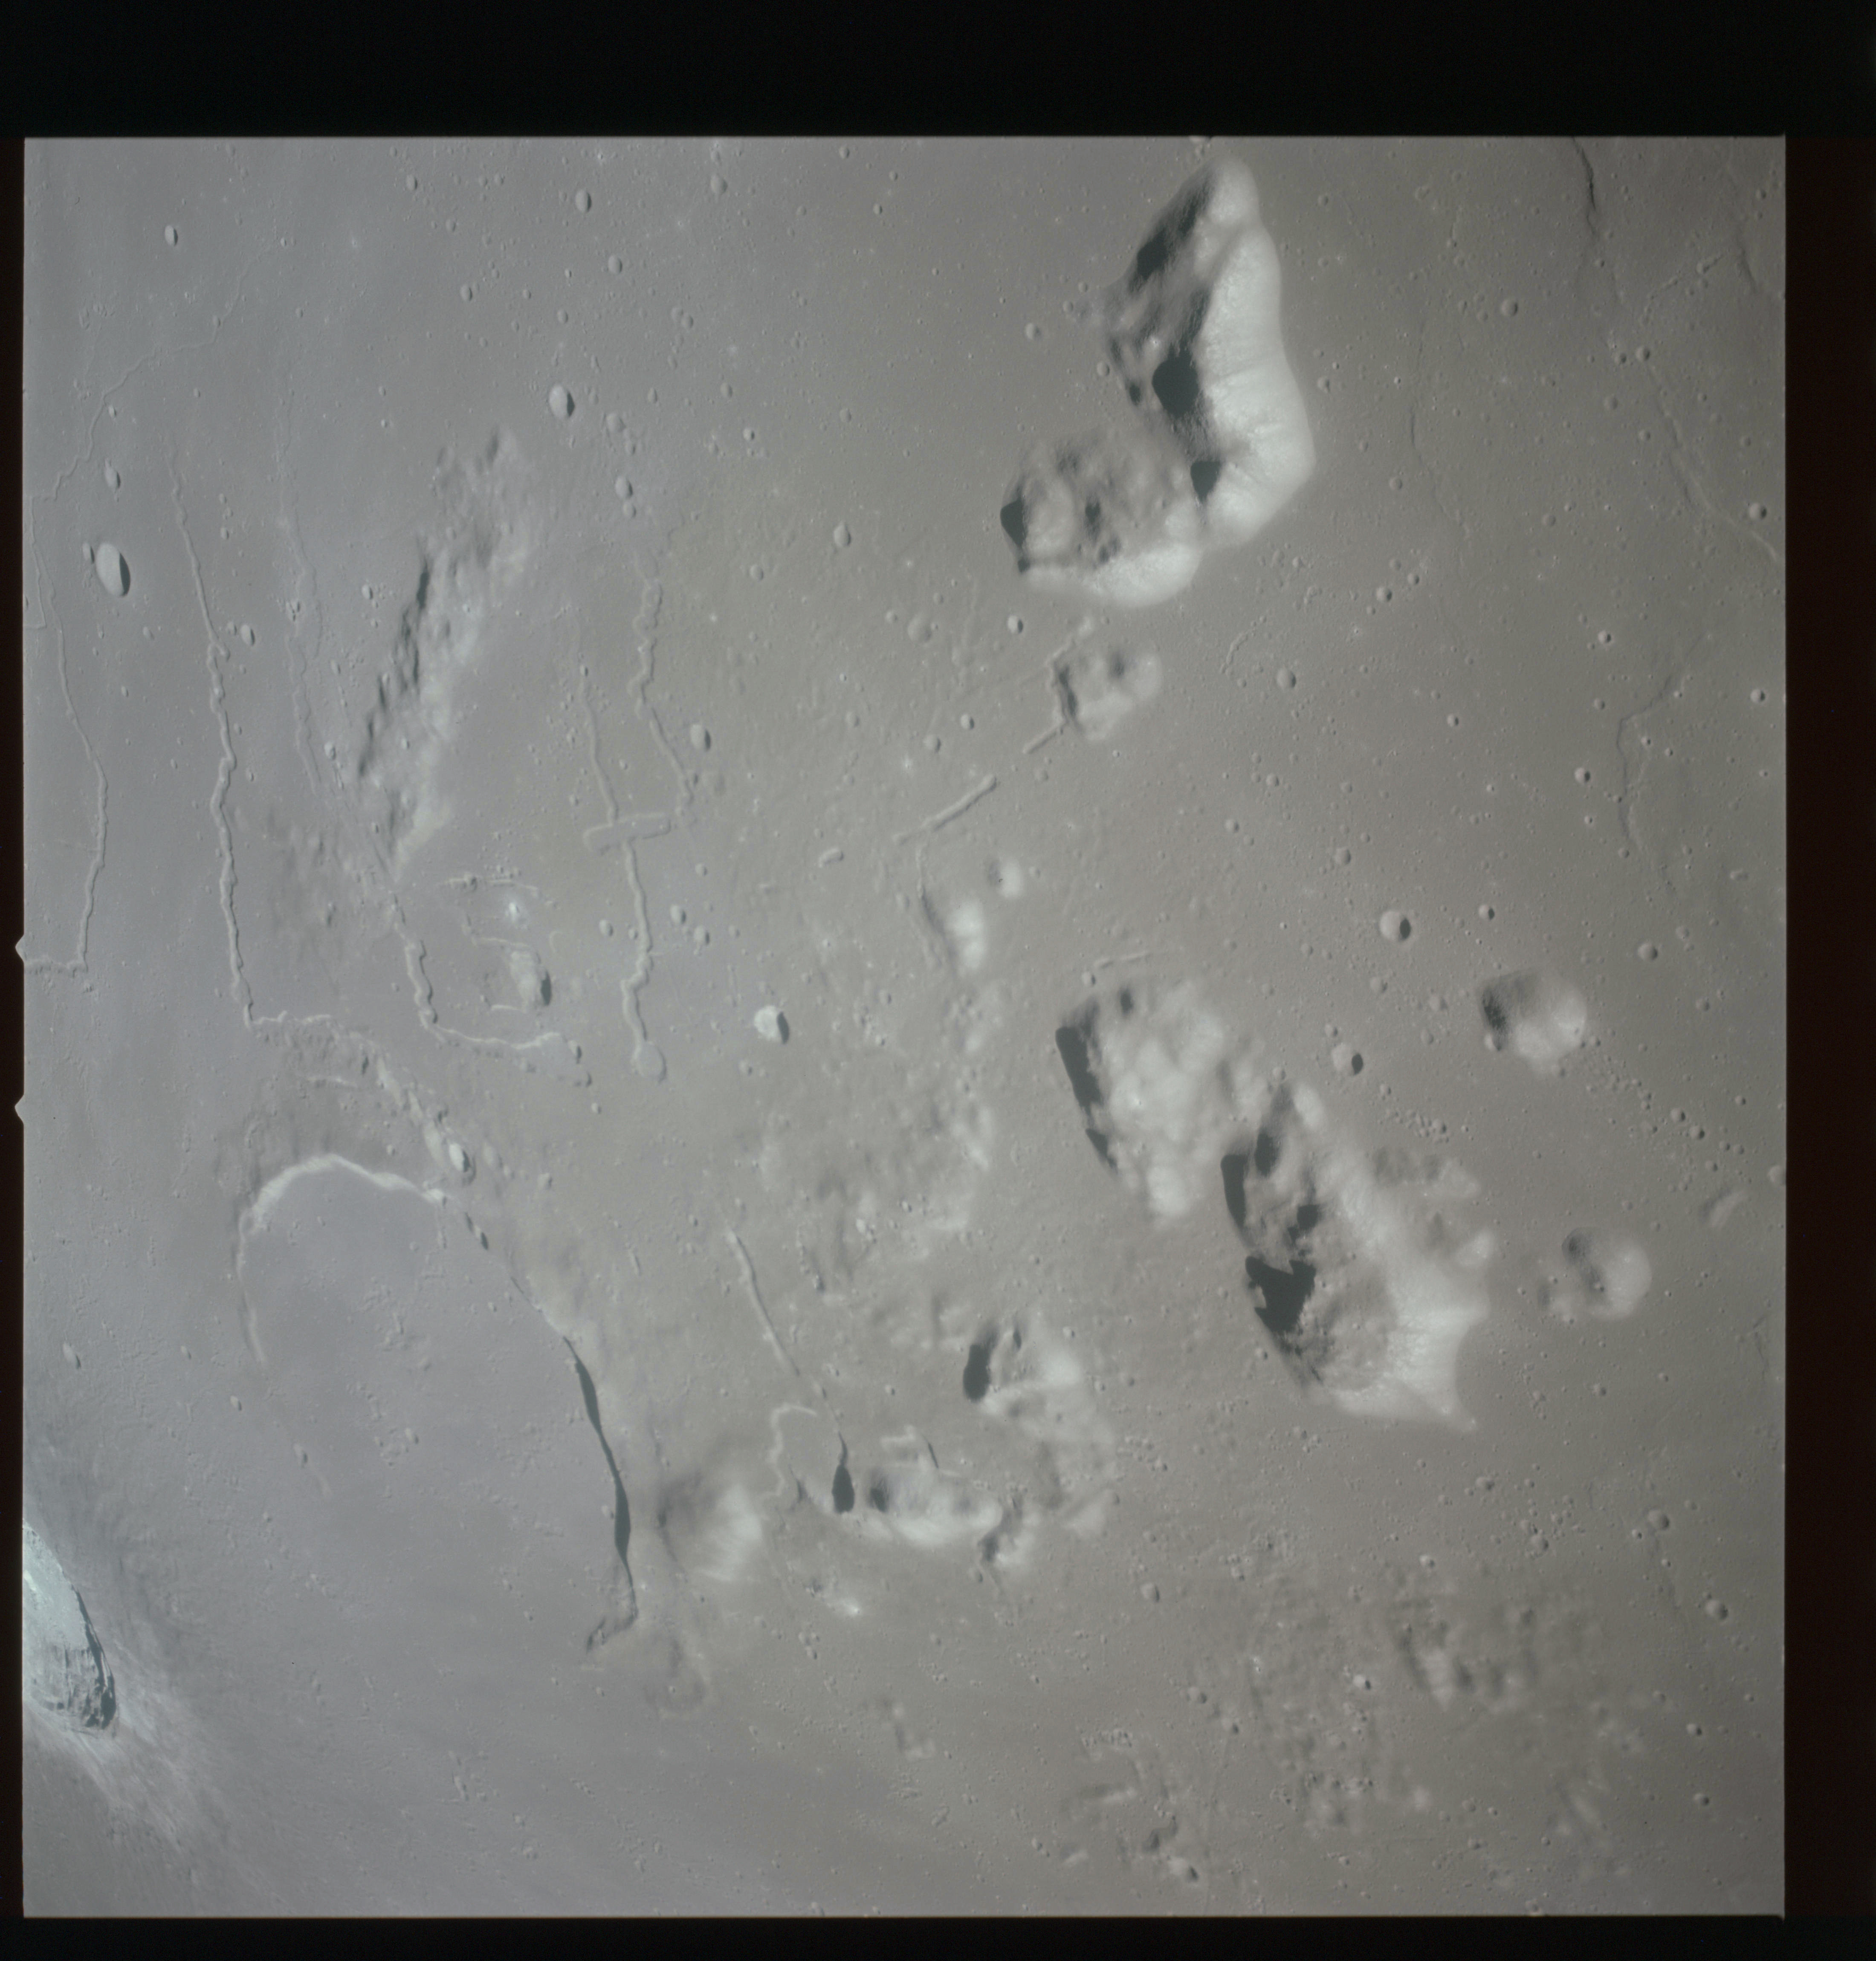
AS15-98-13371 - Terminator area. North rim of Scaliger. Image centre is at 25.82°S, 109.07°E - Image by NASA/Johnson Space Center via National Archives.
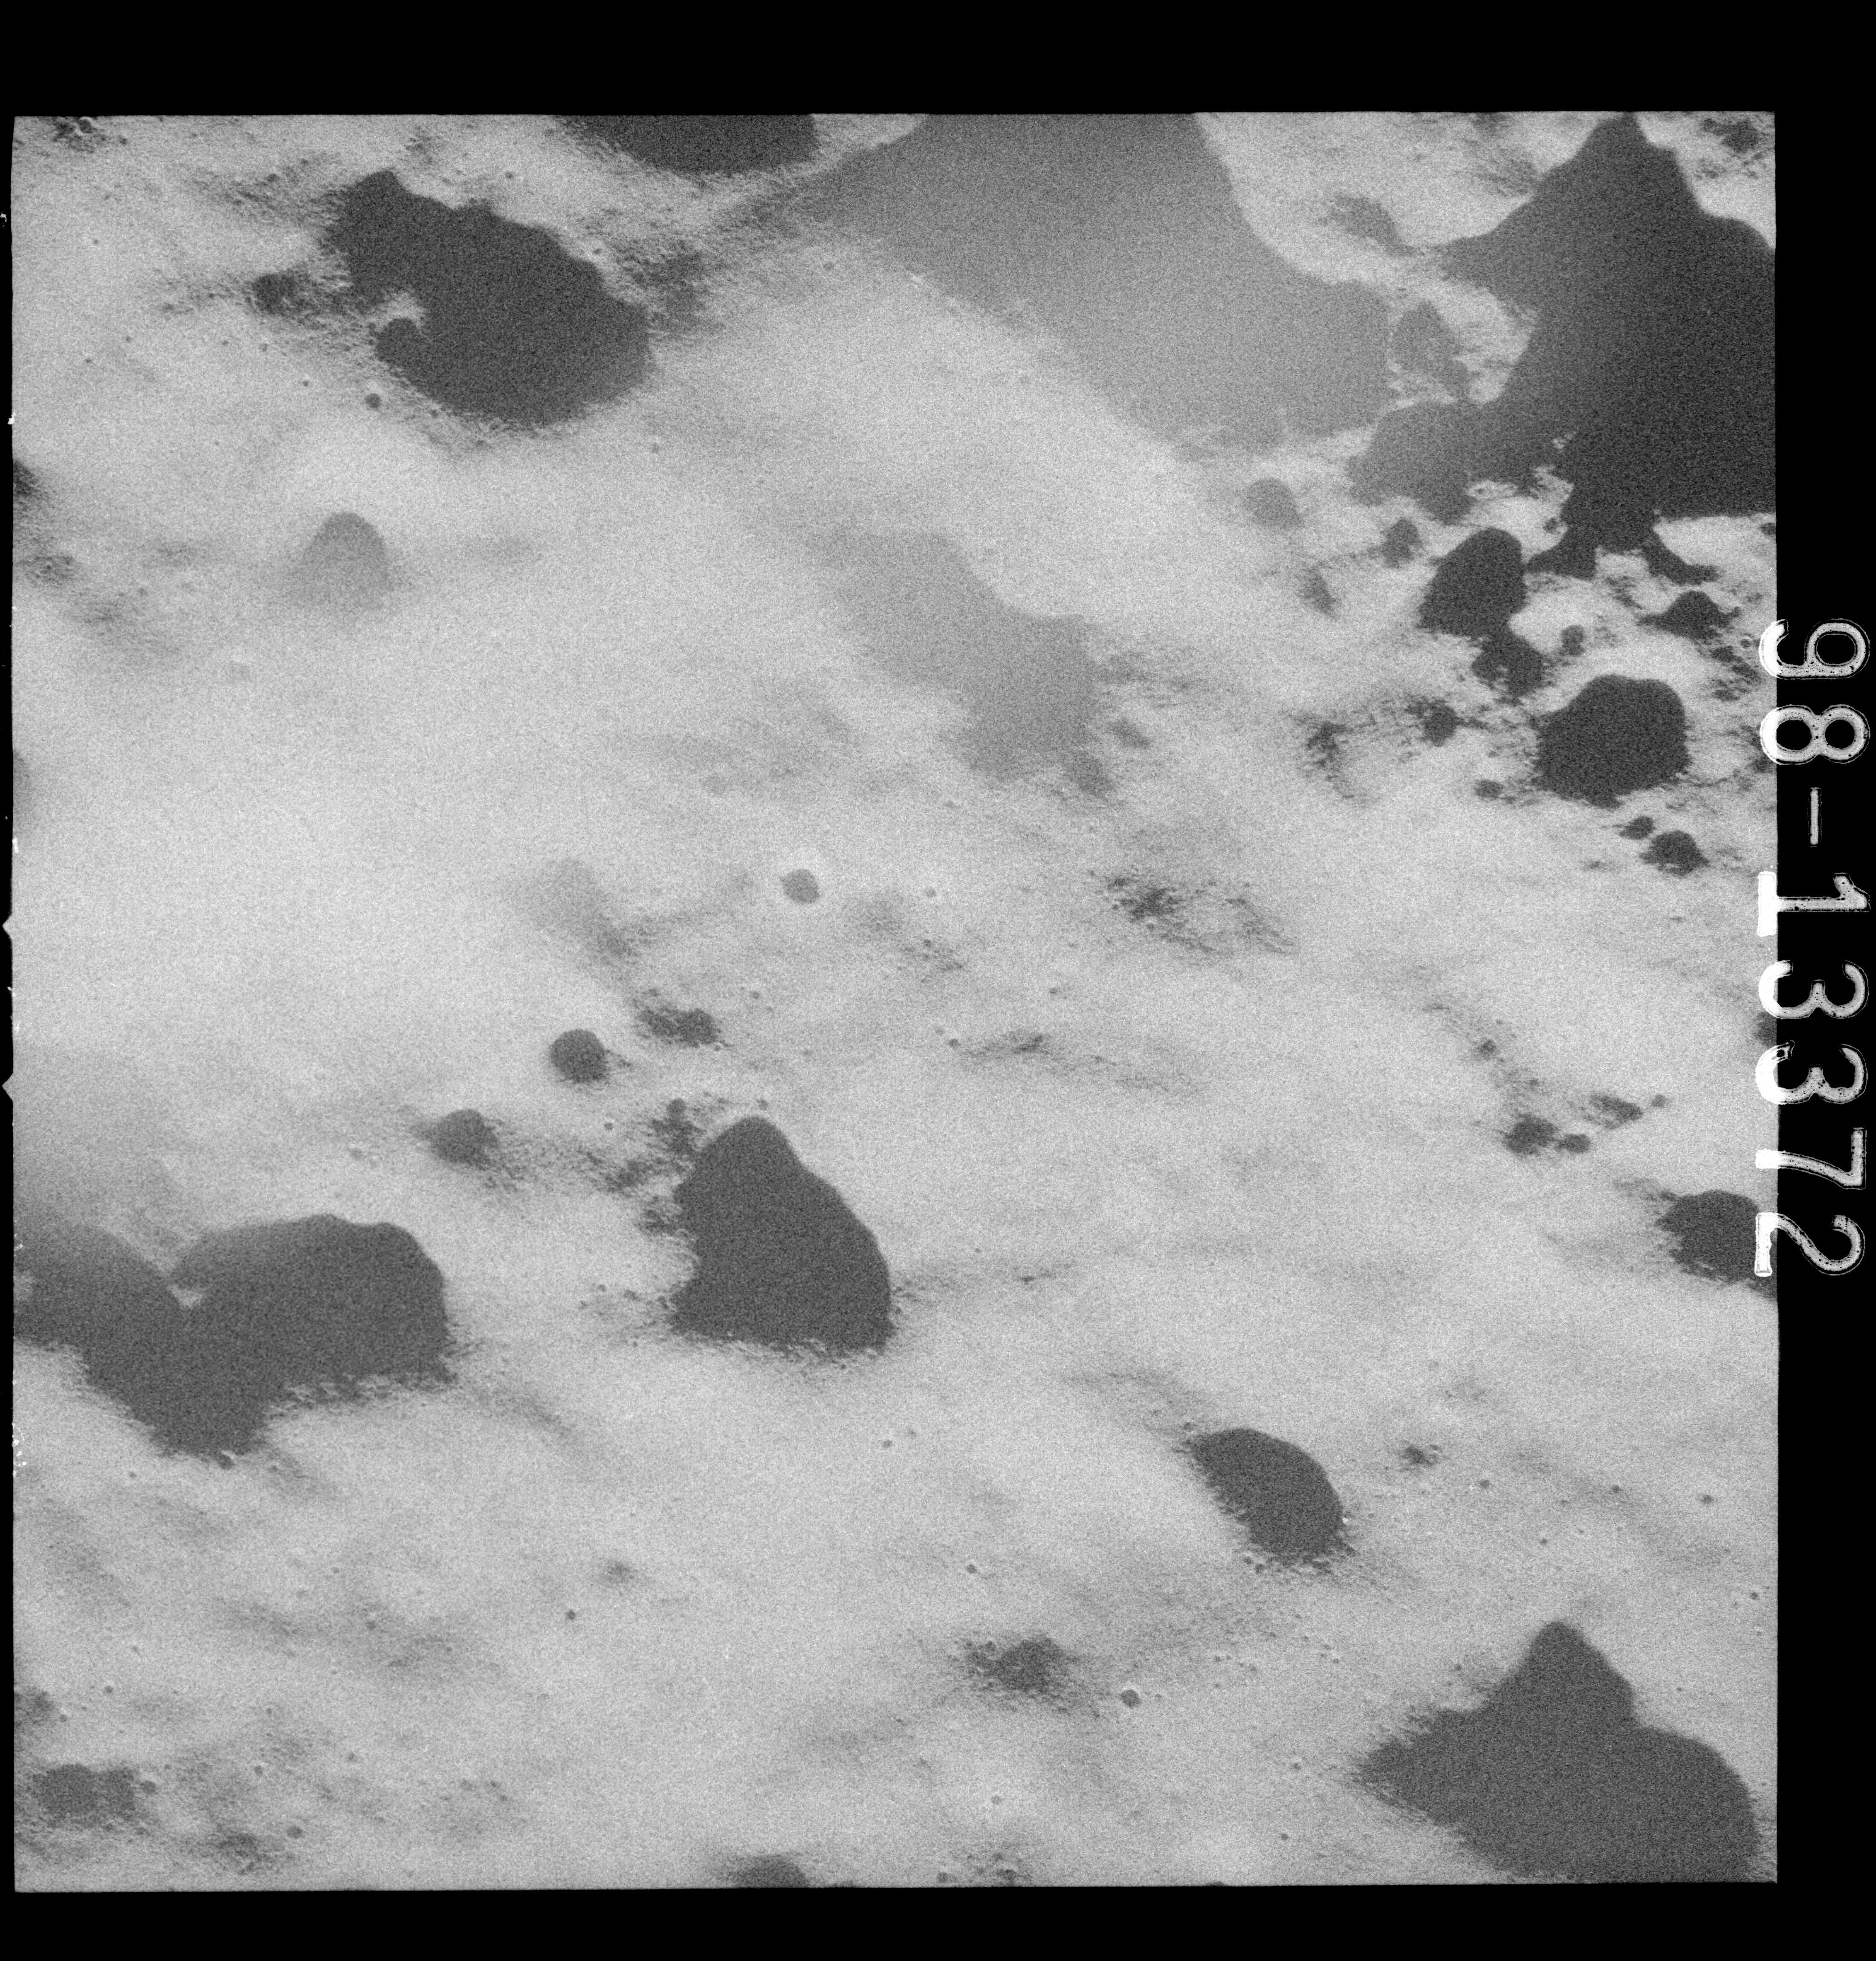
AS15-98-13372 - Terminator area. Landscape northwest of Scaliger. Image centre is at 25.56°S, 107.97°E - Image by NASA/Johnson Space Center via National Archives.
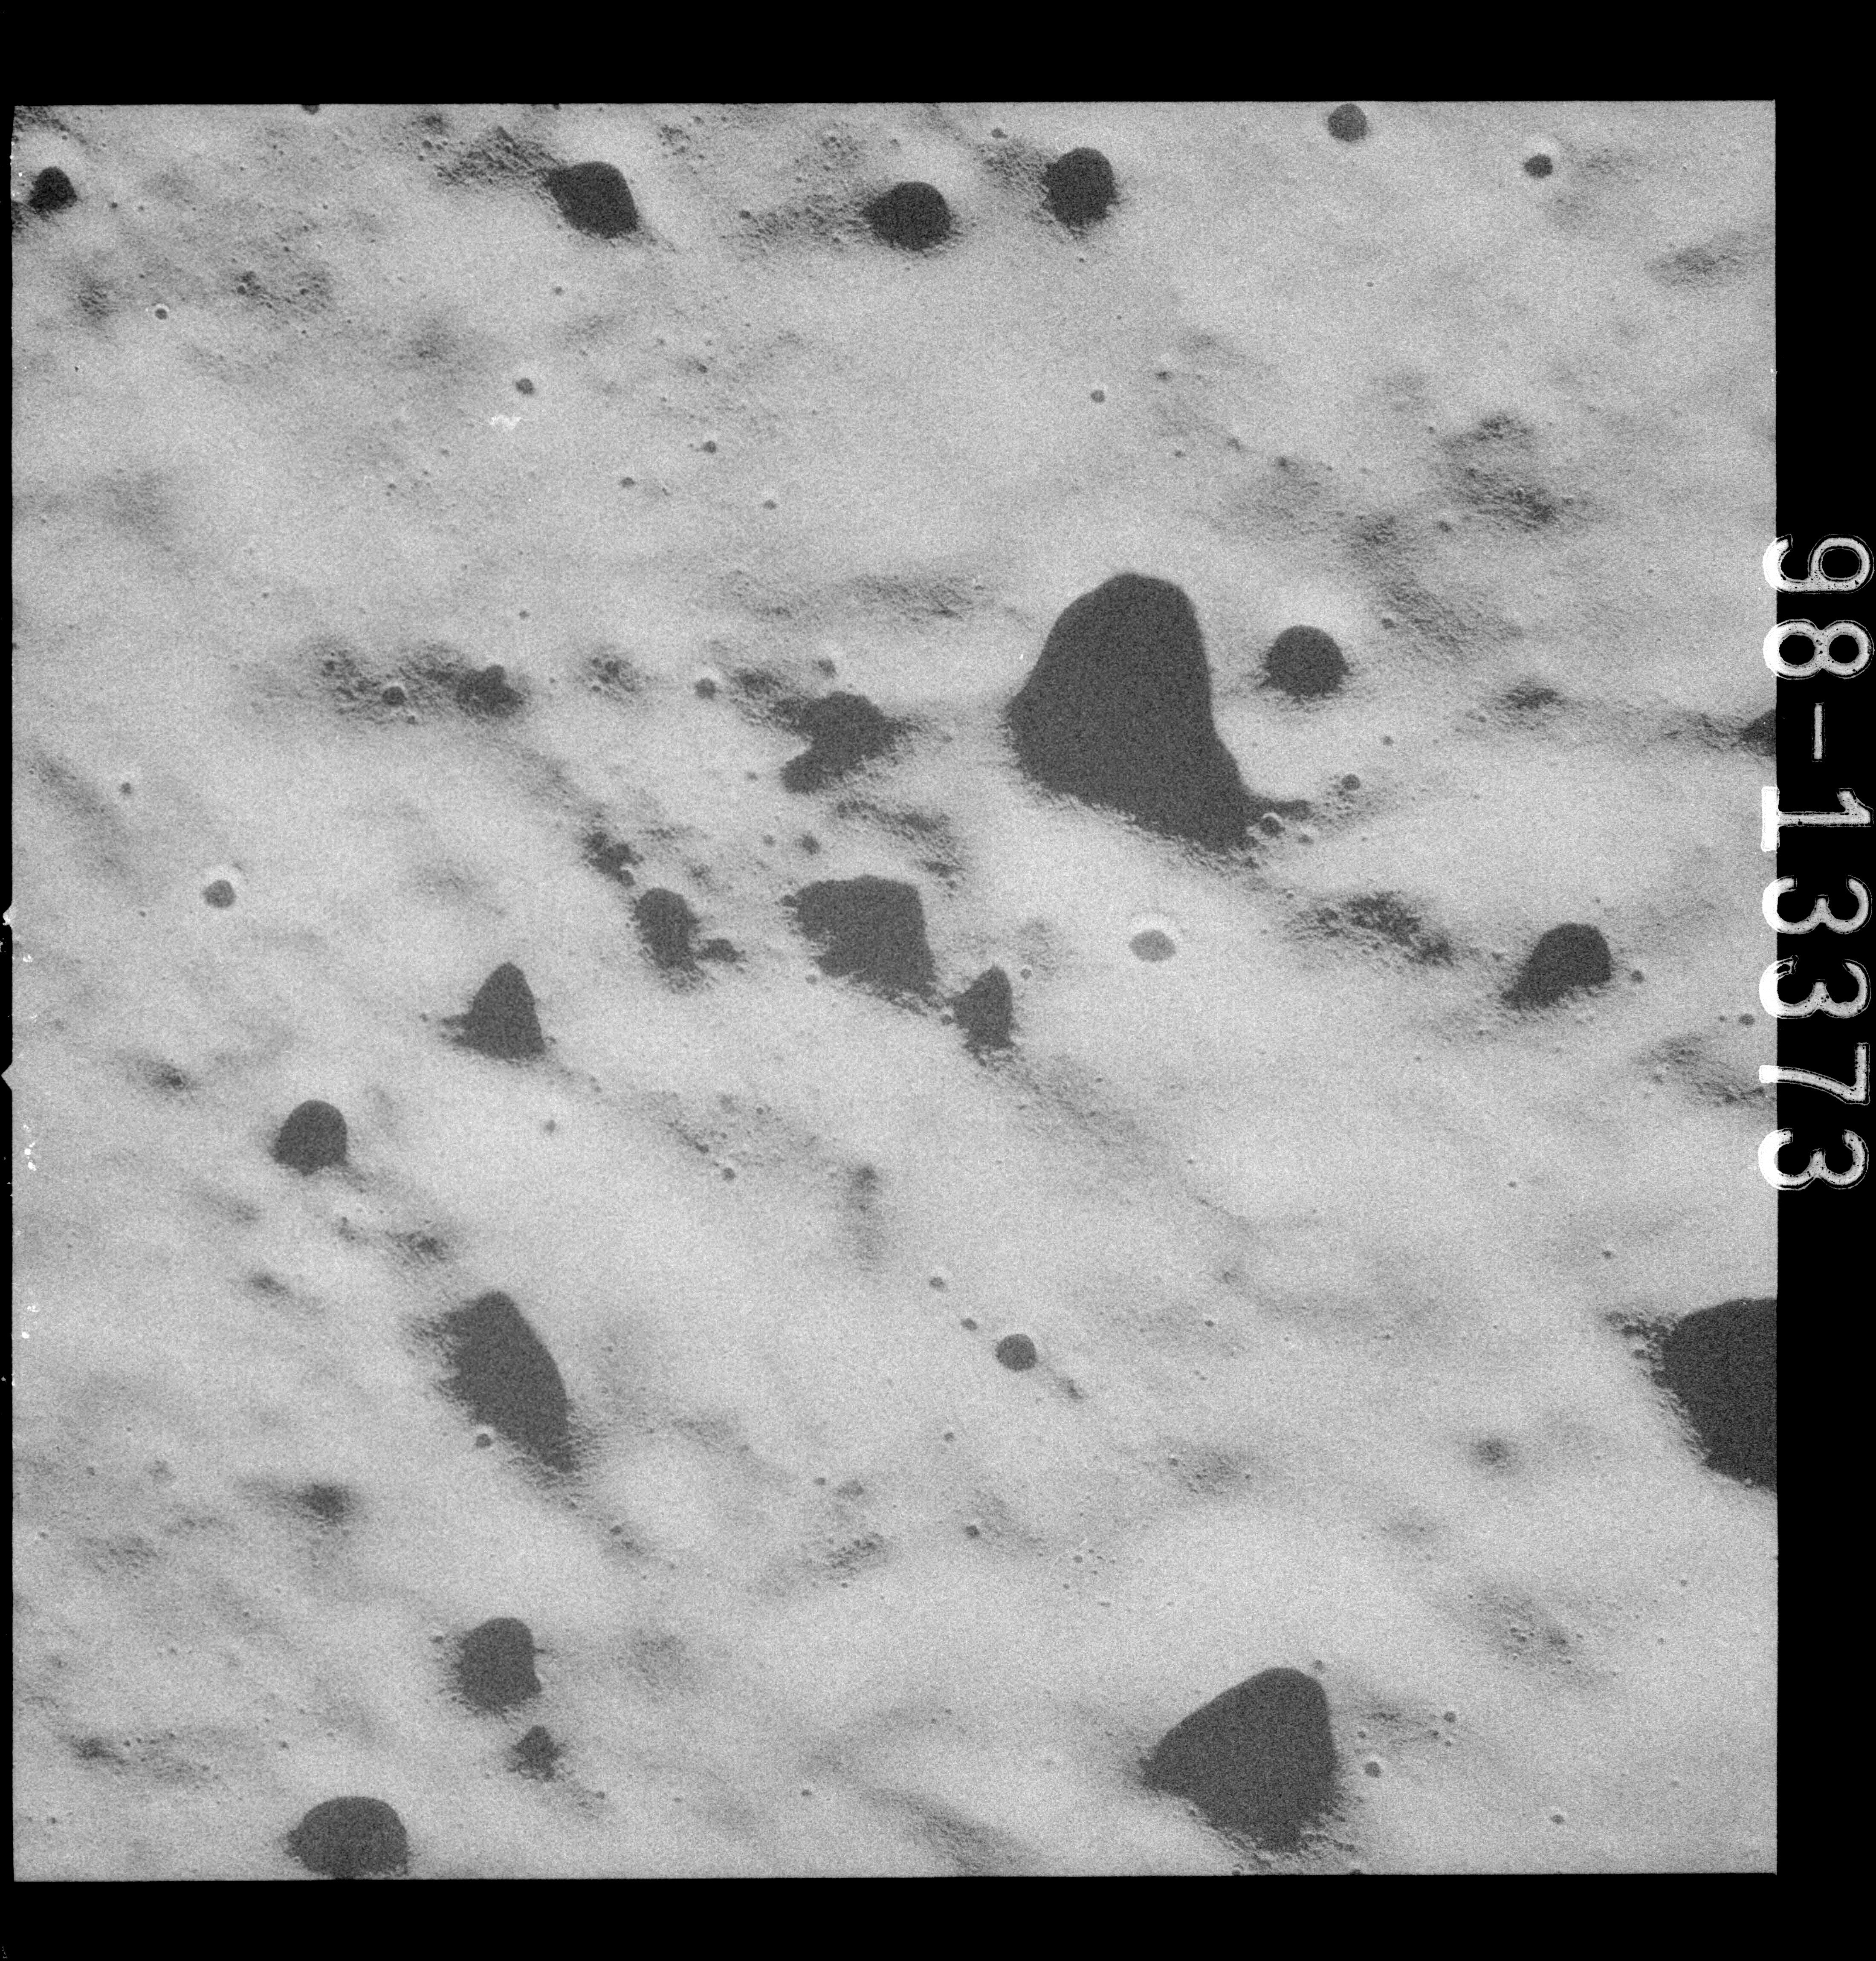
AS15-98-13373 - Terminator area. Landscape northwest of Scaliger. Image centre is at 25.48°S, 106.62°E - Image by NASA/Johnson Space Center via National Archives.
This is Apollo Control; 214 hours, 22 minutes Ground Elapsed Time. Less than a minute to acquisition as Apollo 15 comes around to the front side of the Moon on the 70th lunar revolution. The crew by this time should have tidied up from their morning meal and be settling down for a fairly busy day's work; orbital science task, and later on in the day, the shaping burn for jettisoning the little mini-satellite. Ten seconds away, we're standing by from - for notice from the network controller that we have Acquisition of Signal.
Spacecraft communicator Karl Henize sitting back down at the CapCom's console and should be calling the crew with some additional Flight Plan updates. We're up and live on air/ground 1, this is Apollo Control.
214:26:03 Henize: 15, this is Houston. How do you read? [Pause.]
214:26:10 Scott: Houston, 15. Loud and clear.
214:26:14 Henize: Roger, 15. We're reading you loud and clear. We have Flight Plan updates available any time you're interested in copying it.
214:26:27 Scott: Okay. Stand by one.
Comm break.
AS15-M-2364 - Metric Camera image of craters Curie C, E and G and Lauritsen A. Image taken at about 214:26. (250 megapixel version), (labelled version) - Image by NASA/ASU.
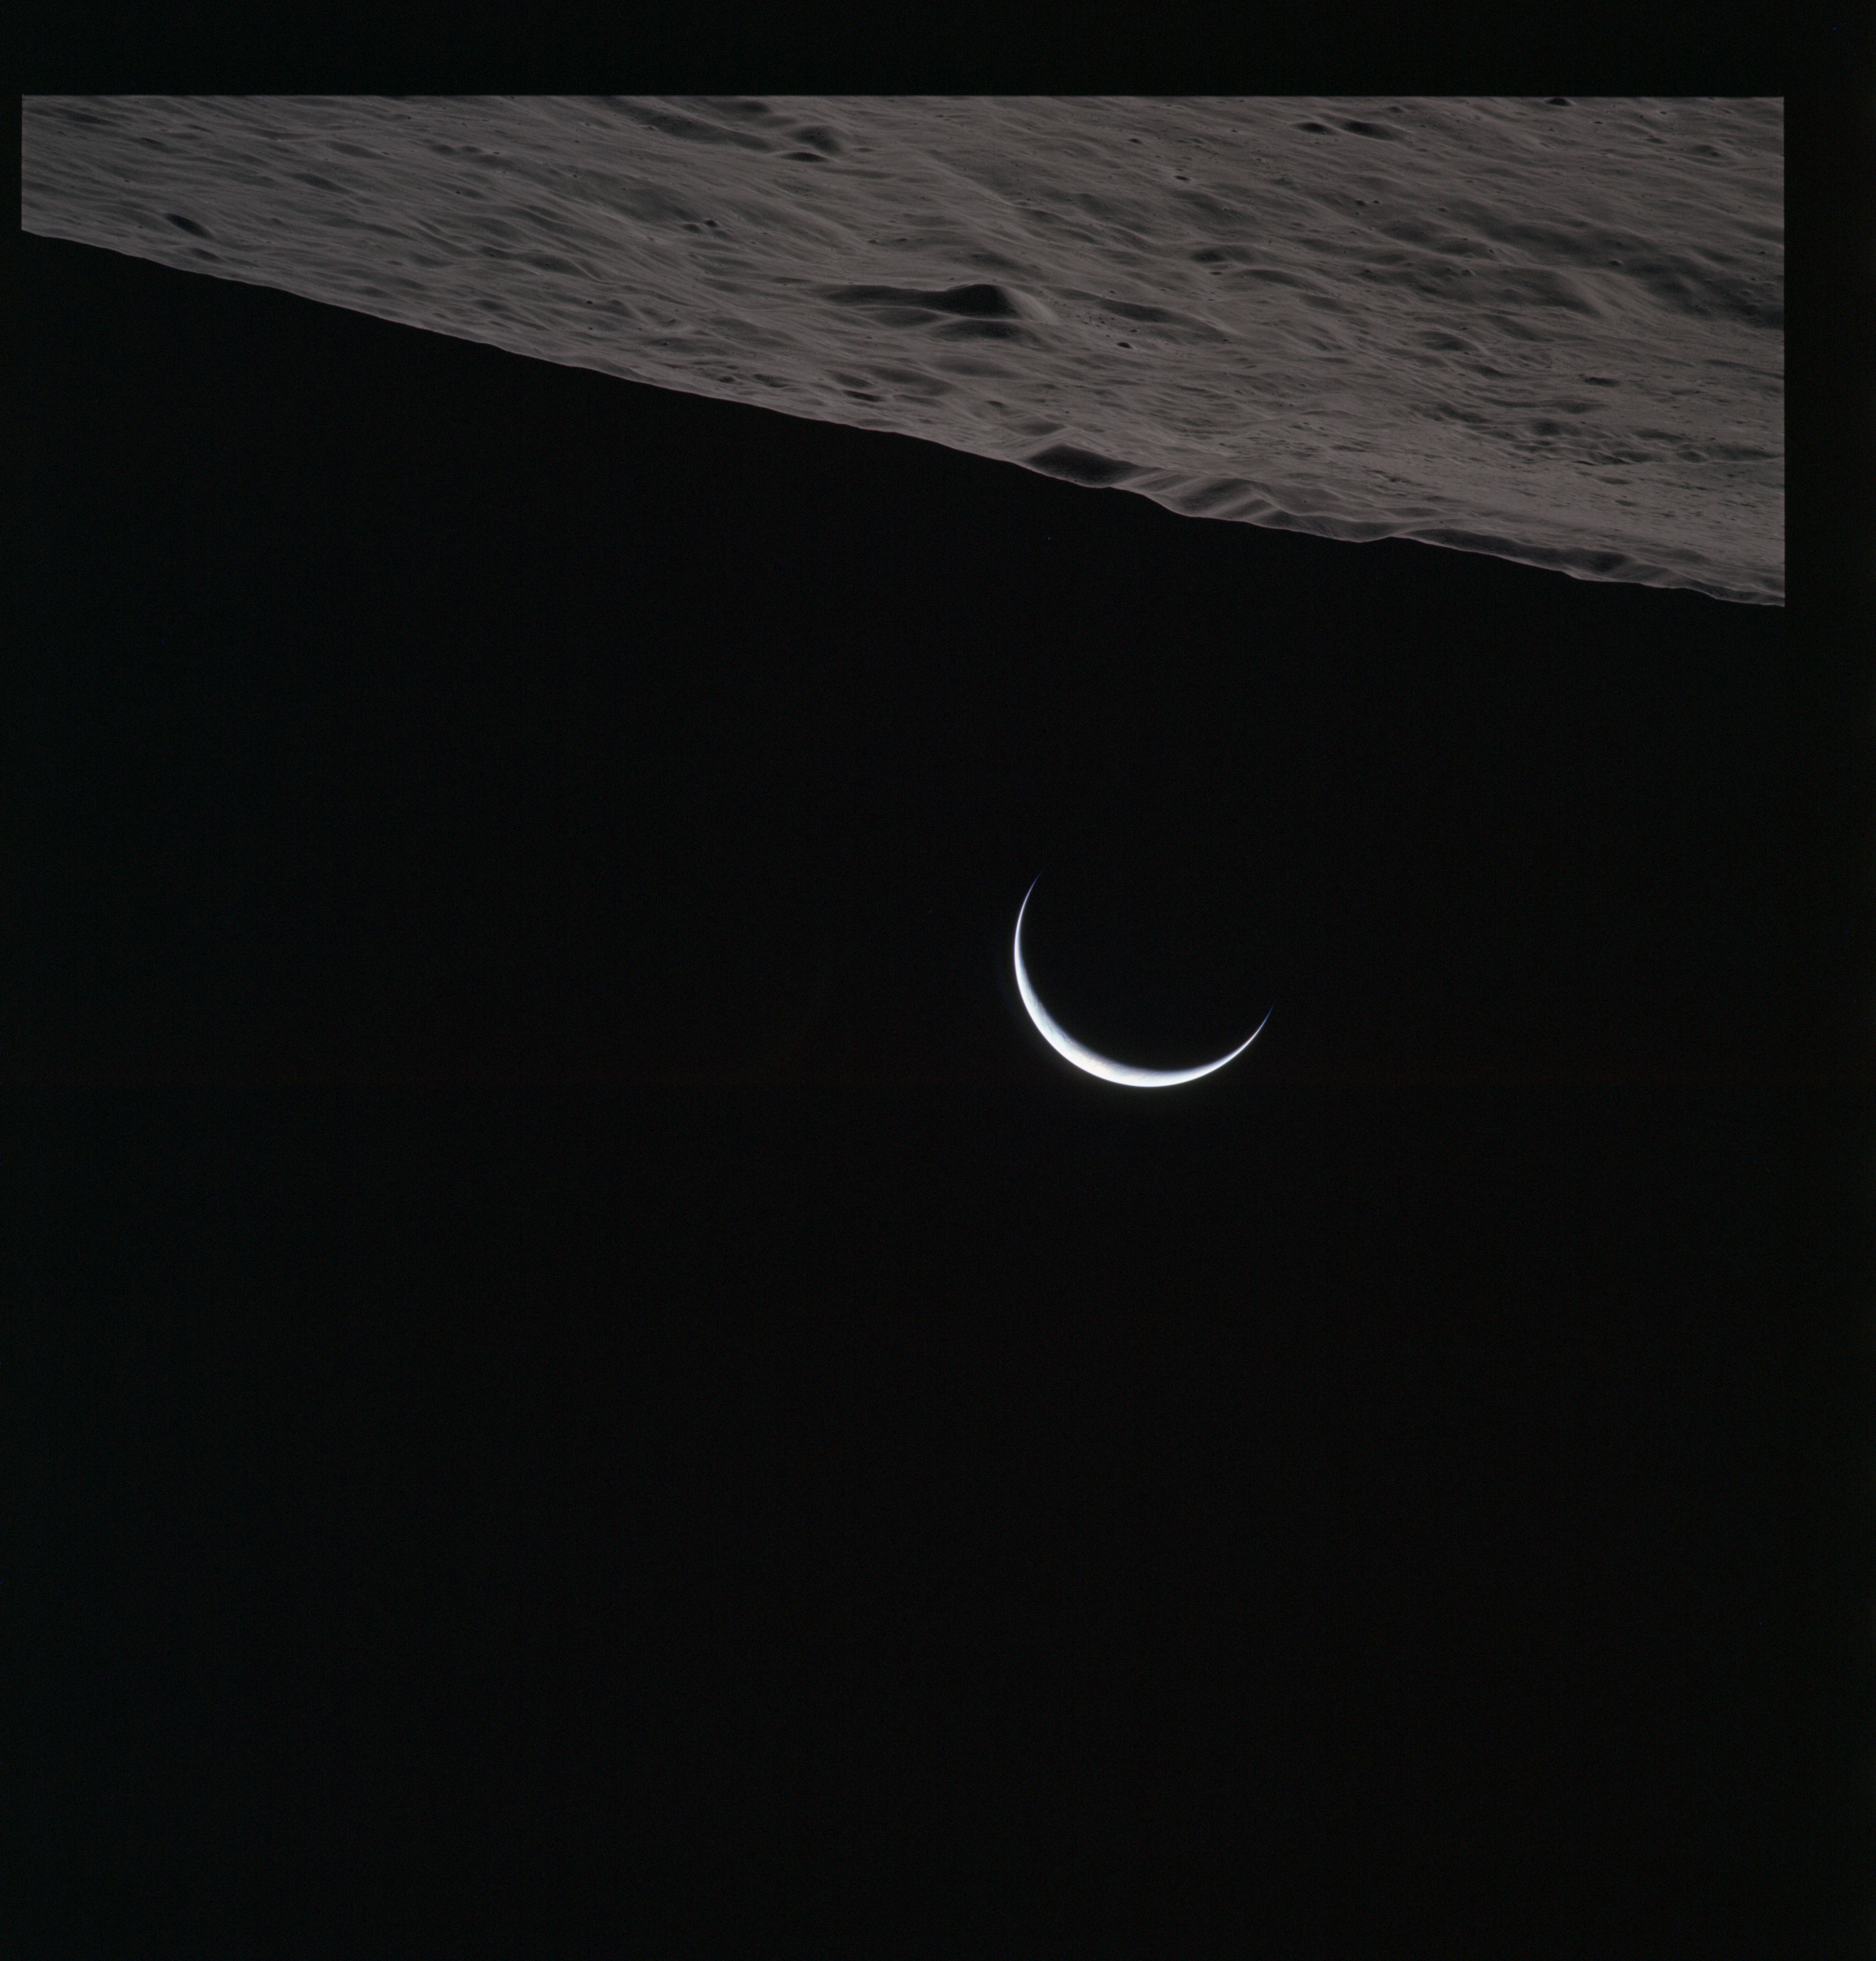
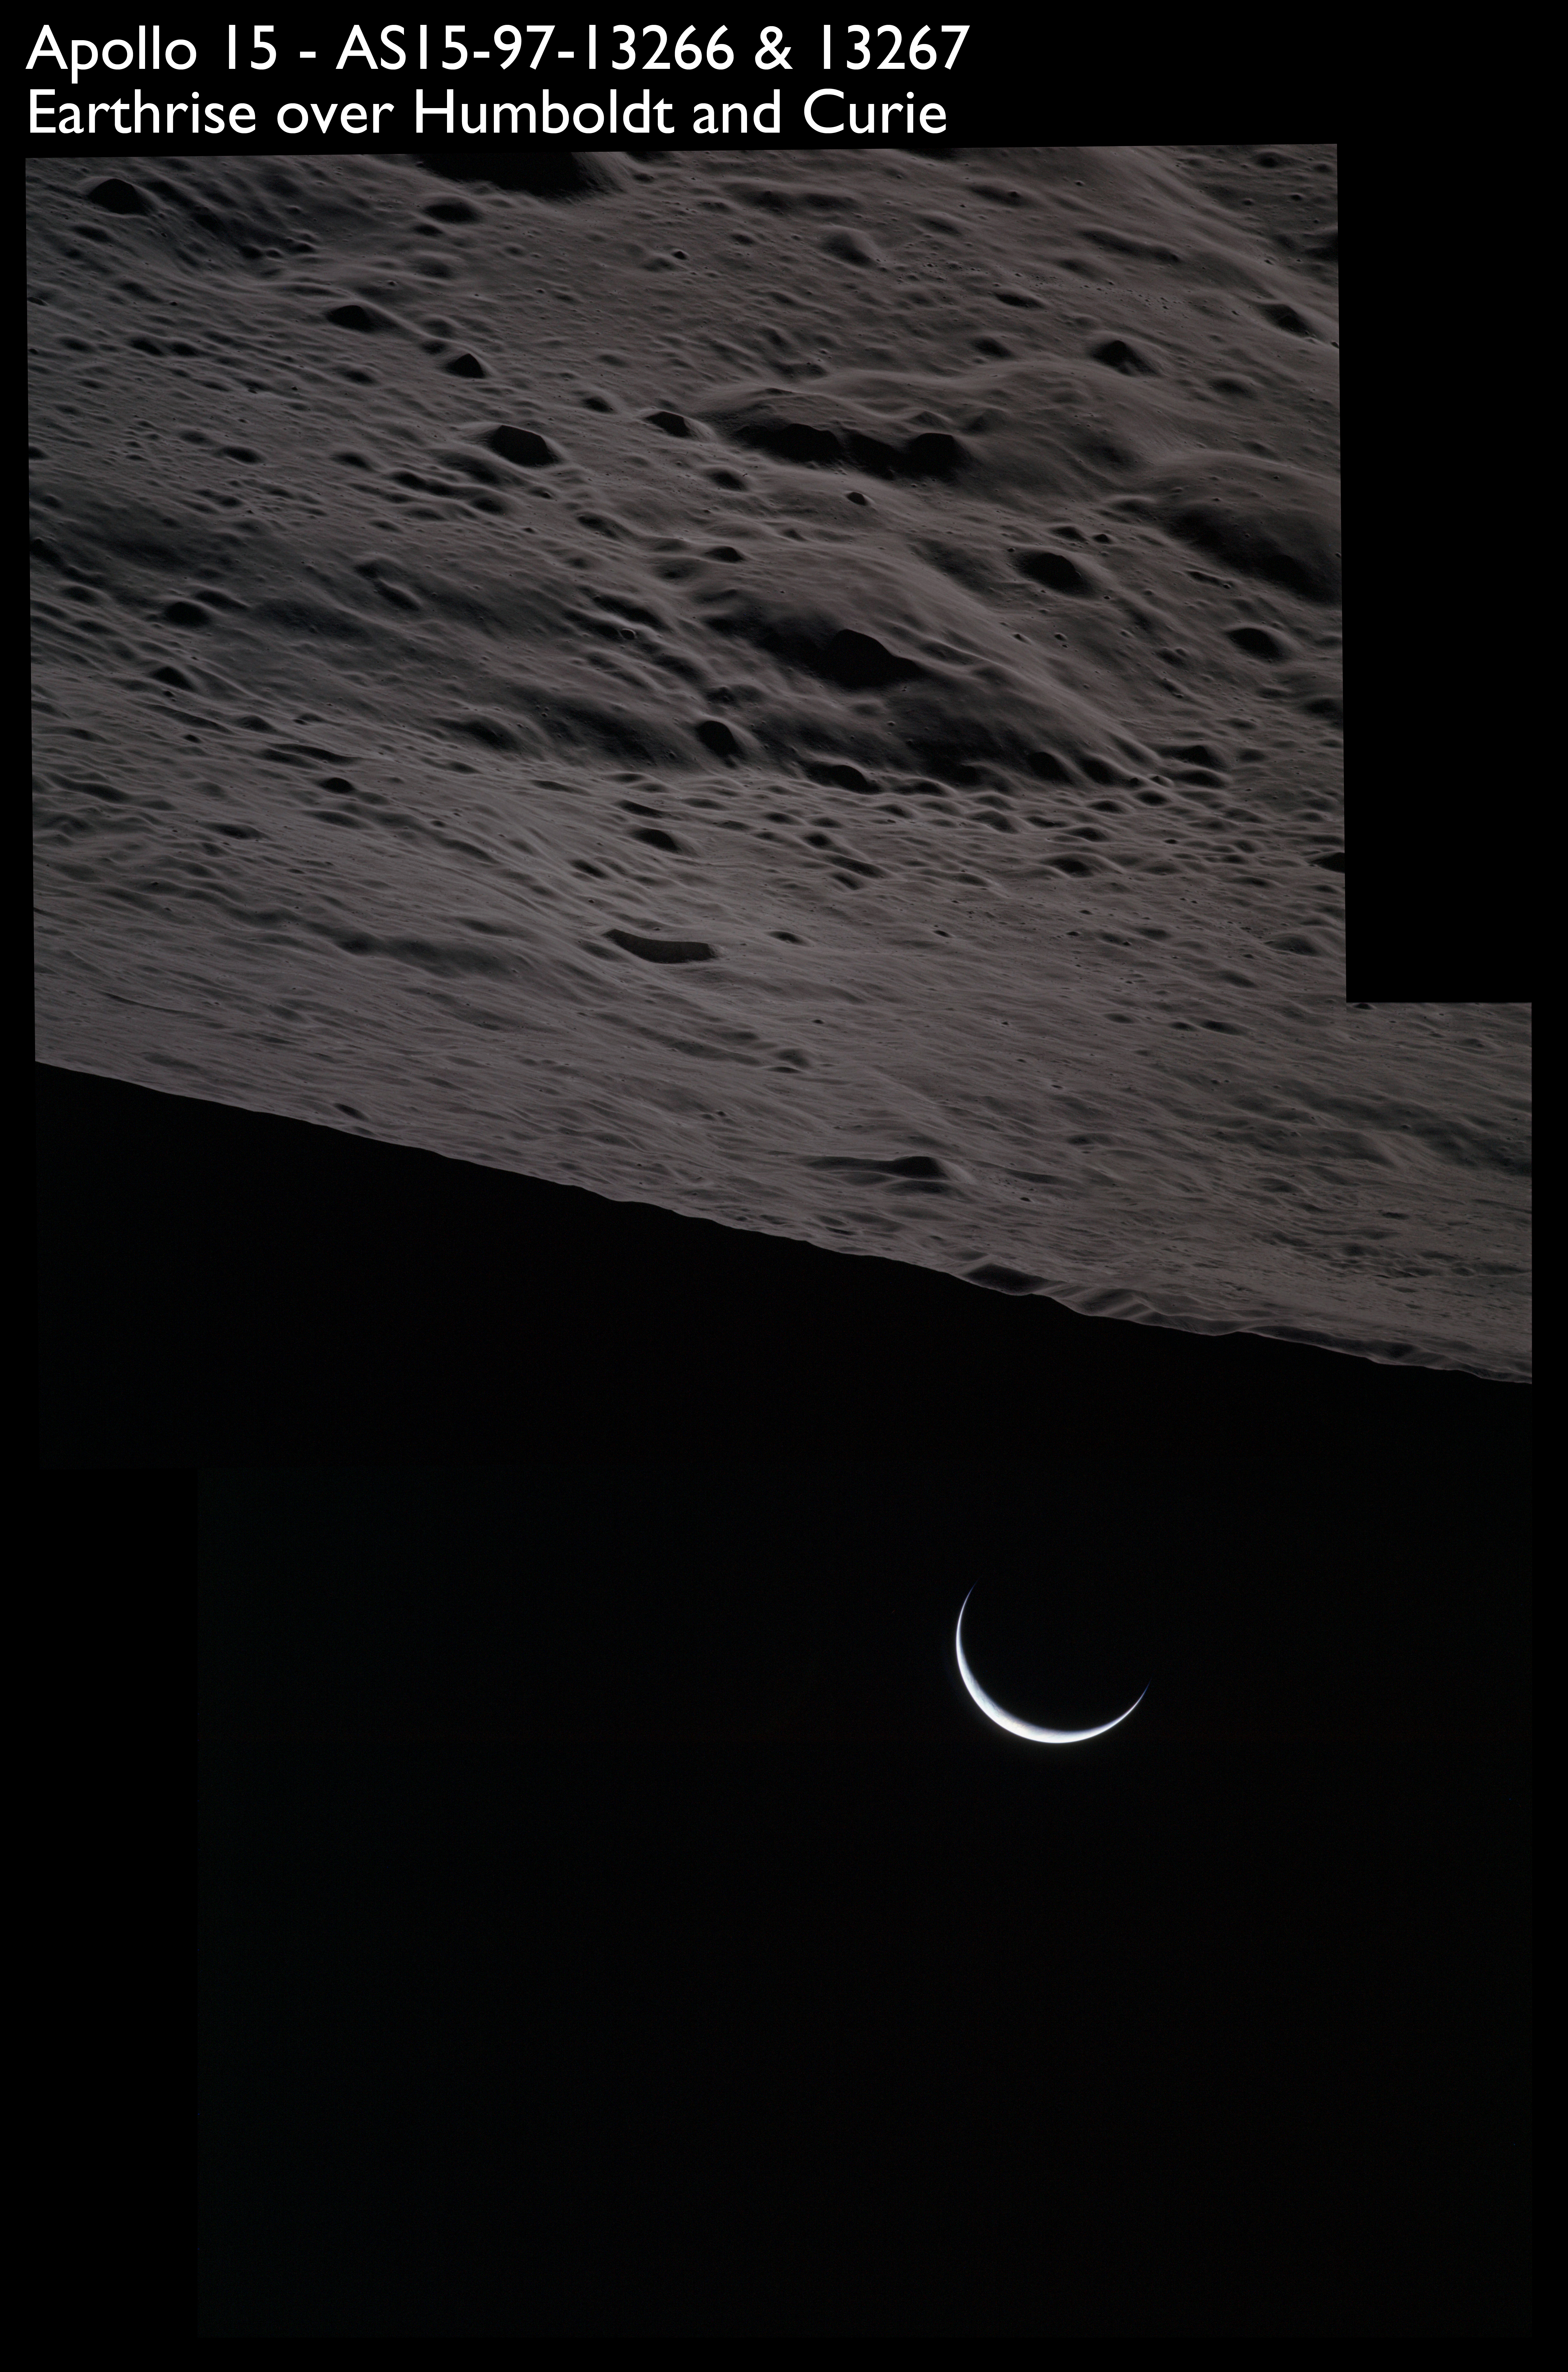
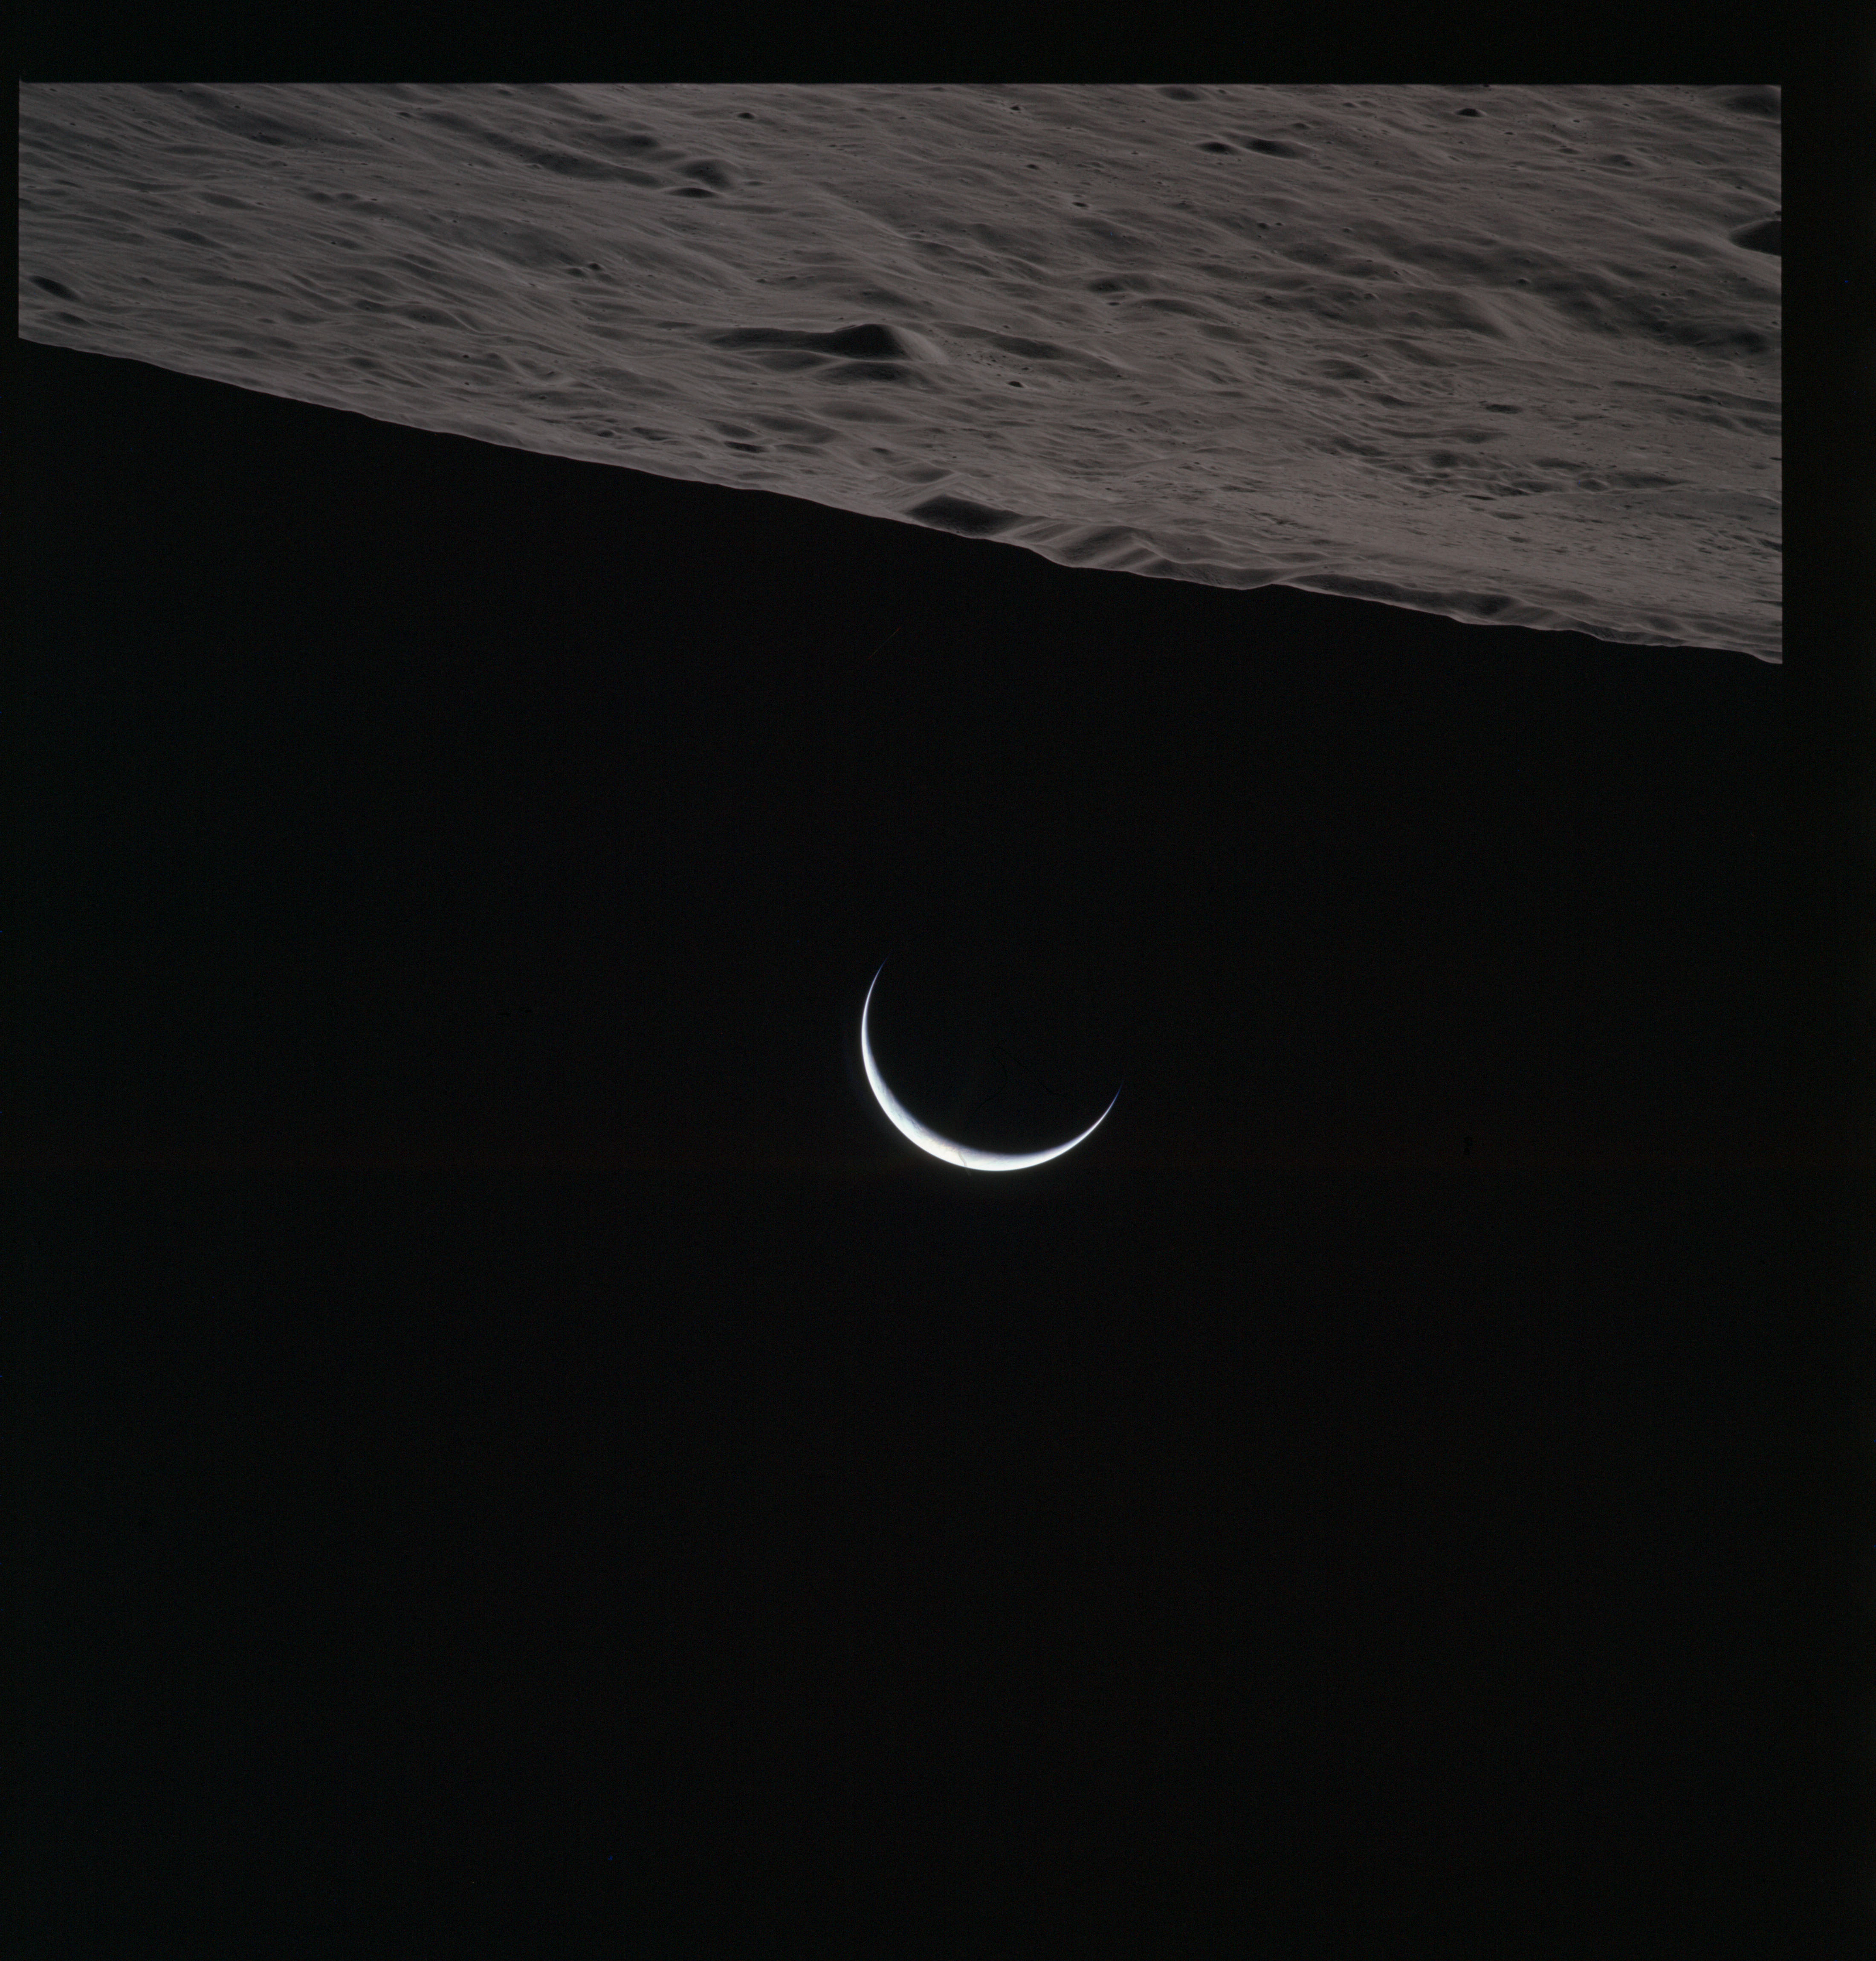
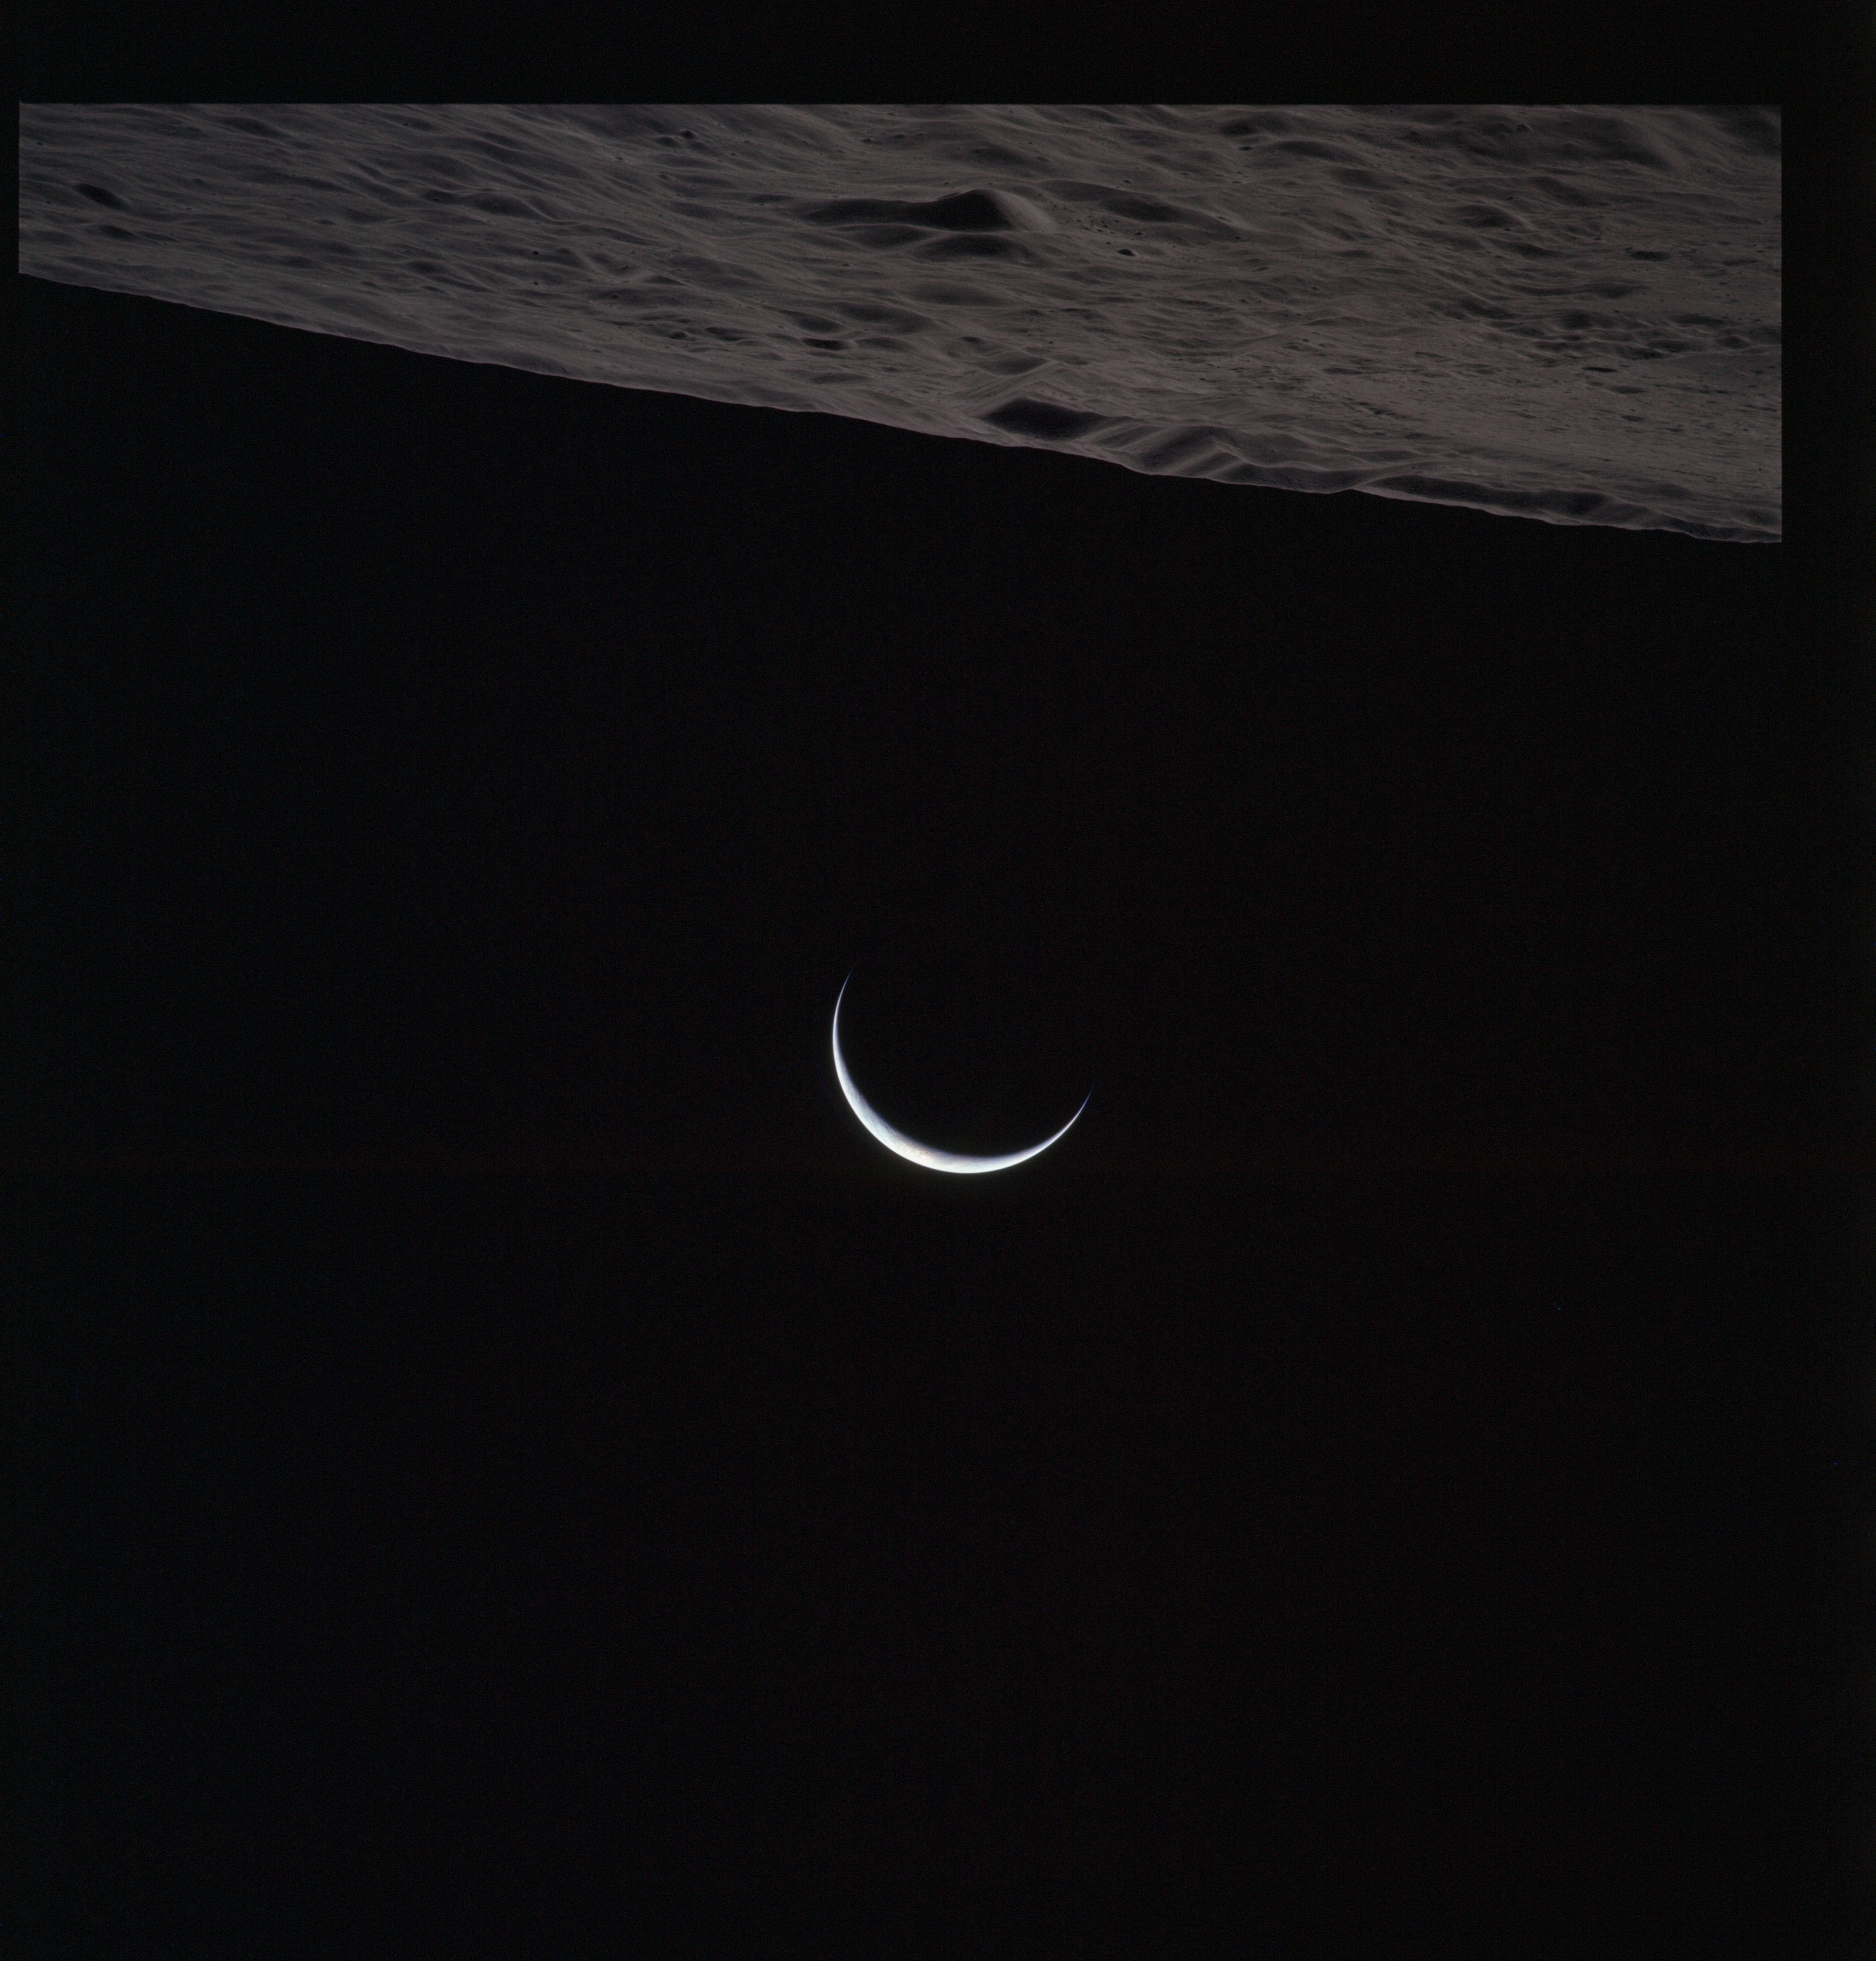
As Endeavour comes around the near side, Al is busy with a Hasselblad fitted with the 250mm lens. He takes a photograph on magazine O of Curie, a 139-km, highly degraded crater, followed by eight Earthrise images.
AS15-97-13266 - Crater Curie, west rim. Curie's degraded central peak is at the upper left - Image by NASA/Johnson Space Center.
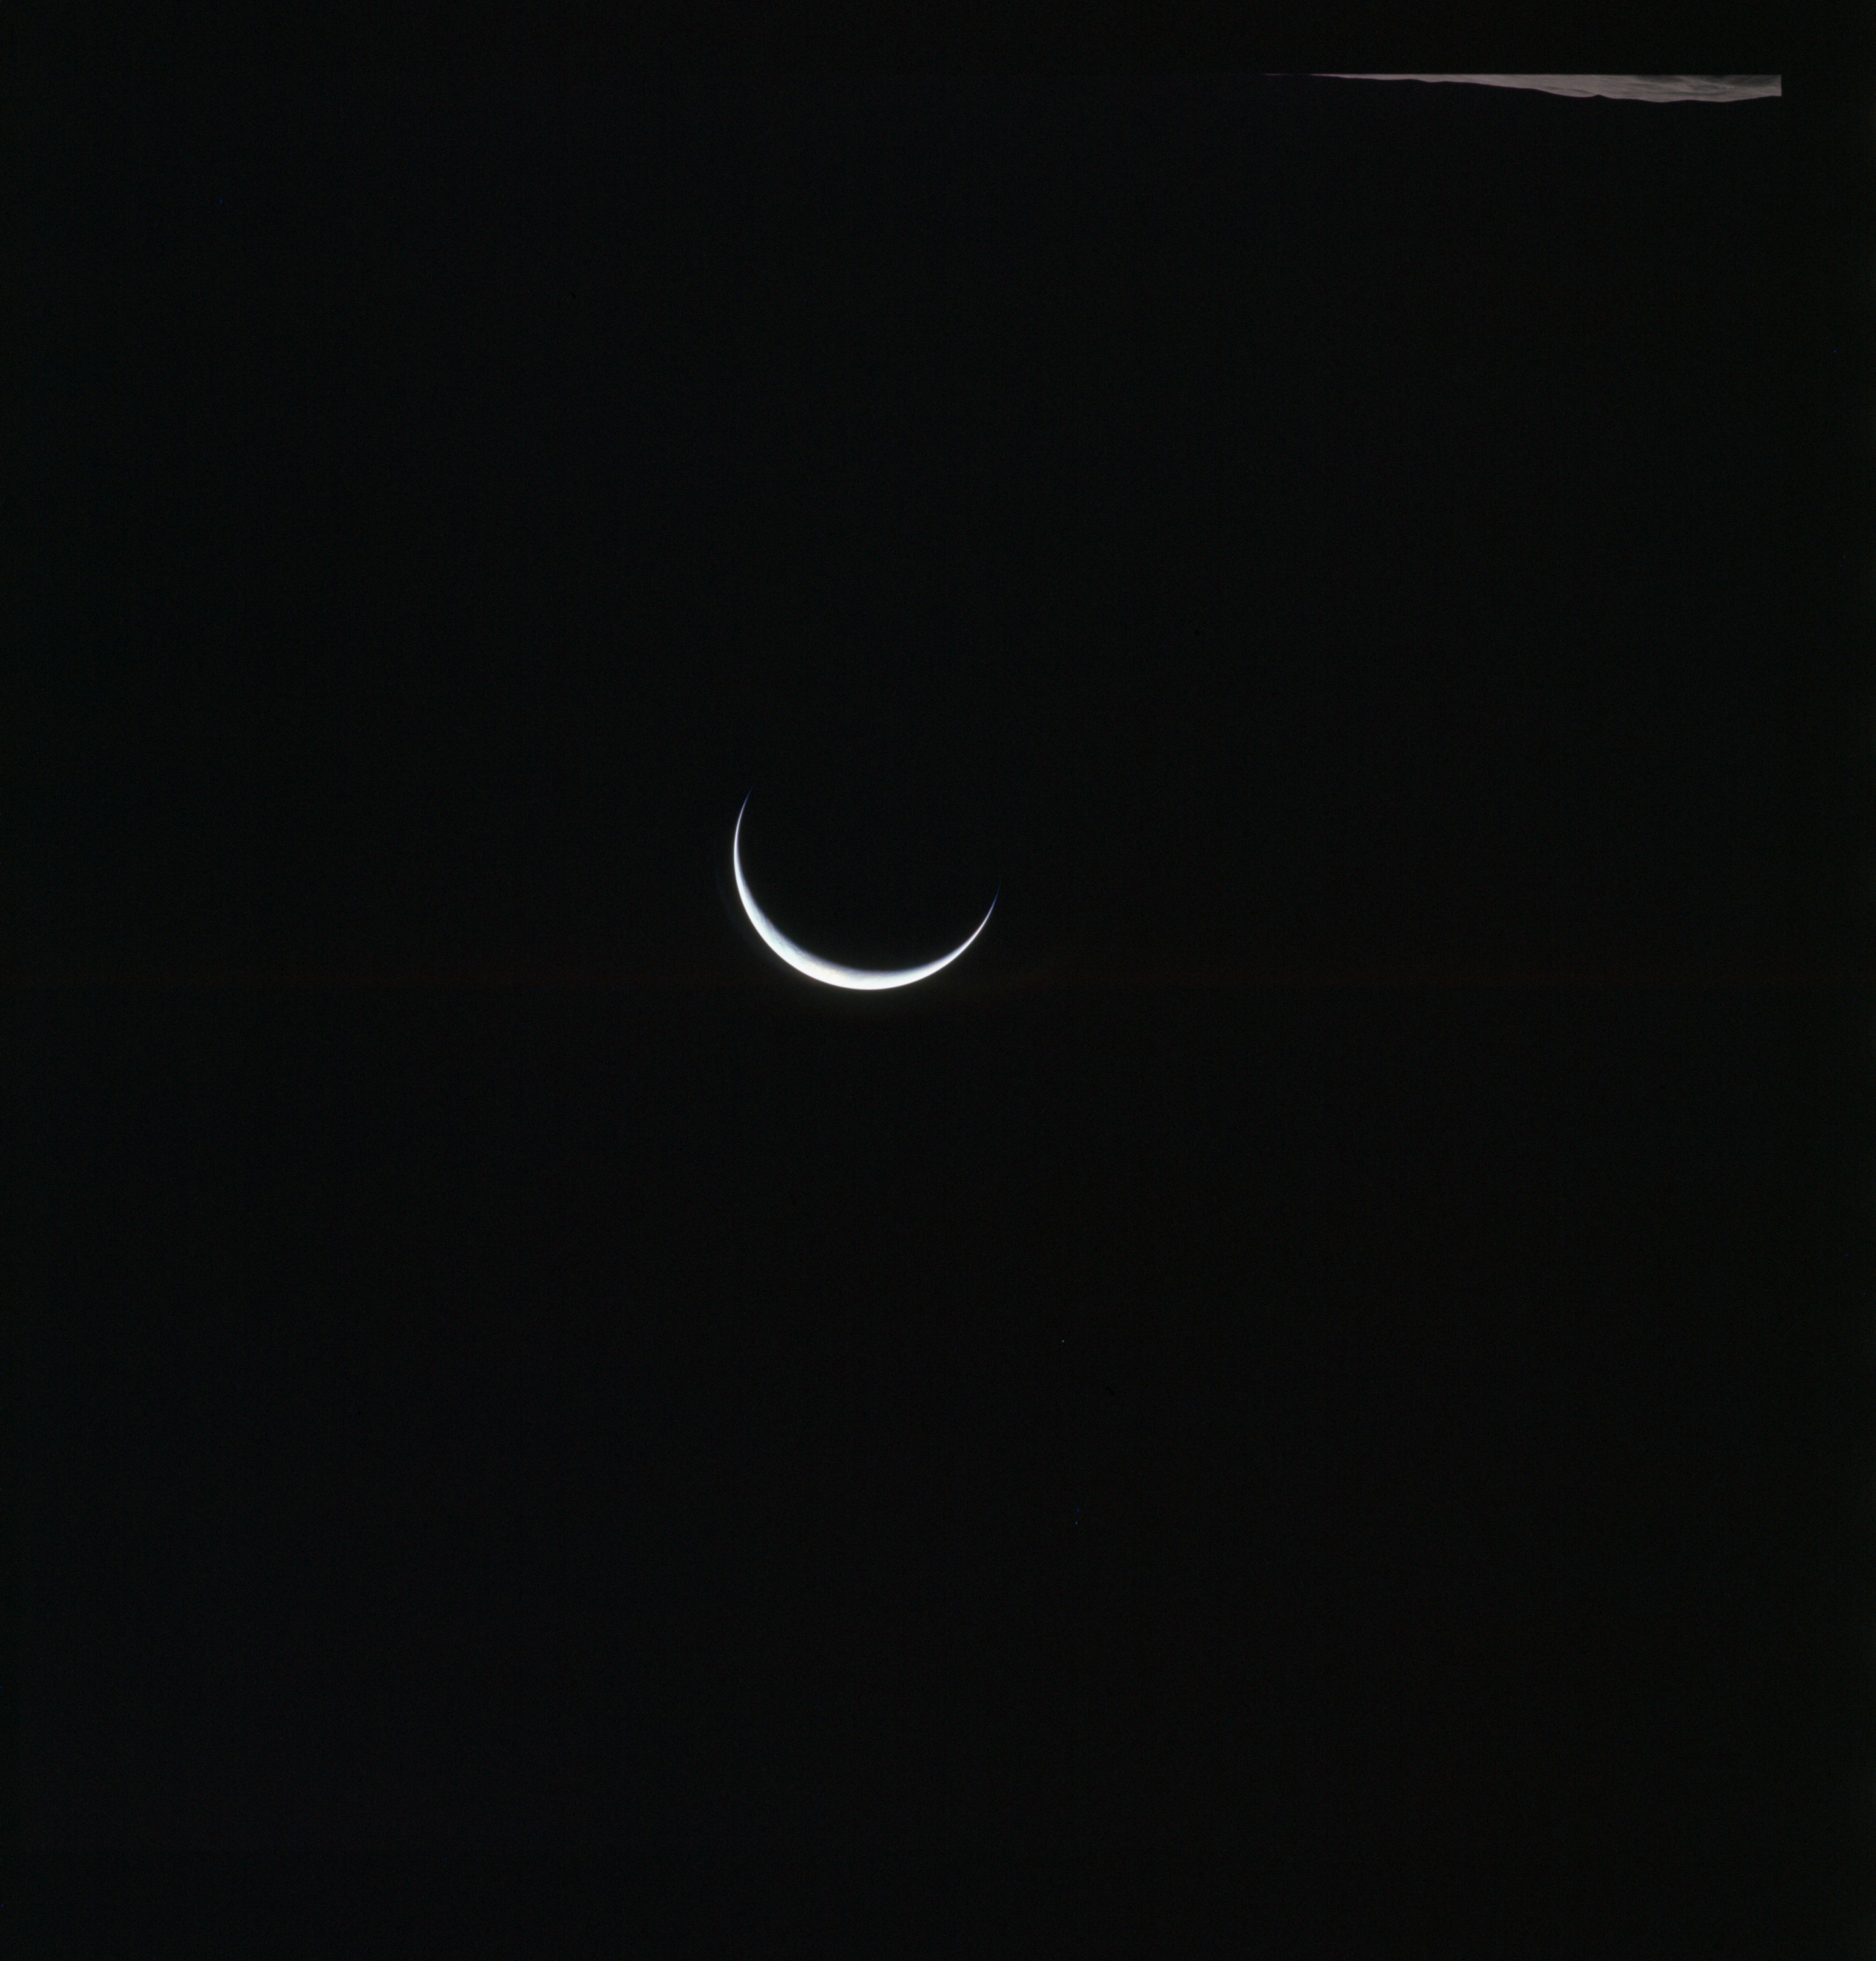
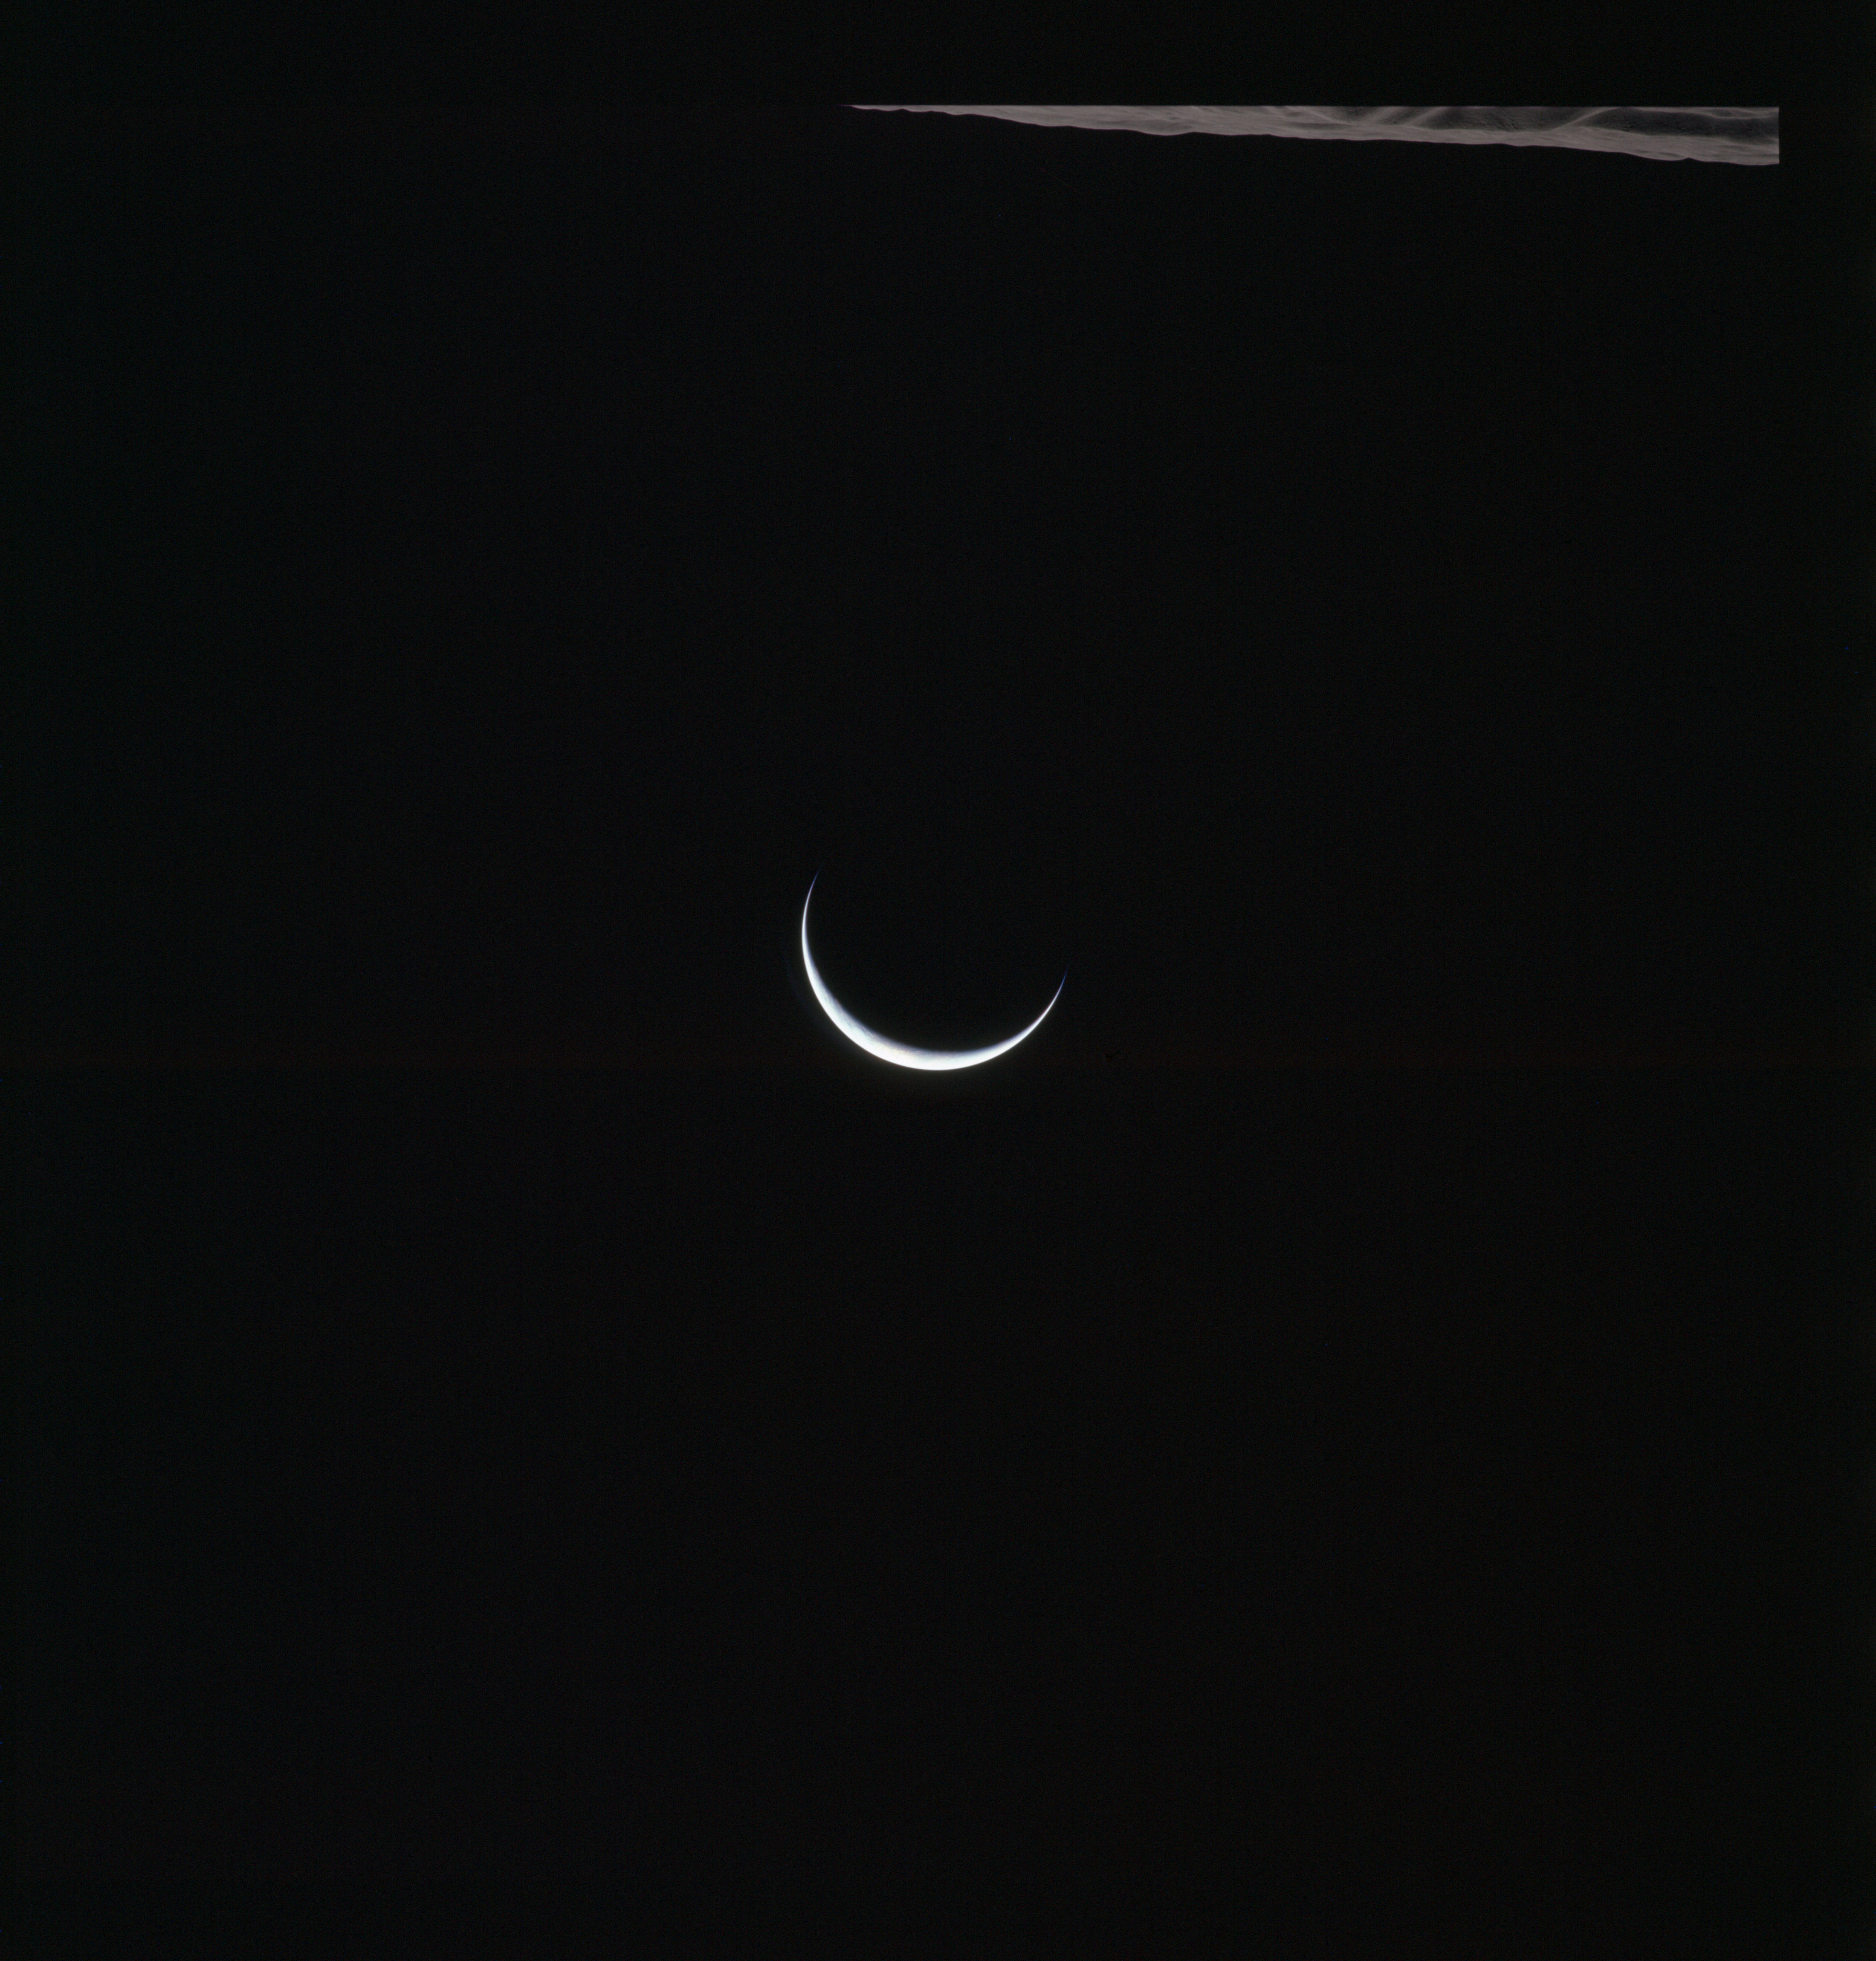
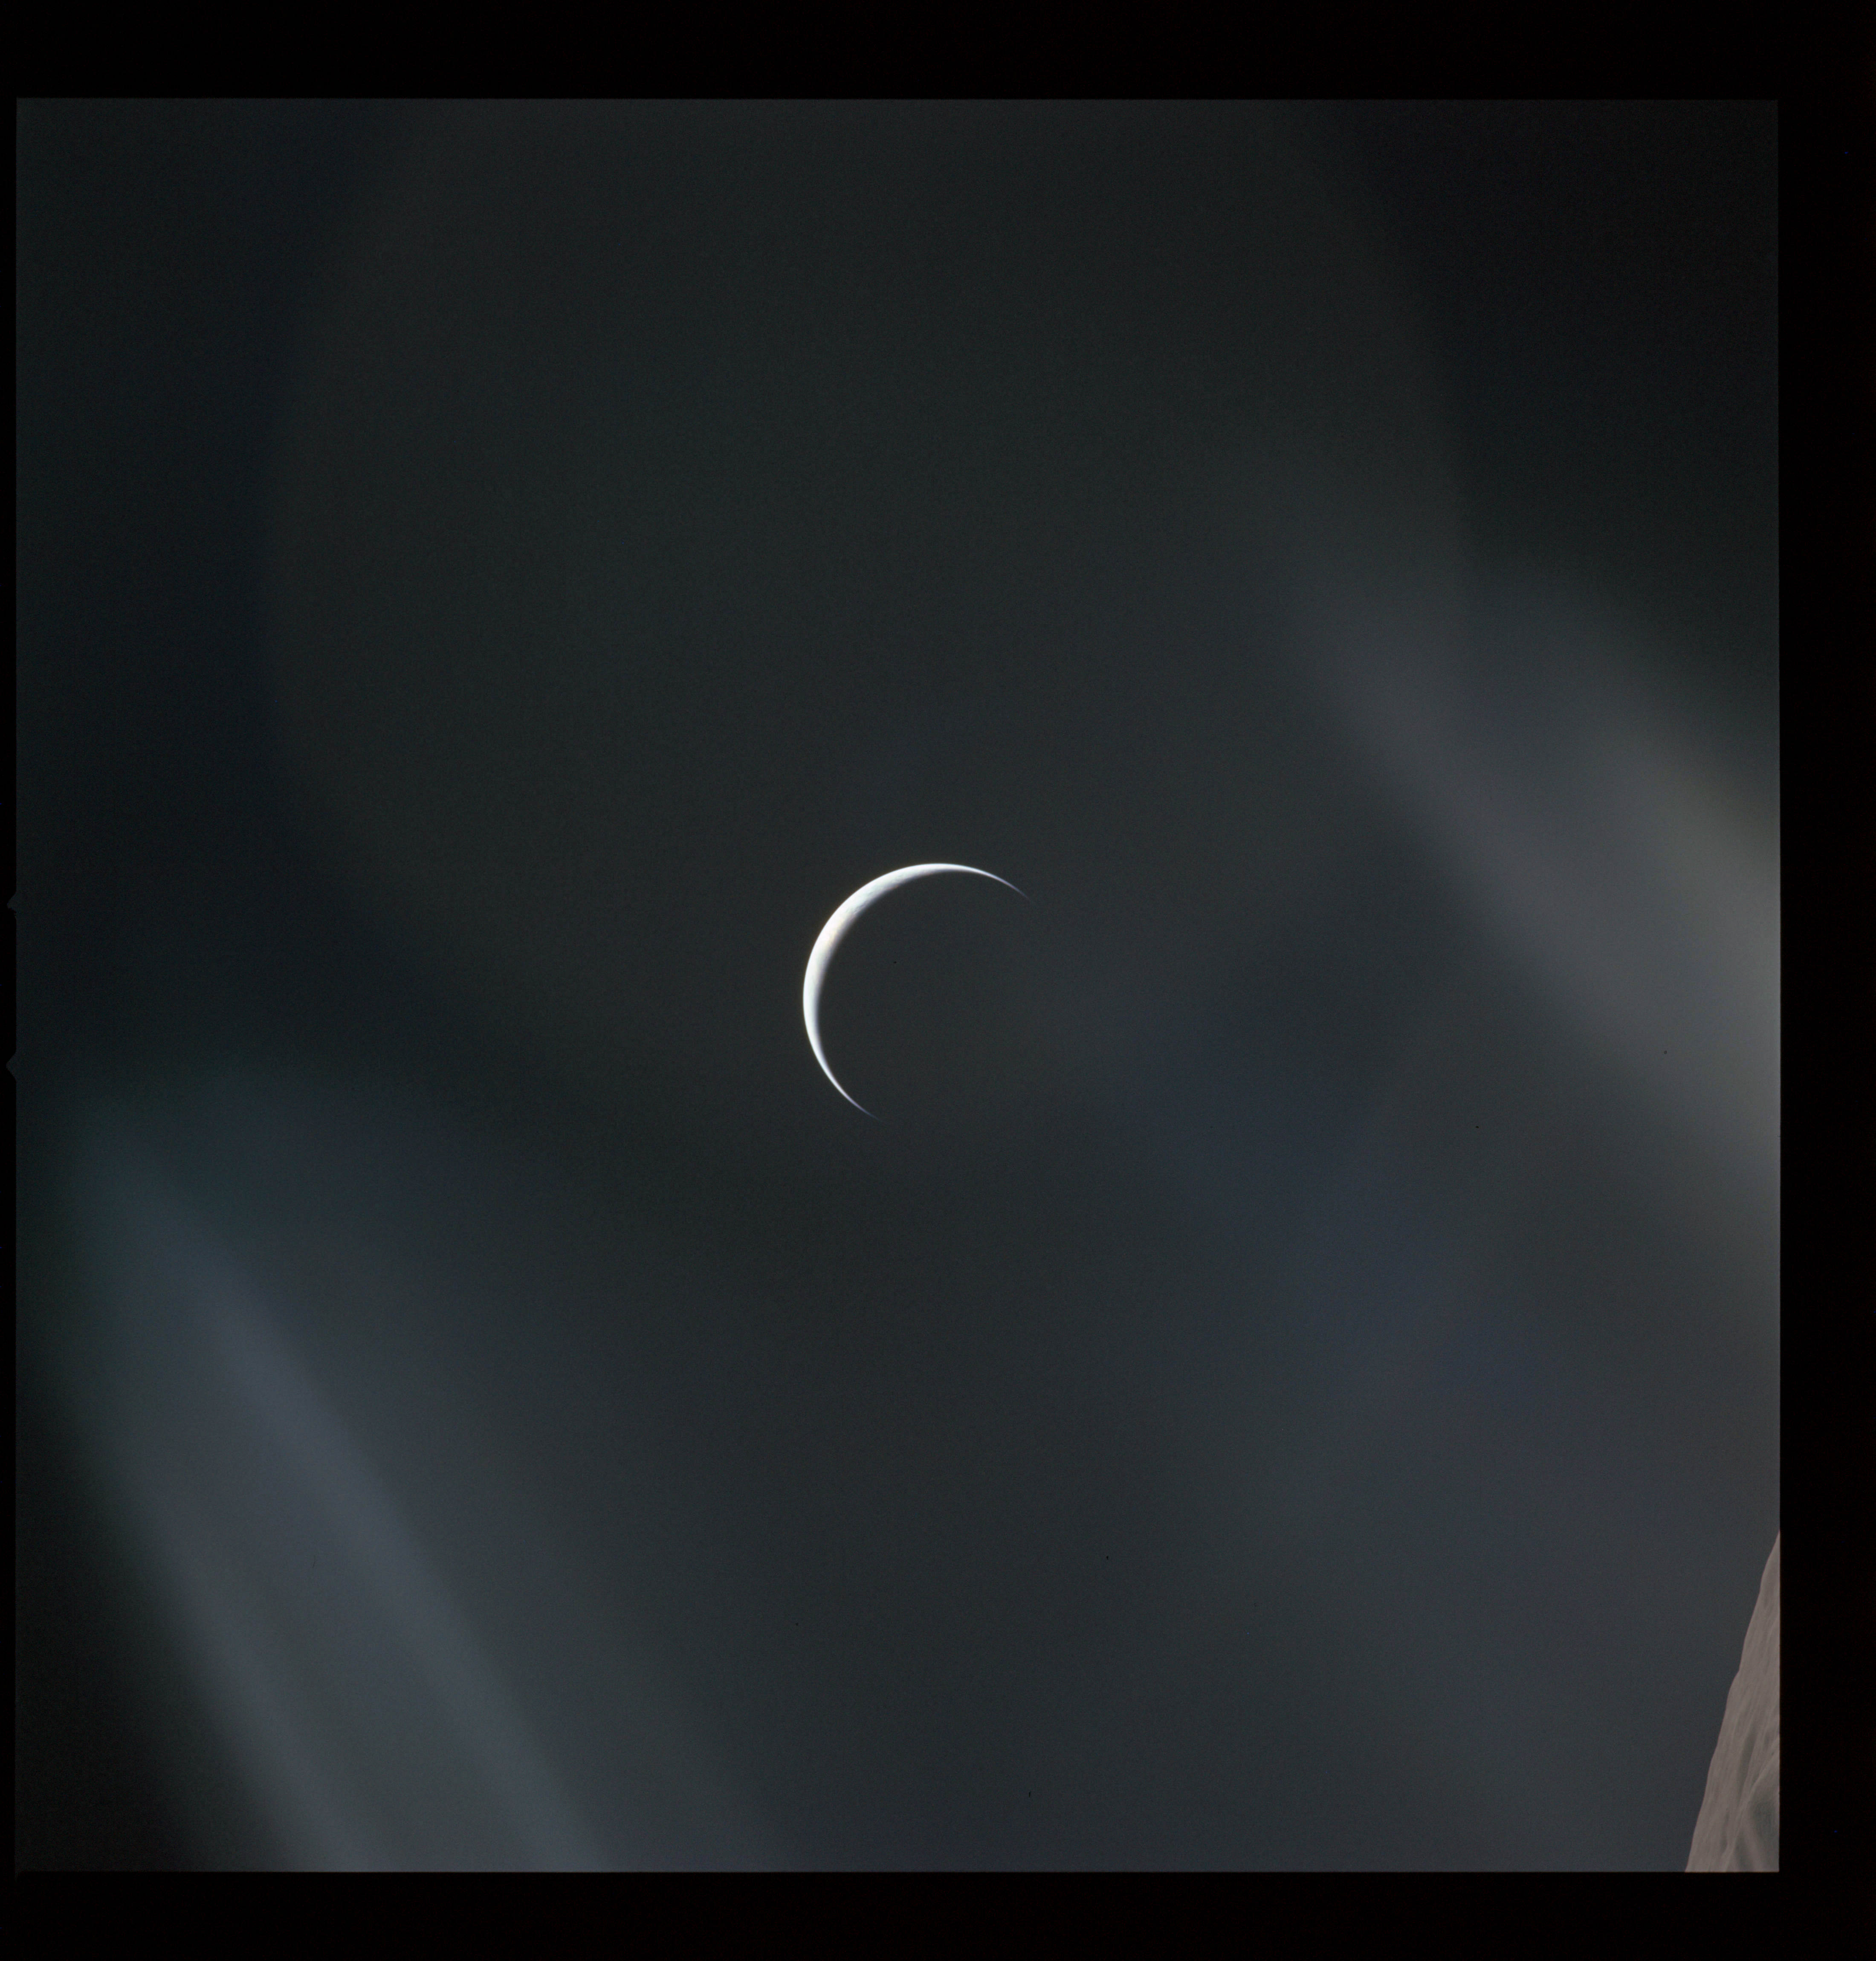
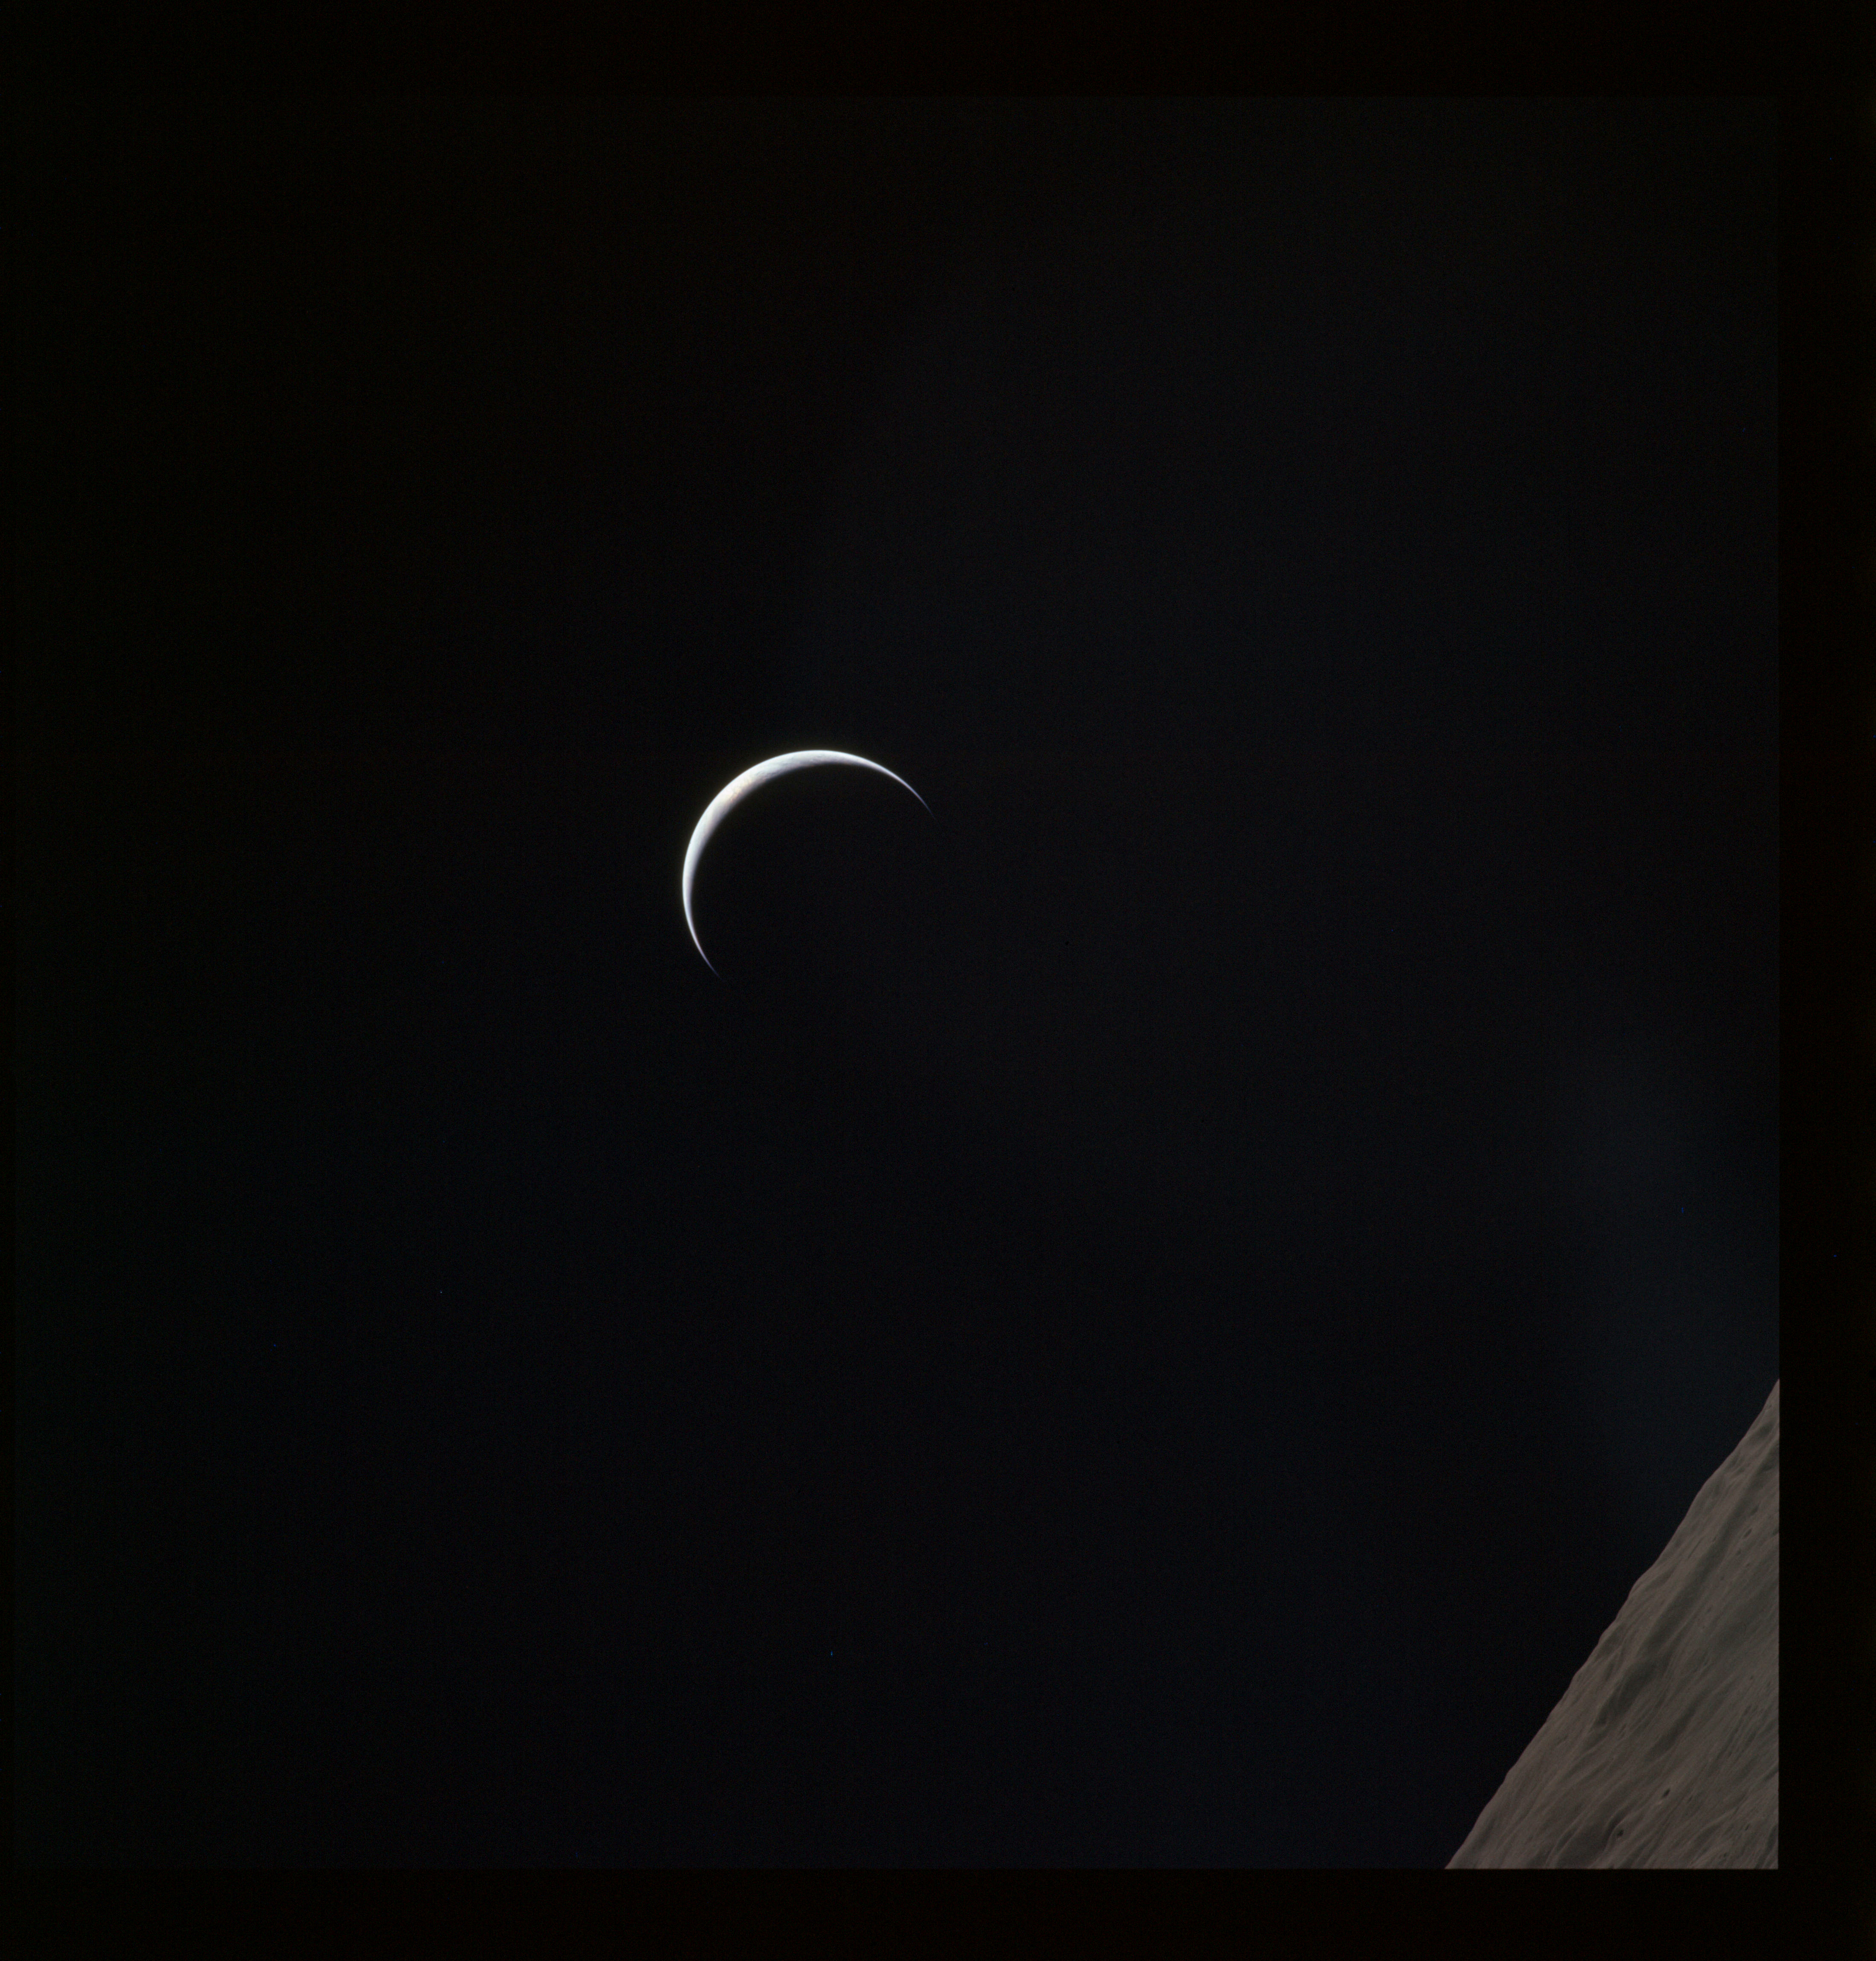
Al then captures a sequence that shows the home planet in a graceful crescent phase. The lunar horizon has the walls of the huge "walled plain", Humboldt.
AS15-97-13267 - Earthrise. Northwest rim of crater Humboldt is on the horizon - Image by NASA/Johnson Space Center.
One of these is often composited with the above image of Curie that, in the opinion of this author (Woods), produces one of the most profound images of the Apollo program. Al used it for the cover of his book of poetry, 'Hello Earth, Greetings From Endeavour' and a similar composite also found its way into Michael Light's beautiful and lyrical collection of Apollo imagery, 'Full Moon'., Here, the previous two images have been composited.
Composite image of Al Worden's Earthrise. Northwest rim of crater Humboldt is on the horizon. Crater Curie is in the foreground - Source images by NASA/Johnson Space Center.
AS15-97-13268 - Earthrise. Northwest rim of crater Humboldt is on the horizon - Image by NASA/Johnson Space Center.
AS15-97-13269 - Earthrise. Northwest rim of crater Humboldt is on the horizon - Image by NASA/Johnson Space Center.
AS15-97-13270 - Earthrise. Northwest rim of crater Humboldt is on the horizon - Image by NASA/Johnson Space Center.
AS15-97-13271 - Earth - Image by NASA/Johnson Space Center.
AS15-97-13272 - Earth - Image by NASA/Johnson Space Center.
AS15-97-13273 - Earth - Image by NASA/Johnson Space Center.
AS15-97-13274 - Earthrise - Image by NASA/Johnson Space Center.
Frames AS15-97-13275 and 13276 look within the 200-km Humboldt which was named for Wilhelm von Humboldt, 1767-1835, a German statesman.
AS15-97-13275 - Crater Humboldt - Image by NASA/Johnson Space Center.
Humboldt displays a number of interesting features. The floor is filled in with what are probably light coloured lava flows, though around the margins there are dark areas. The floor itself is heavily fractured with radial and arcuate rilles and in the centre, the beginnings of a ring replace the familiar central peak.
AS15-97-13276 - Crater Humboldt interior - Image by NASA/Johnson Space Center.
214:28:01 Scott: Okay, Houston. Go ahead with your updates. [Pause.]
214:28:08 Henize: Roger, Dave. We'd like to have you start the battery A charge first.
214:28:15 Scott: Roger. We're just doing it right now.
The crew regularly charge one of the three general purpose batteries aboard the CM to keep them topped up. These batteries provide extra load capacity during periods of heavy power use and will be the CM's primary source of power during re-entry. Two further batteries are used to fire pyrotechnic devices like parachute deployment and are left untouched during the mission except to monitor their voltages.
214:28:19 Henize: Okay. Flight Plan updates; 214 plus 41. [Pause.] The - we delete the Pan...
214:28:33 Scott: Go ahead.
214:28:34 Henize: ...we delete several lines there. "Pan Camera Mode, Standby; Power, On; Stereo; Exposure, Normal;" and "Pan Camera Mode to Operate", all deleted. [Pause.]
214:28:50 Scott: Rog; understand. Three lines deleted. Deleted at 214:41. Go.
214:28:55 Henize: Rog. At 214 plus 50, we delete "Pan Camera Mode, Standby" and "MSFN veri; verify lens tuck in". [Pause.]
214:29:11 Scott: Roger; 214:50; delete 2 lines. Go ahead.
214:29:15 Henize: Roger. At 214:53, delete "Pan Camera Power, Off", and at 55 delete "Gamma-ray Boom, Deploy". [Pause.]
214:29:27 Scott: Rog. At 53 and 55, delete one line each. Go.
This Flight Plan update cancels the Panoramic Camera photography scheduled between 214:42 and 214:50.
214:29:33 Henize: At 215:17, we add "Map Camera, On, switch Off, parenthesis T-stop; Laser Altimeter, Off; Map Camera, On, Standby, T-stop plus 30 seconds. Map Camera, Image Motion, Off".
214:30:00 Scott: Stop - break - break, Karl. Try it again - a little slower so I can write it.
AS15-97-13277 - Southwestern rim of crater Hecataeus B (running top left to centre right) and a fresh crater outside the rim - Image by NASA/Johnson Space Center.
214:30:05 Henize: Roger; 215 plus 17. First line, "Map Camera, On, Off, parenthesis T-stop". [Pause.] Second line, "Laser Altimeter, Off". [Pause.] Third line, "Mapping Camera, On to Standby, T-stop plus 30 - 30 seconds". [Pause.] Fourth line, "Mapping Camera, Image Motion, Off". [Long pause.]
214:31:05 Scott: Okay. Copy. At 215:17, "Map Camera, On to Off, T-stop; Laser Altimeter, Off; Map Camera, On to Standby at T-stop plus 30 seconds" and "Map Camera, Image Motion to Off".
This latest set of updates affecting the Mapping Camera formalises an earlier update at 212:46:15 when a T-Stop time was given for the camera without detailed instructions for the switching-off procedure.
Dave Scott's request to Karl Henize is hardly surprising. Even for trained pilots, attempting to copy a lengthy update or clearance while it is being rapidly read can be quite a challenge.
214:31:20 Henize: Roger. At 215 plus 19, add "Gamma-ray Boom, Deploy". [Long pause.]
214:32:54 Henize: At 217 plus 20, we delete - three lines. "Mapping Camera, Image Motion", "Mapping Camera, On", and "Mapping Camera, Image Motion" - steps, all three. [Pause.]
214:33:12 Scott: Okay; 217:21 delete three lines. Got 'em. Go ahead.
These are further updates in light of the failed Laser Altimeter, with the final one being to prevent the Mapping Camera from photographing an unlit lunar surface in view of the lack of altitude data.
214:33:18 Henize: Right. And, in that place at 217:20, put the line down below at 217:25 "Gamma-ray Boom, Deploy". [Long pause.]
214:33:38 Scott: Okay. At 217:20, we should have "Gamma-ray Boom, Deploy" vice 217:25.
214:33:46 Henize: Roger. At 218:02, we change the camera configuration there. We're going to use window 5, CM-5. We need the 80-millimeter lens - 80-millimeter lens, and the setting should be stop 2.8, exposure time 1 over 250. [Pause.]
214:34:19 Scott: Okay. 218:02, use CM-5/EL/80-millimeter, 2.8, 1/250th. Go.
Photographs of the terminator are scheduled for 218:12, and were originally planned to use a 250-mm telephoto lens. This now has been changed to a "normal" 80-mm lens. The photographs are to taken from the LMP's window rather than the Command Module hatch window. This window is made of quartz to allow it to transmit ultraviolet light and so a UV-opaque shield made of polycarbonate (proprietary name "Lexan") must be used to prevent unwanted exposure of the film to UV.
Continuing the photography on magazine O, and looking further north, AS15-97-13278 shows two irregular craters, believed to be unnamed.
AS15-97-13278 - Southwestern rim of crater Hecataeus B (running top left to centre right) and a fresh crater outside the rim - Image by NASA/Johnson Space Center.
Crater Kapteyn E is also in this picture, a larger feature with a large, domed central peak at the upper left. Maclaurin D is semi-obscured at the lower left.
214:34:25 Henize: And the note there is - use the Lex - use the Lexan shield on CM-5; in other words, leave it on the window.
214:34:52 Scott: Okay. One line deleted at 218:10. Go.
214:34:56 Henize: At 218 plus 14, we add "Laser Altimeter, On". We have four lines here. "Mapping Camera, Image Motion, On; Mapping Camera, On to On at T-start; Mapping Camera, Image Motion, Increase; talkback barberpole plus 4/On". [Long pause.]
214:35:42 Scott: Okay. 218:14 "Laser Altimeter, On; Mapping Camera, Image Motion to On; Mapping Camera, On to On at T-start; and Mapping Camera, Image Motion, Increase; and talkback barber pole plus 4 seconds/On".
Continuing the corrections to the Mapping Camera schedule. The crew is requested to turn on the camera when reaching daylight on the 72nd orbit.
214:35:56 Henize: Roger. At 220 plus 07, we add "Pan Camera Mode, Standby; Power On". [Pause.] And that will be "Mono and Exposure, Normal". [Long pause.]
214:36:32 Scott: Okay. 220:07 "Pan Camera to Standby; Power, On; Mono; Exposure, Normal". Go.
214:36:40 Henize: At 220 plus 13, we add "Pan Camera Mode, Operate at T-start". [Pause.]
214:37:00 Scott: 220:13, "Pan Camera to Operate at T-start".
214:37:05 Henize: Roger. And about 220:18, expect the talkback showing you film depletion - the film finished. At that time, go Mode, Standby; and wait for a MSFN cue to go Power, Off. [Long pause.]
214:37:43 Henize: And 15, we'd like to have High Gain [Antenna], Auto.
214:37:46 Scott: Okay. 220:18, Pan Camera [pause] - 220:18, we should have film depletion; Pan Camera to barber pole, then go Standby and wait for MSFN cue for Power, Off. Go.
214:38:03 Henize: And that's the end of the update.
214:38:09 Scott: Okay. I guess when you run out of film, you run out of updates.
214:38:13 Henize: That's about the size of the situation.
Long comm break.
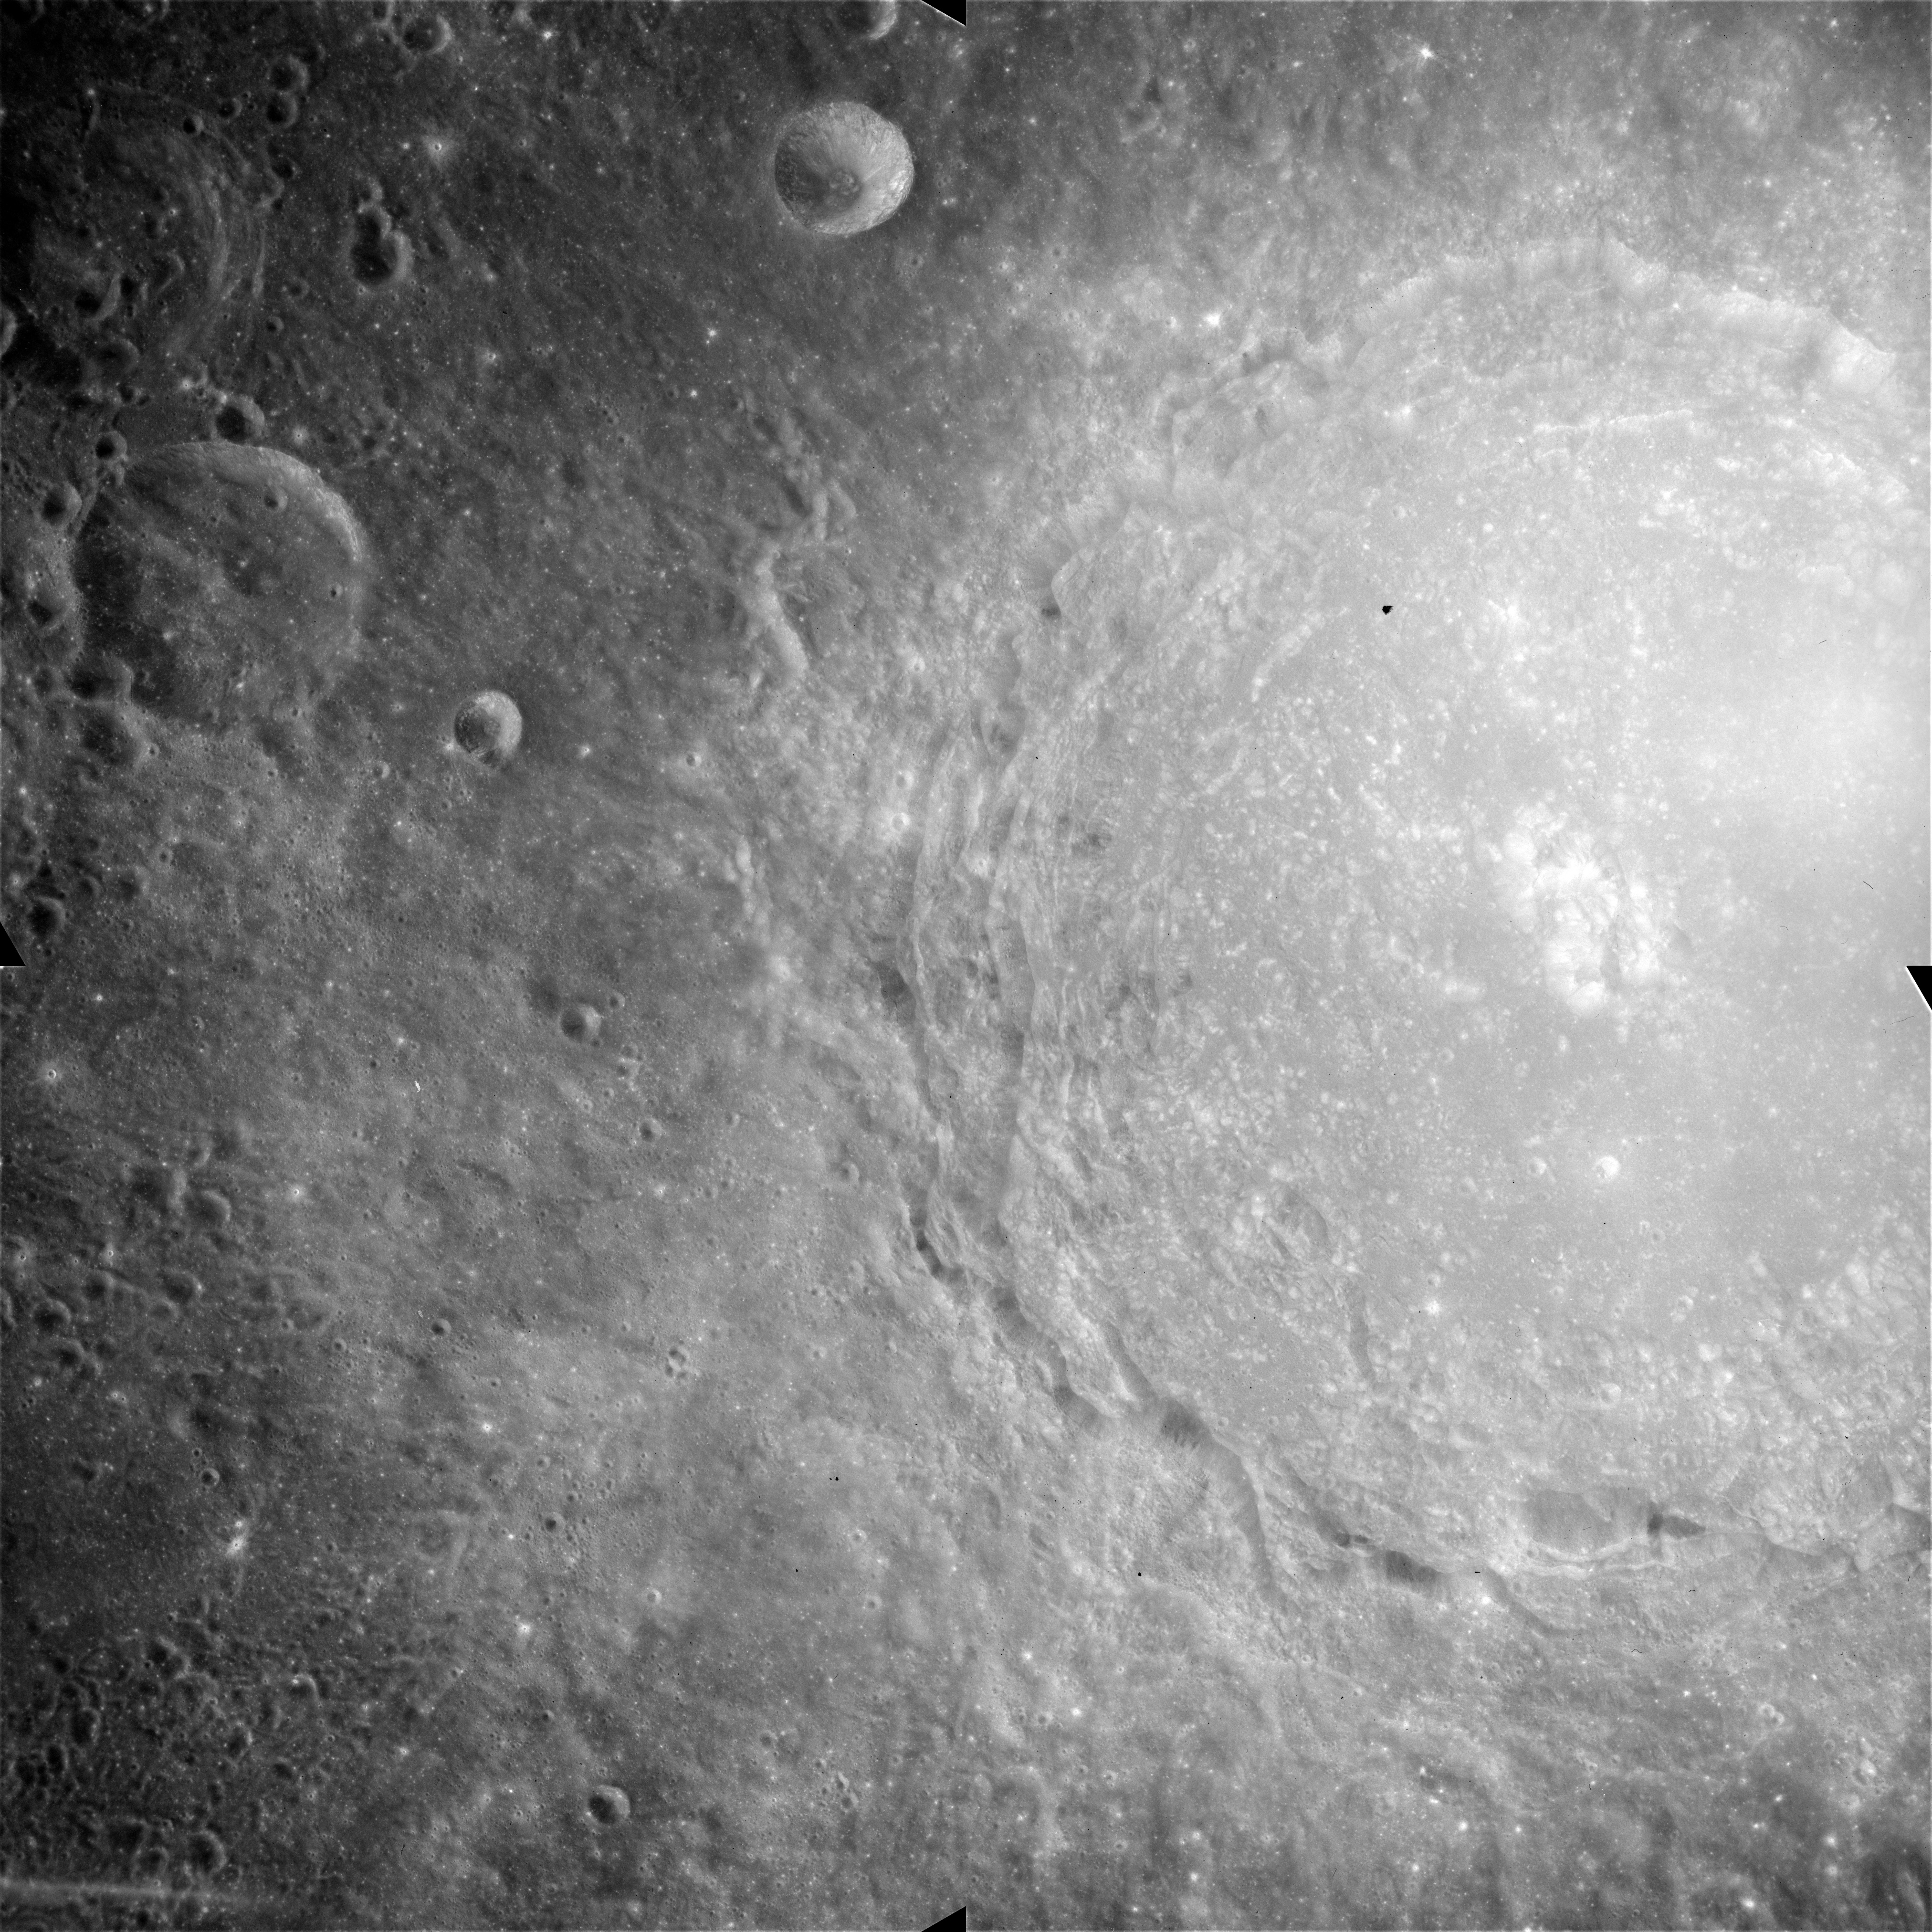
AS15-M-2394 - Metric Camera image of craters Langrenus, Atwood, Acosta and Naonobu. Image taken at about 214:38. (250 megapixel version), (labelled version) - Image by NASA/ASU.
At about the time that Endeavour passes Langrenus and is heading towards Mare Fecunditatis, two photos are taken the colour magazine O and medium telephoto lens. These are frames AS15-97-13279 and 13280, oblique views across to the northwestern horizon. The wrinkle ridge which curves in the foreground towards four craters is Dorsum Geikie named after Sir Archibald Geikie, 1835-1924, a geologist from Scotland. The furthest and largest of the four craters is Anville, formerly Taruntius G, an 11-km crater named after Jean Baptiste d'Anville, 1697-1782, a French cartographer, and the other three are, from left to right, Taruntius K, P and H.
AS15-97-13279 - View northwest across Mare Fecunditatis, including craters Anville and Taruntius K, P and H - Image by NASA/Johnson Space Center.
AS15-97-13280 - View northwest across Mare Fecunditatis, including craters Anville and Taruntius K, P and H - Image by NASA/Johnson Space Center.
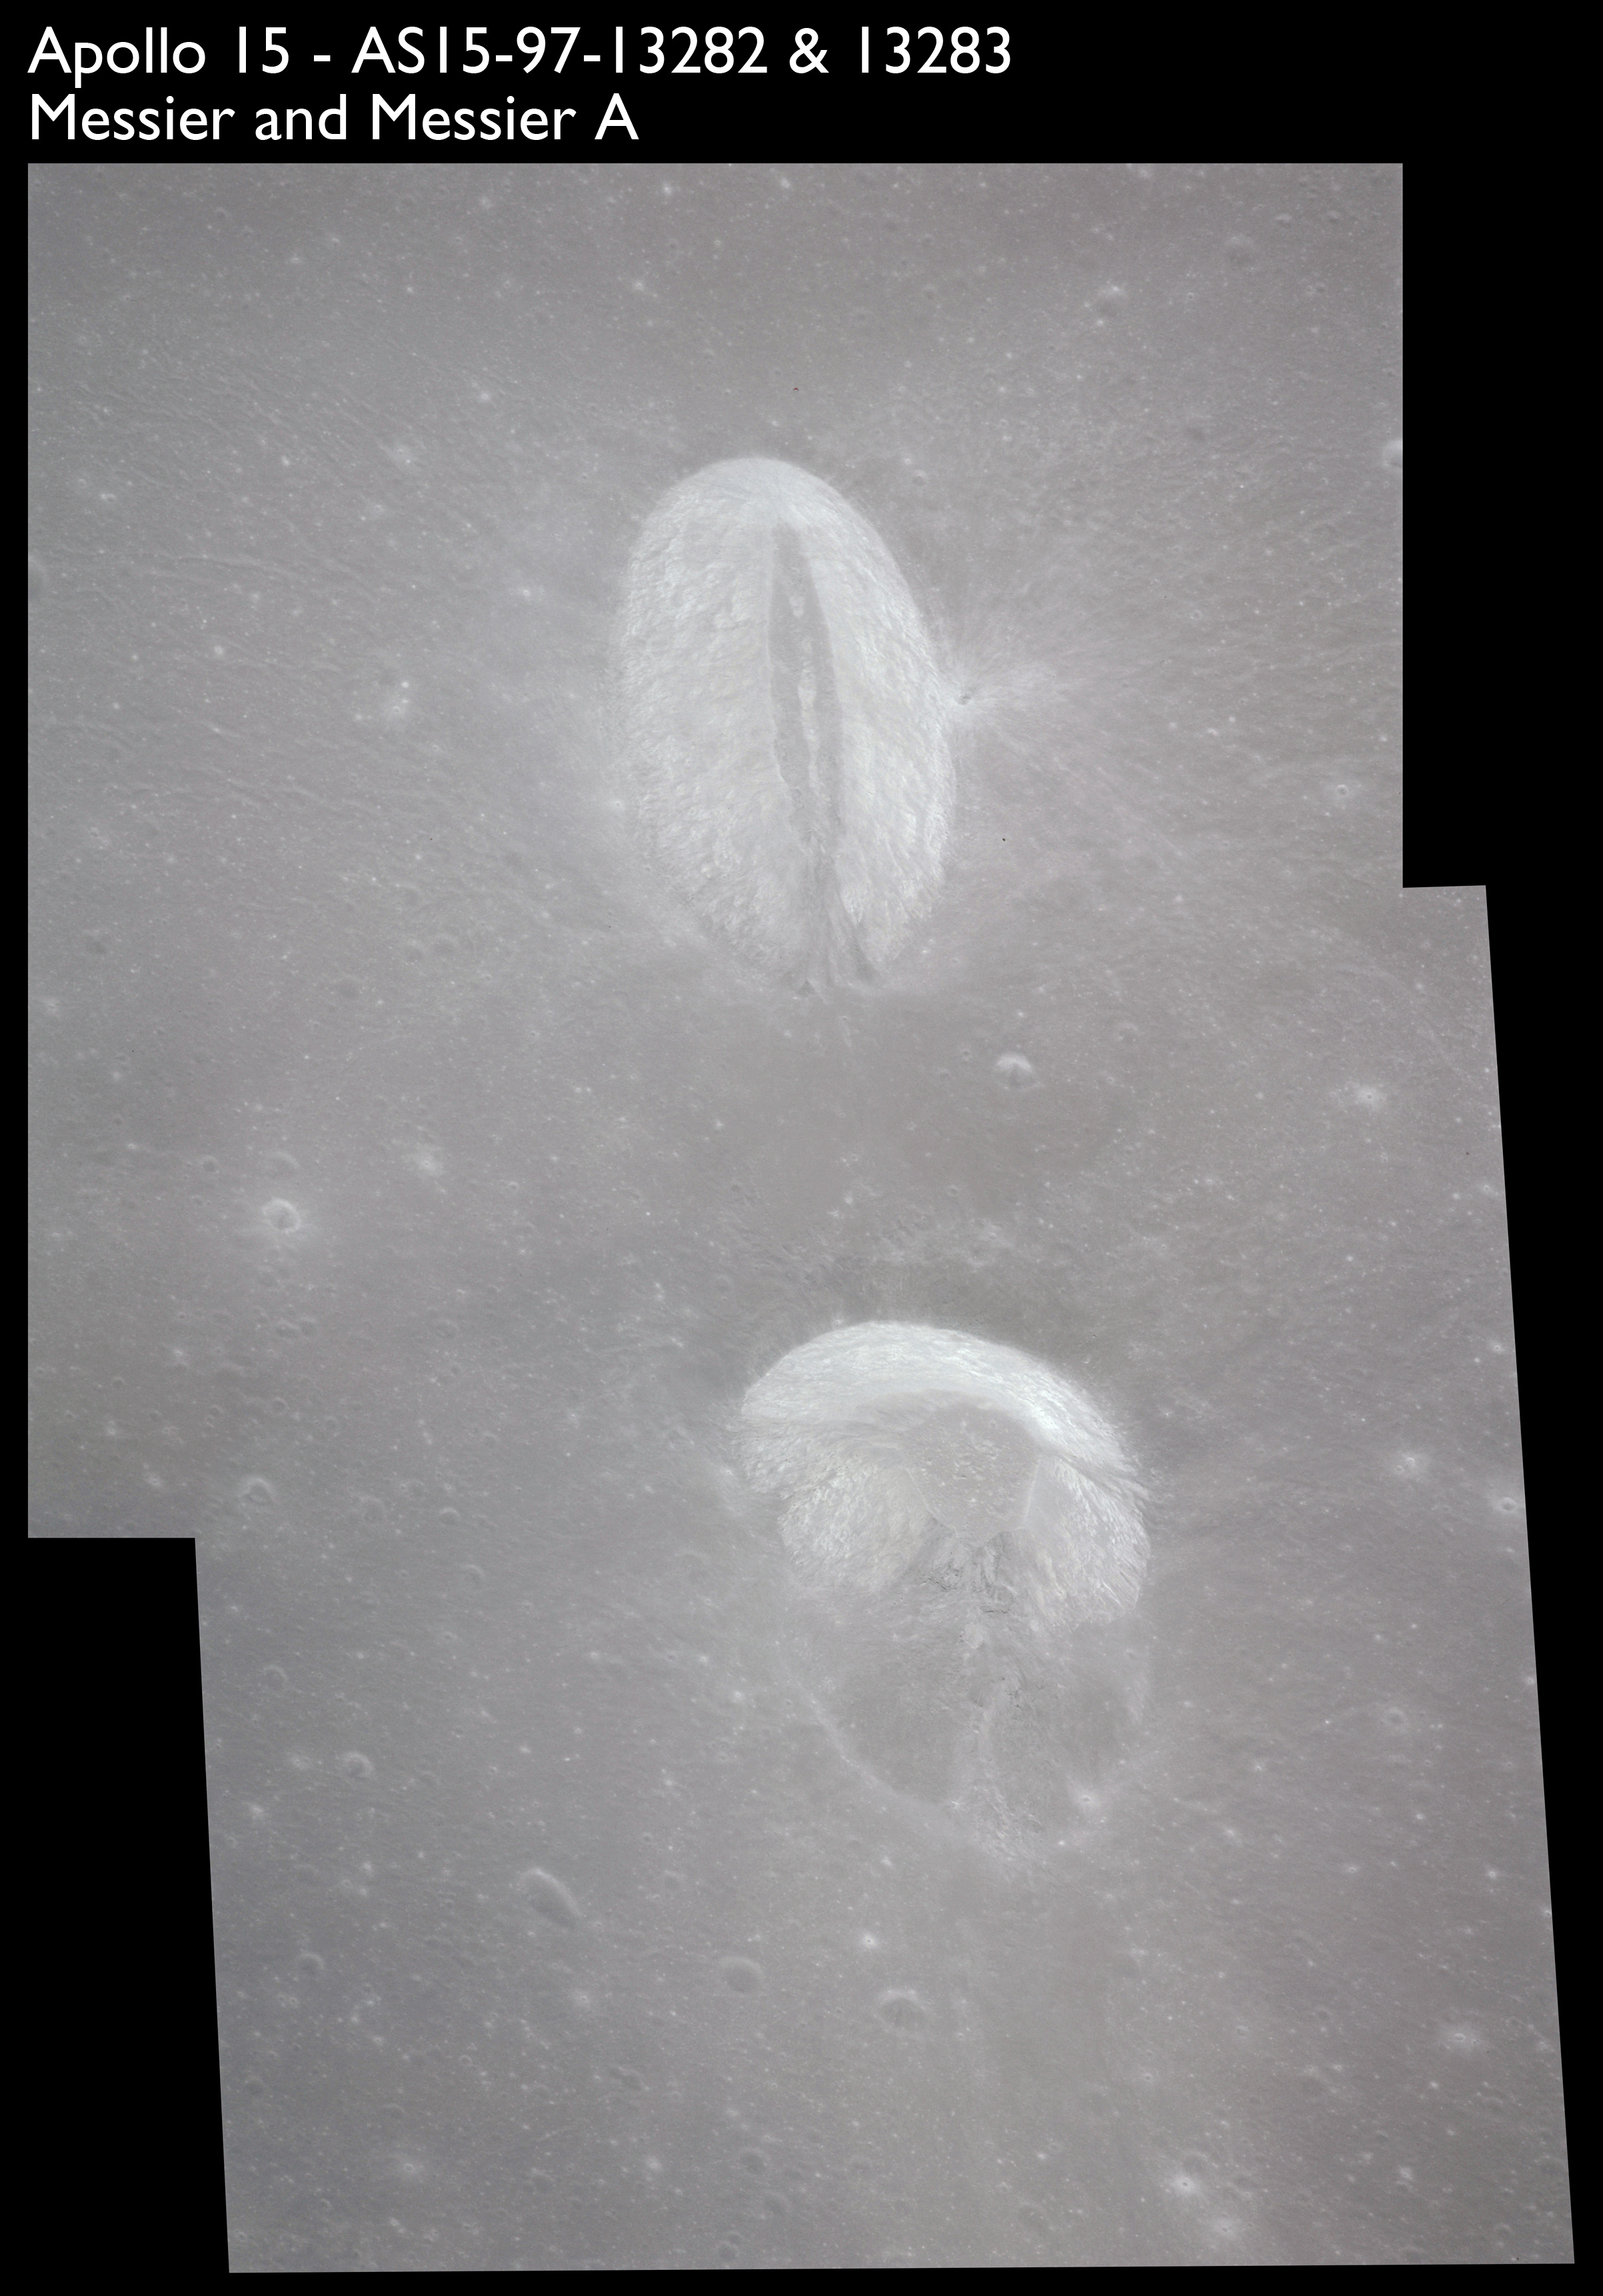
Looking a little to the left, AS15-97-13281 is an oblique shot of Messier asnd Messier A and the unique ray system surrounding the pair.
AS15-97-13281 - View northwest across Mare Fecunditatis, including craters Messier and Messier A and the Secchi range of hills in the background - Image by NASA/Johnson Space Center.
Taken slightly later on black and white magazine PP and using the wide-angle 60-mm lens are AS15-90-12317 and 12318. These also look northeast over the Mare with the Messier crater pair in the distance. The dirt on the camera's Réseau plate continues to mar its images.
AS15-90-12317 - View northwest across Mare Fecunditatis, including craters Messier, Messier A and Lindbergh - Image by NASA/Johnson Space Center.
AS15-90-12318 - View northwest across Mare Fecunditatis, including craters Messier, Messier A and Lindbergh - Image by NASA/Johnson Space Center.
The most prominent crater in the foreground is Lindbergh, a 13-kilometre bowl formerly known as Messier G but now named after one of a major figure in American aviation, Charles A. Lindbergh, 1902-1974, who was the first person to fly solo across the Atlantic Ocean taking 33½ hours on 20-21 May 1927.
AS15-M-2404 - Metric Camera image of Mare Fecunditatis and craters Messier and Messier A. Image taken at about 214:42. (250 megapixel version), (labelled version) - Image by NASA/ASU.
AS15-90-12319 and 12320 continue the wide-angle view northwest towards the Messier Twins; Messier and Messier A. The twin rays emanating westwards from this pair are well shown as is a fainter ray that crosses Messier perpendicular to its axis.
AS15-90-12319 - View northwest across Mare Fecunditatis, including craters Messier and Messier A - Image by NASA/Johnson Space Center.
AS15-90-12320 - View northwest across Mare Fecunditatis, including craters Messier and Messier A - Image by NASA/Johnson Space Center.
On magazine O, the next two frames, AS15-97-13282 and 13283, are a close look at the Messier pair.
AS15-97-13282 - Craters Messier. Messier A is cut off at the bottom - Image by NASA/Johnson Space Center.
AS15-97-13283 - Craters Messier A - Image by NASA/Johnson Space Center.
These two images can be composited.
Composite image of craters Messier and Messier A - Source images by NASA/Johnson Space Center.
Note that the westernmost crater of the pair, Messier A (the lower of the two in this composite) is classed as a double crater. Perhaps the darker component predates the lighter one and had its entire eastern wall obliterated by the newer impact. One could also theorise that the unique comet-like pair of rays (which run off the top of this image) might be due to the ejecta from the later impact being funnelled westwards by the walls of the pre-existing bowl.
AS15-M-2414 - Metric Camera image of craters Aryabhata, Zähringer and Menzel. Image taken at about 214:46. (250 megapixel version), (labelled version) - Image by NASA/ASU.
214:47:09 Henize: 15, Houston. If you are willing to listen, I have about a 3-minute update on the morning news. [Pause.]
214:47:22 Worden: Stand by one, Karl.
Long comm break.
All the while, onboard photography continues during these last few orbits around the Moon. Magazine PP and a wide-angle 16mm lens image vistas over Mare Tranquillitatis.
AS15-90-12321 - View northwest across Mare Tranquillitatis, including craters Sinas, Sinus A, E and K - Image by NASA/Johnson Space Center.
Near the left-centre fiducial mark are a pair of craters, Sinas and, further away, Sinas E. Simon Sinas, 1810-1876, was a Greek merchant who is remembered on the Moon for his patronage to astronomers in Greece. Sinas crater is 12.4 kilometres in diameter. The bright crater in the distance is the 16-km Carrel, formerly known as Jansen B, now named after Nobel laureate Alexis Carrel, 1873-1944.
AS15-90-12322 - View northwest across Mare Tranquillitatis, including craters Sinas, Sinus A, E and K. Crater Jansen is in the distance - Image by NASA/Johnson Space Center.
Carrel becomes more prominent in frame 12323 and beyond is the large, at 43 km, crater Plinius. This image is looking at the northern stretches of Mare Tranquillitatis, and on the horizon, the Montes Haemus range mark the shore of Mare Serenitatis beyond.
AS15-90-12323 - View northwest across Mare Tranquillitatis, including crater Carrel. Near the horizon can be seen craters Plinius (left) and Ross (right) - Image by NASA/Johnson Space Center.
AS15-M-2424 - Metric Camera image of Mare Tranquillitatis including crater Carrel. Image taken at about 214:50. (250 megapixel version), (labelled version) - Image by NASA/ASU.
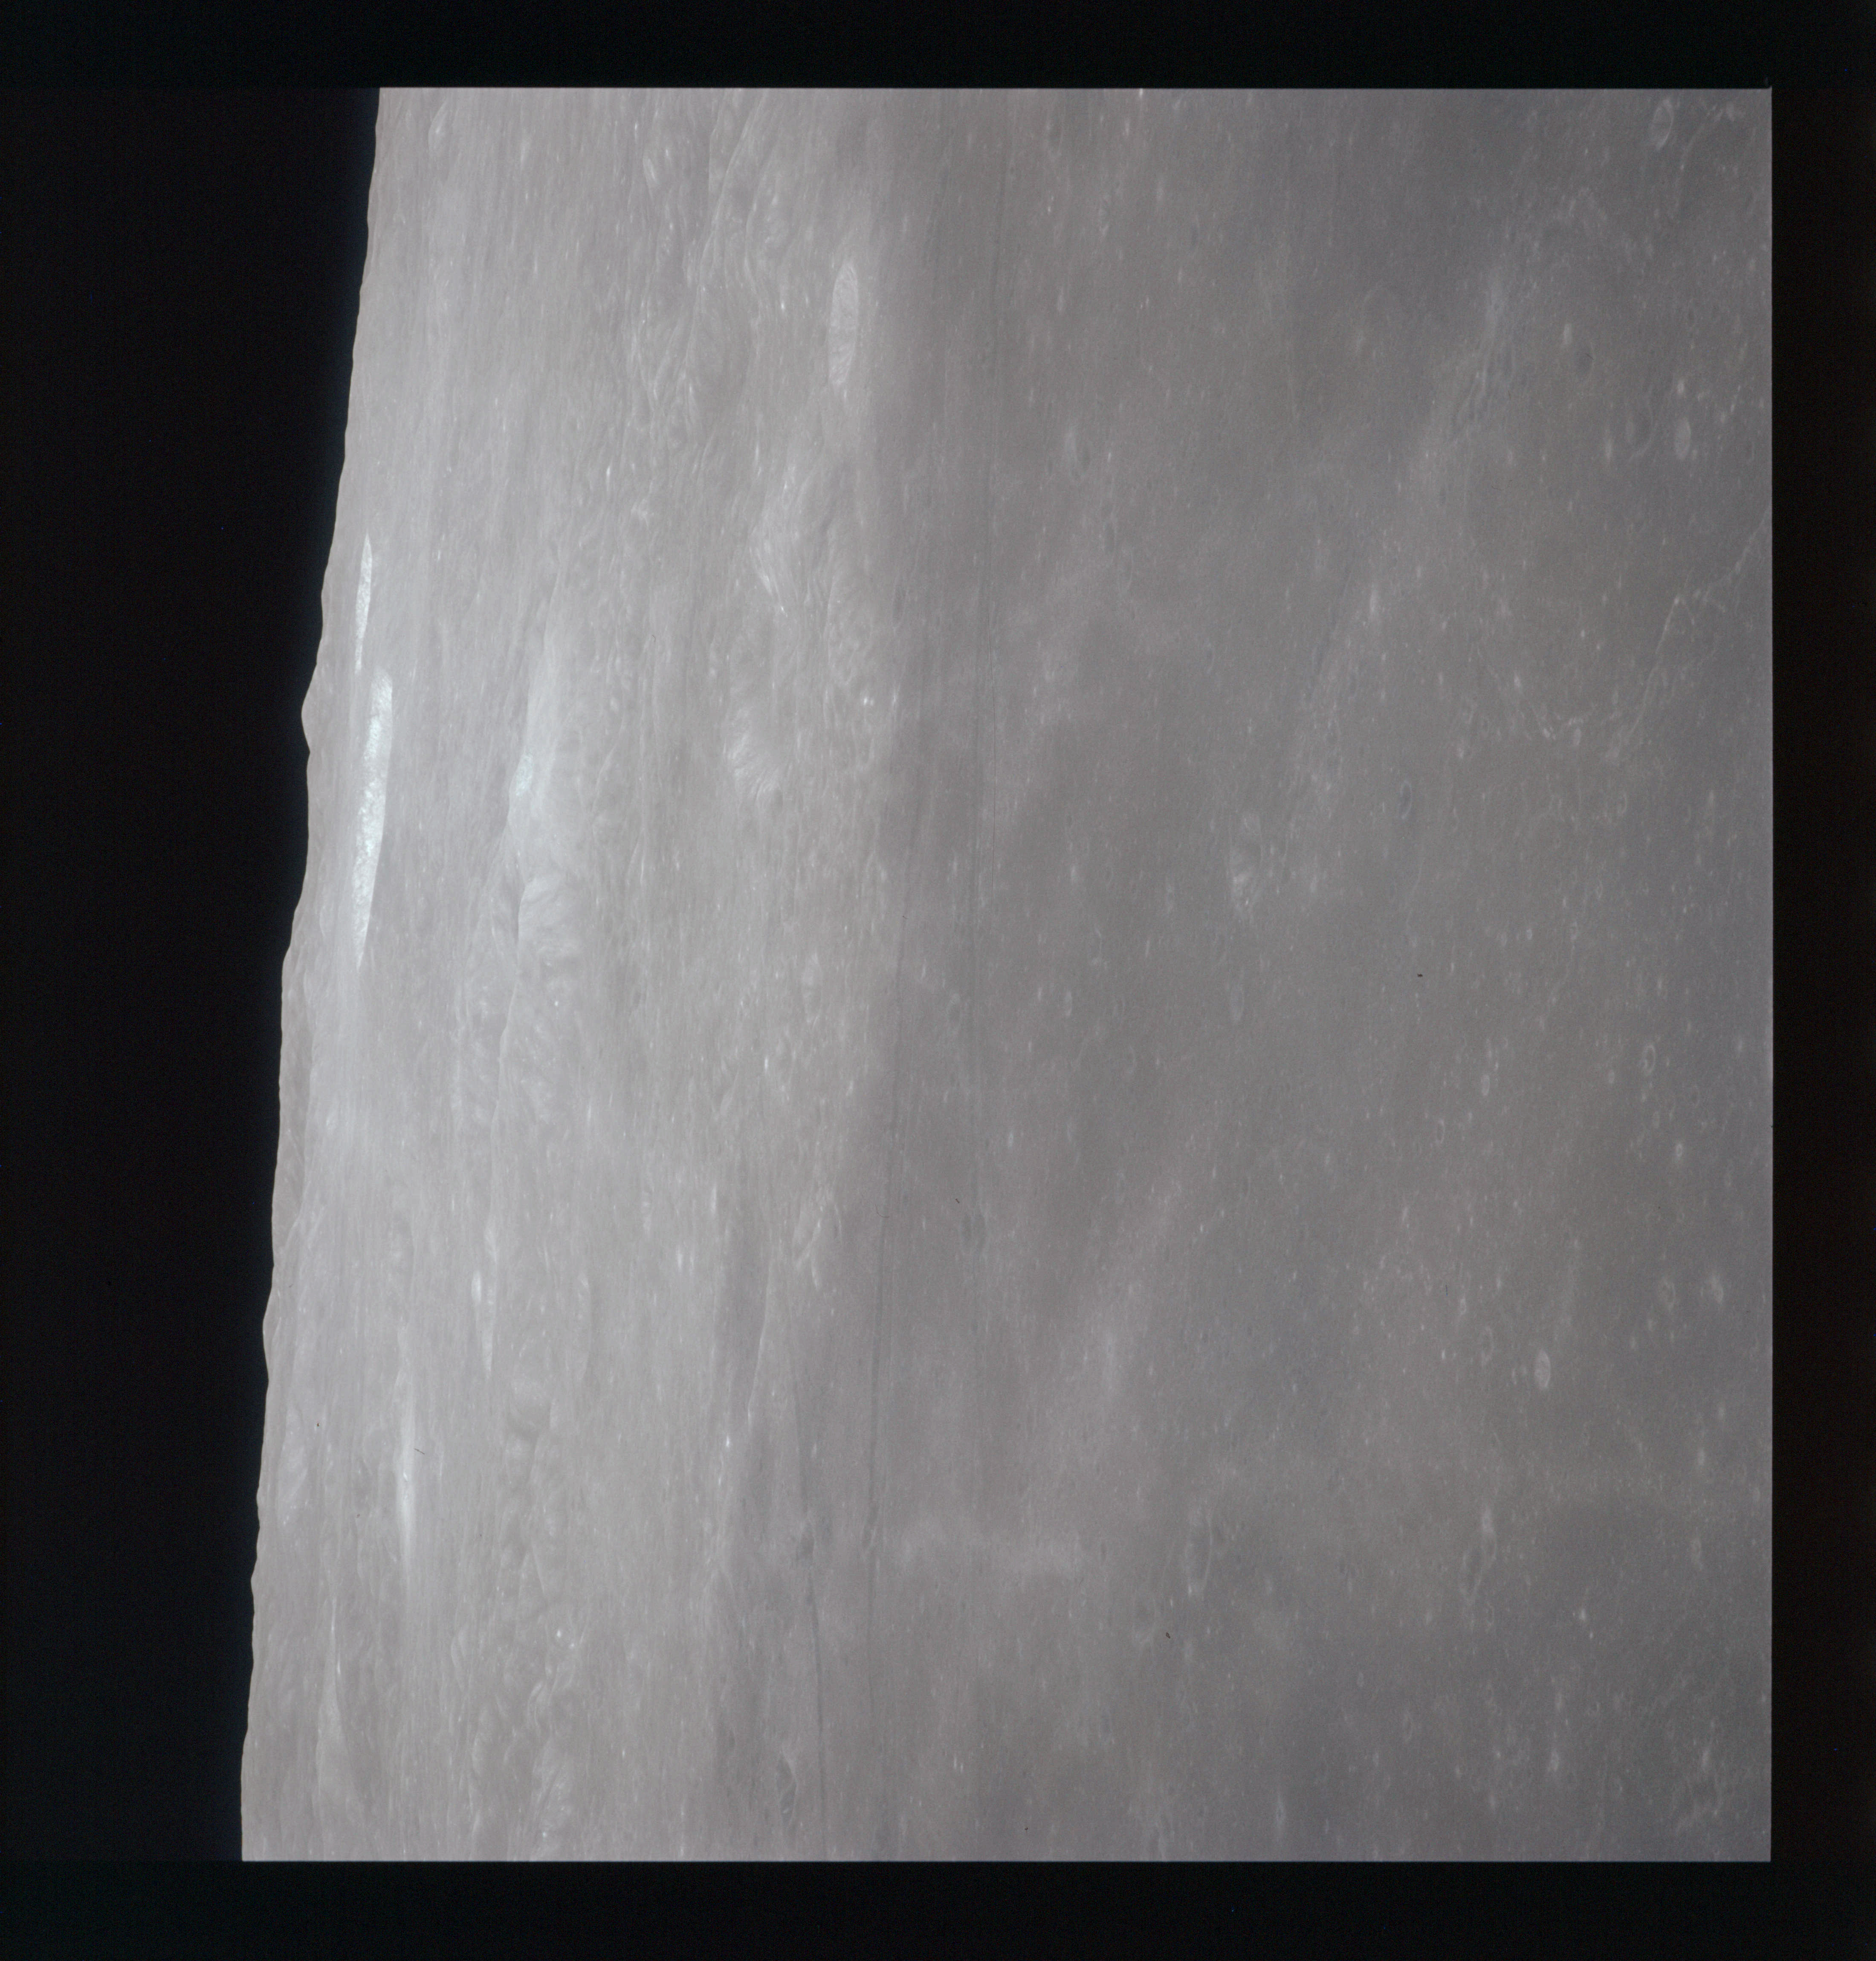
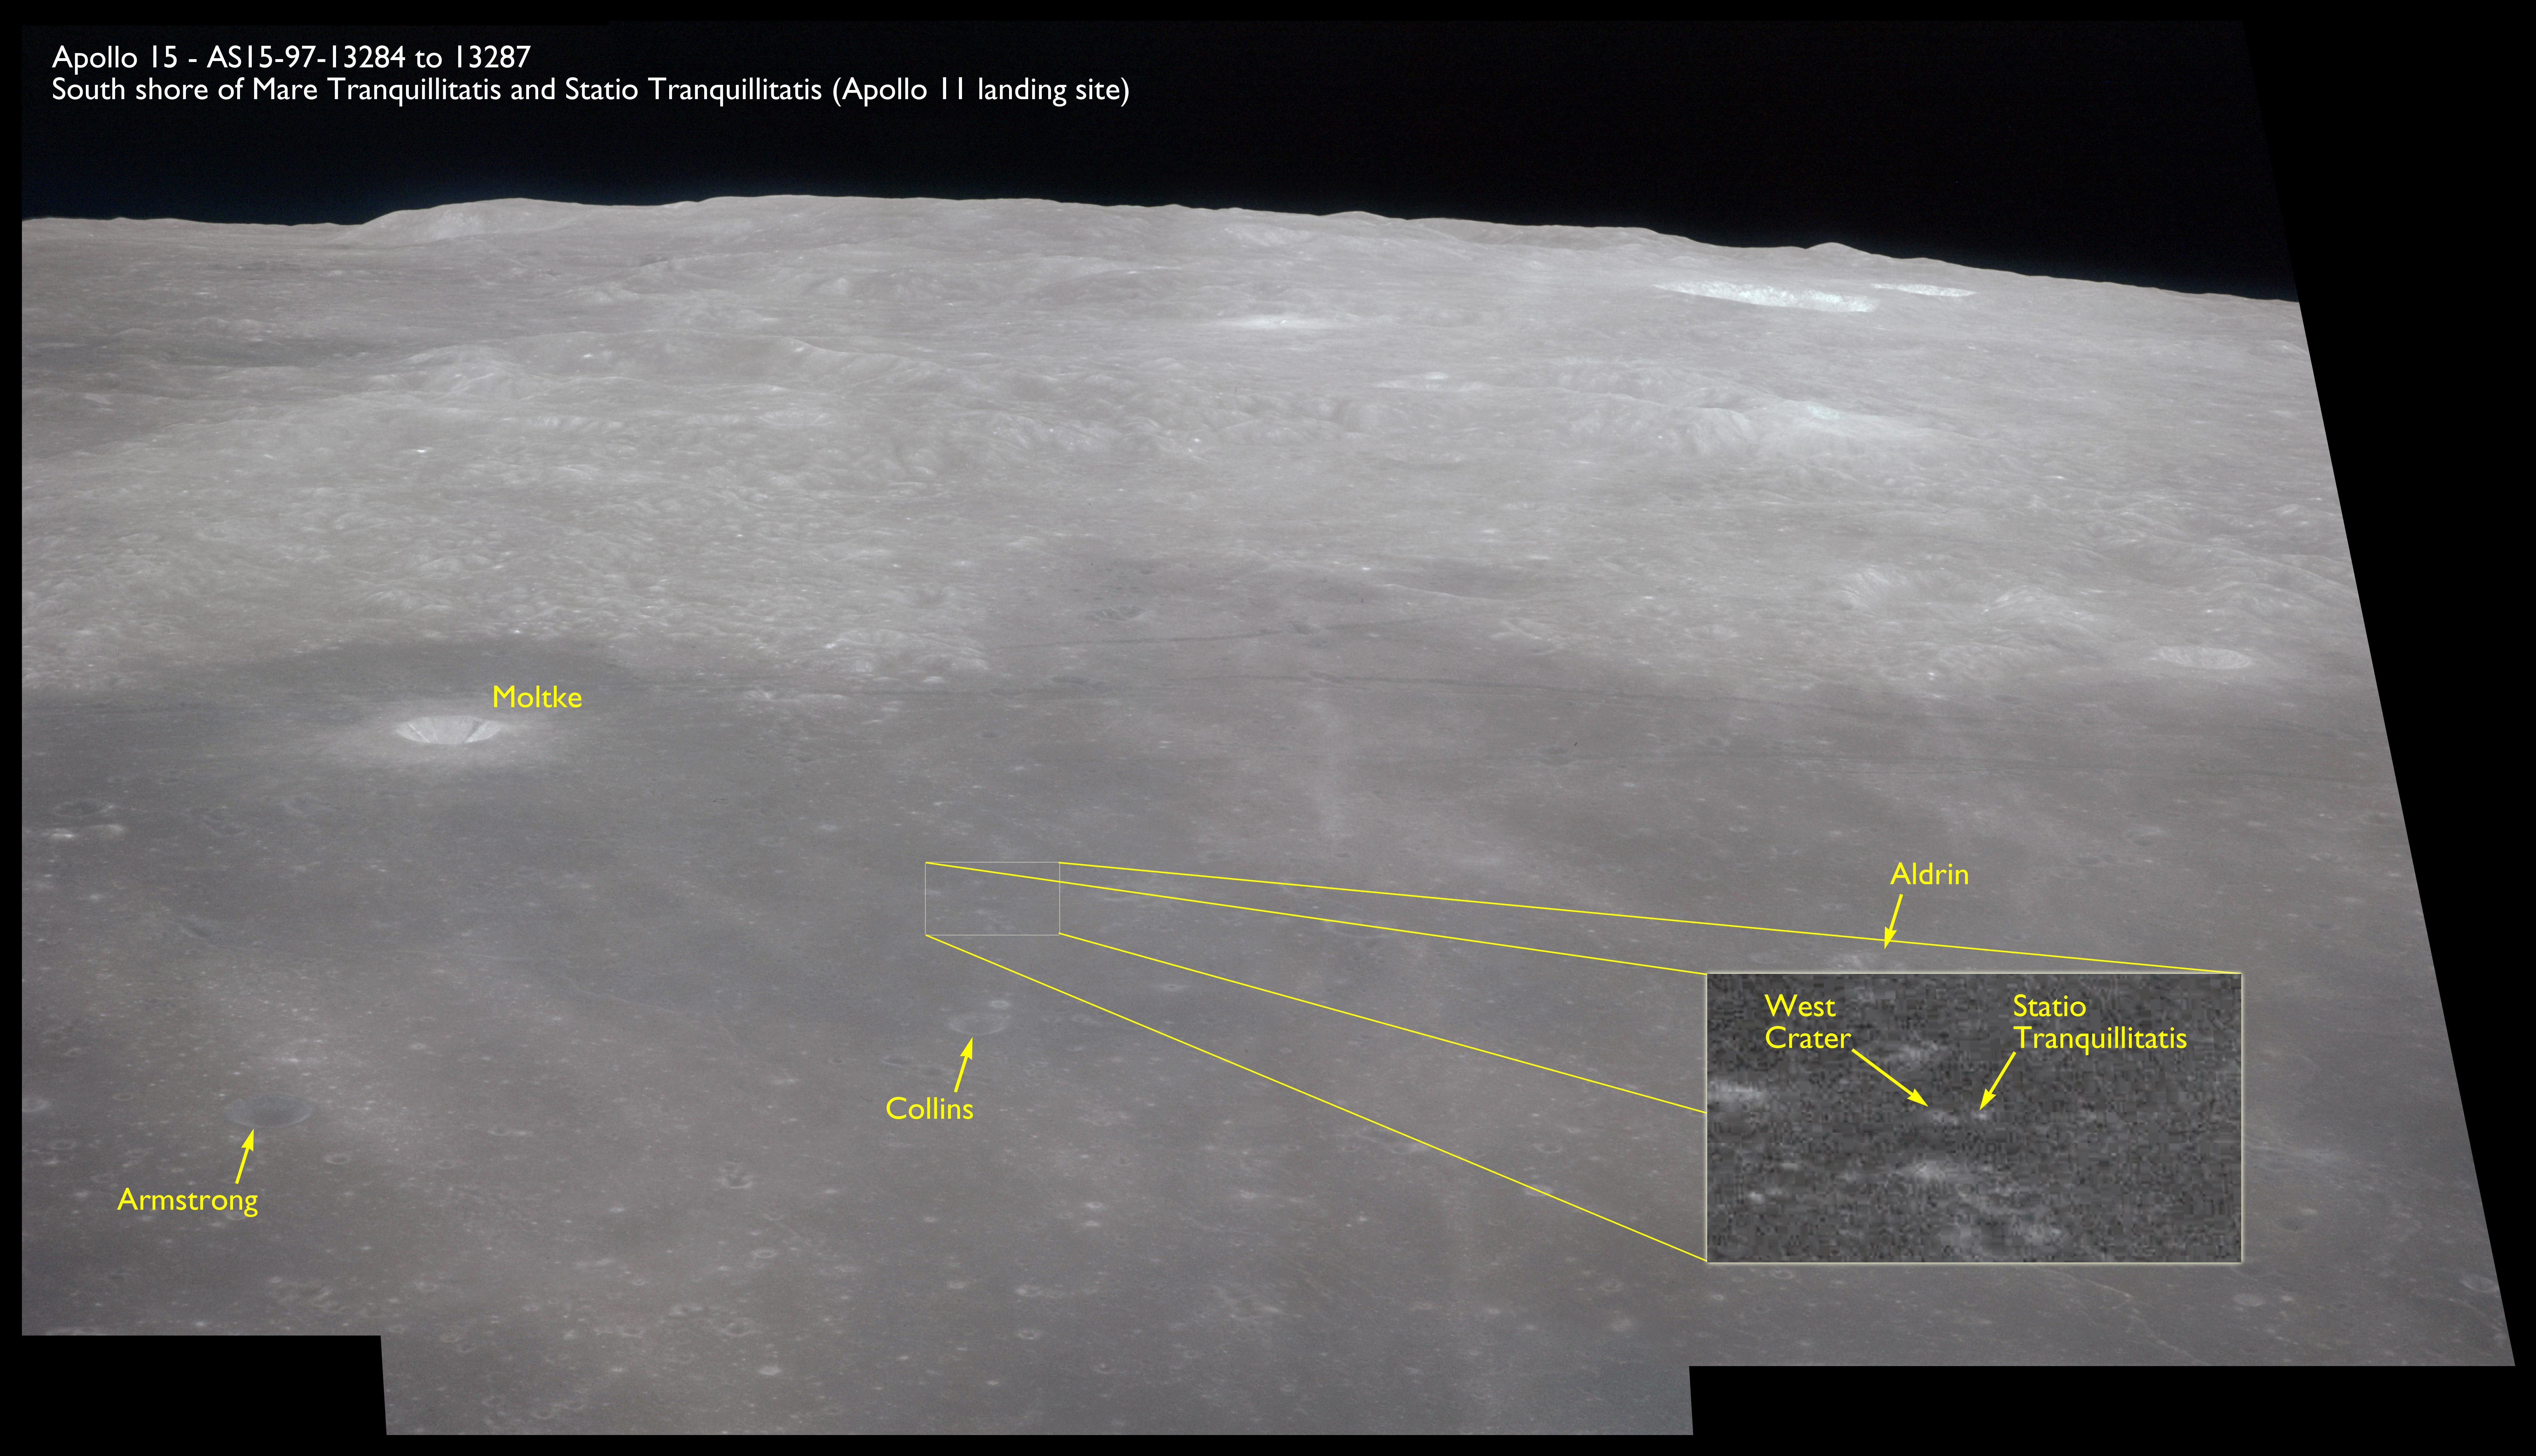
A series of four photographs are taken using the 250mm lens looking south towards the southern shore of Mare Tranquillitatis. The first of these, AS15-97-13284, includes the Apollo 11 landing site.
AS15-97-13284 - Southern shore of Mare Tranquillitatis including Rimae Hypatia, craters Moltke and Collins, and Statio Tranquillitatis, the Apollo 11 landing site - Image by NASA/Johnson Space Center.
AS15-97-13285 - Southern shore of Mare Tranquillitatis including Rimae Hypatia, craters Moltke and Collins, and Statio Tranquillitatis, the Apollo 11 landing site - Image by NASA/Johnson Space Center.
AS15-97-13286 - Southern shore of Mare Tranquillitatis including Rimae Hypatia, craters Moltke and Collins, and Statio Tranquillitatis, the Apollo 11 landing site - Image by NASA/Johnson Space Center.
AS15-97-13287 - Southern shore of Mare Tranquillitatis including Rimae Hypatia, craters Moltke, Collins and Sabine C, and Statio Tranquillitatis, the Apollo 11 landing site - Image by NASA/Johnson Space Center.
These can be composited to show the southern shore of Mare Tranquillitatis. The composite has been annotated to show the position of the Apollo 11 landing site and three small craters nearby which are exceptions to the rule that all lunar features are named after deceased scientists. These three were named after Apollo 11's crew. Under the high Sun elevation, these craters are difficult to see and are therefore arrowed. The rays seen to be emanating from the far left of the picture may be from Torricelli, 180 km distant. Statio Tranquillitatis or Tranquillity Base is photo target 22 in the Flight Plan.
Composite image of Mare Tranquillitatis, southern shore. Includes craters Moltke, Armstrong, Collins and Aldrin, and Statio Tranquillitatis, the Apollo 11 landing site - Source images by NASA/Johnson Space Center.
Magazine PP continues to be used doe wide-angles views in their direction of travel.
AS15-90-12324 - View northwest across Mare Tranquillitatis, including craters Carrel and Plinius - Image by NASA/Johnson Space Center.
By the time AS15-90-12325 is taken, Endeavour has progressed across Carrel. The large crater near the centre of the image is Ross. This crater is about 26 km in diameter and has its name derived from two possible sources. Sir James C. Ross, 1800-1862, was a polar explorer after whom the Ross Sea in Antarctica was named; Frank E. Ross, 1874-1966, was an American astronomer who specialised in ultraviolet studies. To the lower left of the photograph, and beyond Montes Haemus, lies Mare Serenitatis with its distinctive dark margin. The small, bright crater just offshore here is Tacquet while the very bright feature on the mountain range itself is the 27-km Menelaus.
AS15-90-12325 - View northwest across Mare Tranquillitatis, including craters Plinius, Ross and Maclear - Image by NASA/Johnson Space Center.
The view is advanced in 12326 which on the left, shows Tacquet to the north of the light-coloured Montes Haemus and the ring-like crater Al-Bakri to the south. Cut off on the upper right is the 20-km Maclear, Named after Sir Thomas Maclear (1794-1879), an Irish-born South African astronomer.
AS15-90-12326 - View northwest towards the southwest shore of Mare Serenitatis, including craters Al-Bakri and Menelaus - Image by NASA/Johnson Space Center.
AS15-97-13288 is a view southwest using the longer 250mm lens. The main subject of this south-looking image is the 18-km crater Sosigenes and its associated rilles, Rimae Sosigenes. These rilles are a classic example of the graben type which are seen at the margins of many of the Moon's maria. They are caused by expansion around these margins as the weight of dense basalt in the mare sinks with respect to the surrounding land. Sosigenes lived in the first century B.C.E. A Greek astronomer, he was an adviser to Julius Caesar and was involved in the introduction of the Julian calendar. This is an appropriate name as this crater is near another named after the Roman emperor.
AS15-97-13288 - Crater Sosigenes A and elongate depression on the western margins of Mare Tranquillitatis including Rimae Sosigenes - Image by NASA/Johnson Space Center.
AS15-M-2434 - Metric Camera image of the southern shore of Mare Serenitatis and crater Menelaus. Image taken at about 214:54. (250 megapixel version), (labelled version) - Image by NASA/ASU.
The remaining two shots on magazine PP continue with a wide-angle view northwest at Menelaus. In the foreground of 12327 is Sinus Honoris (Bay of Honour), a bay on the northwest boundary of Mare Tranquillitatis. The bright crater at the bottom left is Menelaus and the other large one at the lwer right is Manilius, a prominent 43-km crater. The dark area just in front of Manilius is Lacus Lenitatis (Lake of Tenderness). Much of the light-coloured terra in this region displays a northwest-southeast trend which betrays its nature as being part of the Imbrian sculpture, carved out and laid as the ejecta spoil from the impact event that created the Imbrium basin to the northwest.
AS15-90-12327 - View northwest across Montes Haemus, including craters Menelaus and Auwers - Image by NASA/Johnson Space Center.
AS15-90-12328 looks along the straight section of Montes Haemus from Menelaus with Mare Serenitatis to the left. The dark margin along this shore of Serenitatis is very plain, punctured halfway along by the crater Sulpicius Gallus.
AS15-90-12328 - View northwest towards the southwest shore of Mare Serenitatis, including craters Menelaus and Auwers - Image by NASA/Johnson Space Center.
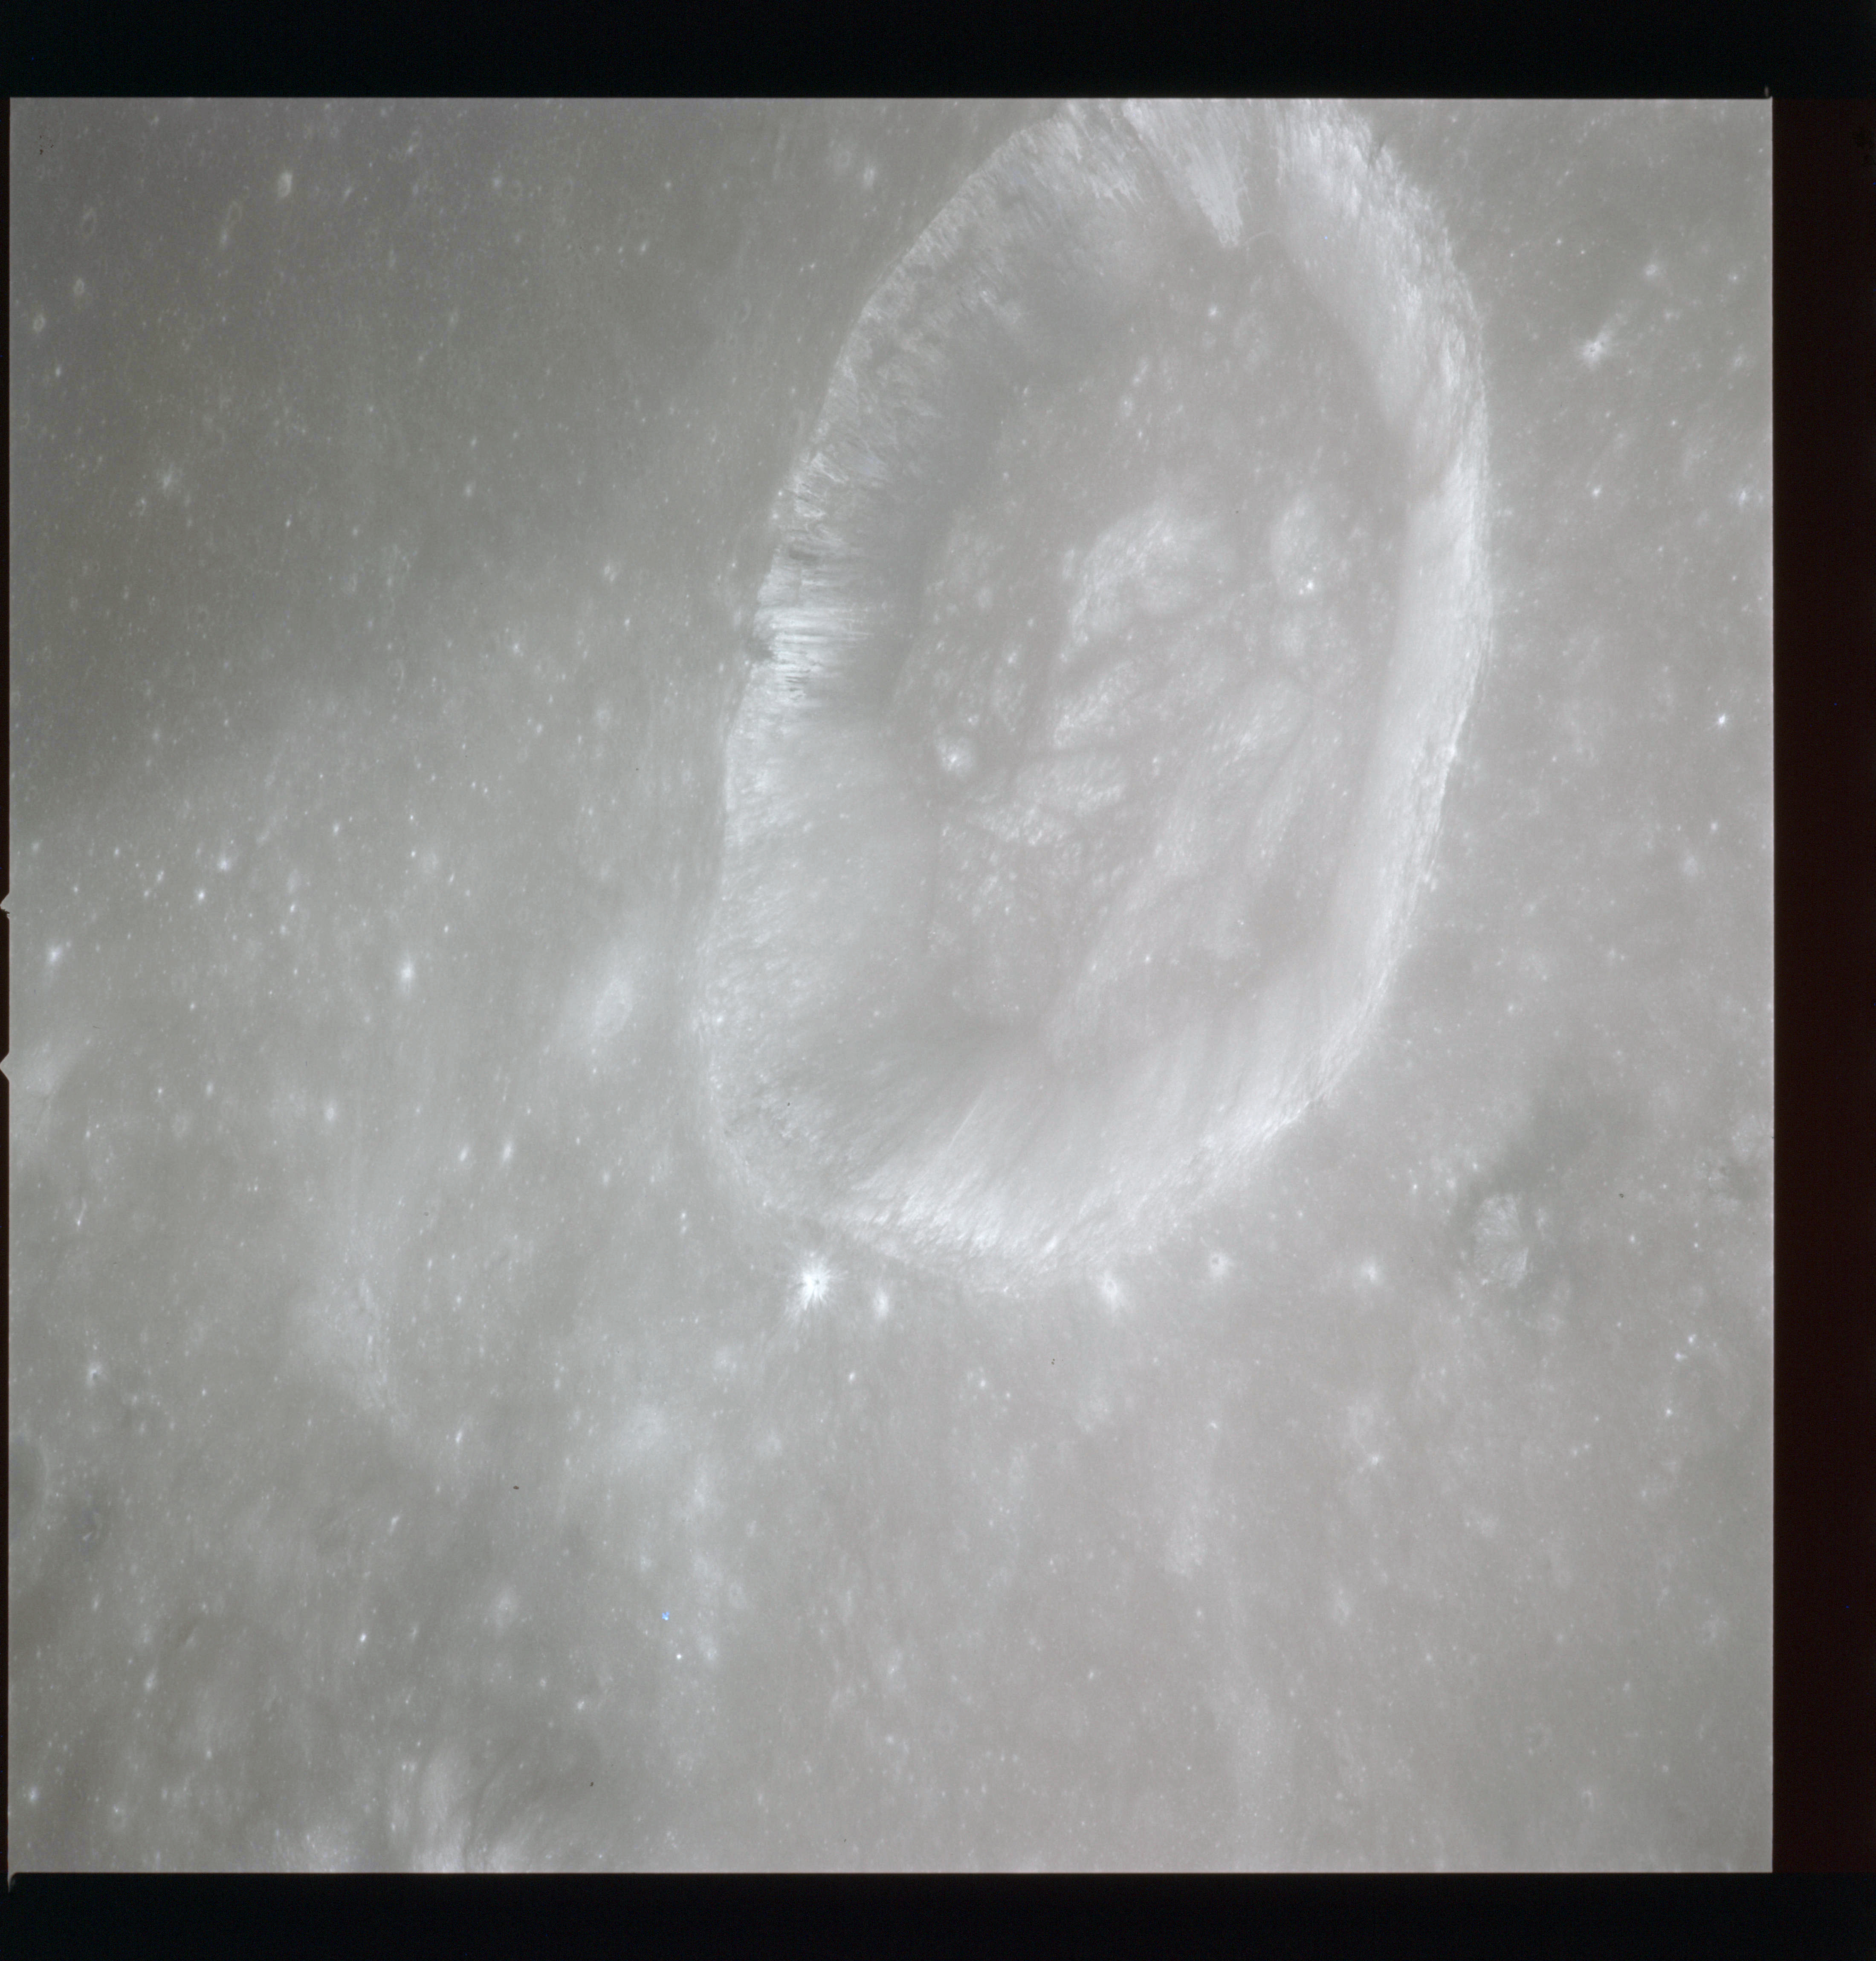
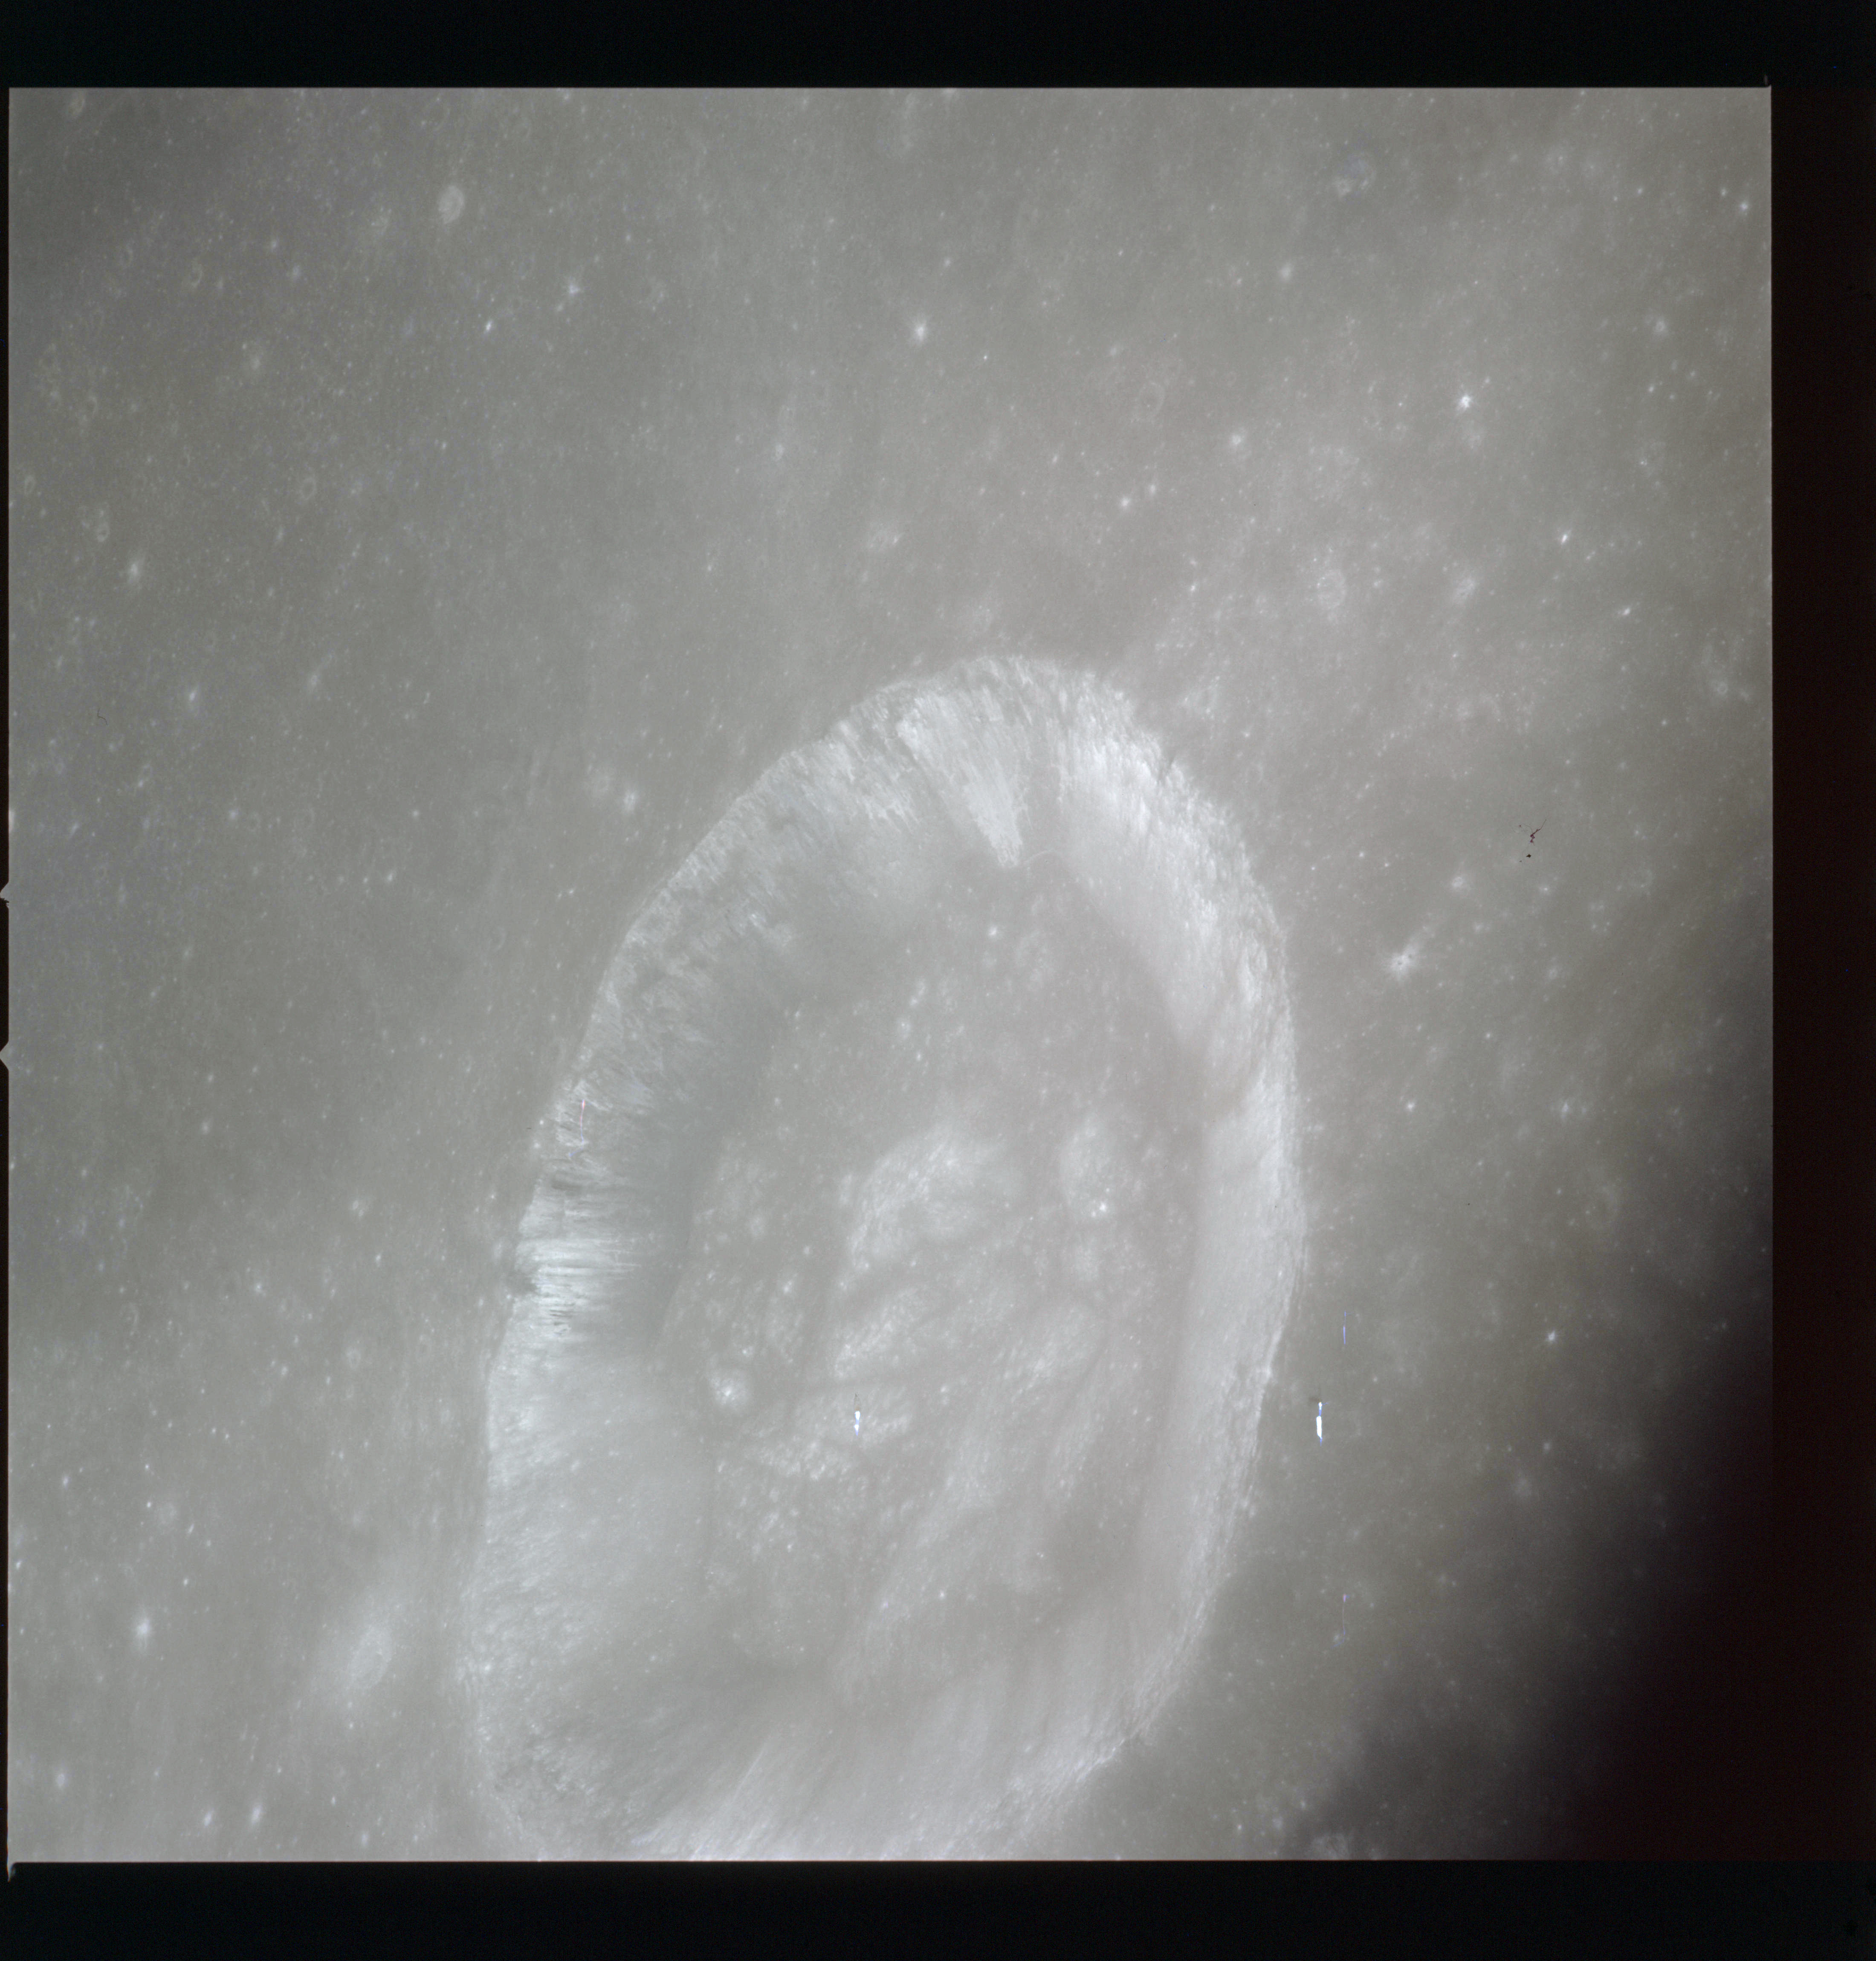
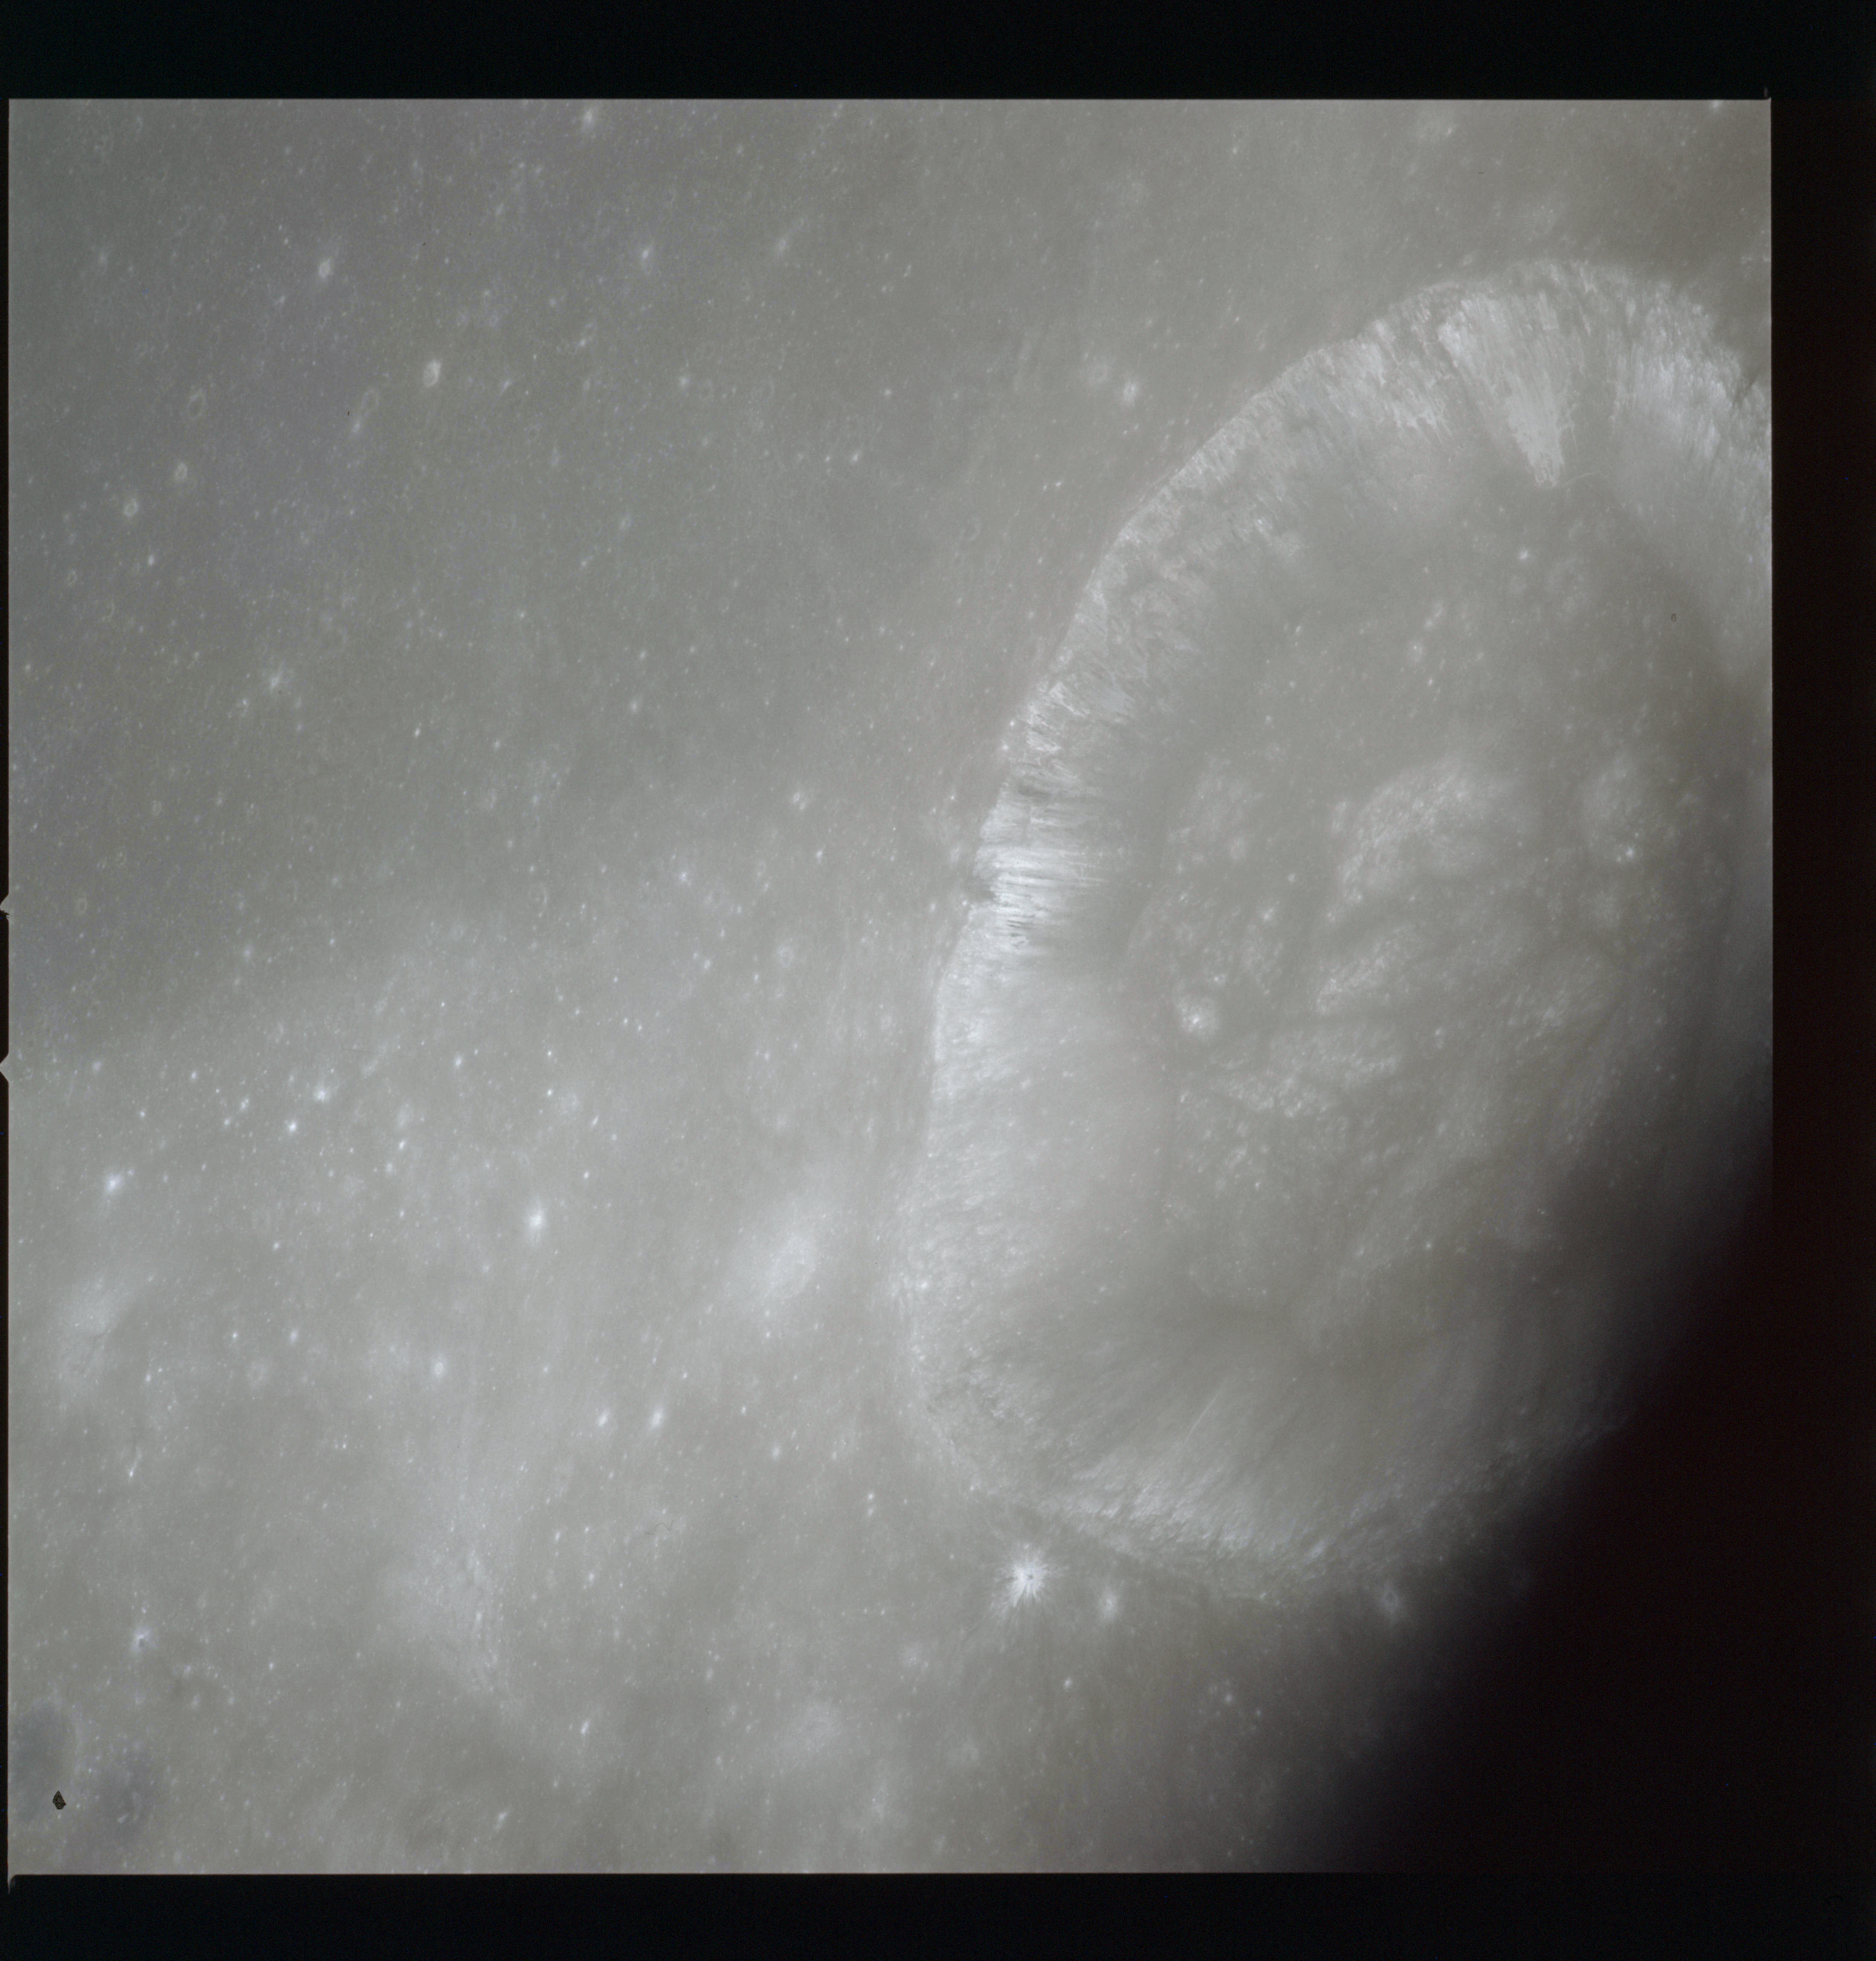
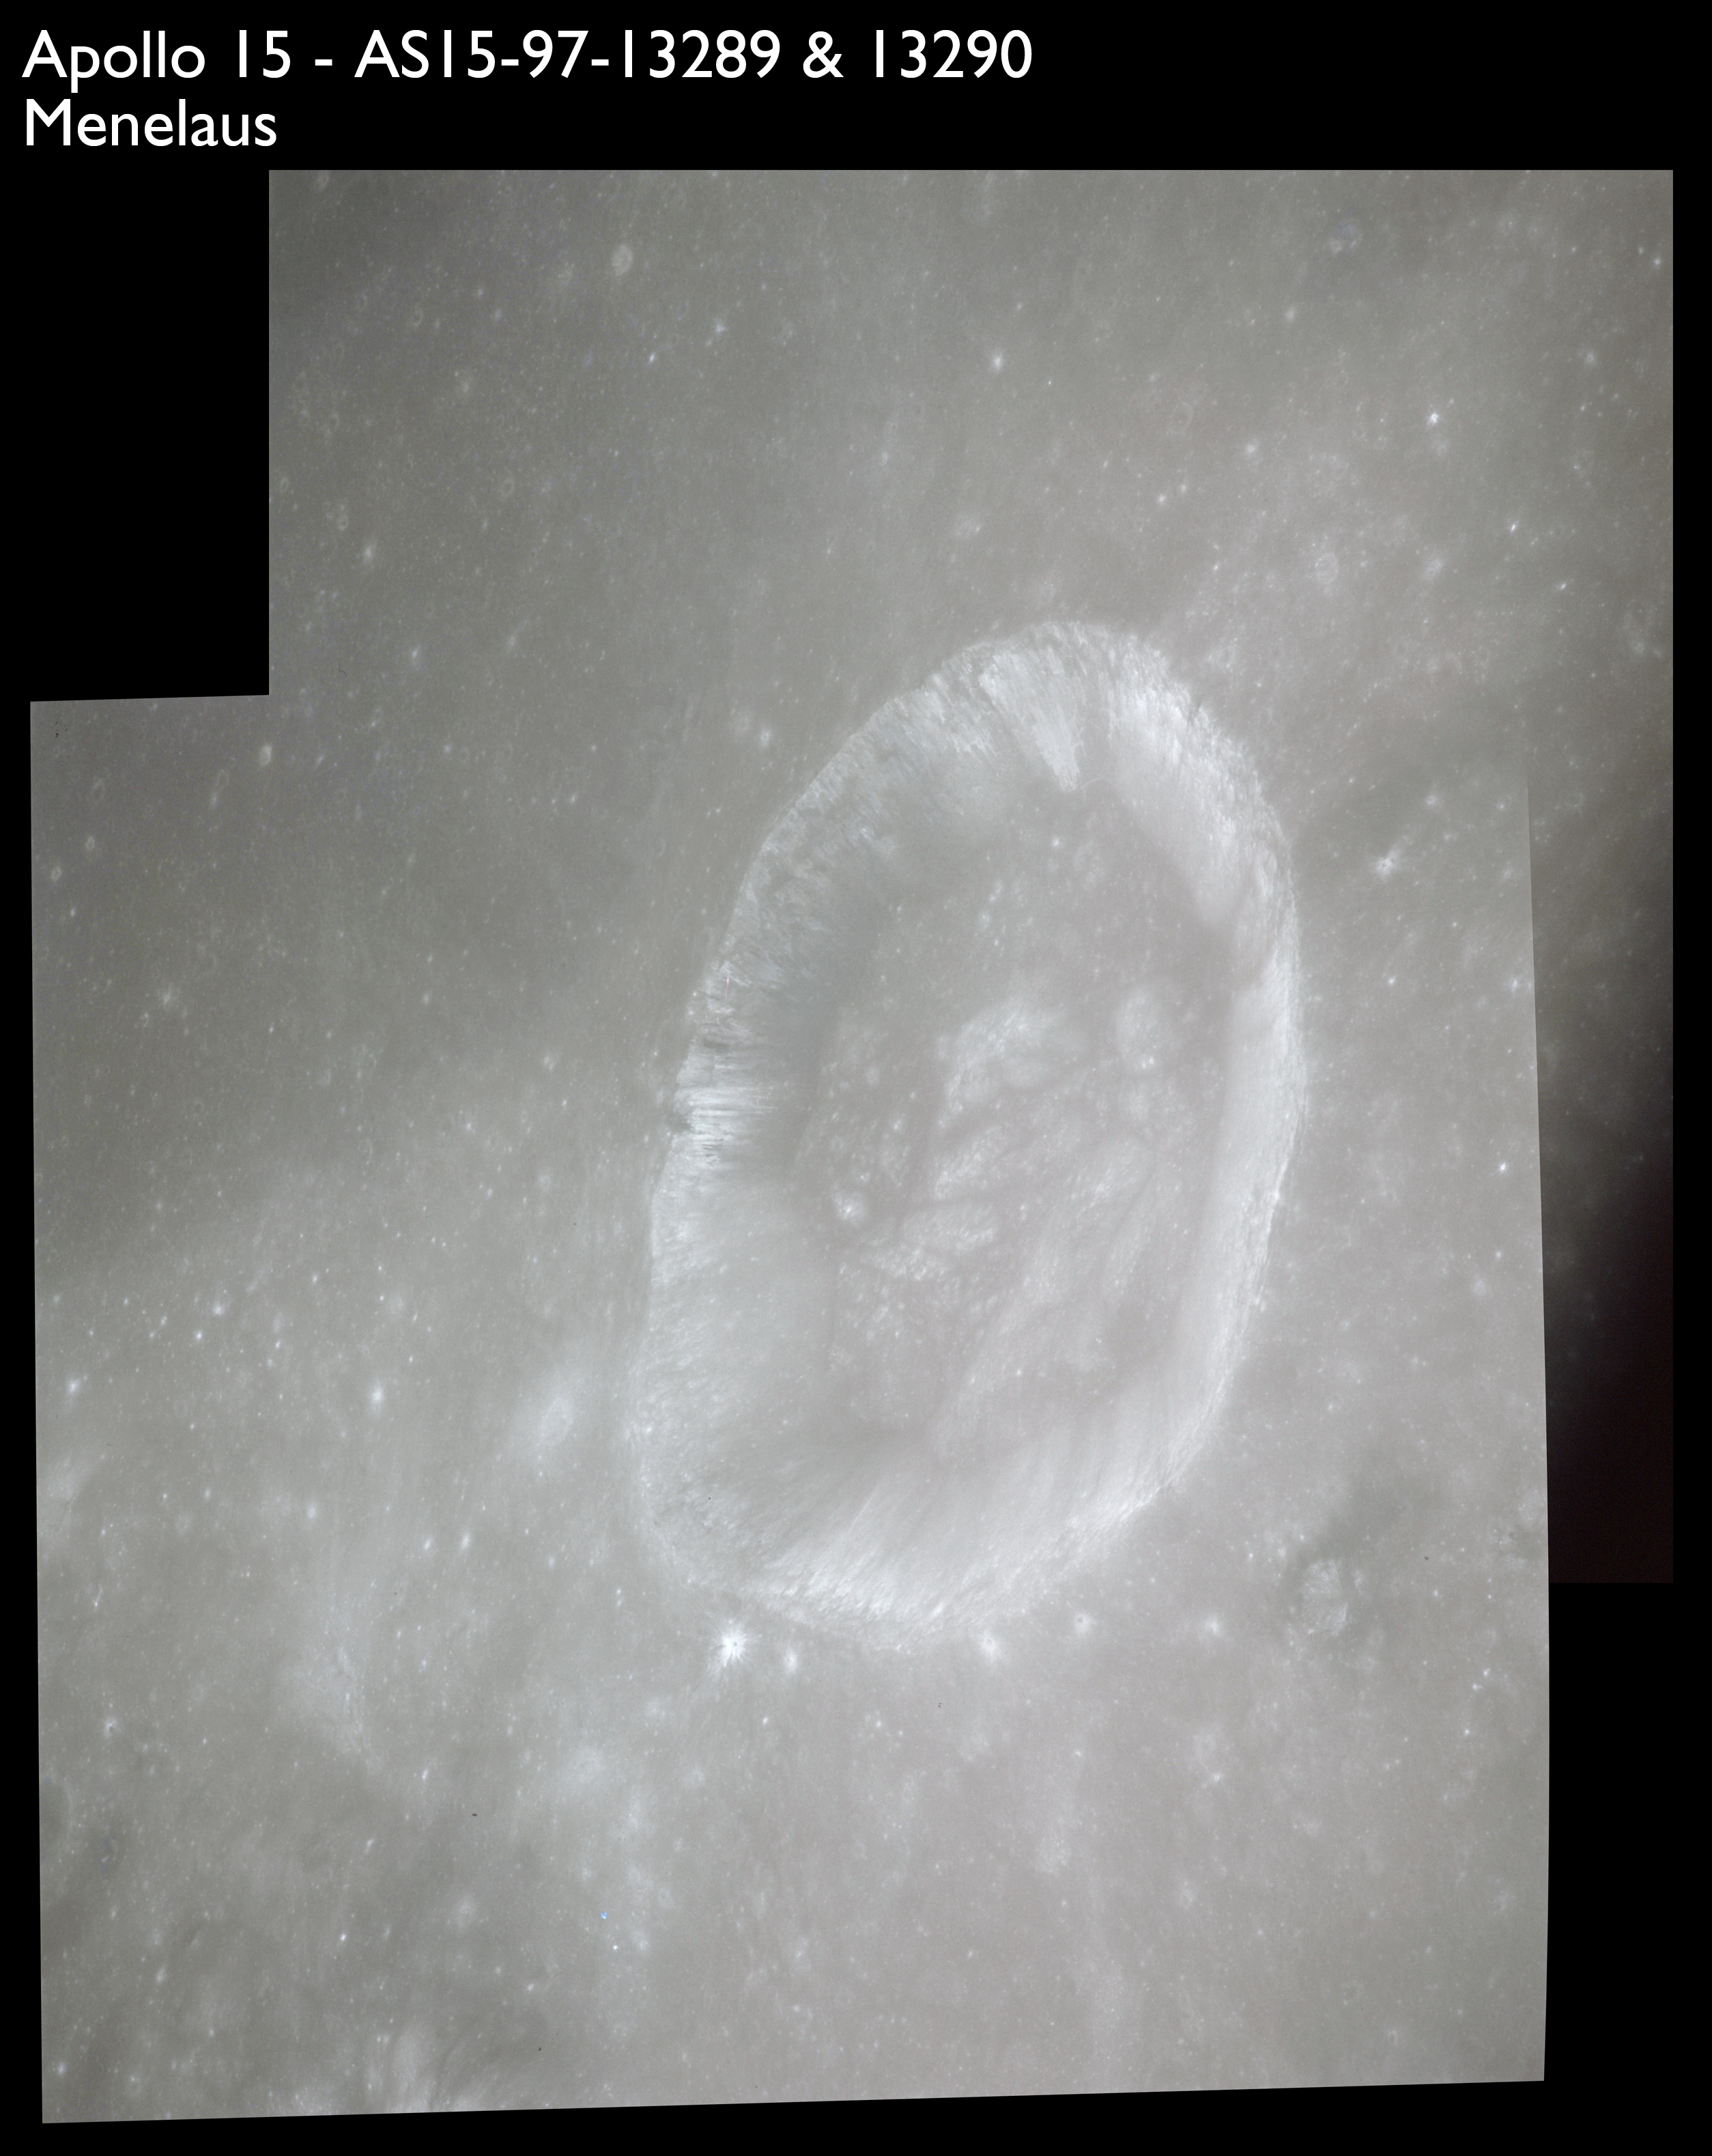
Returning to magazine O, three shots are taken of Menelaus, the first two of which, AS15-97-13289 and 13290, have been composited. Looking at Menelaus, one is reminded somewhat of Proclus in that both craters display a notch in one wall.
AS15-97-13289 - Crater Menelaus - Image by NASA/Johnson Space Center.
AS15-97-13290 - Crater Menelaus - Image by NASA/Johnson Space Center.
AS15-97-13291 - Crater Menelaus - Image by NASA/Johnson Space Center.
Composite image of Menelaus - Source images by NASA/Johnson Space Center.
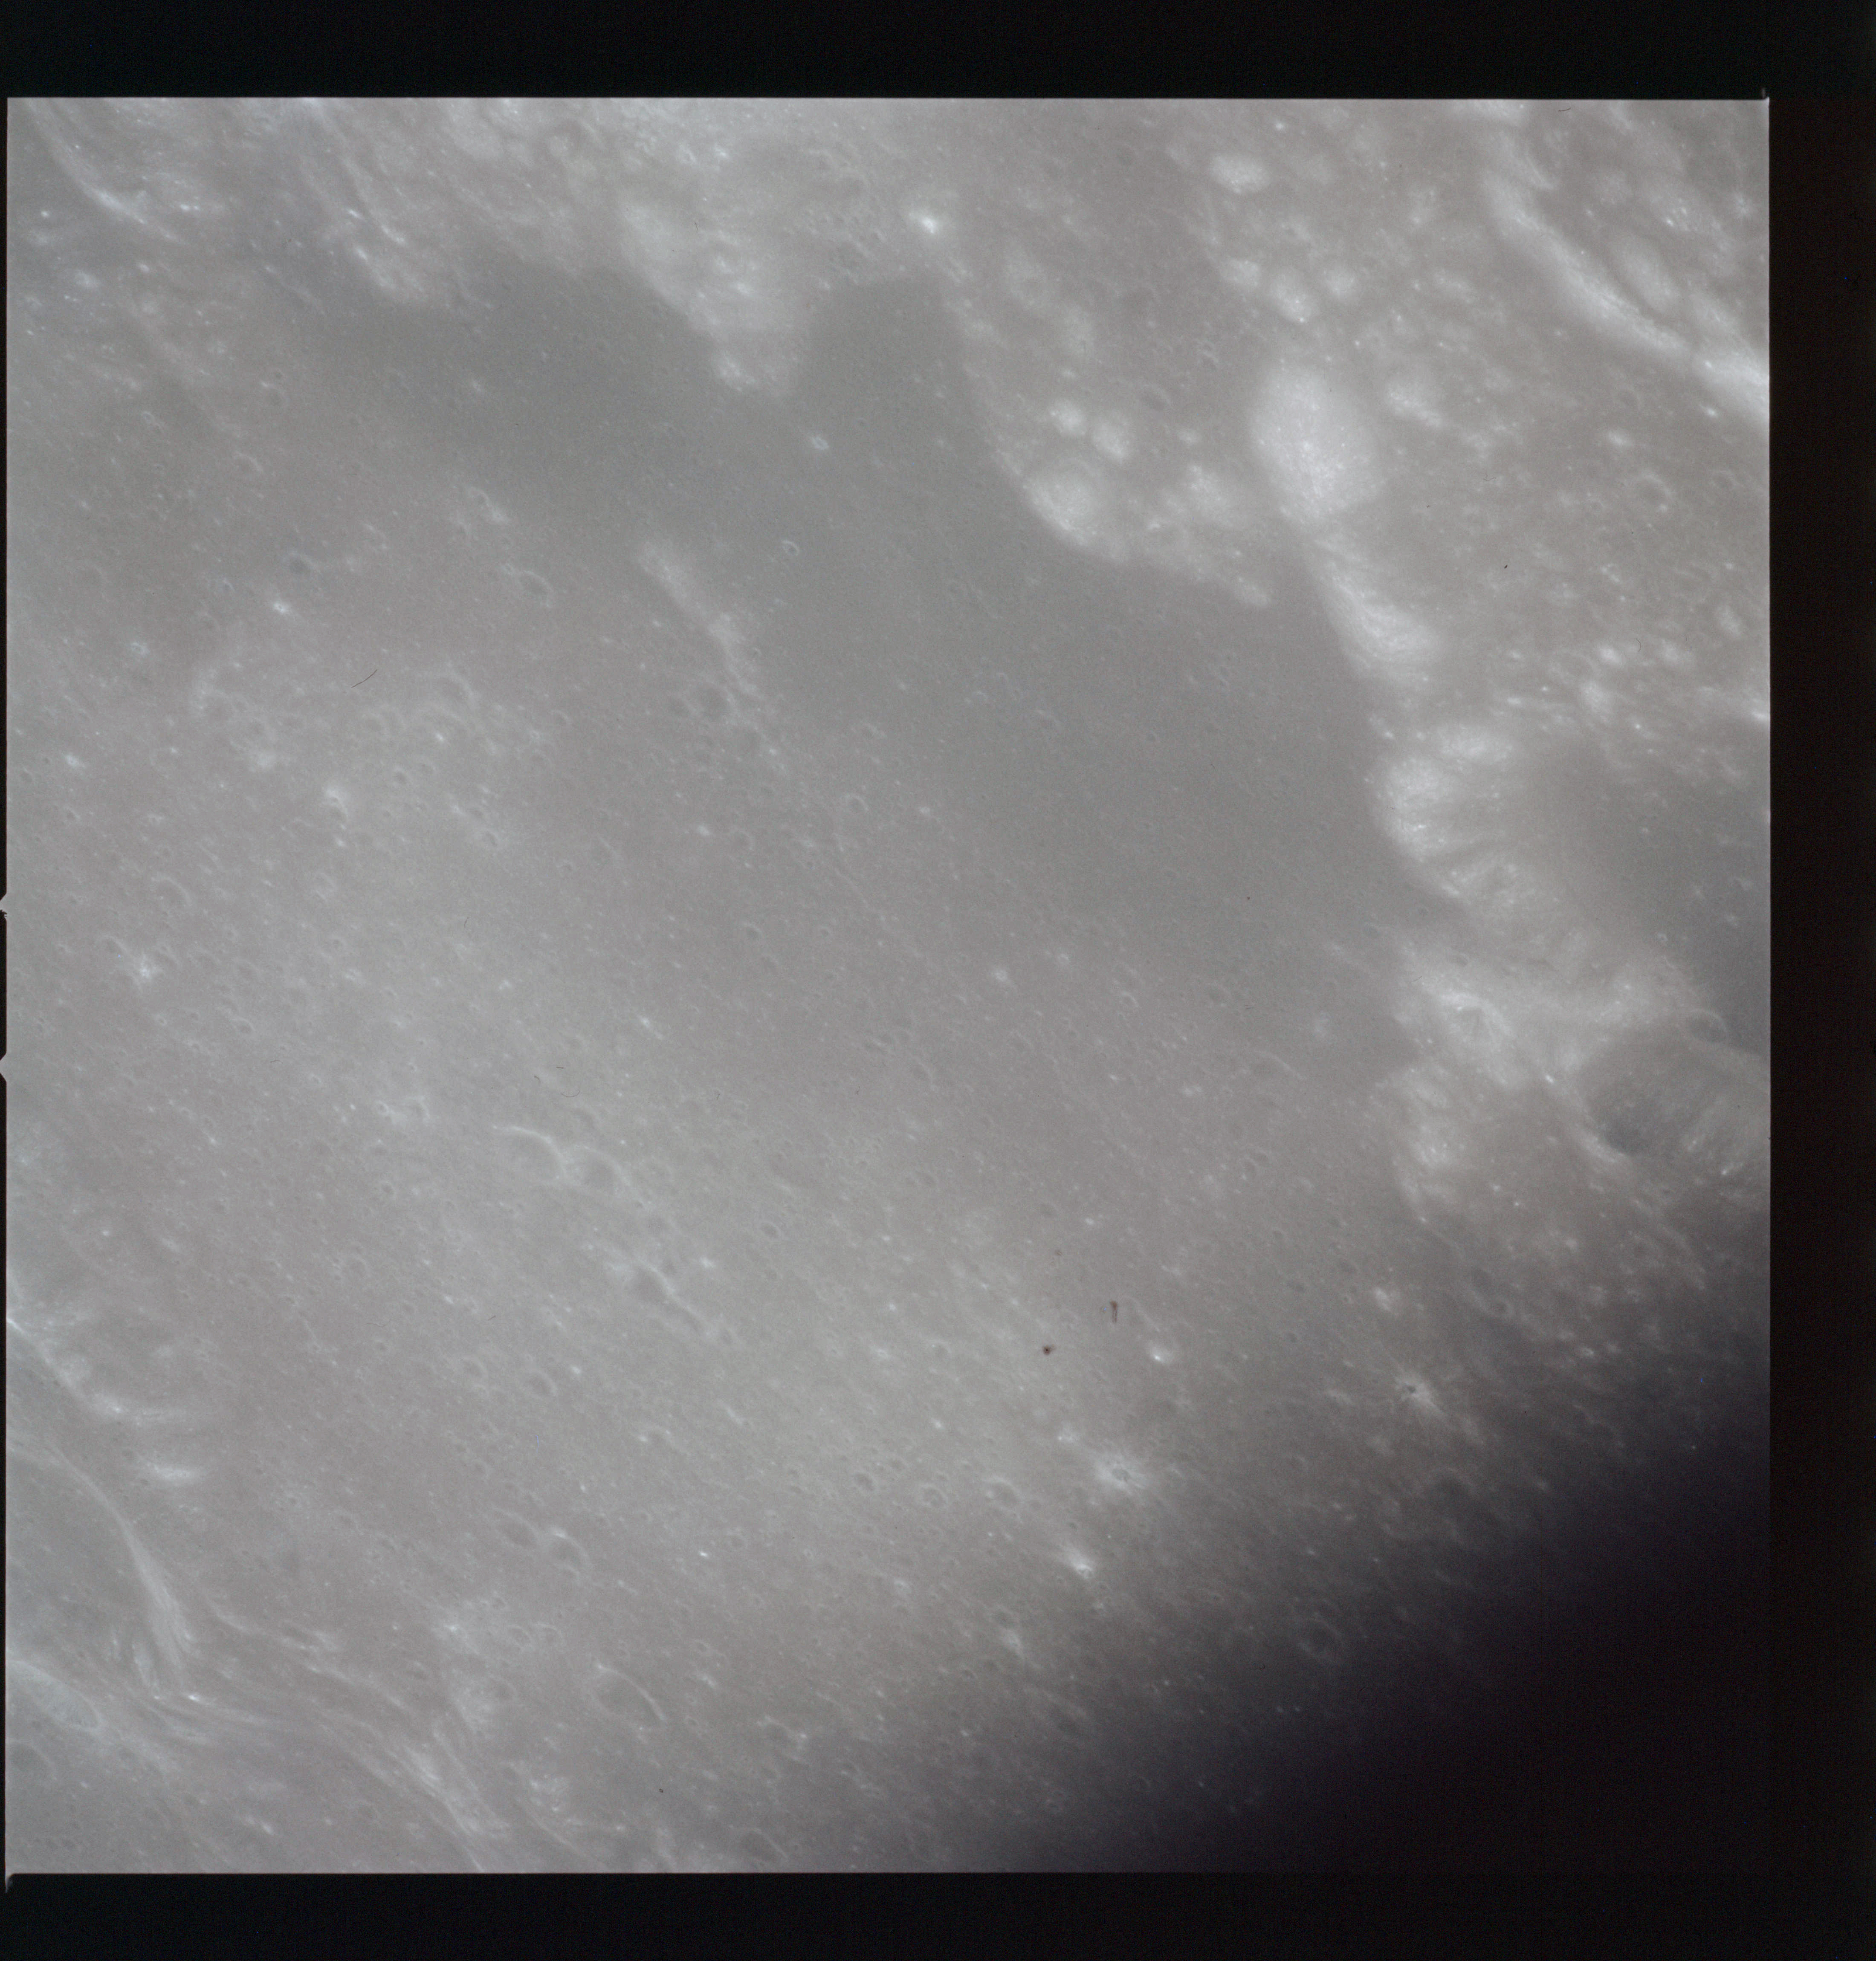
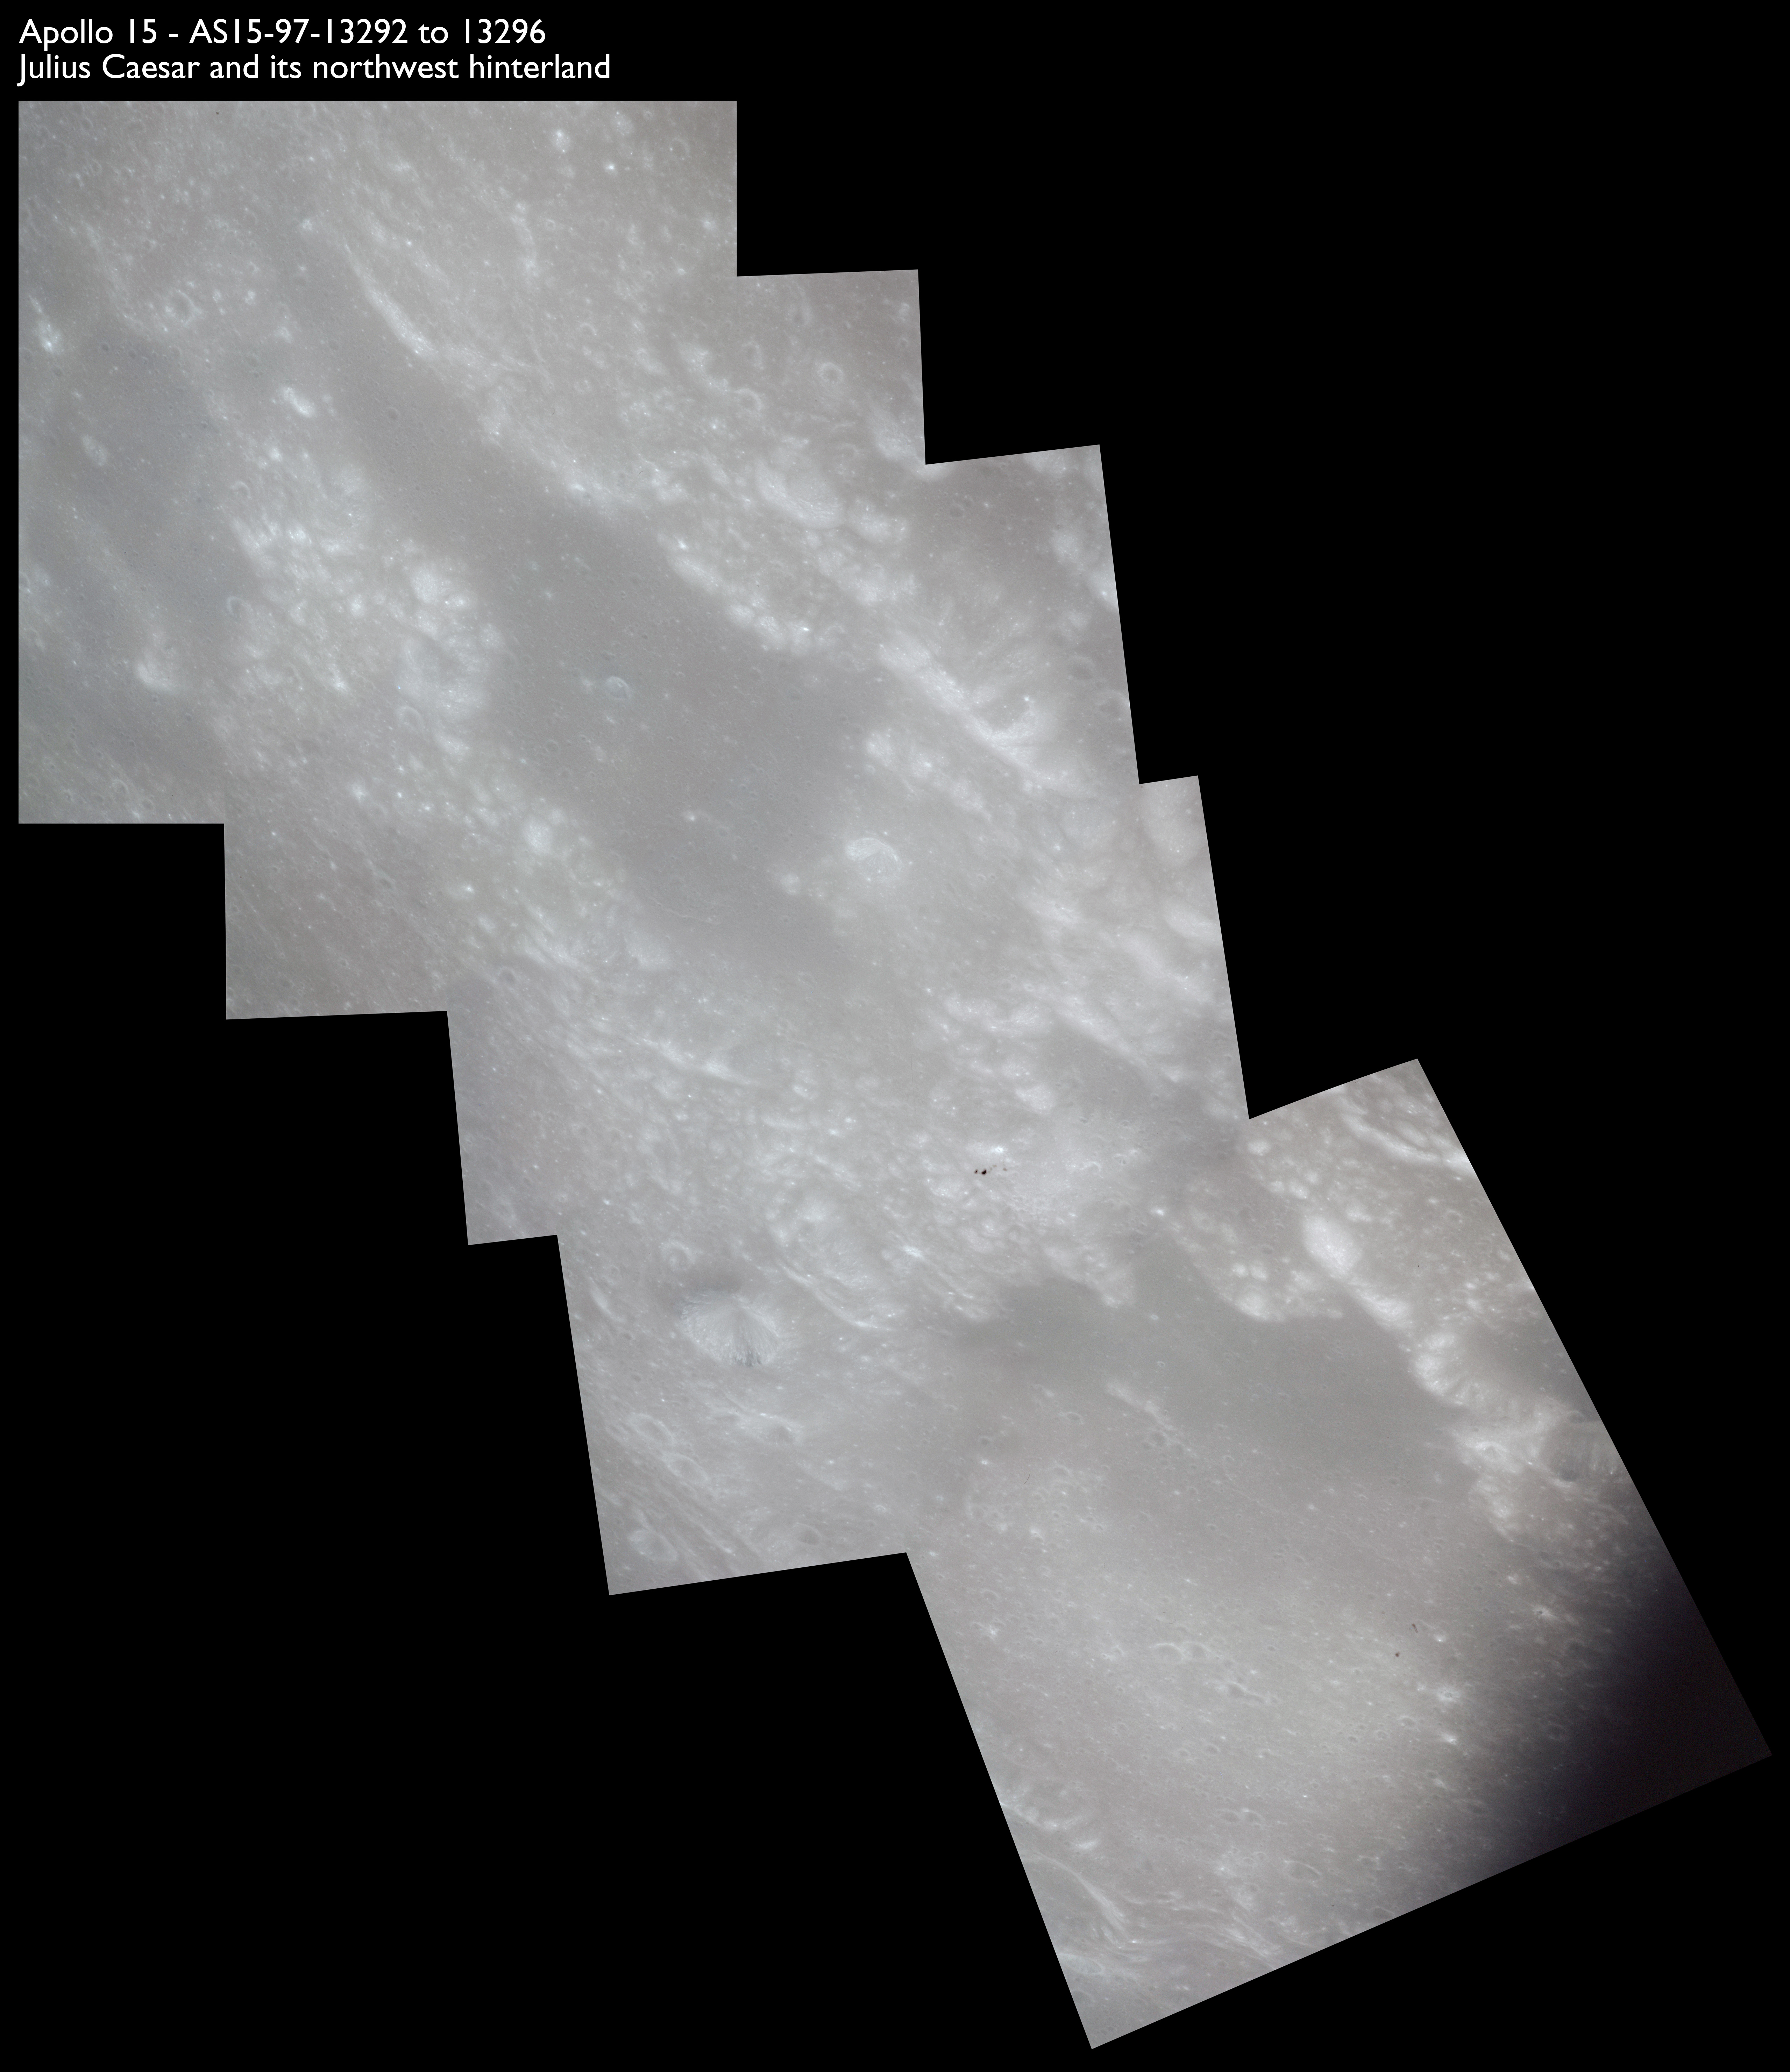
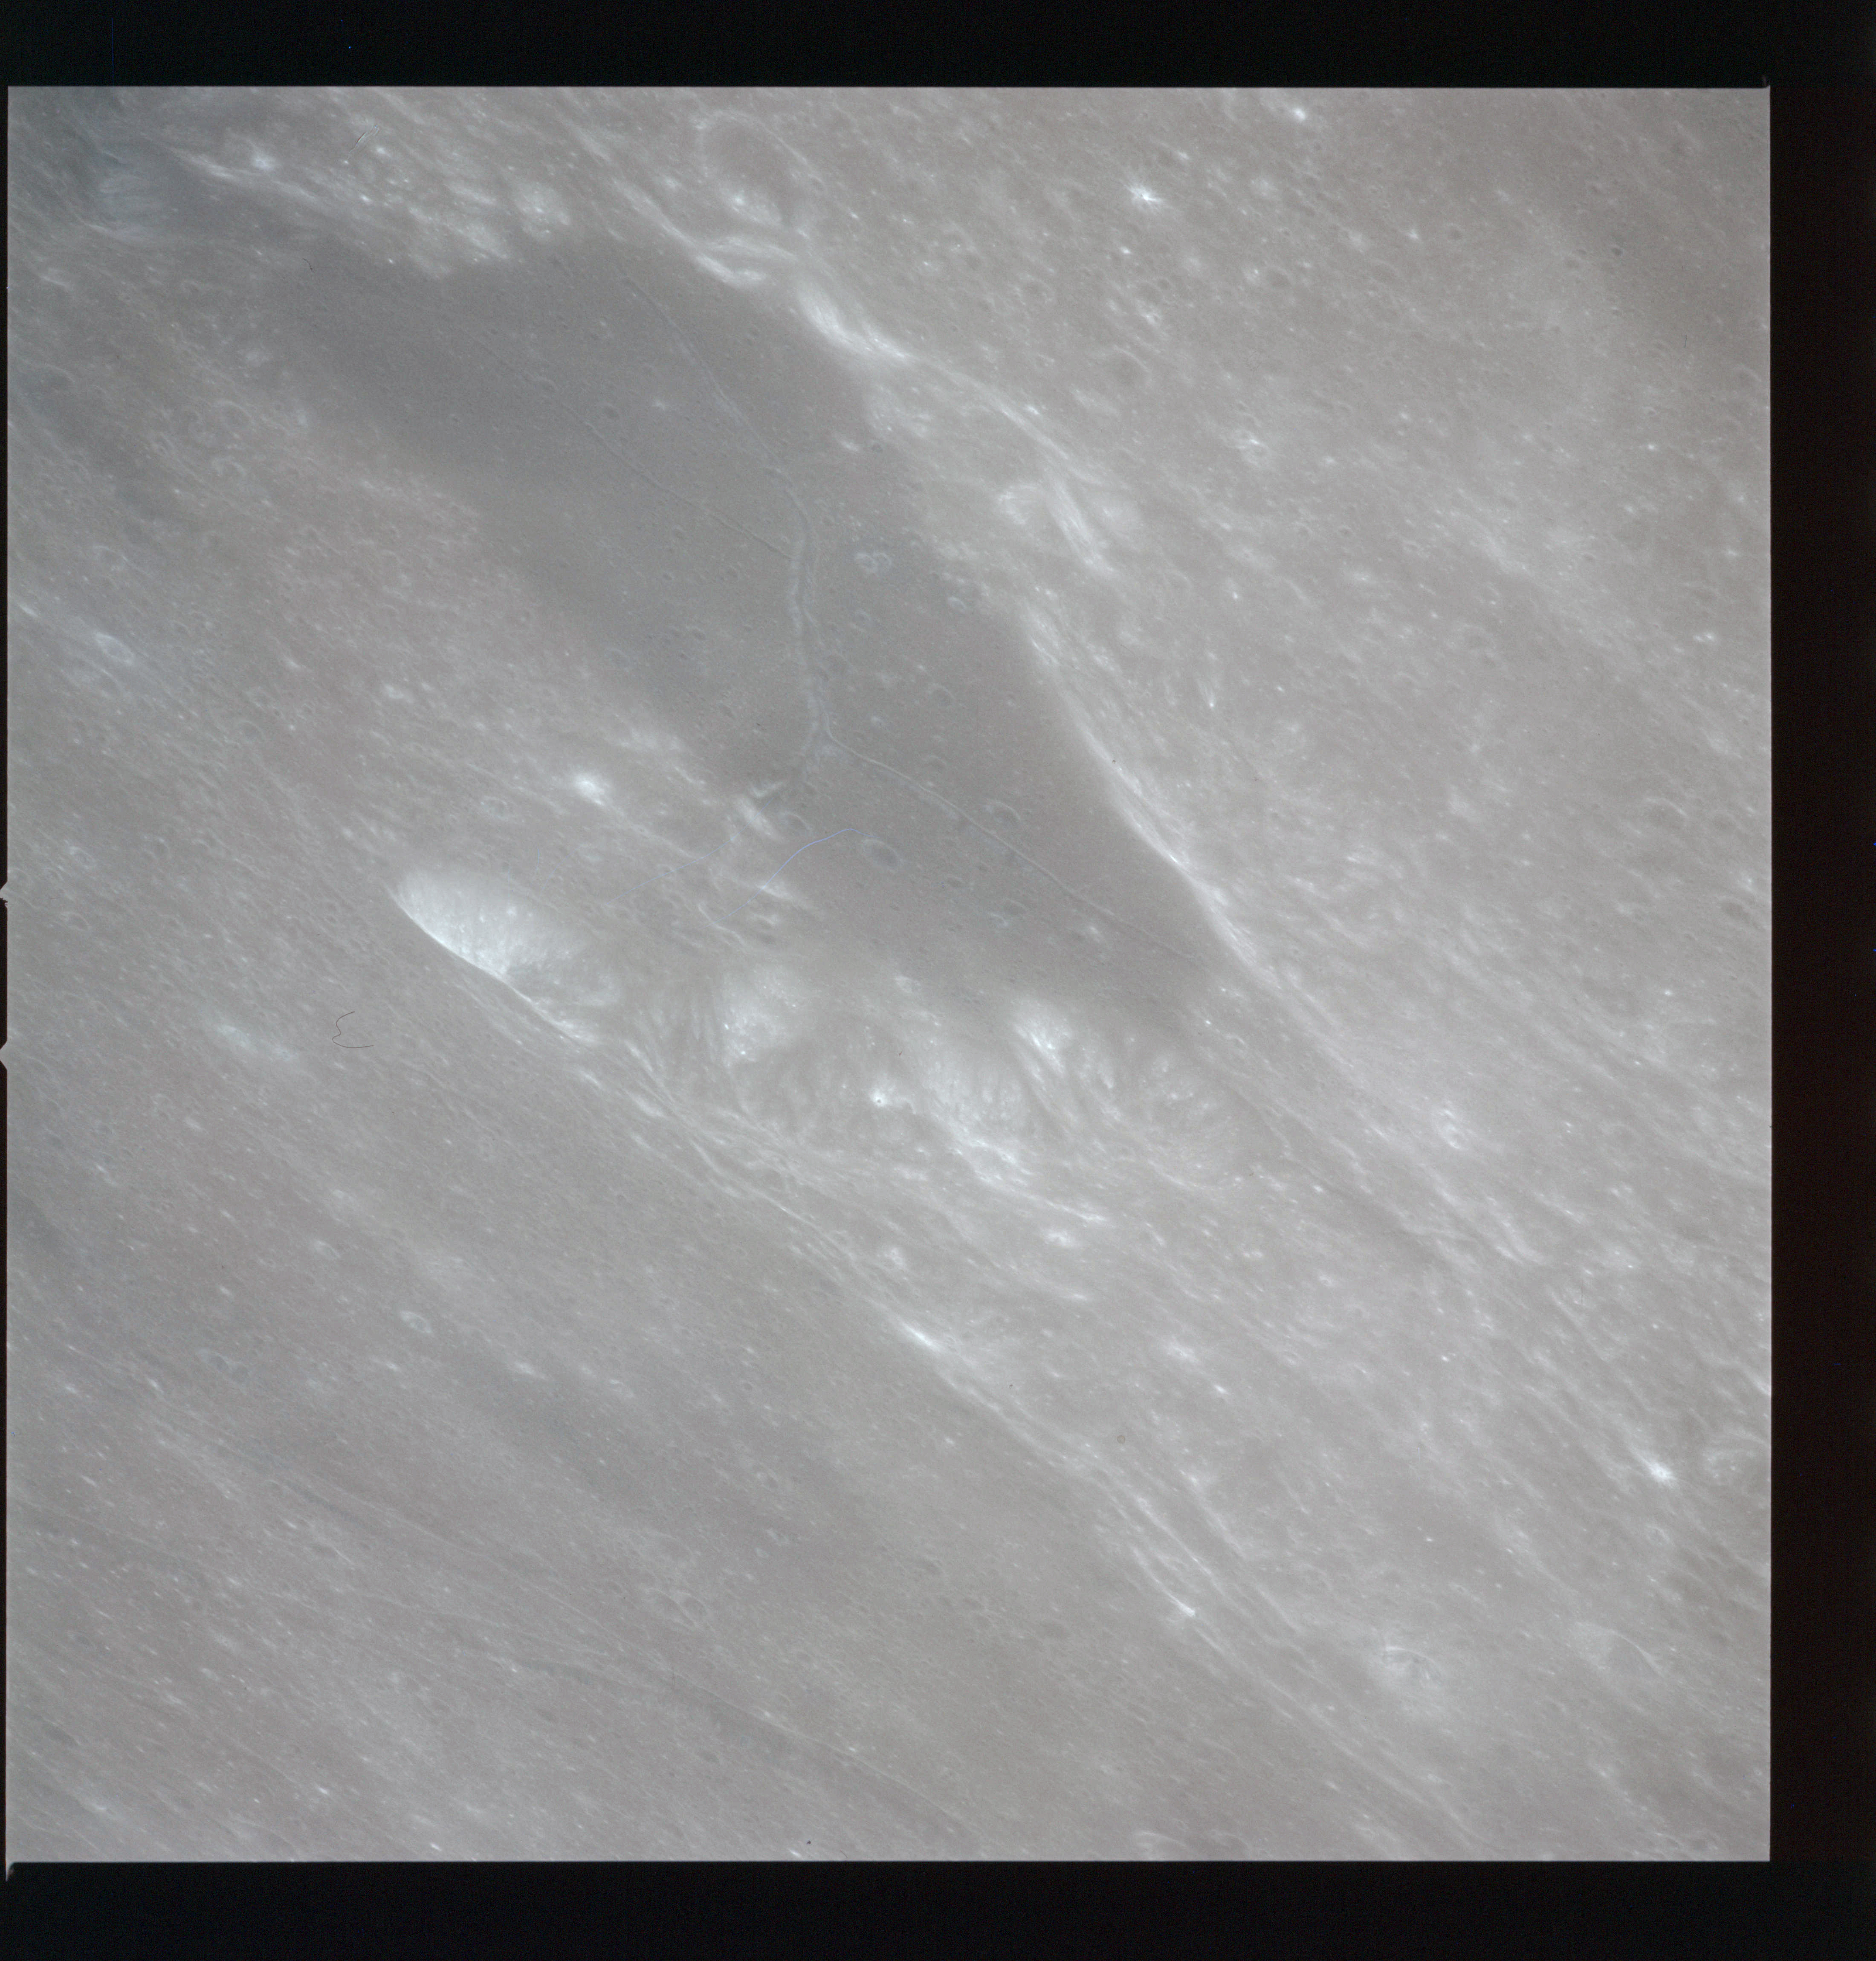
The next five photos on magazine O are of crater Julius Caesar and its northwest hinterland.
AS15-97-13292 - North of crater Julius Caesar - Image by NASA/Johnson Space Center.
AS15-97-13293 - North of crater Julius Caesar - Image by NASA/Johnson Space Center.
AS15-97-13294 - North of crater Julius Caesar - Image by NASA/Johnson Space Center.
AS15-97-13295 - North rim of crater Julius Caesar - Image by NASA/Johnson Space Center.
AS15-97-13296 - Crater Julius Caesar - Image by NASA/Johnson Space Center.
Composite image of Julius Caesar and its northwest hinterland - Source images by NASA/Johnson Space Center.
The crater Julius Caesar is at the bottom right of this composite image constructed from AS15-97-13292 to 13296. It is about 90 kilometres in diameter and is highly degraded from flying ejecta related to the Imbrium impact to the northwest. This both gouged out clefts in its rim and overlaid it with rubble. Its floor was later flooded with lava. The dark patch to the upper left of the composite is designated Julius Caesar P and lies between Lacus Lenitatis and Julius Caesar.
The final full frame in magazine O is AS15-97-13297.
AS15-97-13297 - Crater Boscovich - Image by NASA/Johnson Space Center.
This shows another of the irregular dark patches which lie within the terra between Julius Caesar and Manilius. This one, Boscovich, is photo target 24 in the Flight Plan and is classed as a 46-km crater, though its walls are considerably distorted and modified by the subsequent overlaying of Imbrium ejecta and flooding. Crossing the flat floor of the crater are a network of rilles, Rimae Boscovich. Ruggiero Boscovich, 1711-1787, was a Croatian astronomer and mathematician. The final image on magazine O is cut off by being at the end of the film.
AS15-97-13298 - Crater Boscovich and end of film - Image by NASA/Johnson Space Center.
214:53:17 Worden: Okay, Houston; 15. We're ready for the news.
214:53:22 Henize: Roger, 15. The flight of Apollo 15 is still front page news around the world. Even yesterday's relatively quiet activities were noted by most news media. The rail strike with the United Transportation Union has ended, and ten railroads that were out of operation for 18 days are back on the tracks. Growers in California were hardest hit by the strike, losing an estimated 45 million dollars in sales and related industries. [Pause.] President Nixon has asked Congress not to allow the use of federal funds to pay for bussing school children. The administration also announced that it is appealing a bench mark court ruling against massive bussing in the public - in the public schools of Austin, Texas. Treasury Secretary John B. Connally is attempting to stop a rumored increase in bank interest rates. Connally said he's distressed to hear reports that bank prime lending rates are to be raised again. Rates were increased only last month. New York stock exchange prices fell yesterday in the second largest decline of the year, with the Dow Jones industrial average dropping almost 15 points. Analysts say the decline may have been caused by the rumored increase in interest rates. You got up too early to hear much news of last night's baseball games but we can report that the Astros lost to the Cubs, 5 to nothing. They did better Monday night when they beat the Cubs 2 to 1. The weather report from the Houston area is one word: soggy. Rain has fallen off and on for more than 24 hours, and there was a long steady rain most of yesterday afternoon. Going to be a lot of grass cutting to do when you get back down here, guys. [Pause.]
214:55:19 Worden: Oh, yeah; but we sure got nice sunny weather up here.
214:55:23 Henize: No clouds up there, huh? That's amazing.
214:55:28 Worden: No. It's just as clear as crystal. [Pause.]
214:55:35 Henize: Thinking about all that sunshine up there reminds me that we're in a bind down here about your exposure to UV, and we recommend that, on the several times on the next couple of orbits when you're requested to take the - the Lexan cover off of window 5, that you alternate handling that photography to keep under the legal doses. [Pause.]
214:56:03 Worden: All right; we'll do that. [Long pause.]
The crew's and Henize's deadpan exchange about enjoying the "sunny weather" belies the fact that the UV radiation in space can be quite intense, if not dangerous.
214:56:36 Henize: 15, Houston. The doctors down here with their - with their electrocardiograms see that the CMP - or at least they think the CMP - is on the - the biomed apparatus; and, according to Flight Plan, they'd like to have the LMP on. [Pause.]
214:56:55 Worden: Okay. We thought we'd give you both since you were sort of interested in that yesterday.
214:56:59 Henize: Okay; that would be great.
Comm break.
During the time on the surface, a combination of workload and diet resulted in Scott and Irwin experiencing episodes of cardiac arrhythmia that caused concern to the doctors on the ground. The request to monitor Jim Irwin reflects their need to monitor the recovery of his heartbeat.
Endeavour is reaching the point of closest approach to the landing site but the rotation of the Moon means that the spacecraft now passes well to the south of Hadley but still over the Montes Apenninus range.
AS15-M-2444 - Metric Camera image of Montes Apenninus including craters Conon and Galen. Image taken at about 214:58. (250 megapixel version), (labelled version) - Image by NASA/ASU.
Before their next communication with Earth, the crew continue with intensive handheld photography with a new film magazine, serial P, loaded with 64ASA Kodak Ektachrome colour reversal film (SO368). Initially they will use the 250mm lens and a standard body without the Réseau plate. In the five days since the now discarded Falcon landed, the Sun has risen to 60° in the sky above the Apennine Mountains around the southeast shore of Mare Imbrium. Under this shadowless light the lunar surface is bland and its topography difficult to discern. Photographs taken on magazine P at this time bear this out. For example, AS15-93-12577 and 12578. In this latter frame Rima Conon is the most prominent landform, running along the north margin of Sinus Fidei (Bay of Faith) between the Apennine Front and Mare Vaporum but otherwise, details are difficult to see.
AS15-93-12577 - Rima Conon. Approximate image centre at 19.1°N, 1.7°E - Image by NASA/Johnson Space Center.
AS15-93-12578 - Rima Conon. Approximate image centre at 18.2°N, 1.7°E - Image by NASA/Johnson Space Center.
The next three images on magazine P, frames AS15-93-12579, 12580 and 12581, are marked in the Apollo 15 index as being Rima Bradley, and under the high sunlight, they could be mistaken for a rille. However, they actually show a northwest-facing slope of the Apennine Front as viewed from the south. This viewing angle has compressed the apparent distance of the slope. The land at the bottom half of the image is 4.5 kilometres higher in altitude compared to the land at the top half. The bright linear feature is the 4.5-km drop which actually occurs over 7 kilometres distance. We are looking at an unnamed mountain which, like Mons Hadley, is part of the Apennine Front and which rises by a similar height as the mountain near the landing site.
AS15-93-12579 - Apennine Front north of crater Conon. Approximate image centre at 23.5°N, 1.3°E - Image by NASA/Johnson Space Center.
AS15-93-12580 - Apennine Front north of crater Conon. Approximate image centre at 23.5°N, 1.8°E - Image by NASA/Johnson Space Center.
AS15-93-12581 - Apennine Front north of crater Conon. Approximate image centre at 23.5°N, 2.1°E - Image by NASA/Johnson Space Center.
214:58:58 Henize: 15, Houston. We have a couple of camera PADs when you have time to copy. [Pause.]
214:59:08 Worden: Okay; stand by a couple of minutes, will you please, Karl?
214:59:13 Henize: Rog. [Long pause.]
214:59:48 Irwin: Okay, Karl. I'll copy those PADs for you.
214:59:52 Henize: Roger. They're in the Flight Plan at 216. The first one is the Solar Corona photo PAD. T-start is 216:03:55. Down below, the Mapping Camera photo PAD: Start 216:18:30, Stop 217:18:15. [Pause.]
215:00:31 Irwin: Copied. 216:03:55, 216:18:30, and 217:18:5 - 15.
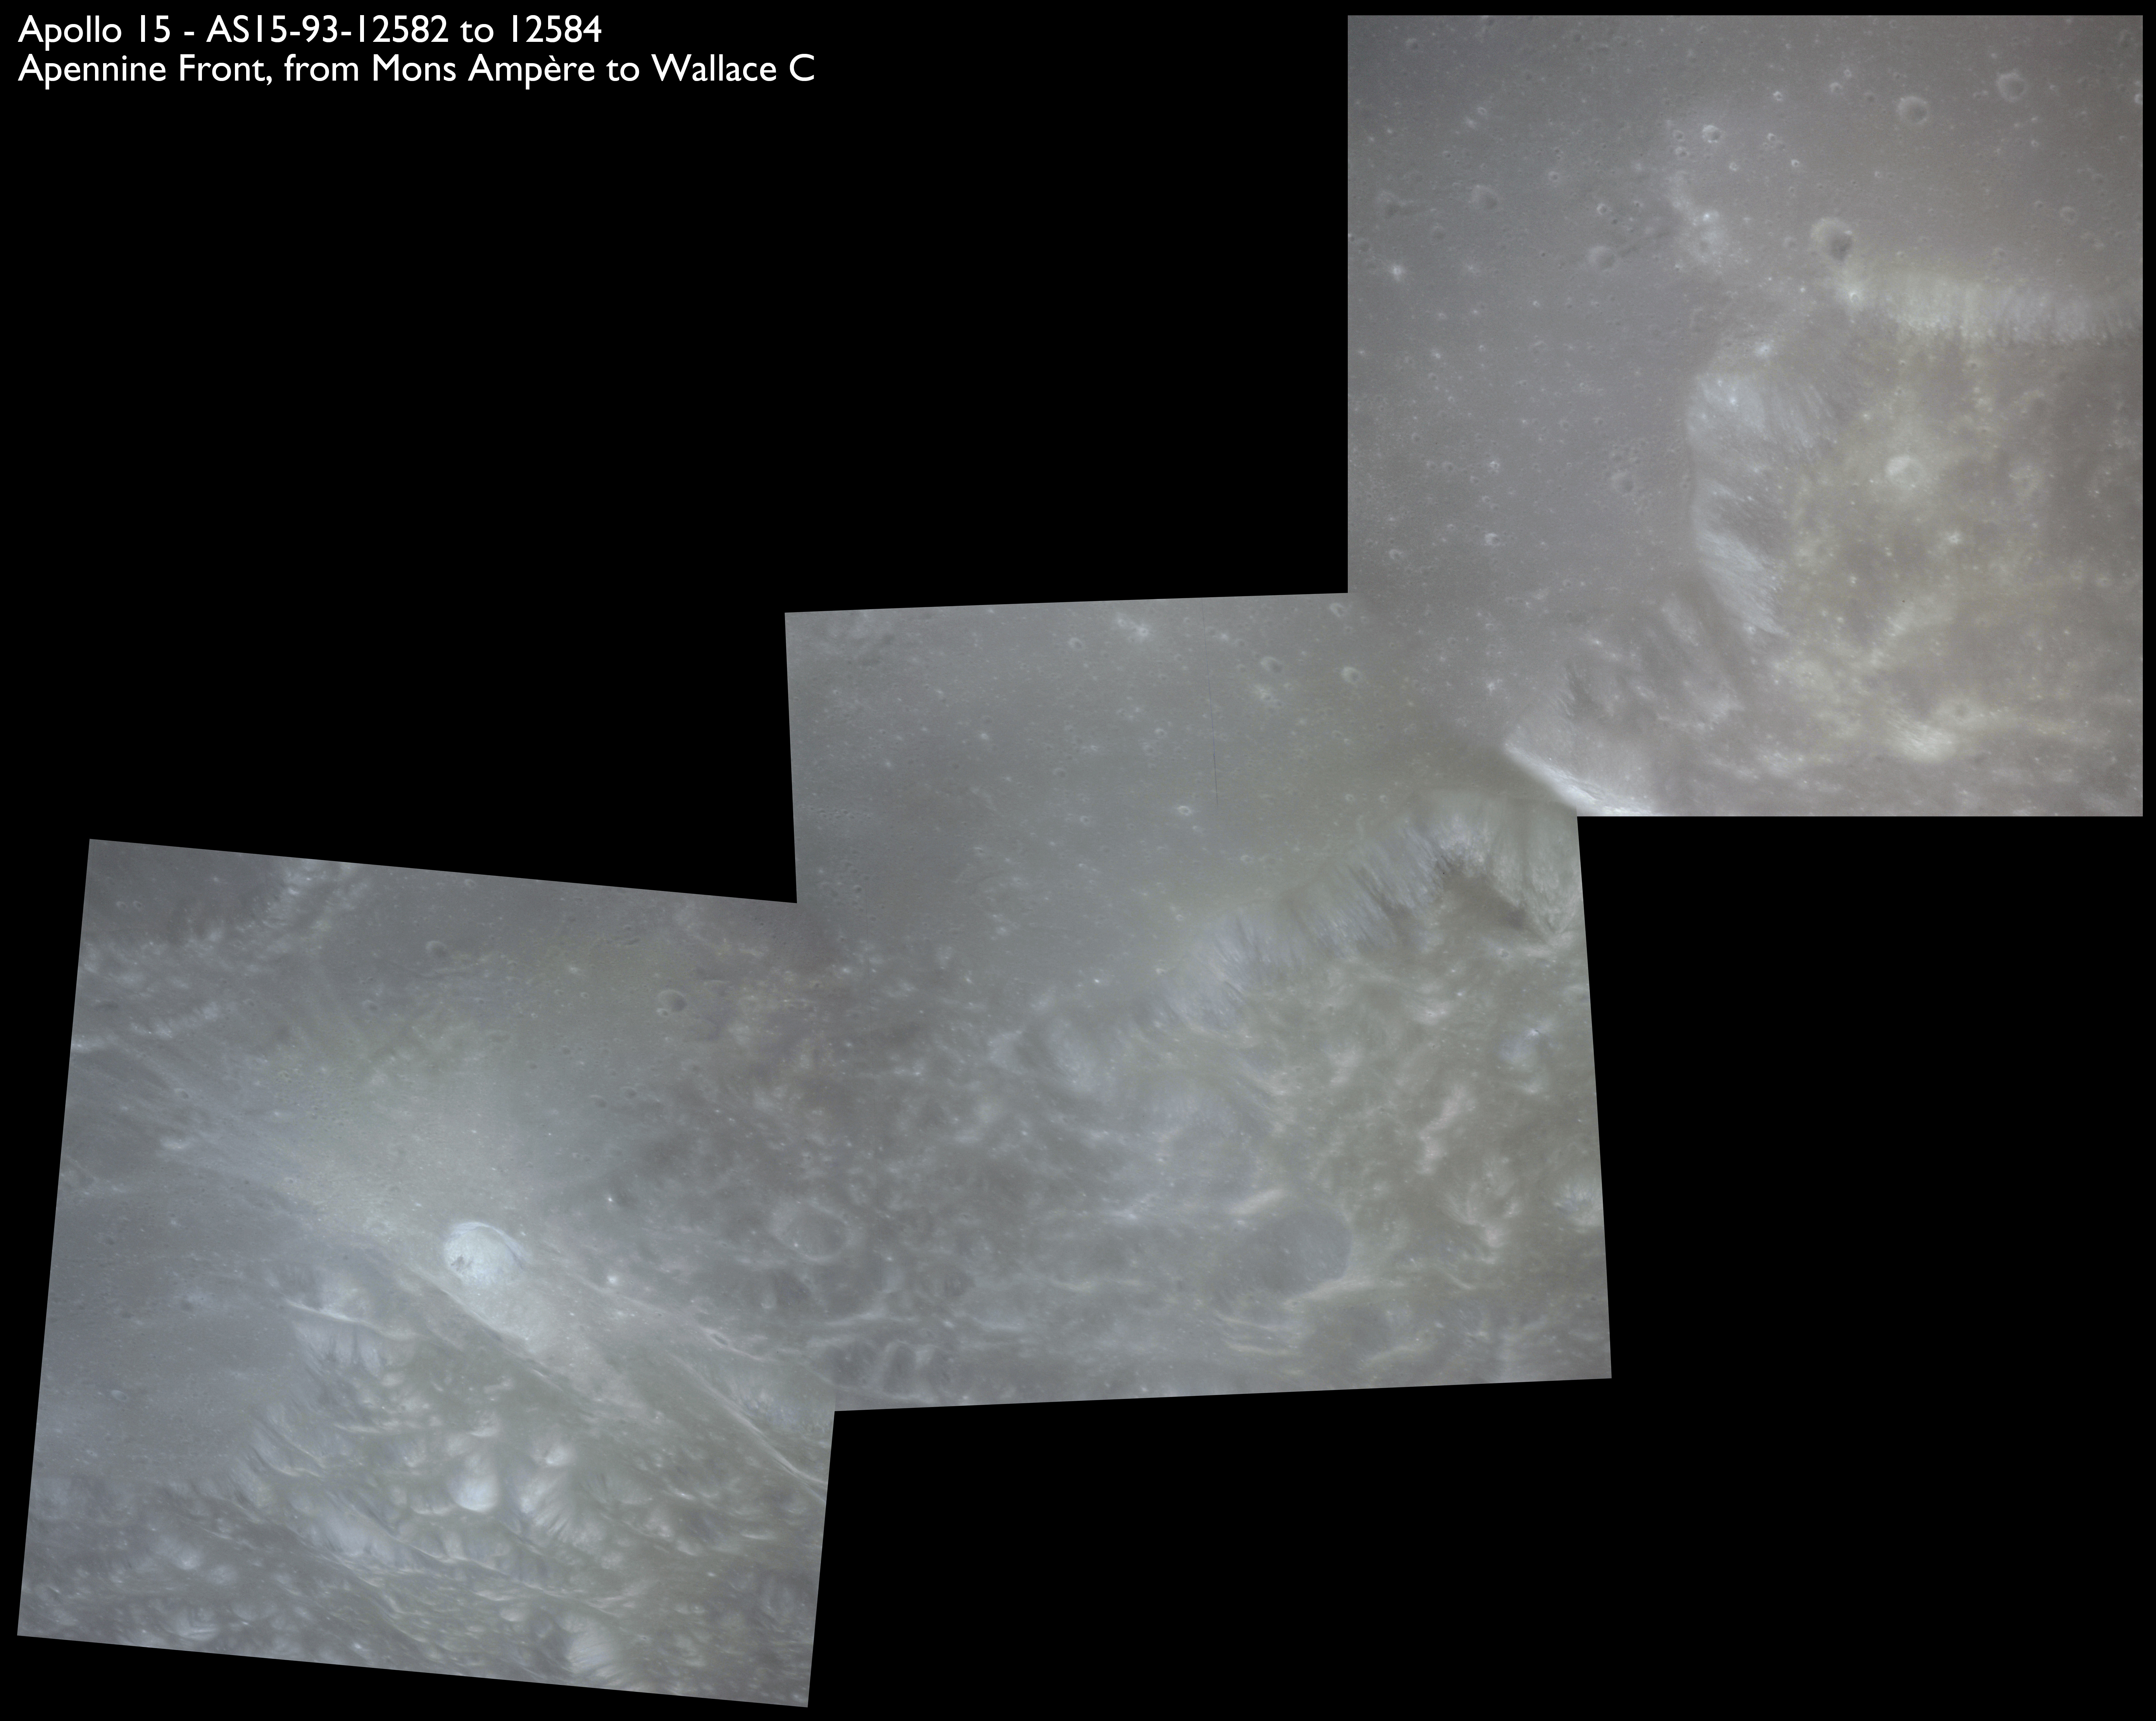
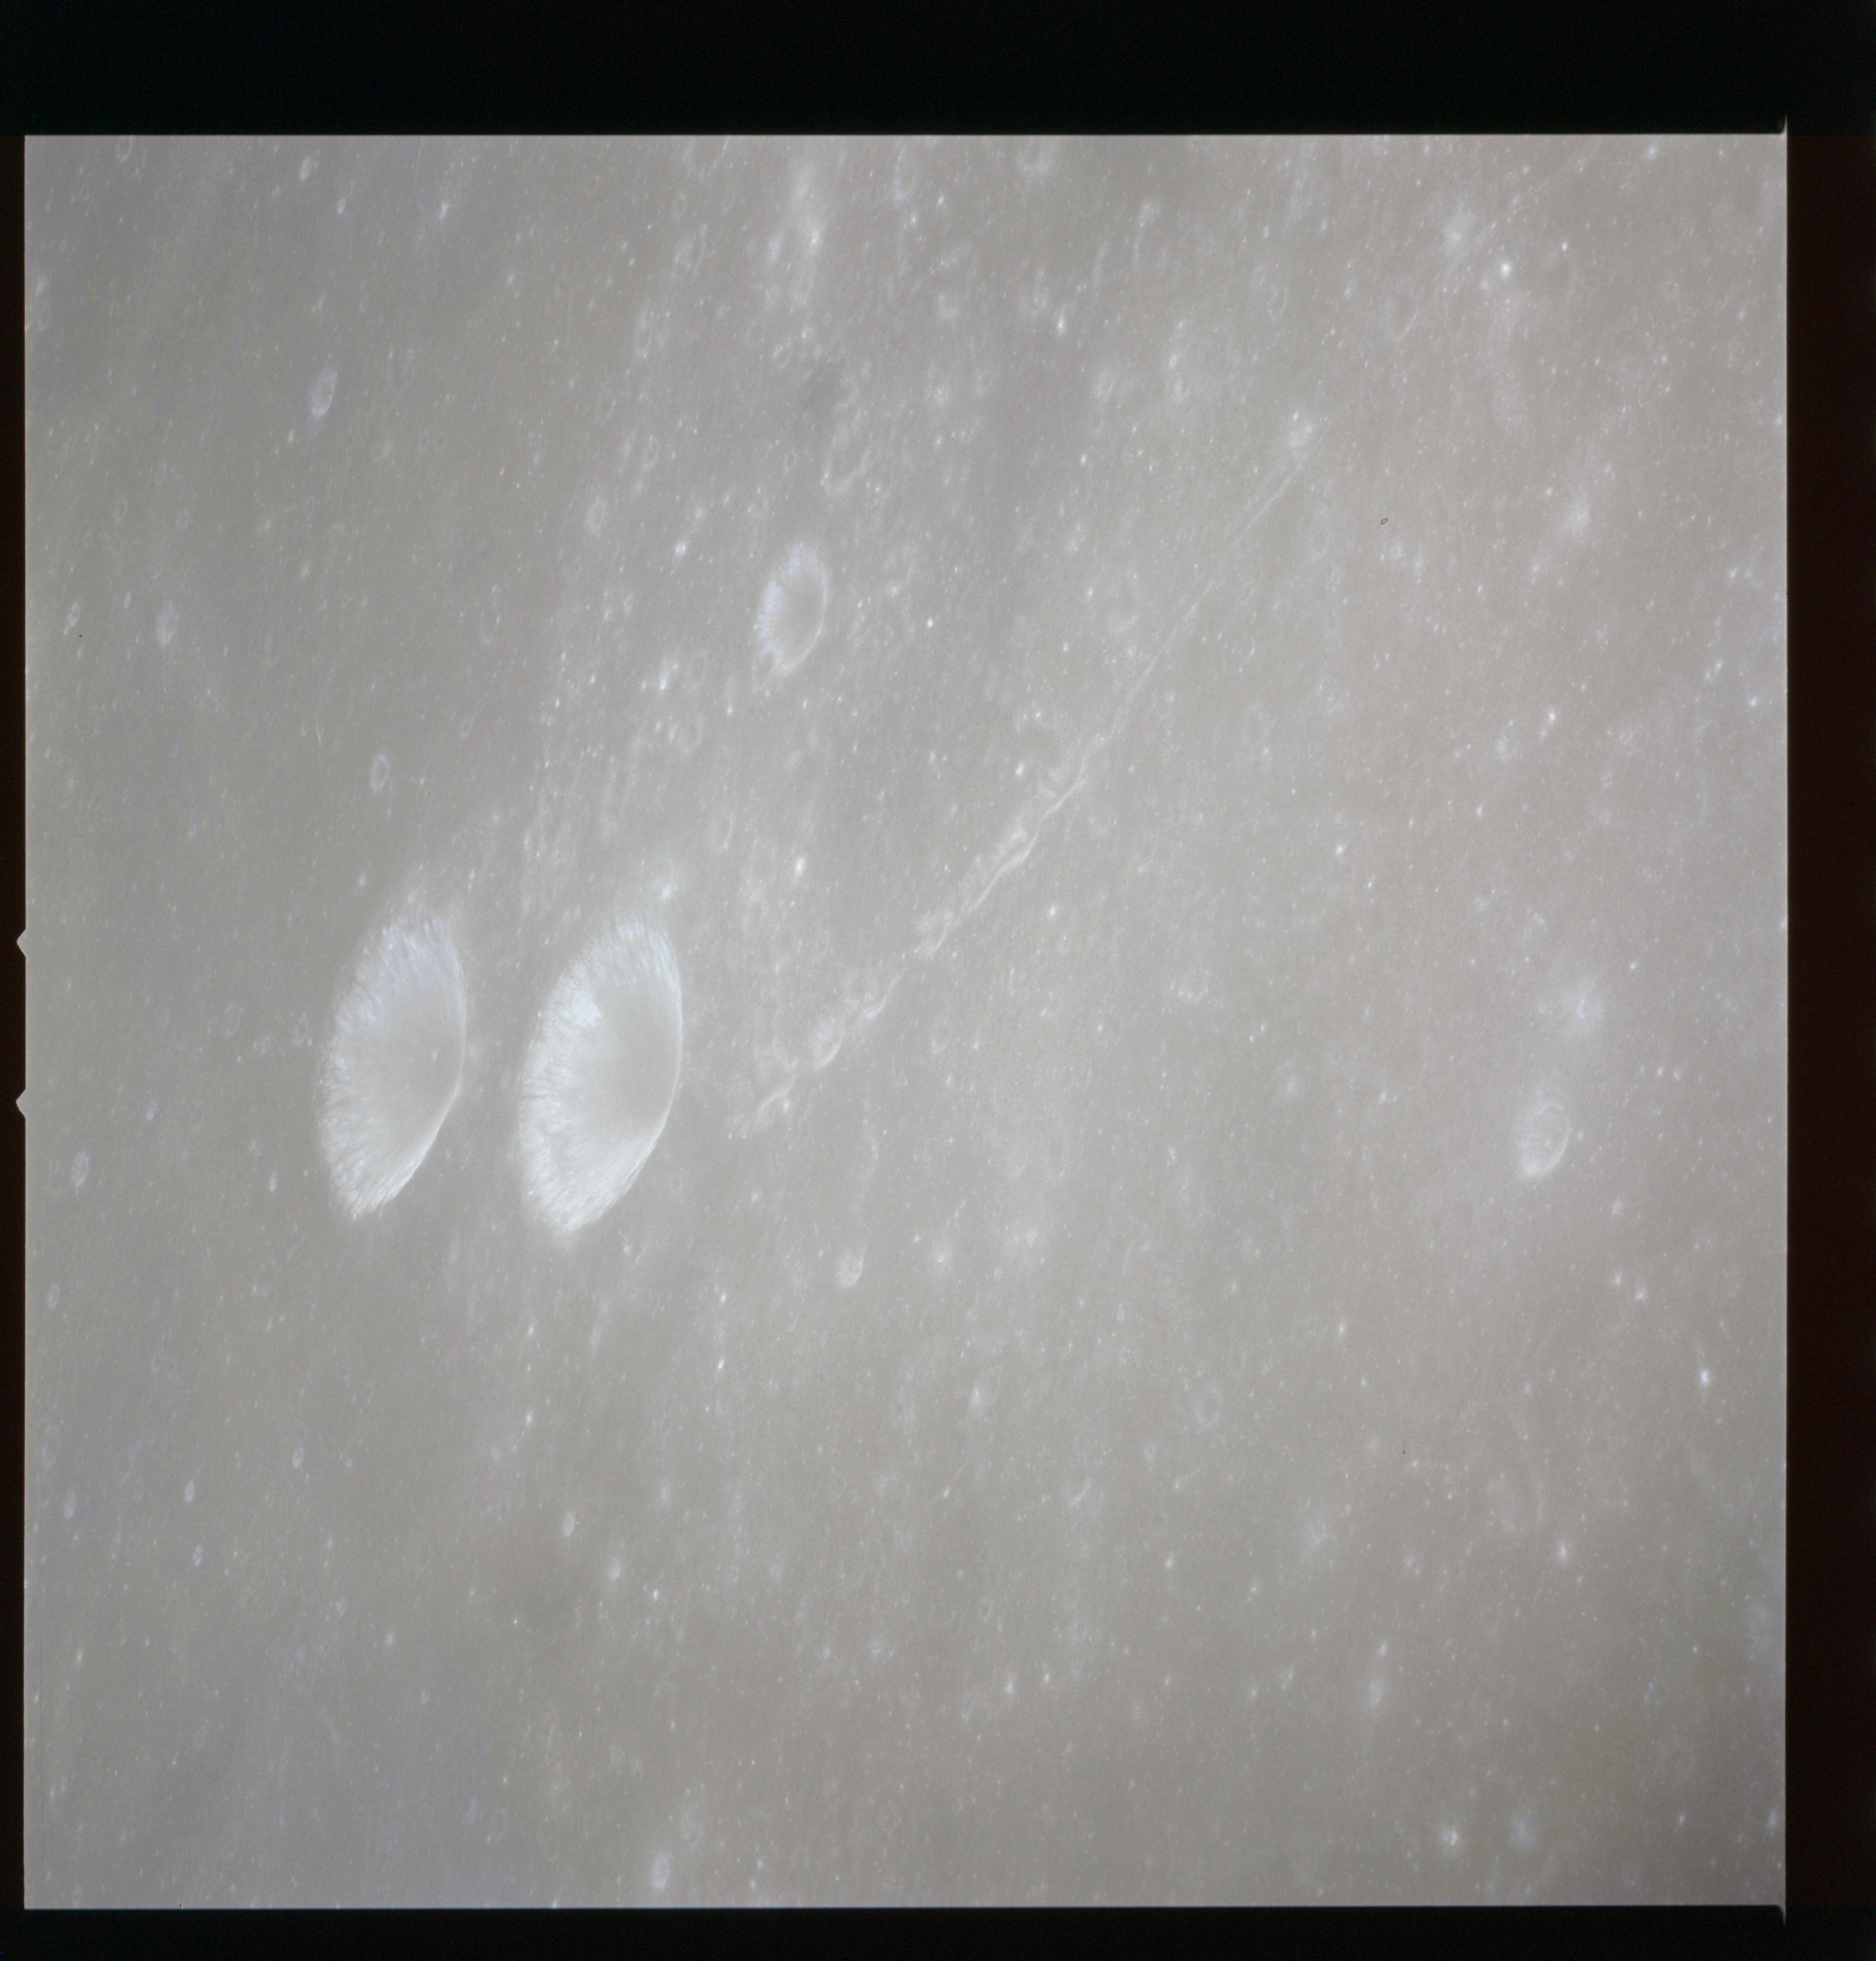
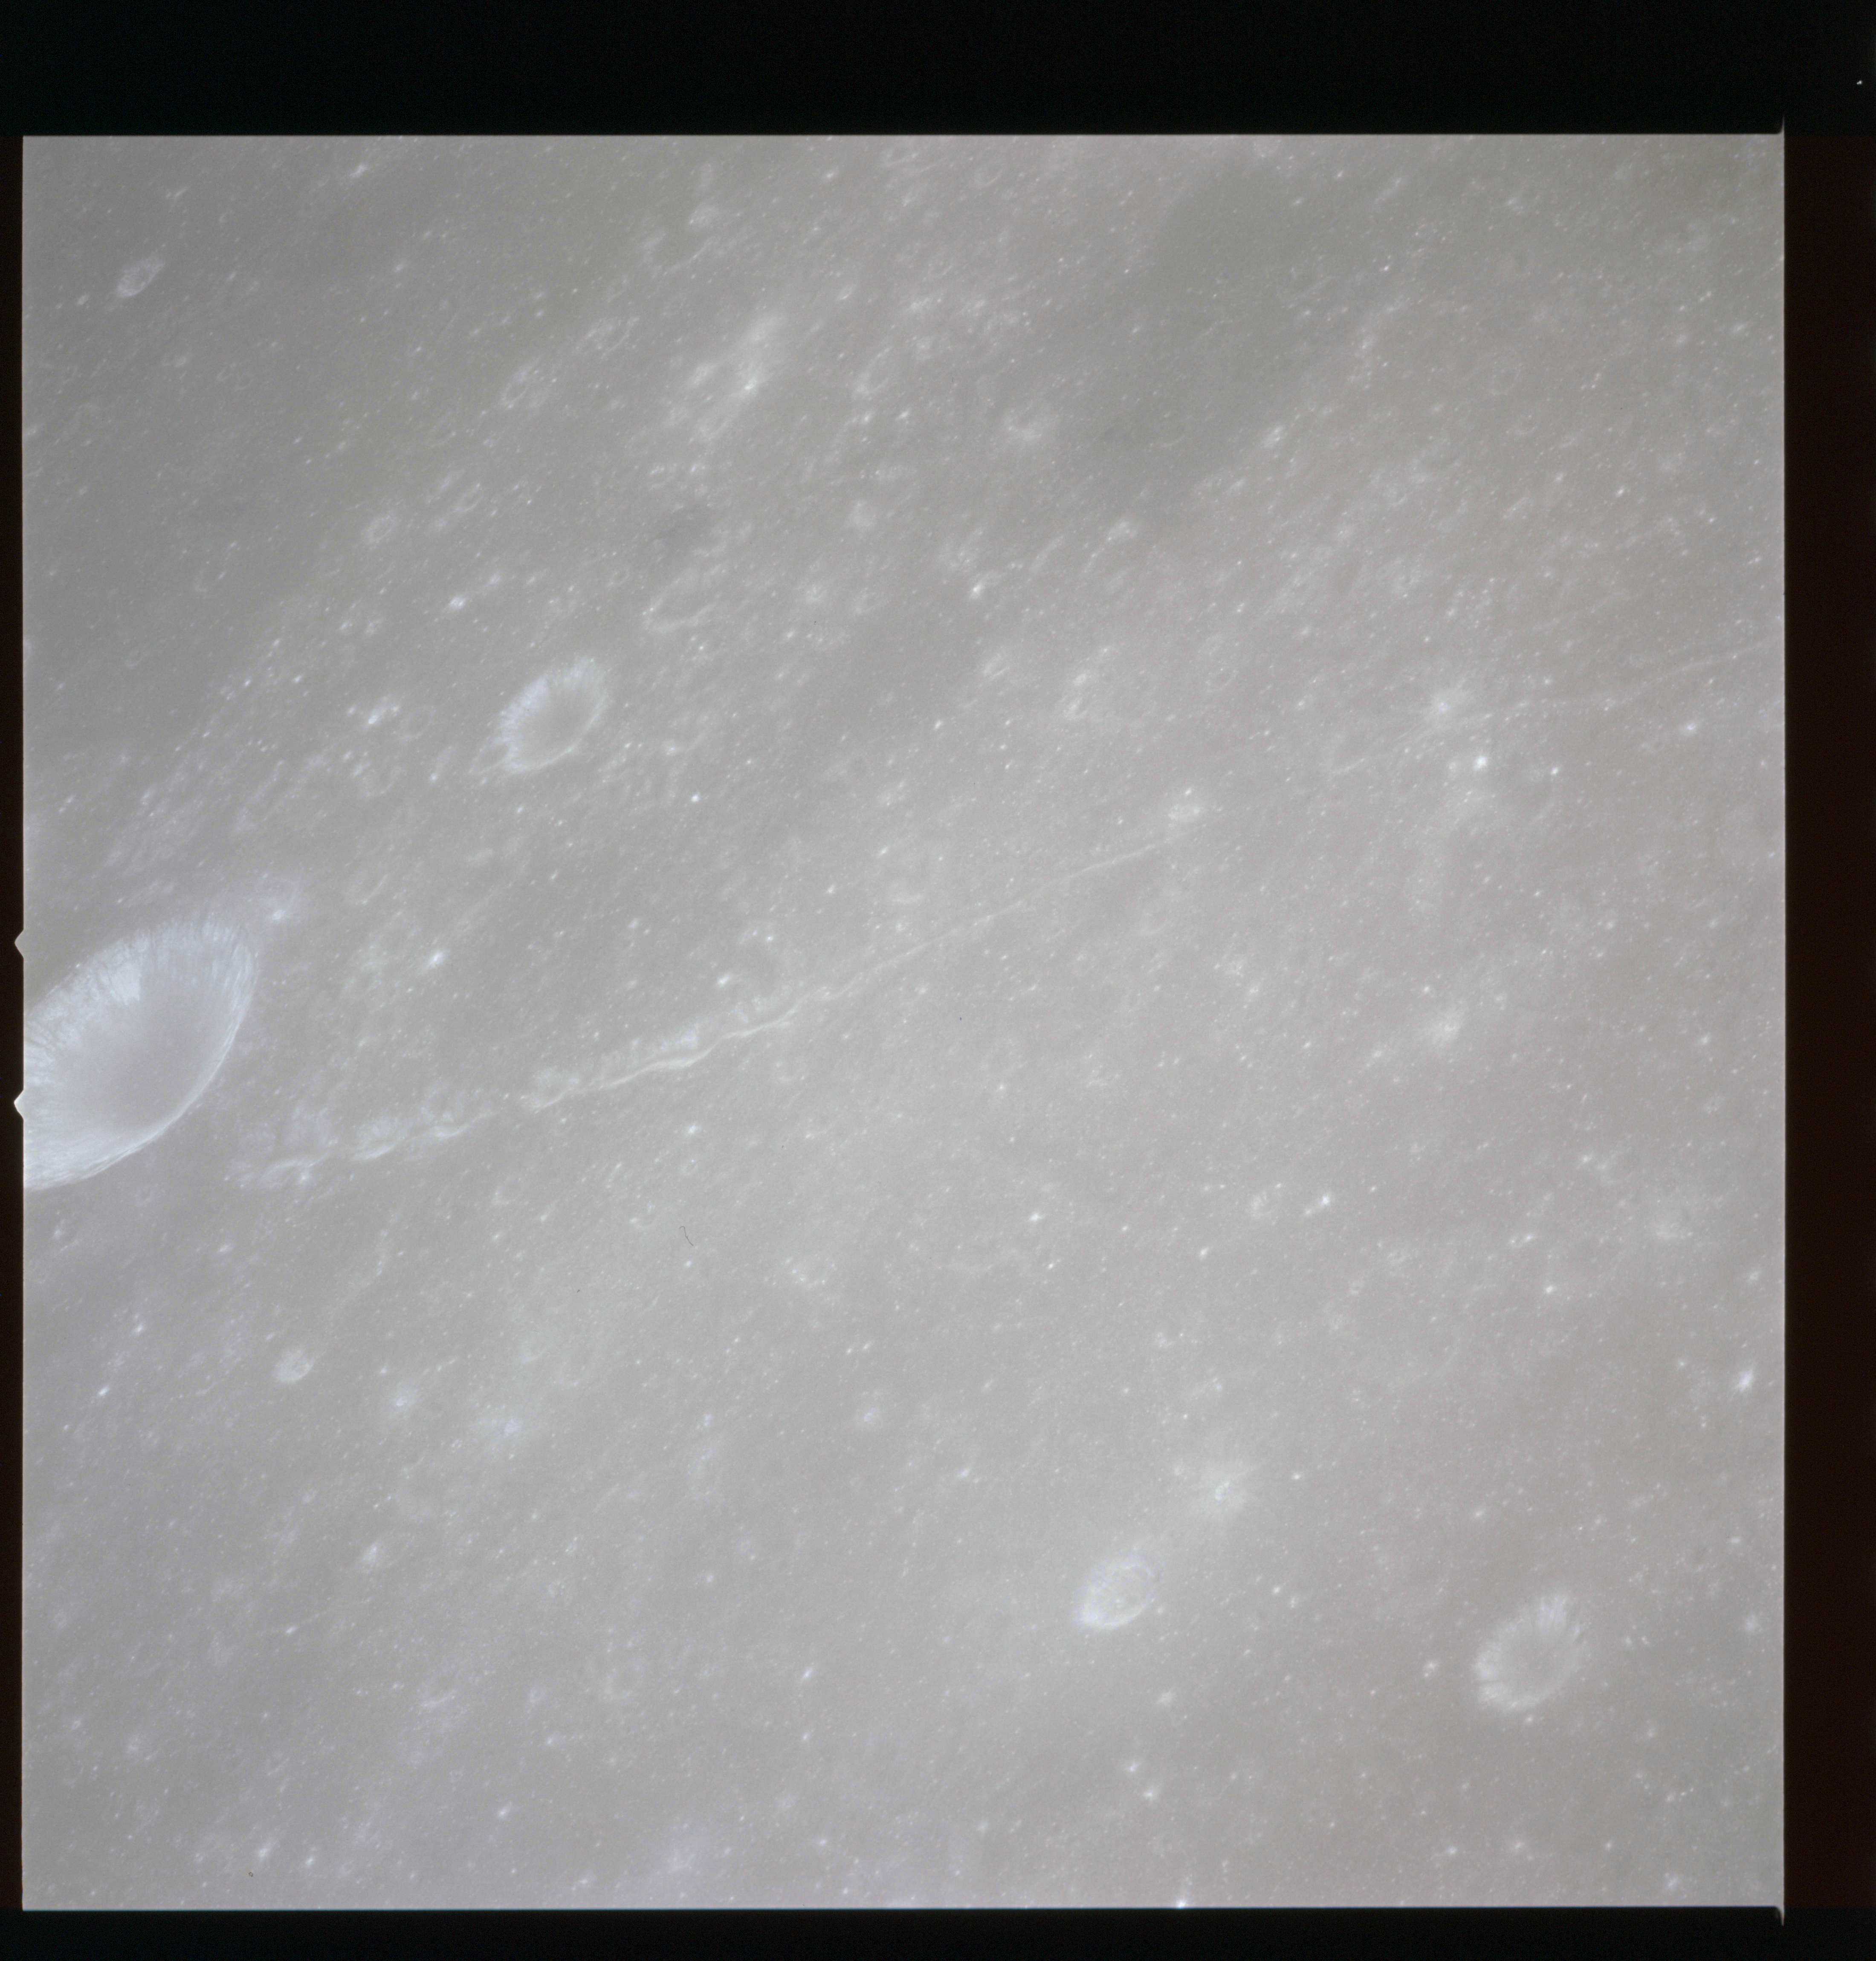
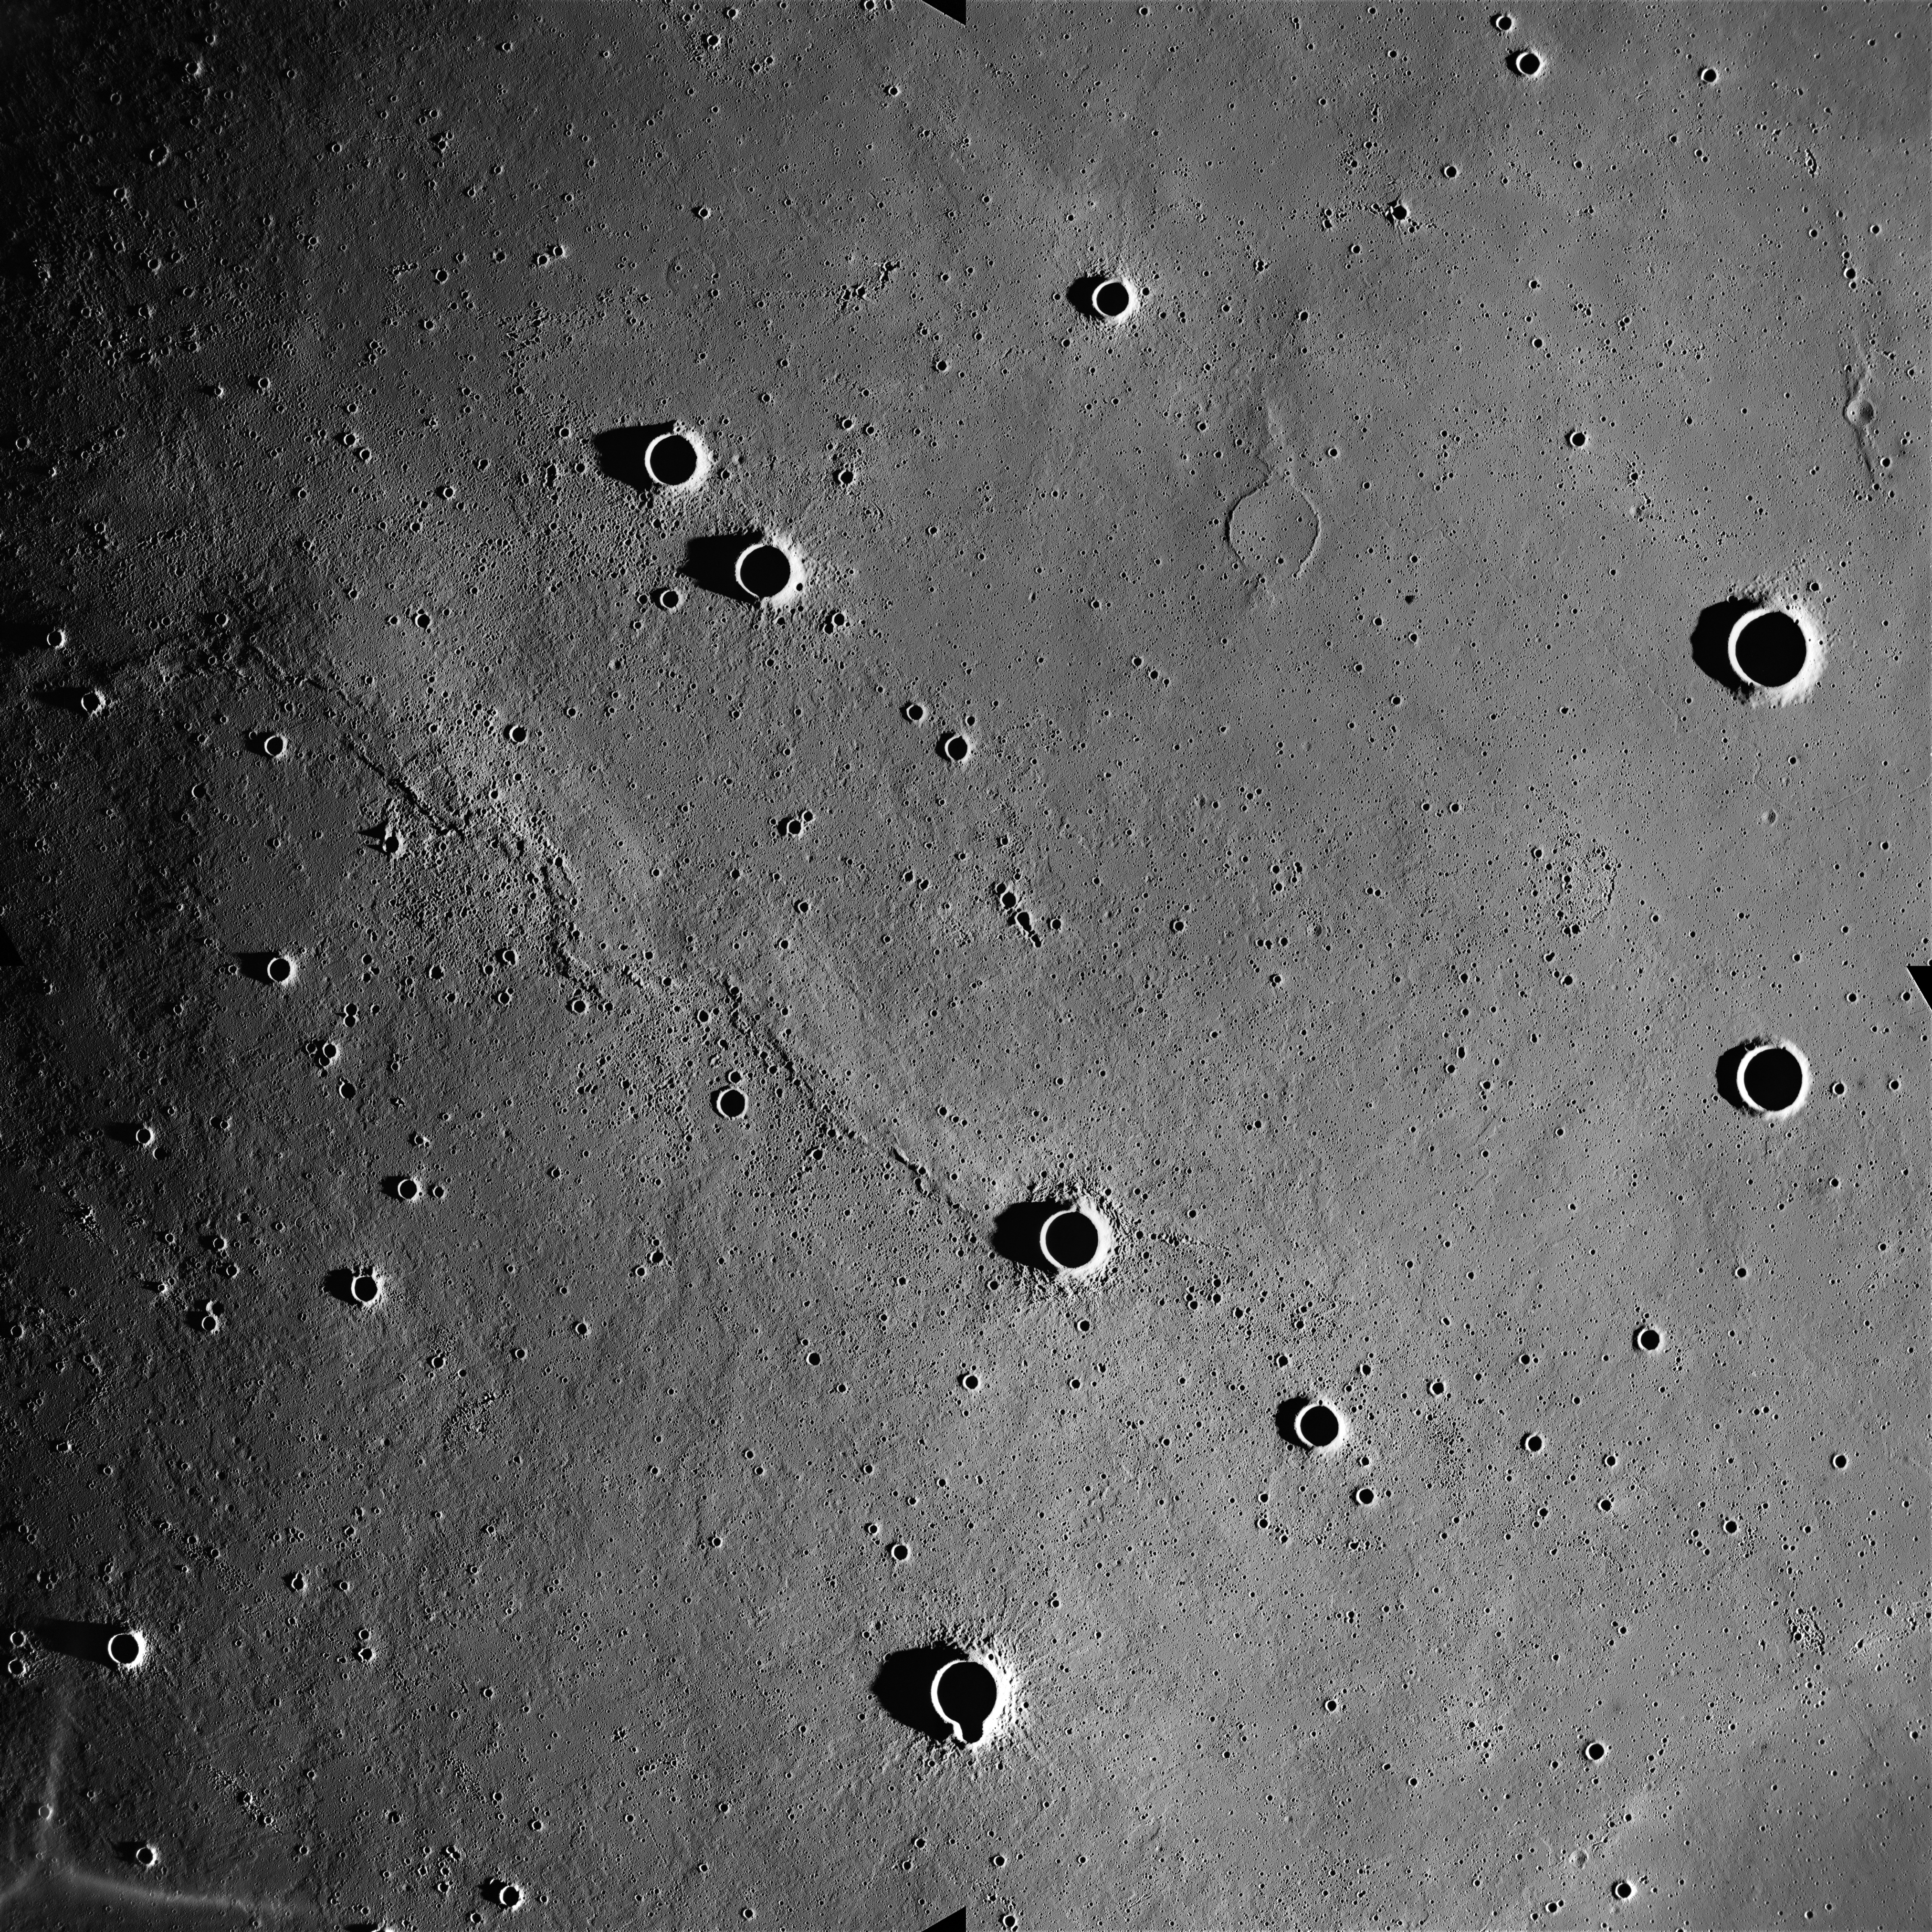
Looking to the south of Endeavour's groundtrack, three frames, AS15-93-12582 to 12584, take in the Apennine Front from Mons Ampère to Wallace C.
AS15-93-12582 - Mons Ampère. Approximate image centre at 19.6°N, 3.9°W - Image by NASA/Johnson Space Center.
AS15-93-12583 - Apennine Front north of crater Conon. Approximate image centre at 18.5°N, 4.8°W - Image by NASA/Johnson Space Center.
AS15-93-12584 - Crater Wallace C. Approximate image centre at 17.5°N, 6.5°W - Image by NASA/Johnson Space Center.
In a composite of these images, this 100-kilometre stretch of the Front is seen in its entirety.
Composite image of Apennine Front from Mons Ampère to crater Wallace C - Source images by NASA/Johnson Space Center.
As they coast south of Archimedes, AS15-93-12585 to 12588 form a sequence looking northeast including the pair of small craters, Feuillée and Beer, each about 10 kilometres in diameter and sited midway between Archimedes and Timocharis within the expanse of Mare Imbrium.
AS15-93-12585 - Craters Feuillée and Beer - Image by NASA/Johnson Space Center.
AS15-93-12586 - Crater Beer and collapsed crater chain - Image by NASA/Johnson Space Center.
AS15-93-12587 - Collapsed crater chain running east from crater Beer - Image by NASA/Johnson Space Center.
AS15-93-12588 - Collapsed crater chain running east from crater Beer - Image by NASA/Johnson Space Center.
For the subsequent photographs on magazine P, the Hasselblad is fitted with an 80mm lens. The spacecraft is midway over Mare Imbrium and passes well north of Copernicus, a 93-km crater that is almost as important to our understanding of the Moon as the Polish astronomer whose name it carries is to the subject of astronomy. Nicolaus Copernicus, 1473-1543, propounded a theory of the Solar System that placed the Sun at the centre, not Earth. While not a new idea - Greek astronomers had come up with it 1,500 years earlier - he introduced it into mainstream western thought at a time when the Renaissance made it acceptable. The great crater named after him is seen on the horizon in frame AS15-93-12589.
AS15-93-12589 - View south towards crater Copernicus - Image by NASA/Johnson Space Center.
In the foreground can be seen a scattering of little craters. These are mostly secondary craters from the impact of projectiles which were themselves sent aloft by the massive impact that produced Copernicus.
On a world as extraordinarily ancient as the Moon, Copernicus is relatively fresh, yet it is tentatively dated as having been formed about 800 million years ago, long before complex life took hold on the nearby Earth. The surface on which it left its mark is not only more than three aeons old, it also happened to be a smooth mare surface which preserved the fingerprint of the damage imparted by the impact. Around 1959, Eugene Shoemaker, a renowned geologist with United States Geological Survey, made a study of the distribution of secondary craters around Copernicus. He showed that they were the result of the violent expulsion of ejecta due to the intense shock waves associated with impact. His study was a major step in the understanding that impact has been, and is, a major sculptor of the surfaces of the planets. The rays of Copernicus are still bright even though thay have been fading with time and the crater can be an impressive sight in a small telescope. Apollo 15's inclined orbit keeps it away from the direct vicinity of the crater but other Apollo flights did take copious photos of it.
AS15-M-2454 - Metric Camera image of Mare Imbrium including crater Timocharis. Image taken at about 215:02. (250 megapixel version), (labelled version) - Image by NASA/ASU.
AS15-93-12590 - Crater Lambert - Image by NASA/Johnson Space Center.
AS15-93-12590 shows the 30-km crater Lambert peeking out from behind the edge of the Command Module window. AS15-93-12591 looks across southern Mare Imbrium towards the Montes Carpatus (Carpathian Mountains). The rays from Copernicus, blasted across the mare surface, are clearly visible.
AS15-93-12591 - View southwest across Mare Imbrium towards Montes Carpatus - Image by NASA/Johnson Space Center.
AS15-M-2464 - Metric Camera image of Mare Imbrium including Mons La Hire and Dorsum Zirkel. Image taken at about 215:06. (250 megapixel version), (labelled version) - Image by NASA/ASU.
Photography is taken up on a fresh 70mm film magazine. This is magazine OO and it contains black and white film with a speed of between 80 and 125 ASA. It is used on the same camera that had mag QQ and which still has the 500mm telephoto attached. The camera body has a Réseau plate but unlike the other camera body so fitted, this plate is relatively clean with only a few small marks.
Down the years, those who have studied the Moon have had a tendency to be attracted to those features which look different from the monotony of craters and mountains, believing perhaps that the secret to that world's past would be revealed there. Now we understand that it is the obvious features, especially those on a large-scale and visible from Earth, that are the key to Luna's story. Yet this does not stop the lunar explorer from being attracted to the unusual and so whoever has the camera with the 500-mm lens is using it to shoot some of these 'special features'.
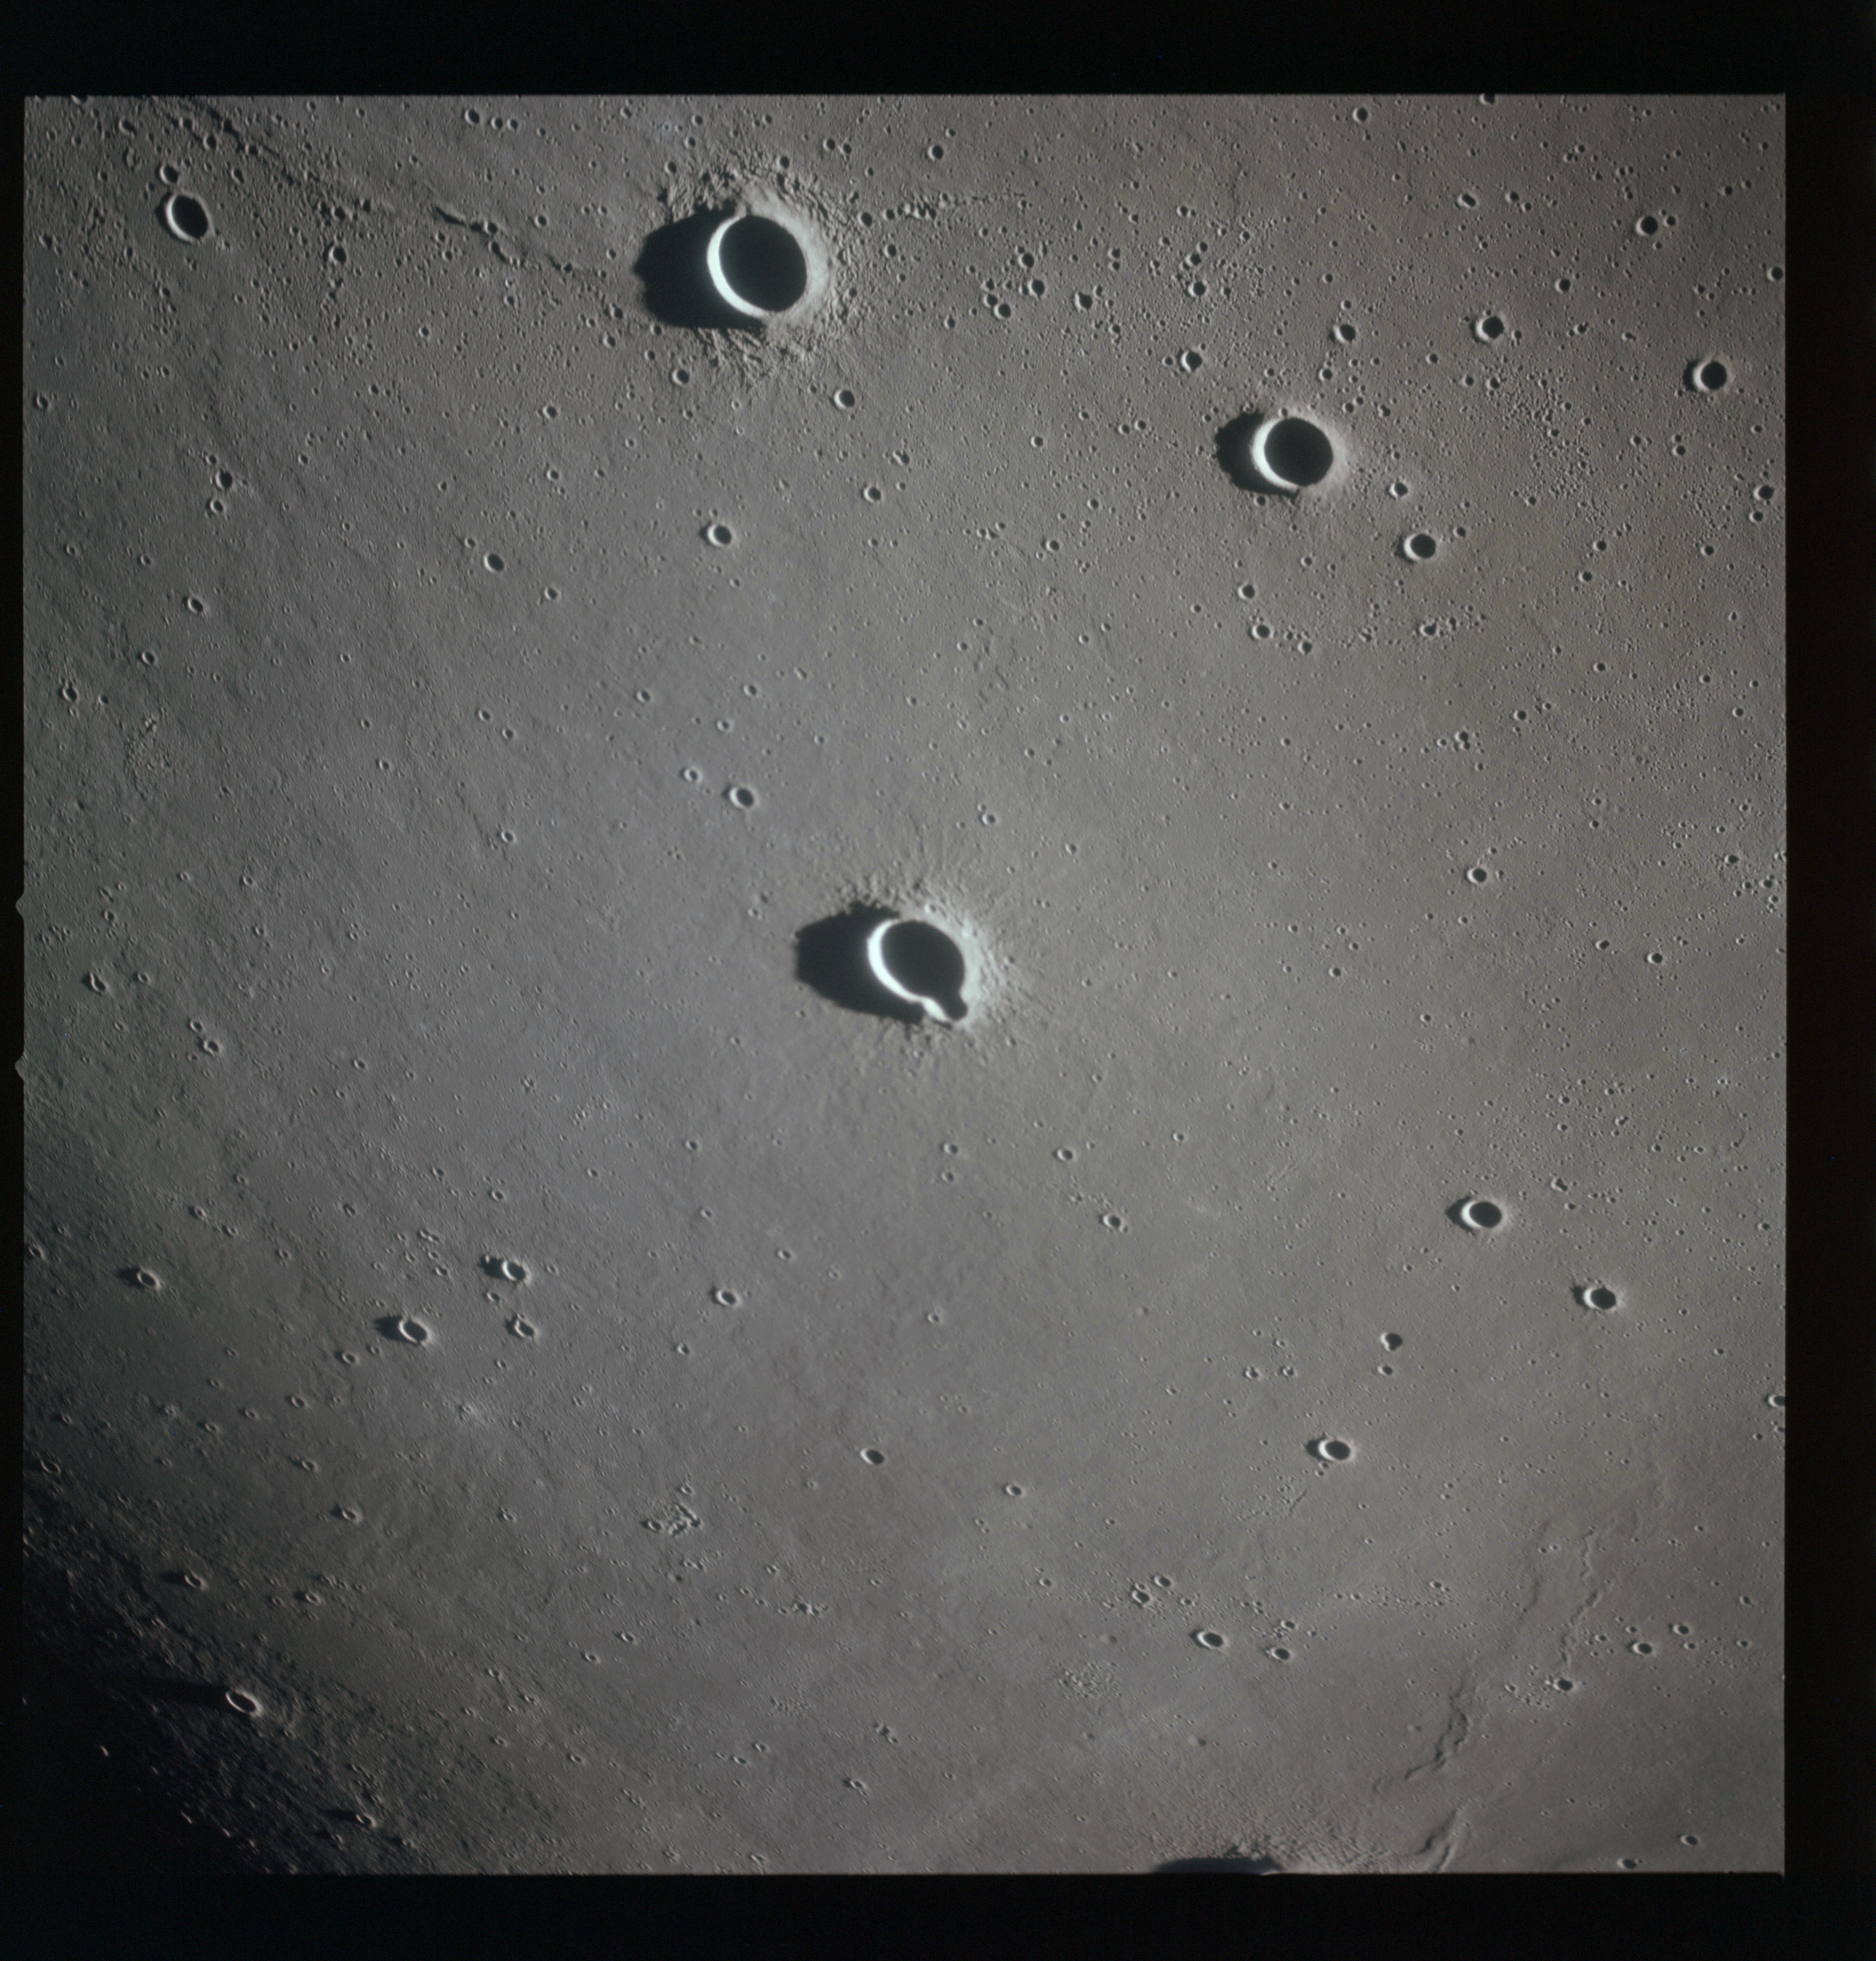
The first image, AS15-92-12452, is entered in the Apollo 15 photo index as being La Hire C.
AS15-92-12452 - Crater complex La Hire C in Mare Imbrium. Image centre at 27.53°N, 27.79°W - Image by NASA/Johnson Space Center.
AS15-92-12453 - Crater complex in Mare Imbrium. Image centre at 27.84°N, 28.45°W - Image by NASA/Johnson Space Center.
AS15-92-12454 - Crater complex in Mare Imbrium. Image centre at 28.60°N, 28.80°W - Image by NASA/Johnson Space Center.
AS15-92-12455 - Crater complex in Mare Imbrium. Image centre at 27.81°N, 30.78°W - Image by NASA/Johnson Space Center.
AS15-92-12456 - Unusual crater in Mare Imbrium. Image centre at 27.93°N, 31.46°W - Image by NASA/Johnson Space Center.
As the spacecraft approaches the western side of Mare Imbrium, two relatively wide images are taken on magazine P using the 80mm lens. The first, AS15-93-12592, looks west into the washout of zero-phase illumination at Diophanthus on the lower left, and Delisle to the upper right. Diophanthus was a fourth century AD Greek mathematician
AS15-93-12592 - View west towards craters Delisle and Diophantus - Image by NASA/Johnson Space Center.
The second, AS15-93-12593, looks southwest towards crater Euler E in the foreground, and Brayley with its satellite craters beyond. Edward Brayley, 1801-1870, was a professor at the Royal Institution, London.
AS15-93-12593 - View southwest towards craters Euler E and Brayley - Image by NASA/Johnson Space Center.
Returning to the 500mm lens, AS15-92-12457 shows Diophanthus B, a small, simple type crater.
AS15-92-12457 - Crater Diophantus B - Image by NASA/Johnson Space Center.
AS15-92-12458 and 12459 are of Rima Delisle and the curious y-shaped form it takes.
AS15-92-12458 - Rima Delisle. Image centre at 30.55°N, 32.74°W - Image by NASA/Johnson Space Center.
AS15-92-12459 - Rima Delisle. Image centre at 30.48°N, 33.05°W - Image by NASA/Johnson Space Center.
Samir and Louise are two small, rayed craters sited between Diophanthus and Delisle, the subject of frame AS15-92-12460.
AS15-92-12460 - Craters Samir (larger) and Louise. Image centre at 28.53°N, 34.22°W - Image by NASA/Johnson Space Center.
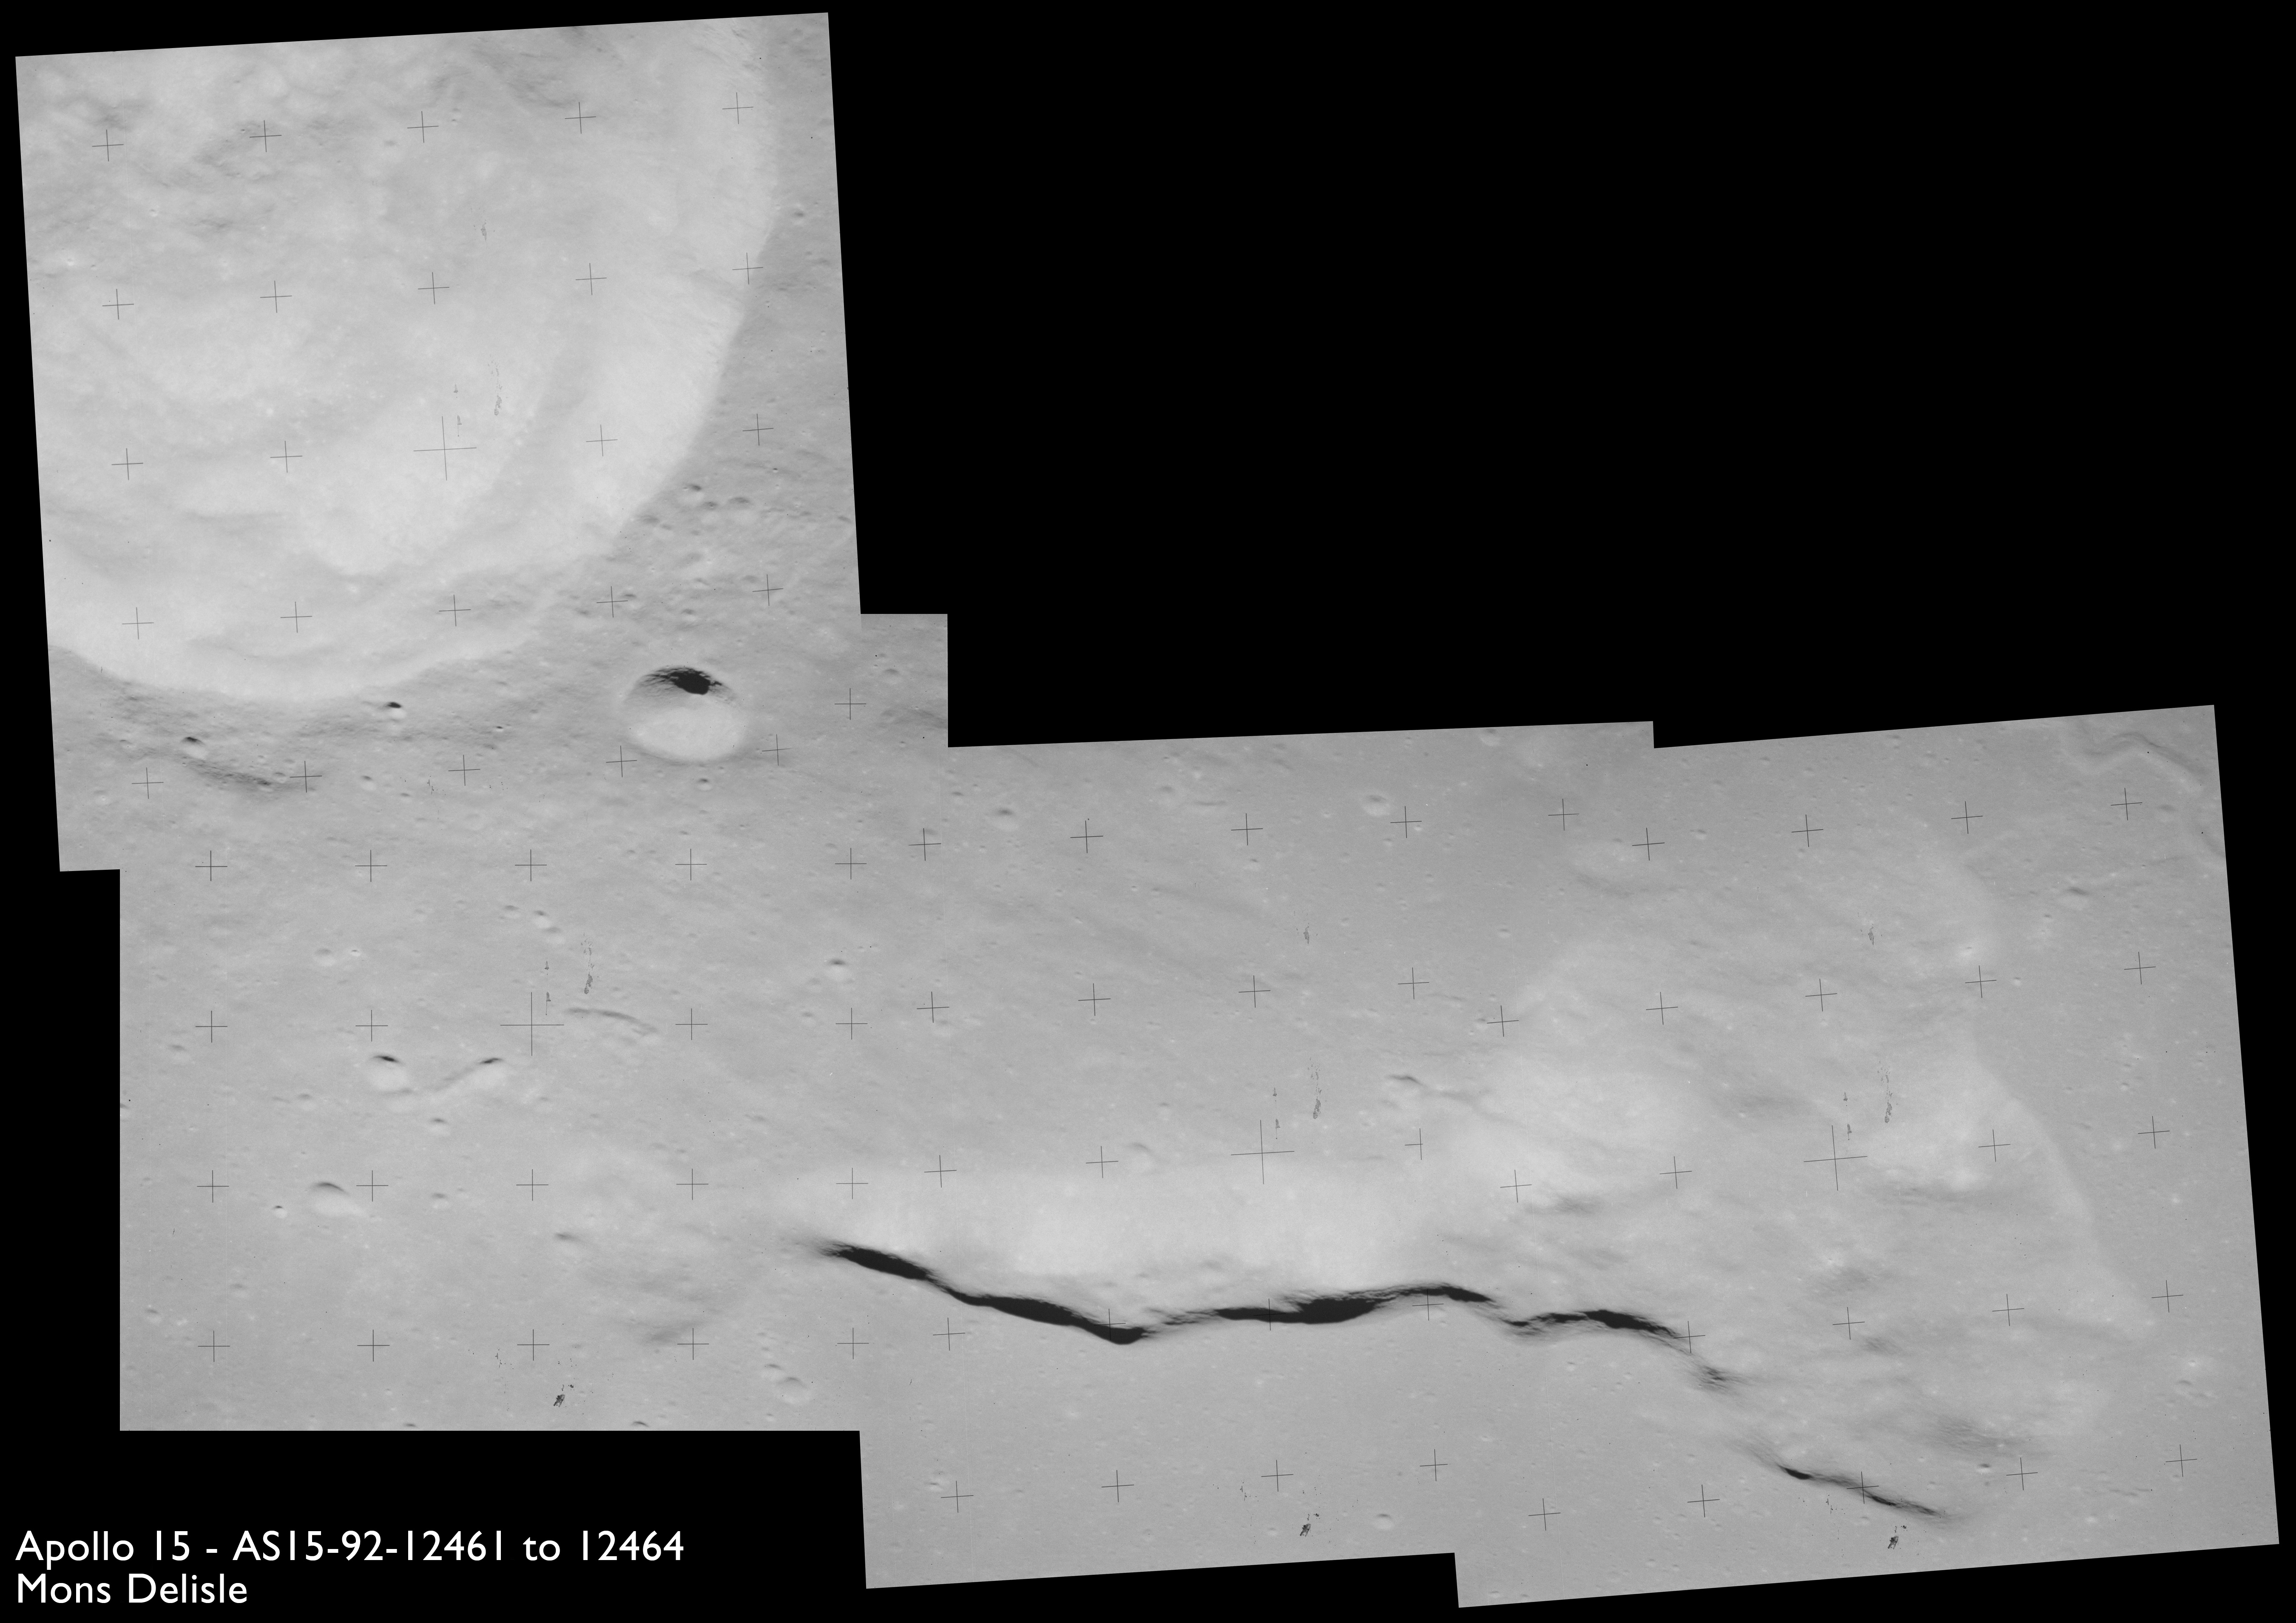
30 kilometres northwest of Samir and Louise is Mons Delisle, itself 30 km long and captured in a sequence of frames, AS15-92-12461 to 12464.
AS15-92-12461 - Mons Delisle, southern section. Image centre at 29.09°N, 35.70°W - Image by NASA/Johnson Space Center.
AS15-92-12462 - Mons Delisle, central section. Image centre at 29.48°N, 35.68°W - Image by NASA/Johnson Space Center.
AS15-92-12463 - Mons Delisle, northern section. Image centre at 29.95°N, 35.54°W - Image by NASA/Johnson Space Center.
AS15-92-12464 - Crater Delisle - Image by NASA/Johnson Space Center.
These four images have been composited.
Composite image of Mons Delisle - Source images by NASA/Johnson Space Center.
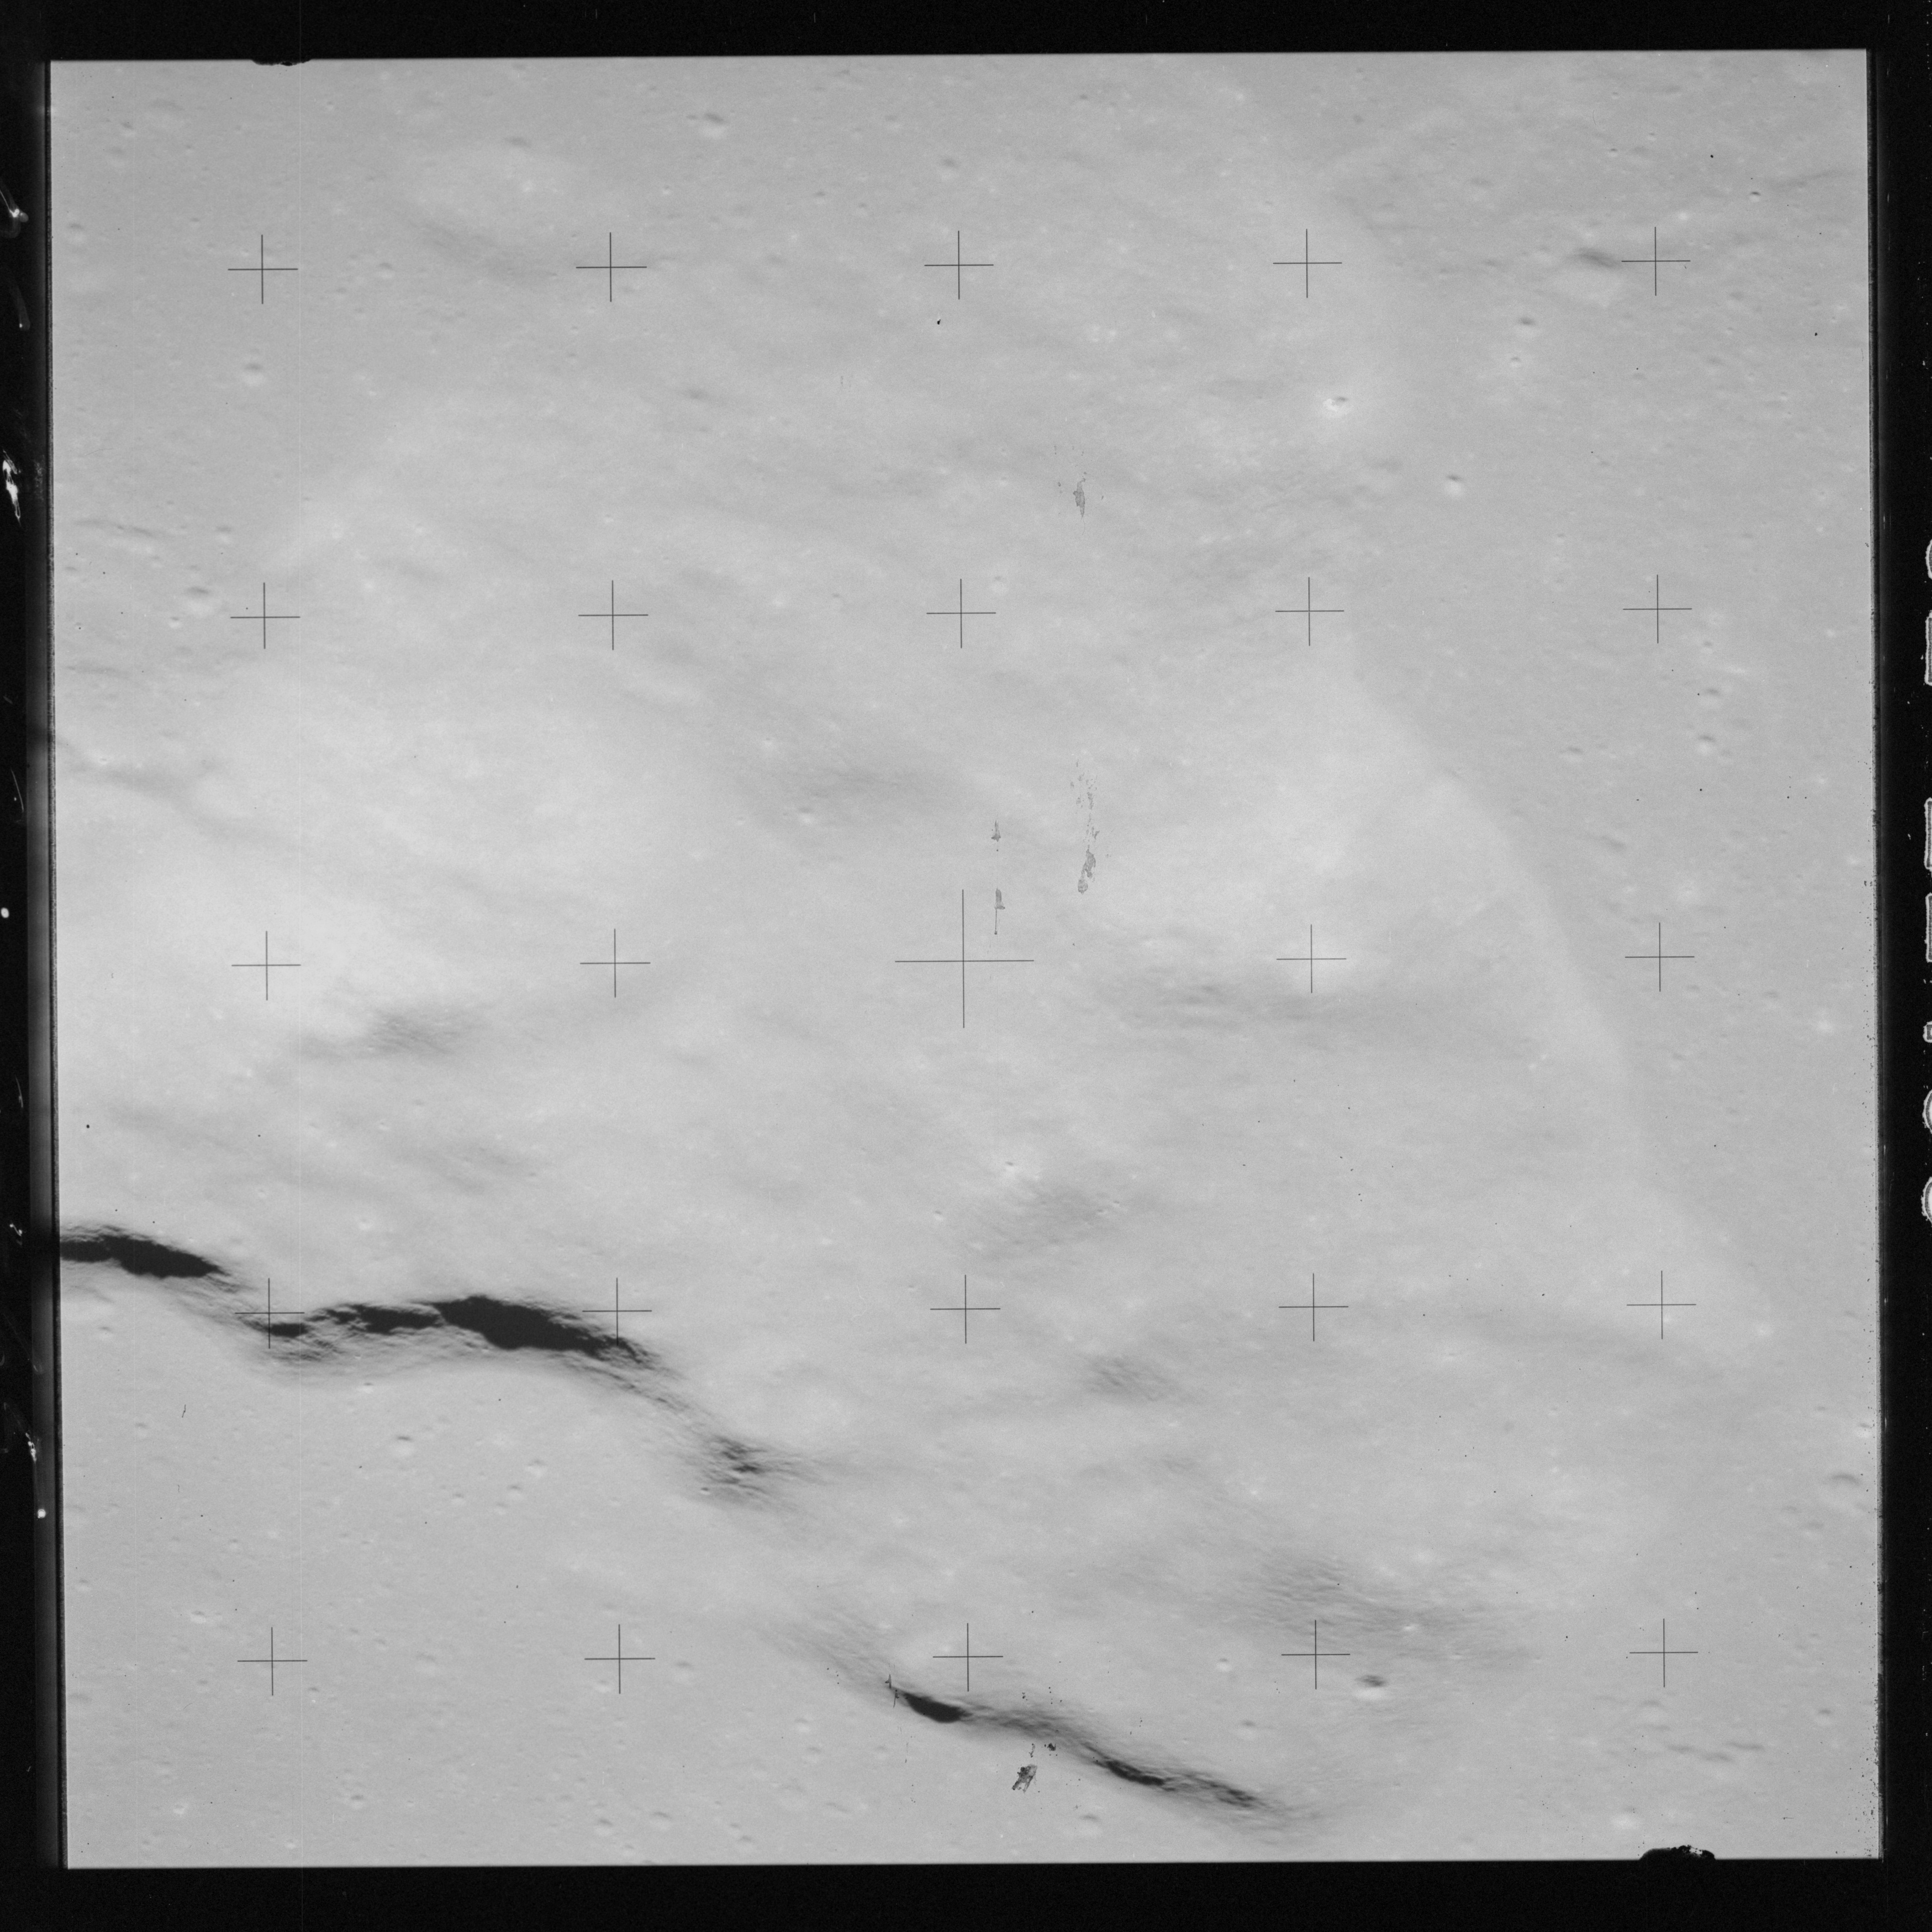
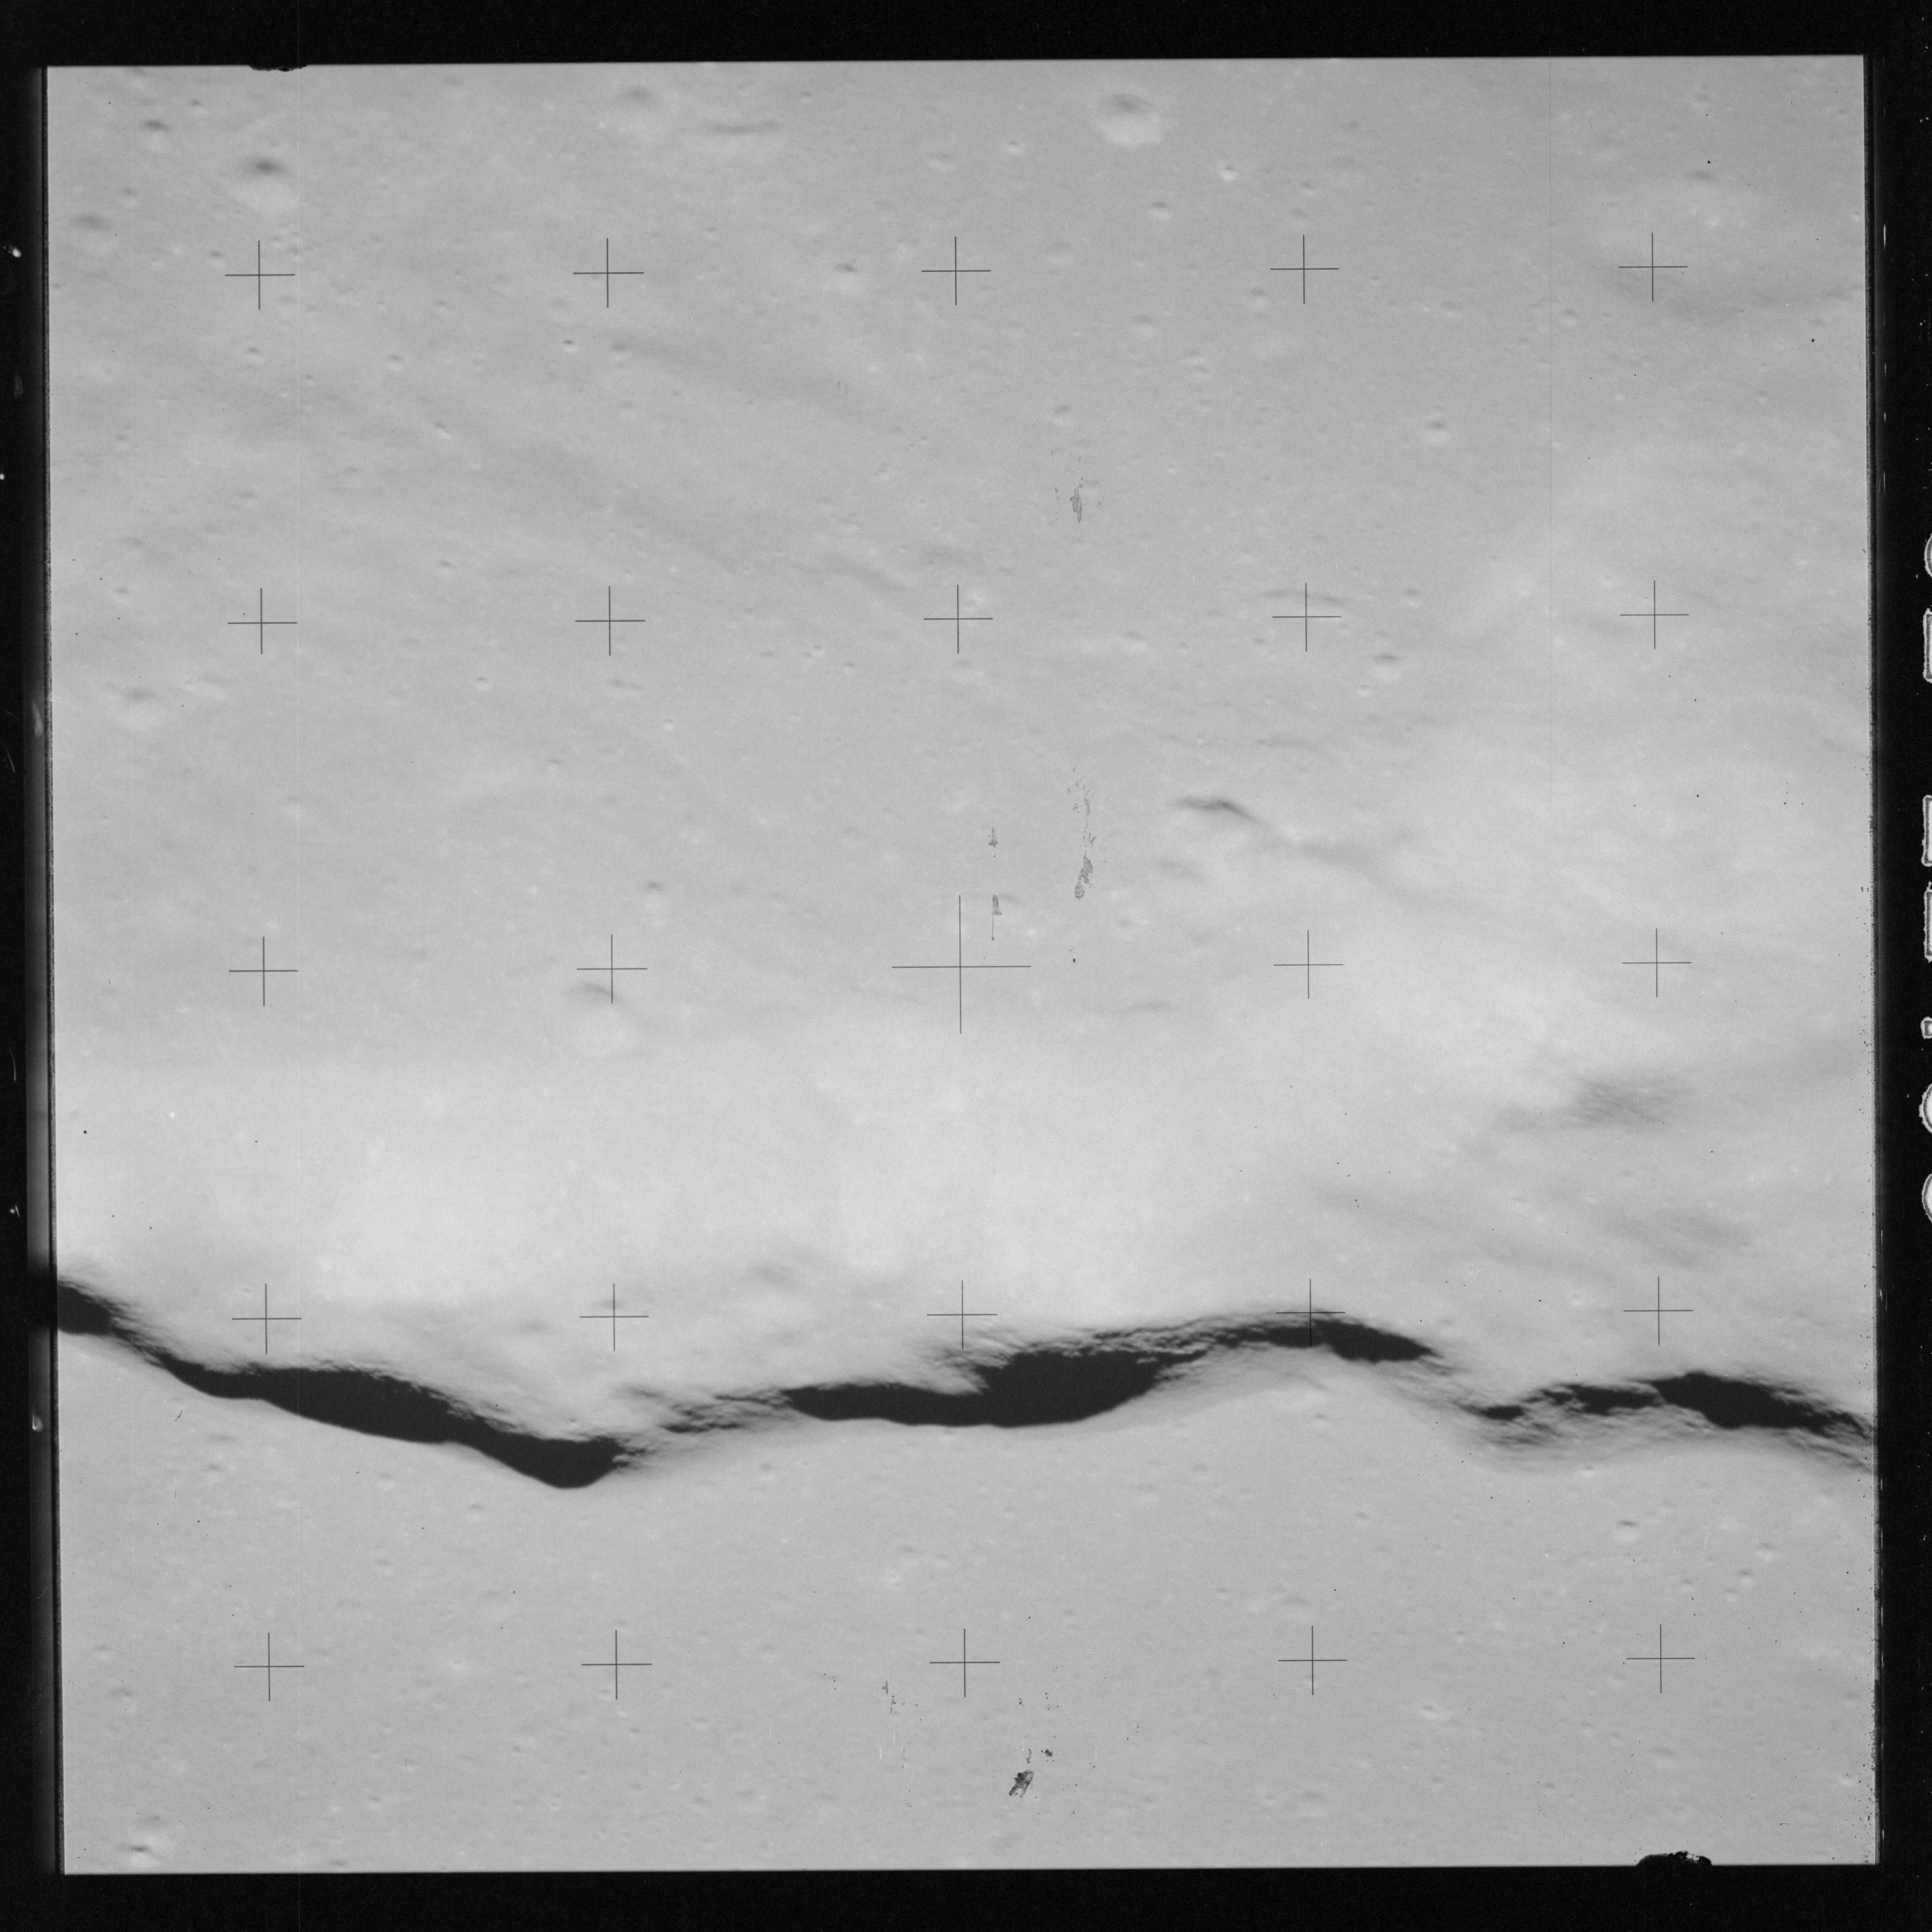
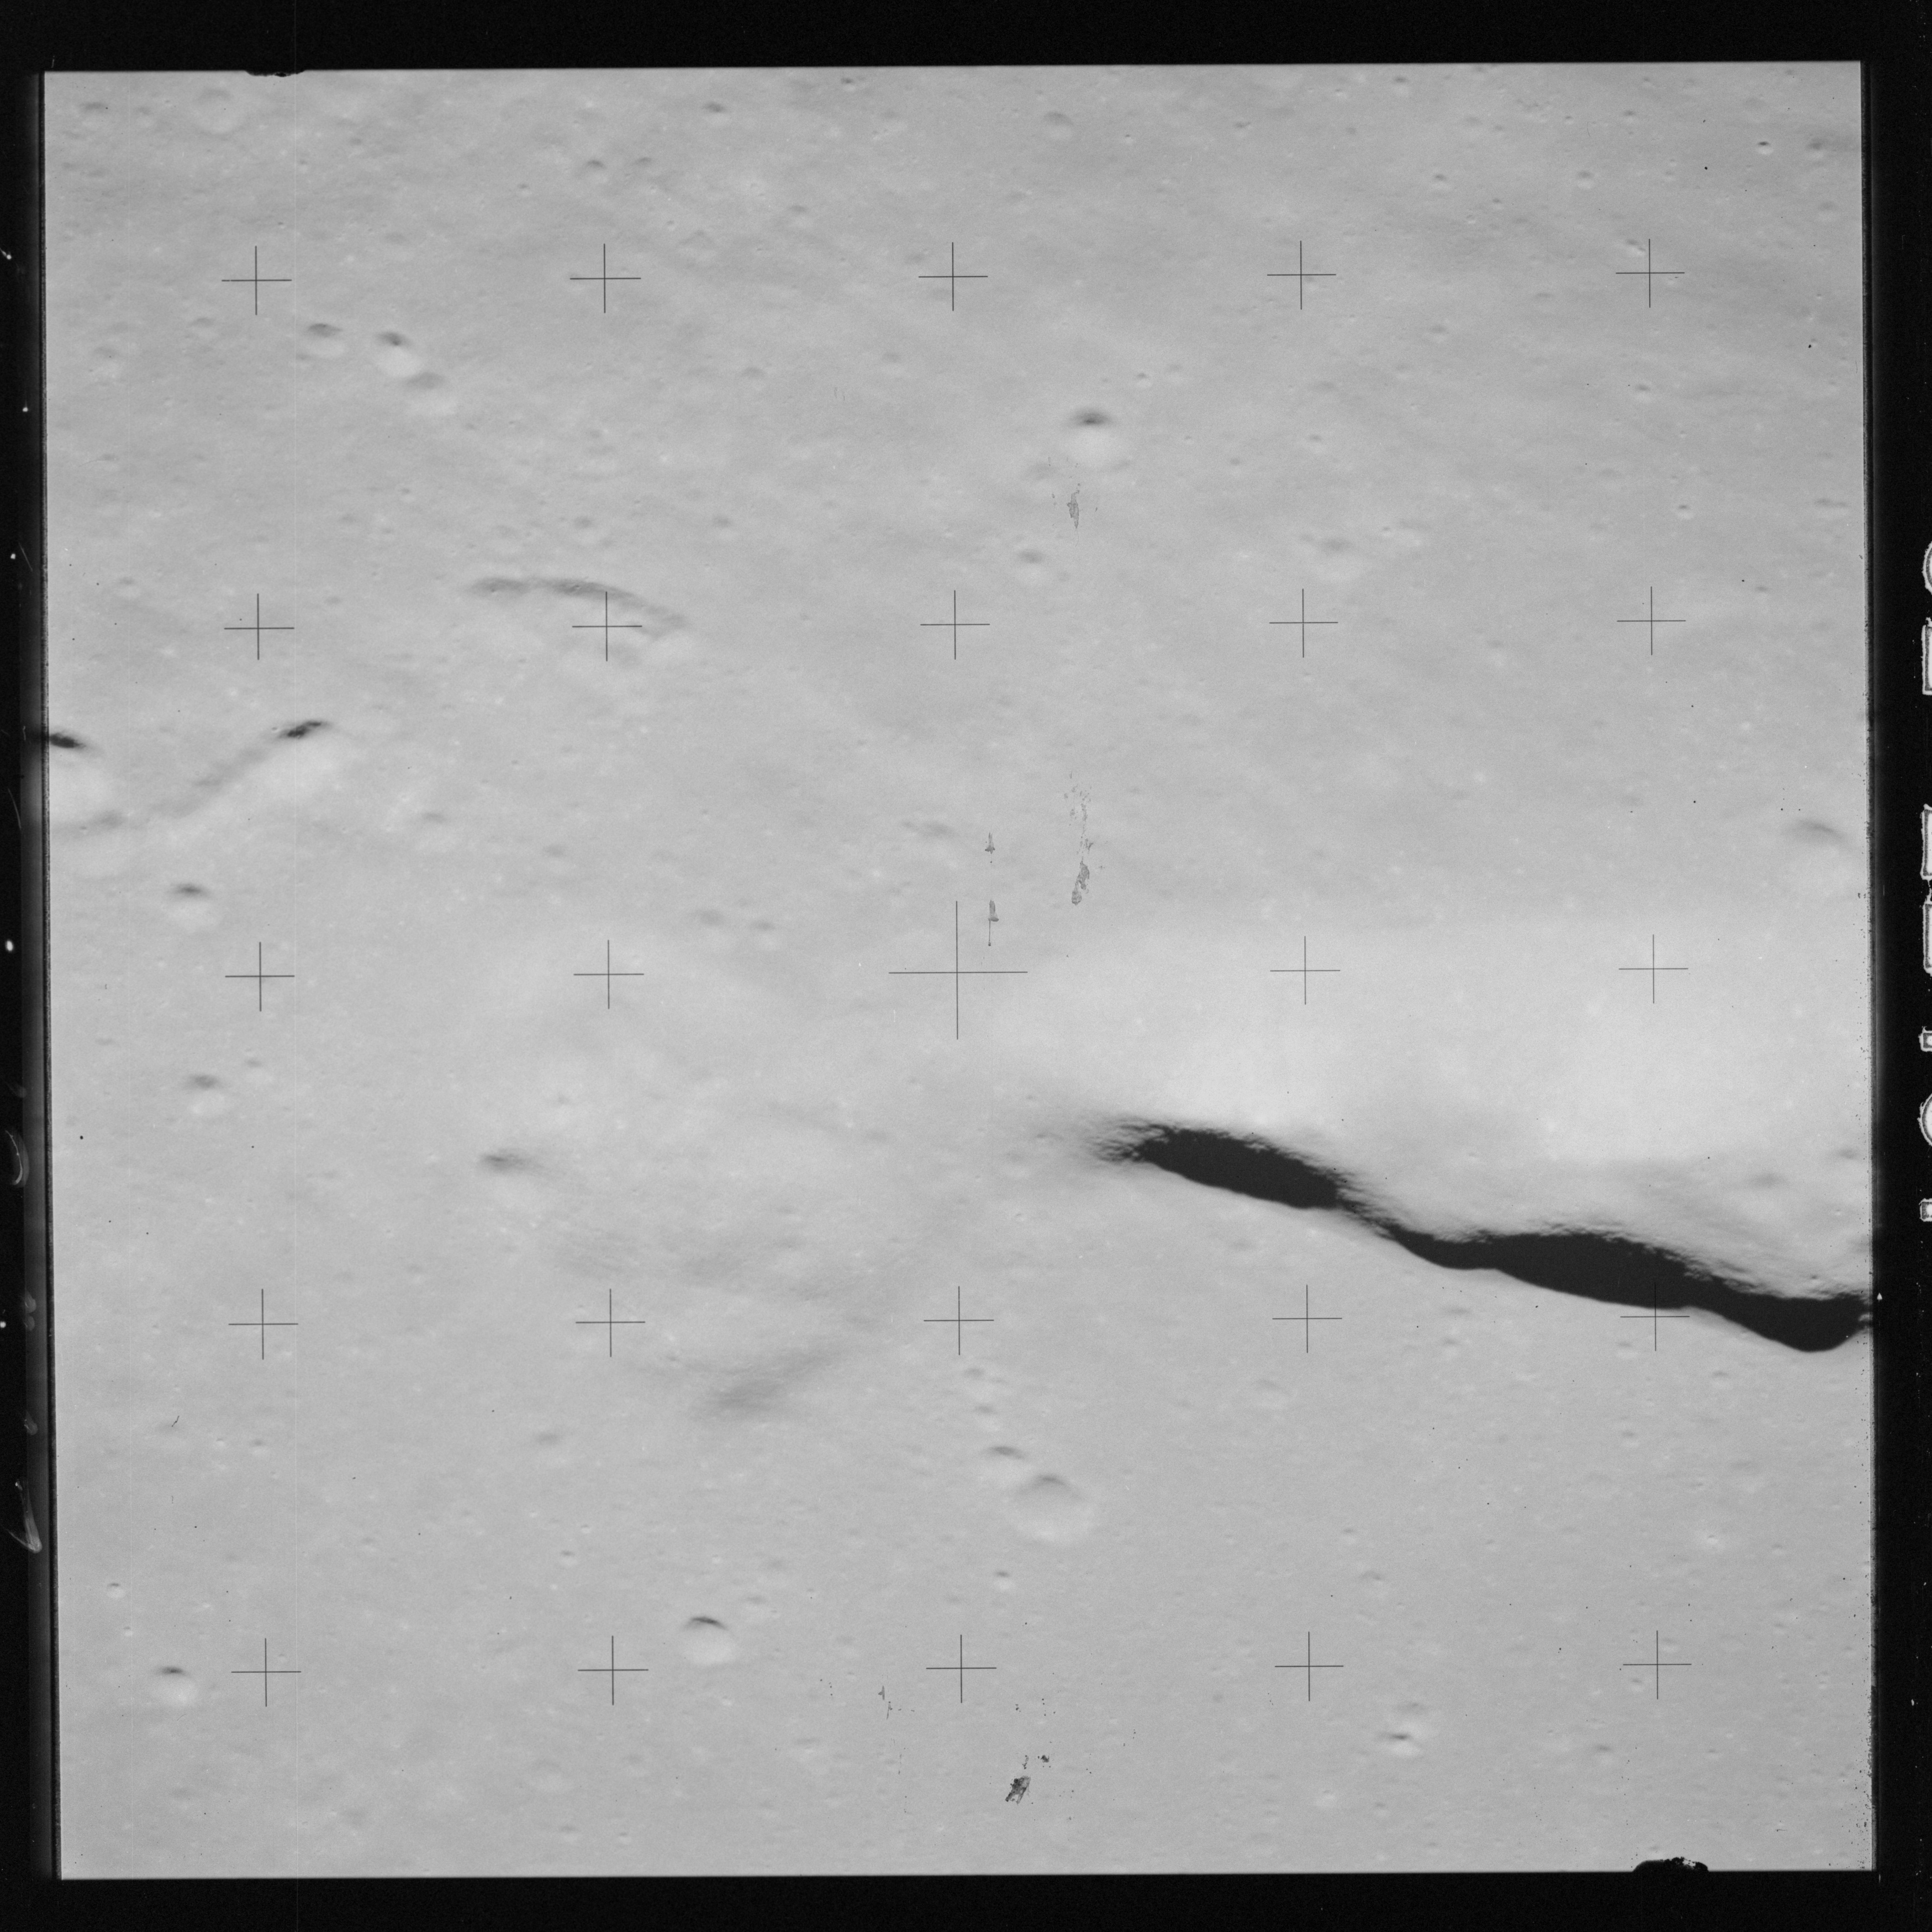
The coverage of Mons Delisle is repeated in the next four frames, 12465 to 12468.
AS15-92-12465 - Mons Delisle, southern section. Image centre at 29.09°N, 35.70°W - Image by NASA/Johnson Space Center.
AS15-92-12466 - Mons Delisle, central section. Image centre at 29.48°N, 35.68°W - Image by NASA/Johnson Space Center.
AS15-92-12467 - Mons Delisle, northern section. Image centre at 29.95°N, 35.54°W - Image by NASA/Johnson Space Center.
AS15-92-12468 - Crater Delisle - Image by NASA/Johnson Space Center.
AS15-M-2474 - Metric Camera image of Oceanus Procellarum including Montes Harbinger and craters Angstrom and Artsimovich. Image taken at about 215:11. (250 megapixel version), (labelled version) - Image by NASA/ASU.
In frames AS15-92-12469 to 12471, the photographer returns to shooting 'special features' on film magazine OO.
AS15-92-12469 - Sunken feature Fedorov. Image centre at 28.34°N, 36.97°W - Image by NASA/Johnson Space Center.
AS15-92-12470 - Keyhole-shaped depression 15 km southwest of Mons Delisle. Image centre at 28.77°N, 36.46°W - Image by NASA/Johnson Space Center.
AS15-92-12471 - Crater cluster and irregular linear depression west of Mons Delisle. Image centre at 28.74°N, 36.56°W - Image by NASA/Johnson Space Center.
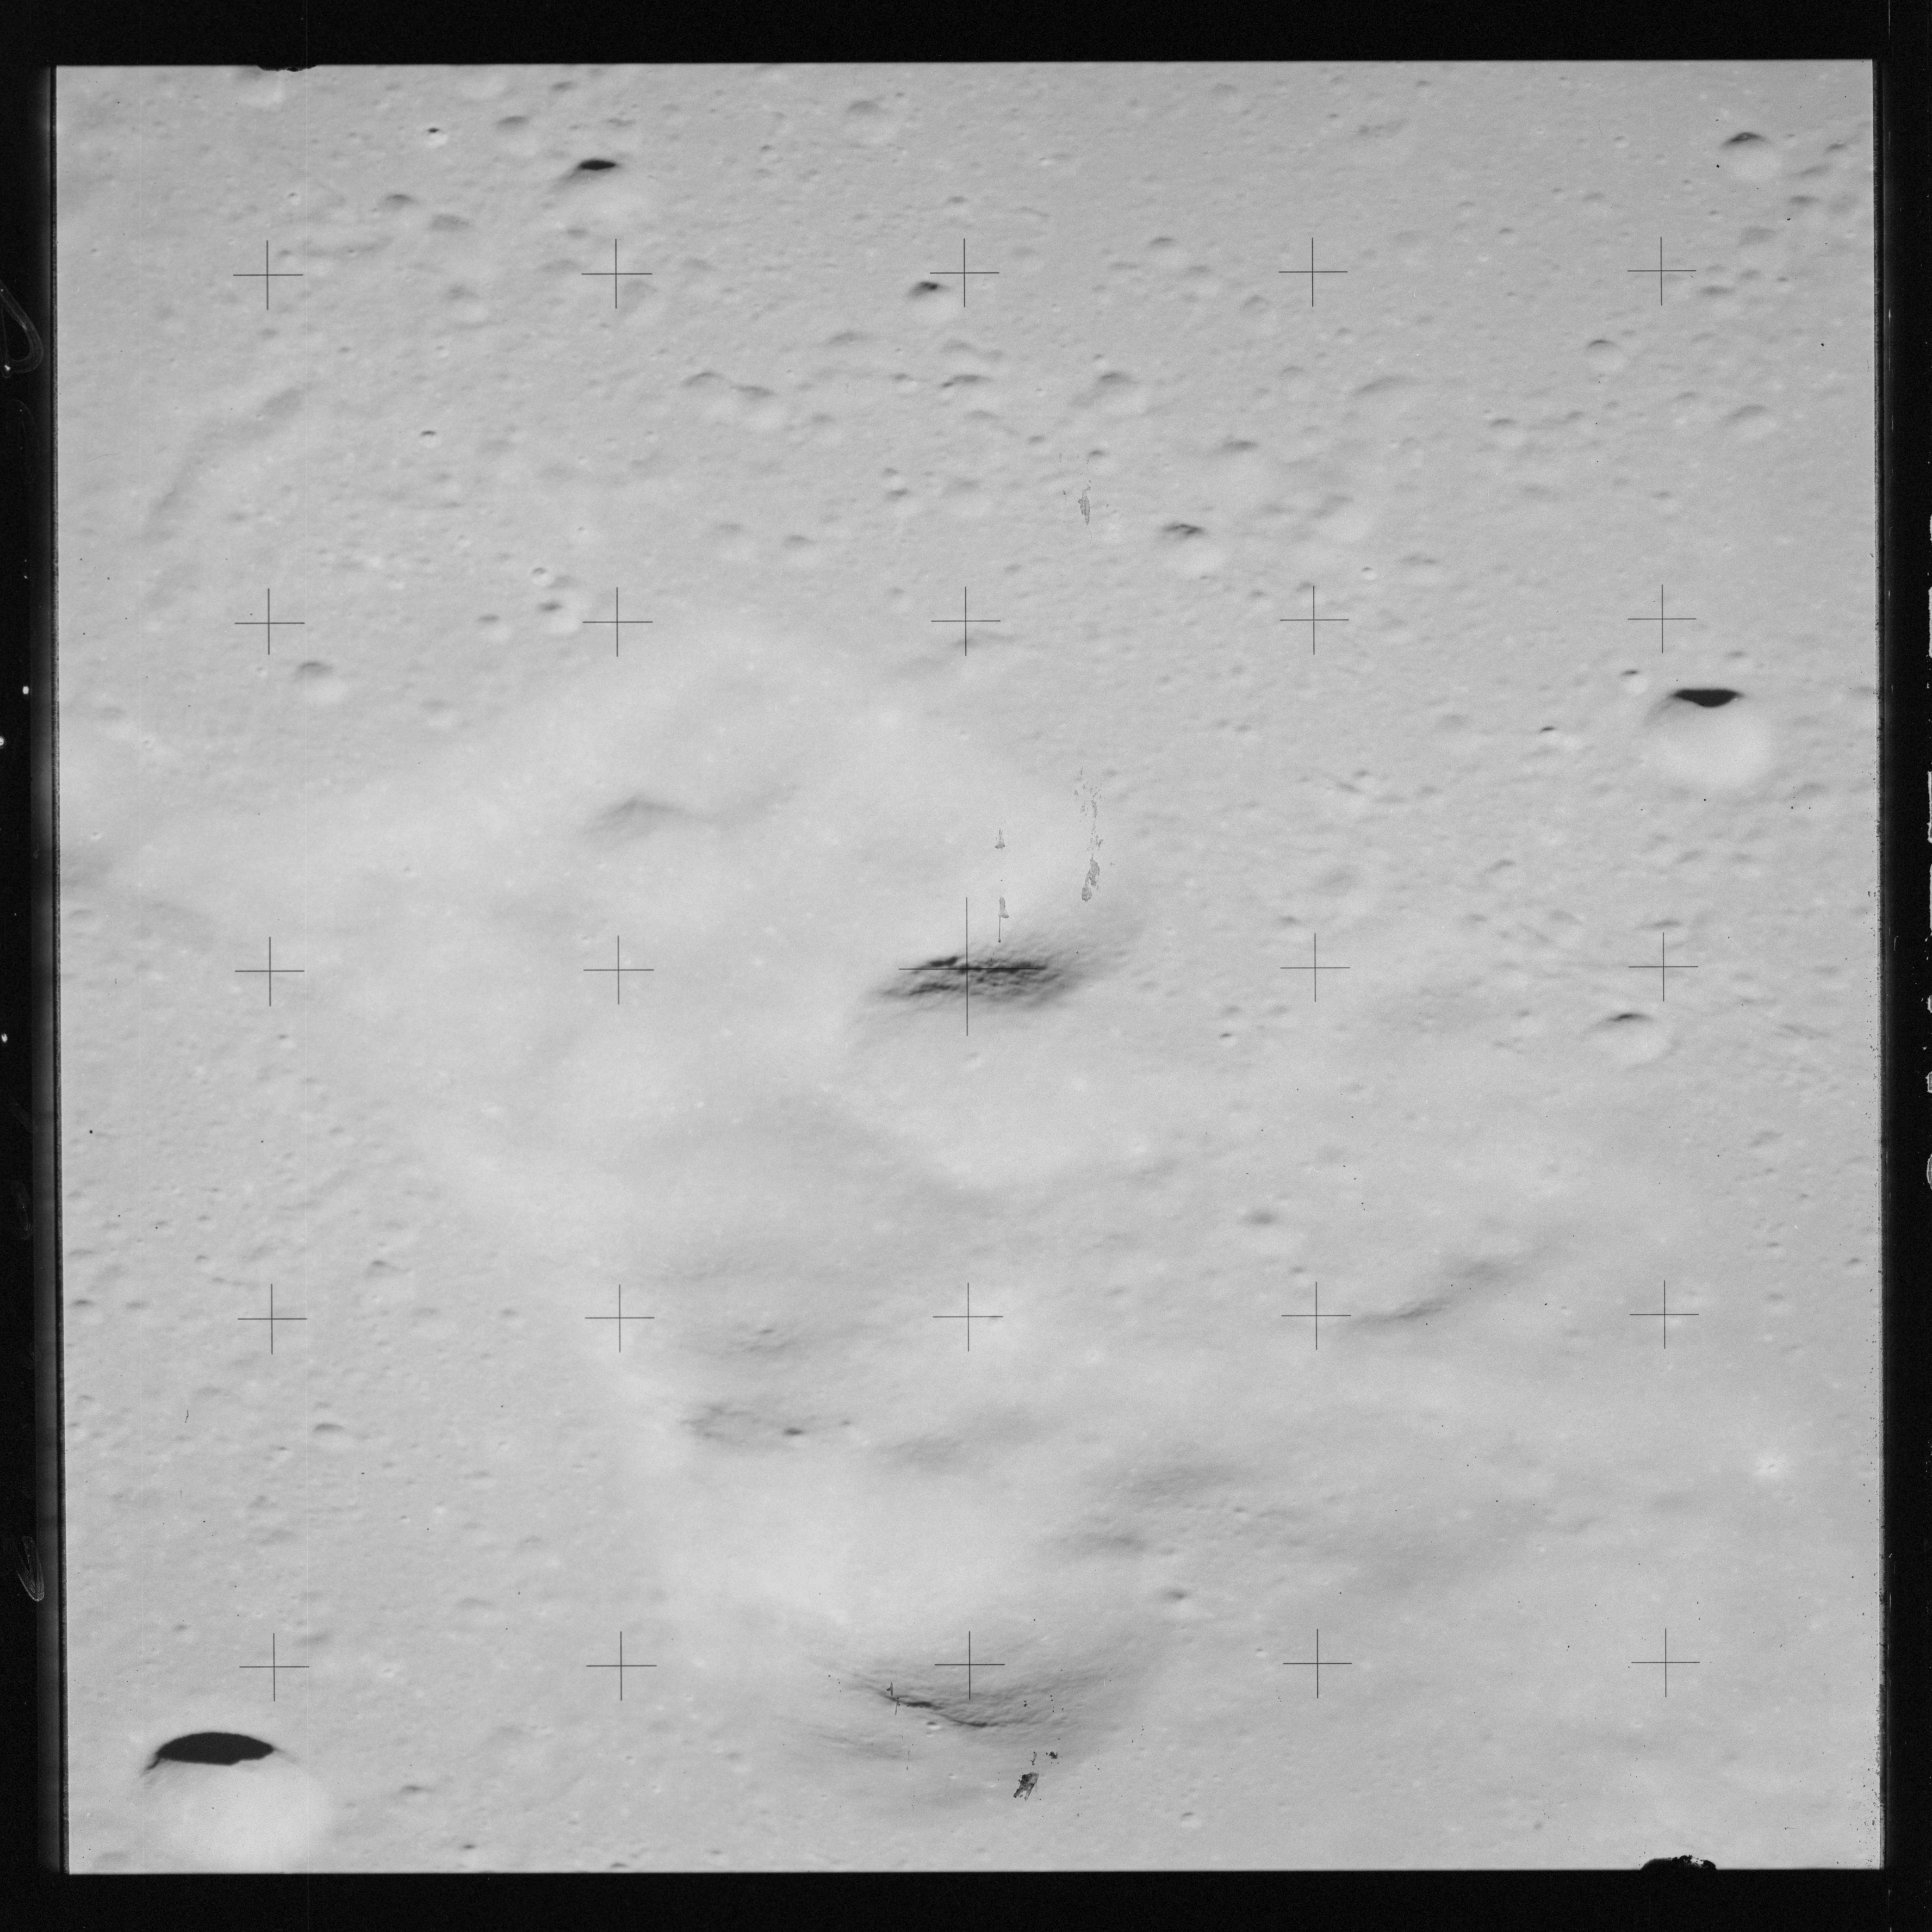
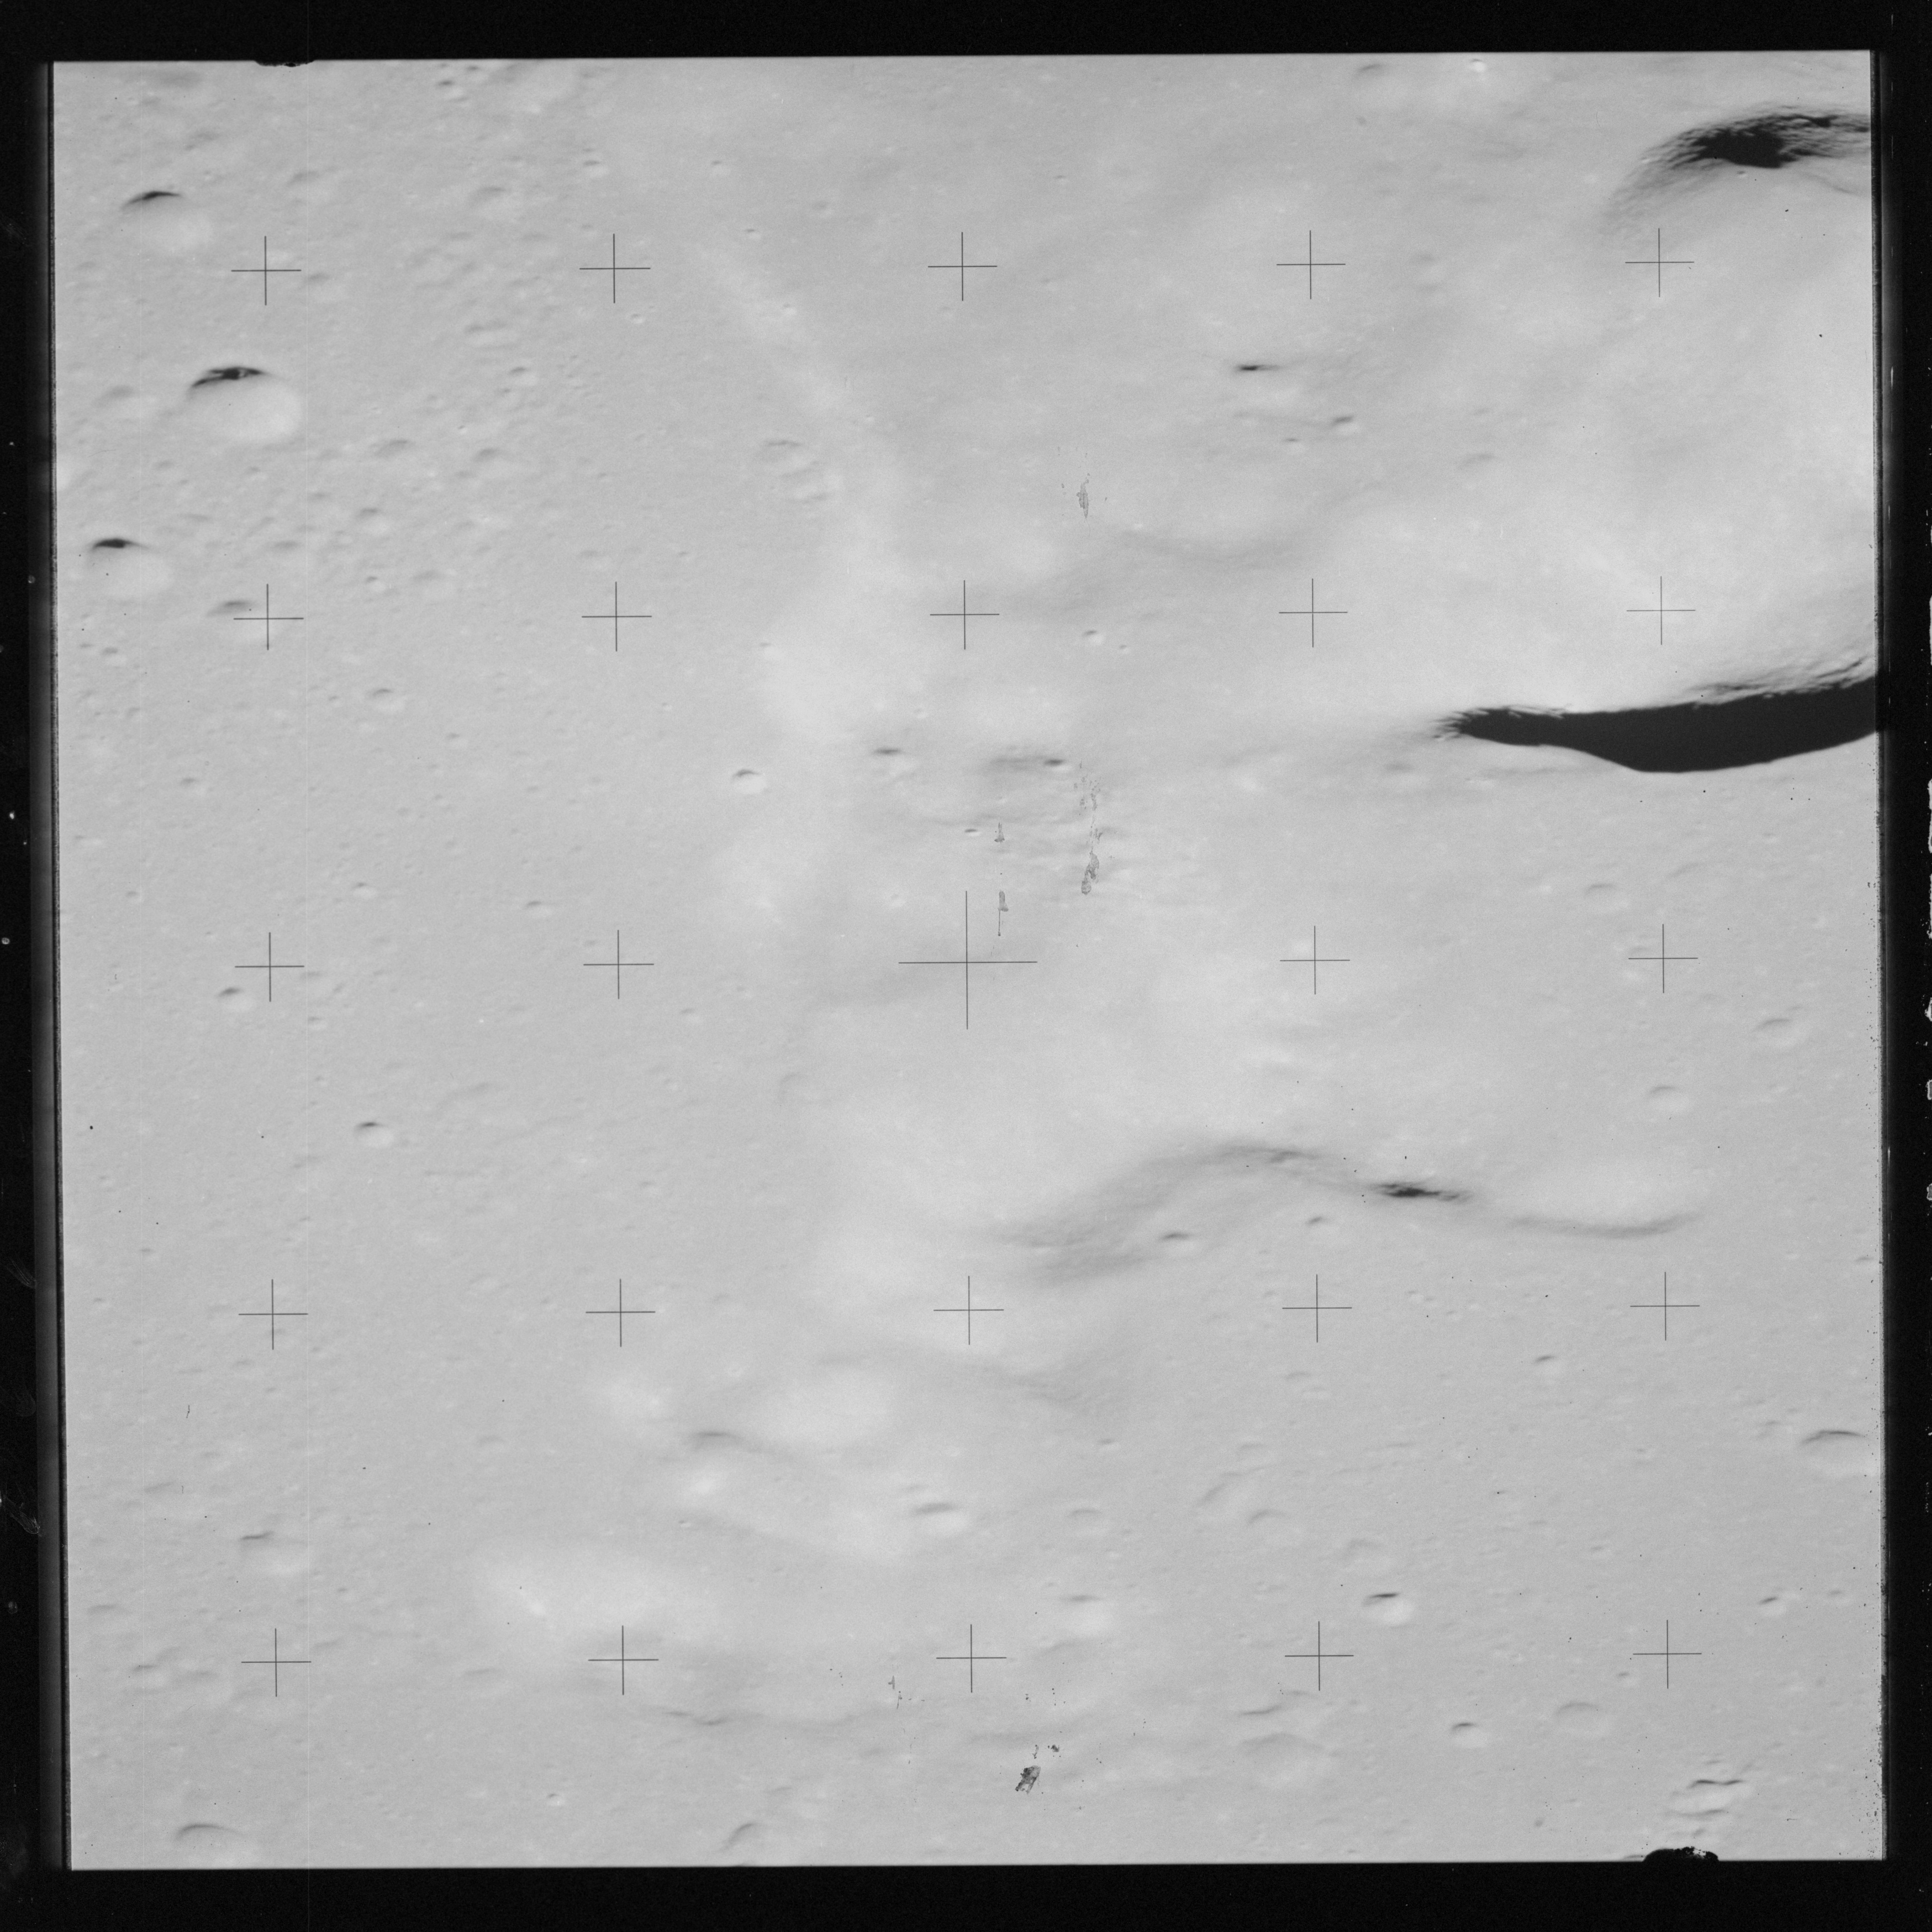
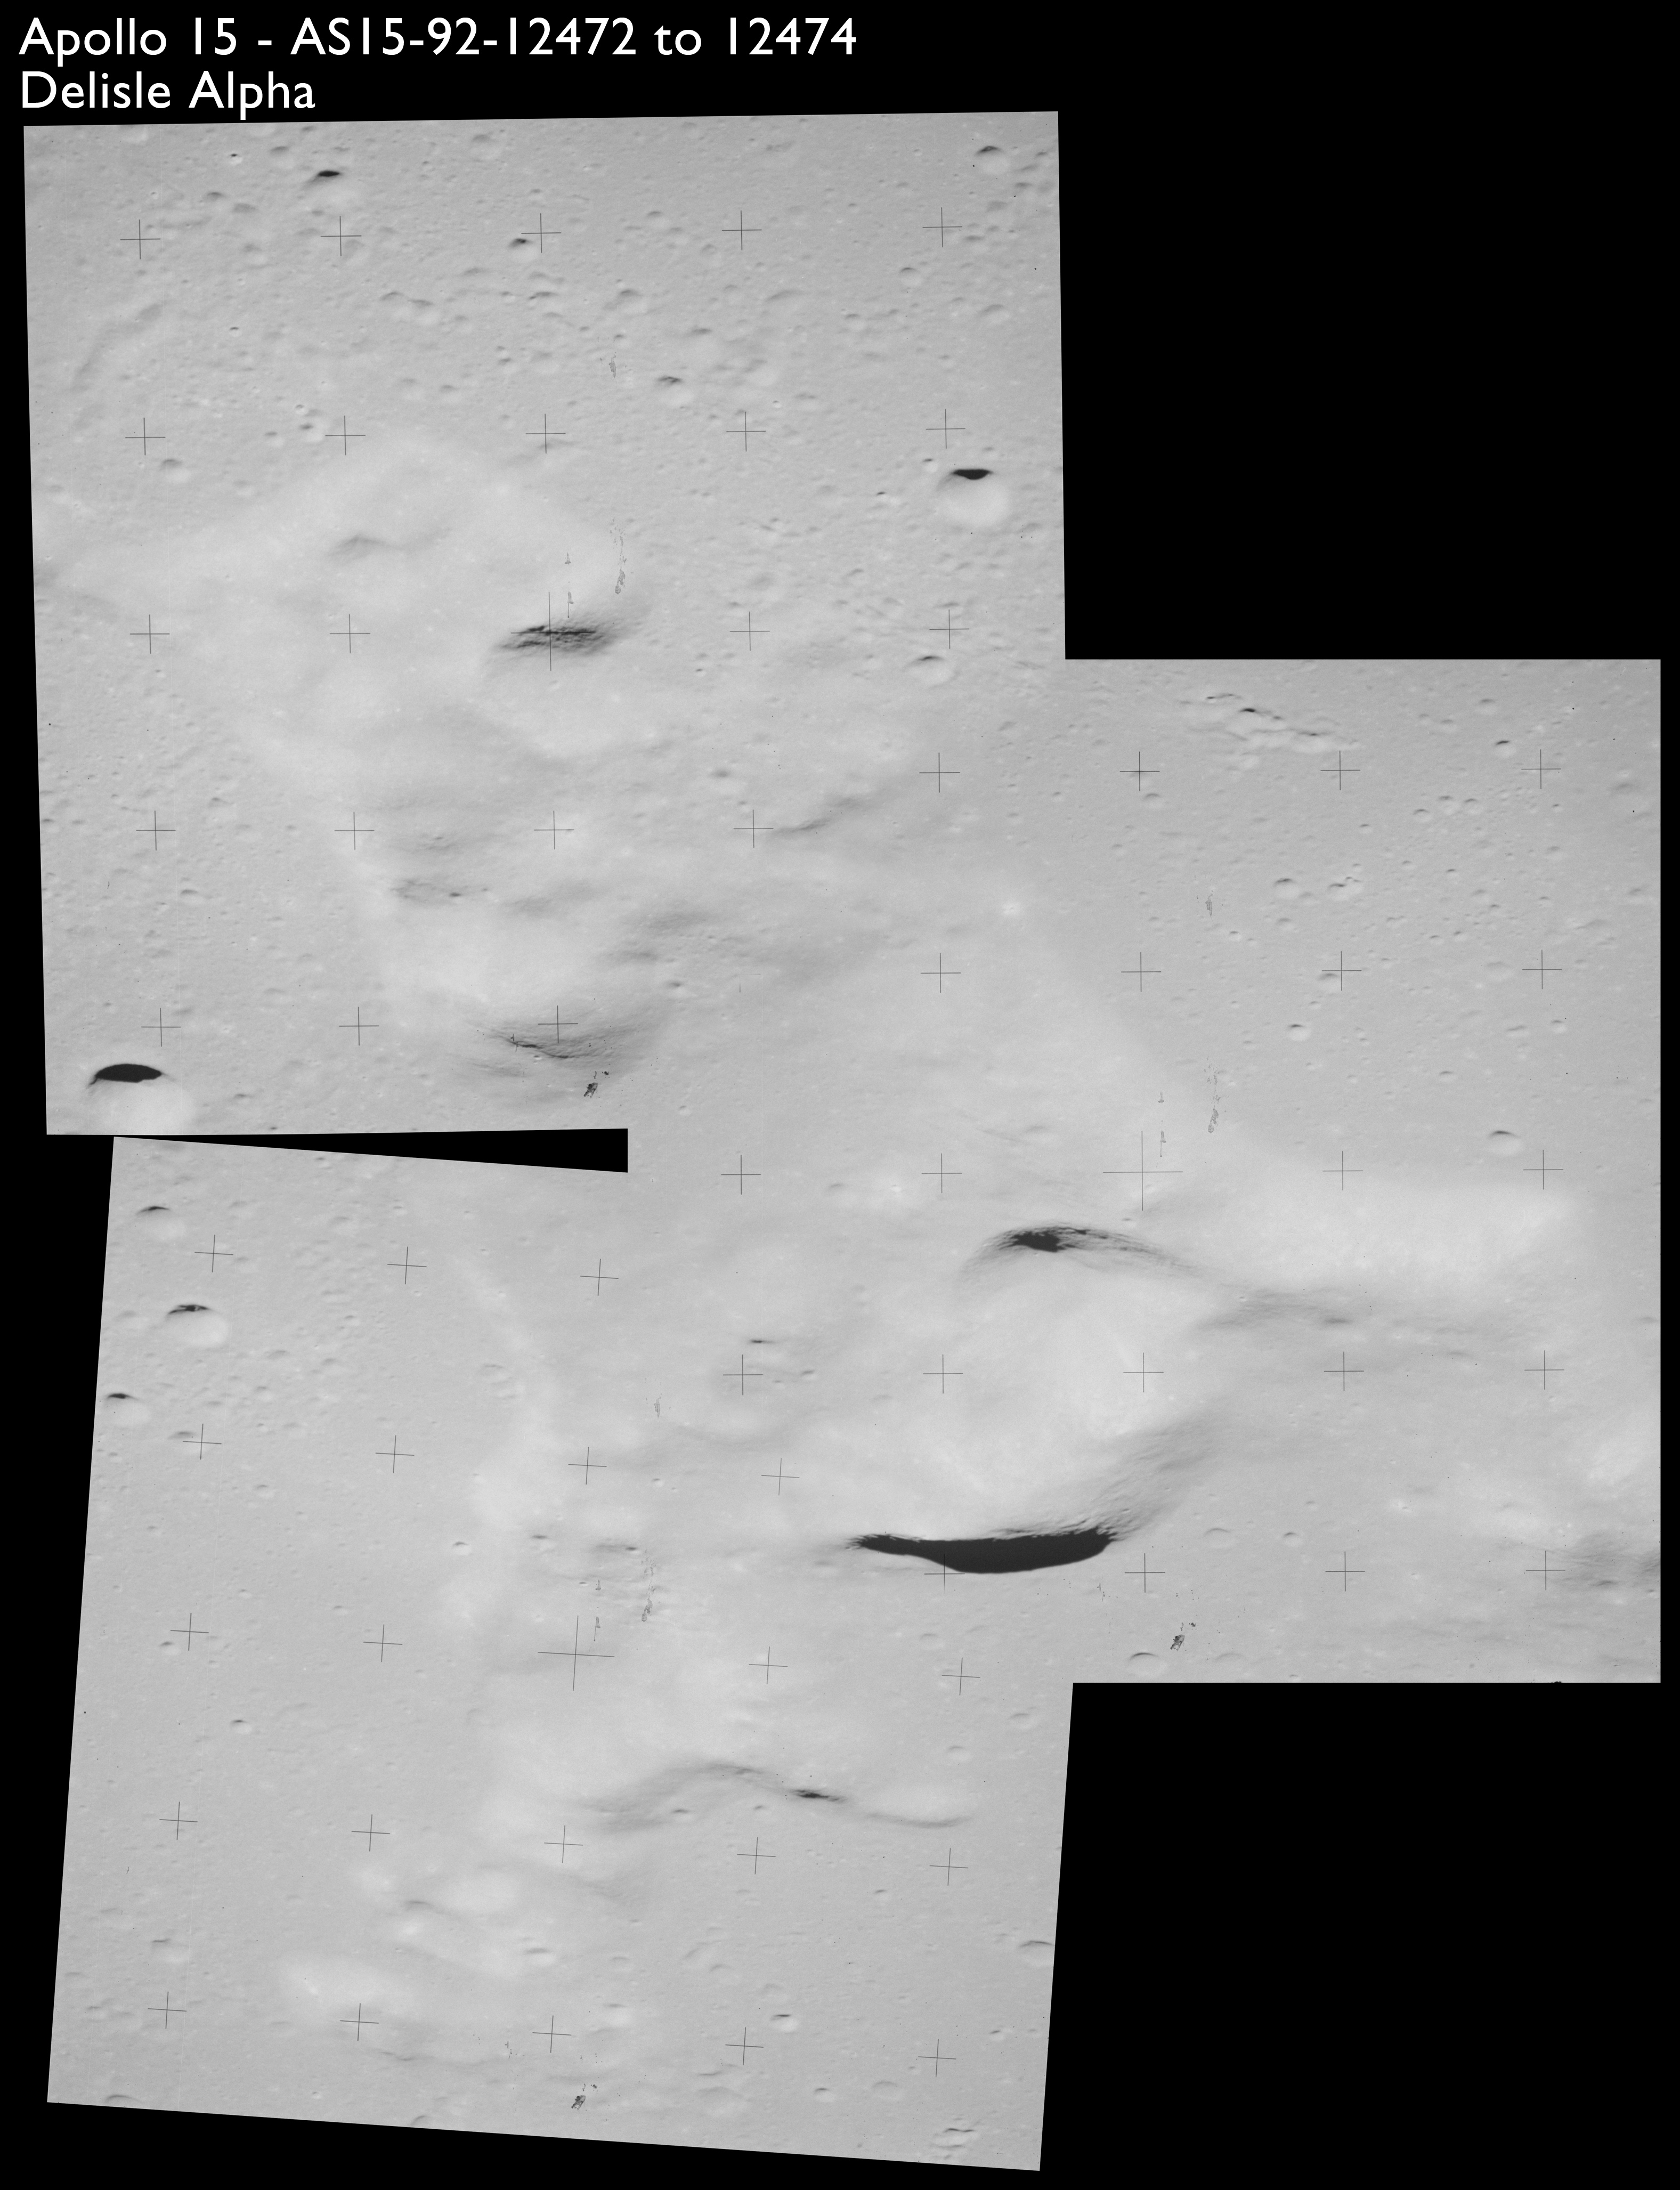
AS15-92-12472 to 12474, show a knot of low hills 40 kilometres west of Delisle known as Delisle Alpha.
AS15-92-12472 - Southern part of Delisle Alpha. Image centre at 30.38°N, 37.77°W - Image by NASA/Johnson Space Center.
AS15-92-12473 - Eastern part of Delisle Alpha. Image centre at 30.49°N, 37.20°W - Image by NASA/Johnson Space Center.
AS15-92-12474 - Western part of Delisle Alpha. Image centre at 30.99°N, 38.31°W - Image by NASA/Johnson Space Center.
These three images have been composited.
Composite image of Delisle Alpha - Source images by NASA/Johnson Space Center.
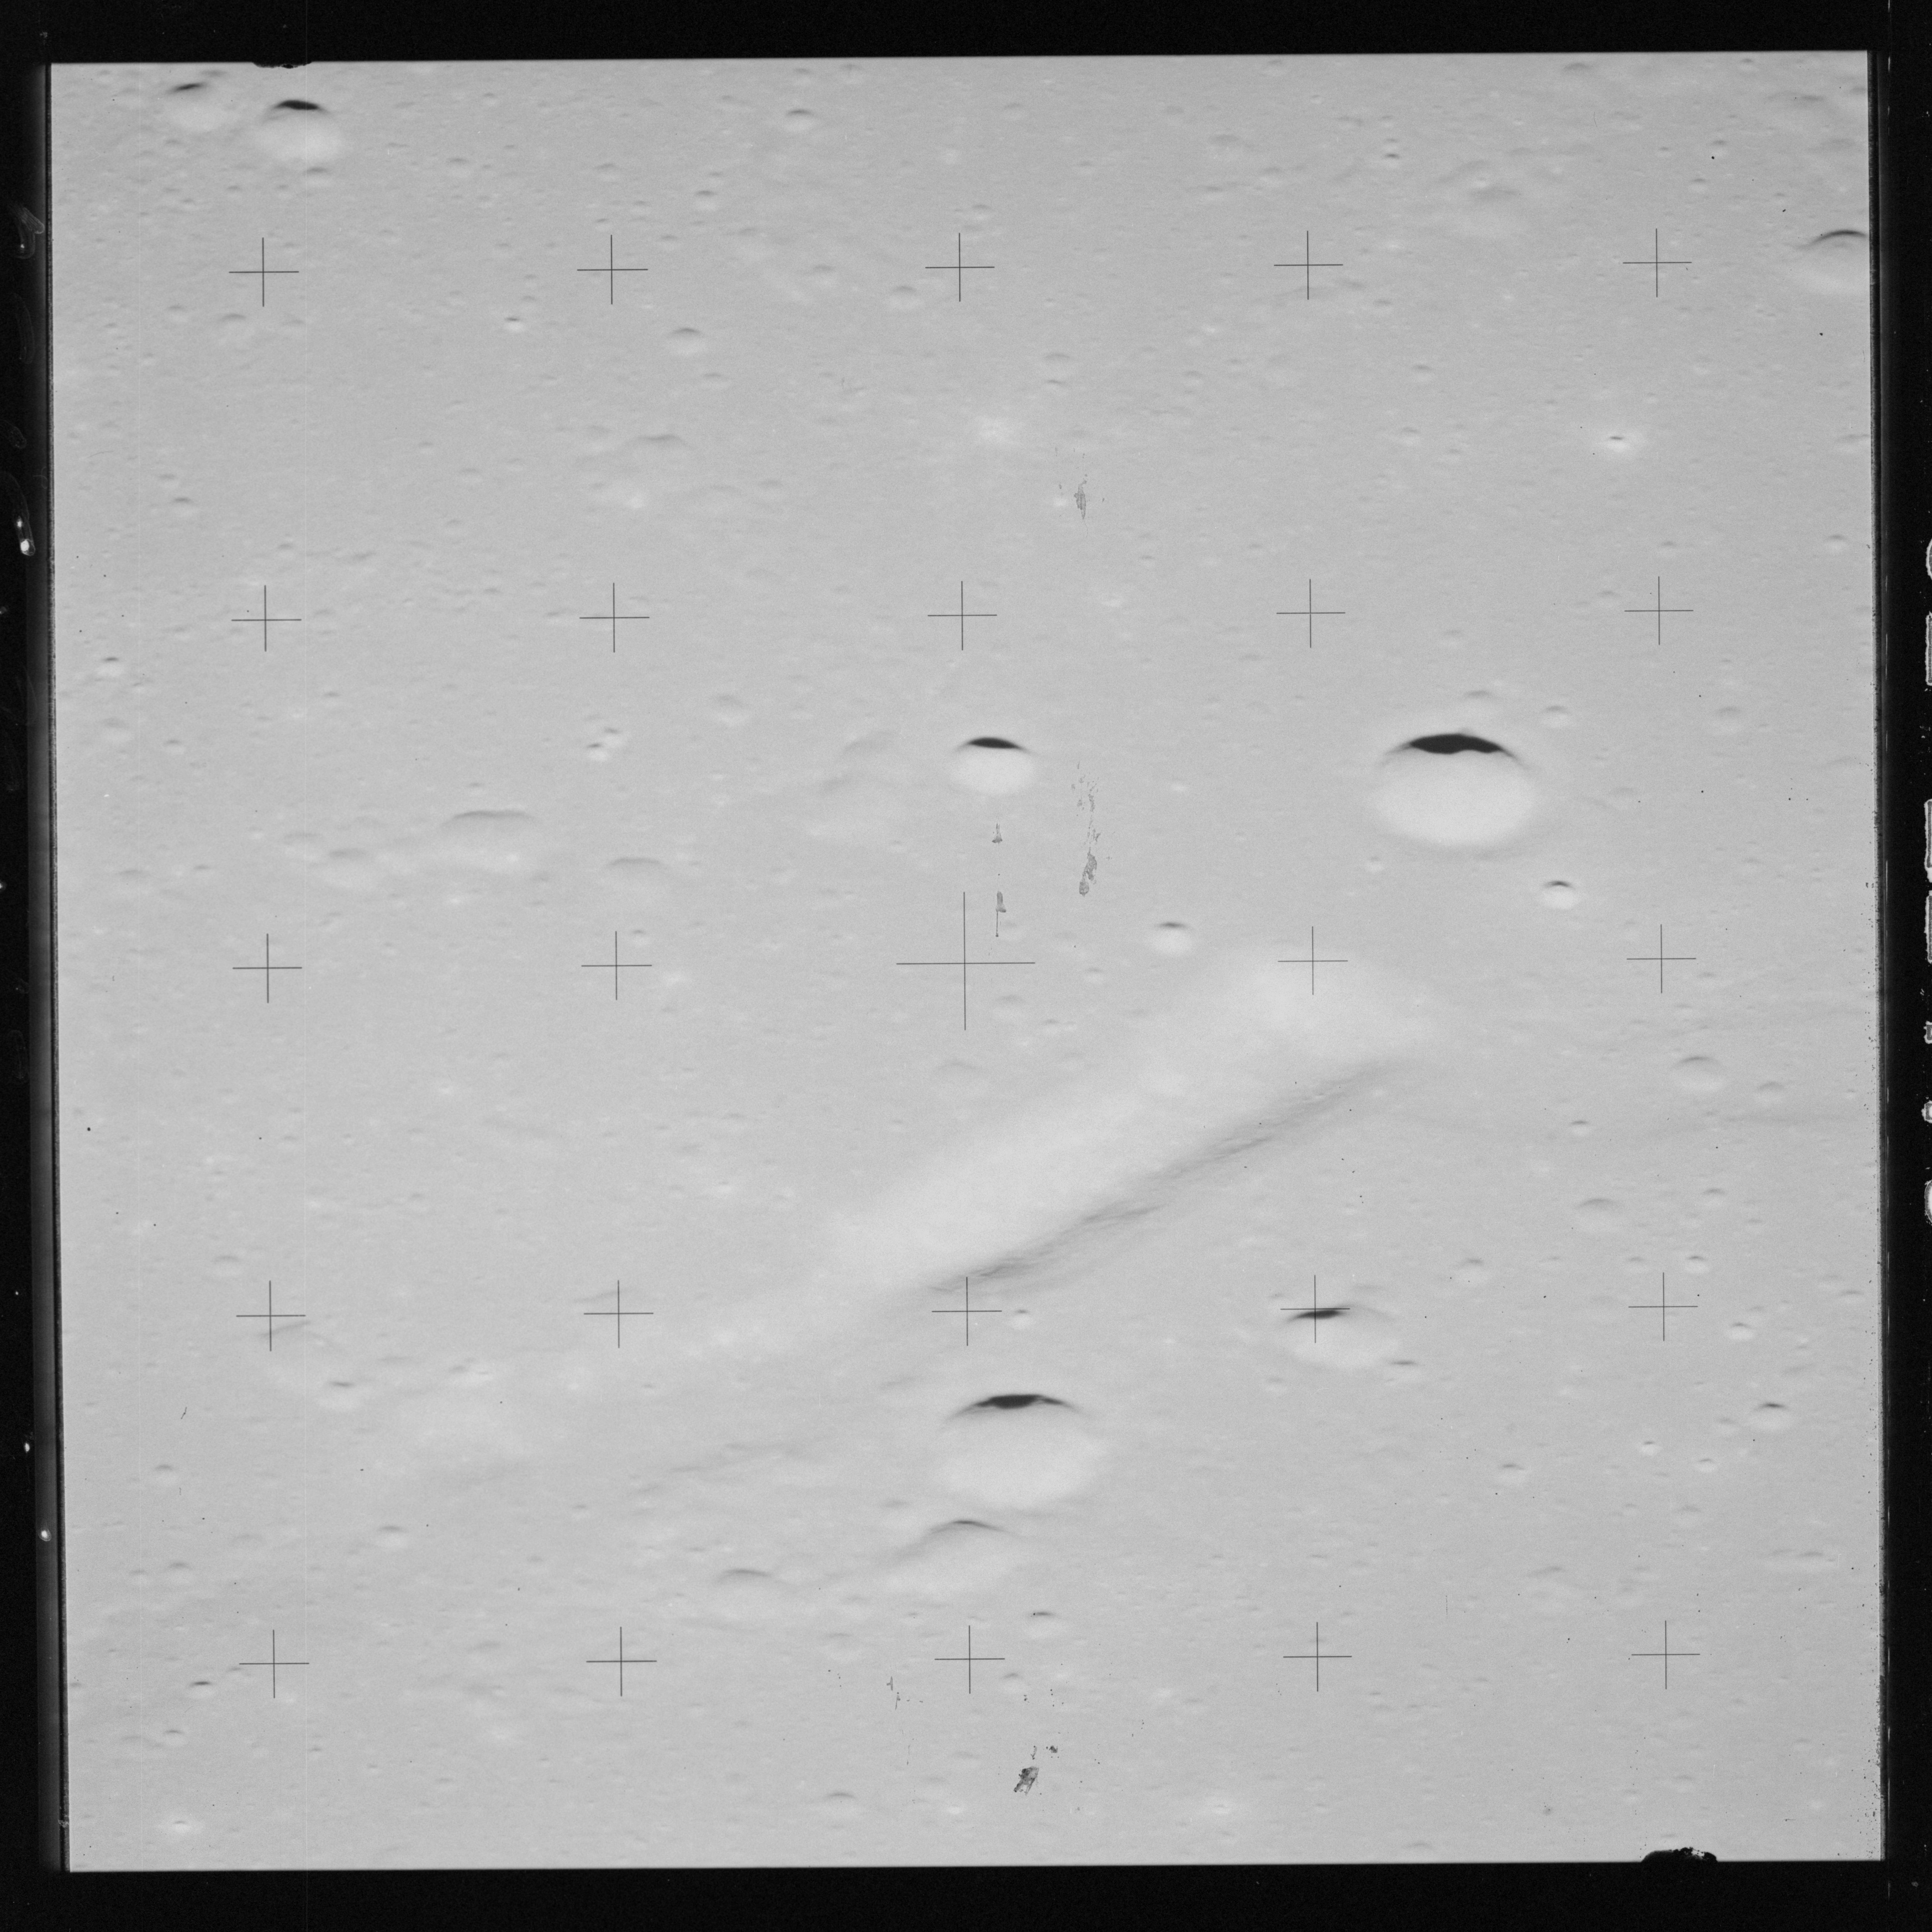
The Apollo 15 photo index identifies the linear-shaped hill in AS15-92-12475 as Delisle Epsilon. The main part of the hill is 7.3 km long and it rises to a height of about 400 metres above the surrounding mare.
AS15-92-12475 - Delisle Epsilon. Image centre at 29.49°N, 39.19°W - Image by NASA/Johnson Space Center.
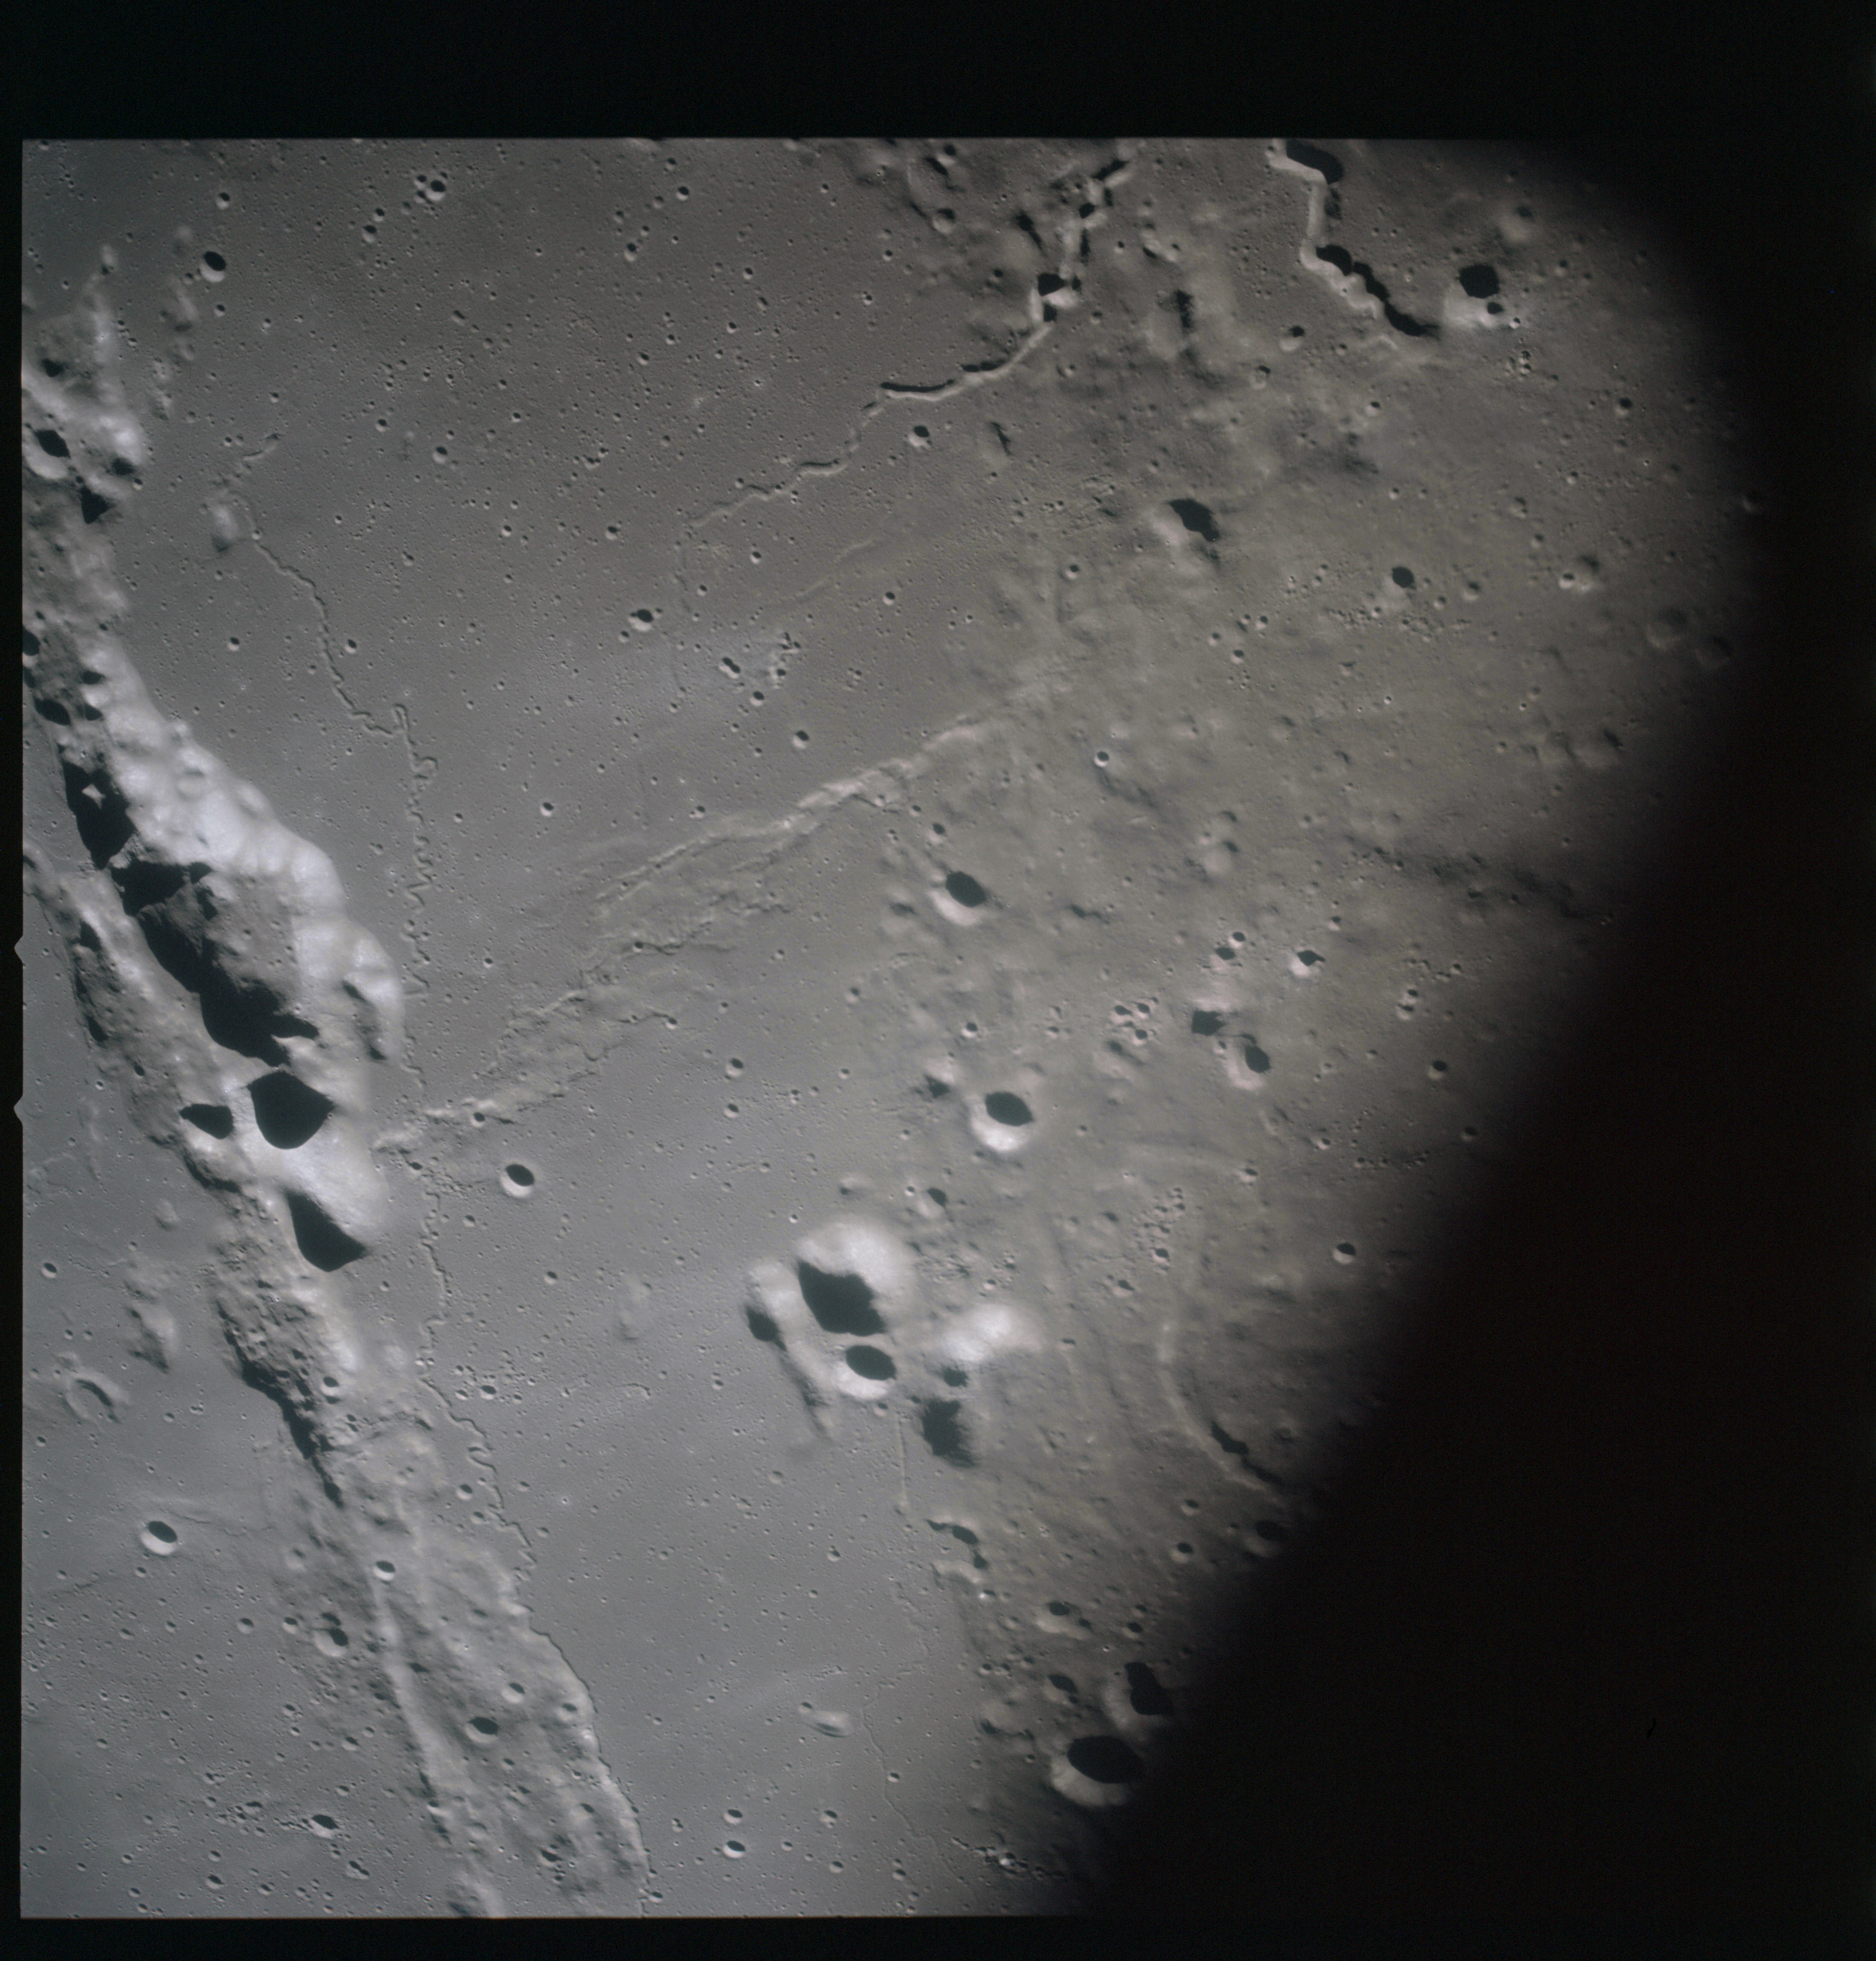
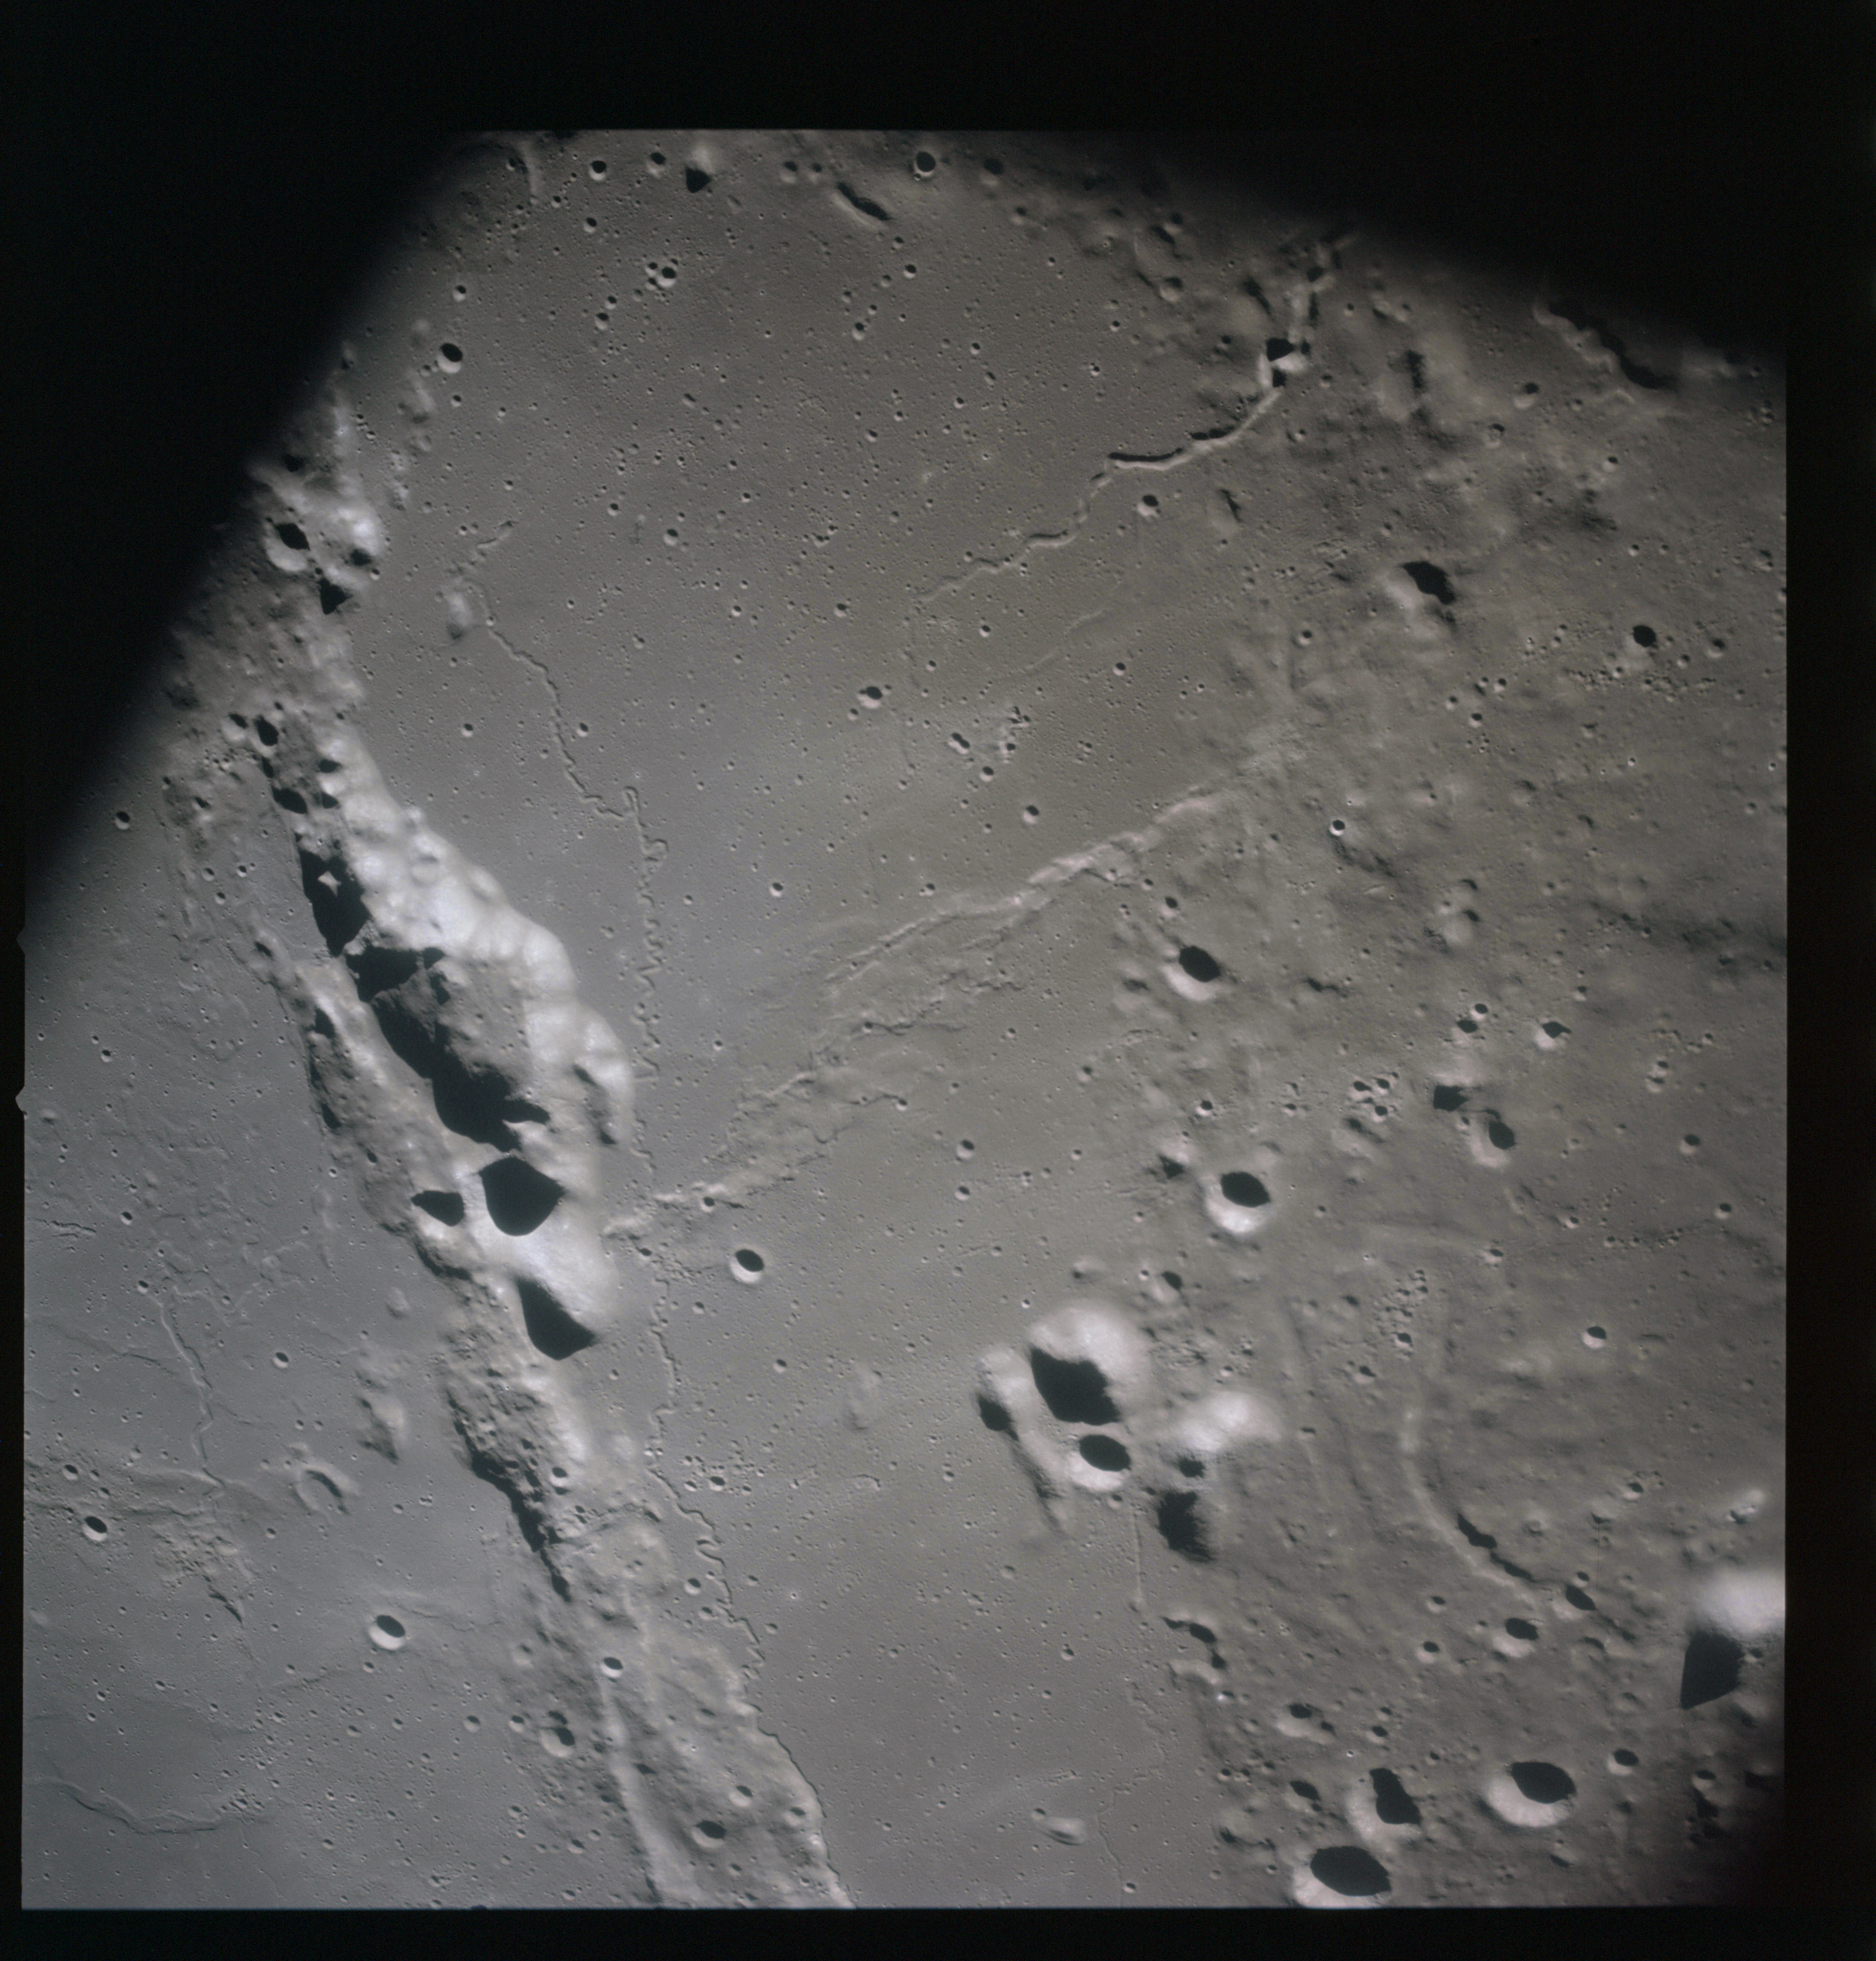
Endeavour is heading for the Aristarchus Plateau, a visually and geologically interesting area which marks the boundary between Mare Imbrium to the east and Oceanus Procellarum to the west. Features include Montes Harbinger, the flooded crater Prinz, the spectacular 40-km crater Aristarchus and a series of sinuous rilles, Rimae Prinz. Photography of this area is called for in the Flight Plan and over the coming 19 frames, whoever has the camera with magazine P and the 80-mm lens lets its viewpoint wander gently across the scenery, allowing the spacecraft's motion to bring new landscape into view. The 80mm lens gives a perspective considered 'standard' for the film format. This is where the focal length of a lens is approximately equal to the length of the film format's diagonal.
Marking the eastern rampart of the Aristarchus region is a range of isolated mountains, Montes Harbinger. In the middle distance is the flooded crater Prinz and beyond, Aristarchus itself.
AS15-93-12594 - View west towards Montes Harbinger - Image by NASA/Johnson Space Center.
AS15-93-12595 - View west towards Montes Harbinger and Rimae Prinz - Image by NASA/Johnson Space Center.
AS15-93-12596 - View west towards Montes Harbinger, crater Prinz and Rimae Prinz - Image by NASA/Johnson Space Center.
AS15-93-12597 - View southwest towards Montes Harbinger, crater Prinz and Rimae Prinz - Image by NASA/Johnson Space Center.
AS15-93-12598 - View southwest towards Montes Harbinger, craters Prinz and Aristarchus, and Rimae Prinz - Image by NASA/Johnson Space Center.
AS15-93-12599 - View southwest towards Montes Harbinger, craters Prinz and Aristarchus, and Rimae Prinz - Image by NASA/Johnson Space Center.
Sinuous rilles are a common feature of mare landscapes but around the Aristarchus area, they are particularly ubiquitous and many of the rilles are notable by having craters at their source. The Rimae Prinz and Rimae Aristarchus systems have many of these "cobra-head" features, as seen in many of the following photographs.
AS15-93-12600 - View southwest towards Montes Harbinger, craters Prinz and Aristarchus, and Rimae Prinz - Image by NASA/Johnson Space Center.
The distinctive form of the Prinz rilles is beautifully displayed in AS15-93-12601. Beyond Aristarchus is Herodotus and by panning slightly to the north we see Krieger in 12604.
AS15-93-12601 - View southwest towards craters Prinz, Aristarchus and Herodotus, and Rimae Prinz - Image by NASA/Johnson Space Center.
AS15-93-12602 - View southwest towards craters Prinz, Aristarchus and Herodotus, and Rimae Prinz - Image by NASA/Johnson Space Center.
AS15-93-12603 - View west towards Rimae Prinz including craters Prinz and Krieger - Image by NASA/Johnson Space Center.
AS15-93-12604 - View west towards Rimae Prinz and crater Krieger - Image by NASA/Johnson Space Center.
AS15-93-12605 - View west towards Rimae Prinz including craters Prinz and Krieger - Image by NASA/Johnson Space Center.
AS15-93-12606 - View southwest towards The Aristarchus Plateau and Rimae Aristarchus, including craters Prinz, Aristarchus, Herodotus, and Vallis Schröteri - Image by NASA/Johnson Space Center.
AS15-93-12607 - Rimae Prinz and crater Prinz, including the 'Paperclip' feature - Image by NASA/Johnson Space Center.
AS15-93-12608 looks closer at Prinz and its system of rilles. The bottom left of this picture displays excellent examples of crater chains strung across the landscape in the distinctive "V" formations that point to their source, Aristarchus.
AS15-93-12608 - Rimae Prinz and craters Prinz and Krieger C, including the 'Paperclip' feature - Image by NASA/Johnson Space Center.
AS15-93-12609 - Rimae Prinz and craters Prinz and Krieger C - Image by NASA/Johnson Space Center.
AS15-93-12610 - Rimae Prinz and craters Prinz and Krieger C - Image by NASA/Johnson Space Center.
AS15-93-12611 - Craters Prinz, Aristarchus and Aristarchus B, and Rimae Aristarchus - Image by NASA/Johnson Space Center.
The effect of Aristarchus's ejecta blanket on the older surface, especially the way the Aristarchus Rilles have been partially filled in, is seen in AS15-93-12612.
AS15-93-12612 - Crater Aristarchus and Aristarchus B, including Rimae Aristarchus - Image by NASA/Johnson Space Center.
215:13:29 Henize: 15, Houston. If you'll give us Accept, we'll send up a new state vector.
215:13:37 Scott: Roger.
Comm break.
Magazines OO and P continue to be heavily used in these final revolutions. The 500mm lens with magazine OO is being used on Krieger. Frames 12476 and 12480 give an excellent impression of the polygonal outline of Krieger and its little rille.
AS15-92-12476 - Crater Krieger - Image by NASA/Johnson Space Center.
AS15-92-12477 - Prominence Wollaston Alpha with crater Wollaston cut off at the top. Image centre at 29.98°N, 46.26°W - Image by NASA/Johnson Space Center.
90 kilometres east of Krieger is the 9.8-km crater Ångström which carries the name of the Swedish physicist Anders Ångström, 1814-1874. His name is synonymous with the measurement of distances at the very small scale. An "Ångström" is equivalent to a tenth of a micron, or one ten-millionth of a metre. His crater is nicely framed in AS15-92-12478.
AS15-92-12478 - Crater Ångström - Image by NASA/Johnson Space Center.
AS15-92-12479 - Crater cluster west of Ångström. Image centre at 29.76°N, 42.69°W - Image by NASA/Johnson Space Center.
AS15-92-12480 - Crater Krieger - Image by NASA/Johnson Space Center.
AS15-92-12481 - Crater Ångström B - Image by NASA/Johnson Space Center.
The next set of photographs presented return to the 80mm lens amd magazine P.
AS15-93-12613 - Crater Krieger - Image by NASA/Johnson Space Center.
AS15-93-12614 - Rimae Aristarchus and the west rim of crater Krieger - Image by NASA/Johnson Space Center.
AS15-93-12615 - Rimae Aristarchus and craters Toscanelli and Wollaston N - Image by NASA/Johnson Space Center.
AS15-93-12616 - Rupes Toscanelli and craters Aristarchus, Aristarchus Z, Väisälä, Aristarchus B and Toscanelli (top right) - Image by NASA/Johnson Space Center.
Aristarchus itself is photographed with the 500mm and magazine OO. There are two triplets of images across Aristarchus itself and the first is AS15-92-12482 to 12484.
AS15-92-12482 - East side of crater Aristarchus - Image by NASA/Johnson Space Center.
AS15-92-12483 - Central section of crater Aristarchus - Image by NASA/Johnson Space Center.
AS15-92-12484 - West side of crater Aristarchus - Image by NASA/Johnson Space Center.
AS15-92-12485 - Northeast ejecta blanket of Aristarchus. Image centre at 24.75°N, 46.55°W - Image by NASA/Johnson Space Center.
AS15-92-12486 - Northern ejecta blanket of Aristarchus. Image centre at 24.90°N, 47.11°W - Image by NASA/Johnson Space Center.
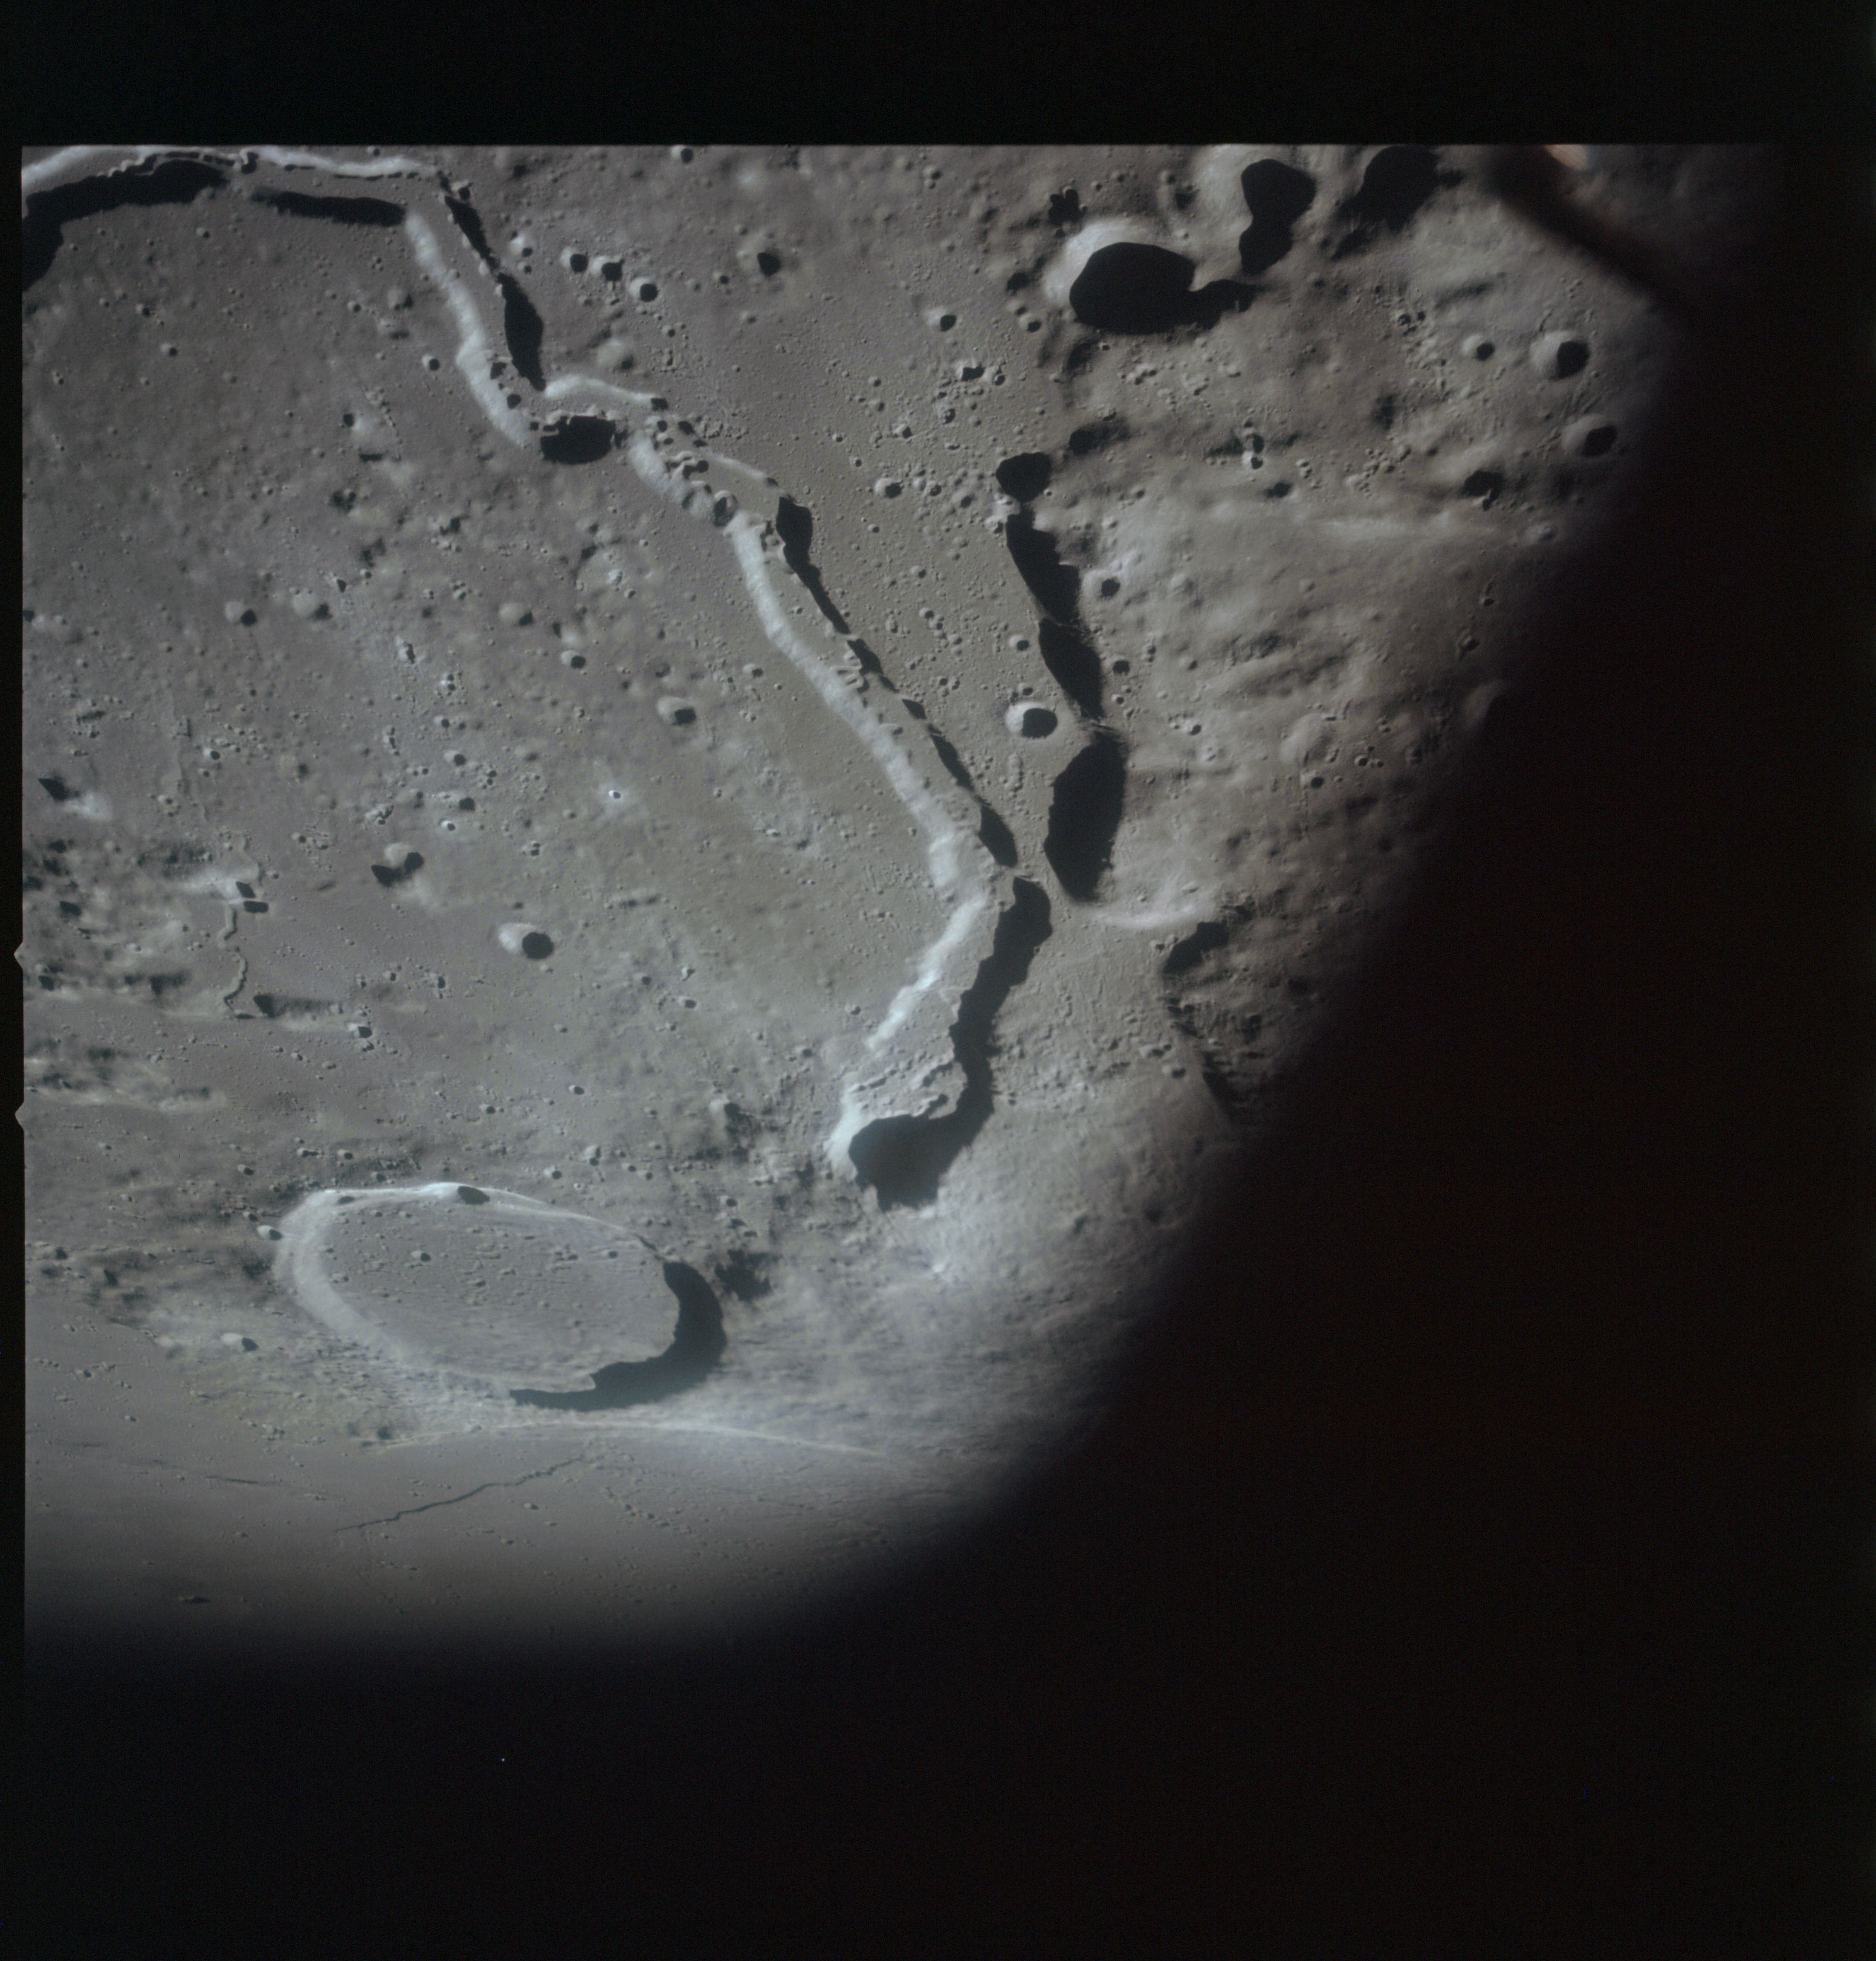
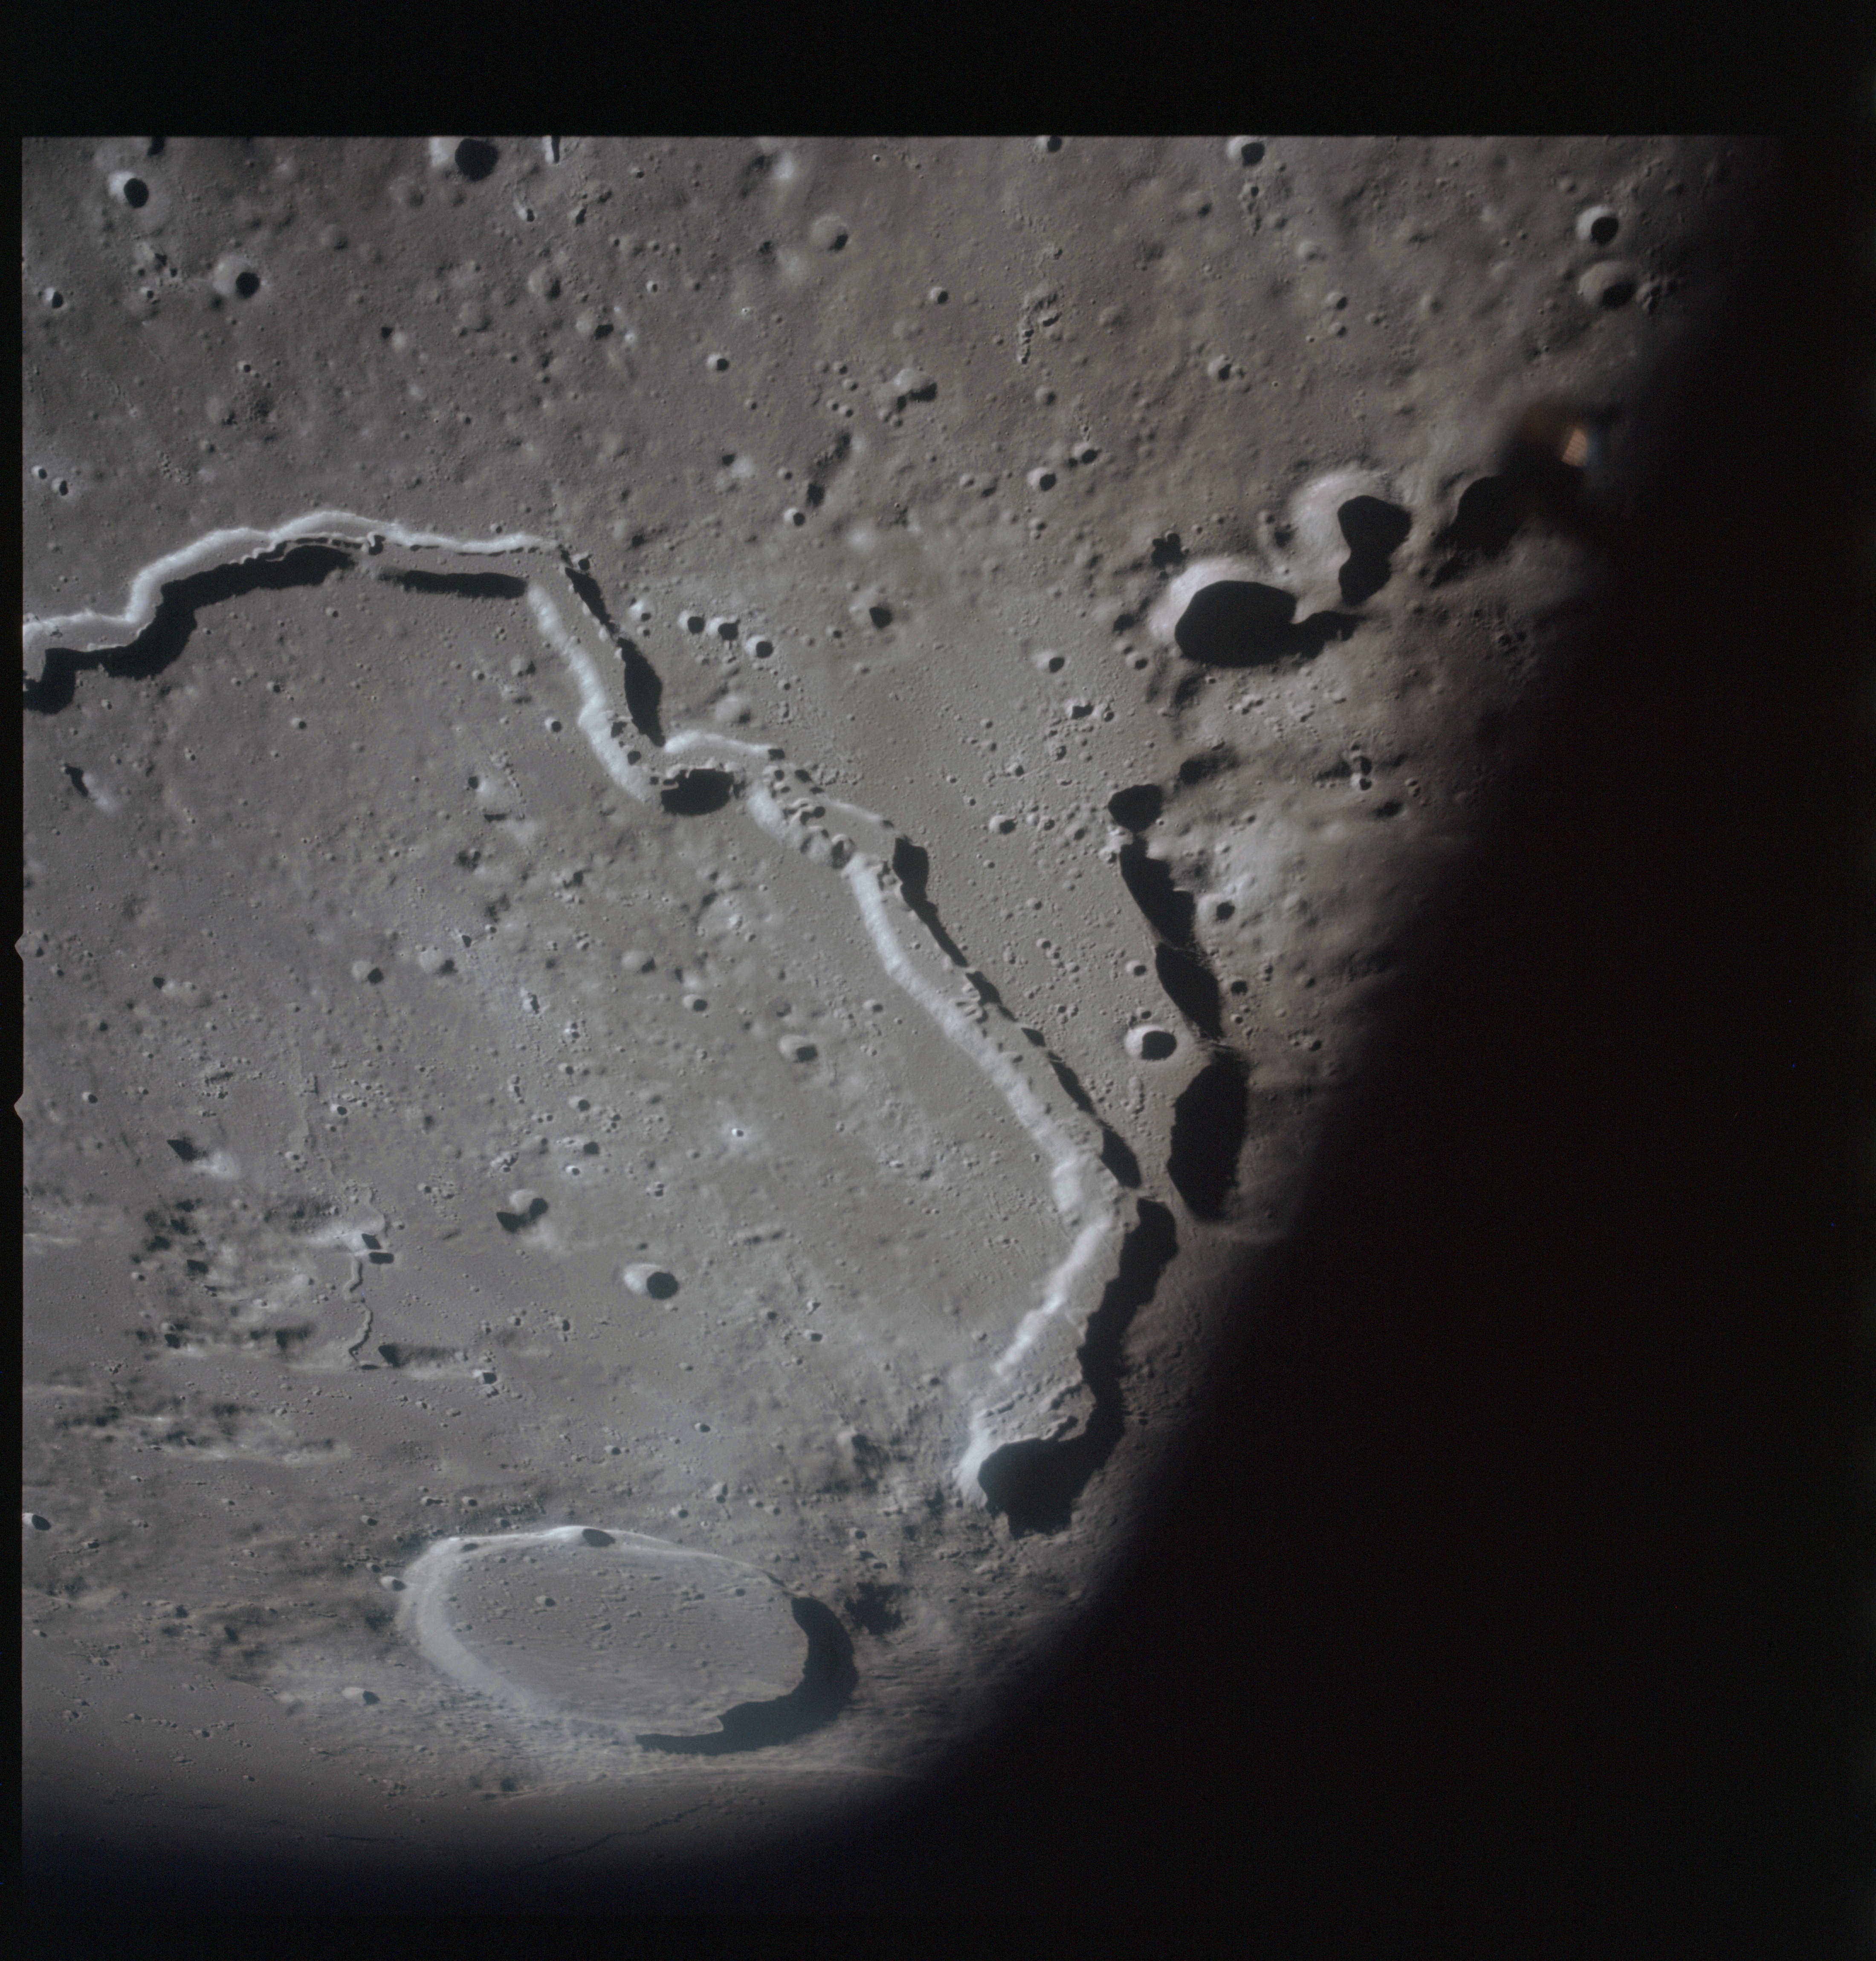
The very best example of a cobra-head rille is Vallis Schröteri, the source of which is known as "The Cobra Head", seen obliquely in AS15-92-12487.
AS15-92-12487 - The Cobra Head, the source of Vallis Schröteri - Image by NASA/Johnson Space Center.
AS15-92-12488 - Depression and rille source east of crater Väisälä. Image centre at 25.89°N, 47.42°W - Image by NASA/Johnson Space Center.
43 kilometres north of Aristarchus is the 8-km Väisälä, formerly known as Aristarchus A. It is named after Yrjo Väisälä, 1891-1971, an astronomer from Finland. The crater is shown in AS15-92-12489 where the damage sustained by its rim from Aristarchus ejecta passing from the south is apparent.
AS15-92-12489 - Crater Väisälä - Image by NASA/Johnson Space Center.
The second triplet of Aristarchus is taken.
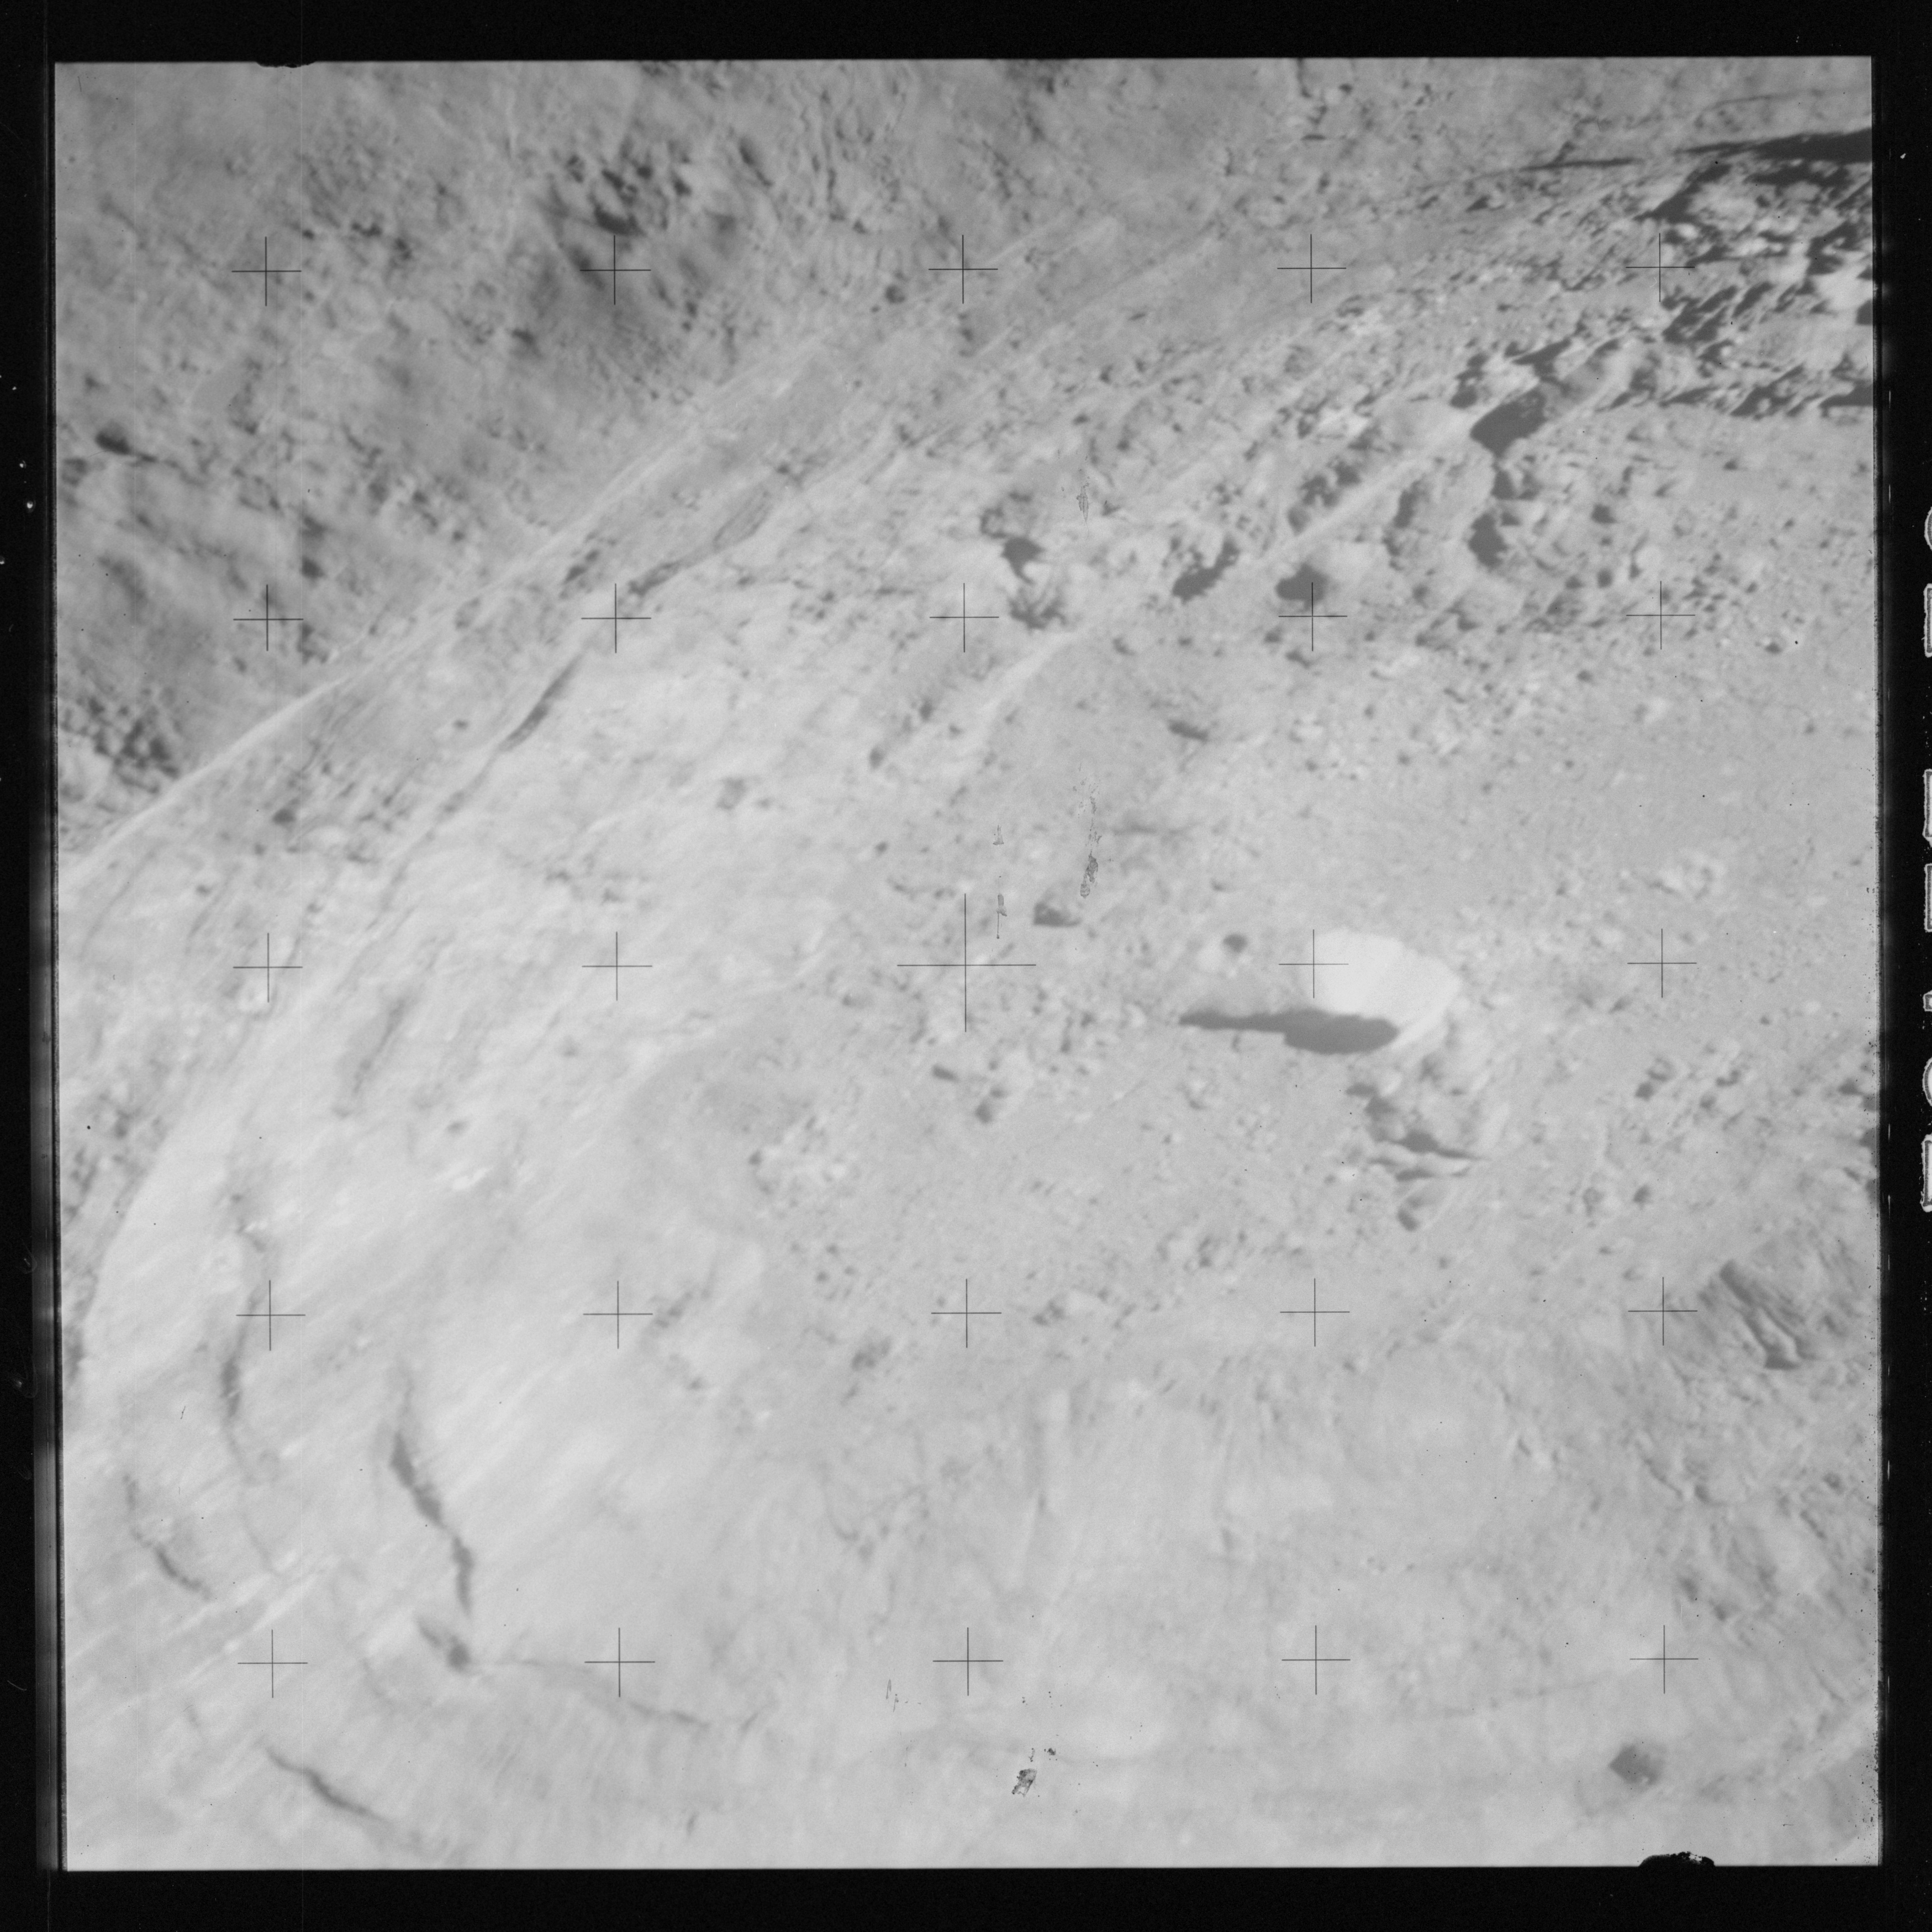
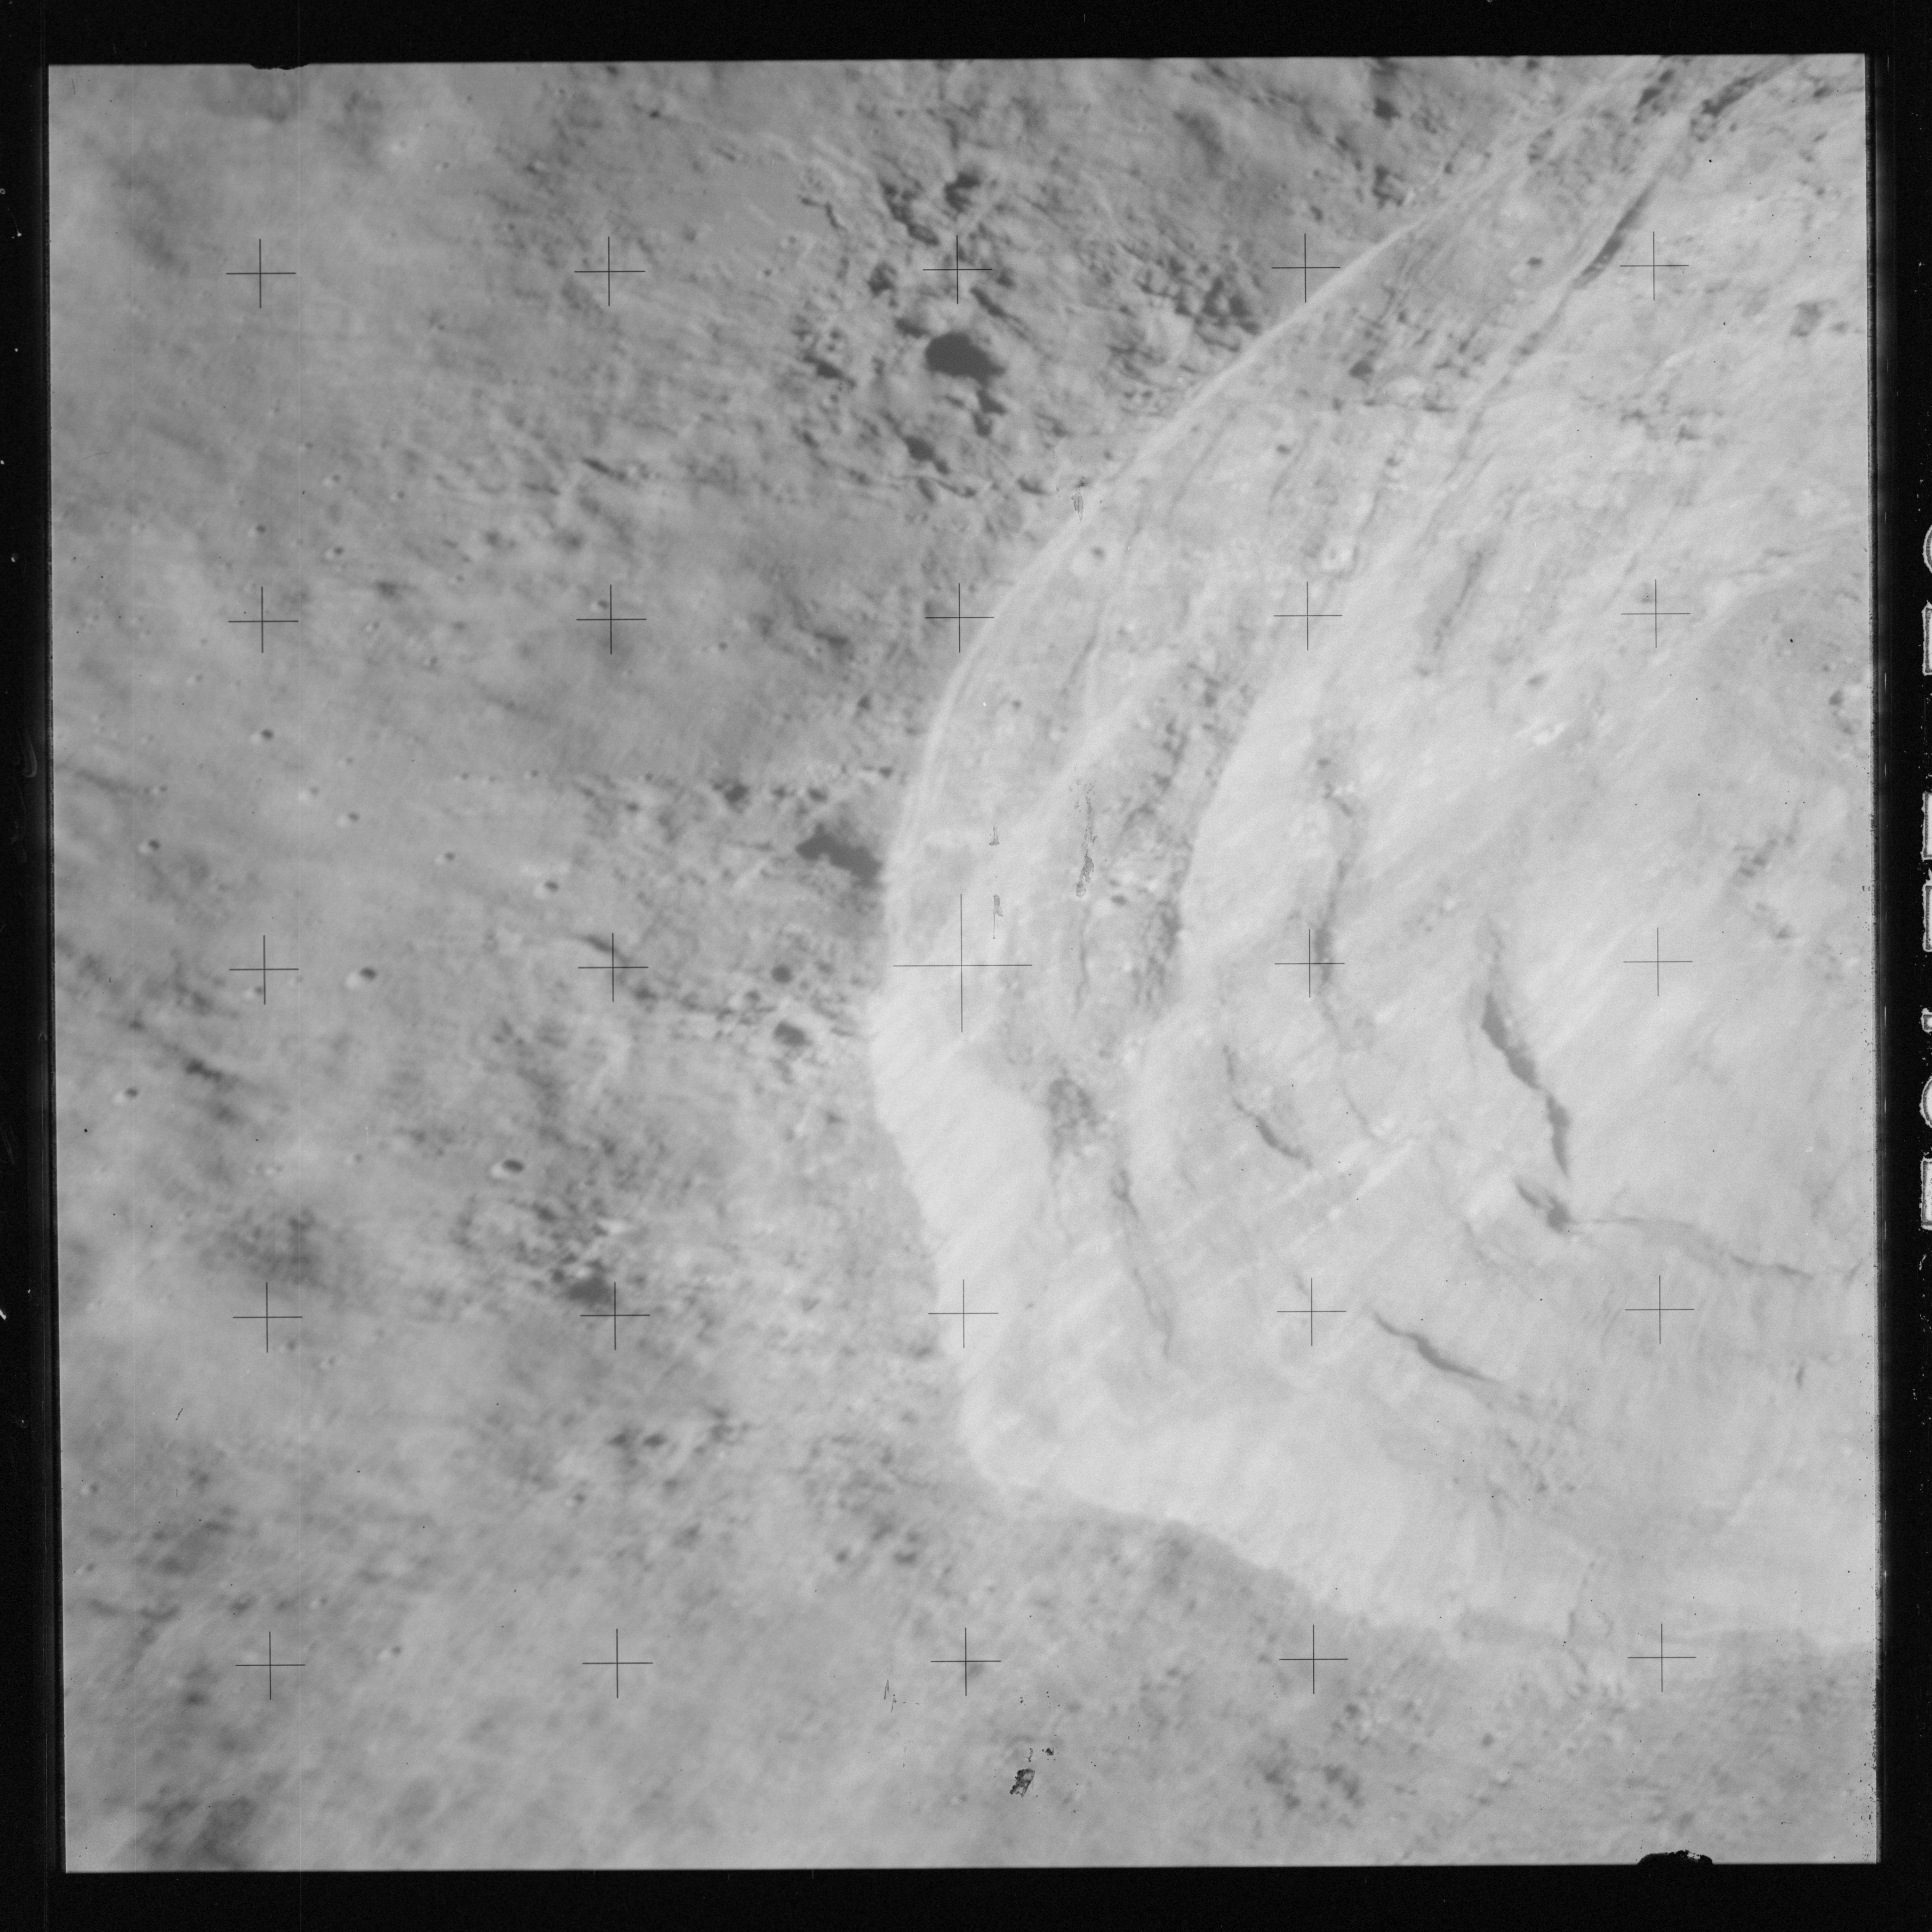
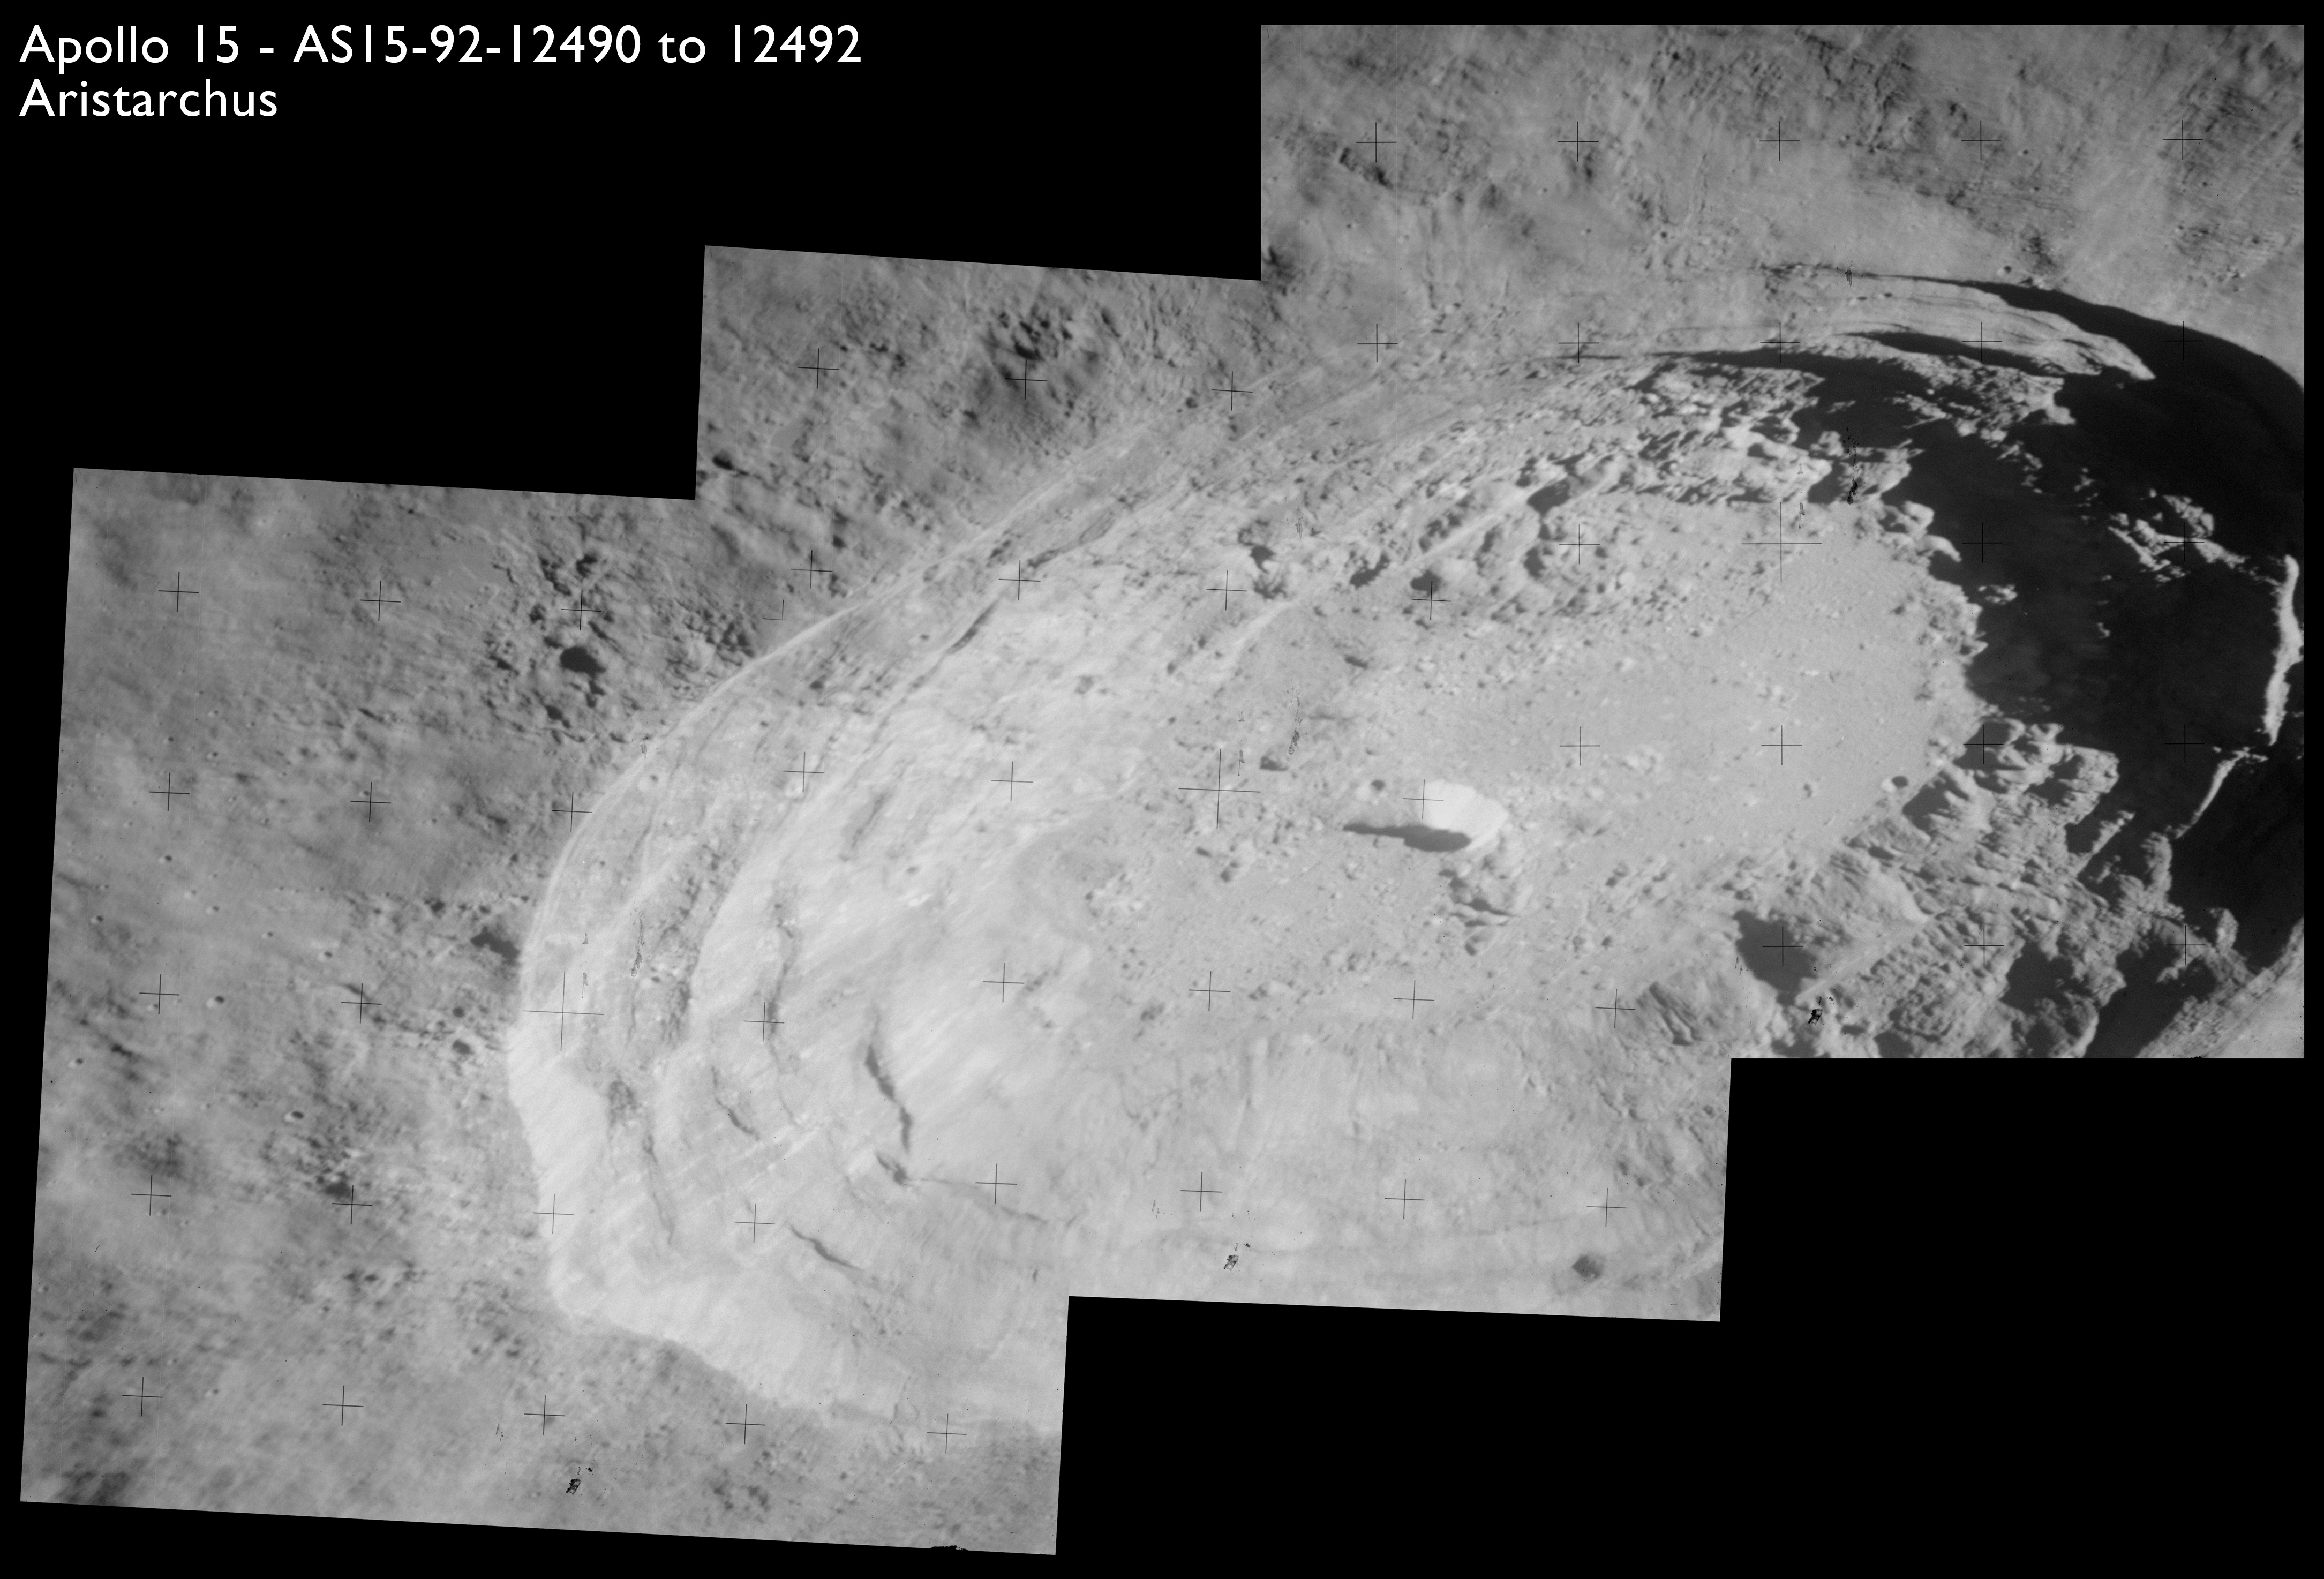
AS15-92-12490 - East side of crater Aristarchus - Image by NASA/Johnson Space Center.
AS15-92-12491 - Central section of crater Aristarchus - Image by NASA/Johnson Space Center.
AS15-92-12492 - West side of crater Aristarchus - Image by NASA/Johnson Space Center.
These three images have been composited to provide a spectacular oblique of this crater.
Composite image of Aristarchus - Source images by NASA/Johnson Space Center.
Forty kilometres wide and fully three kilometres deep, this enormous pit displays all the classic attributes of a crater of its size, even though it is half an aeon old. It has a distinct central peak though in this case it is off to one side. Around the peak is a flat floor of impact melt, rocks from the target which were thoroughly melted by the energy of the impact. Unable to hold such a massive structure in the form of a simple bowl, the walls have collapsed in a series of terraces, aided by the severe faulting of the crust around the impact.
Farouk El-Baz, from 1971 Visual Observation Debrief: "Visual observation 11, Aristarchus Plateau. You looked hard for the transient events from Aristarchus?"
Worden, from 1971 Visual Observation Debrief: "Yes. Boy, I'll tell you, in Earthshine, that thing really shows up. That's like a really luminous blanket around it. That is really bright, even in Earthshine."
El-Baz, from 1971 Visual Observation Debrief: "Now is it also from the rim crest inward or around it?"
Worden, from 1971 Visual Observation Debrief: "No, around it."
El-Baz, from 1971 Visual Observation Debrief: "The ejecta is also as bright?"
Worden, from 1971 Visual Observation Debrief: "The ejecta was the thing that was bright."
El-Baz, from 1971 Visual Observation Debrief: "How about the crater?"
Worden, from 1971 Visual Observation Debrief: "Not the crater itself so much, but the crater was bright. That's an impression you get when you're coming up on it, because the only thing you see is the ejecta pattern. And that comes right straight at you out of the darkness as you're going over it. ... The inside of it is fairly bright too. But the thing that really catches your eye is this ejecta pattern that's out around it, with that big long tail that sticks out to the southwest. ... Cobra-Head looks like nothing but just a sheer cliff around there."
El-Baz, from 1971 Visual Observation Debrief: "A very steep wall?"
Worden, from 1971 Visual Observation Debrief: "A very steep wall - very high. I couldn't even begin to guess how high it looks, but I bet it's 1,000 feet at least."
El-Baz, from 1971 Visual Observation Debrief: "Higher than what?"
Worden, from 1971 Visual Observation Debrief: "It's not higher than anything because it's like a natural amphitheater. ... "
El-Baz, from 1971 Visual Observation Debrief: "Did you see the bottom of it or not?"
Worden, from 1971 Visual Observation Debrief: "No, I never did get a very good look at it, because it was always in shadow."
El-Baz, from 1971 Visual Observation Debrief: "It was deeper than you could actually see?"
Worden, from 1971 Visual Observation Debrief: "Yes, it was still dark down around the bottom, but you could see the wall. ... It was just a big steep wall sitting there."
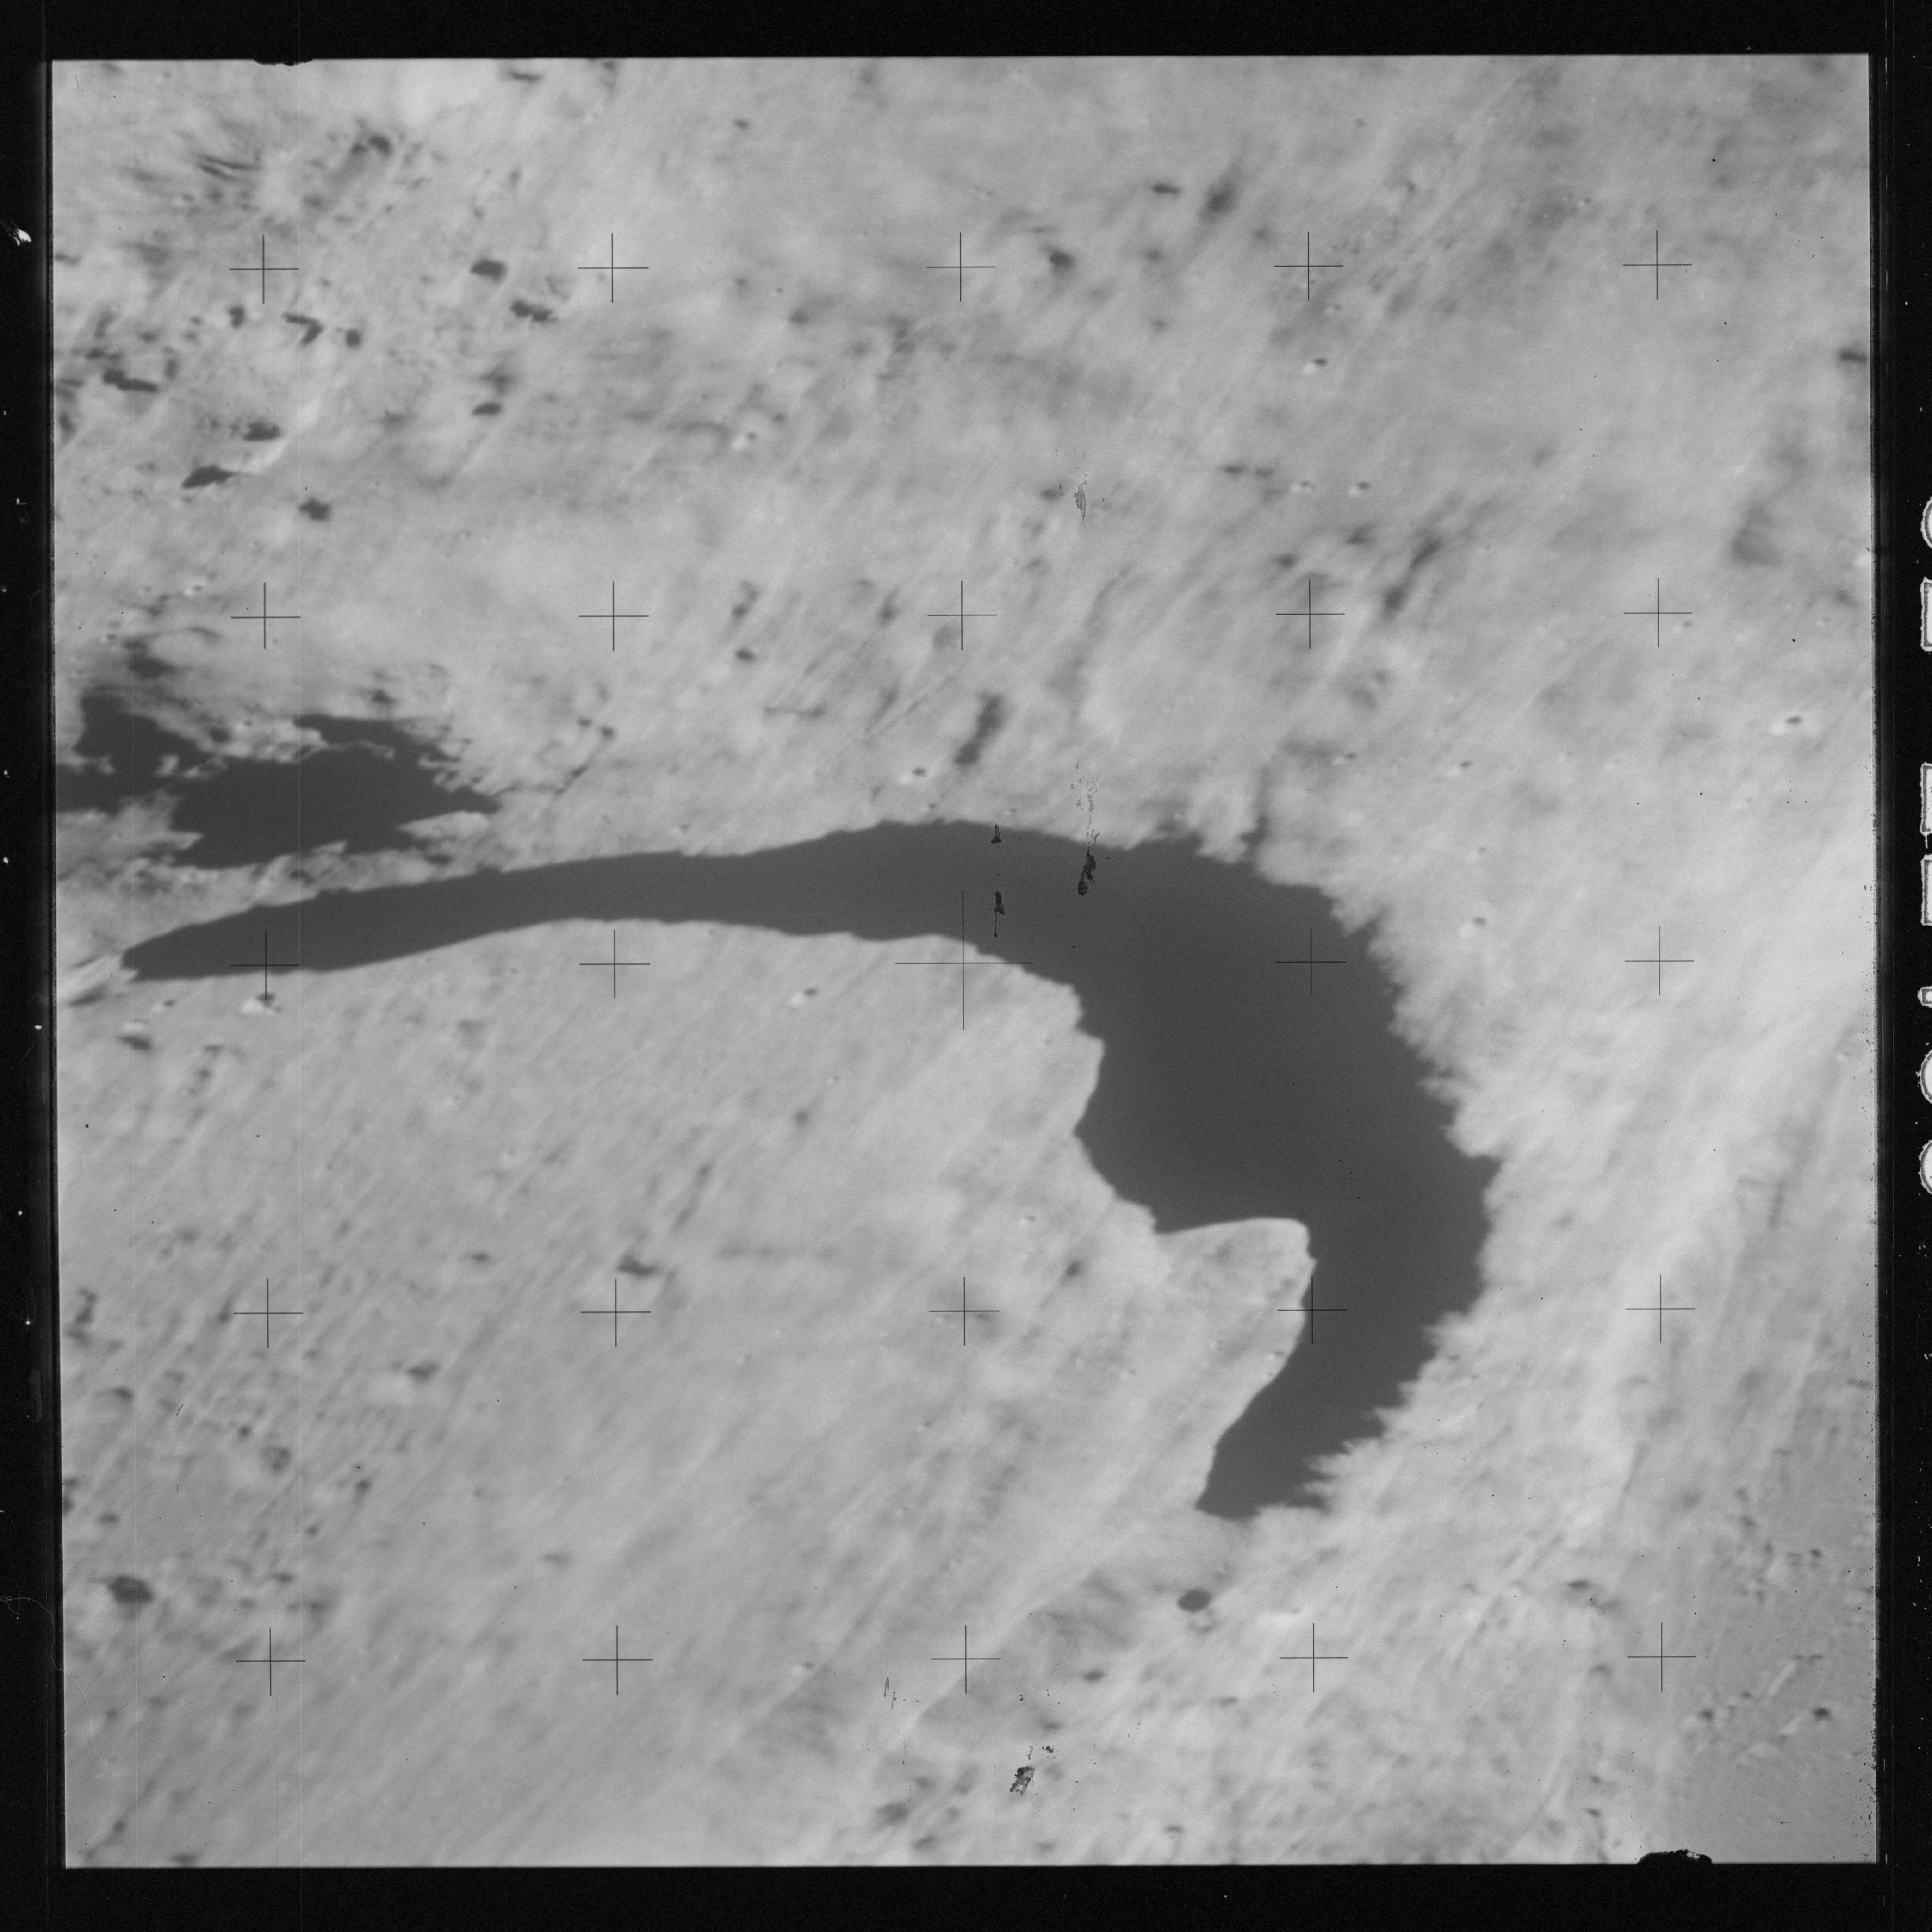
AS15-92-12493 - East side of crater Herodotus - Image by NASA/Johnson Space Center.
This image of Herodotus tells some of the story of the crater. Being the same diameter as Aristarchus, it would once have looked very similar to its neighbour. However, it has experienced nearly four billion years of change having been dated to around 3.8 billion years old. A major alteration was for the bulk of its bowl to be filled with lava, now basalt, about 3 billion years ago. Then 450 million years ago, Aristarchus was formed nearby, draping Herodotus with its ejecta.
AS15-92-12494 - Damaged rilles east-southeast of crater Väisälä. Image centre at 25.63°N, 47.28°W - Image by NASA/Johnson Space Center.
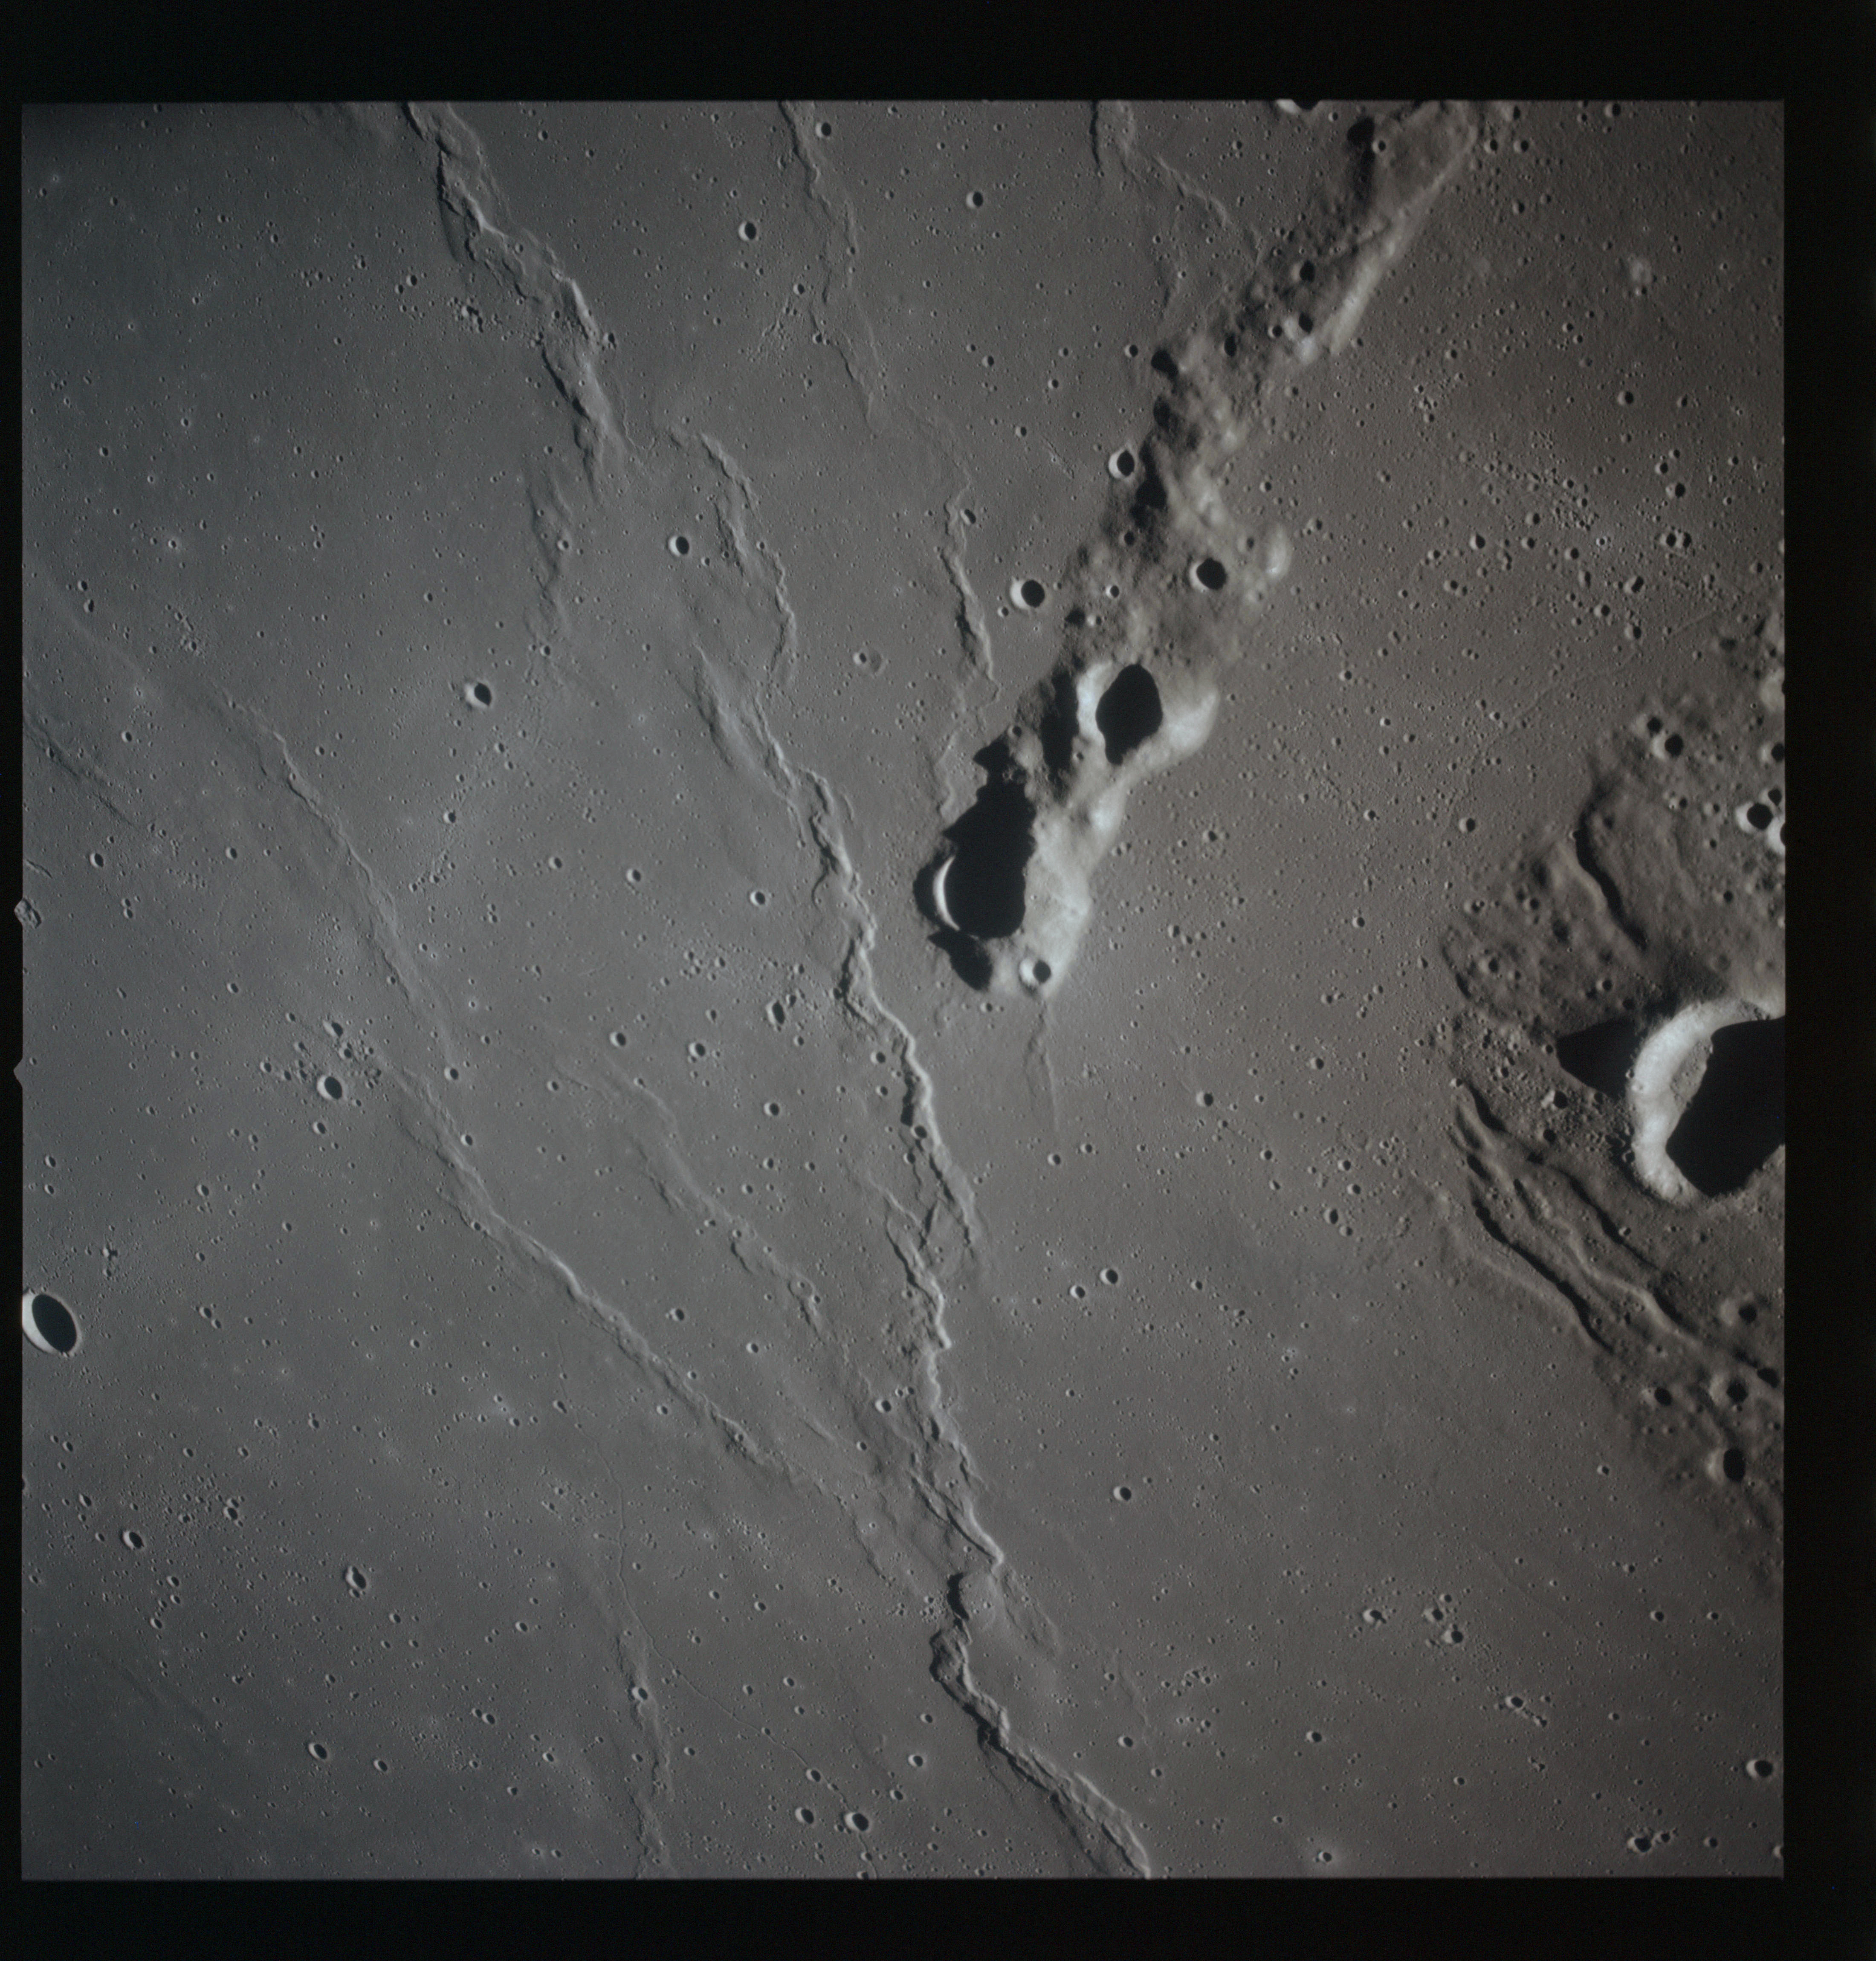
The crew's photographic efforts are reaching a climax with an intense period of snapping as Endeavour passes by Vallis Schröteri.
Returning to magazine P and colour photography using the 80-mm lens, this camera is continuing to take general shots of the Aristarchus Plateau. AS15-93-12617 shows the hummocky, uneven surface of the plateau and Vallis Schröteri to the left.
AS15-93-12617 - The Aristarchus Plateau and Vallis Schröteri. Crater Väisälä is to the lower right - Image by NASA/Johnson Space Center.
AS15-93-12618 - The Aristarchus Plateau including crater Herodotus H - Image by NASA/Johnson Space Center.
AS15-93-12619 - The Aristarchus Plateau north of crater Herodotus H - Image by NASA/Johnson Space Center.
AS15-93-12620 - Mare landscape between Montes Agricola and the Aristarchus Plateau including crater Wollaston R and Dorsum Niggli - Image by NASA/Johnson Space Center.
AS15-93-12621 - Mare landscape between Montes Agricola and the Aristarchus Plateau including Dorsum Niggli - Image by NASA/Johnson Space Center.
AS15-93-12622 - Mare landscape between Montes Agricola and the Aristarchus Plateau including Dorsum Niggli - Image by NASA/Johnson Space Center.
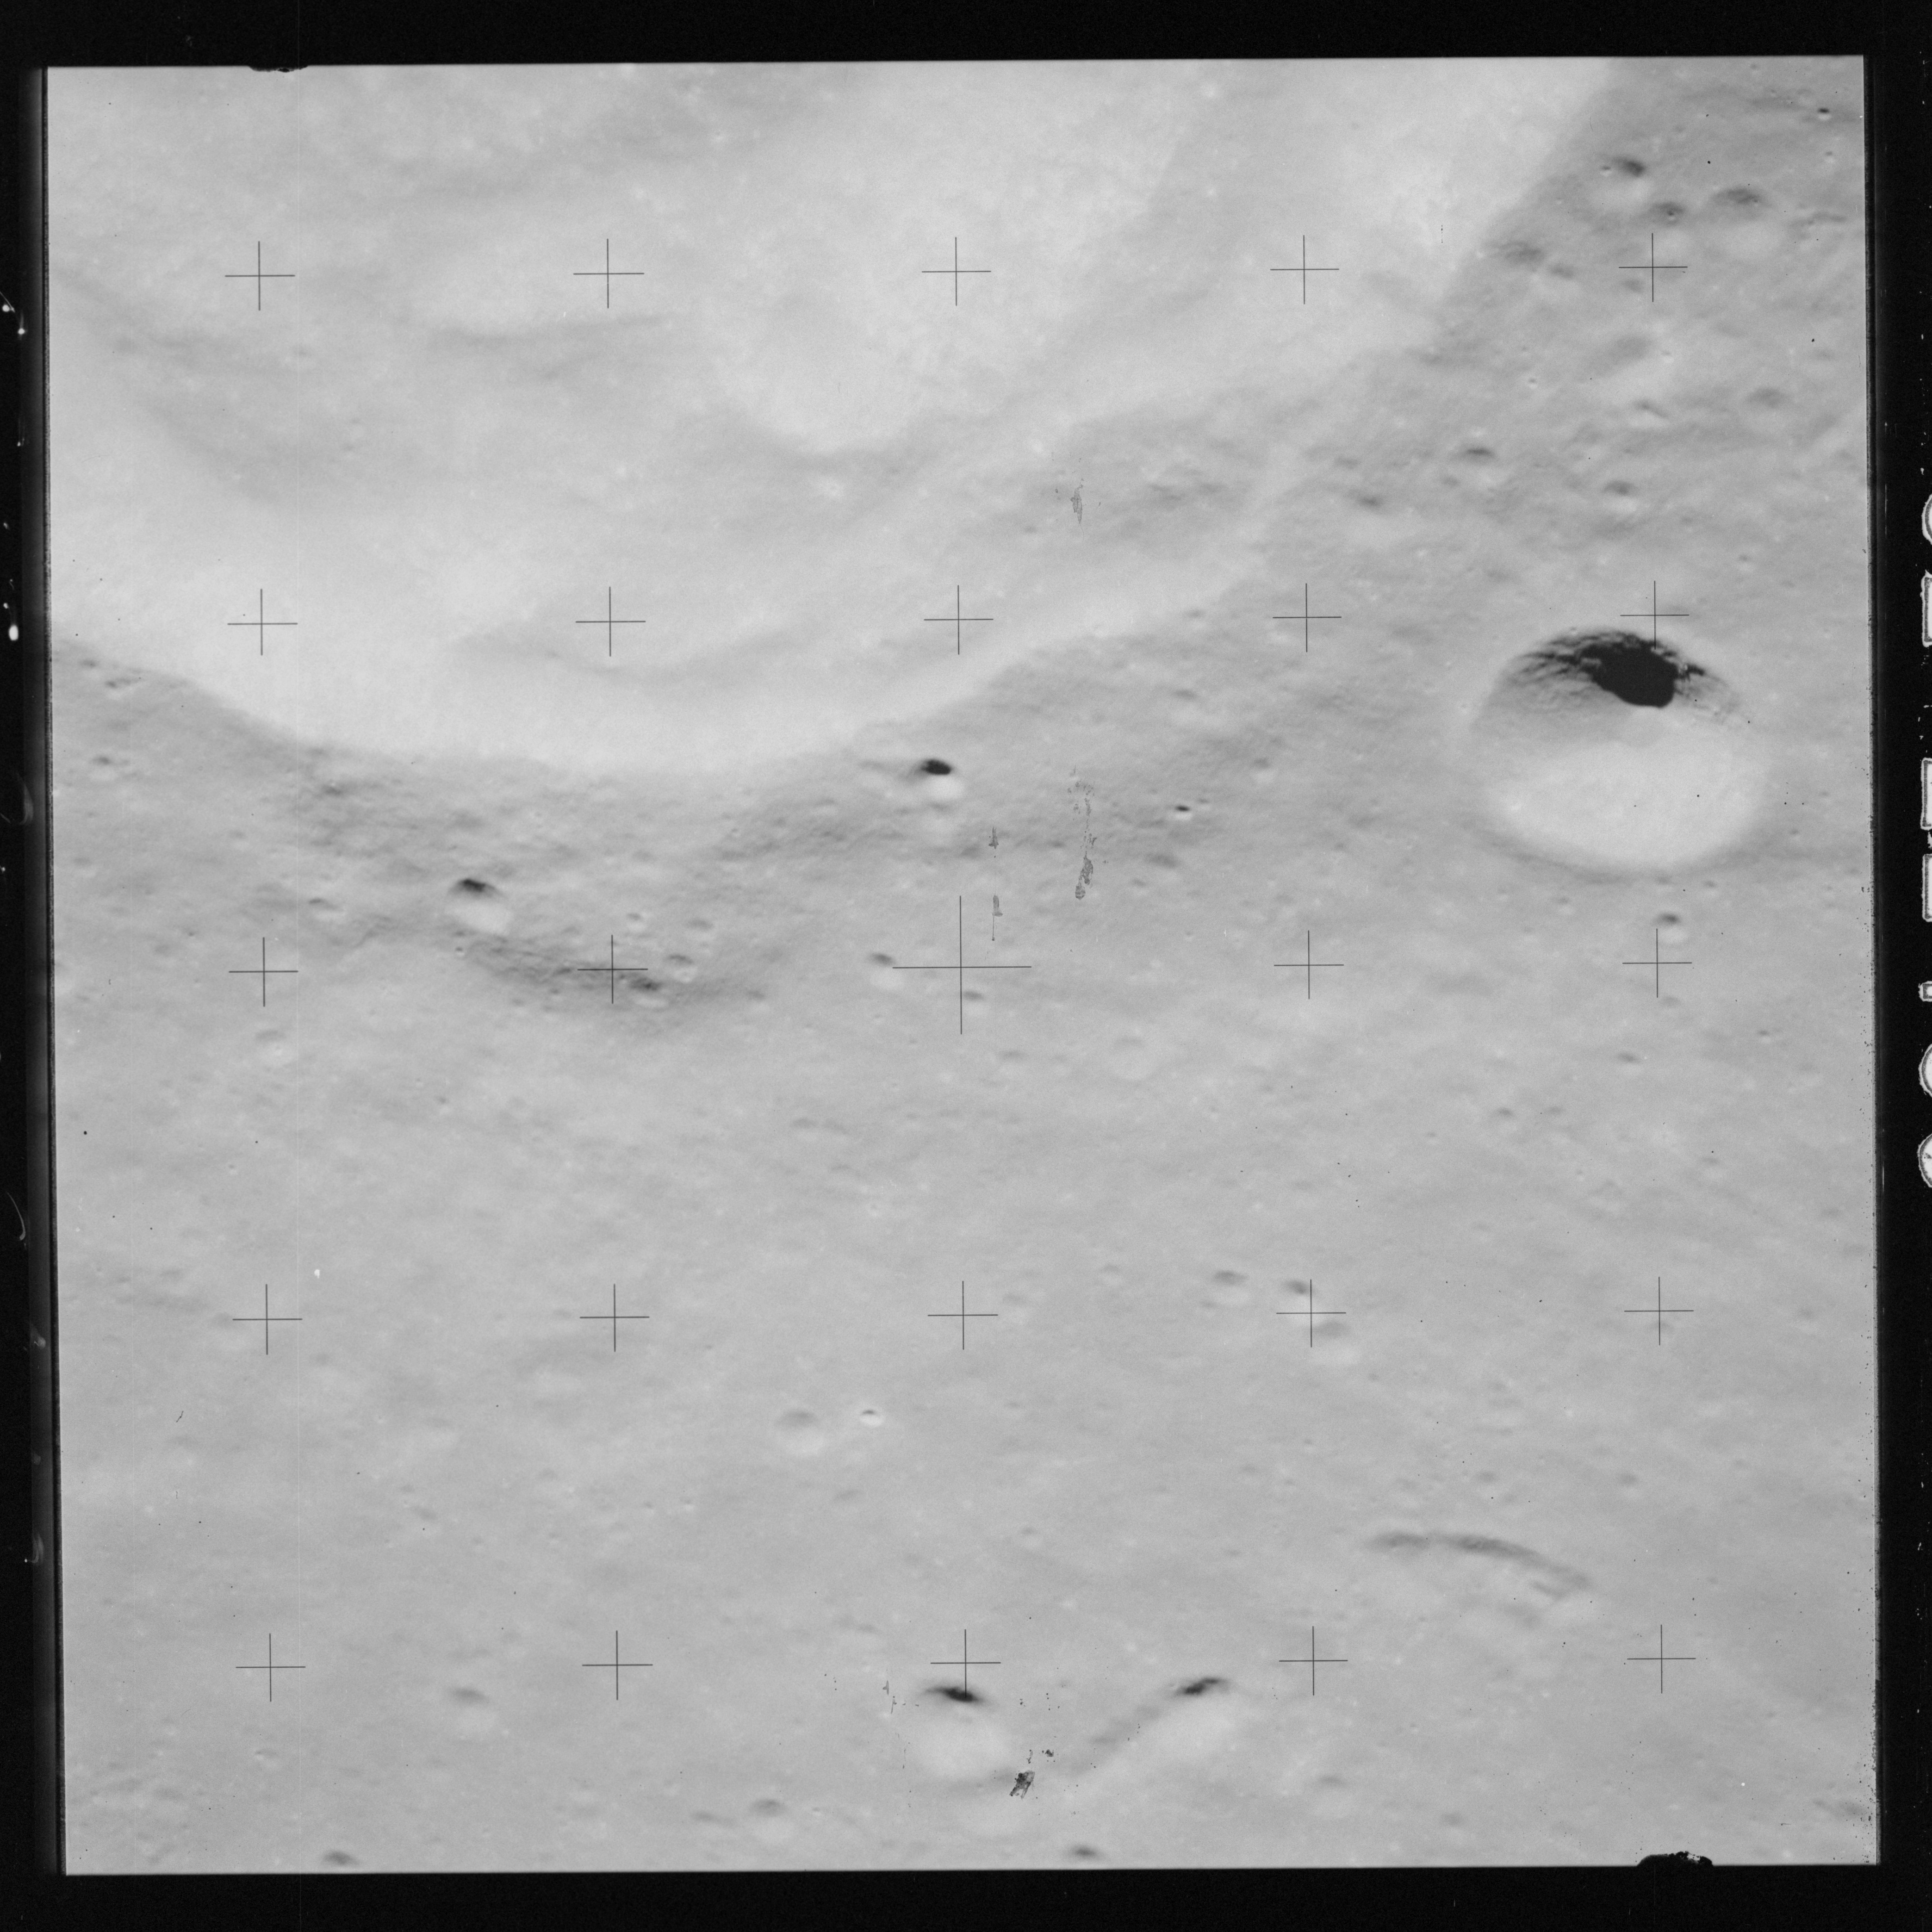
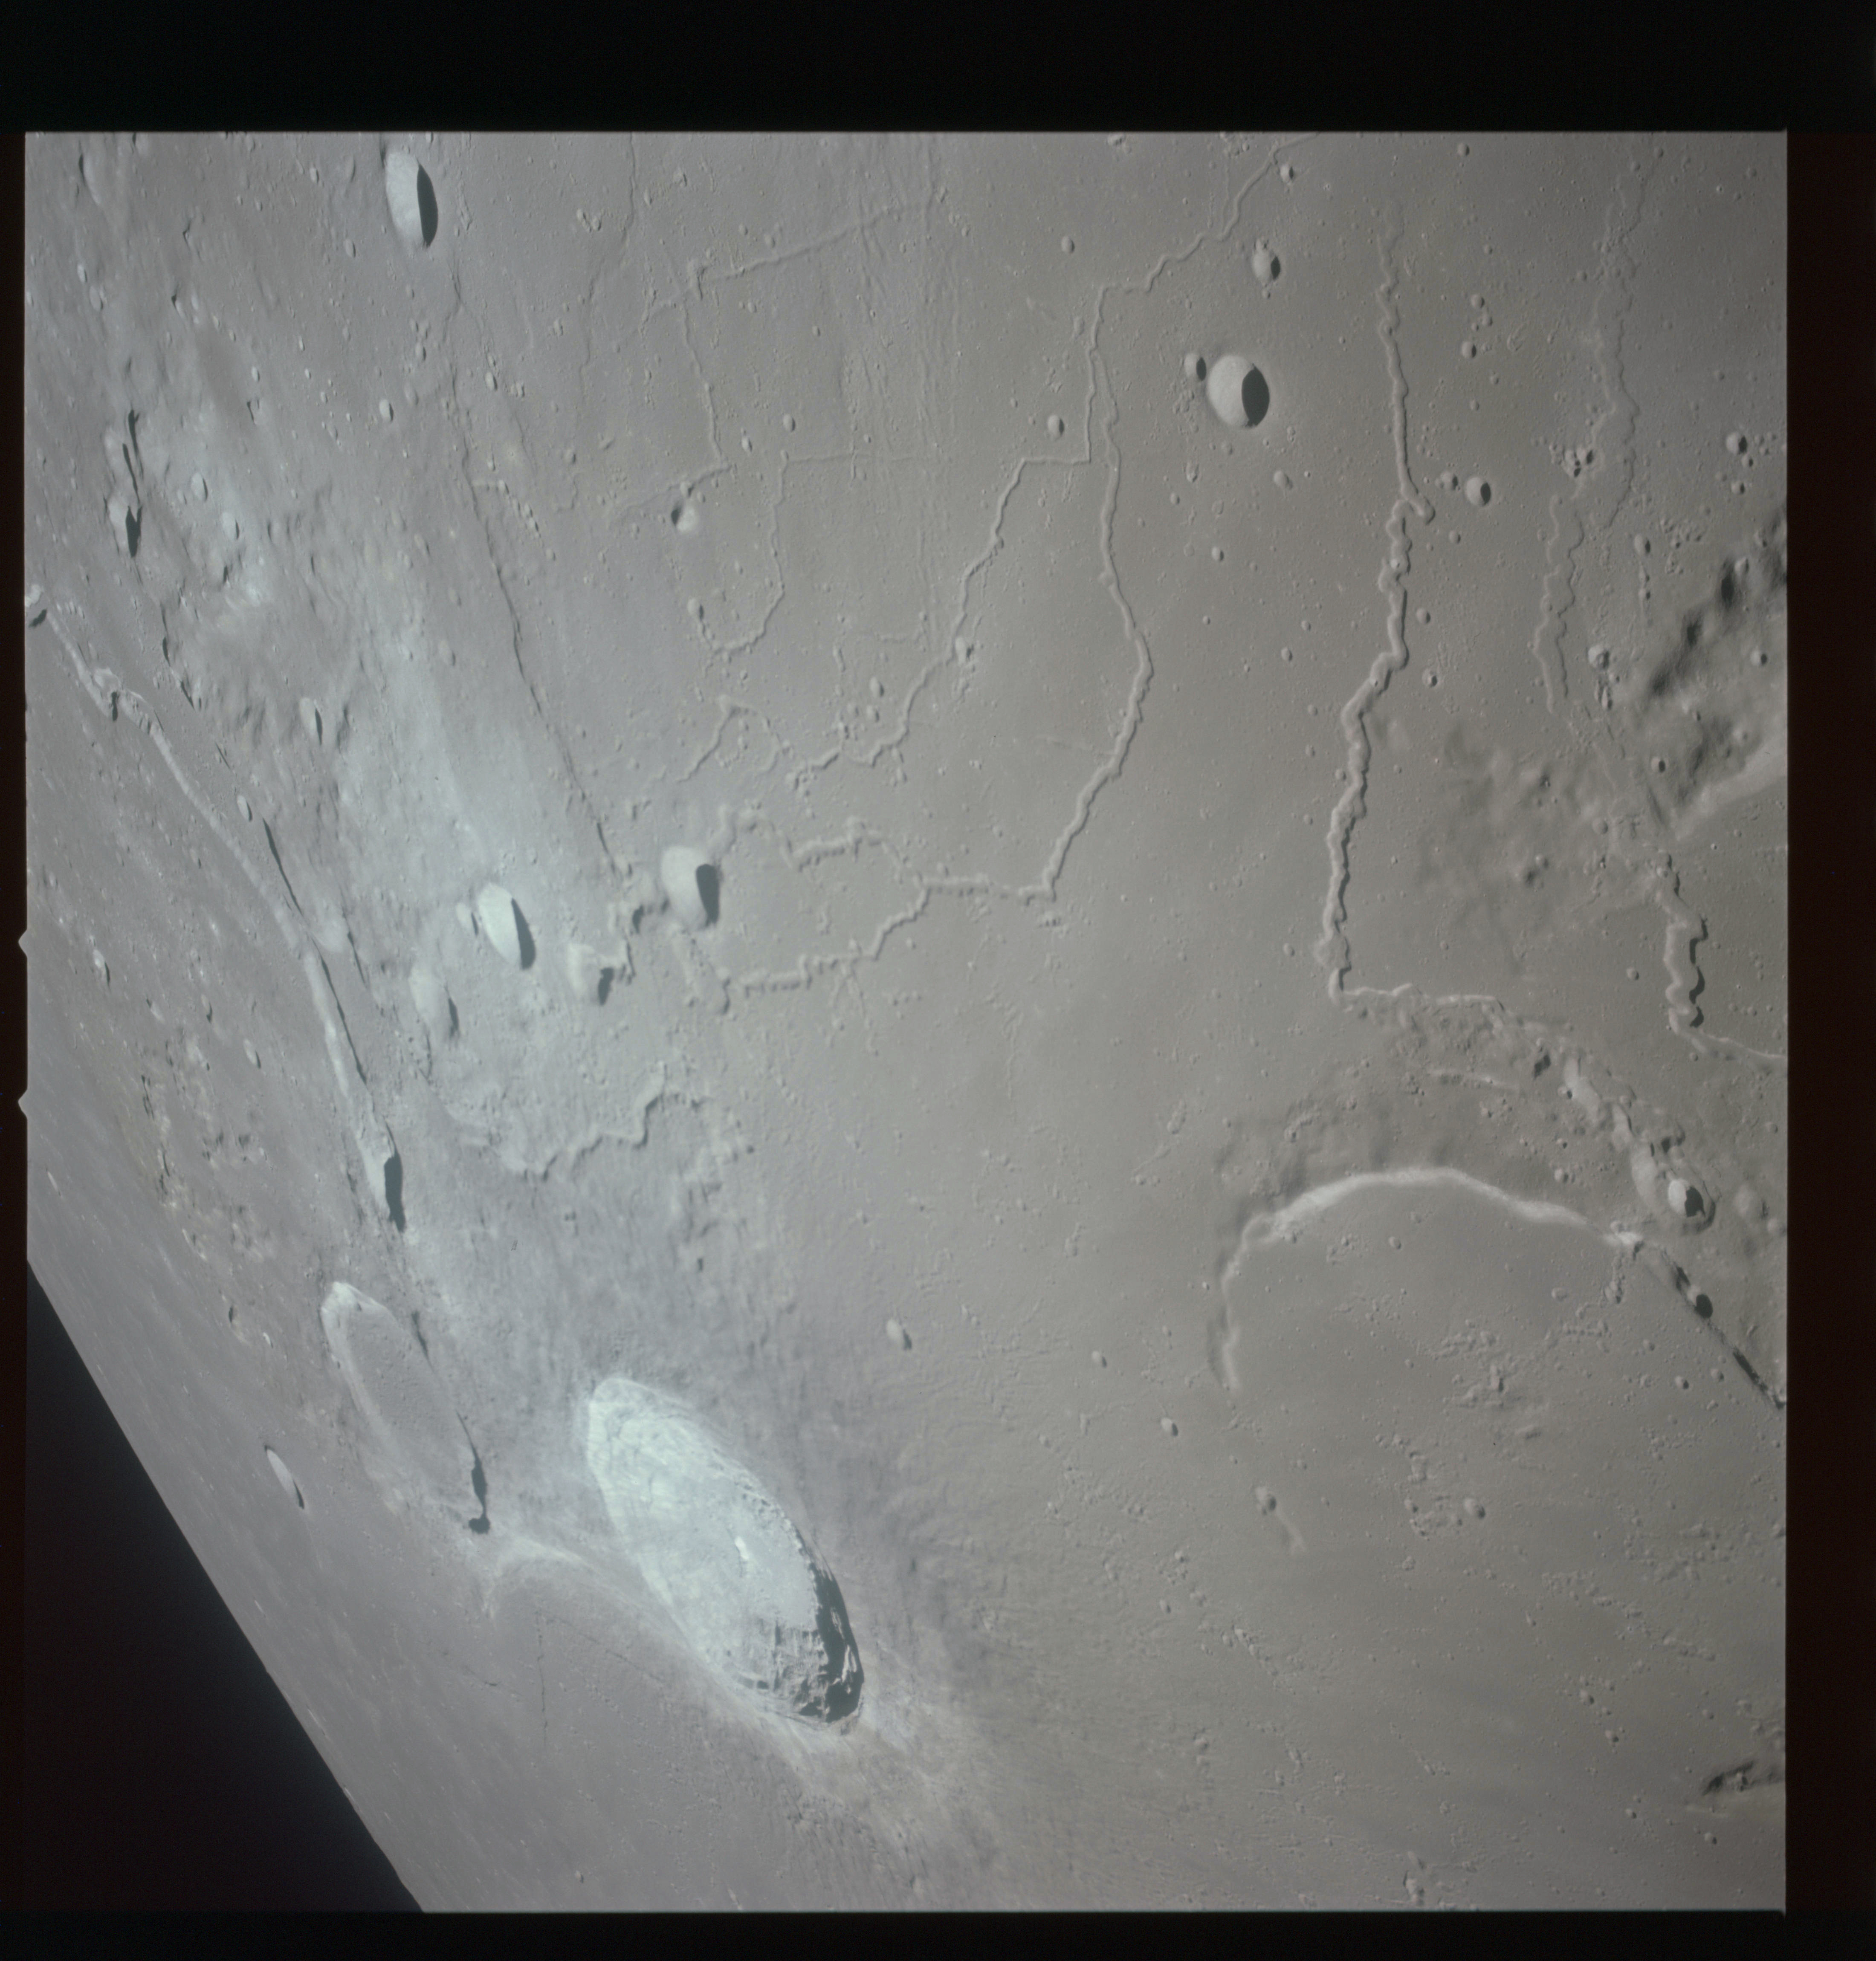
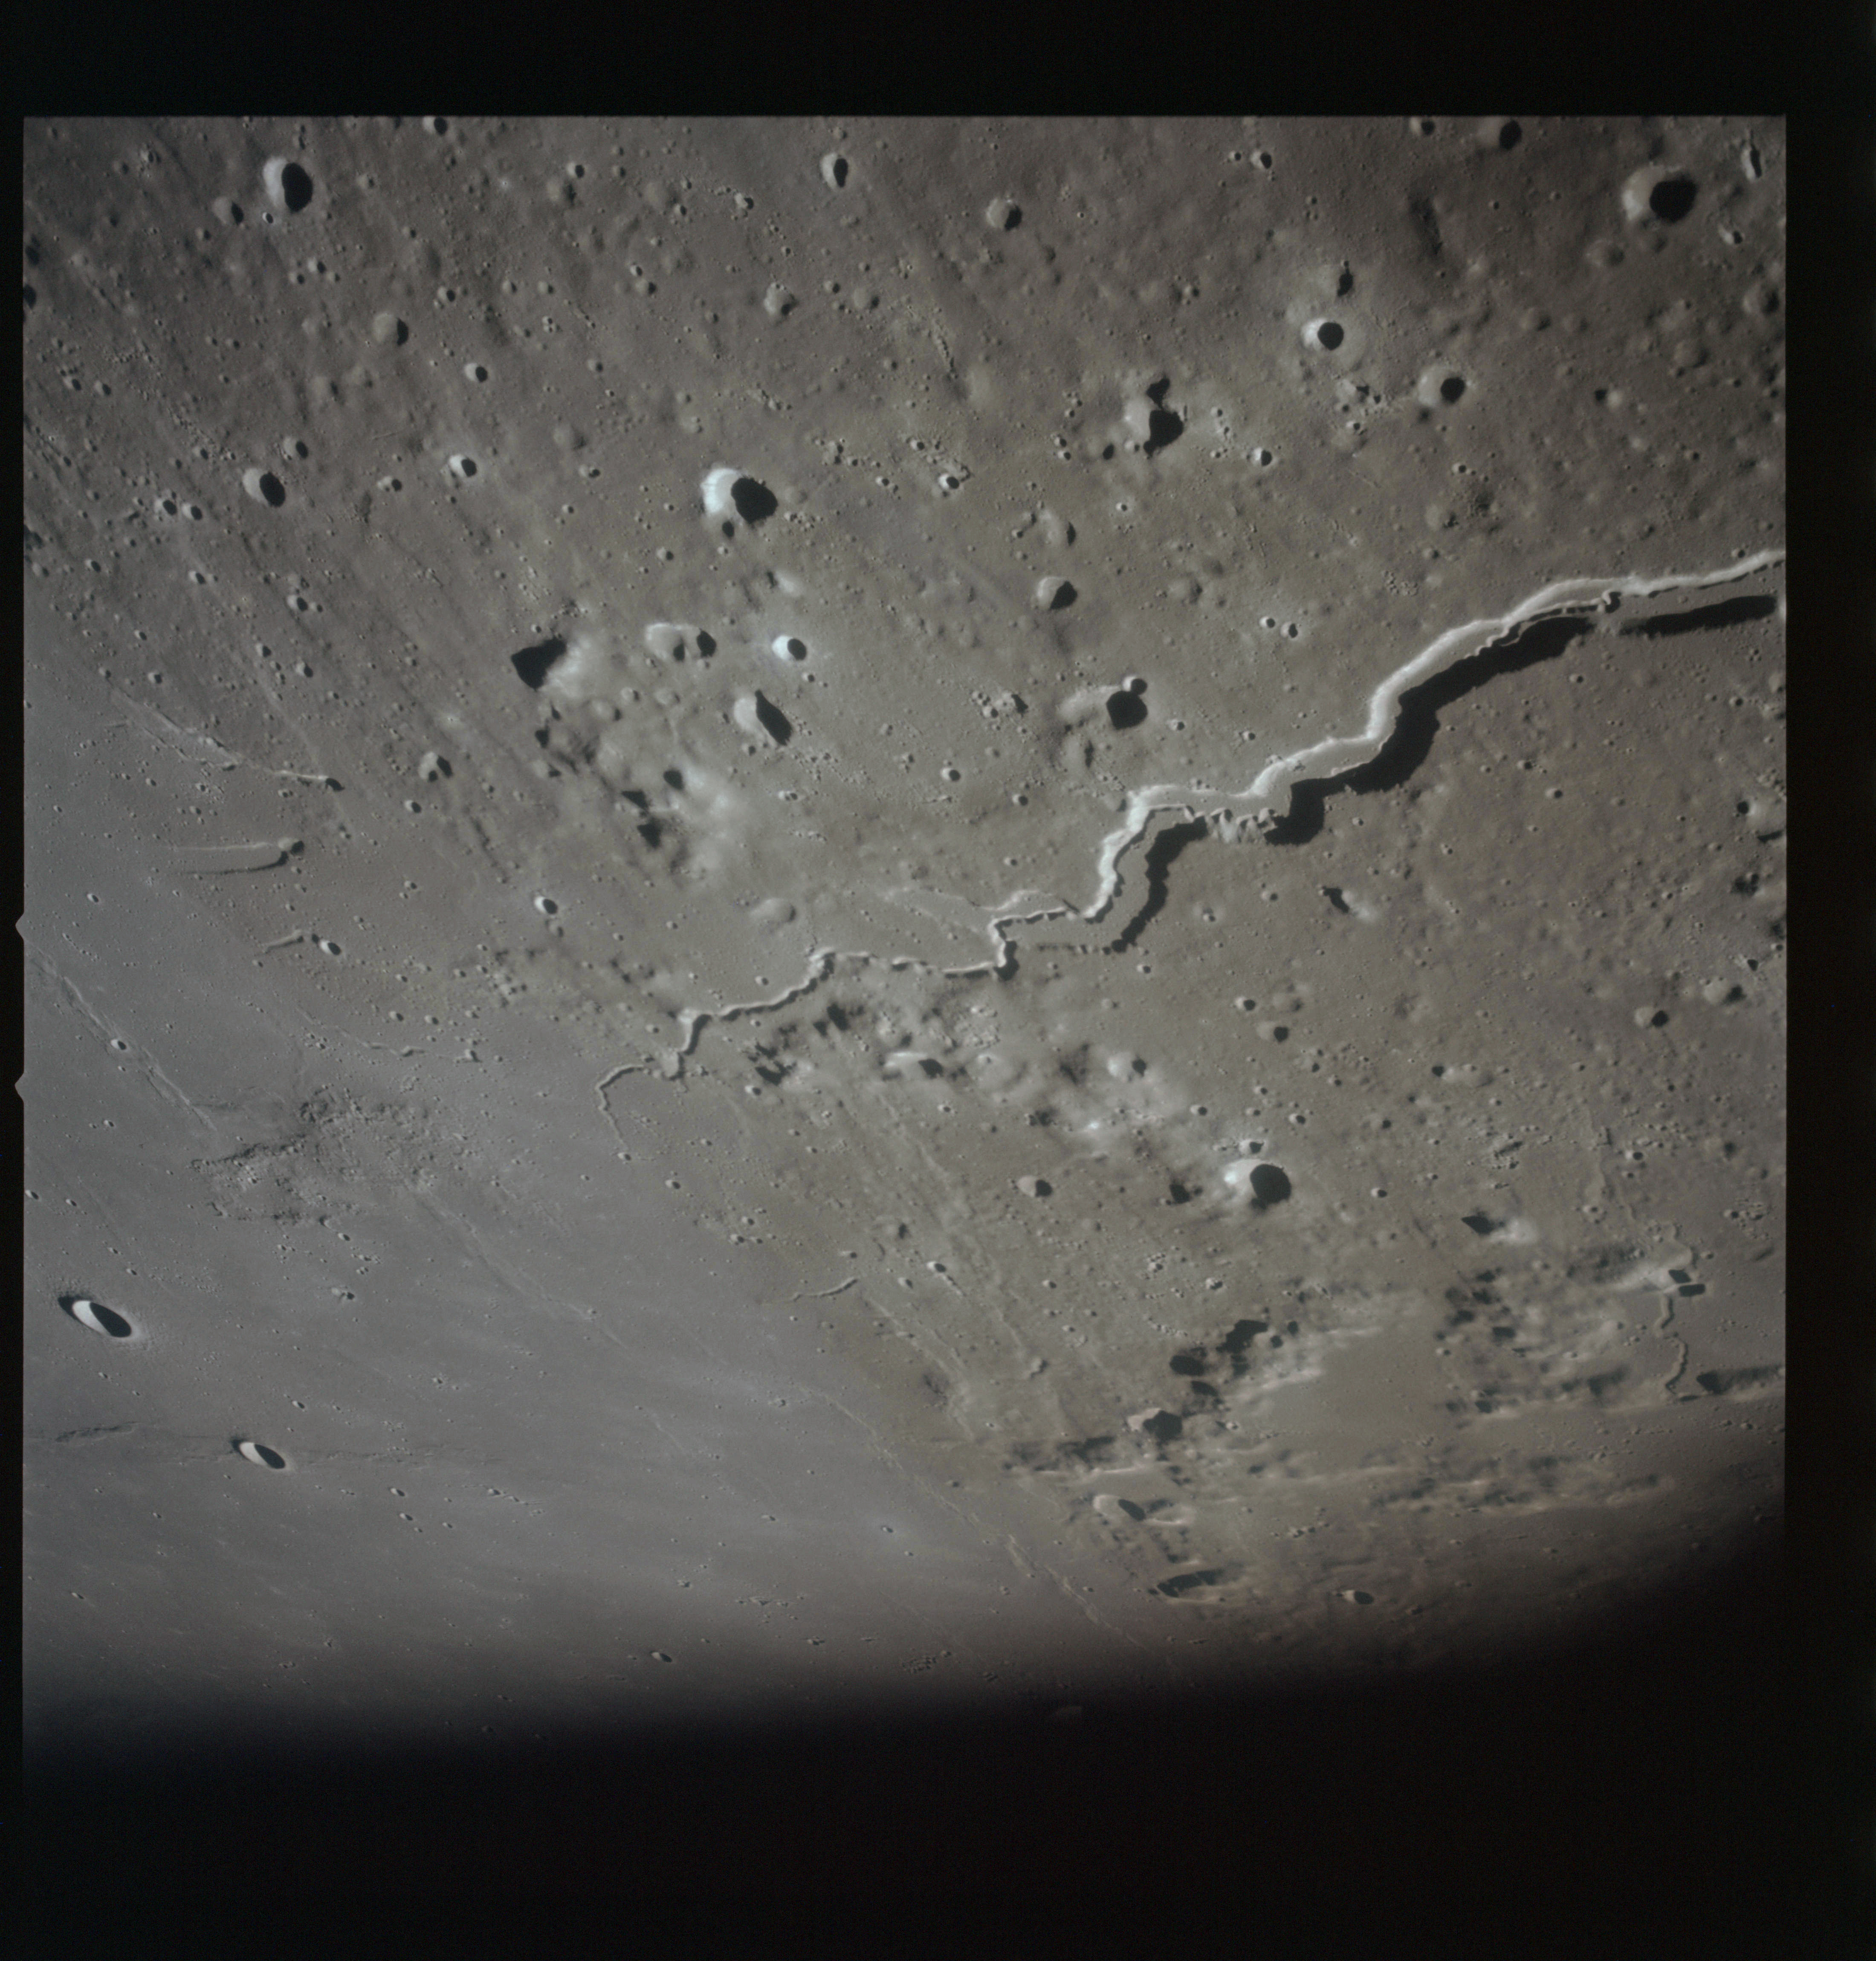
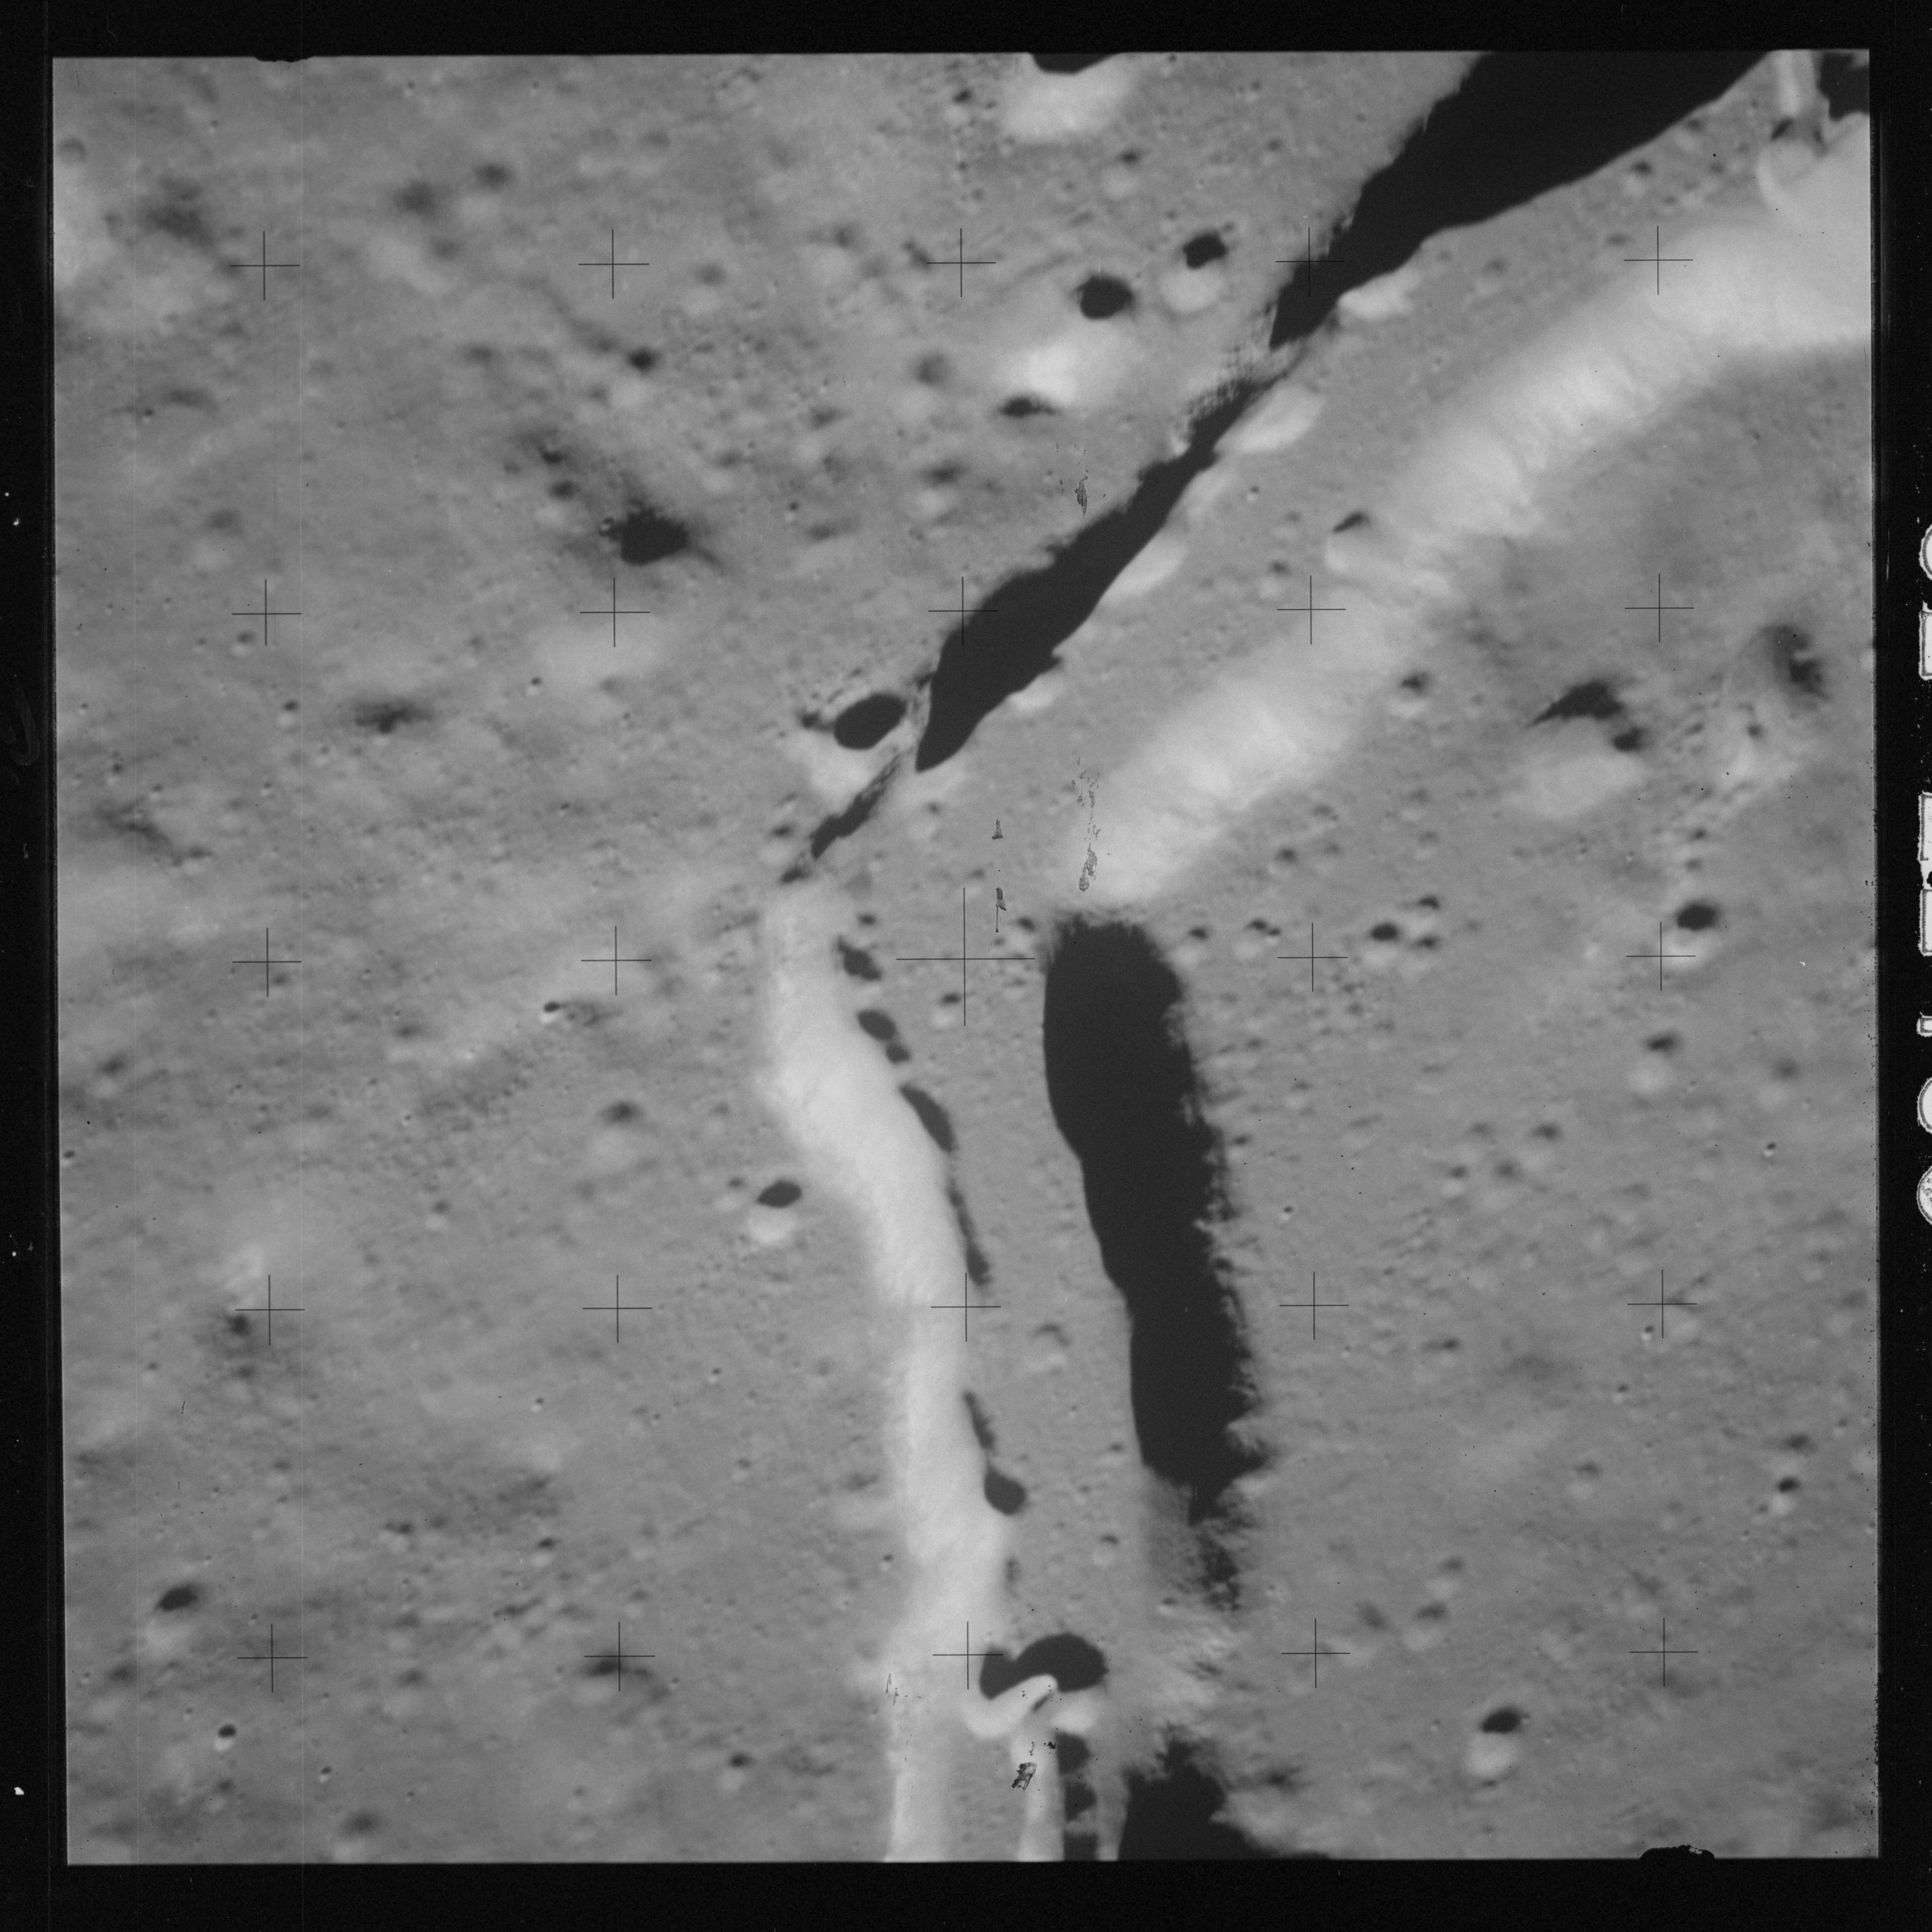
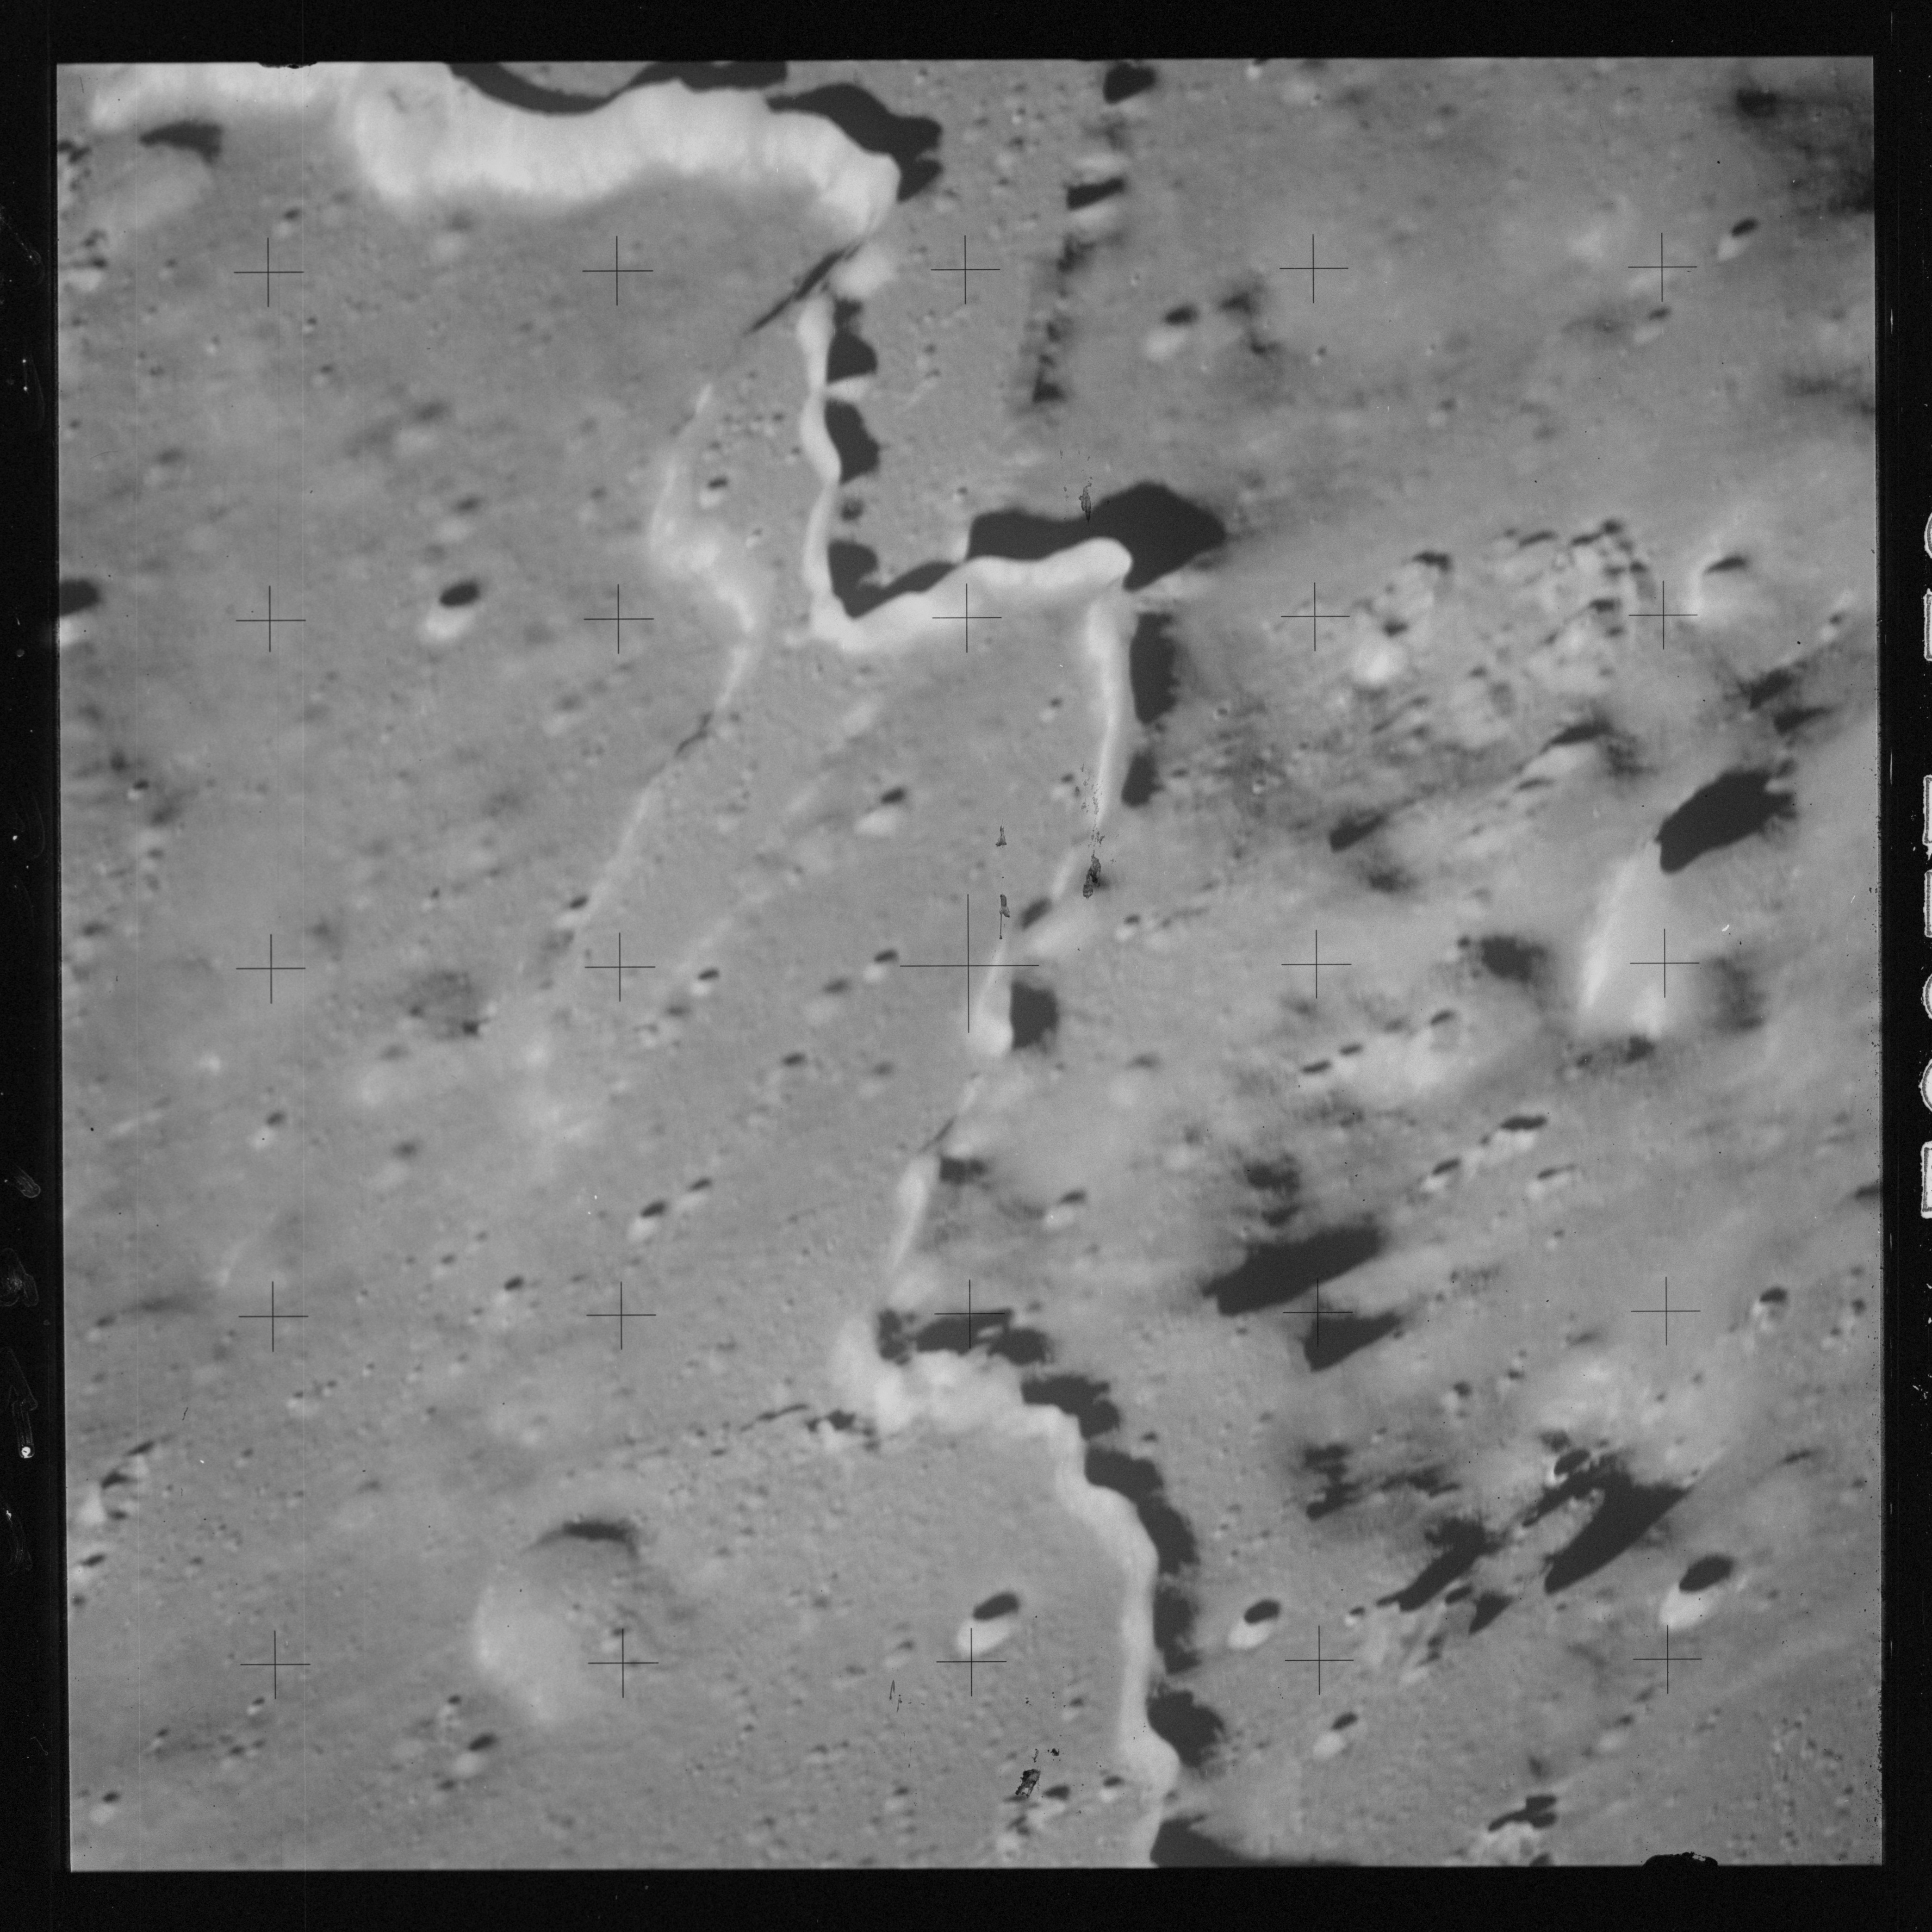
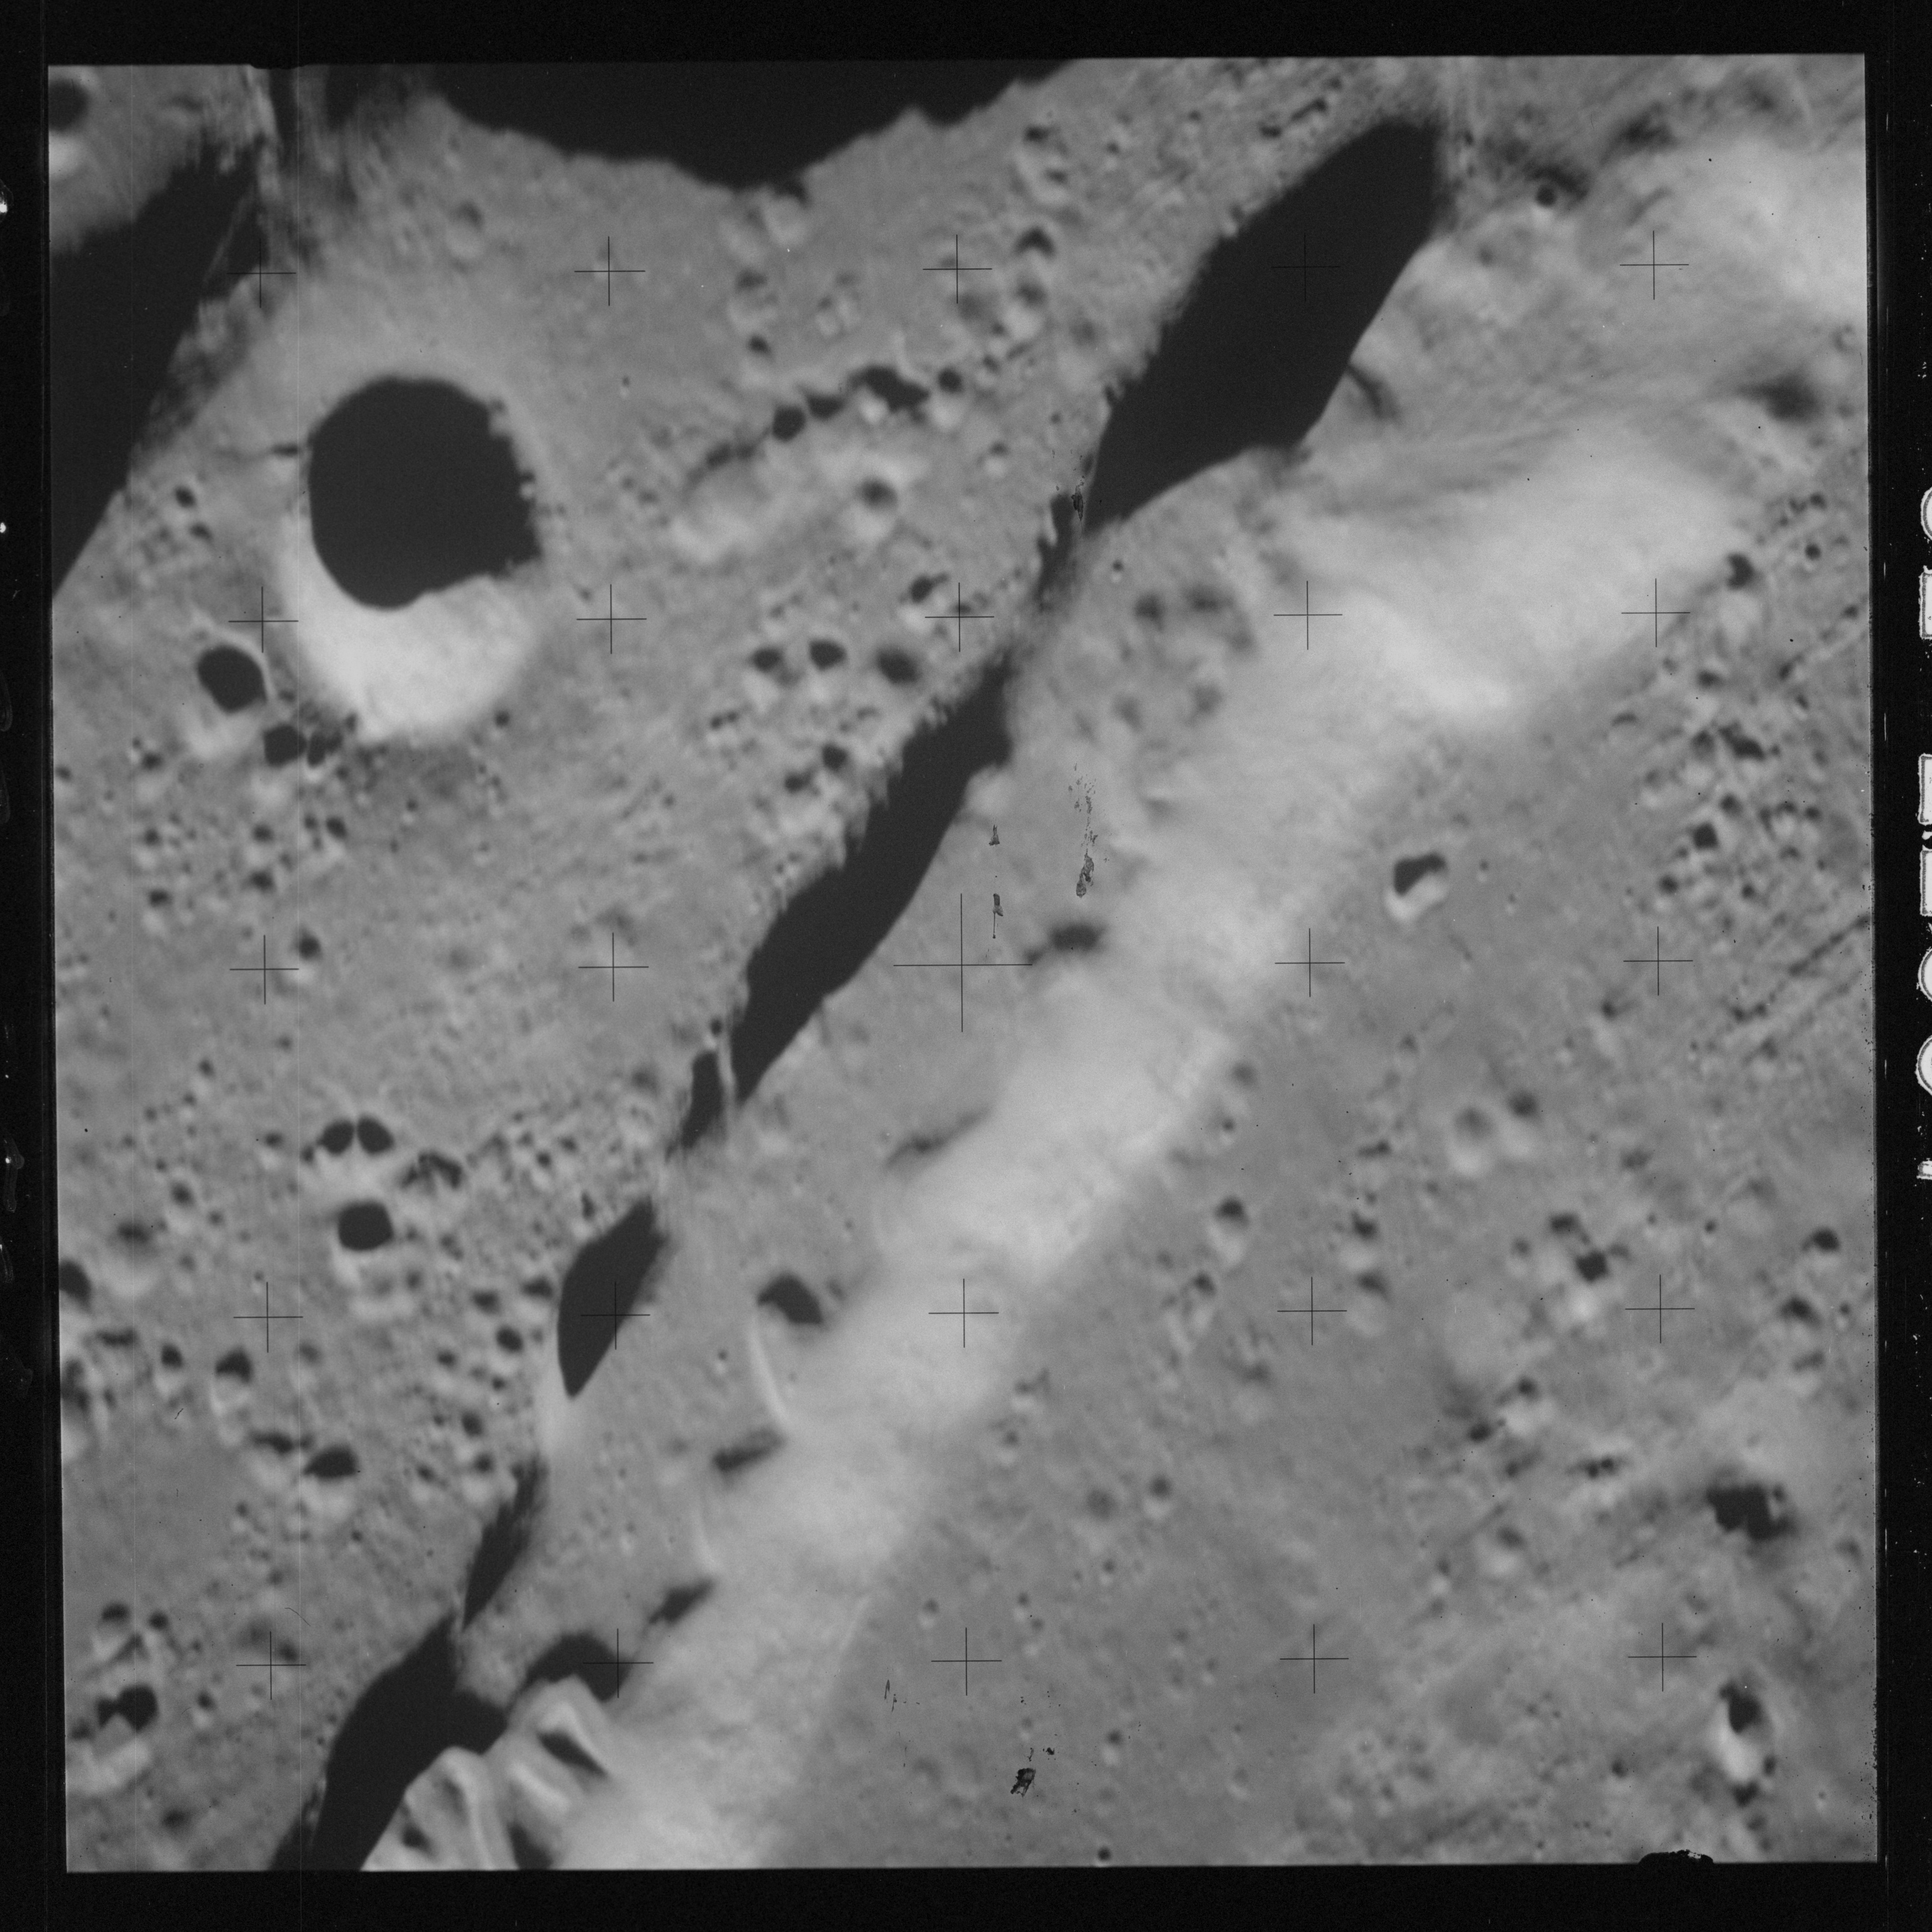
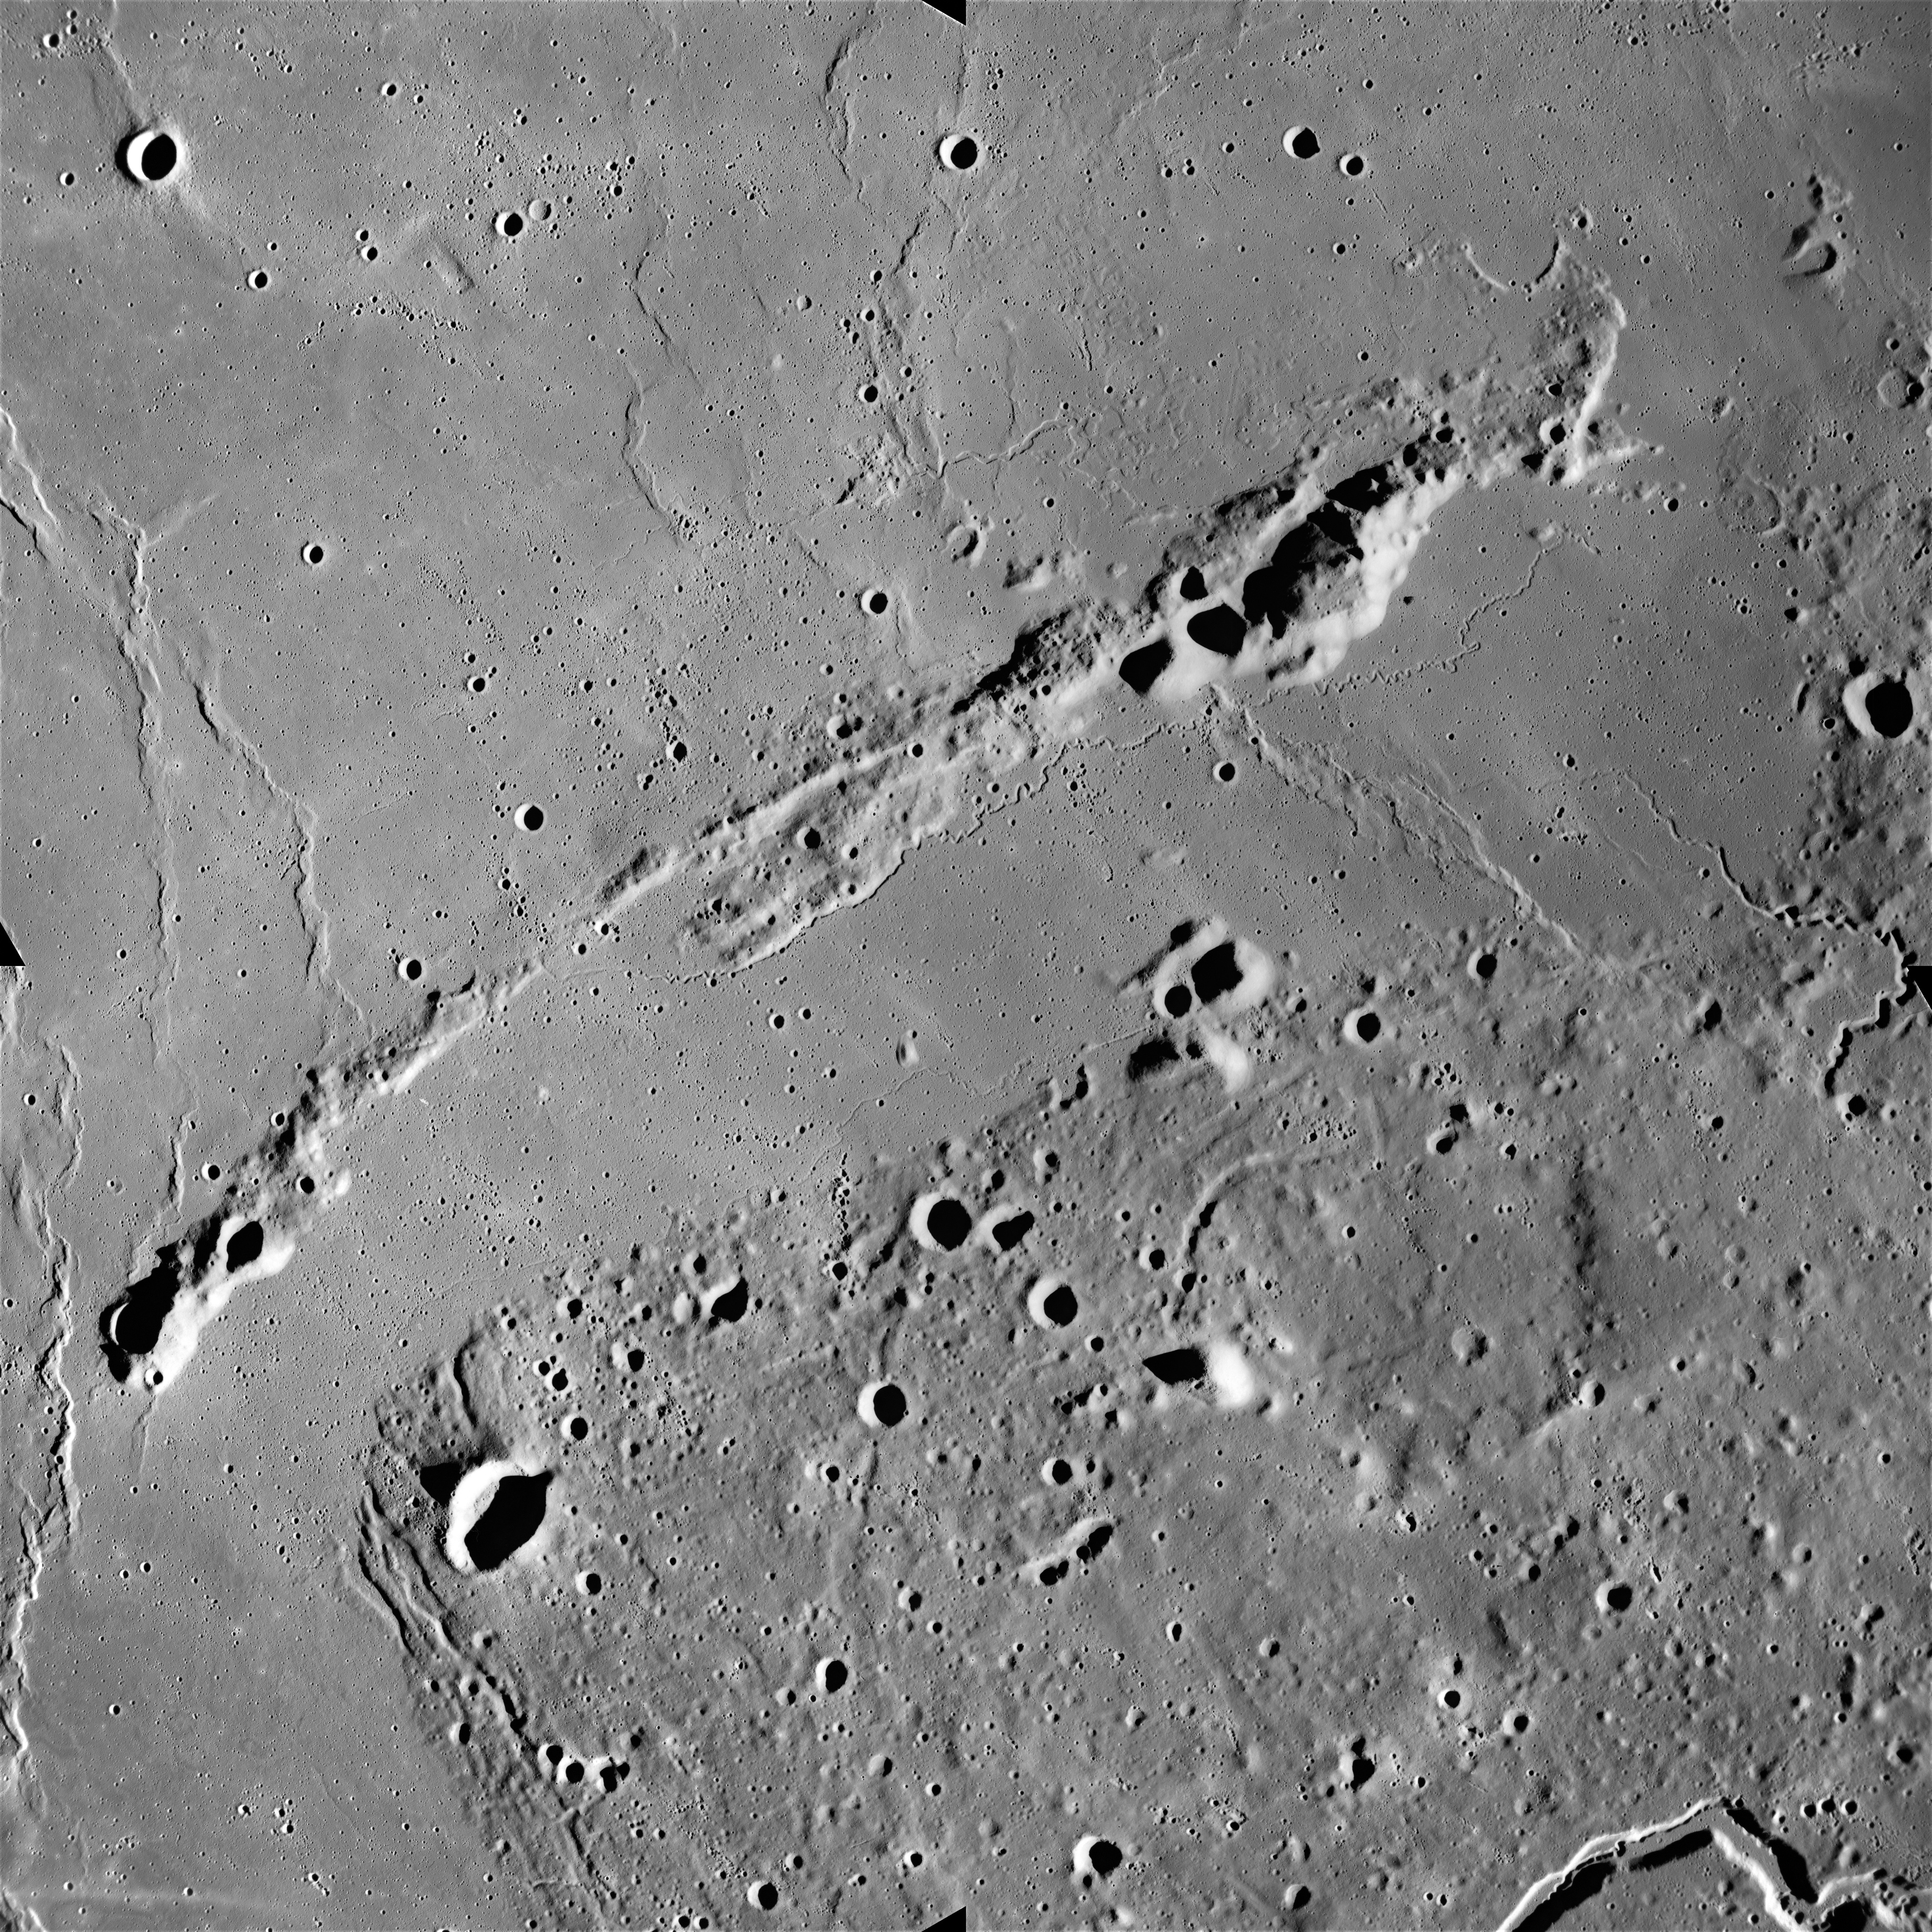
The sequence of images AS15-93-12623 to 12631 follow Vallis Schröteri from its source at the Cobra Head to where it loses its identity in the mare surface of Oceanus Procellarum.
AS15-93-12623 - Crater Herodotus and Vallis Schröteri including the Cobra's Head - Image by NASA/Johnson Space Center.
AS15-93-12624 - Crater Herodotus and Vallis Schröteri including the Cobra's Head - Image by NASA/Johnson Space Center.
AS15-93-12625 - Crater Herodotus and Vallis Schröteri - Image by NASA/Johnson Space Center.
AS15-93-12626 - Crater Herodotus and Vallis Schröteri - Image by NASA/Johnson Space Center.
AS15-93-12627 - Vallis Schröteri - Image by NASA/Johnson Space Center.
AS15-93-12628 - Vallis Schröteri and the southwestern margin of the Aristarchus Plateau - Image by NASA/Johnson Space Center.
AS15-93-12629 - Vallis Schröteri and the southwestern margin of the Aristarchus Plateau - Image by NASA/Johnson Space Center.
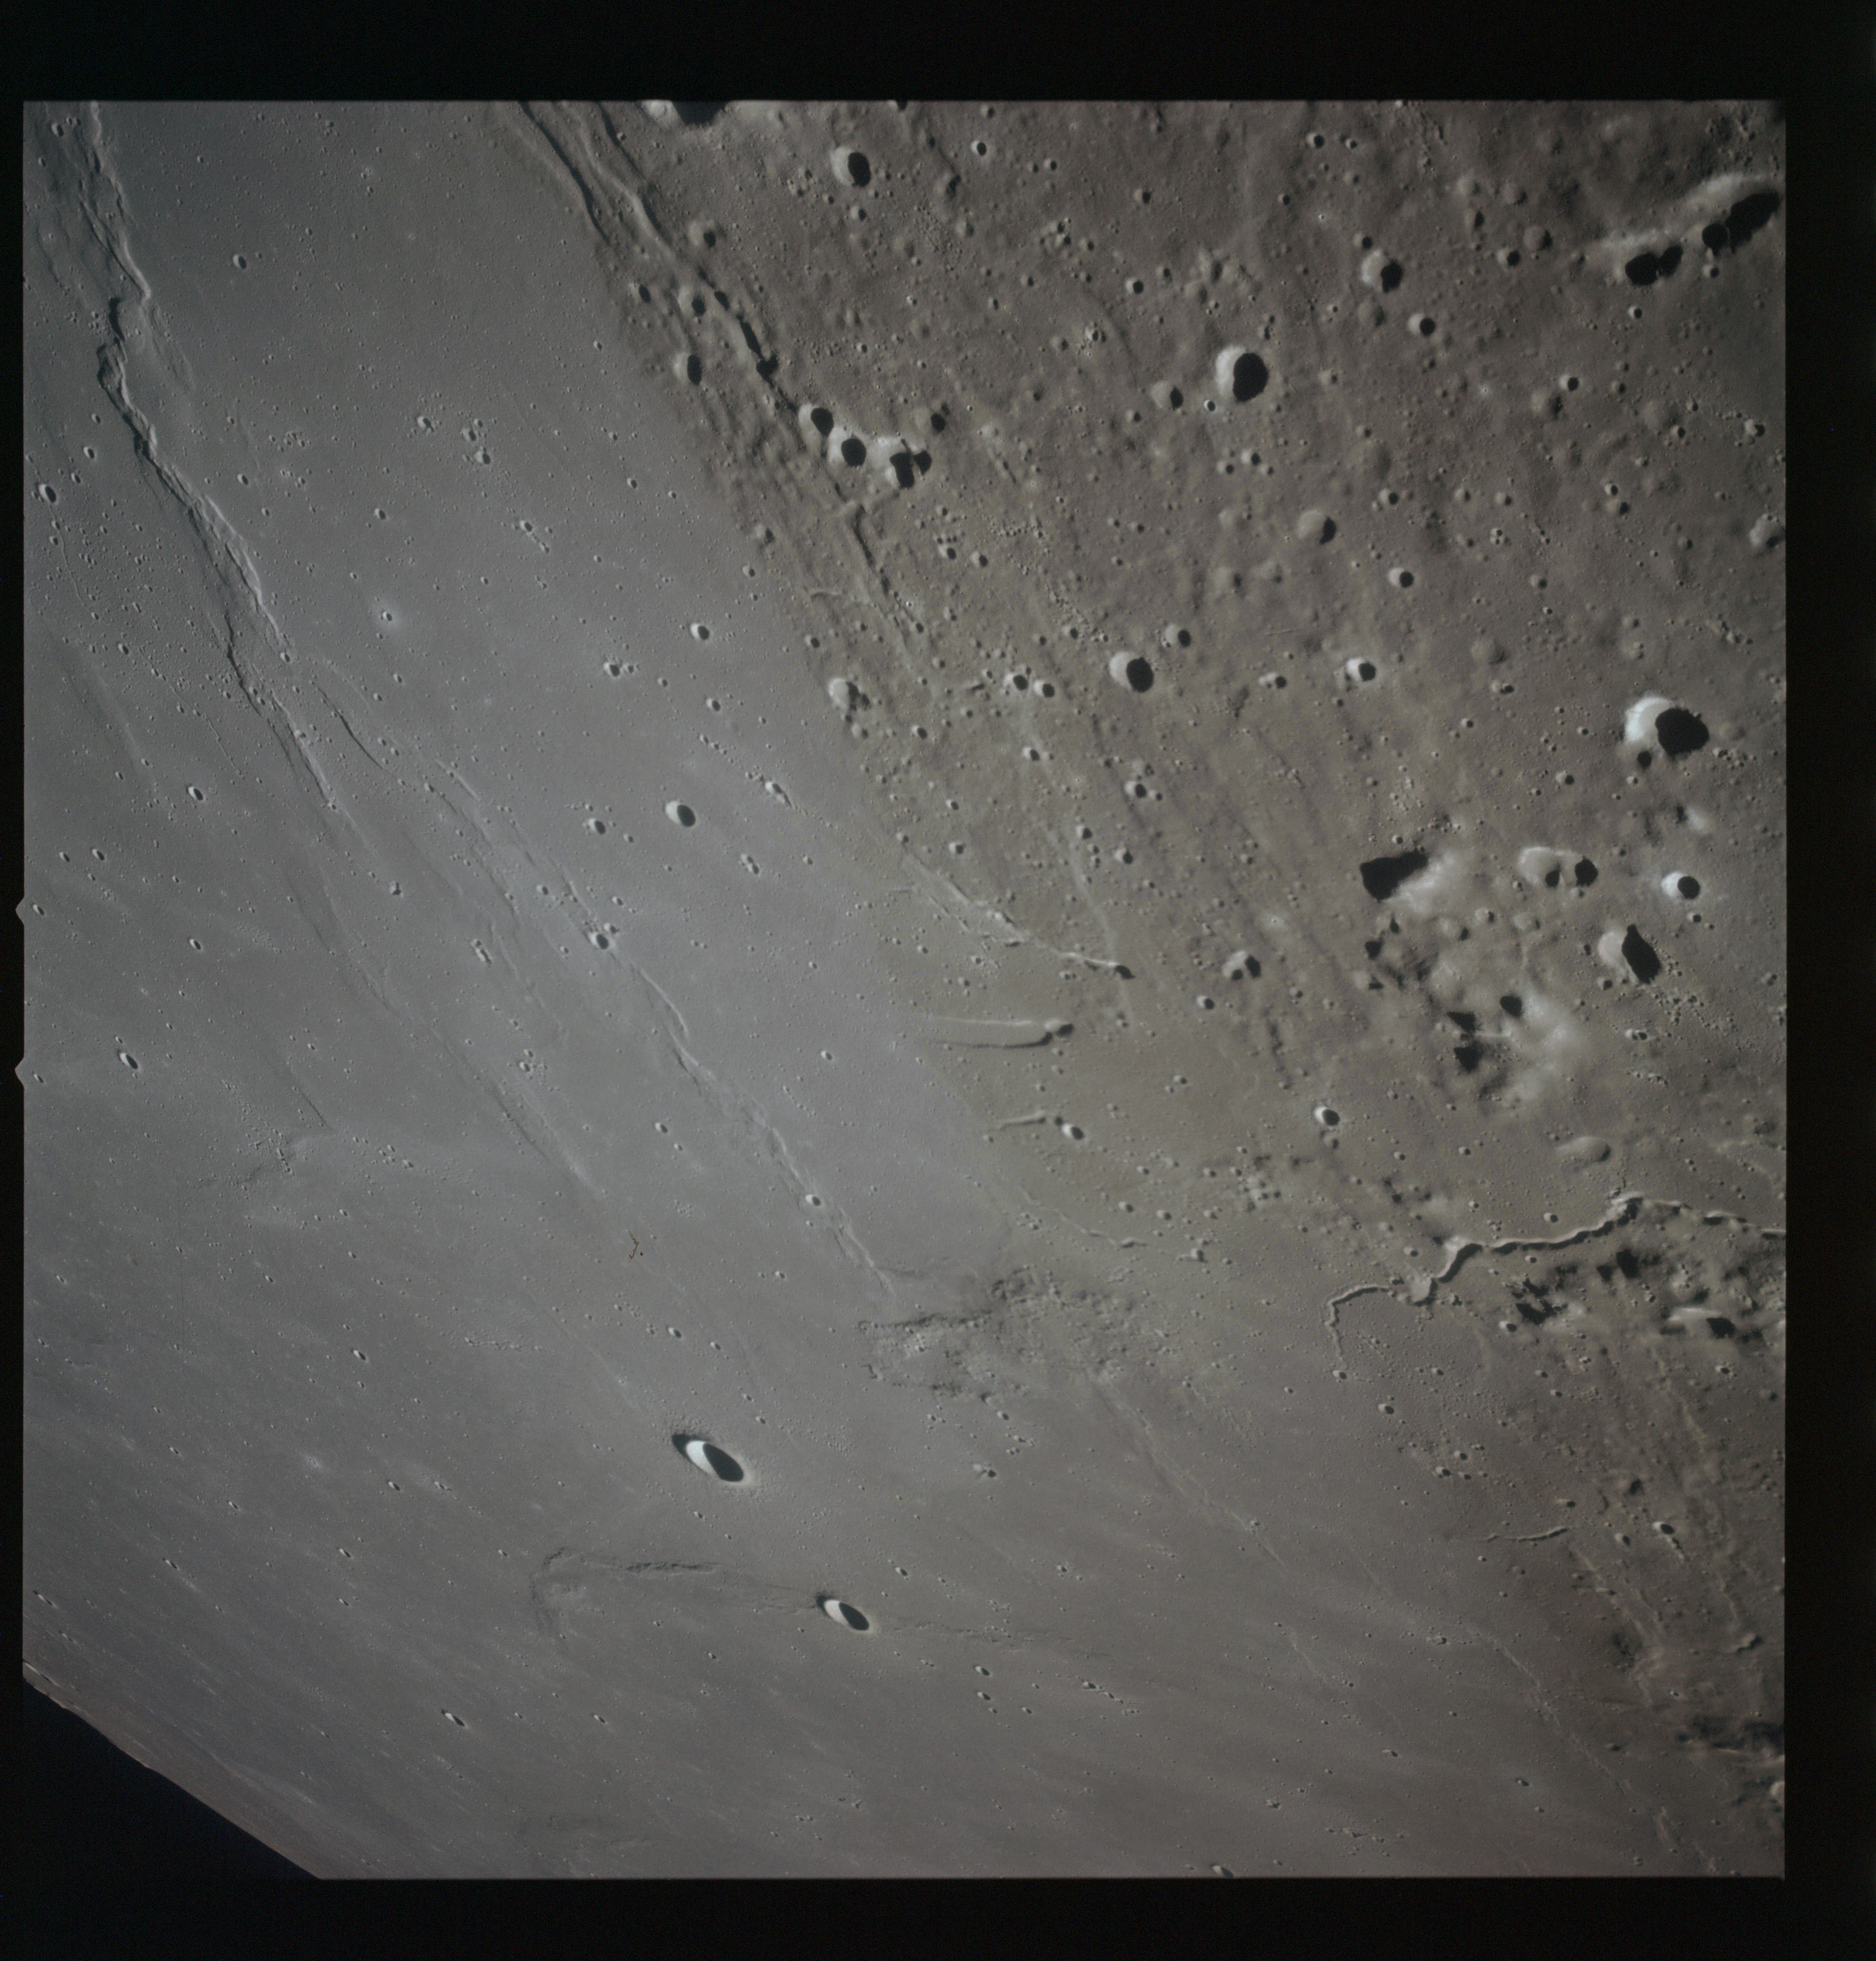
AS15-93-12630 - The southwestern margin of the Aristarchus Plateau including craters Herodotus B and C, the end of Vallis Schröteri and Dorsa Burnet - Image by NASA/Johnson Space Center.
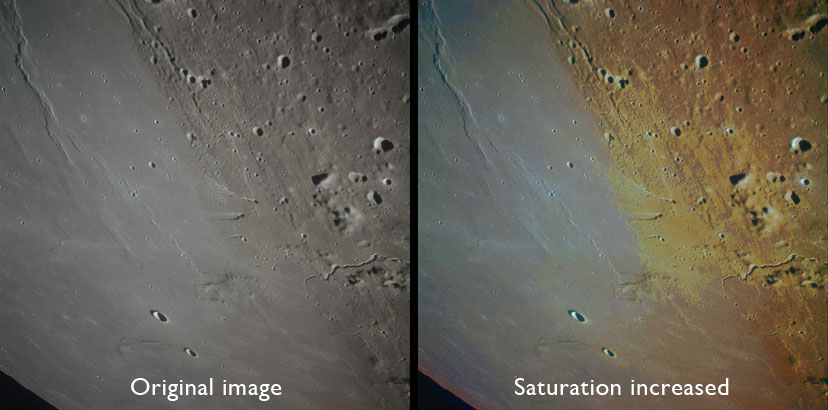
Having been taken on colour film, AS15-93-12630 displays one of the few places on the Moon where colour differences in the soil are apparent. By raising the saturation of the image, the brown tone is even easier to see but it is quite clear in the unenhanced original. The blast marks from Aristarchus' ejecta are also apparent across the mare surface.
A comparison of the AS15-93-12630 with and without increased saturation showing the slightly warm colour of the Aristarchus Plateau - Source image by NASA/Johnson Space Center.
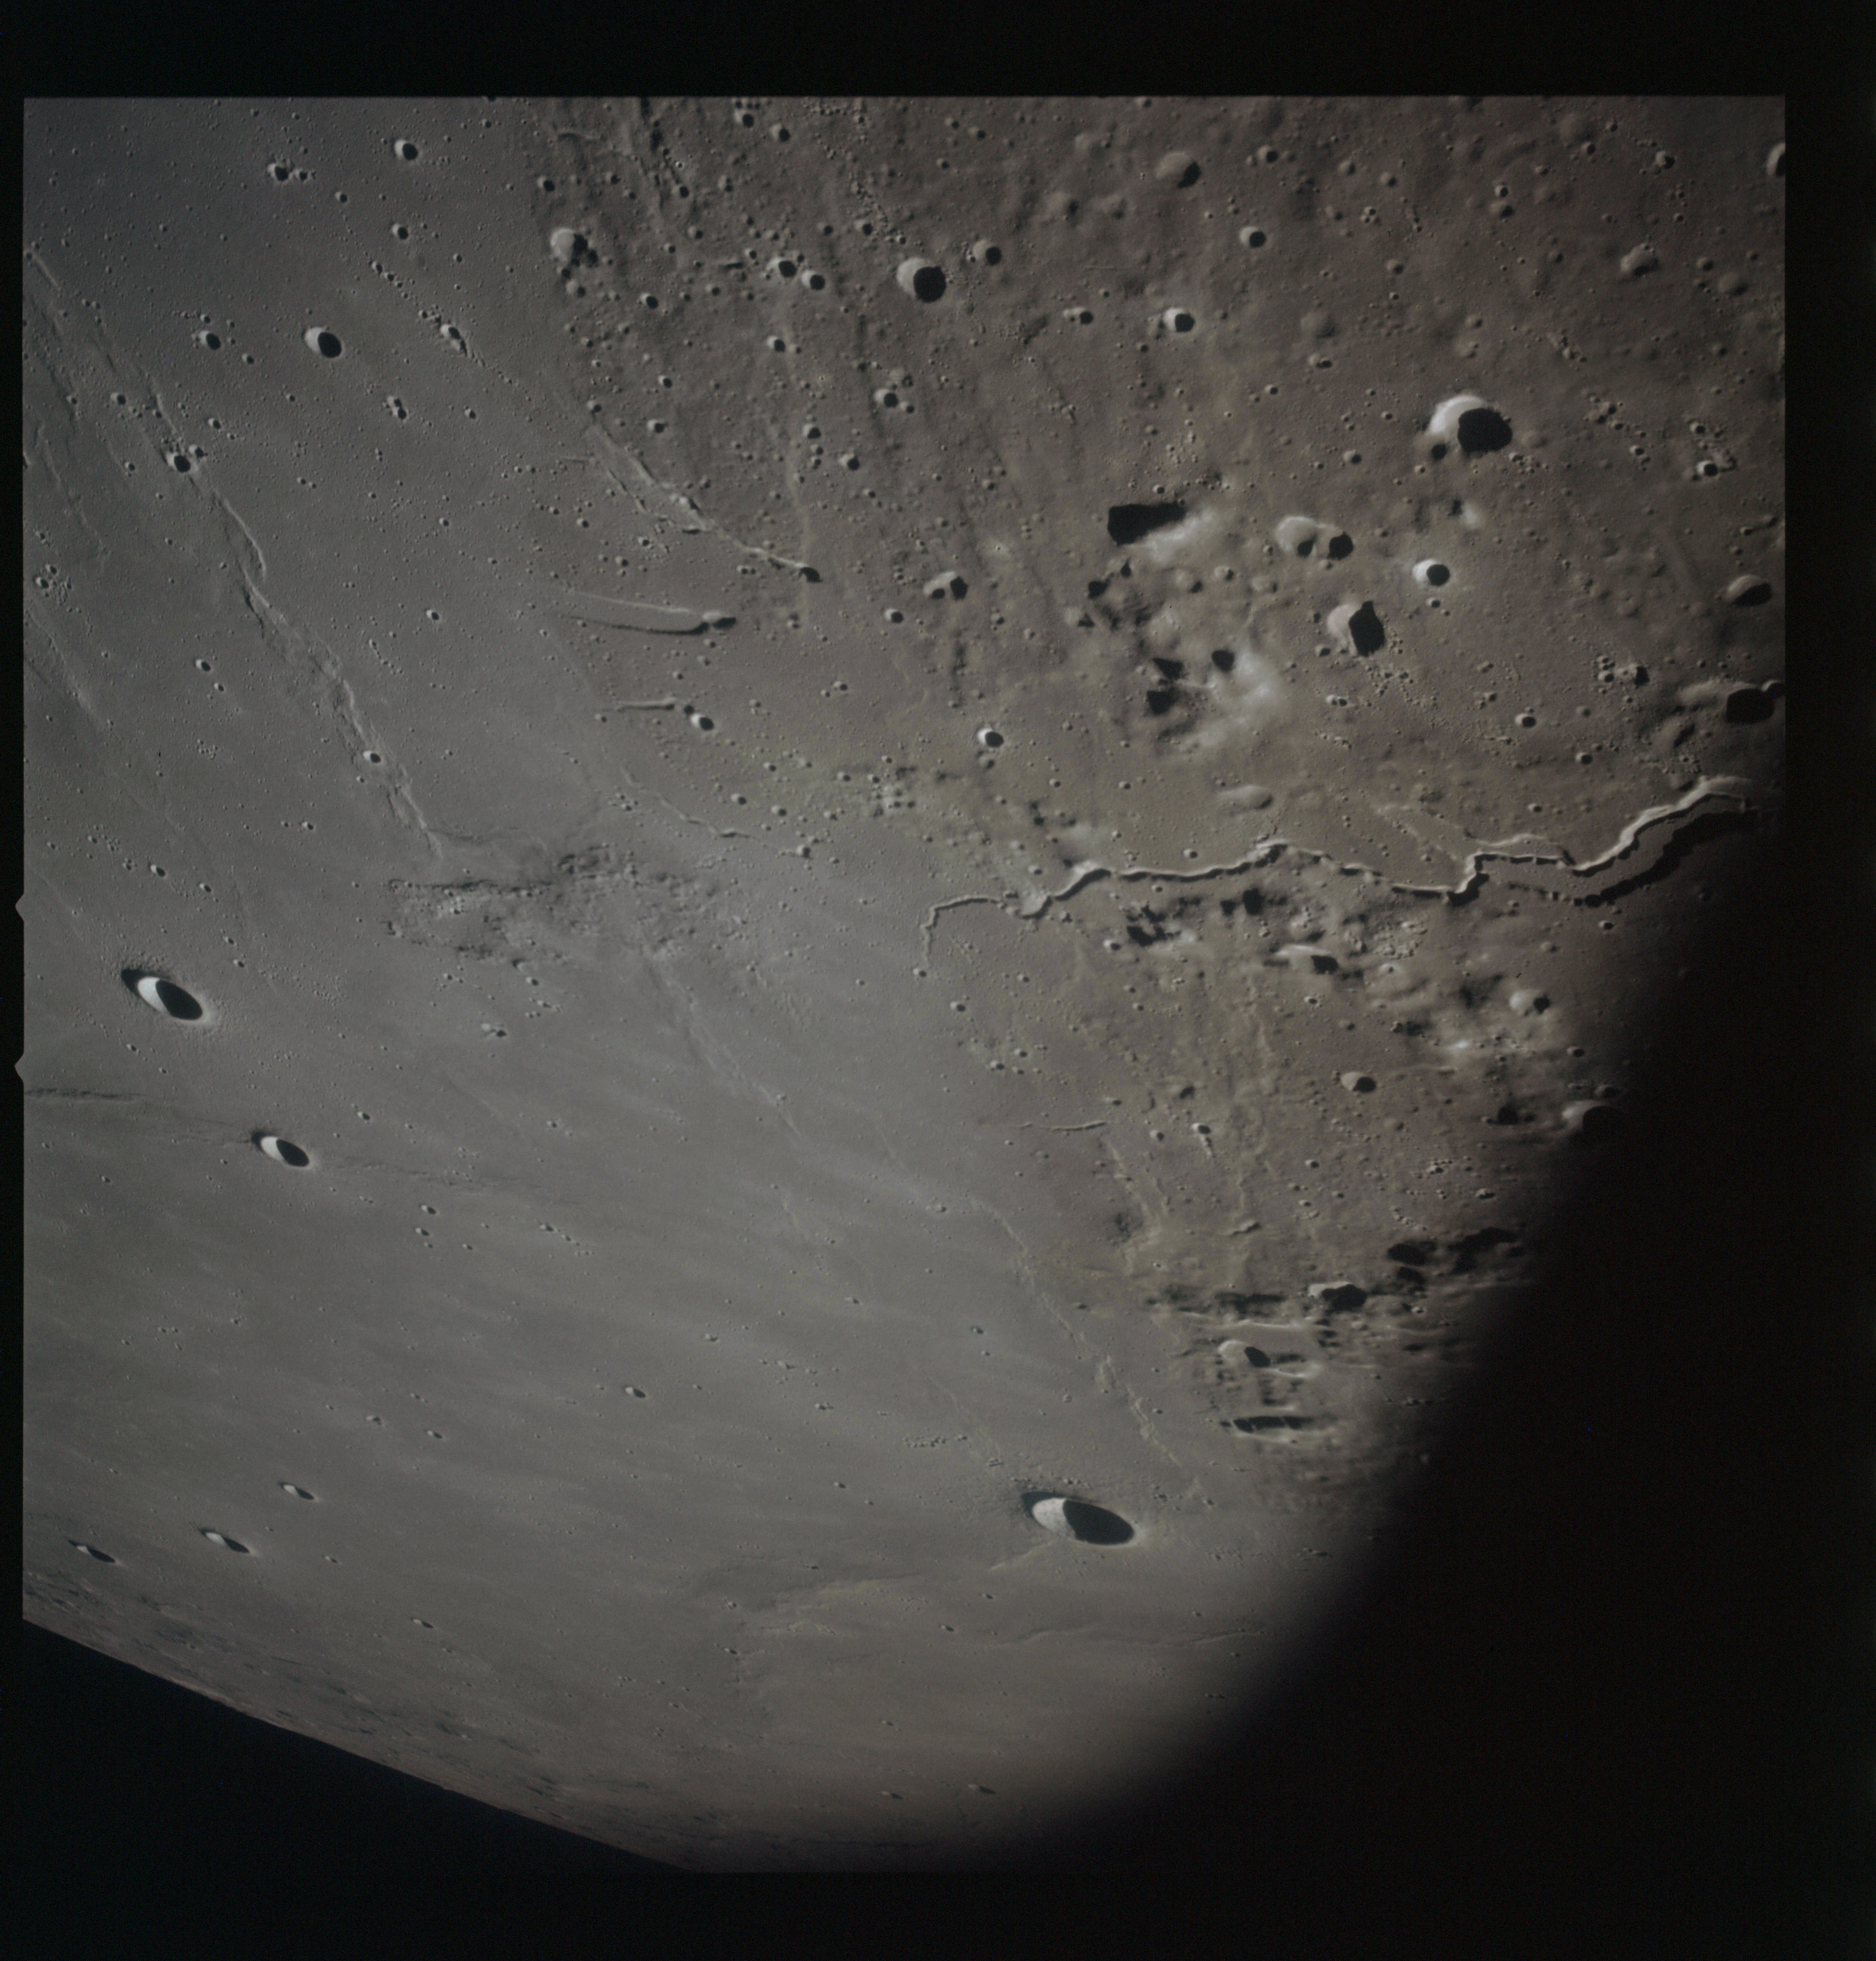
AS15-93-12631 - The southwestern margin of the Aristarchus Plateau including craters Herodotus A, B and C, the end of Vallis Schröteri and Dorsa Burnet - Image by NASA/Johnson Space Center.
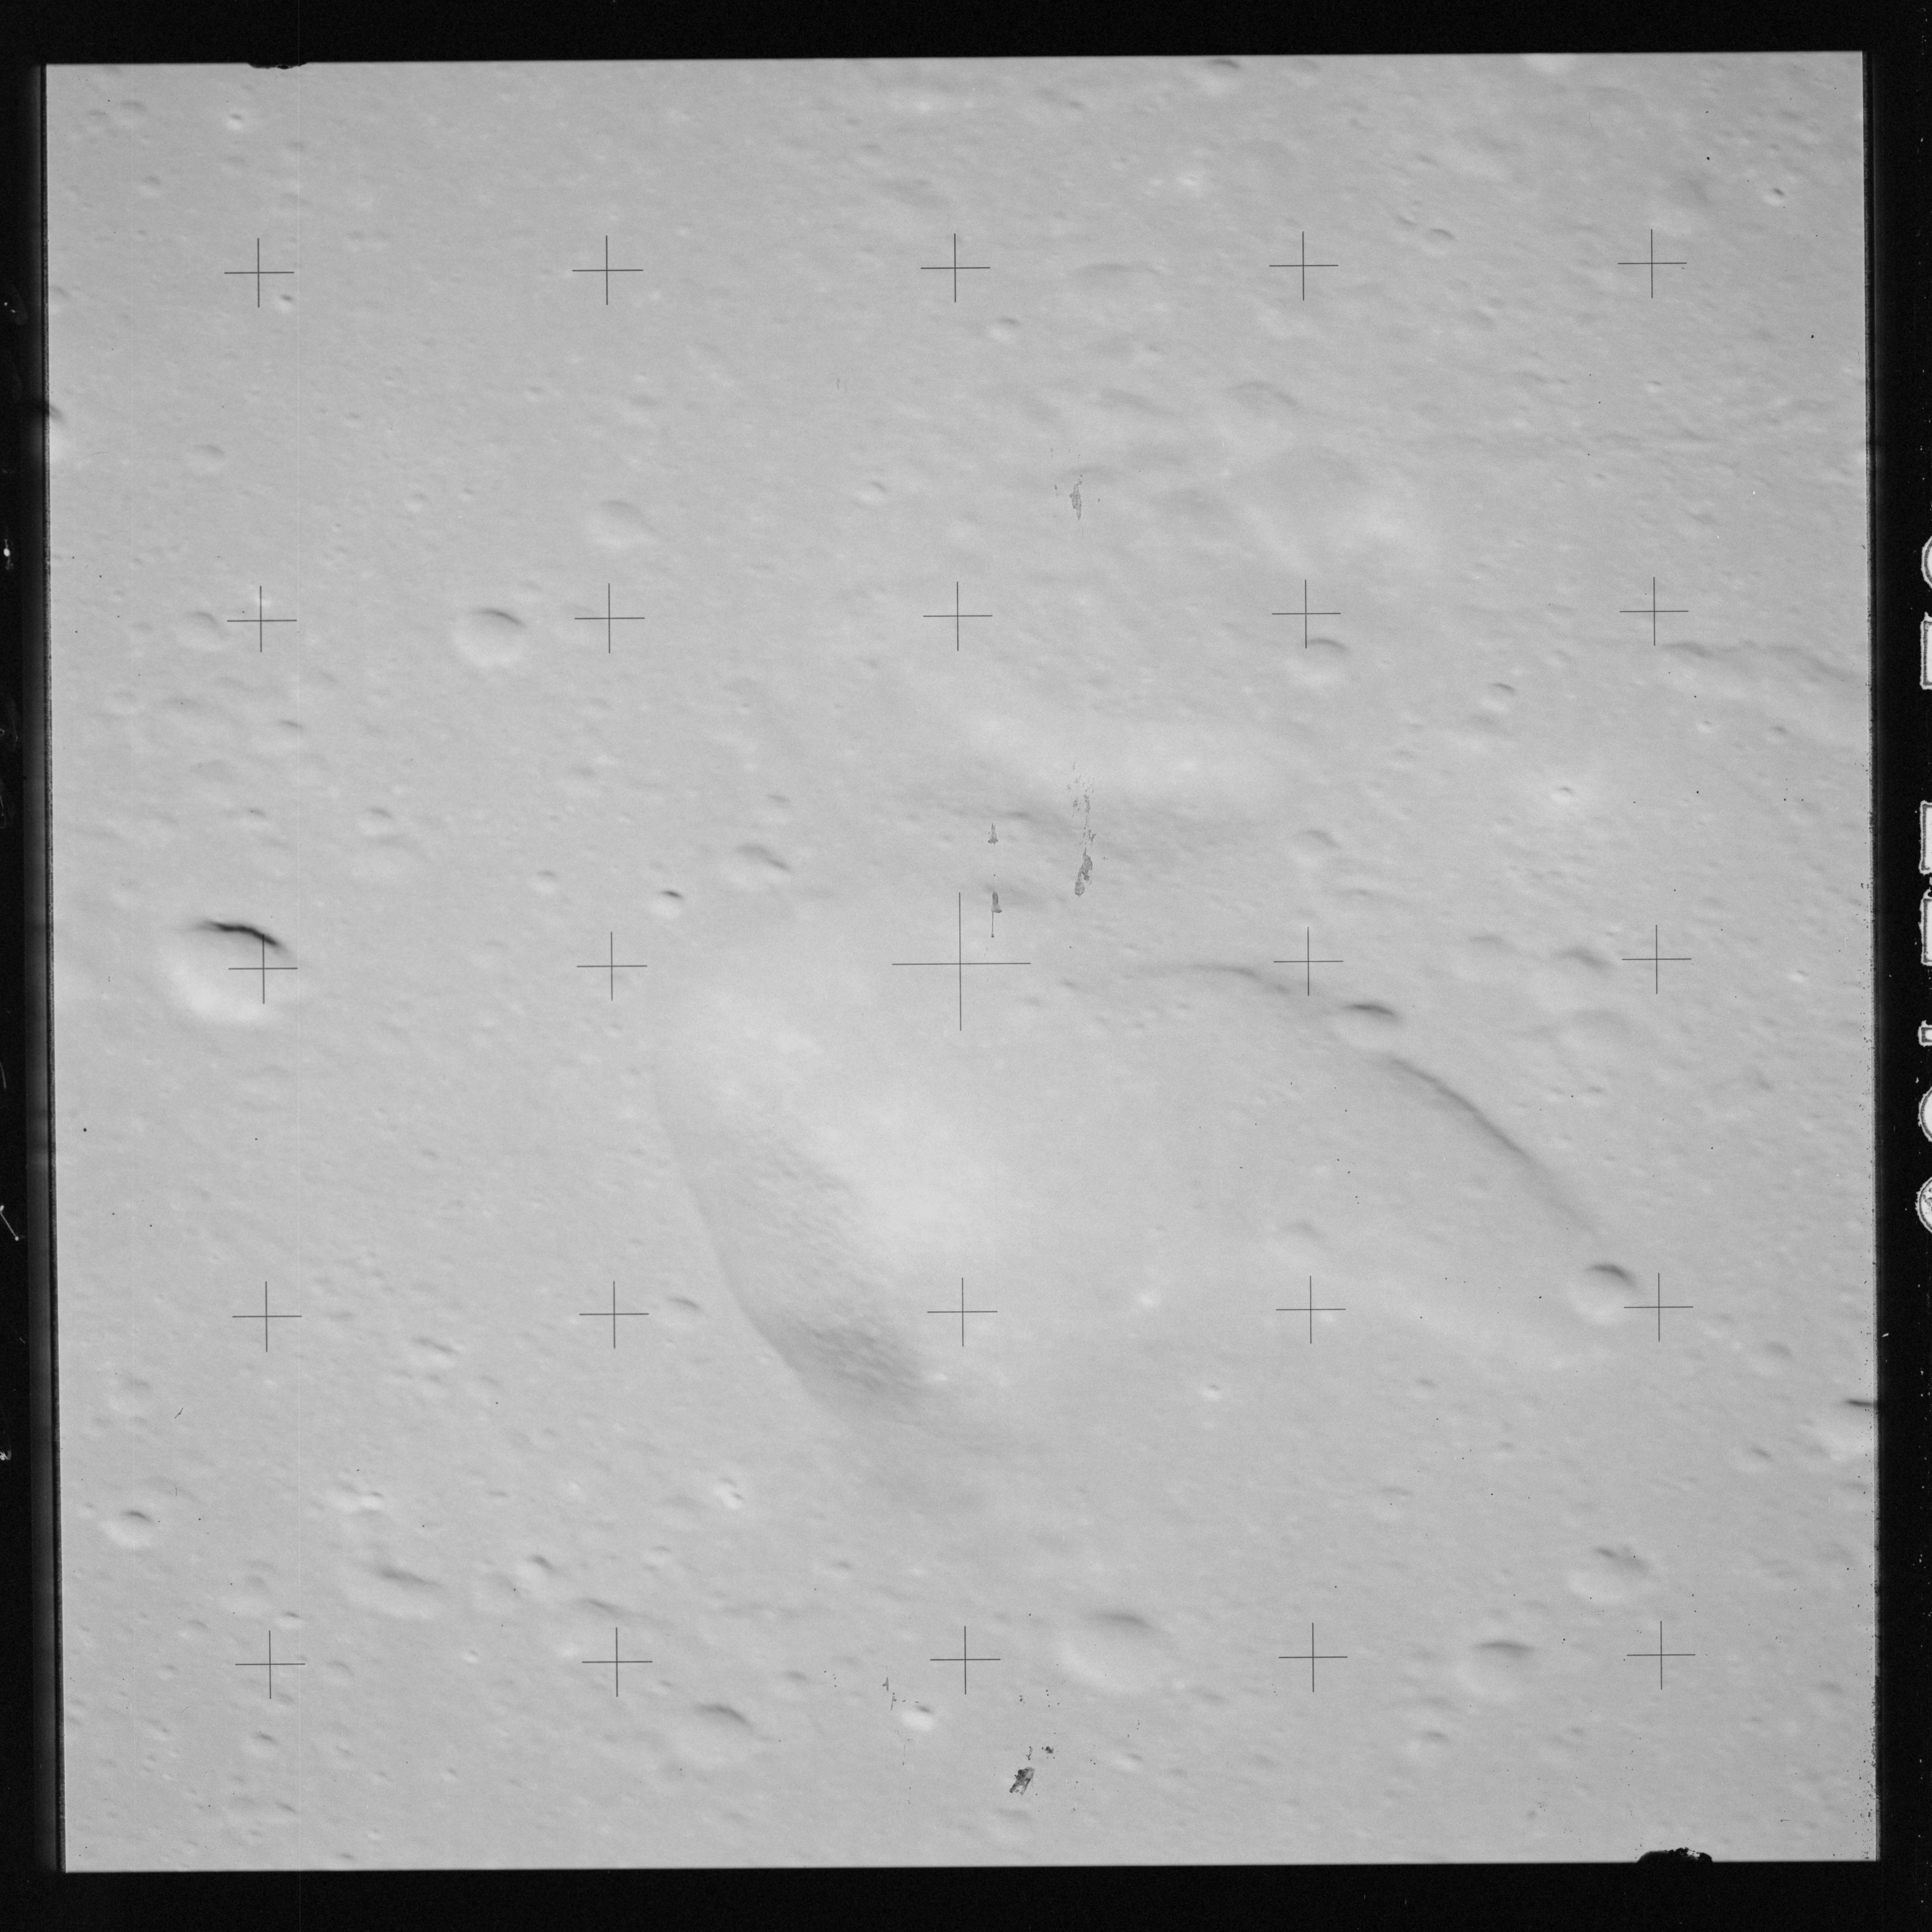
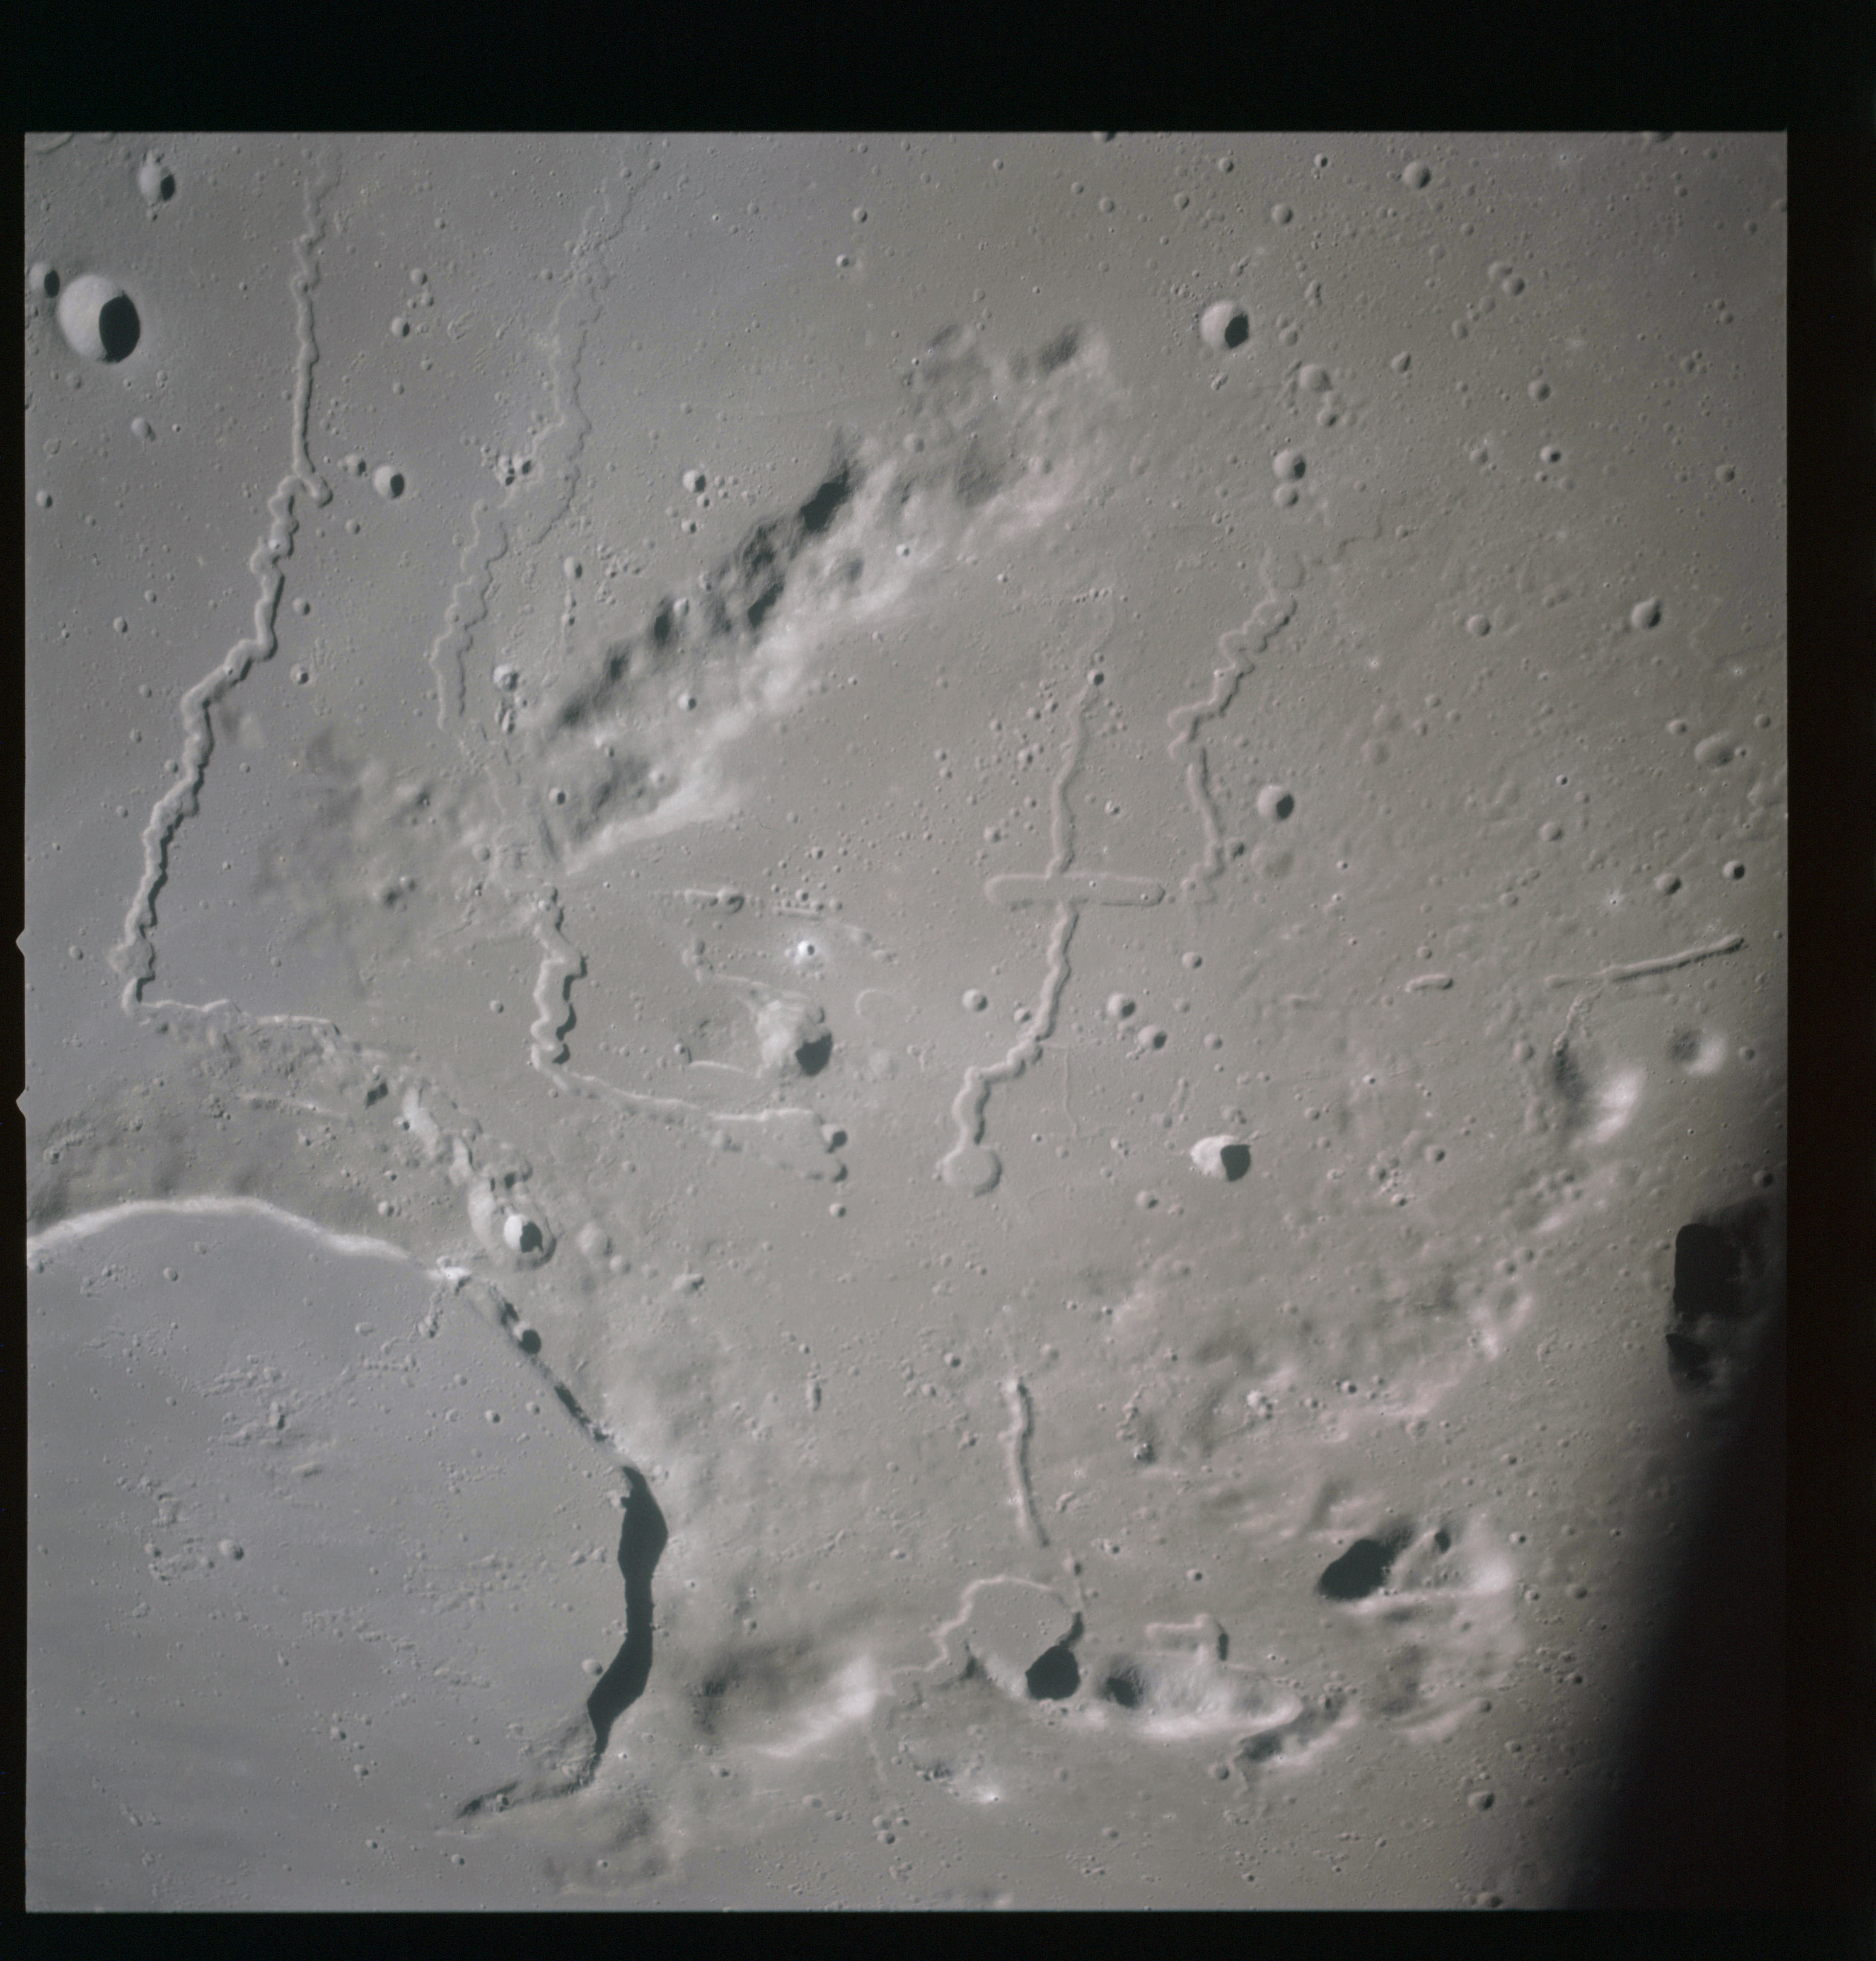
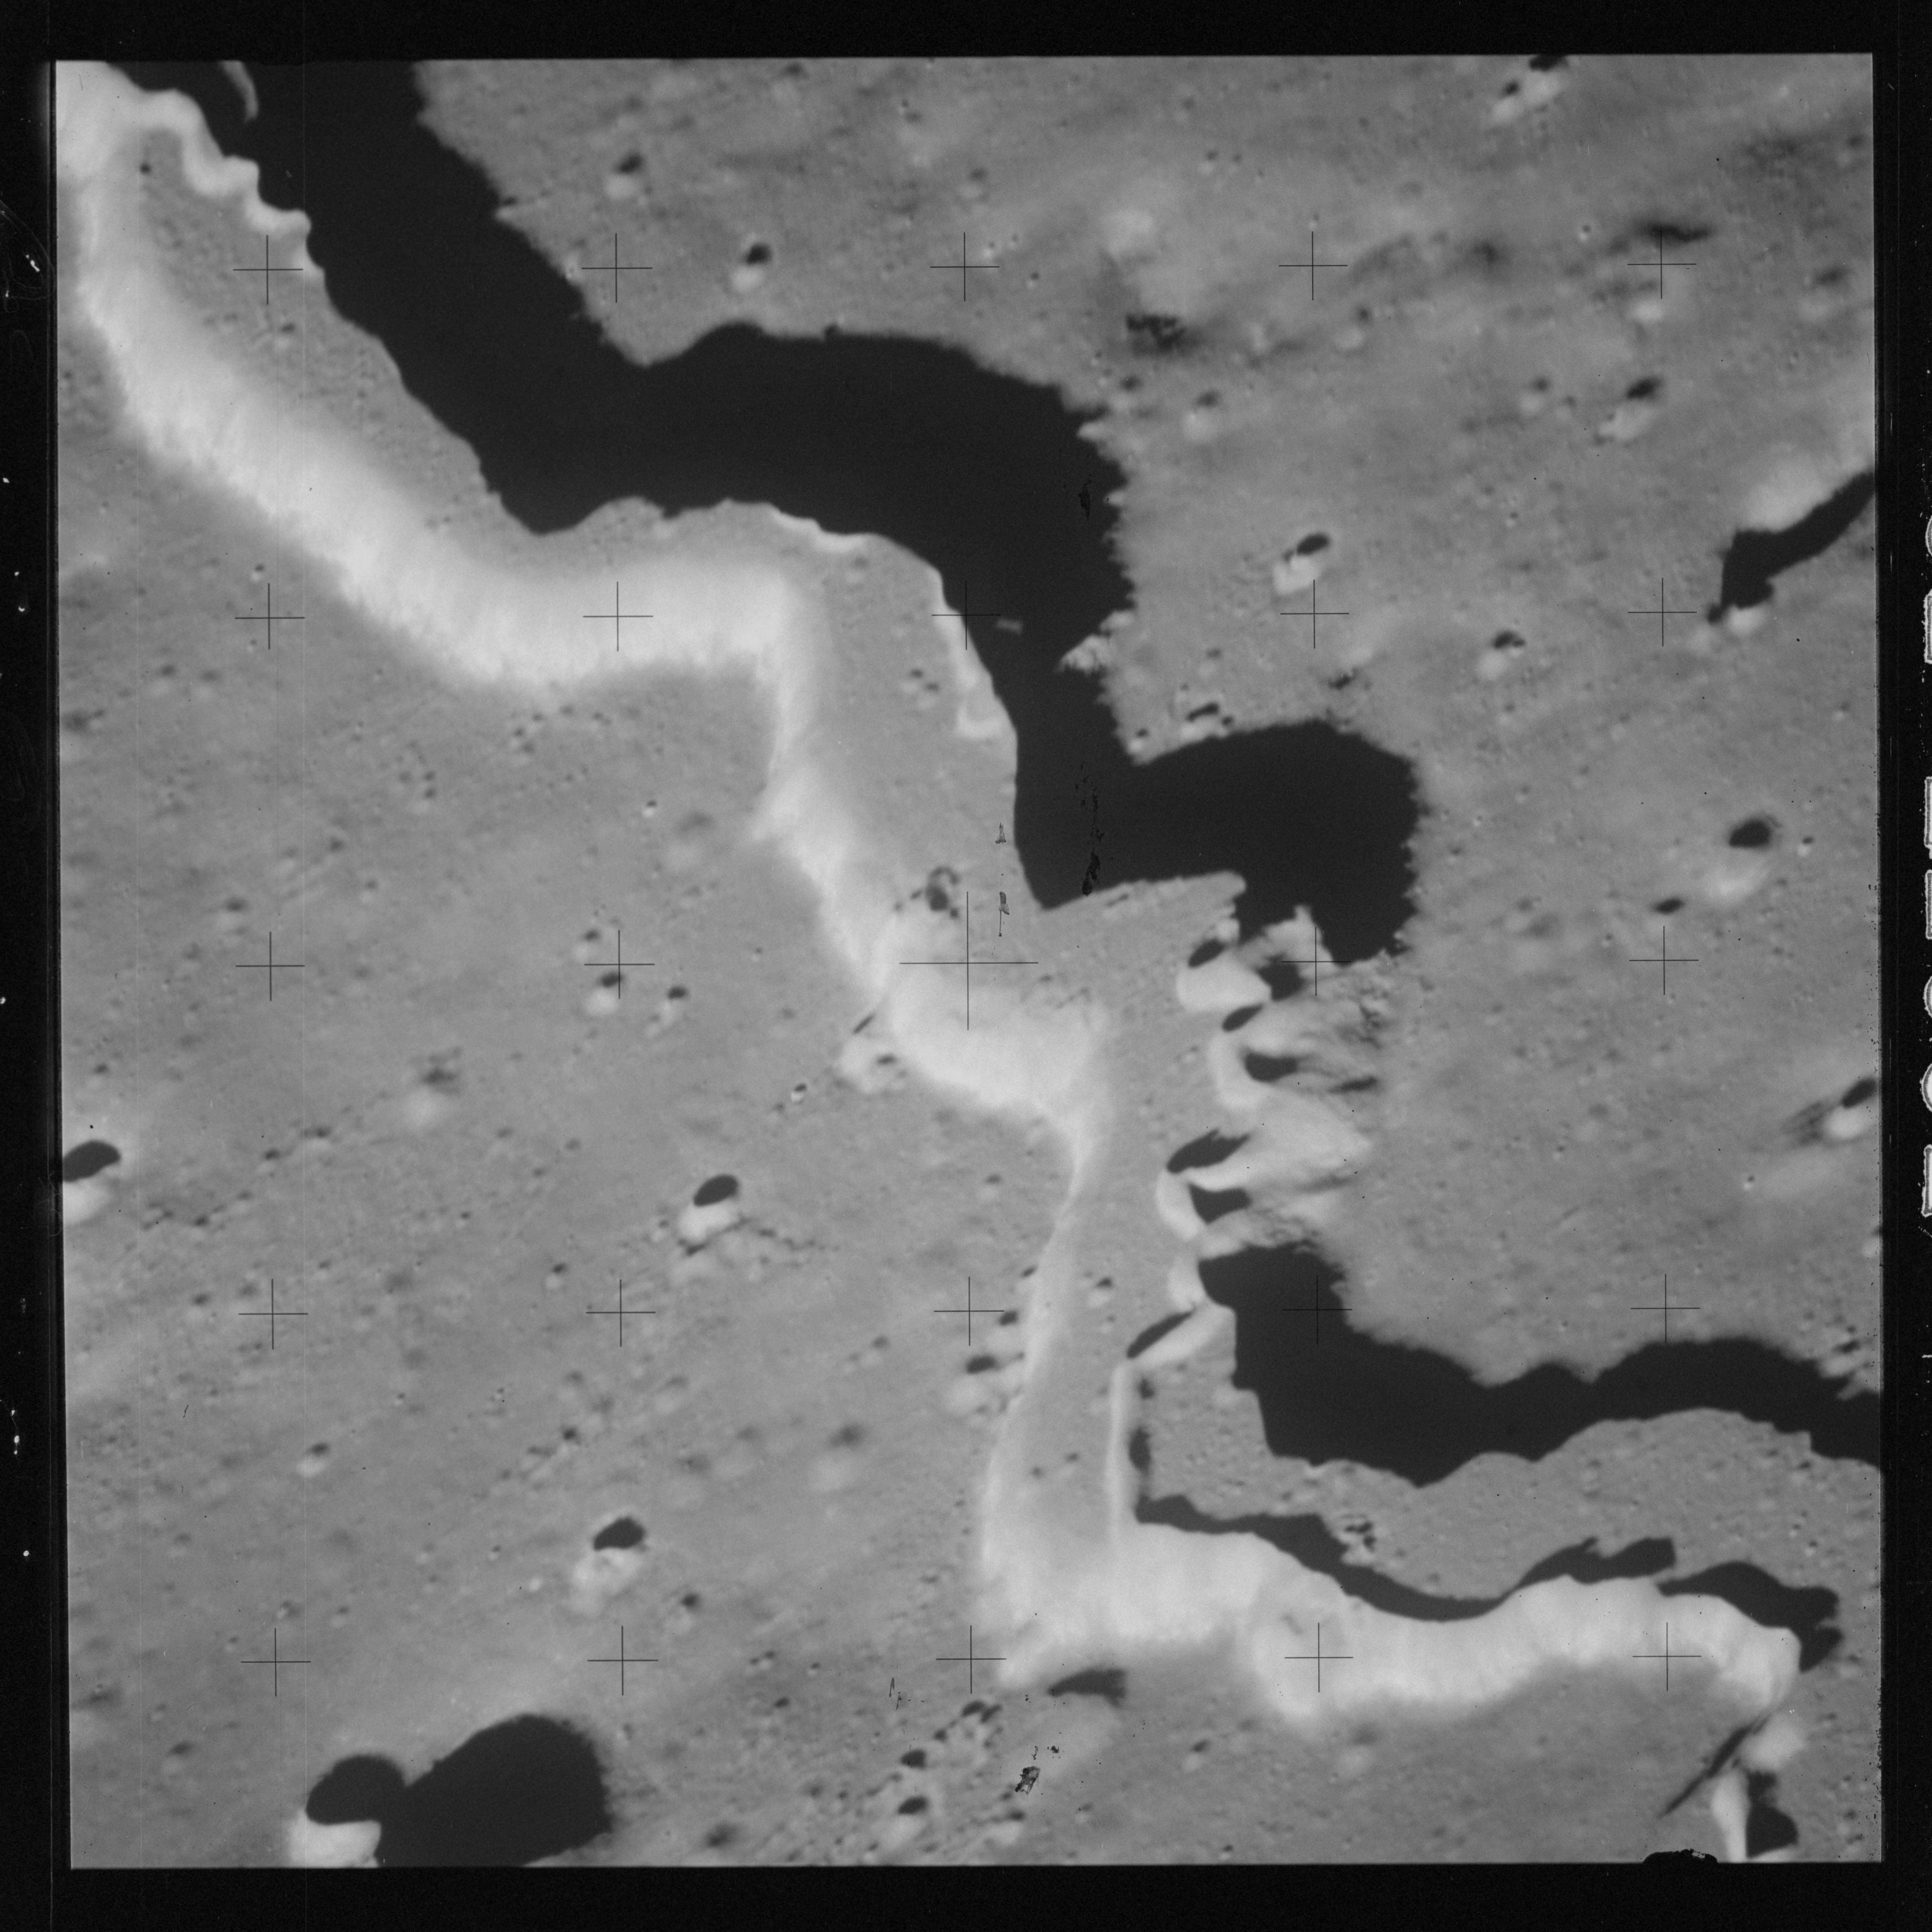
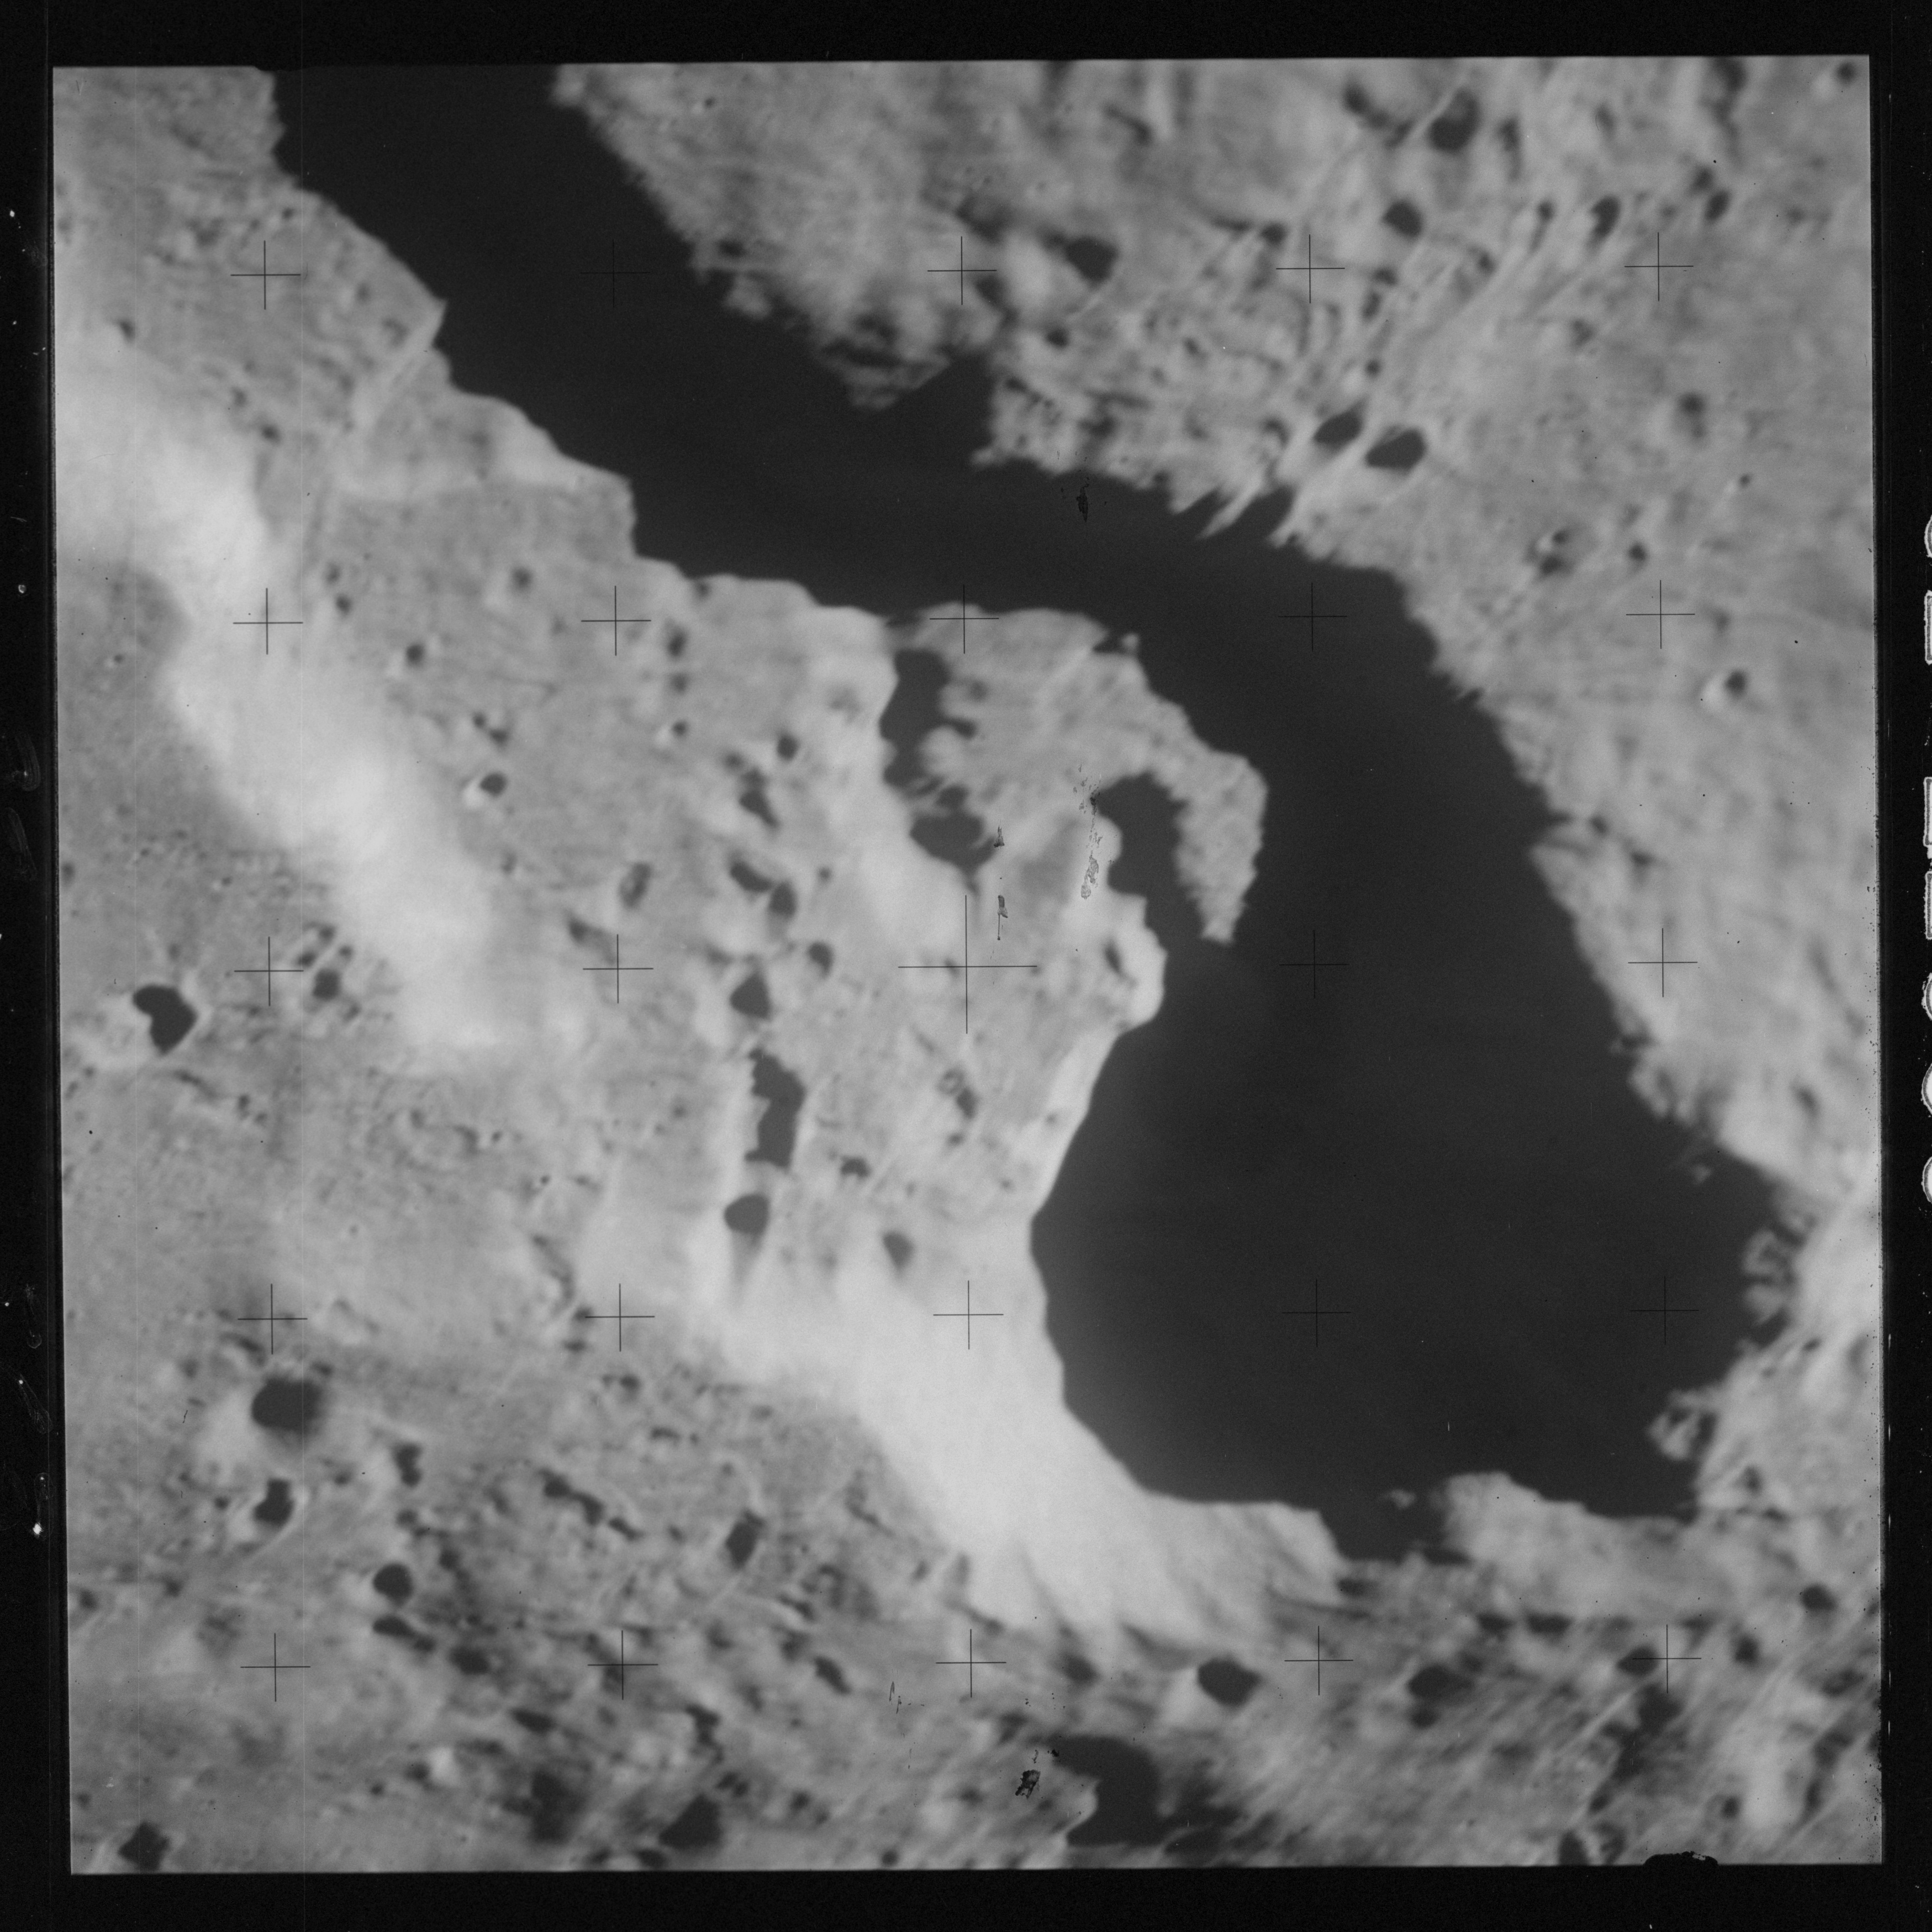
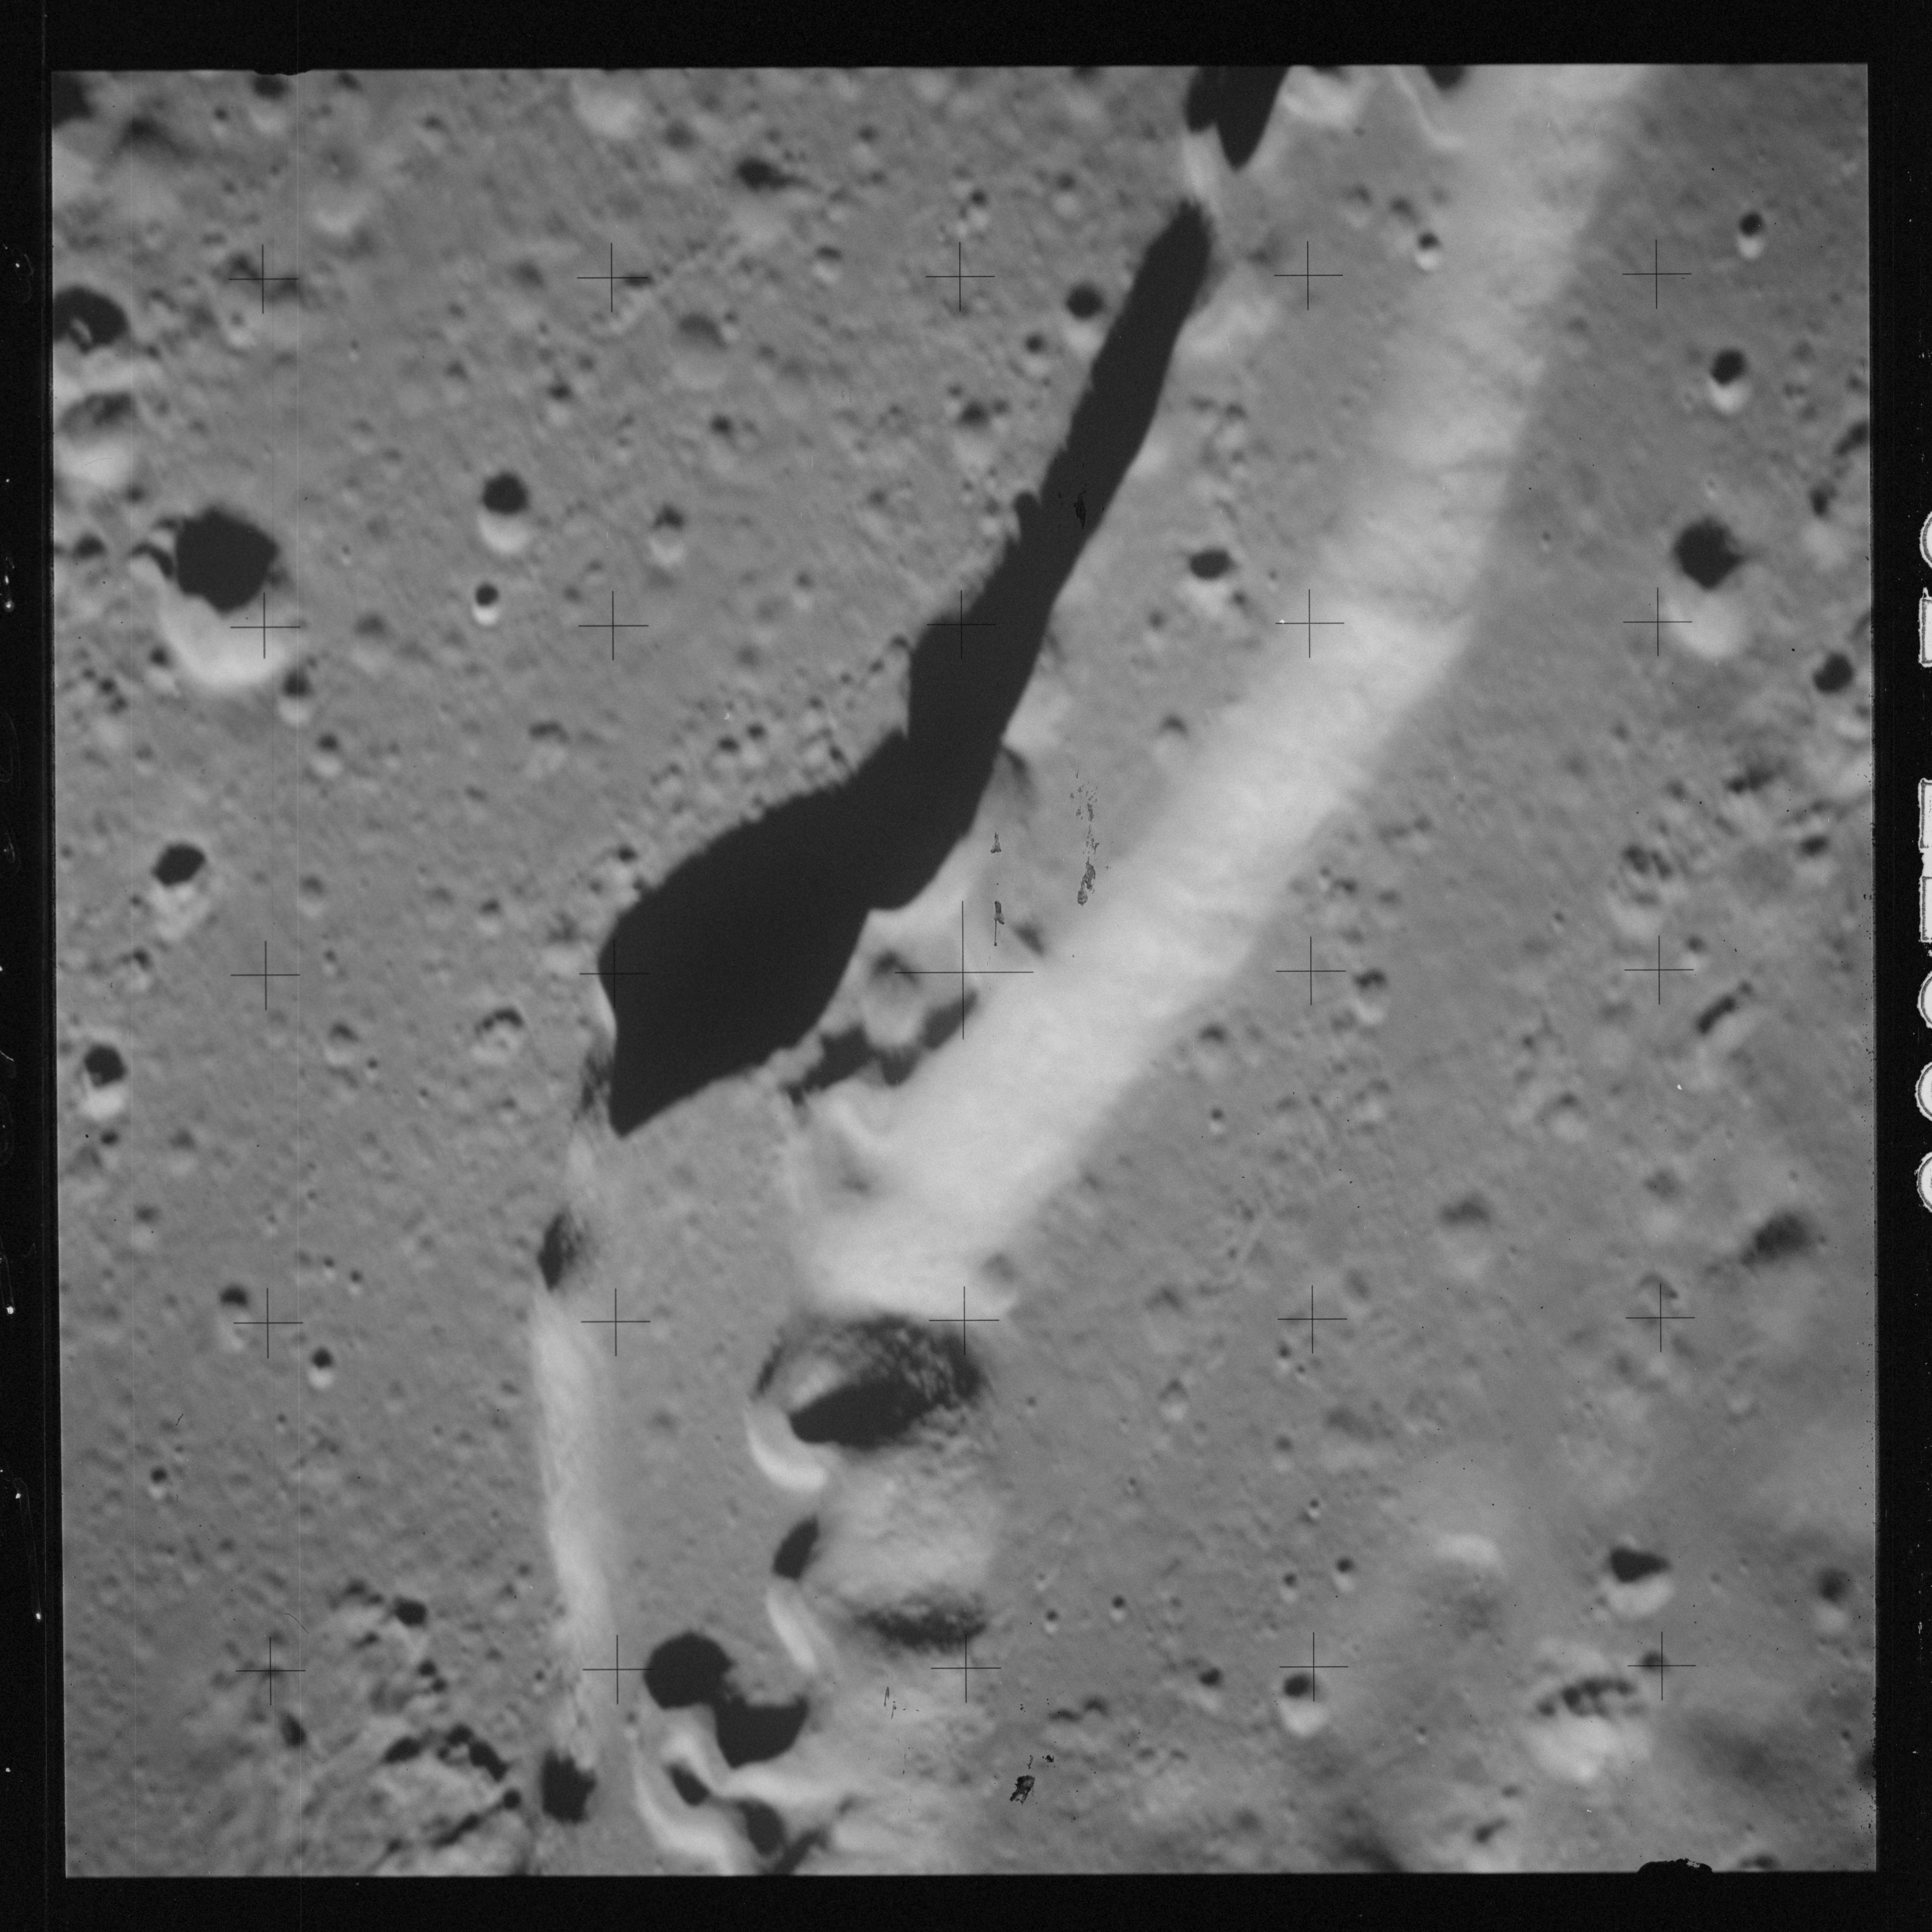
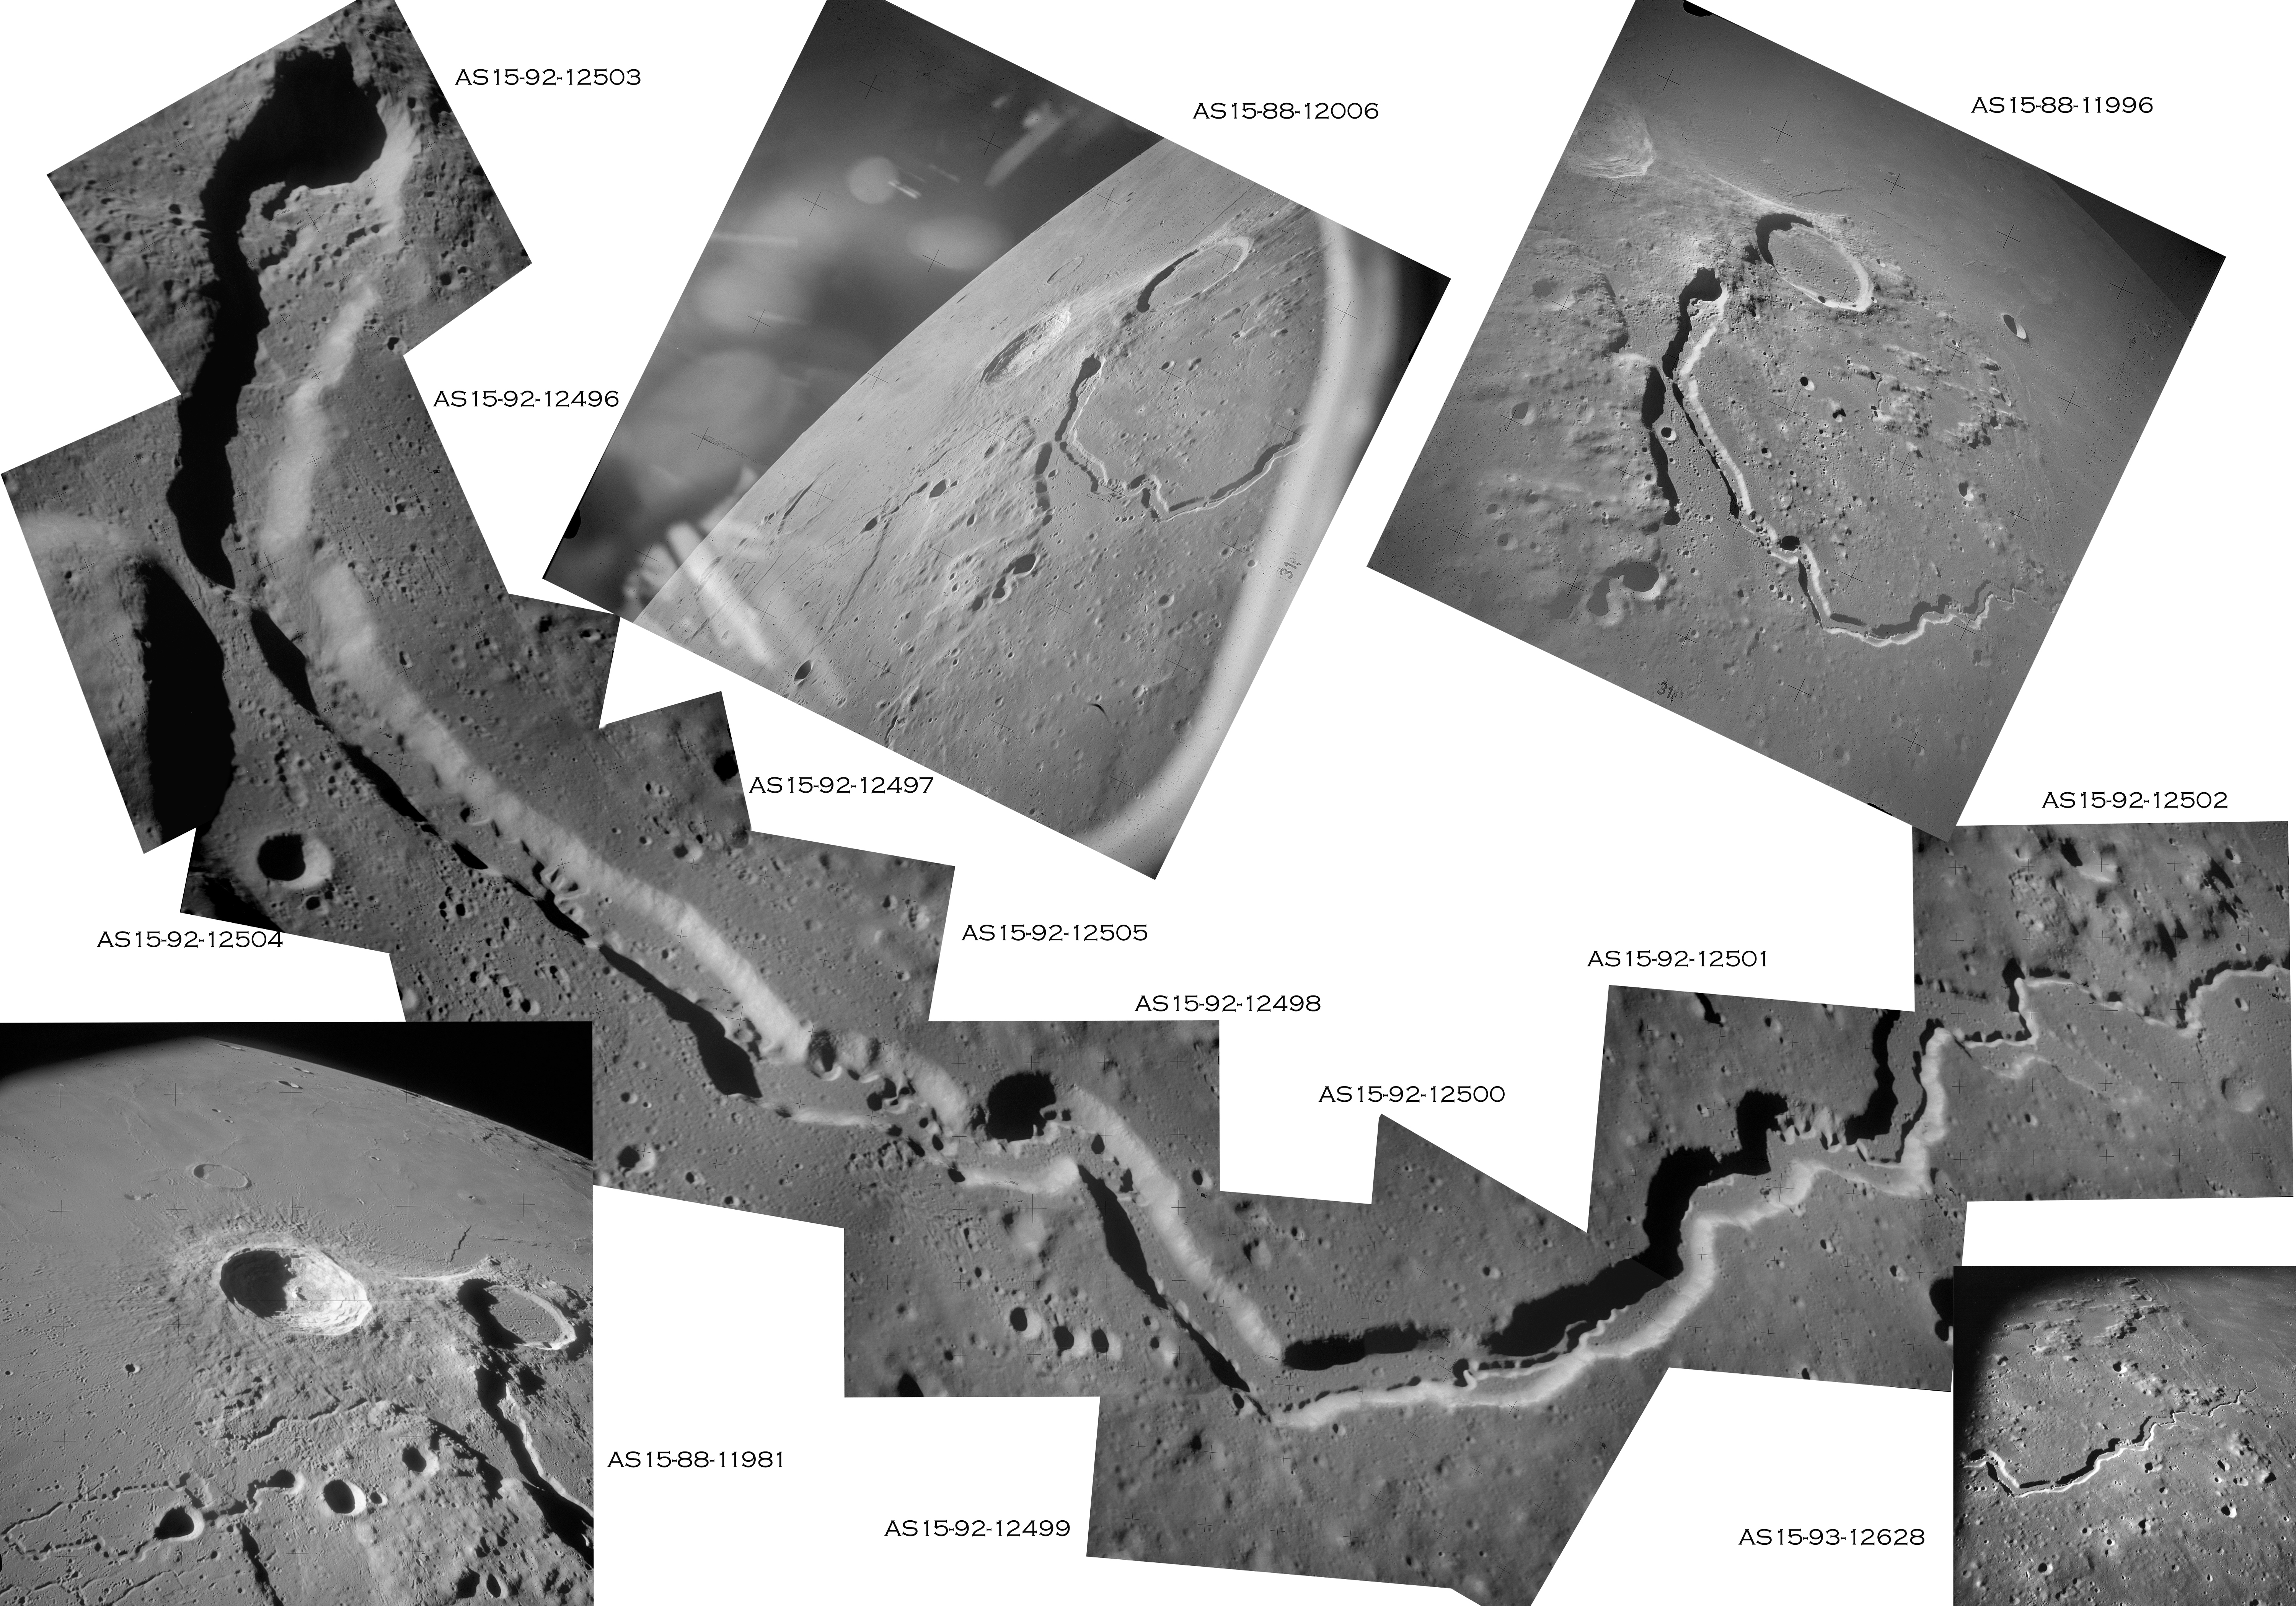
The 500-mm lens is being used with magazine OO to capture the detail of Vallis Schröteri along its length in two series of consecutive black and white images. The first series comprises AS15-92-12495 to 12502.
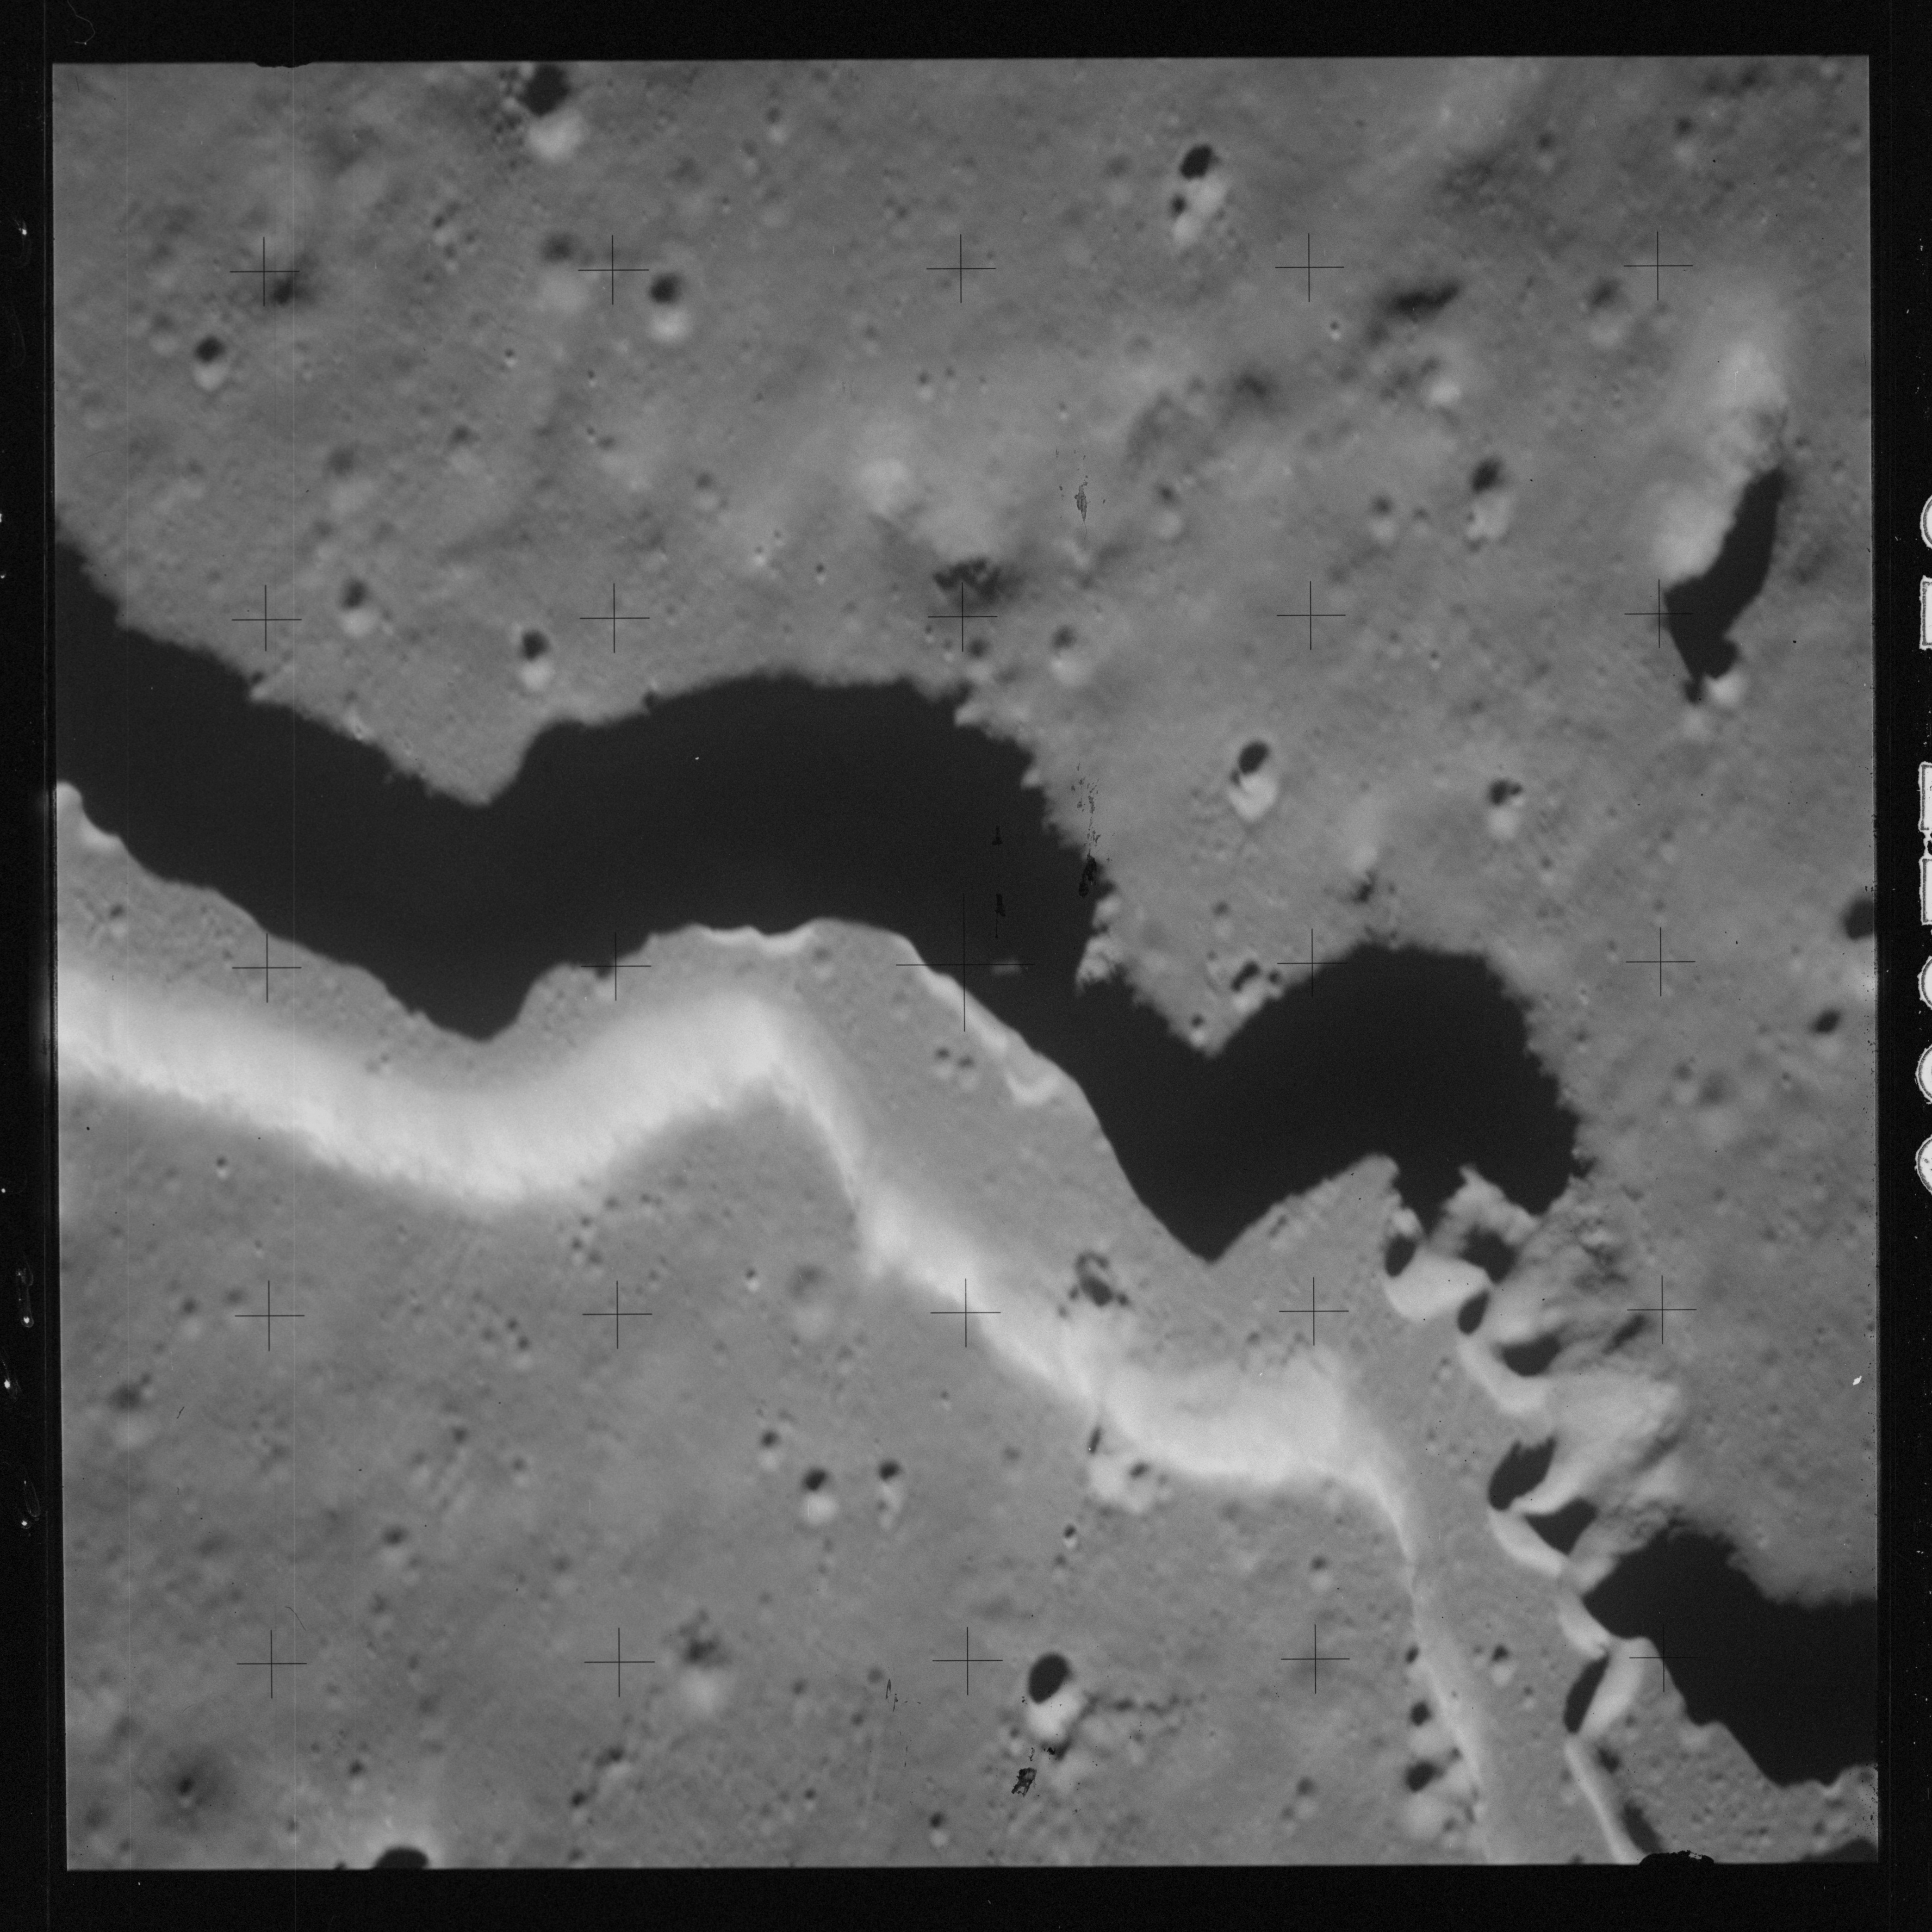
AS15-92-12495 - The Cobra's Head, source of Vallis Schröteri - Image by NASA/Johnson Space Center.
The Cobra's Head can be seen to have been heavily pitted and overlain by ejecta from the formation of Aristarchus 30 kilometres to the east. At this point, the large-scale structure of Vallis Schröteri is 10-km wide and appears to represent the erosion of the landscape by the high volume eruption of lava. Within this, a smaller sinuous rille, similar in scale to Rima Hadley, can be seen to be sourced within the Cobra's Head. It is probably the remains of a later and smaller effusion of lava which flowed along the course left by the earlier outpouring.
AS15-92-12496 - Vallis Schröteri - Image by NASA/Johnson Space Center.
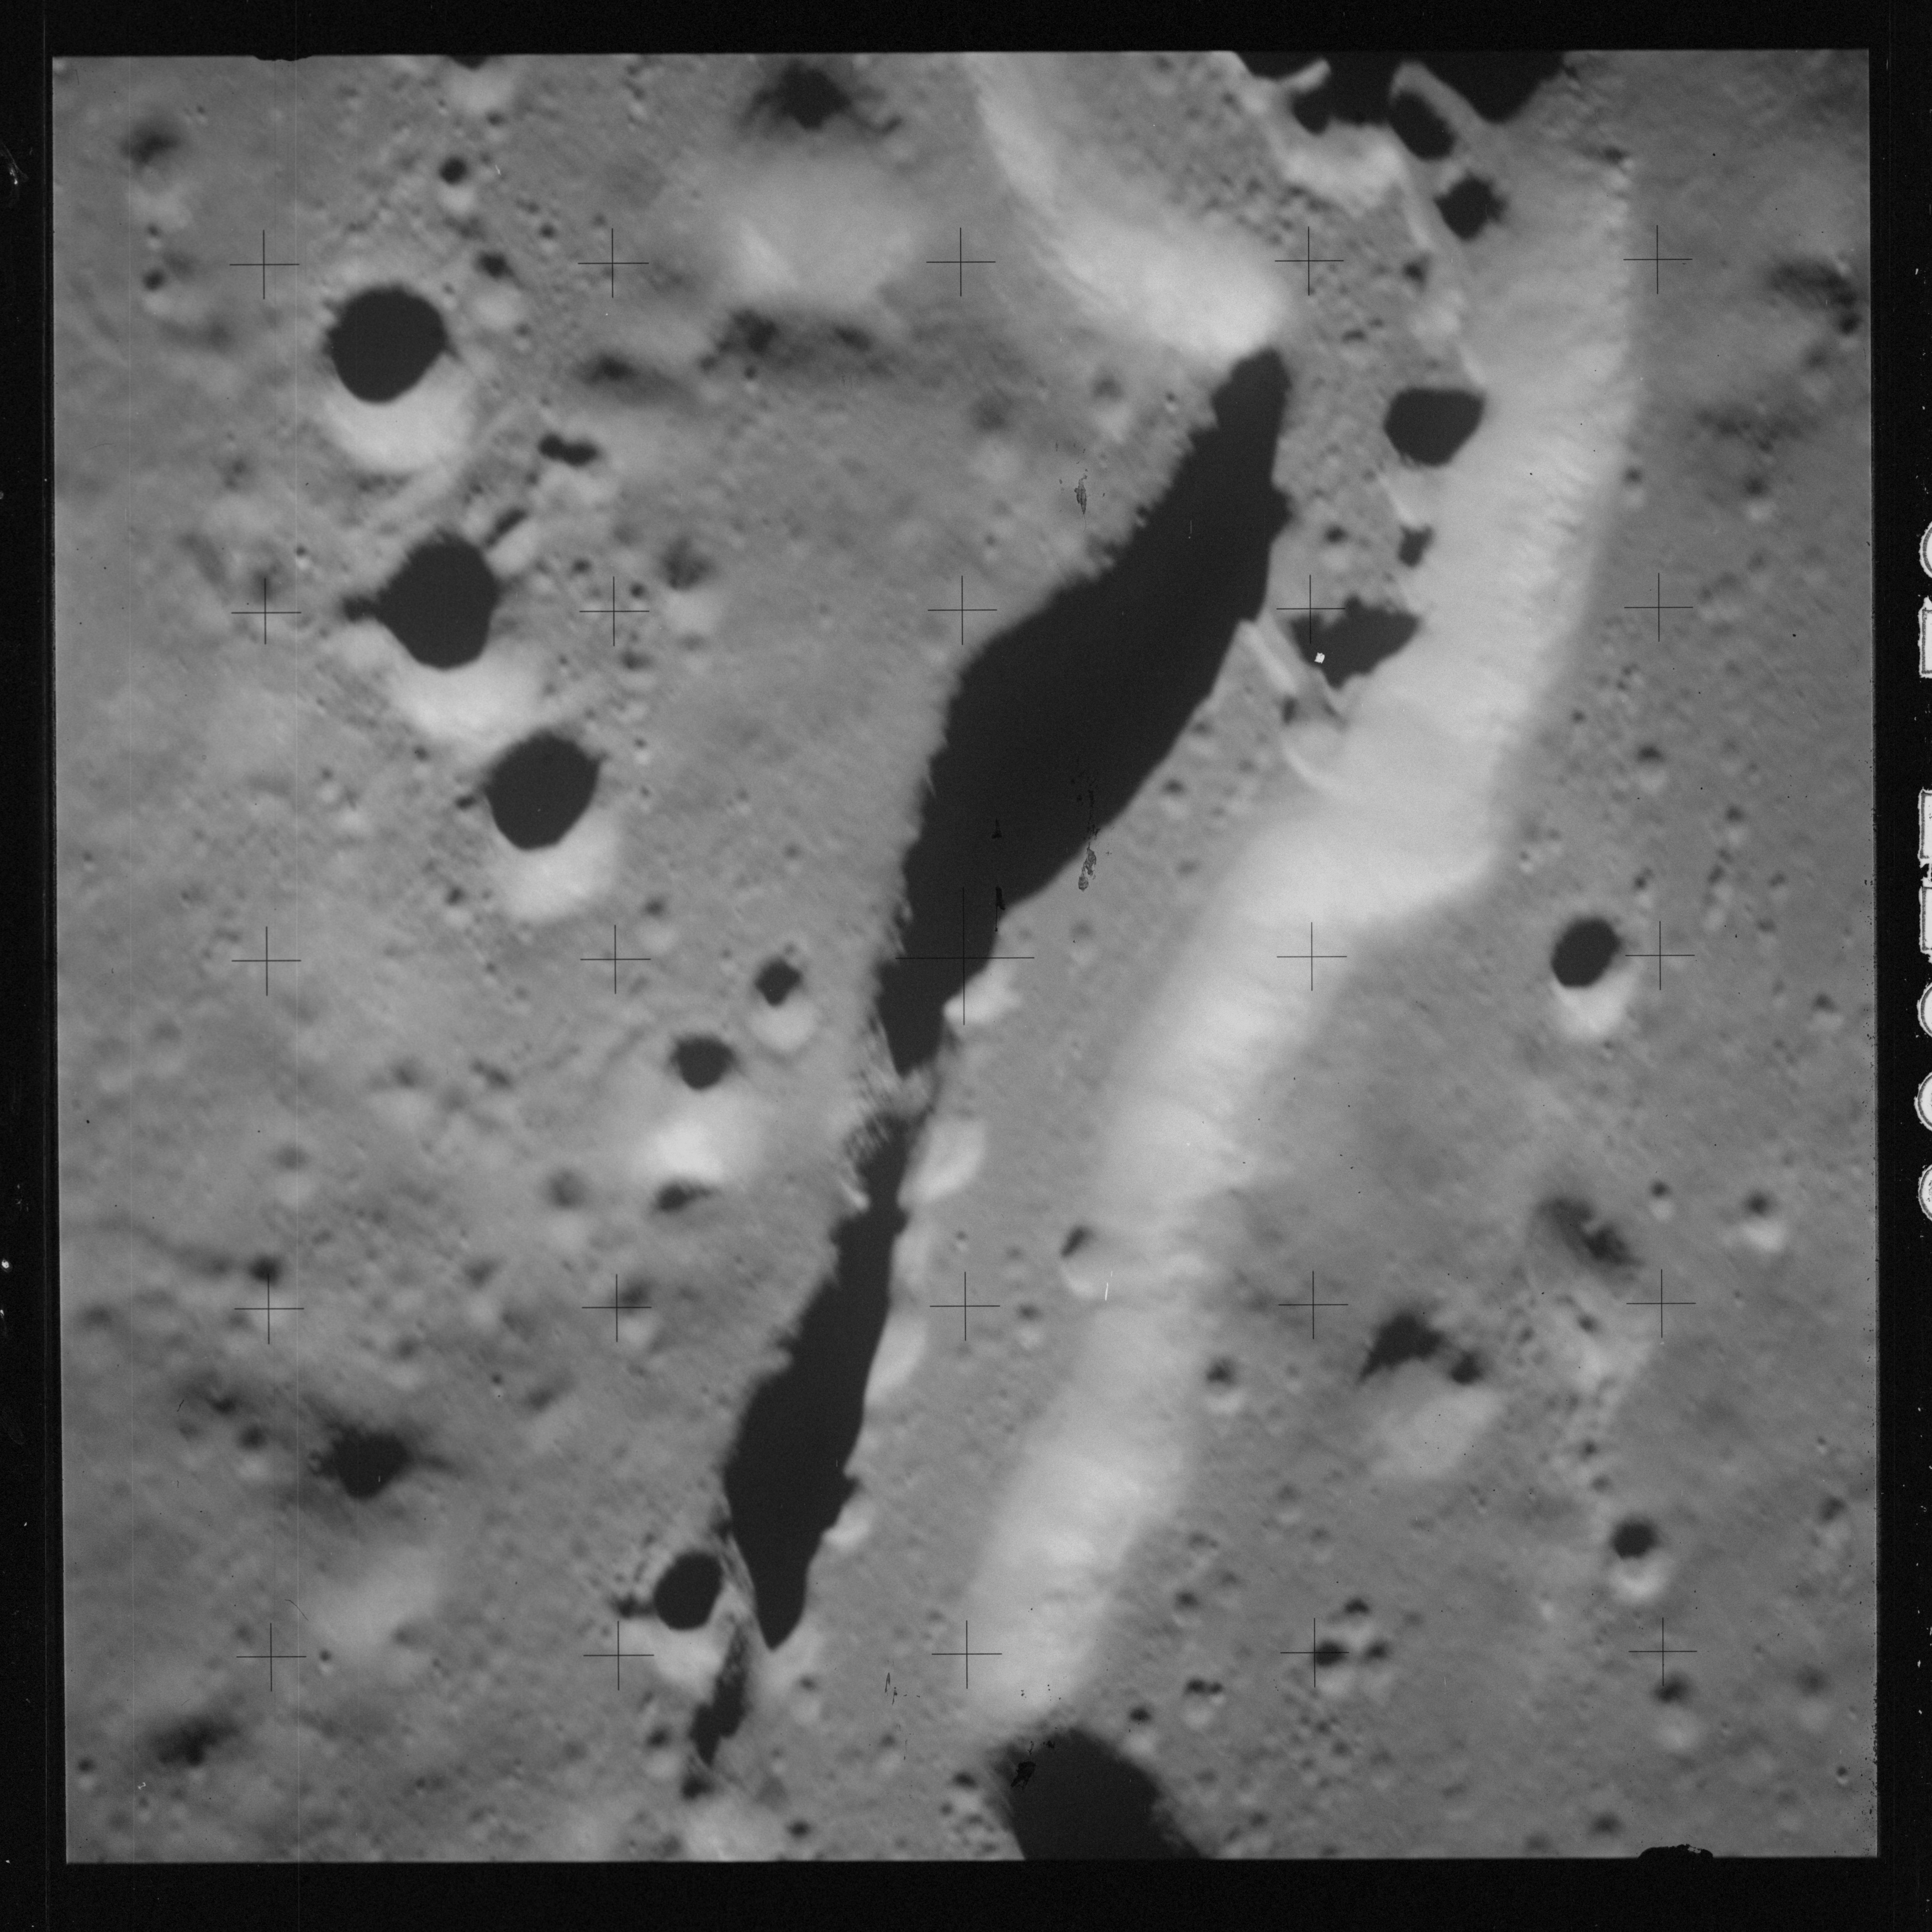
In AS15-92-12497, some extraordinary meanders are visible as the smaller rille snakes along the flat floor of the larger valley.
AS15-92-12497 - Vallis Schröteri - Image by NASA/Johnson Space Center.
AS15-92-12498 - Vallis Schröteri - Image by NASA/Johnson Space Center.
AS15-92-12499 - Vallis Schröteri - Image by NASA/Johnson Space Center.
AS15-92-12500 - Vallis Schröteri - Image by NASA/Johnson Space Center.
AS15-92-12501 - Vallis Schröteri - Image by NASA/Johnson Space Center.
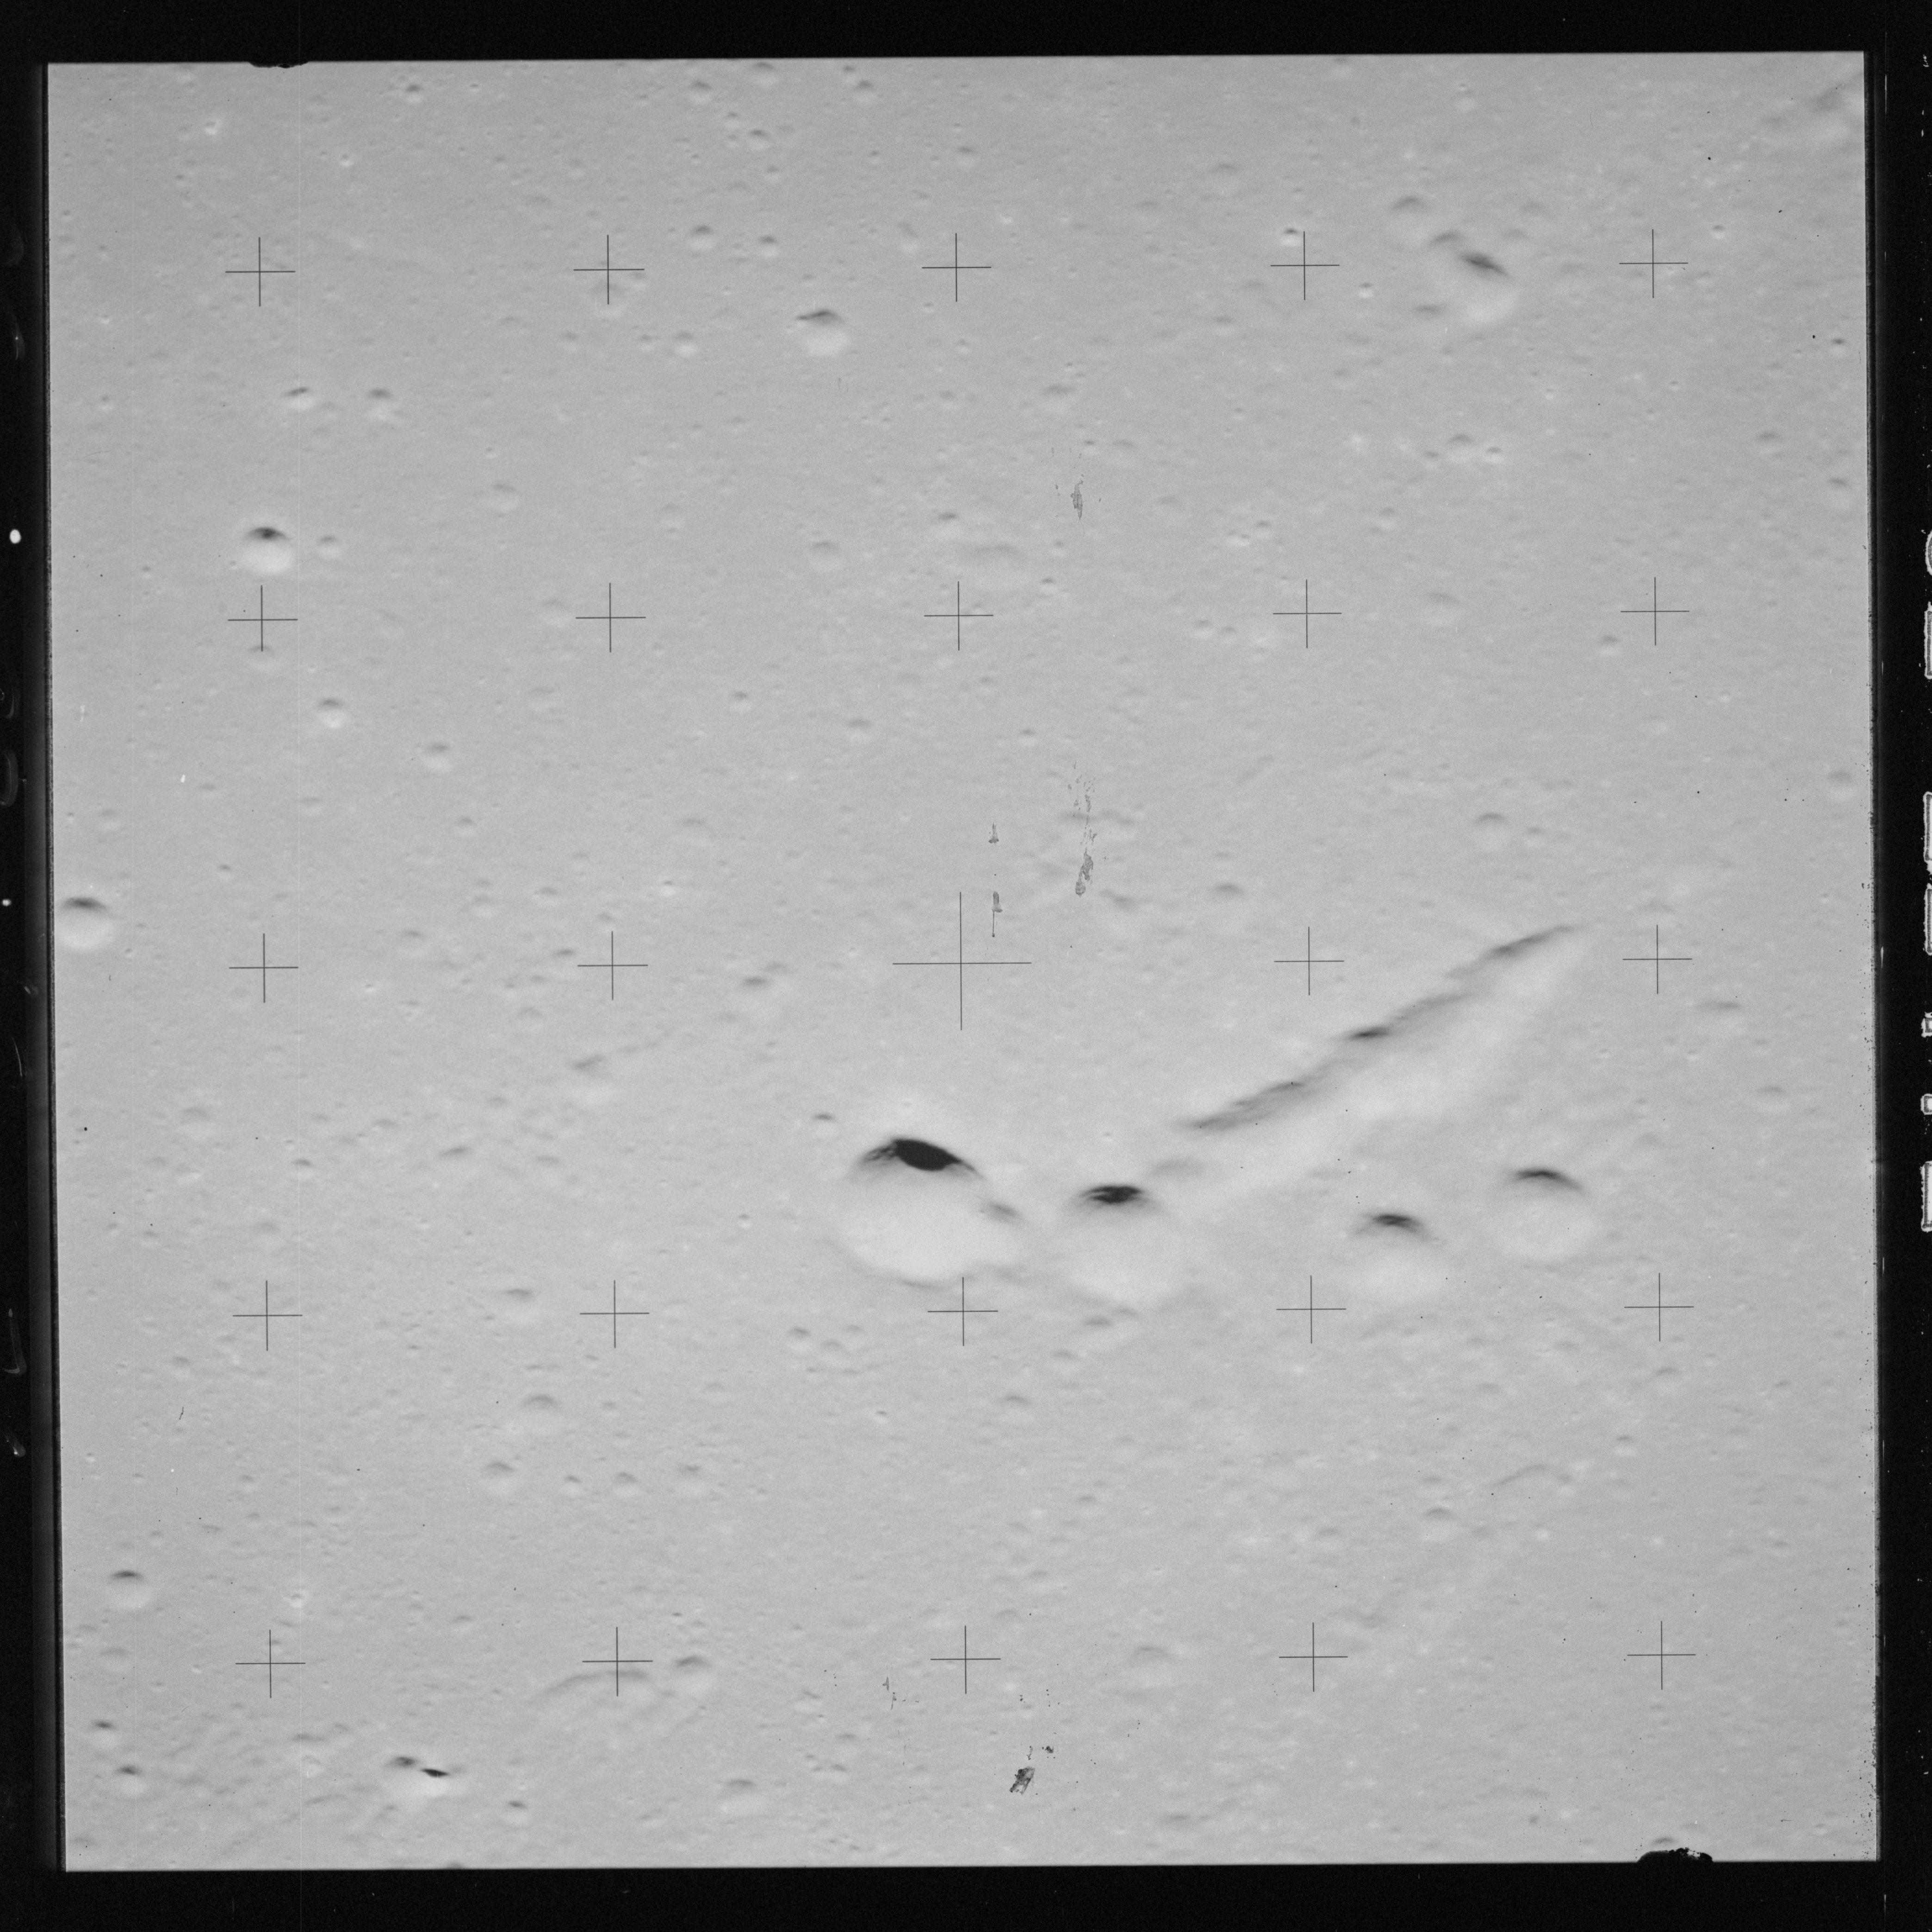
By AS15-92-12502, Vallis Schröteri has diverted to the west leaving the smaller rille break through its southern wall to carry on into Oceanus Procellarum.
AS15-92-12502 - Vallis Schröteri - Image by NASA/Johnson Space Center.
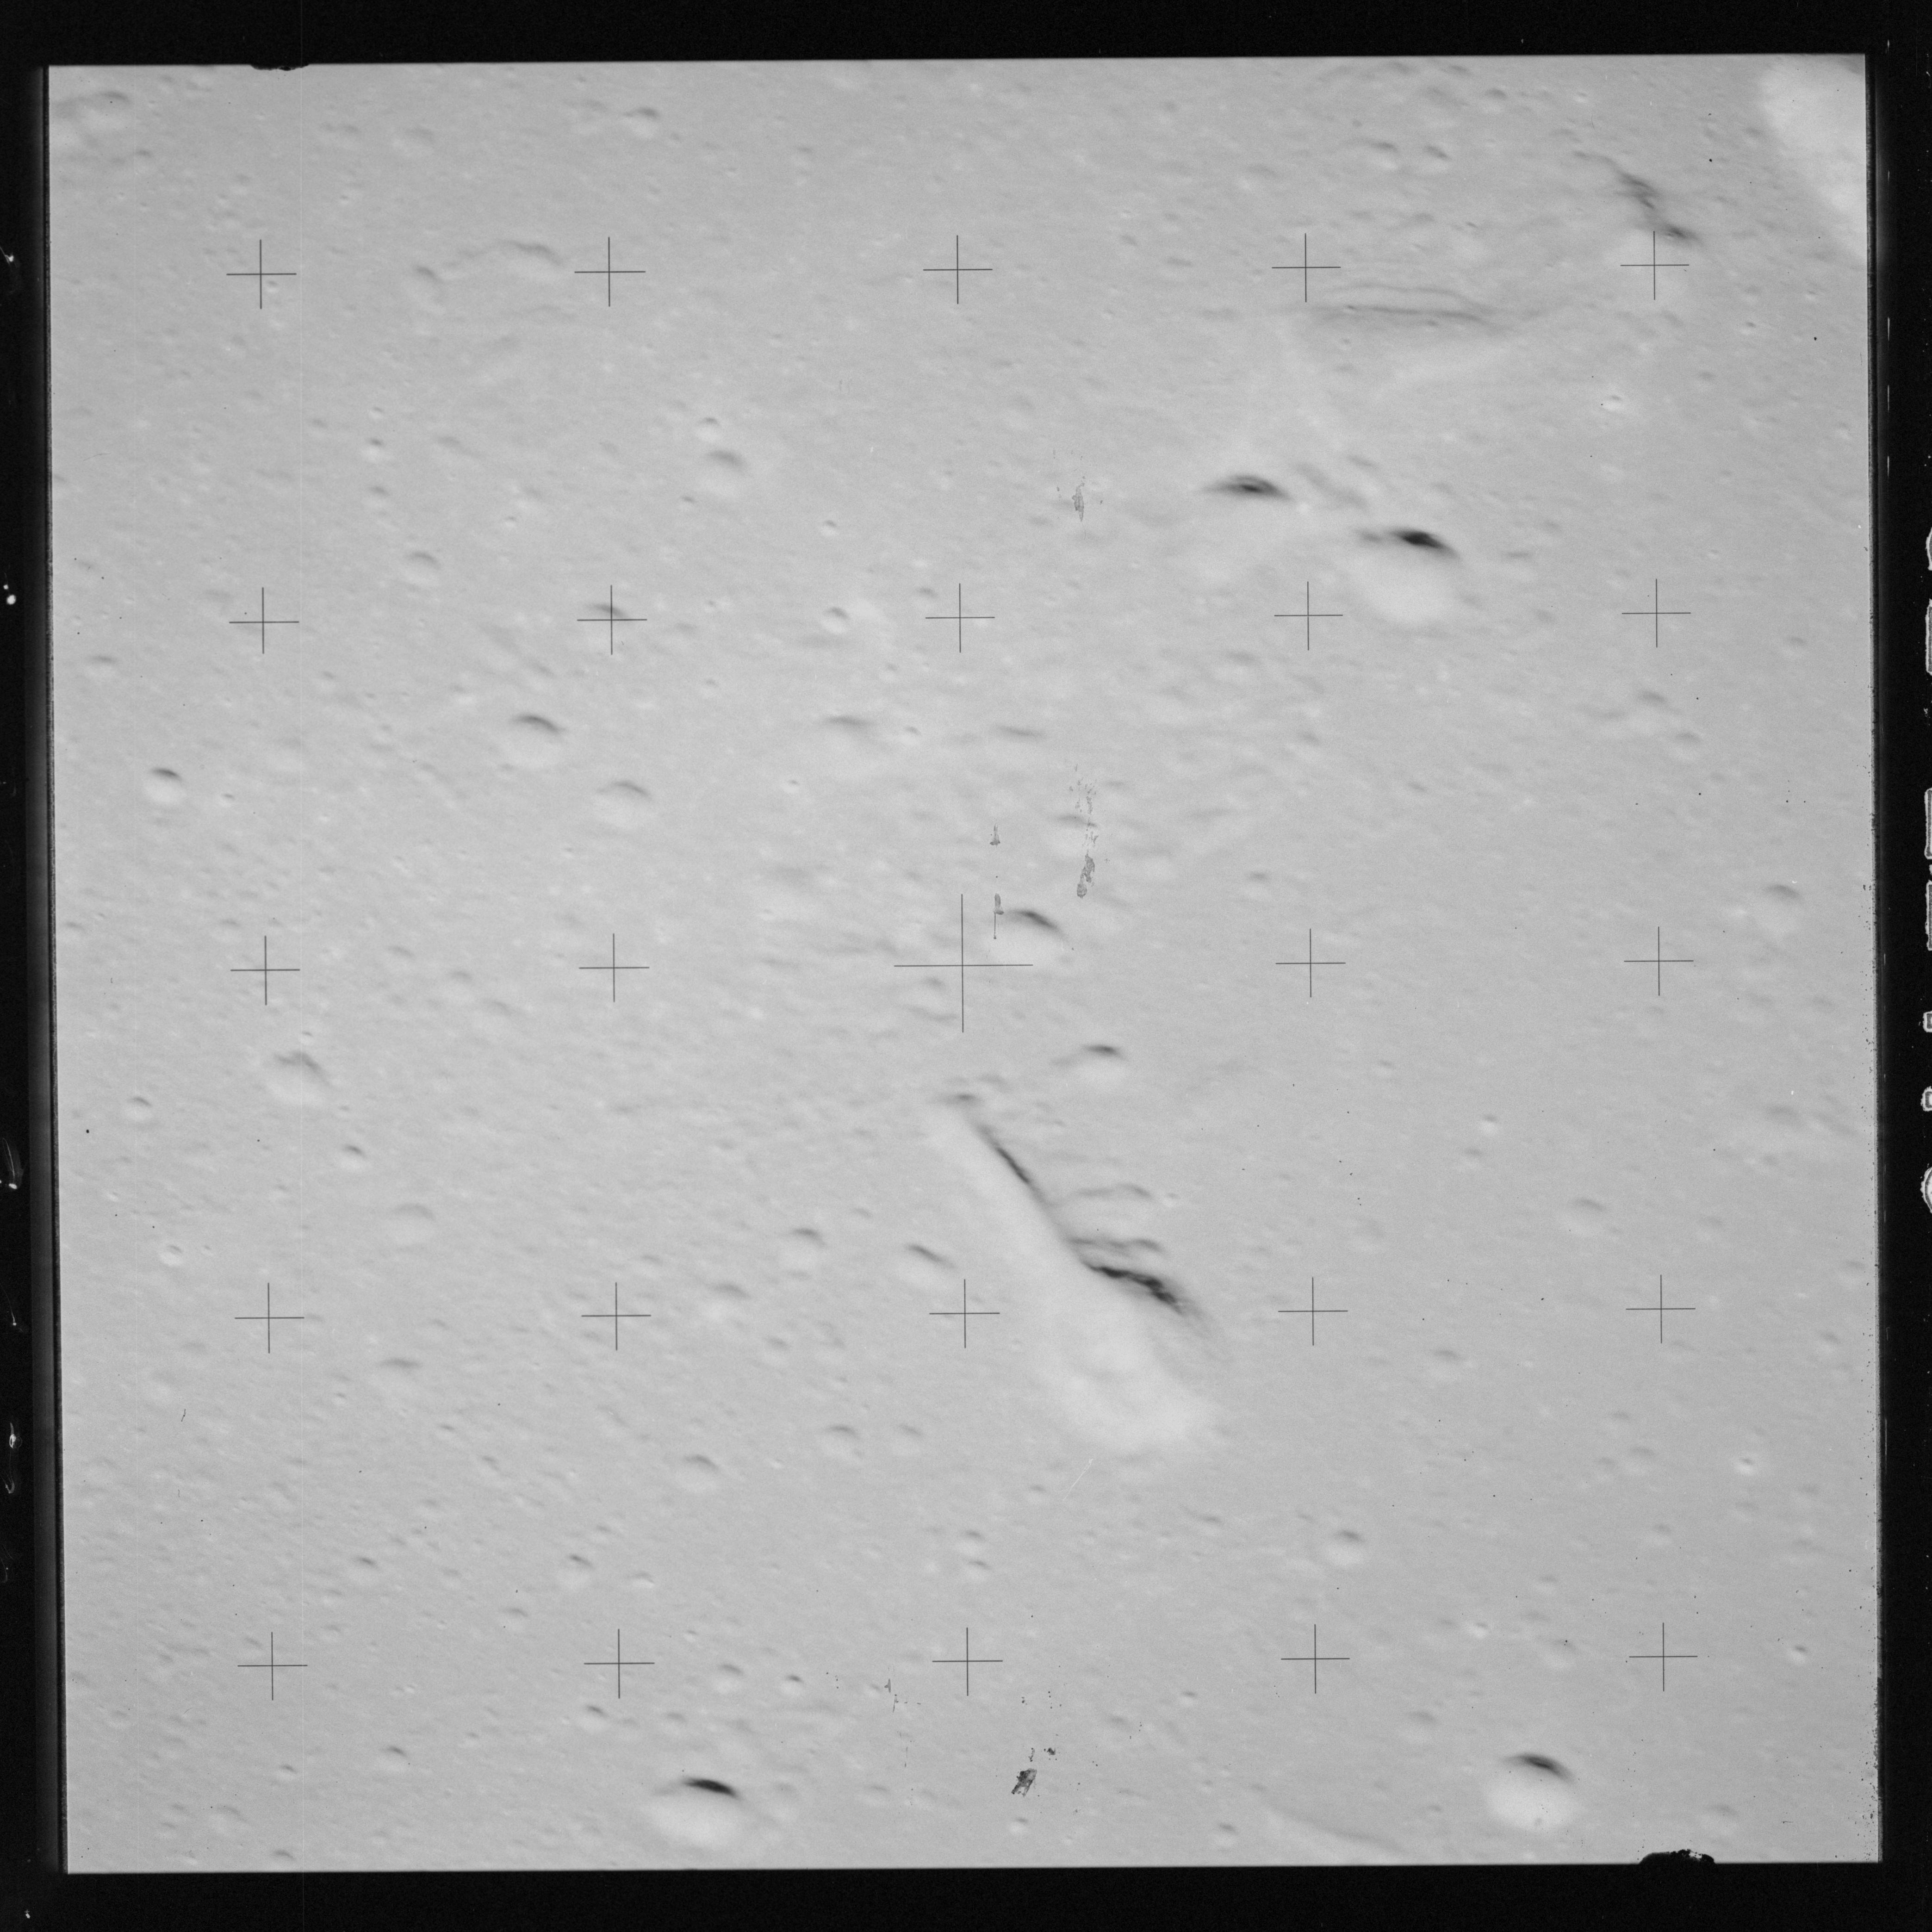
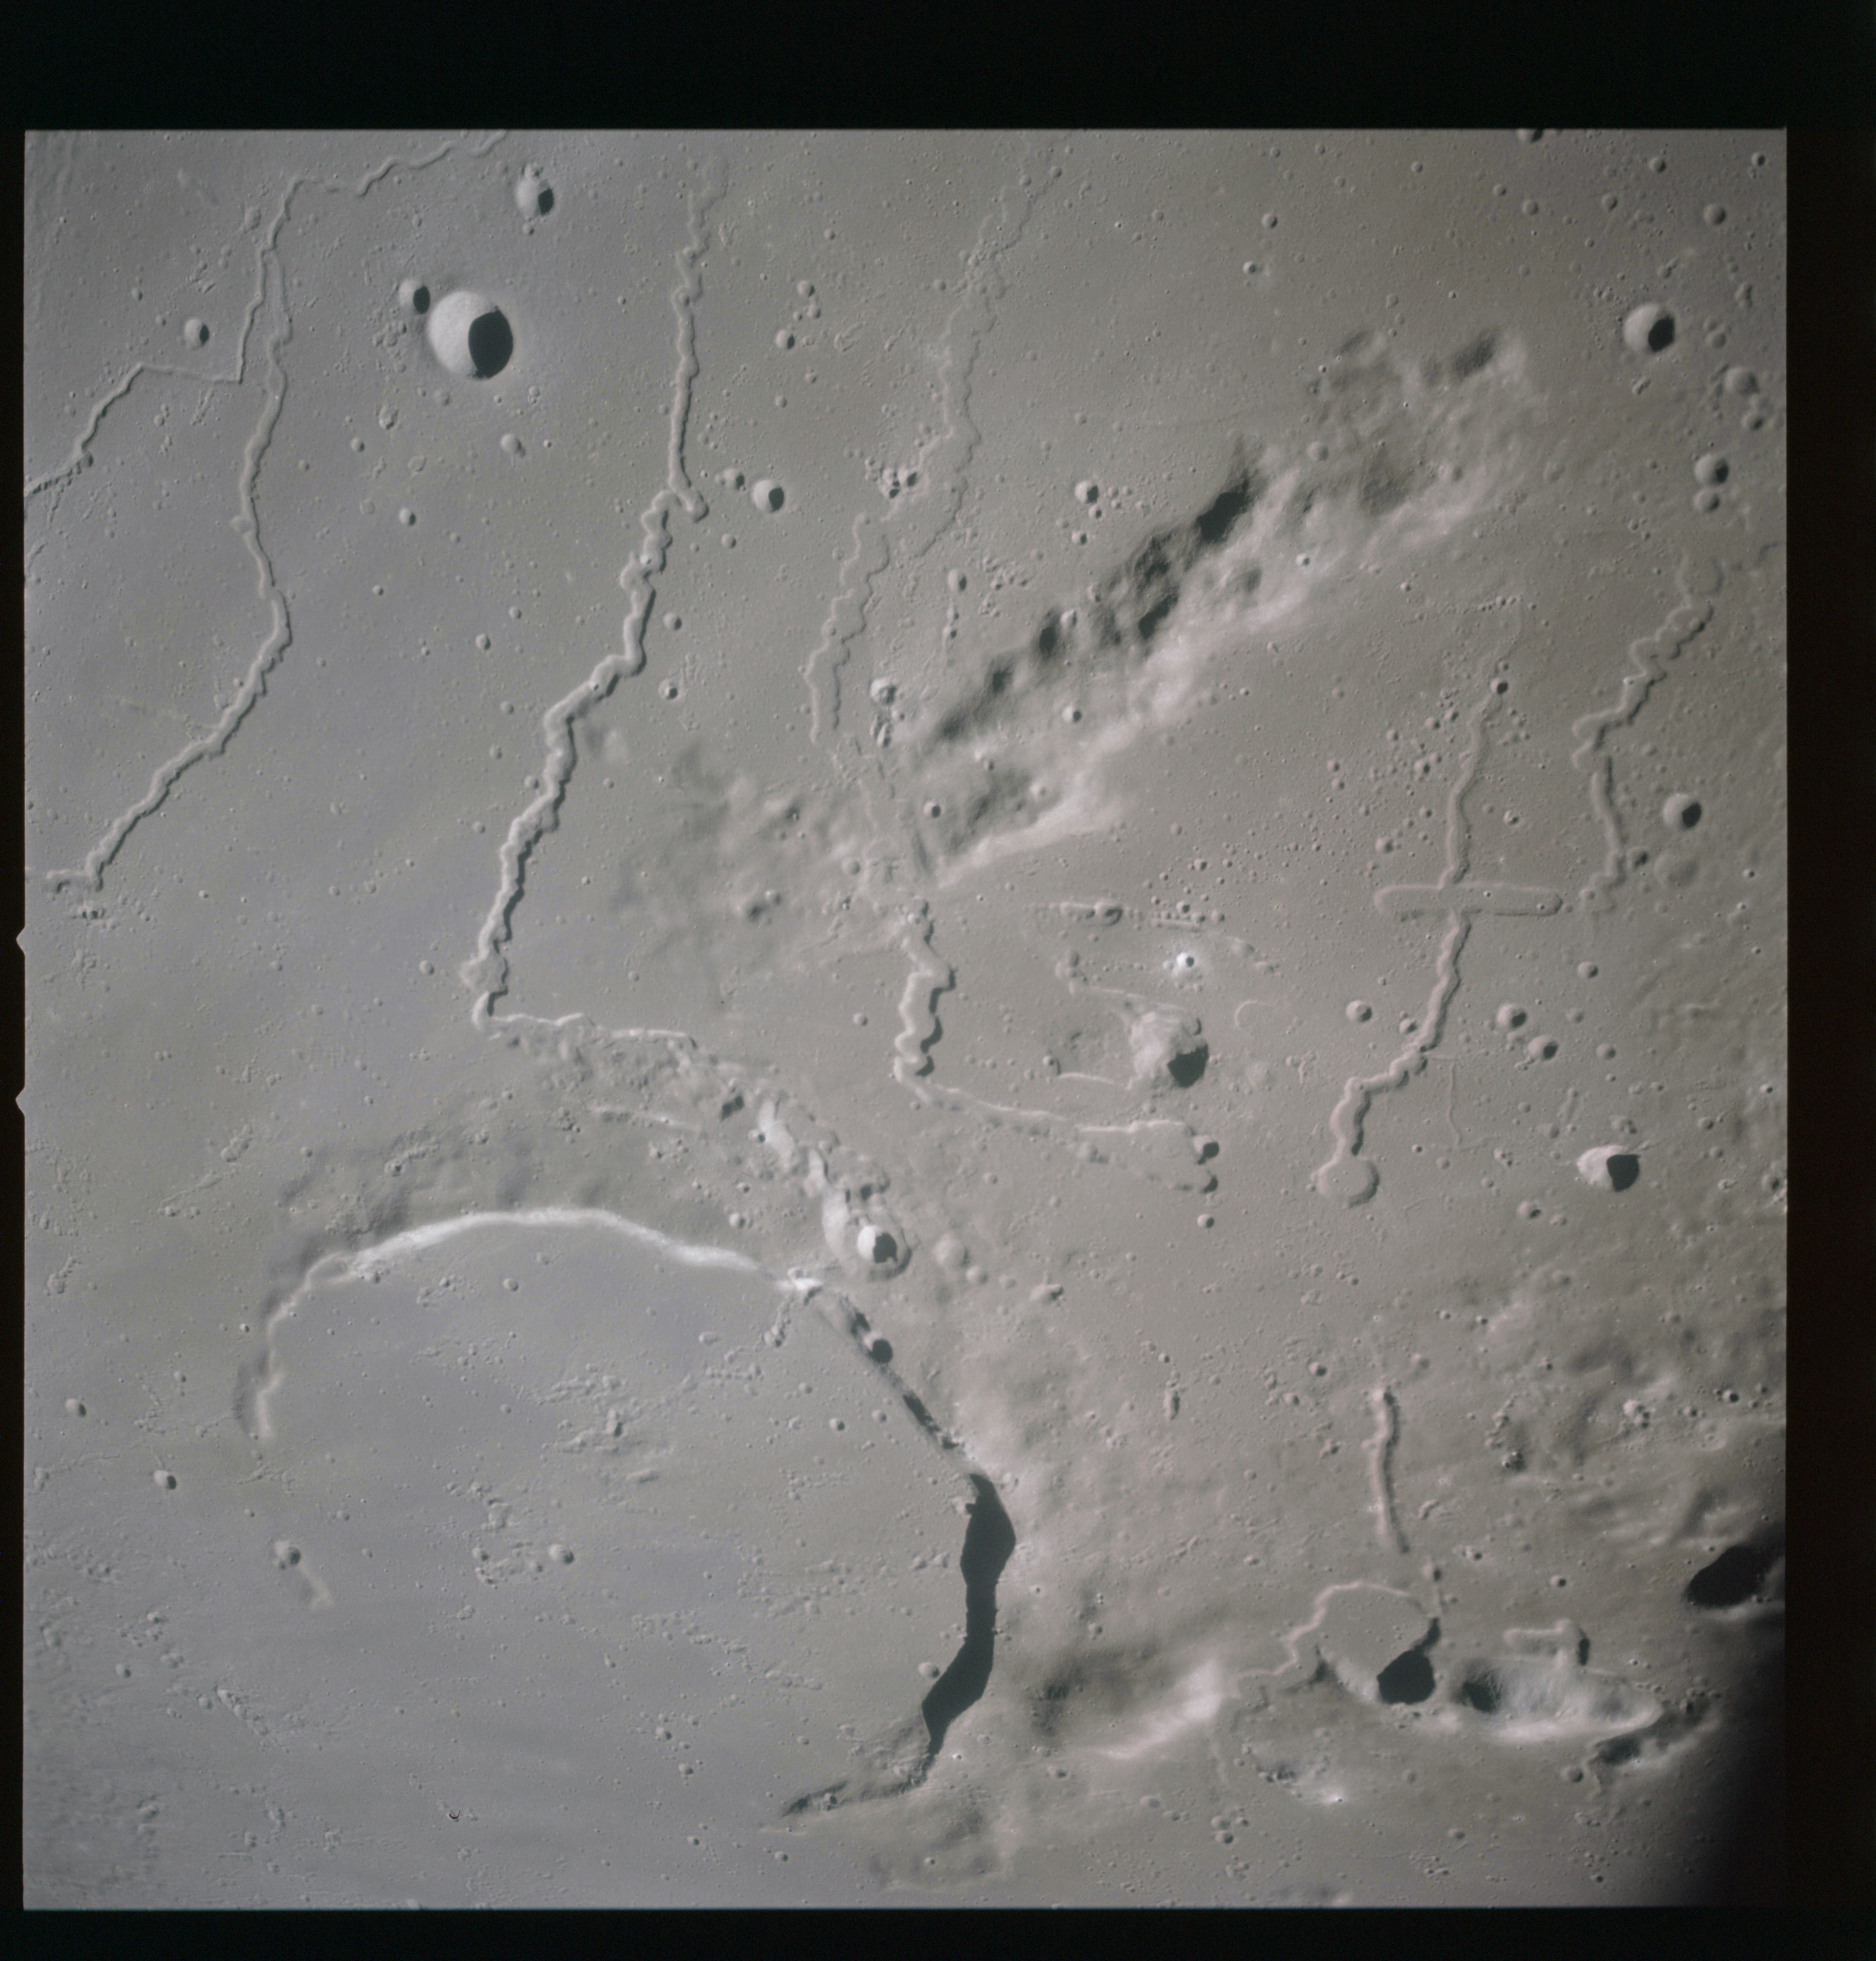
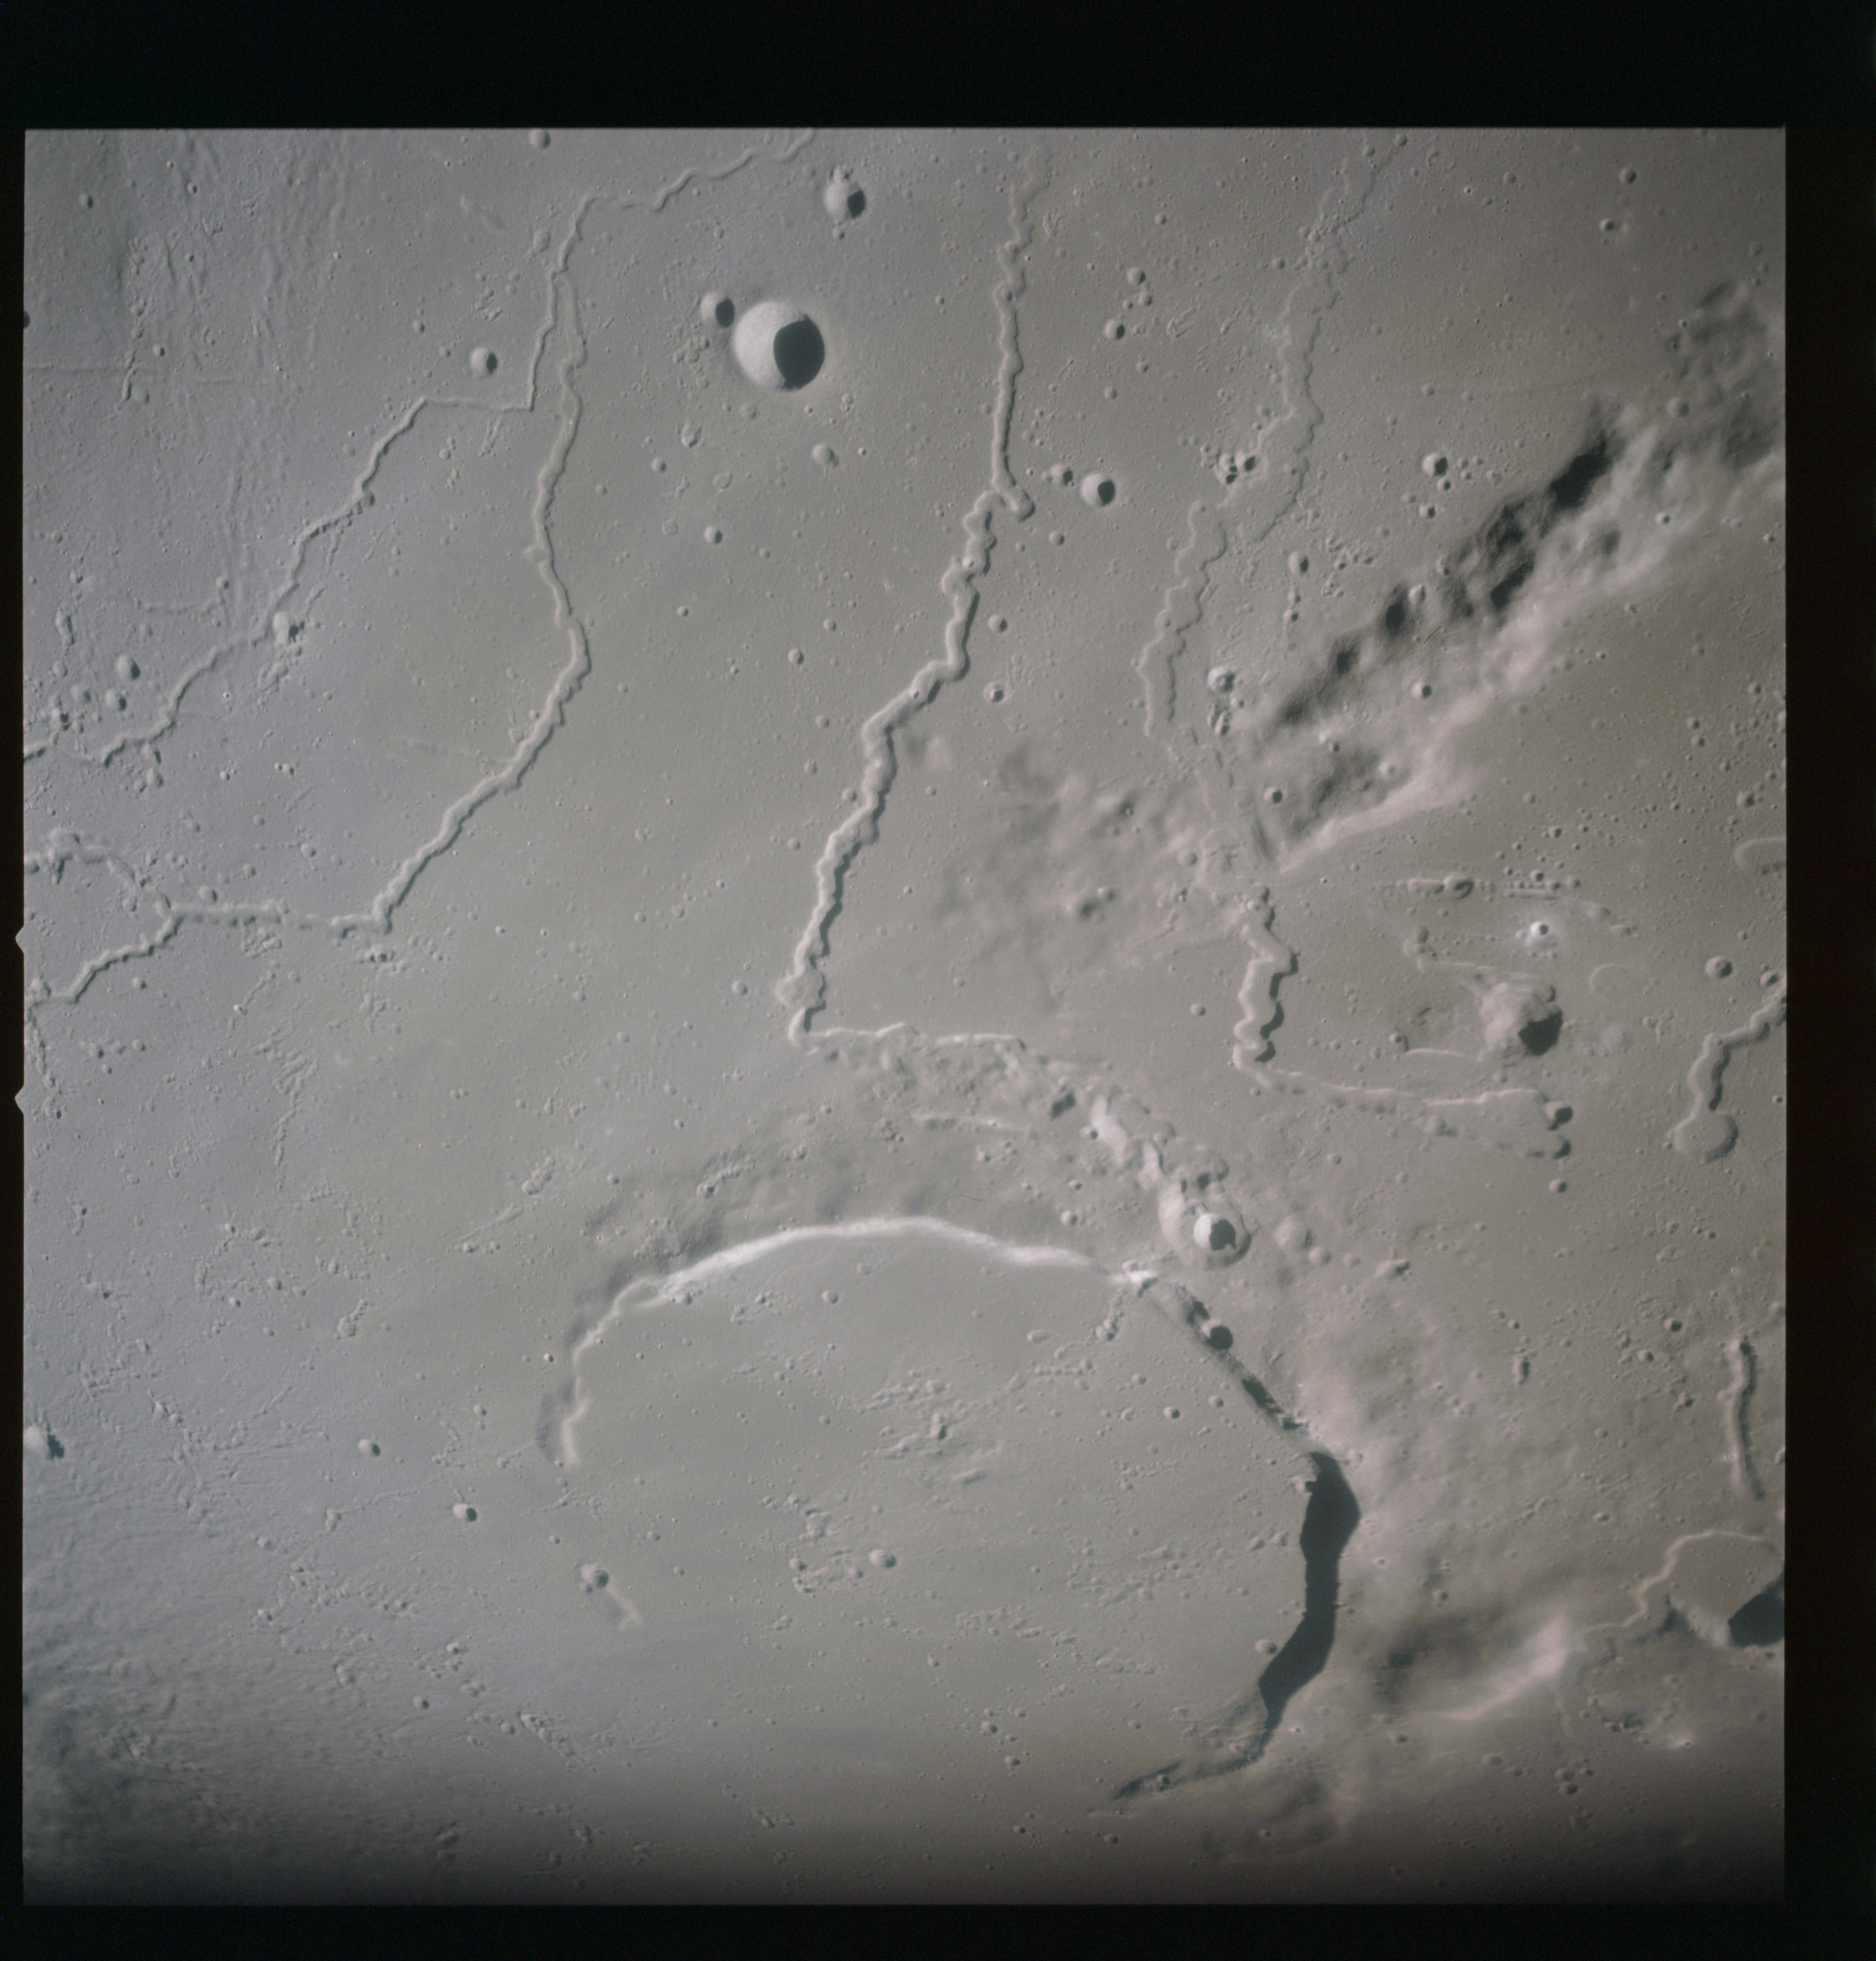
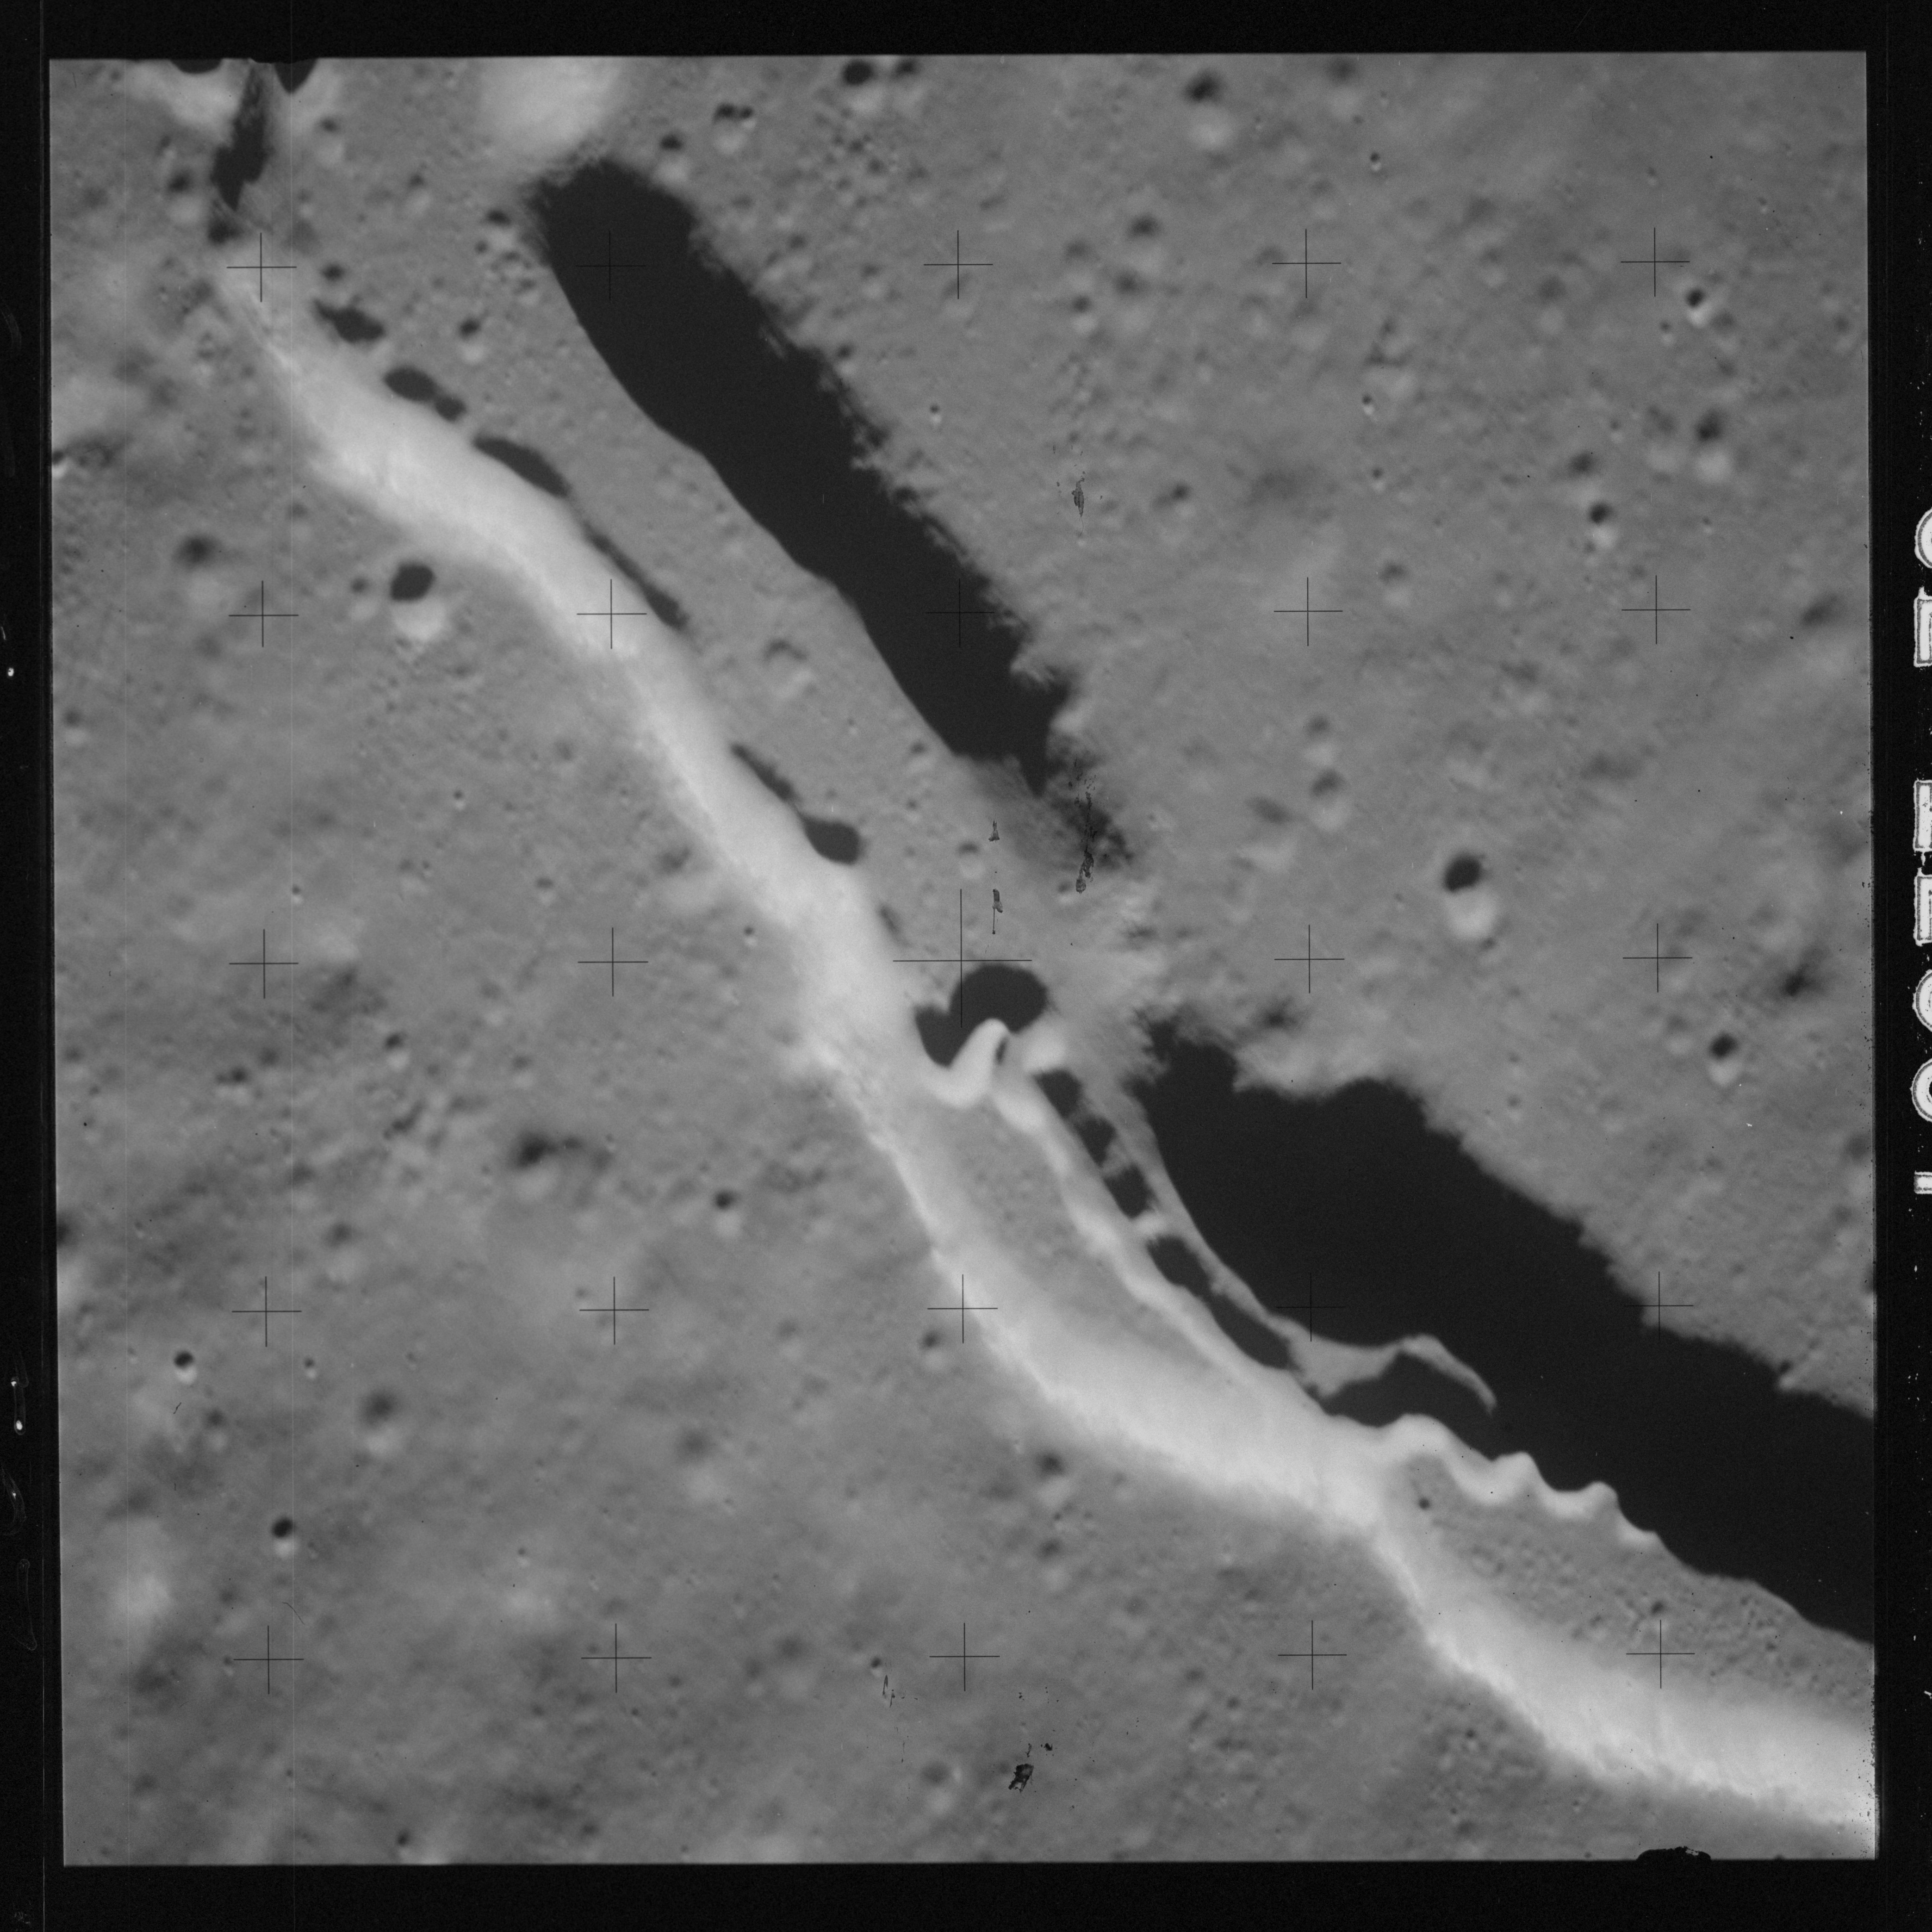
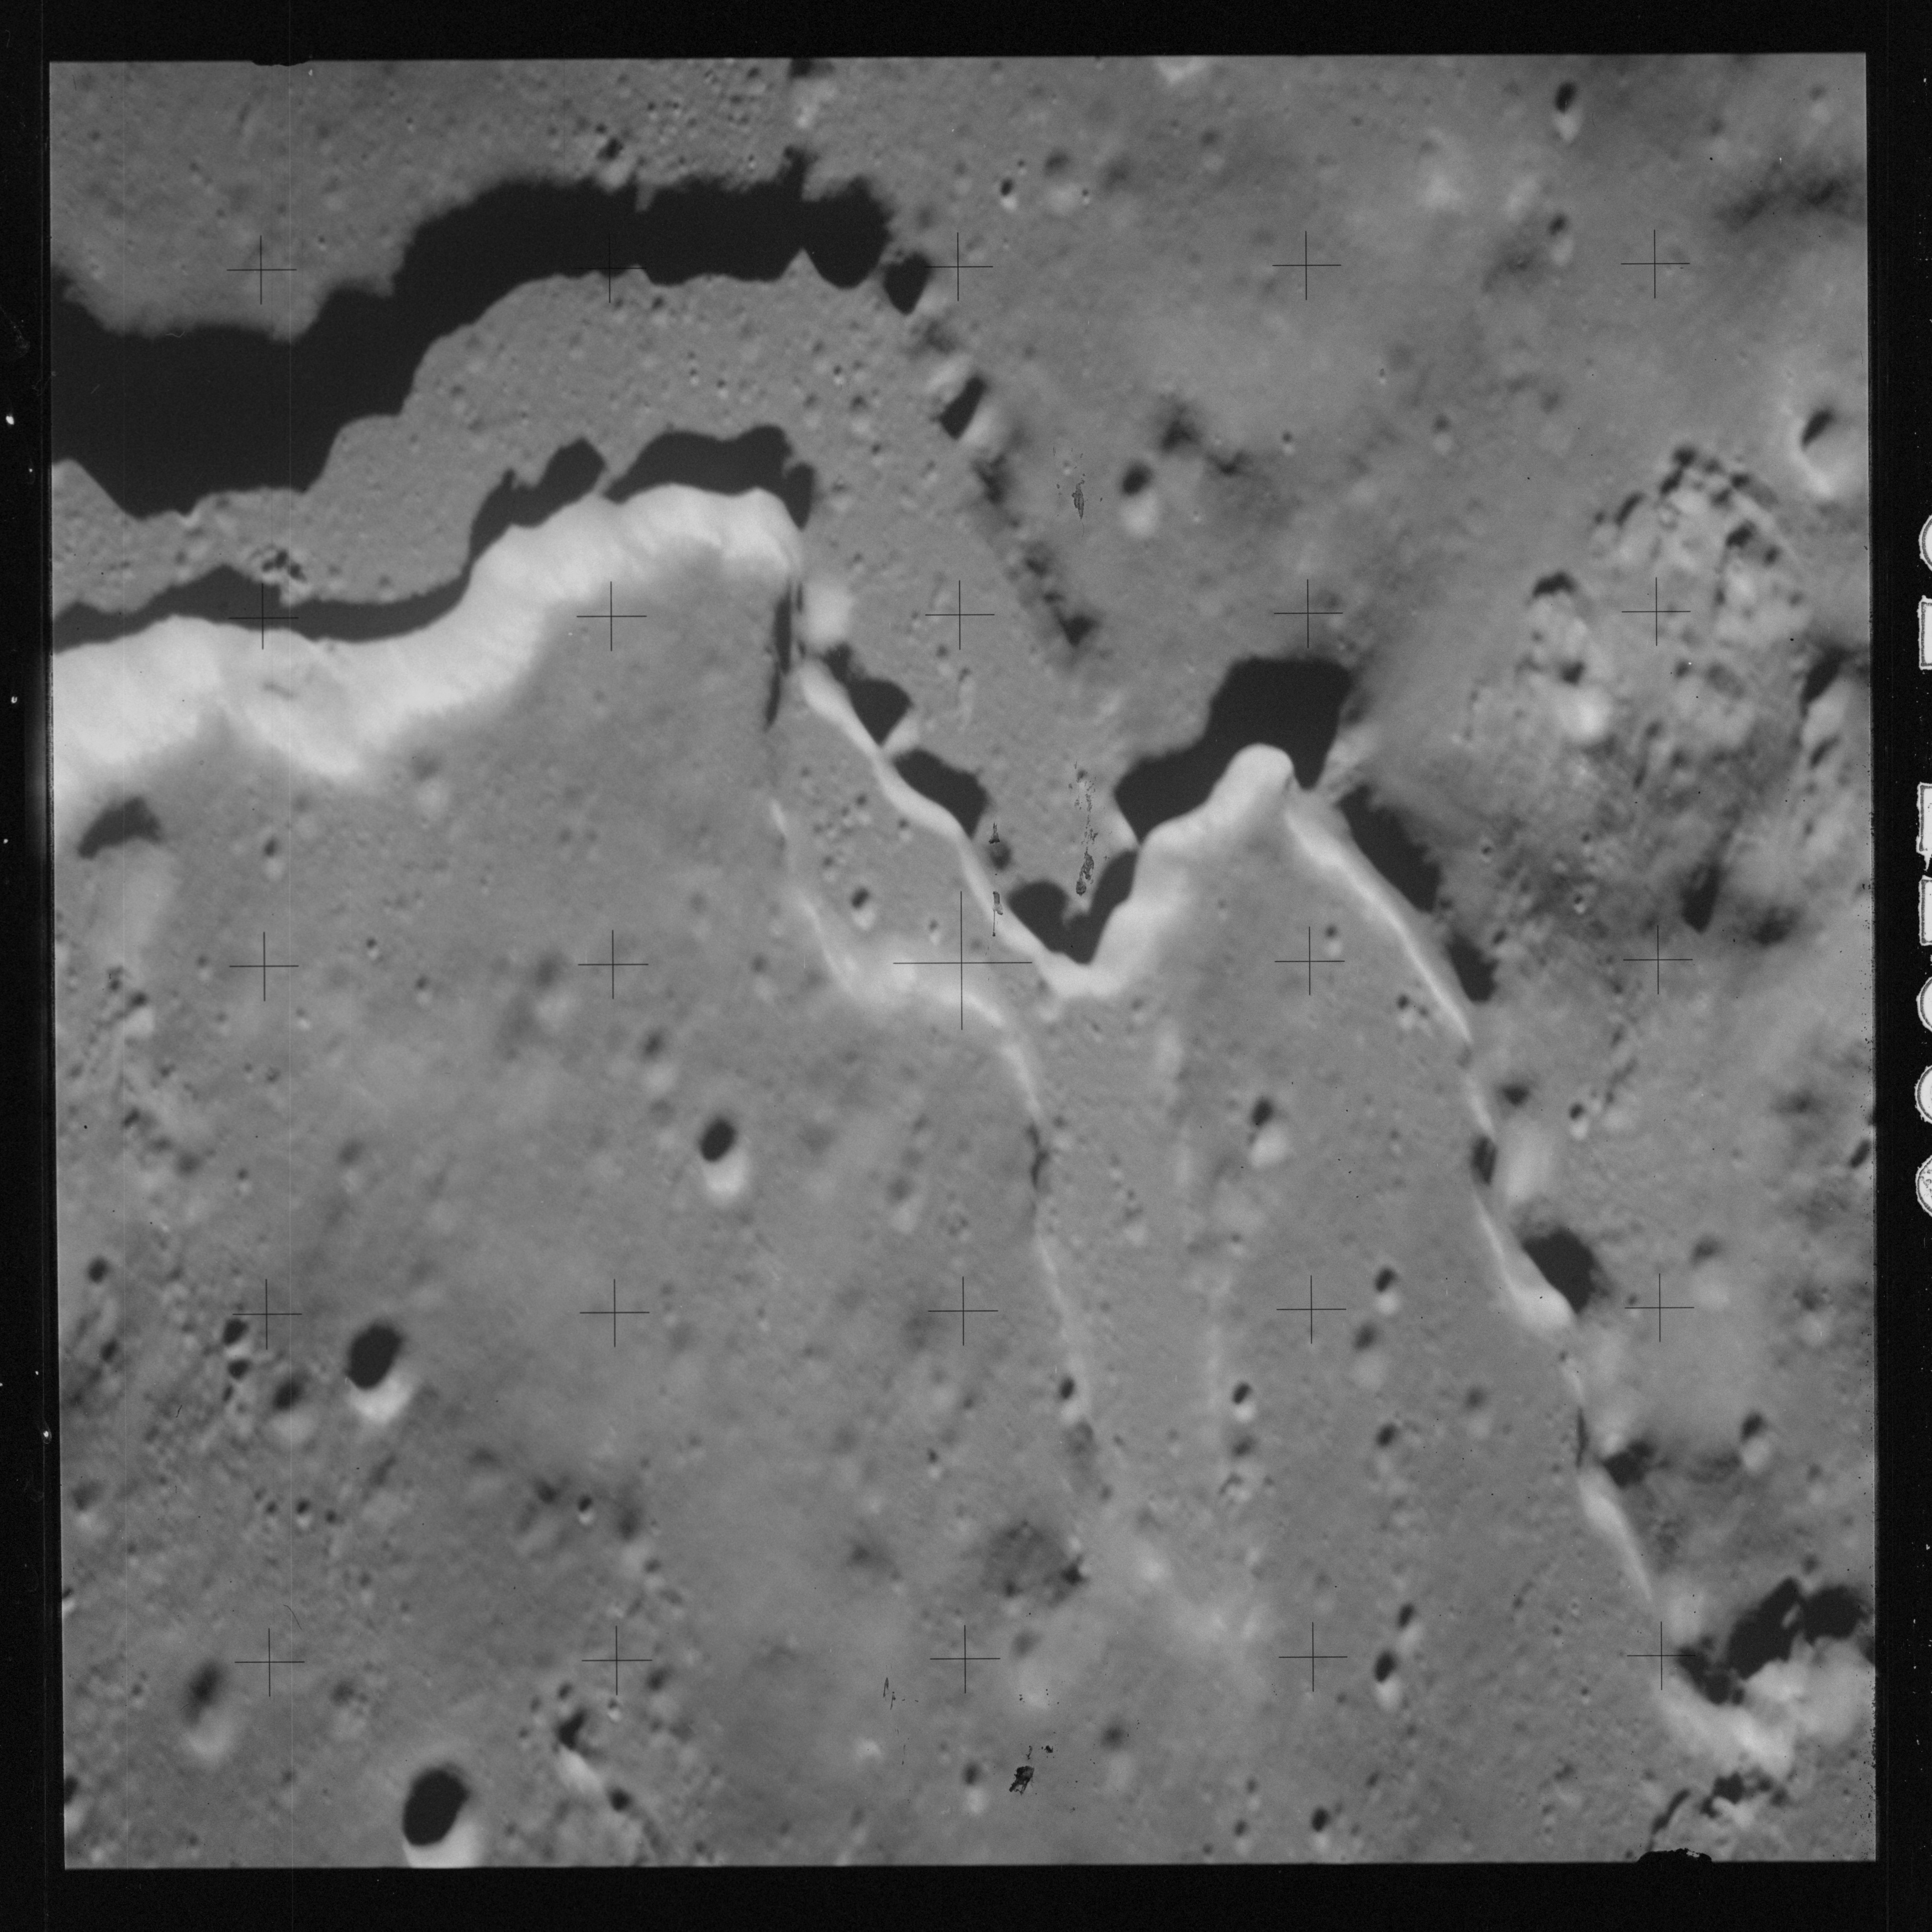
Seven more shots on magazine OO, AS15-92-12503 to 12509 take anothr look at Vallis Schröteri.
AS15-92-12503 - The Cobra's Head, source of Vallis Schröteri - Image by NASA/Johnson Space Center.
AS15-92-12504 - Vallis Schröteri - Image by NASA/Johnson Space Center.
AS15-92-12505 - Vallis Schröteri - Image by NASA/Johnson Space Center.
AS15-92-12506 - Vallis Schröteri - Image by NASA/Johnson Space Center.
AS15-92-12507 - Vallis Schröteri - Image by NASA/Johnson Space Center.
AS15-92-12508 - Vallis Schröteri - Image by NASA/Johnson Space Center.
AS15-92-12509 - Vallis Schröteri - Image by NASA/Johnson Space Center.
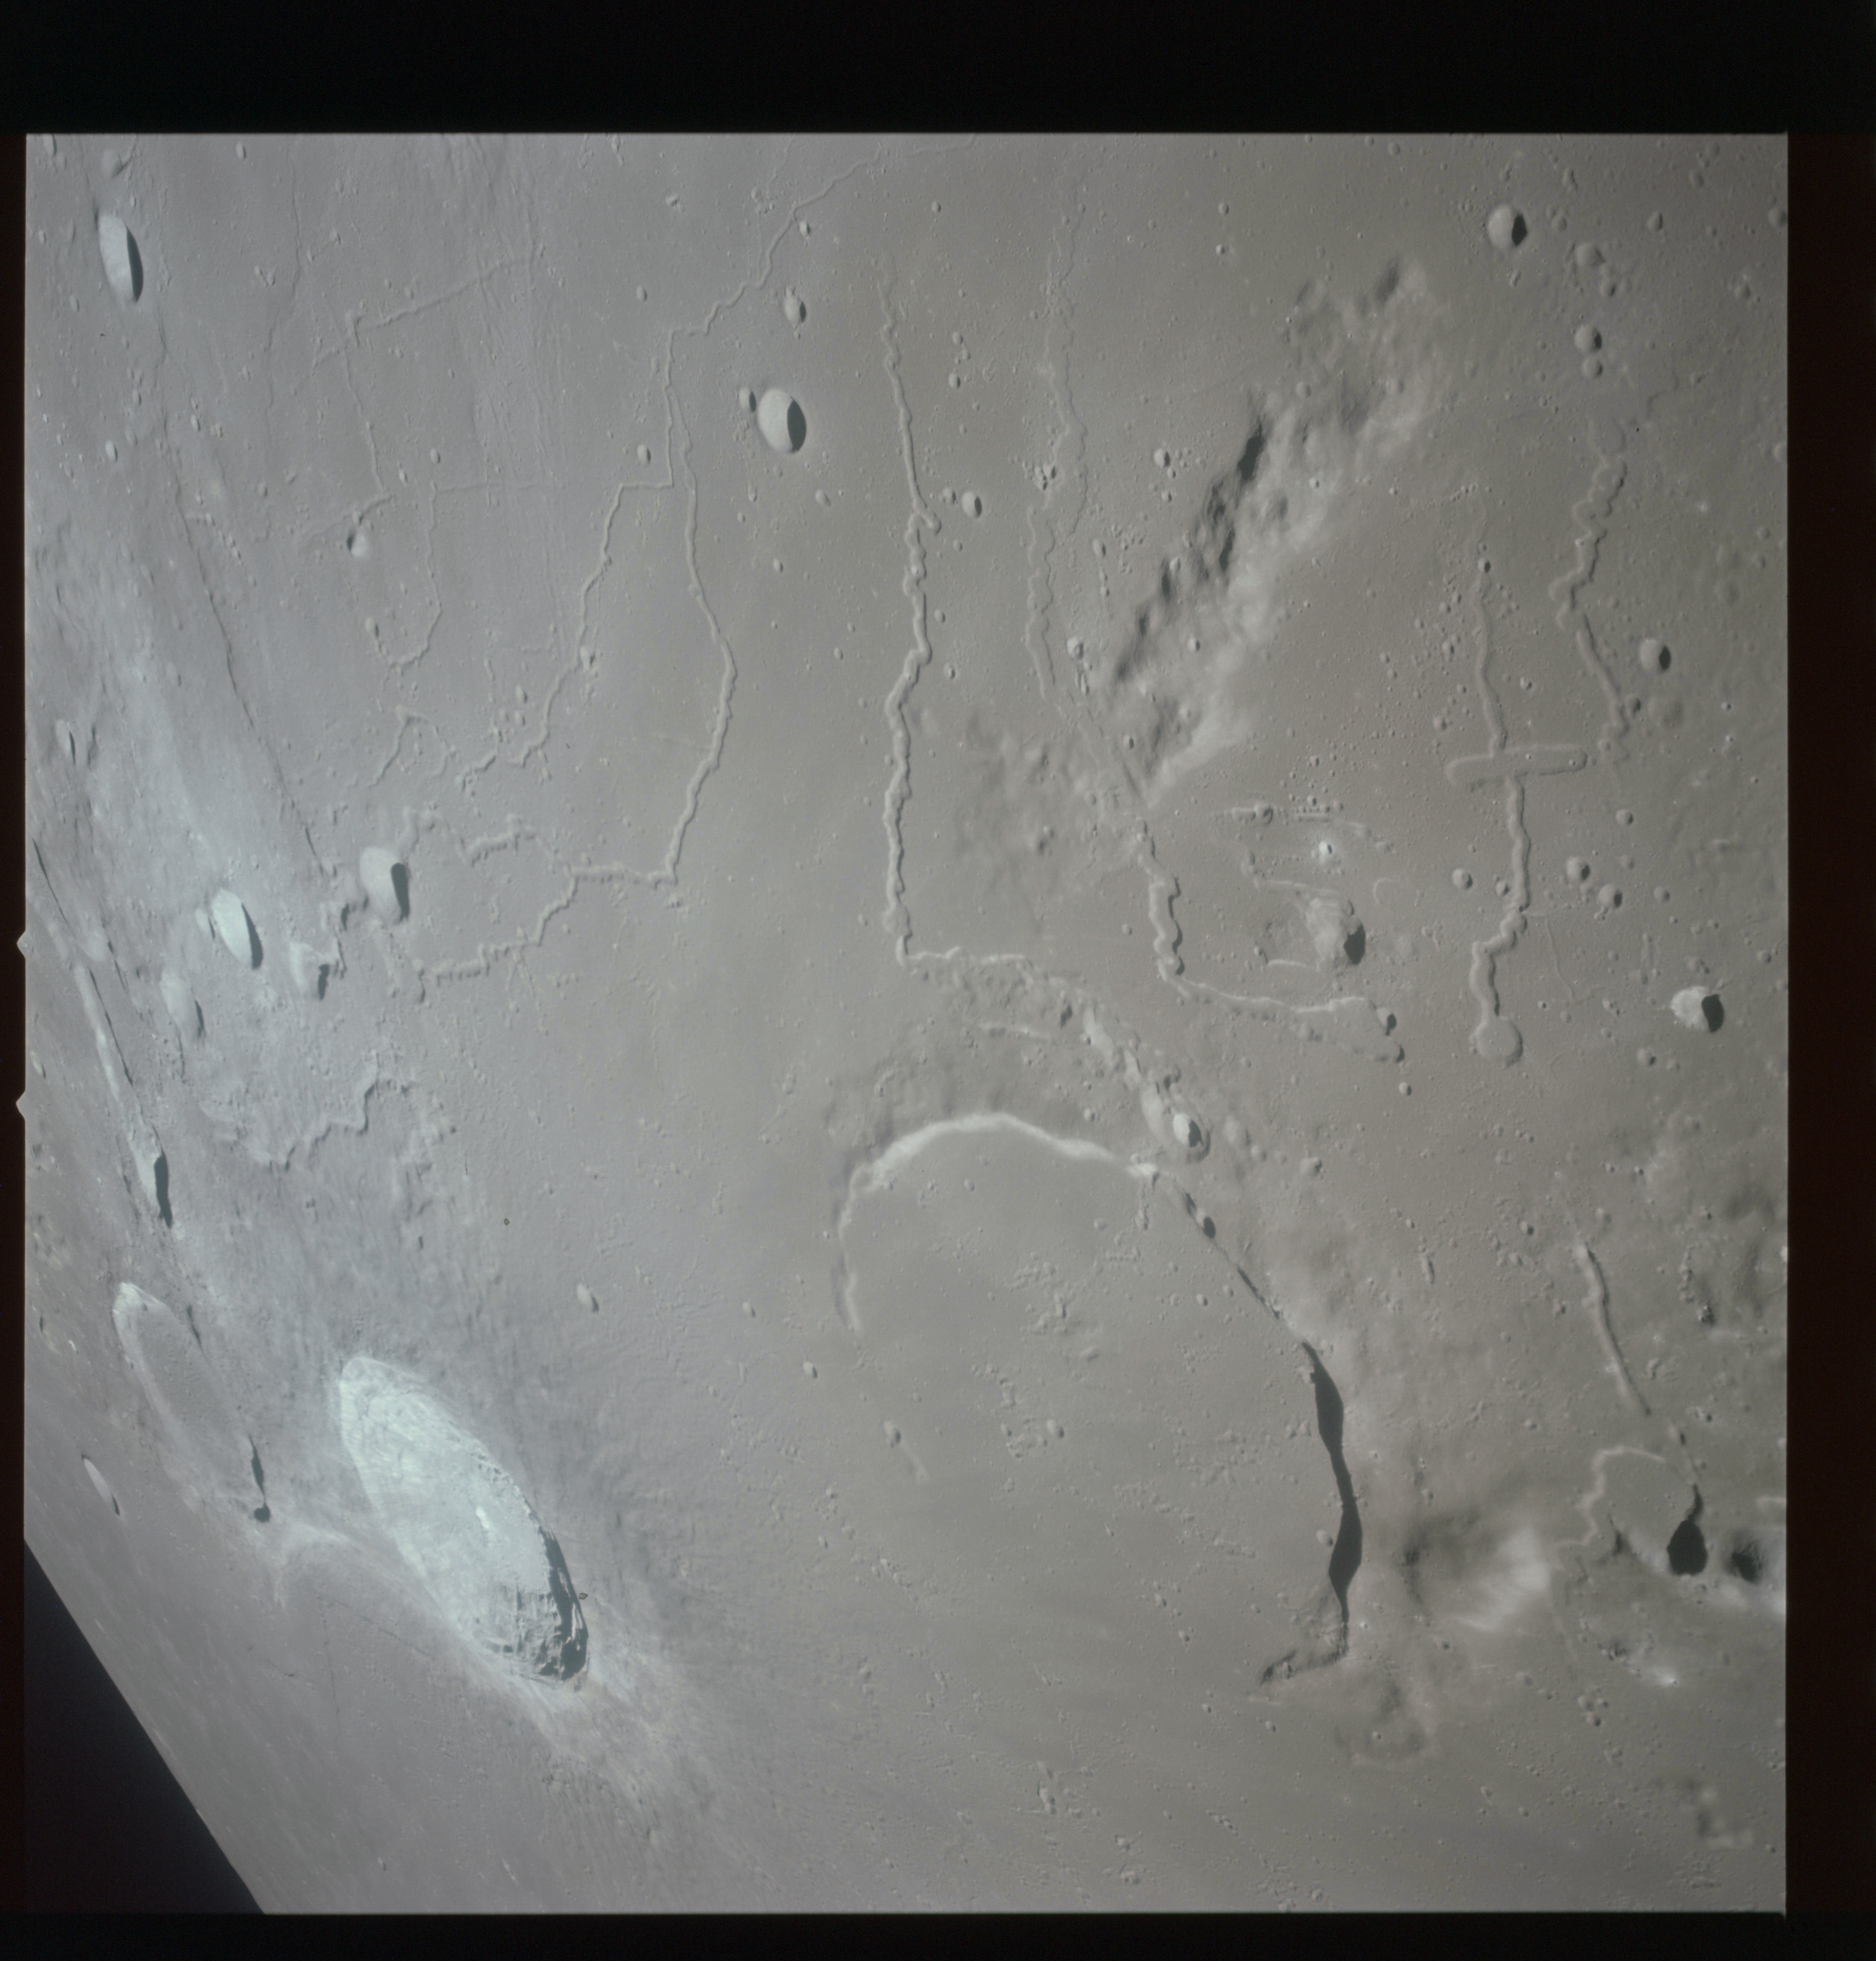
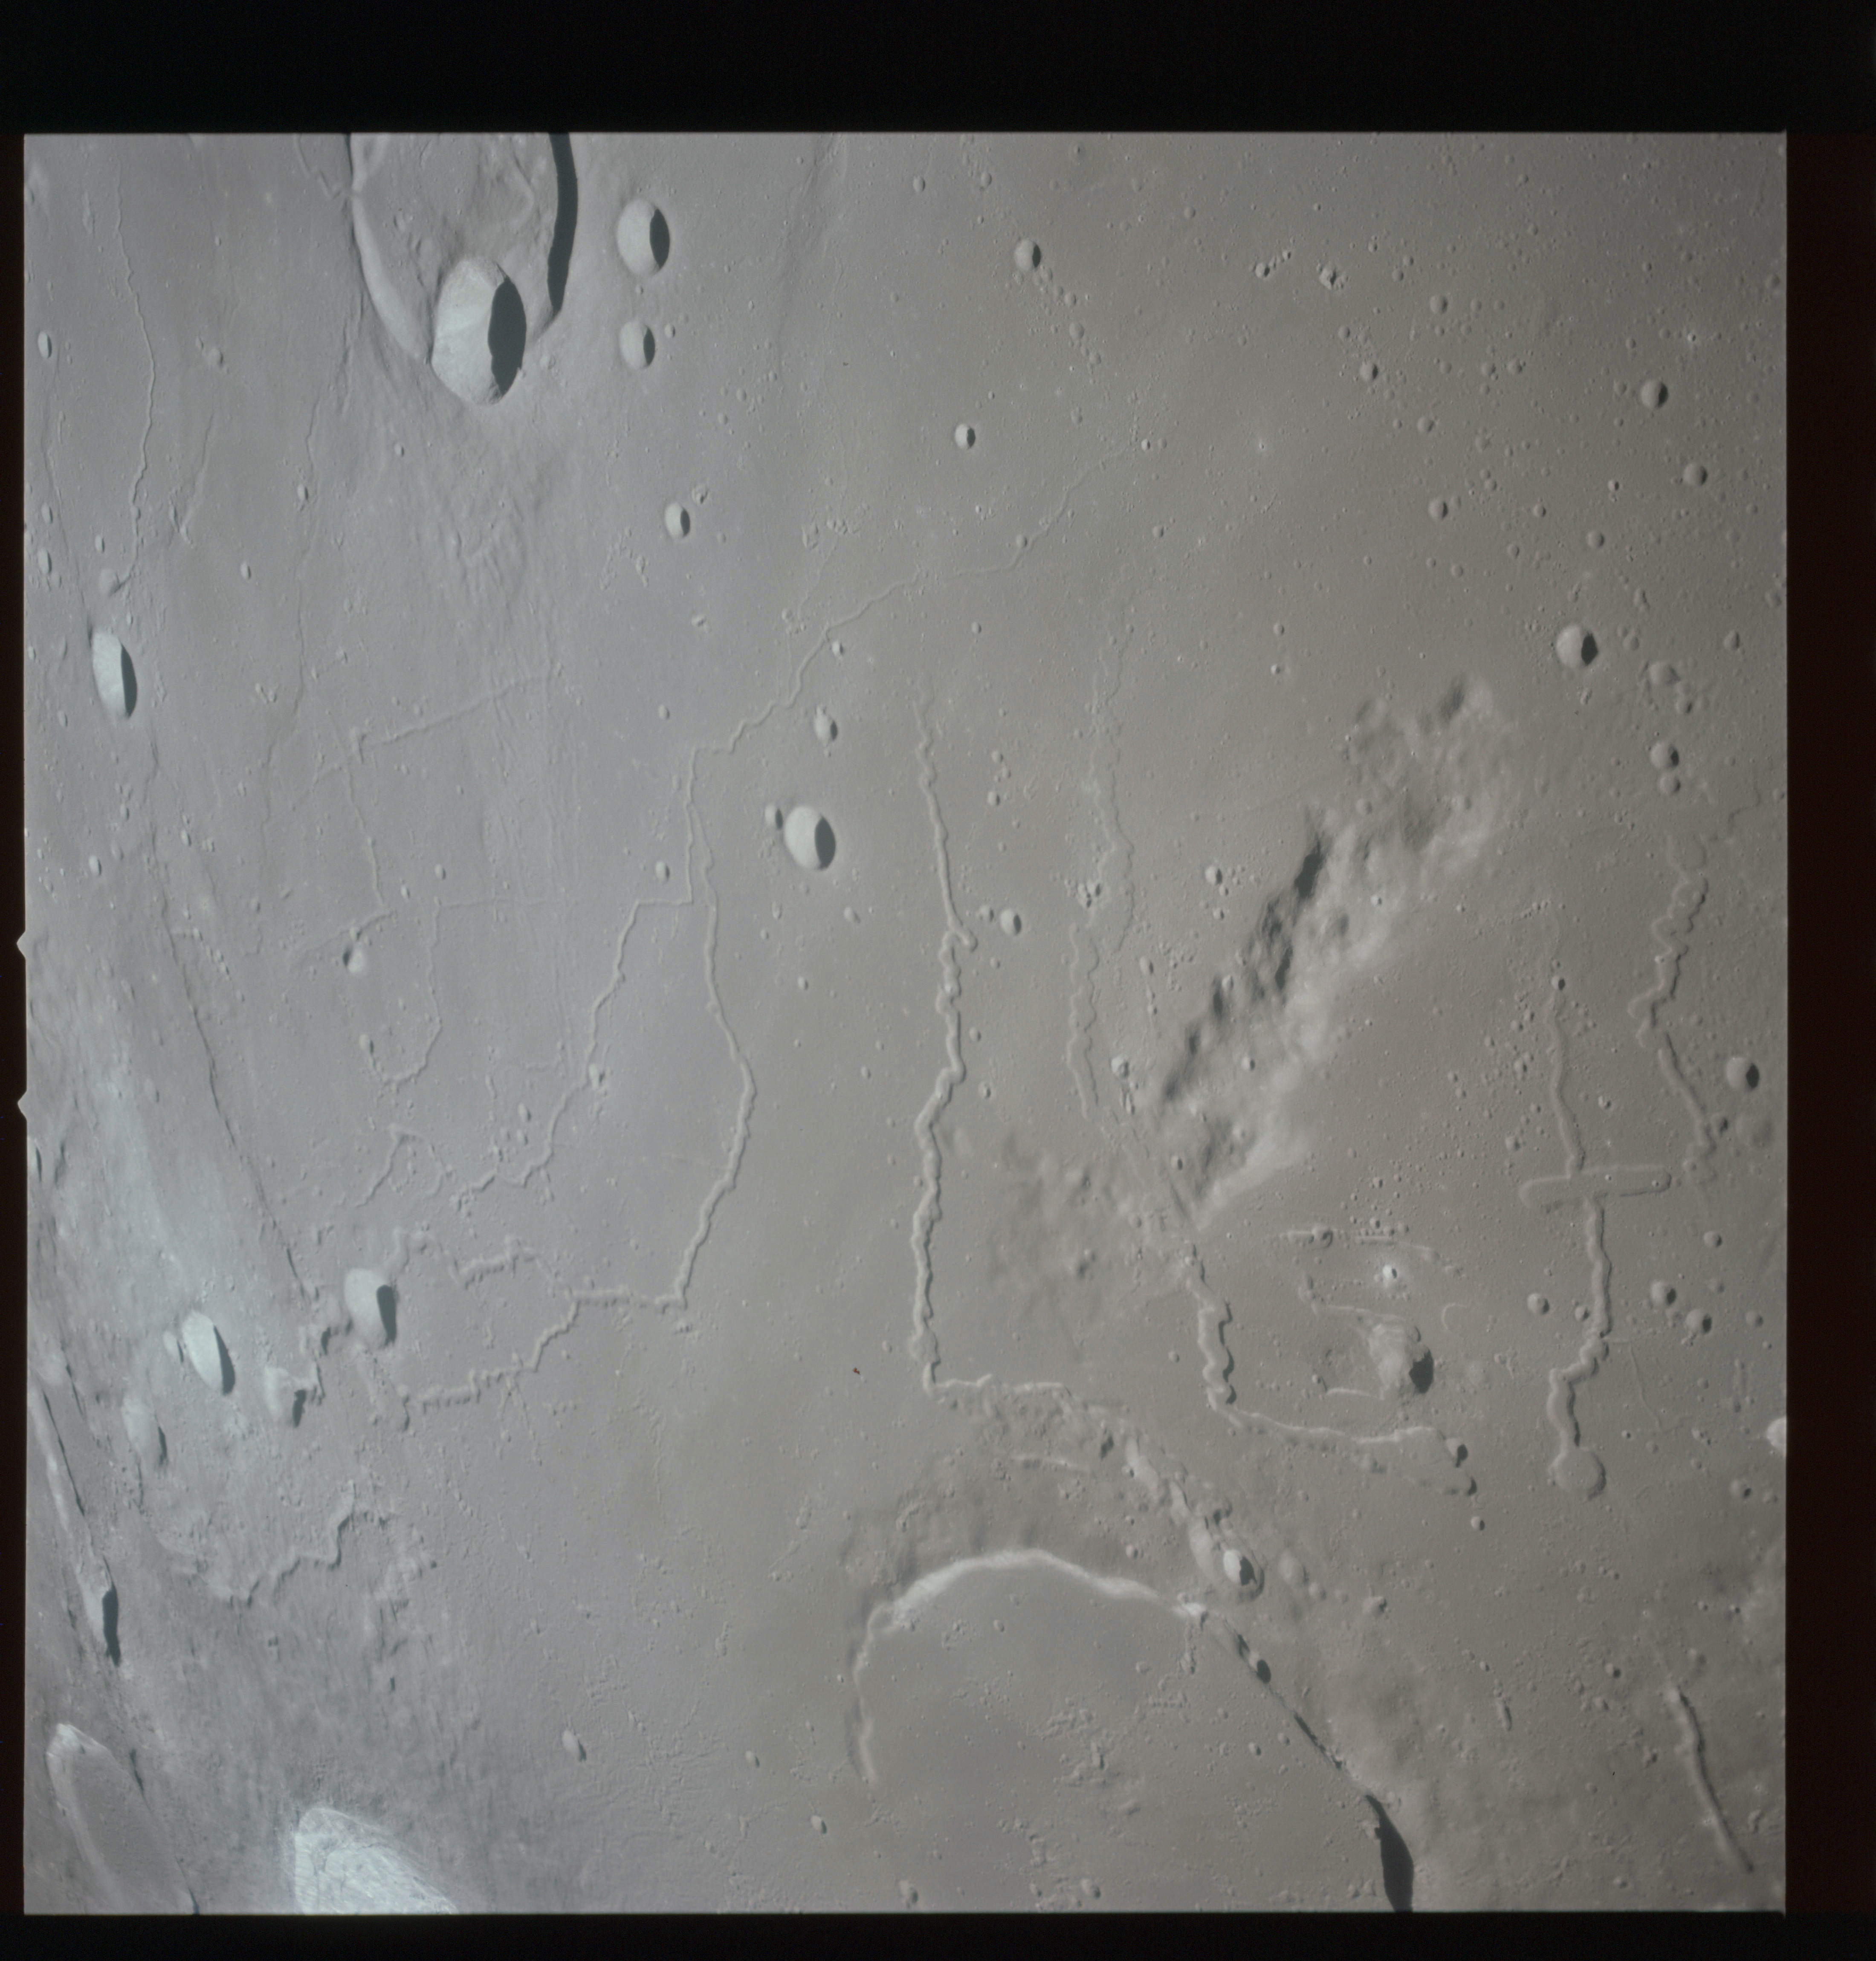
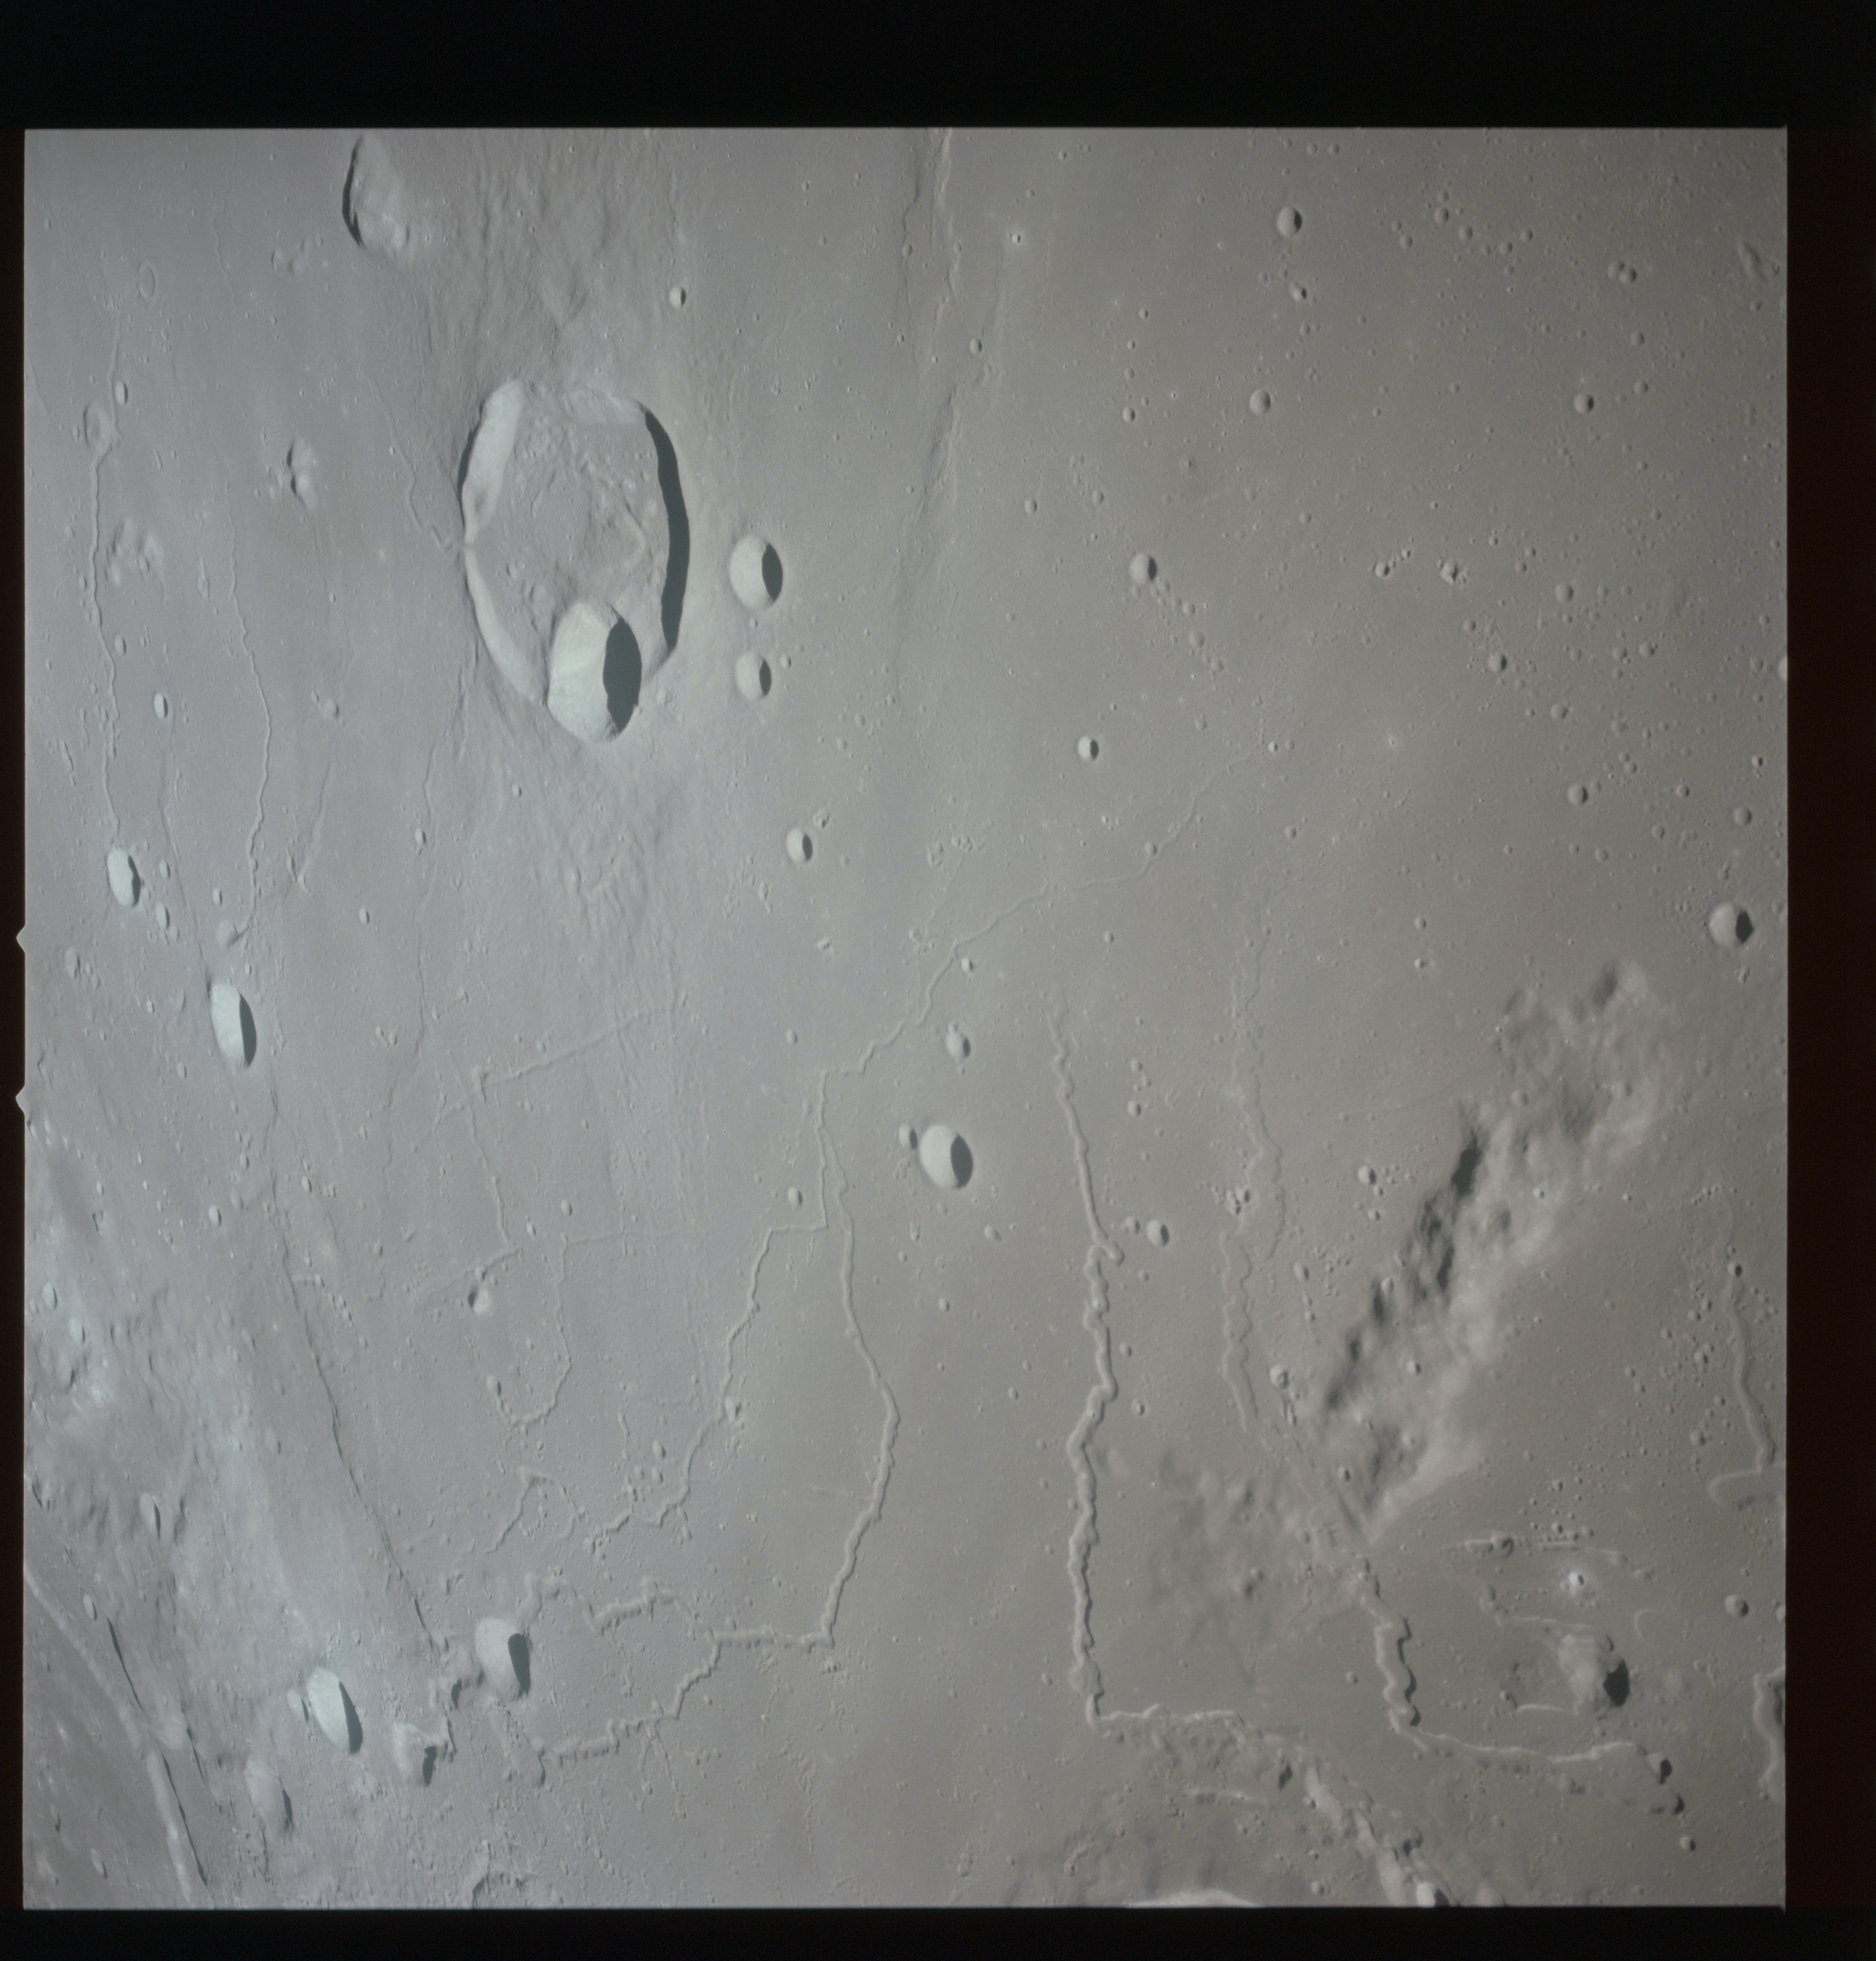
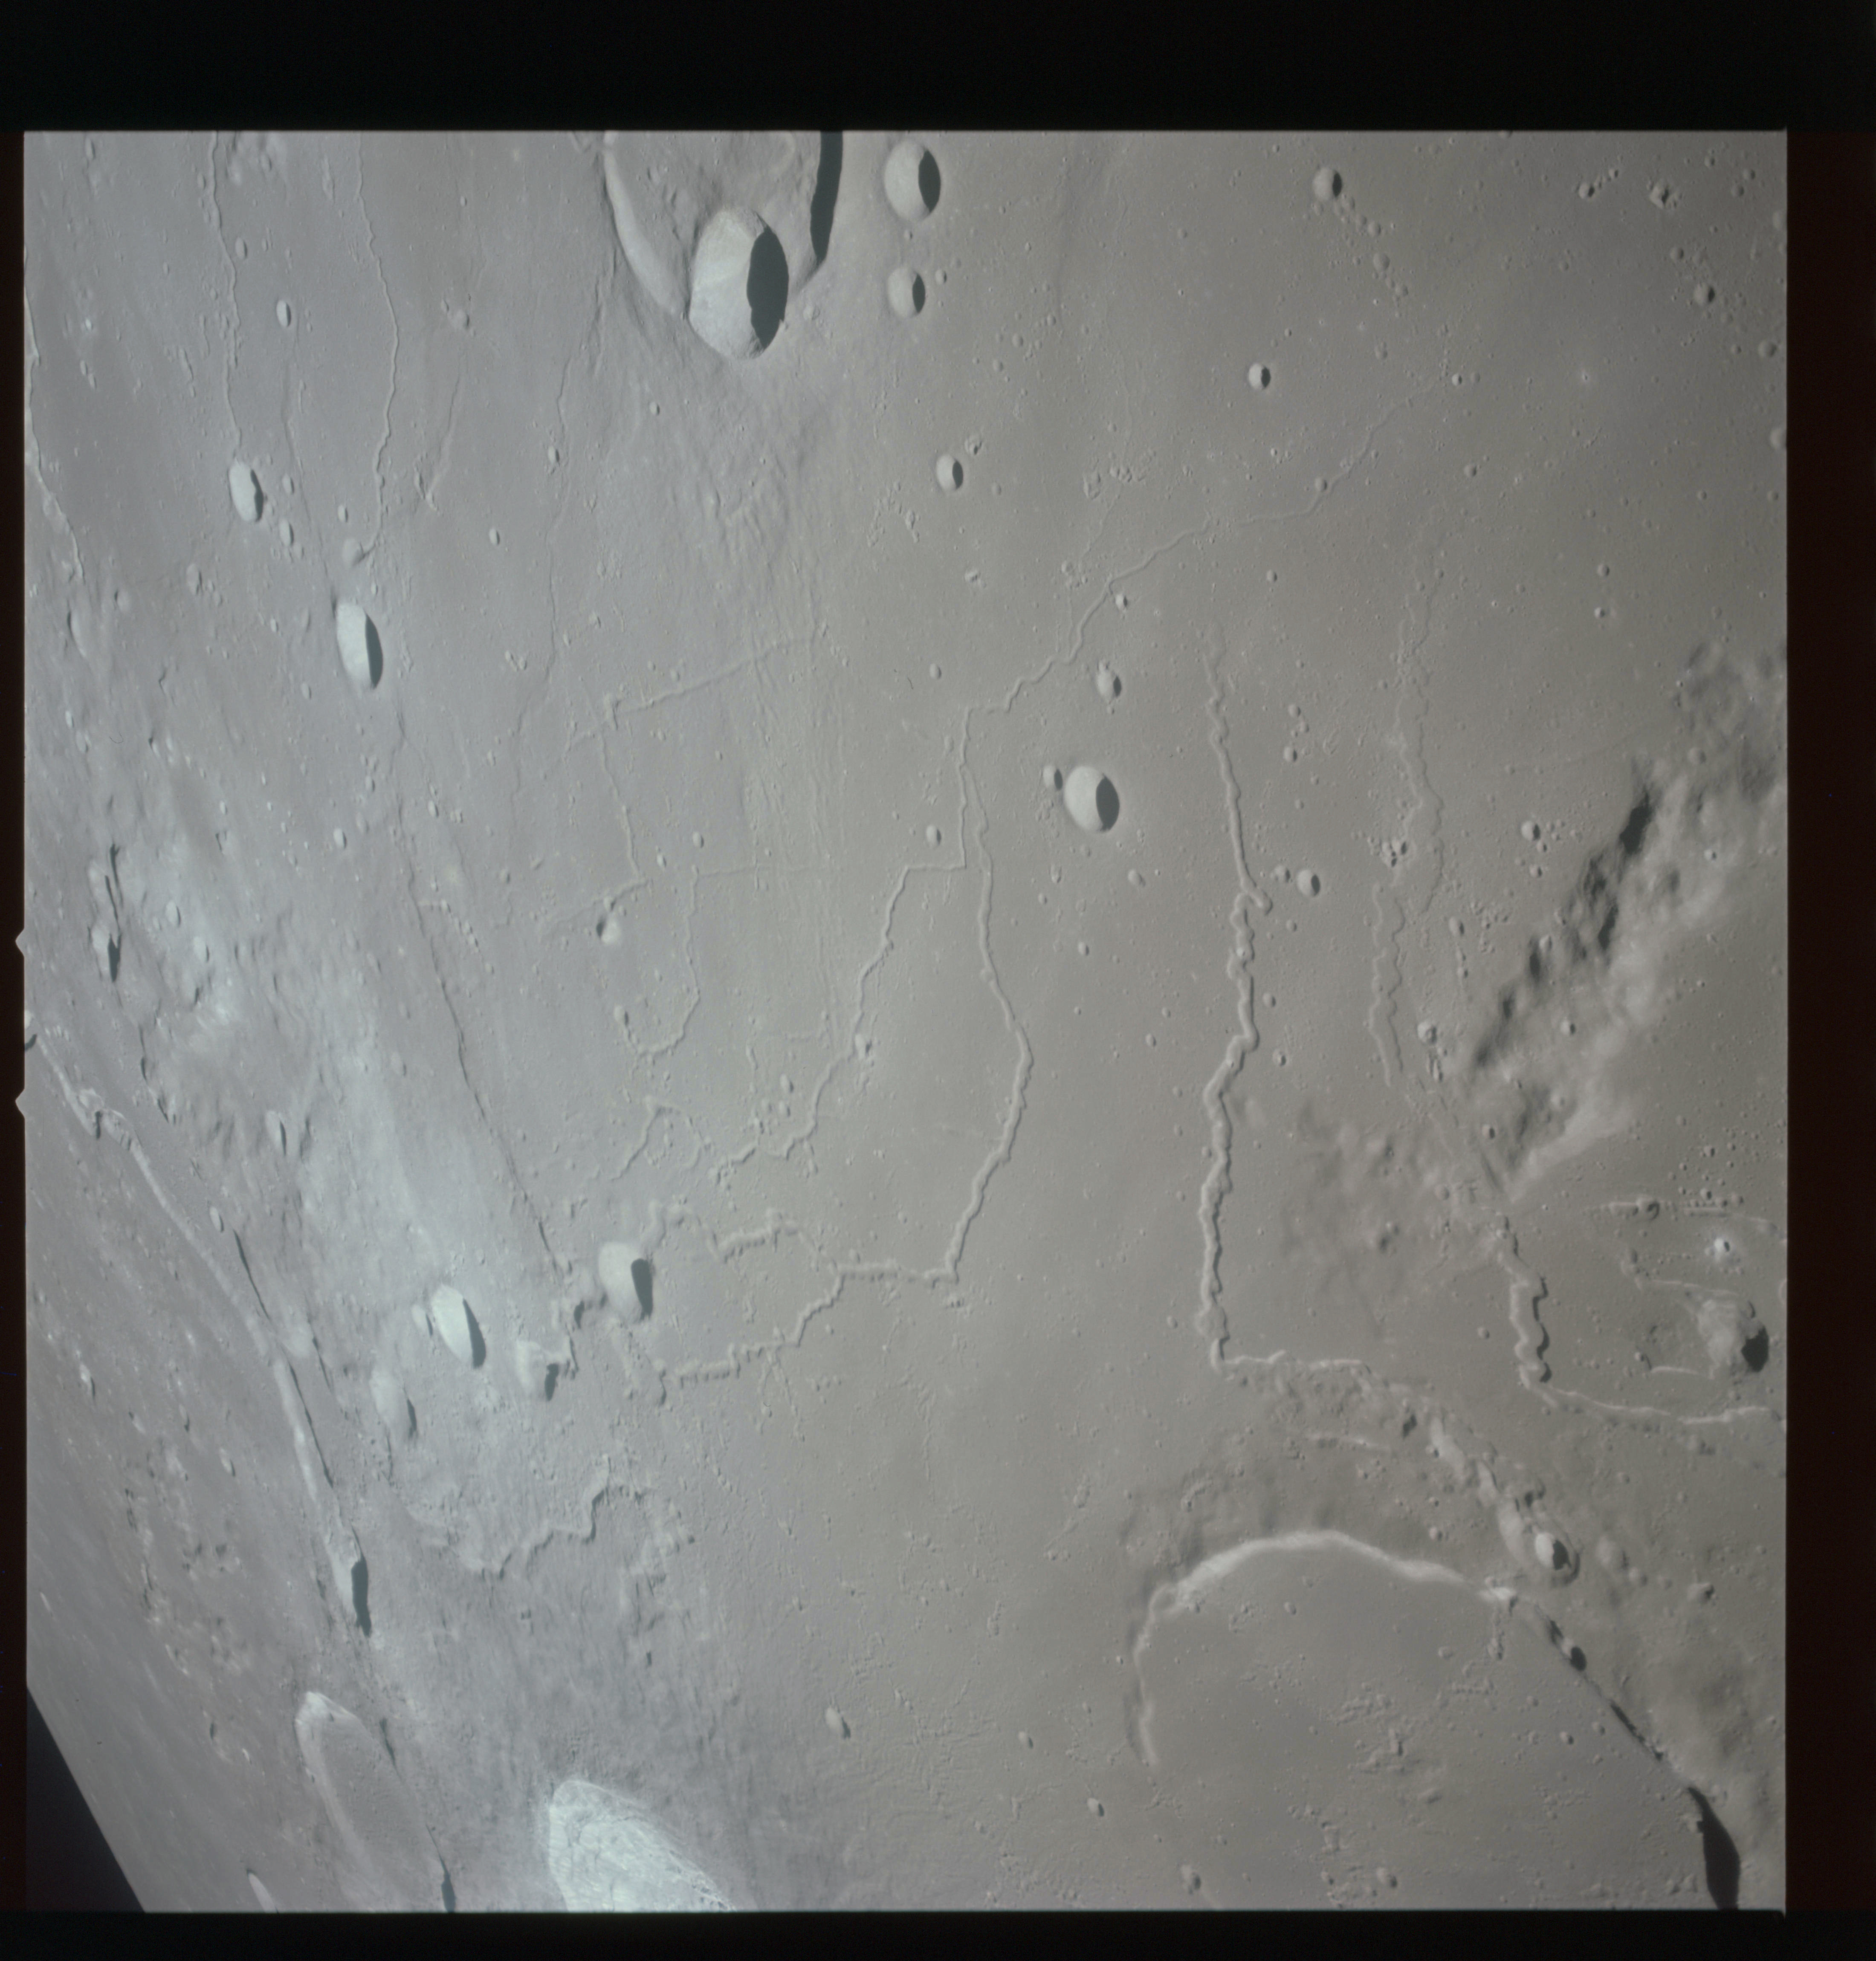
Journal contributor René Cantin has compiled a montage of shots of Vallis Schröteri.
Montage of Vallis Schröteri. Courtesy of René Cantin - Image by NASA/Johnson Space Center.
215:16:12 Henize: 15, Houston: the computer is yours.
215:16:20 Scott: Roger.
Comm break.
An updated state vector has been sent to the spacecraft, refining the computer's knowledge of where it is at a particular time. The crew can disable the uplink from Earth and have use of the computer again.
AS15-M-2484 - Metric Camera image of Montes Agricola and the northwestern region of the Aristarchus Plateau. Image taken at about 215:16. (250 megapixel version), (labelled version) - Image by NASA/ASU.
The final batch of handheld photography before reaching the terminator is on magazine P with the 80-mm lens. AS15-93-12632 shows the southern tip of the Montes Agricola range with Dorsa Burnet running alongside.
AS15-93-12632 - The southwestern end of Montes Agricola including Dorsa Burnet. Also includes crater Zinner on the extreme left and crater Raman on the extreme right - Image by NASA/Johnson Space Center.
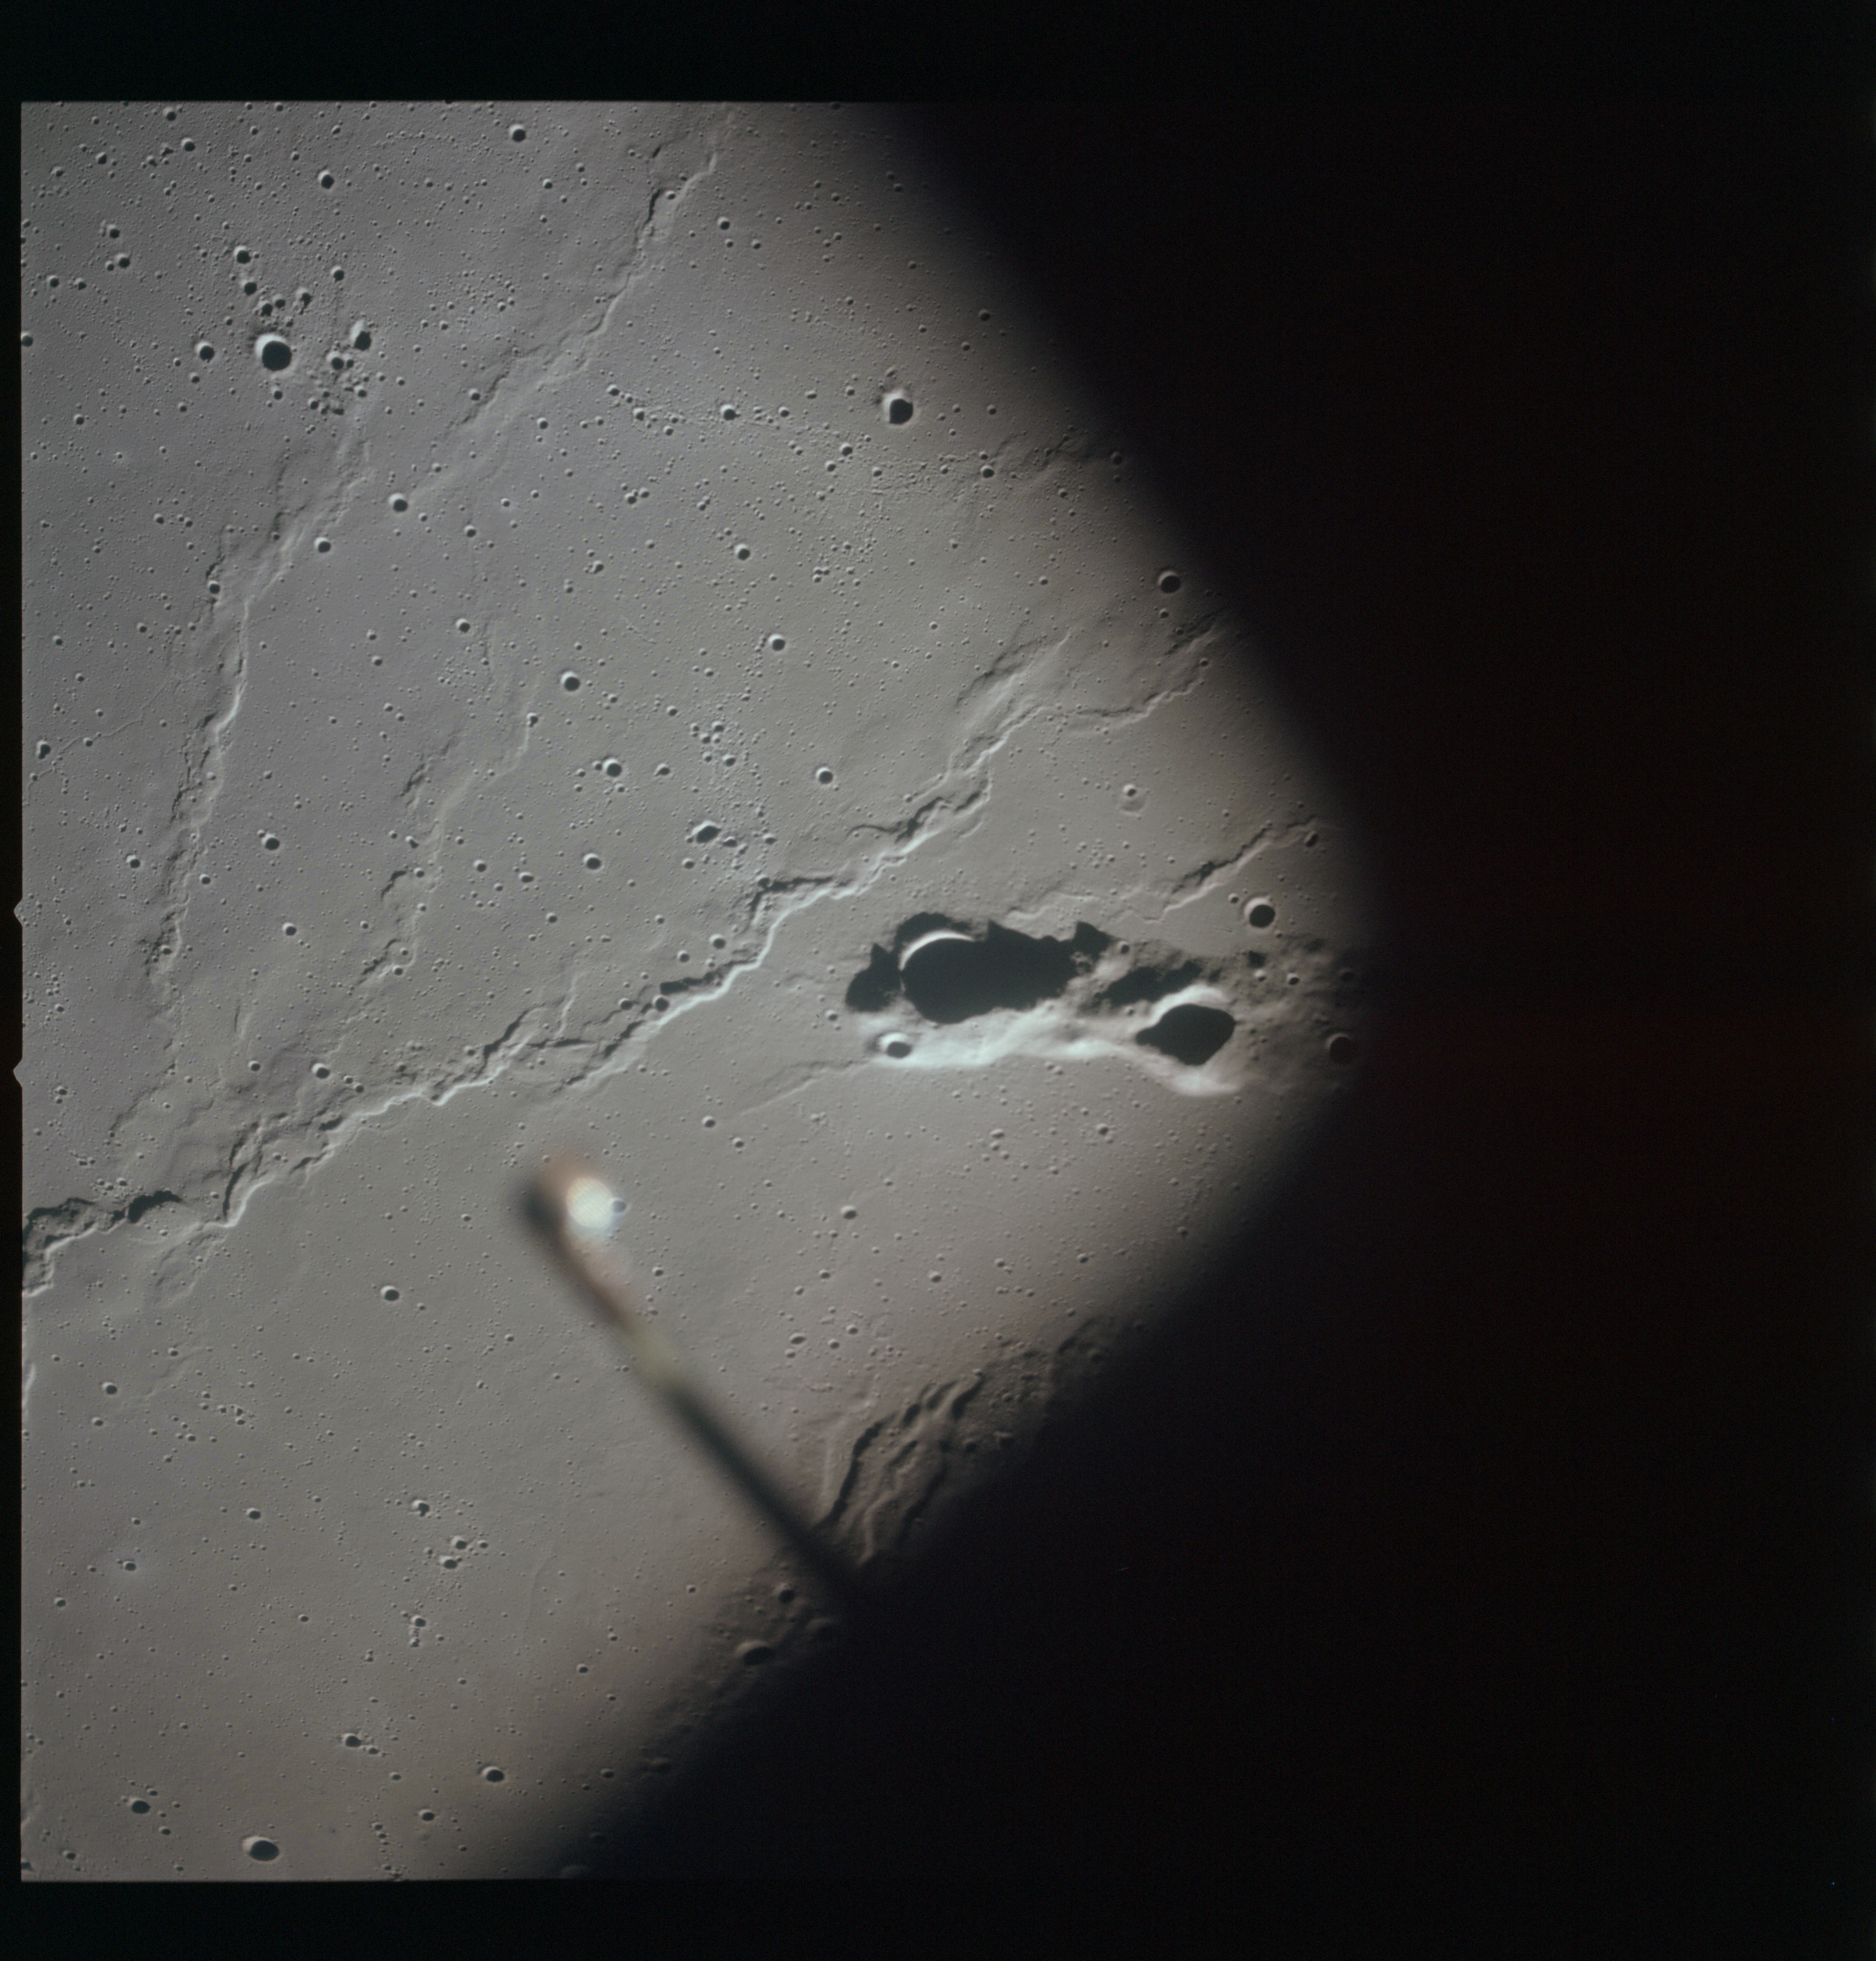
The 24-km crater Schiaparelli dominates the foreground of the western mare in AS15-93-12633 with the rim of Seleucus rising out above the terminator.
AS15-93-12633 - Oceanus Procellarum and the sunrise terminator including craters Schiaparelli, Schiaparelli A, Seleucus A and the rim of Seleucus - Image by NASA/Johnson Space Center.
From this image of Schiaparelli, it appears that the crater was formed before the last of the mare basalts had flowed as lava across this area. This is because the basalts form a shoreline around the ejecta blanket. This effect can sometimes give a clue to the age of the mare and, indeed, this area is thought to be particularly young relative to the profound antiquity of the lunar surface. While most of the lunar surface is believed to be between 3 and 4 aeons old, older than almost every rock on the surface of Earth, there is a crater to the northwest of Schiaparelli called Lichtenberg. This crater has a fading ray system which may indicate that it formed less than 1 aeon ago. However, some of its rays have been obscured by lava which makes them younger still and among the youngest recognised basalts on the Moon.
Crater Lichtenberg and its obscured southern ray system - Image by LROC/ASU.
Through techniques such as crater counting, a 2003 study by Hiesinger et al determined that an area of mare known as P60 directly south of Aristarchus has an age of 1.2 aeons which implies that the Lichtenberg flow is older.
AS15-93-12634 - Oceanus Procellarum and the sunrise terminator including craters Schiaparelli C and A, Seleucus A and the rim of Seleucus - Image by NASA/Johnson Space Center.
AS15-93-12635 - Oceanus Procellarum and the sunrise terminator including craters Schiaparelli C and A, and the rim of Seleucus - Image by NASA/Johnson Space Center.
AS15-93-12636 - The southwest end of Montes Agricola and Dorsum Burnet. The CSM EVA light is out of focus in the foreground - Image by NASA/Johnson Space Center.
AS15-93-12637 - The southwest end of Montes Agricola and Dorsum Burnet. The CSM EVA light is out of focus in the foreground - Image by NASA/Johnson Space Center.
Finally, AS15-93-12638 shows a triplet of small craters right next to the terminator, the largest two of which are Schiaparelli C (in the centre of the image) and E.
AS15-93-12638 - Oceanus Procellarum including craters Schiaparelli C and E - Image by NASA/Johnson Space Center.
AS15-M-2490 - Metric Camera image of Oceanus Procellarum including craters Schiaparelli C, E, Lichtenberg A and Golgi. Image taken at about 215:18. (250 megapixel version), (labelled version) - Image by NASA/ASU.
215:19:10 Henize: Hey Al. I've sort of got an itch to hear what the Aristarchus region looks like in daylight. You got any comments? [Pause.]
215:19:21 Worden: Well, I'll tell you, Karl; we've all been sitting here kind of looking at Aristarchus a little bit in awe. It looks like probably the most volcanic area that I've seen anywhere on the surface. And certainly it's just very covered with rilles, very - quite deep rilles, too, some of them. Schröter's Valley, for instance, is a magnificent big rille which looks like it's worked - been worked twice; of course, the large rille and then a smaller rille inside.
The Mapping Camera is due to be stopped at 215:19:49 with the arrival of the terminator. It will recommence once they reach lunar sunrise.
215:19:54 Henize: What about the source of Schröter's Valley?
215:19:56 Worden: Several cones - say again?
215:20:00 Henize: What about the source of Schröter's Valley. Does it look volcanic? [Pause.]
215:20:08 Worden: Well, that whole area in there looks volcanic, yeah. And that certainly comes from - from up on the plateau there. I would guess that the Cobra Head is the source for Schröter's Valley. The elevation is - is a little subtle from this - from this vantage point, but I - I guess that would be my guess. And as far as where the - think we've found something interesting anyway about the - the ends of the rilles, particularly around the Schröter's Valley area, it looks quite distinctly like the rilles - the - the mouths of the rilles - or the delta's have been covered with rising maria - mare materials - from the lower - from the - from the lower elevation. Almost as if there was a - a - a rille with a delta-like deposit at one time, but then the mare - the elevation of the mare - or the height of the mare came up into the rille far enough to - to cover all that delta area. So all you see now is what would look like a - a - a river into a lake who's elevation has increased.
215:21:23 Henize: Ah, ha! Very interesting thought.
Comm break.
The implication of what Al is saying is that the top surface of the mare was formed some time after the rille itself, perhaps from lavas that flowed from another source.
Using elevation data from the Lunar Reconnaissance Orbiter, some heights can be found for Vallis Schröteri and the Aristarchus Plateau. The plateau on either side of the Cobra's Head is at an elevation of about 200 metres below the lunar datum with the plateau beyond being a few hundred metres below the datum for the most part. For comparison, the mare east of the plateau is 1,500 below, and to and west it drops to 1,900 metres below, a kilometre or more lower than the plateau itself.
Looking at heights within Vallis Schröteri itself, the floor of the Cobra's Head is at an elevation of about 950 metres below the lunar datum but by the time we leave the head and enter the main section of Vallis Schröteri, the floor has already dropped about 300 metres. By the northmost part of the valley, the floor has descended another 400 metres. From there, the valley floor stays relatively level, even rising a little at its end while the inner, smaller rille continues to cut down to the mare level. The inner rille finally peters out in the mare at an elevation of about 1,900 metres below the datum, 1,000 metres lower than the floor at the Cobra's Head.
215:23:23 Henize: 15, this is Houston. I'm turning you over to Joe now. I'll see you on the way home tomorrow.
215:23:31 Worden: Okay, Karl. Talk to you tomorrow. Thanks for coming out so early for us.
215:23:38 Henize: It was a pleasure, believe me.
Comm break.
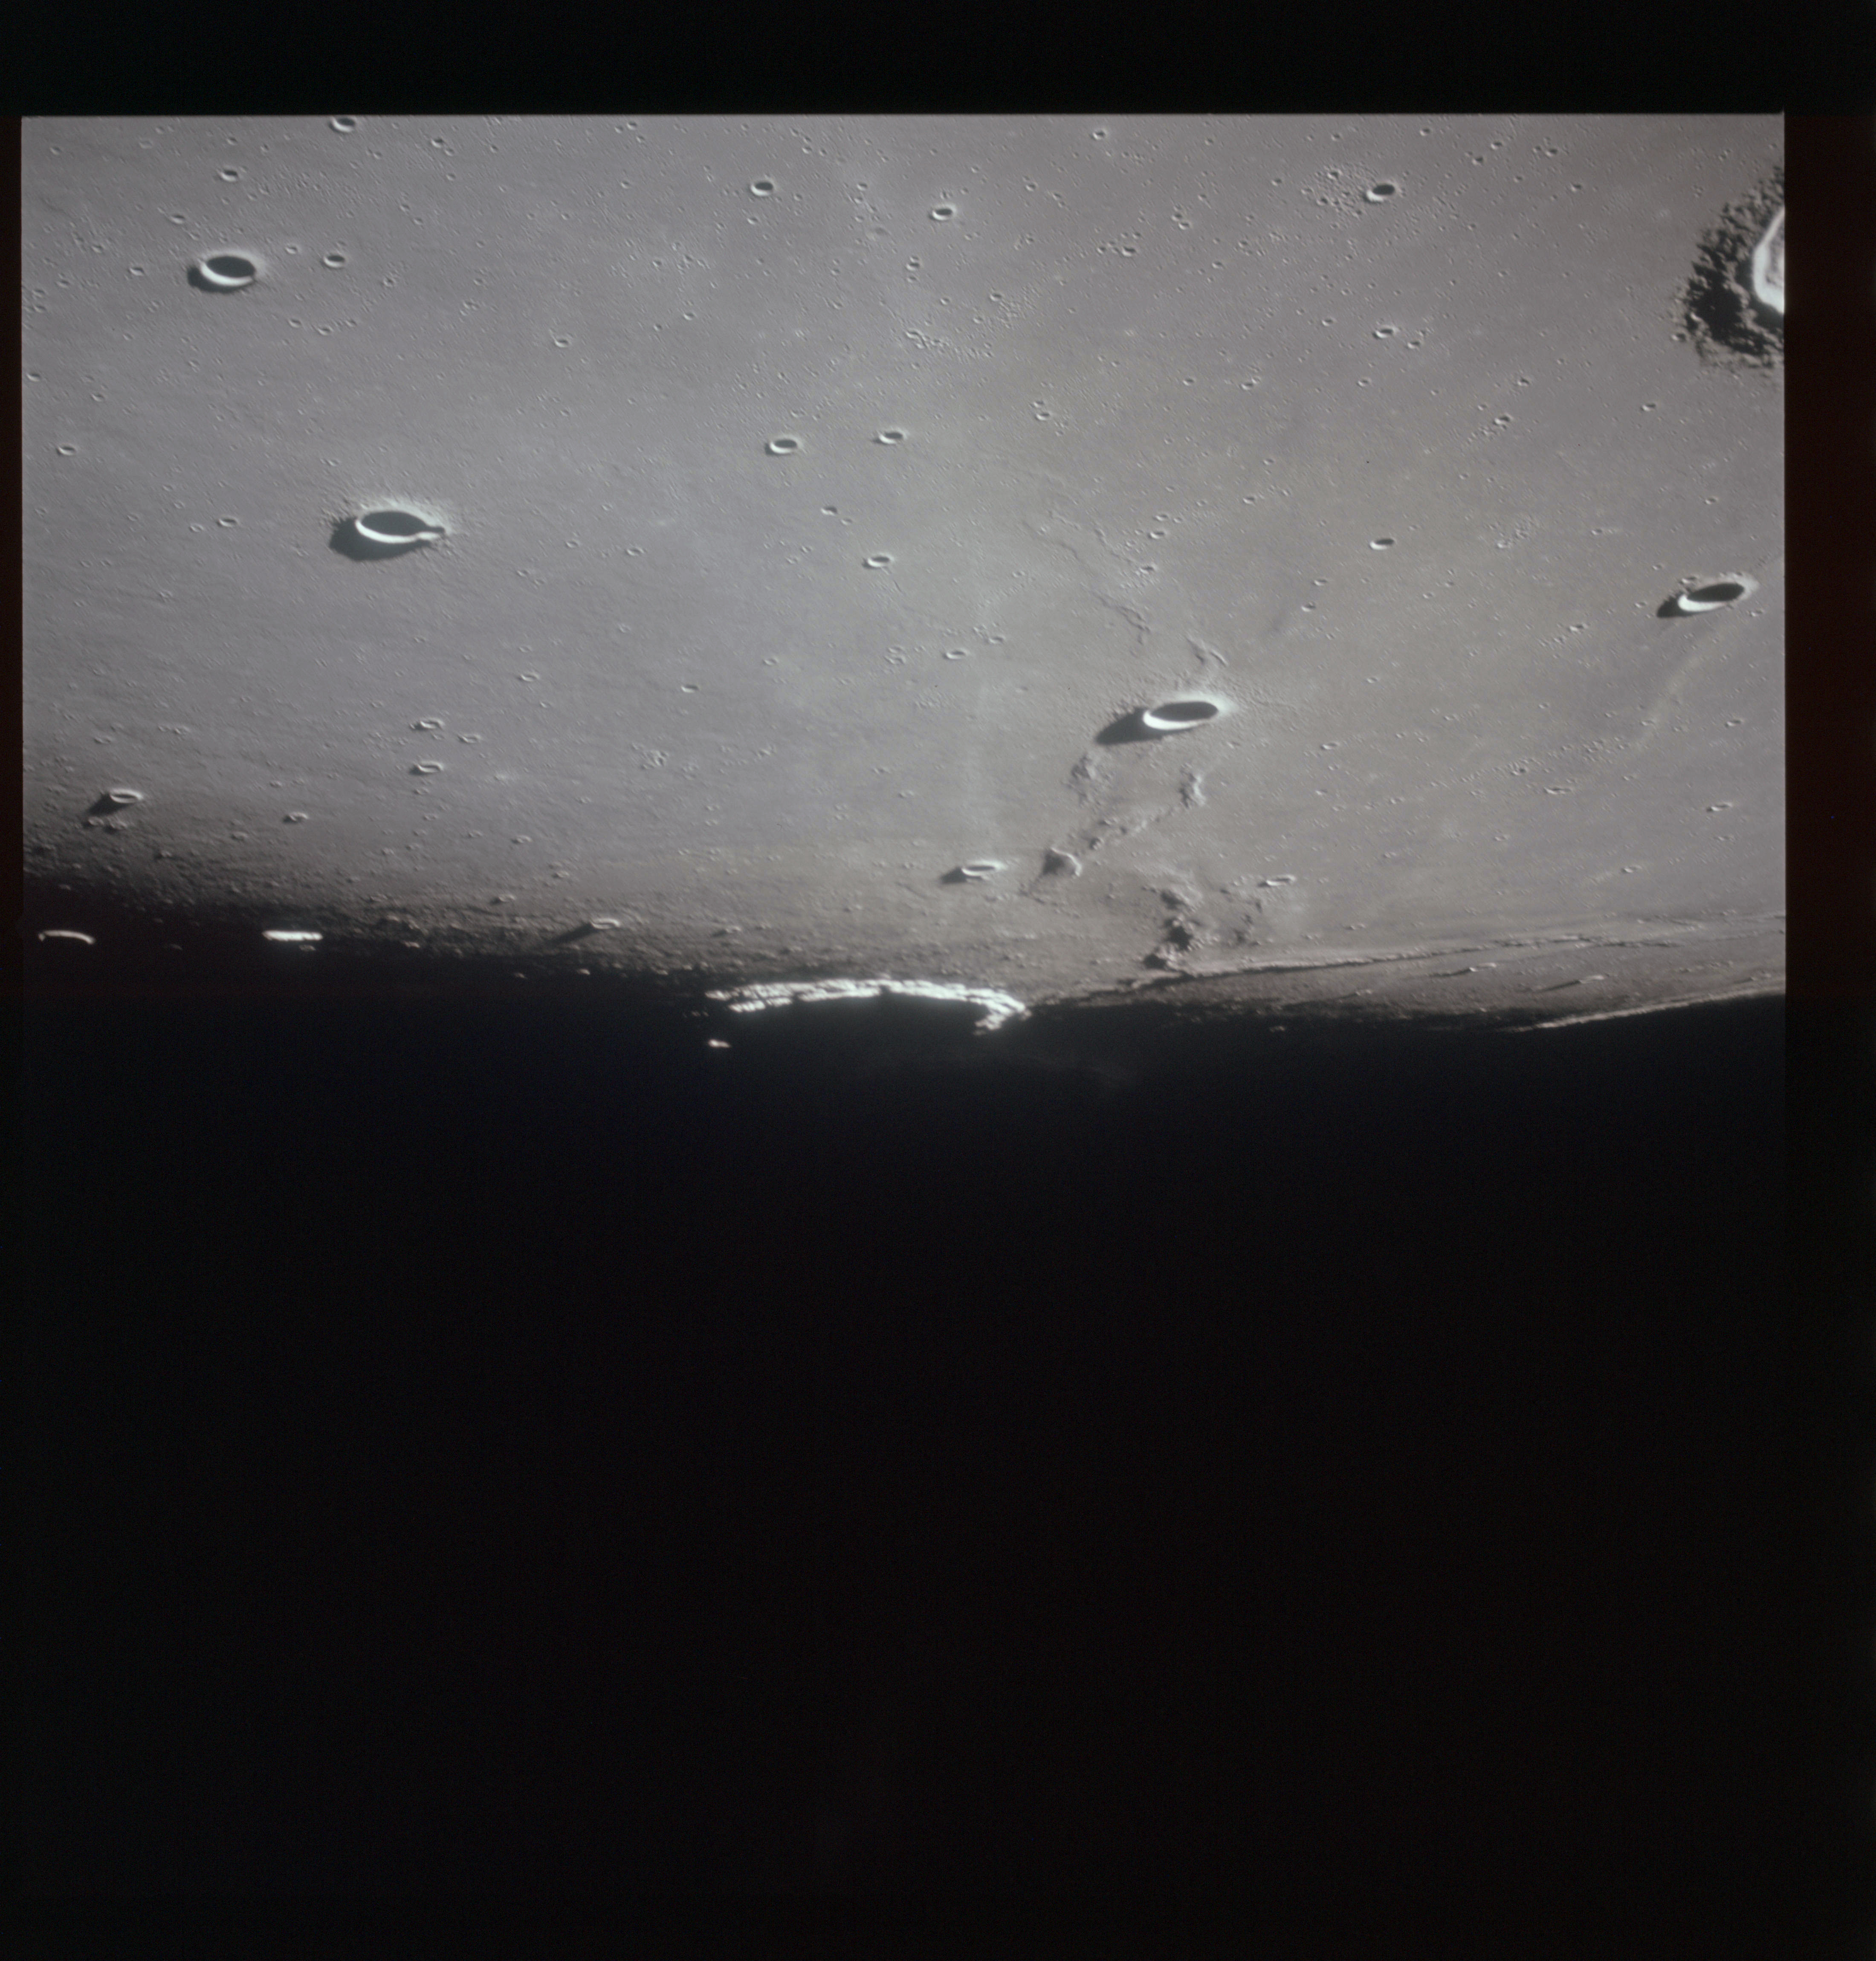
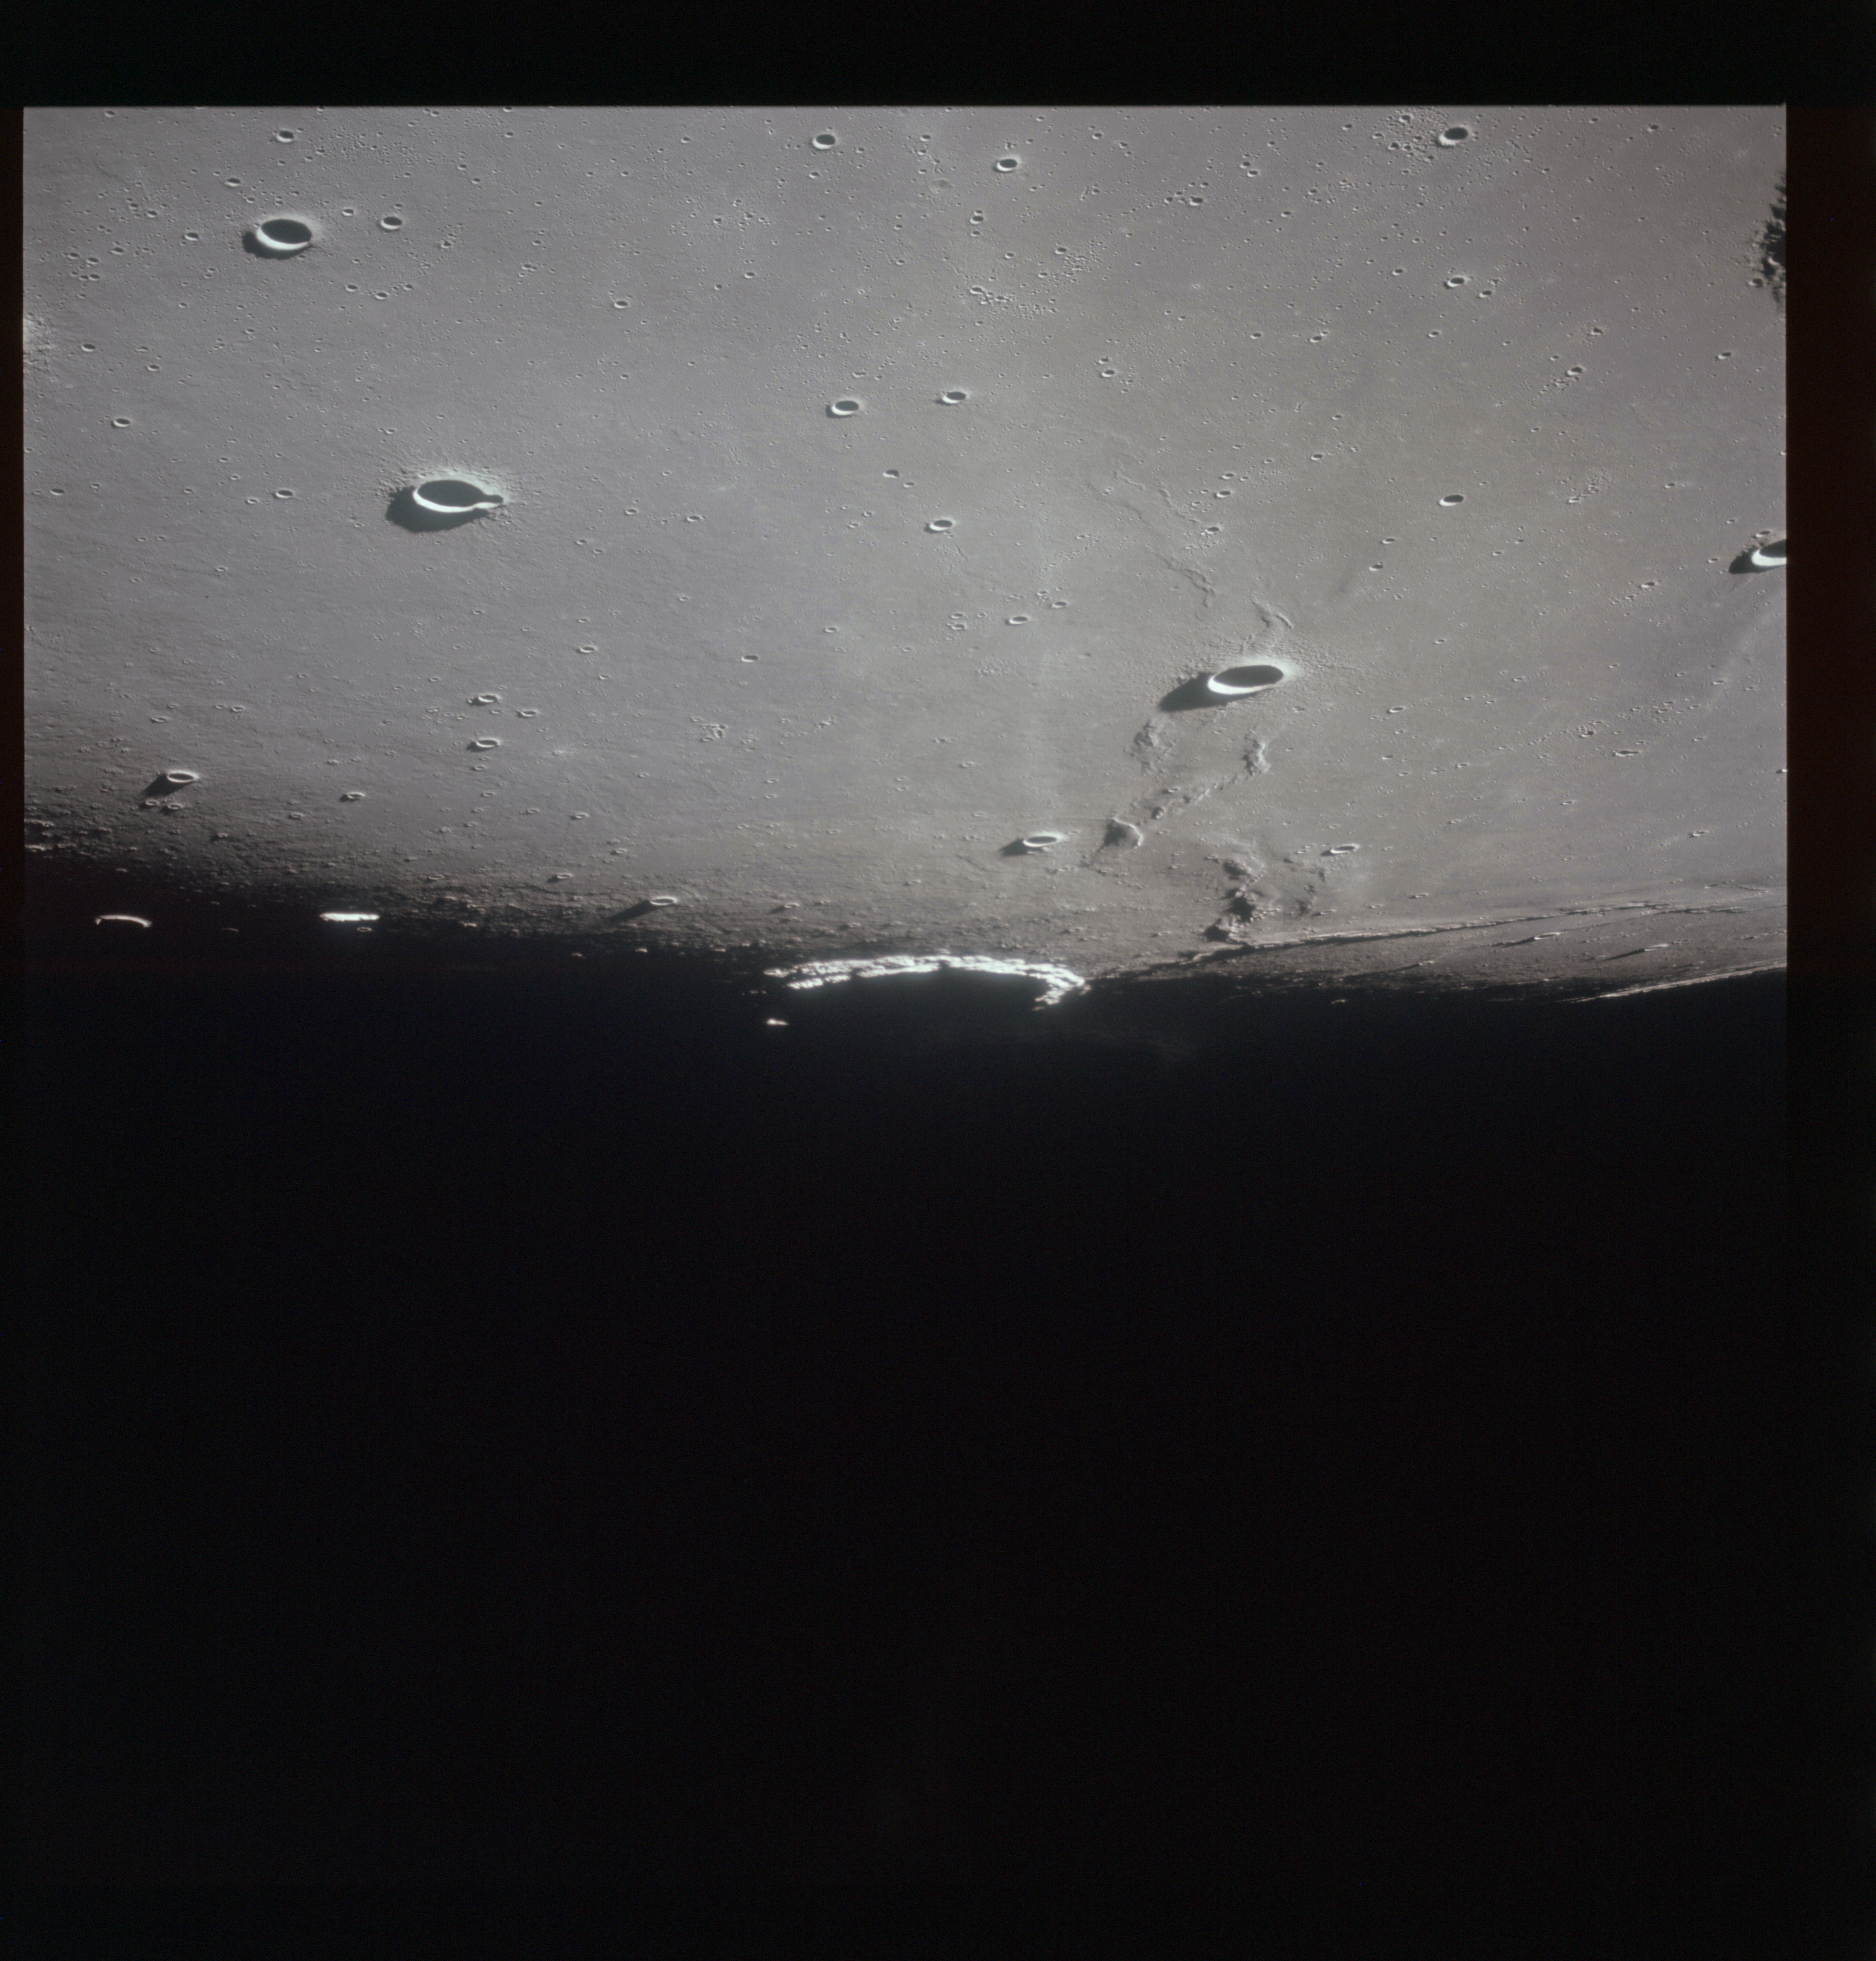
One of the tasks just before sunrise is to photograph the solar corona using their movie camera (the DAC or Data Acquisition Camera) and a Hasselblad, both using very high speed black and white film. In preparation for this the spacecraft is maneuvered to an attitude given in the Flight Plan which will aim the forward-facing rendezvous windows in the required direction.
215:24:43 Allen: Good morning, Yankee Clipper; this is Houston. [No answer. Long pause.]
Yankee Clipper was the name given to the CSM of the Apollo 12 mission. The CMP on this flight was none other than Dick Gordon, the backup commander of Apollo 15. The links between these two flights are very strong as Scott, Worden and Irwin, an all-Air Force crew, were backups to Conrad, Gordon and Bean, an all-Navy crew, who were renowned for the lighthearted slant they gave to their flight. While Conrad and Bean moved on to Apollo Applications (Skylab), Gordon stayed behind to the end of the lunar program.
215:25:10 Allen: Good morning, Endeavour; this is Houston.
215:25:16 Scott: Good morning, Houston; this is Endeavour. How are you today?
215:25:19 Allen: Just fine, Dave. [Pause.]
215:25:27 Allen: The devil in the backup commander made me do the other. [Pause.]
215:25:36 Scott: Oh, we're not surprised. [Long pause.]
215:26:02 Scott: Seems like that other fellow is hung up on that other flight [Apollo 12] for some reason or another.
Long comm break.
This is Apollo Control. Some 8 minutes remaining in this 70th lunar revolution front side pass. Handover under way between Gene Kranz, White Team of flight controllers taking over from Milt Windler, Maroon Team. There will not be a change of shift press briefing in as much as the crew was asleep during most of the off-going shift. The lunar surface TV panoramic viewing test this morning began at about 3:53 with good quality pictures. The test was abruptly terminated about 12 minutes later when the lunar communications relay unit FM downlink went off. At the time the LCRU FM downlink was lost, small increment iris open commands were being transmitted to the camera. The LCRU does not respond to Power On commands. Troubleshooting is now under way in an attempt to determine the reason for the loss of the Lunar Surface TV signals. Apollo 15, now in a 52.3 by 66 nautical mile [98.9 by 122.2 km] orbit. Present height, 54.4 nautical miles [100.7 km]; velocity, 5,373 feet per second [1,638 m/s]. With some 6 minutes, 52 seconds remaining before Loss Of Signal, we'll continue to stay up live for the remainder of this front side pass. At 215 hours, 29 minutes Ground Elapsed Time, this is Apollo Control up and live.
As part of the regular housekeeping aboard Endeavour, a fresh lithium hydroxide canister, number 18, is placed in receptacle A of the cabin ECS circuit, replacing 16 which is stowed in compartment A3, one of a row which lies across the base of the Command Module against the curve of the aft heatshield.
This is Apollo Control at 215 hours, 35 minutes. Apollo 15 has gone behind the Moon on its 70th revolution, out of range of ground stations now. Here in the Control Center, the handover is complete. Flight Director is Gene Kranz; the CapCom, Joe Allen. At 215 hours, 36 minutes; this is Mission Control, Houston.